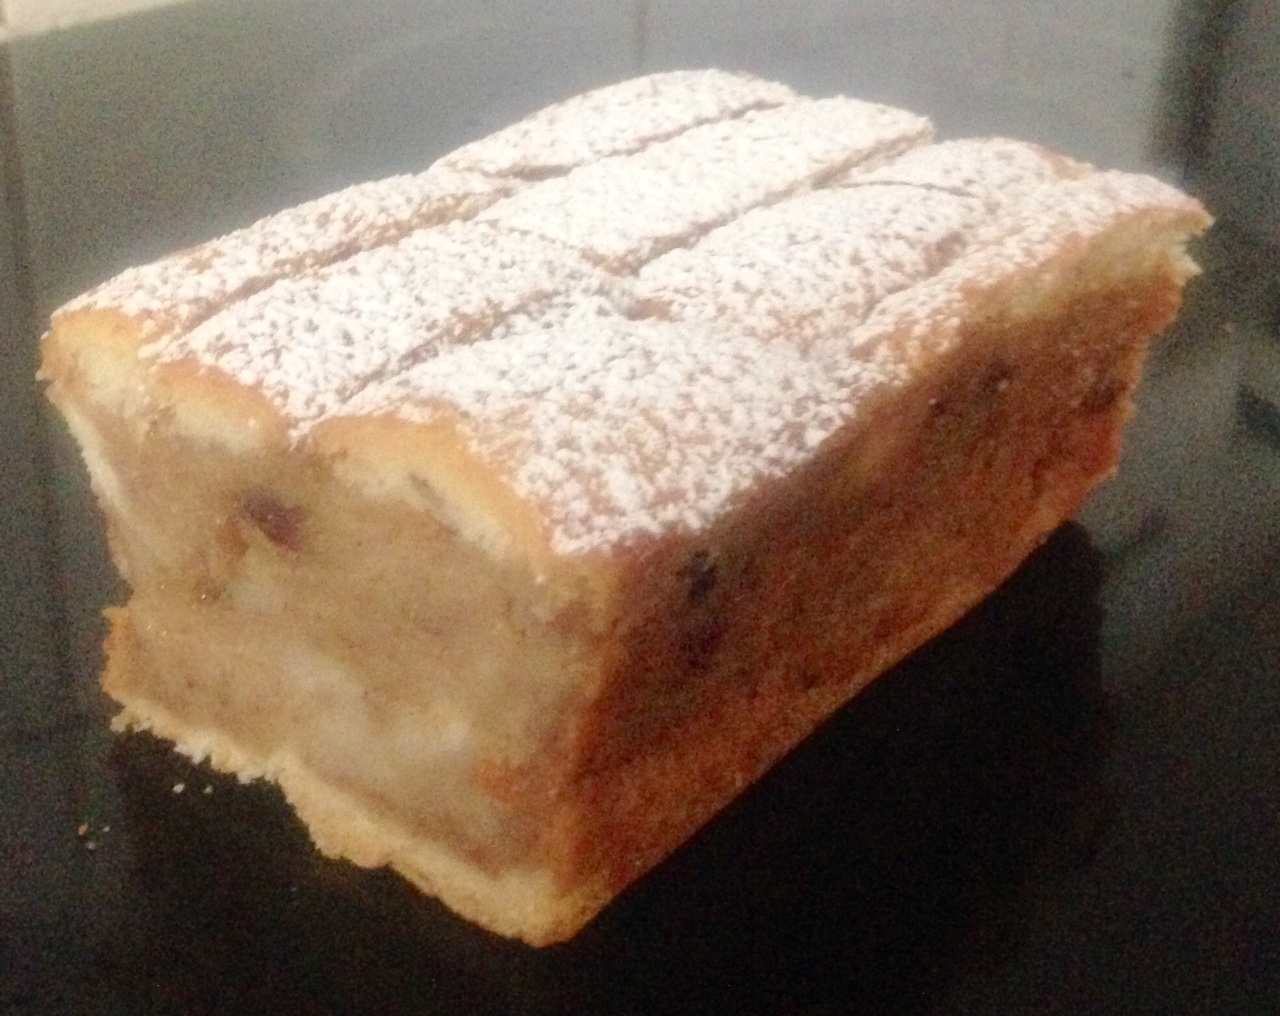
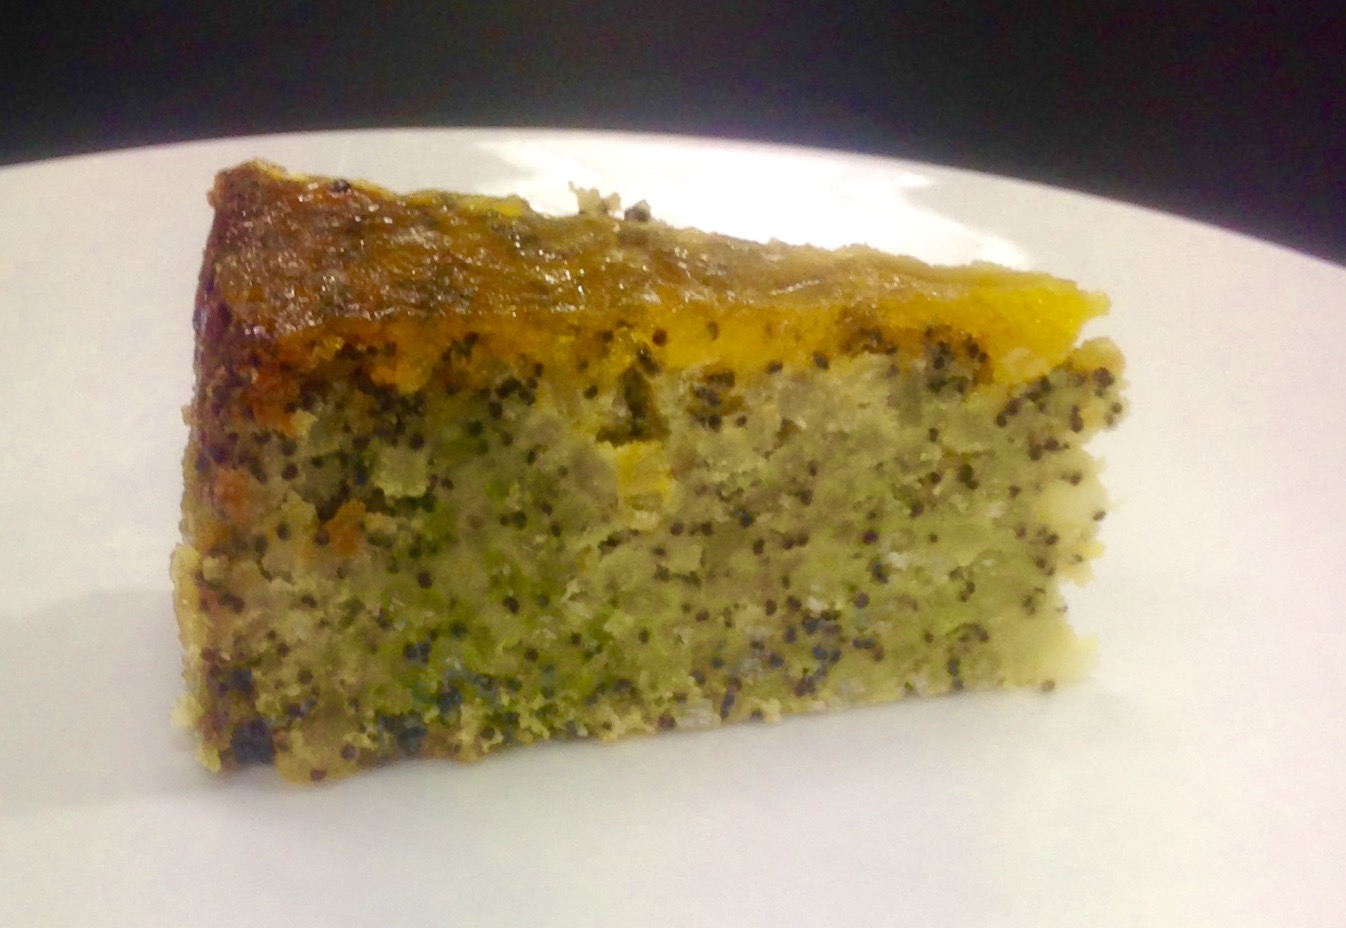
Orange and Poppy Seed Rice Cake
I actually got the idea for this recipe from a savory risotto and garlic cake recipe. I thought it would be interesting to take the rice base idea and the cooking methodology and incorporate this into my orange and poppy seed cake recipe (knowing only zest, juice or essence would work as the flavoring).
I did have to make quite a few alternations as I went, obviously the original orange and poppy seed ingredients were not all applicable and the savory cake methodology didn’t 100% translate but was fairly close.
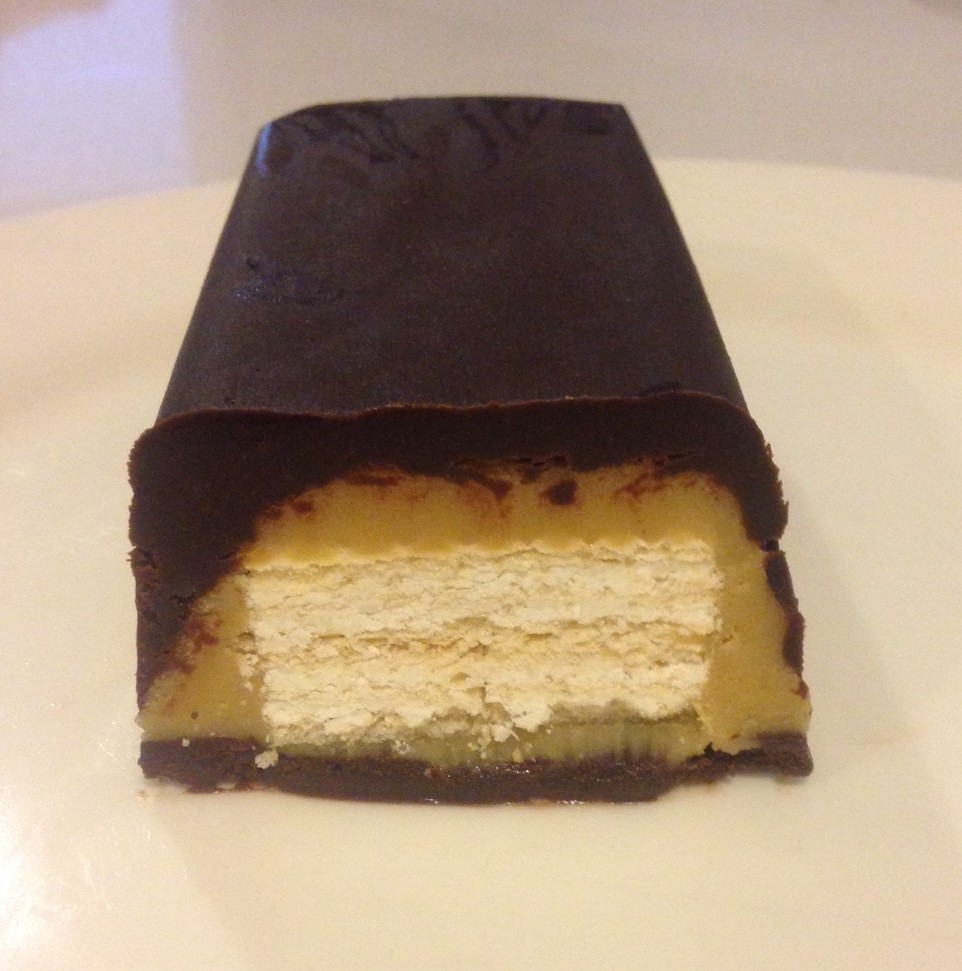
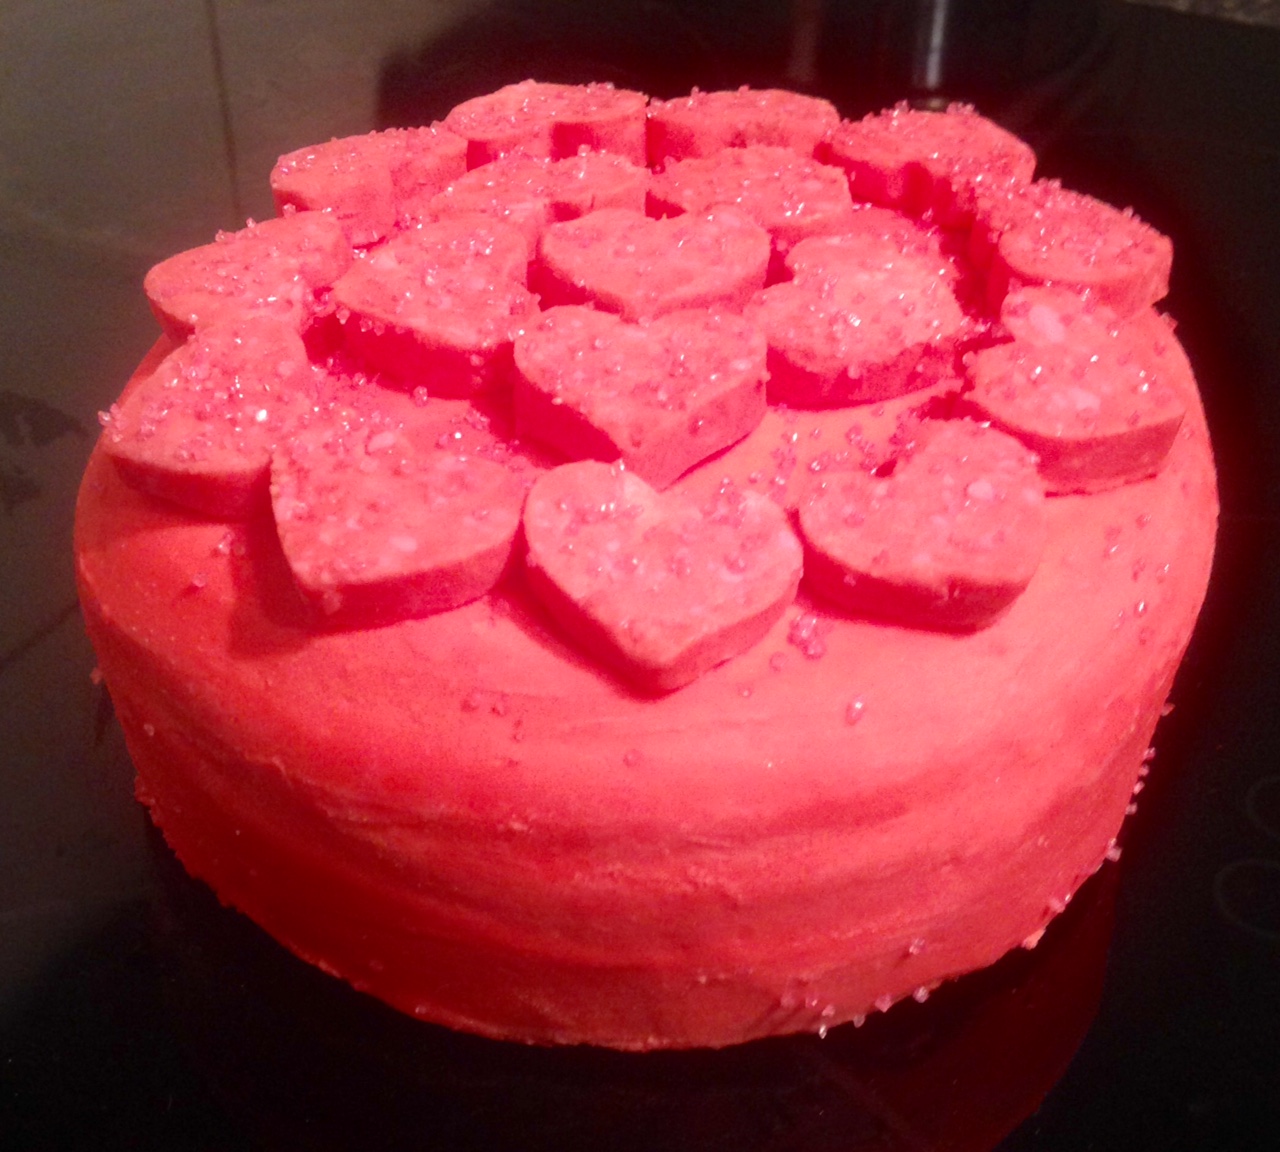
The outcome was quite surprising. I had no idea if the cake would hold the structure I was after, or if the cake would be too dry, however the outcome was an extremely well structured but moist cake that tasted amazing! A very satisfying experiment. I even got told that had I not informed people of the rice part they would not have known.
Ingredients:
Cake:
- 2 tbsn orange zest
- I tsn vanilla essence
- 80g poppy seeds
- 220g sugar
- 1 cup orange juice
- 2 cups milk
- 1 cup arborio rice
- 2 eggs
- 3 tbsn self raising flour
Syrup:
- 20g orange juice
- 1 tbsn orange zest
- 120g sugar
Method:
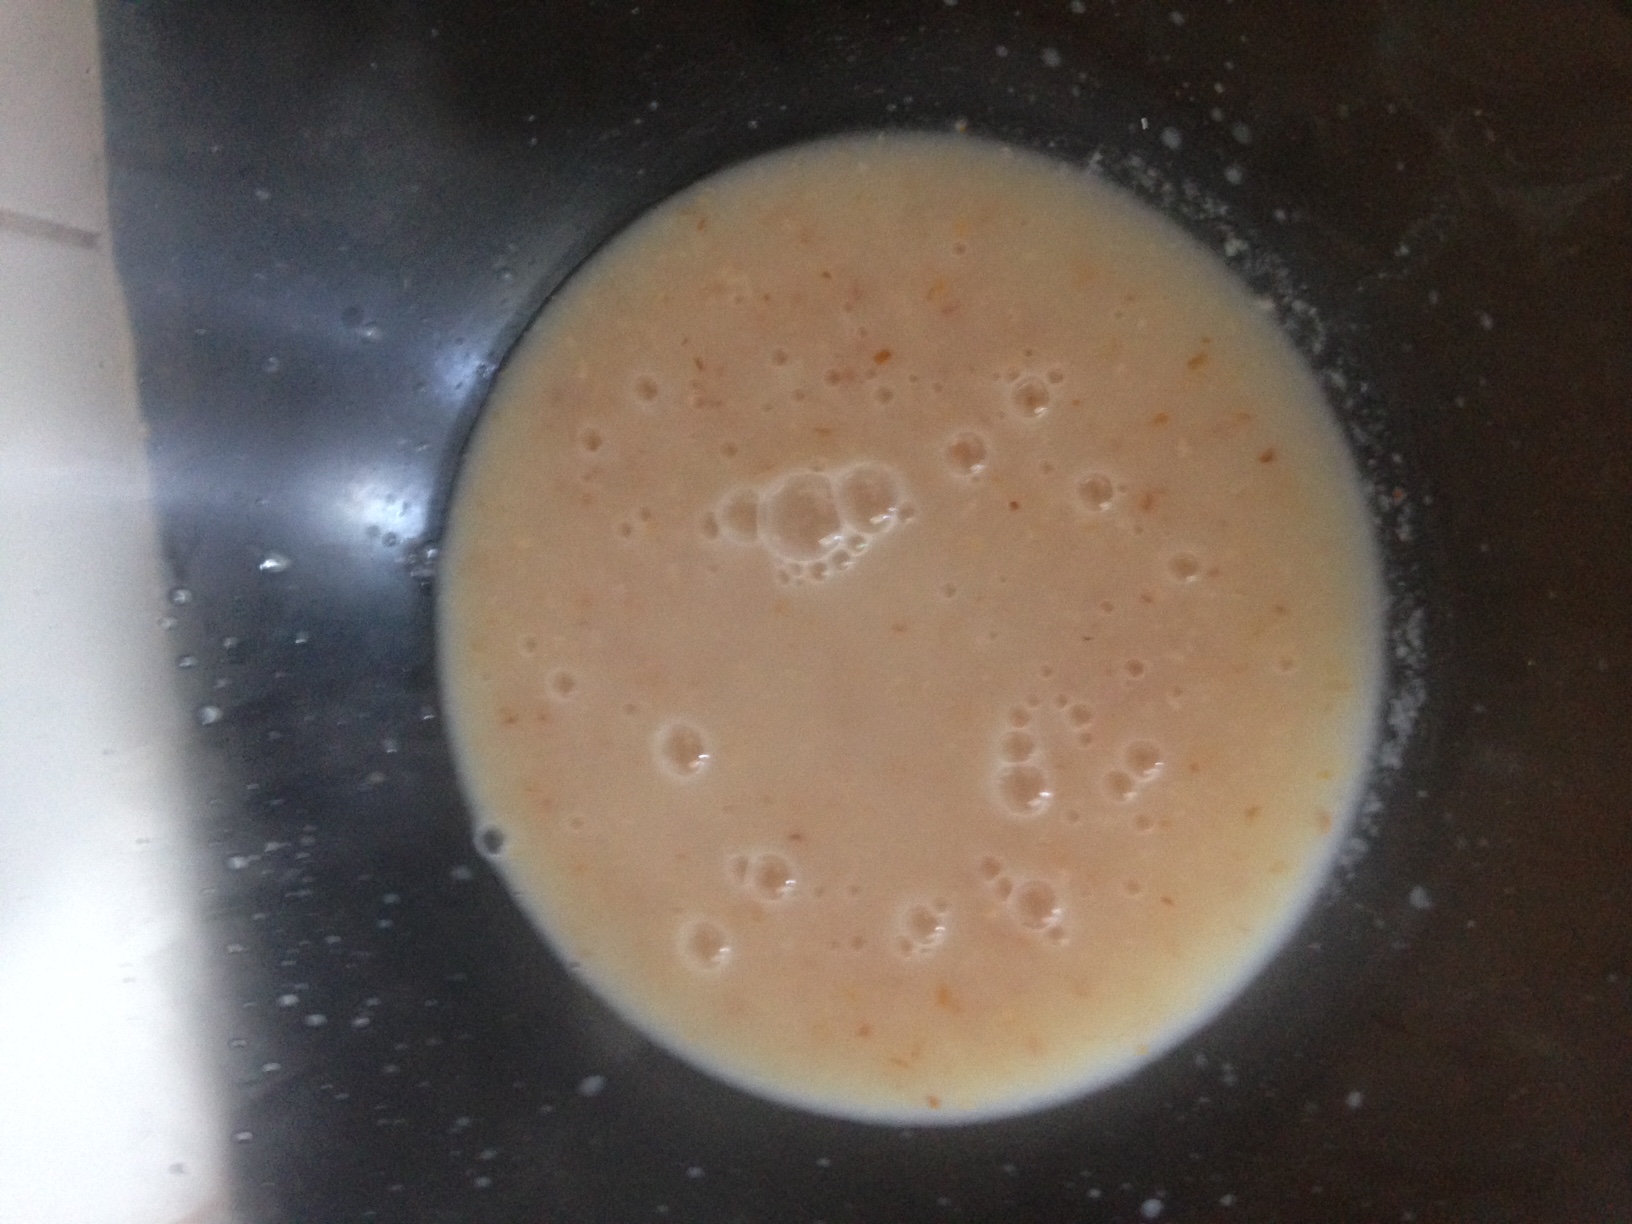
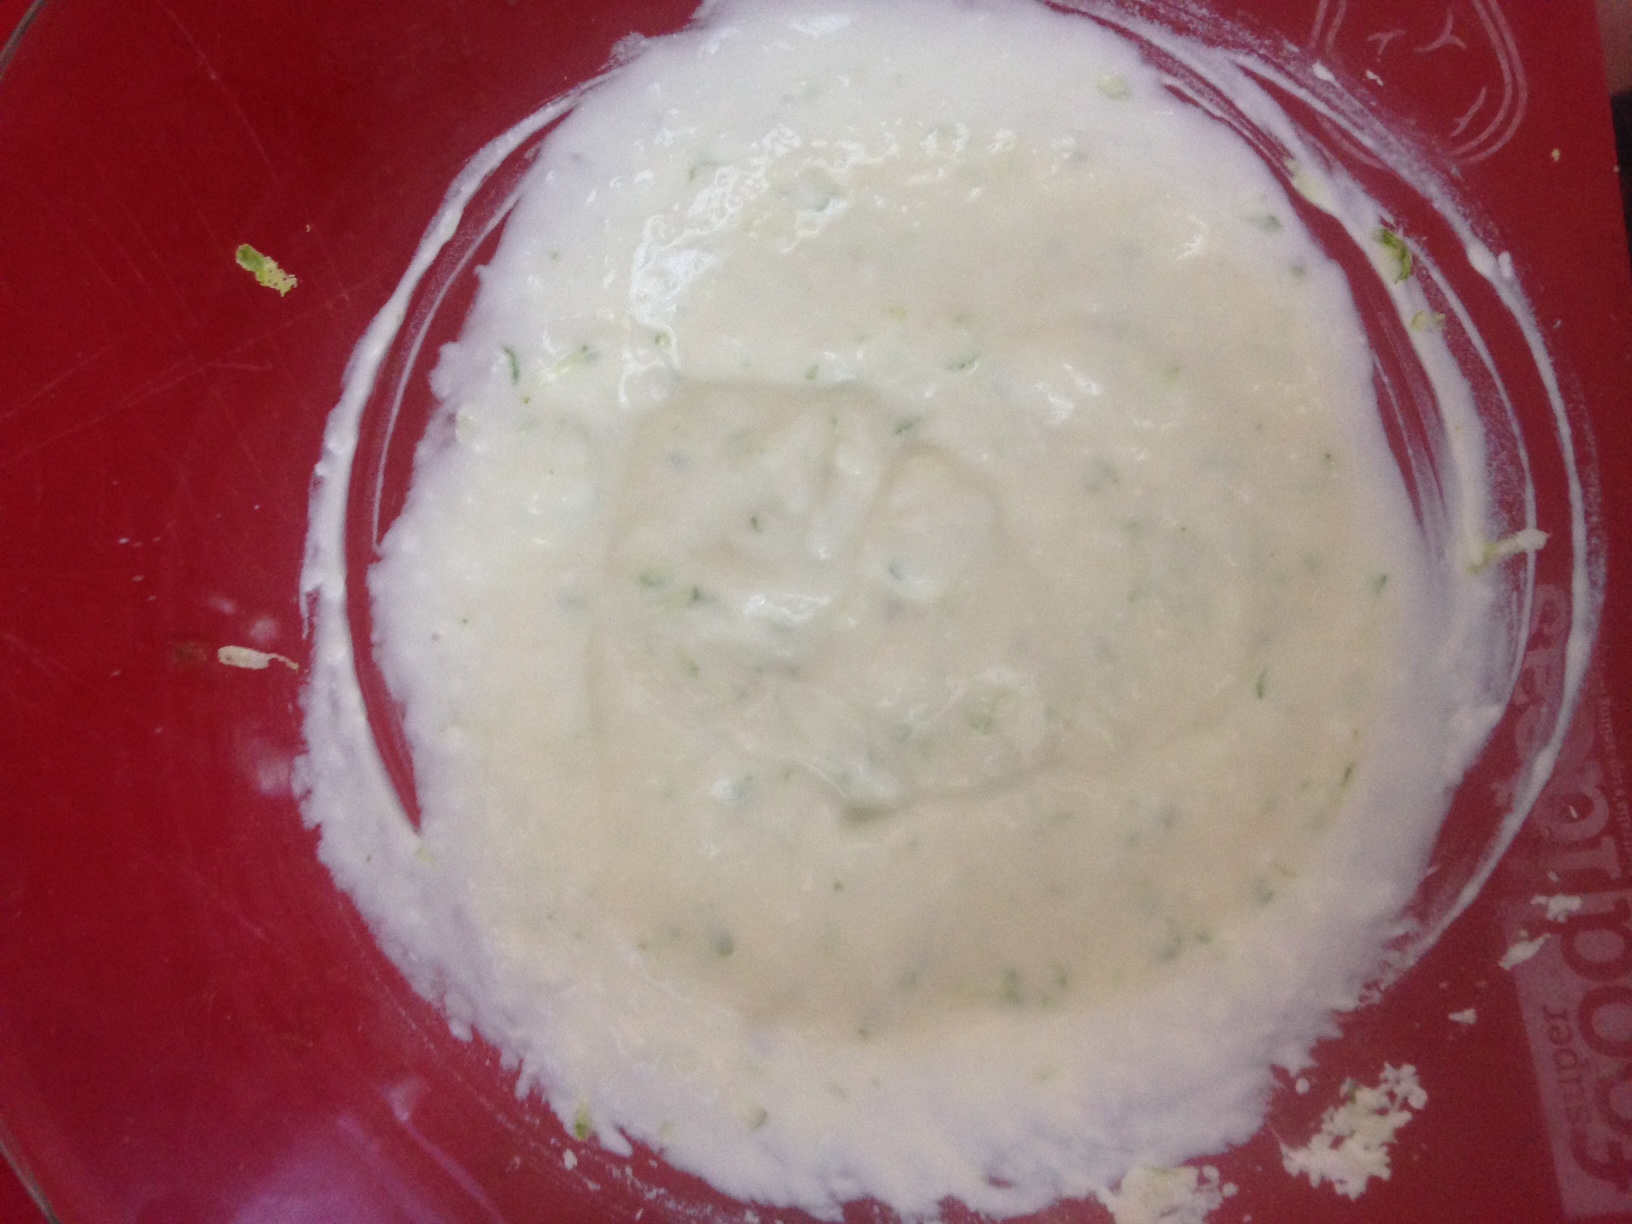
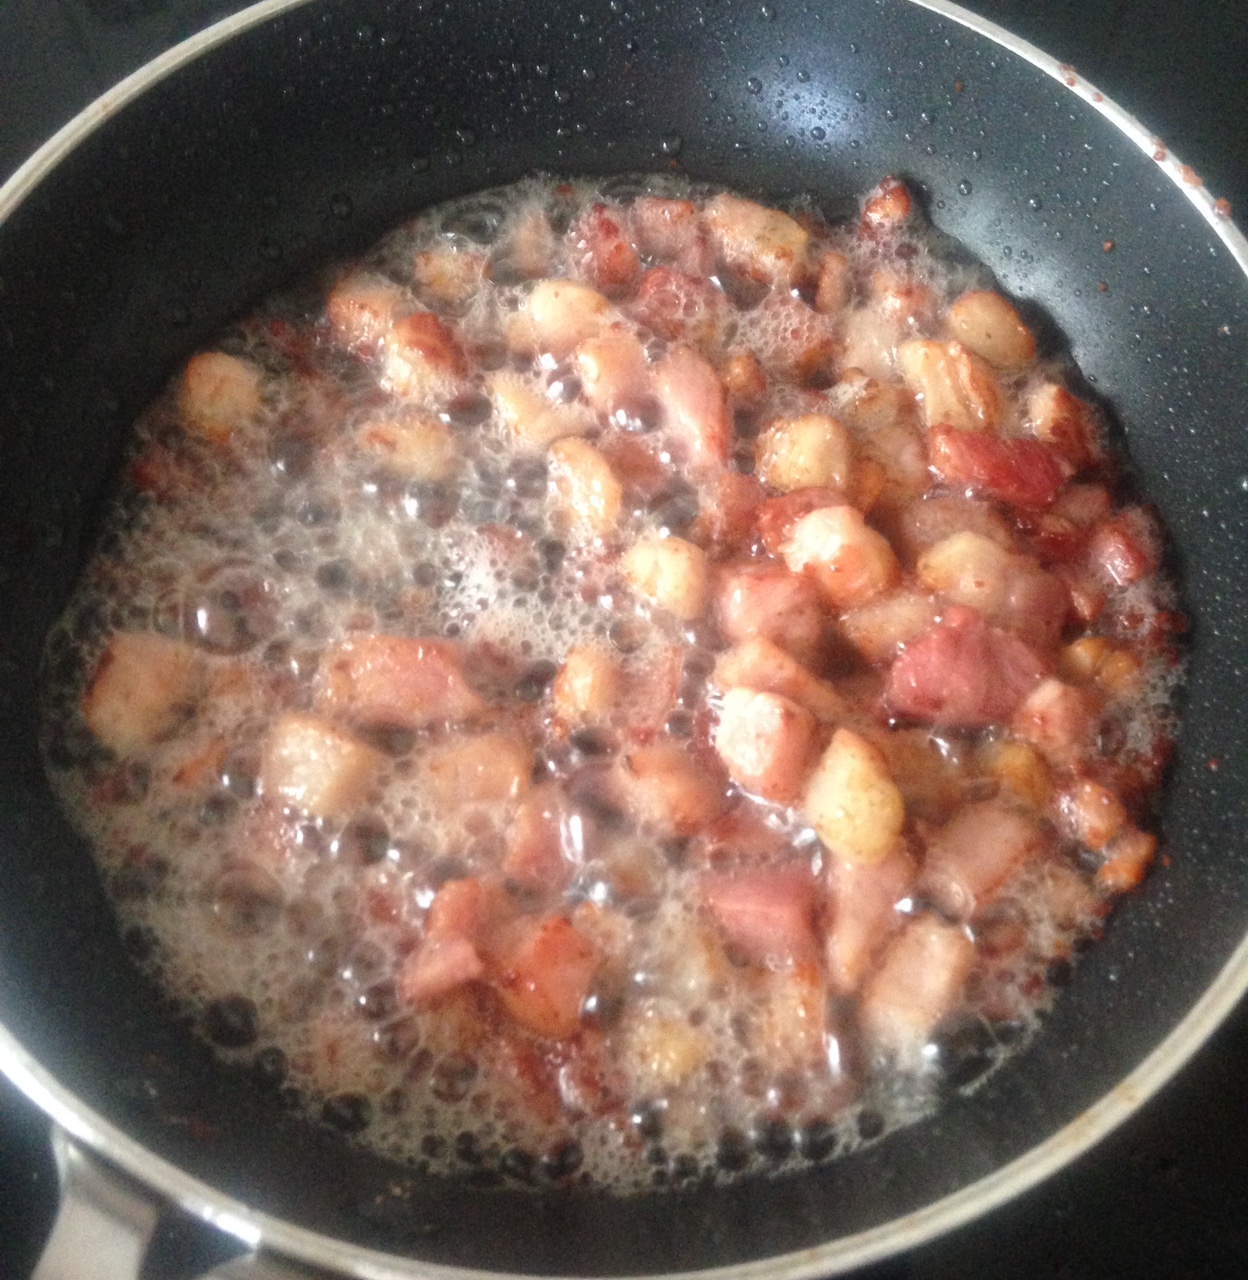
- Simmer on low the orange zest, vanilla, poppy seeds, sugar, juice and milk in a saucepan on the stove until well combine and the sugar and butter are melted. Remove off heat.
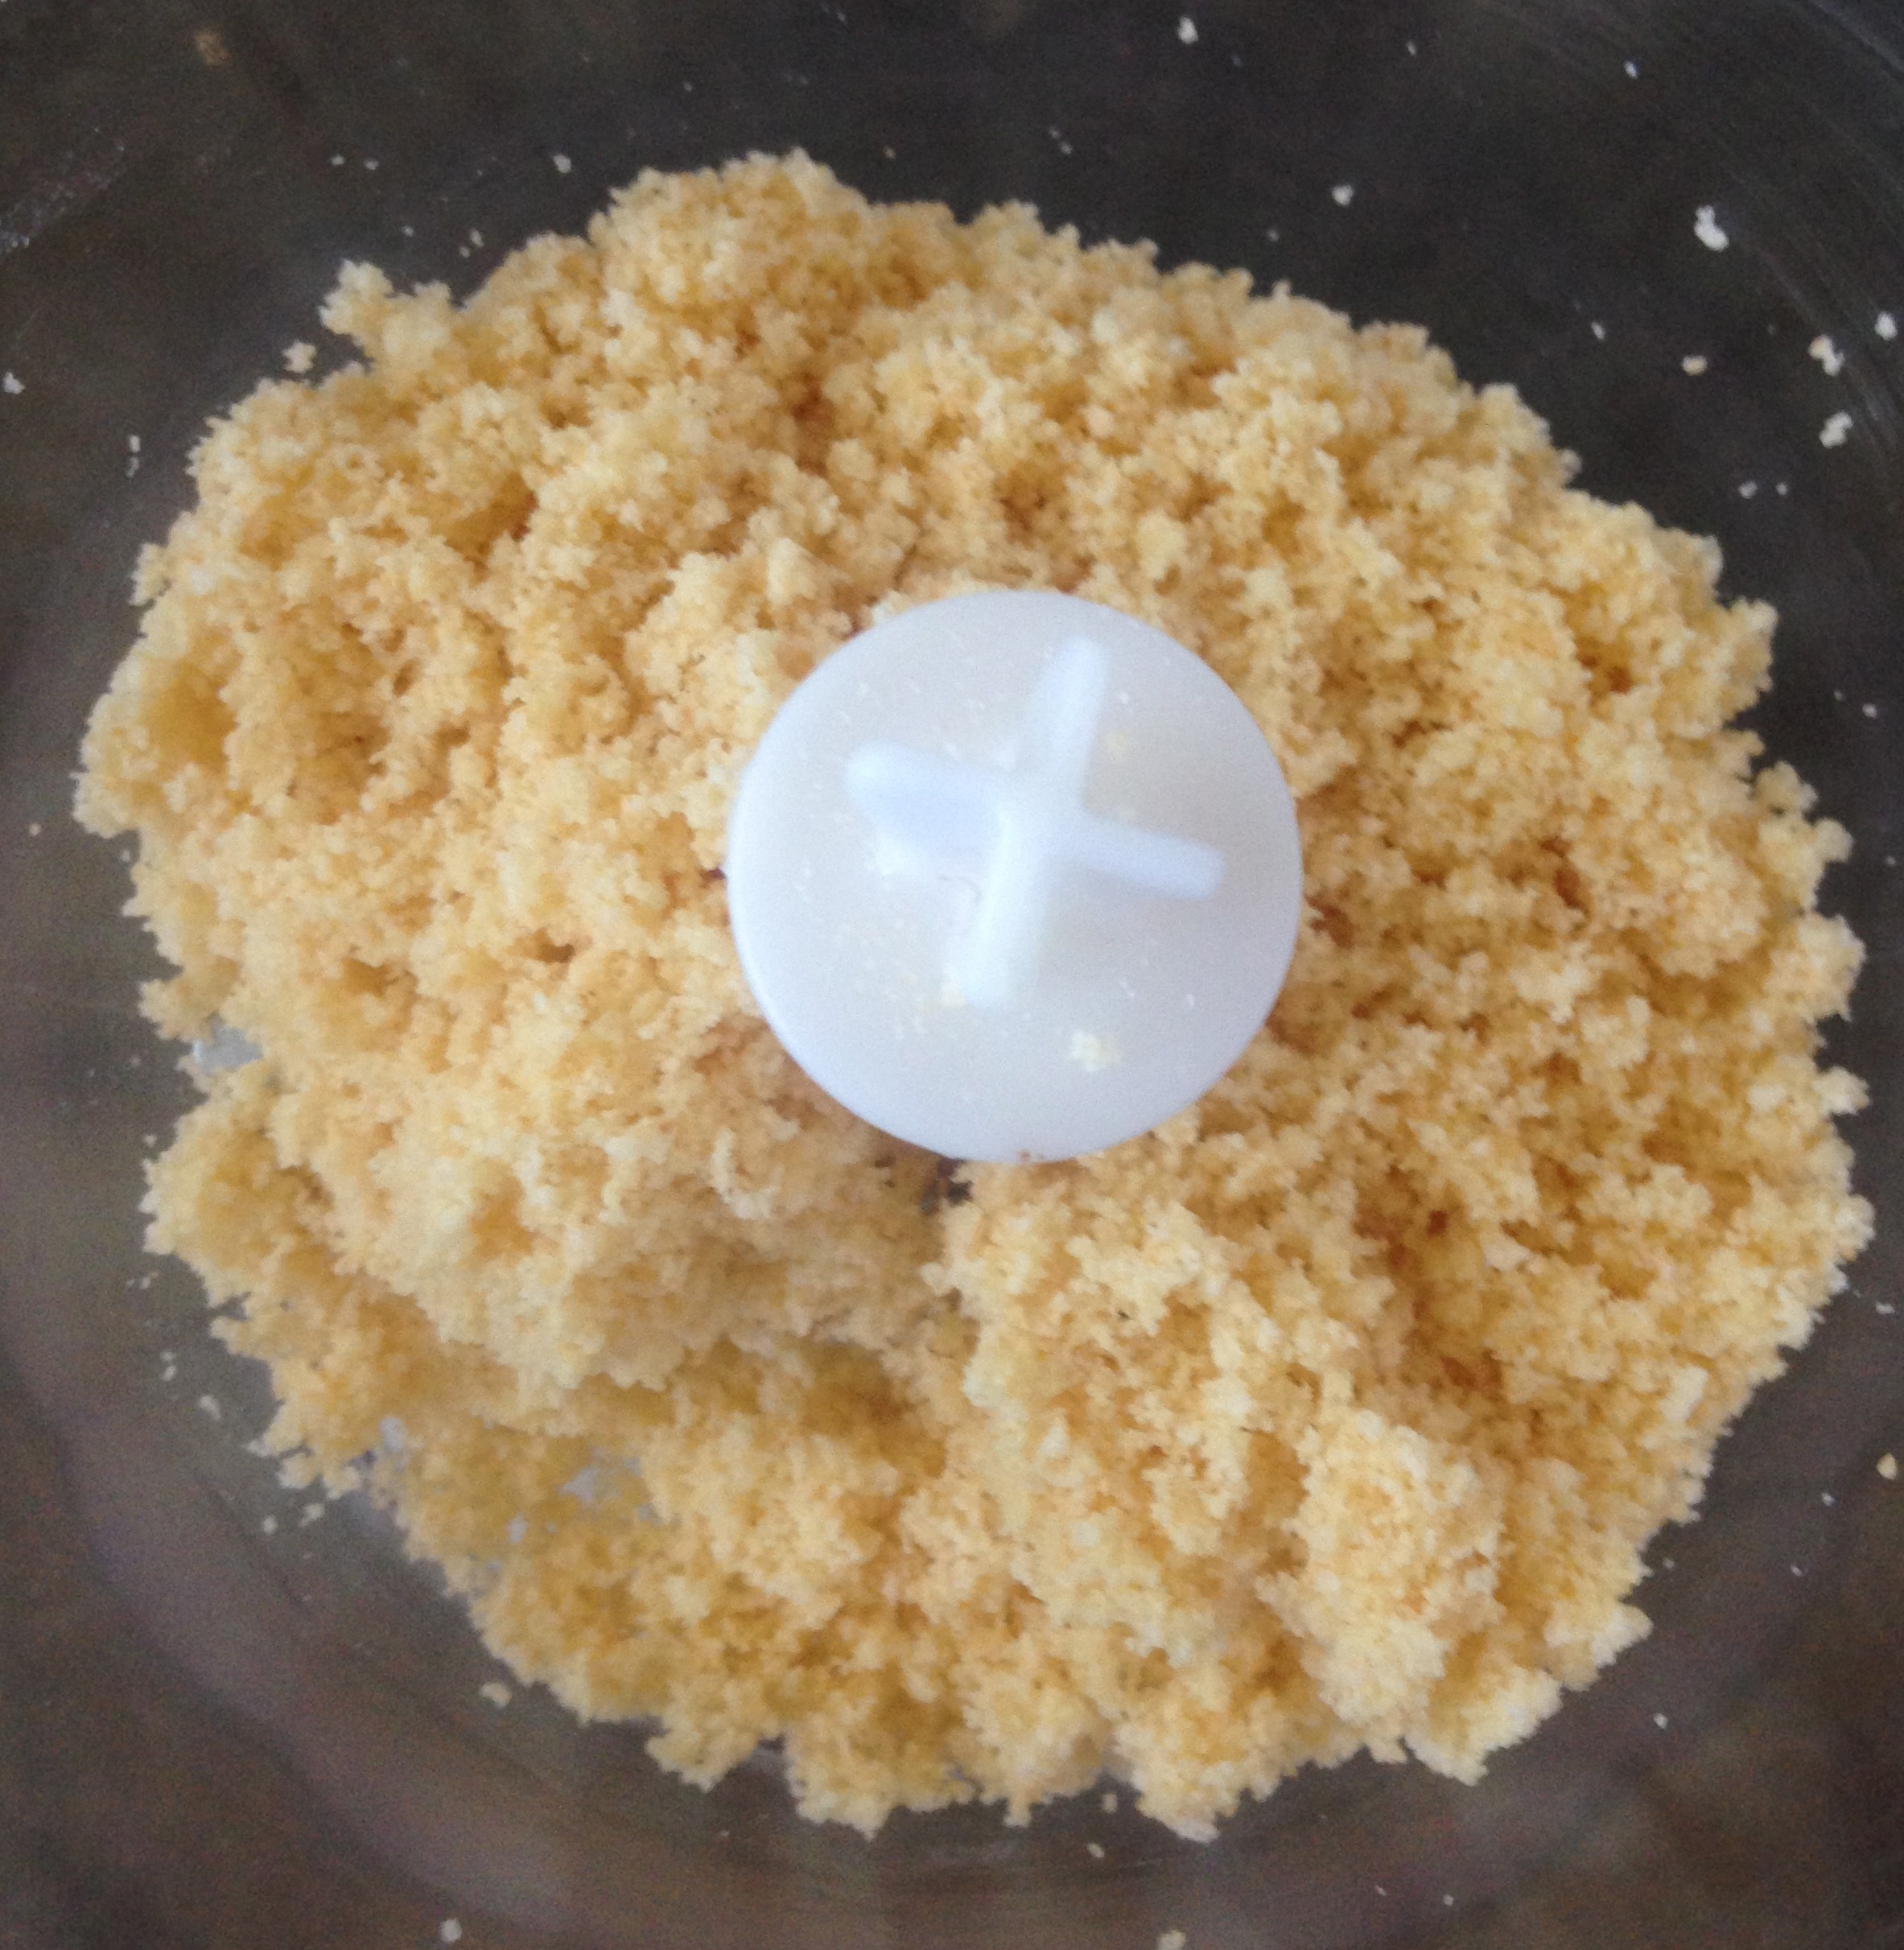
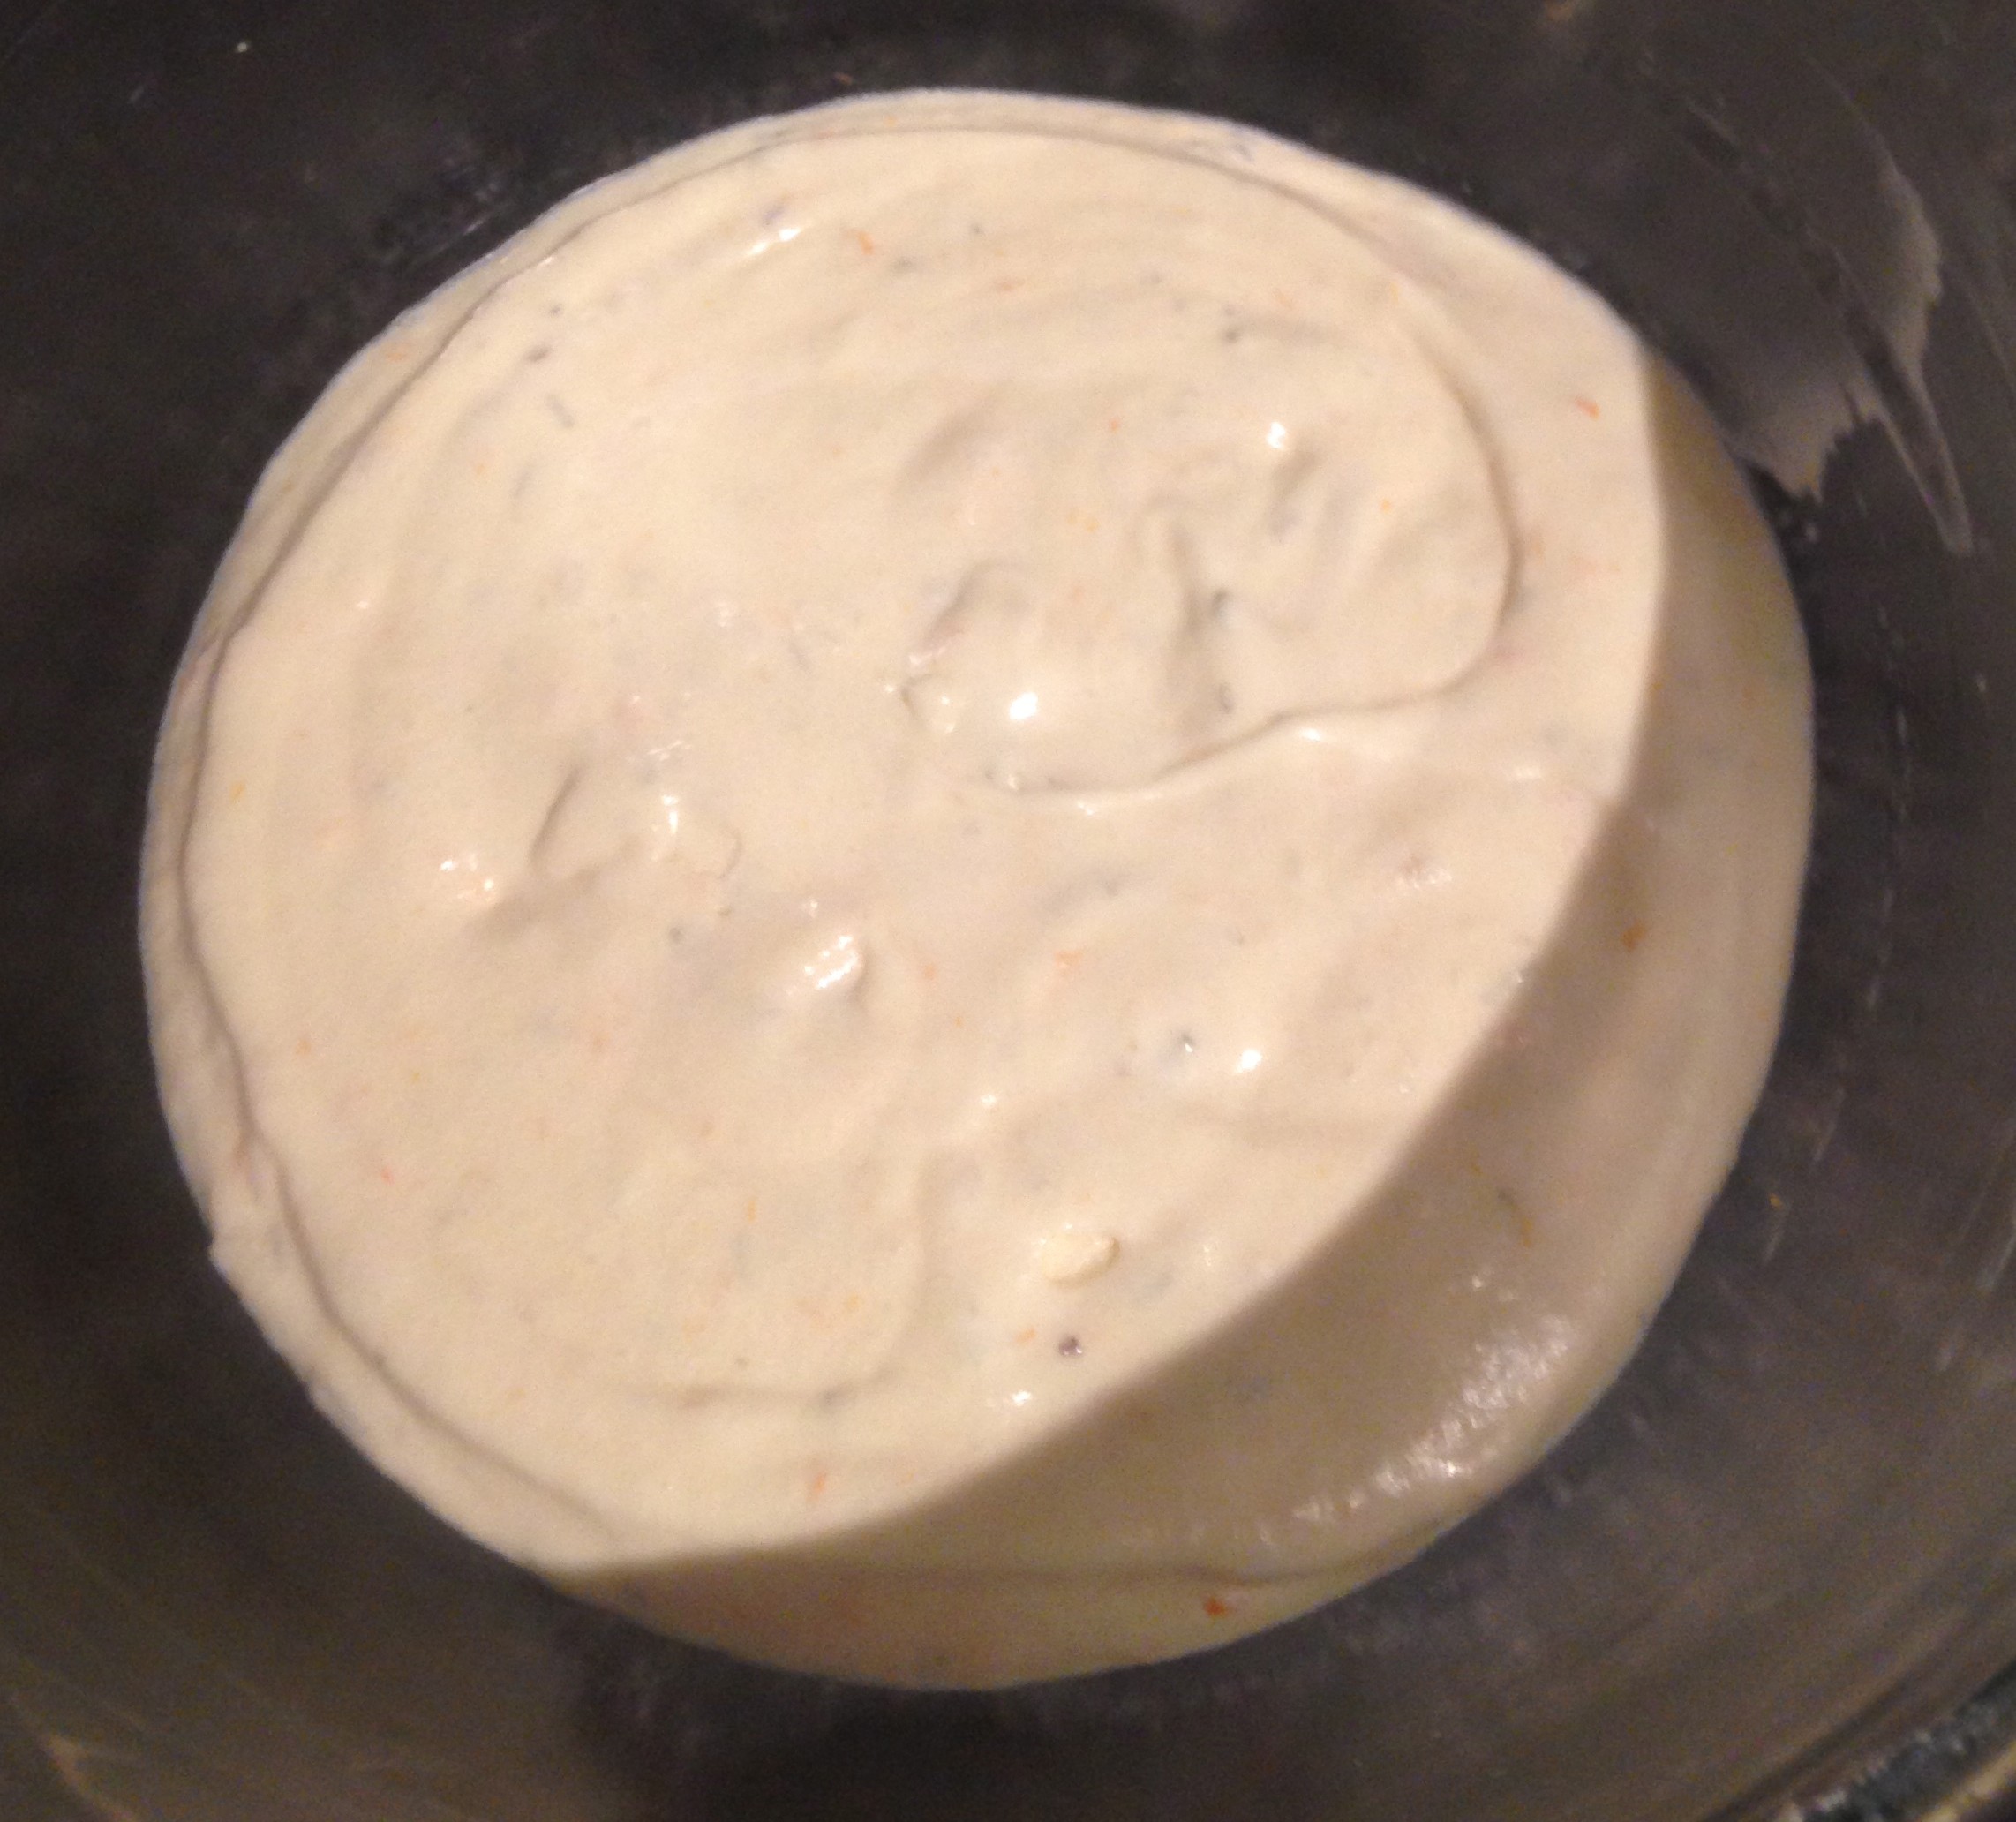
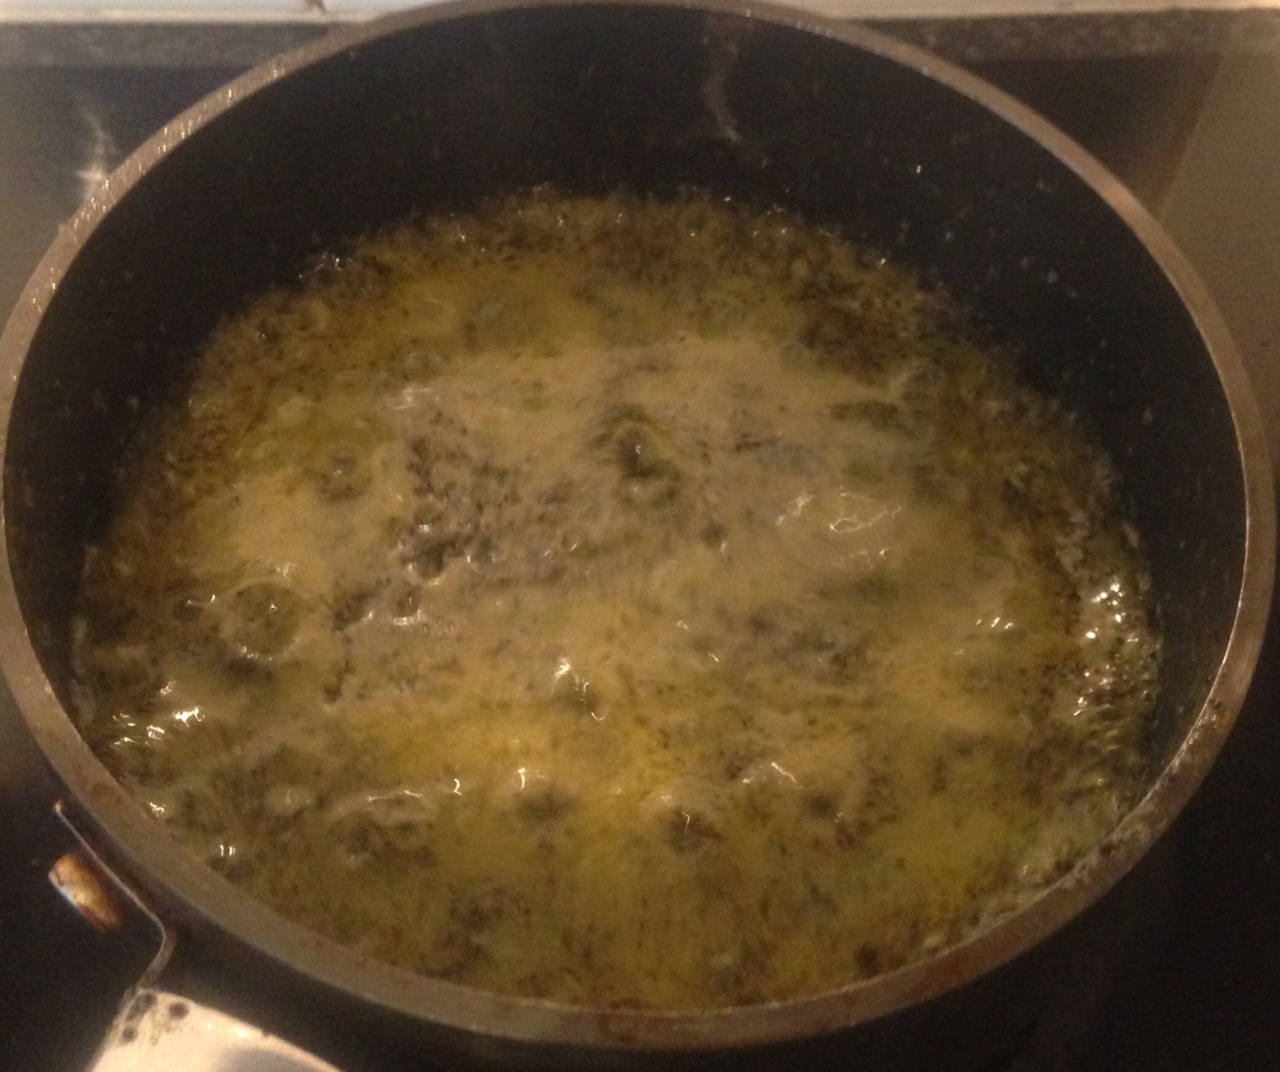
- Place the rice in a saucepan on medium heat and stir the dry rice.
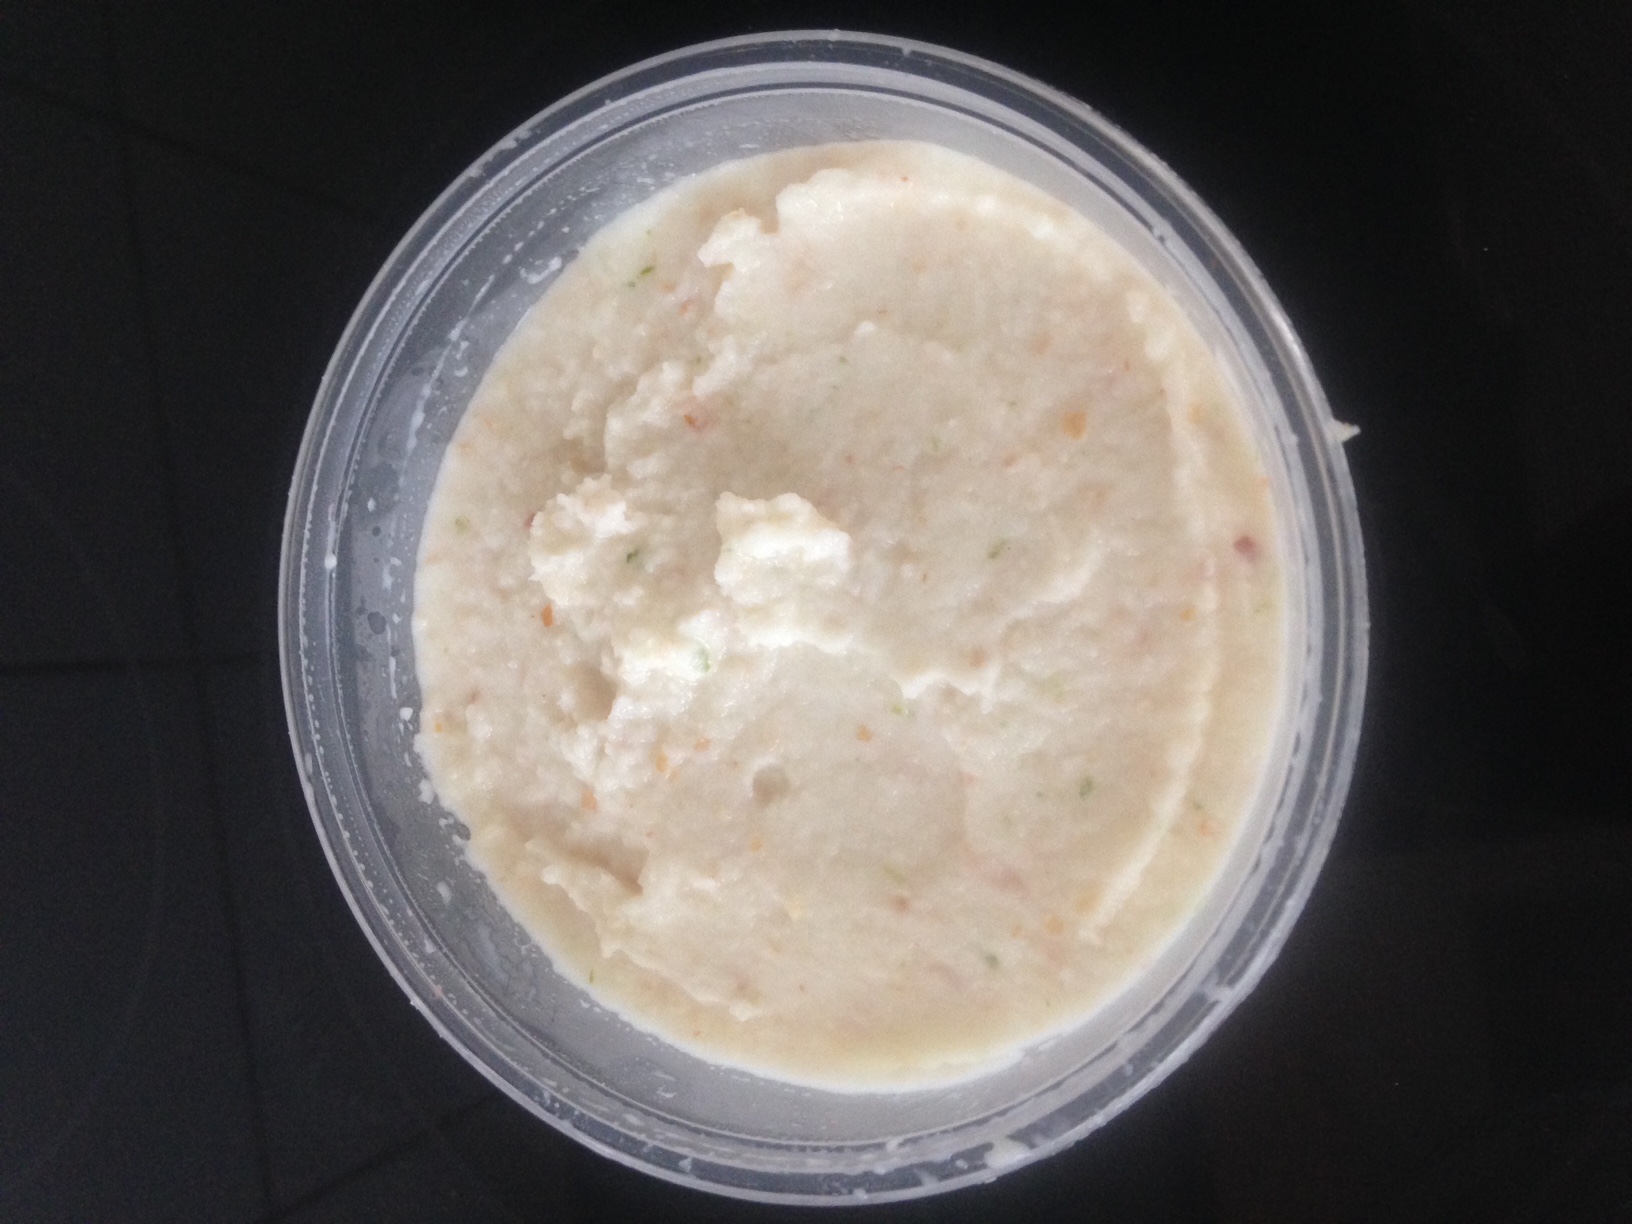
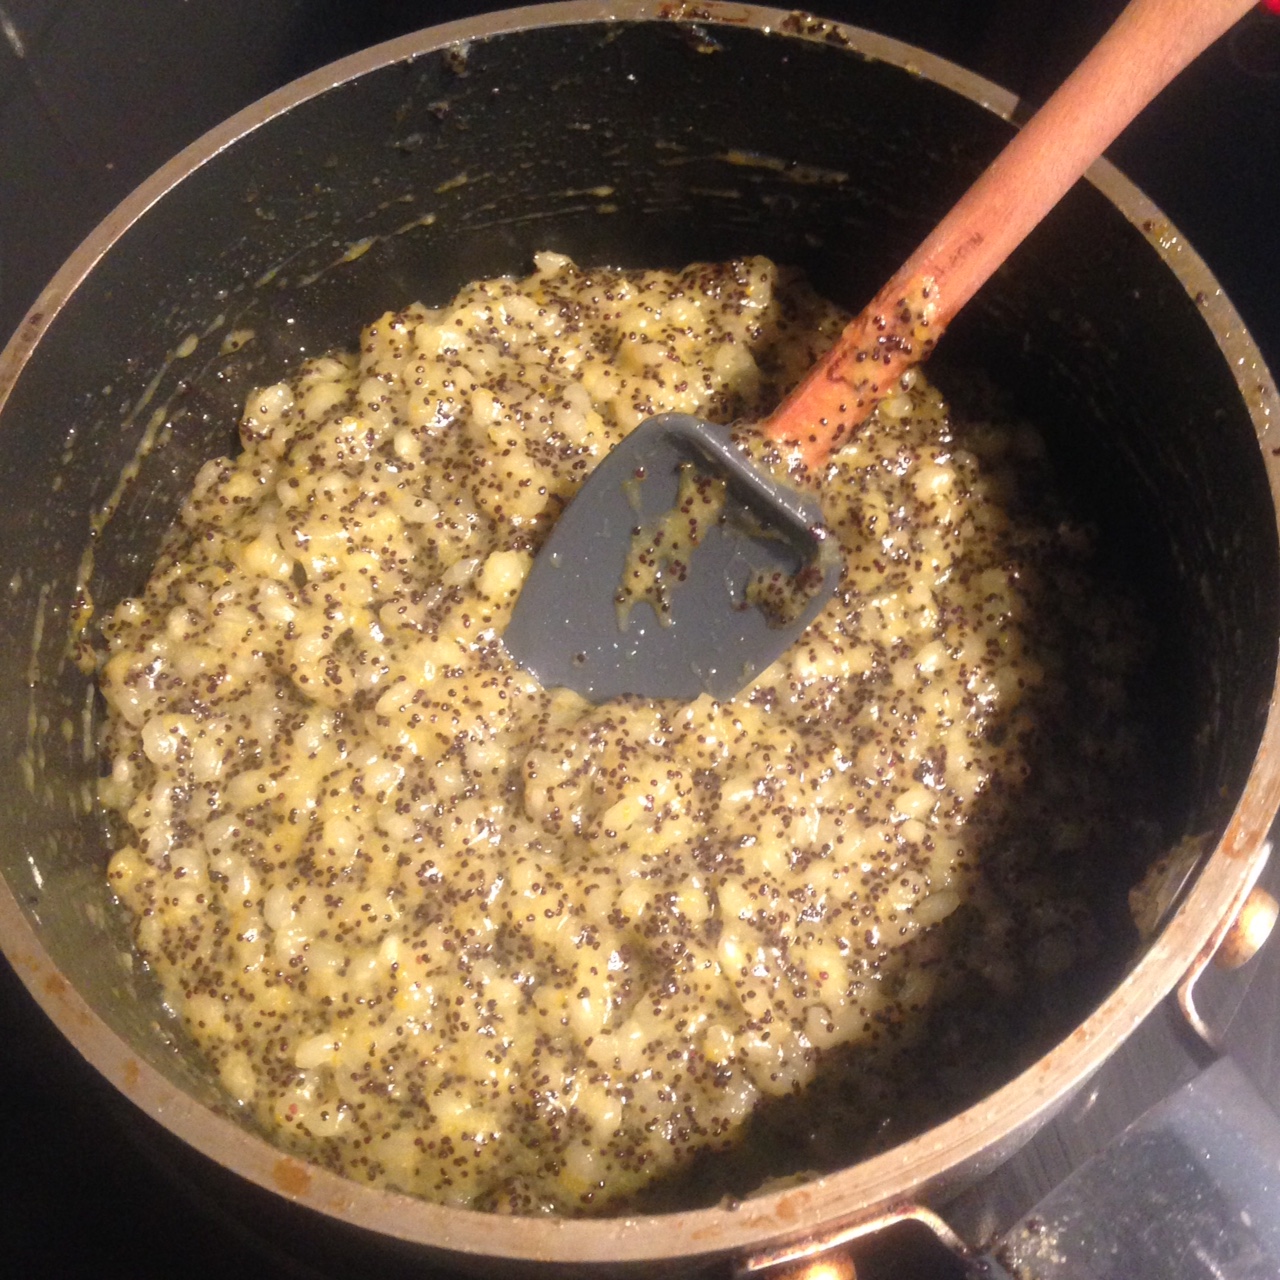
- Now add in 1/2 cup of the milk mix until the liquid is absorbed. Then add in another 1/2 cup. Repeat until the liquid is full absorbed. This will take around 30 minutes in total.
- Remove the rice mix off the heat and place a lid on the top, leave for 10 minutes.
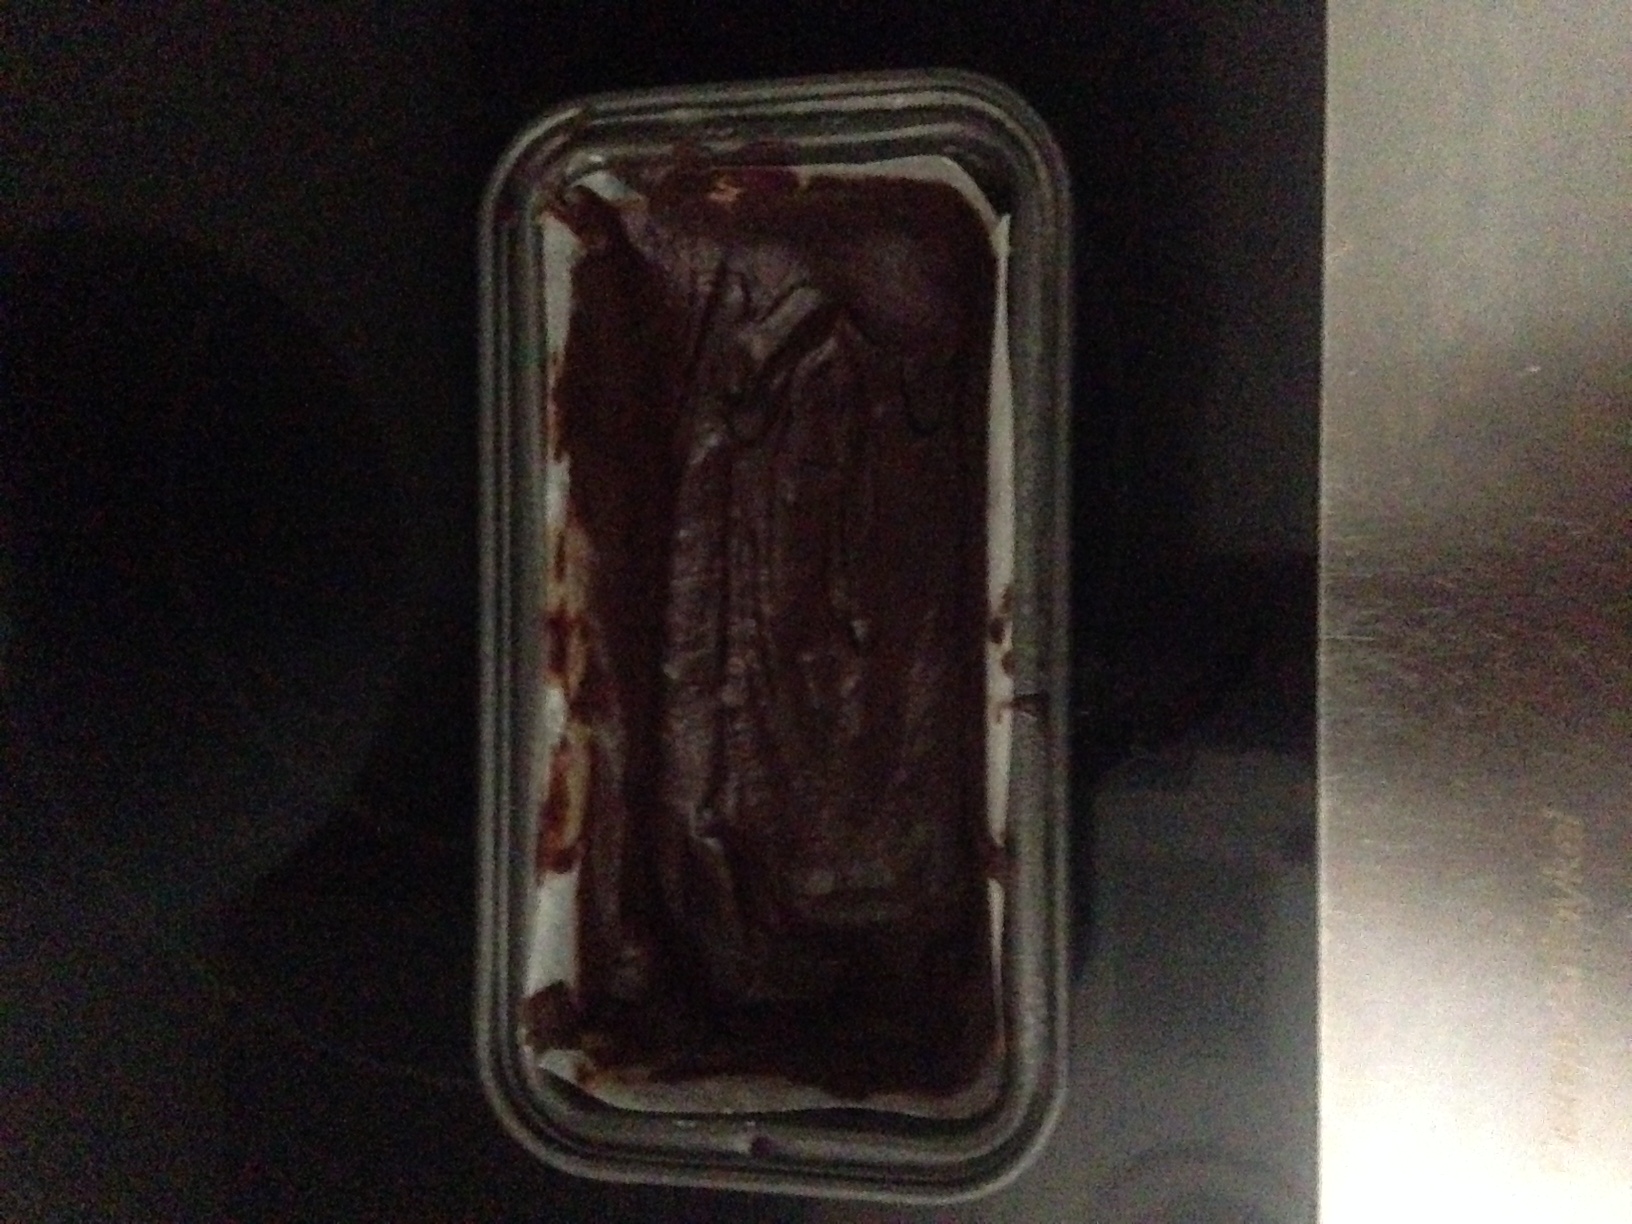
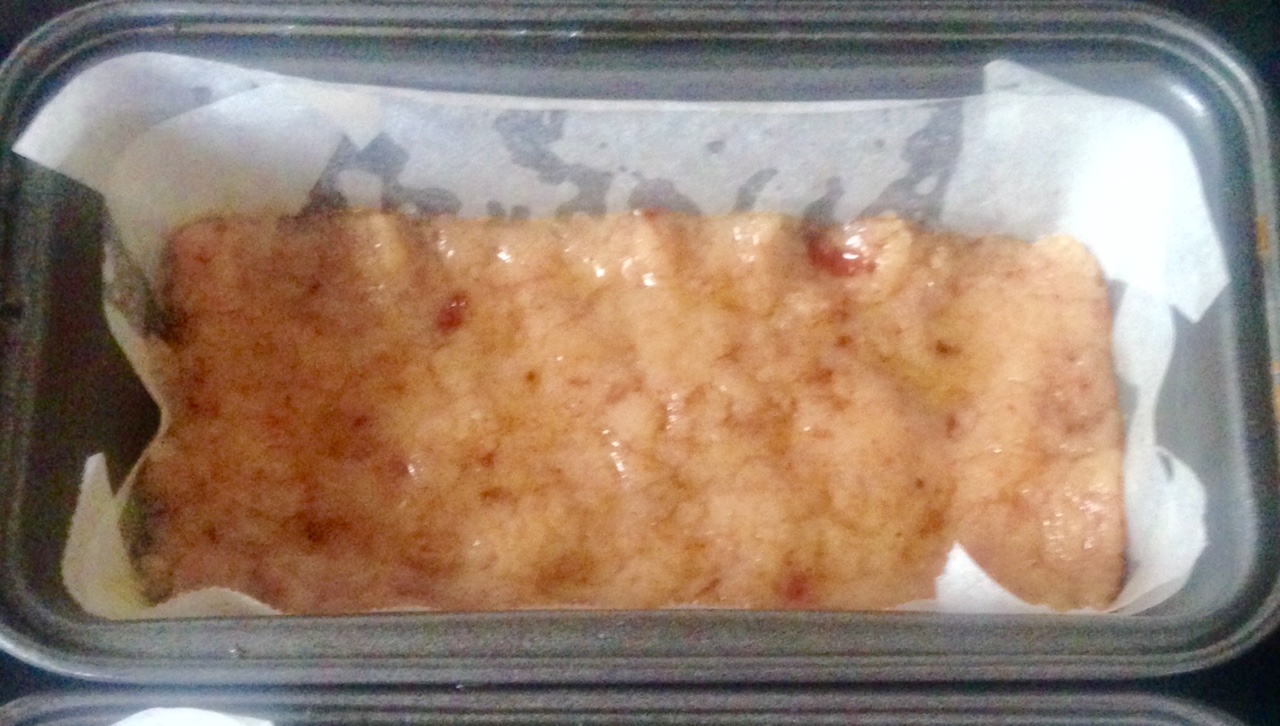
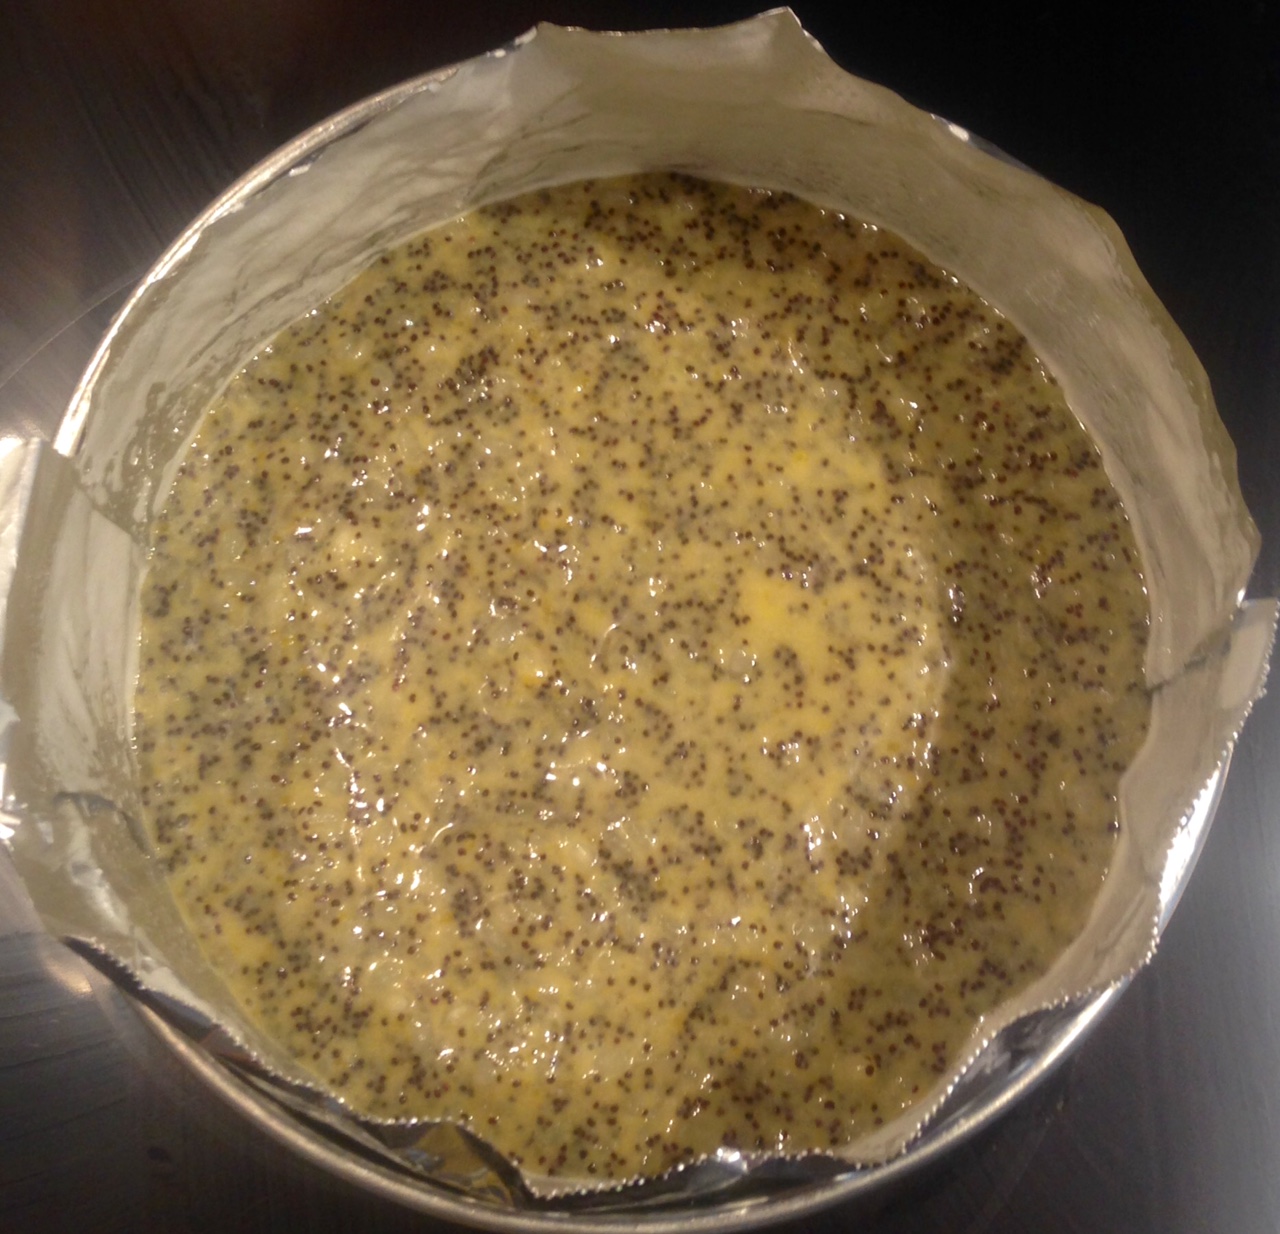
- Preheat the oven to 180c degrees and line a 23cm spring form cake tin with baking paper.
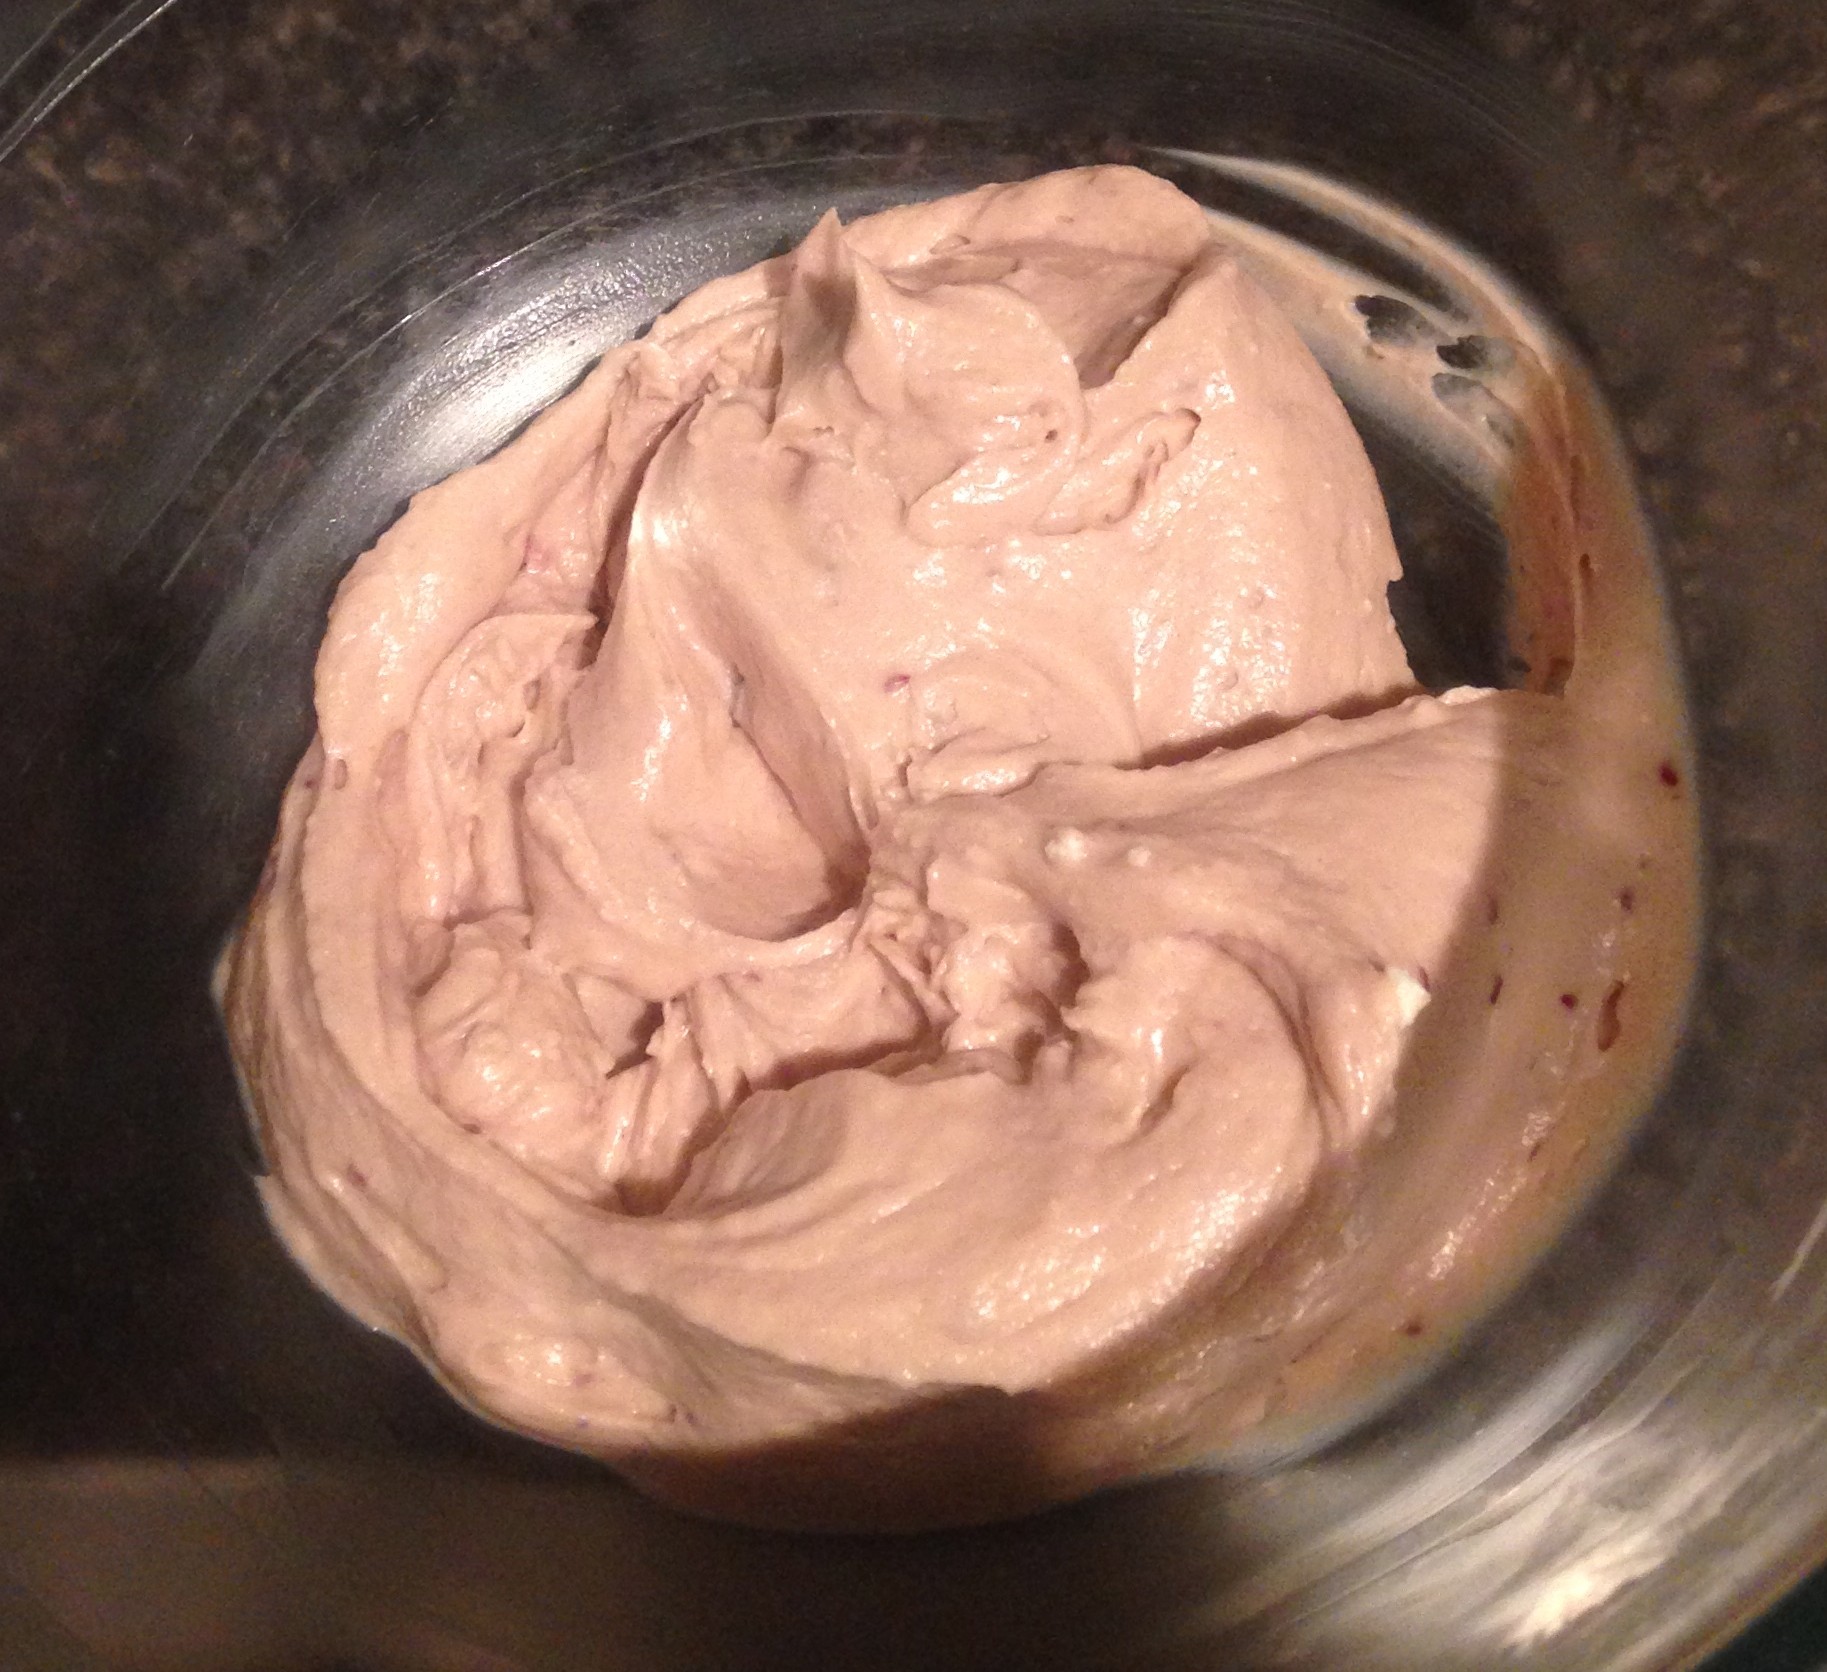
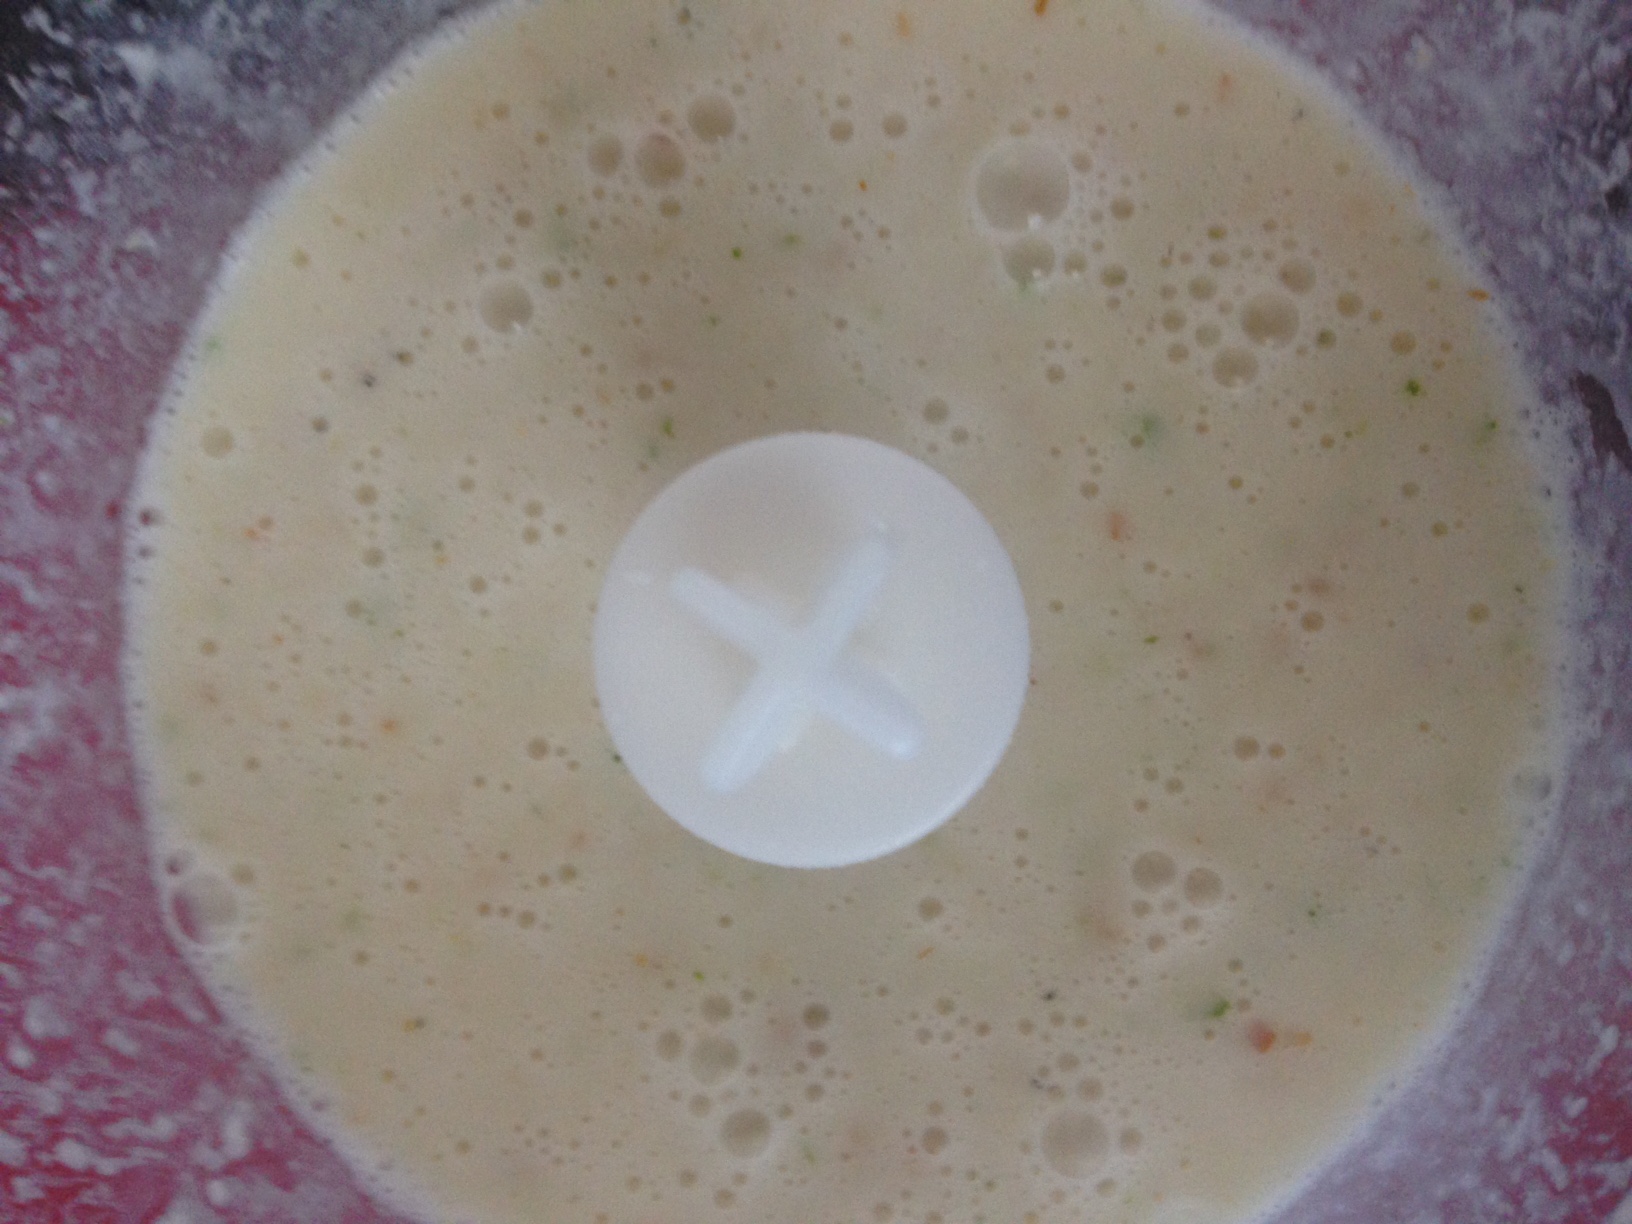
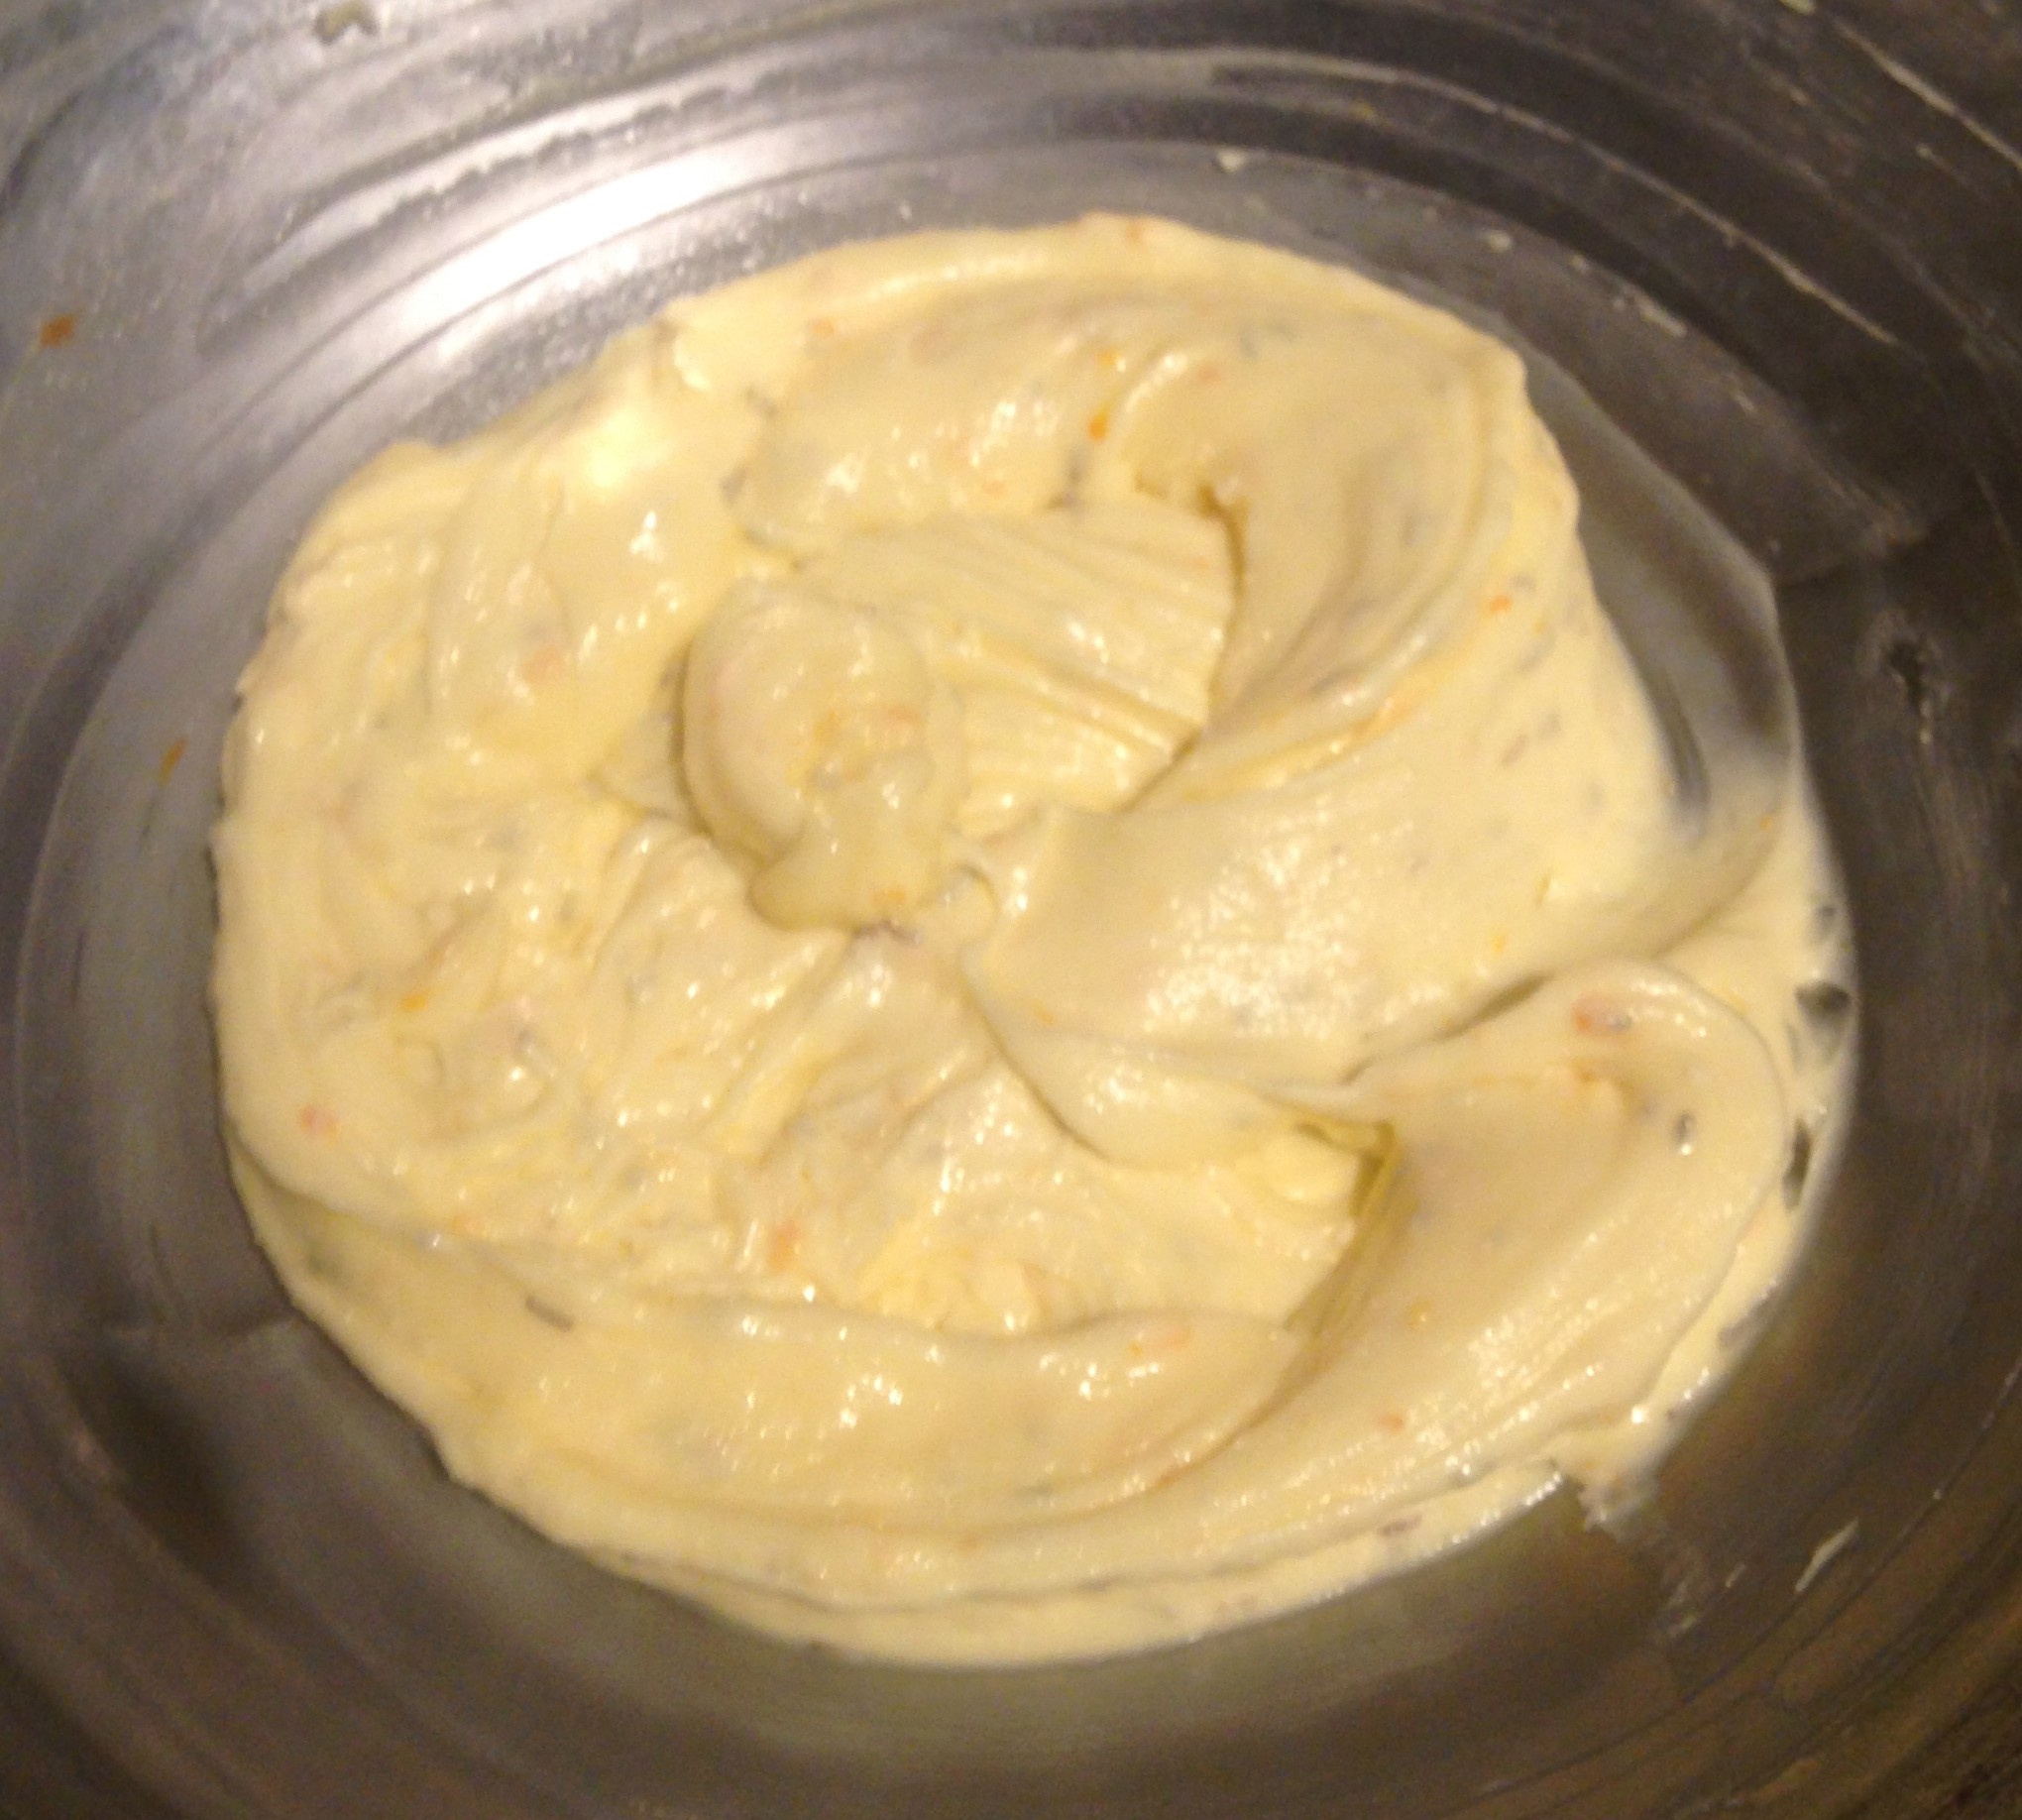
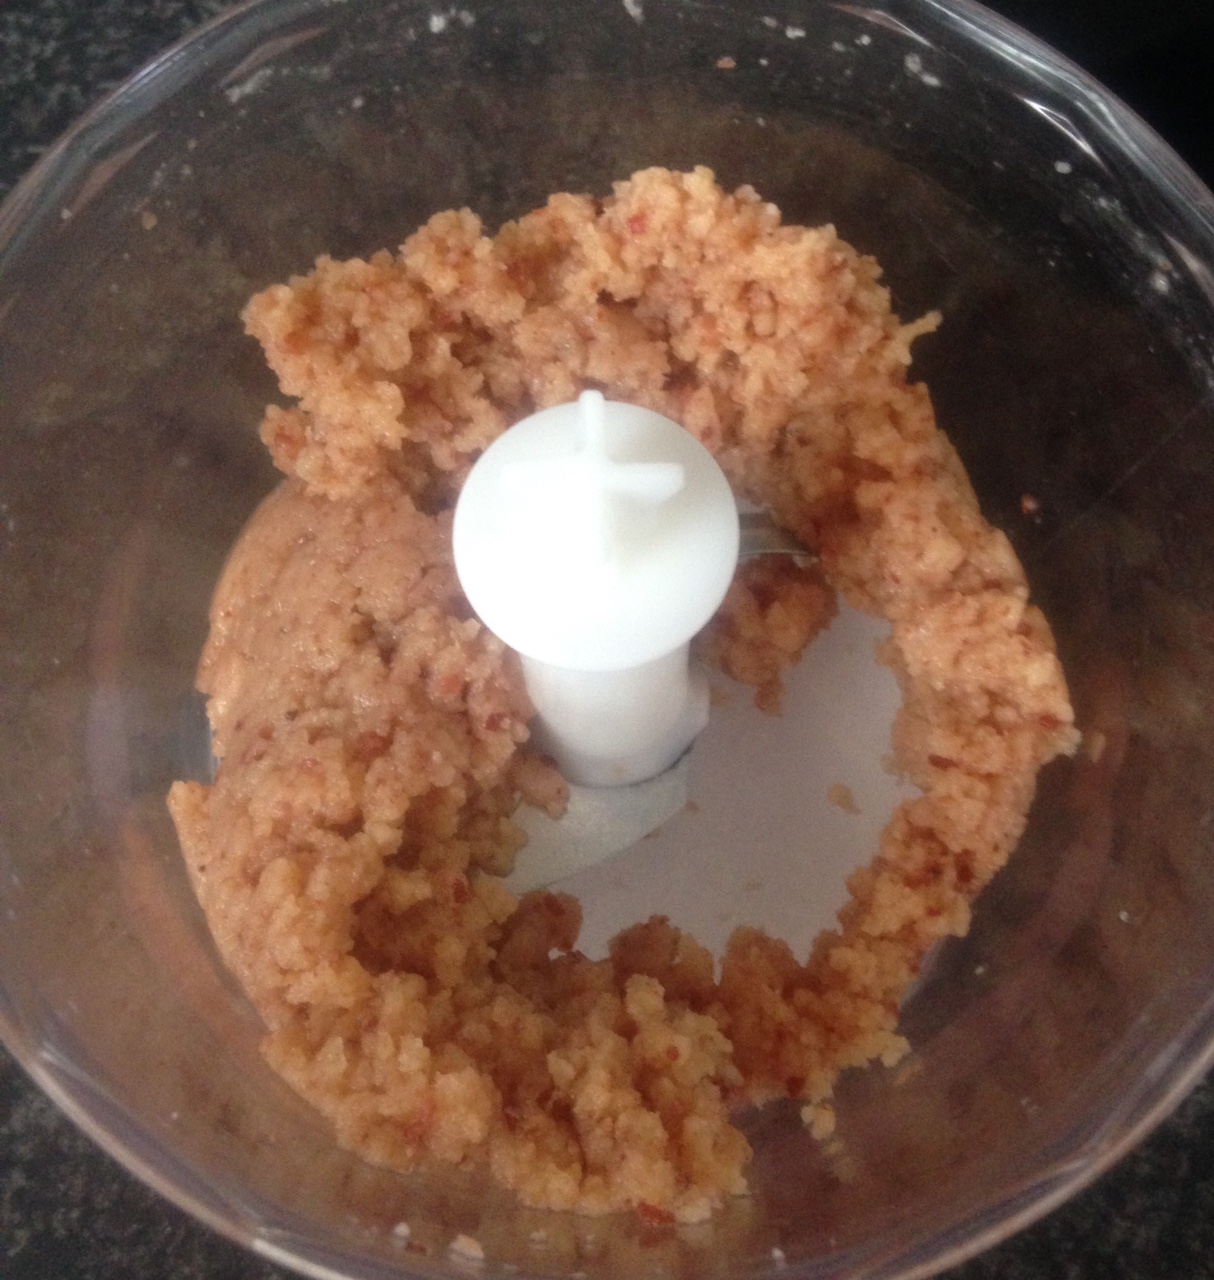
- Once the rice mix has cooled add in the eggs and flour, beat until will combine with a wooden spoon.
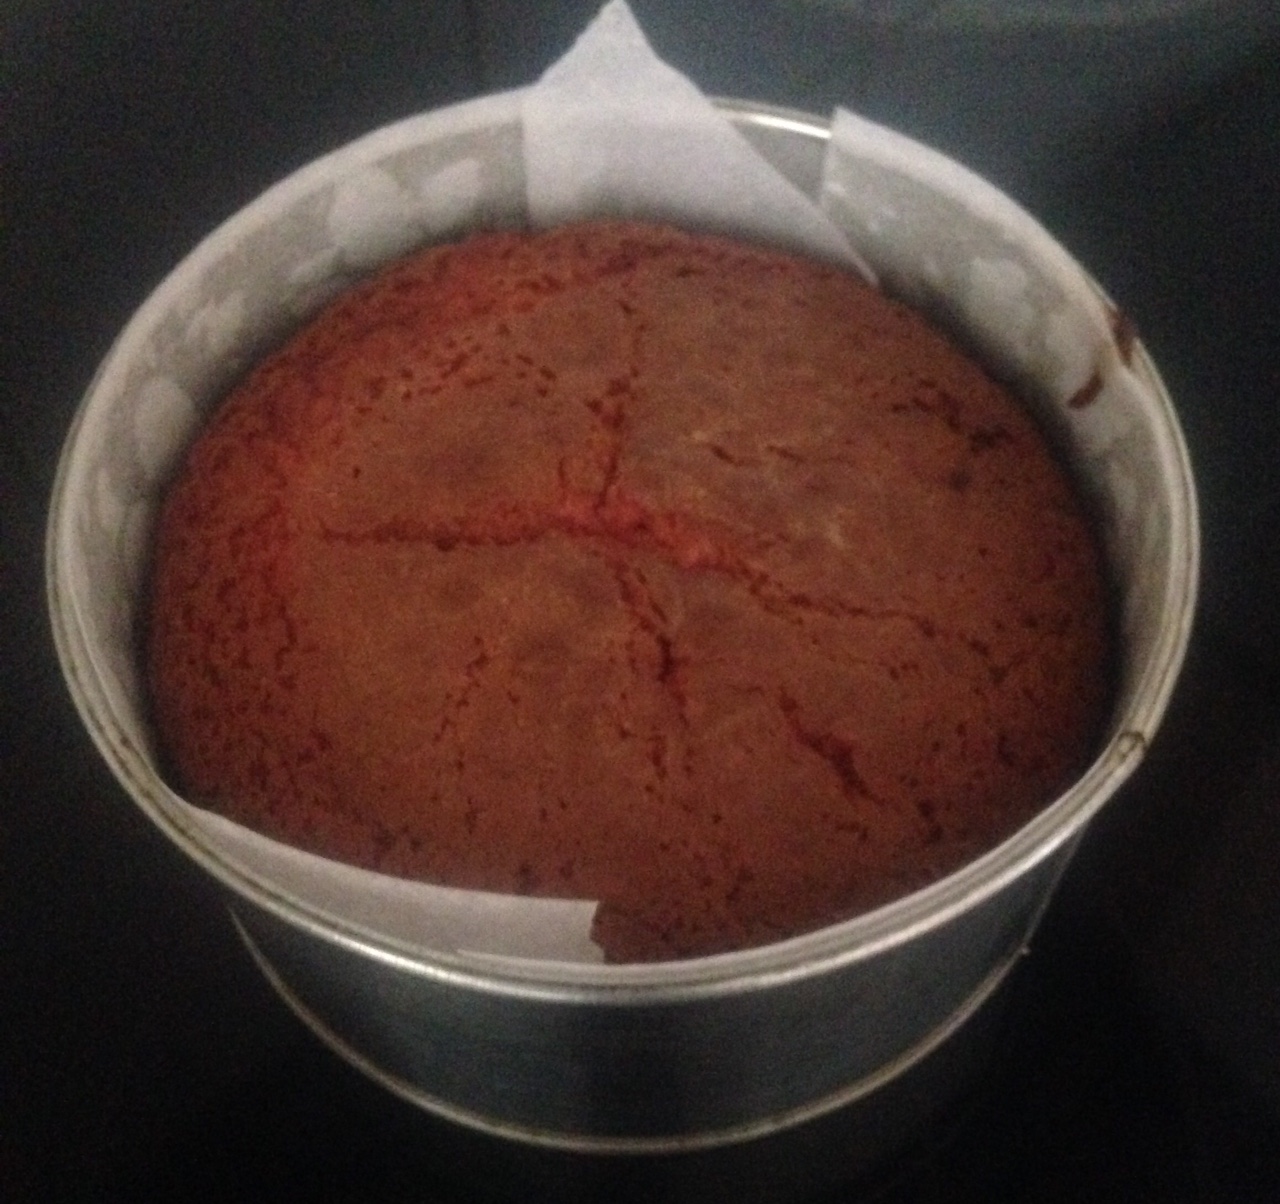
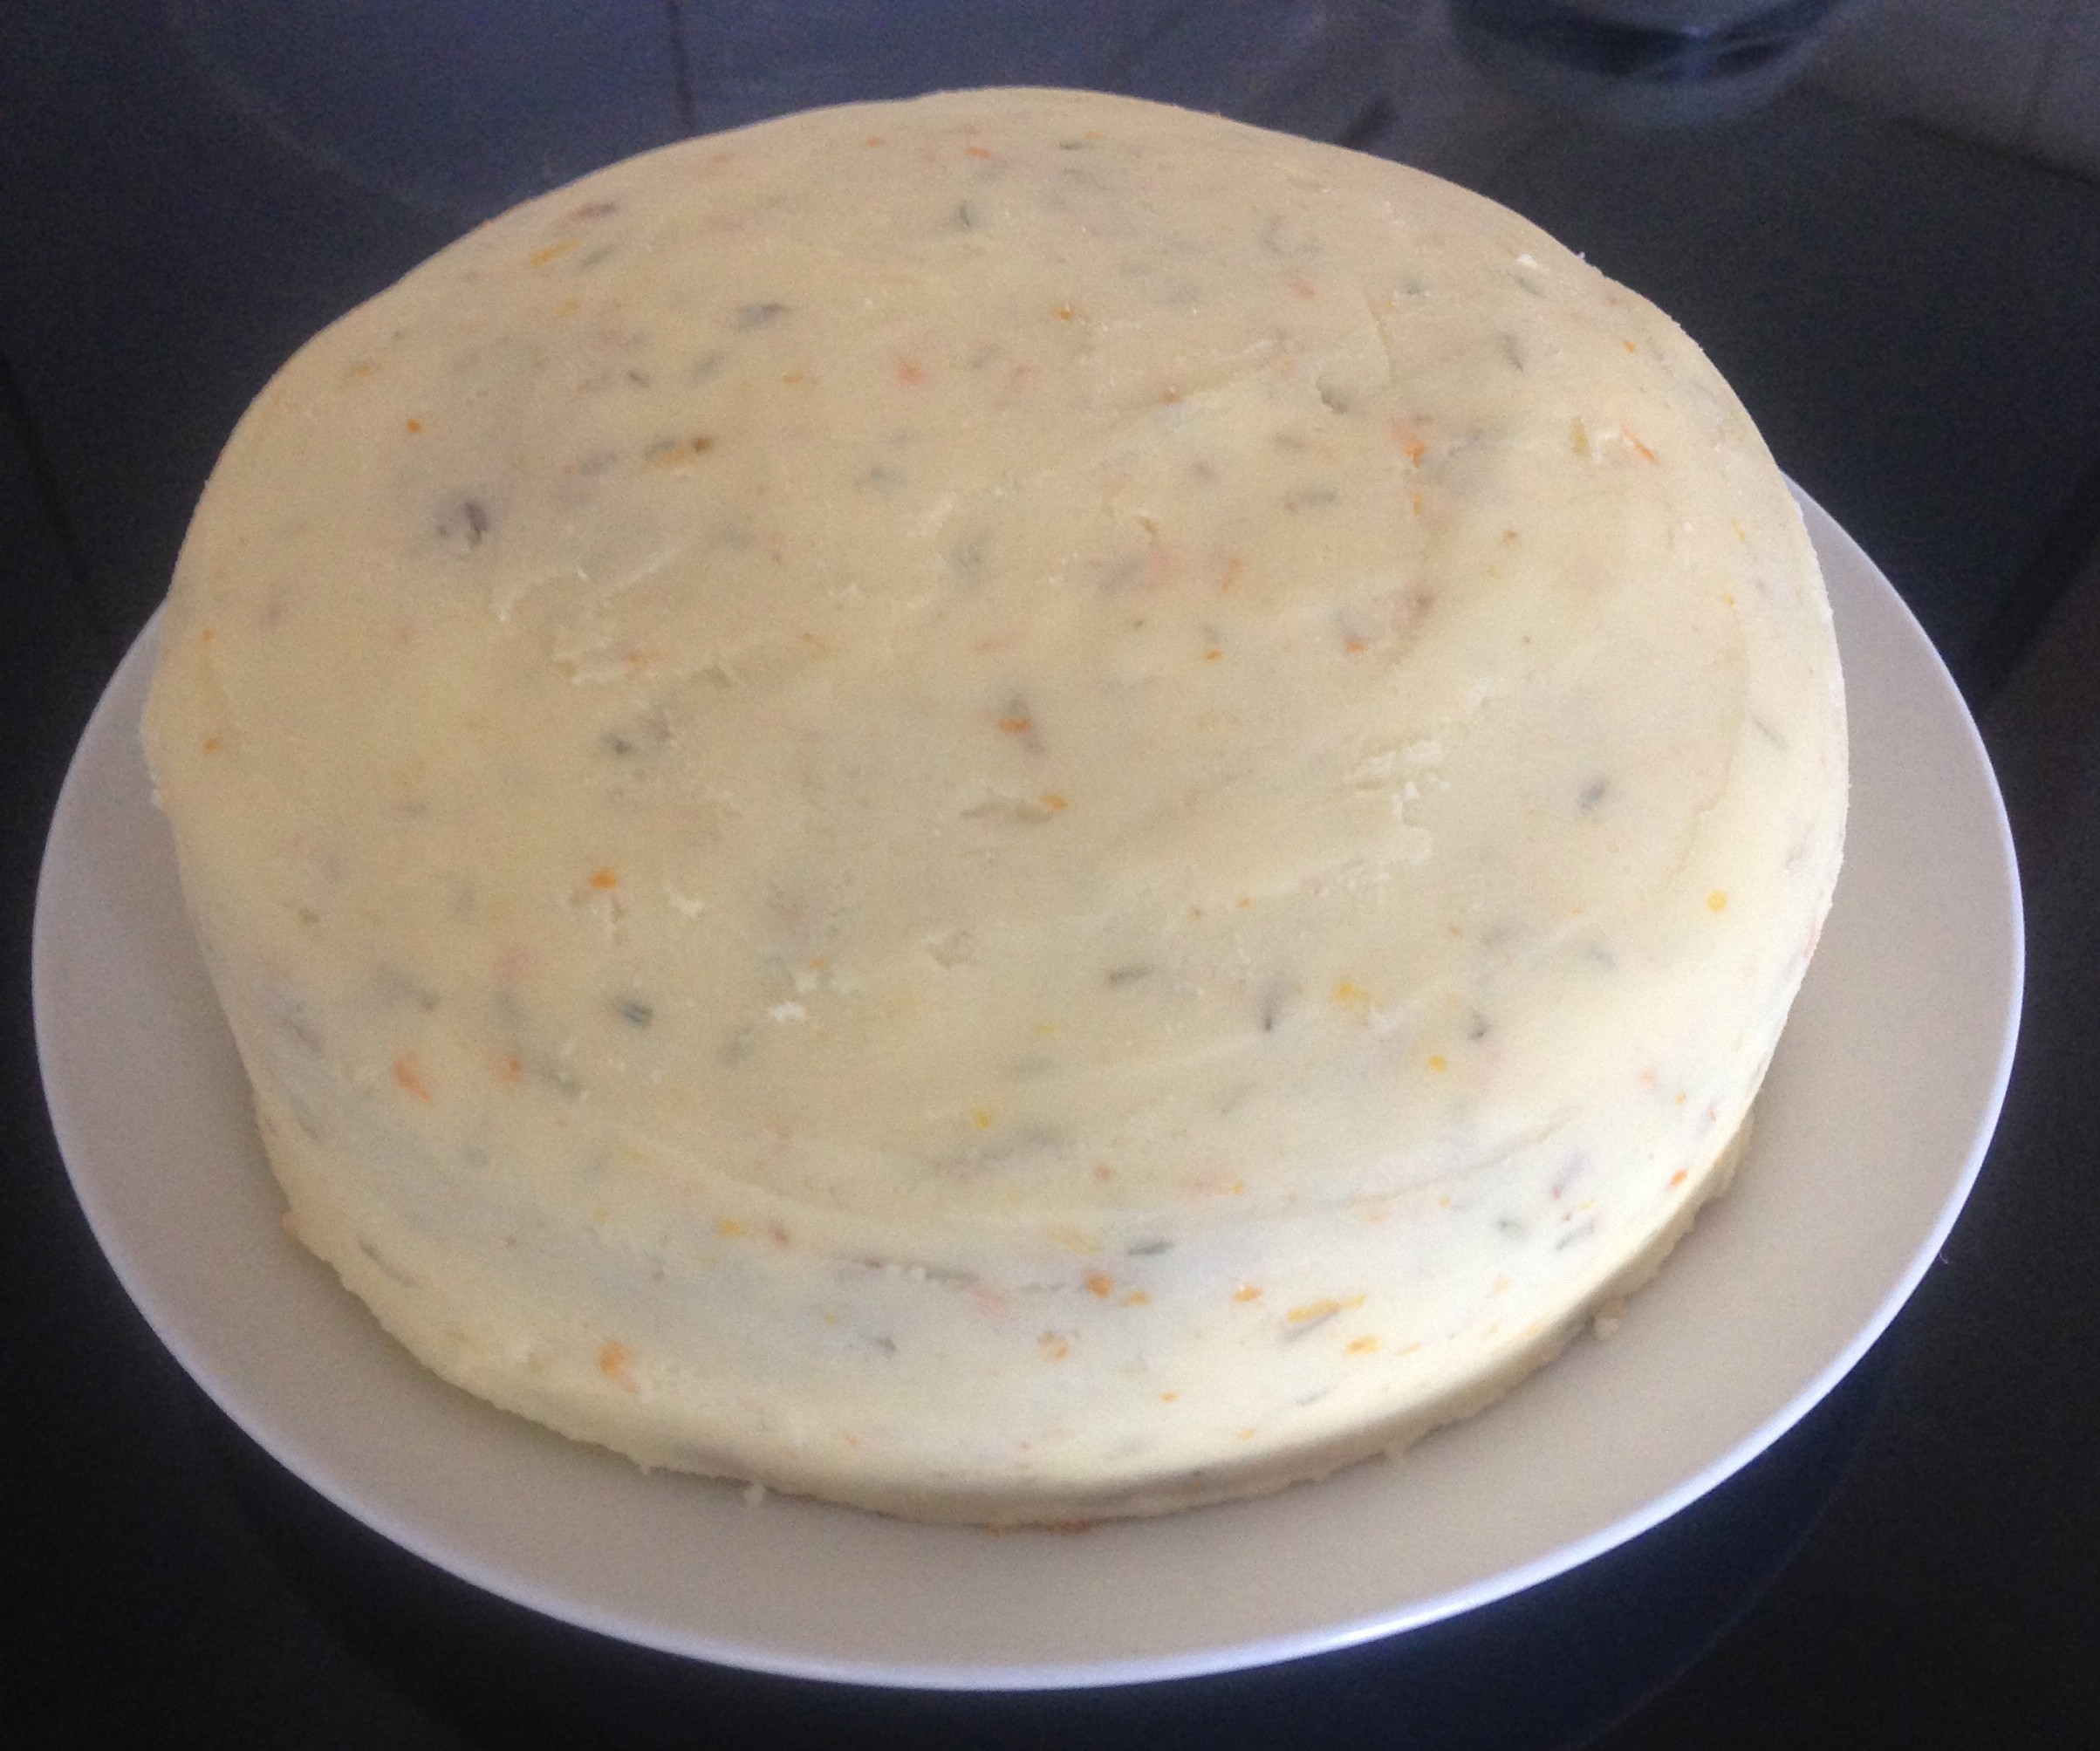
- Bake in the oven for 40 minutes or until the top of the cake has browned slightly.
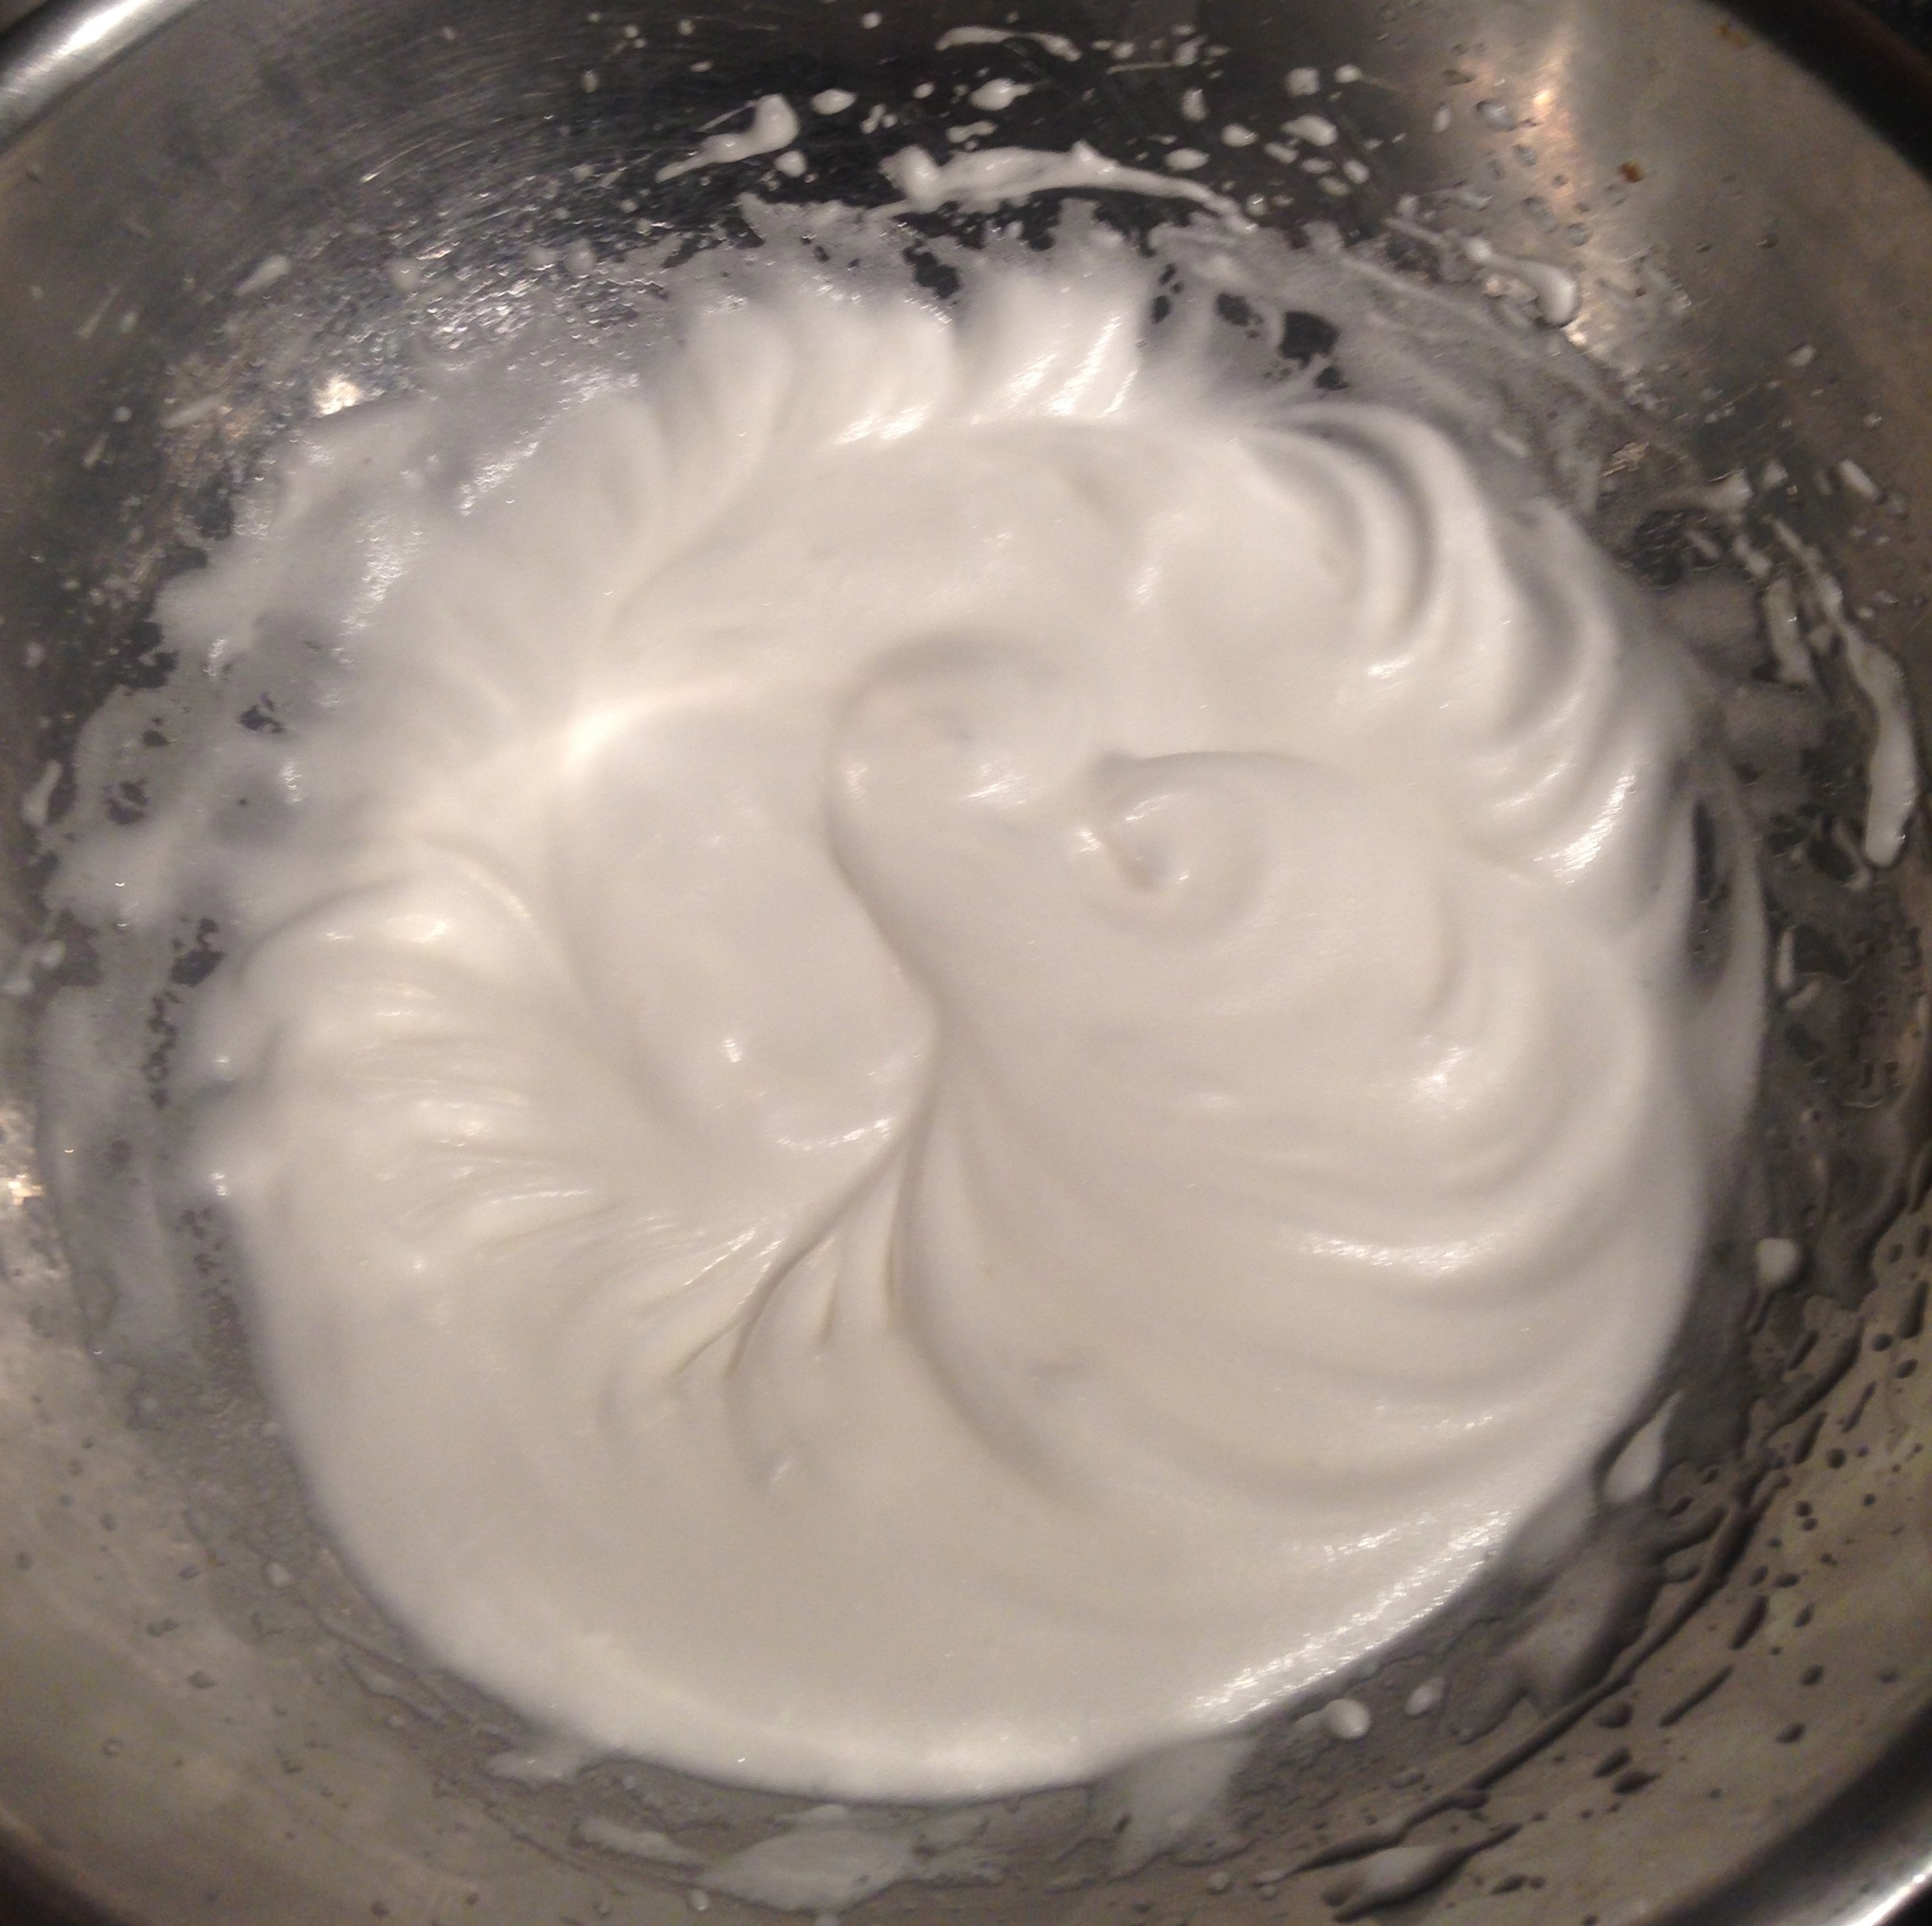
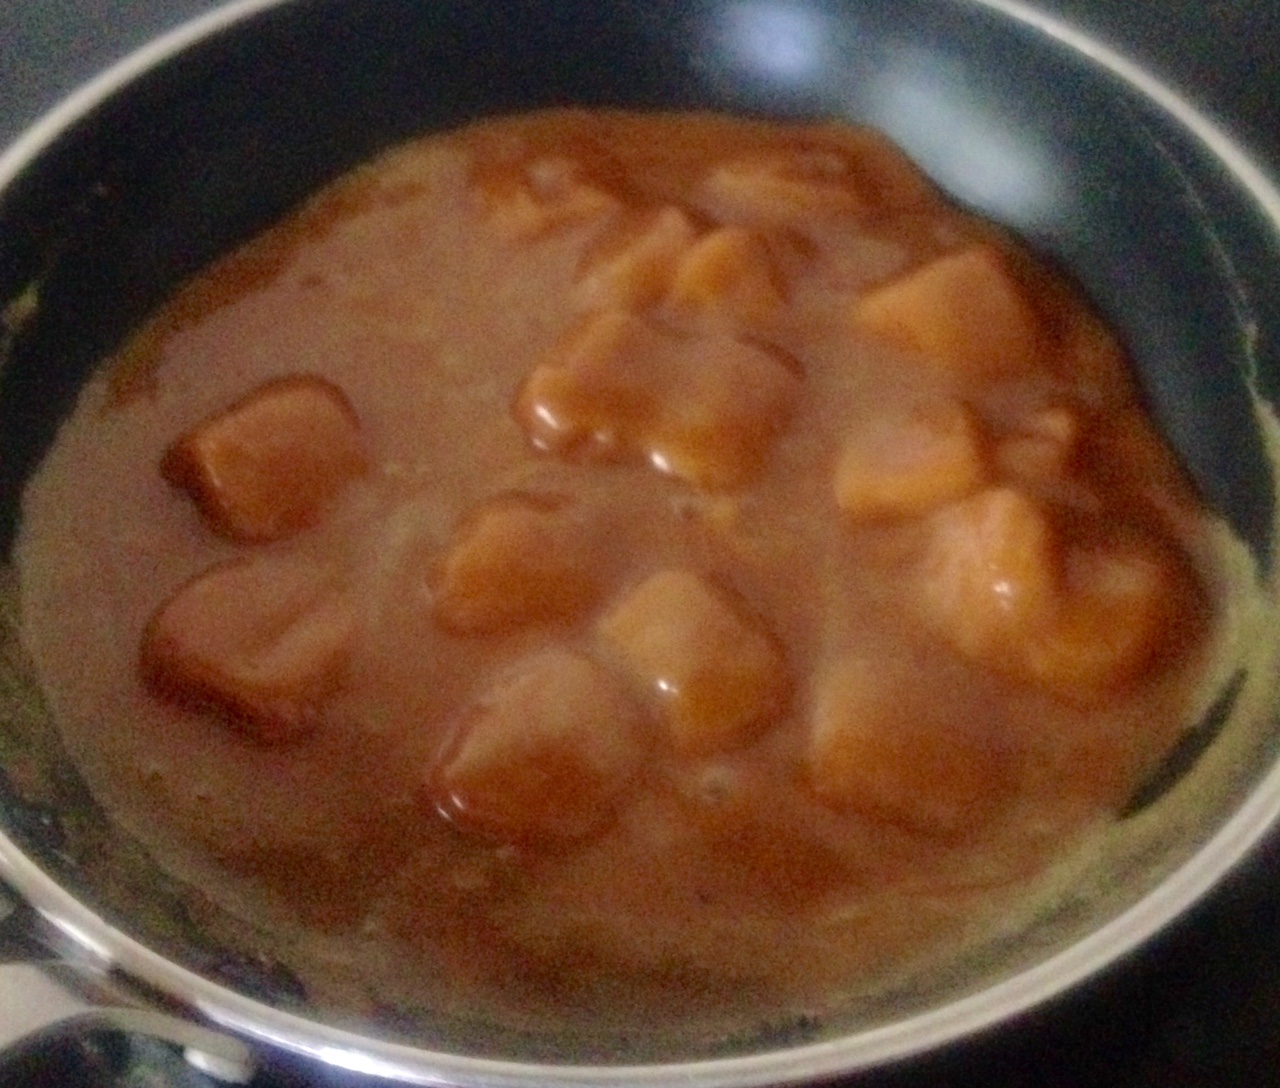
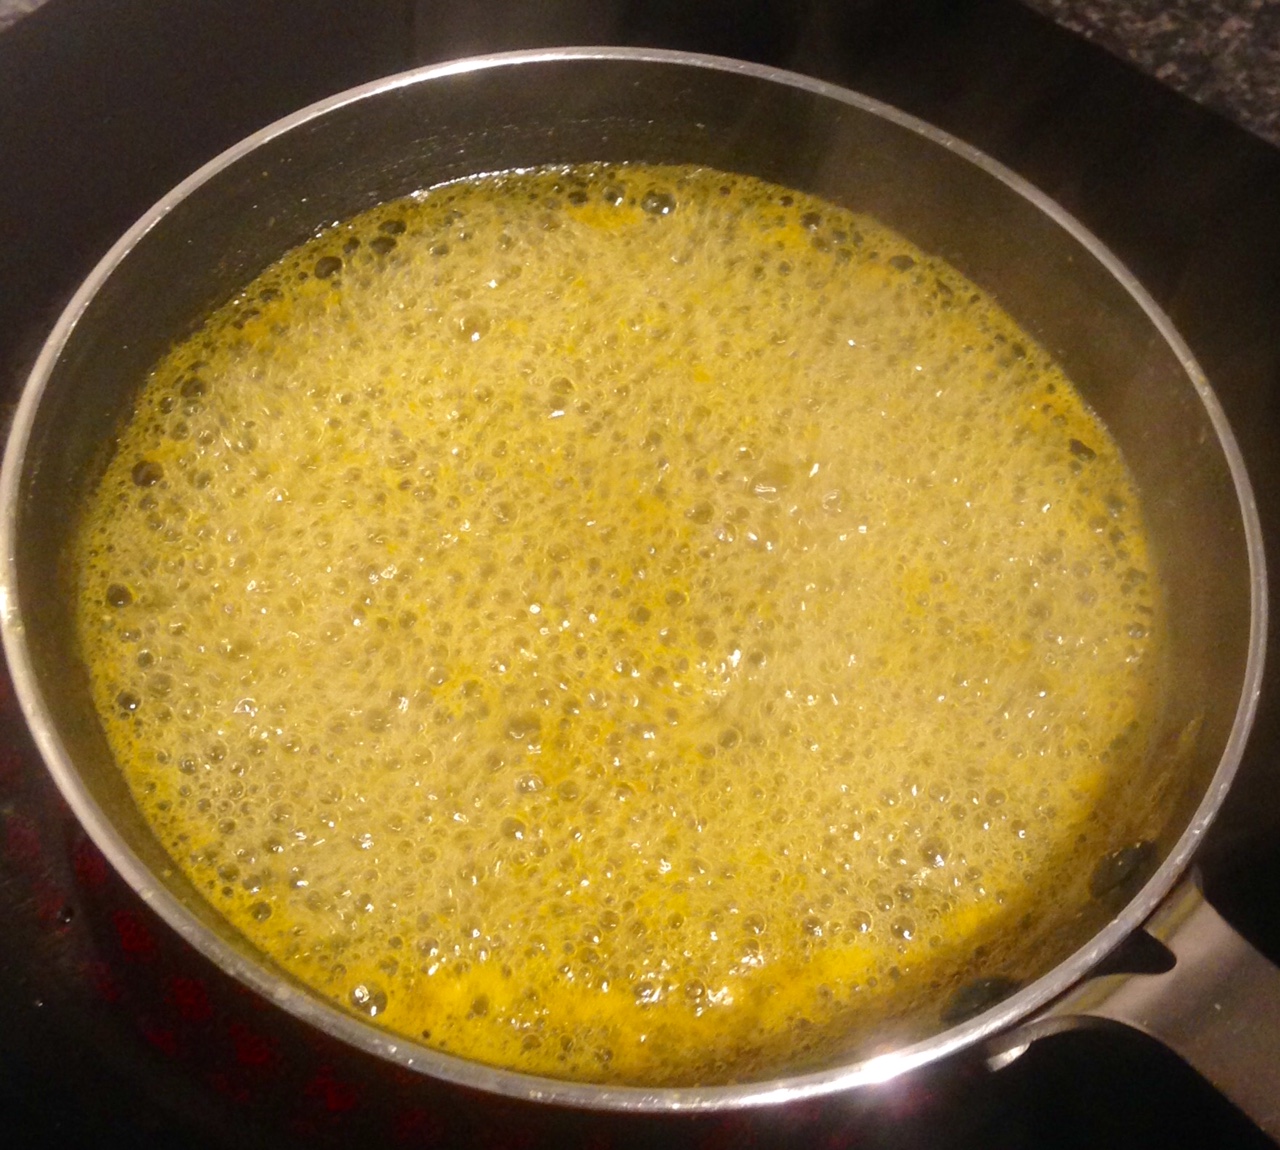
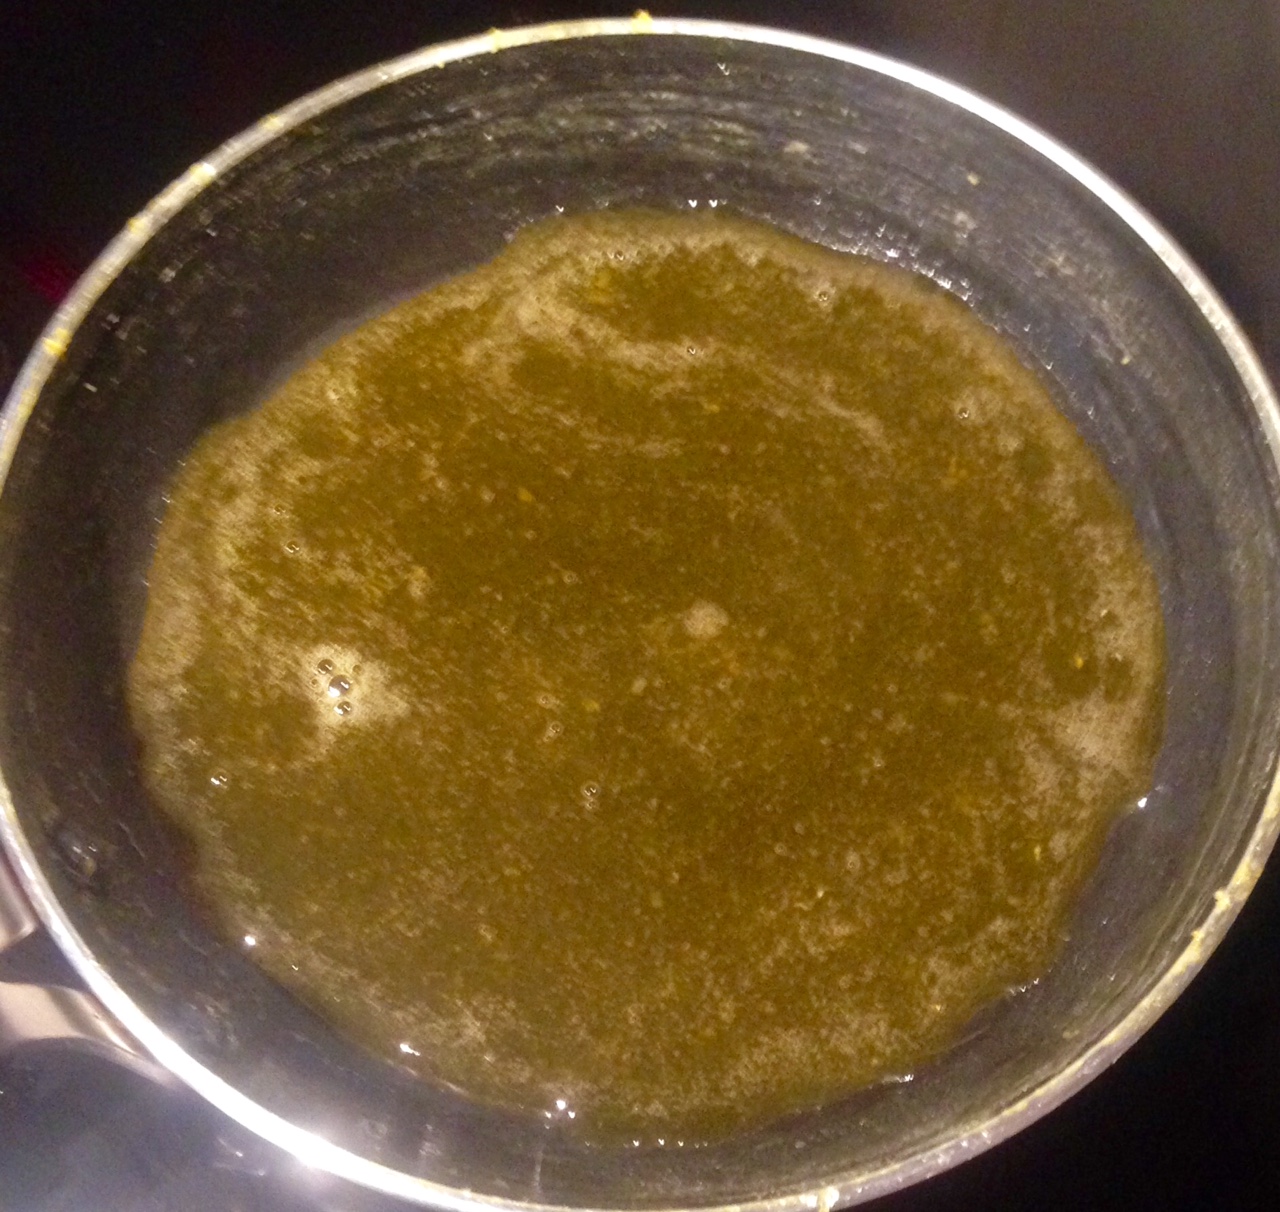
- Meanwhile, place the syrup ingredients in a saucepan on a medium heat, stir until ingredients are well combine.
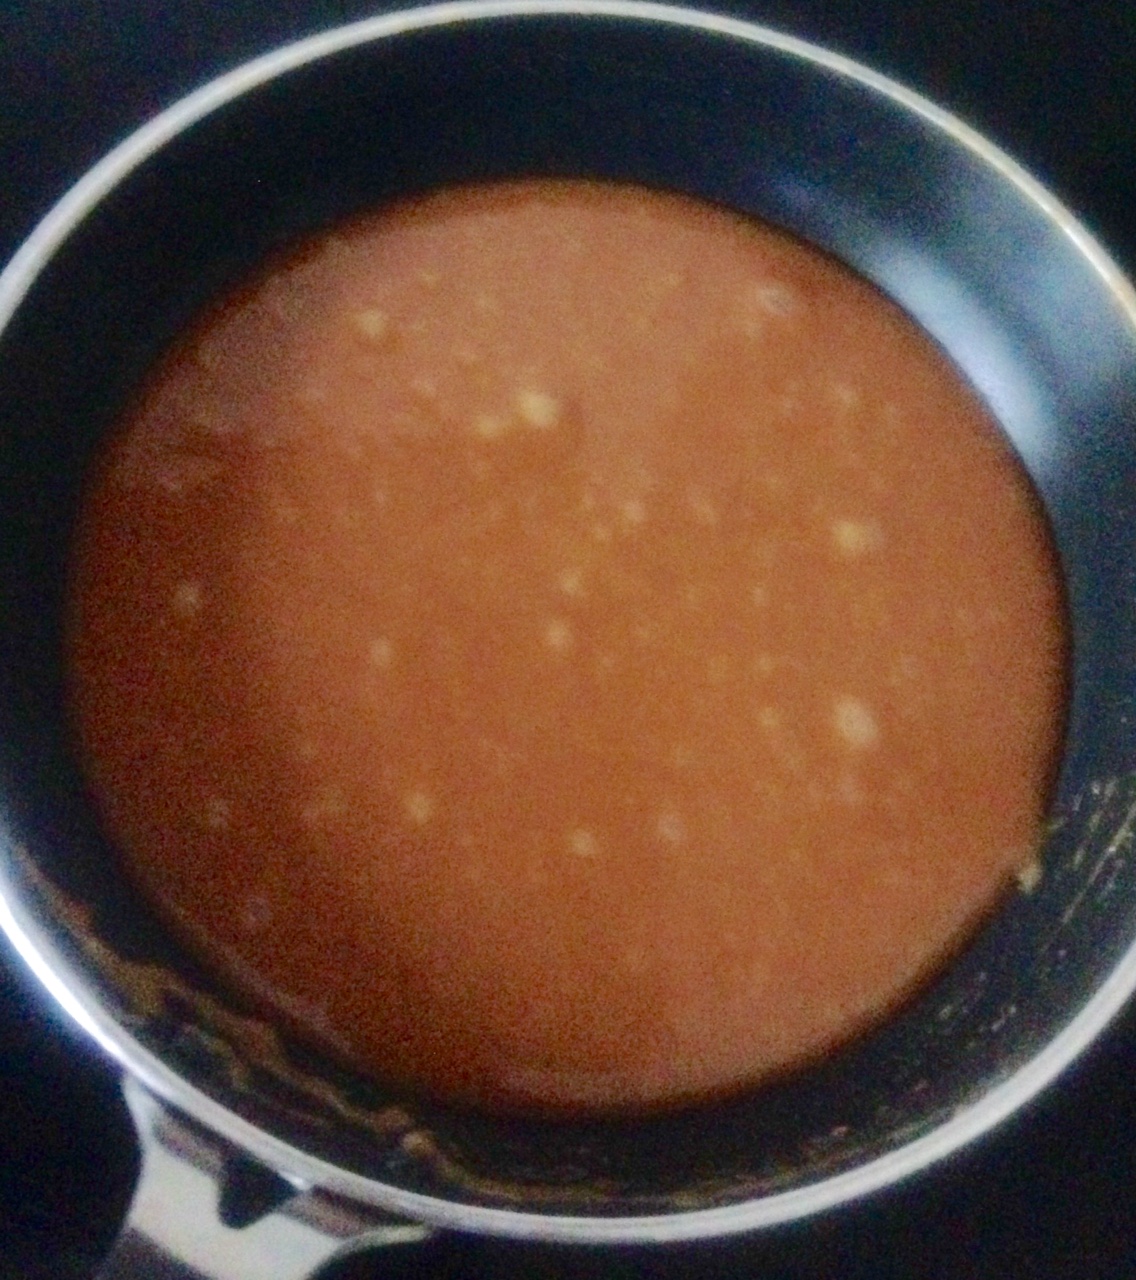
- Boil the mix for 4 minutes or until the mix resembles a thick syrup consistency.
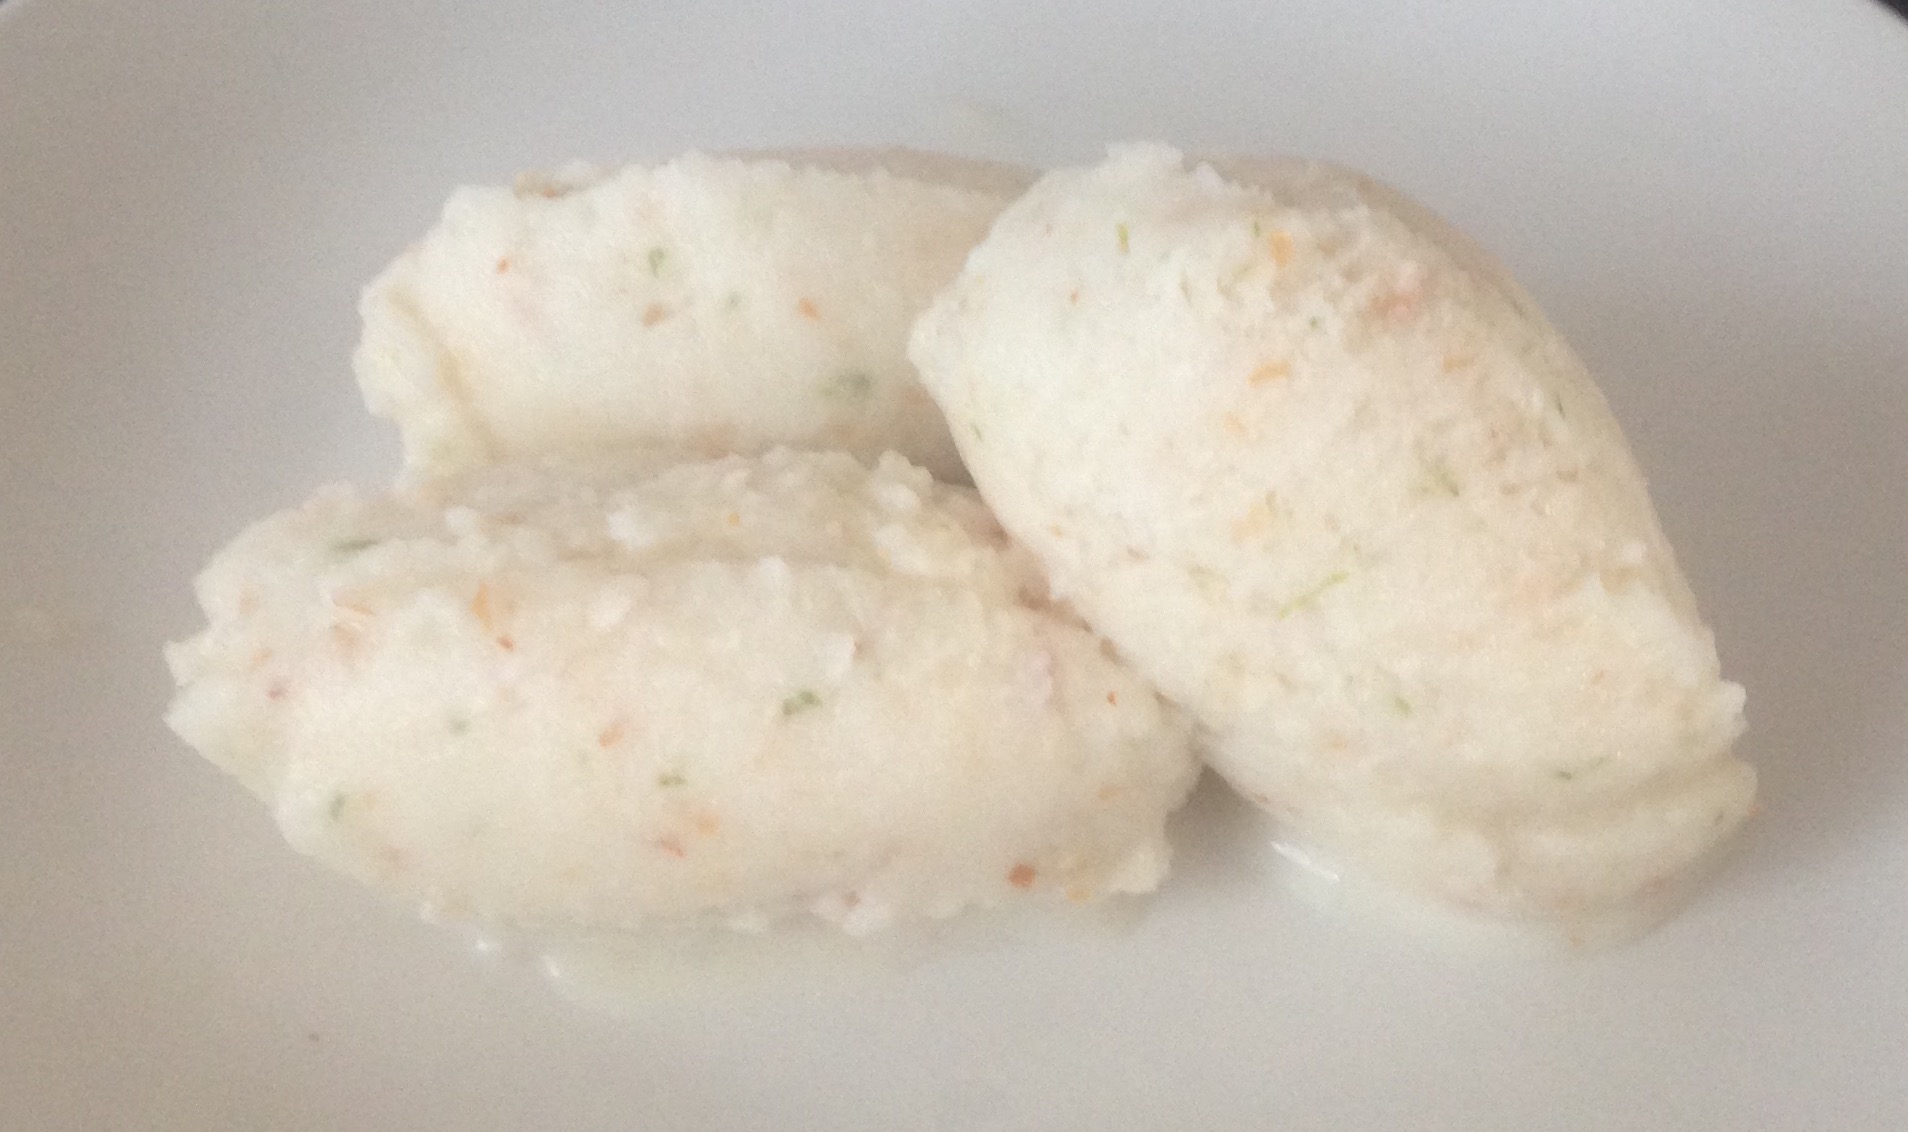
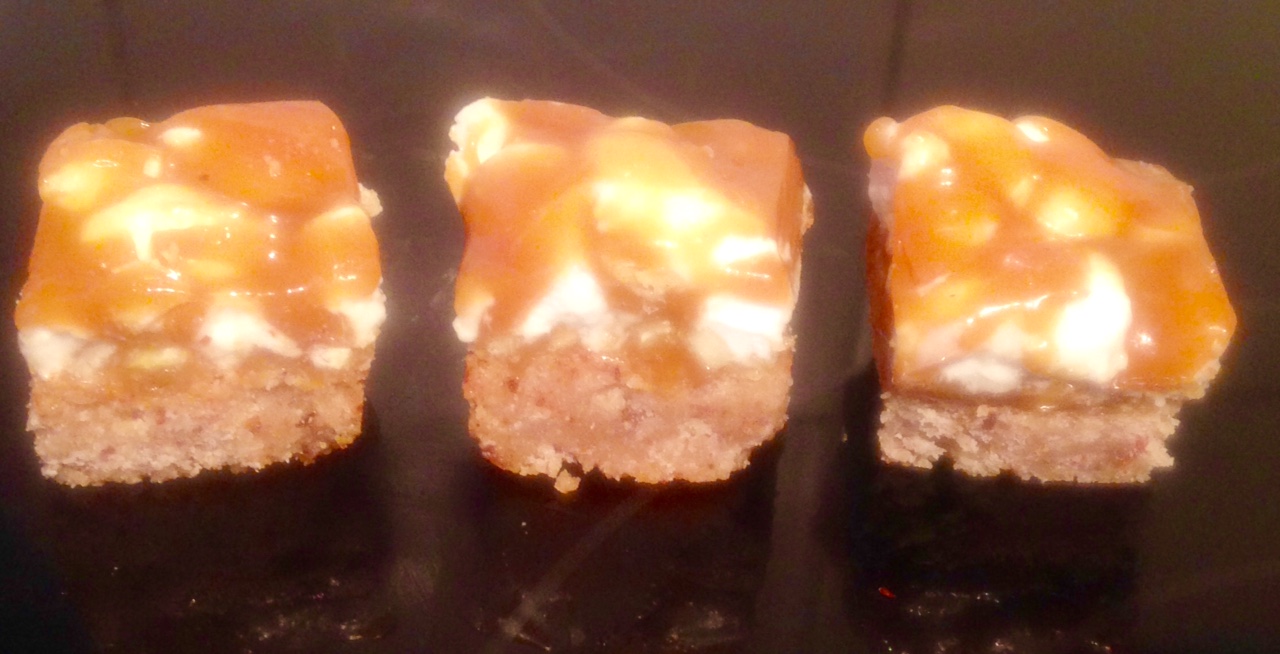
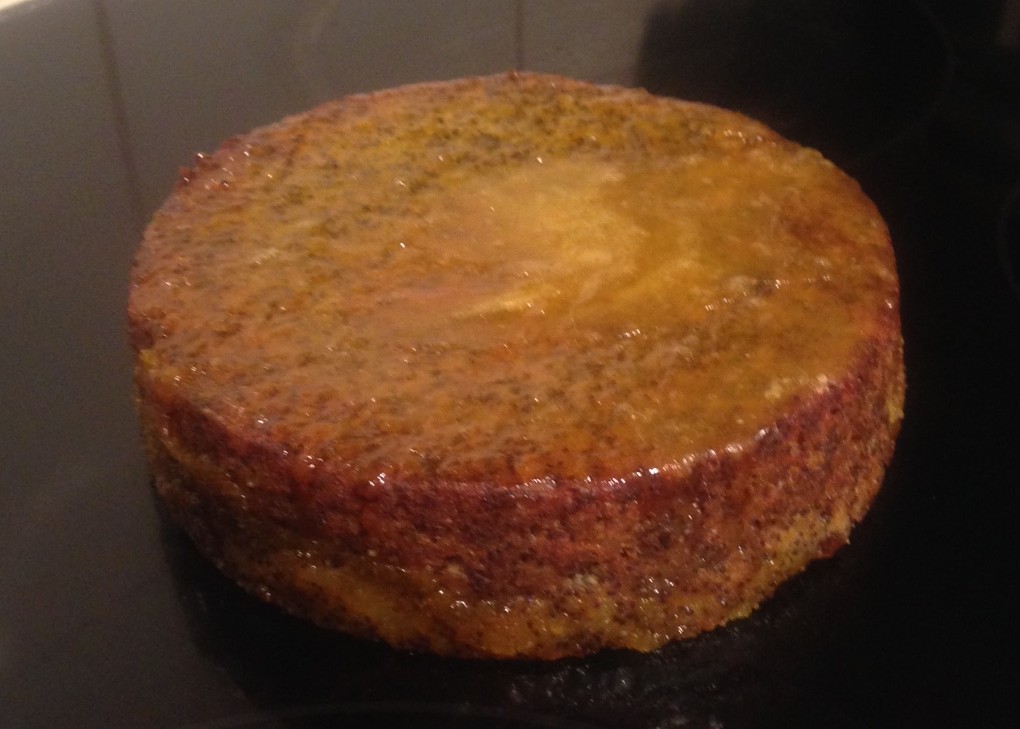
- Using a skewer poke holes in the cake and pour the orange syrup over the top of the cake.
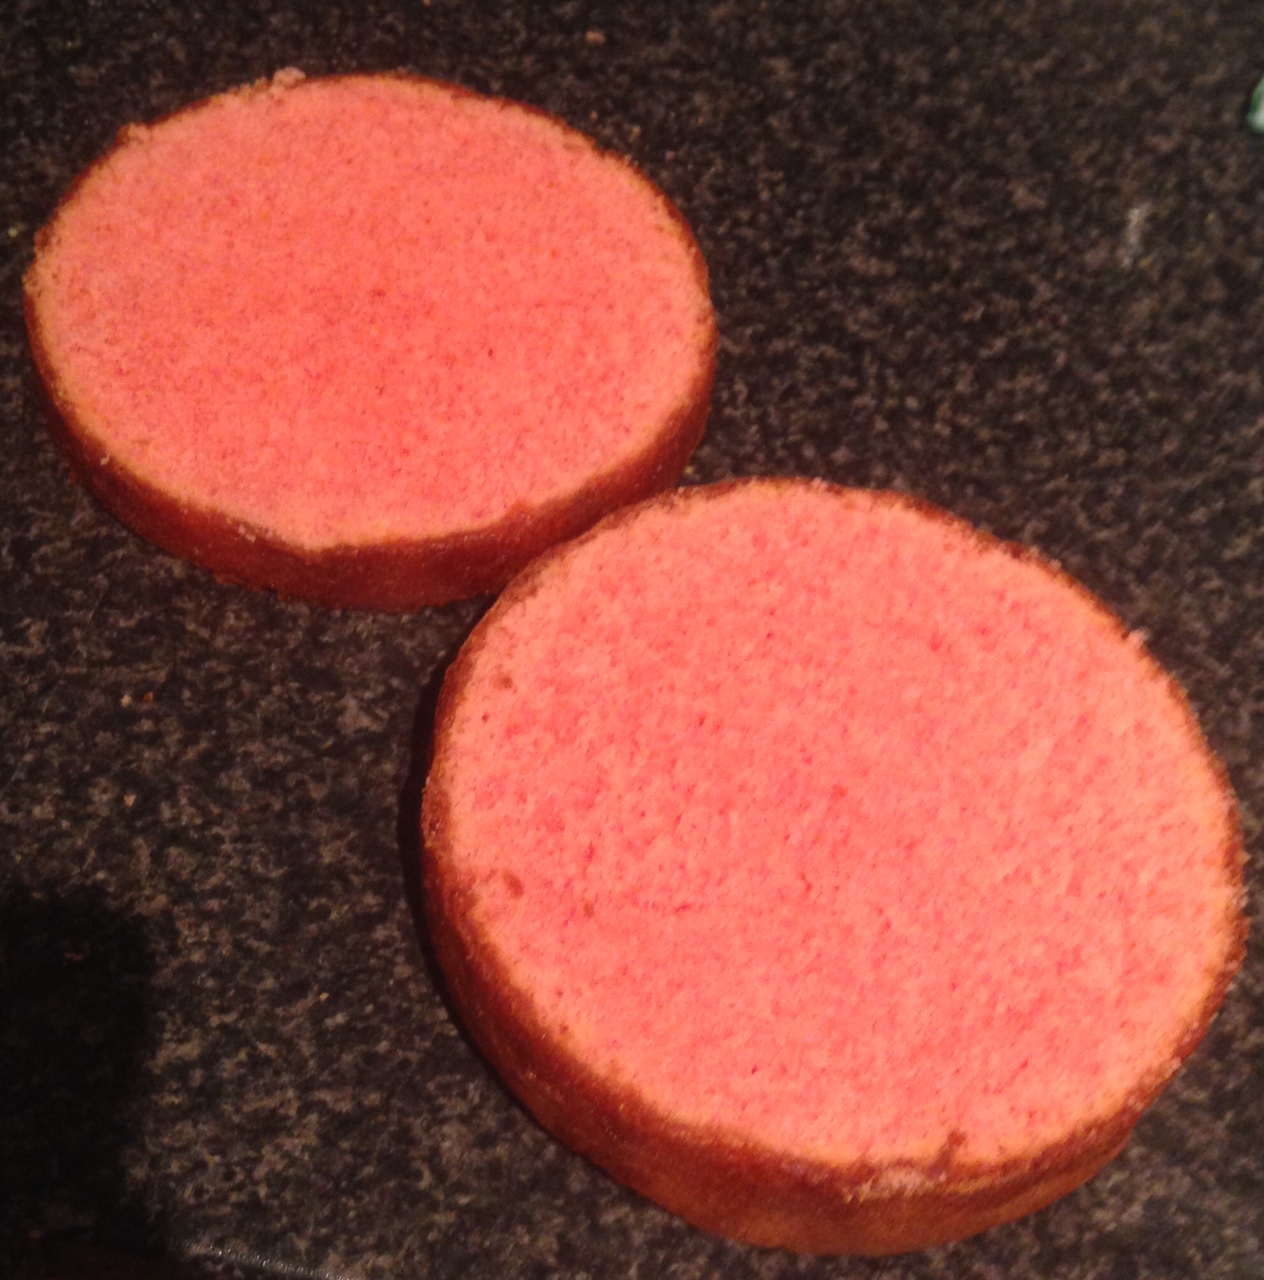
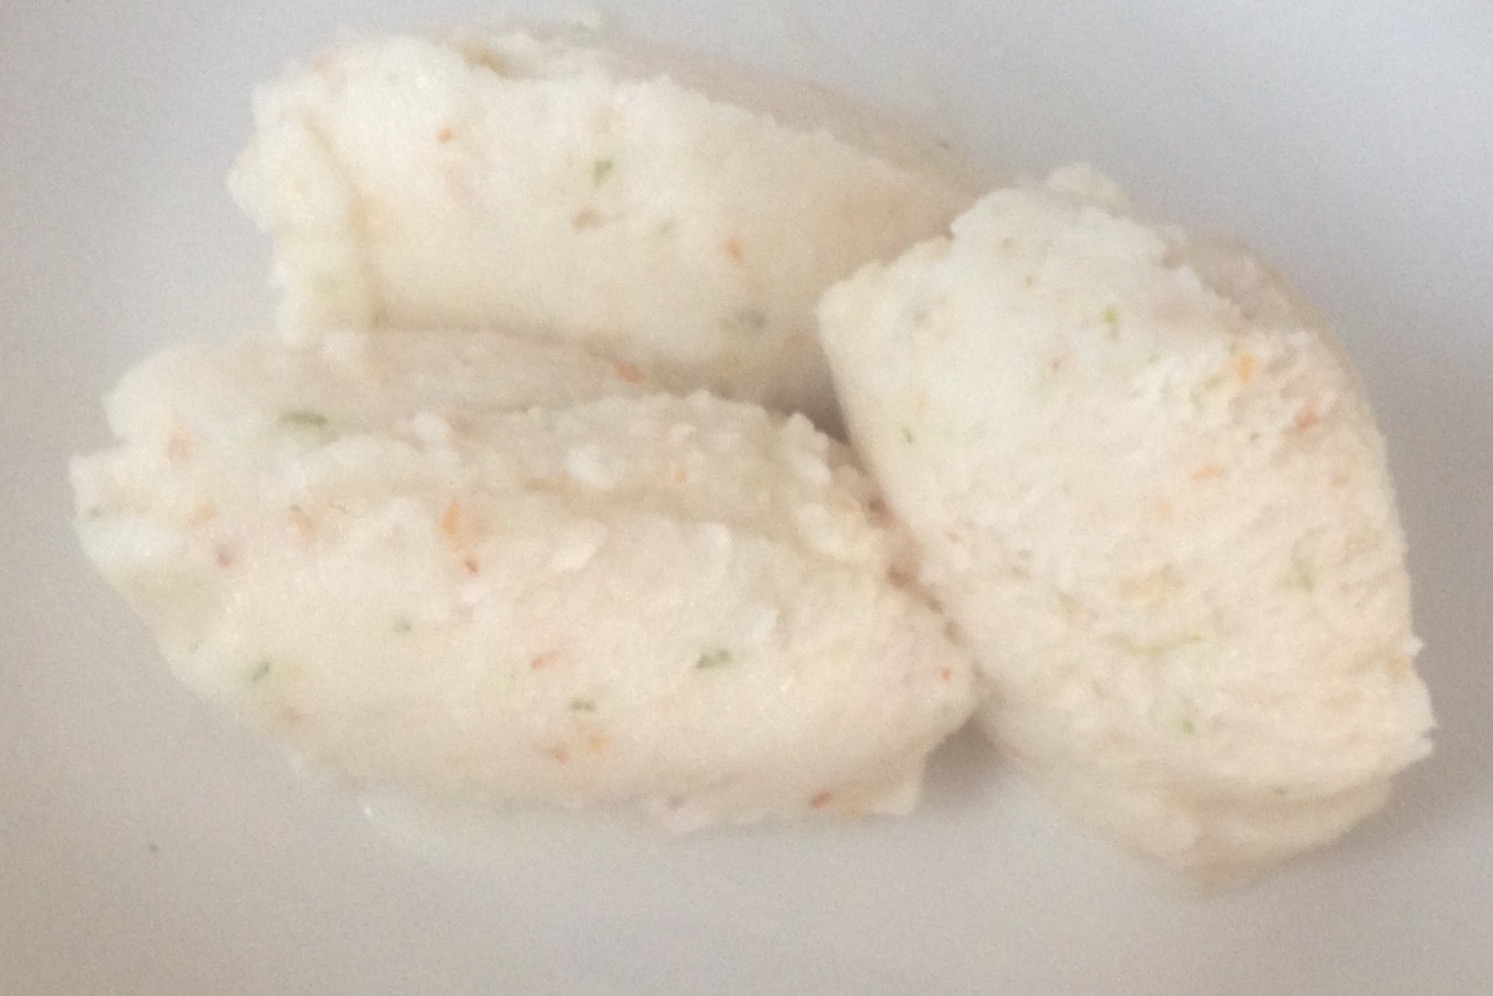
- Remove from the tin and enjoy.
Notes:
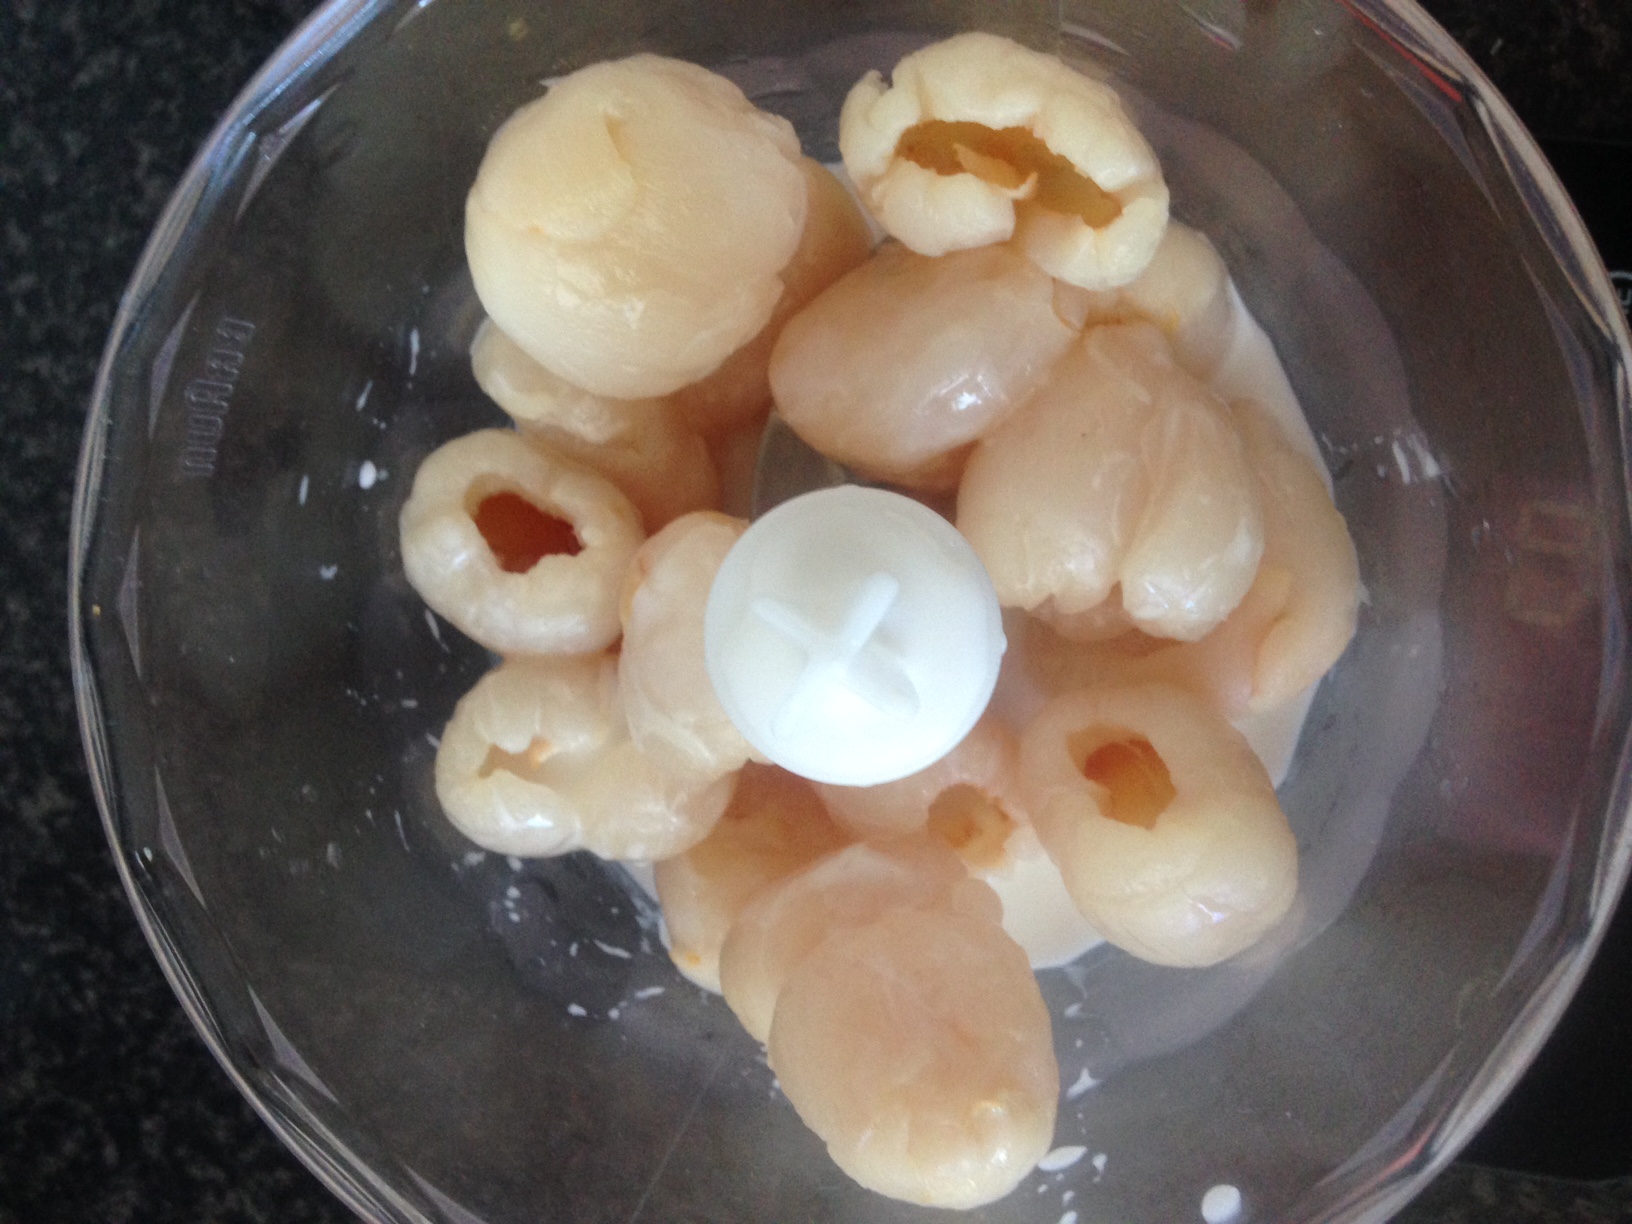
- You will need 3 oranges for this recipe.
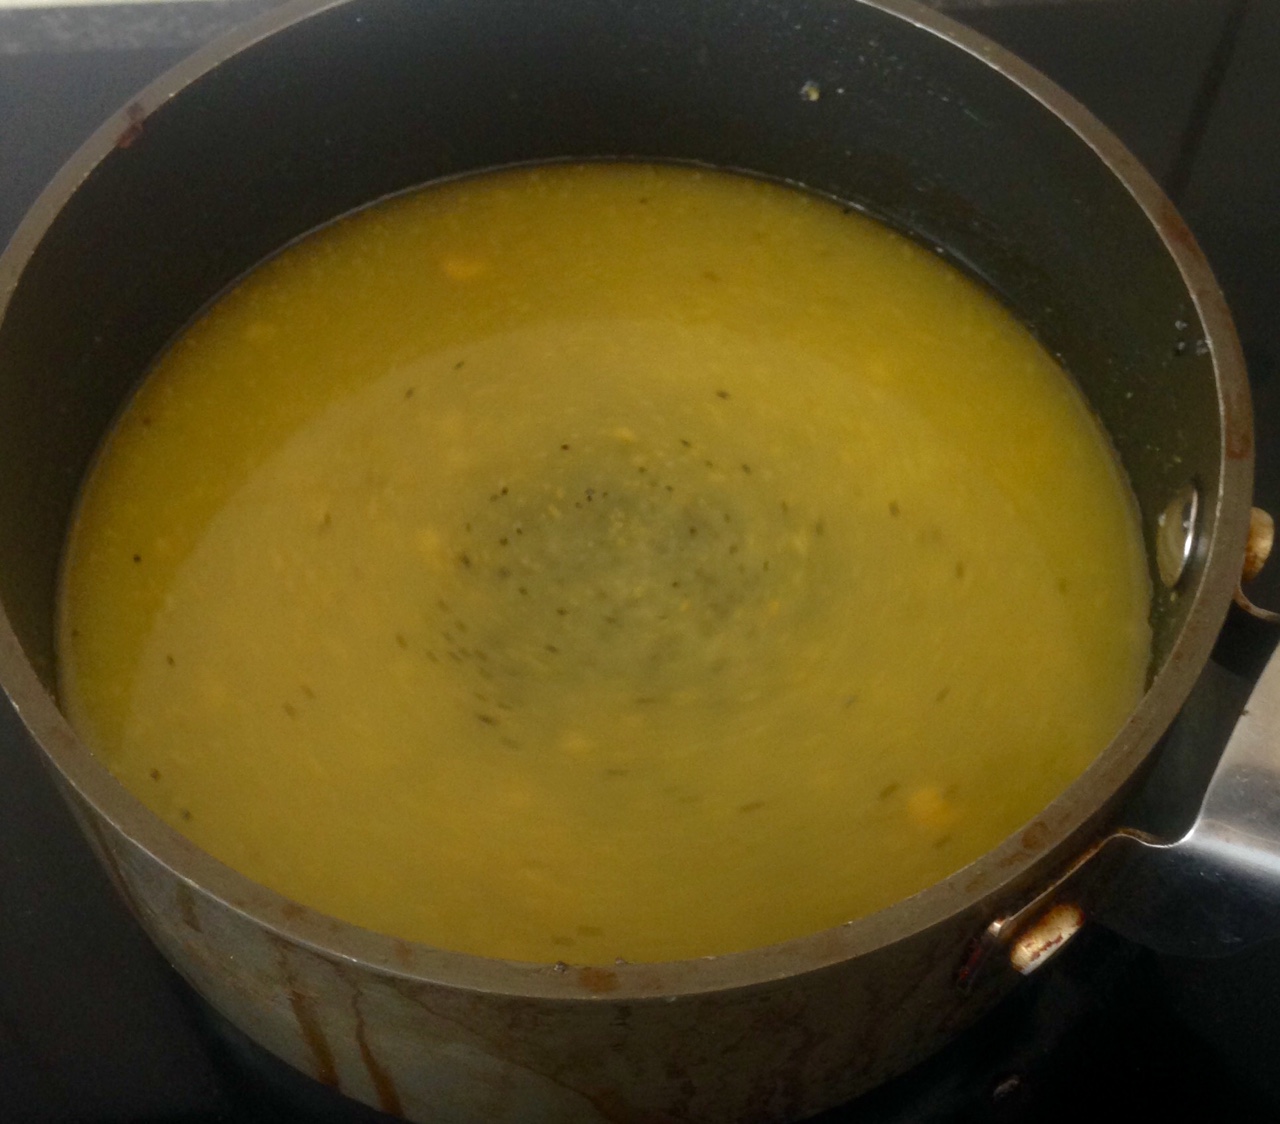
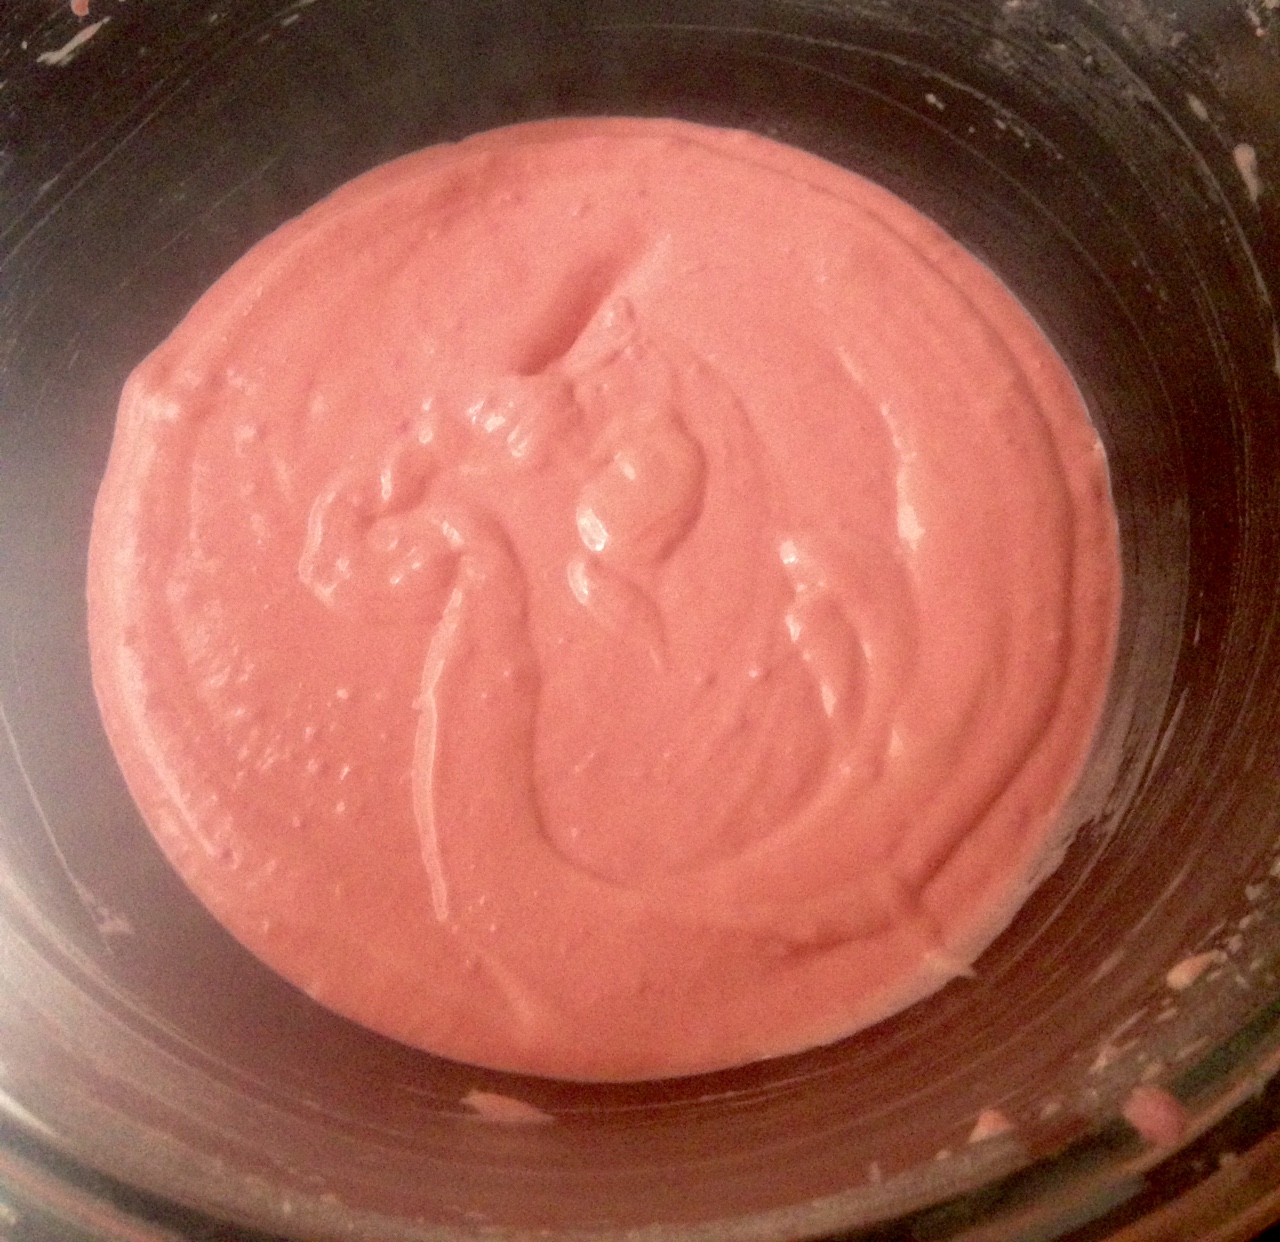
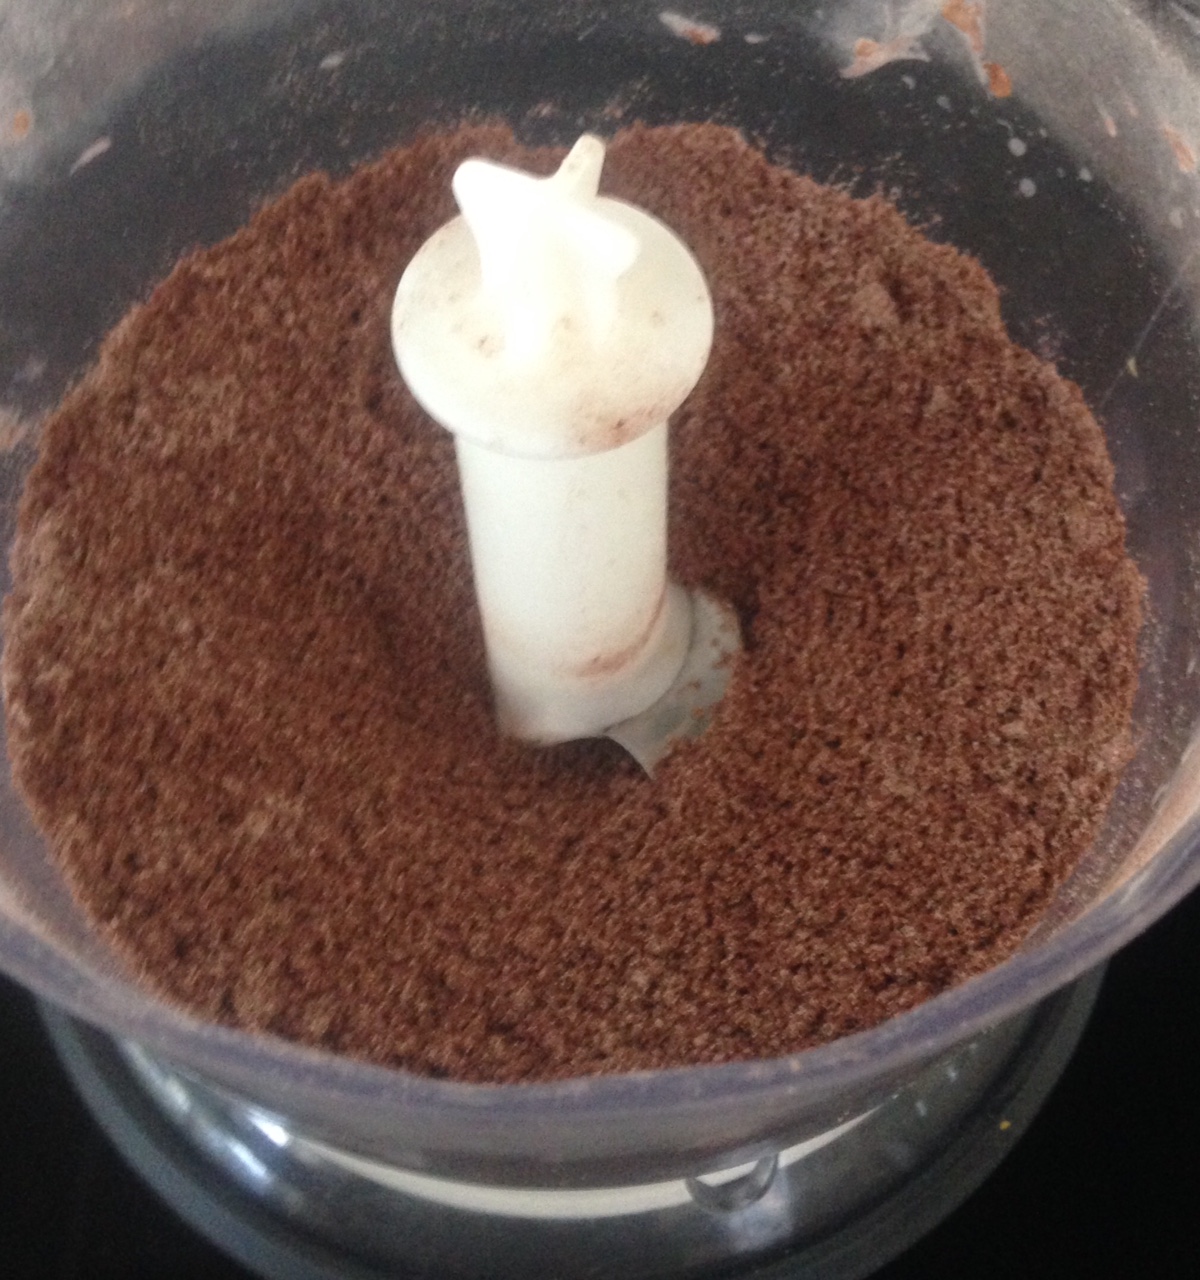
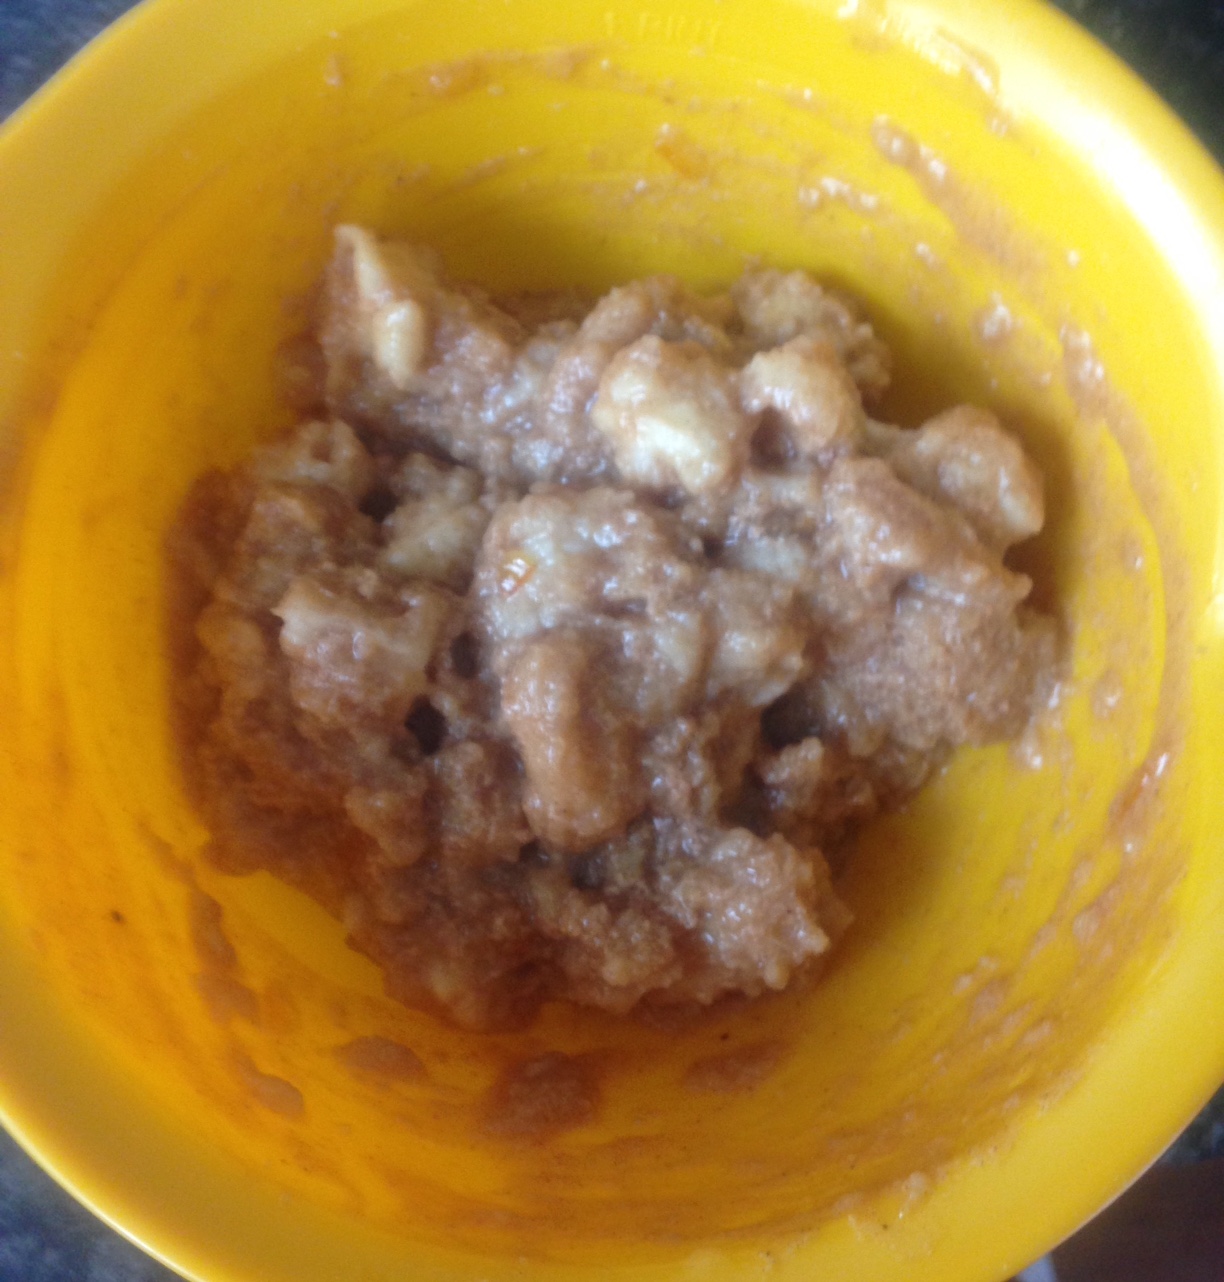
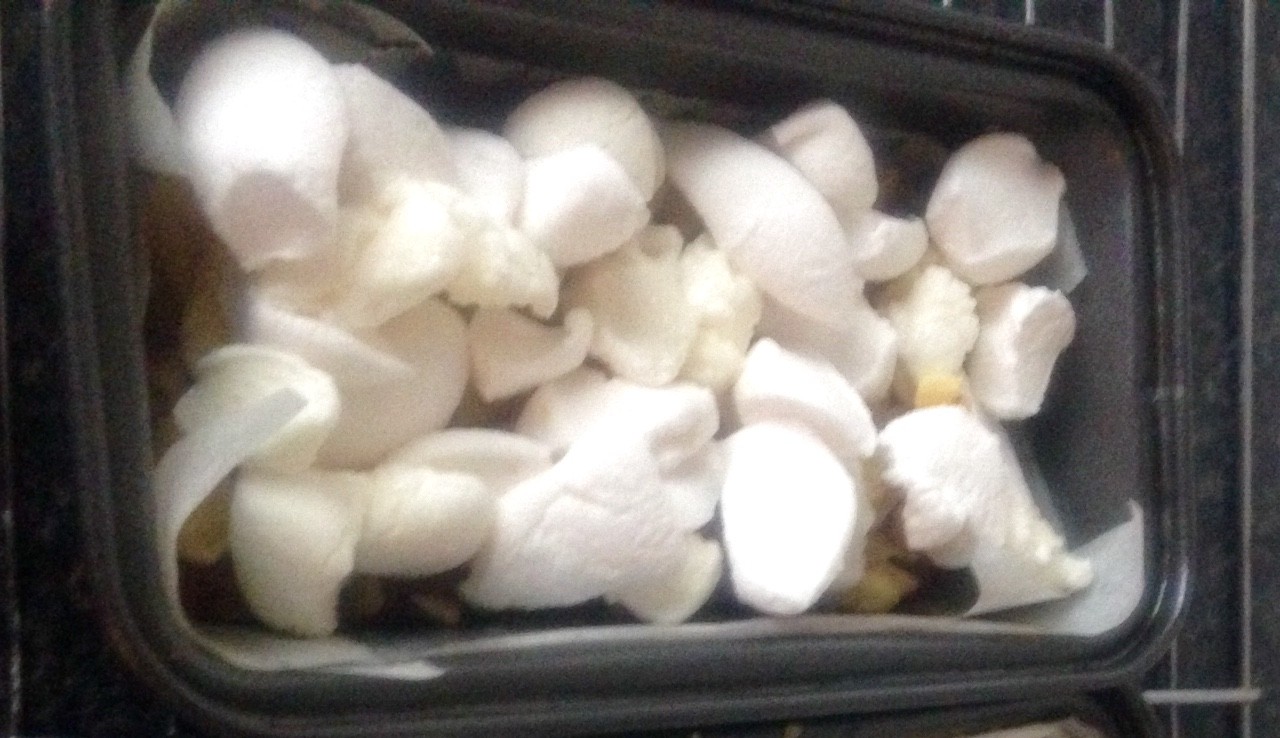
Step 1

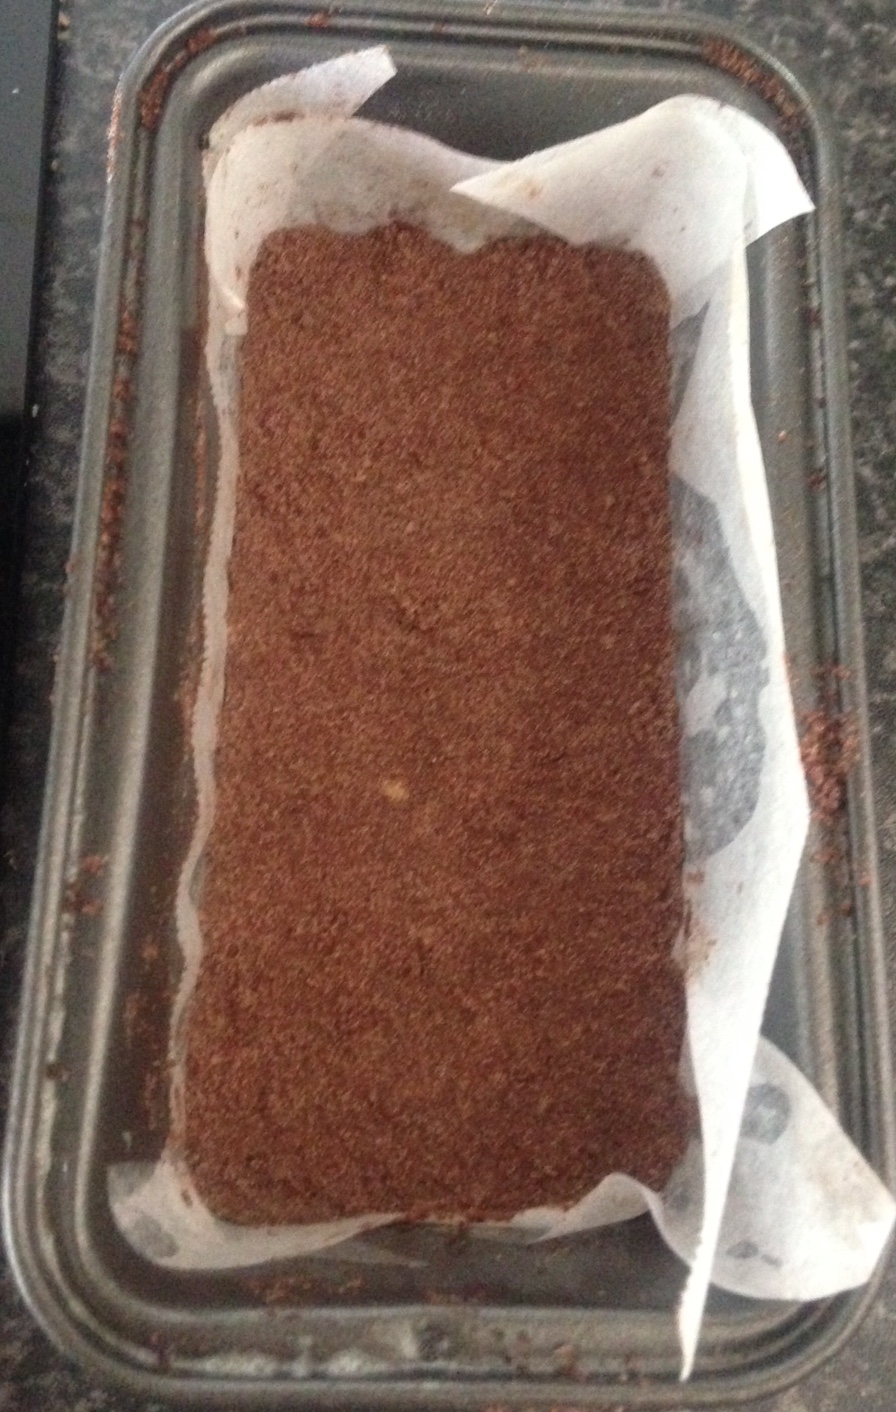
Step 2
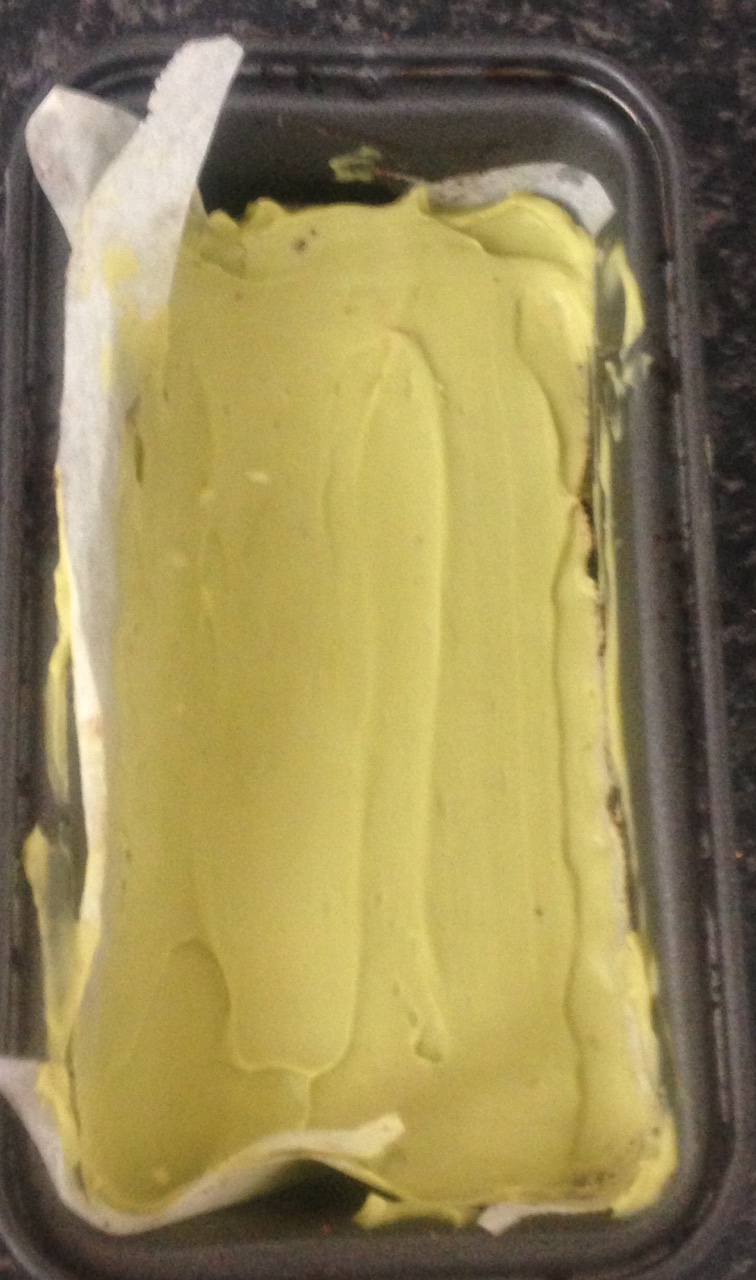
Step 3
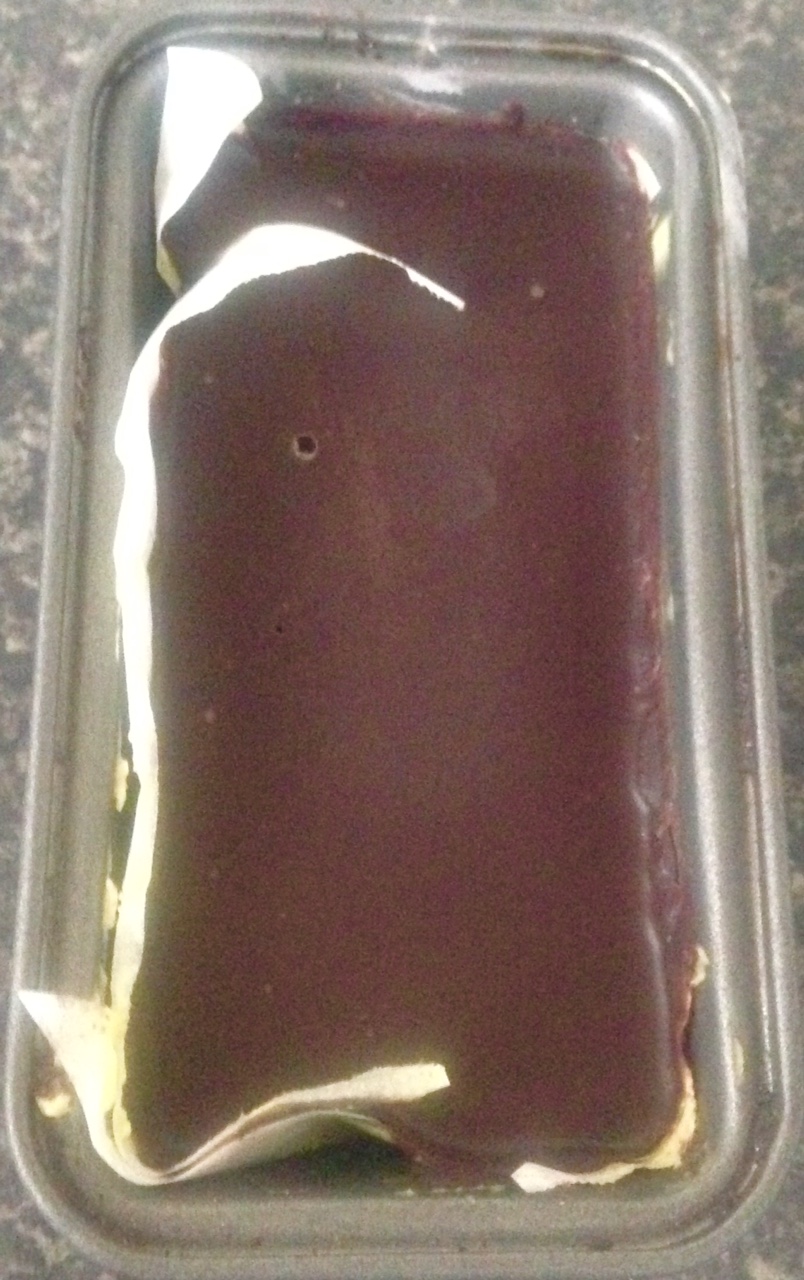
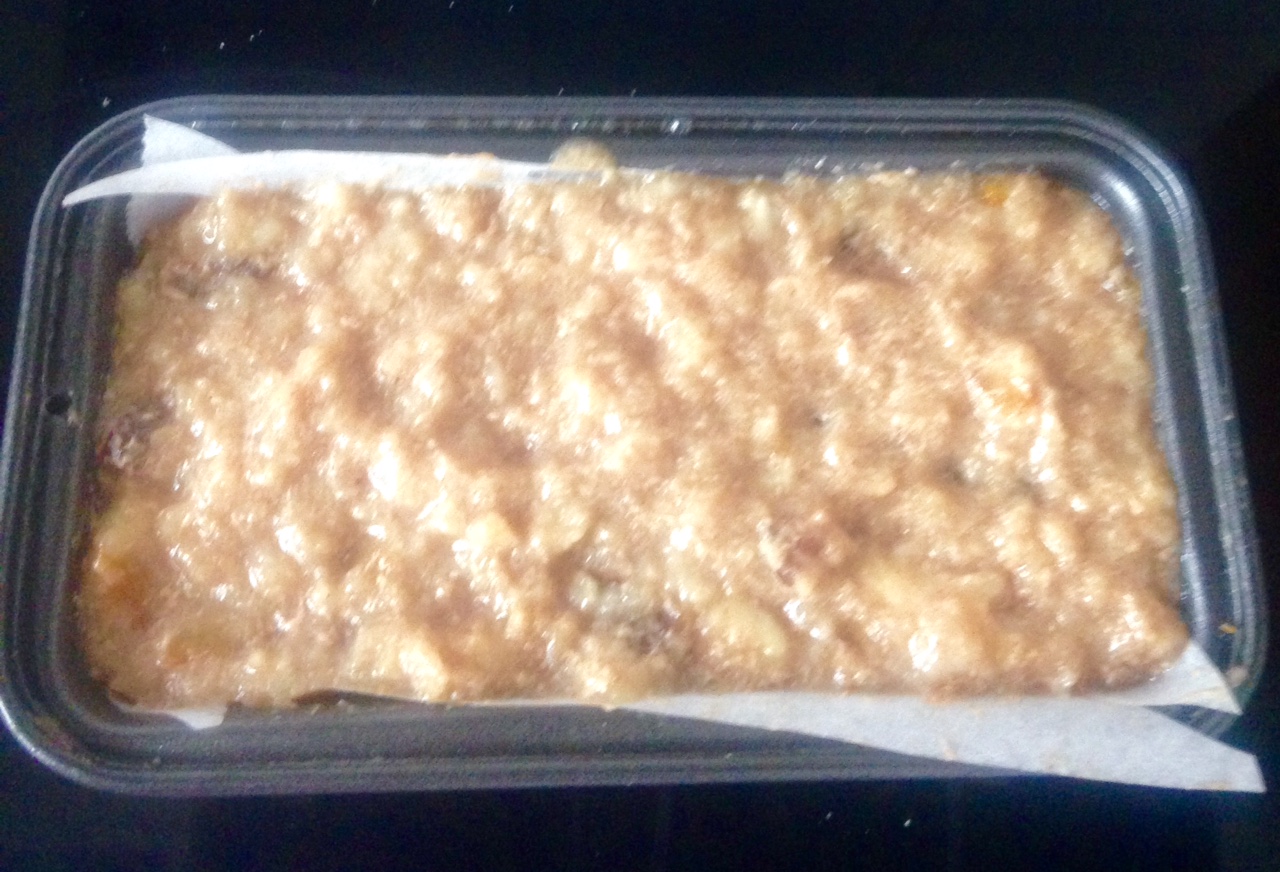
Step 4
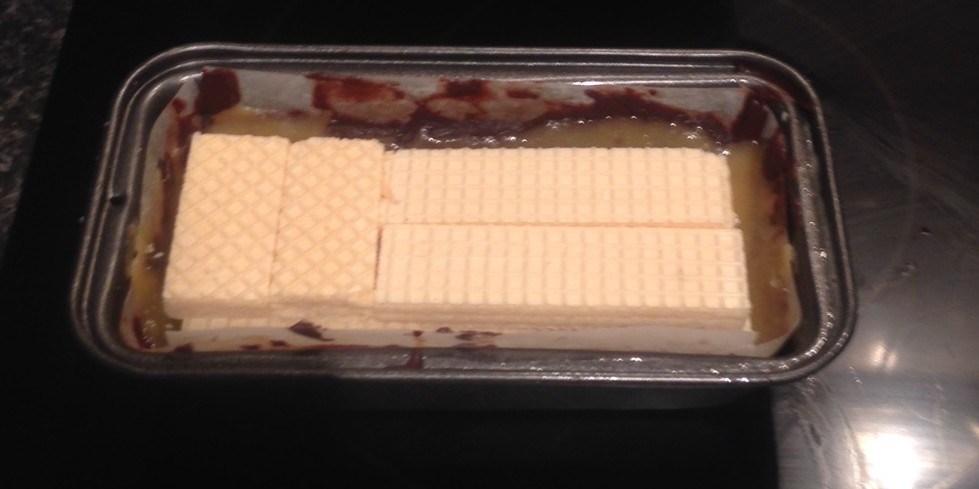
Step 6
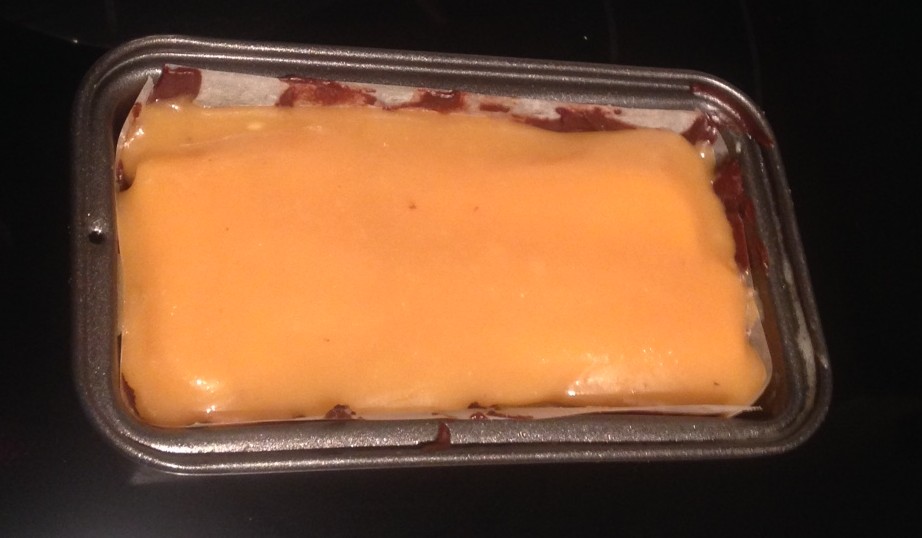
Step 8
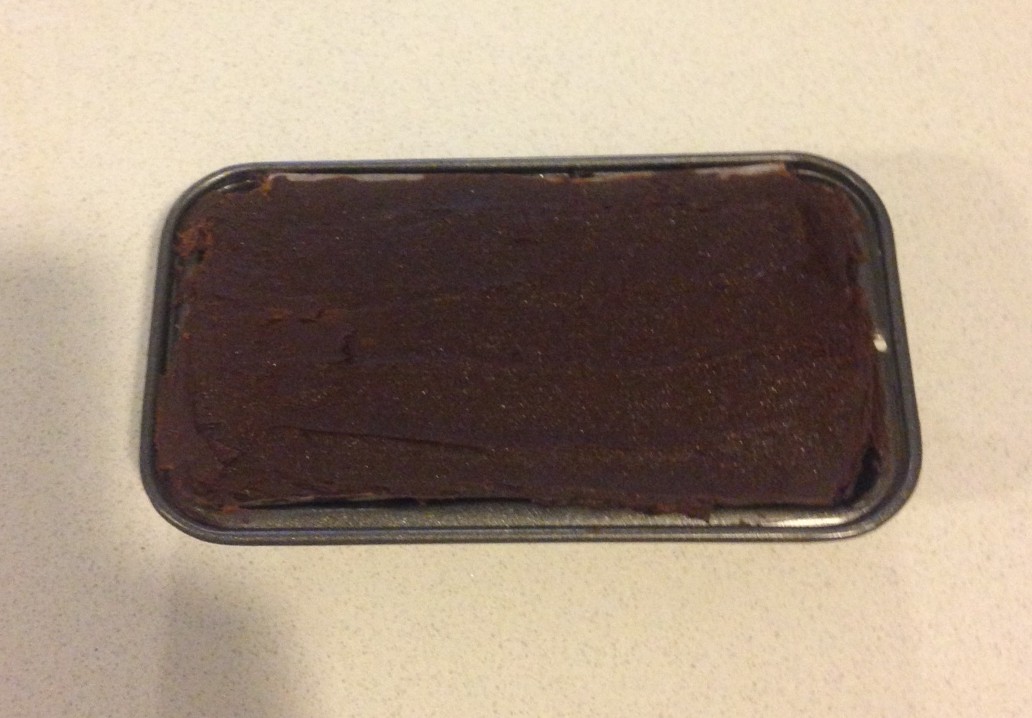
Step 9
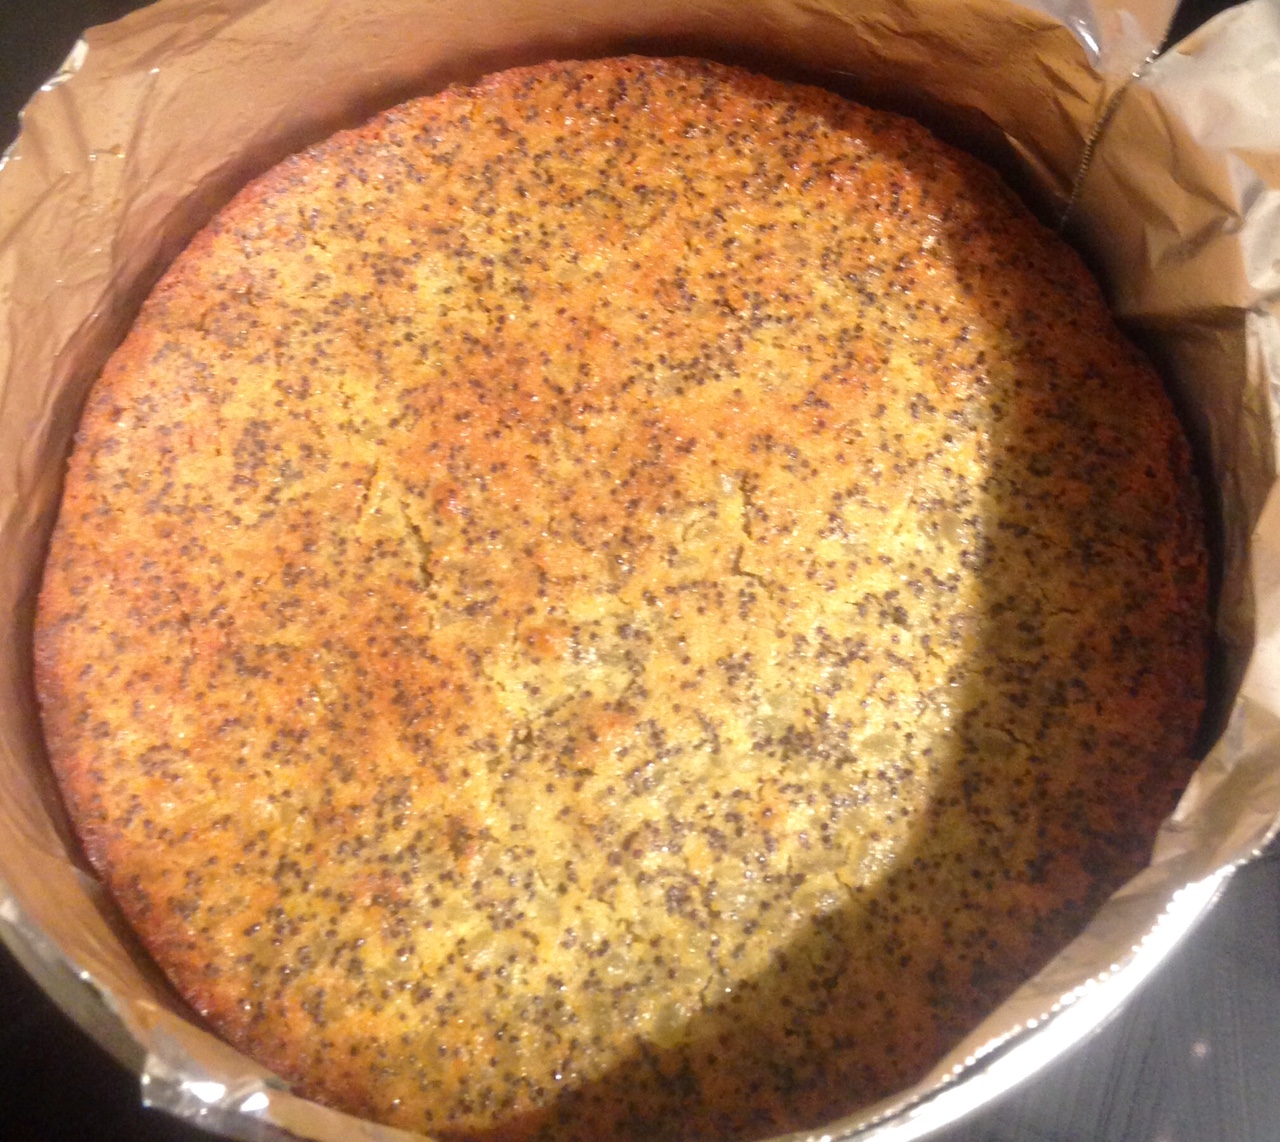
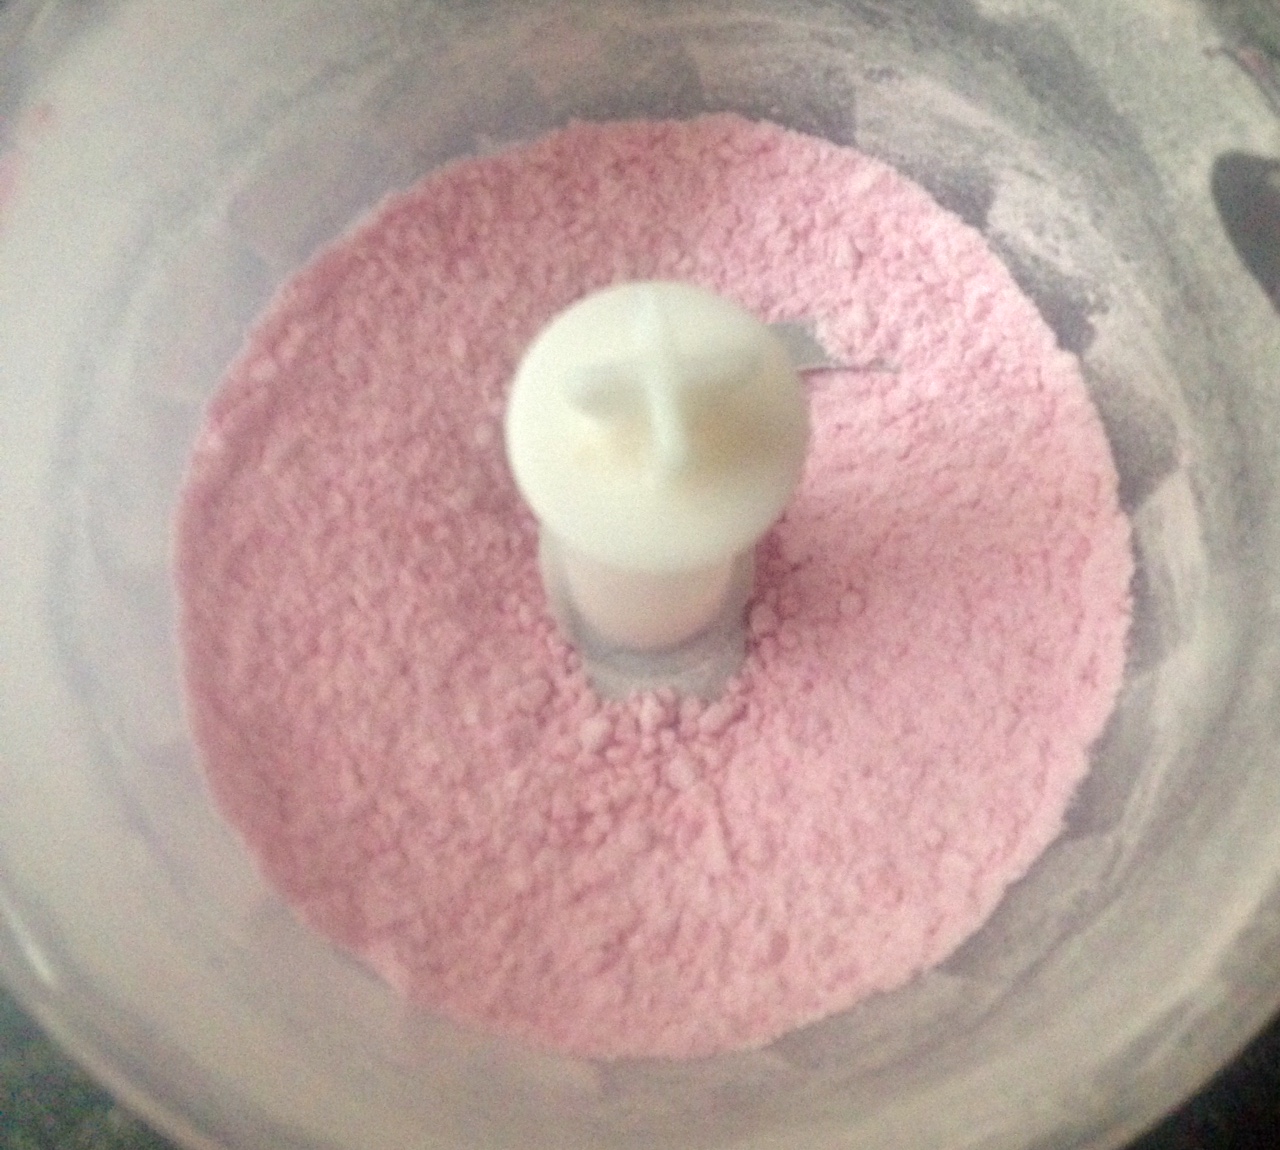
Step 10
Like this recipe? Subscribe via RSS or email to get my new entries and more scrumptious recipes with reviews.
 Follow