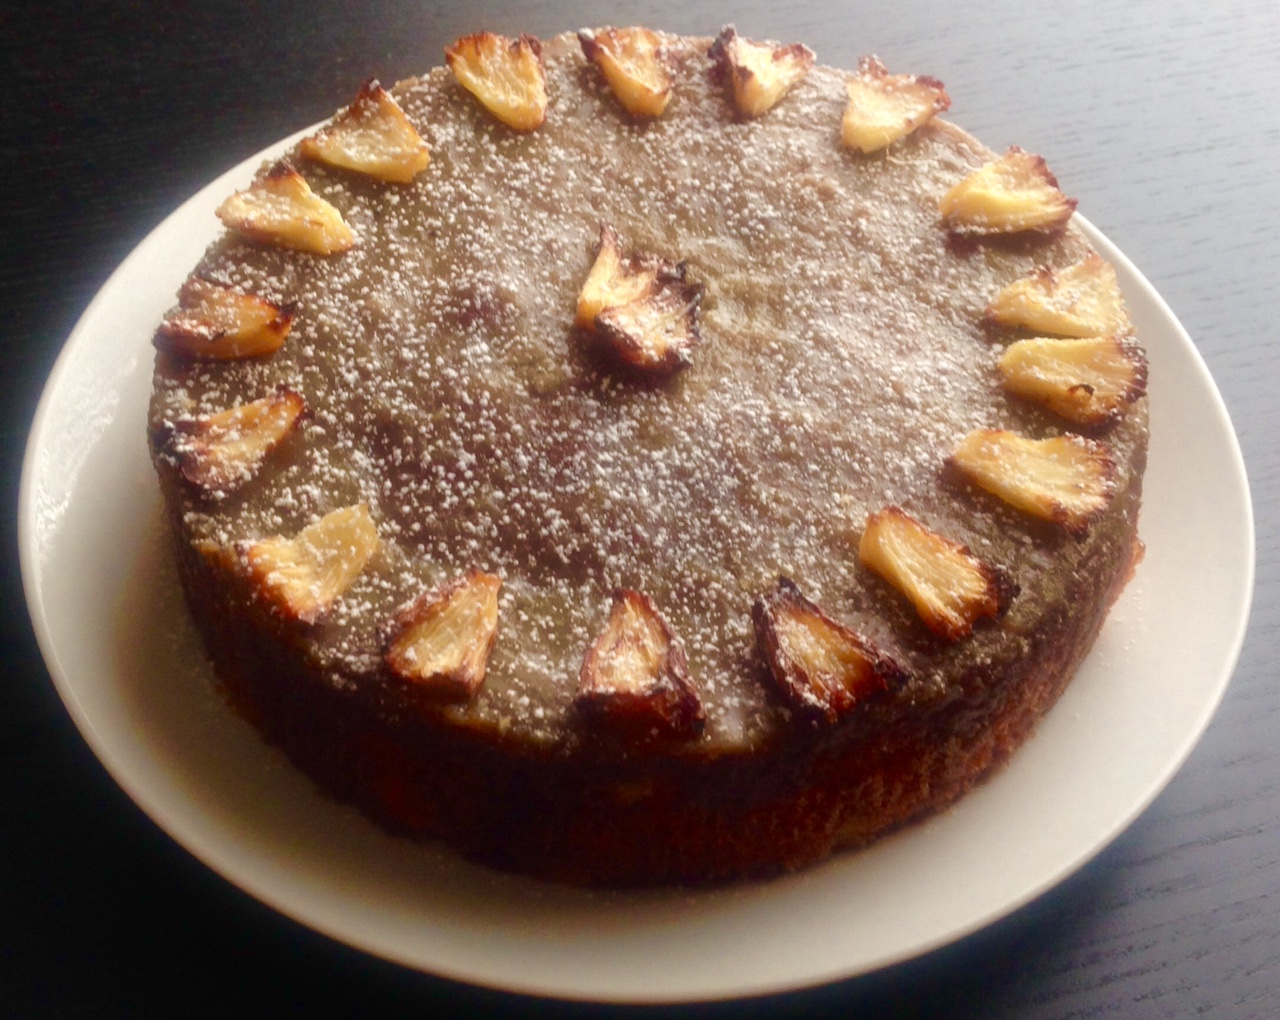
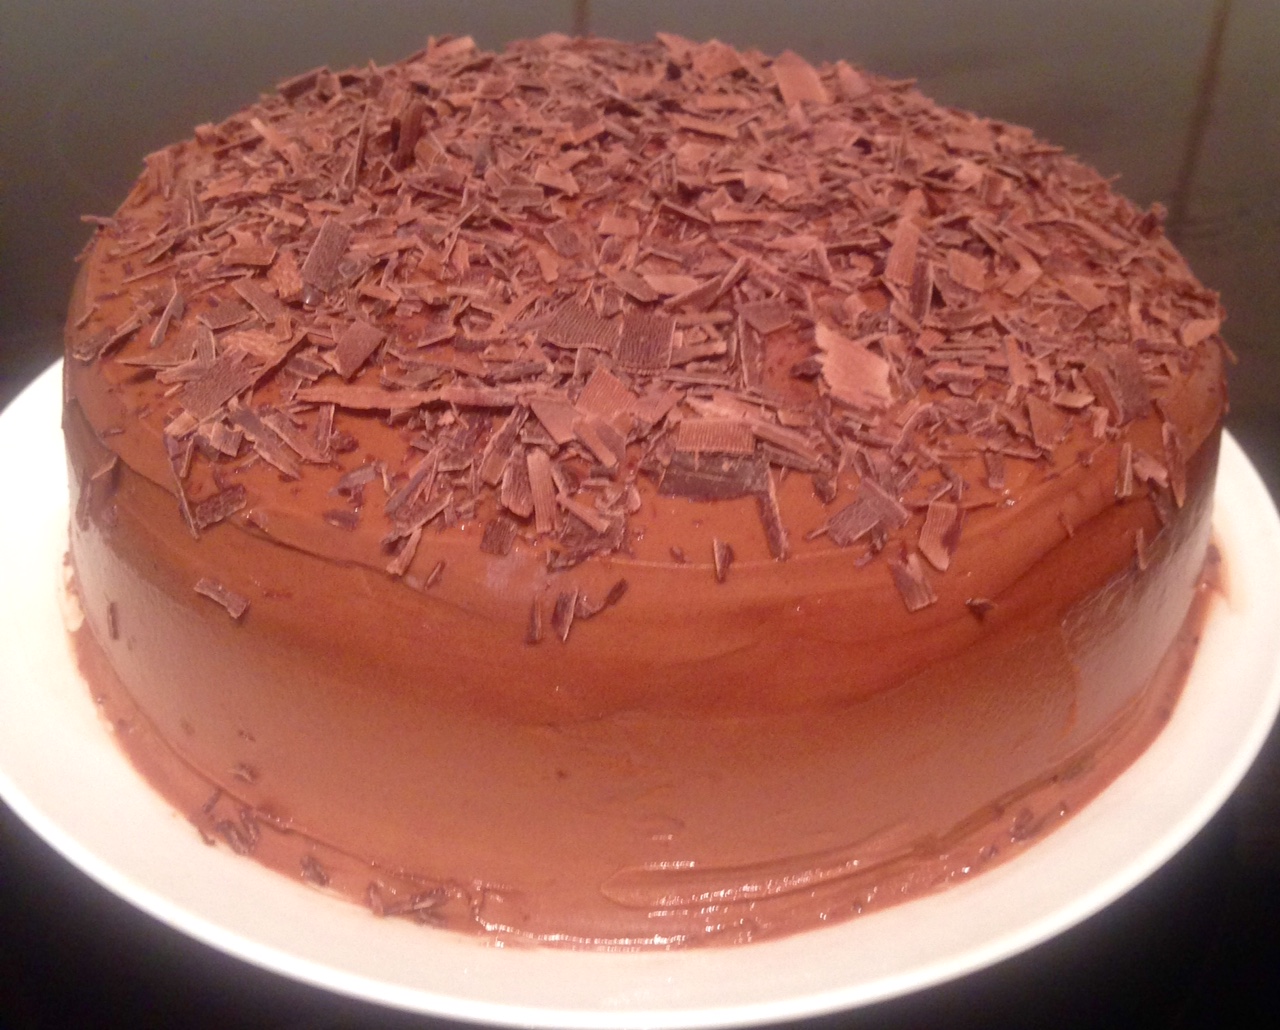
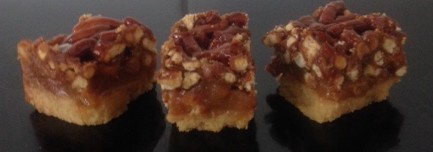
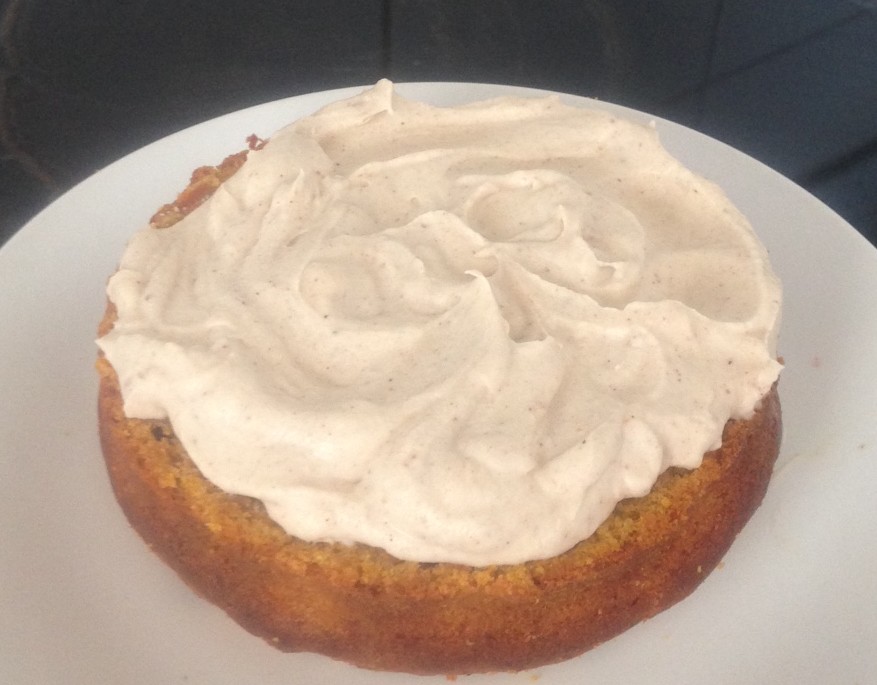
Spiced Pumpkin Cake with Maple Icing
As pumpkin is one of the sweetest vegetables available you can understand why sweet flavour matches like pumpkin and maple syrup work so well.
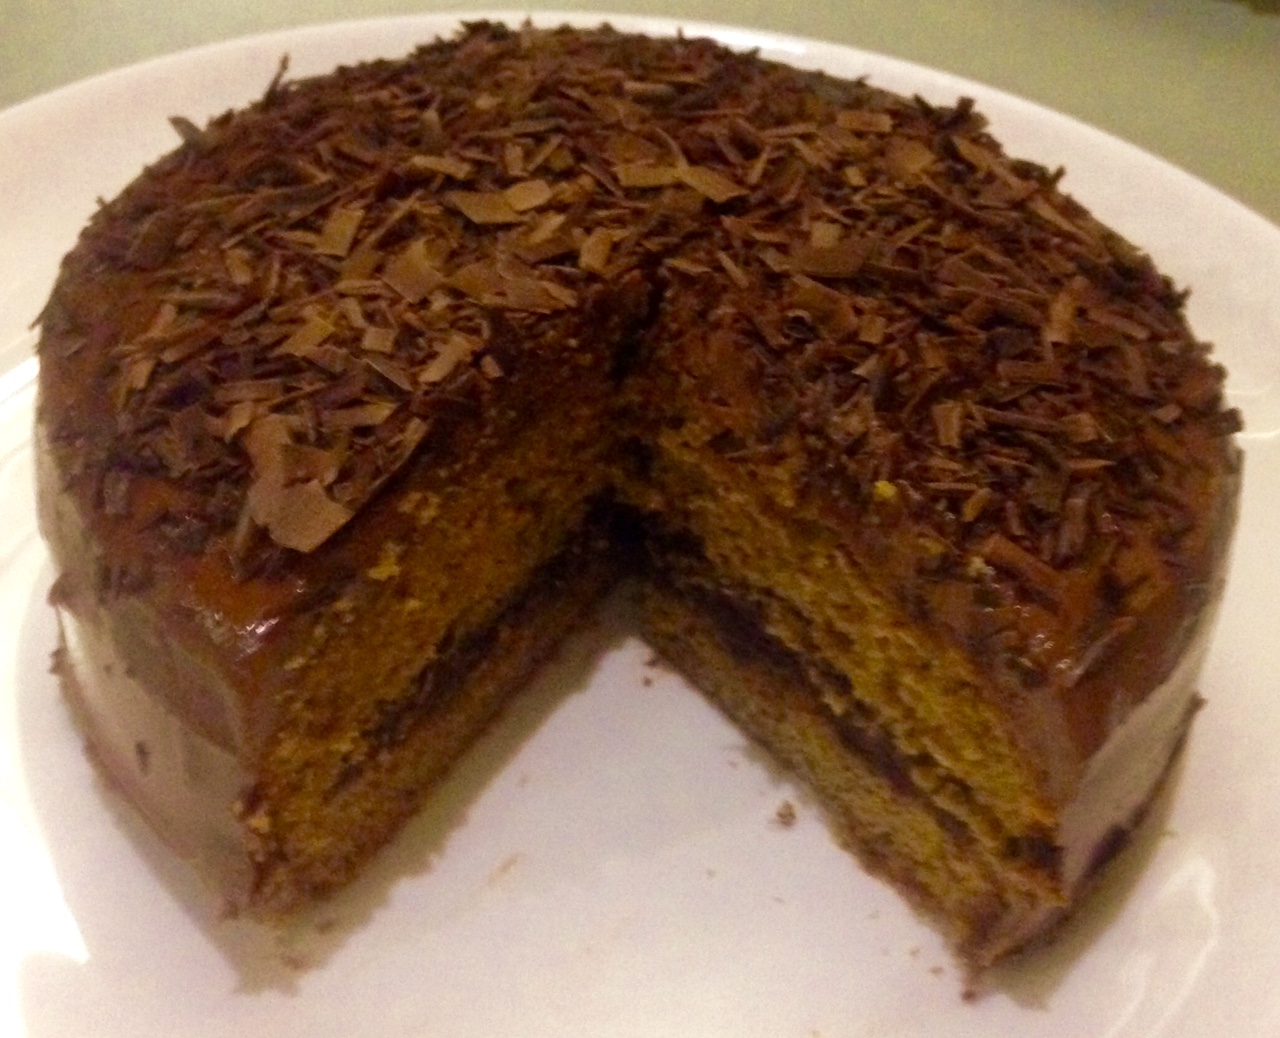
This cake is similar to a Carrot Cake flavour and texture mixed with a Pumpkin Pie, which has quickly become my favourite for a long time.
A simple, easy and moreish cake that will leave you satisfied!
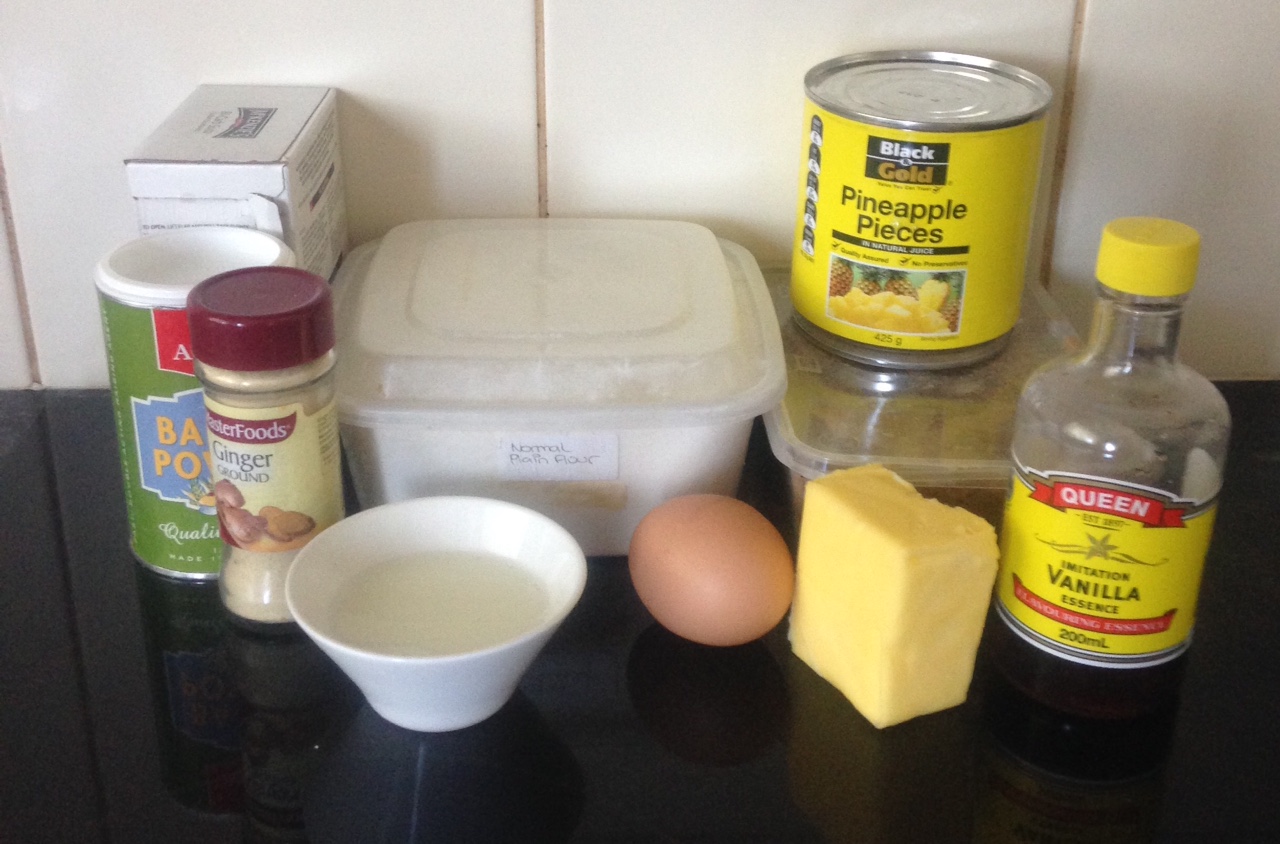
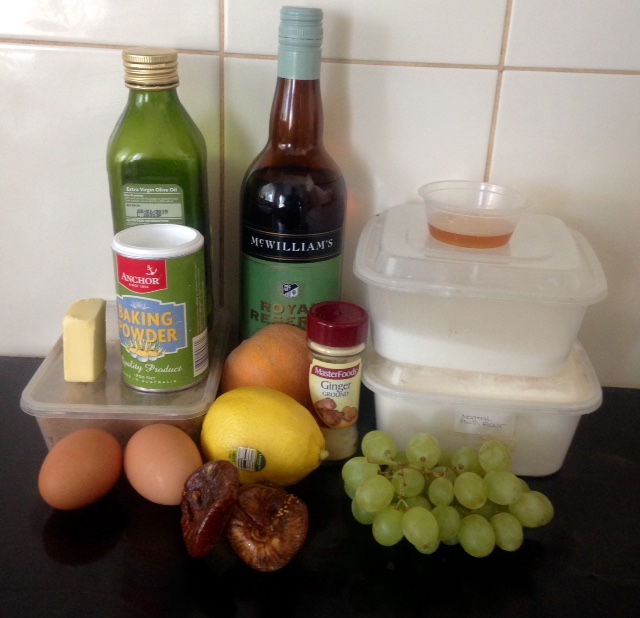
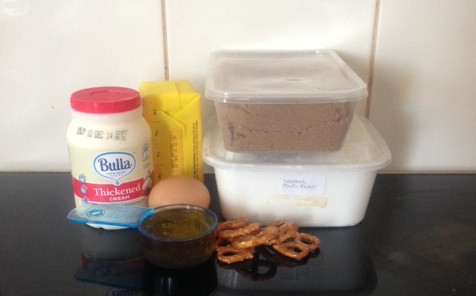
Ingredients:
Cake:
- 250g butter
- 90g sugar
- 3 eggs
- 1 cup mashed pumpkin (approx. 400g of pumpkin flesh)
- ¼ cup maple syrup
- 2 cups self raising flour
- 1 tsn ground cinnamon
- ½ ground mixed spice
- ½ tsn nutmeg
- ¼ ground ginger
- ¼ ground cloves
Icing:
- 90g butter
- 1 cup icing sugar
- 2 tsn maple syrup
- ¼ tsn cinnamon
- ¼ tsn mixed spice
- Pinch nutmeg
- Extra:
- 20ml maple syrup
Method:
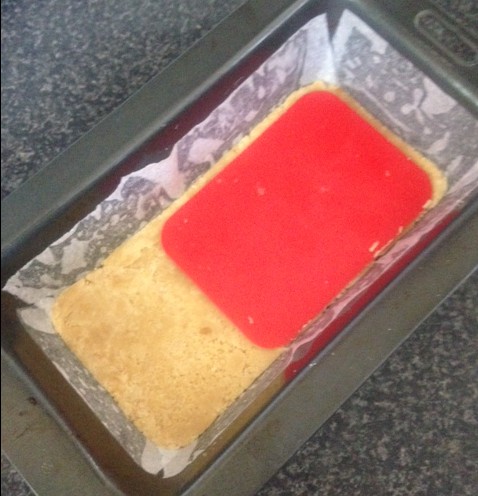
- Preheat the oven 200c and line a 23cm-baking tray with baking paper.
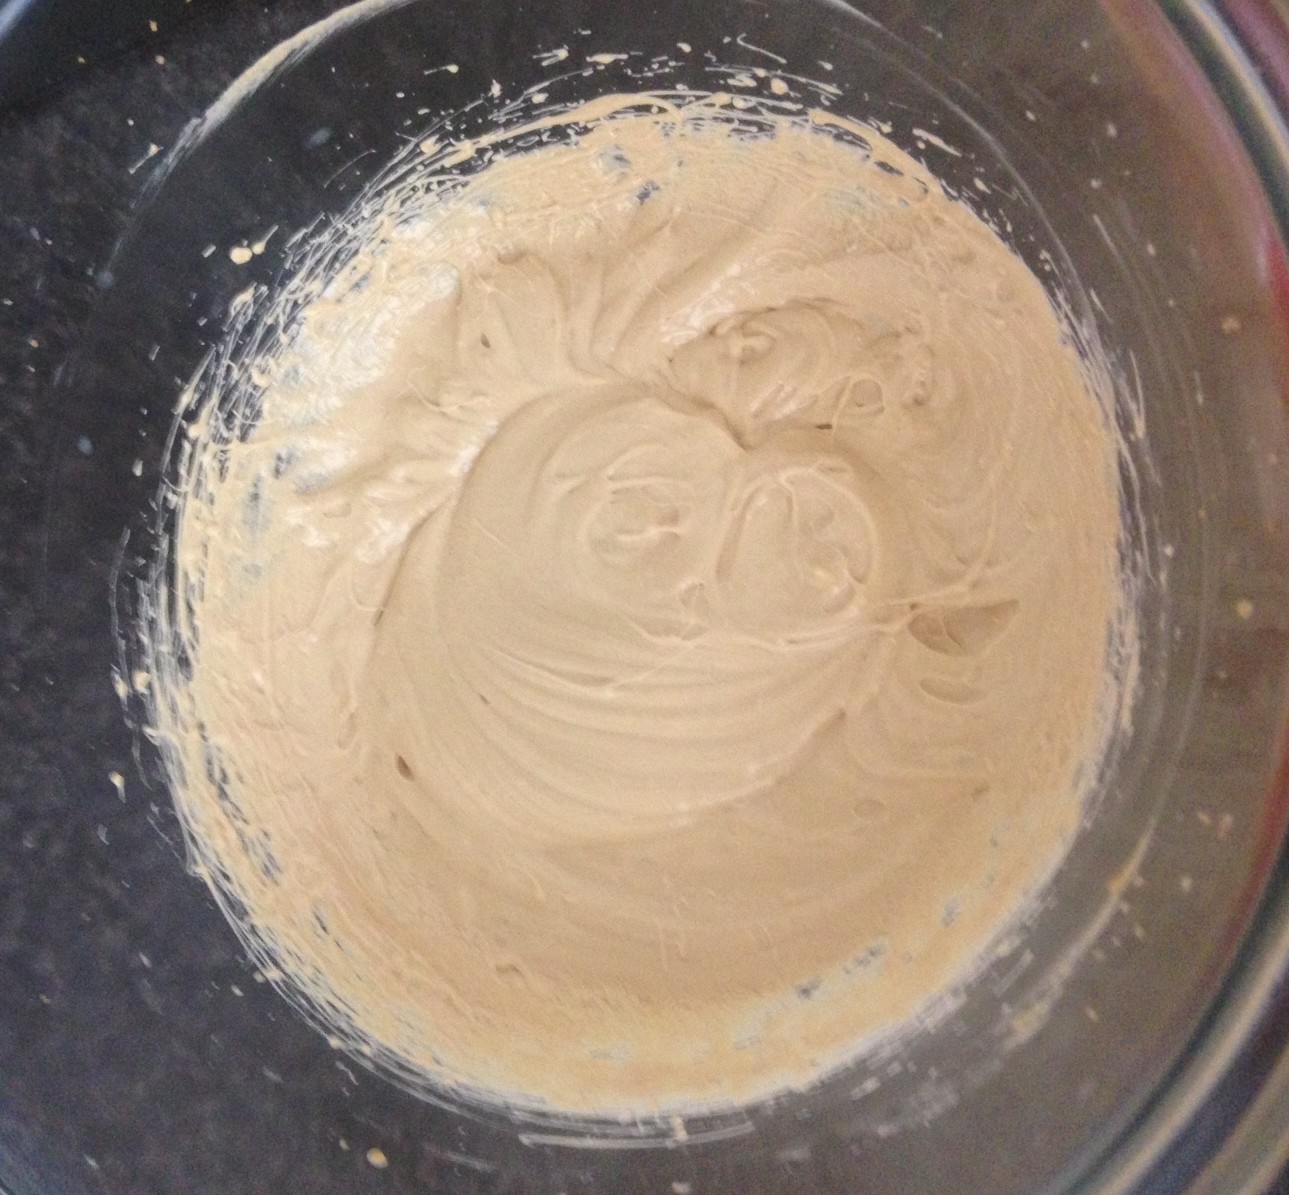
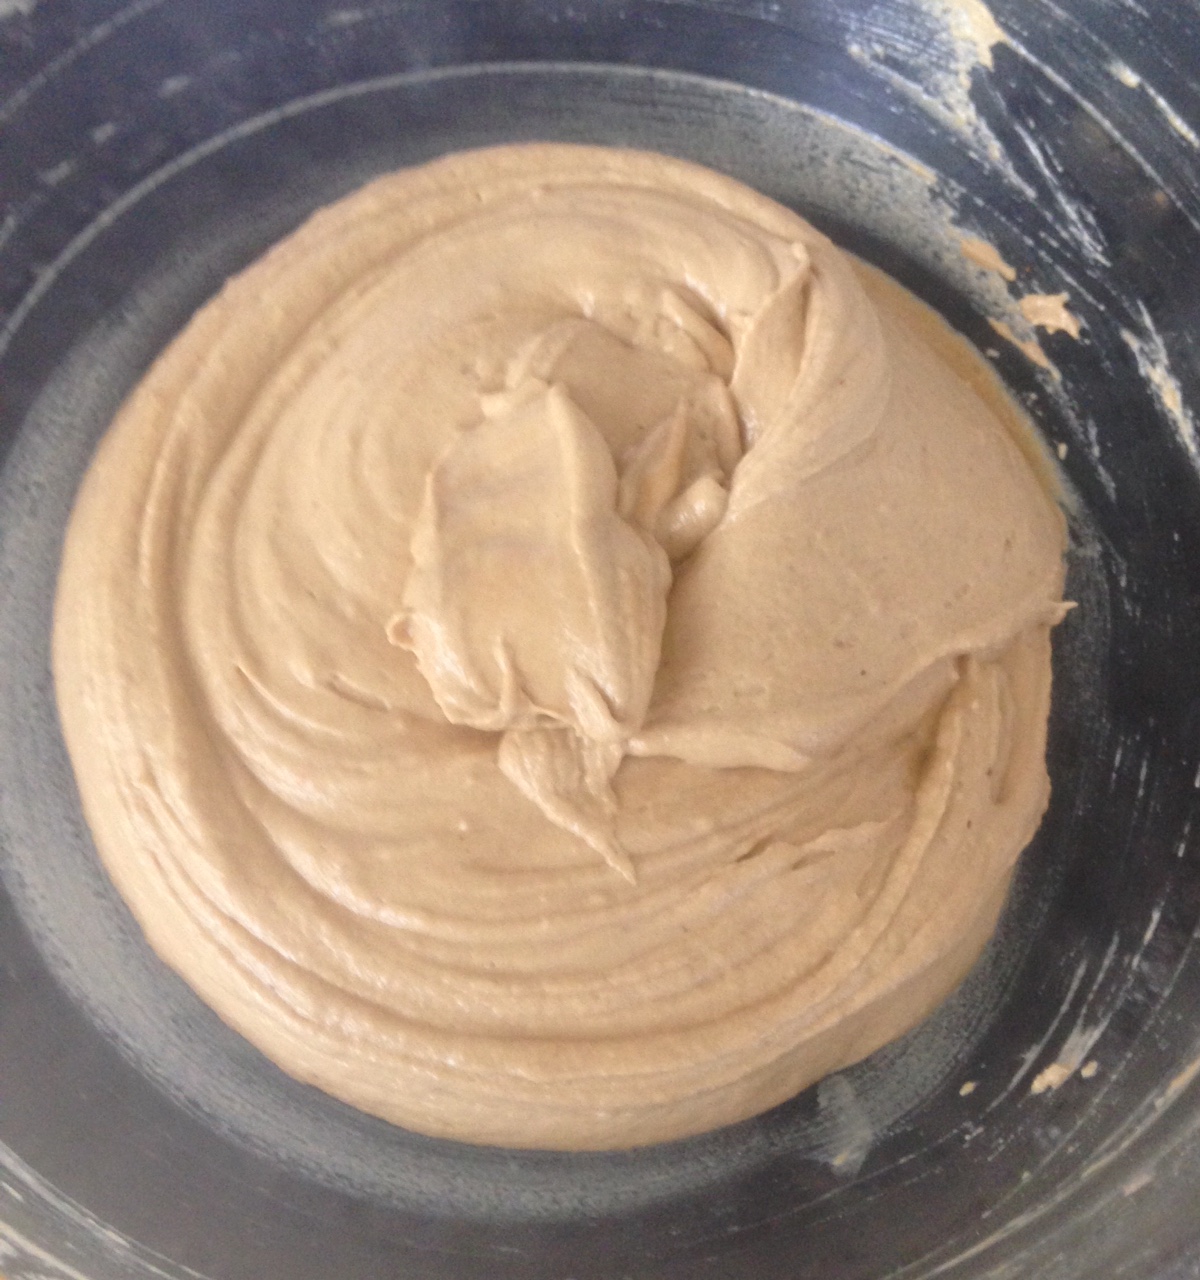
- With electric beaters mix the butter and sugar until the mix is light and fluffy.
- Add eggs beating in between each addition.
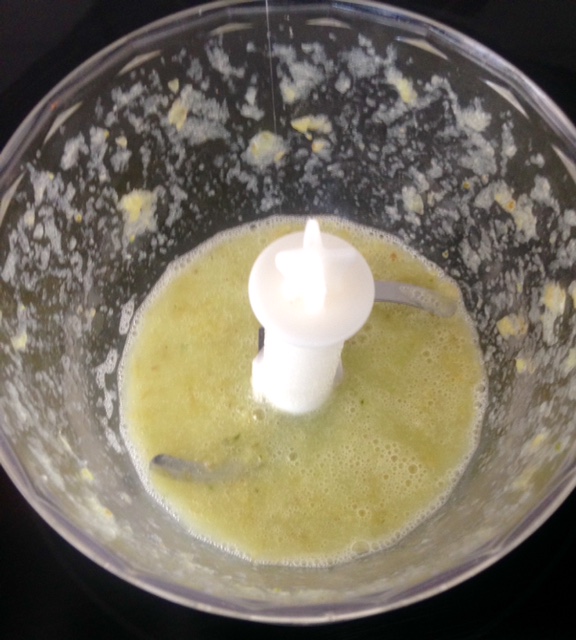
- Add the cooled mashed pumpkin and maple syrup and beat until well combine.
- Sift the flour, cinnamon, mixed spice, nutmeg, ginger and cloves into a bowl together.
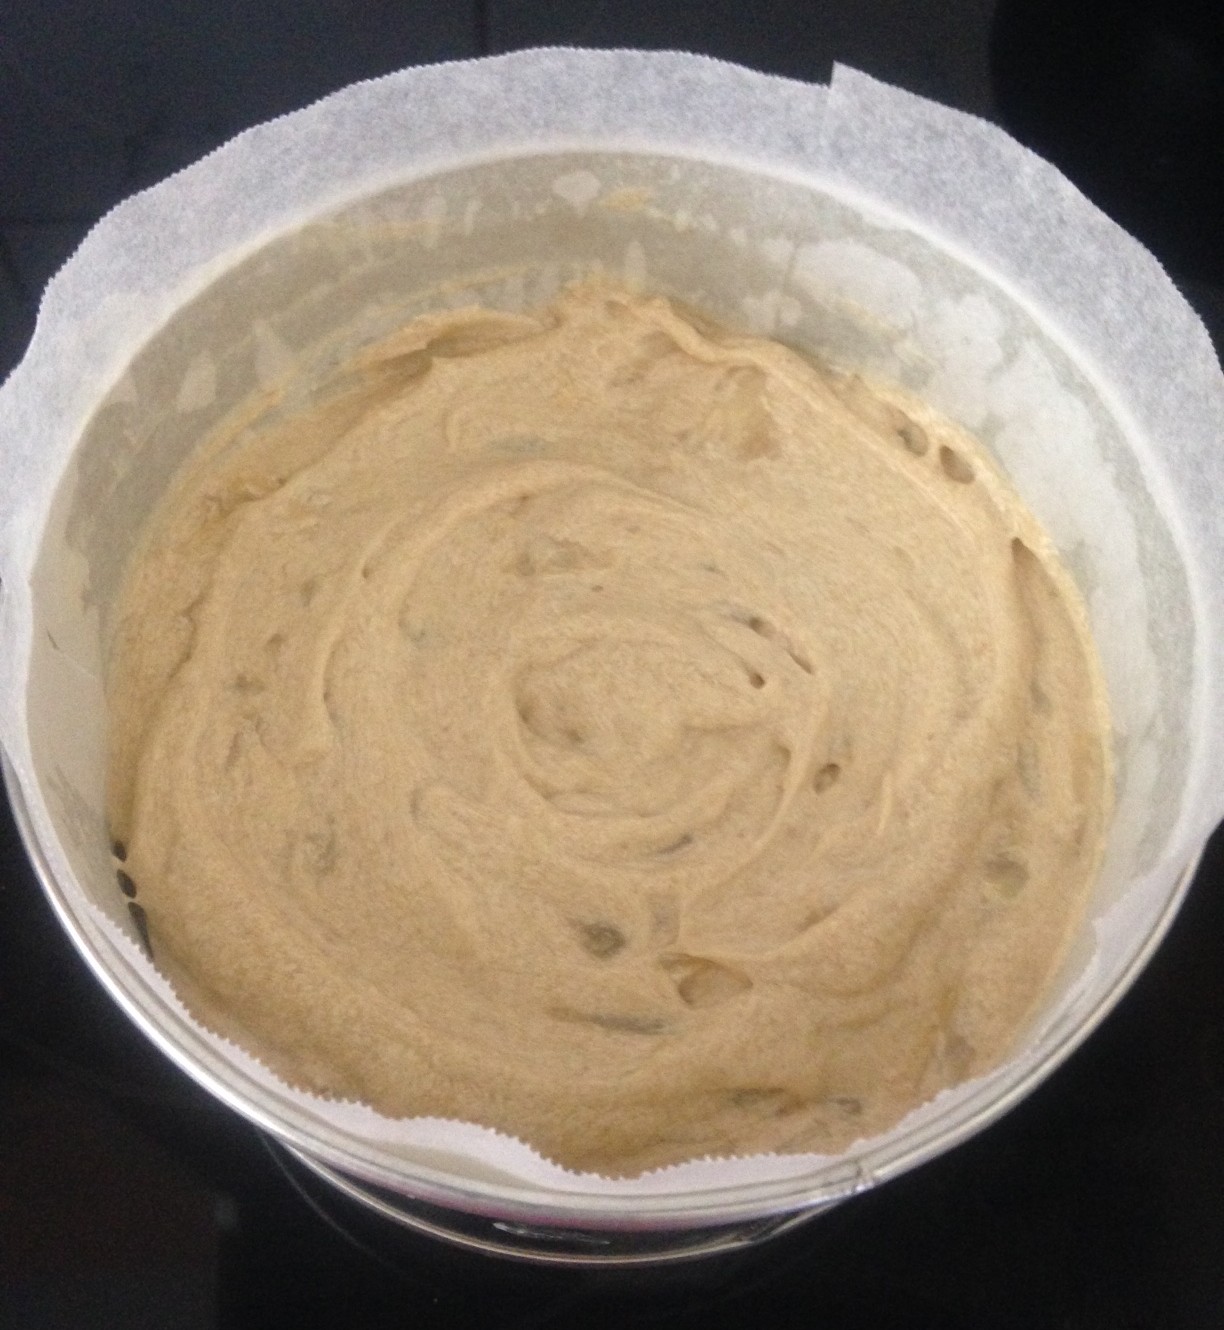
- Using a spatula carefully fold in the flour mix until only just combined
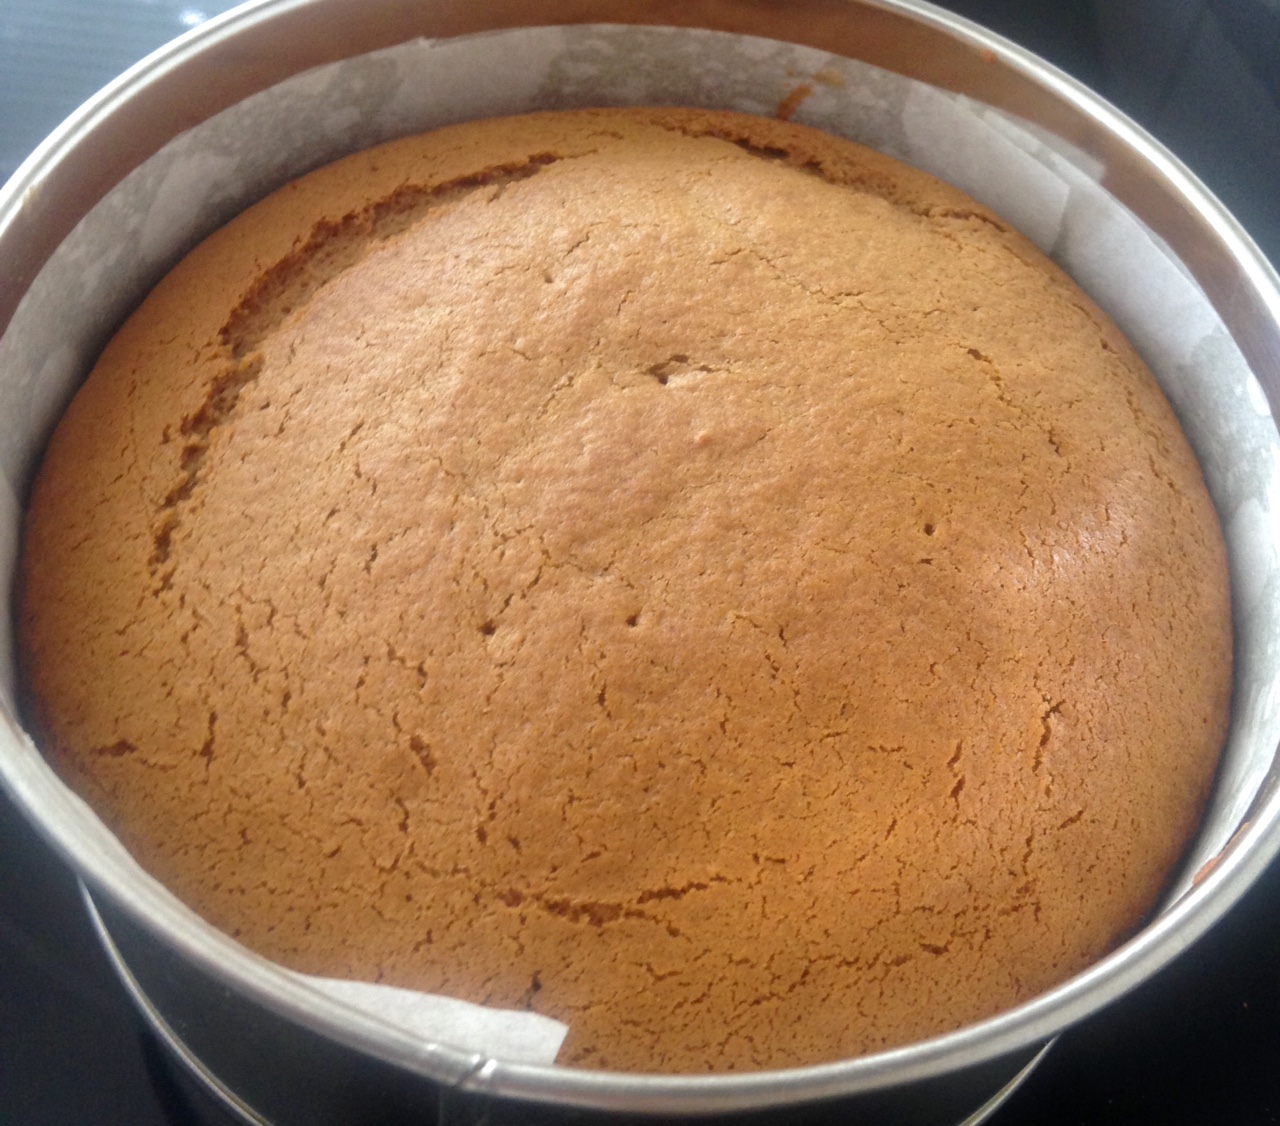
- Spoon the mix into the baking tin and bake for 55 minutes of until a skew inserted in the center comes out clean.
- Place on a cake rack to cool.
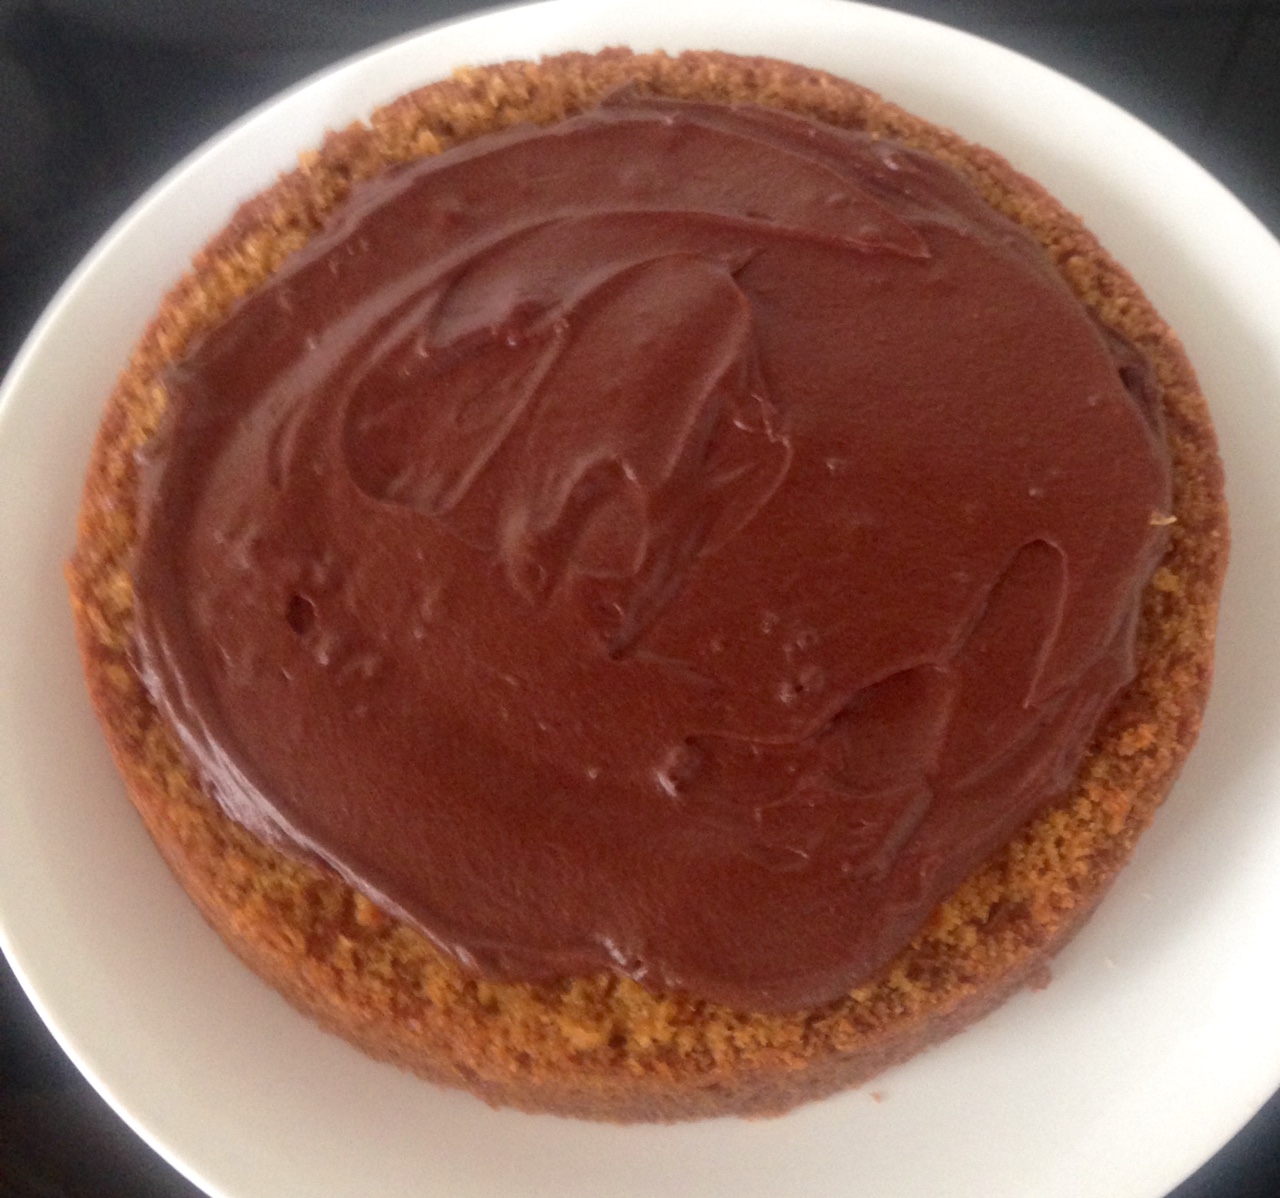
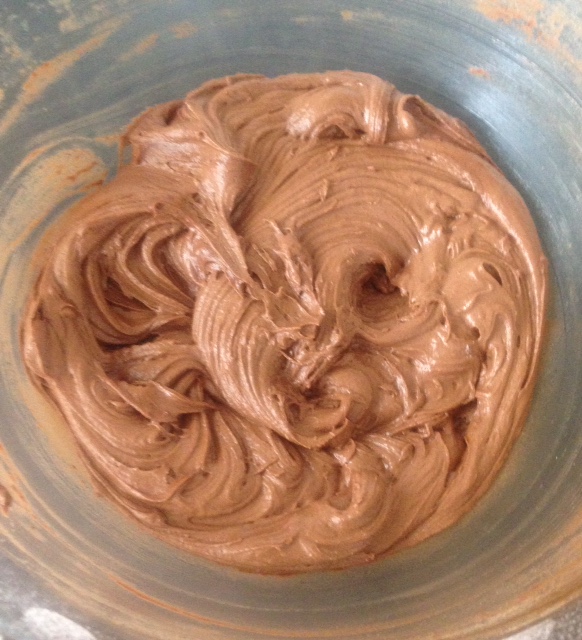
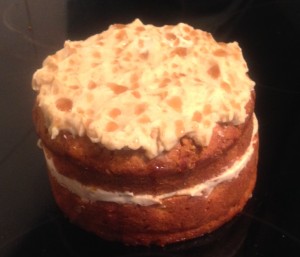
- To make the icing beat the butter until light and fluffy. Sift in the icing sugar, maple syrup, cinnamon, mixed spice and nutmeg and beat with electric beaters until light and fluffy.
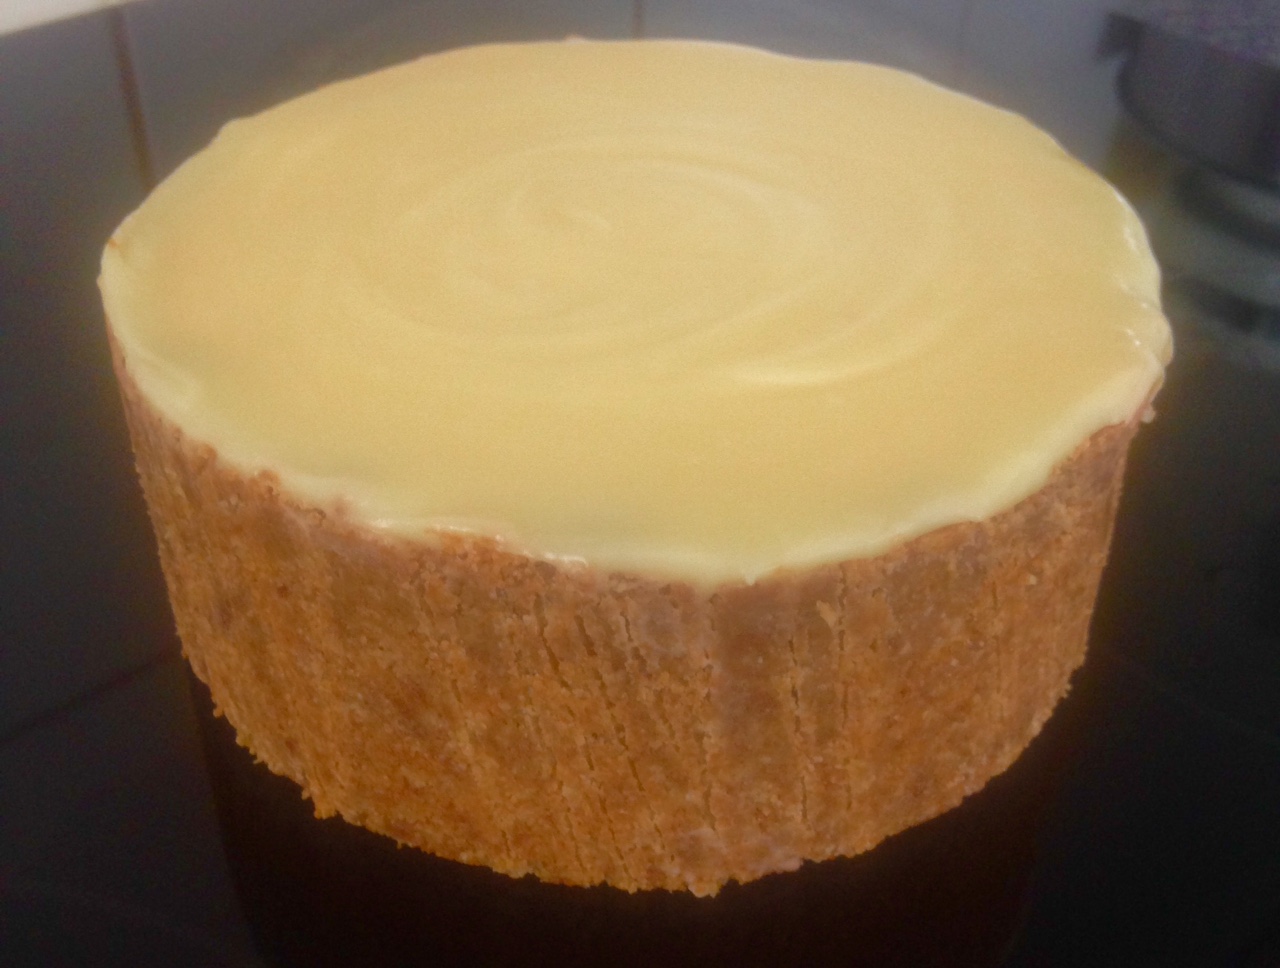
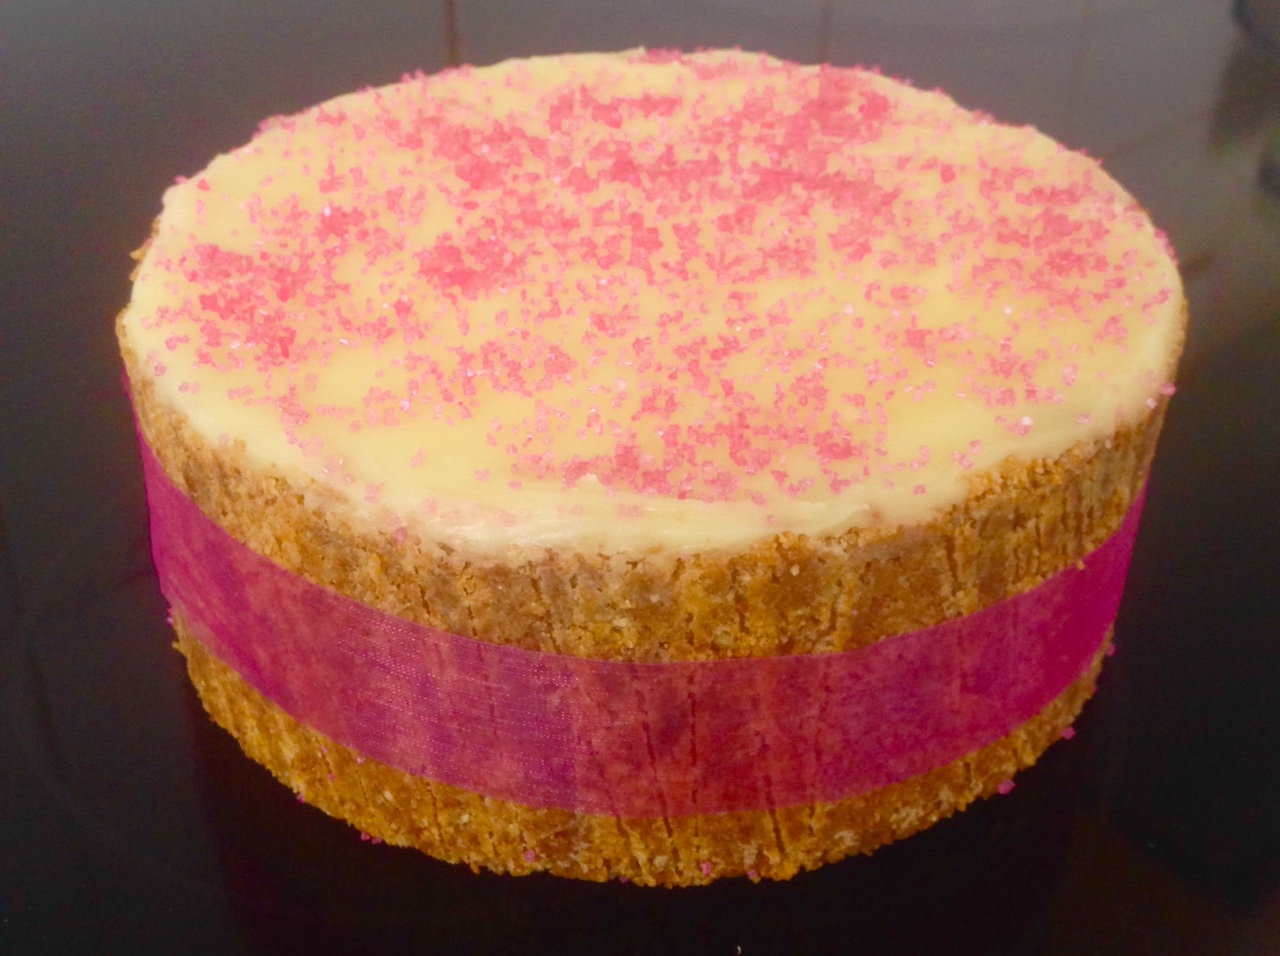
- Ice the top of the cake and decorate with a drizzle of 20ml extra of maple syrup.

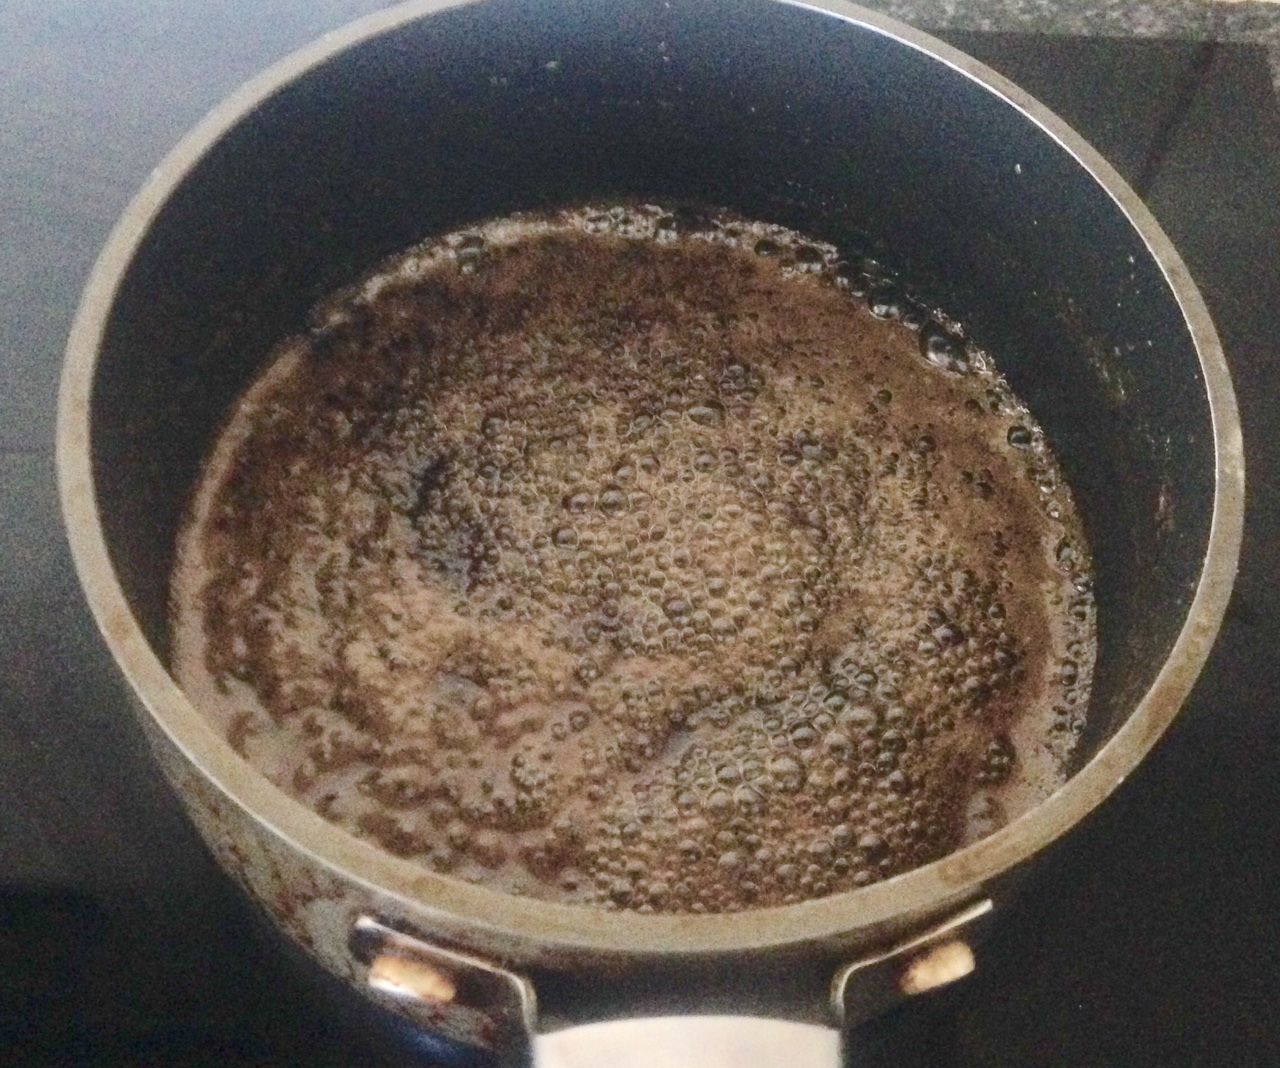
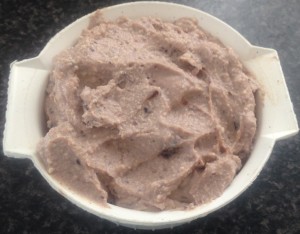
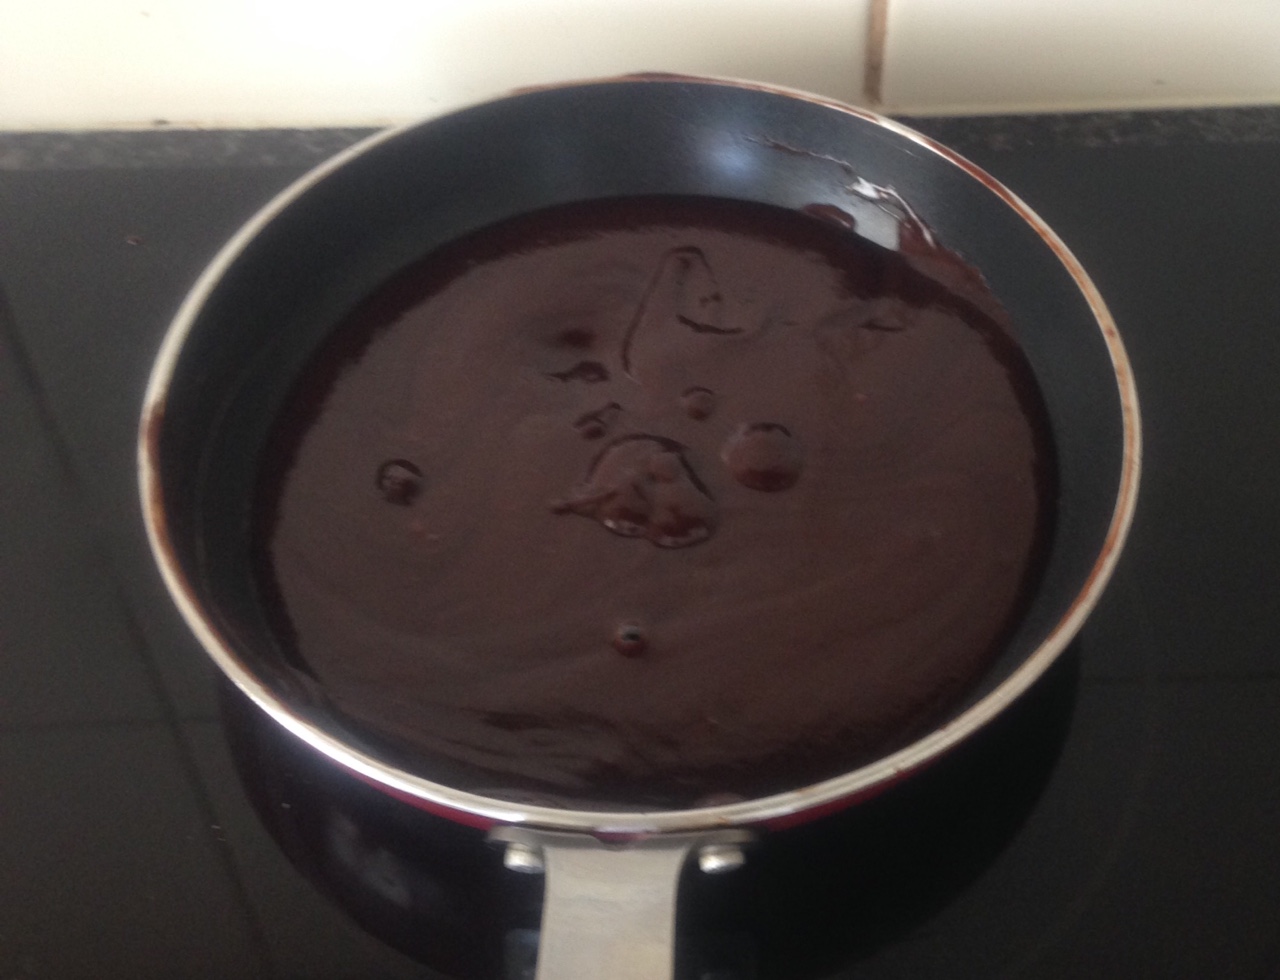
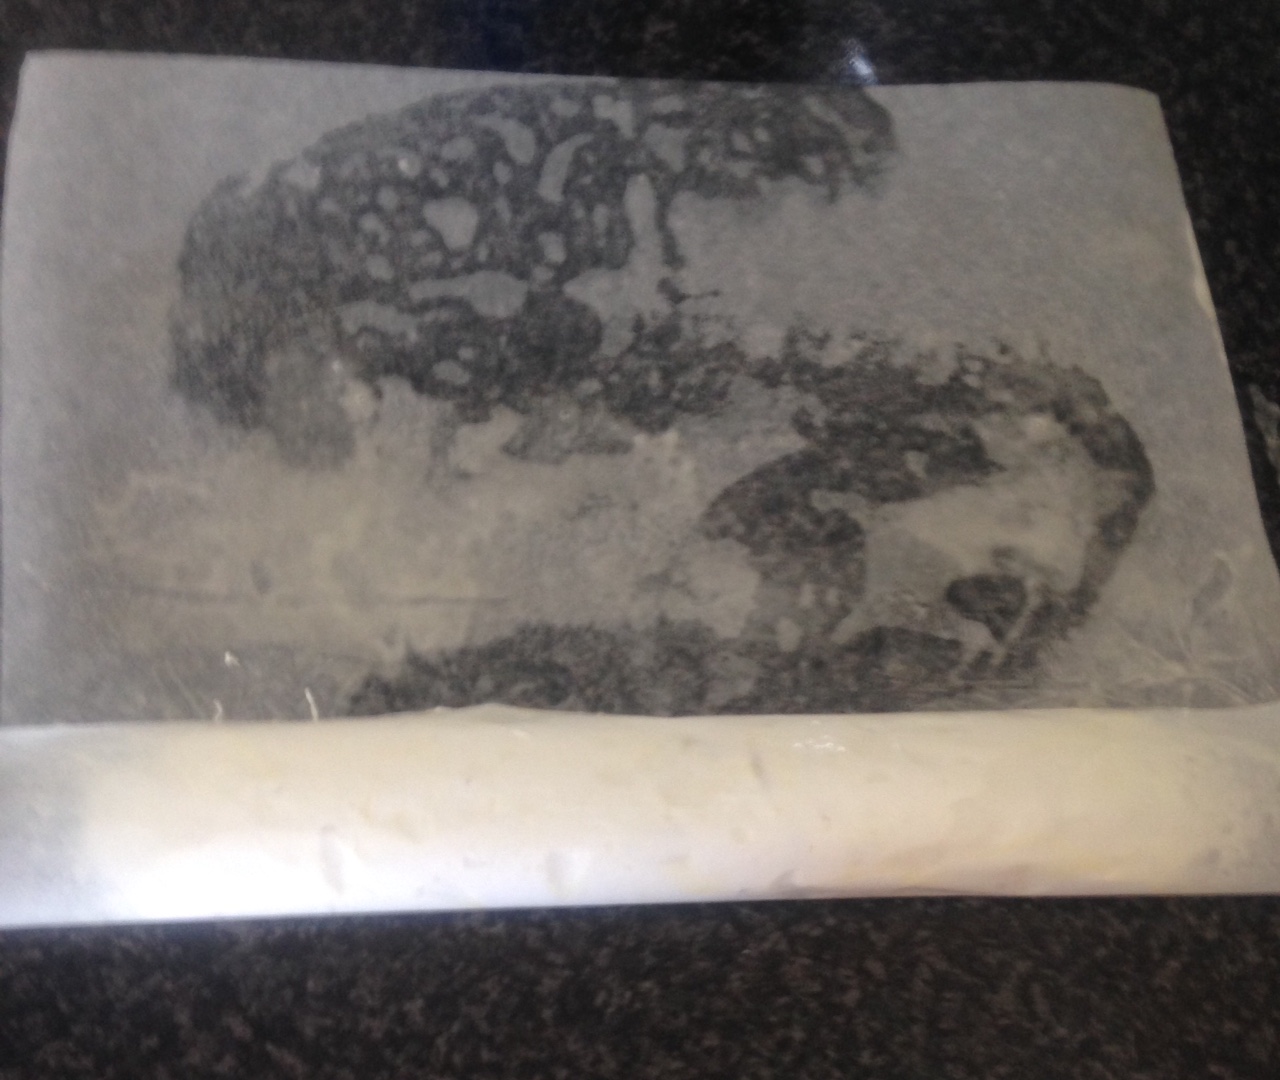
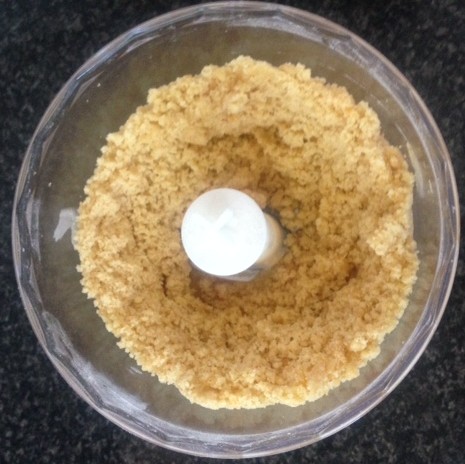
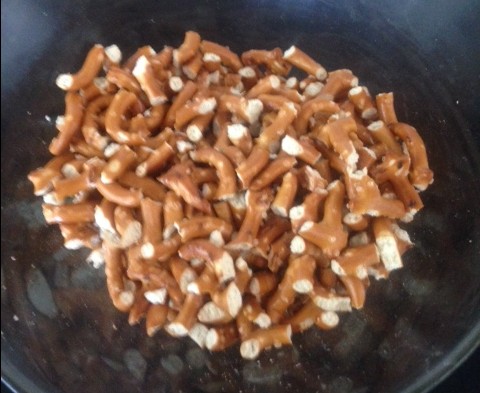
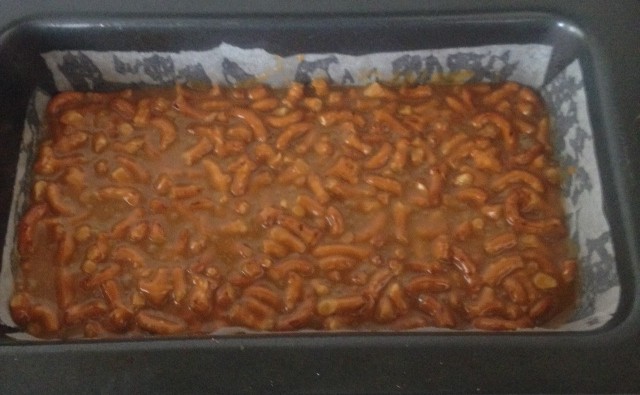
Mashed pumpkin
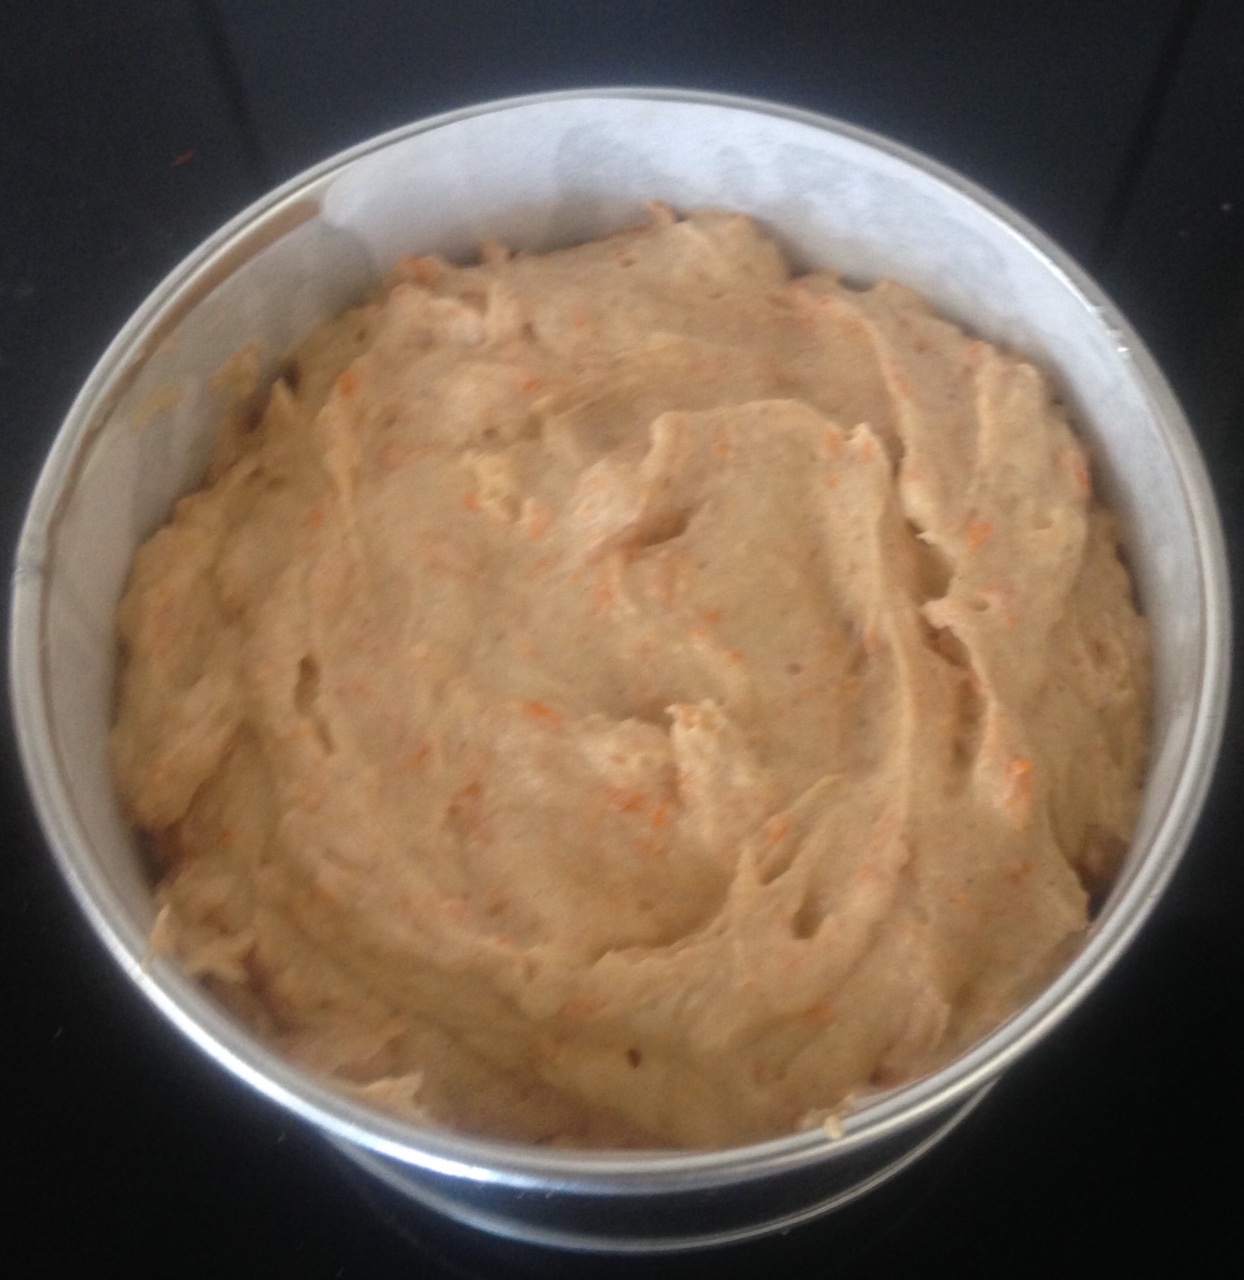
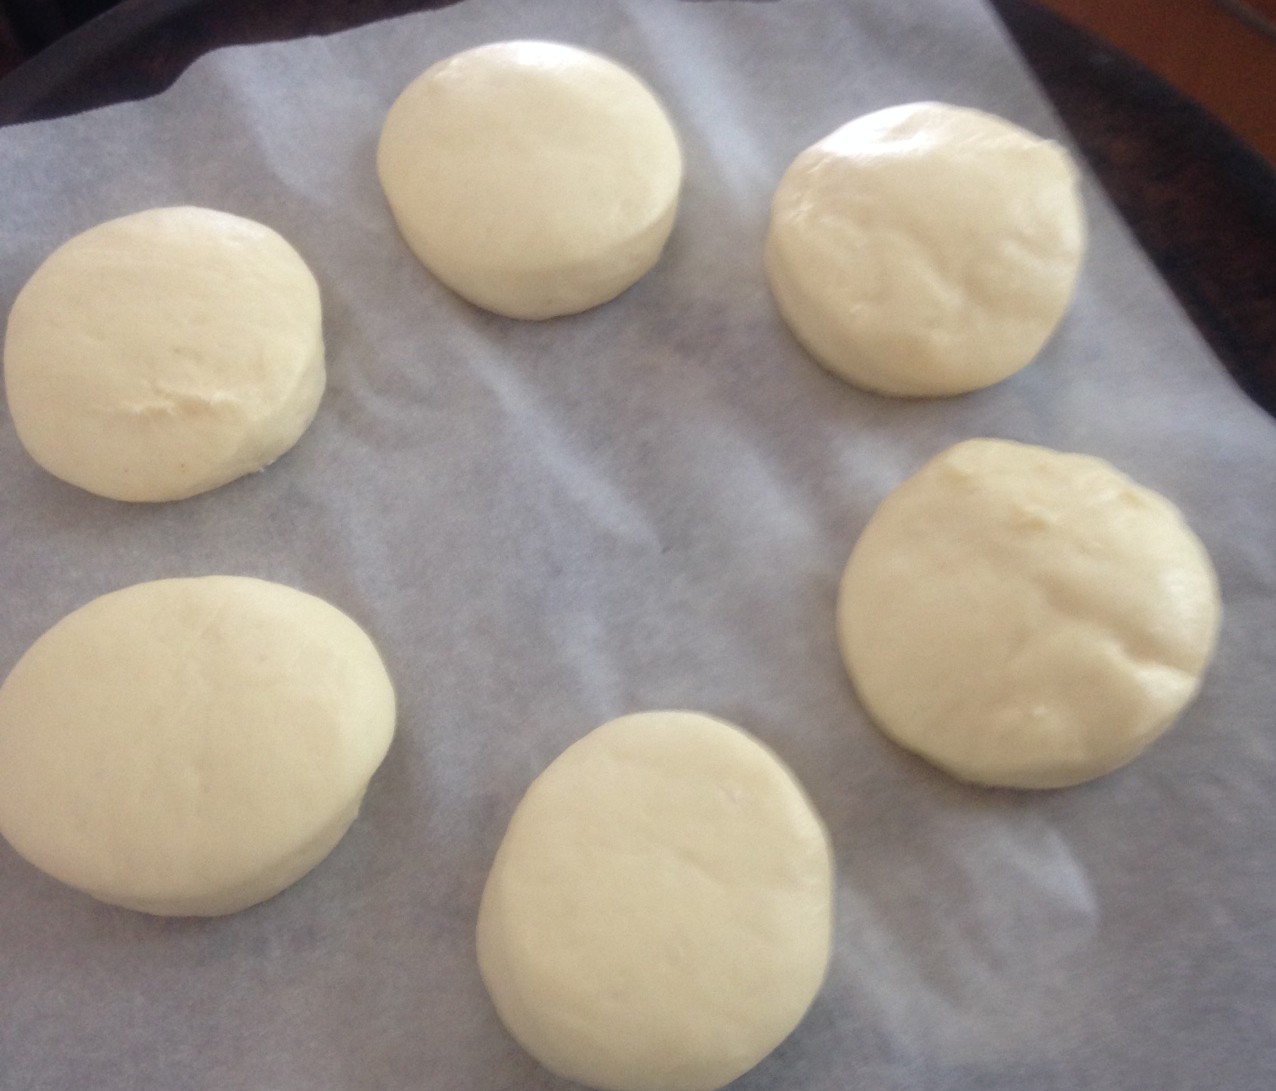
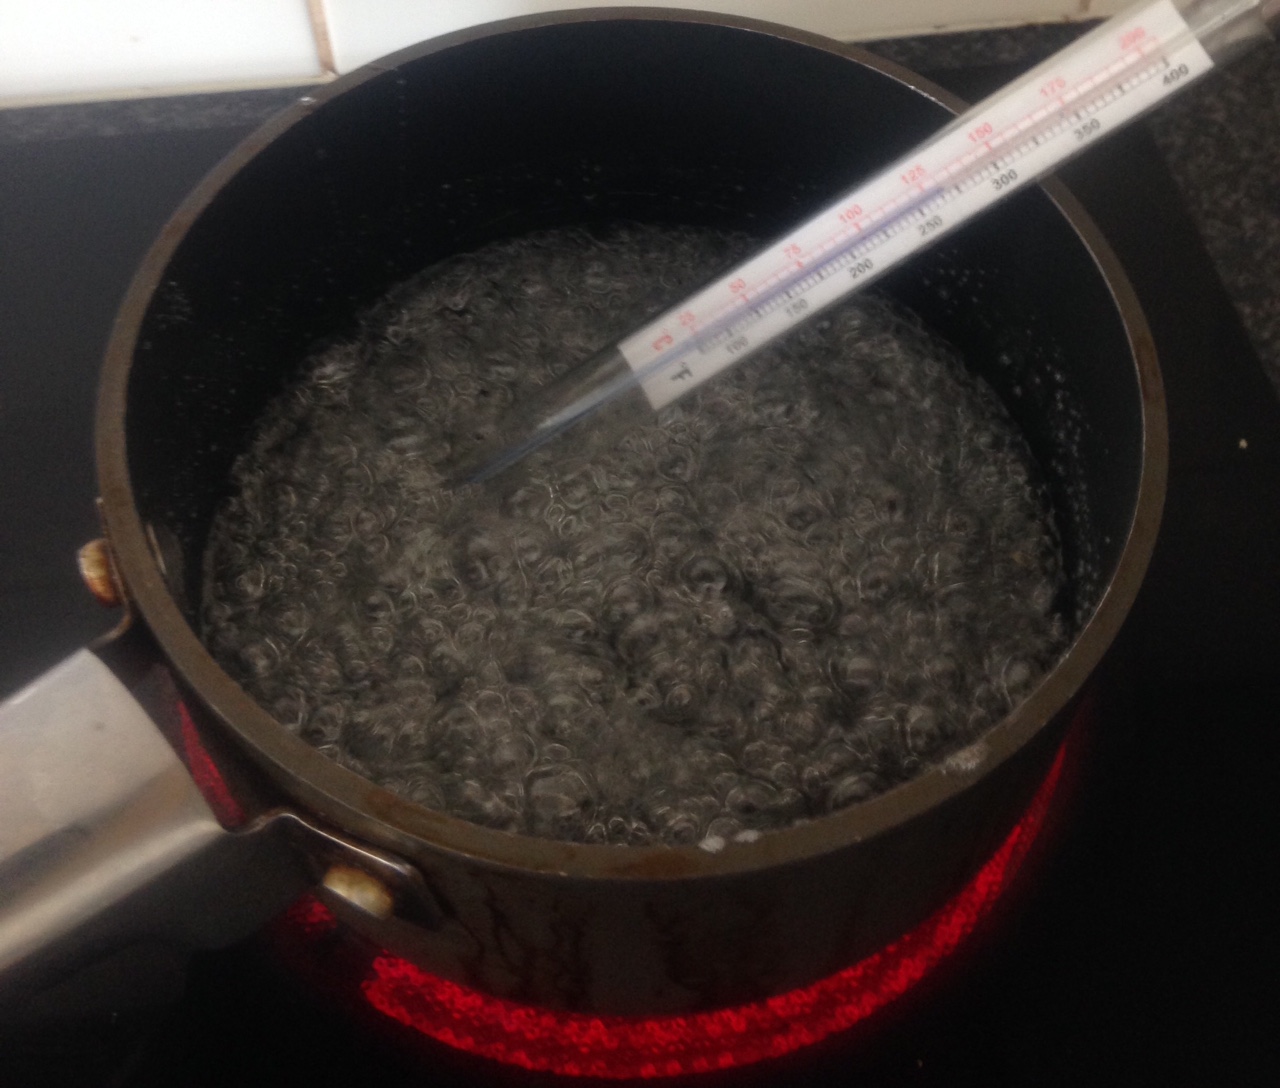
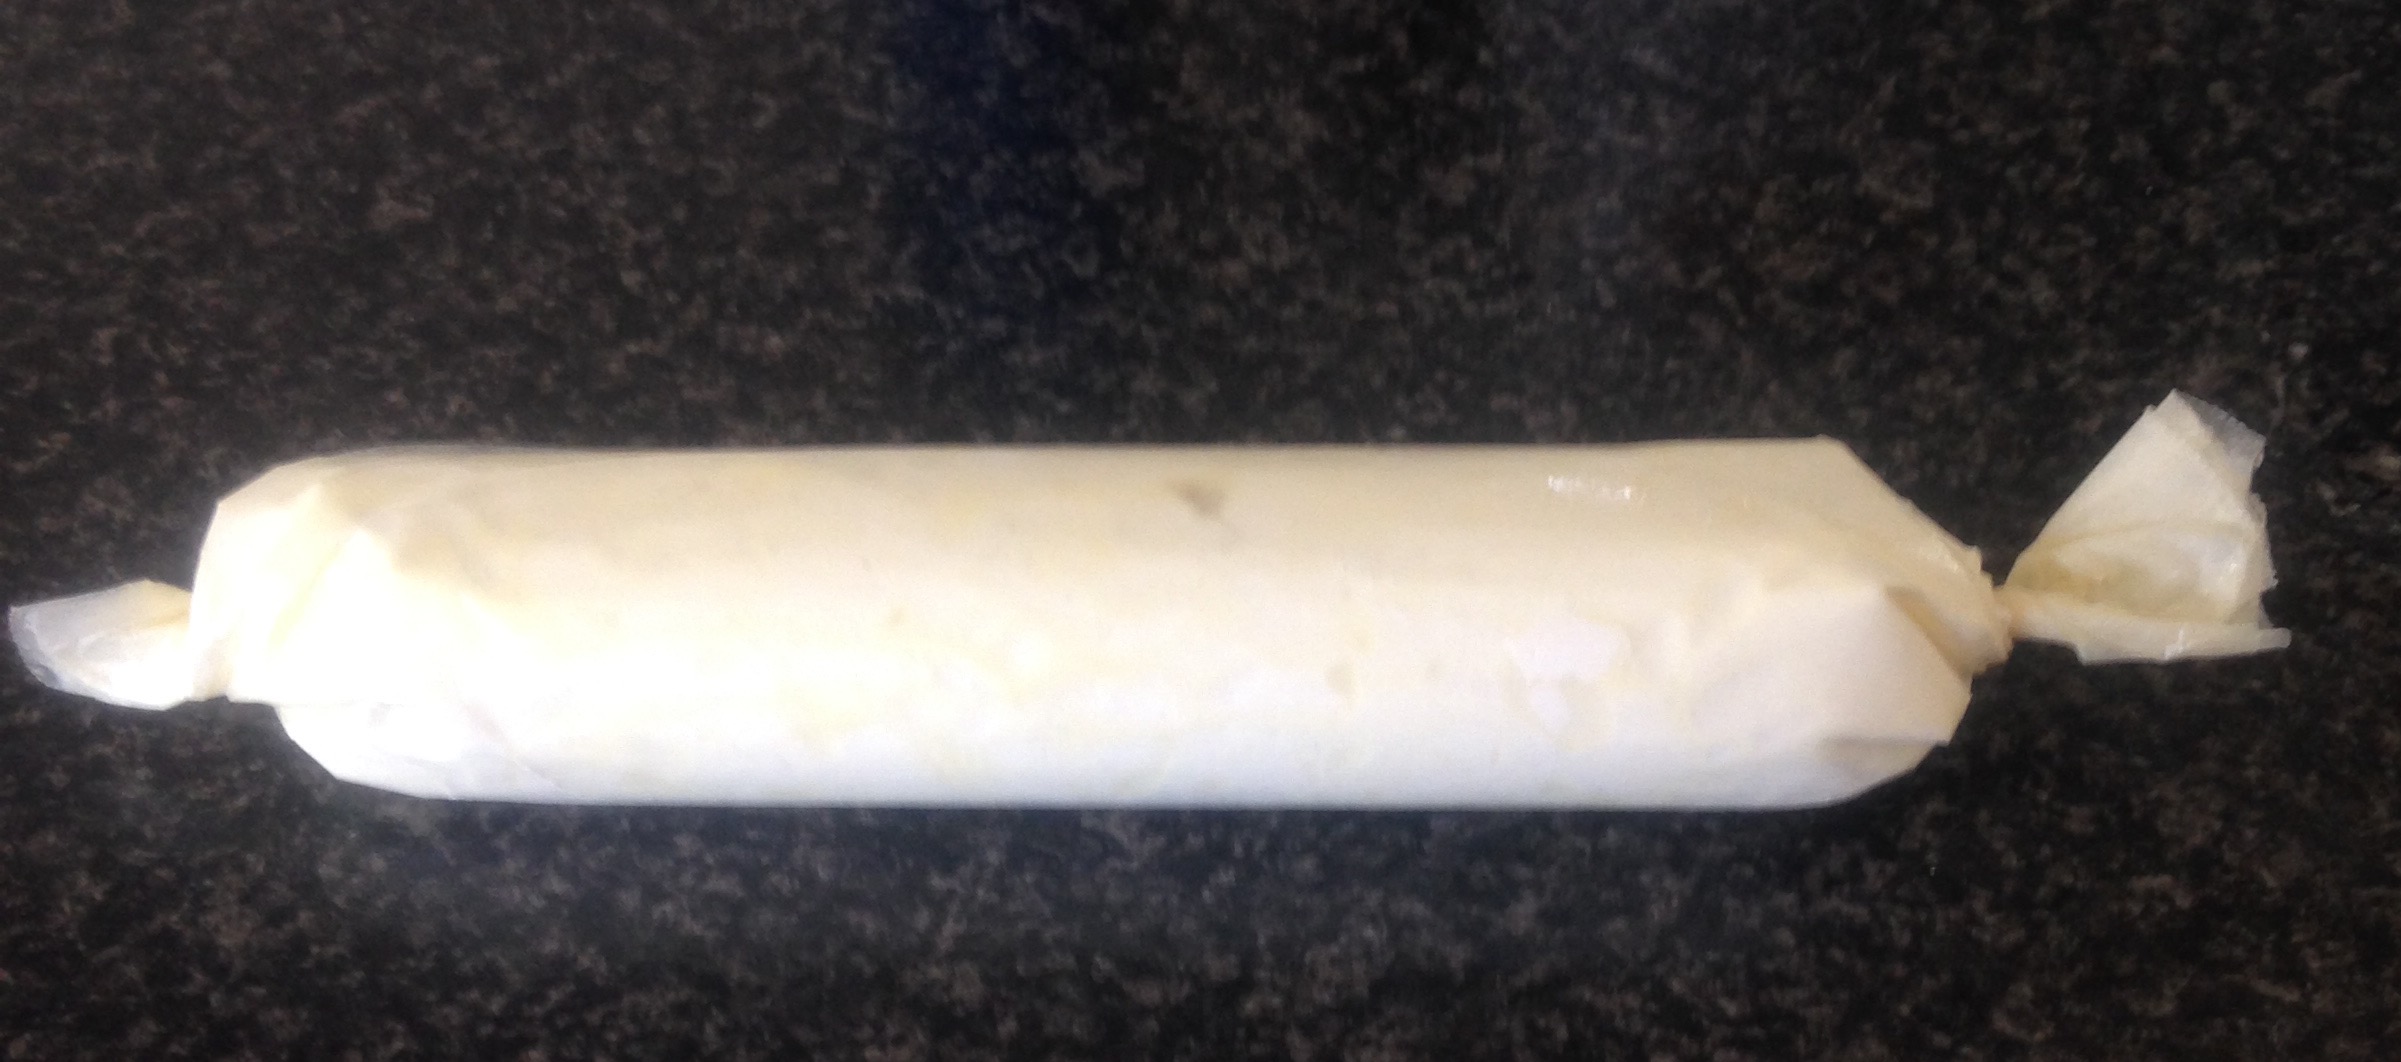
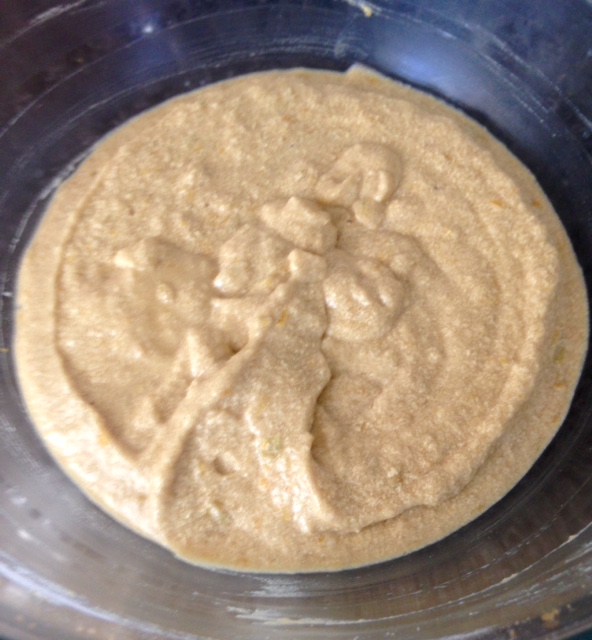
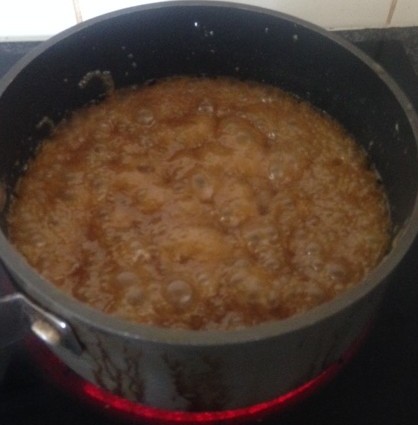
Step 7
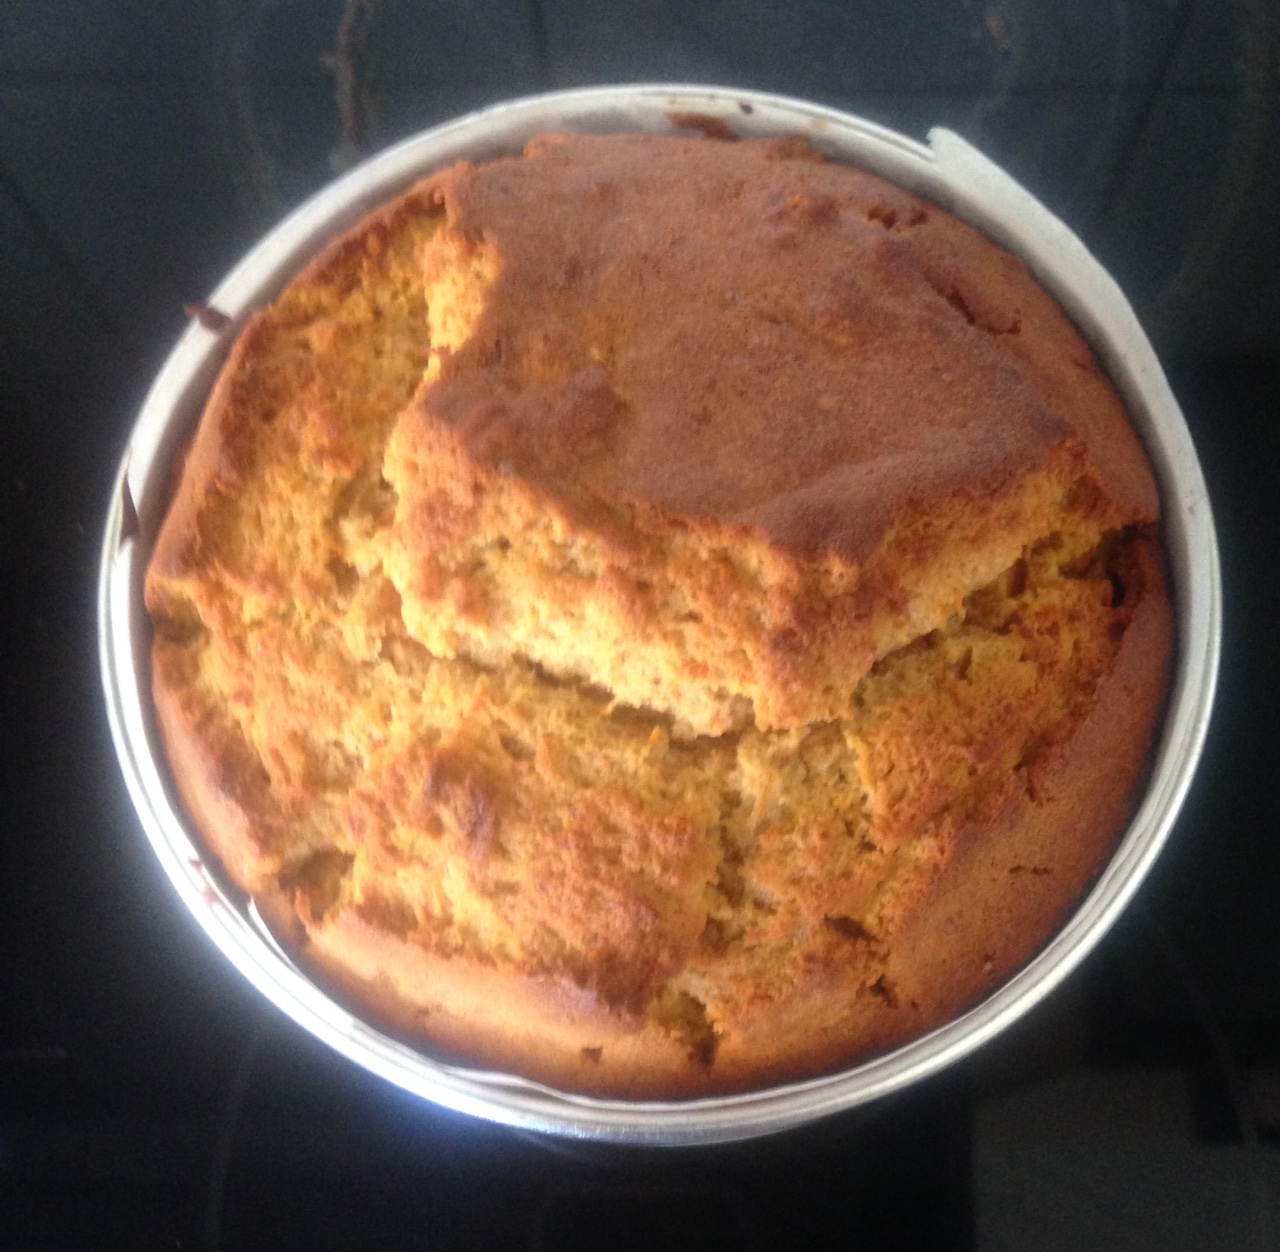
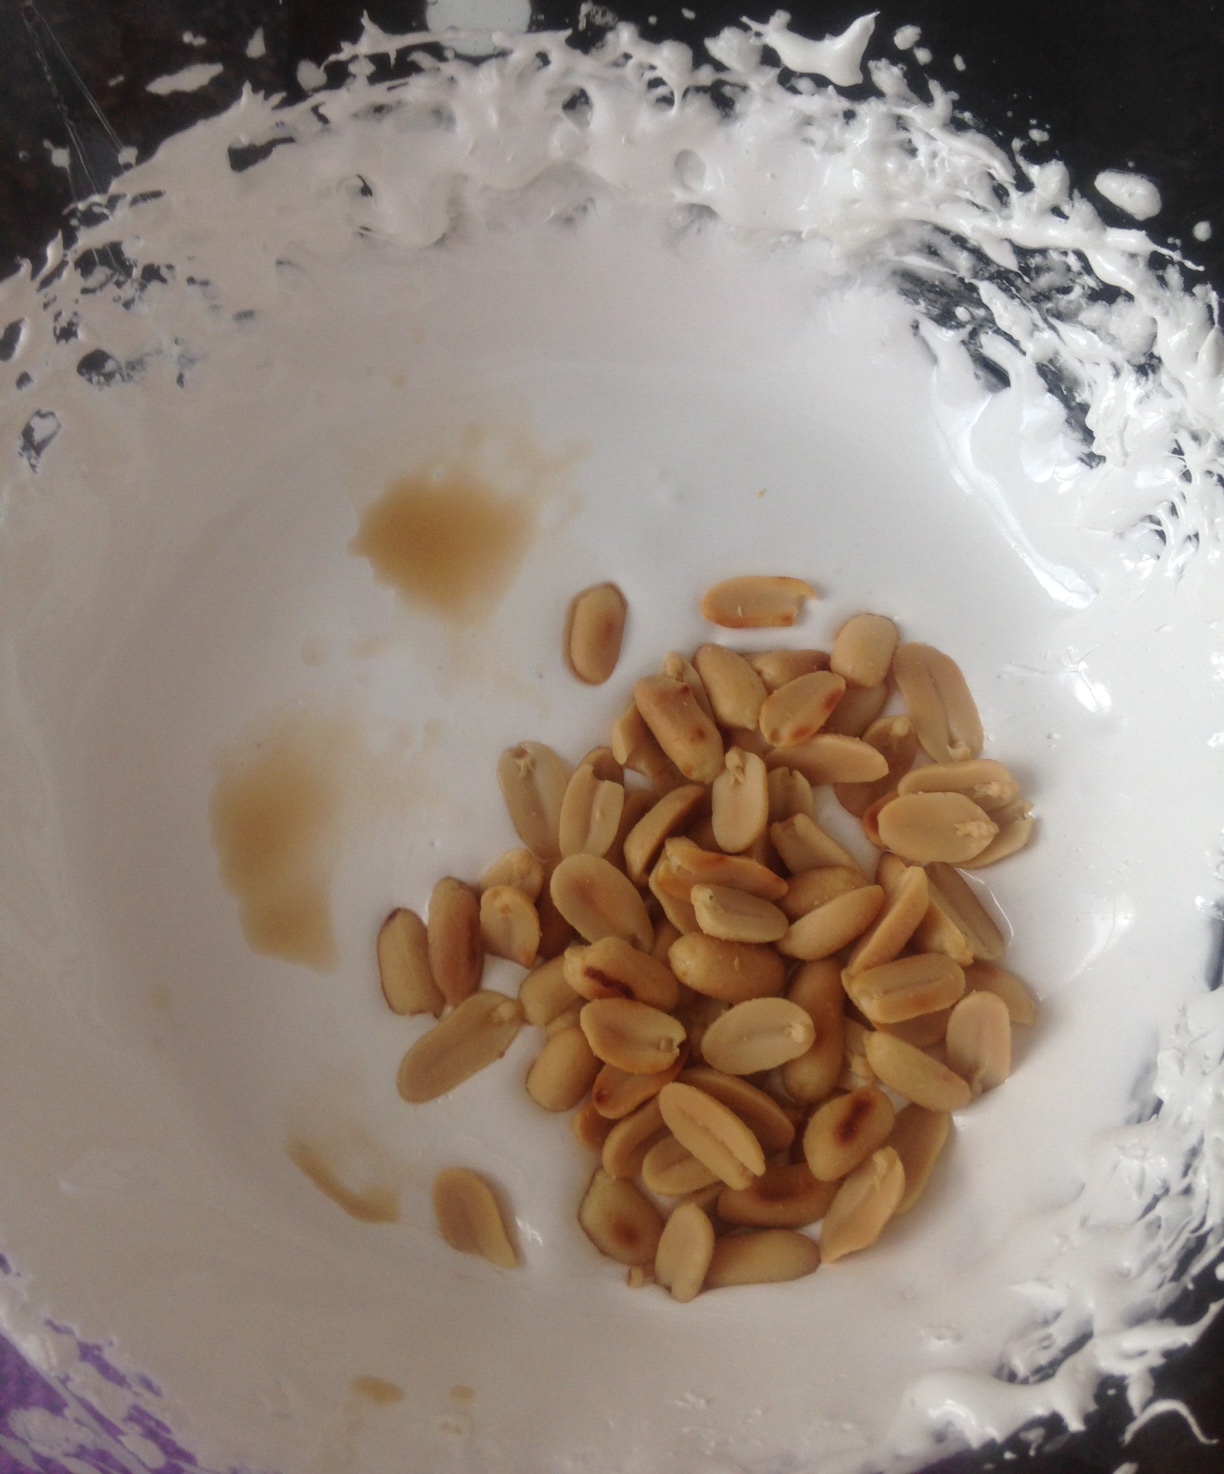
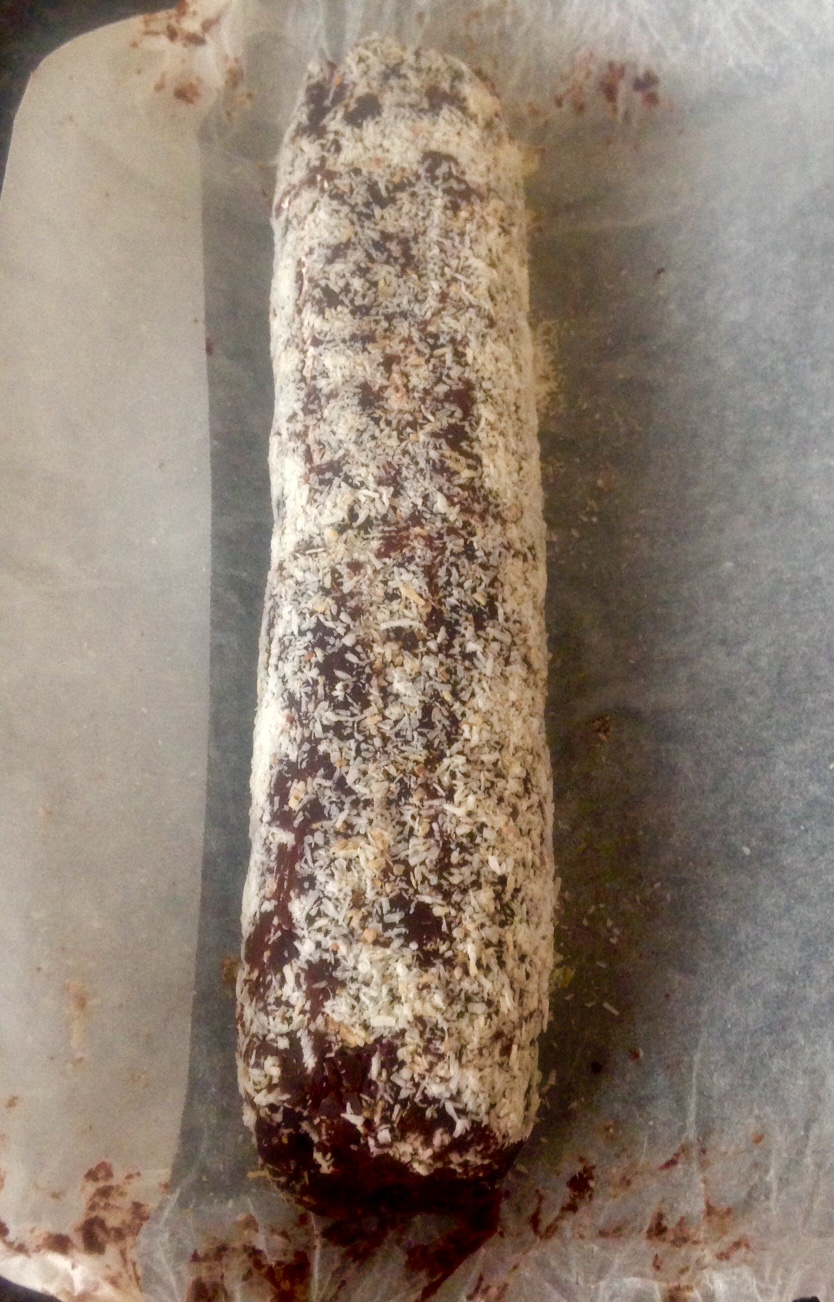
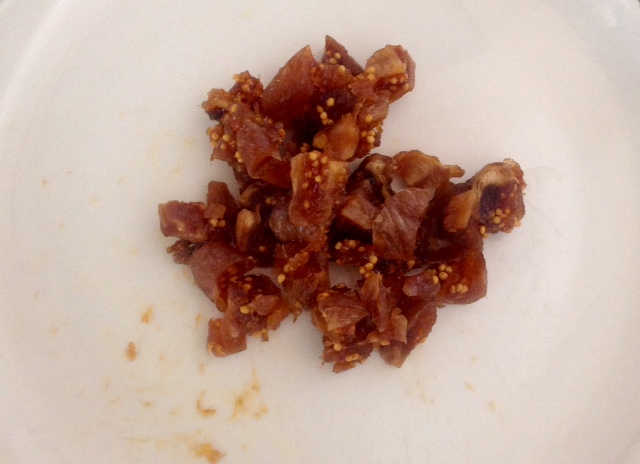
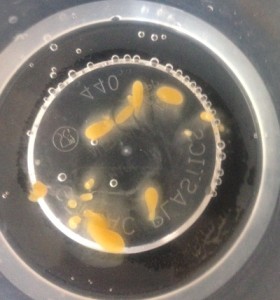
Step 8
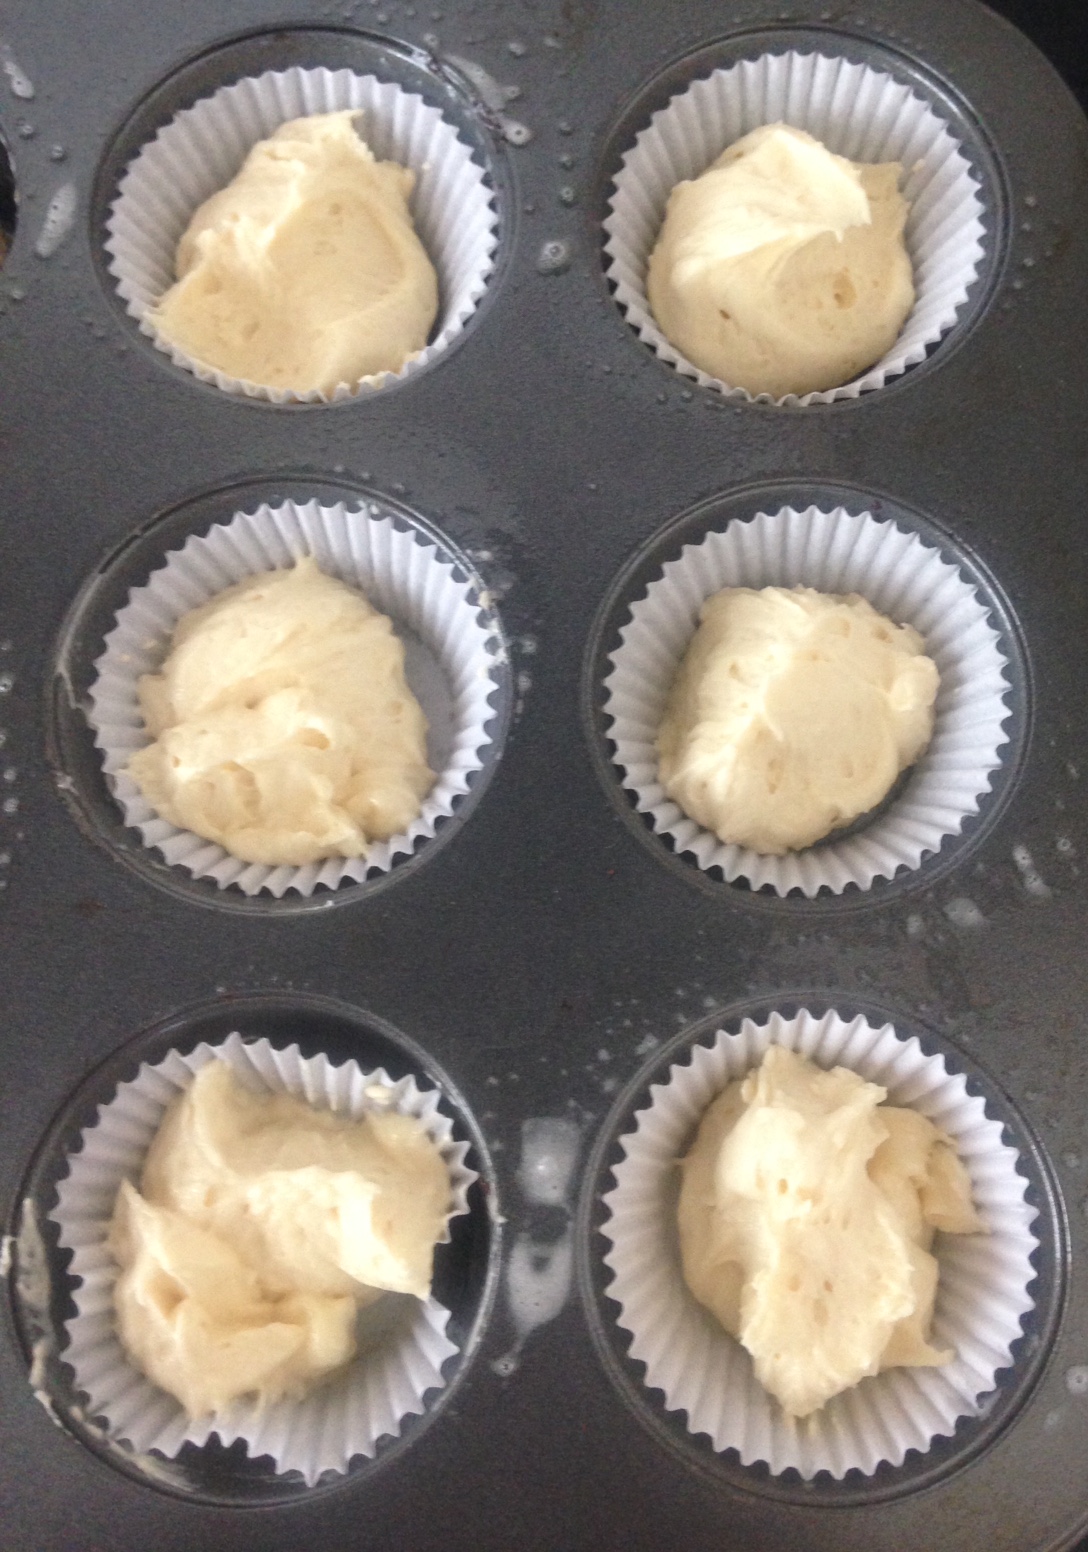
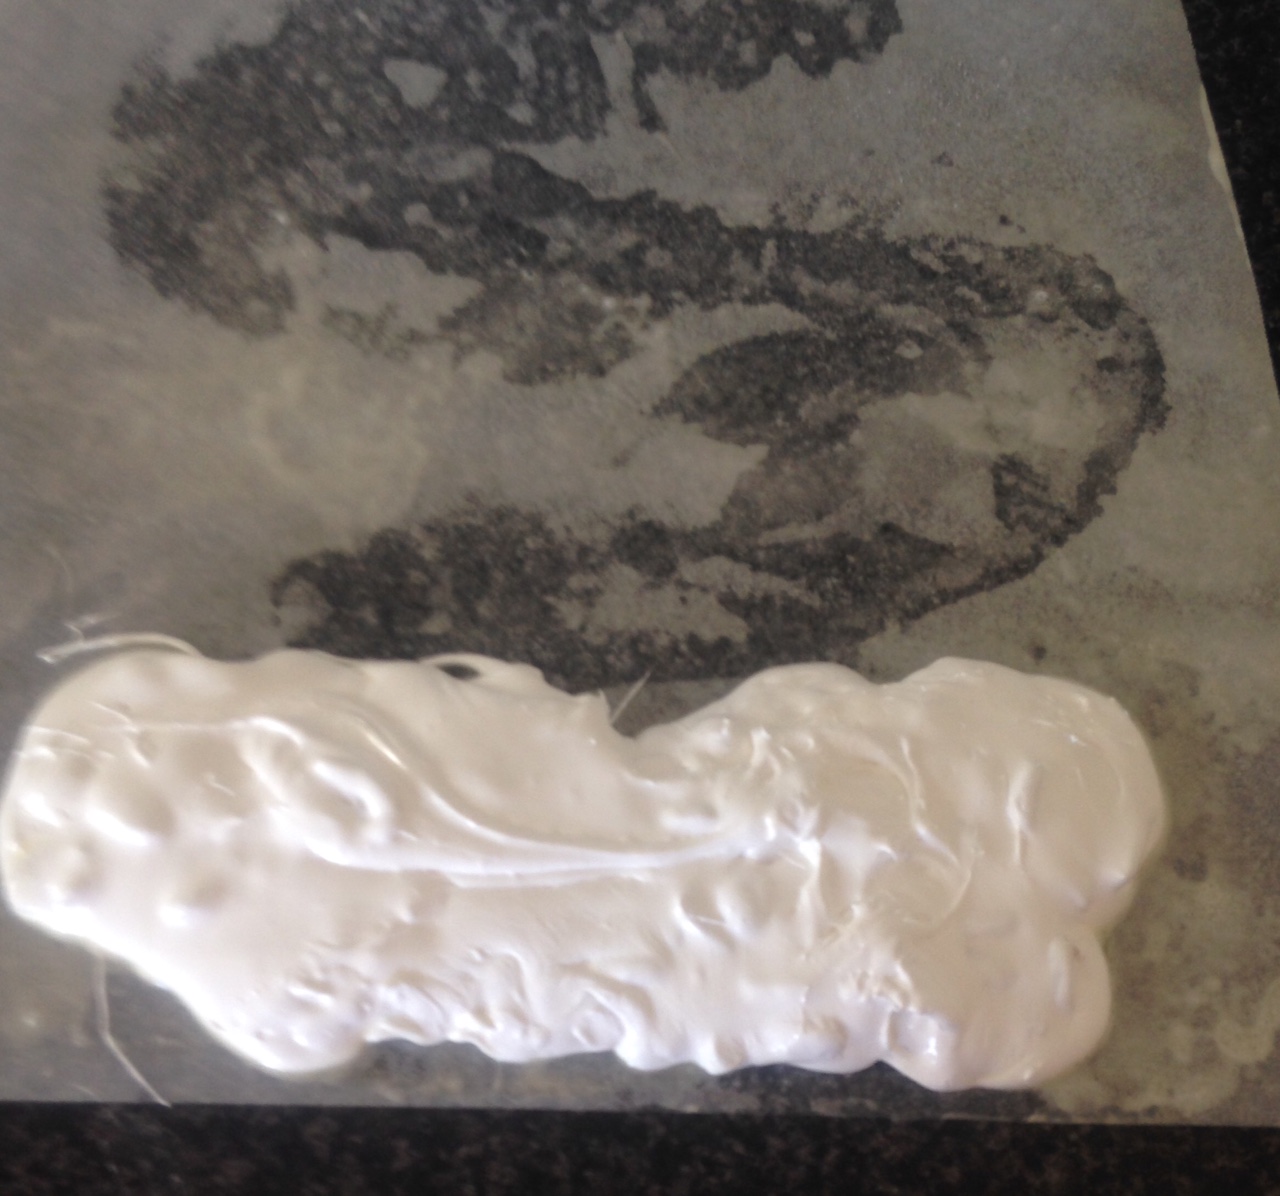
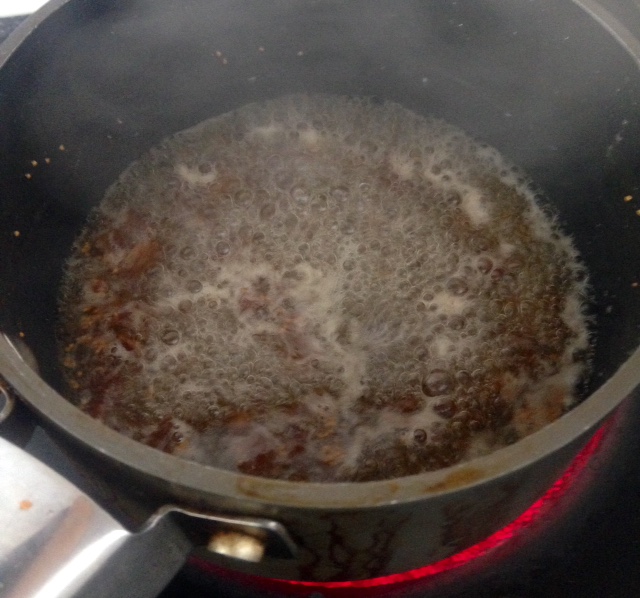
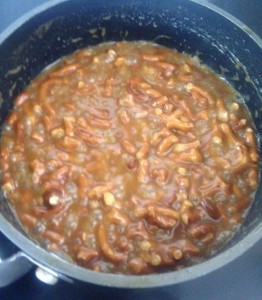
Step 10

Like this recipe? Subscribe via RSS or email to get my new entries and more scrumptious recipes with reviews.
 Follow