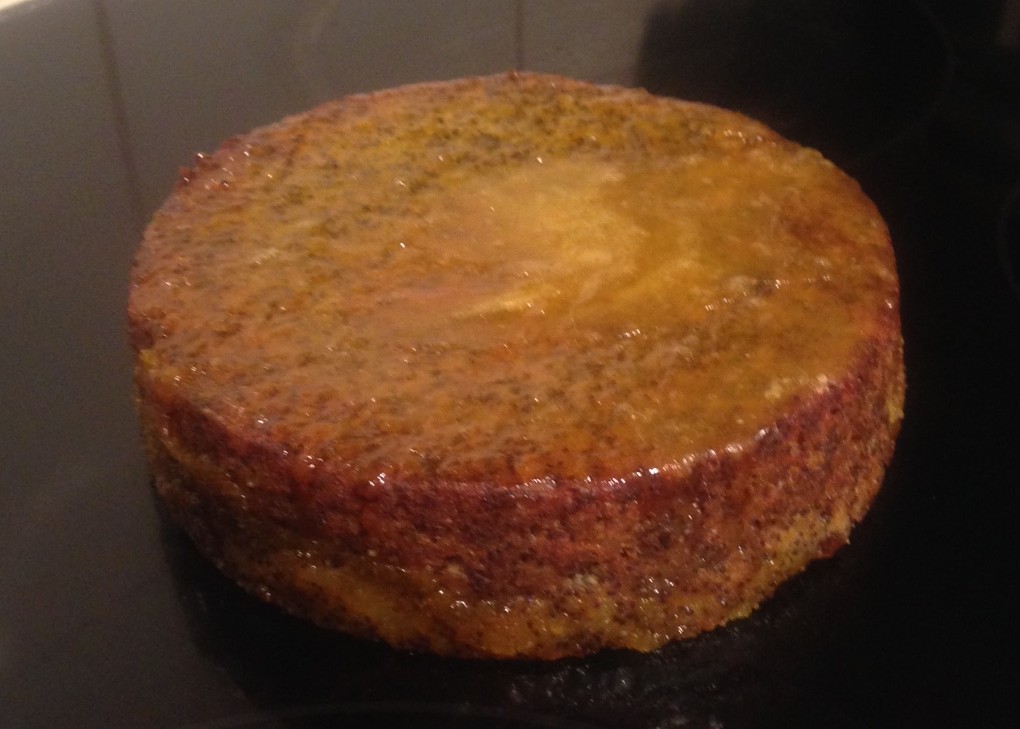
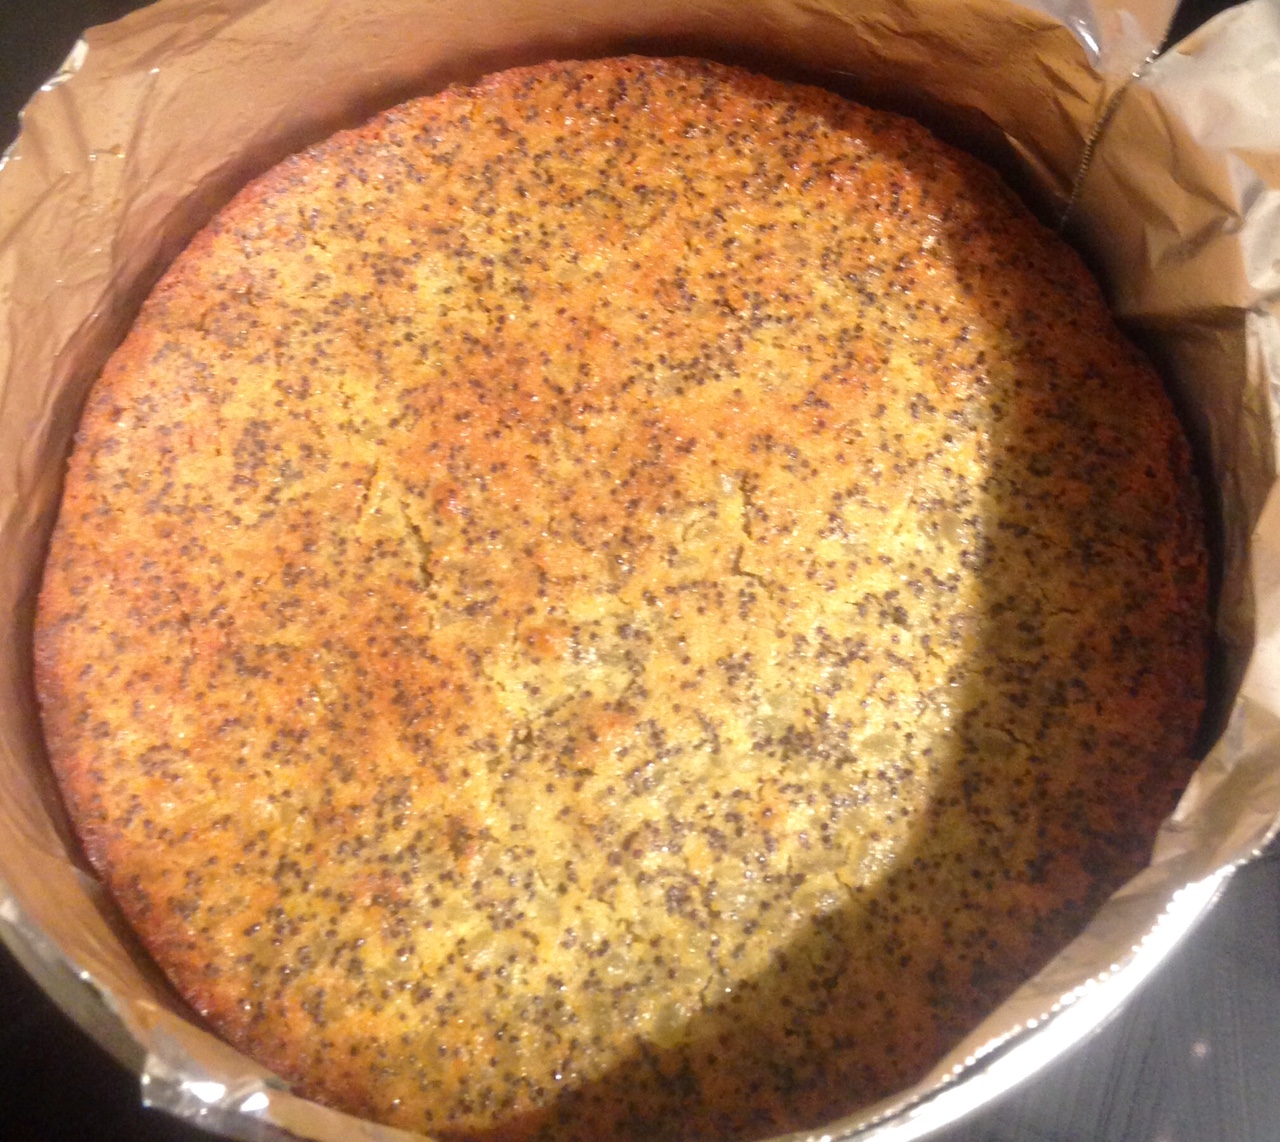
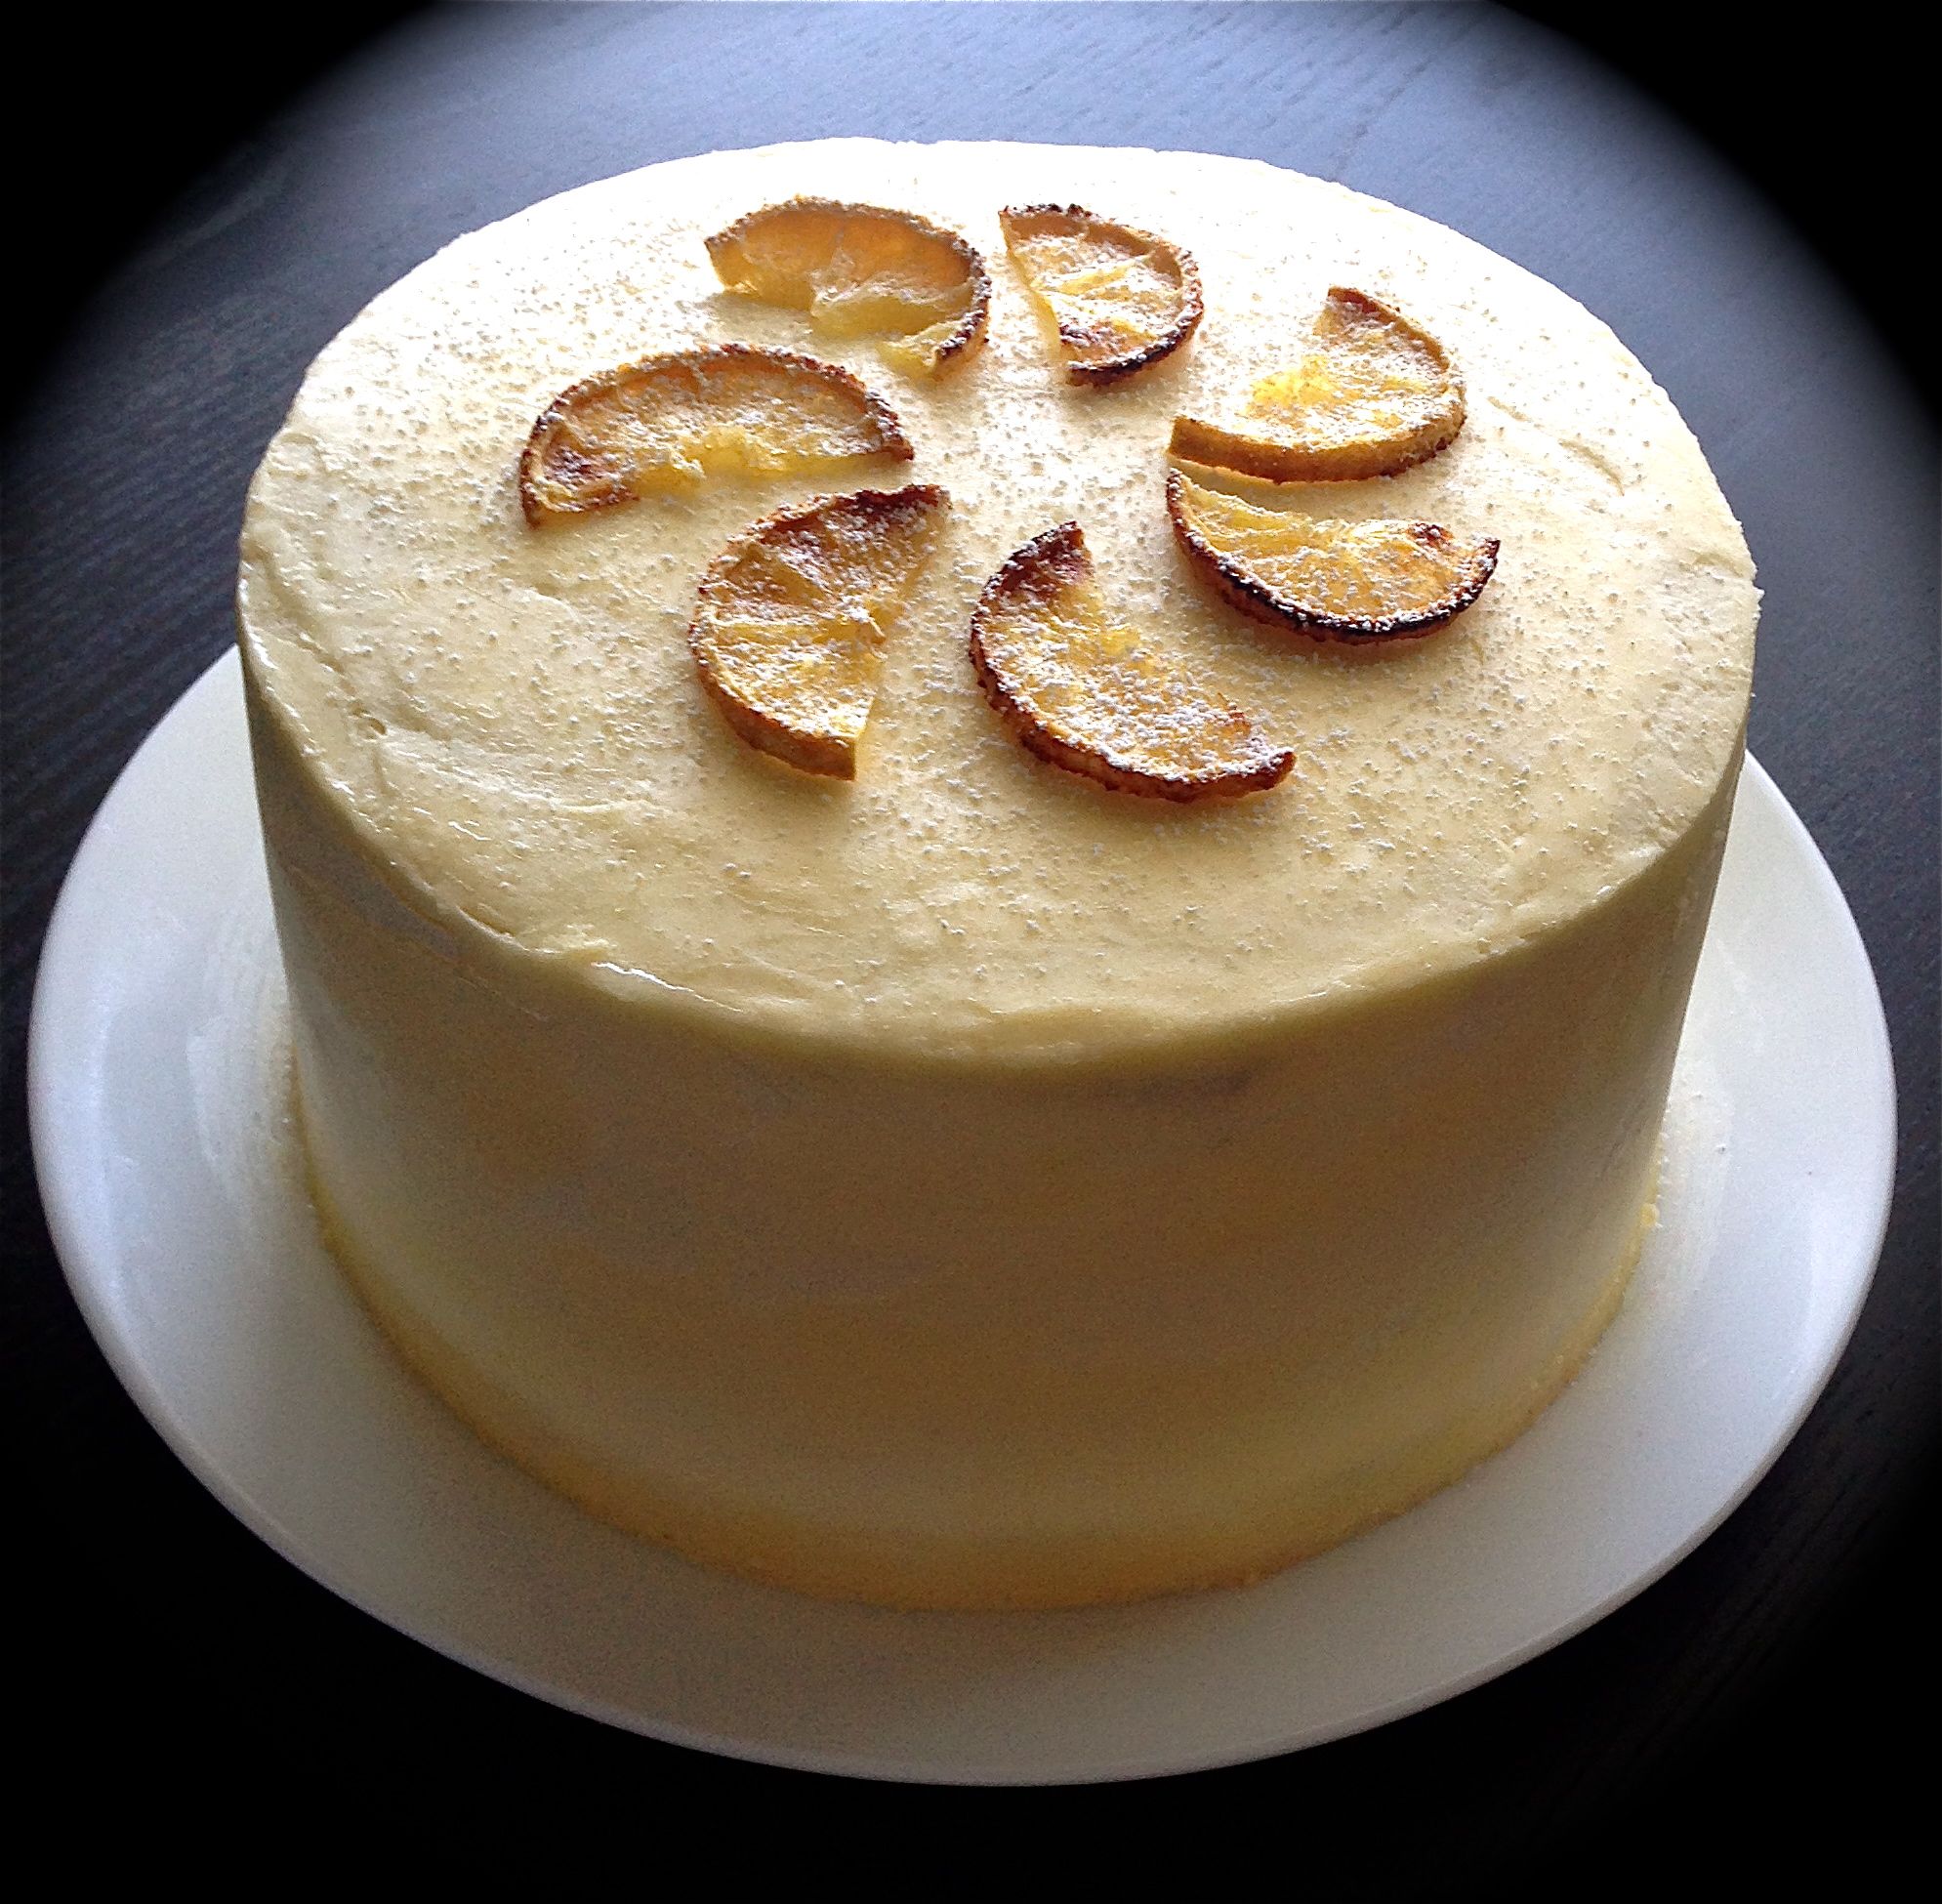
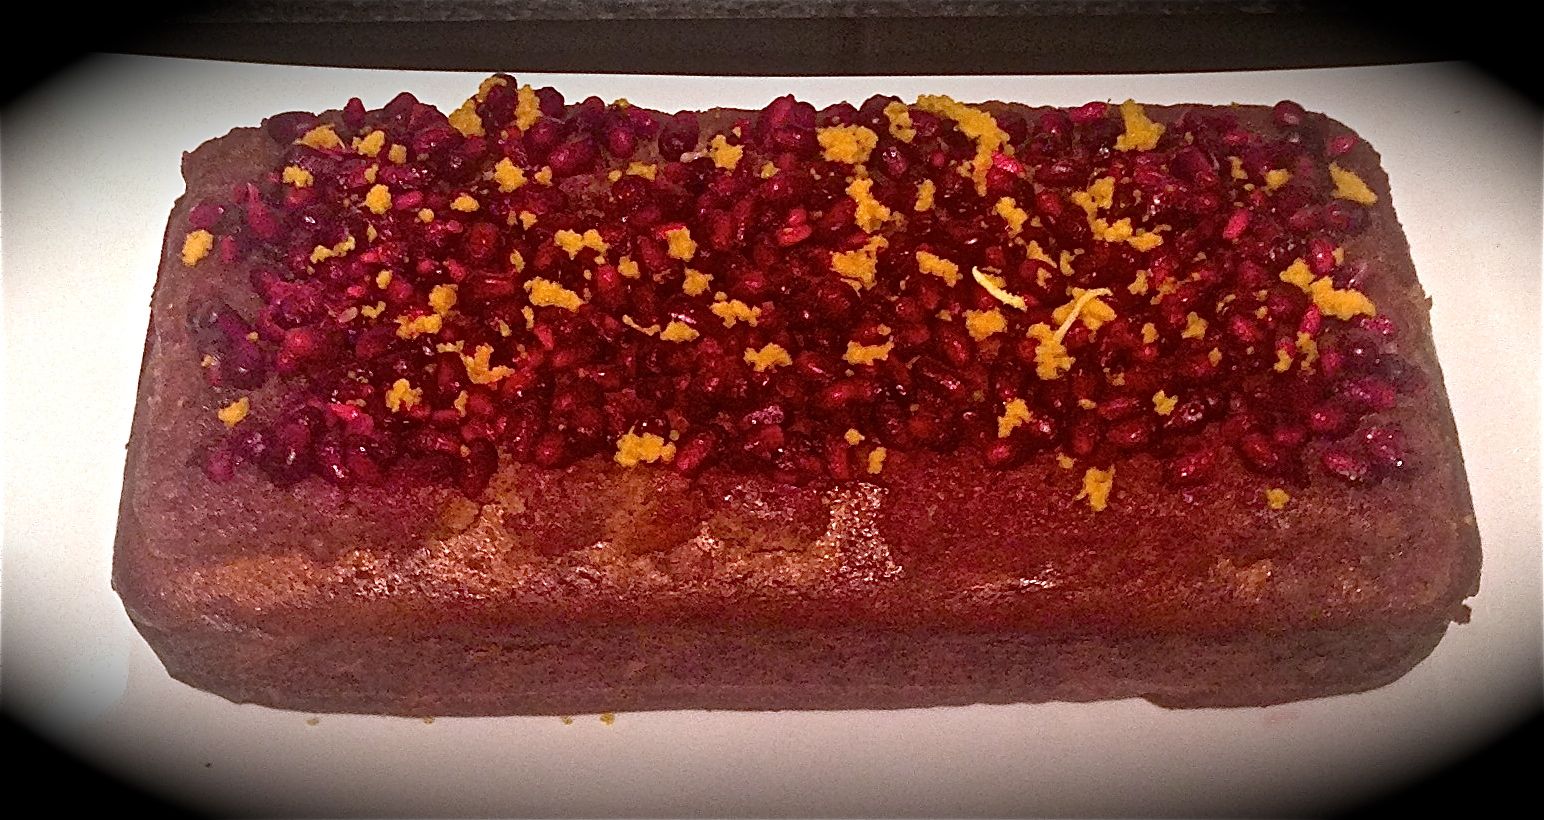
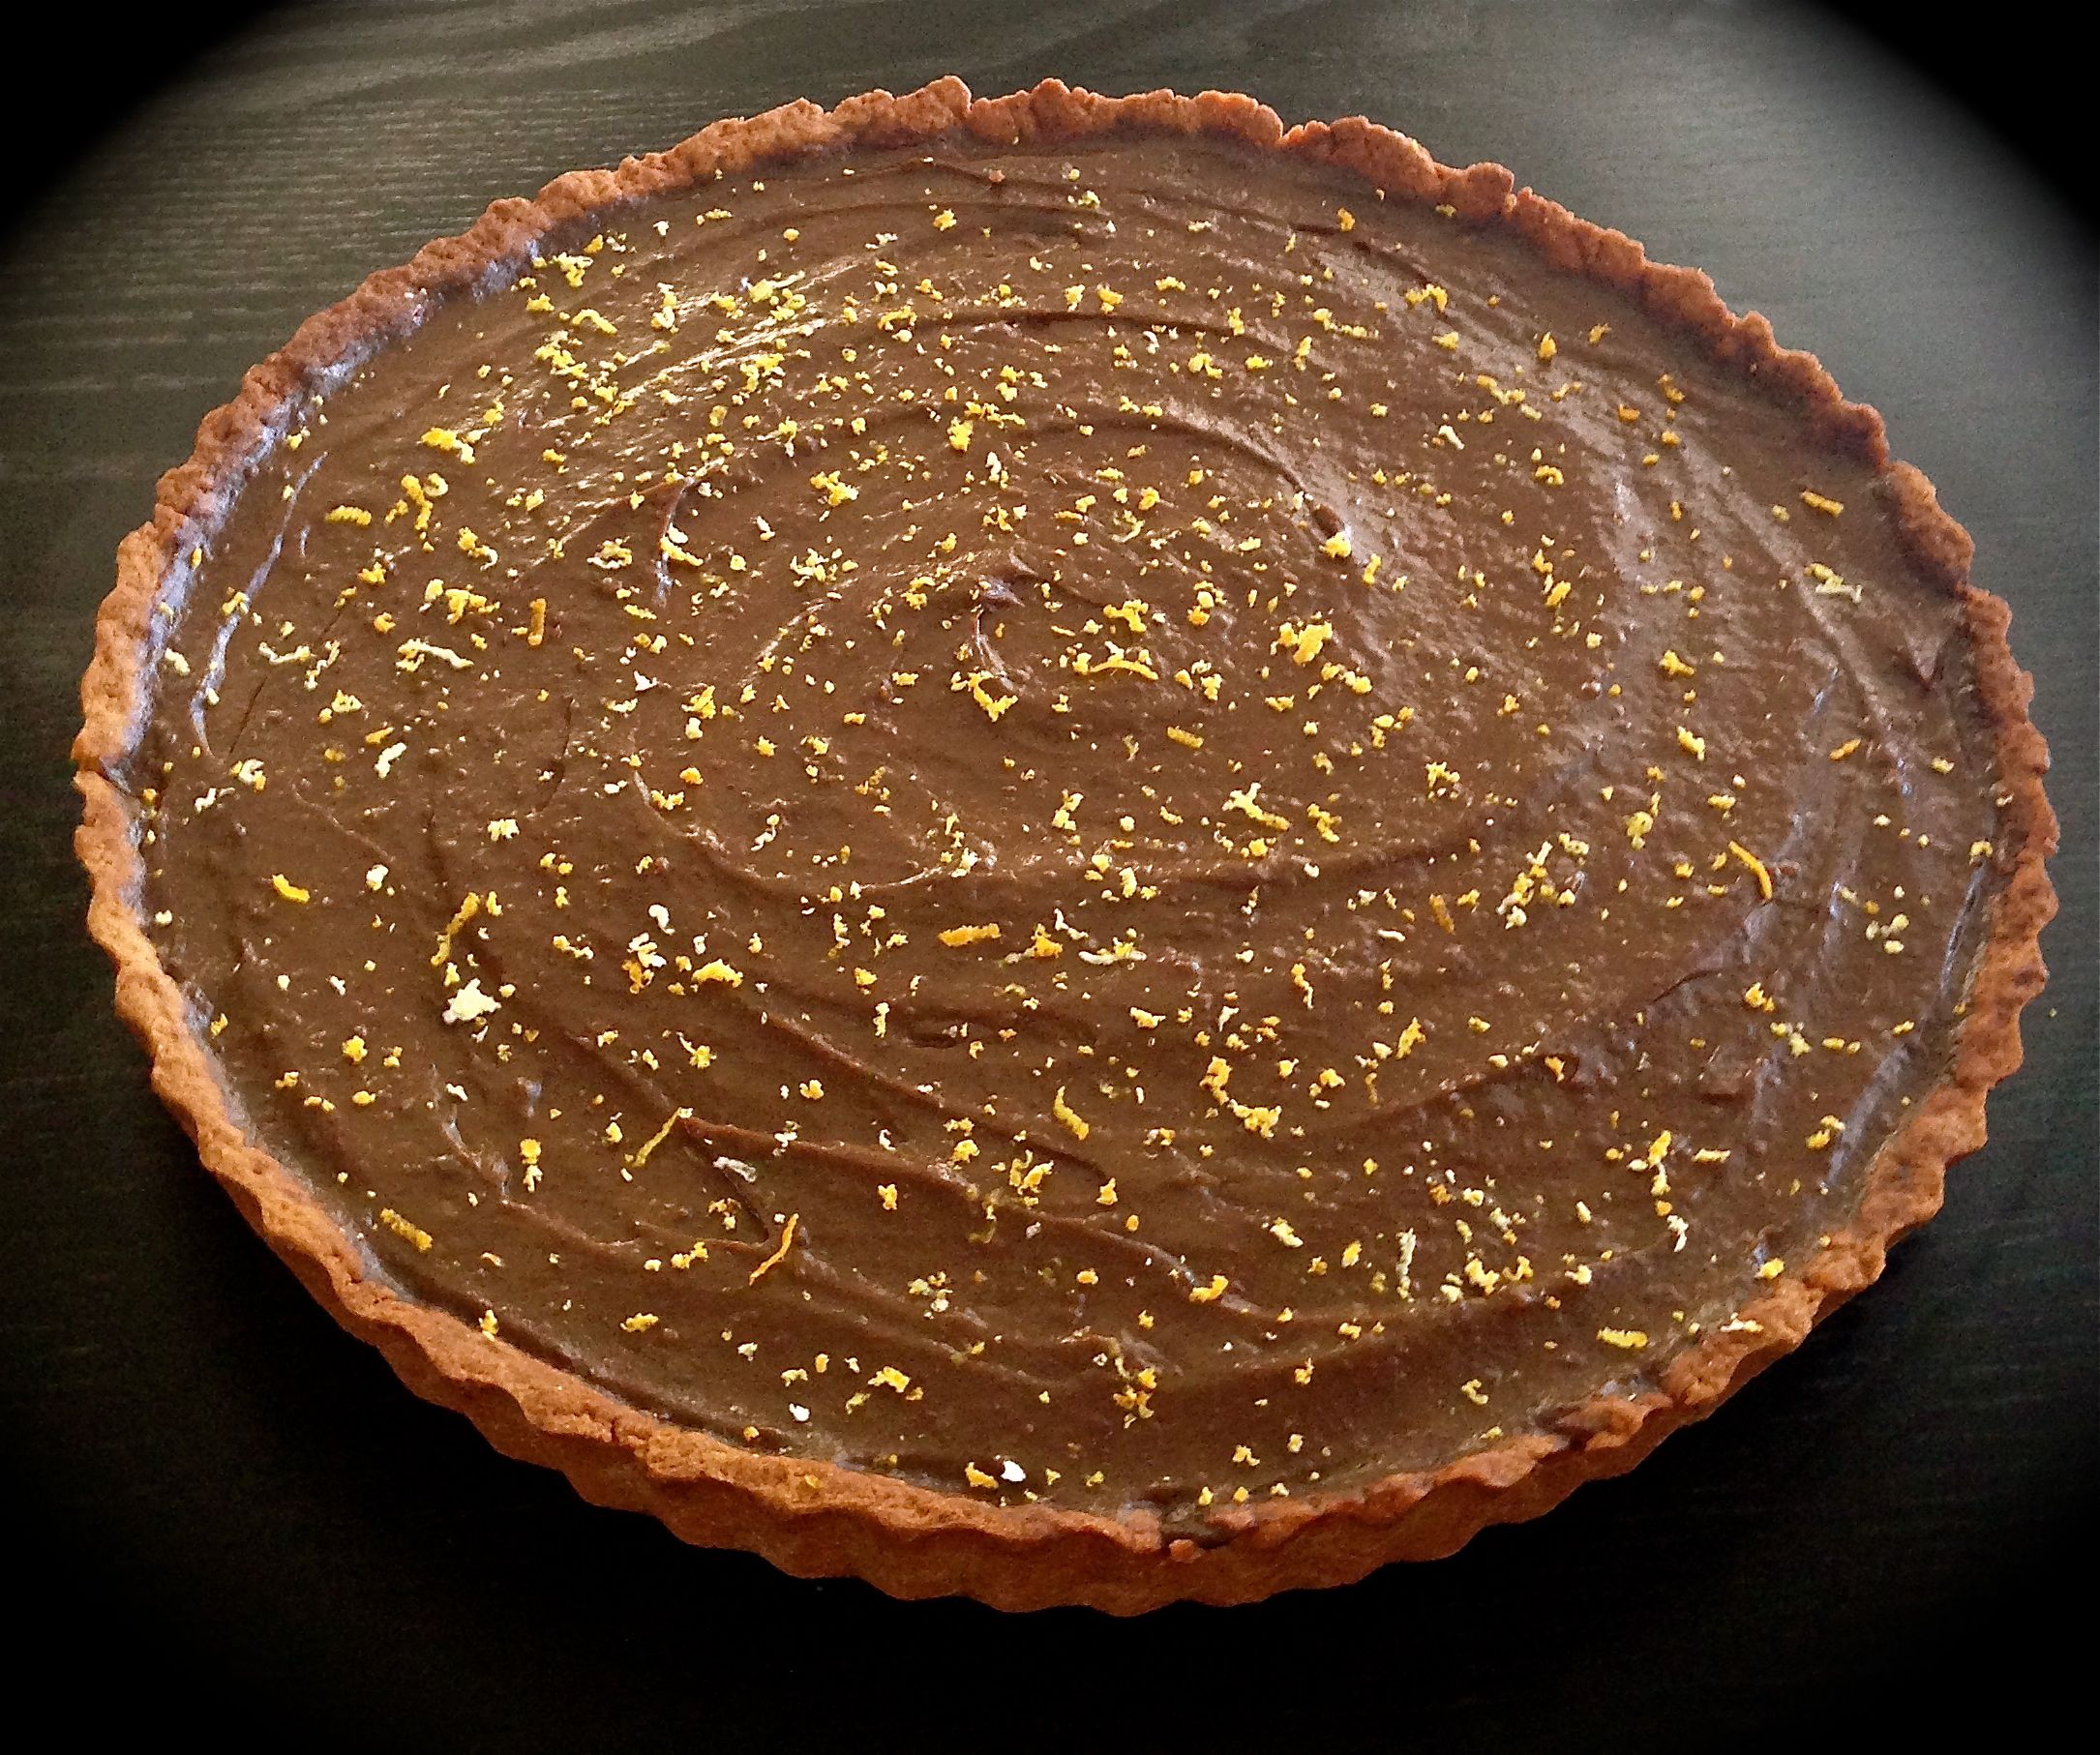
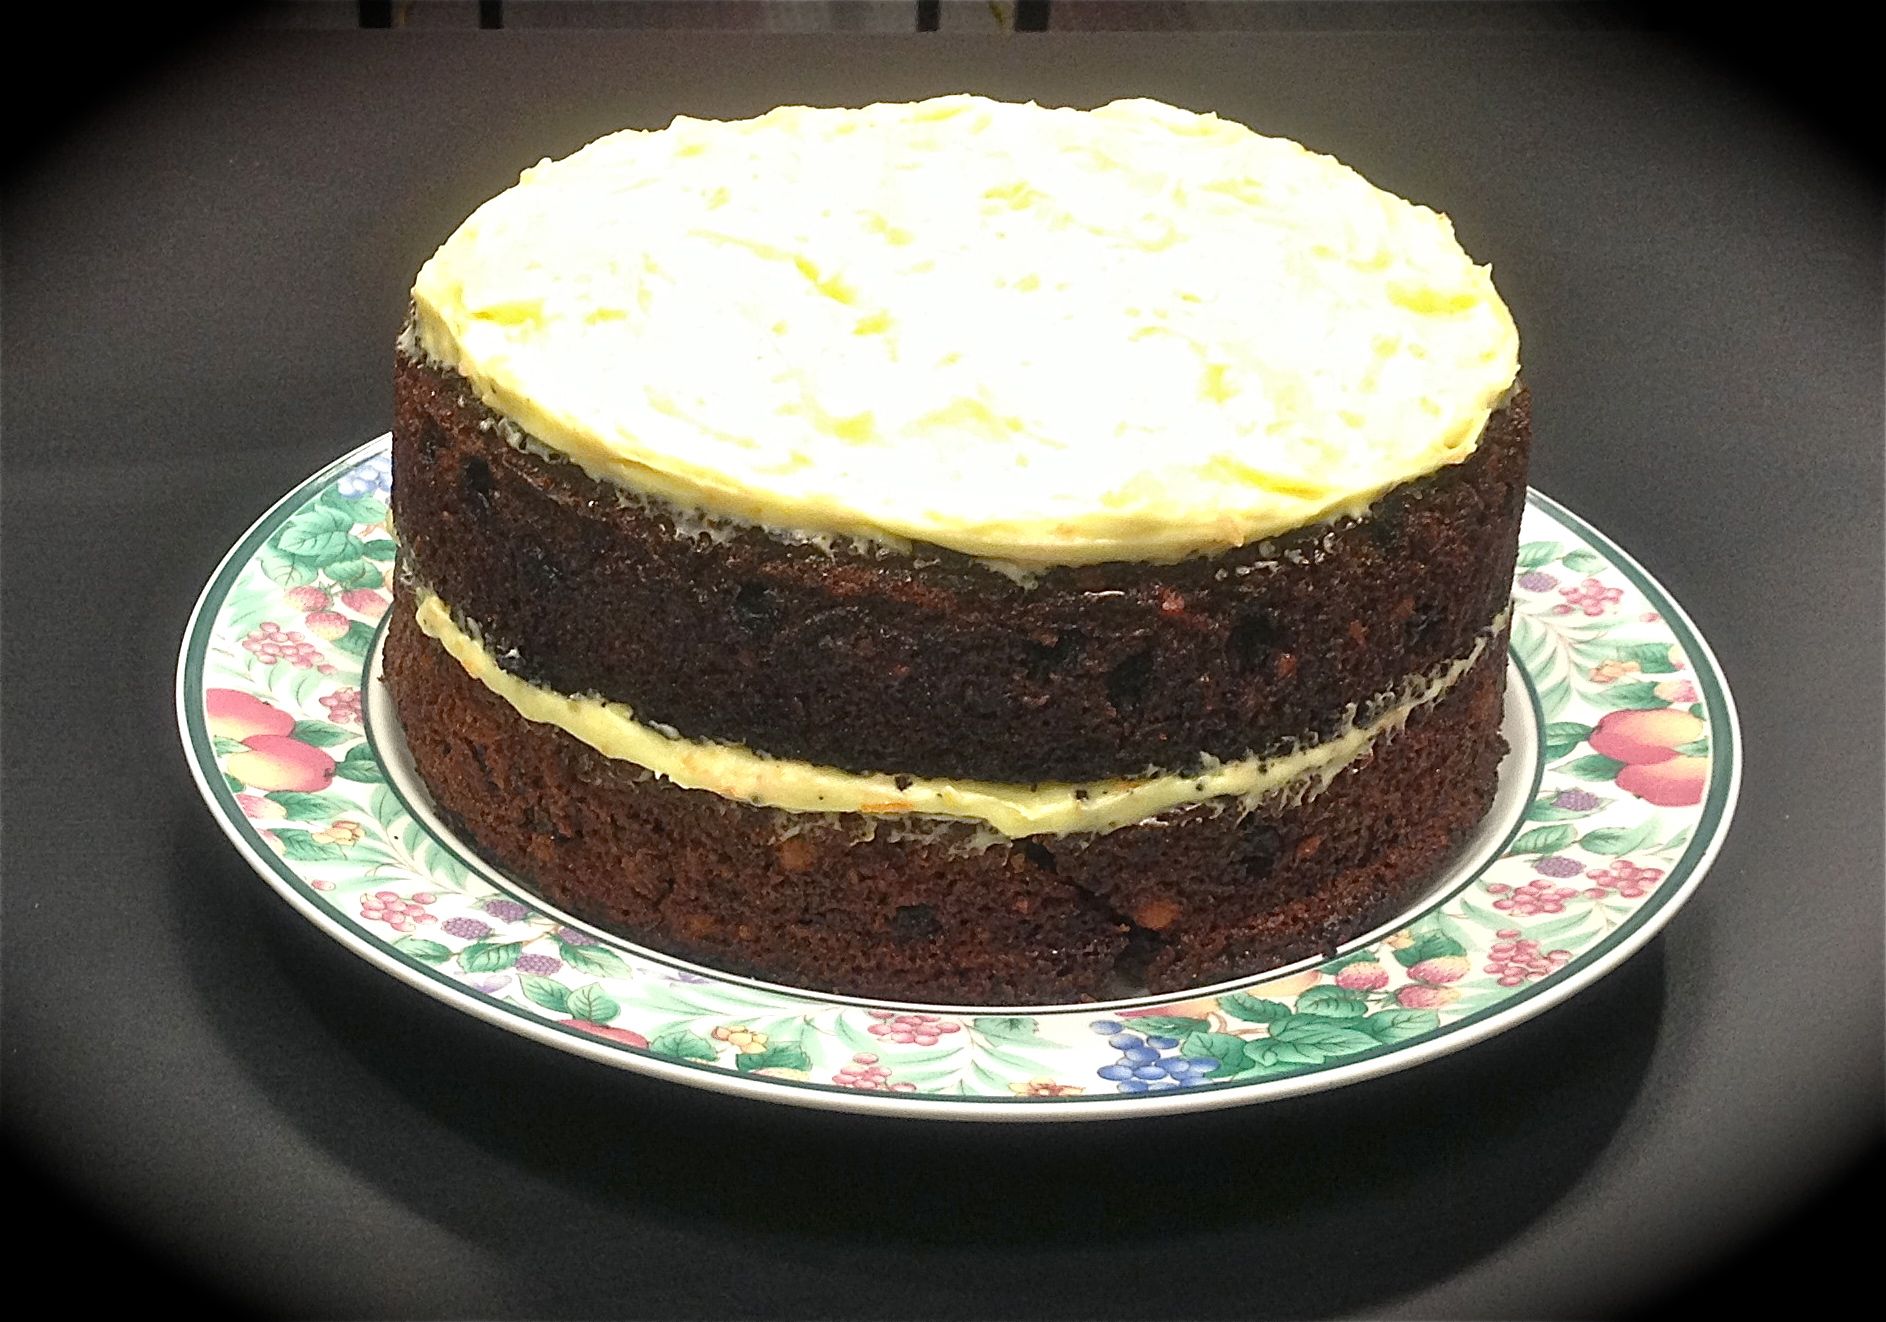
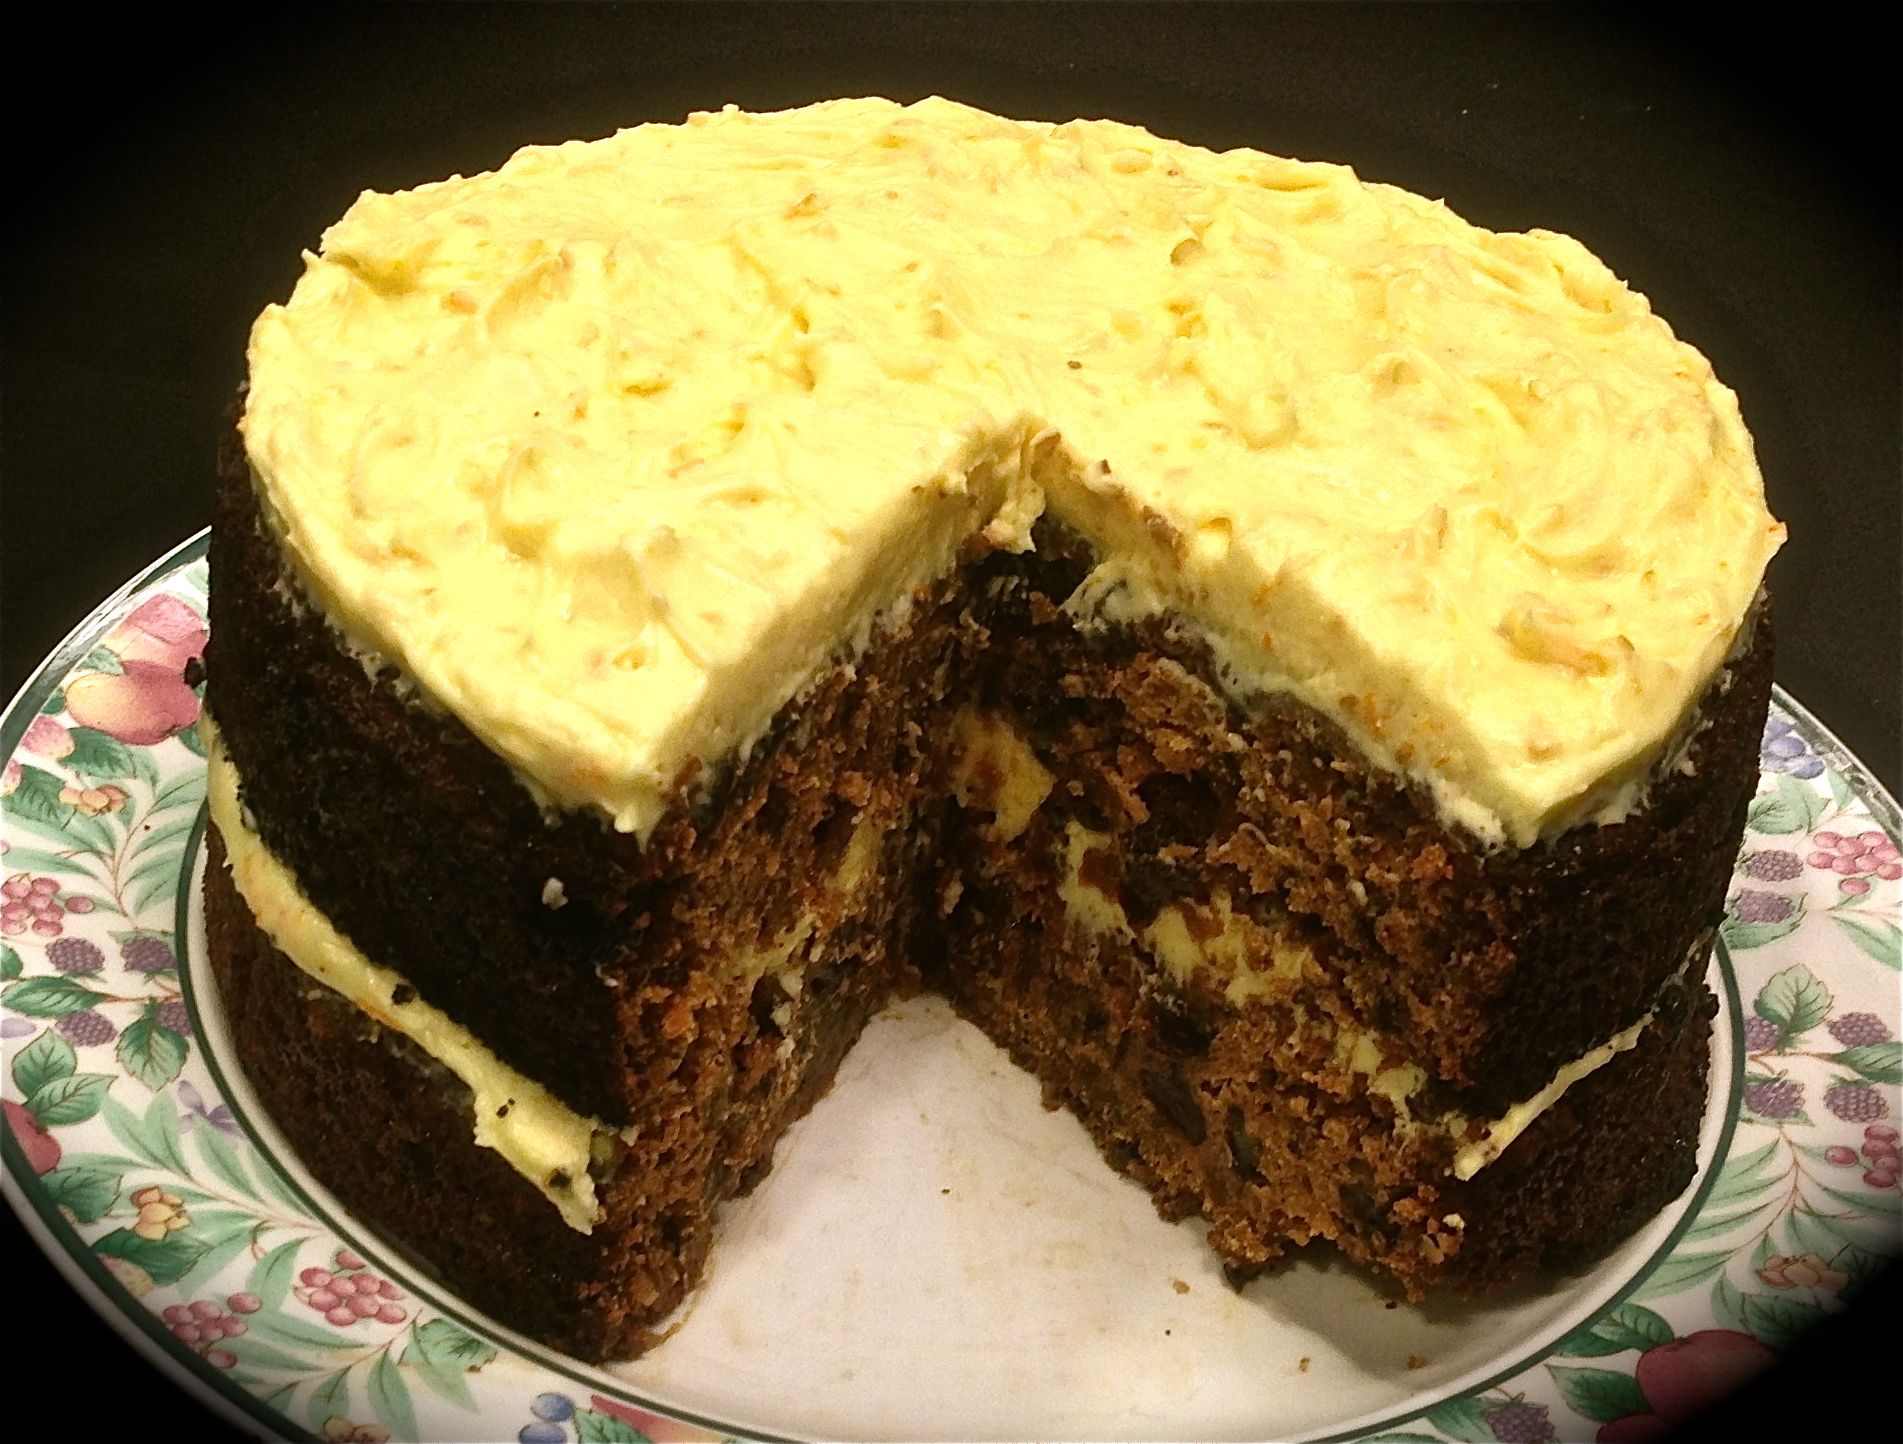
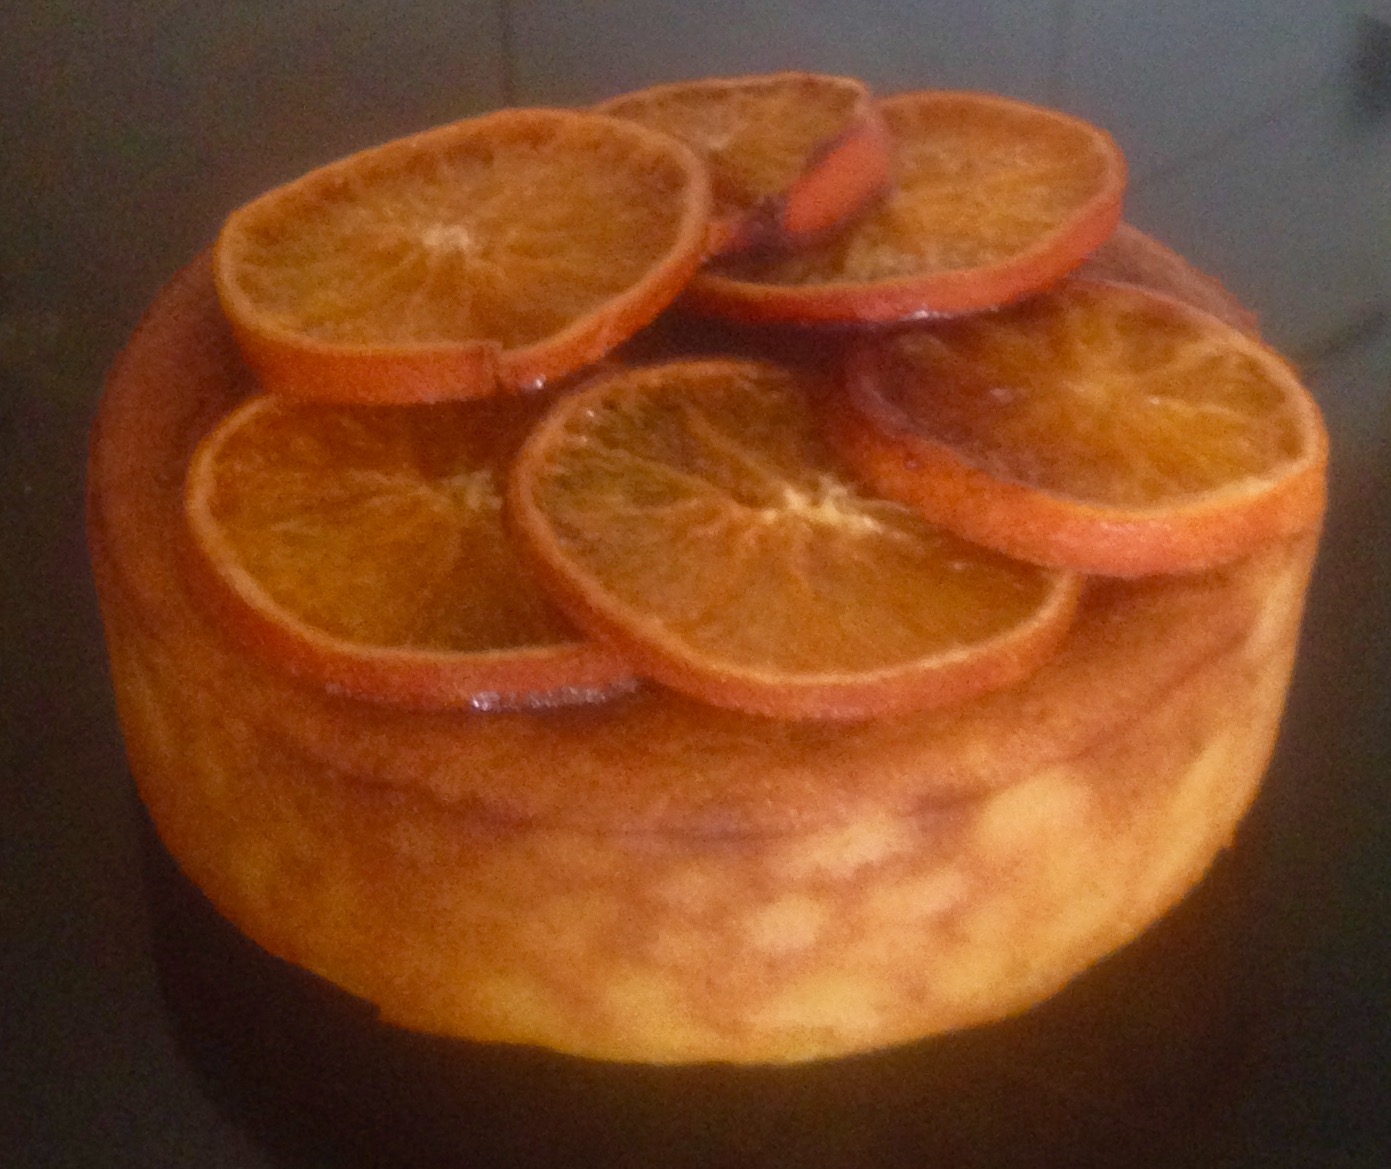
Orange Blossom Polenta and Yoghurt Syrup Cake

- The idea for this cake actually came from a desire to make a cake that heroes the orange in its entirety. I wanted to make a cake that yelled orange flavor while also using the whole orange – skin and all.
- Now using the whole orange is not a new thing but seems to get forgotten often and has such beneficial properties to it.
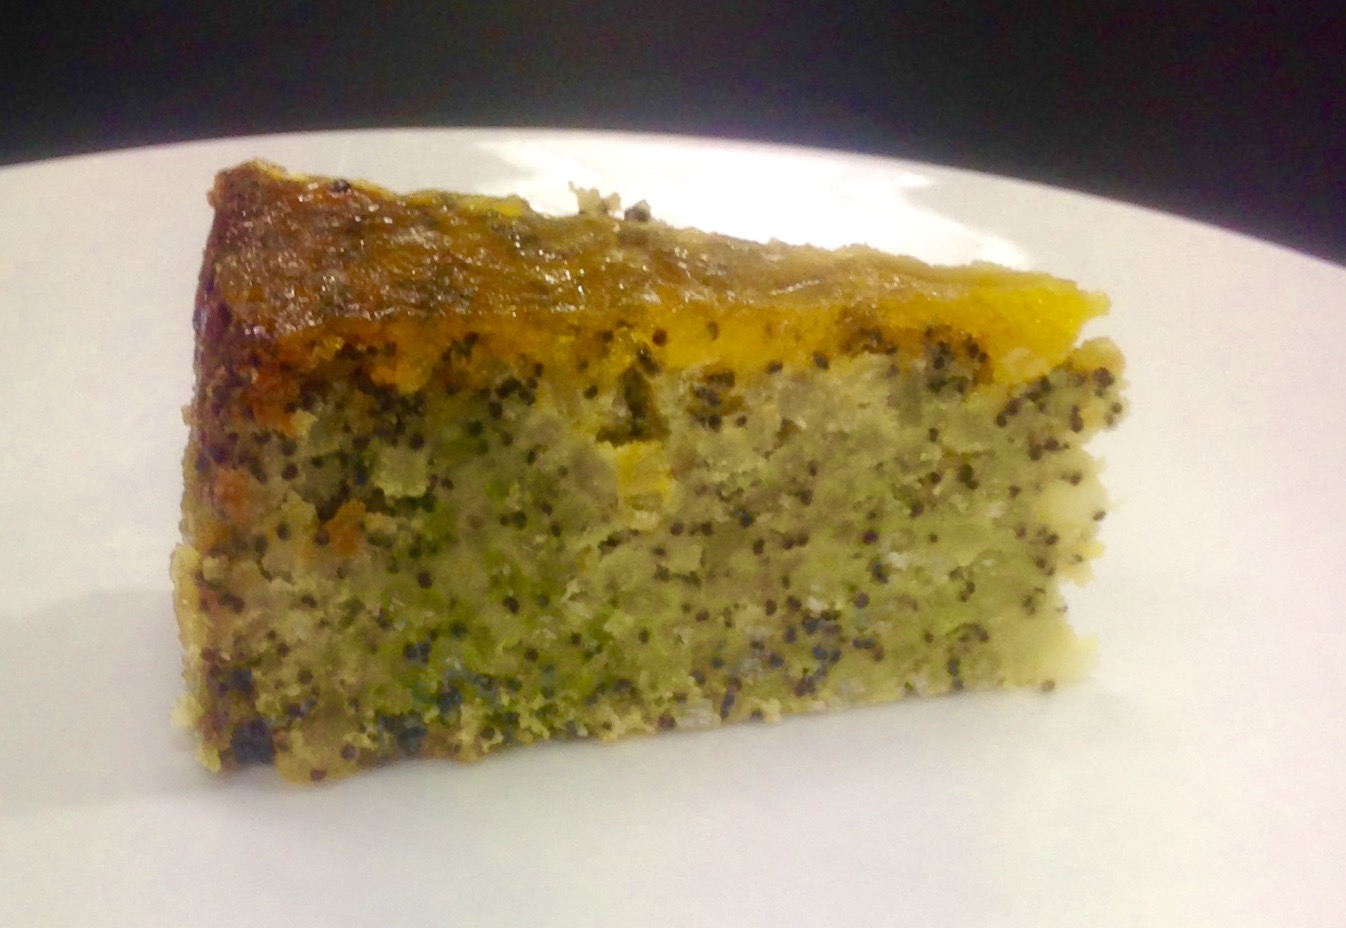
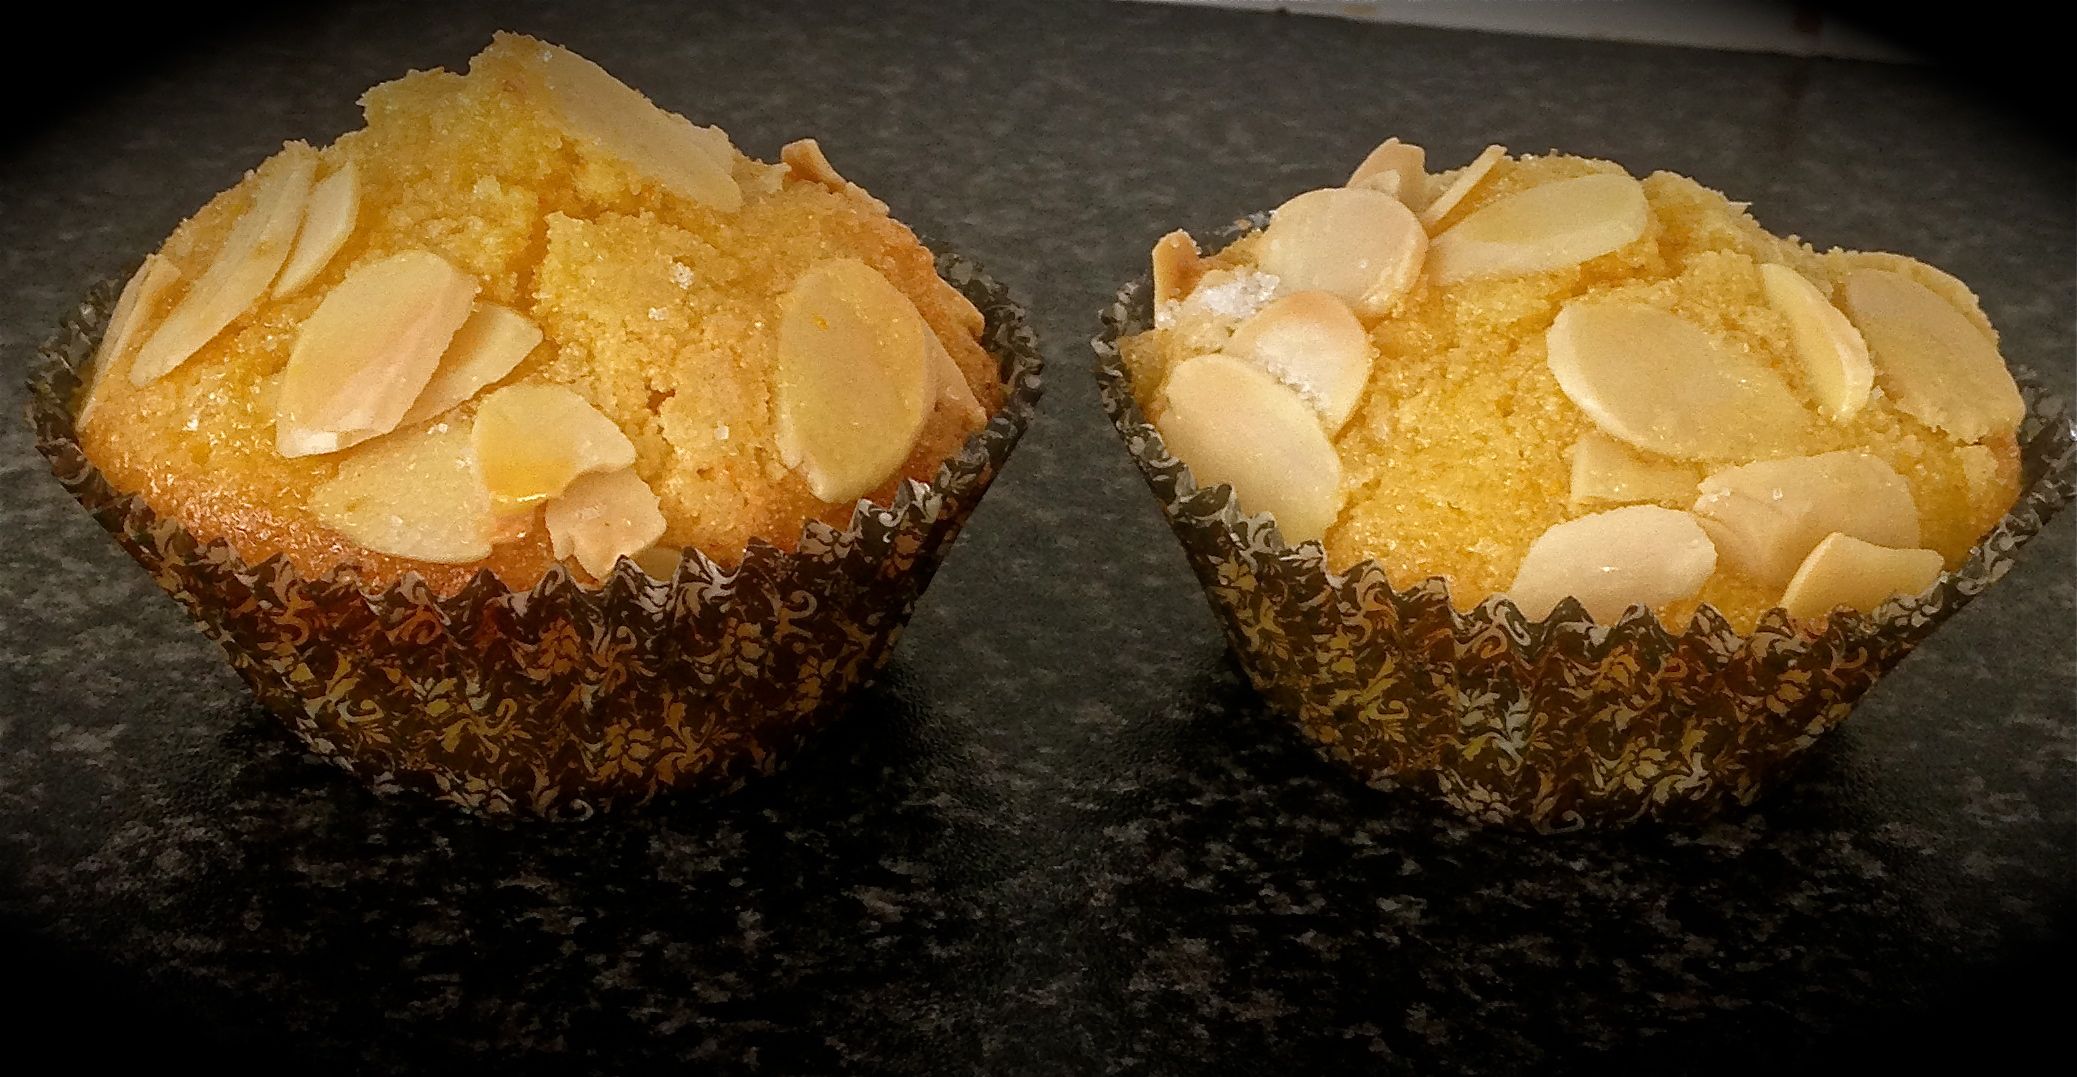
- The orange blossom provides a lovely floral ascent to the orange fruit and the polenta and yoghurt work with the cakes core texture .
I also used gluten free flour to make this qluten free friendly.
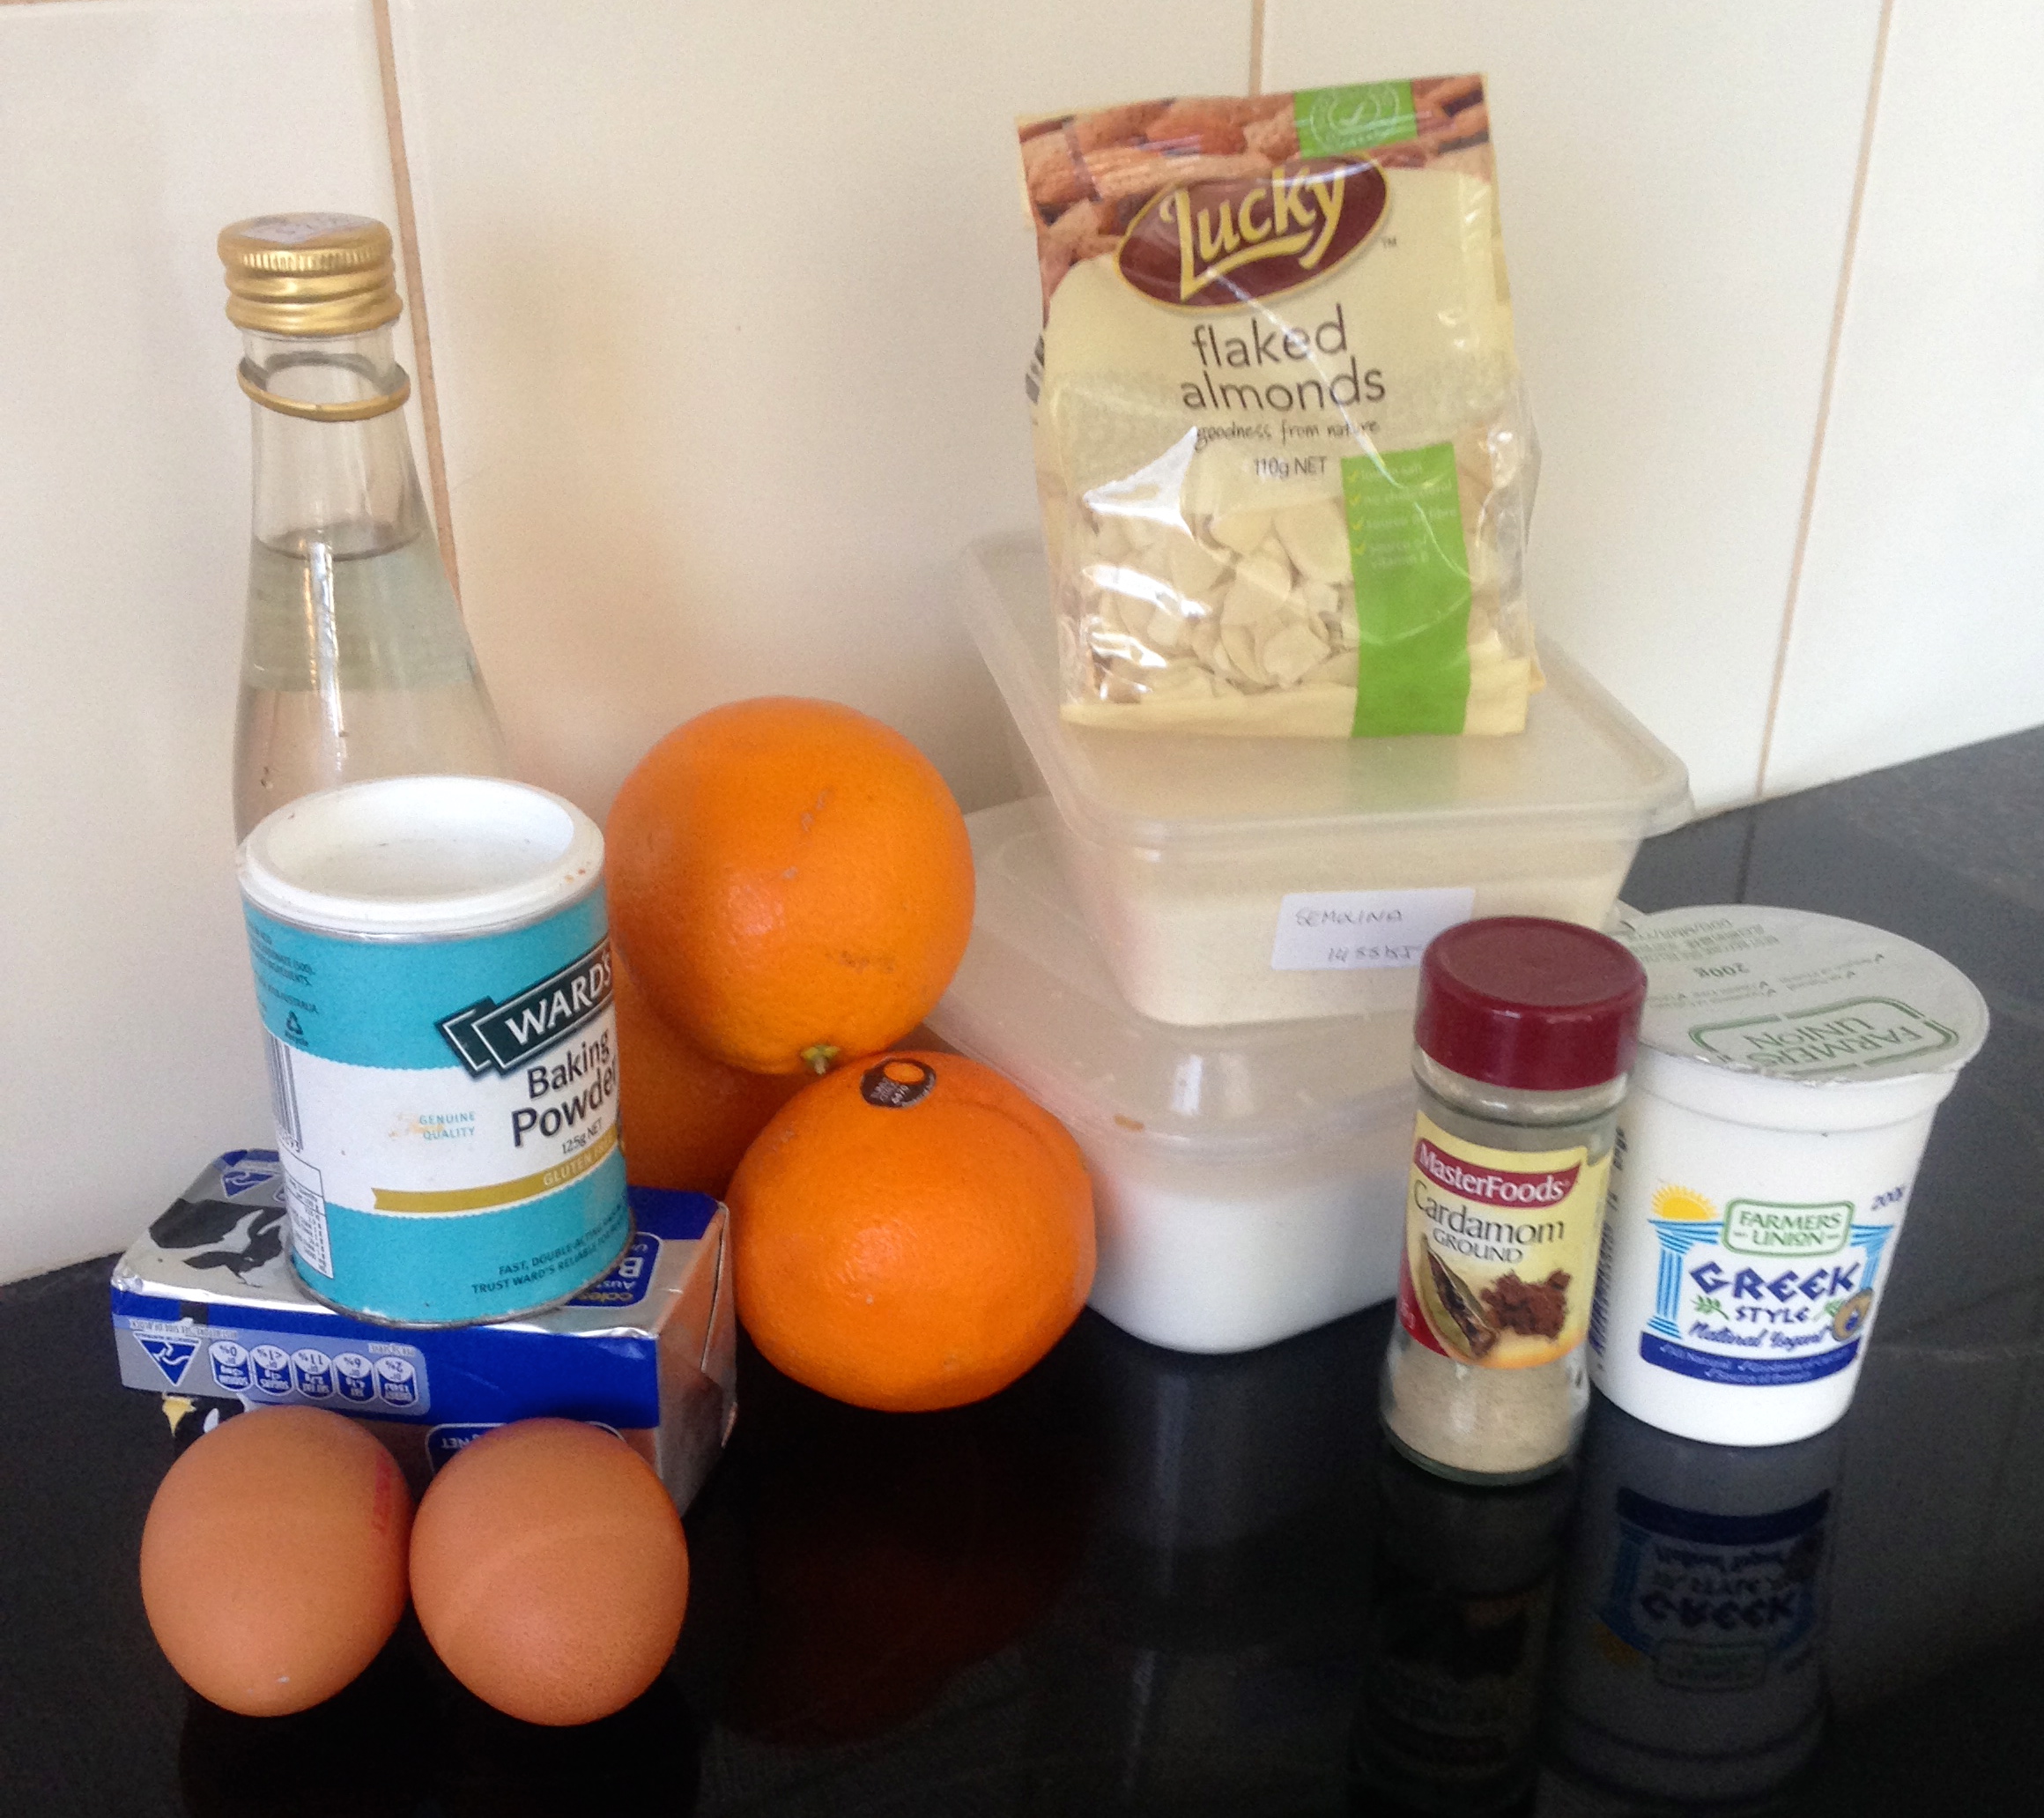
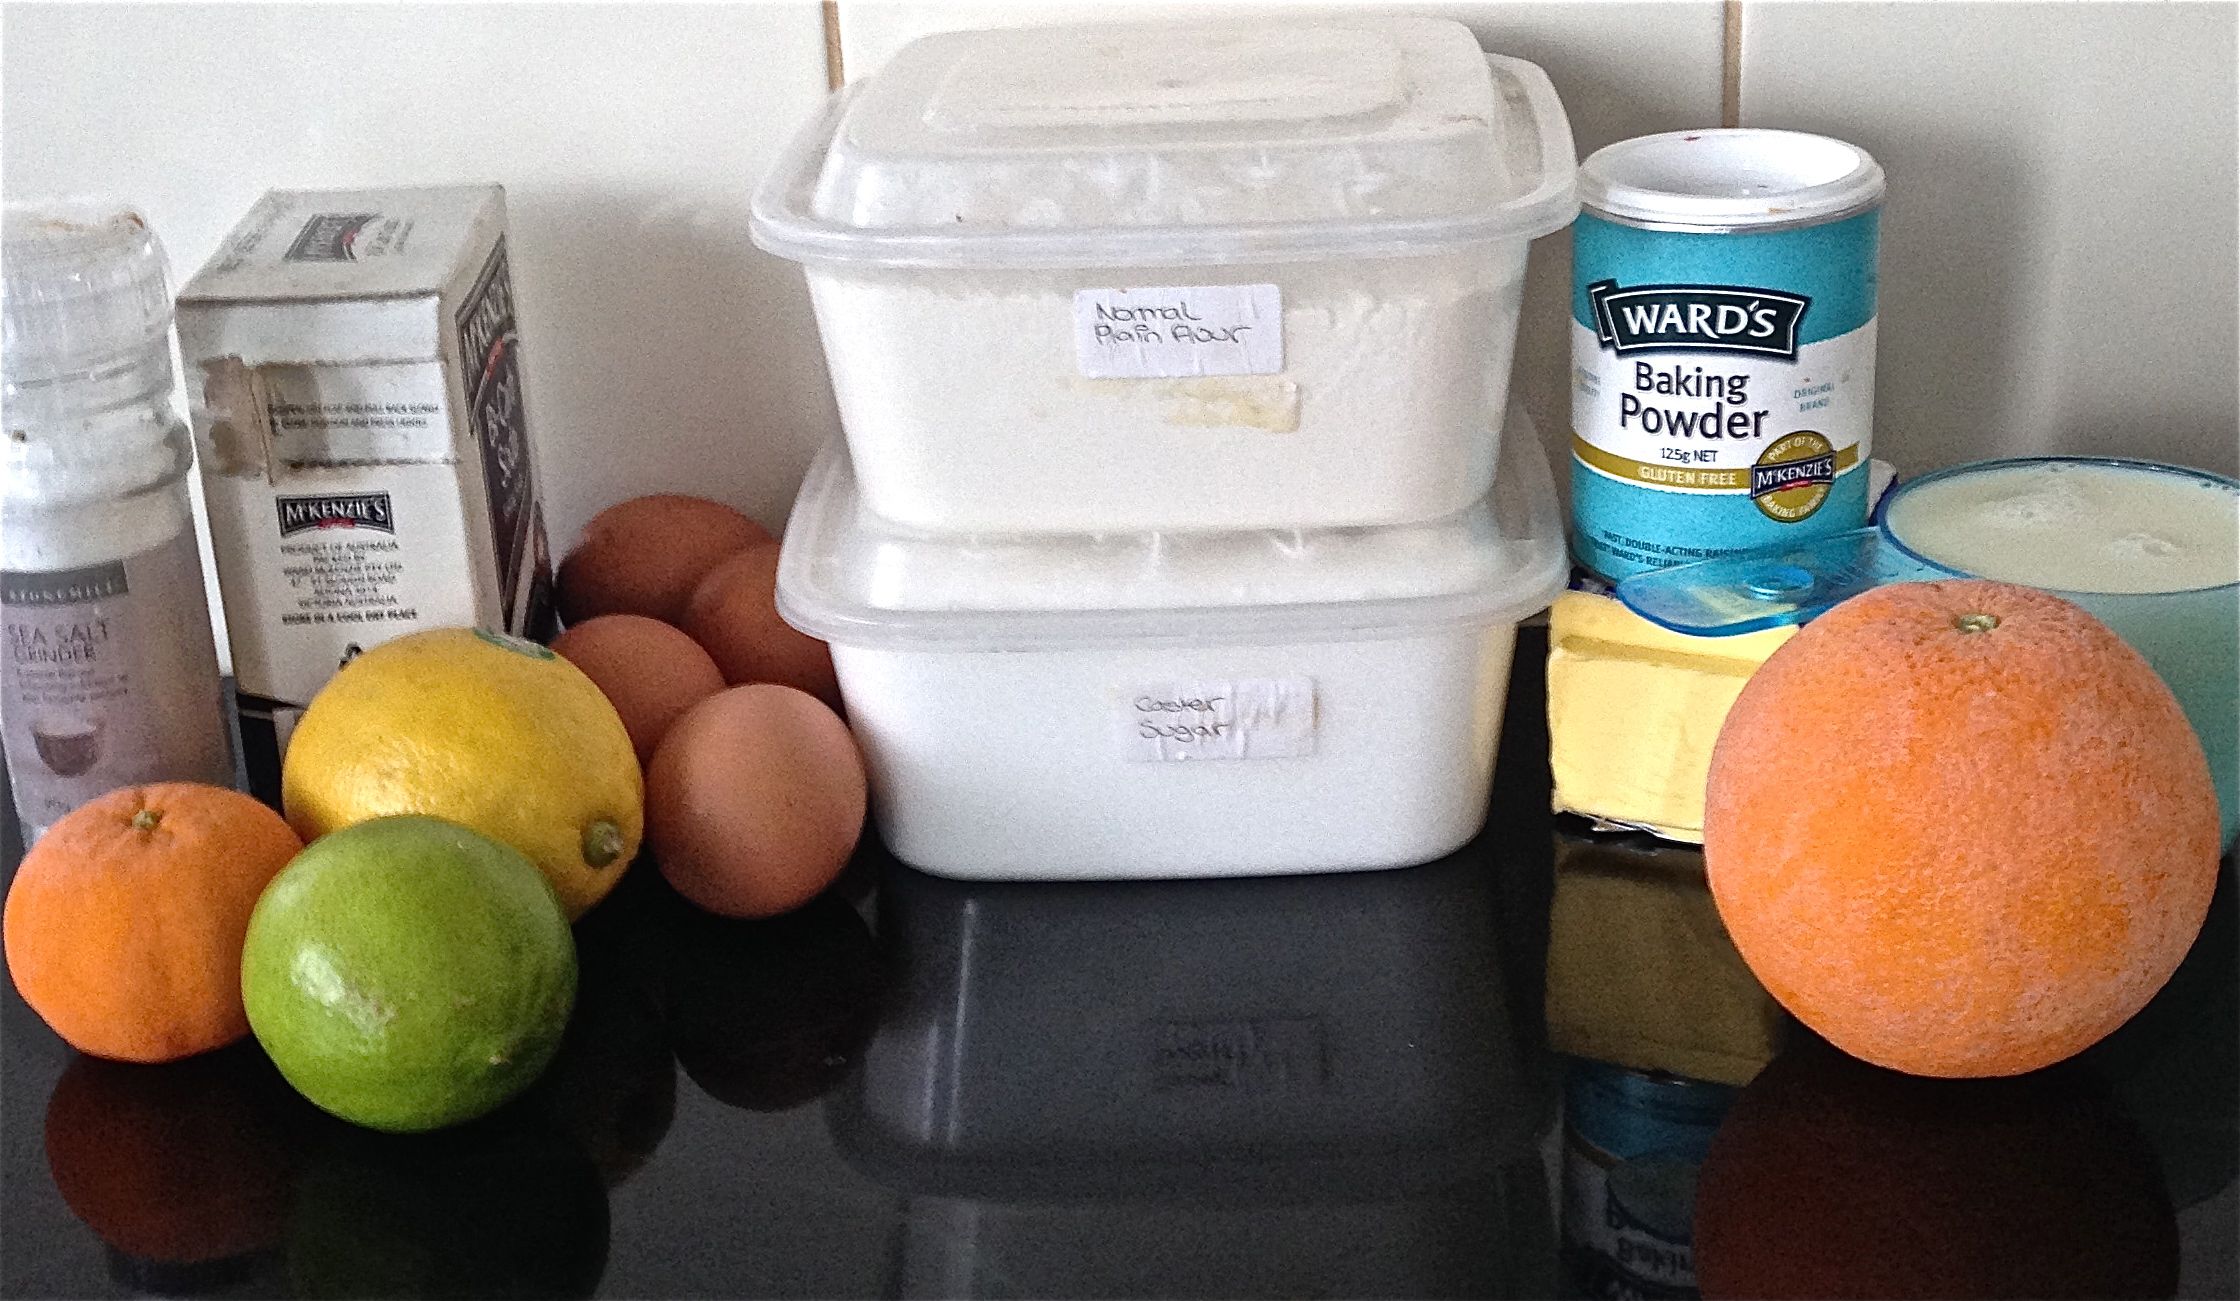
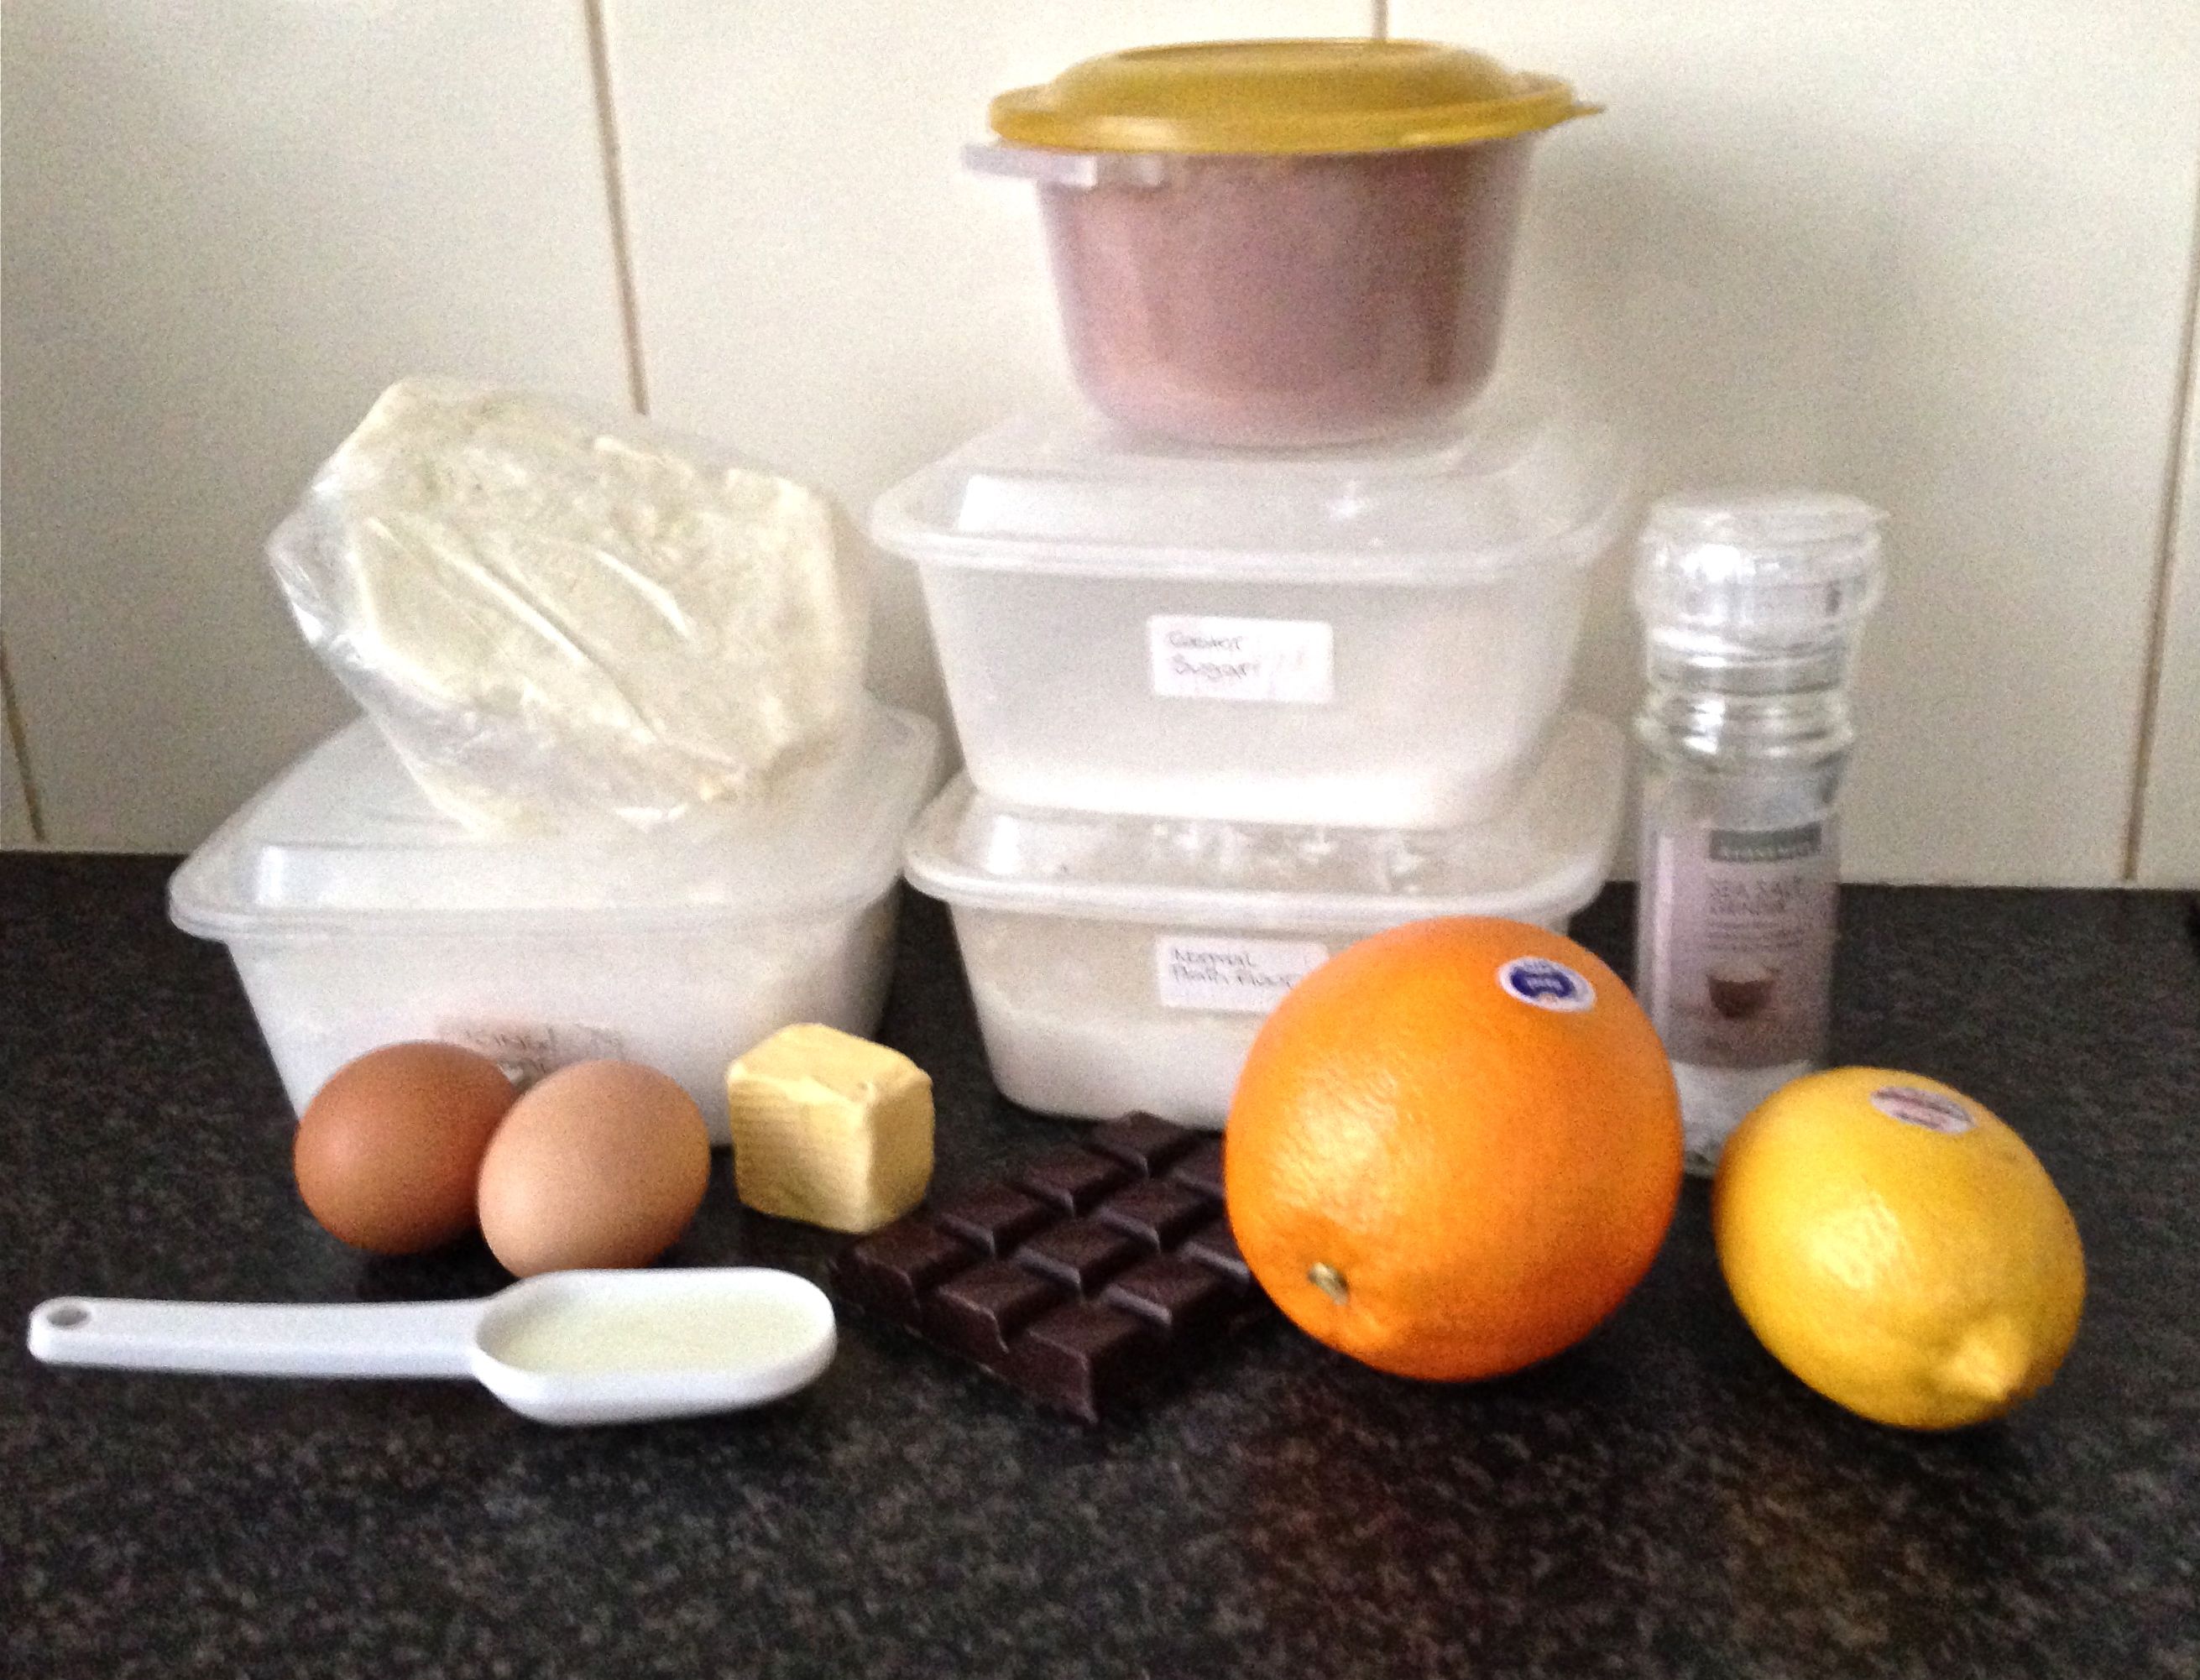
Ingredients:
Cake:
- 5 oranges
- 250g butter
- 110ml honey
- 45ml orange blossom water
- 165g brown sugar
- 165g flour
- 1 tsn baking powder
- 130g almond meal
- 130g polenta
- 3 eggs
- 300ml yoghurt
- Extra 40g brown sugar
Syrup:
- 65g sugar
- 60ml orange juice
- 25ml orange blossom water
Method:
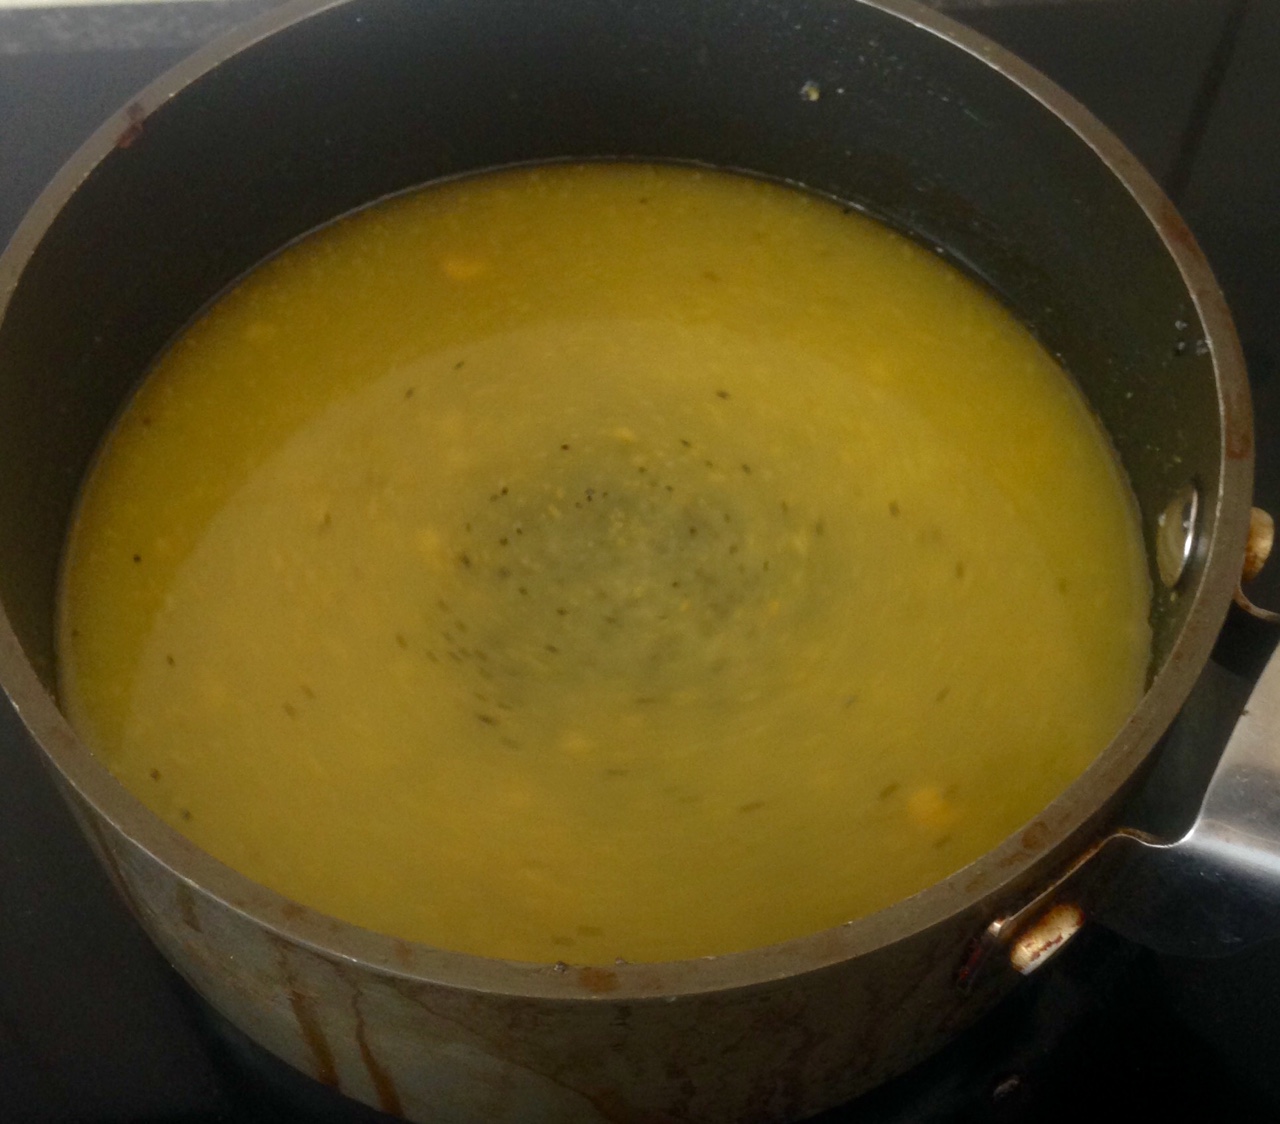
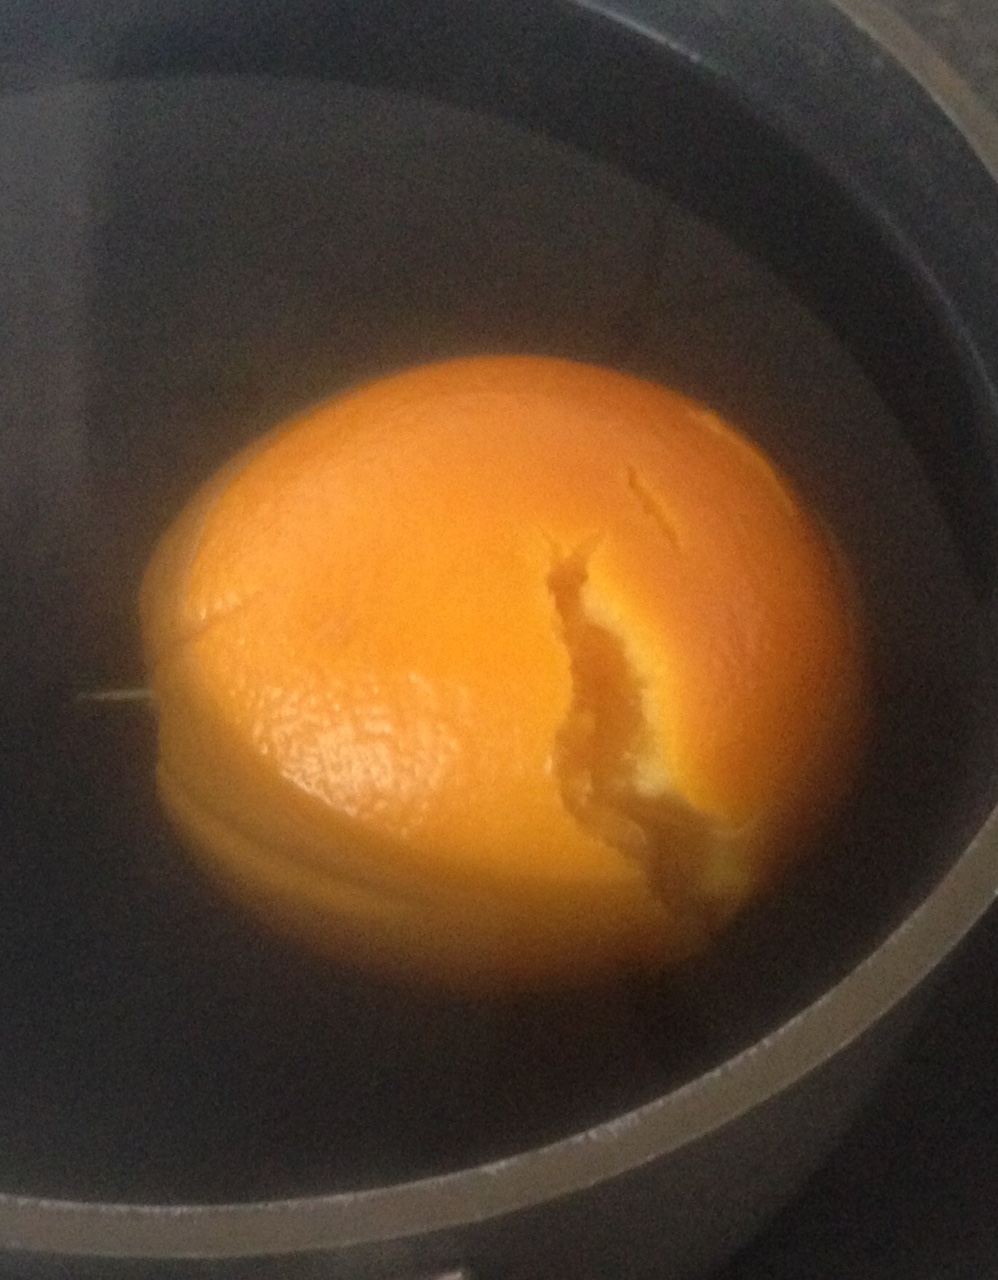
- Place the oranges into a large pot on the stove and fill with water until the oranges are covered.
- Turn the heat to high until the water is boiling then down to a gentle simmer.
- Place the lid on the pot and leave to simmer for 45 minutes or until the oranges are soft (a knife should glide easily through the skin).
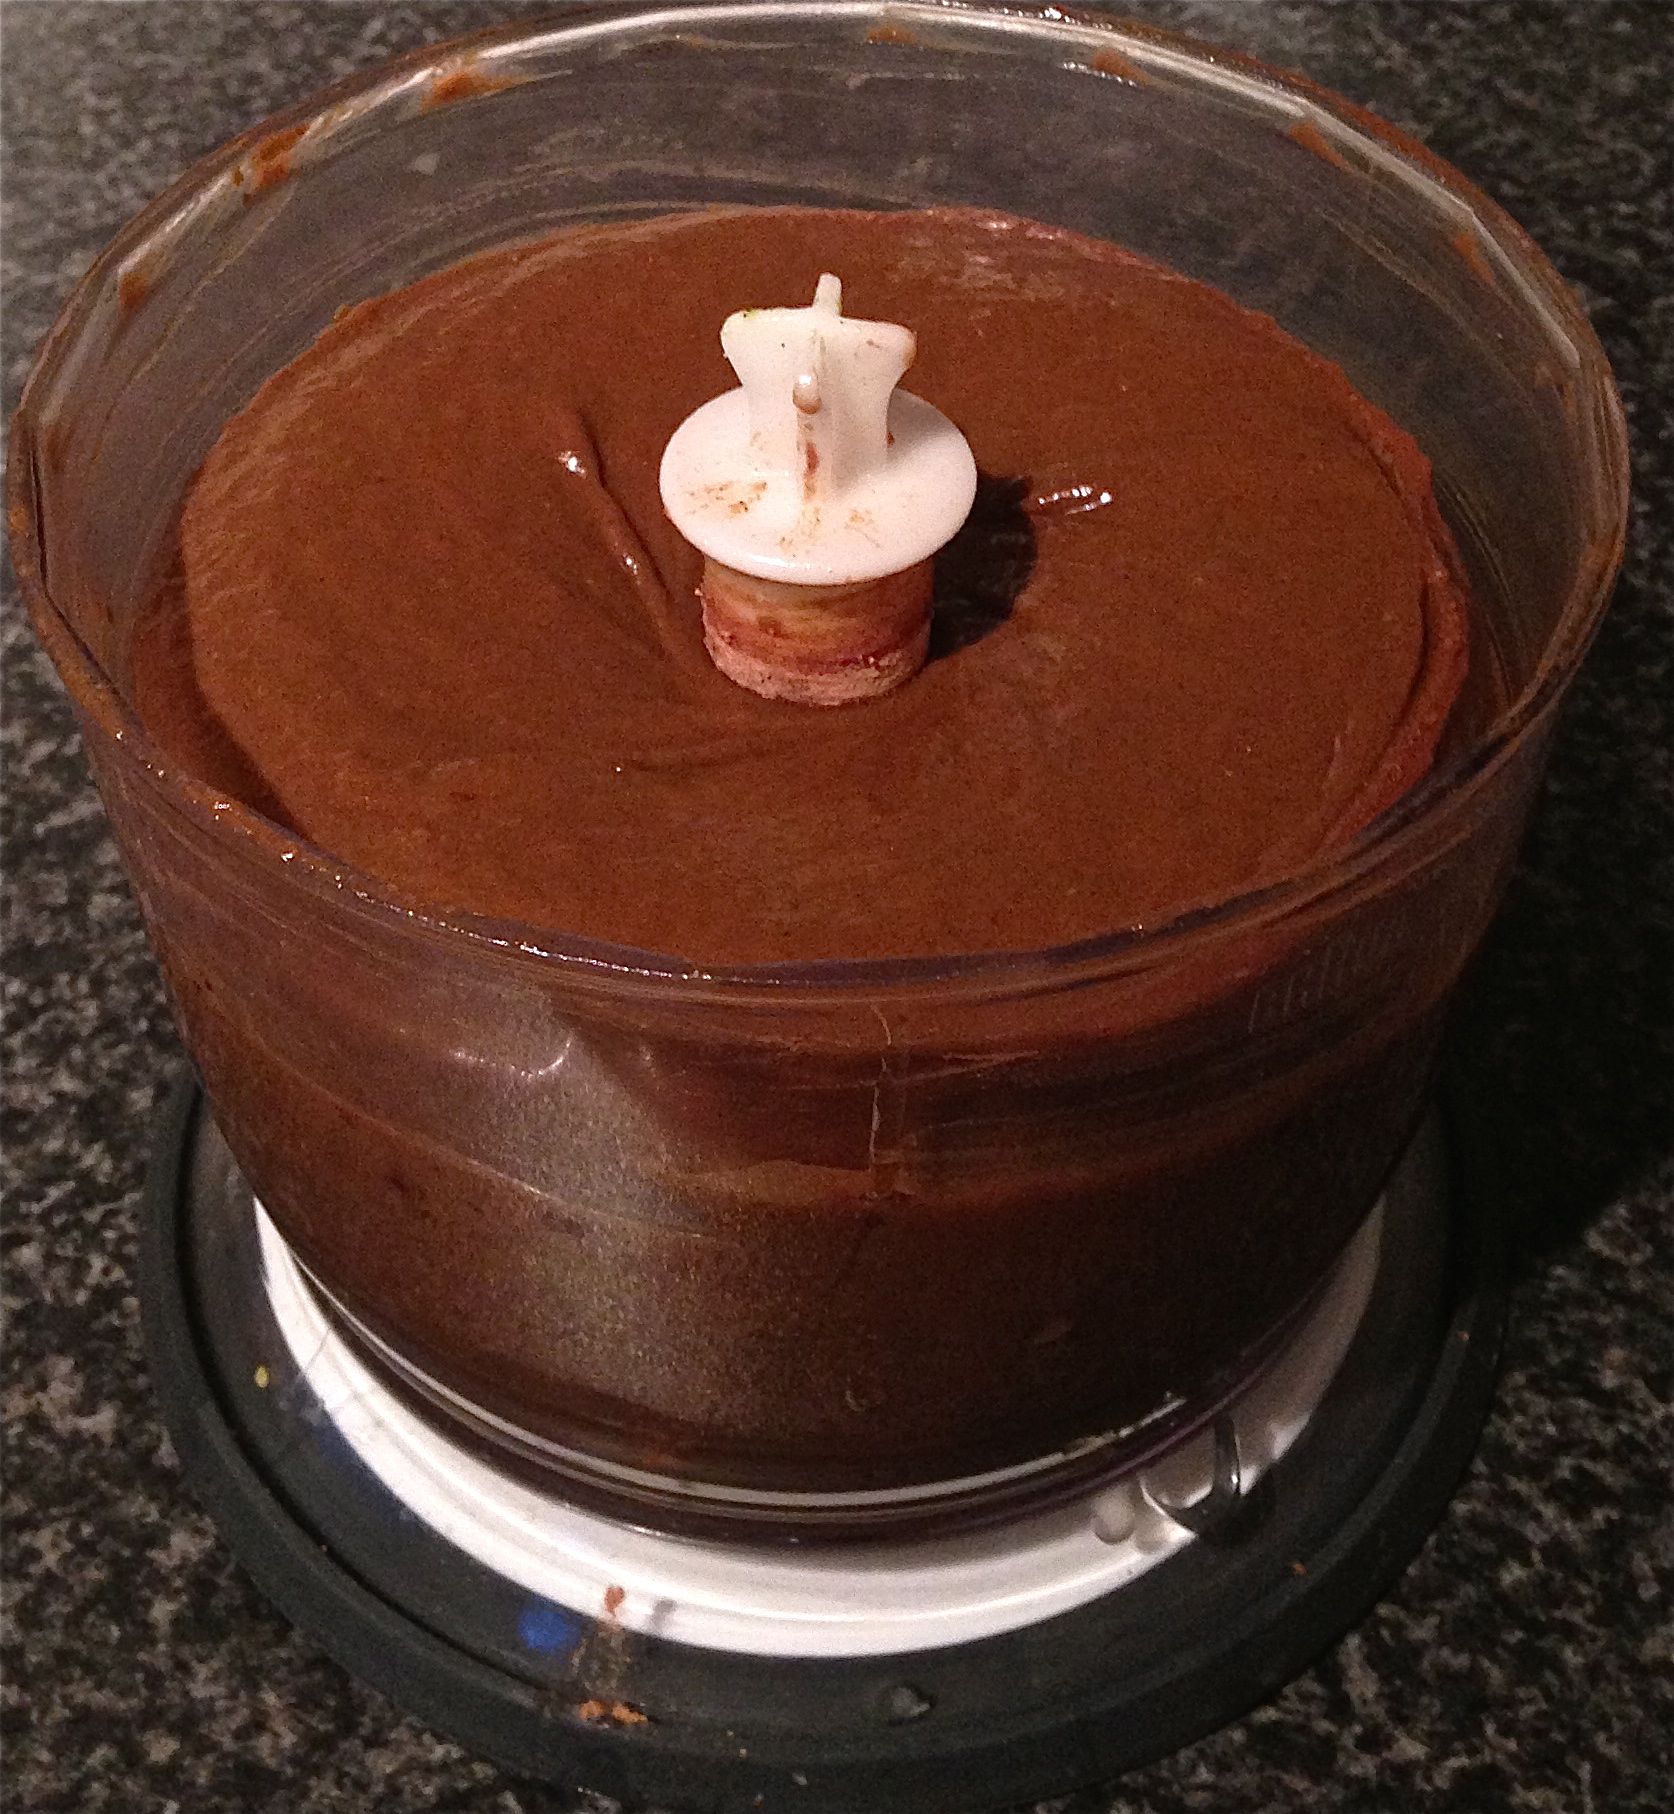
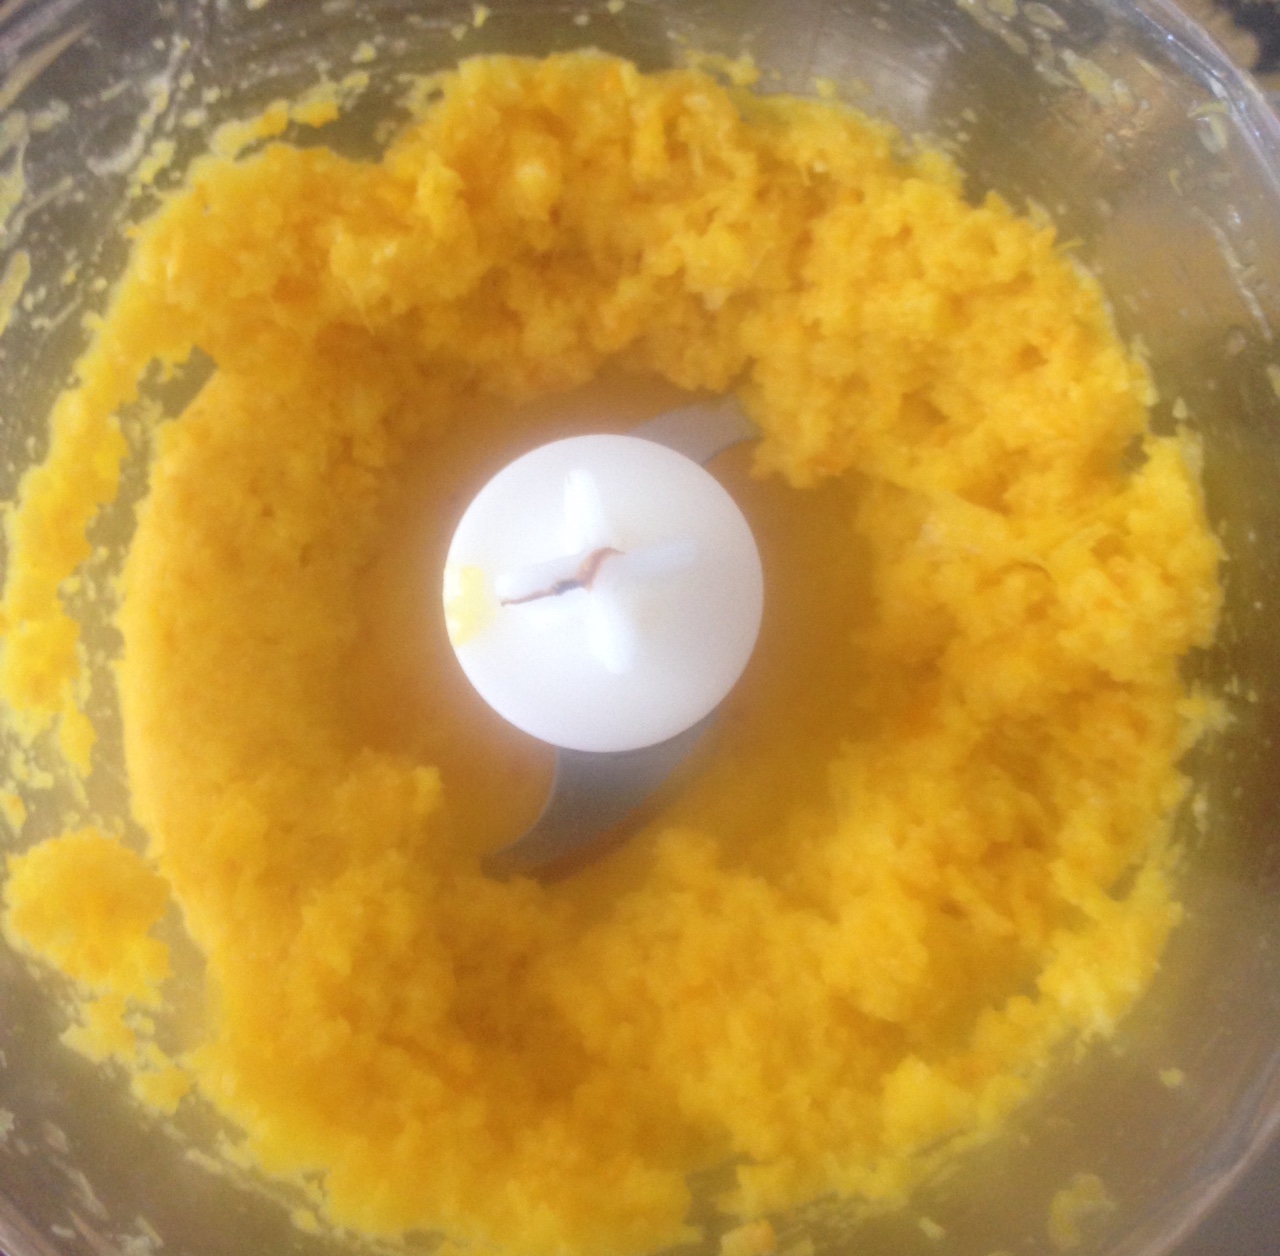
- Place 2 oranges that have not bursted aside and place the remaining 3 oranges into a food processor until smooth. Spoon mix into a bowl and leave aside to cool.
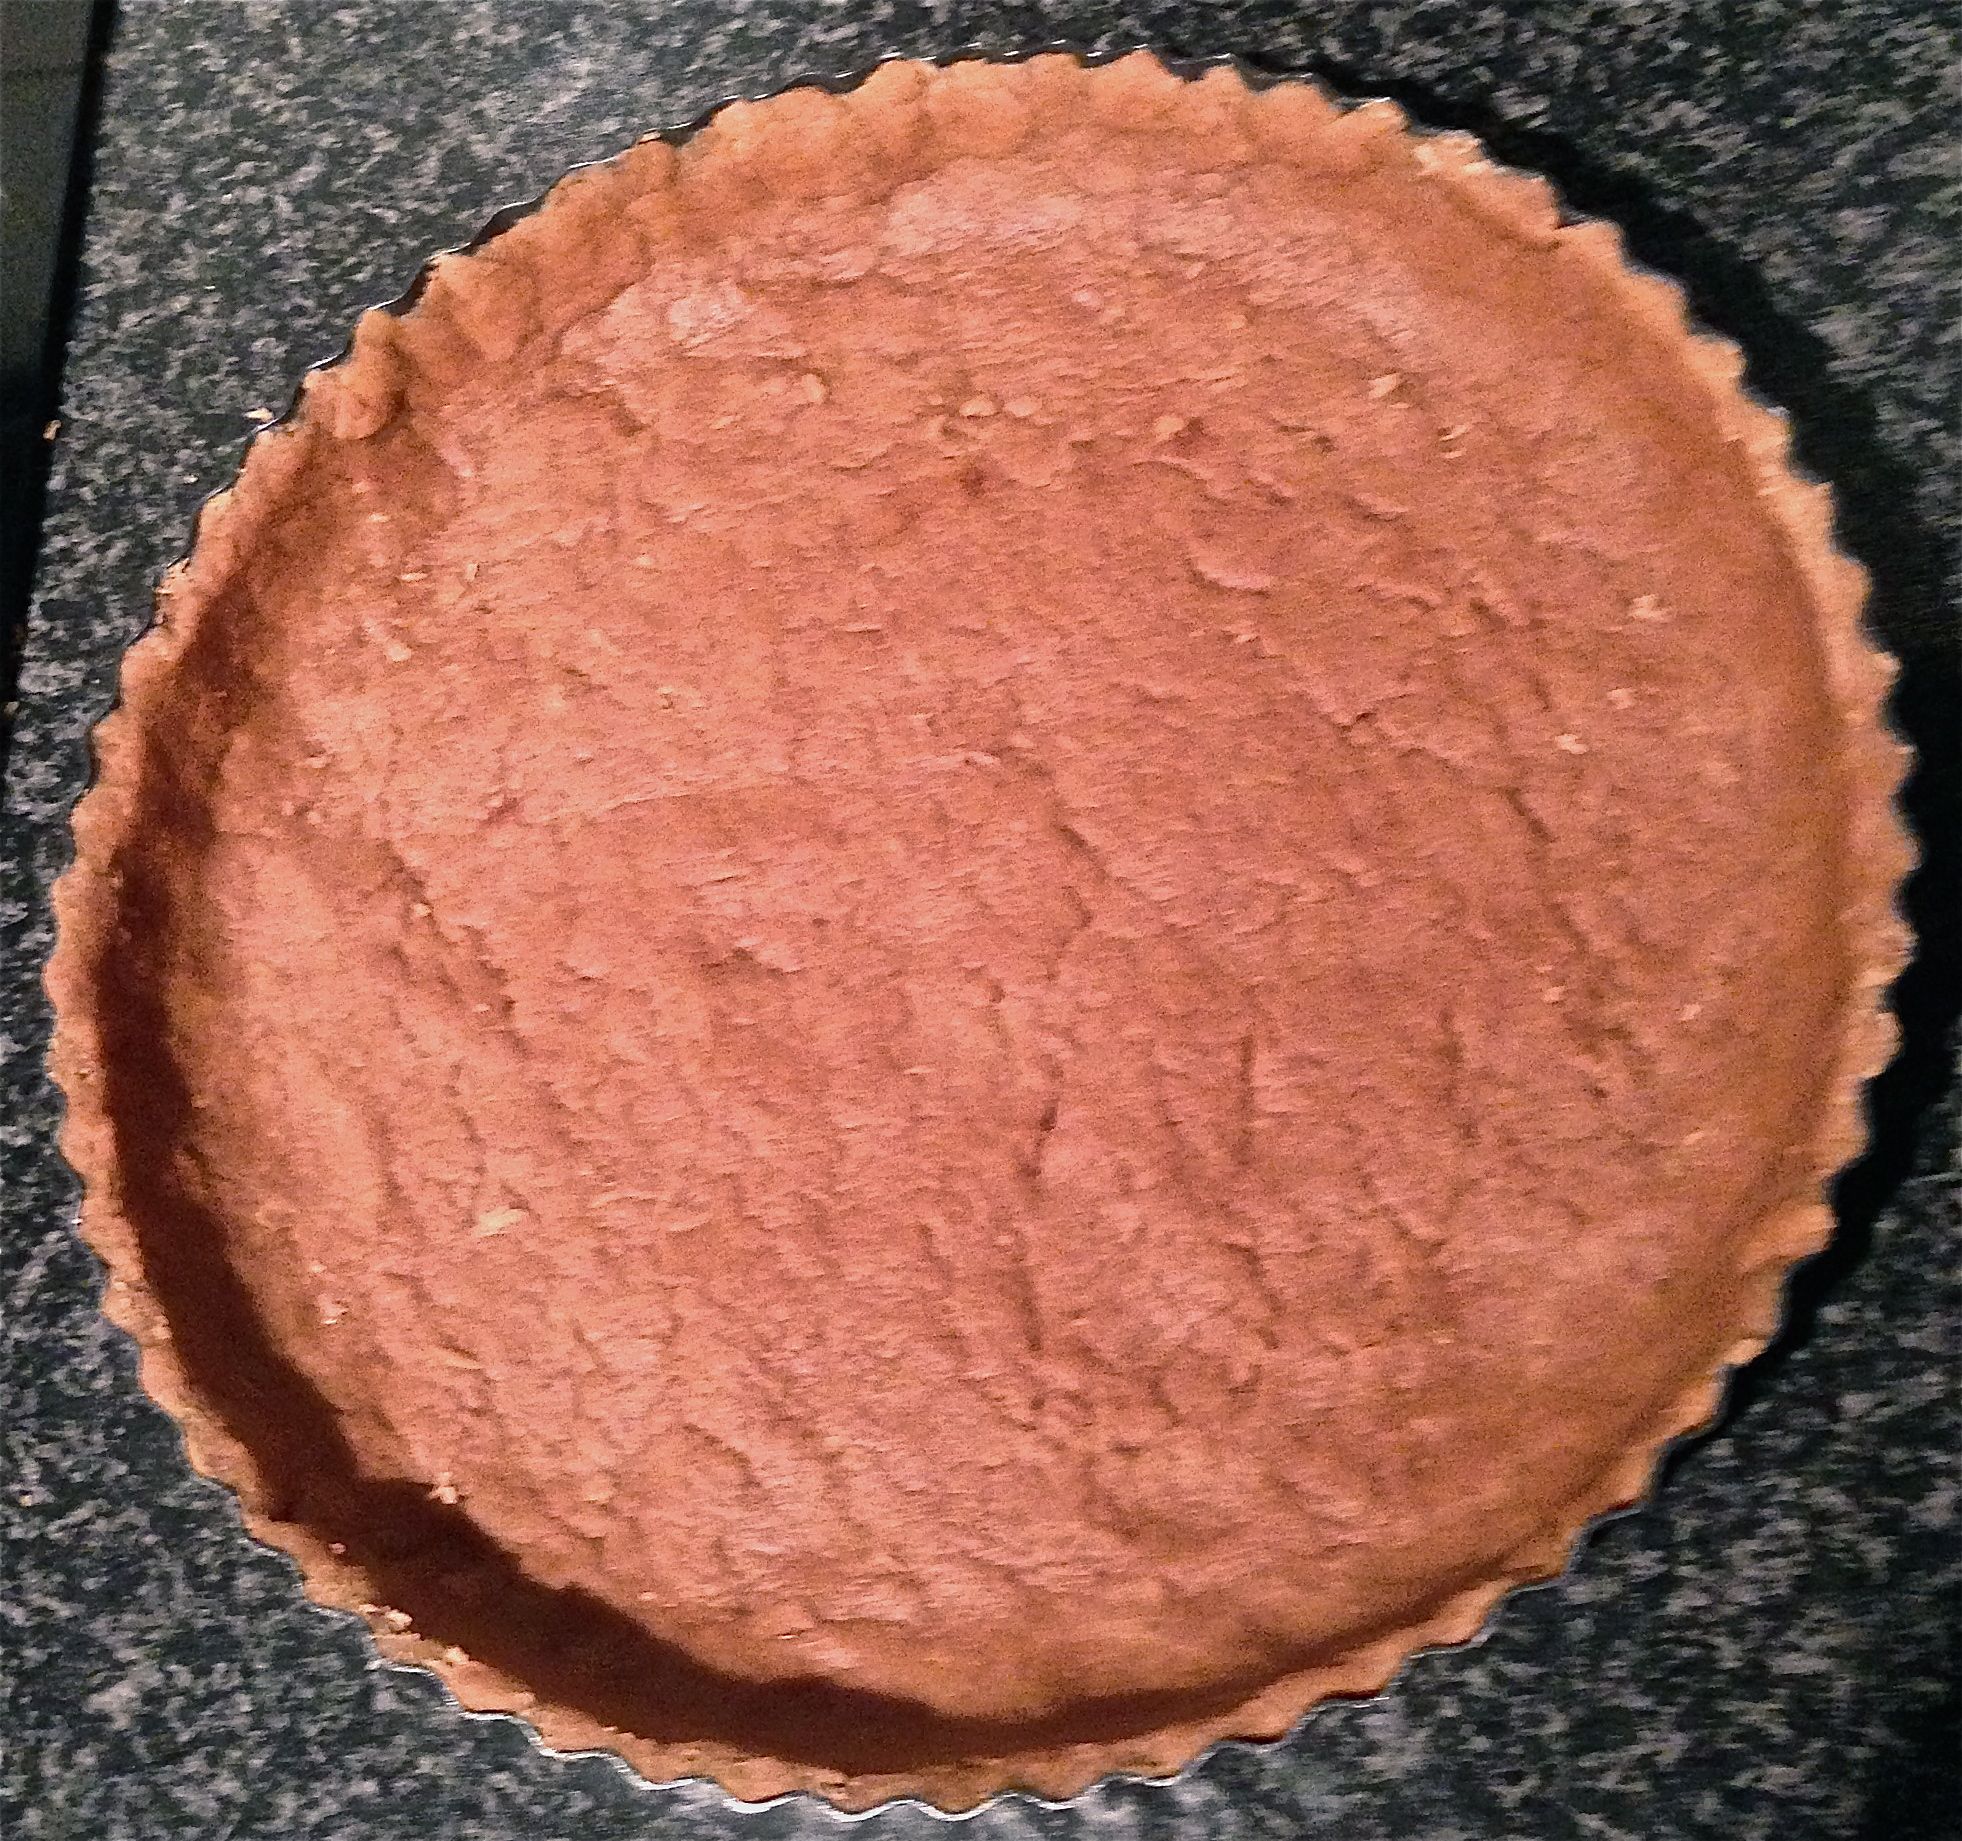
- Pre-heat the oven to 180c degrees and line a cake tin with baking paper.
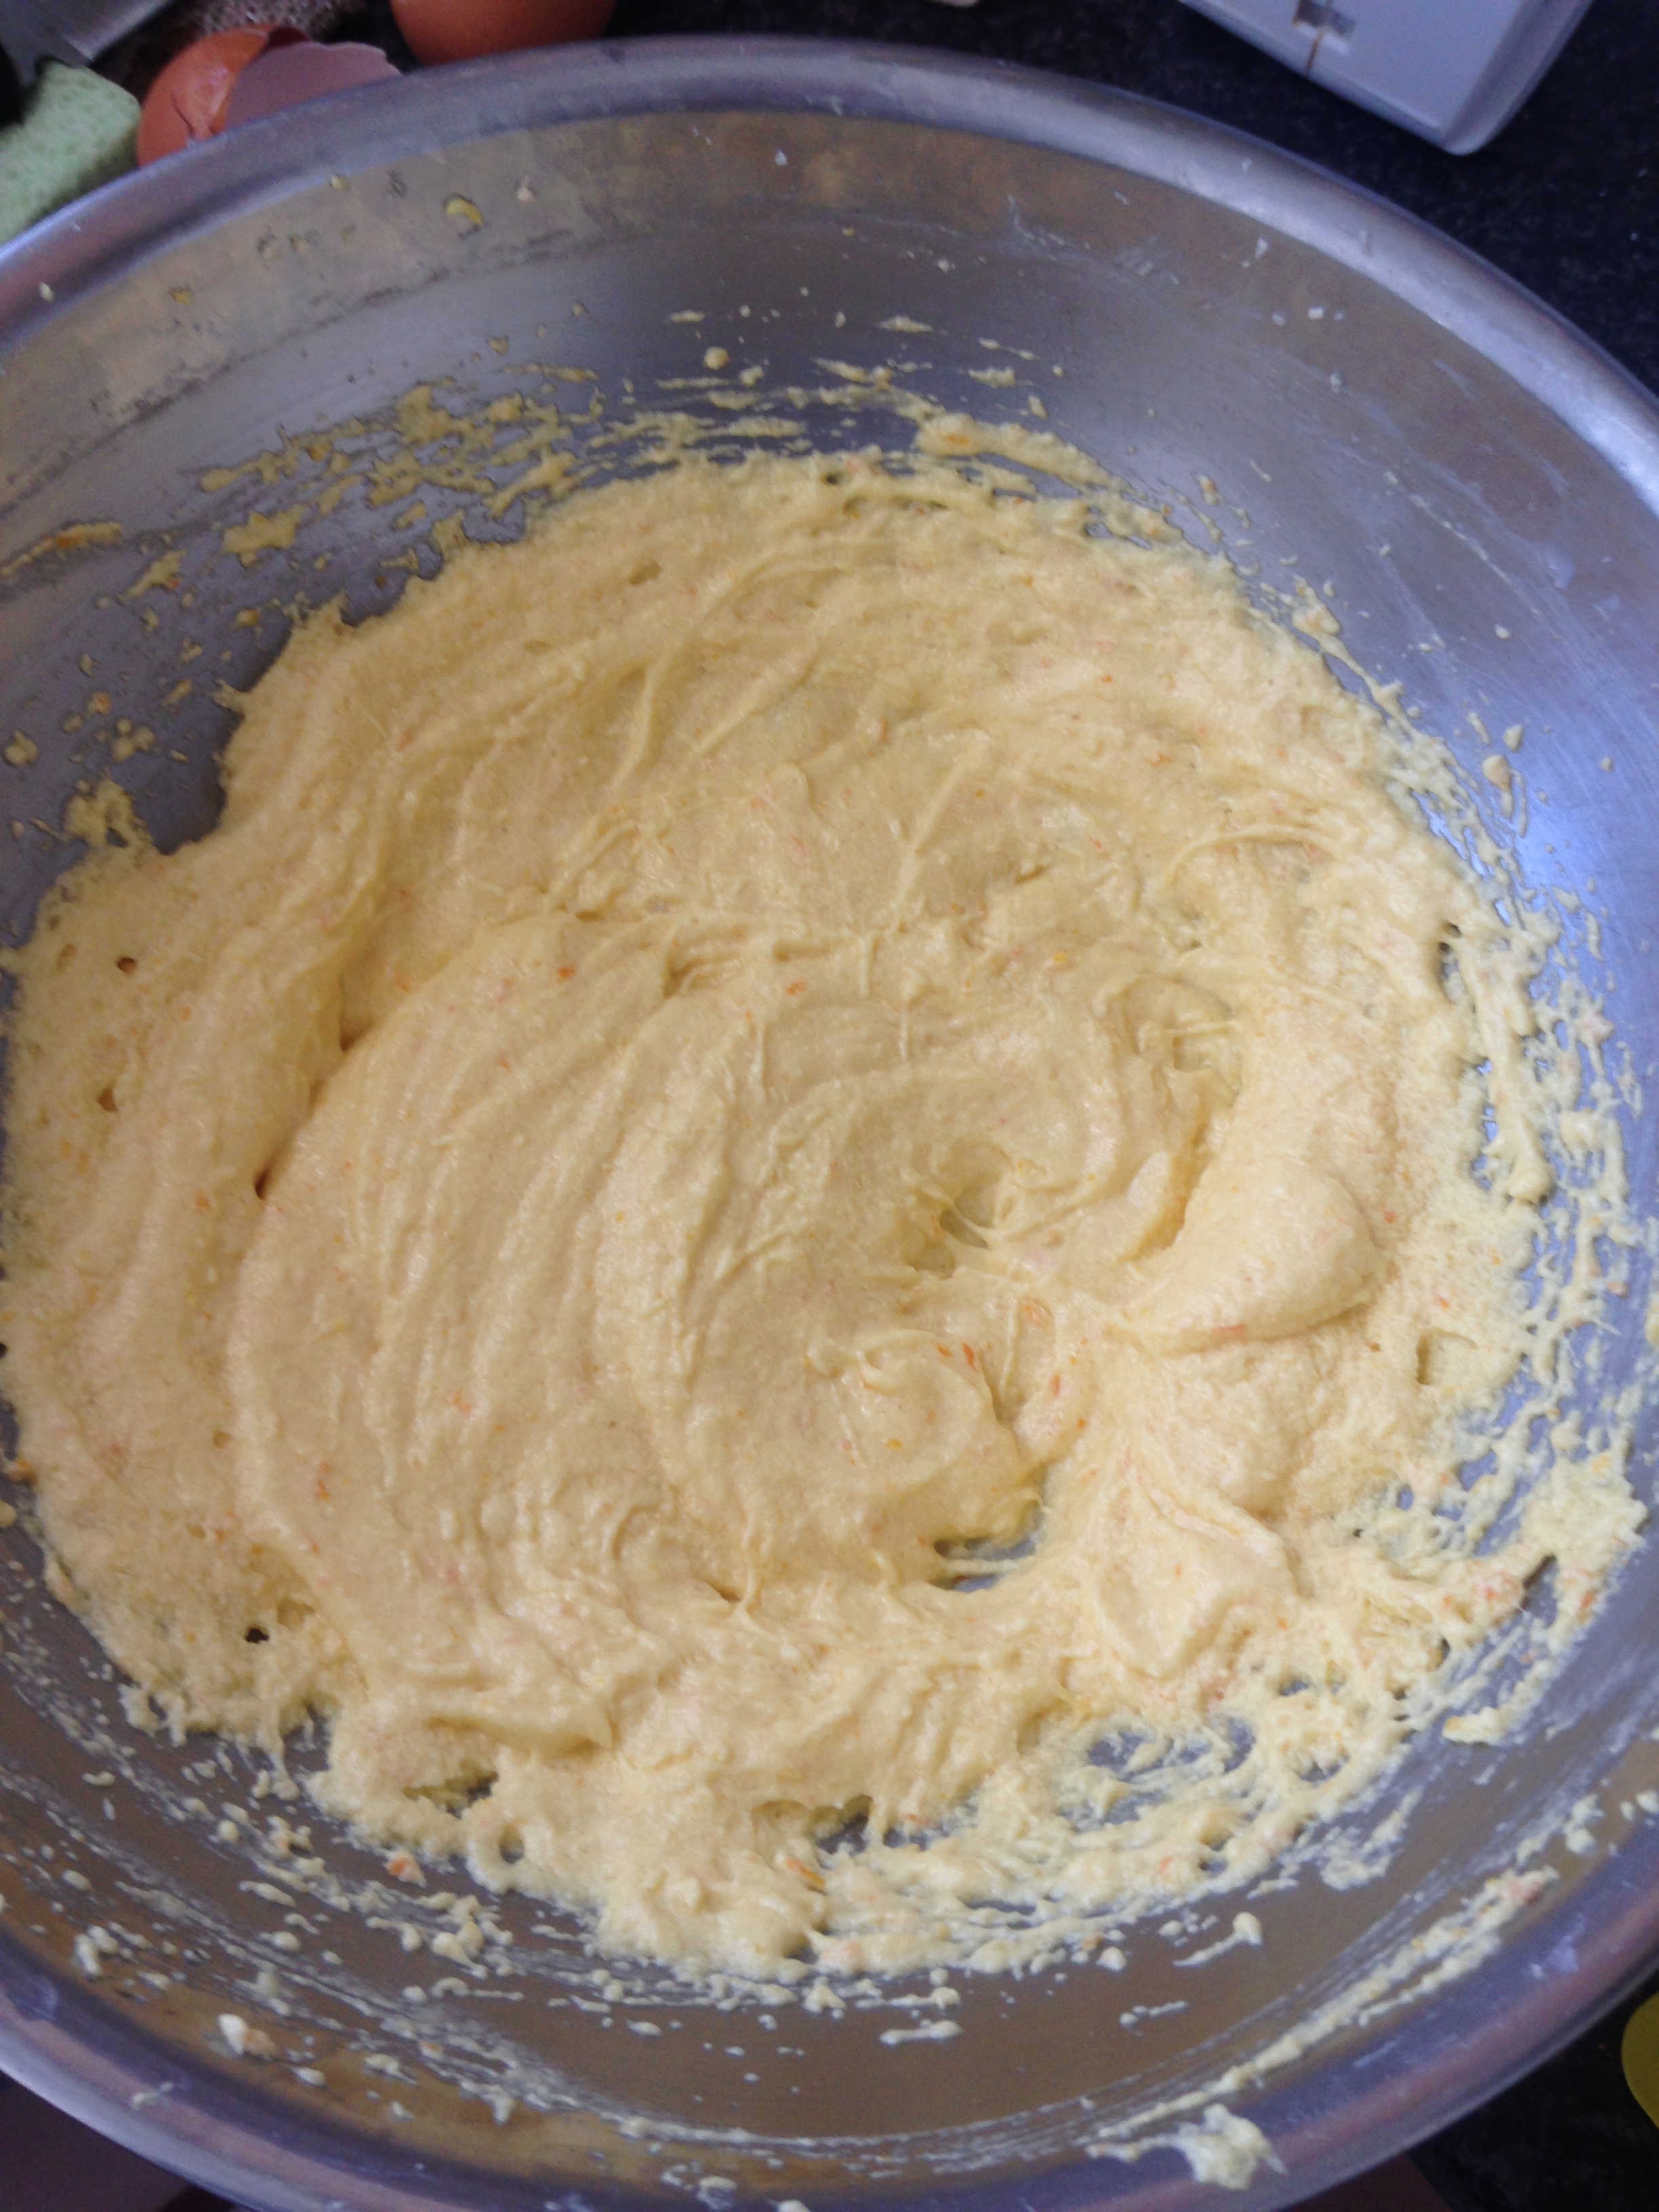
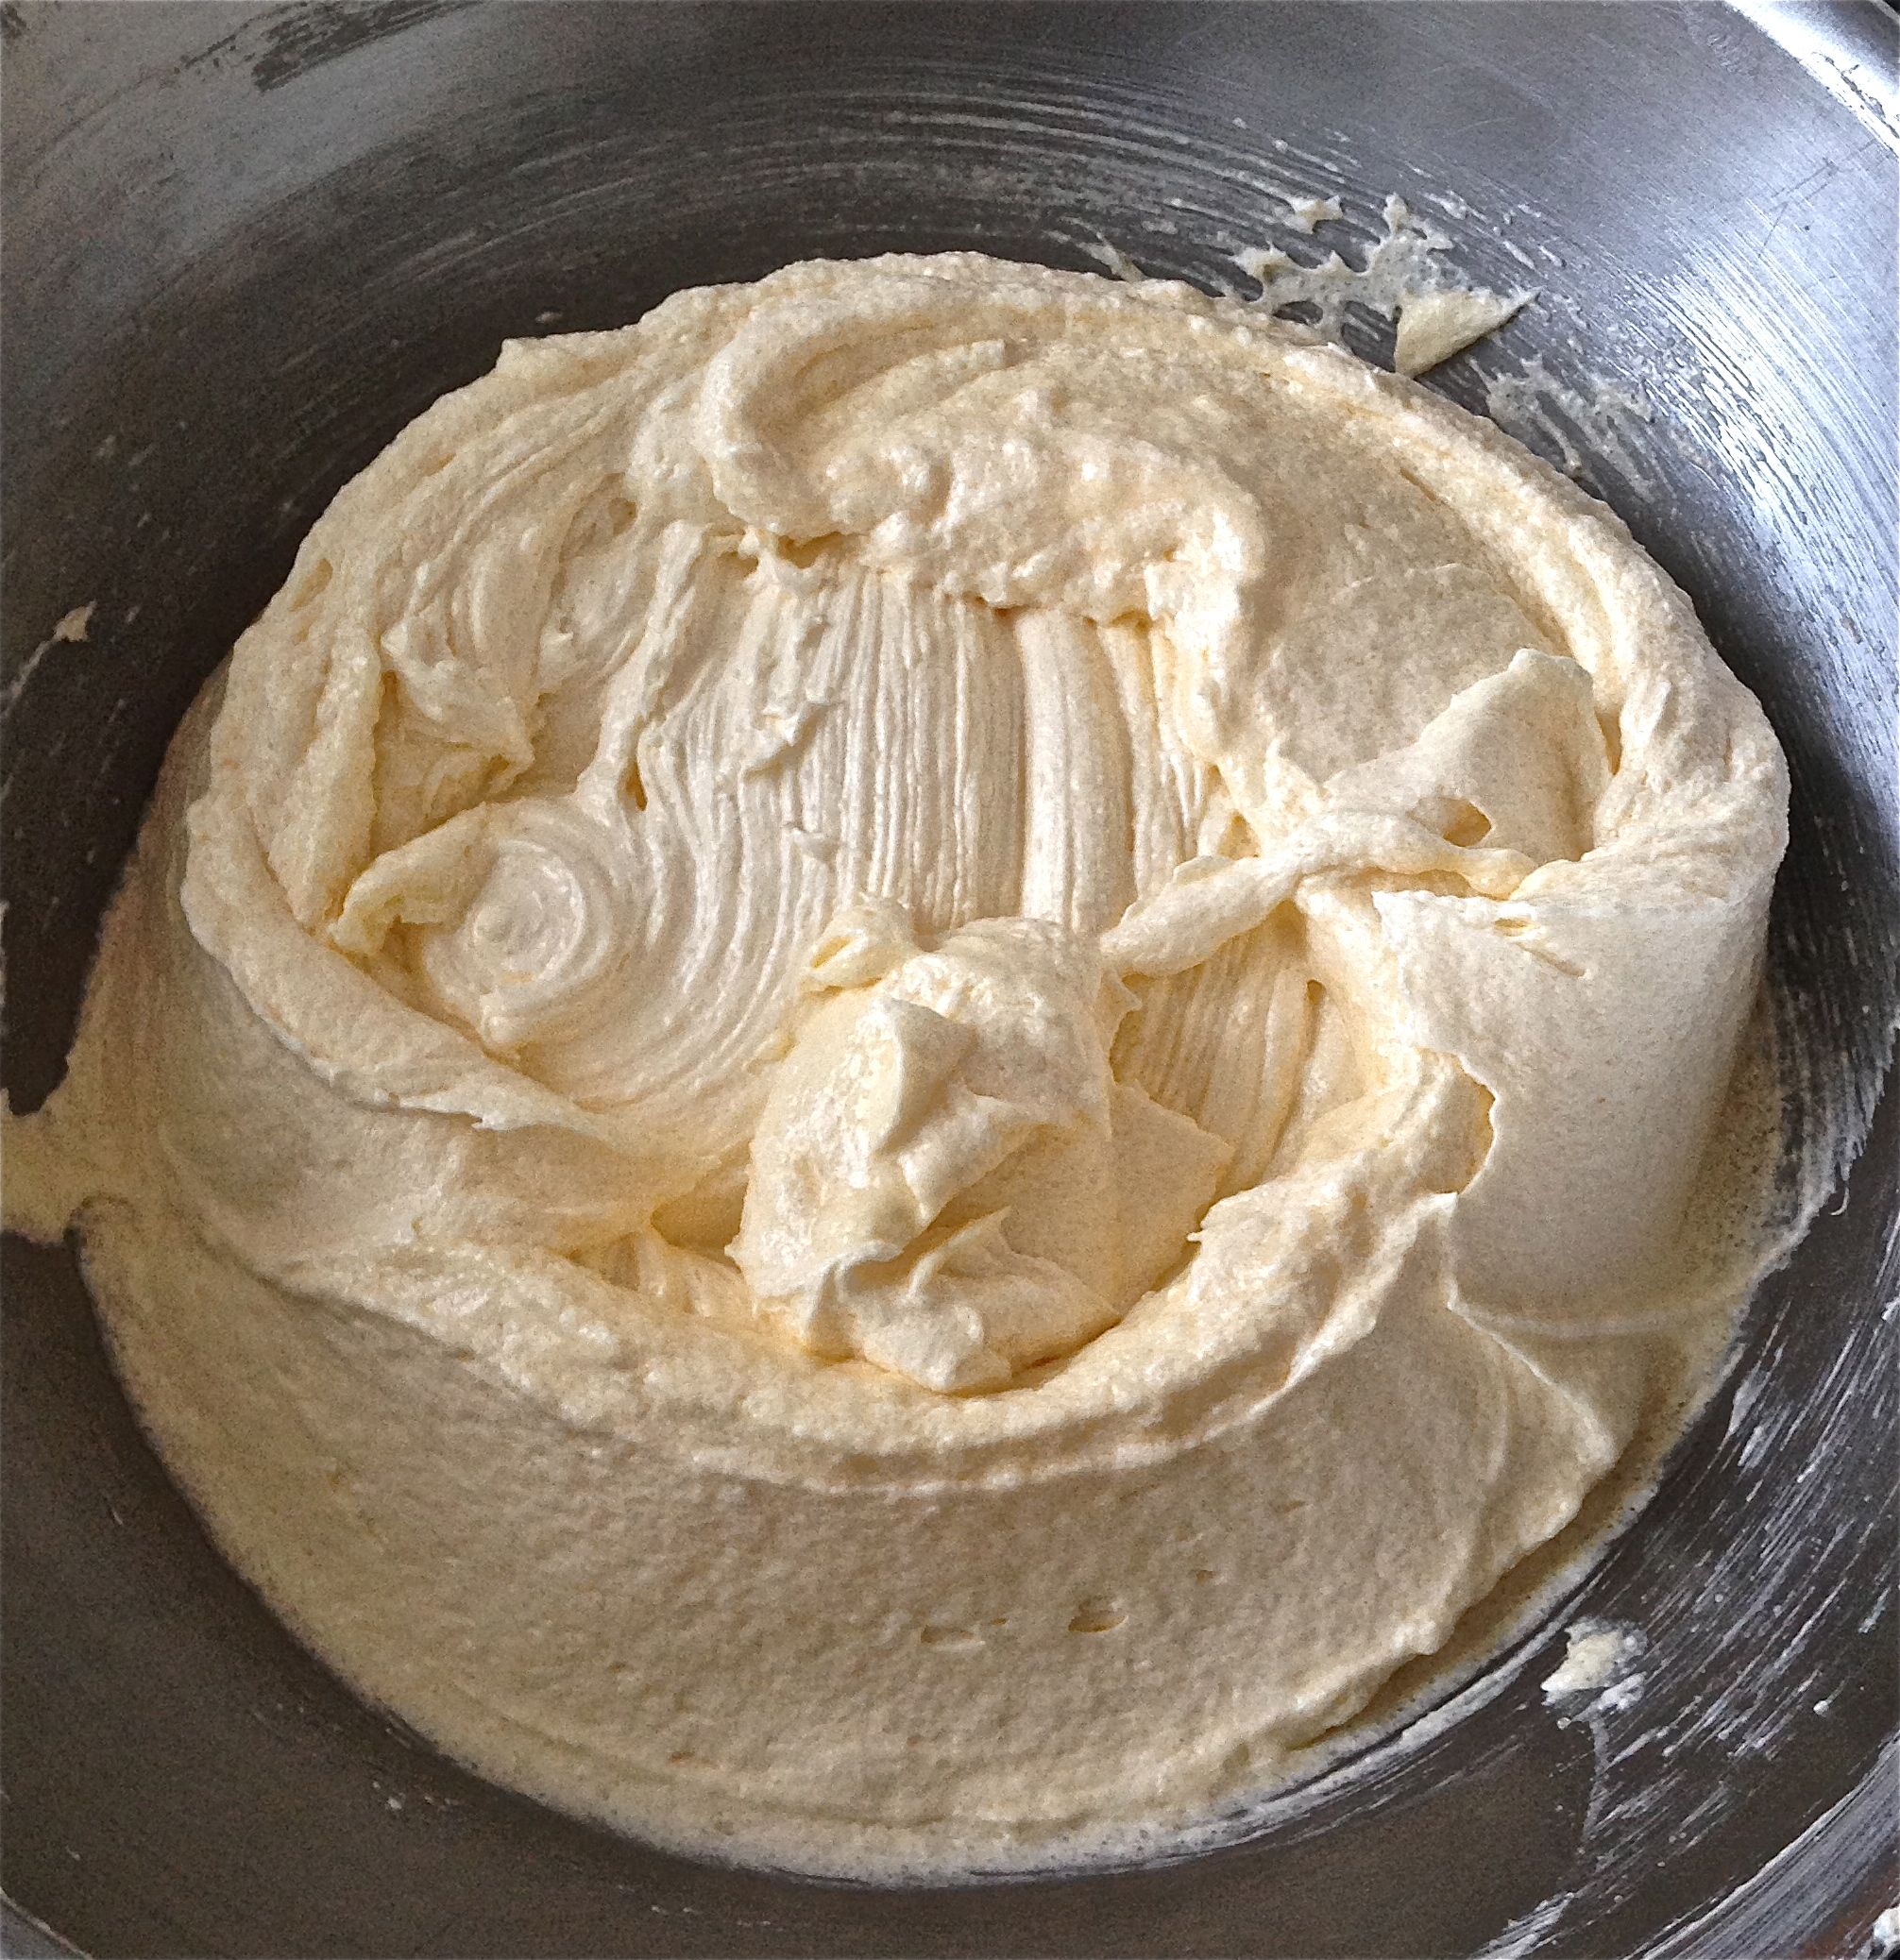
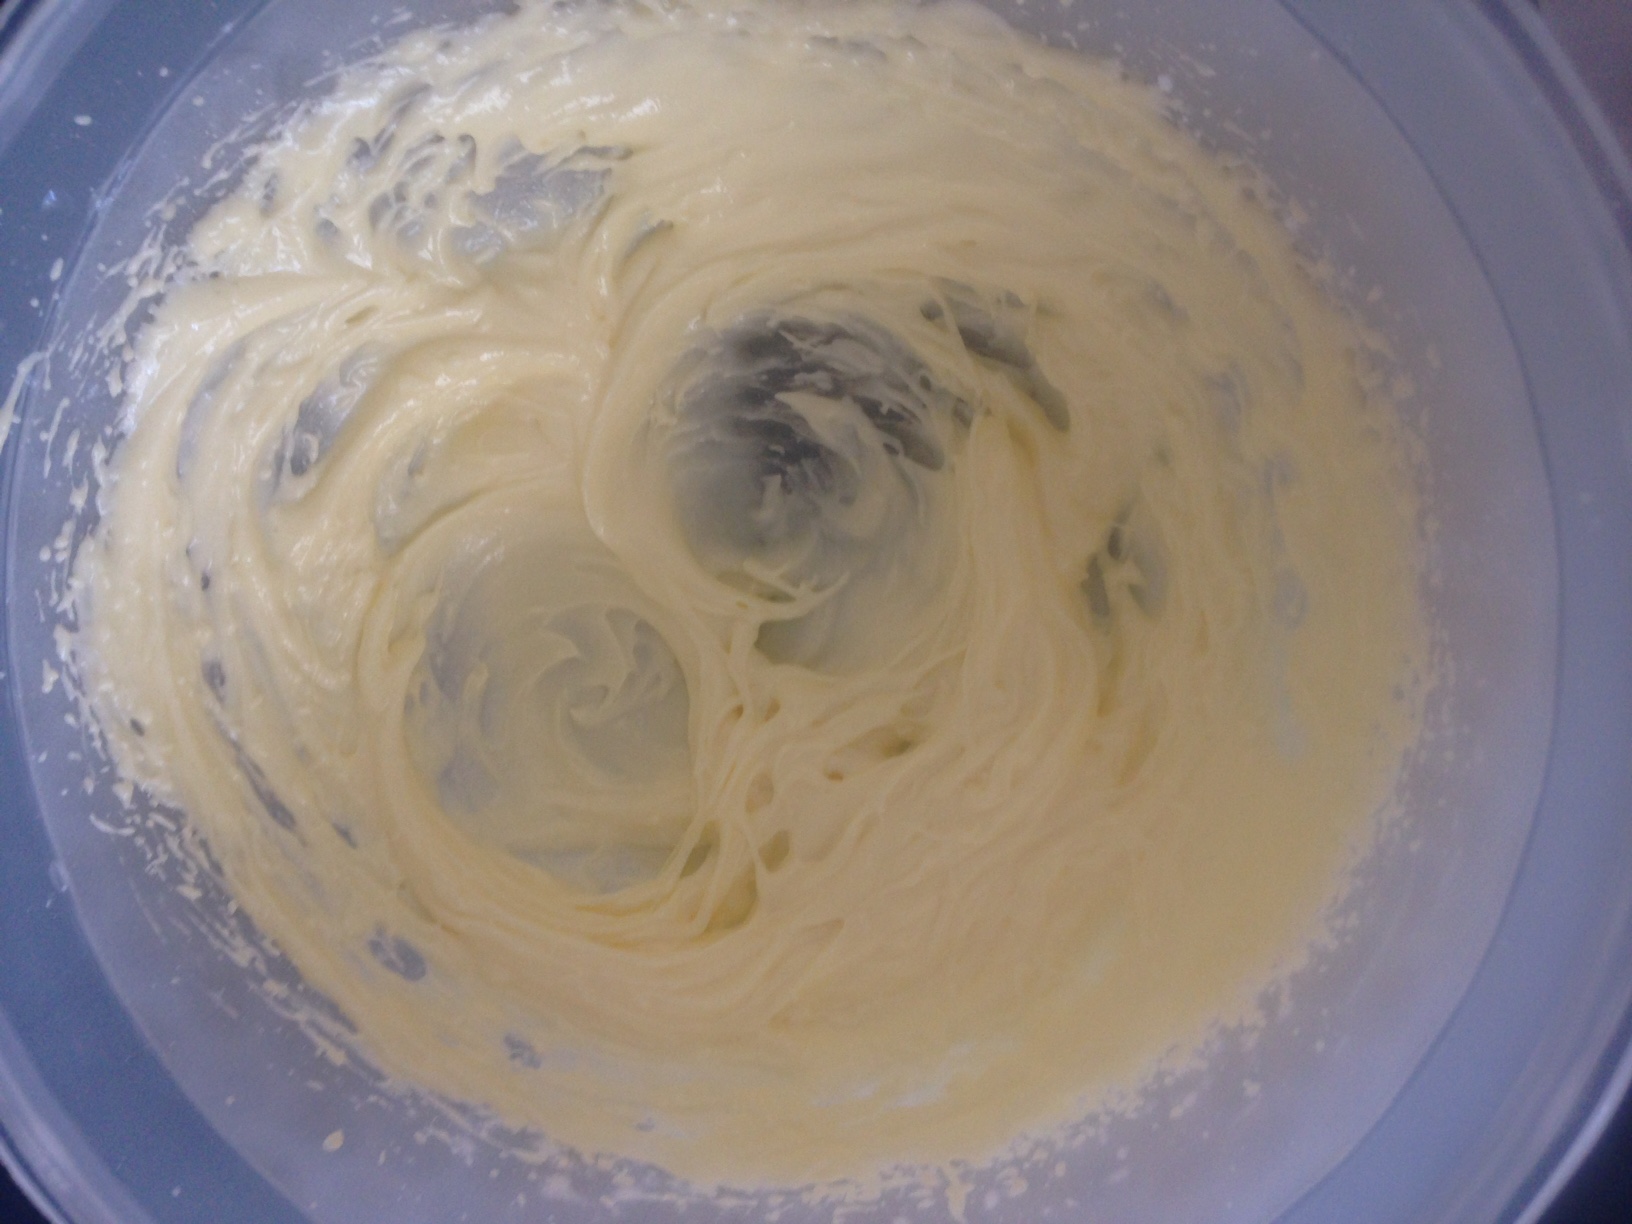
- Meanwhile place the butter at room temperature in a bowl with the sugar and with electric beaters whisk until light and fluffy.
- Add the honey and orange blossom water and beat until well combined.
- Add the flour, baking powder and beat until combine.
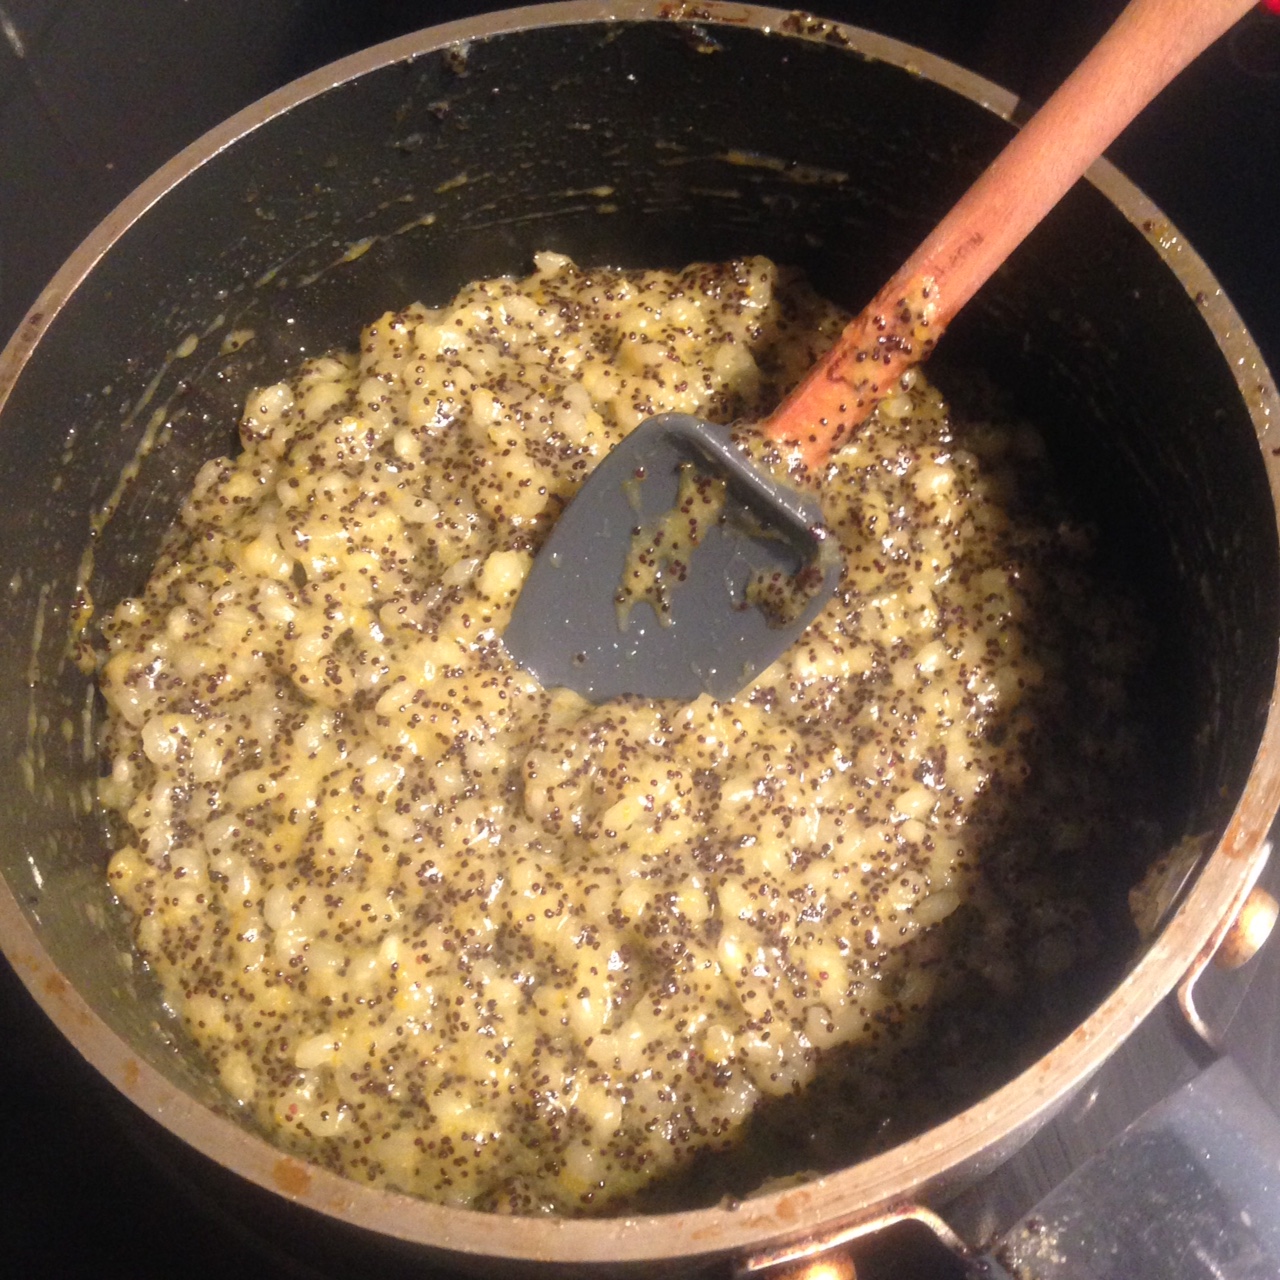
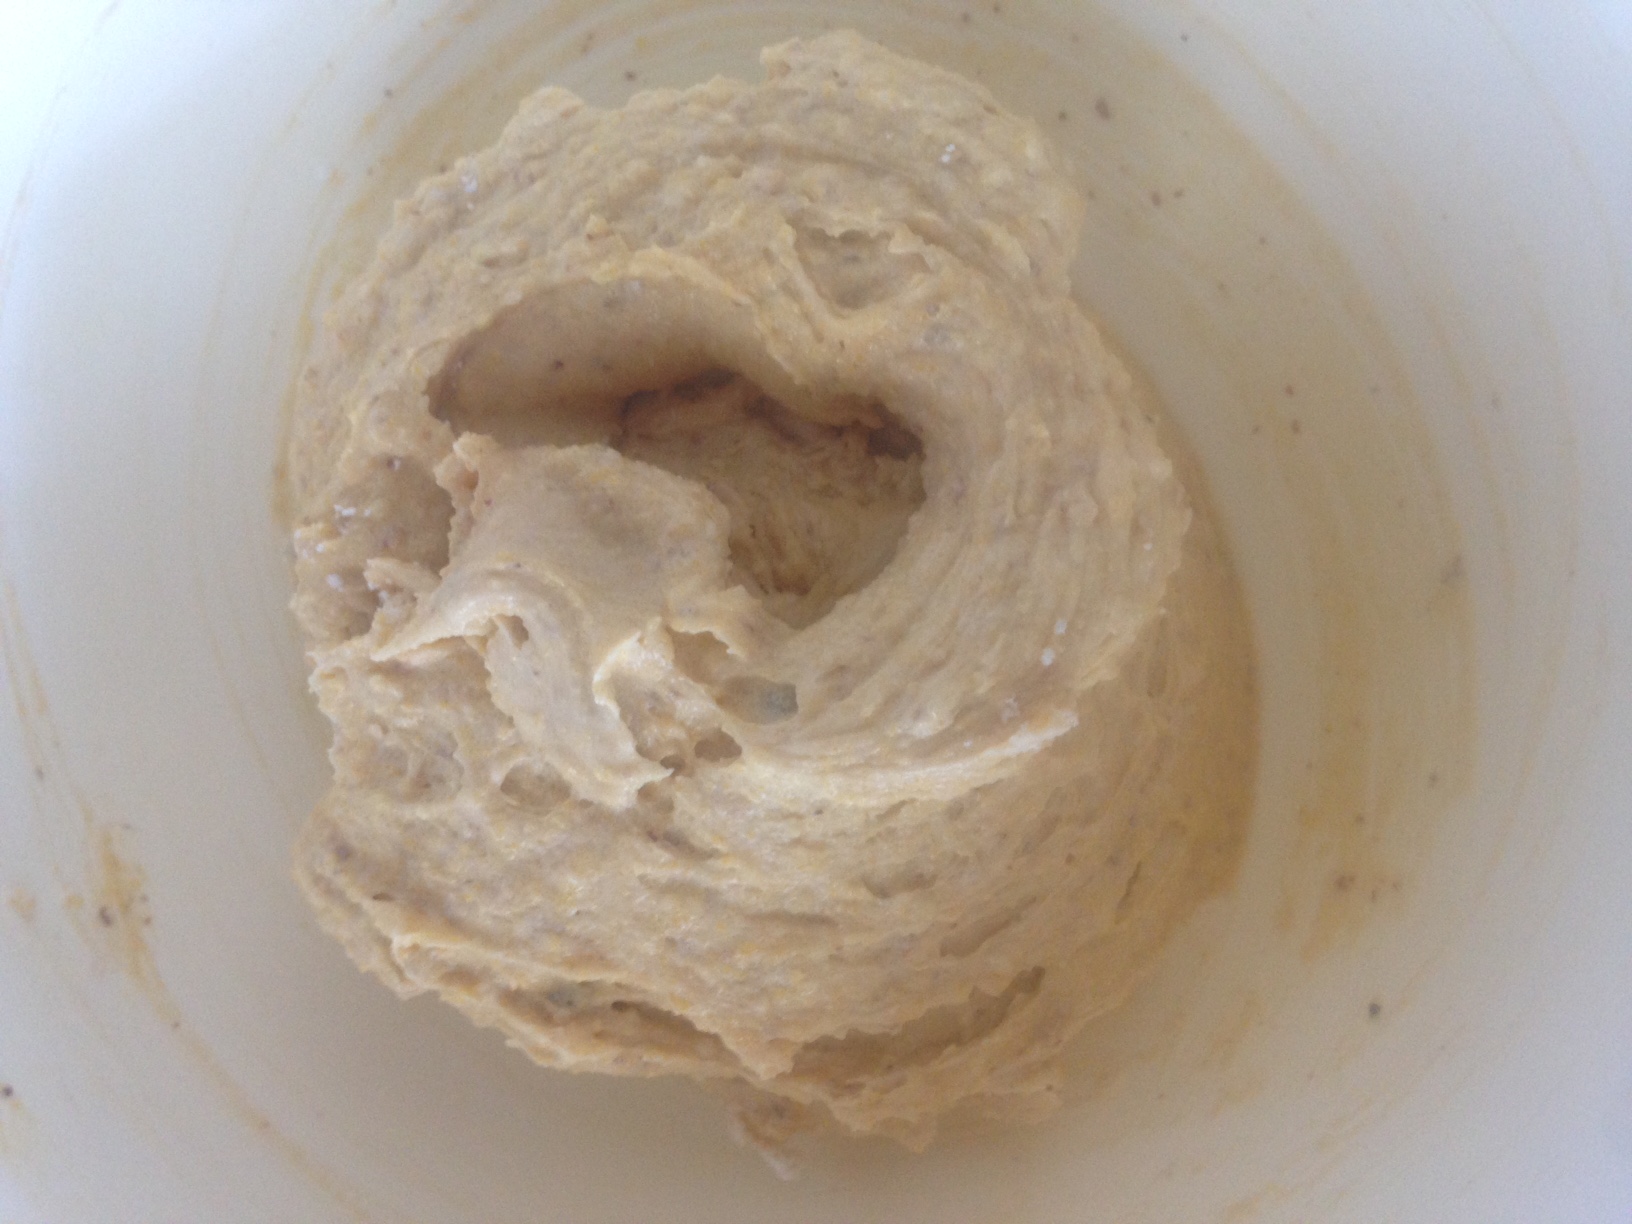
- Add the almond meal, polenta and eggs and beat until well combined.
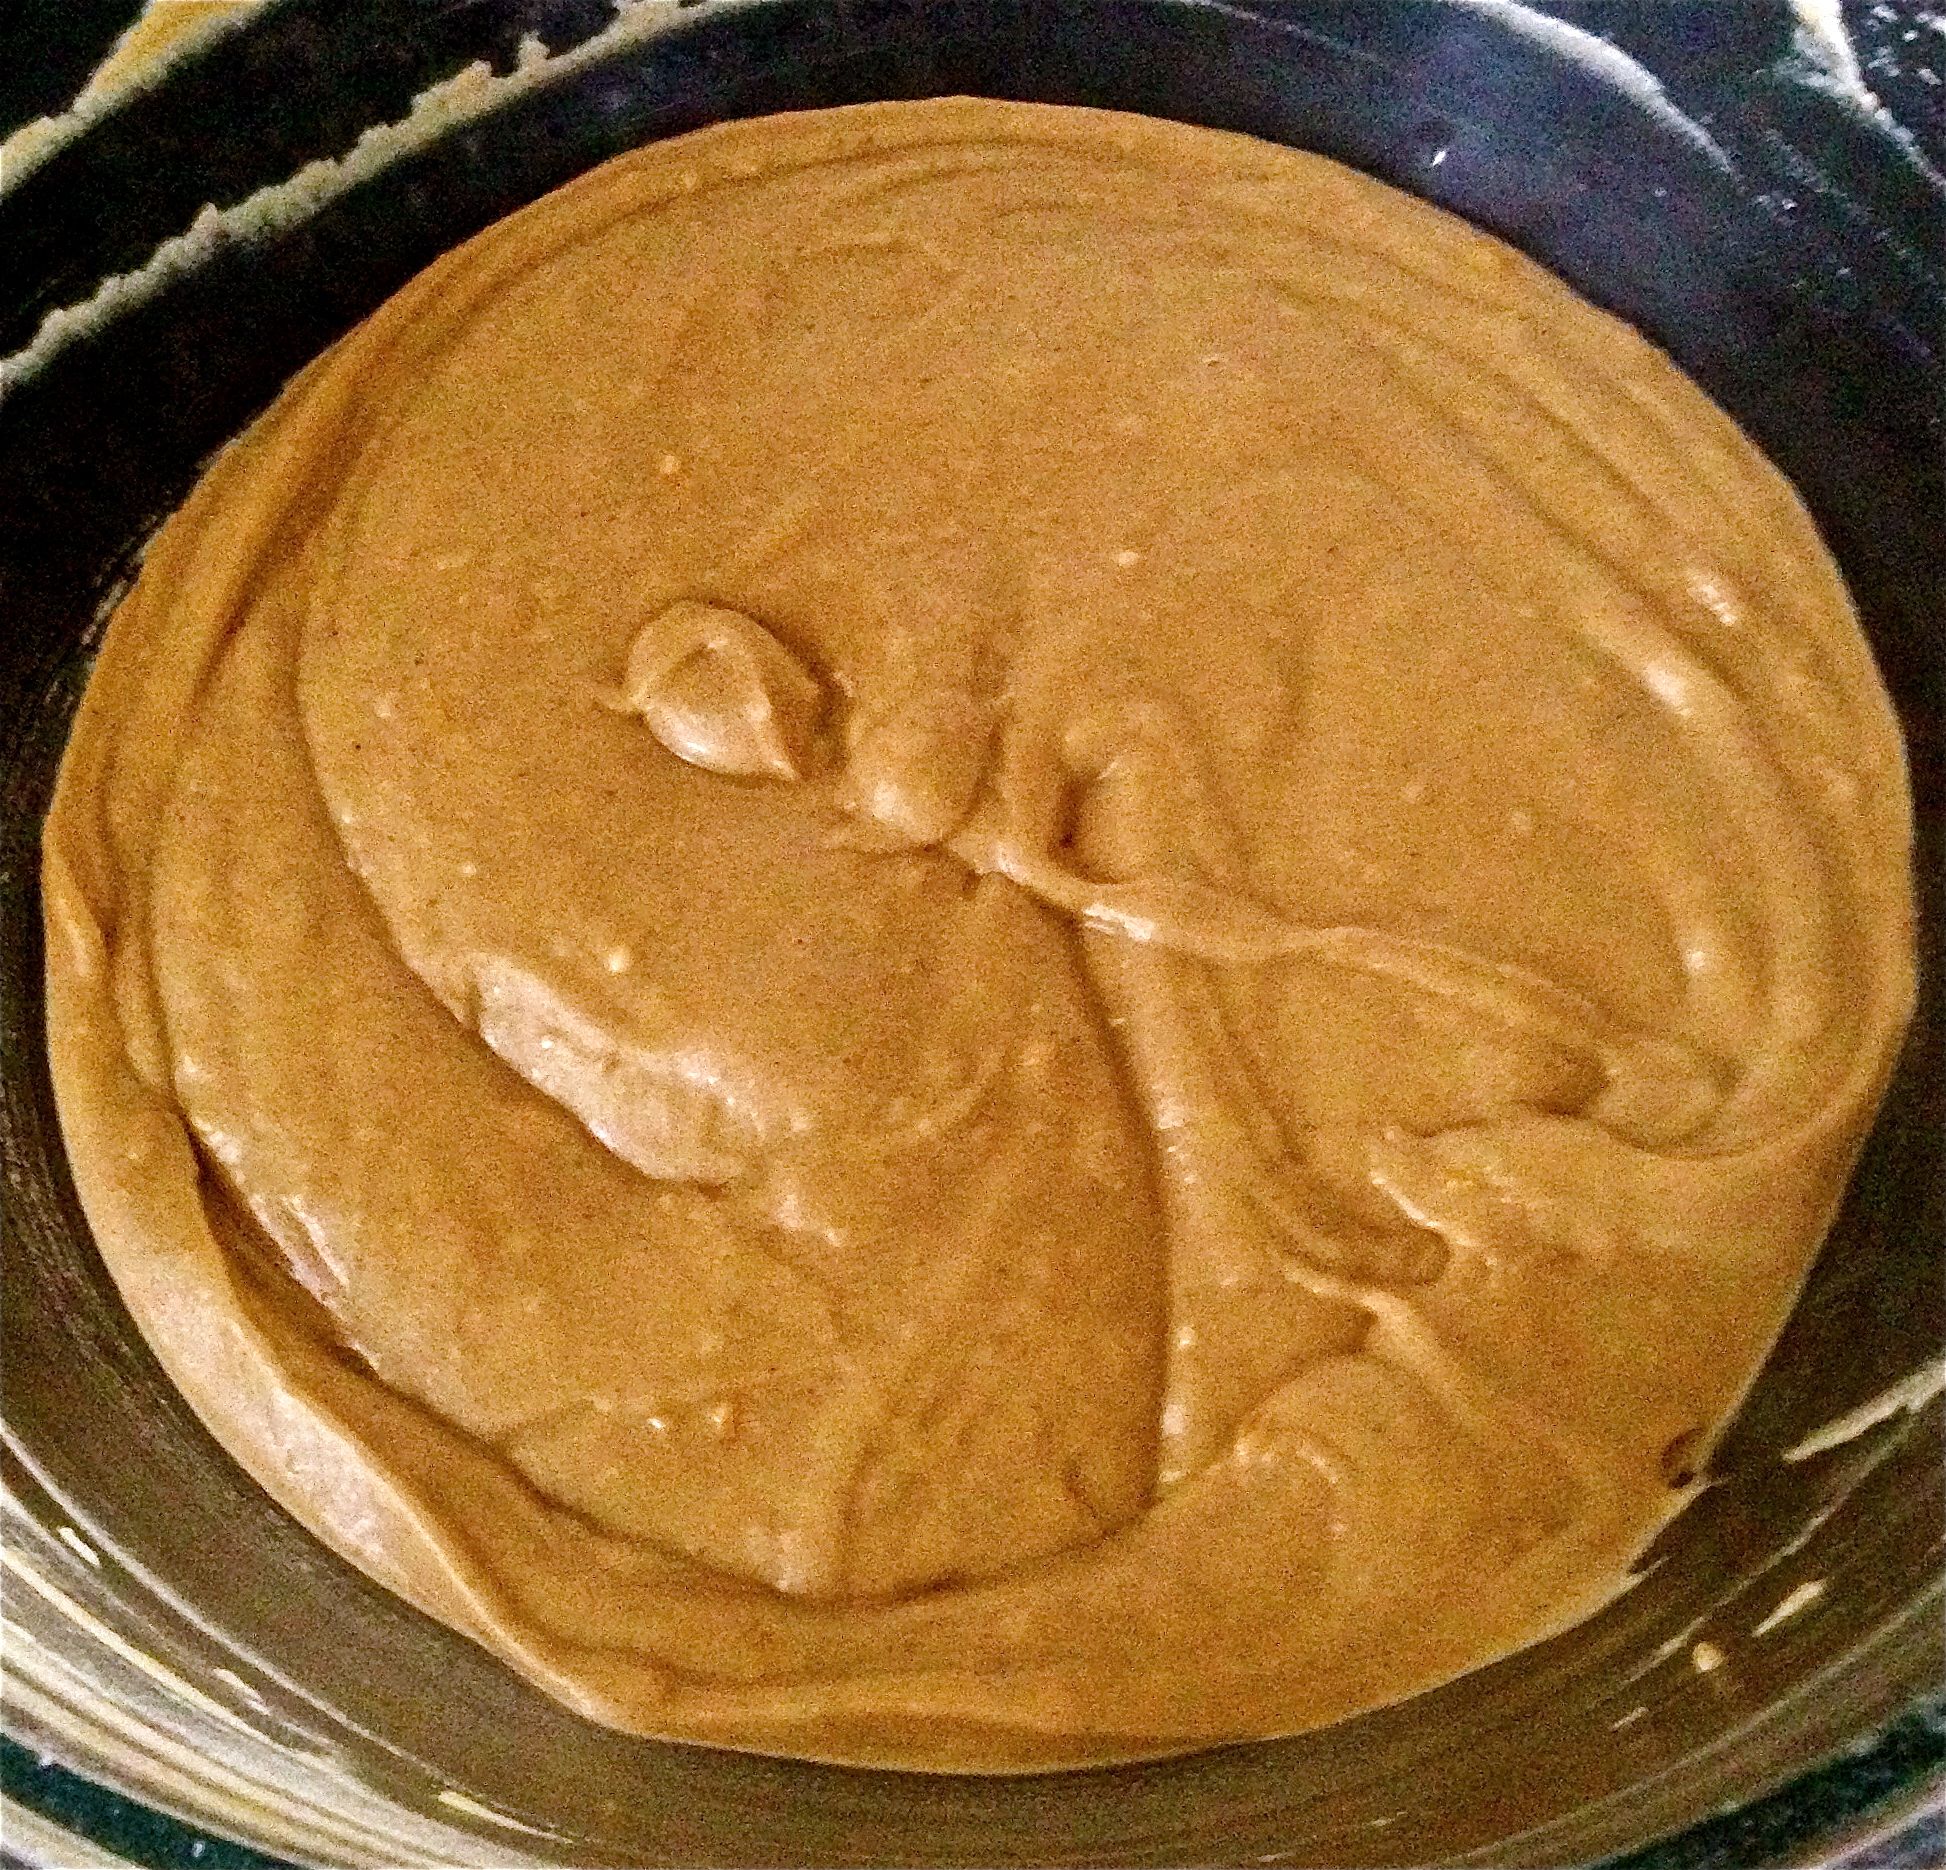
- Lastly, add the cooled orange puree and the yoghurt and stir until well mixed.
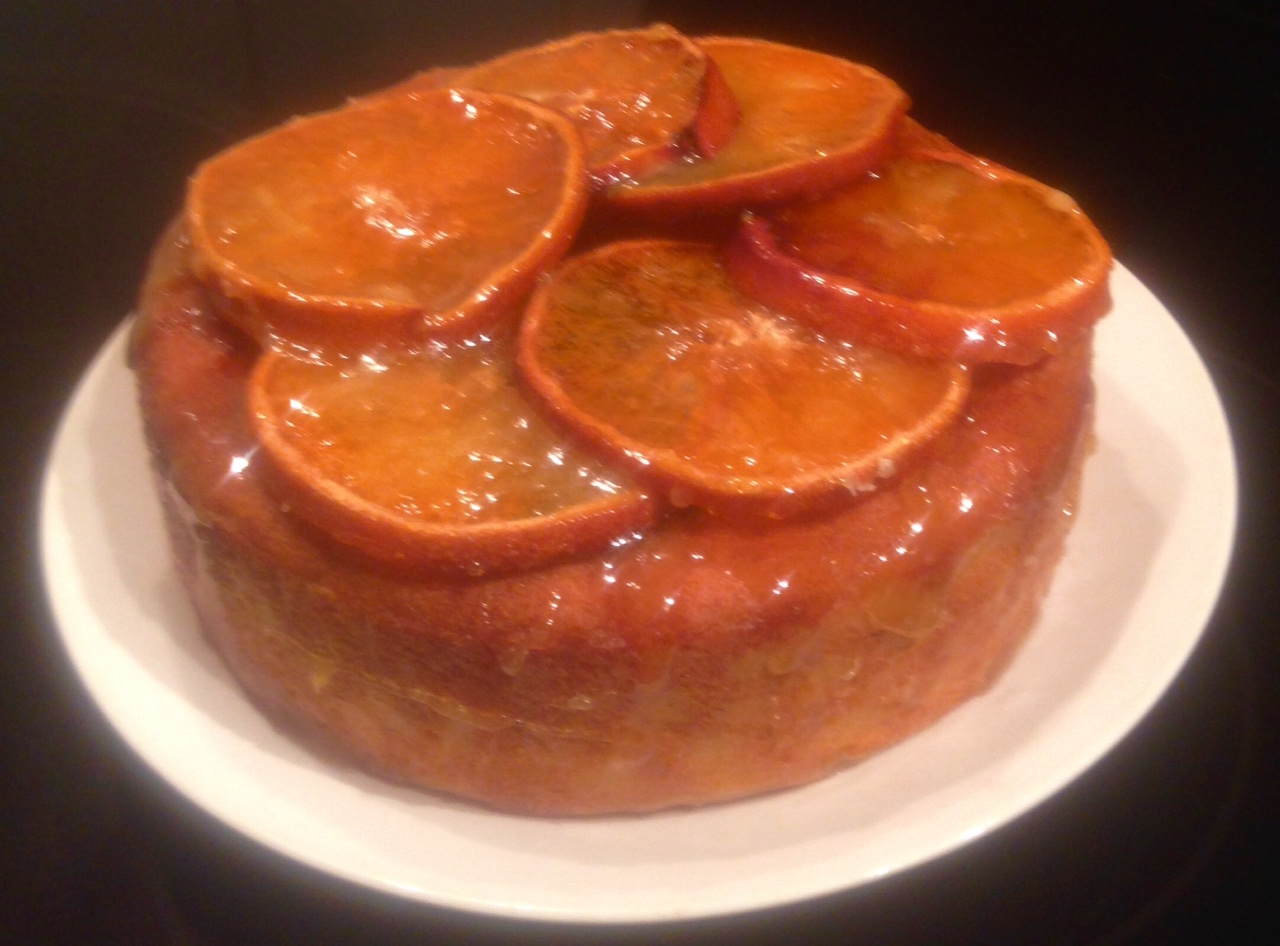
- Cut the 2 oranges once cooled into thin slices and spread out on baking paper on a baking tray.
- Sprinkle the extra brown sugar on the flesh of the orange and place in the oven on the bottom shelf.
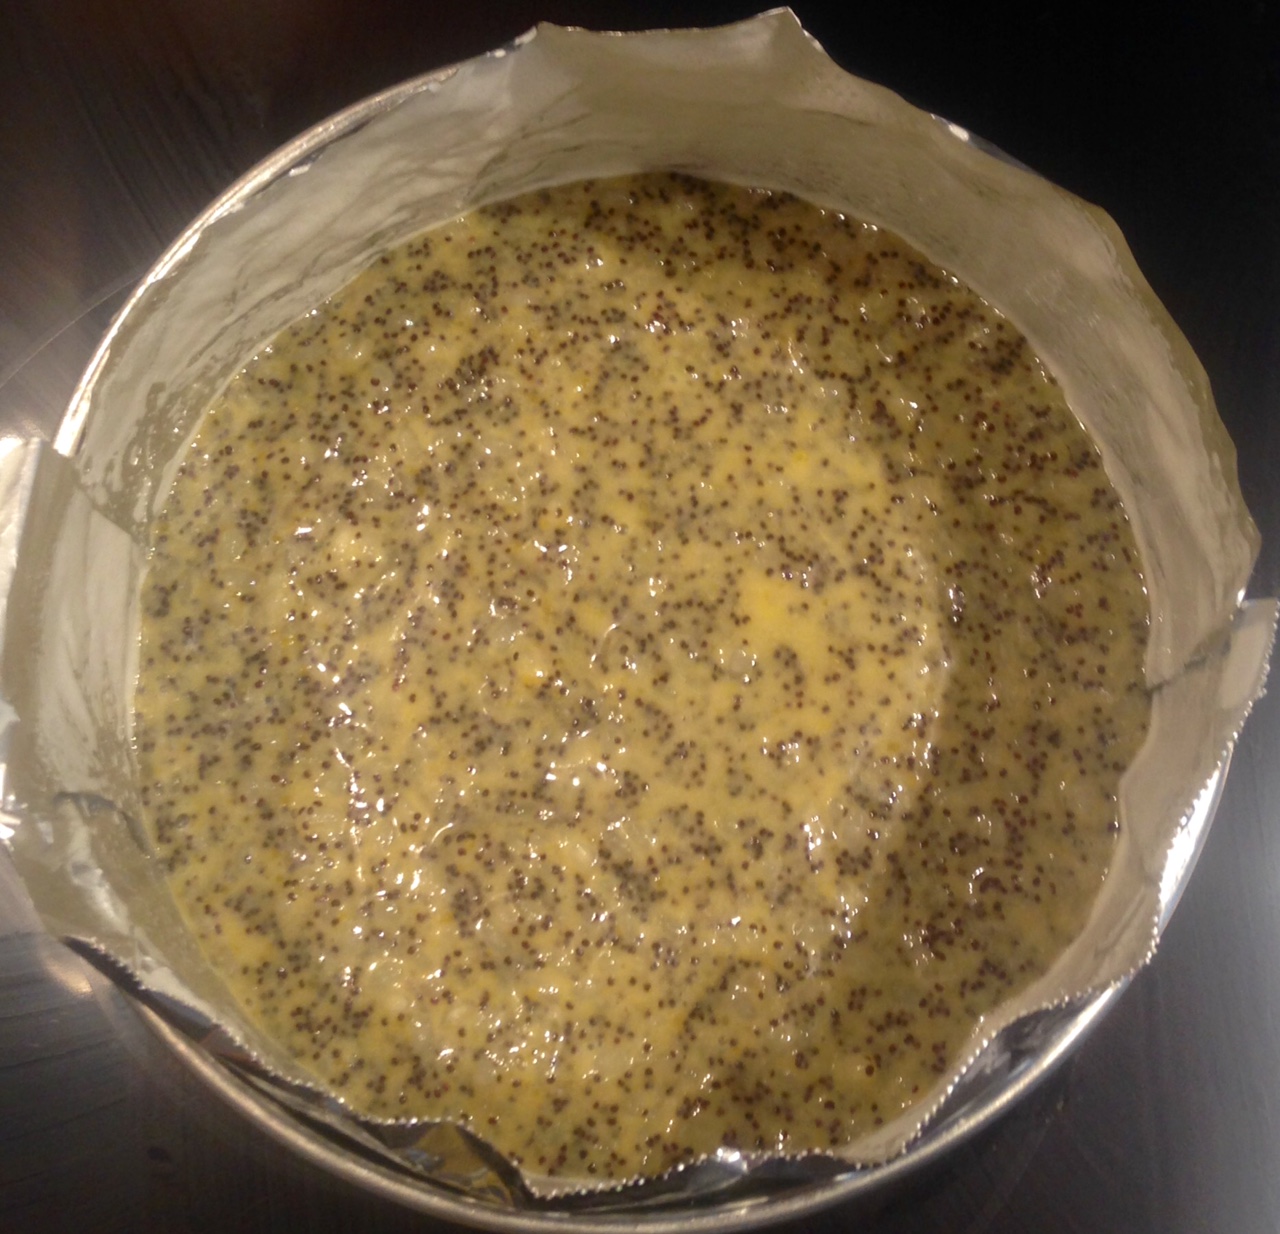
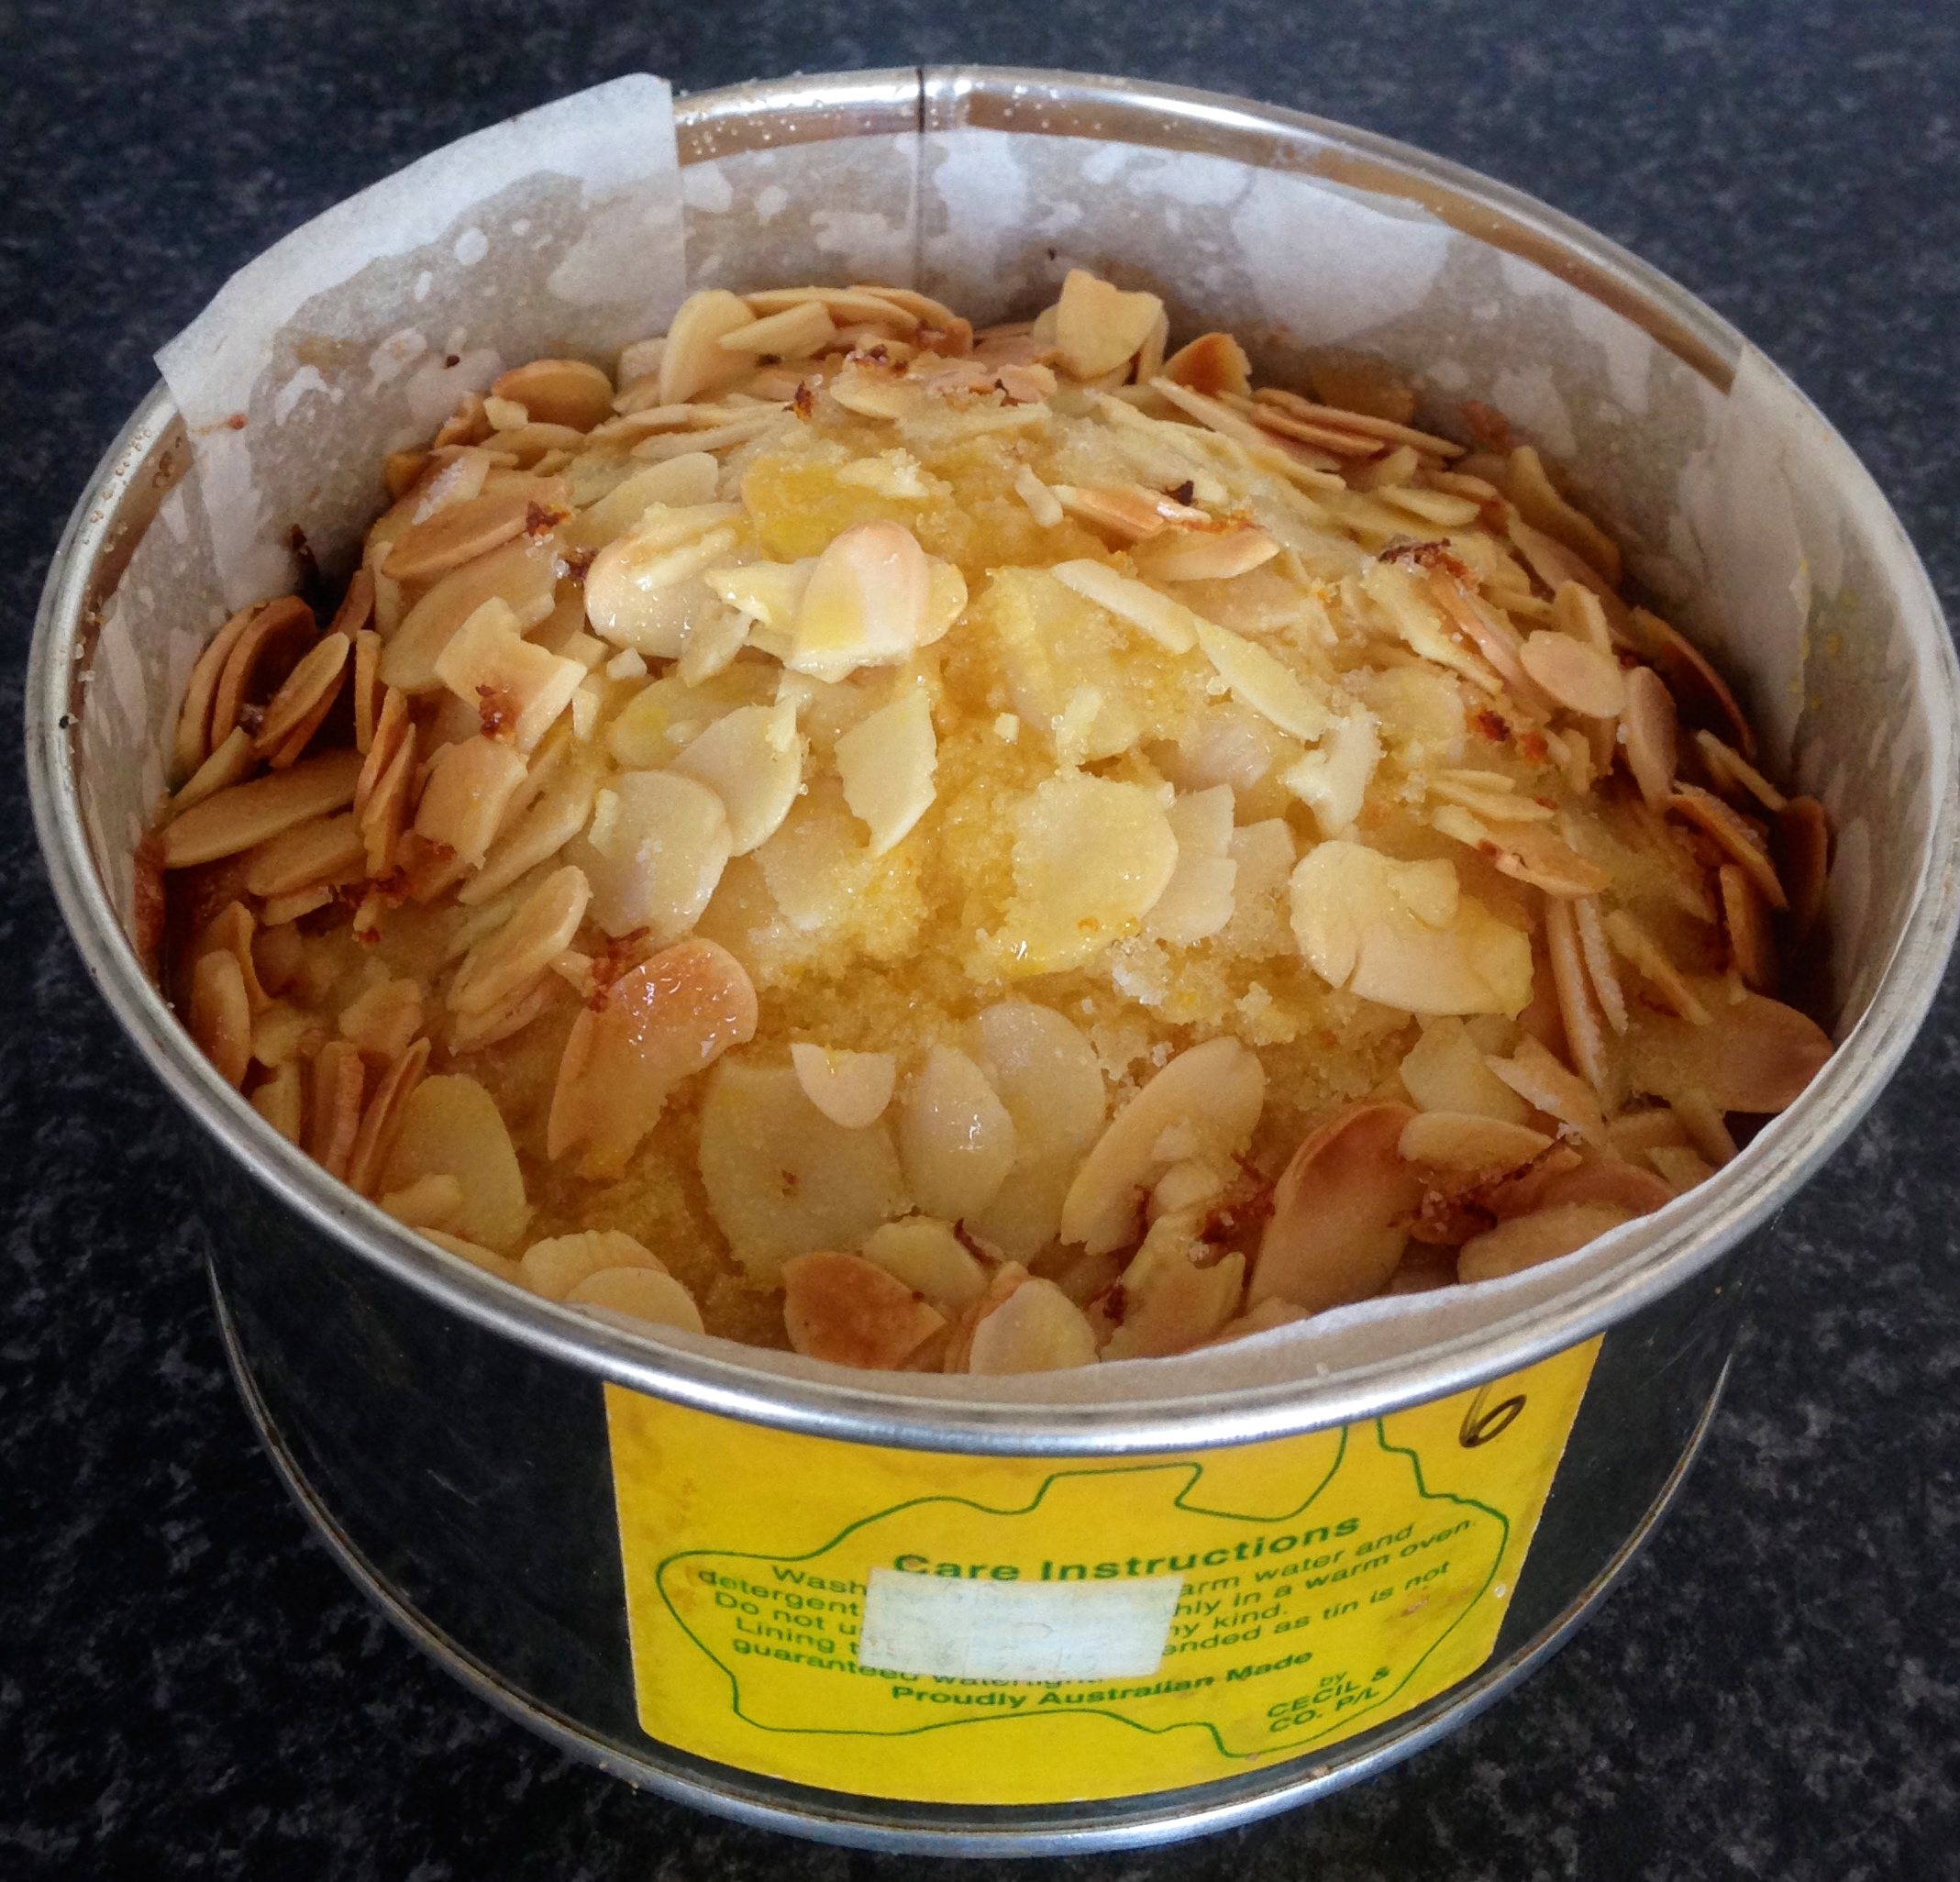
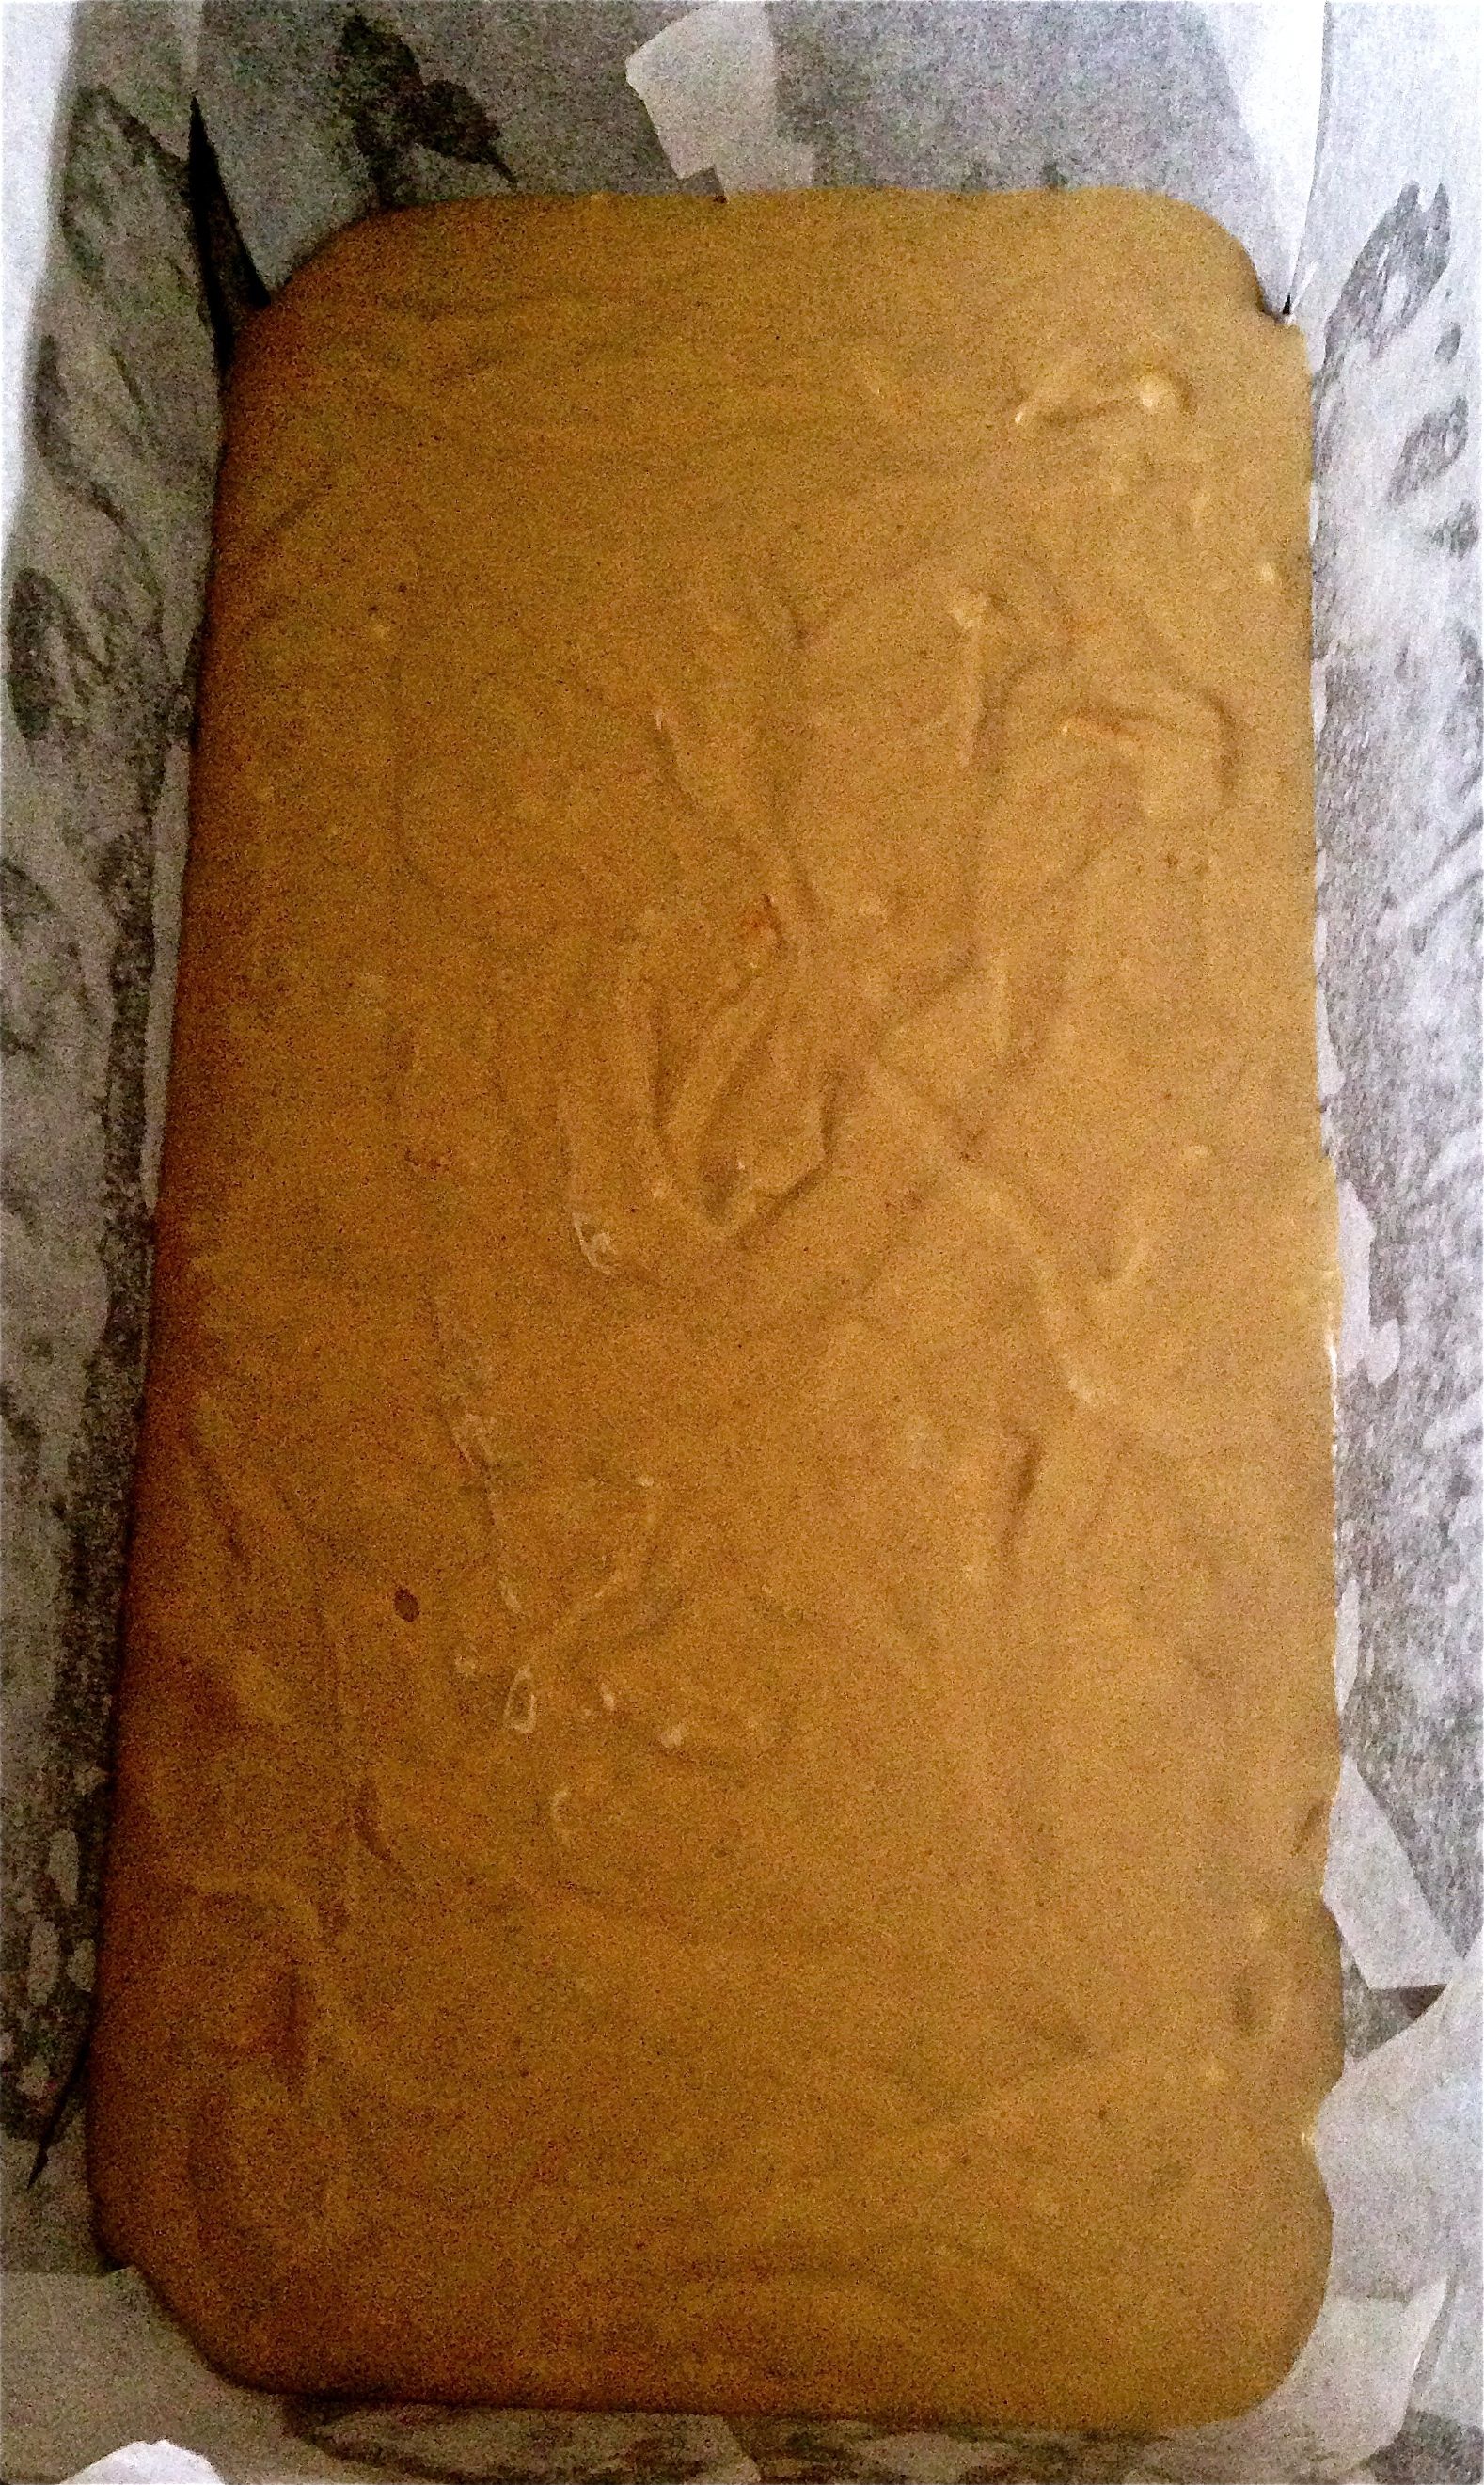
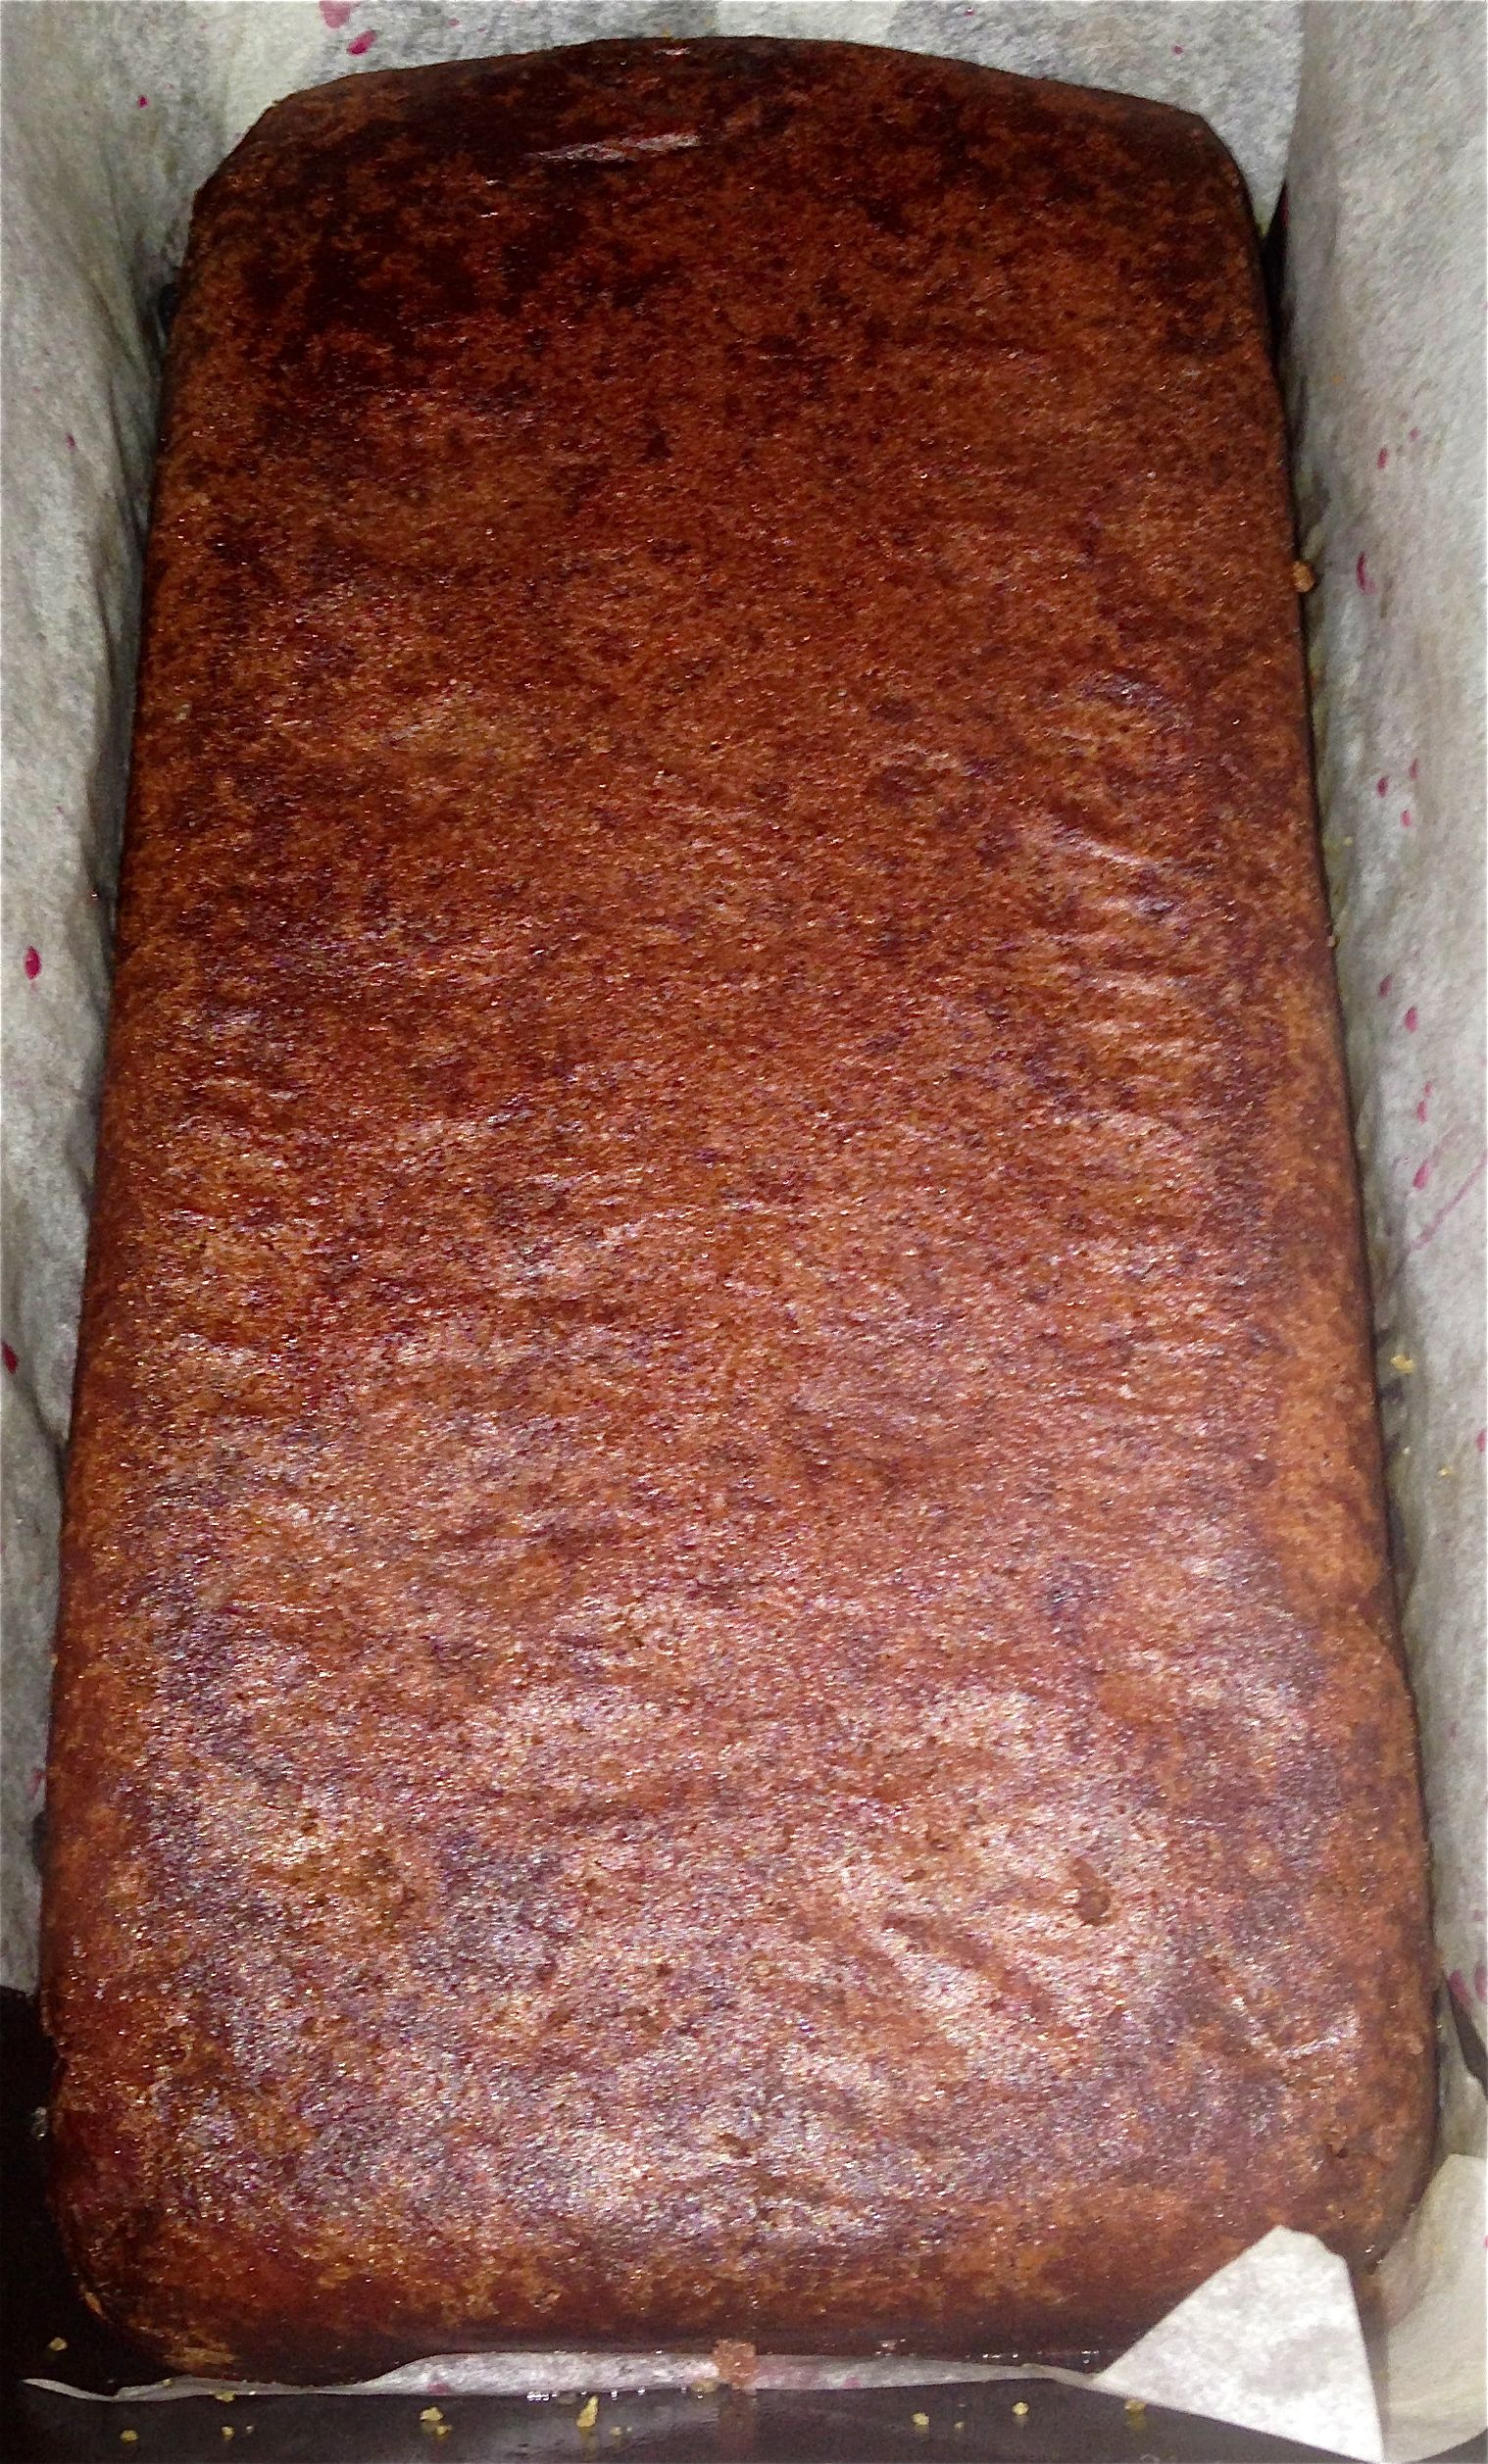
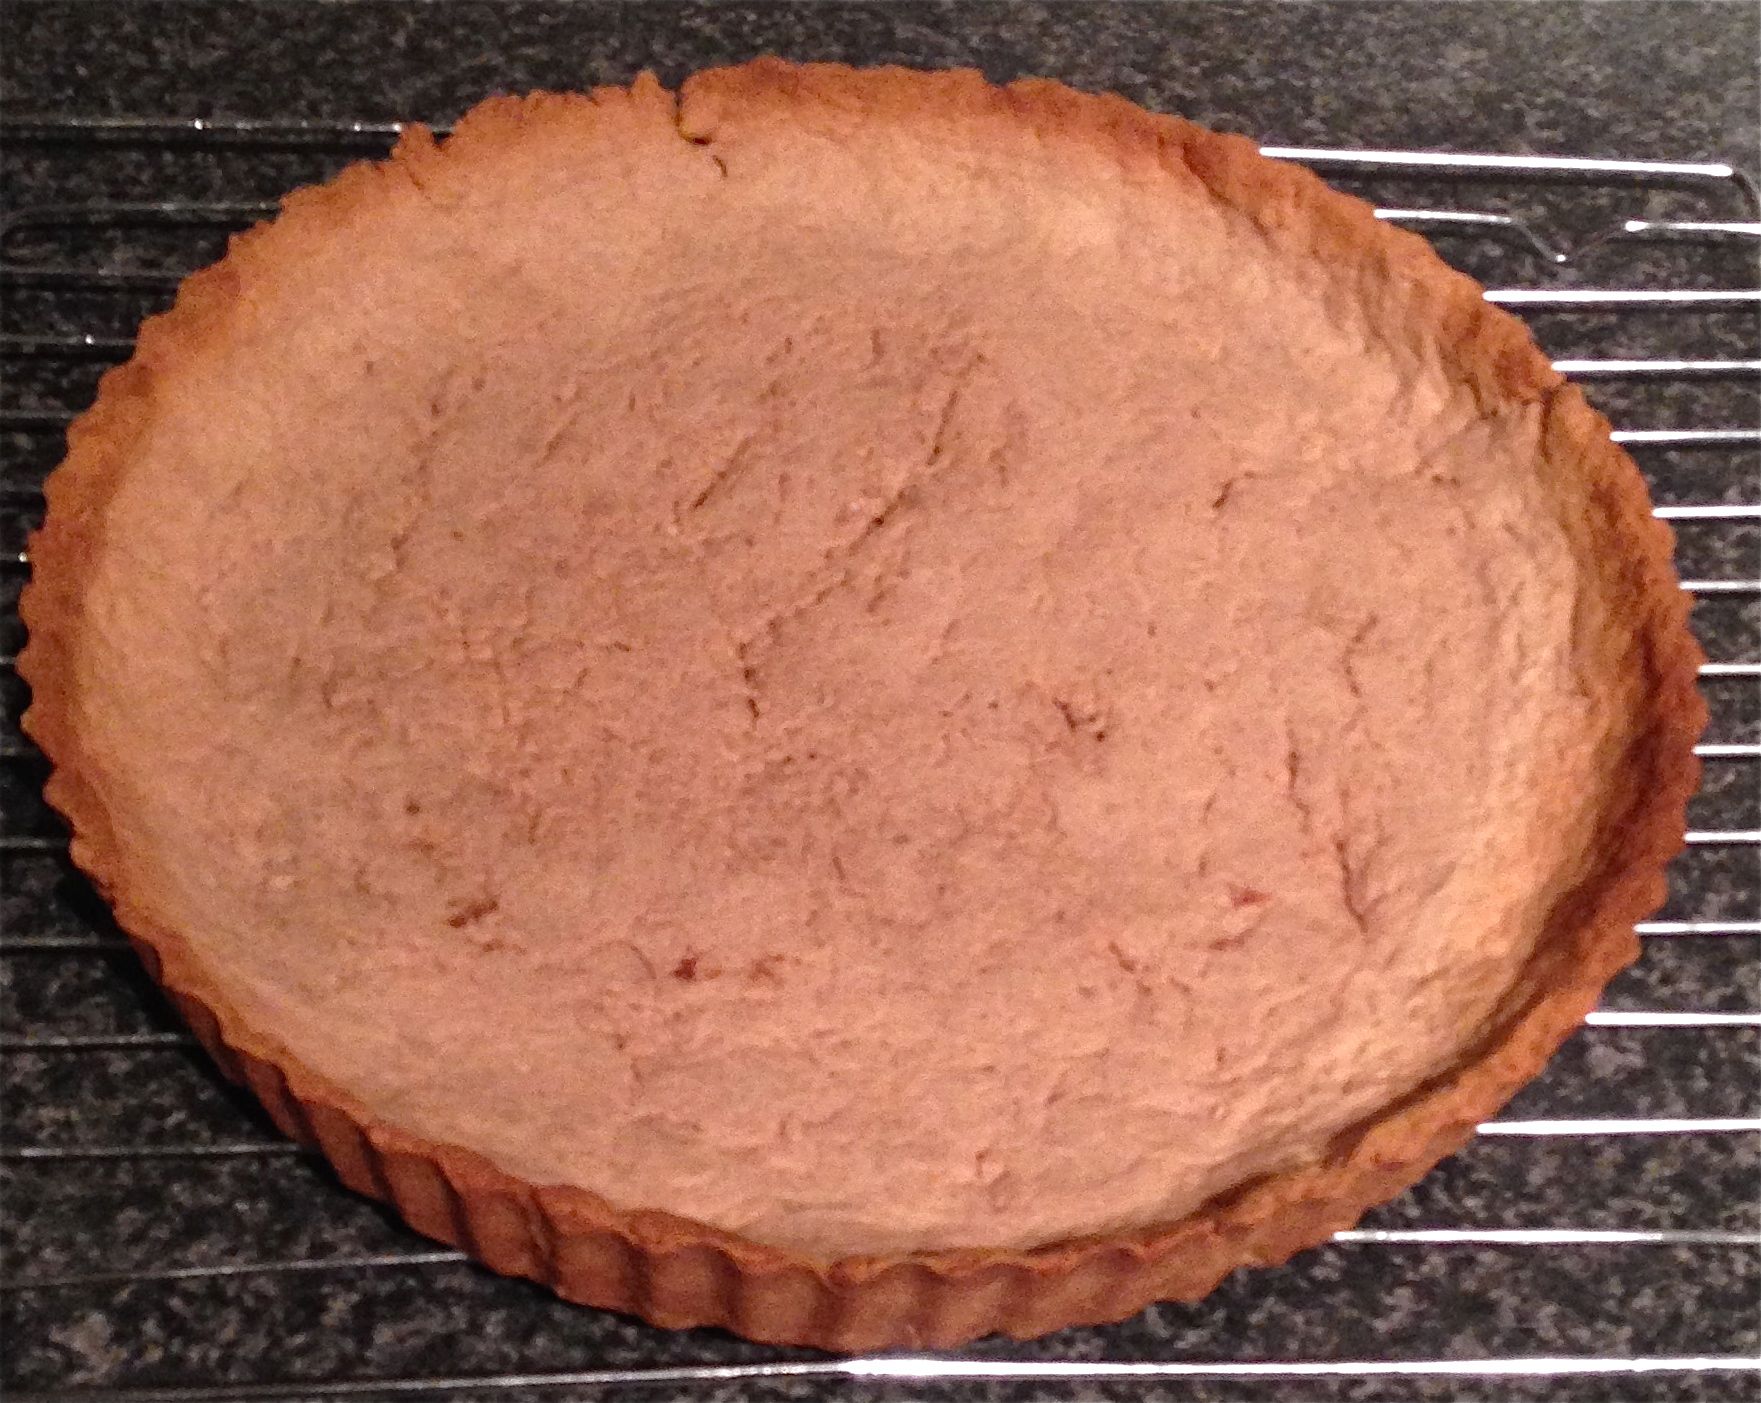
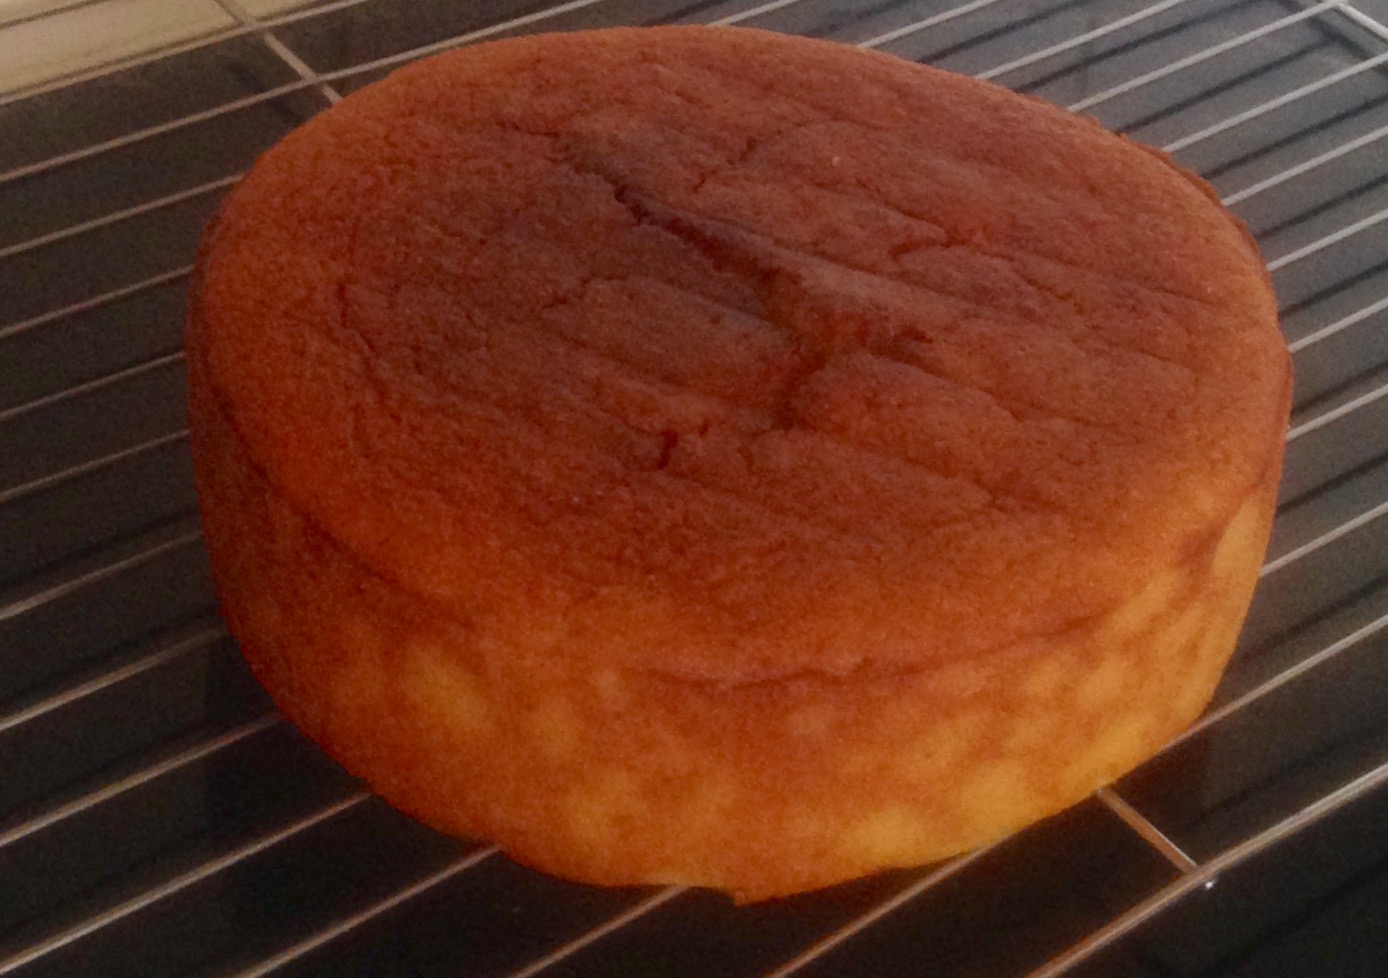
- Pour the cake batter into the prepared cake tin and place in the oven on the top shelf for 1 hour or until a skewer inserted into the cake only just comes out clean.
- Leave the cake aside for 15 minutes then invert onto a cooling rack.
- Remove the orange slices from the oven, you will know they are ready when they are almost dried before they brown.
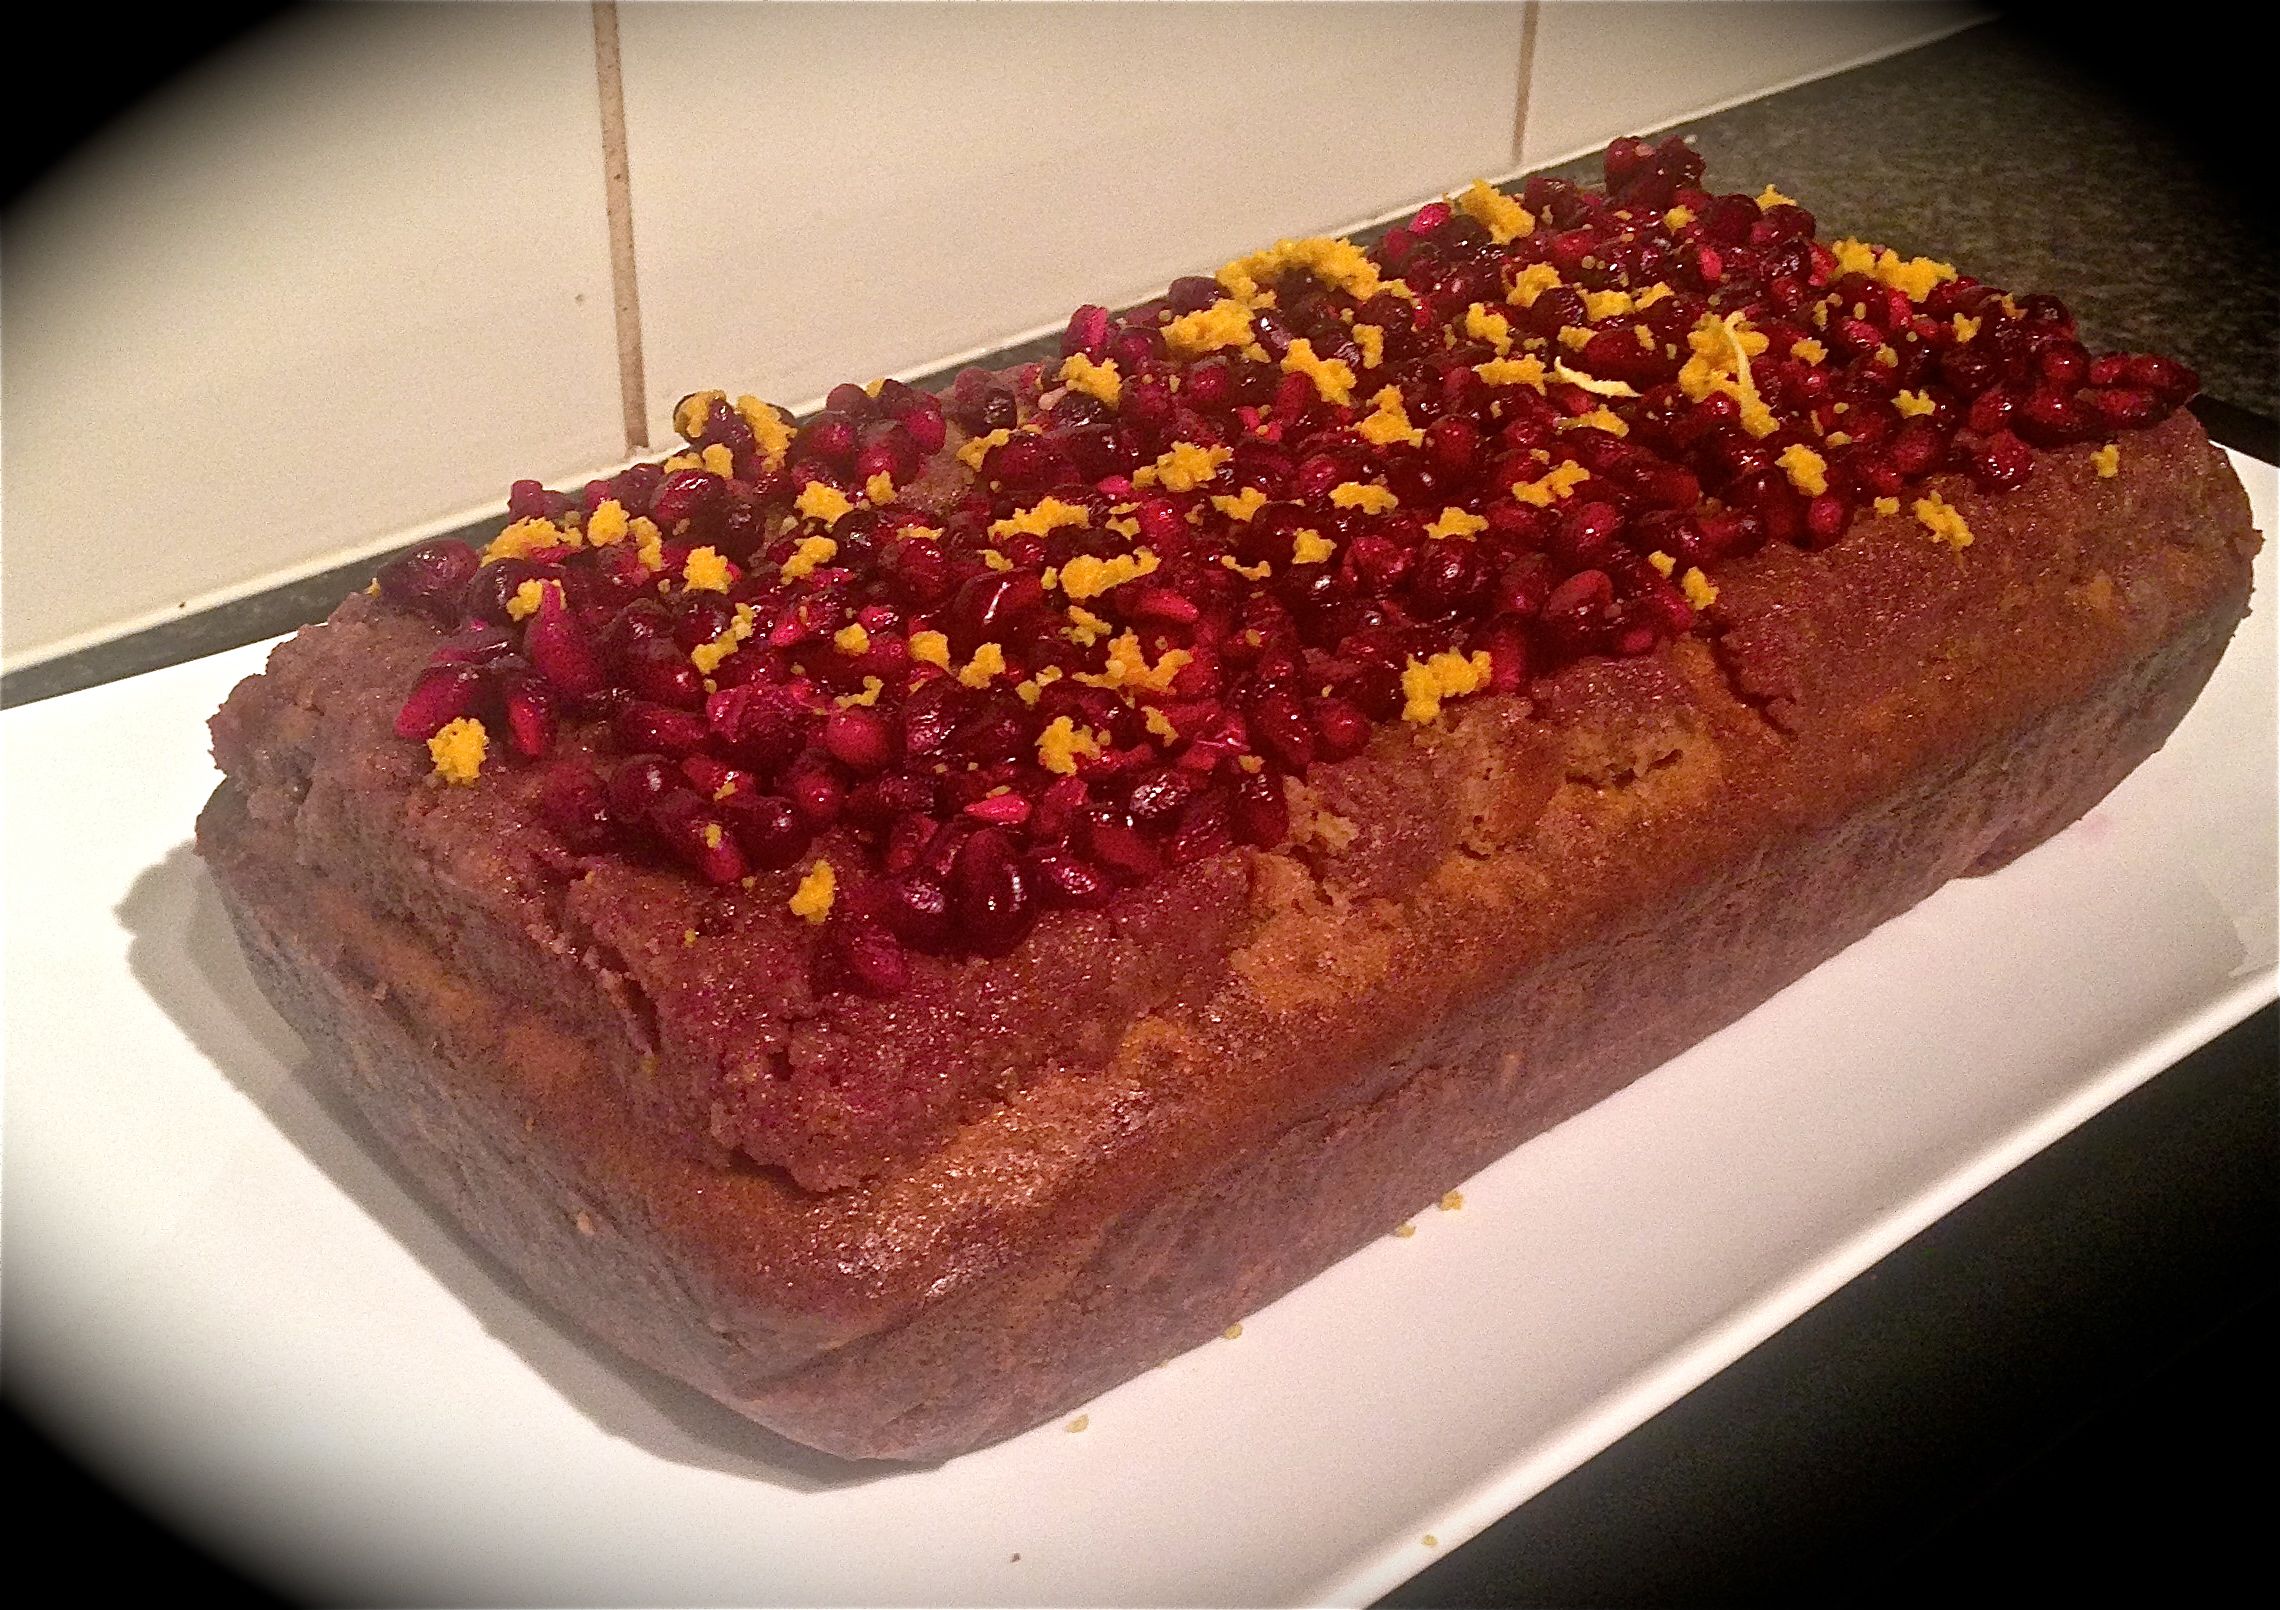
- Place the slices on top of the cake.
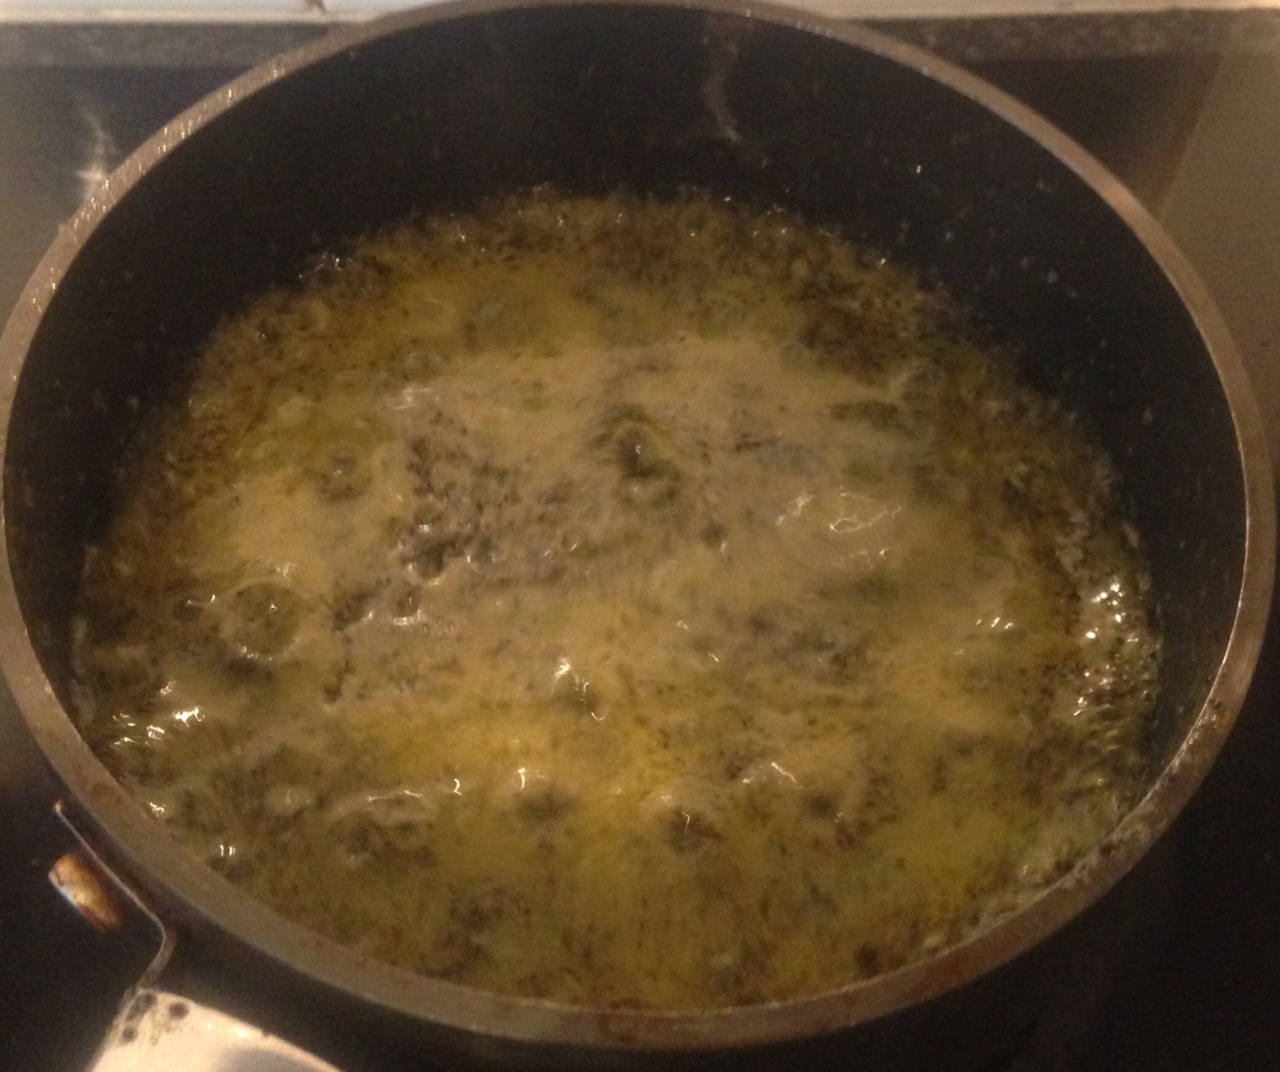
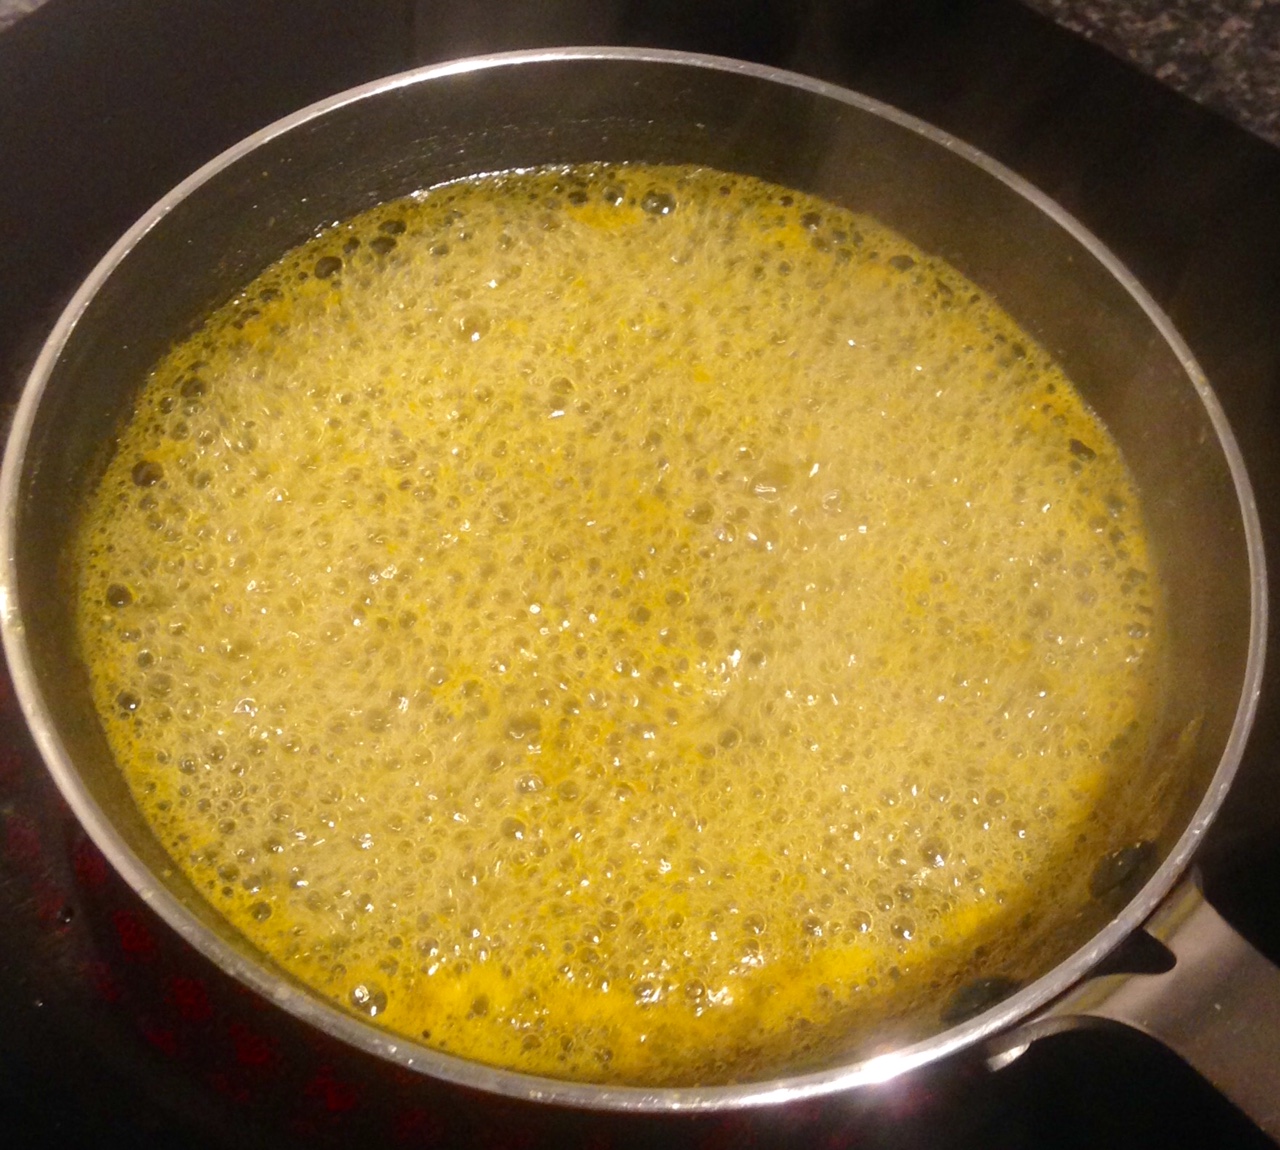
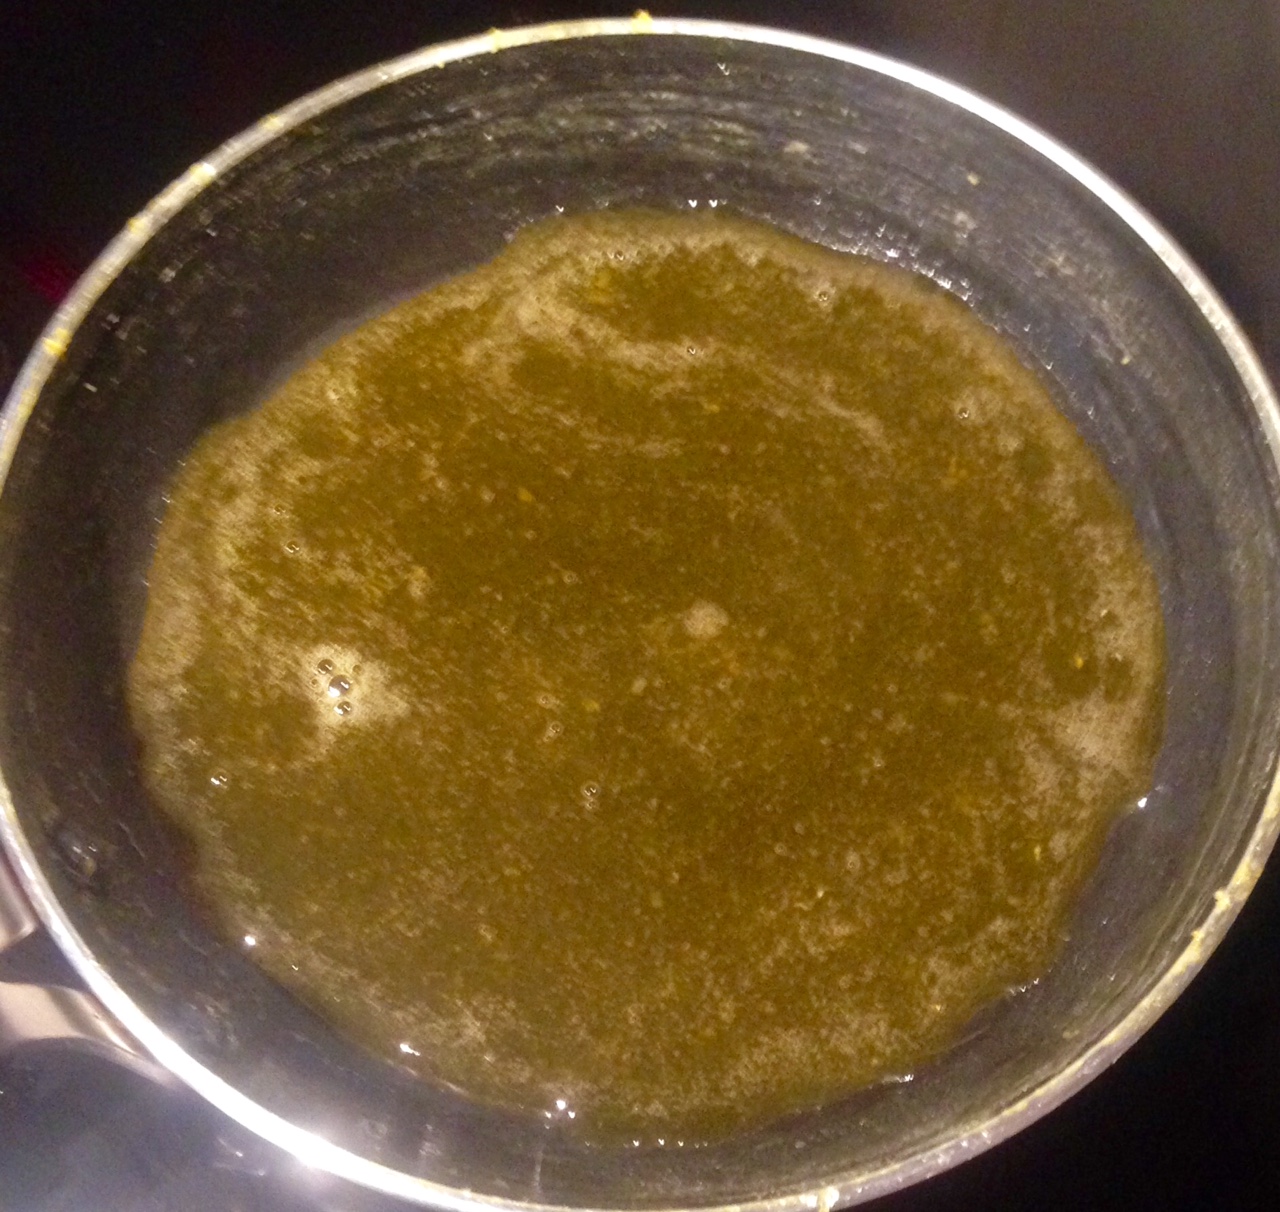
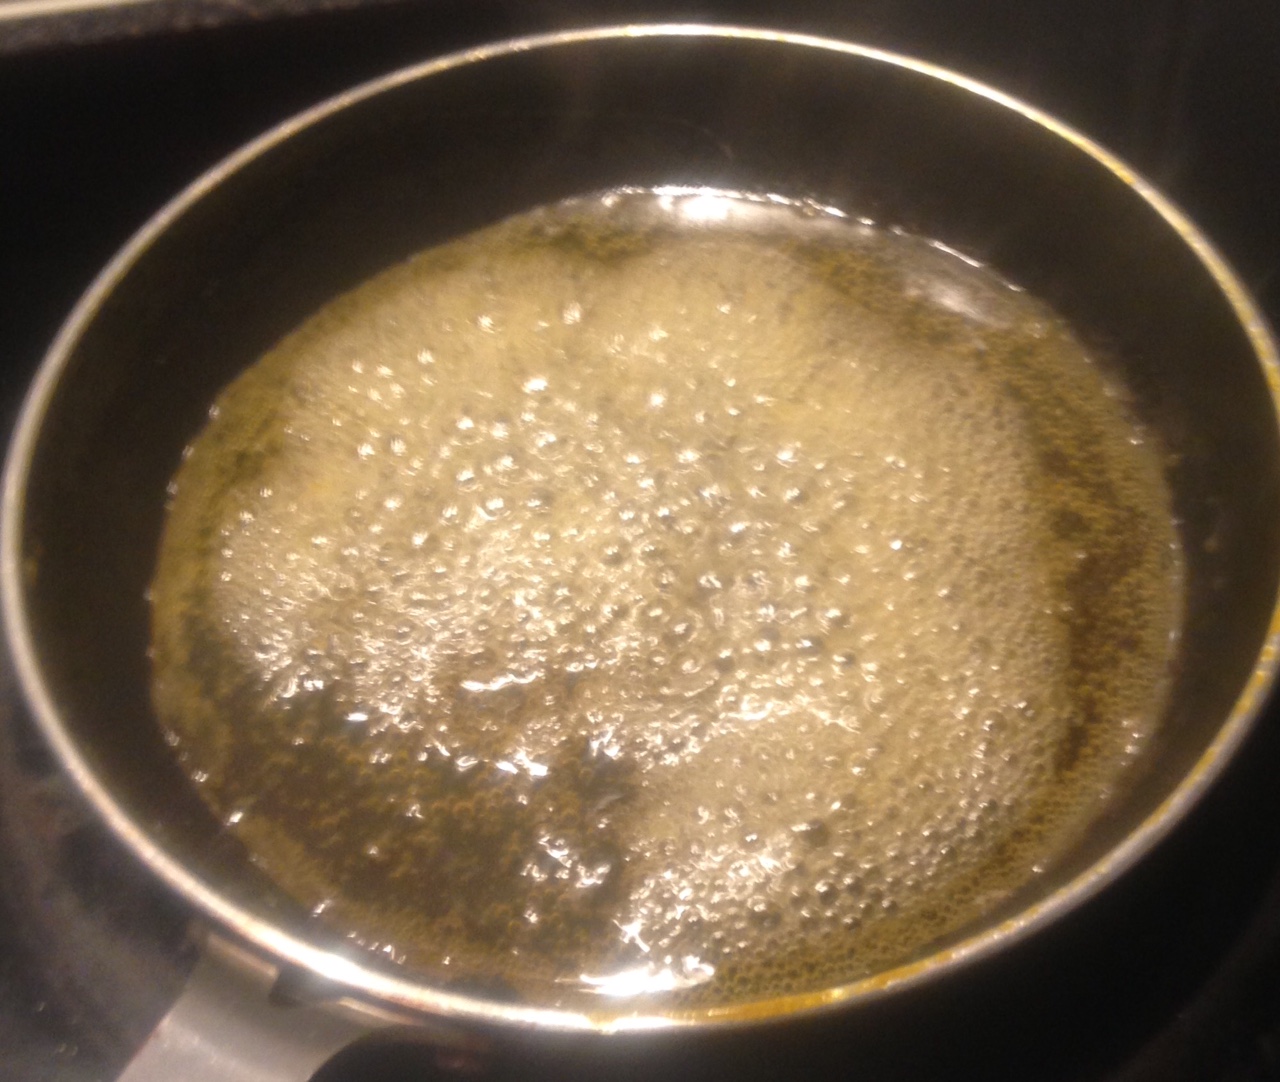
- To finish the cake place the syrup ingredients into a saucepan on a simmering heat until the syrup thickens.
- Pour the syrup over the cake and enjoy.
Step 4
Step 6
Step 9
Step 10

Step 13
Step 14
Step 16
Step 1
Like this recipe? Subscribe via RSS or email to get my new entries and more scrumptious recipes with reviews.
 Follow