


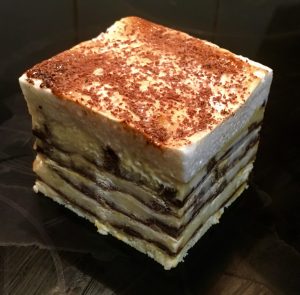
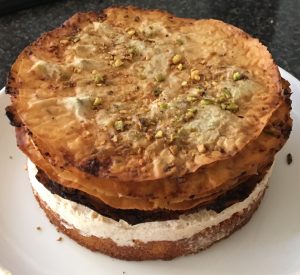
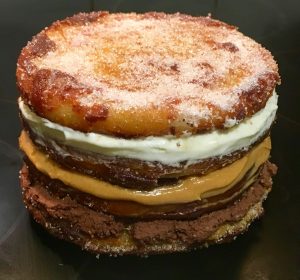
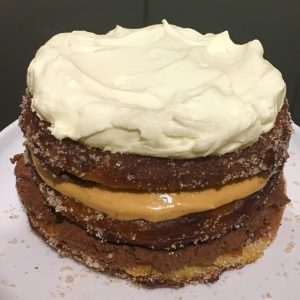
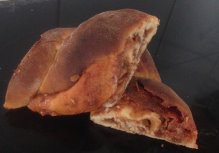
Chocolate and Hazelnut Sweet Lasagna
Inspired by the latest craze of turning the sweet onto the savory and the savory into the sweet. I have dabbled with this a little with sweet dumplings, ravioli and tacos as well as posted my Apple Crumble Pizza and my Chocolate Nut Springroll. However I still have many many more ideas on things to create.
One item I have been meaning to turn from savory to sweet is lasagna. I have tried many savory versions of this dish, from a Mexican fest to vegan based-meals, however never a sweet one.
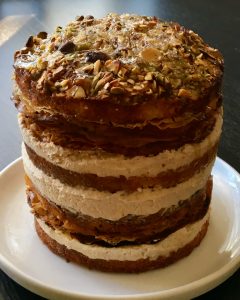
I figured using a cheese and crème patisserie fusion filling could replicate the cheese. Using actual lasagna sheets covered in layers of chocolate and hazelnut spread would imitate the pasta and meat layers. And of course, not forgetting the white sauce top layer I made a delicious meringue to complete treat.
I’m surprised at how good this turned out to the point that it for sure amazingly delicious.
Custard Cream filling:
- 6 eggs
- 100g sugar
- 2 tsn vanilla essence
- 65g cornflour
- 750ml milk
- 300g ricotta cheese
- 60g icing sugar
- 120ml thickened cream
Extra:
- 4 lasagna sheets
- 80g Nutella
- 100g dark chocolate
Sugar syrup:
- 150g sugar
- 80ml water
Method:
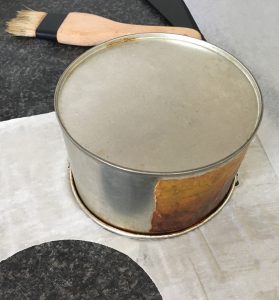
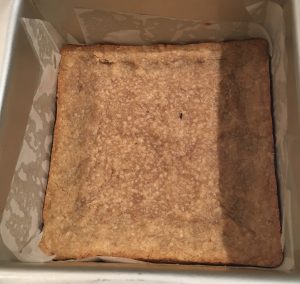
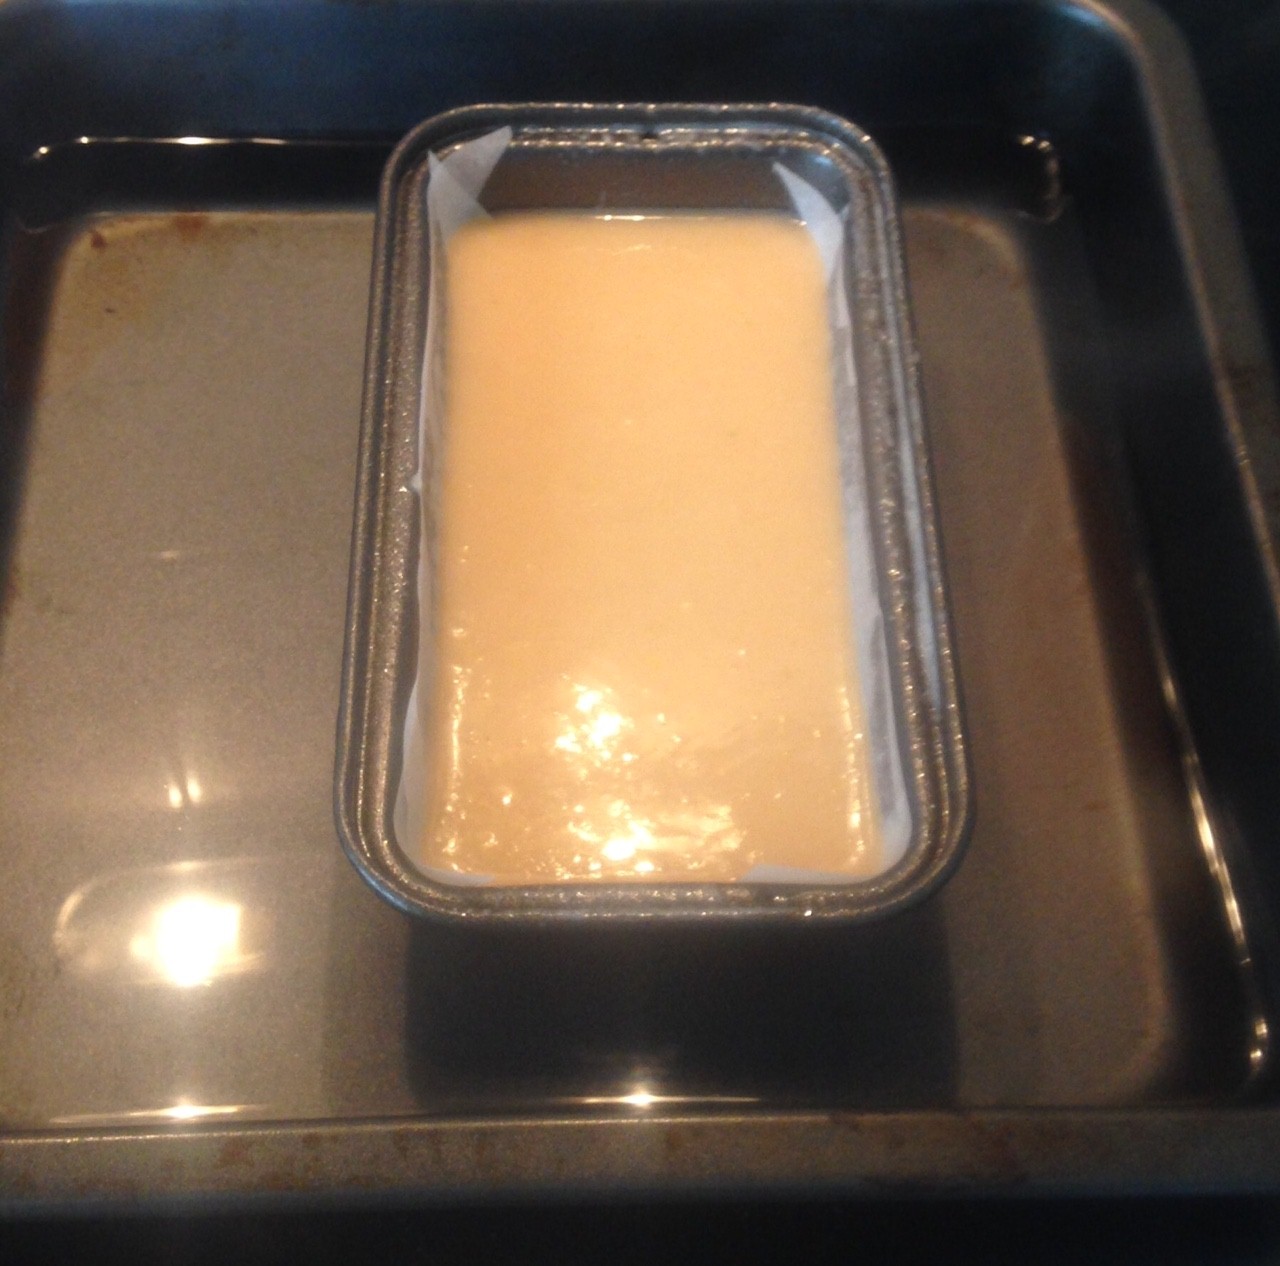
- Line a 15cm x 30cm cake tin or deep oven dish with baking paper.
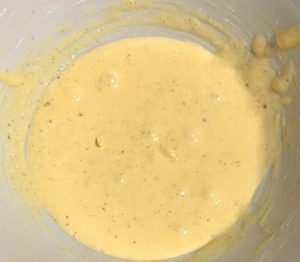
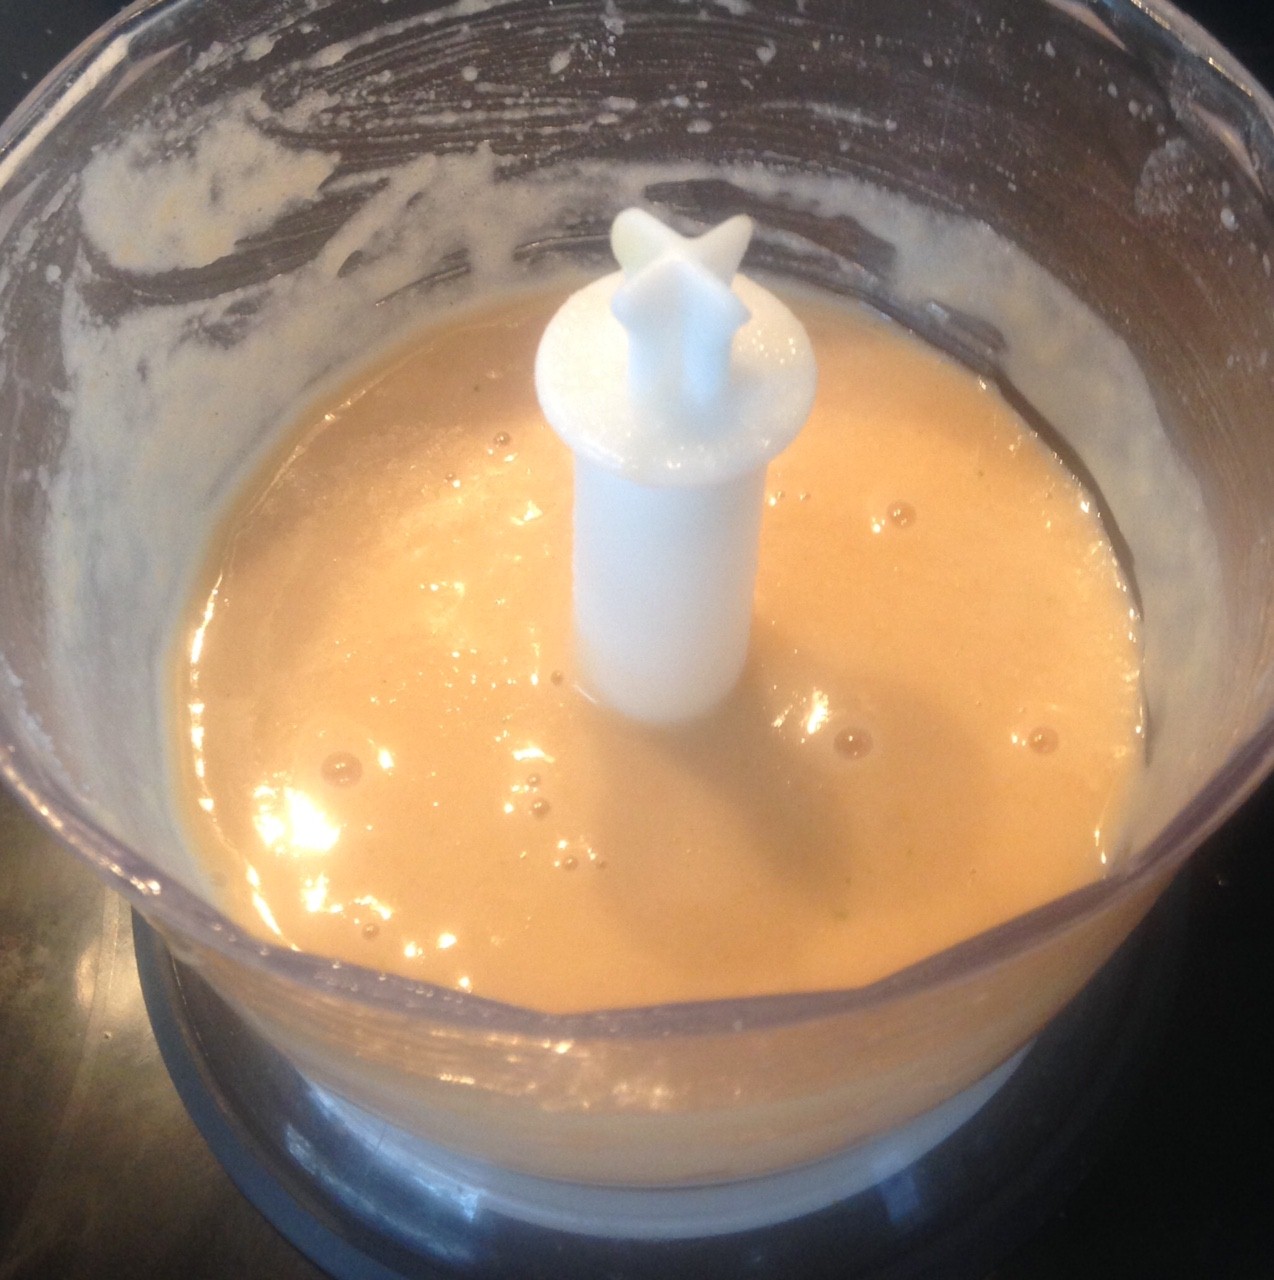
- Make the filling by whisking with electric beaters the egg yolks, sugar, vanilla and cornflour until well combined.
- Leave the egg white aside for later use.
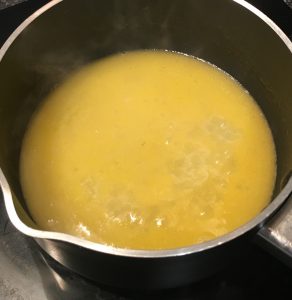
- Place the milk into a saucepan on high heat until the milk starts to boil.
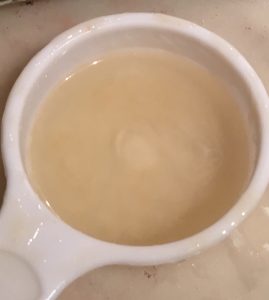
- Add the milk to the yolk mix is a steady stream until well combined.
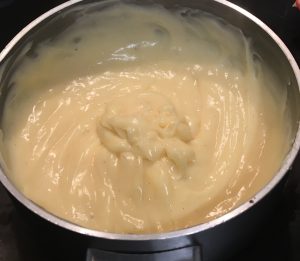
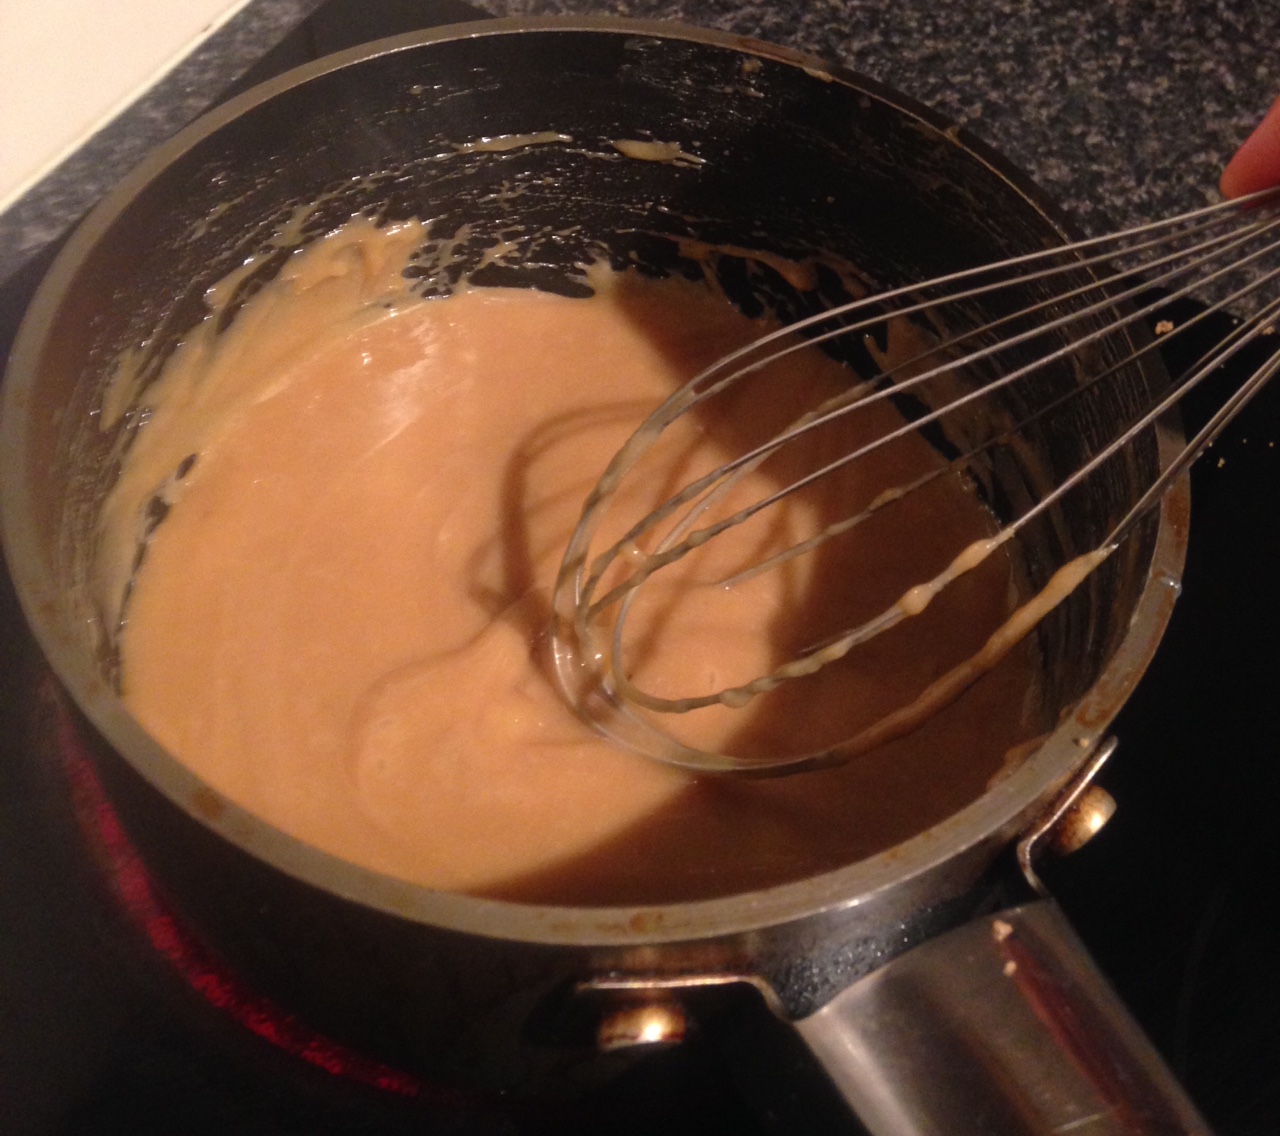
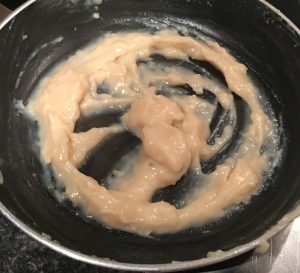
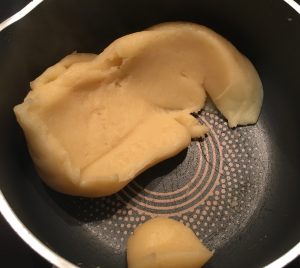
- Transfer the mix back into the pan on a medium heat and using a hand whisk beat until the mix thickens up into a custard.
- Pour the mix into a bowl with plastic wrap on top and leave aside to cool completely.
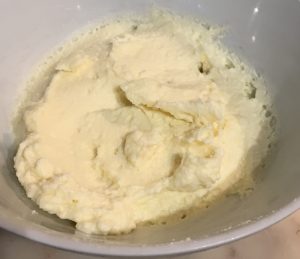
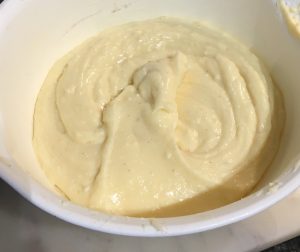
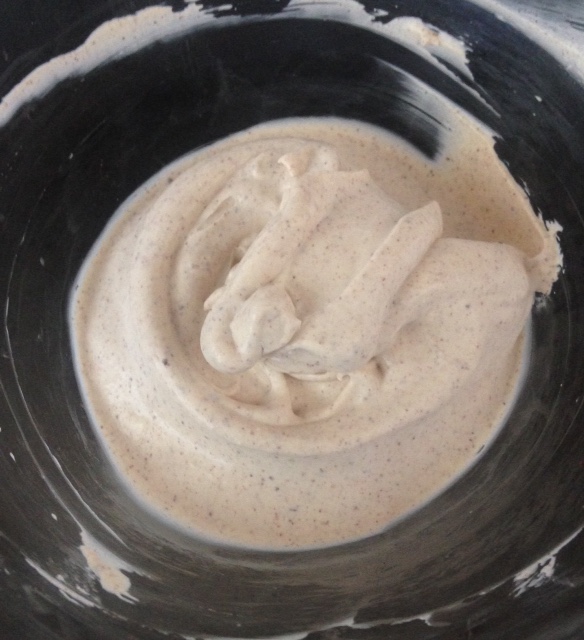
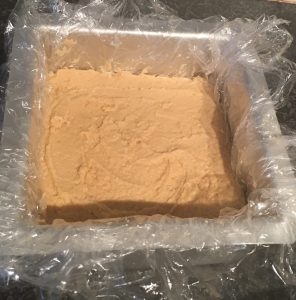
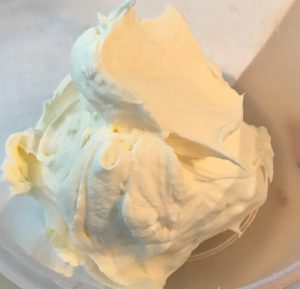
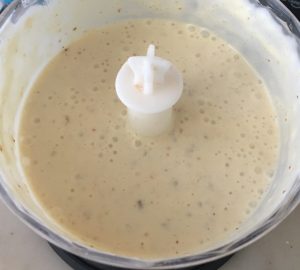
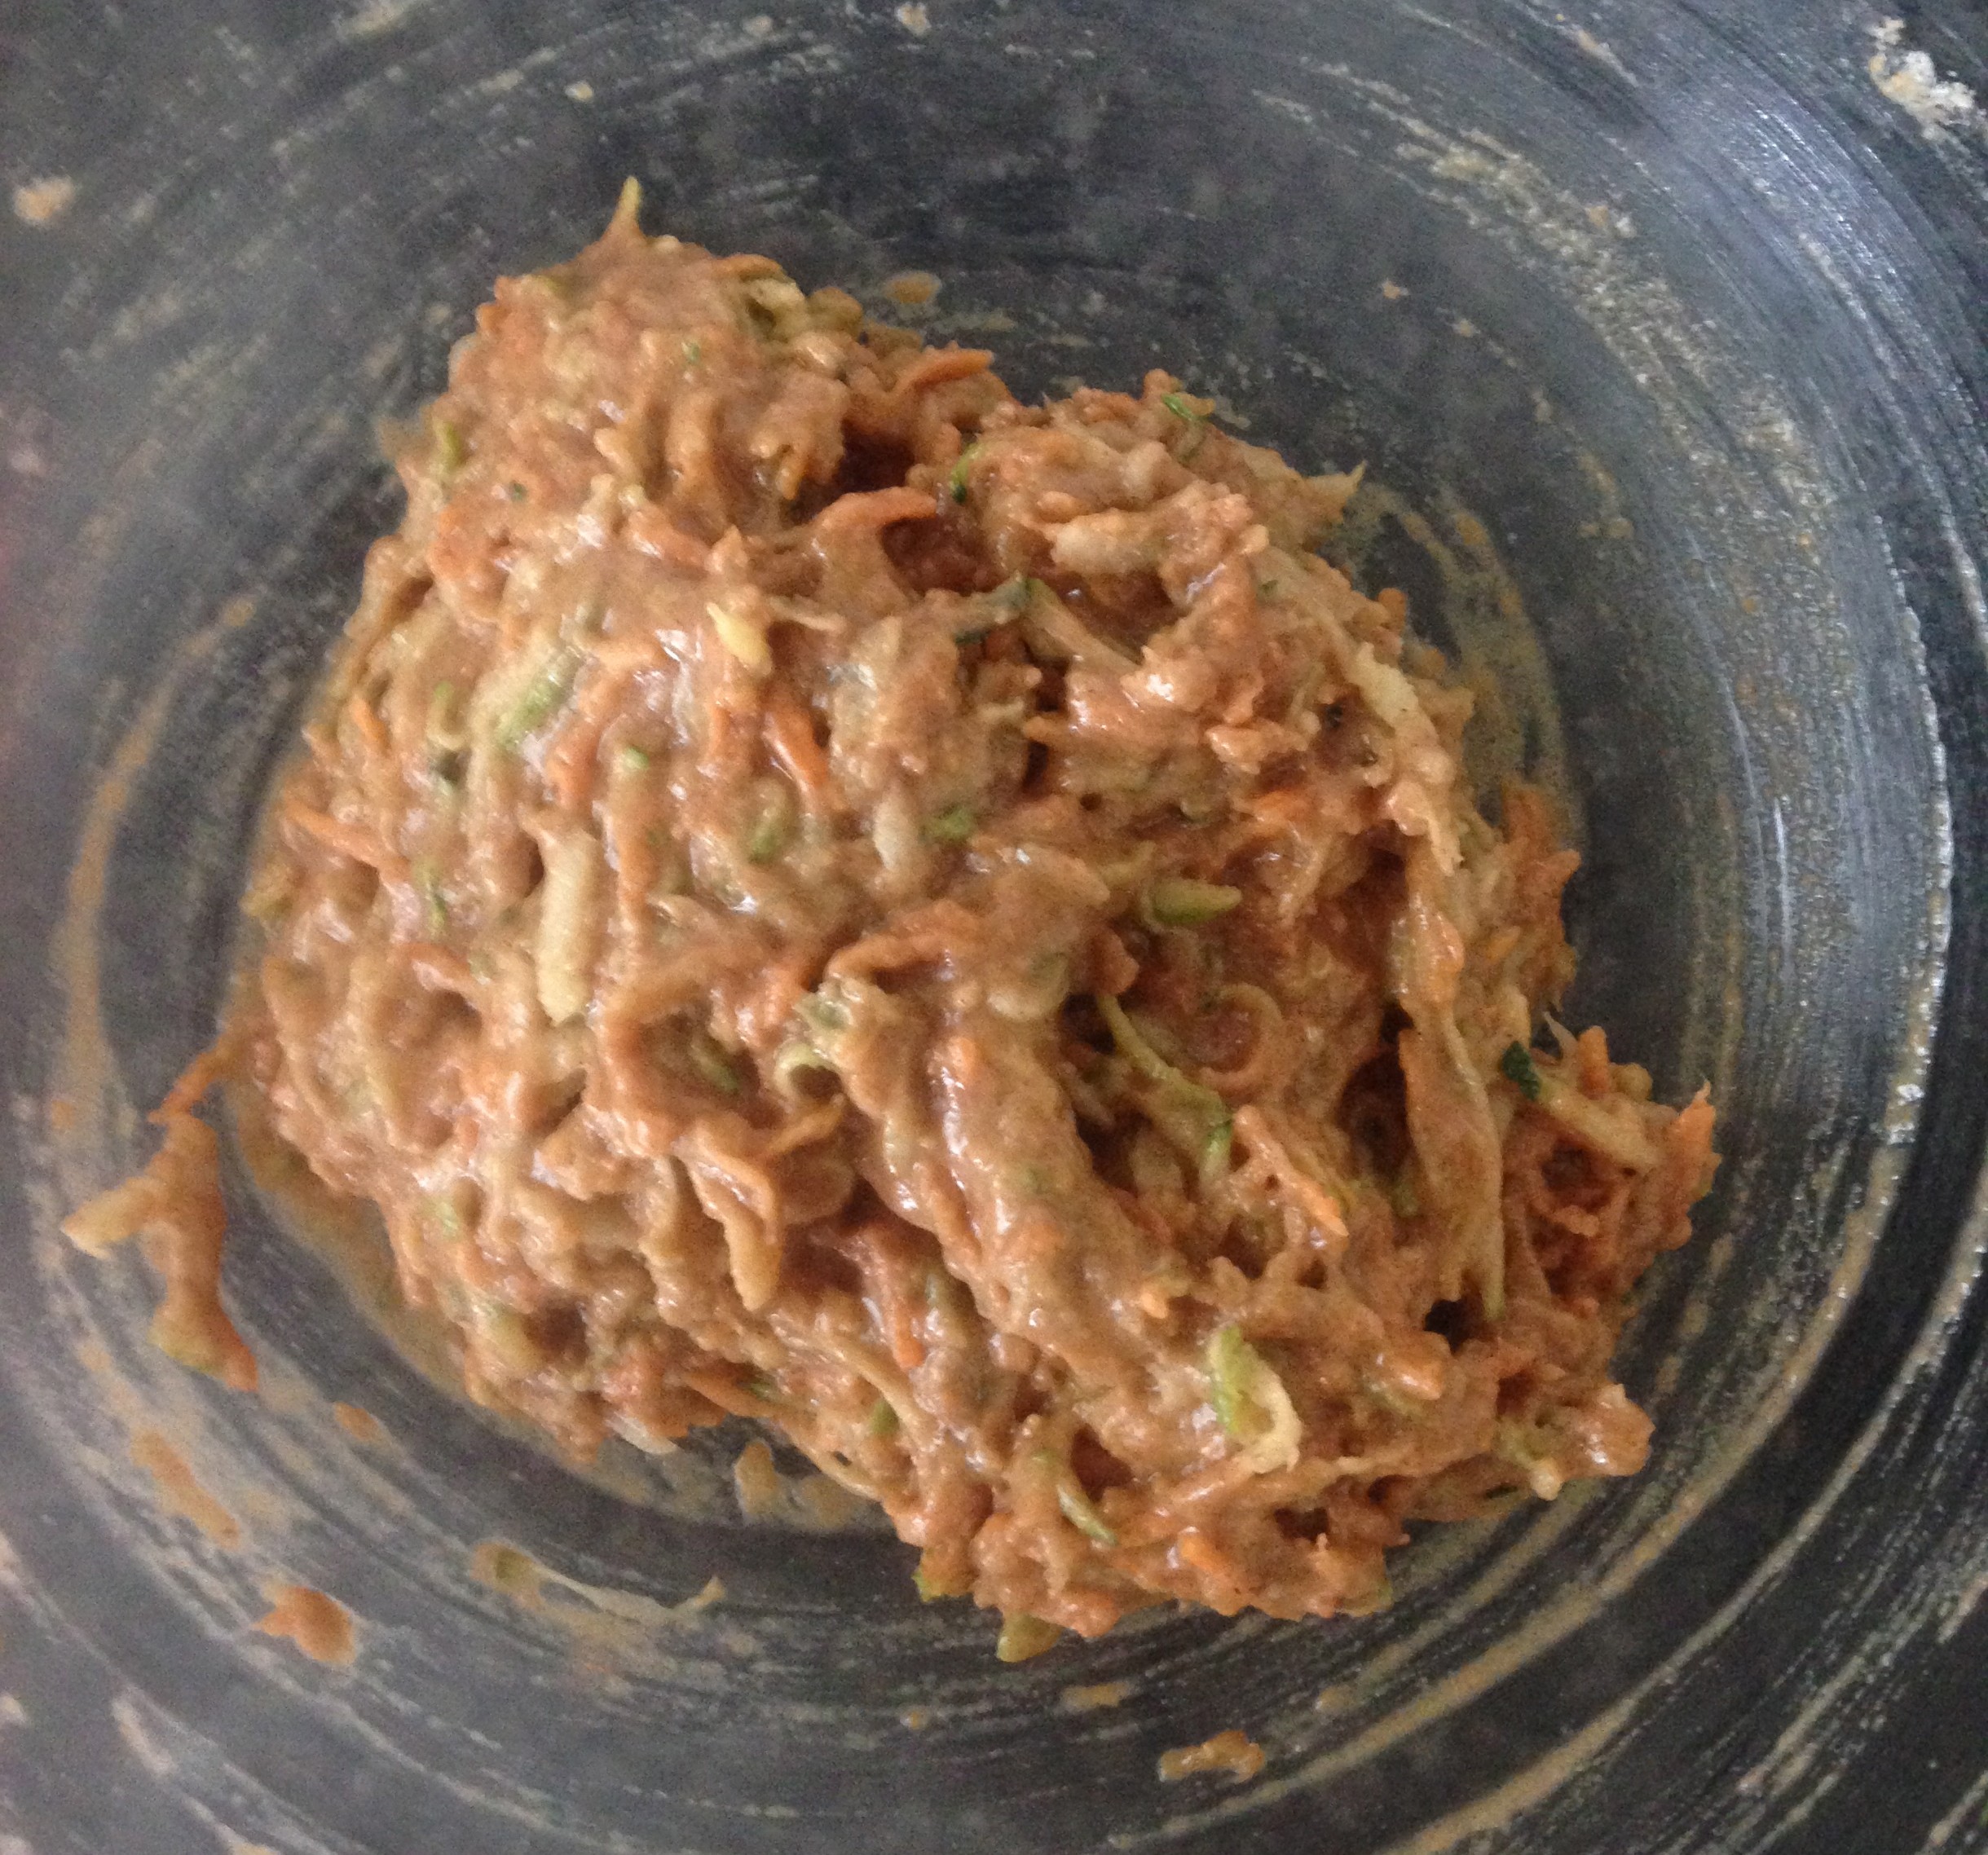
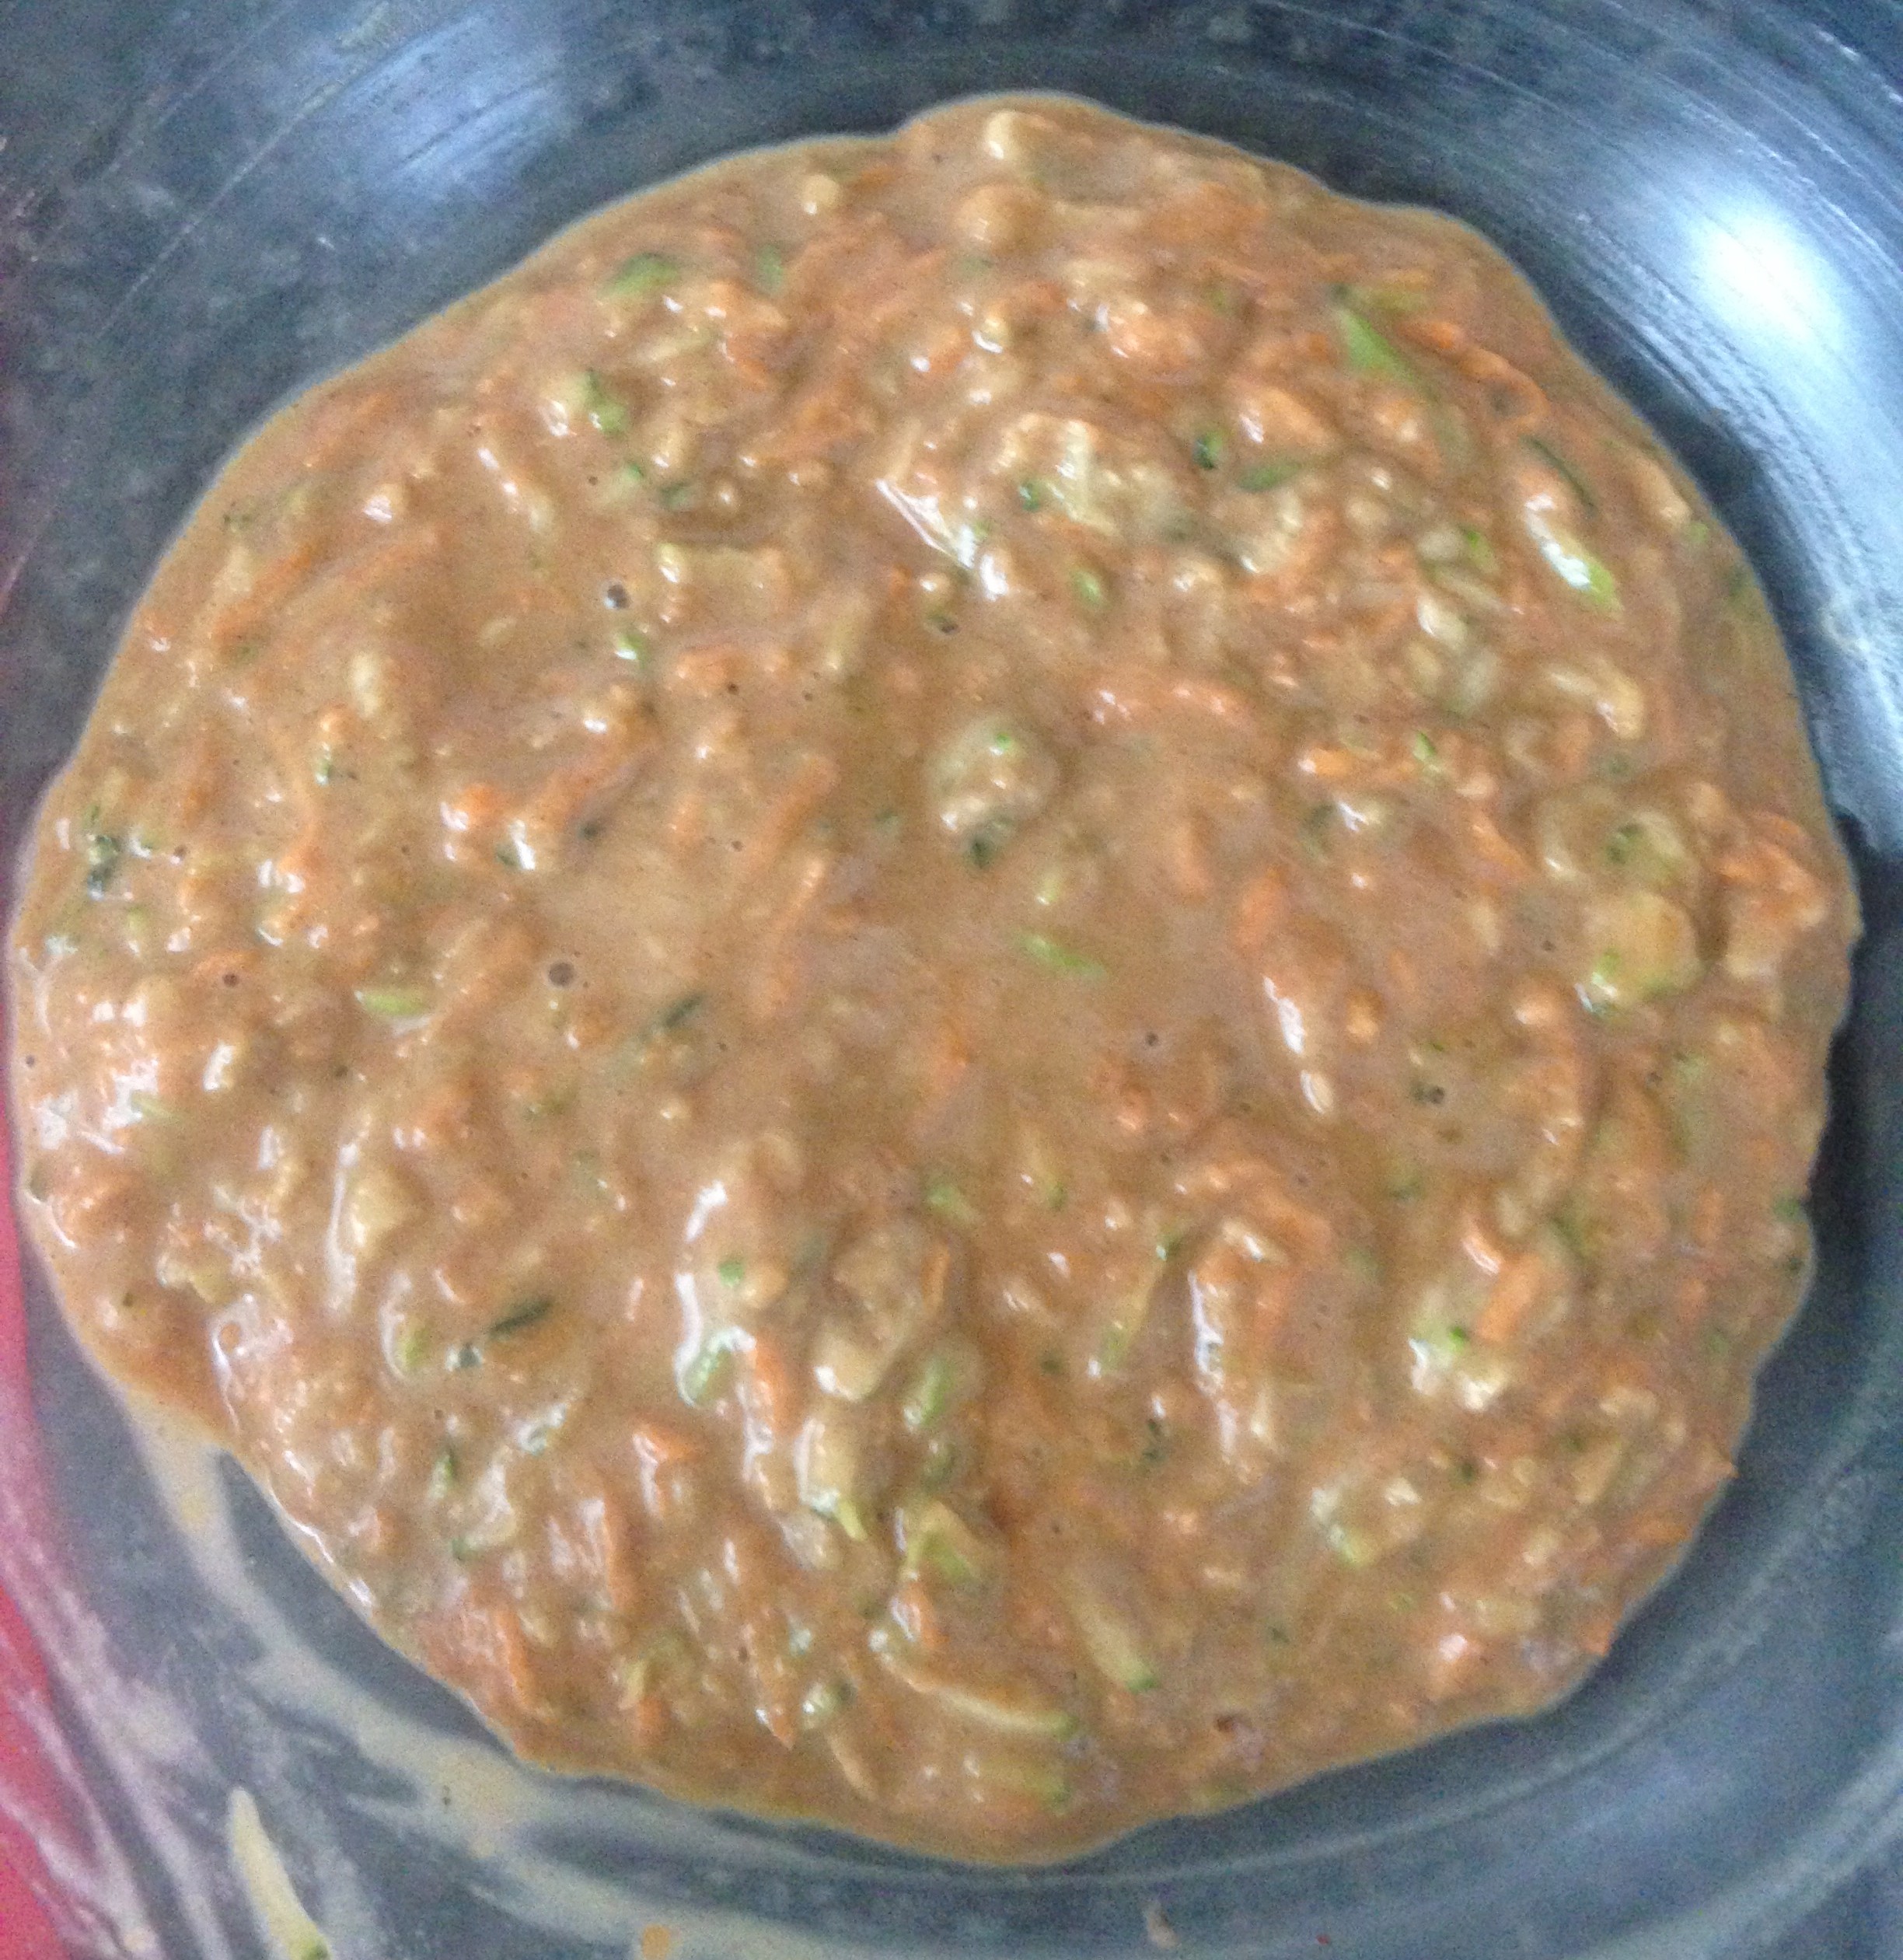
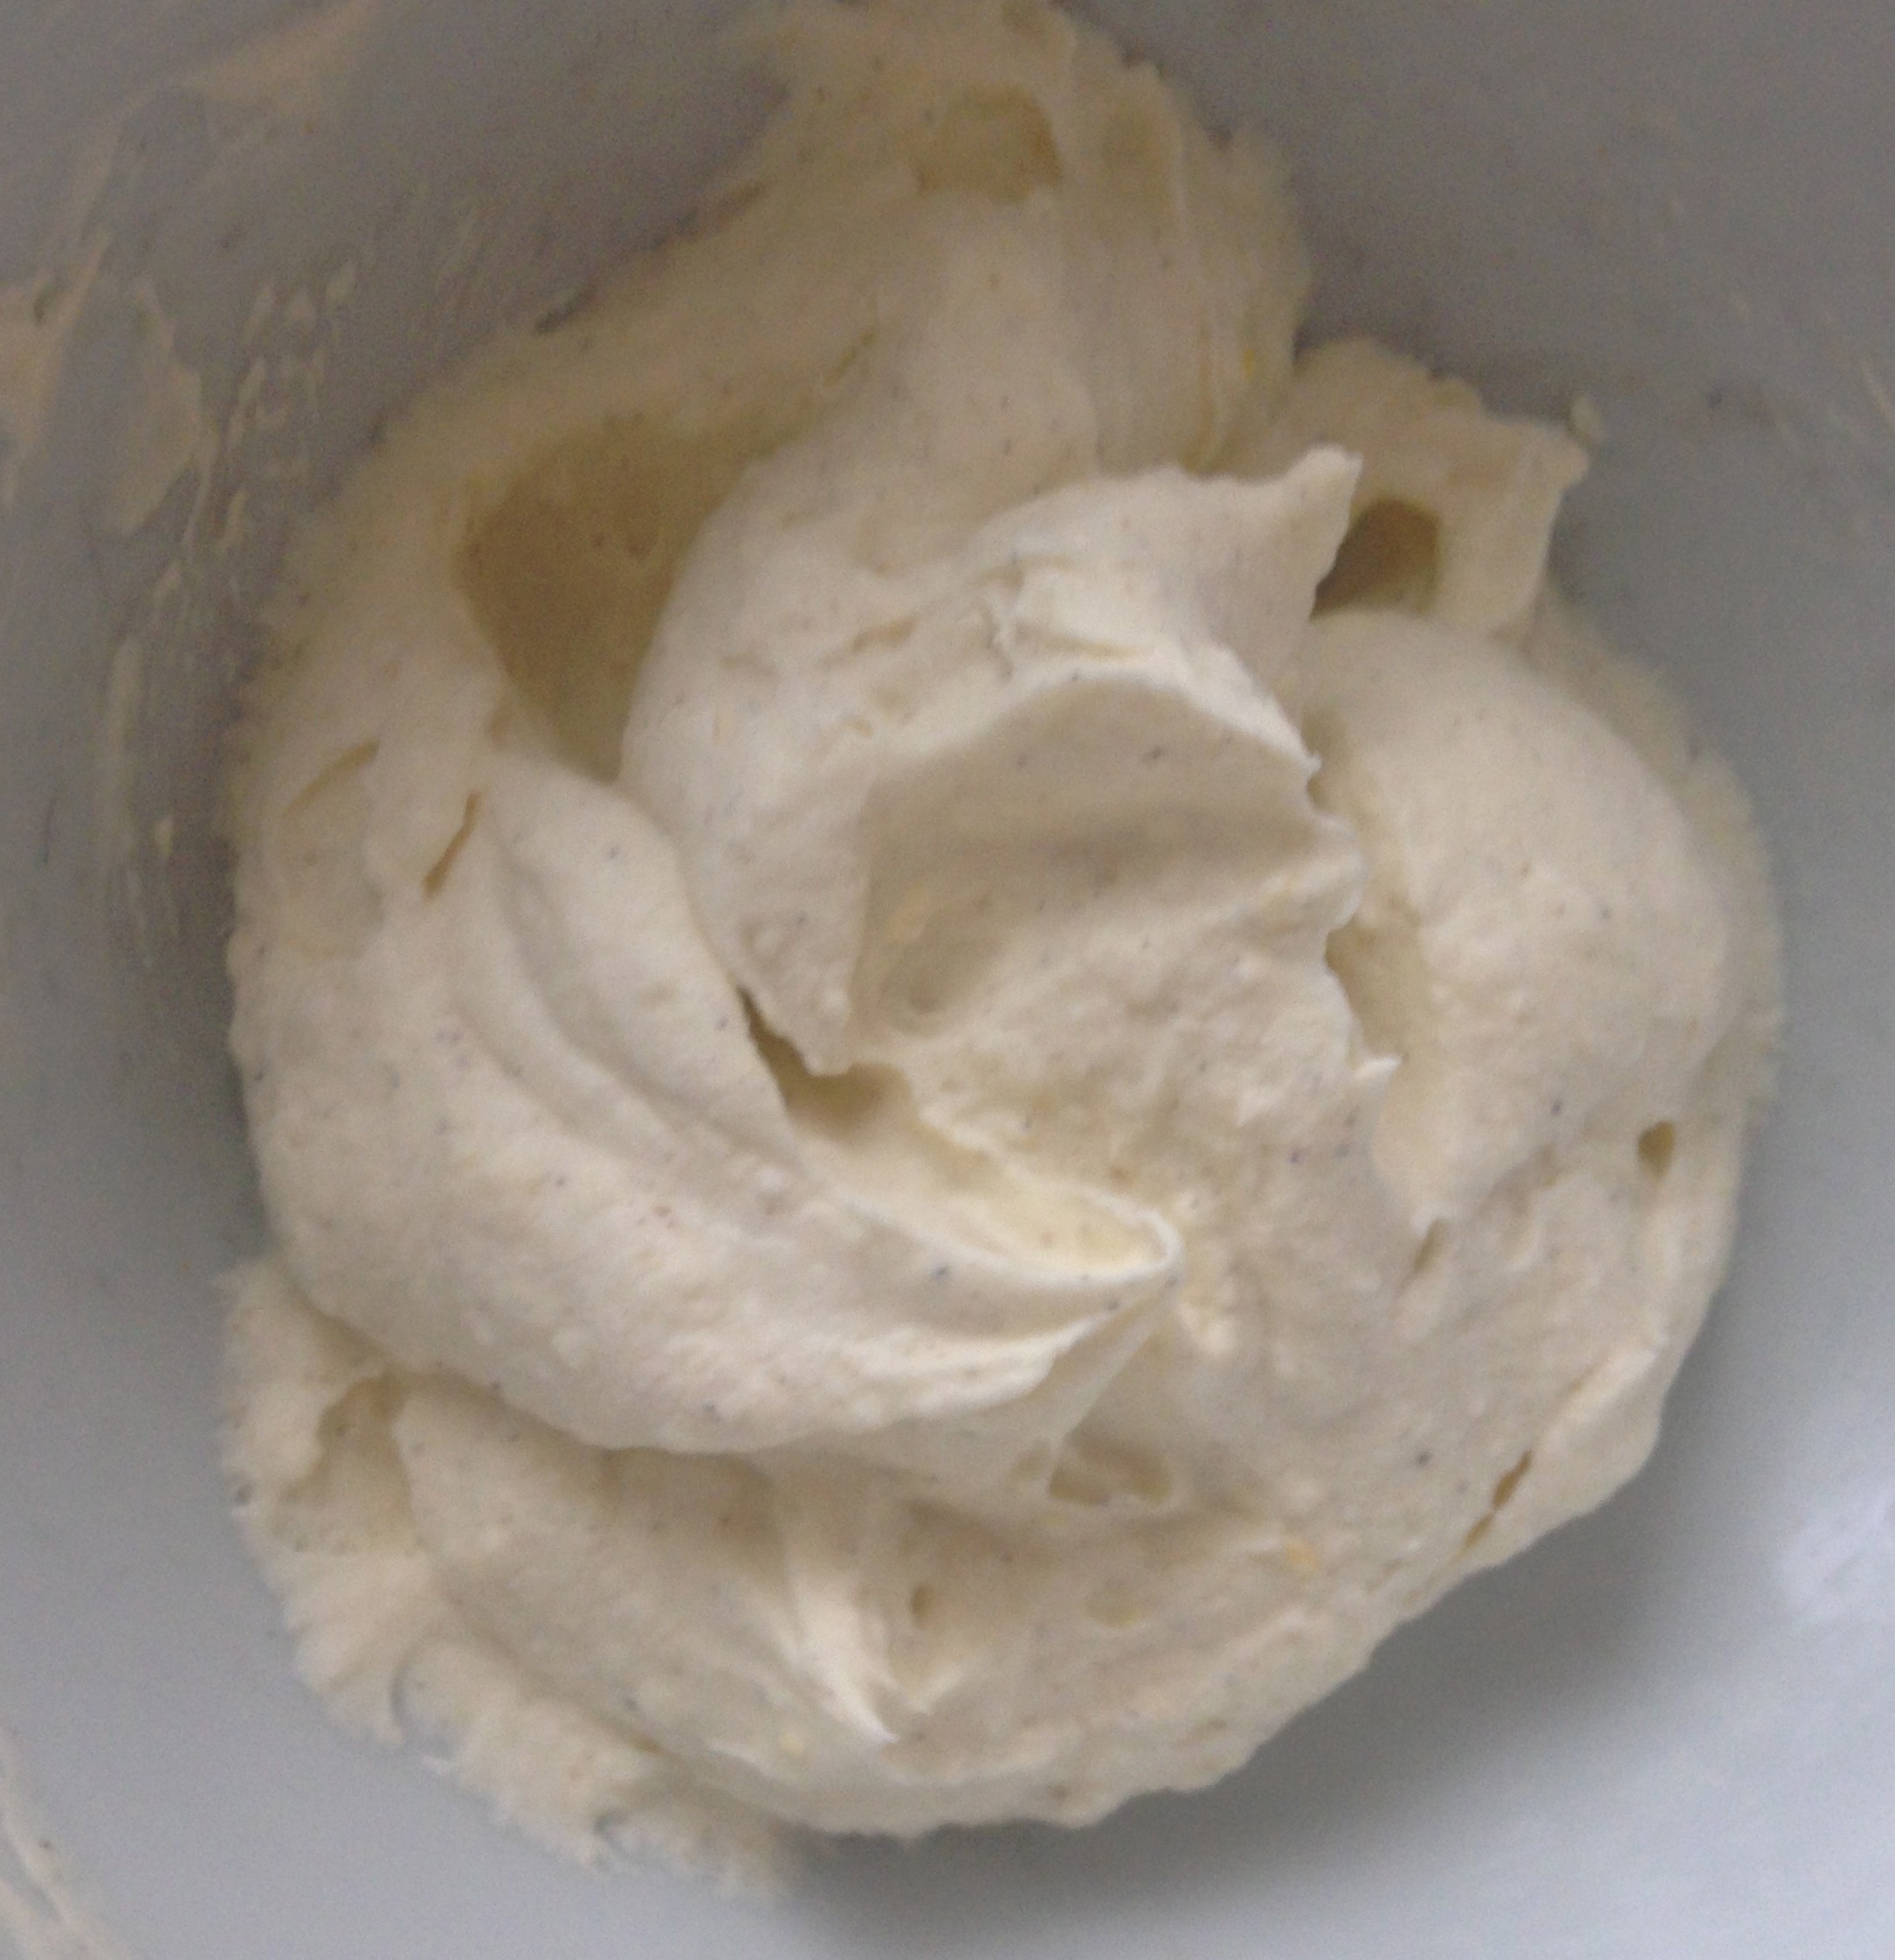
- Meanwhile with electric beaters whisk the ricotta and icing sugar until well combined.
- Add the cream to the ricotta mix and whisk until well combine and smooth and place in the fridge for later use.
- Preheat the oven to 180c degrees.
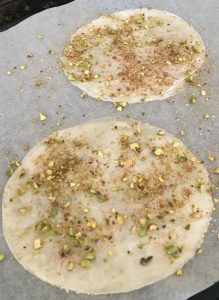
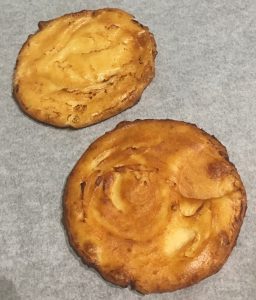
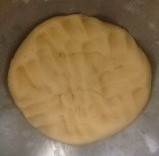
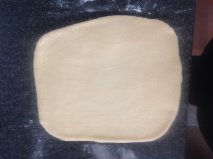
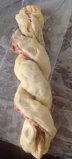
- Cut the lasagna sheets to fit I the tin perfectly.
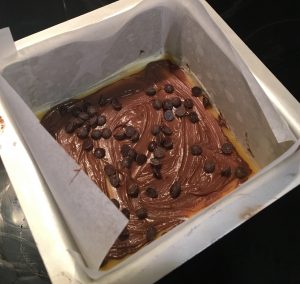
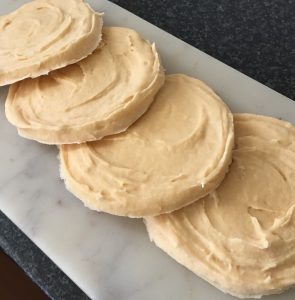
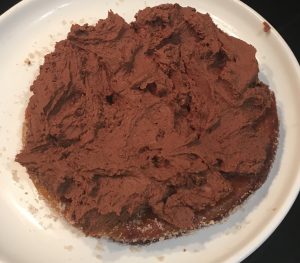
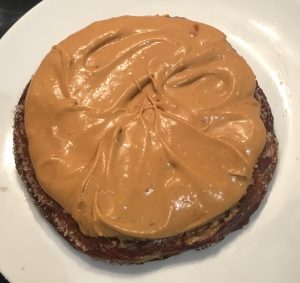
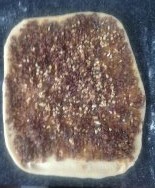
- Spoon 20g of Nutella onto each lasagna sheet and spread with the back of a spoon to evenly cover to sheet.
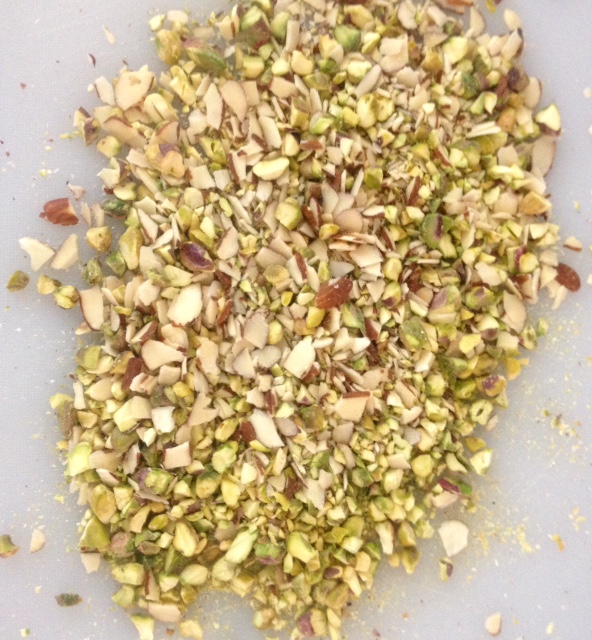
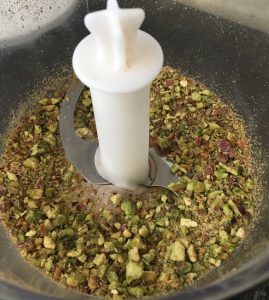
- Dice the chocolate into small pieces and sprinkle the chocolate evenly over the Nutella, leave the sheets aside for later use.
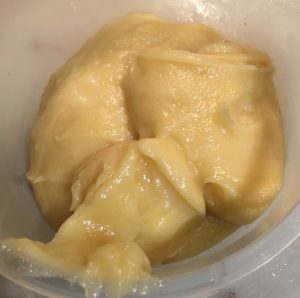
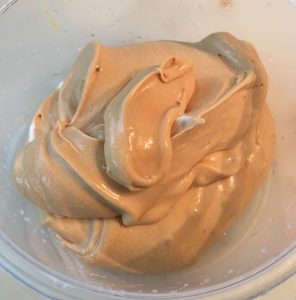
- Remove the plastic wrap from the custard mix and add the ricotta mix, beat until smooth and combine.
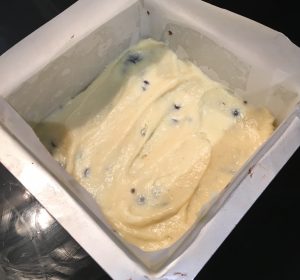
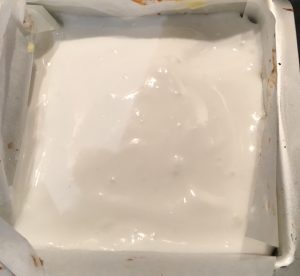
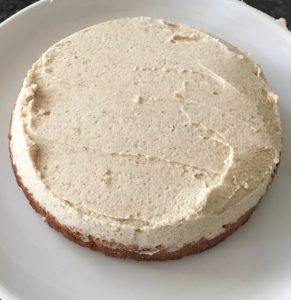
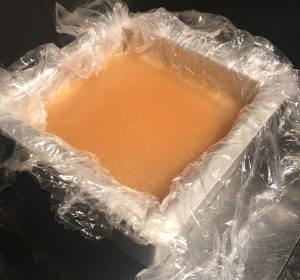
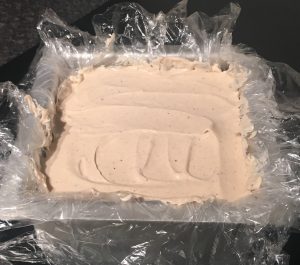
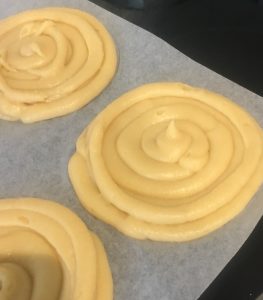
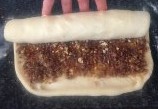
- To put the cake together, spoon 1/5th of the filling into the prepared cake tin. Spread with the back of a spoon for even coverage.
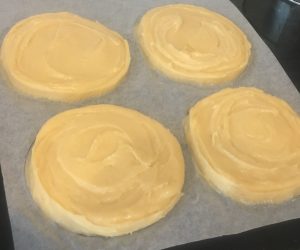
- Add a lasagna sheet and top with another 1/5th of the filling.
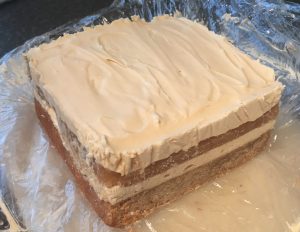
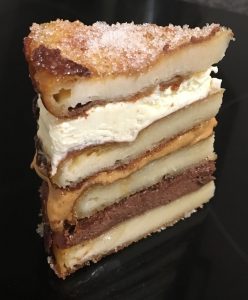
- Continue with the lasagna and cream layering until all 4 sheets have been placed and the last 1/5th of filling is placed on the top of the last sheet. You should have done 5 filling layers and 4 sheet layers.
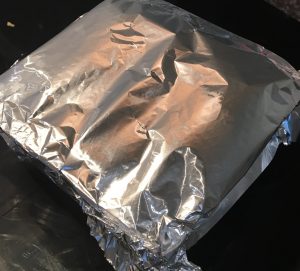
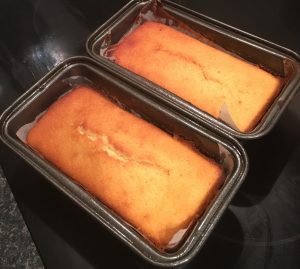
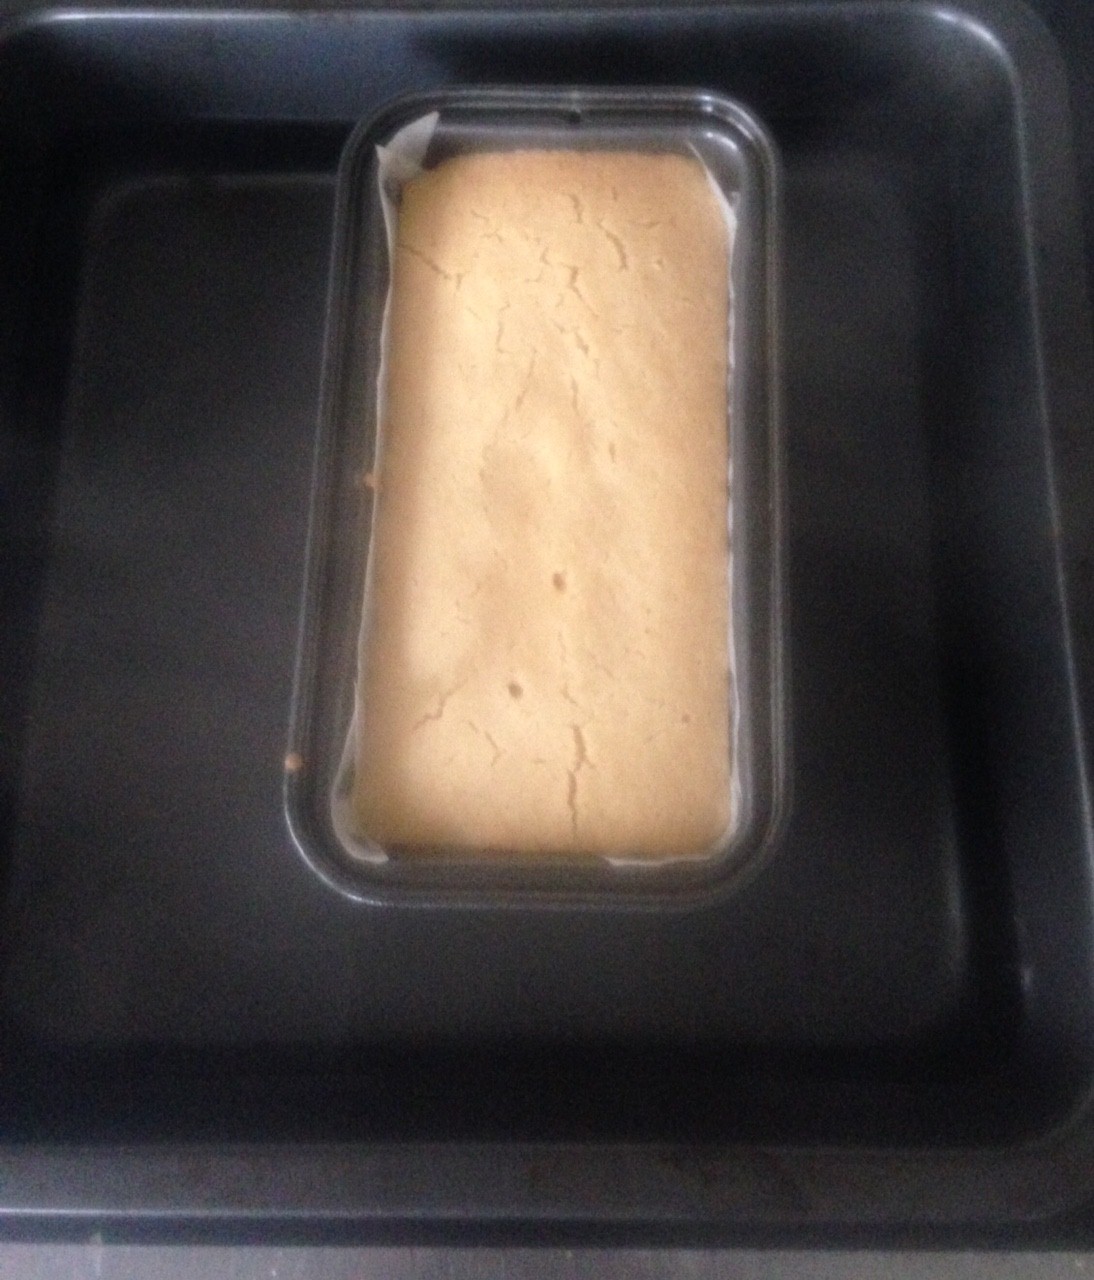
- Cover the top of the tin with aluminum foil and bake in the oven for 25 minutes.
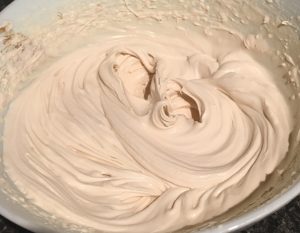
- Meanwhile make a meringue by placing the egg whites into a bowl and whisking with electric beaters.
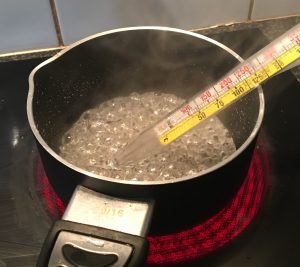
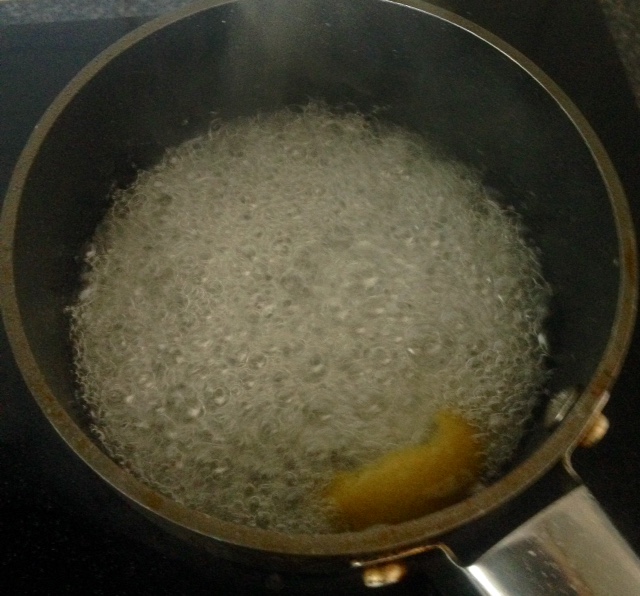
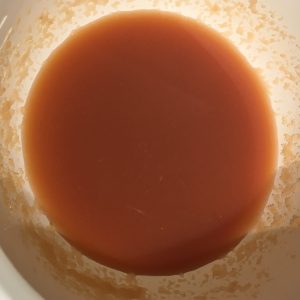
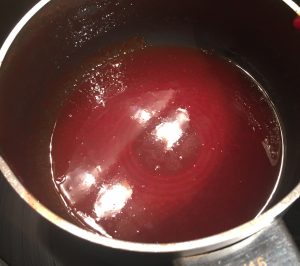
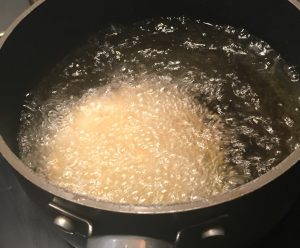
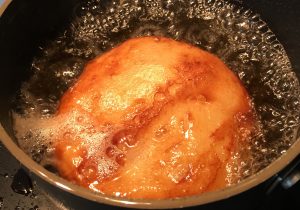
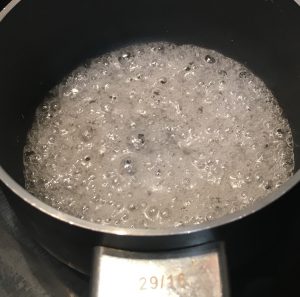
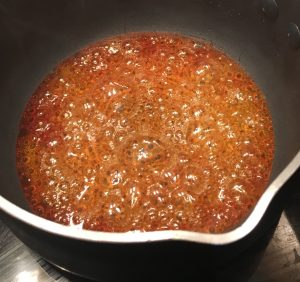
- Place the sugar and water into a pan on high heat stirring until the sugar dissolves then leave the mix until a candy thermometer hits 125c degrees.
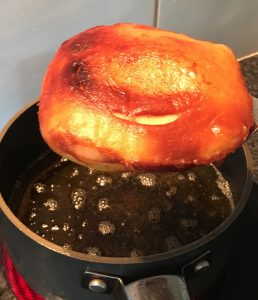
- Slowly take the sugar syrup off the heat and in a slow and steady stream pour the syrup into the egg whites.
- Continue beating the egg white mix for 5-10 more minutes or until glossy and silky.
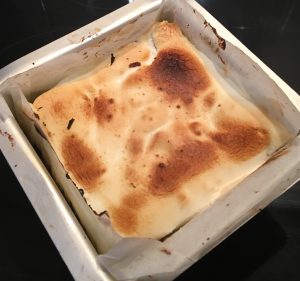
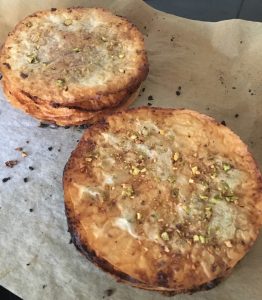
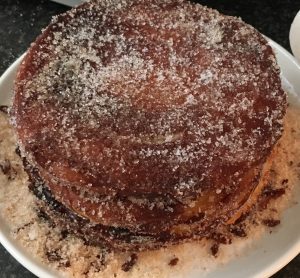
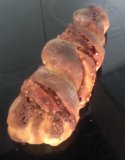
- Remove the lasagna from the oven, remove the foil and spread the meringue over the top of the cake.
- Place the cake back in the oven for 10 more minutes to cook the pasta through and bake the meringue until golden brown.
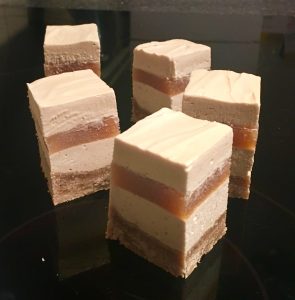
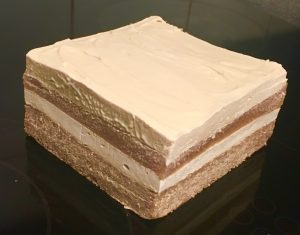
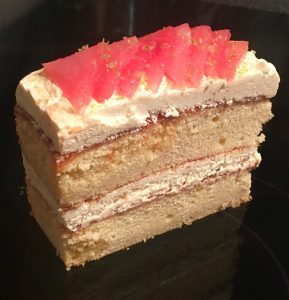
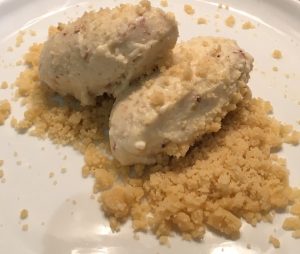
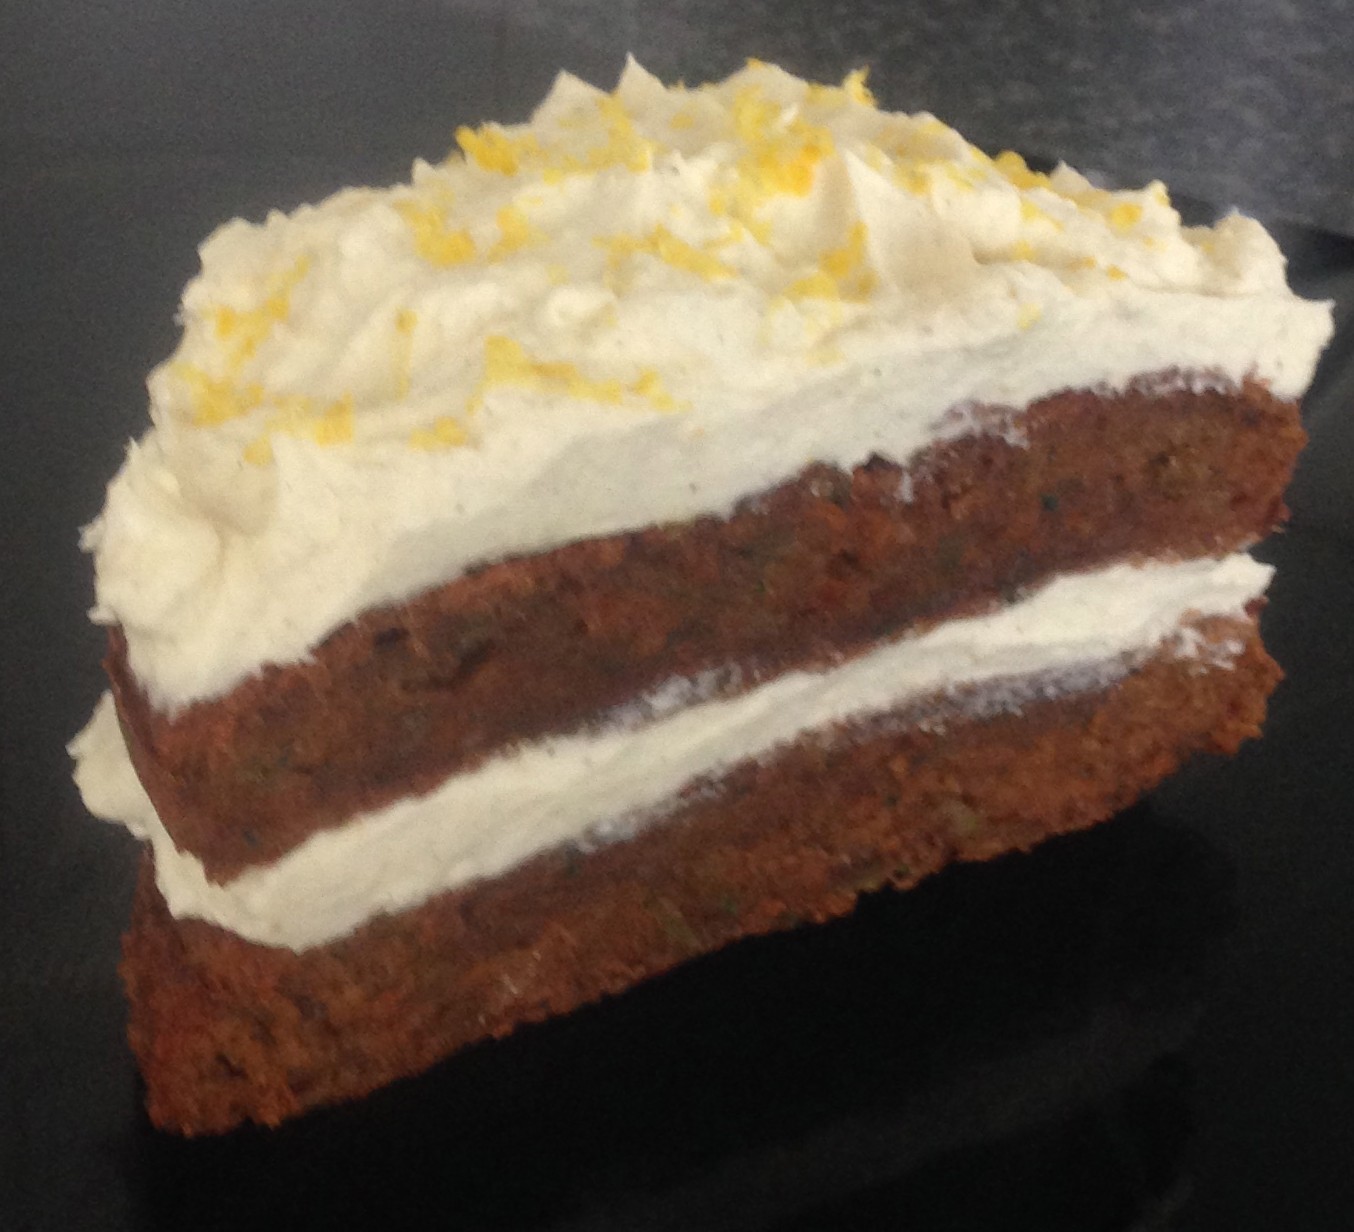
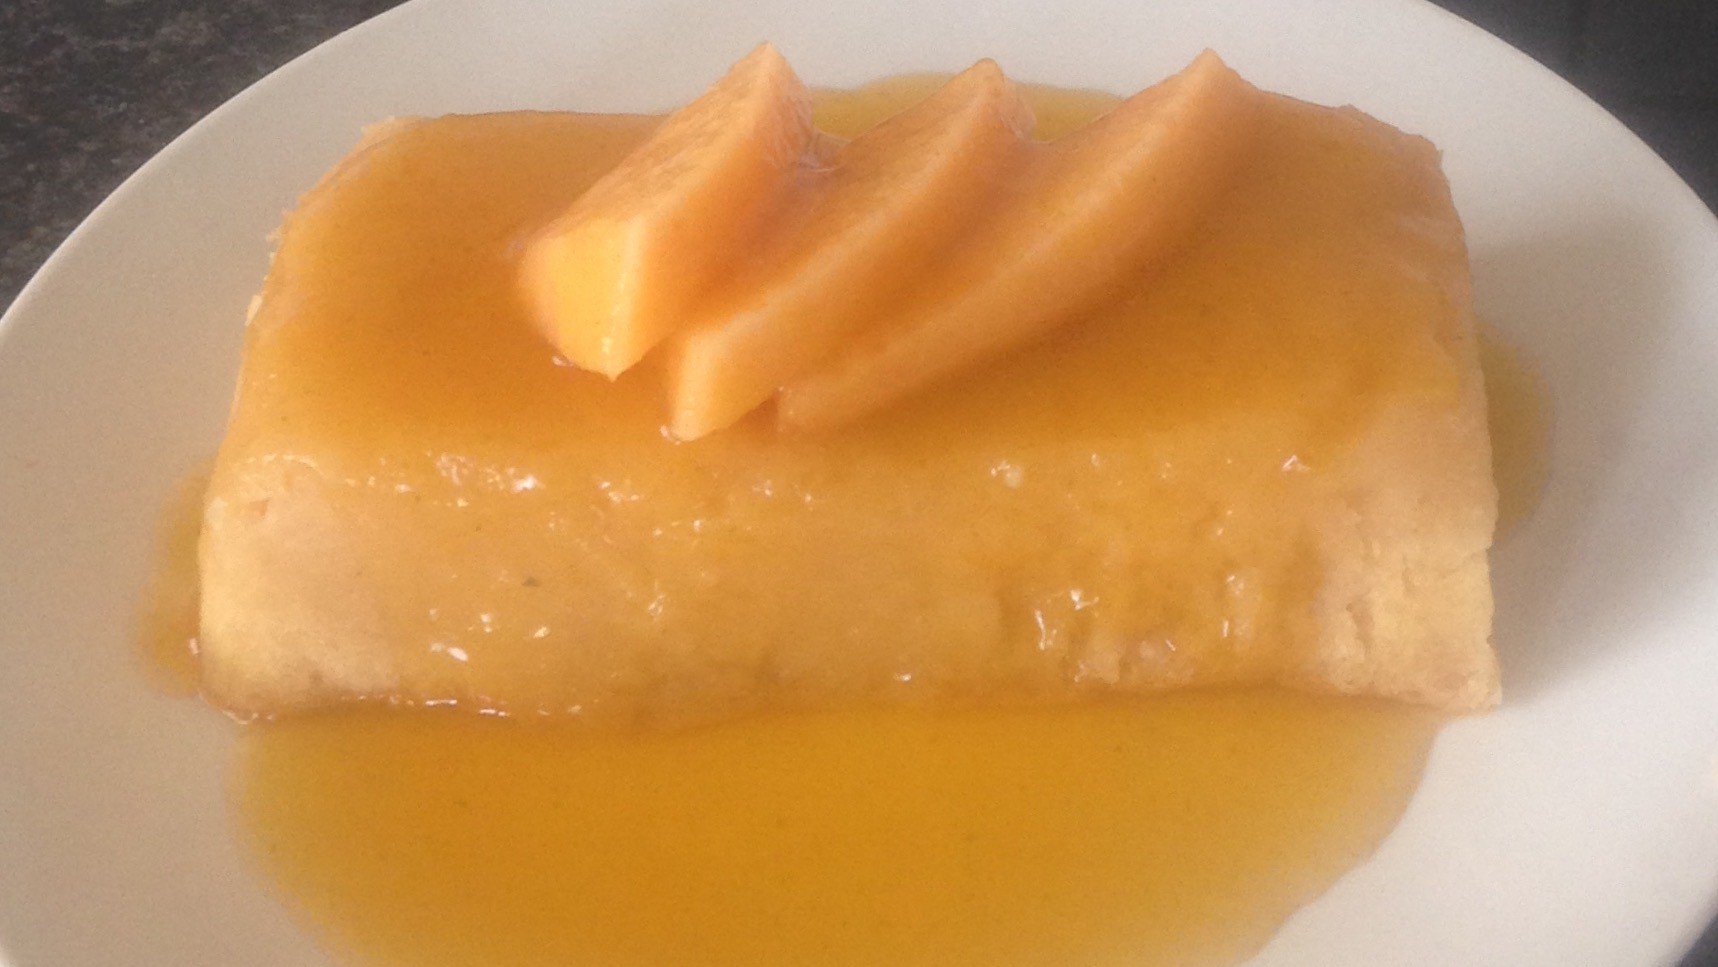
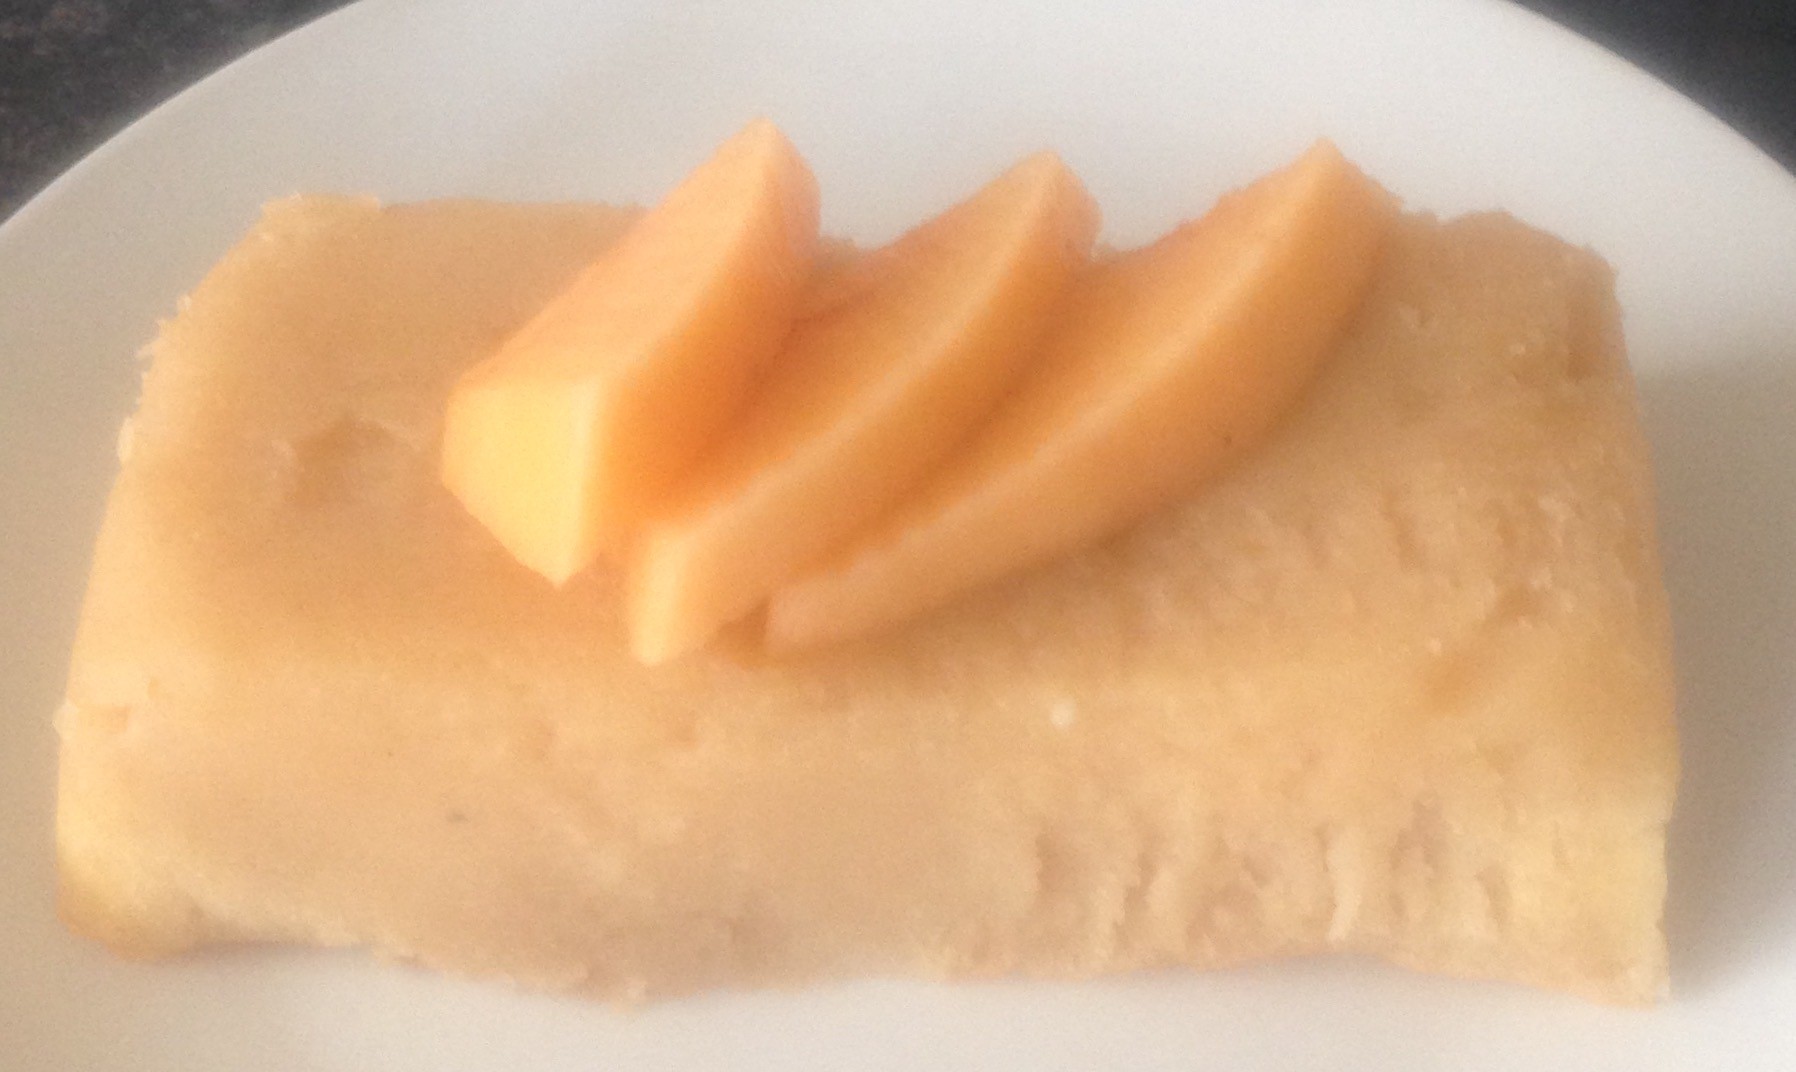
- Leave the cake aside to cool in the tin then cut into squares, place slice of lasagna onto a plate with a side of vanilla ice-cream.
Step 2
Step 6
Step 8
Step 9
Step 12
Step 16
Step 18
Step 20
Step 23
Step 24
Like this recipe? Subscribe via RSS or email to get my new entries and more scrumptious recipes with reviews
 Follow


