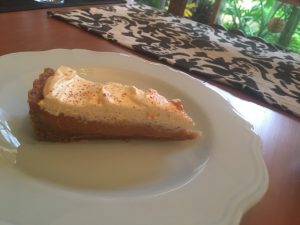
Sweet Potato Spiced Pie
This recipe was created as I wanted to make a pumpkin pie for a Christmas catch-up dinner, however had limited time to make the pie and had no pumpkin on hand, only sweet potato. Thus a sweet potato pie was created.
After the sweet potato in the pie was deemed a dinner success I decided that I would play around with the ingredients to take the pie from great to scrumptious.
After a few alternations and tweaks the below recipe was formed.

Ingredients:
Base:
- 250g butternut biscuits
- ½ tsn ground cinnamon
- ¼ tsn ground ginger
- ¼ tsn all spice
- 100g butter, melted
Filling:
- 500g sweet potato
- 420ml milk
- 100g sugar
- 1 + ½ tsn ground cinnamon
- ½ tsn ground ginger
- ¼ tsn all spice
- 2 eggs
Topping:
- 300ml cream
- 1 tsn vanilla essence
- ½ tsn ground cinnamon
- 20g icing sugar
Method:
- Preheat the oven to 160c degrees.
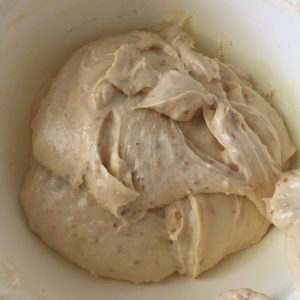
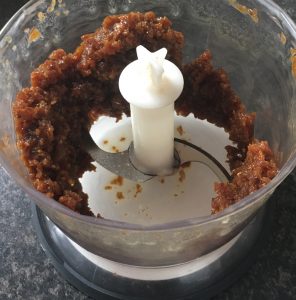
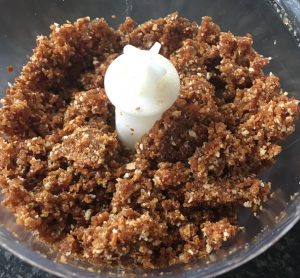
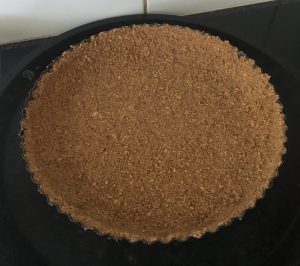
- Place all the base ingredients into a food processor and blitz until well combine and sand like in texture.
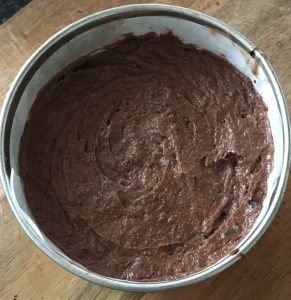
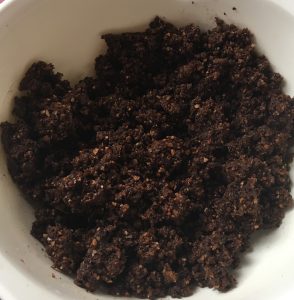
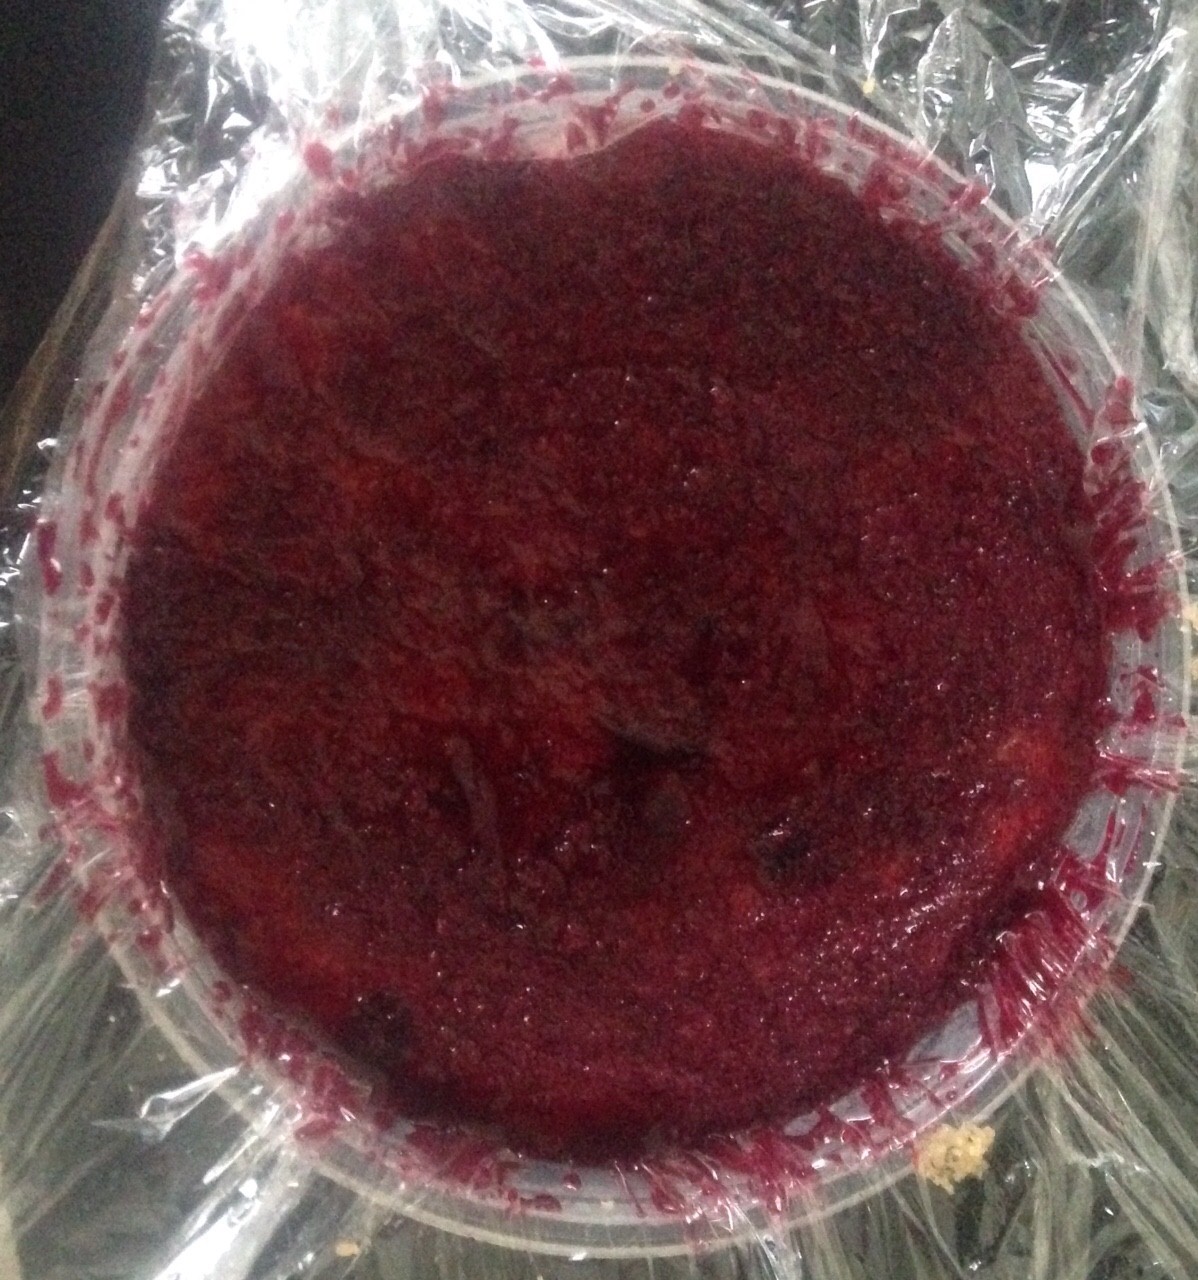
- Pour the mix into a 25cm pie dish and flatten with fingertips on the base and sides of the tin, place in the fridge to set.
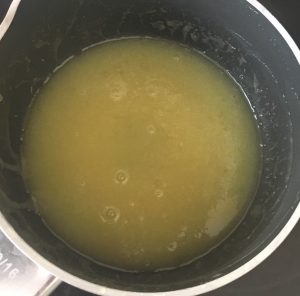
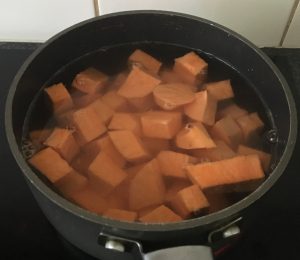
- To prepare the potato cut into cubes and place into a saucepan filled with water.
- On a high heat boil the potato until a skewer inserted into a piece glides in and out easily.
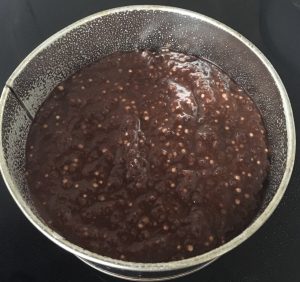
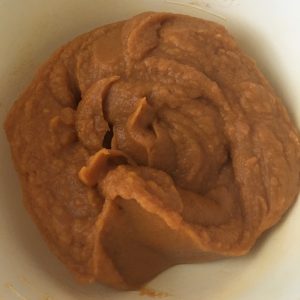
- Place the pumpkin with 80ml of milk into the food processor and blitz until pureed, set aside until cooled.
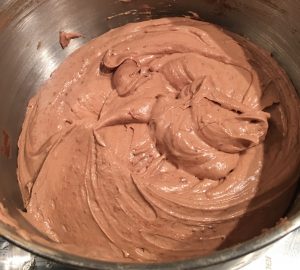
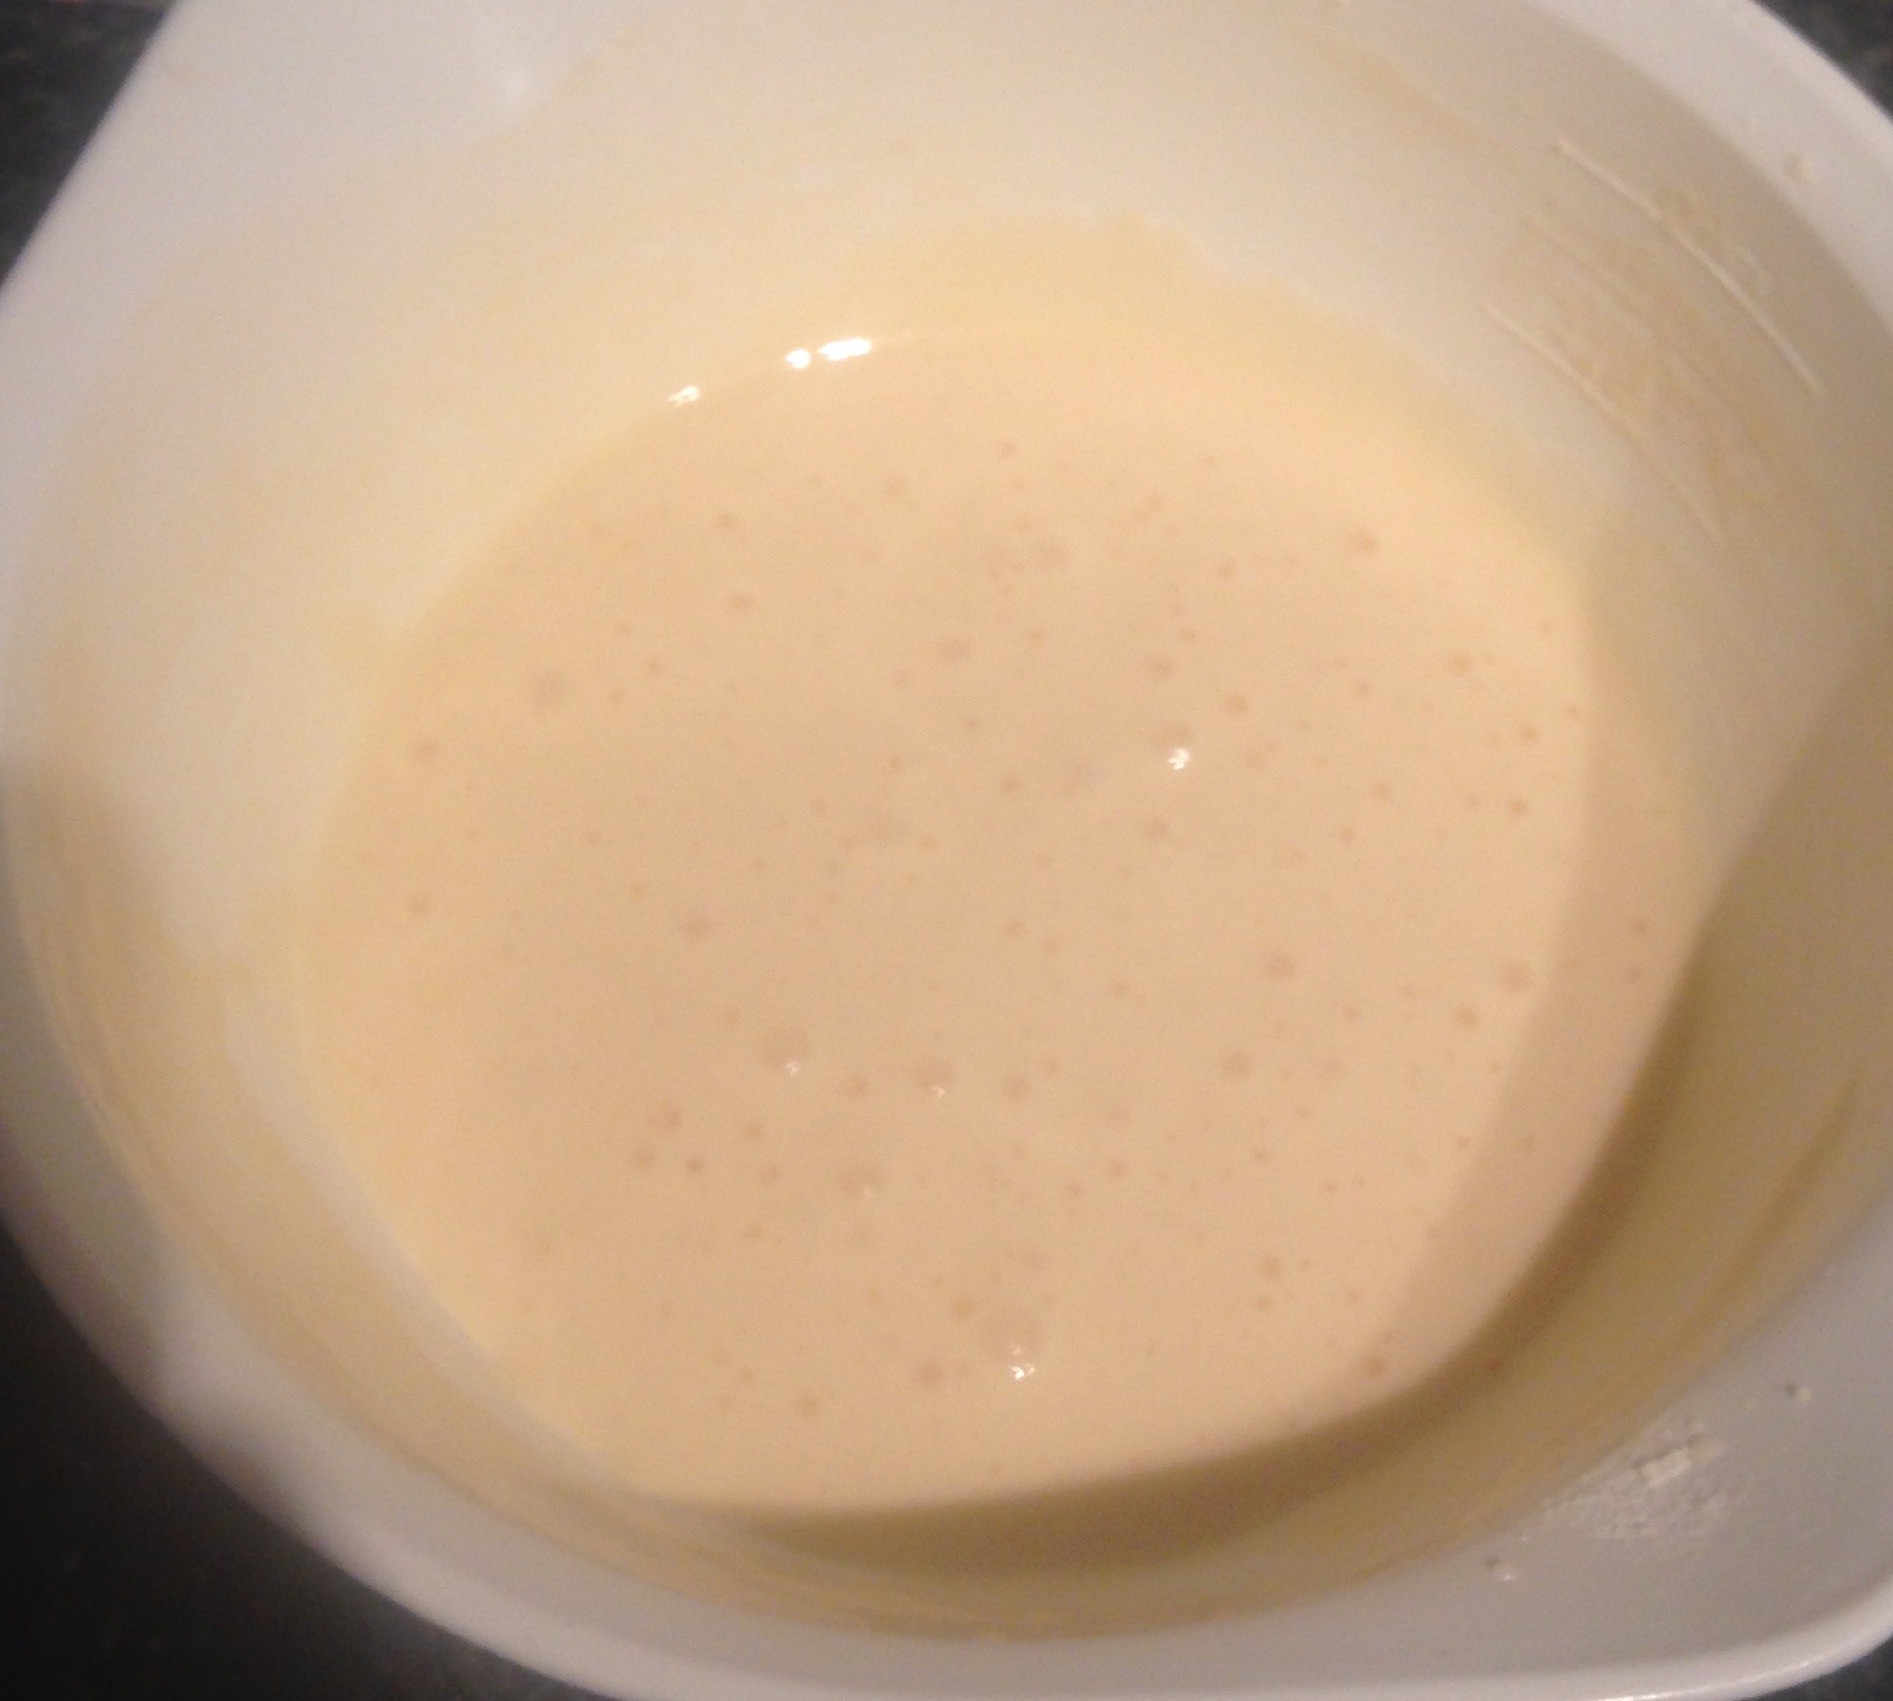
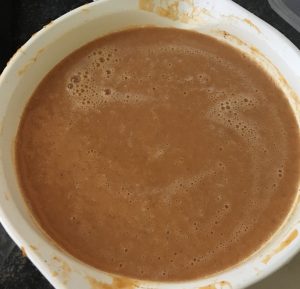
- Add the remaining milk, sugar, spices and egg to the potato mix and beat with a hand whisk until well combined.
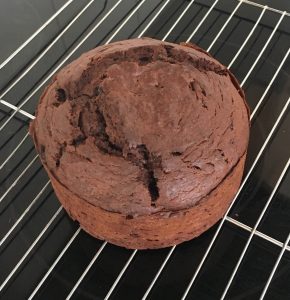
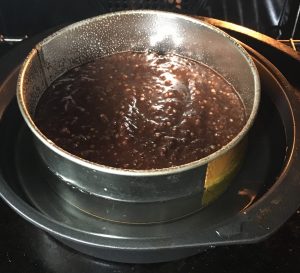
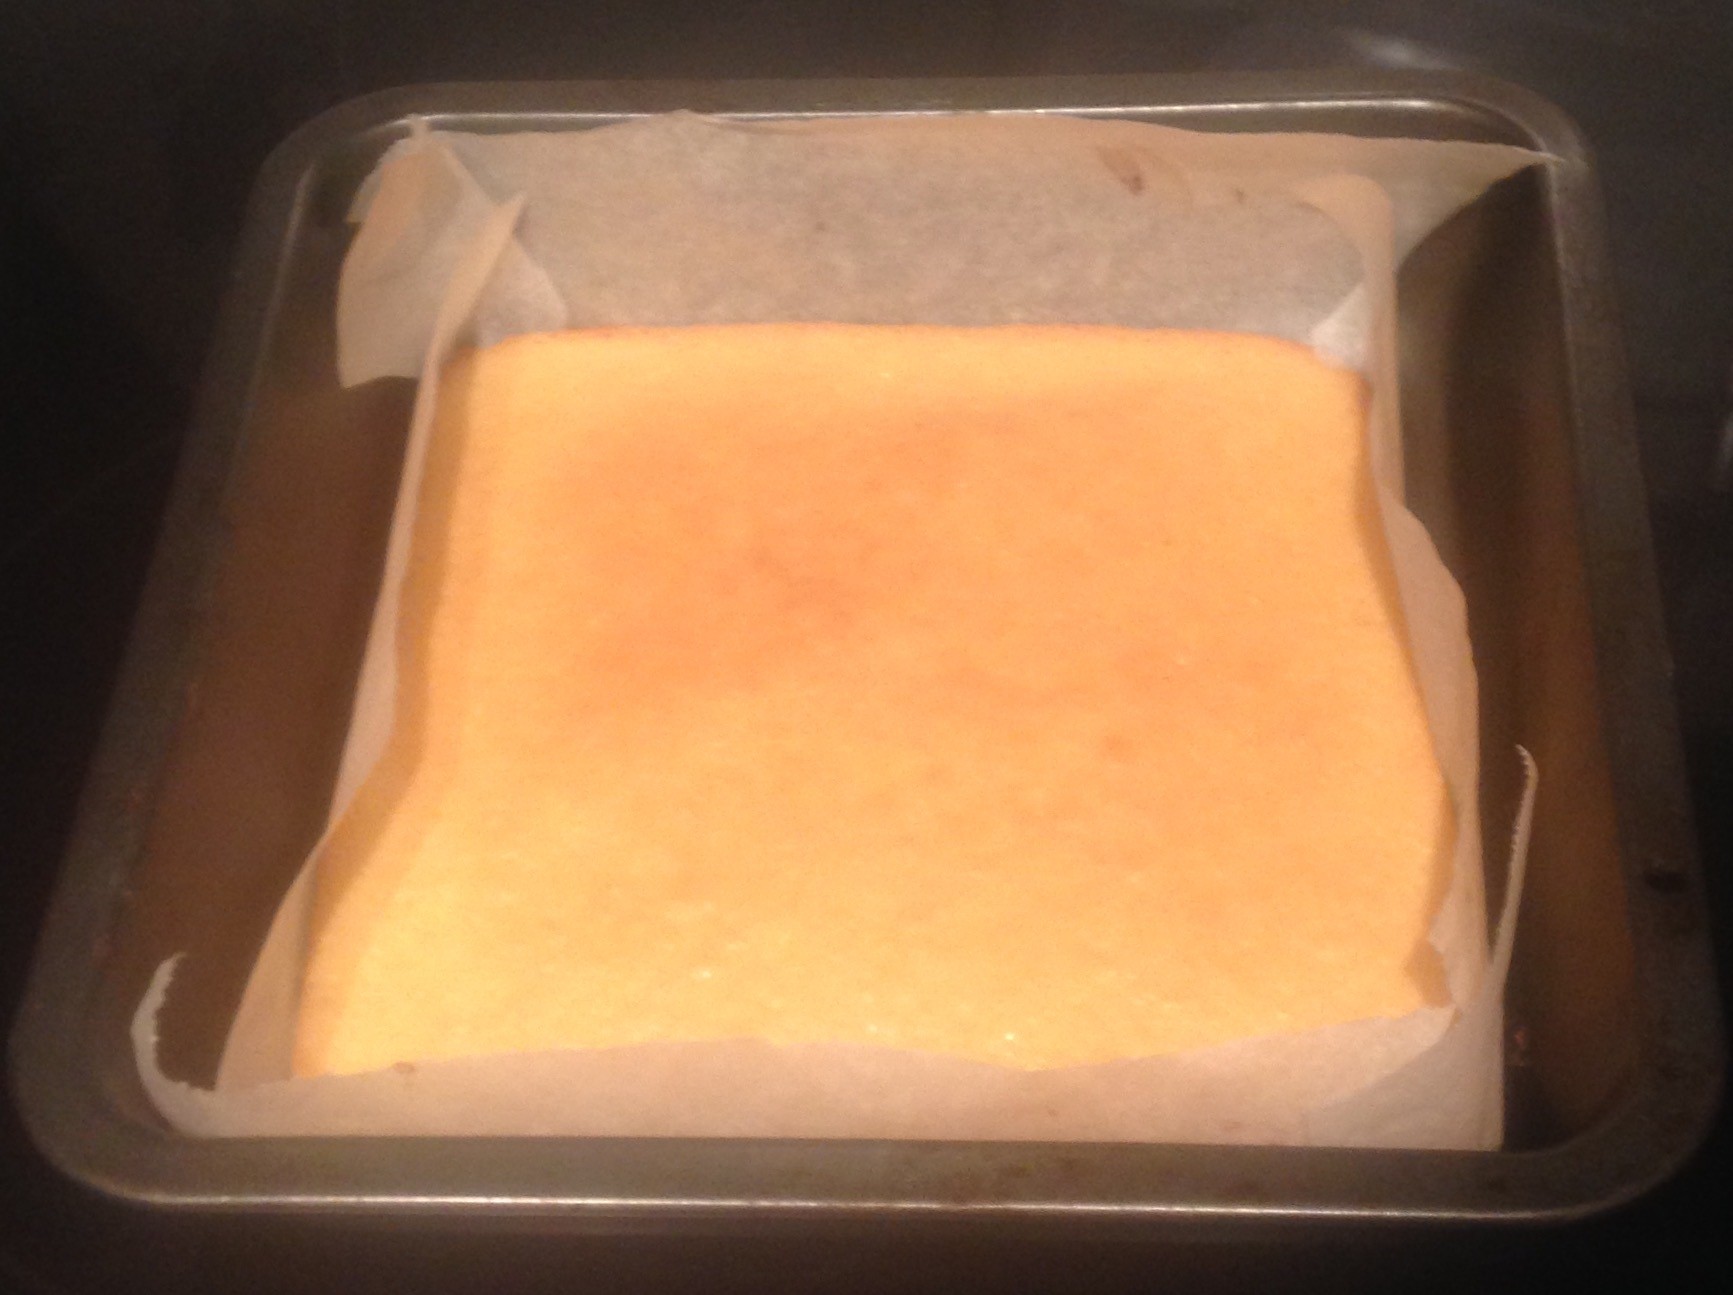
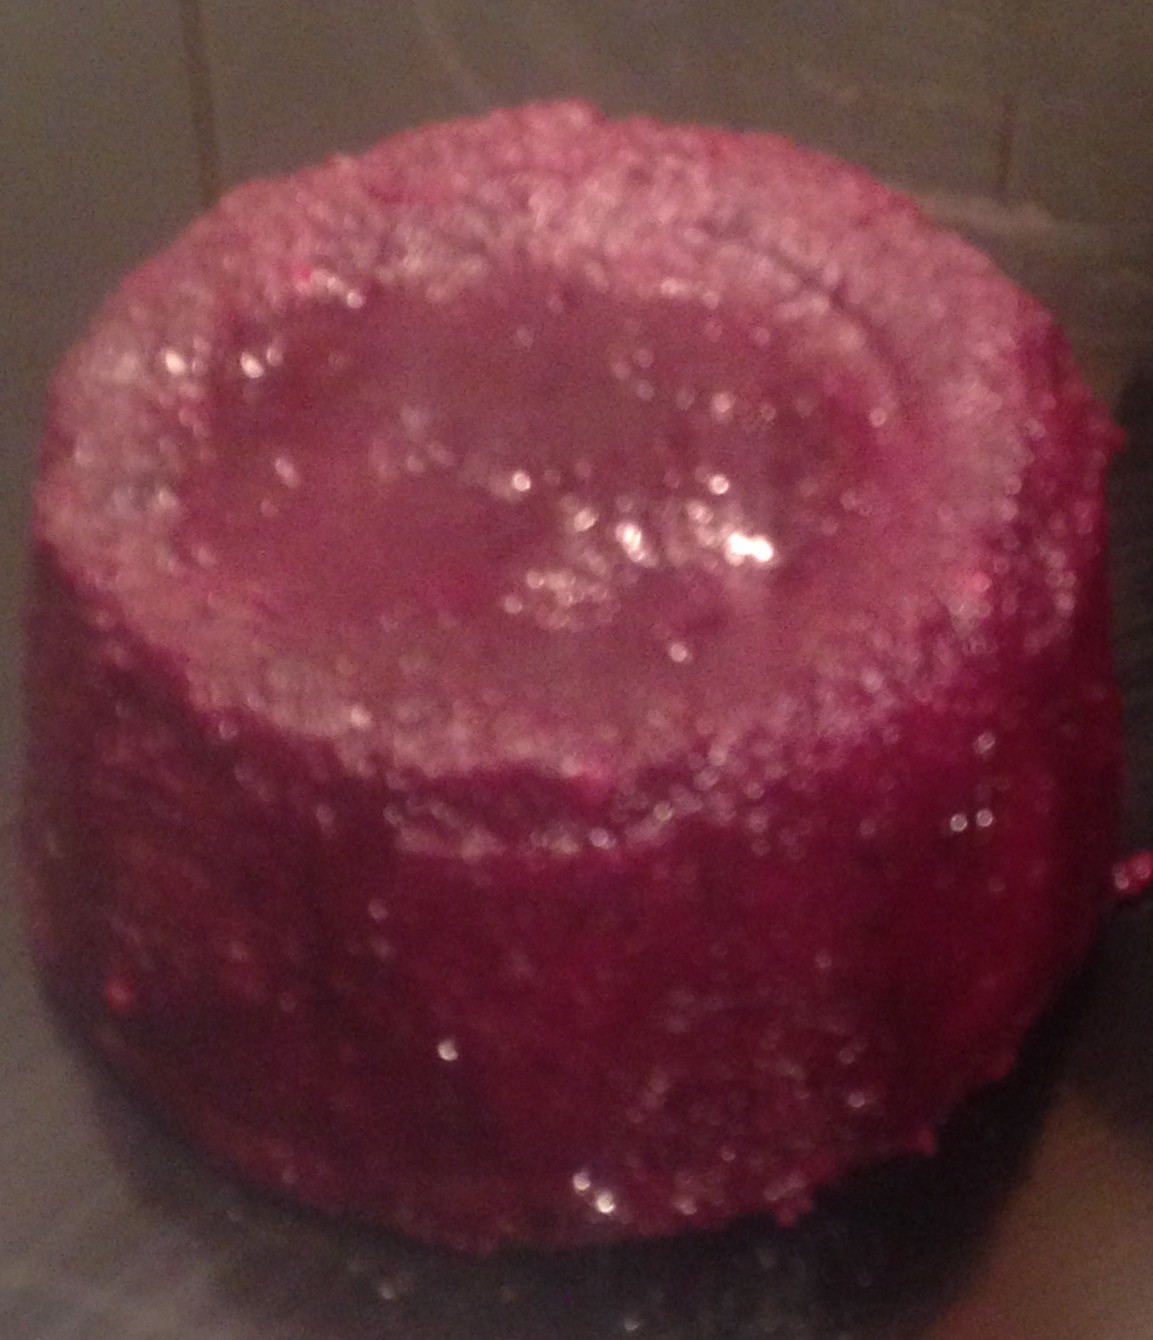
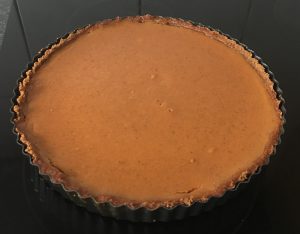
- Pour the potato filling into the prepared base and bake for 70 minutes or until set when touched on top.
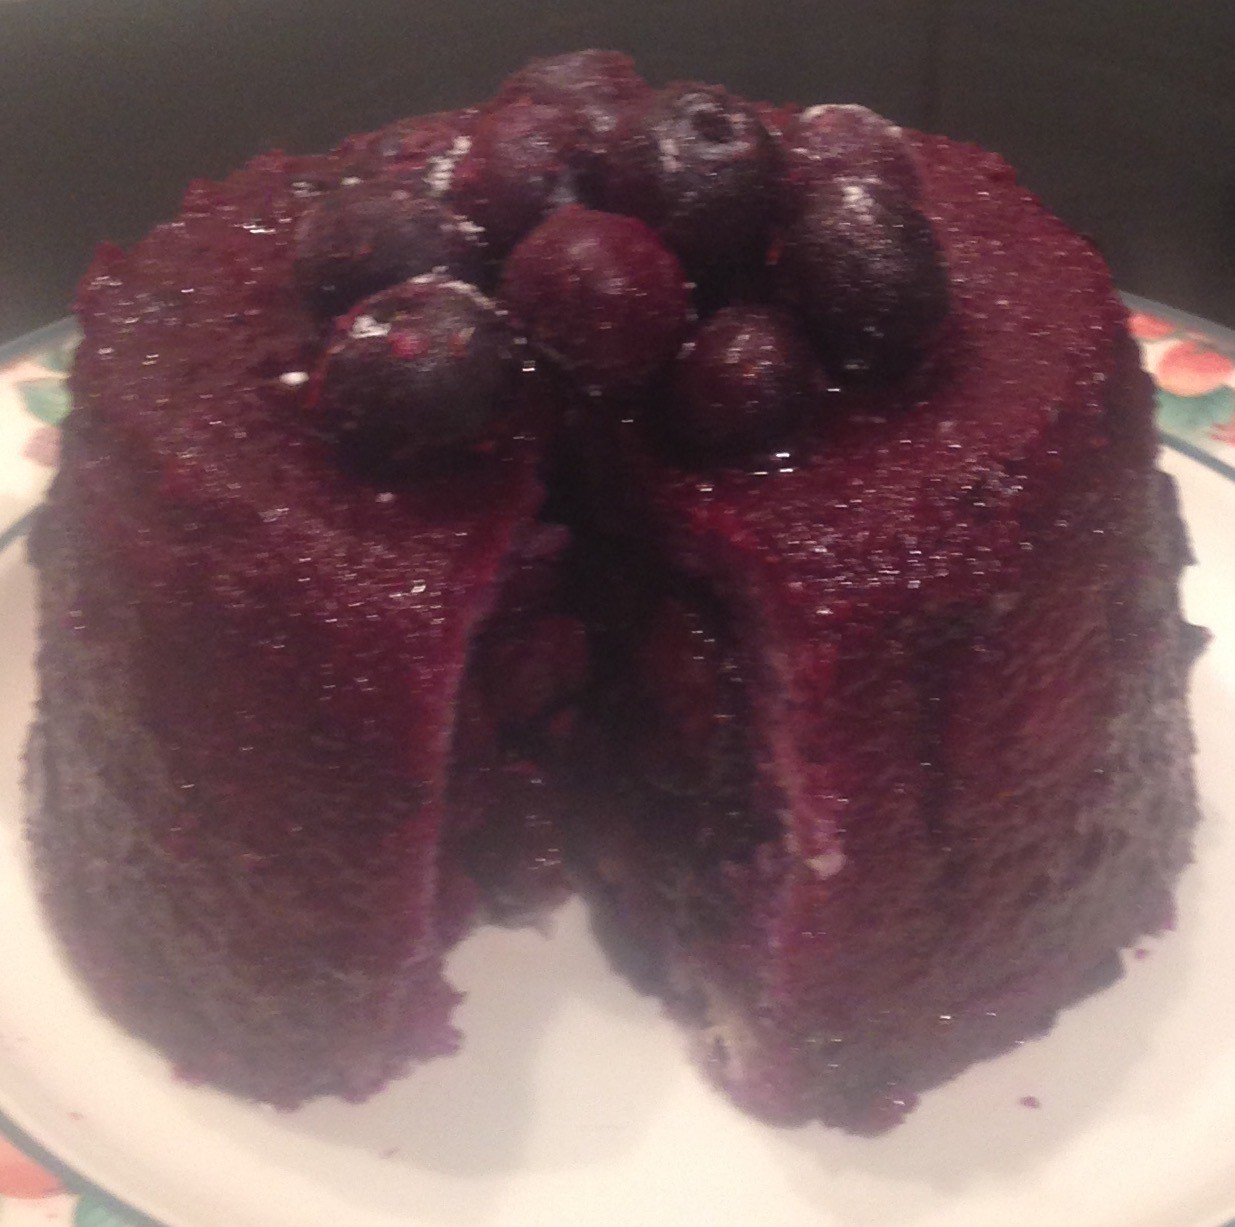
- Place the pie on a cooling tray to cool.
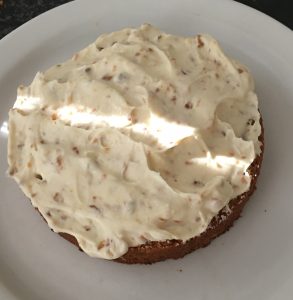
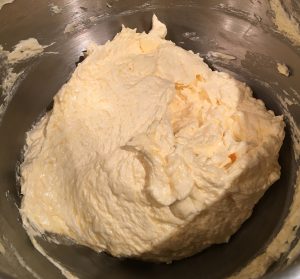
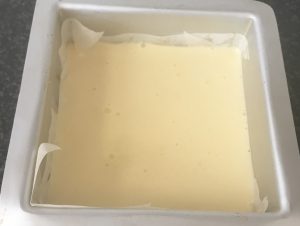
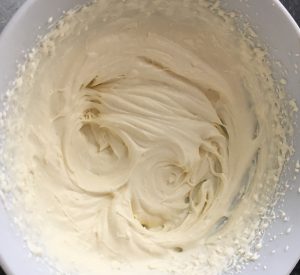
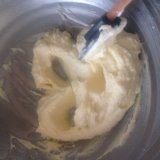
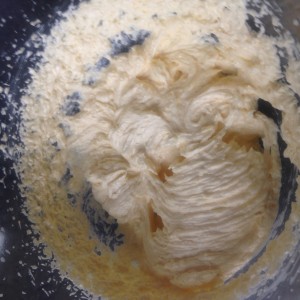
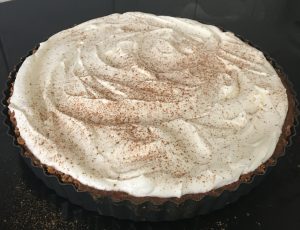
- Meanwhile make the topping by whipping the cream with electric beaters until soft peaks form.
- Add the remaining ingredients and beat on low until peaks form.
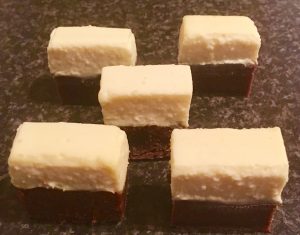
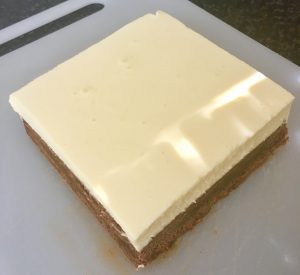
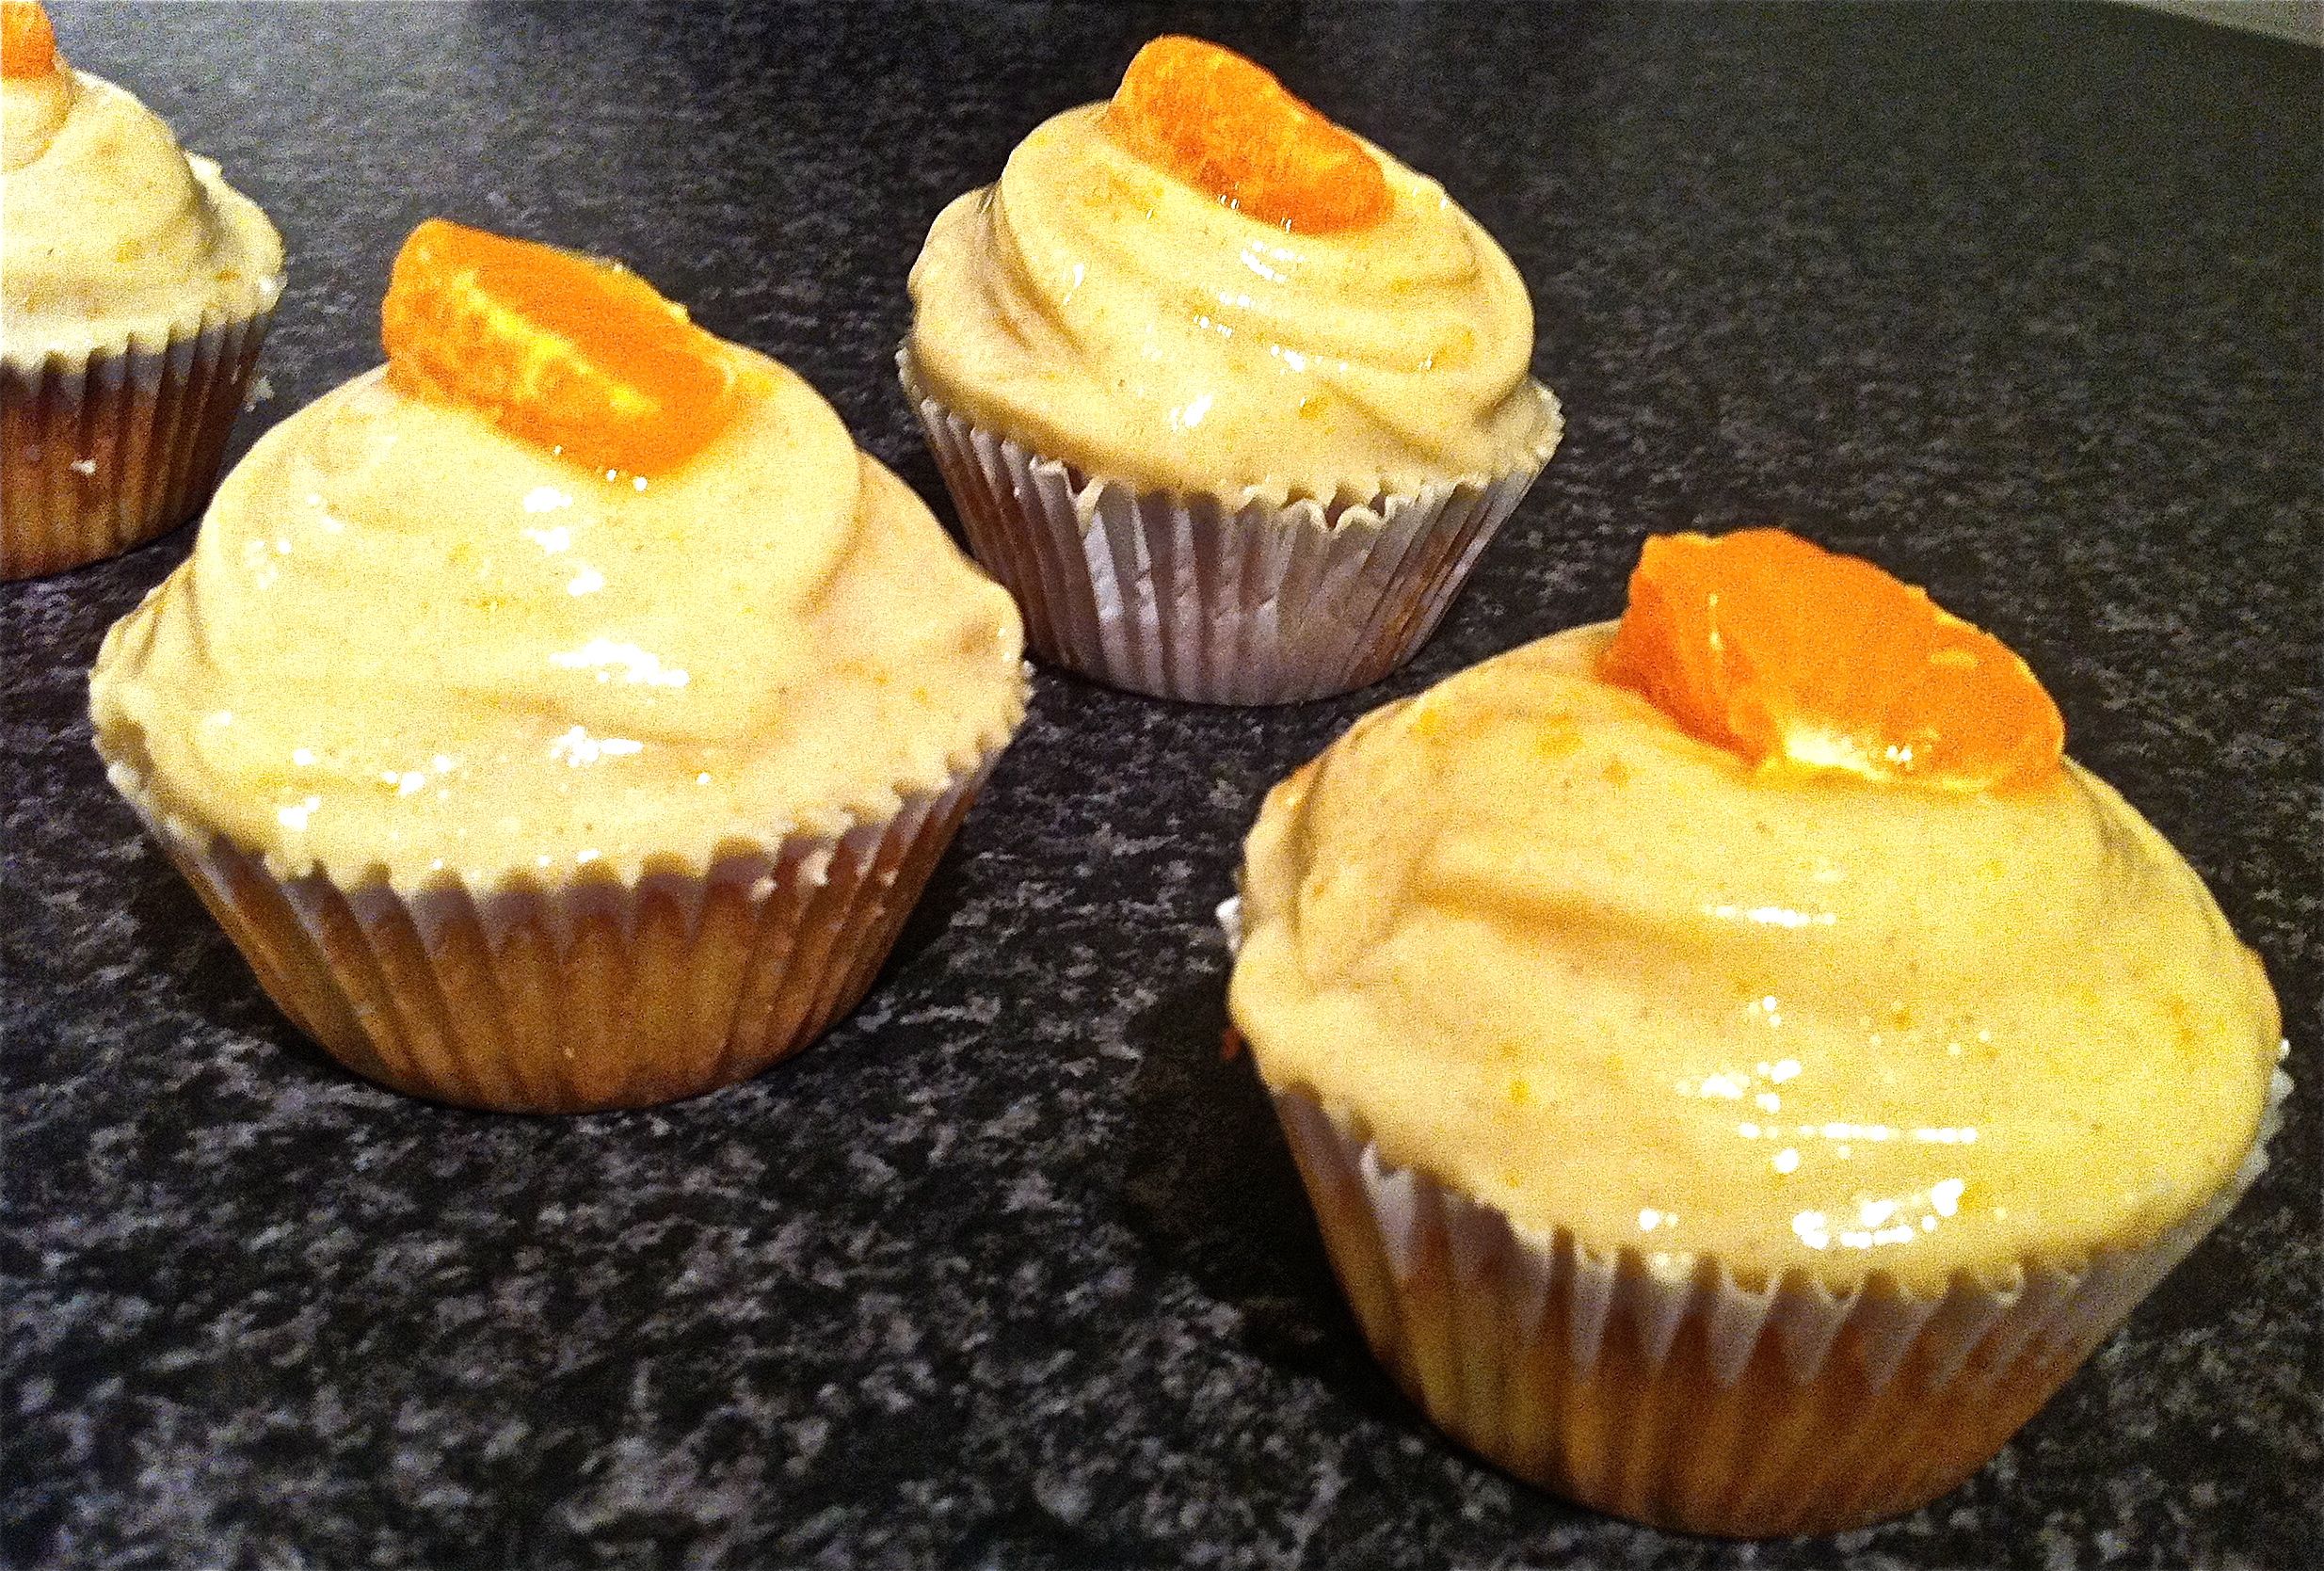
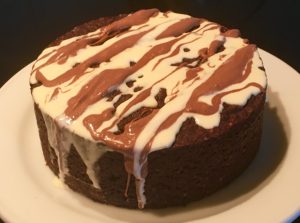
- Once the pie is cold top with the cream and leave in the fridge for 4 hours to fully set before serving.
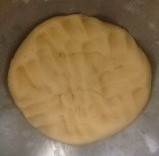
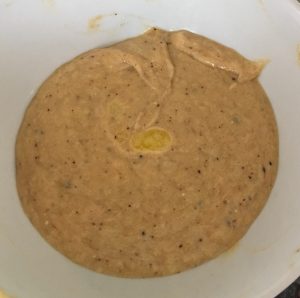
Step 3
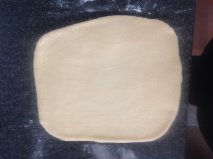
Step 4
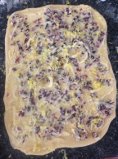
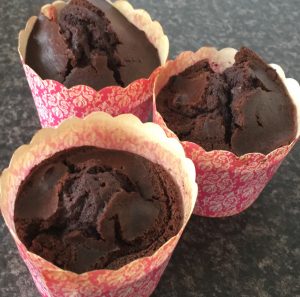
Step 6
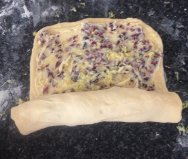
Step 7
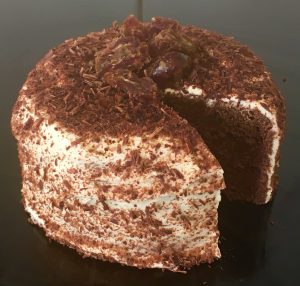
Step 8
Like this recipe? Subscribe via RSS or email to get my new entries and more
 Follow