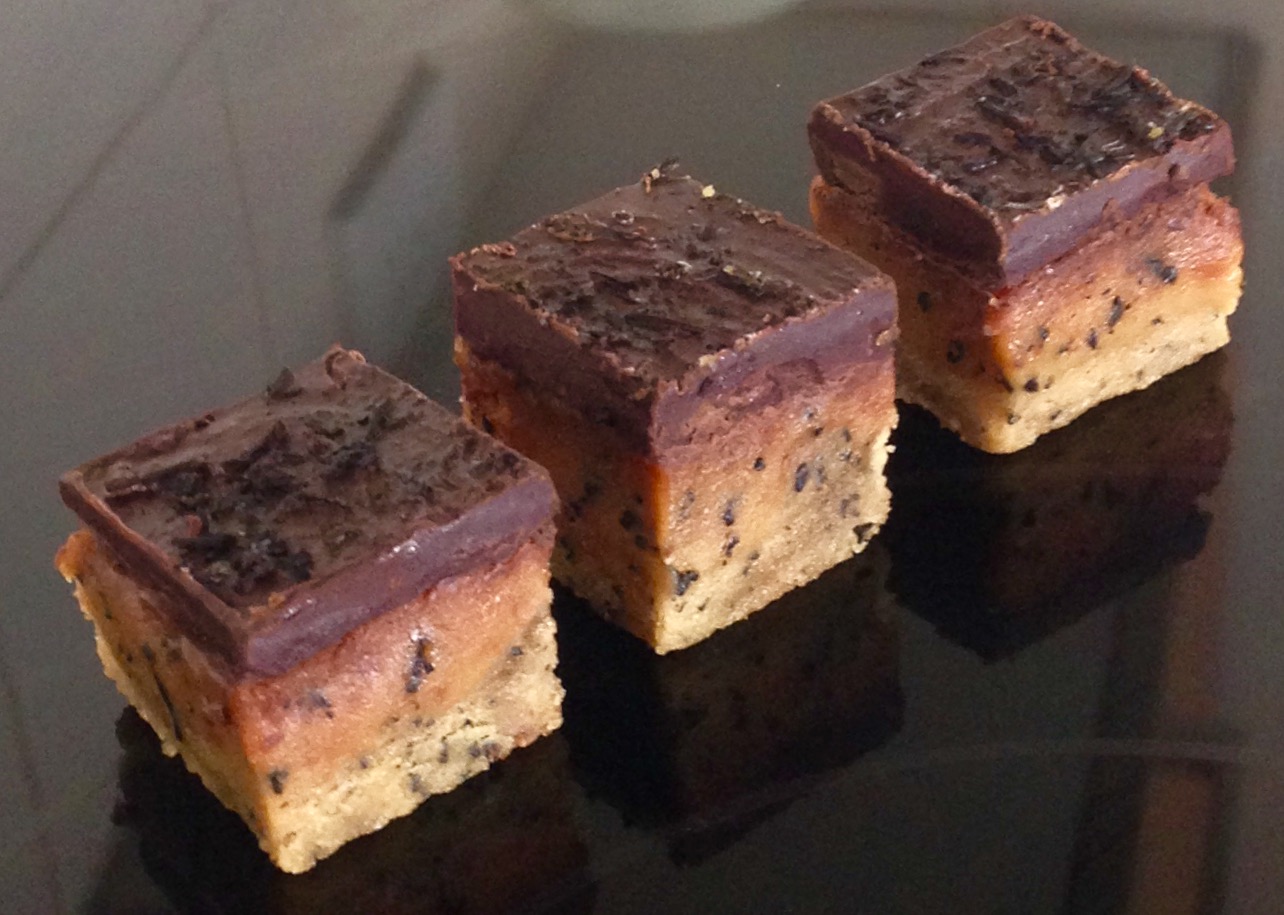
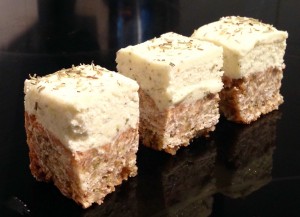
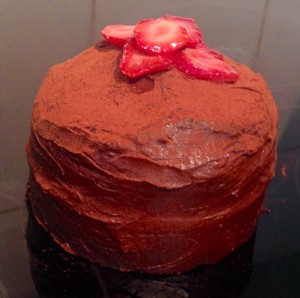
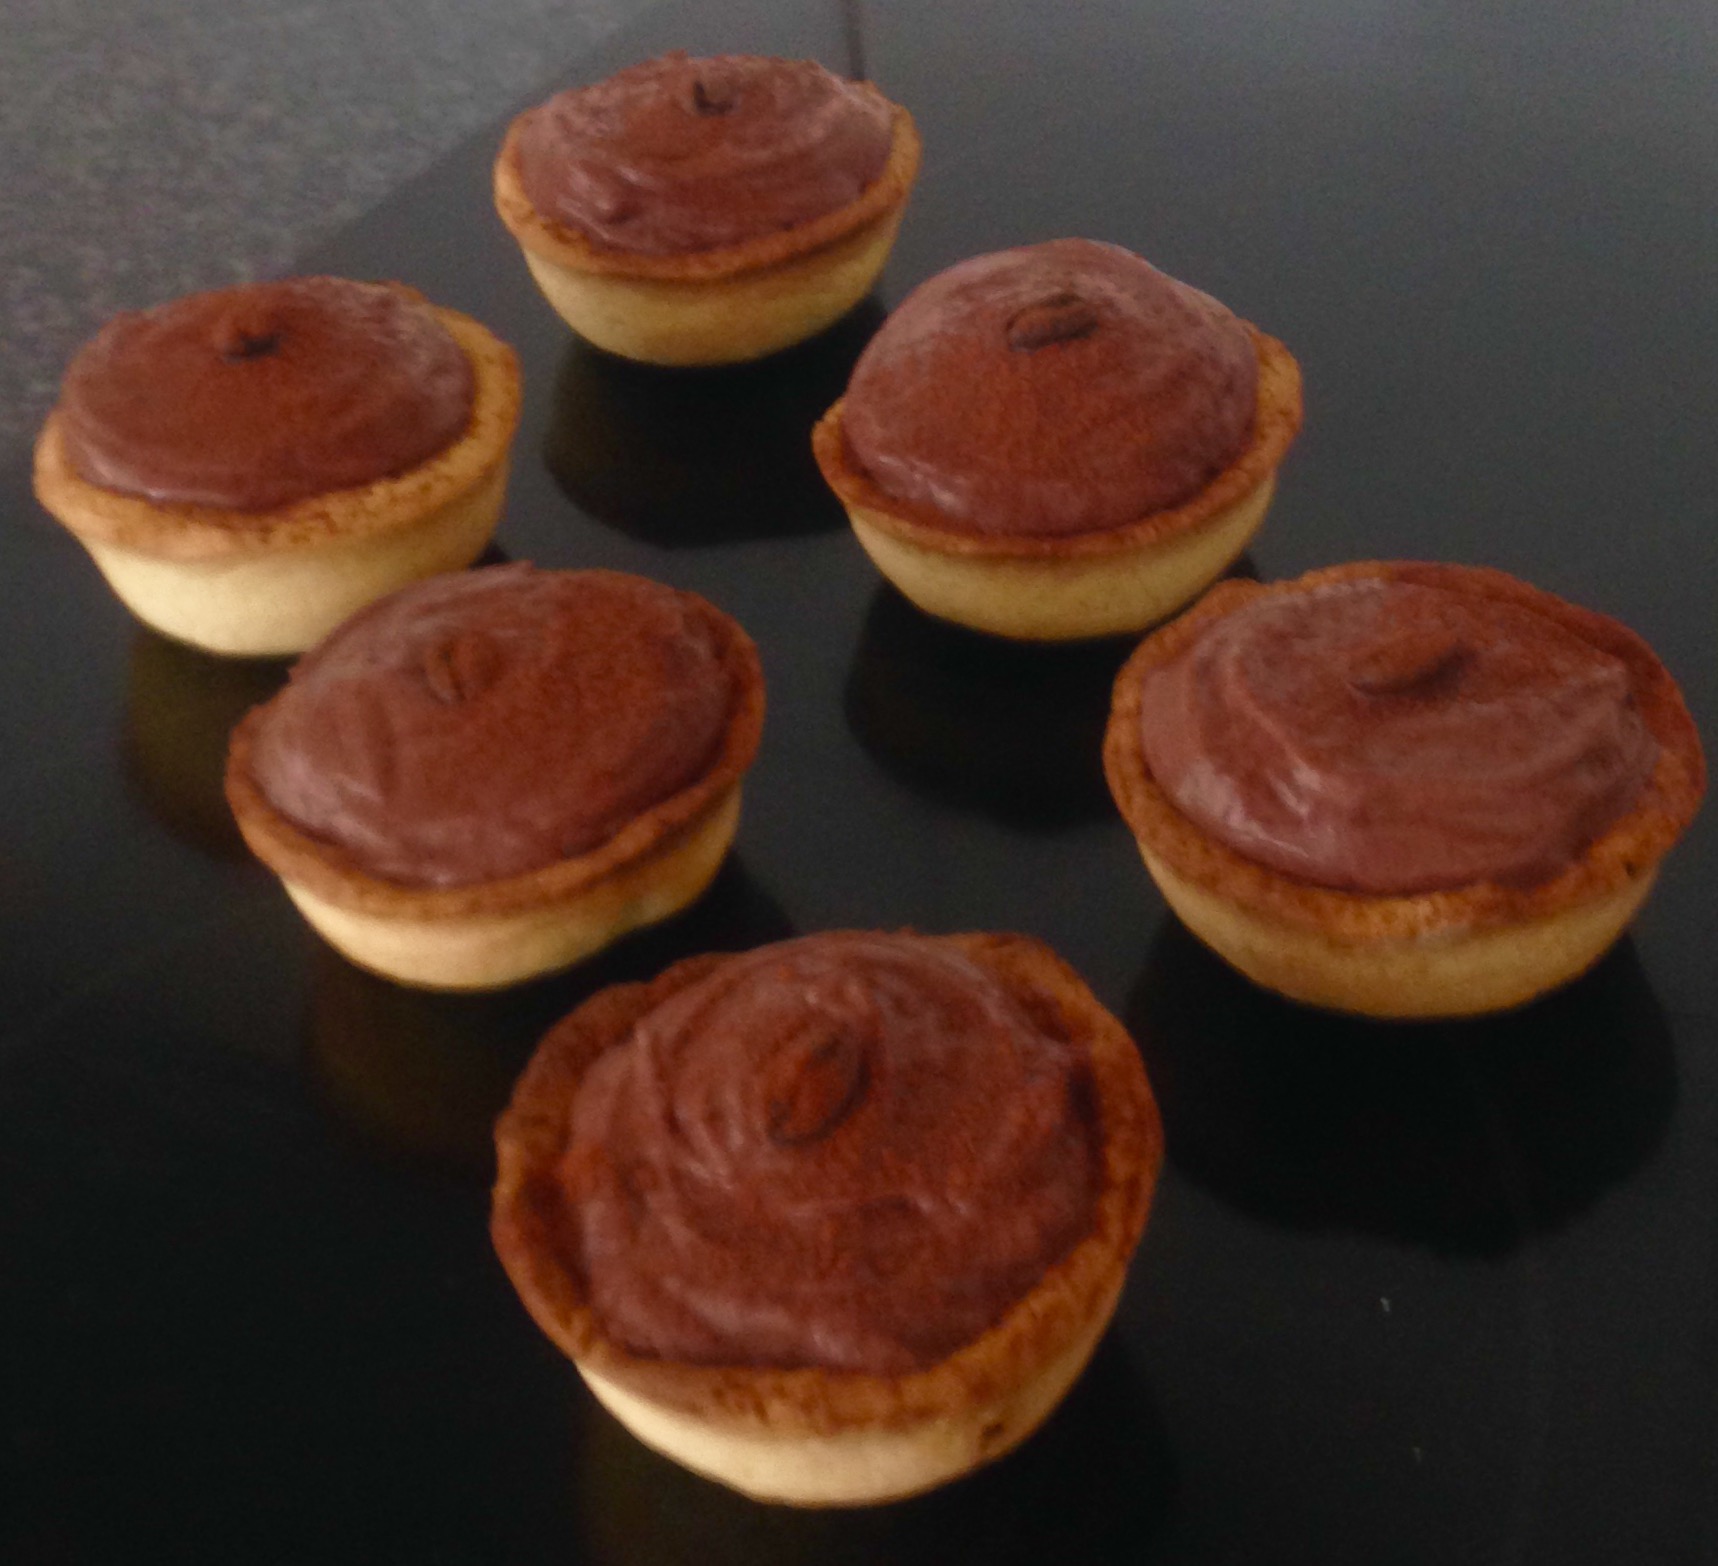
Cocoa Ricotta Mousse Tarts

- I have made many versions of chocolate mousse with interesting ingredients, from silken Tofu to Avocado (check out my Healthy Chocolate Mousse Tart and Avocado Chocolate and Orange Mousse Tart recipes) and made unusual icings from Ricotta to Yoghurt (check out my Rubarb Strawberry Yoghurt cake with Lemon Yoghurt Frosting).
Thus from this experience I do know there is always an alternative to fattening cream that can have nutrient and vitamin benefits instead.
Since I was going down the pathway of experimenting with another alternative version of mousse I decided to also use an alternative to chocolate to lower the sugar content.
Standard chocolate mousse is filled with full fat whipped cream, sugar and lots of chocolate. My aim was to use low fat ricotta instead of cream, cocoa with a little sugar and honey to mimic the chocolate effect and add a little Kahlua kick to intensify the chocolate flavor.
I also wanted to make this super easy (all you need to do it place all ingredients in a blender). This recipe is pretty much fool proof, instantly thick and super tasty.
Ingredients:
Pastry:
- 200g flour
- 100g butter
- 40g sugar
Filling:
- 400g ricotta
- 2 eggs
- 55g honey
- 55g icing sugar
- 40g cocoa powder
- 3 tsn Kahlua
Method:
- Pre-heat the oven to 200c degrees and spray a 12 x 7cm capacity cupcake tray with oil spray.
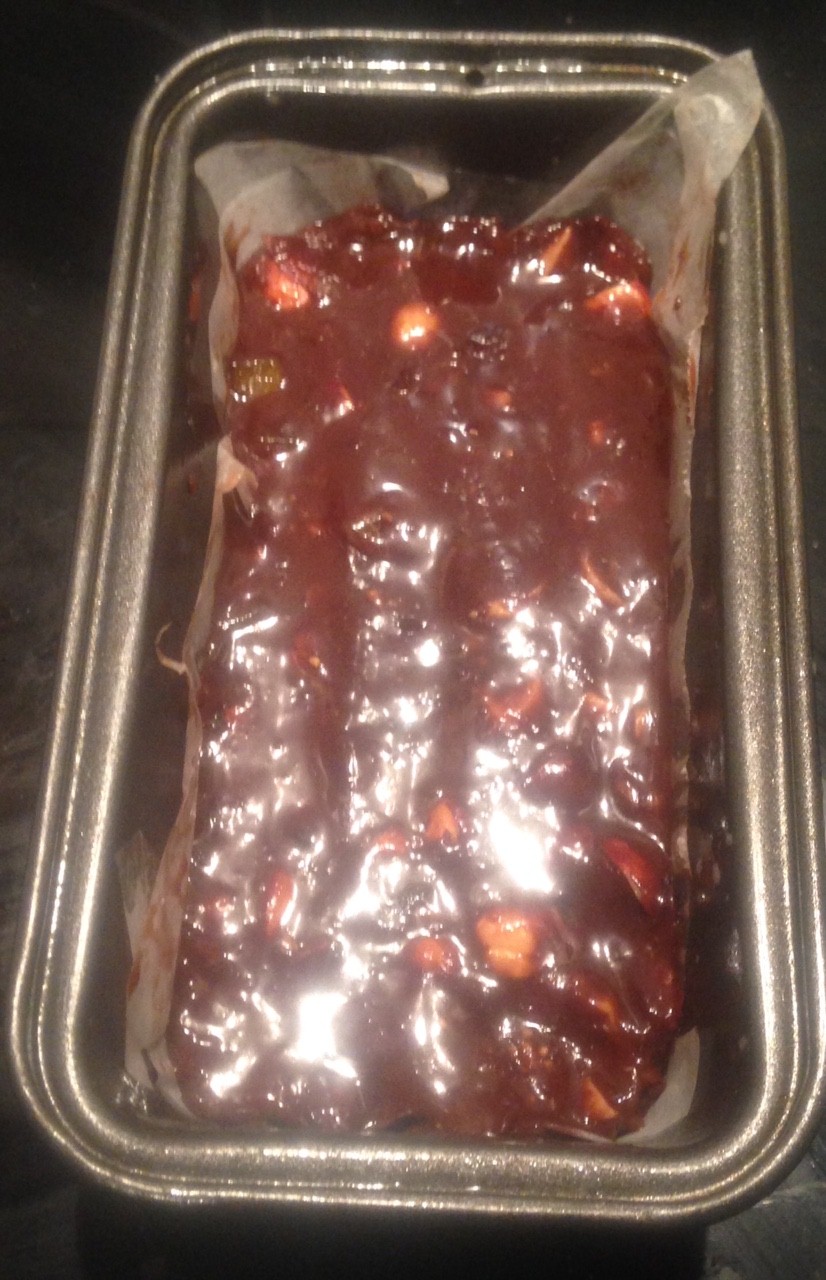
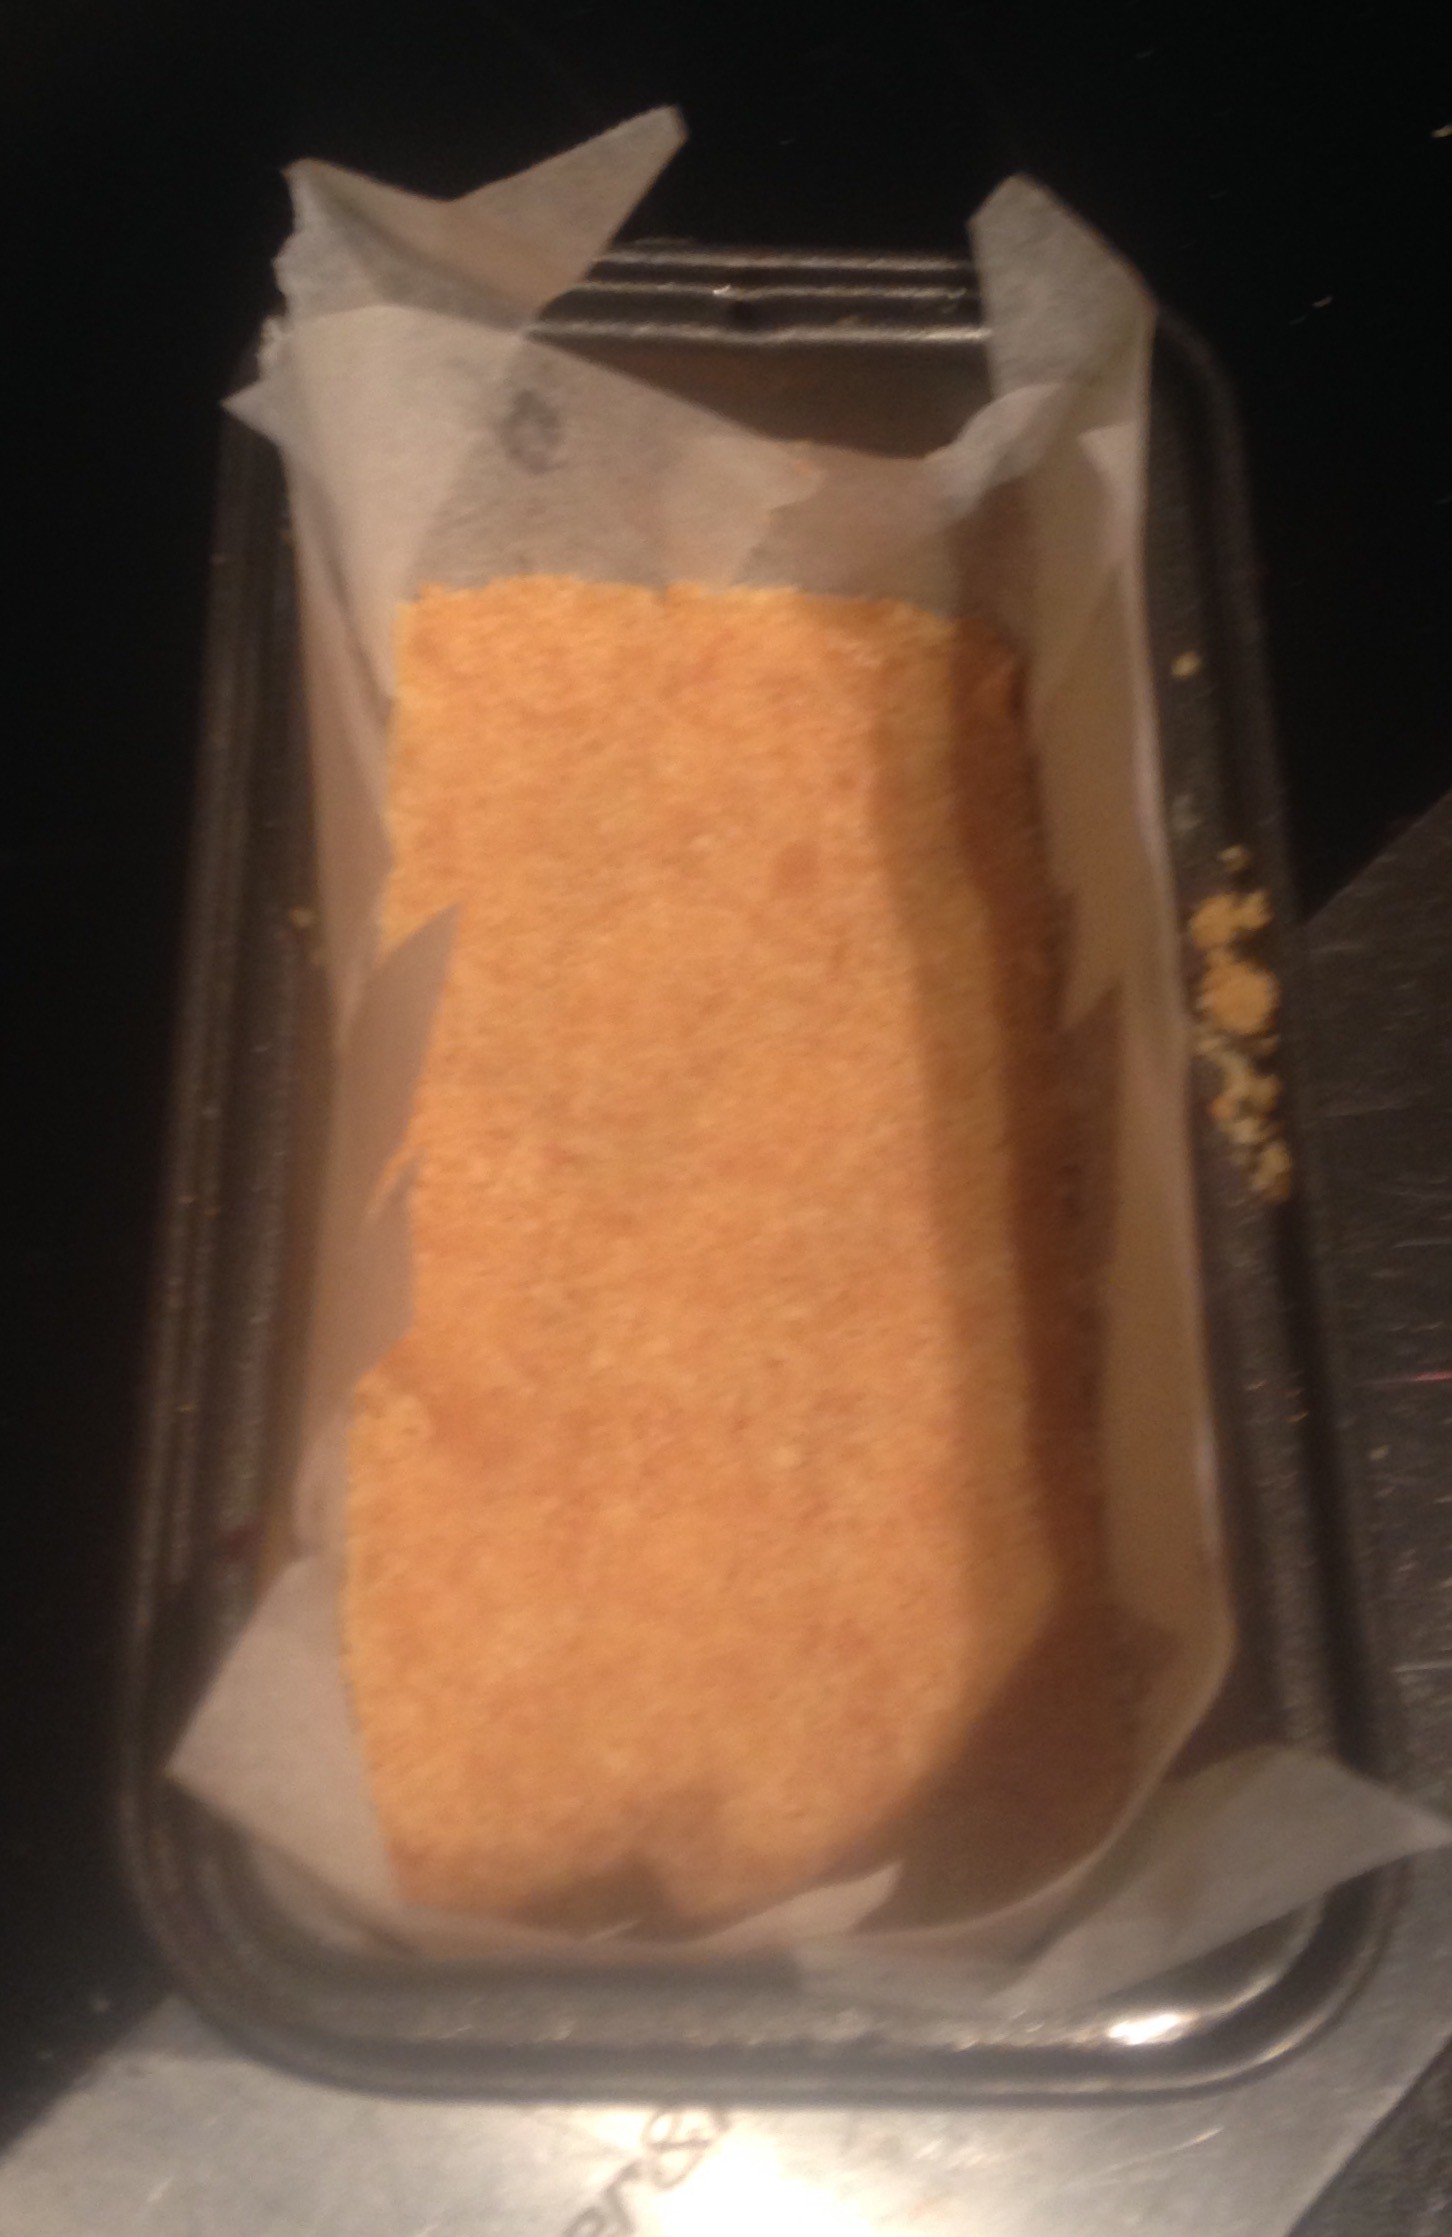
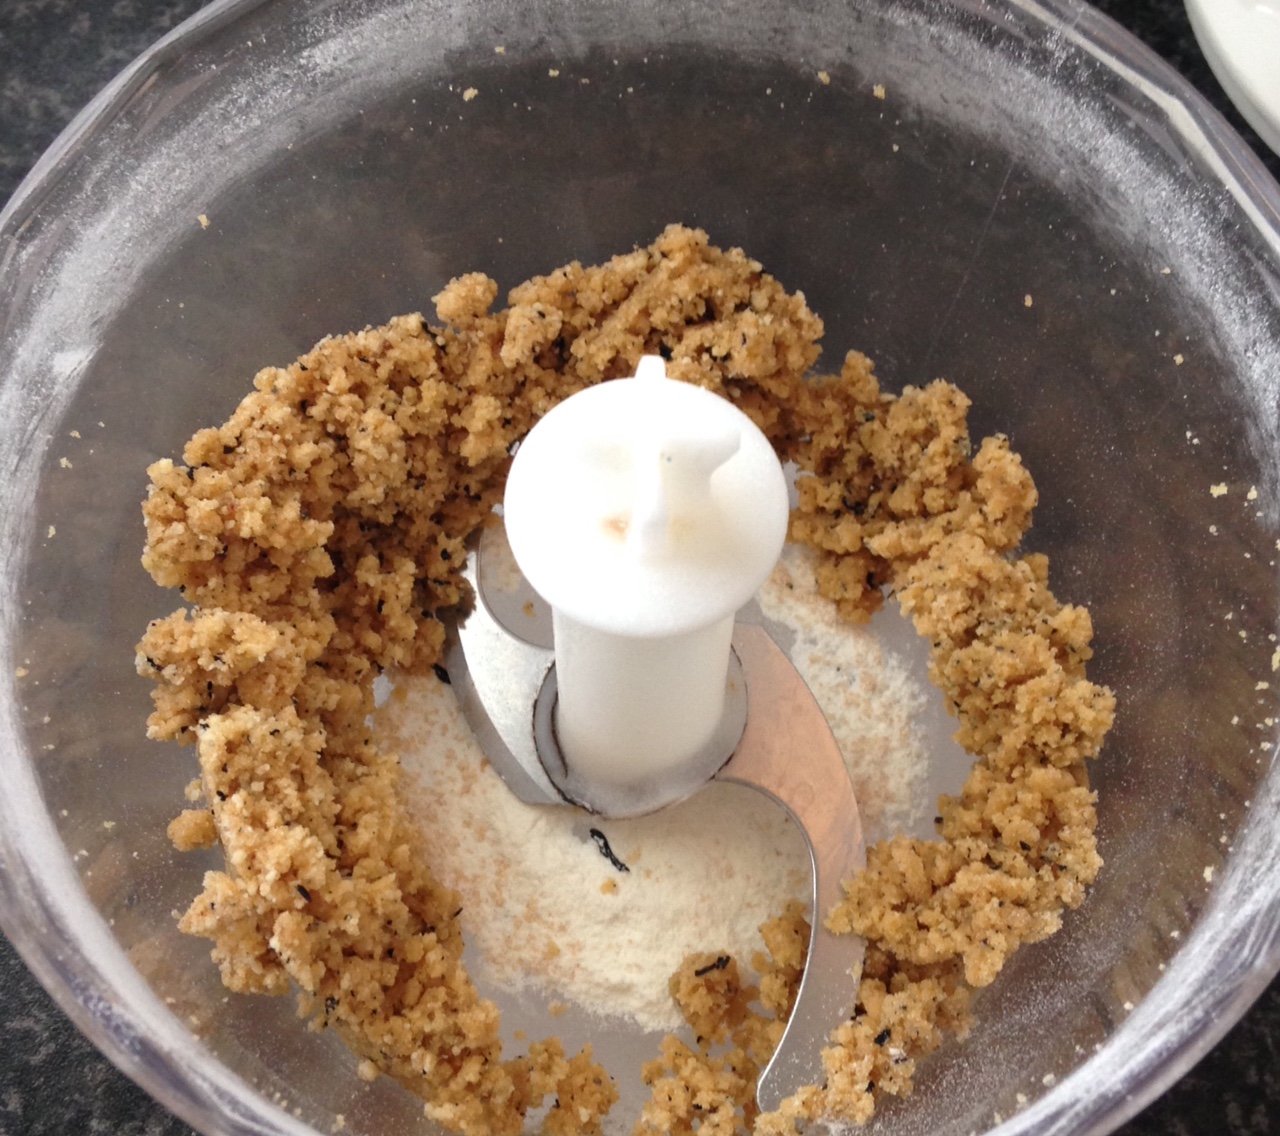
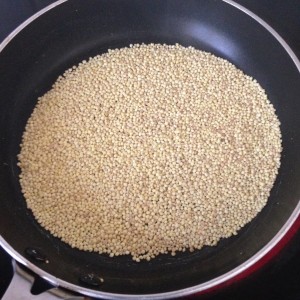
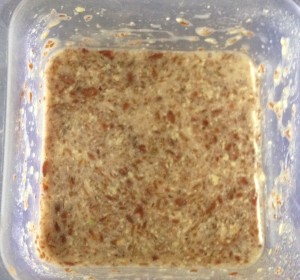
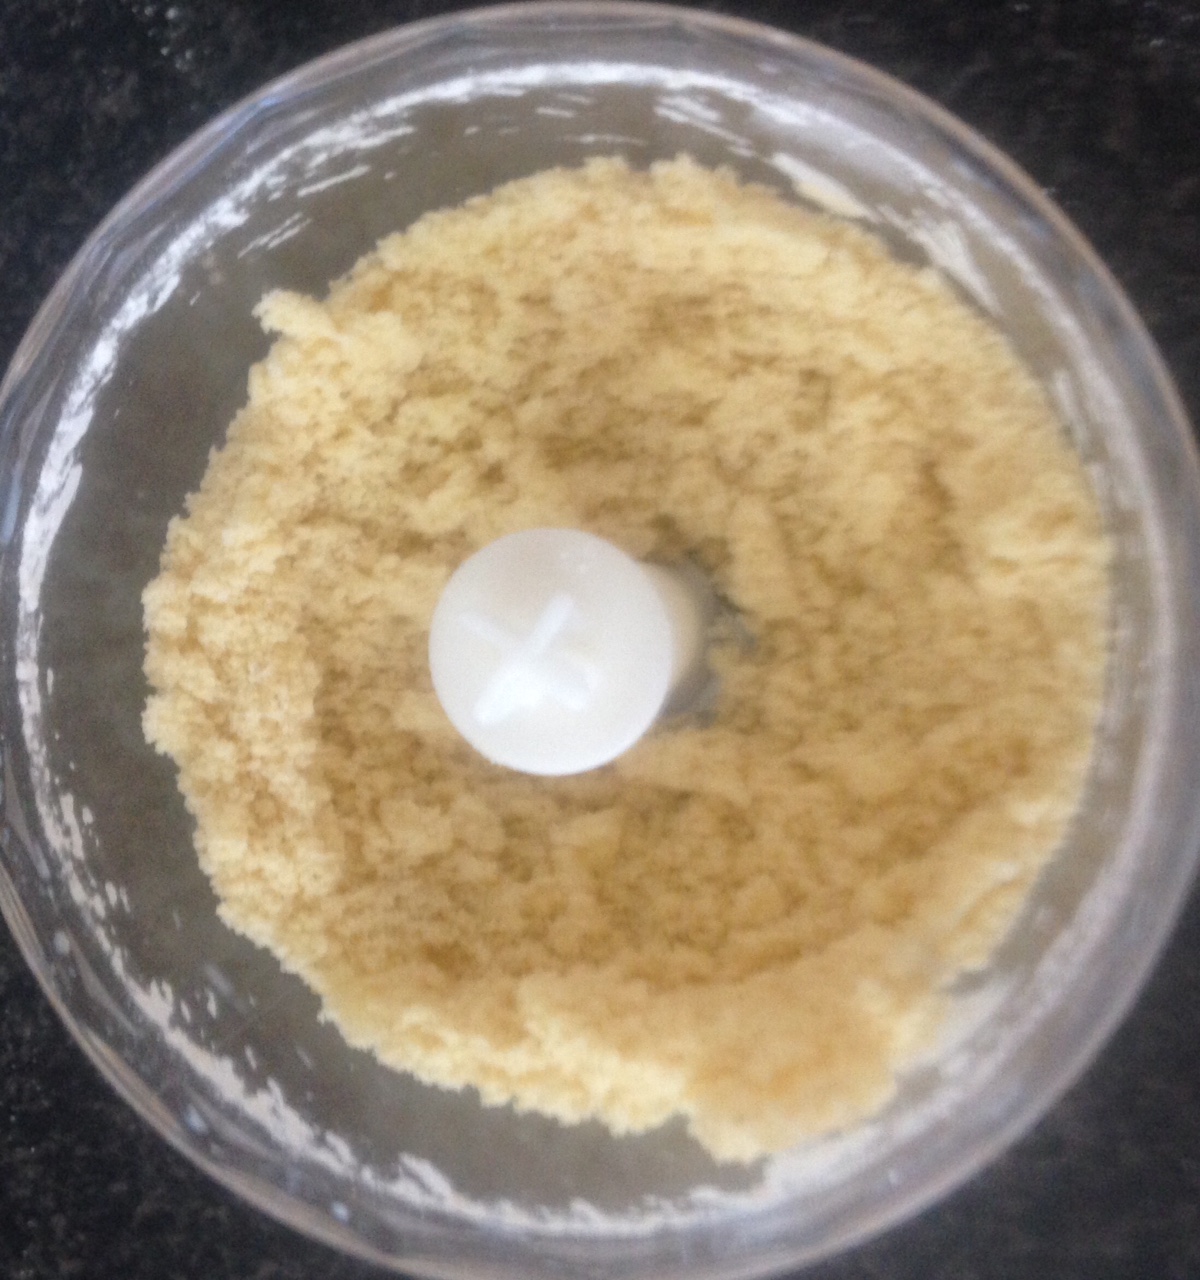
- Place all the pastry ingredients into a food processor and blitz until the mix resembles breadcrumbs.
- Add 25ml of water and blitz until the dough comes away from the side of the bowl.
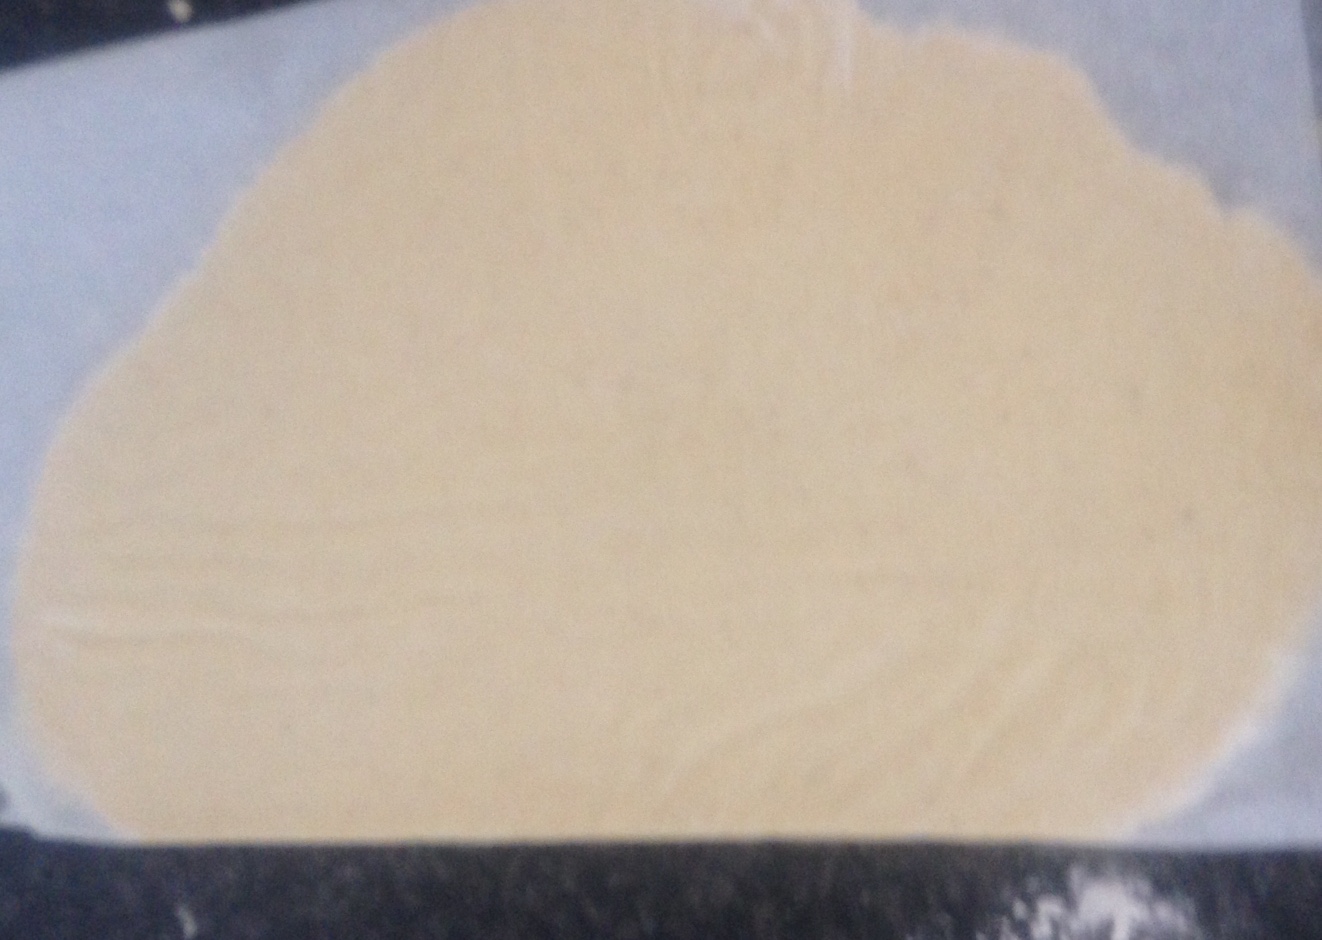
- Knead dough for a minute and roll out between 2 pieces of baking paper.
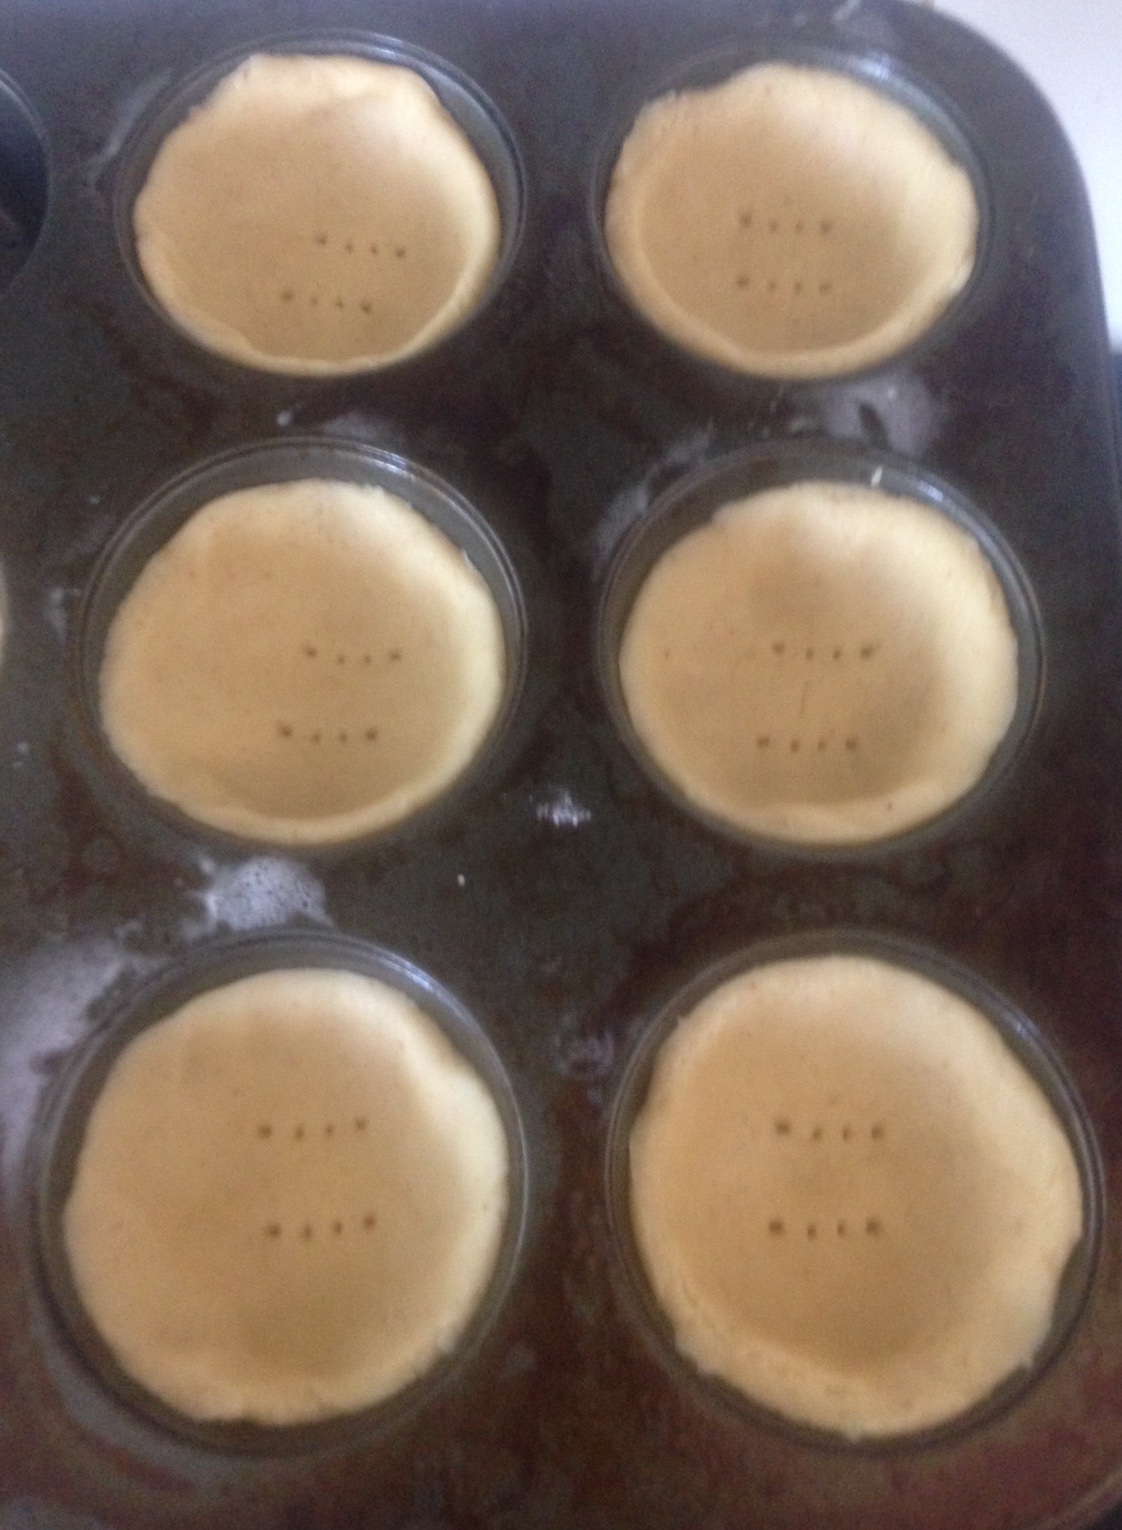
- Use a 9cm cookie cutter to cut out 12 pastry circles and place in the center of each mold.
- Using a fork prick the middle of the pastry and place the shells in the fridge for 30 minutes.
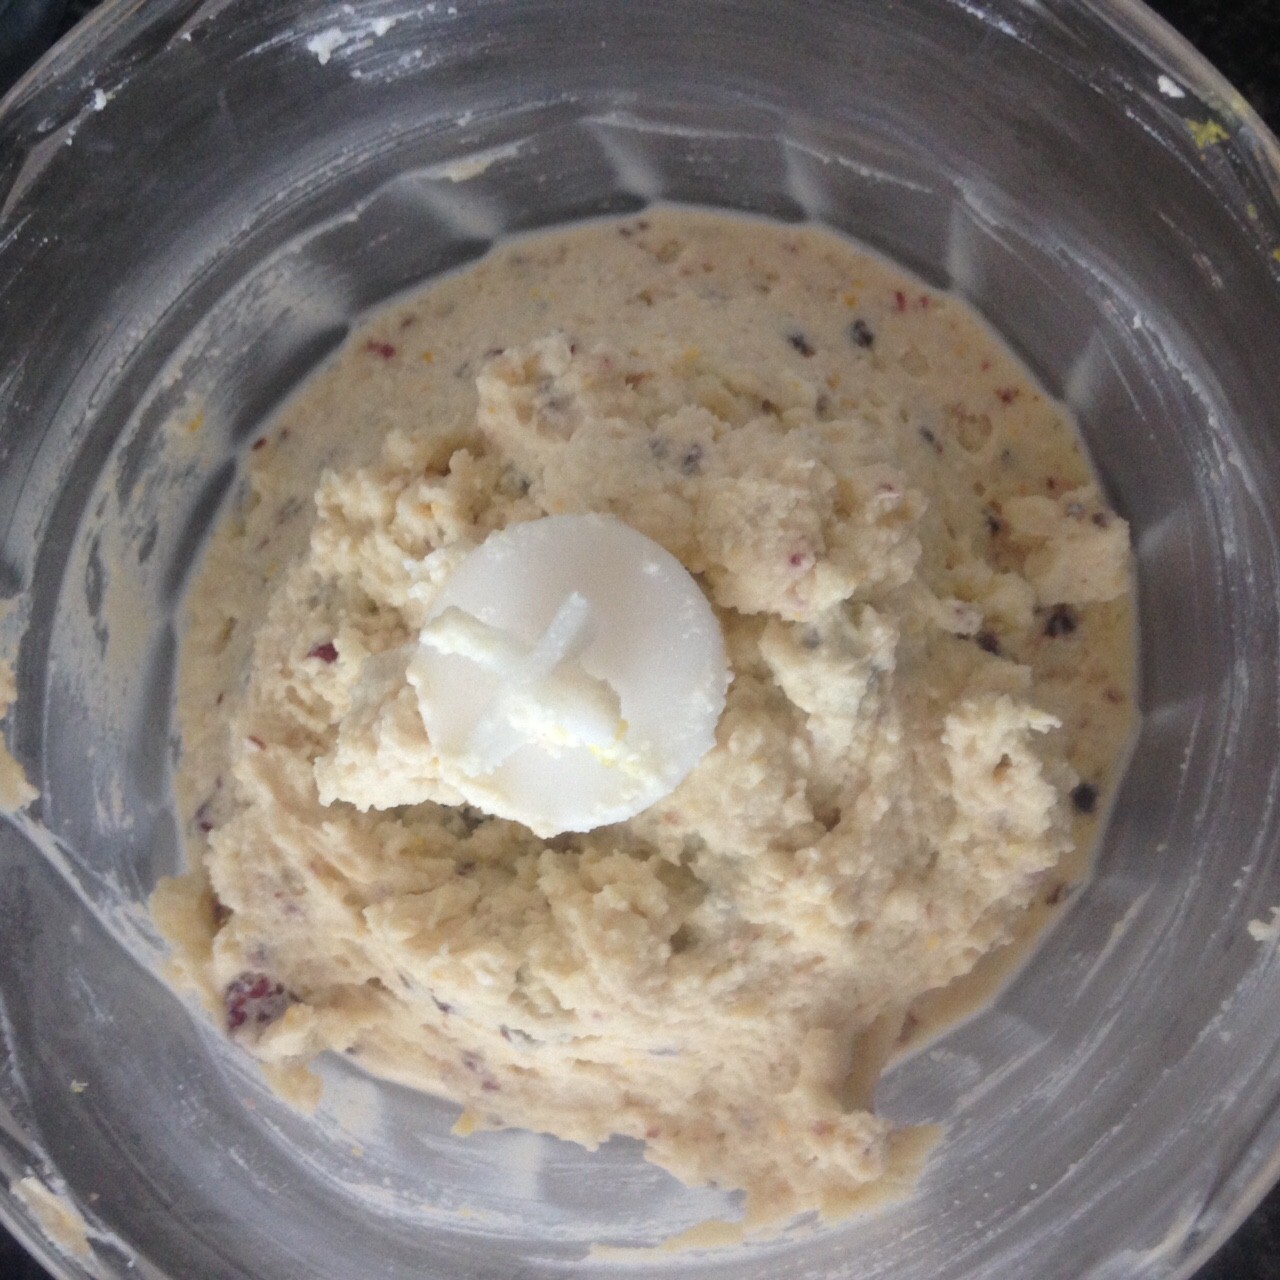
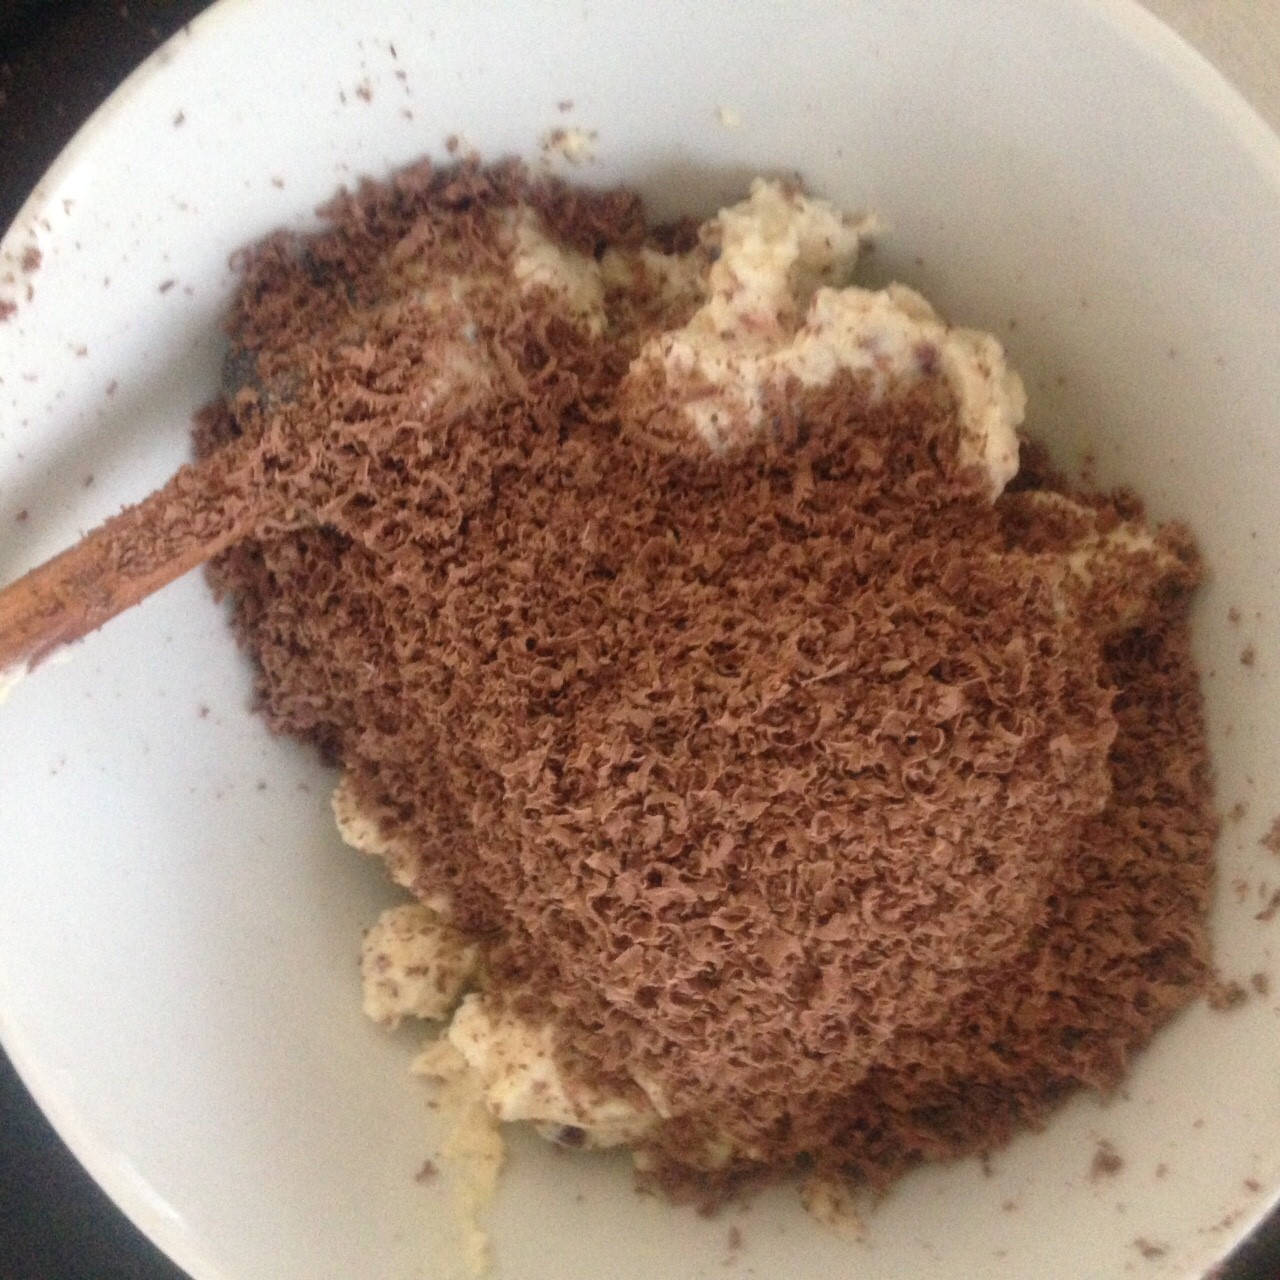
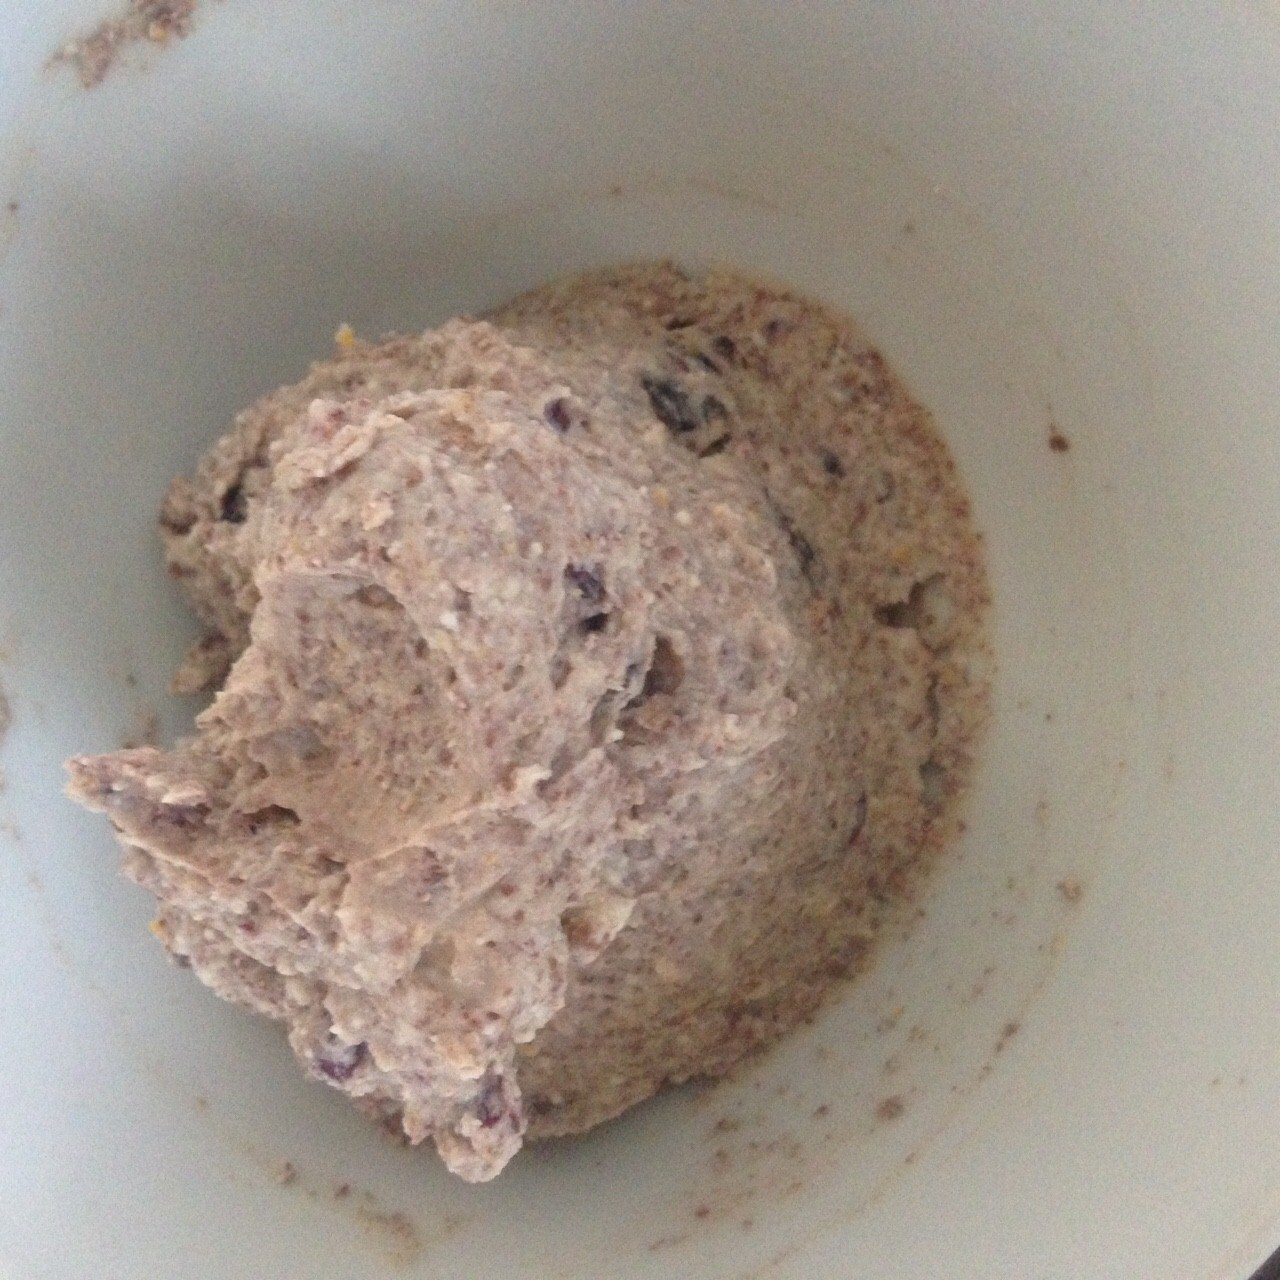
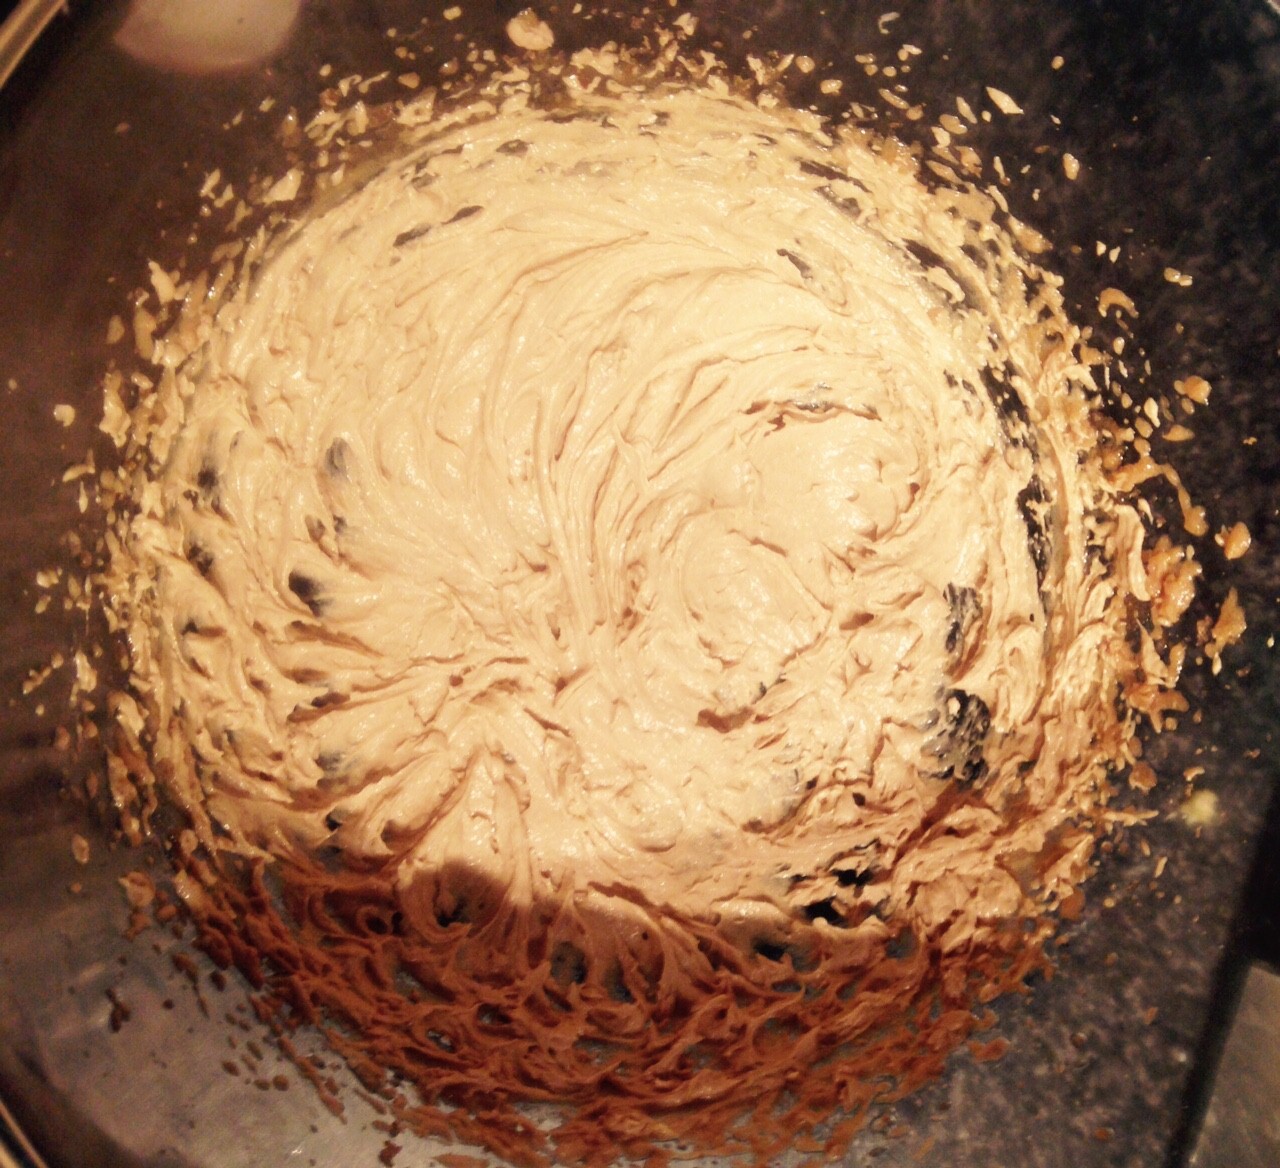
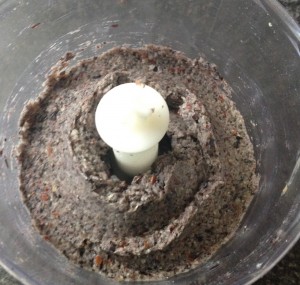
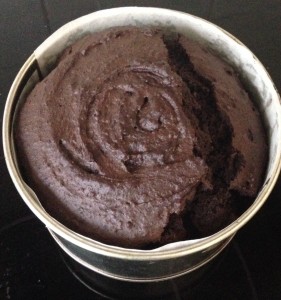
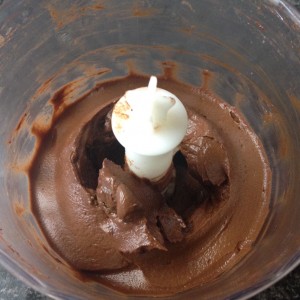
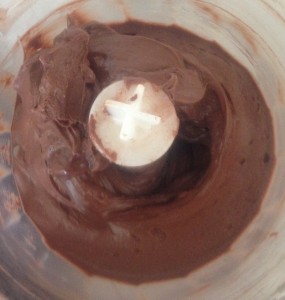
- Meanwhile place the ricotta, egg yolk, honey, sugar, cocoa powder and Kahlua into the food processor and blitz until soft and smooth.
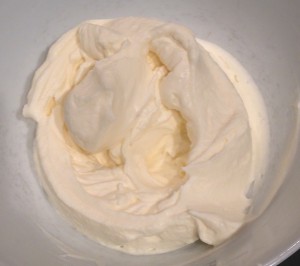
- Place the egg whites into a bowl and using electric beaters whisk until peaks form.
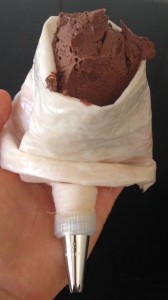
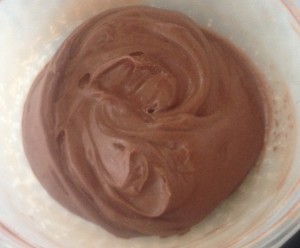
- Fold the chocolate mix into the egg whites and leave in the fridge for later.
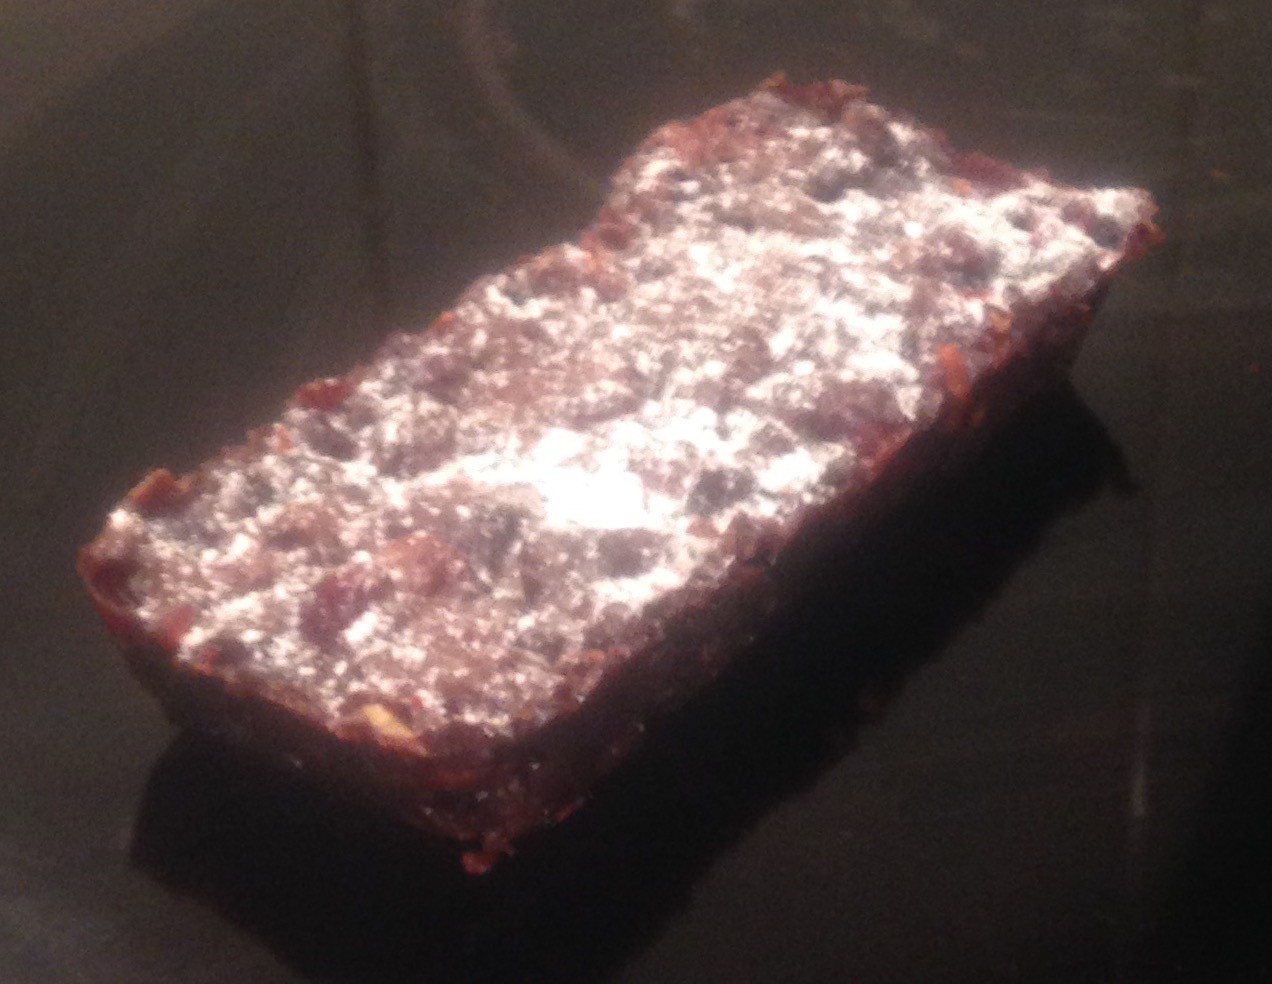
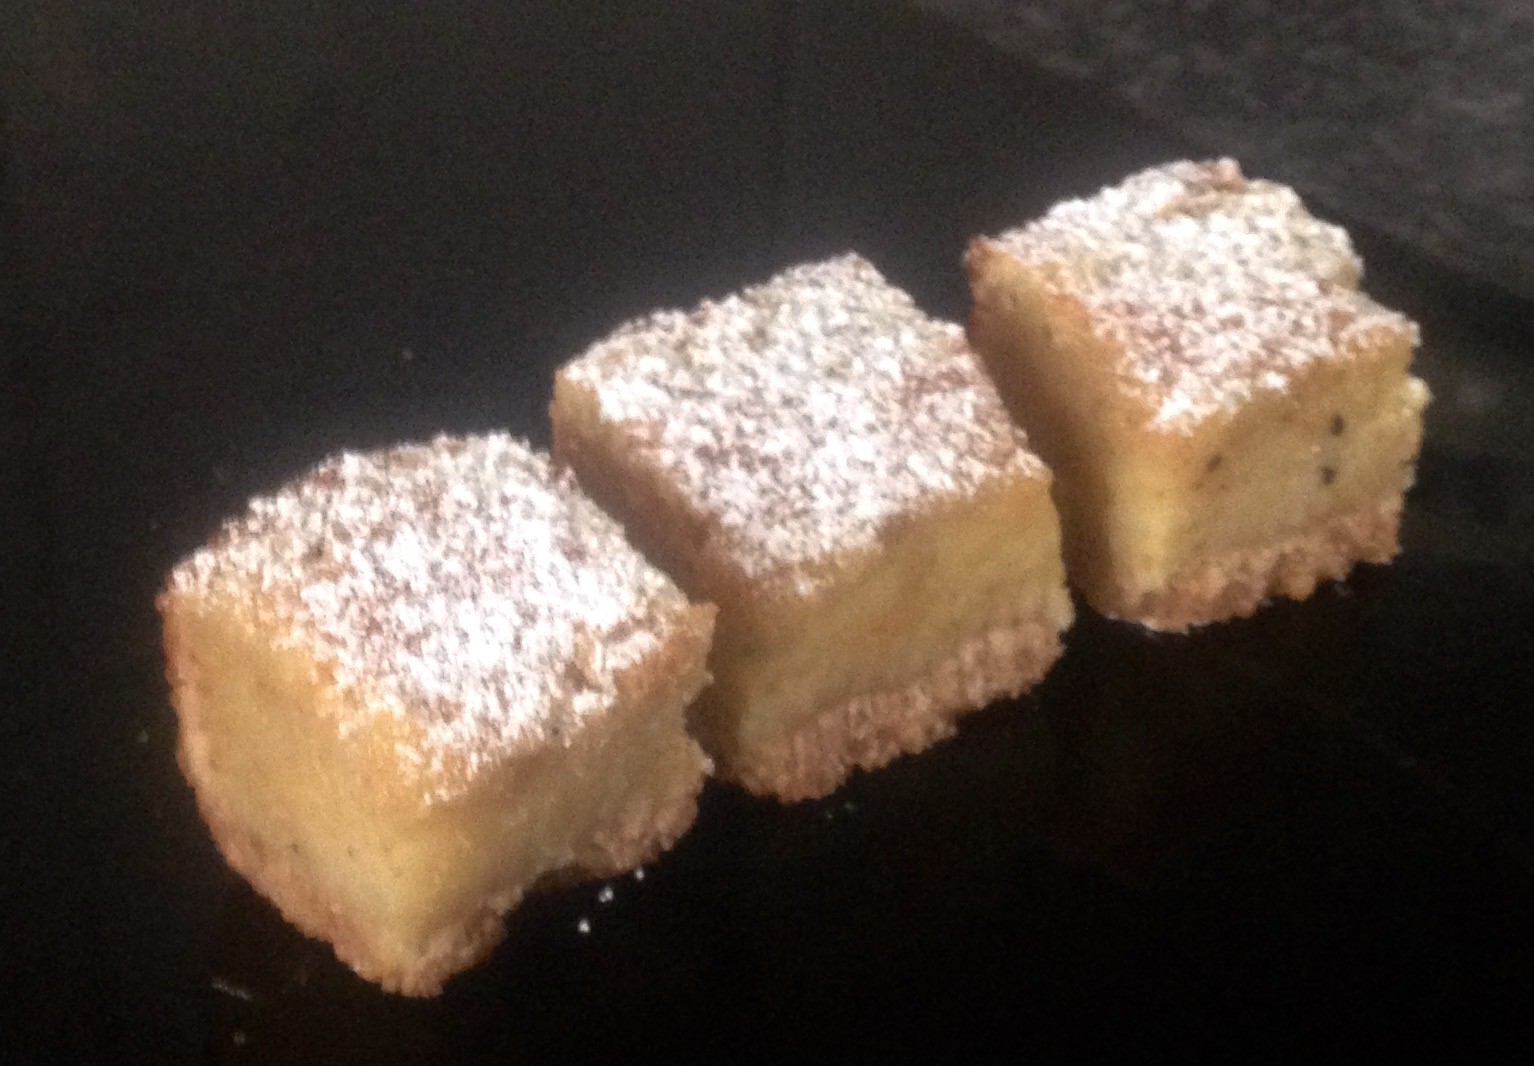
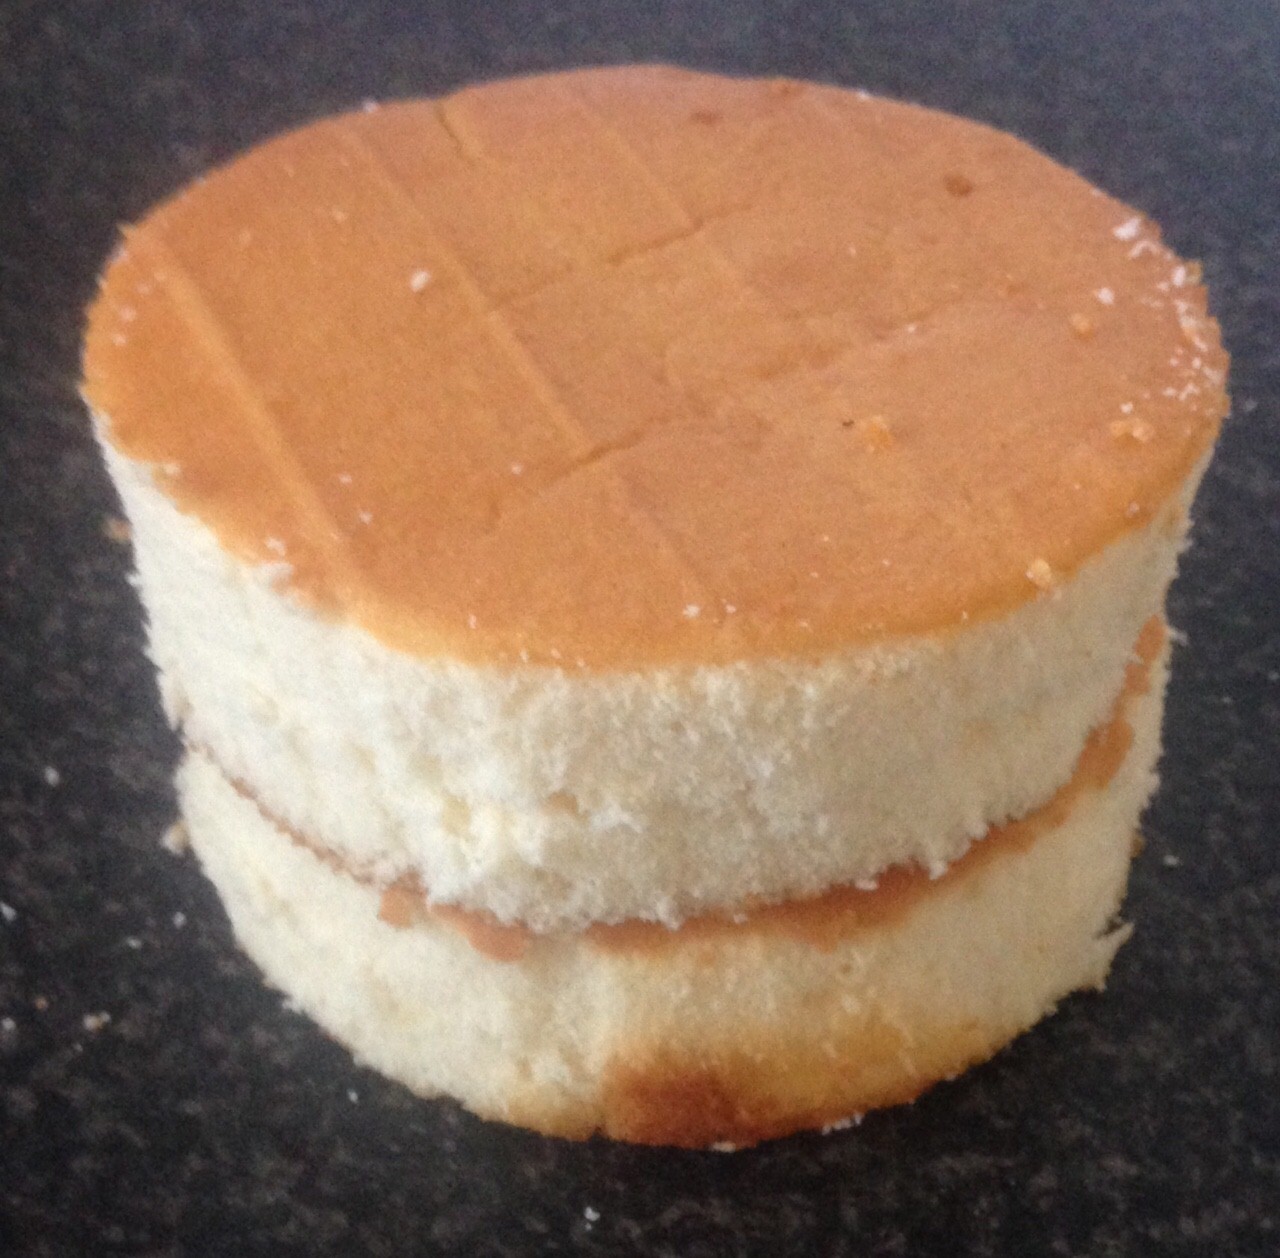
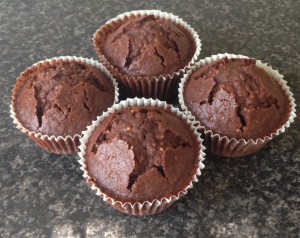
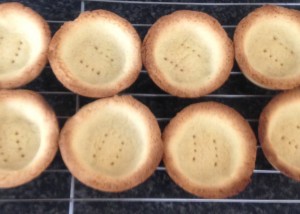
- Place the pastry shells into the oven for 18 minutes or until the shells start to brown slightly.
- Set the shells aside to cool completely.
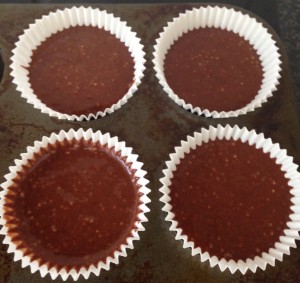
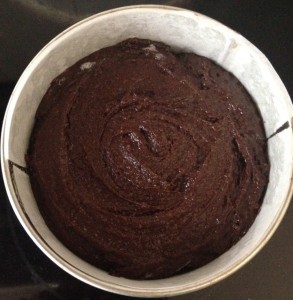
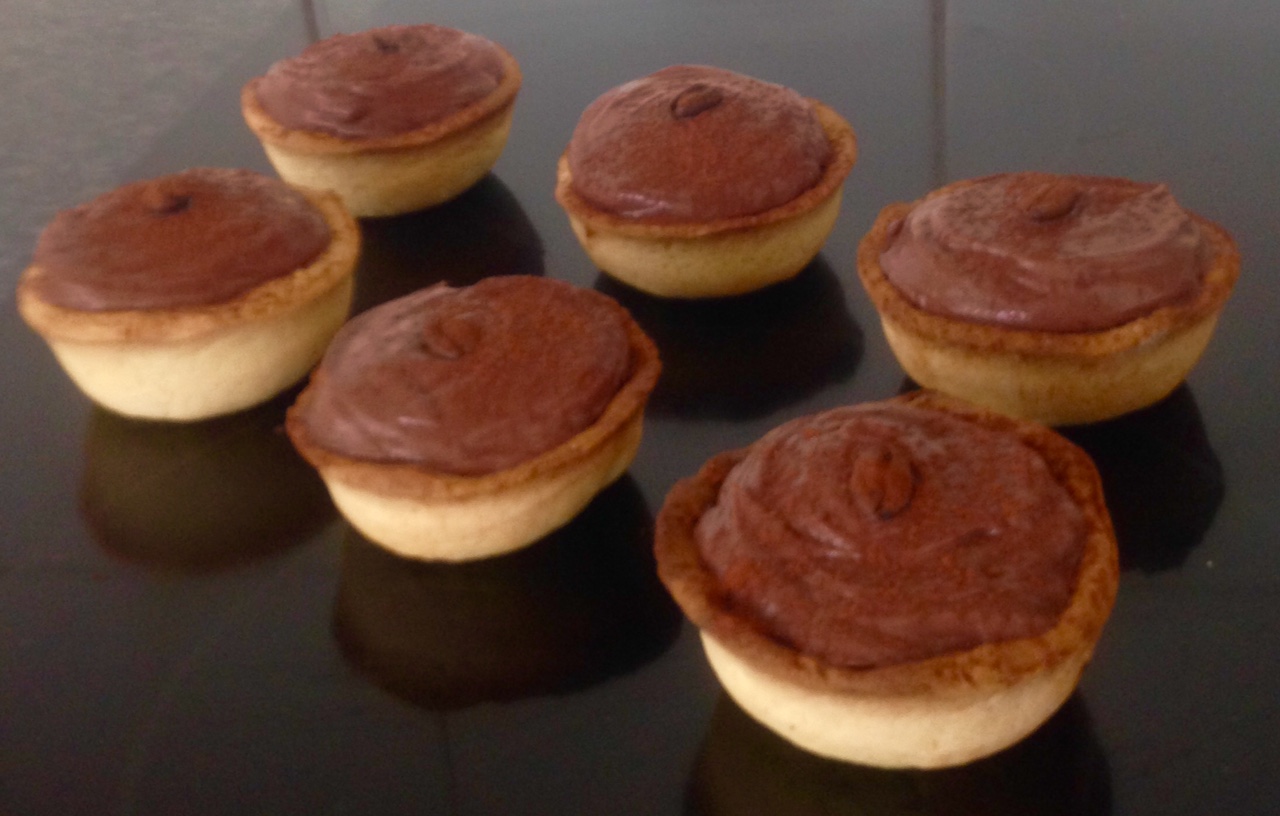
- Spoon the chocolate mix into the shells and enjoy.
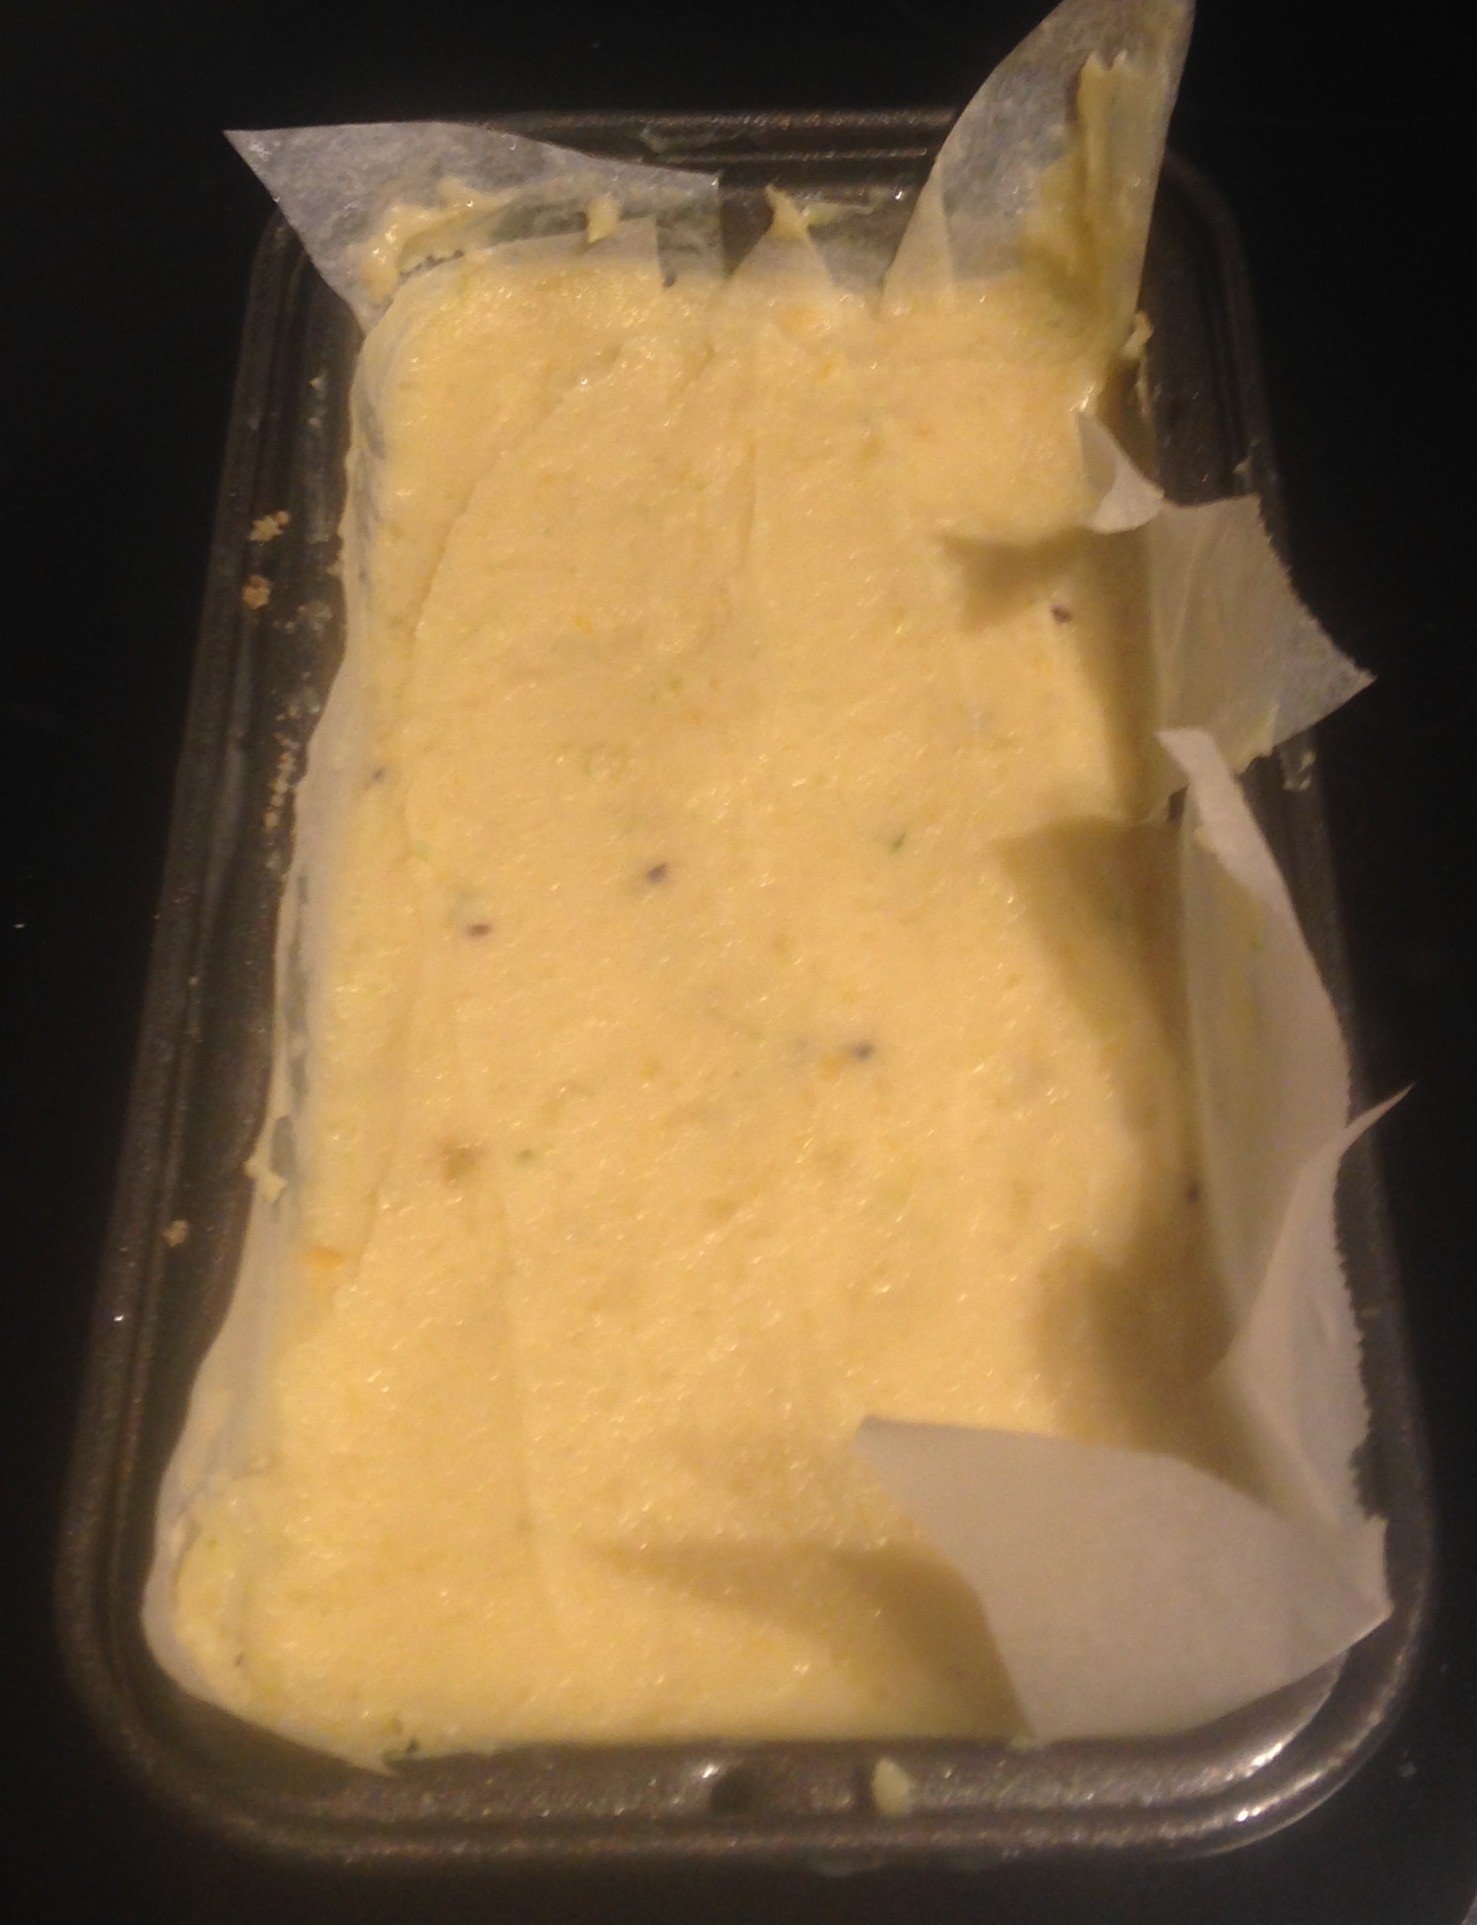
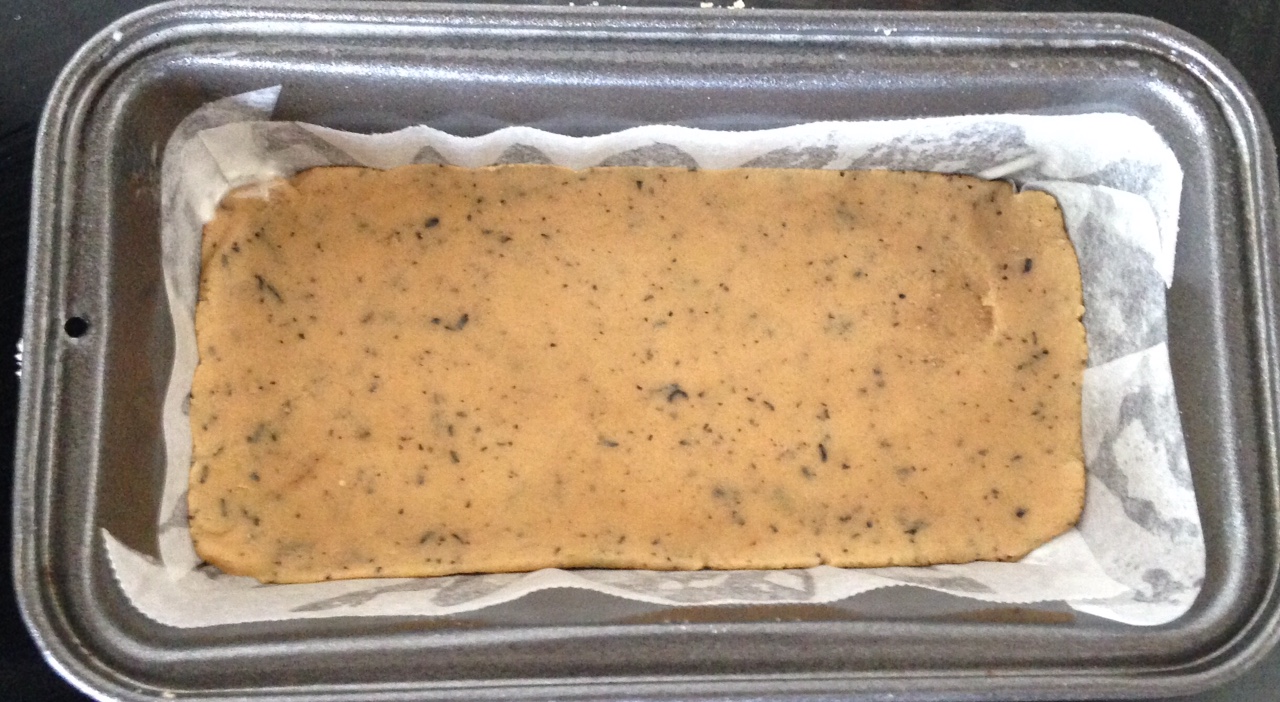
Step 2

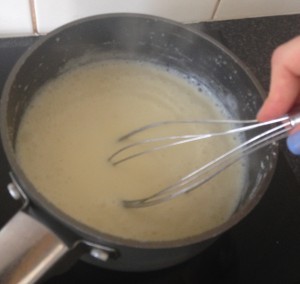
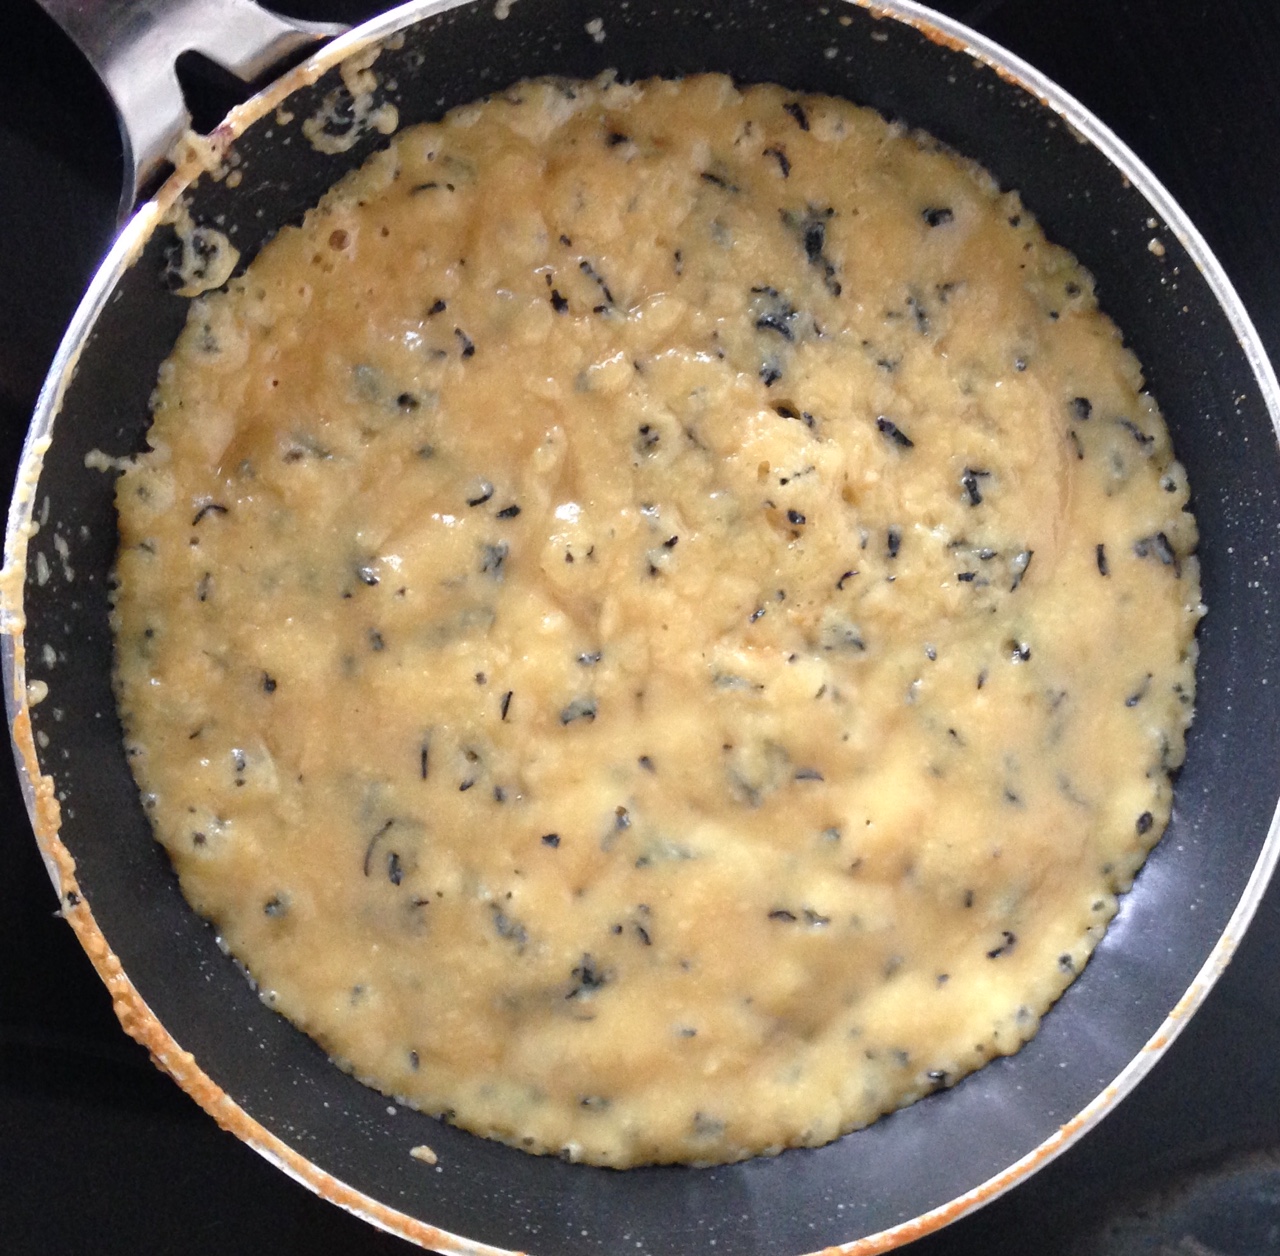
- Step 4
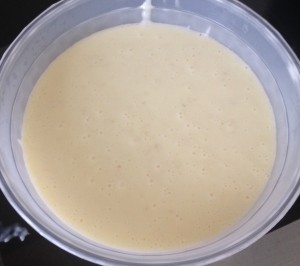
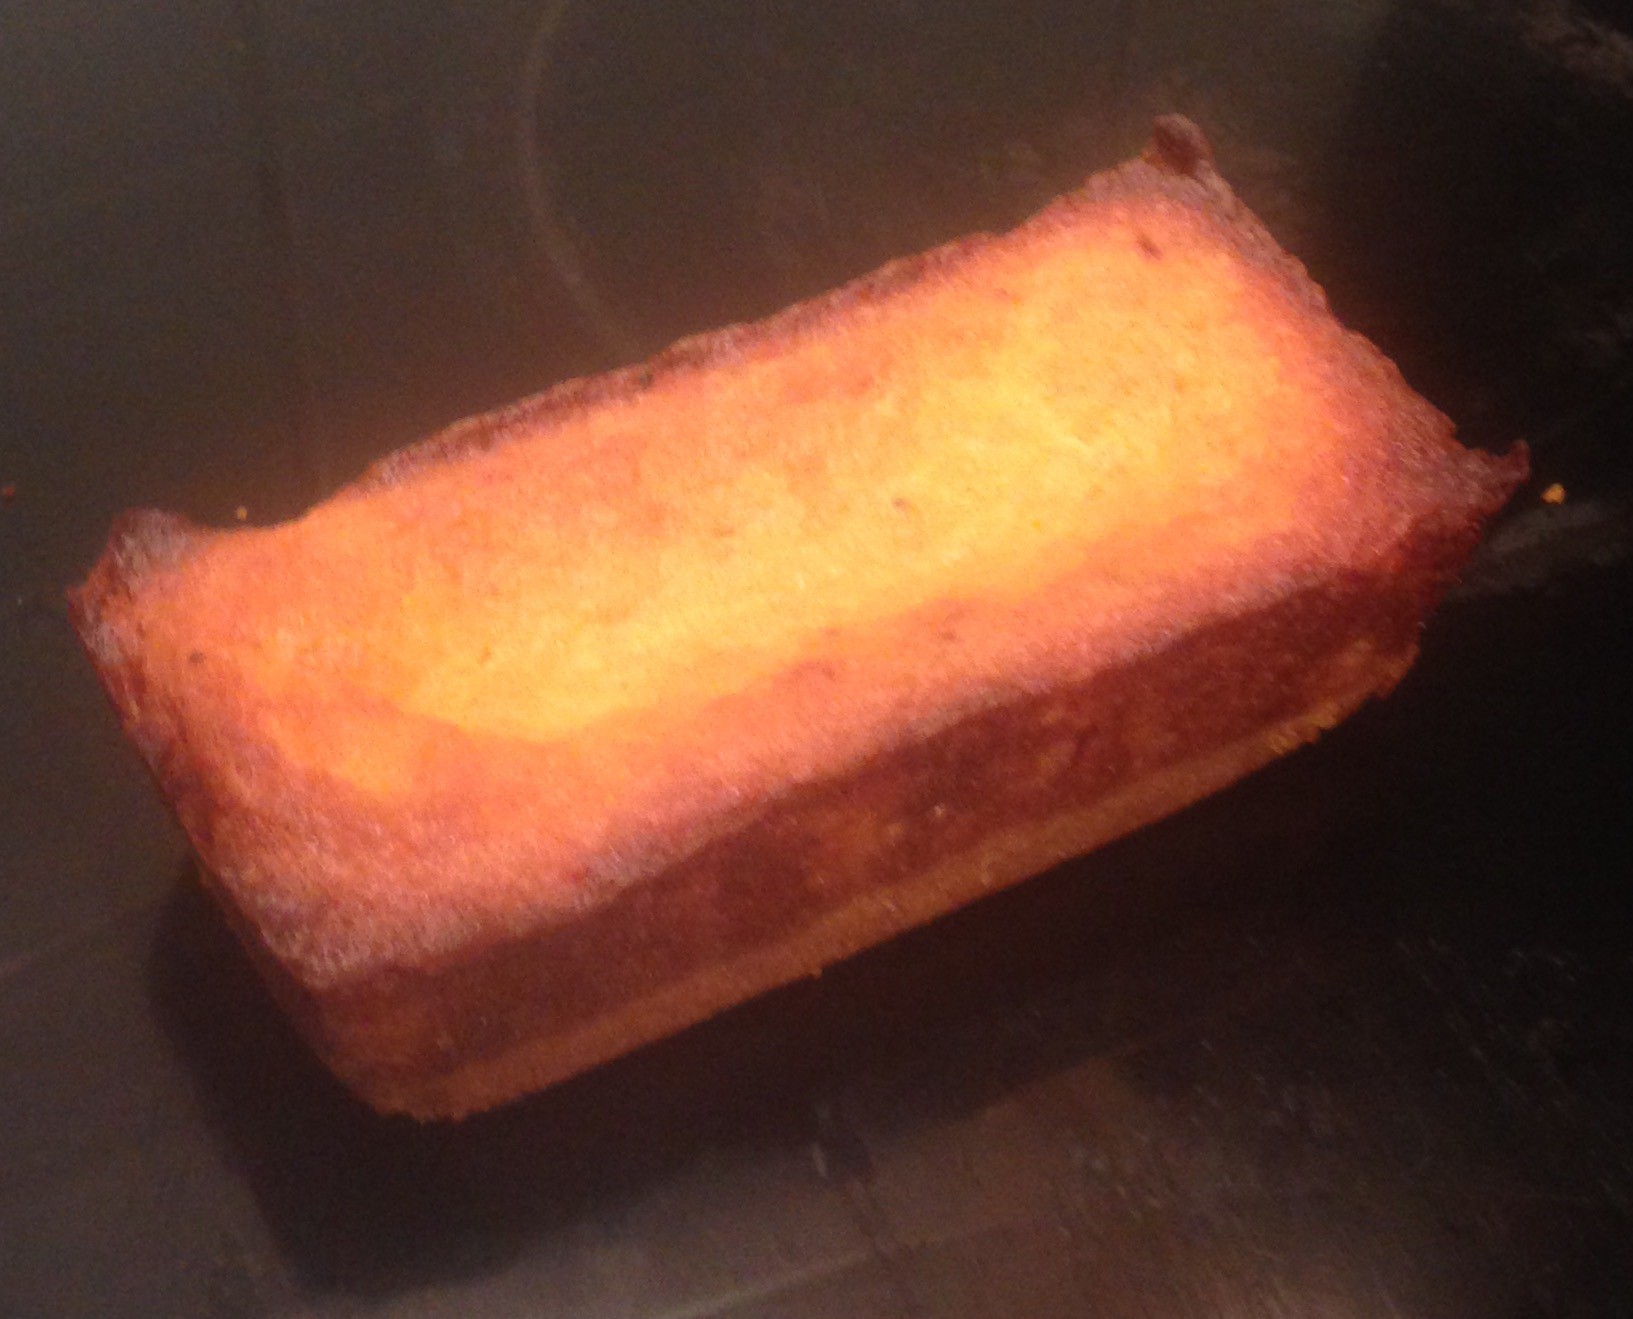
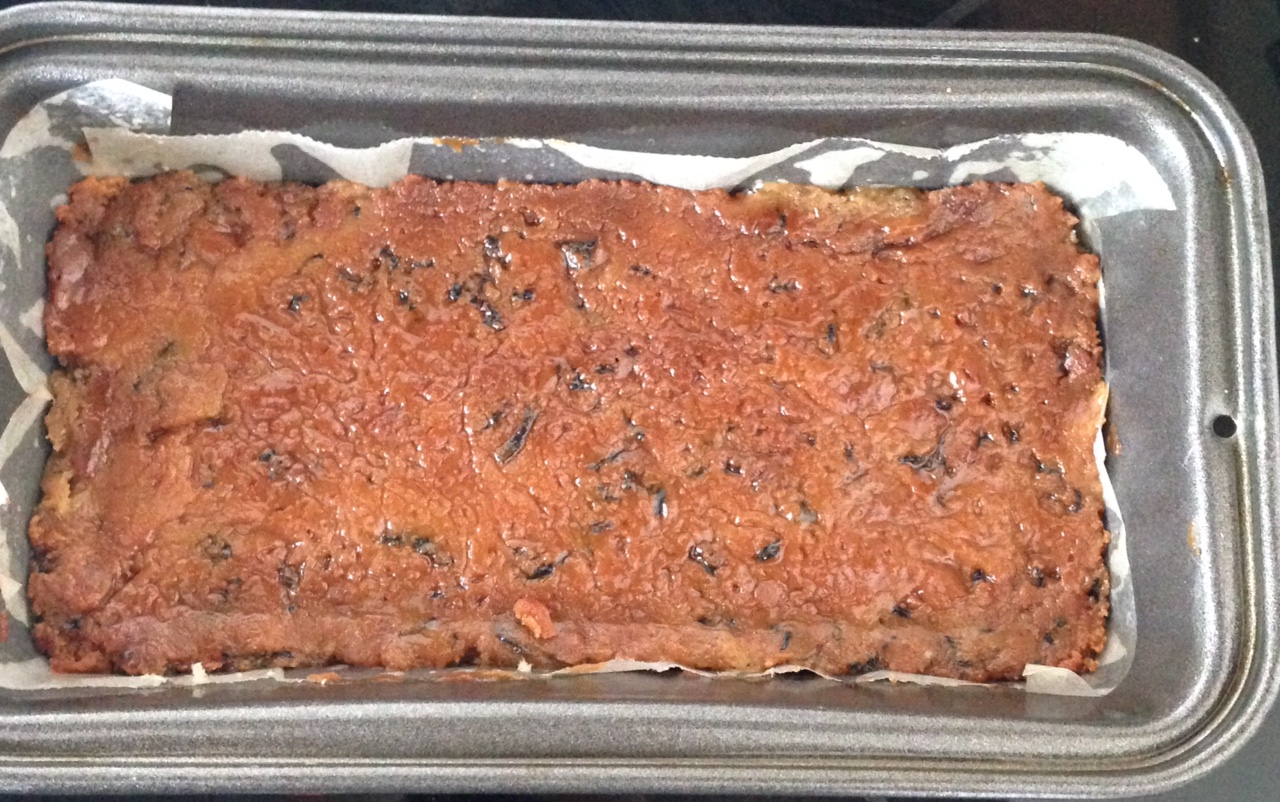
Step 6
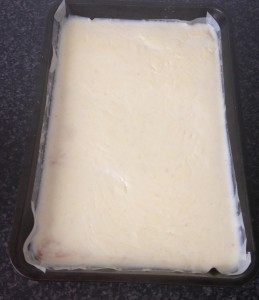
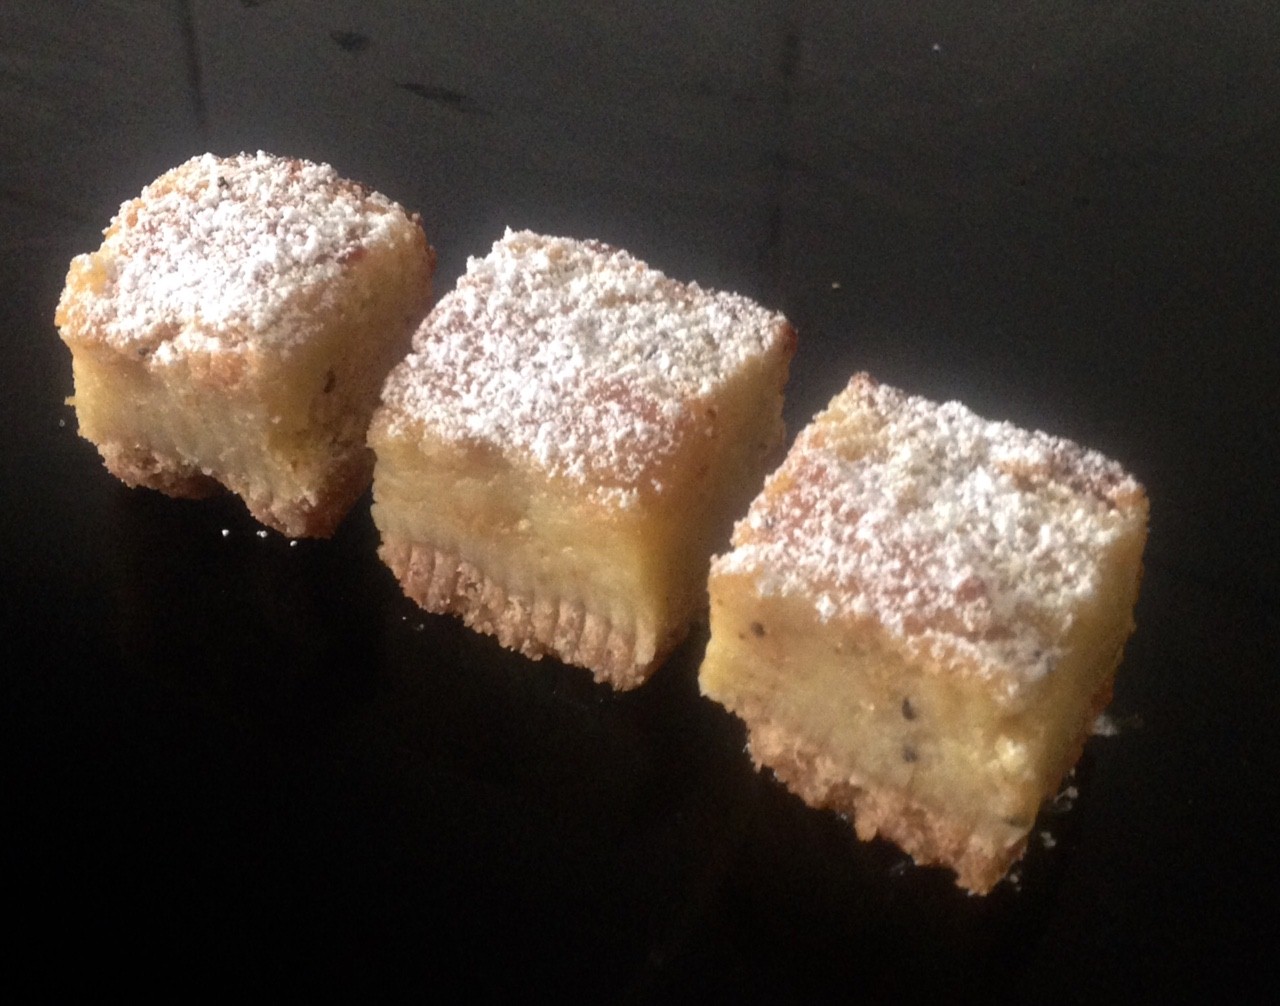
- Step 7

- Step 8

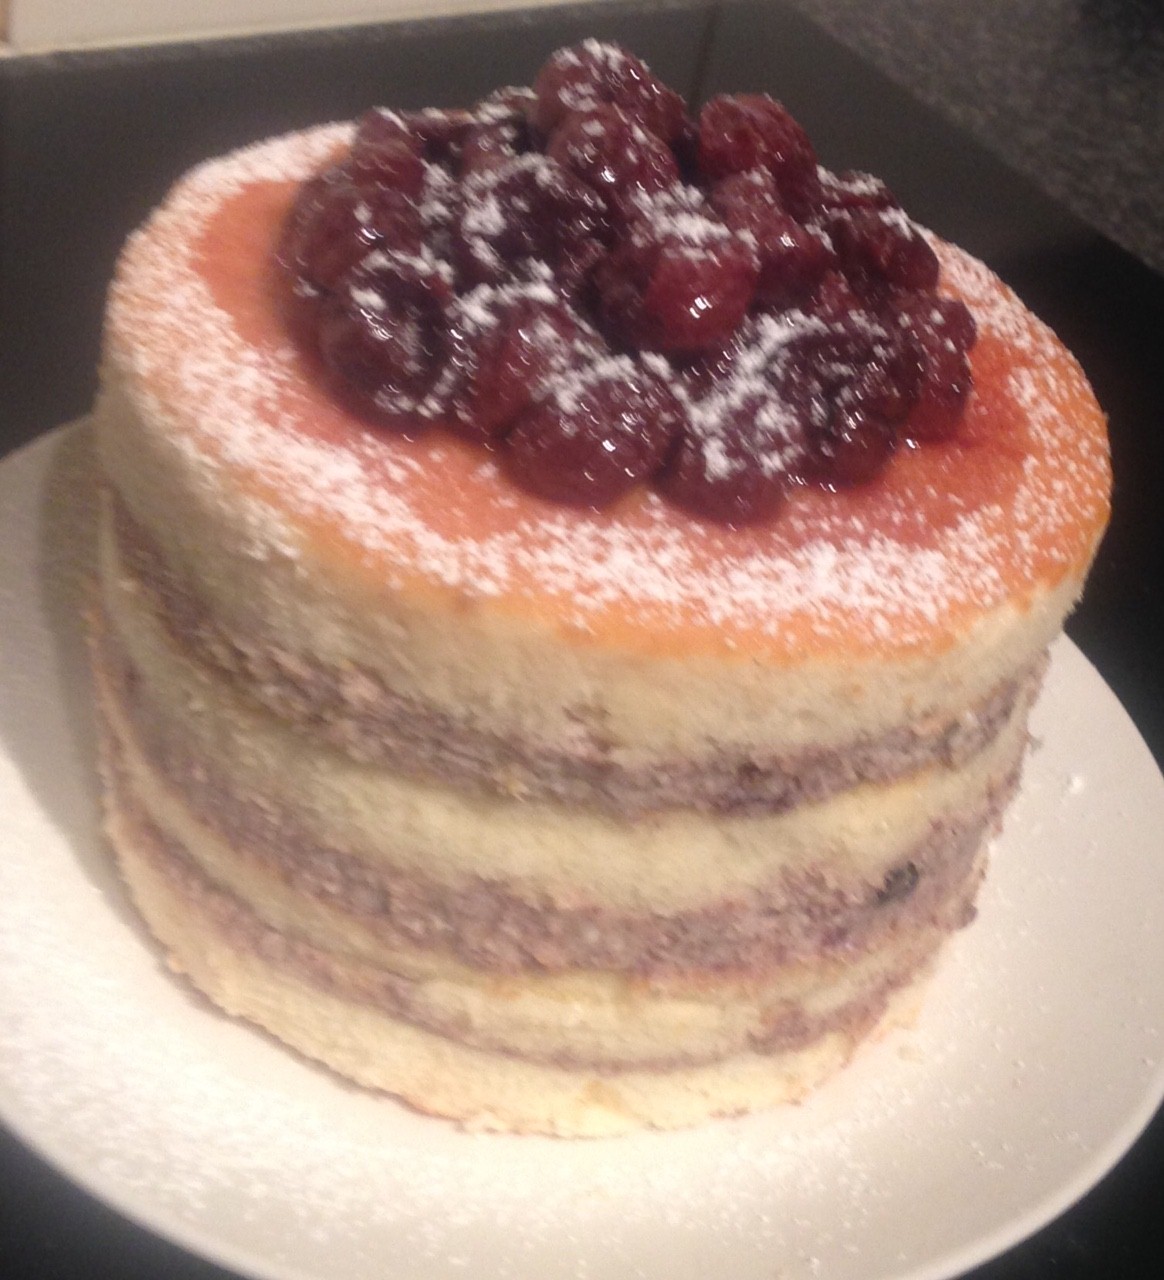
- Step 11

Like this recipe? Subscribe via RSS or email to get my new entries and more scrumptious recipes with reviews.
 Follow