


I have always loved the flavour of blue heaven and decided that I wanted to make a cake out of it. The only way I could really think of putting this flavour into a cake was by using jelly crystals, thus the cake types I could actually experiment with were limited – making a cheesecake the most obvious option.
If I used the jelly in a cheesecake I wouldn’t need to bake the cake as the jelly would help set the cheesecake to the perfect consistency.
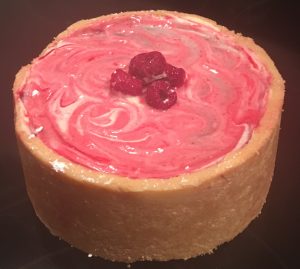
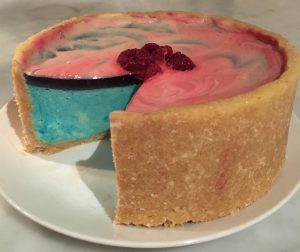
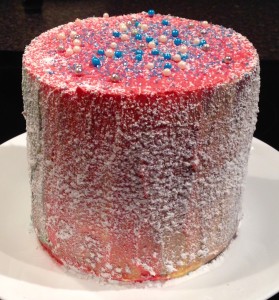
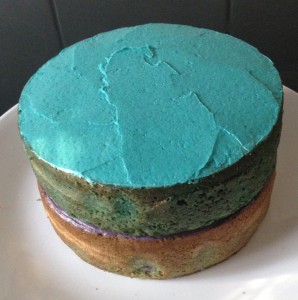
To play to the blue heaven child-hood flavour I added blue food colouring to really make this cake pop and look like it belonged in Willy Wonka’s chocolate factory.
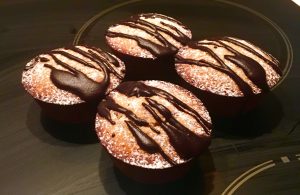
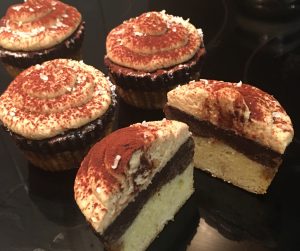
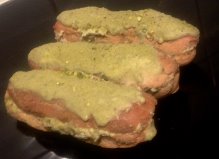
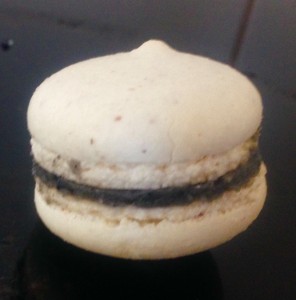
The outcome was exactly as I was hoping for, the flavour reminds me of when I was a child, its super creamy and a satisfying must if you were a fan of blue heaven spiders as a kid!
Ingredients:
Base:
- 200g sweet biscuits
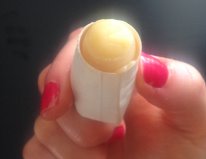
- 90g butter, softened
Filling:
- 85g jelly crystals (blue heaven flavored)
- 100g water
- 30g sugar
- 50ml cream
- 250g cream cheese, softened
- A few drops of blue food coloring
Jelly layer:
- 30g jelly crystals (blue heaven flavored)
- 100g water
Method:
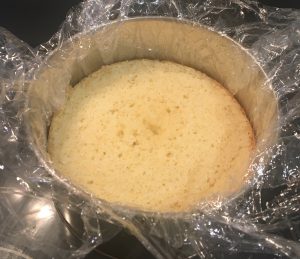
- Line a 25cm spring form cake tin with baking paper.
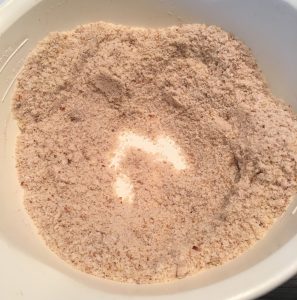
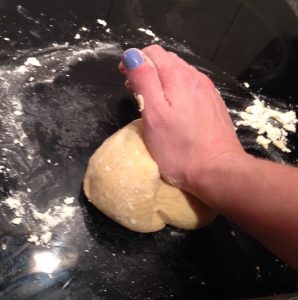
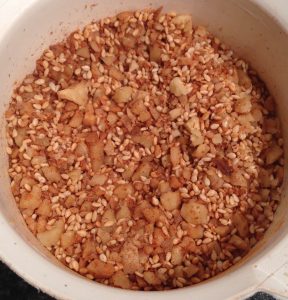
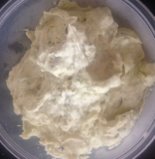
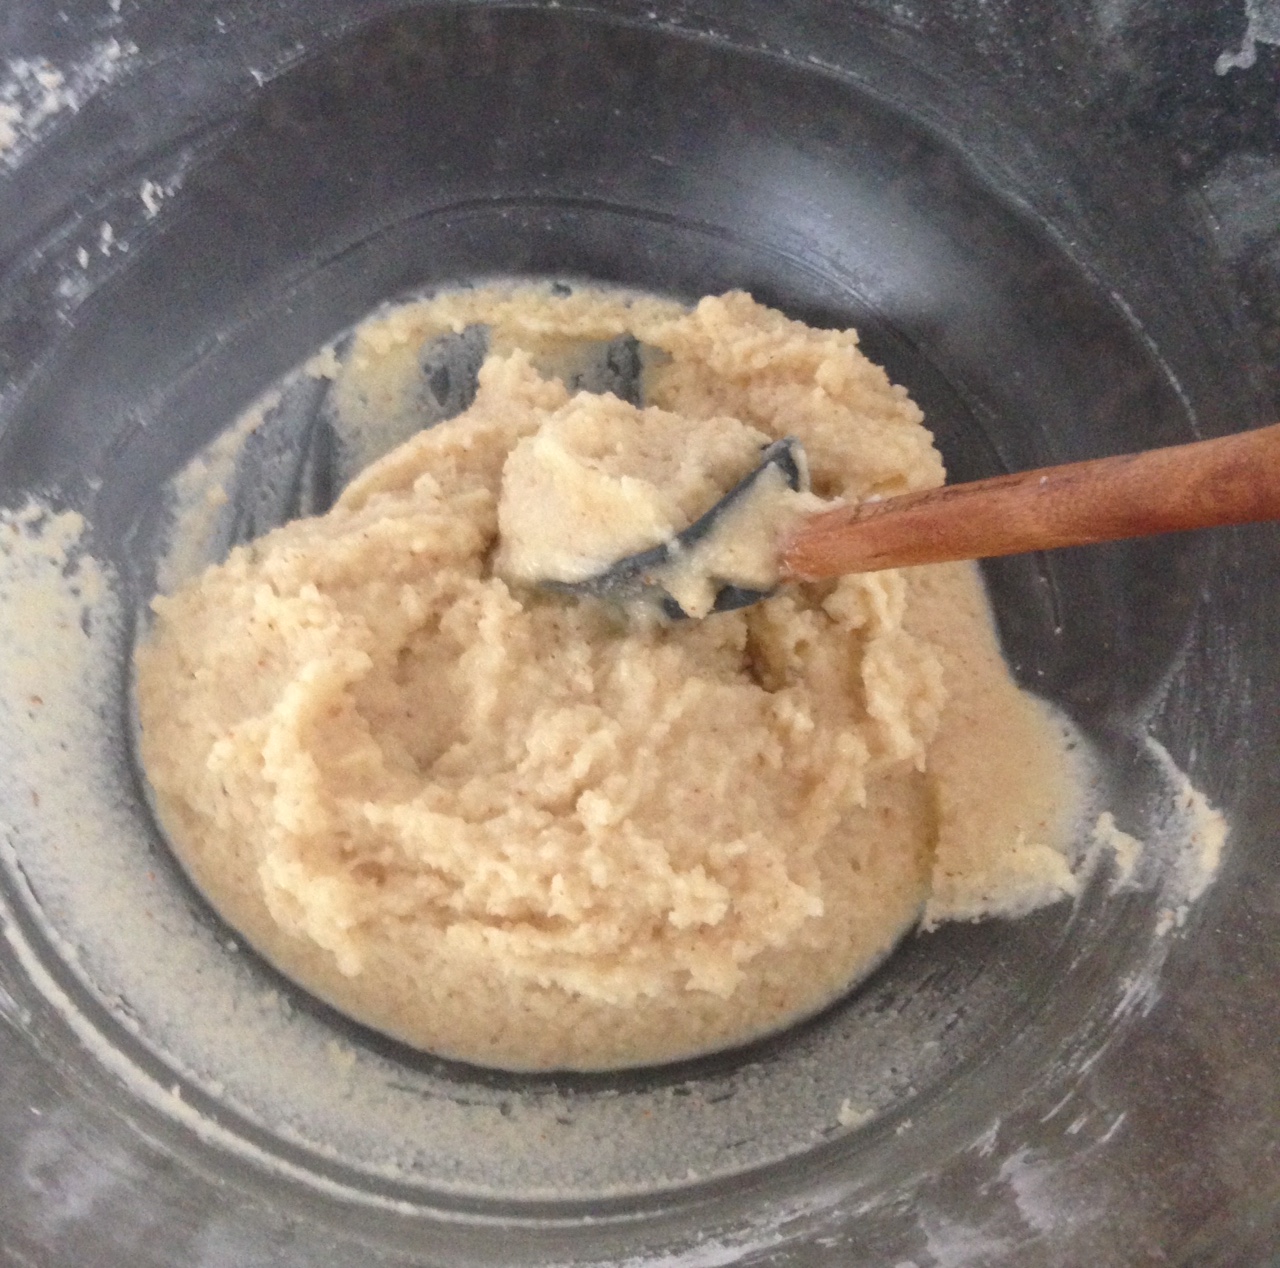
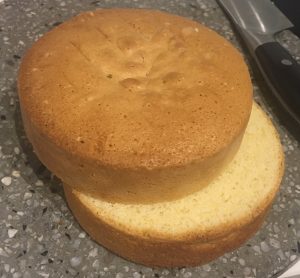
- Place the biscuits and soften butter in a food processor and blitz until the mix resembles fine breadcrumbs.
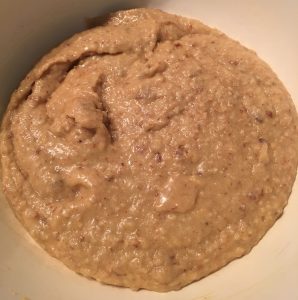
- Press mix into the bottom and sides of the lined cake tin.
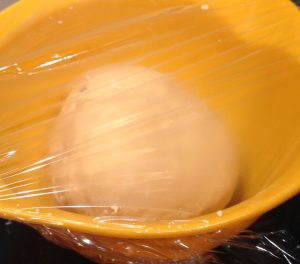
- Place the tin in the fridge to set.
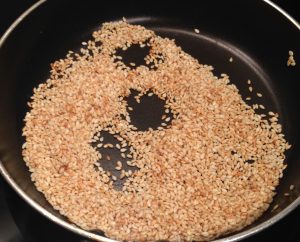
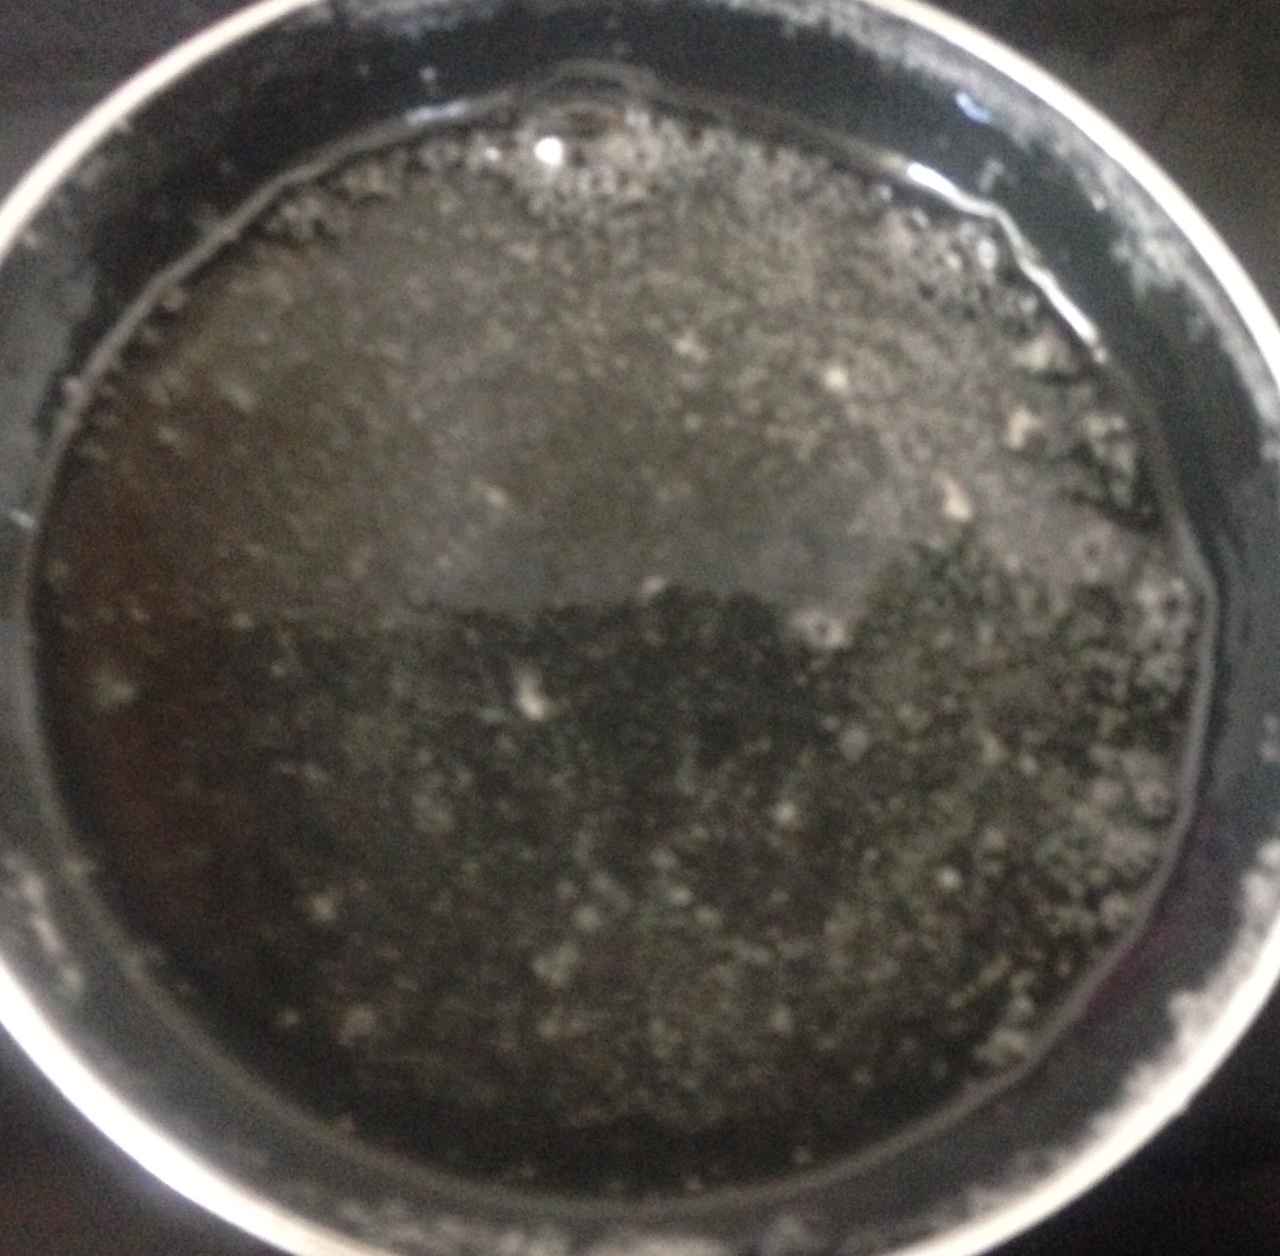
- Boil the water and pour into a bowl, add the jelly crystals and stir until the crystals have melted and mixed in well. Set aside to cool to room temperature.
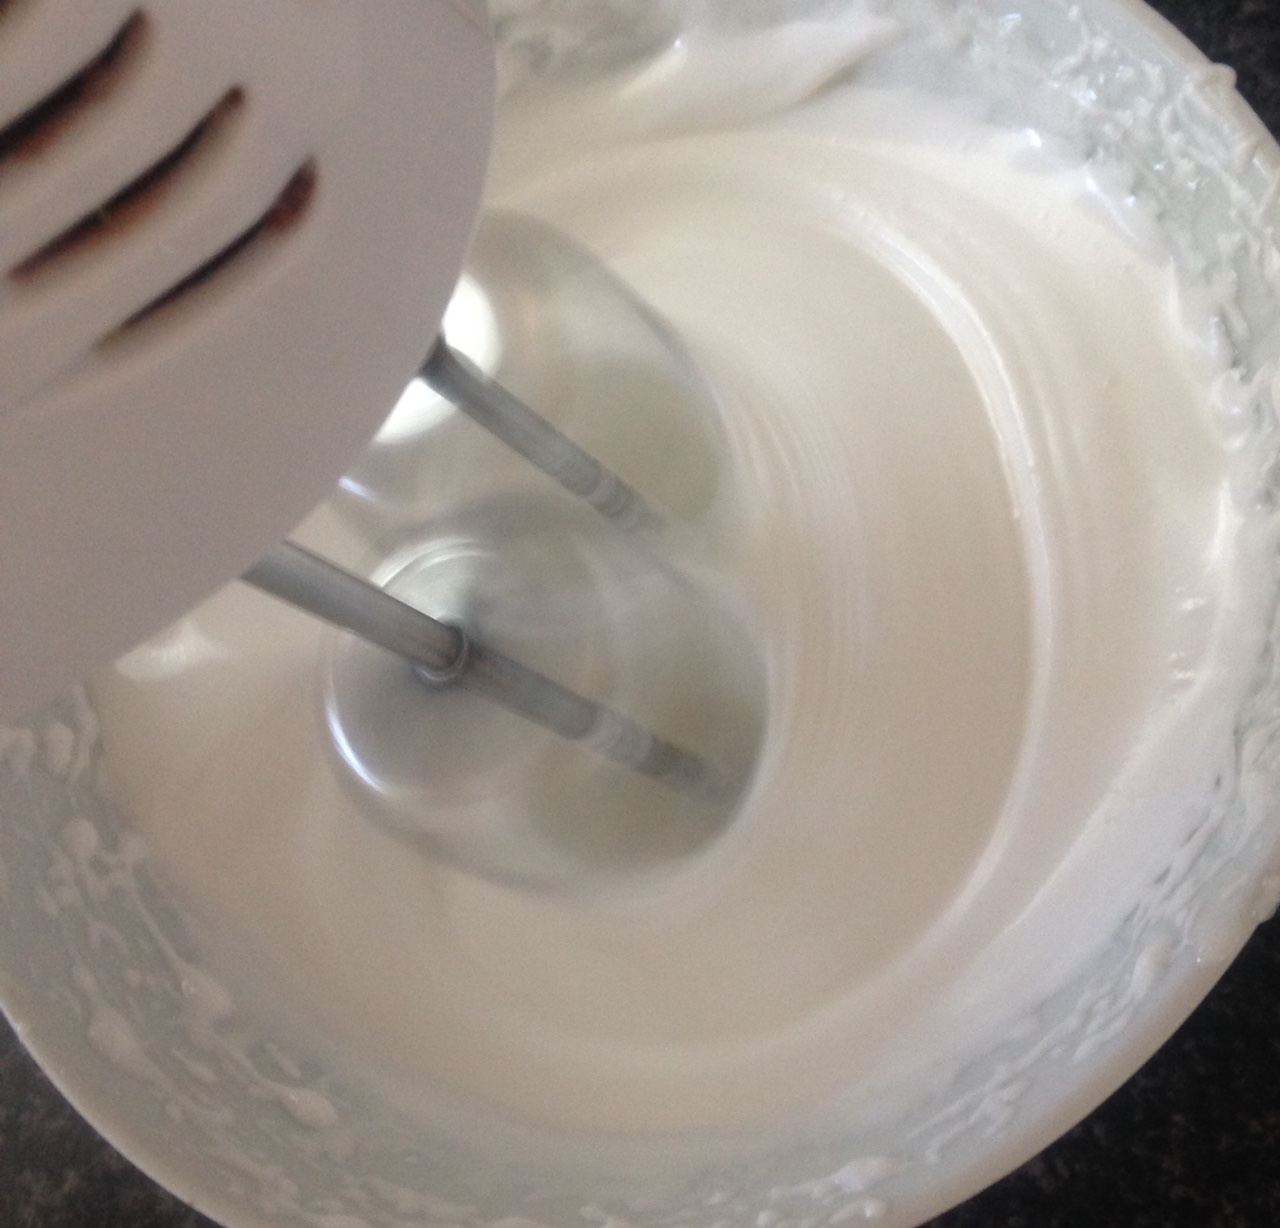
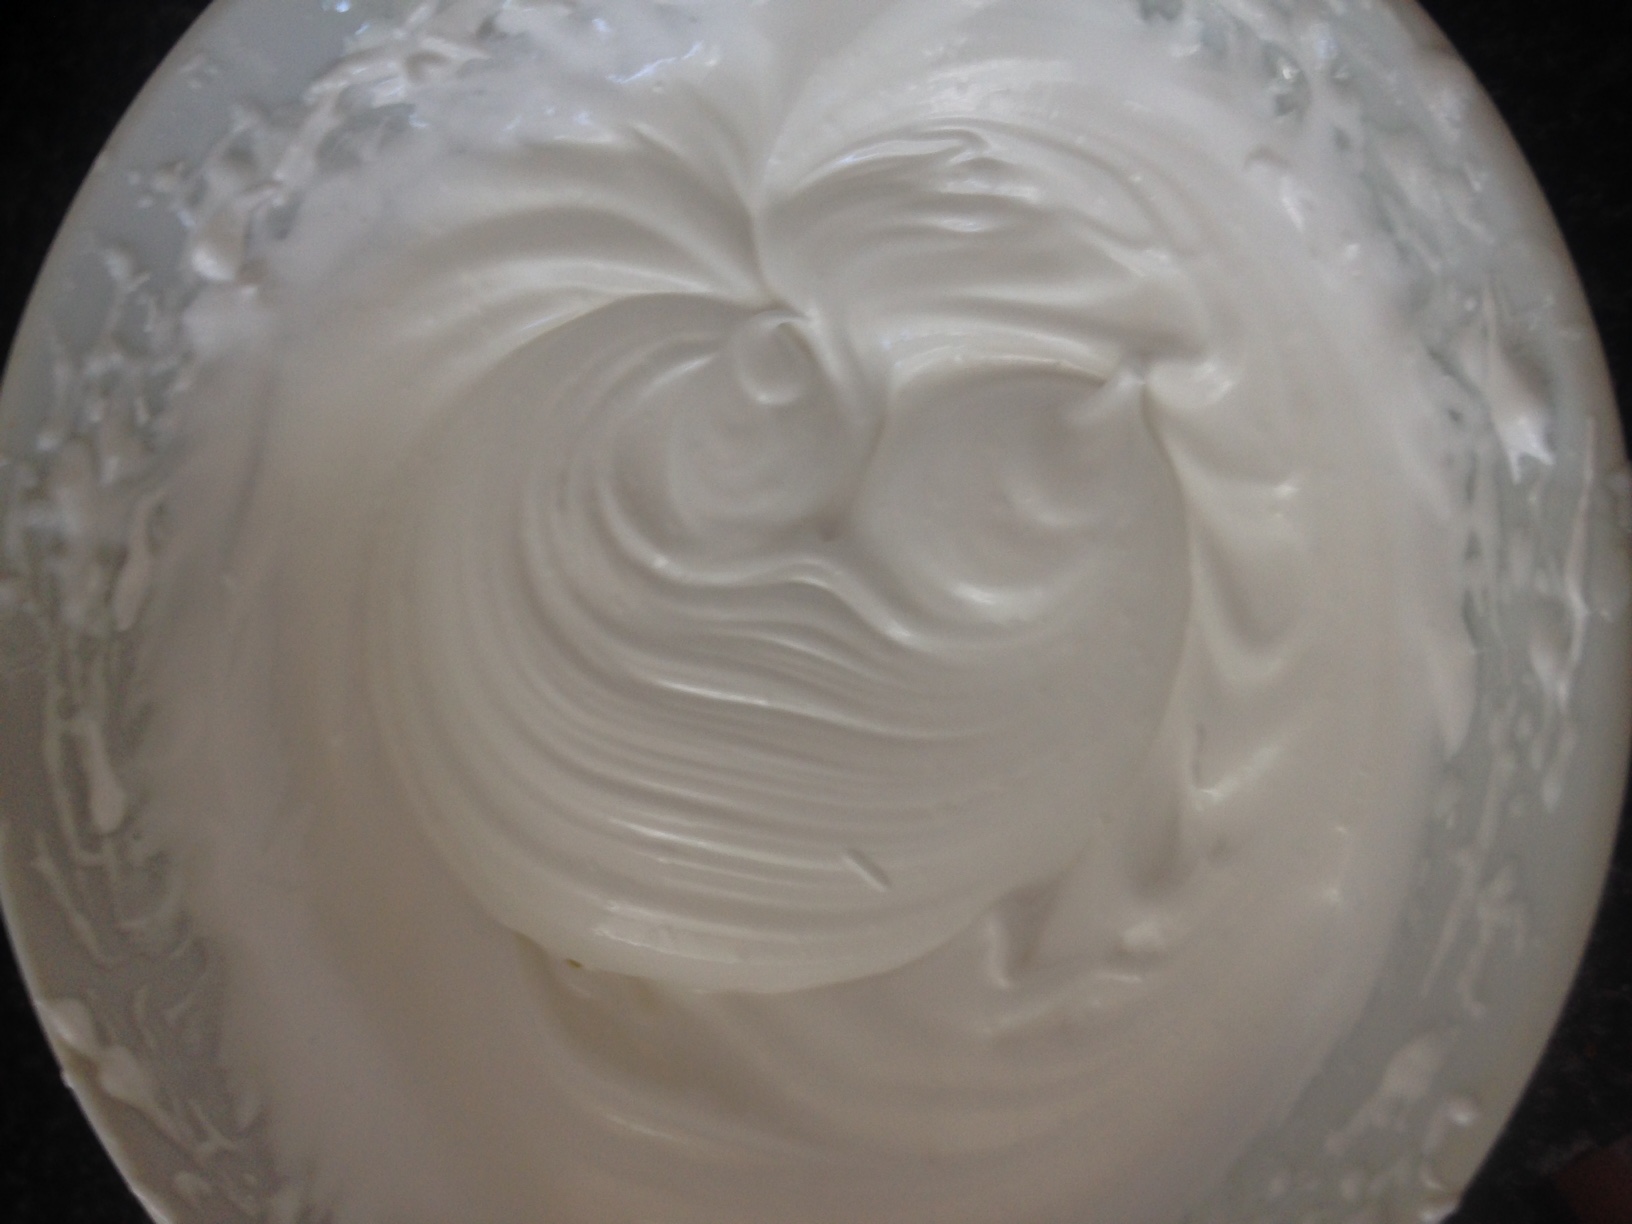
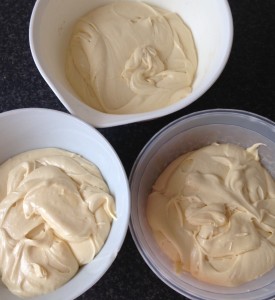
- Place the cream in a new bowl and using electric beaters whisk the cream until soft peaks form.
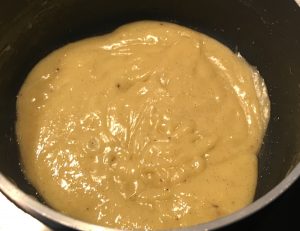
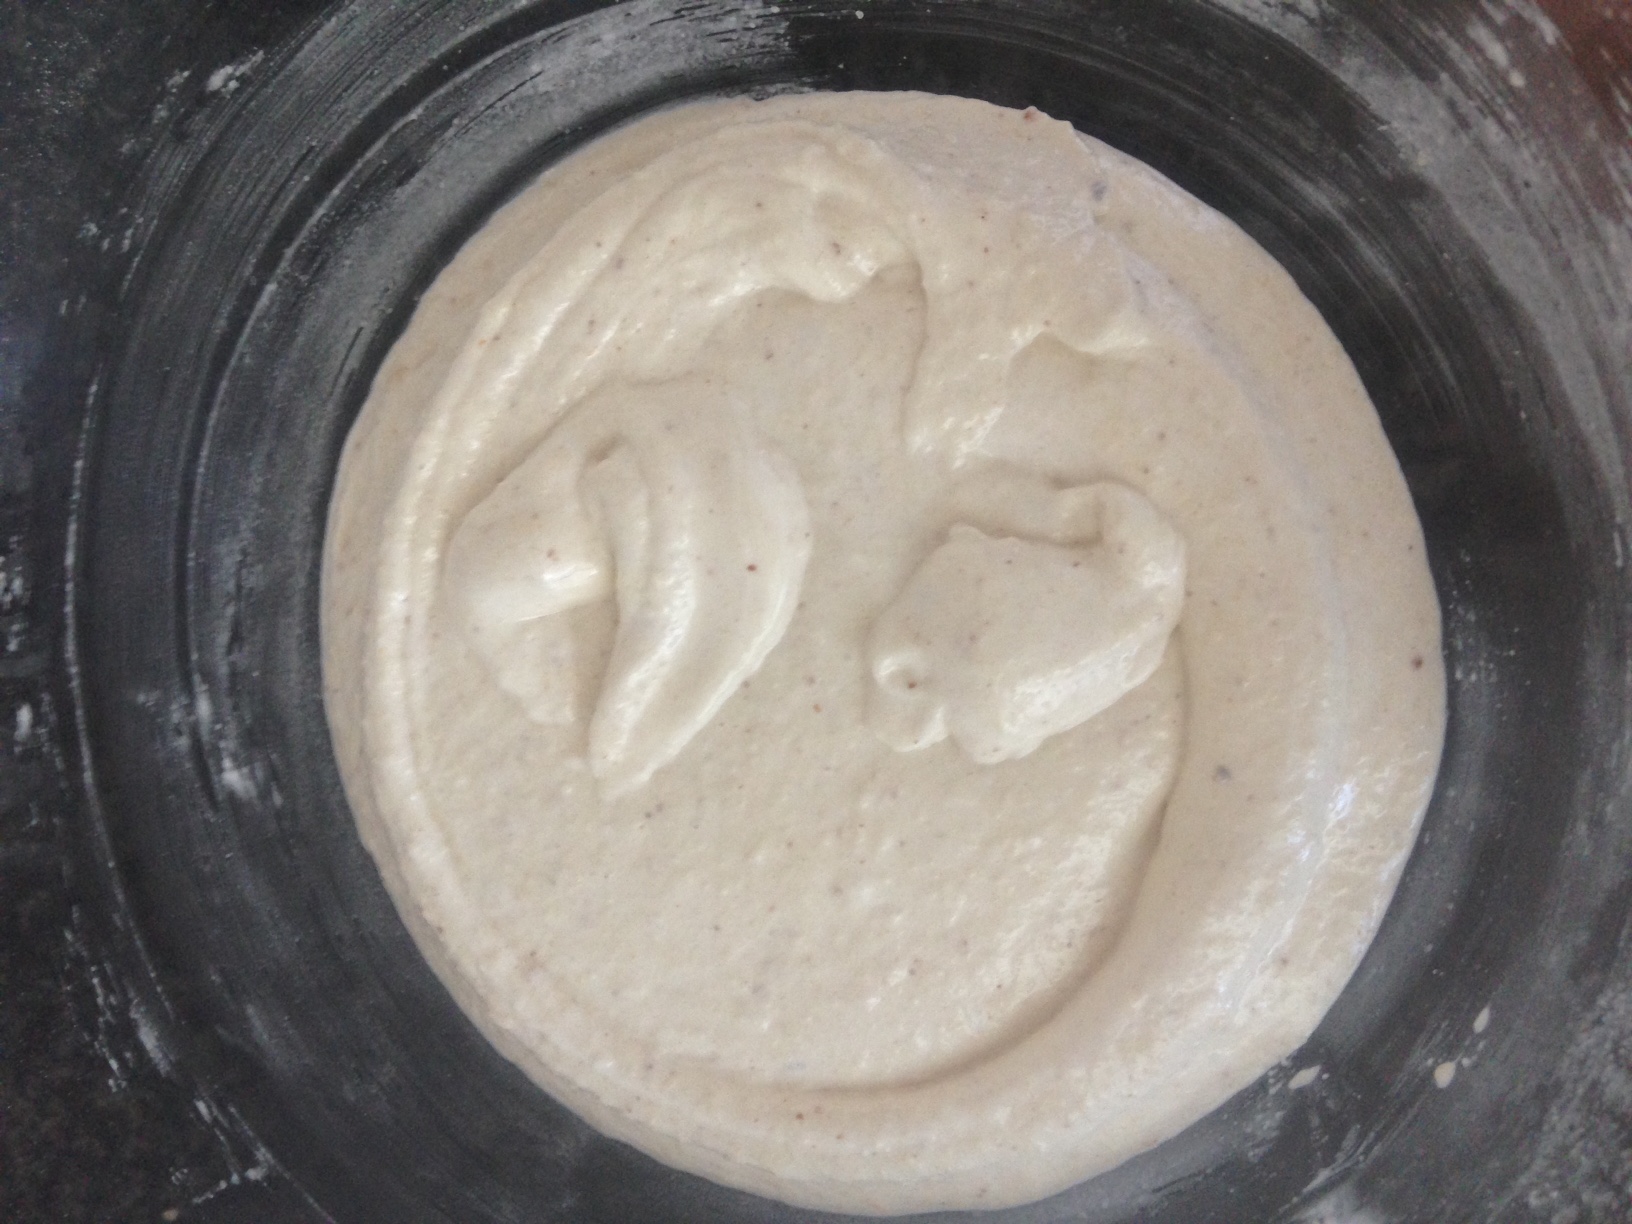
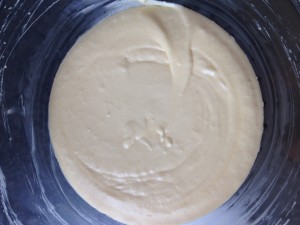
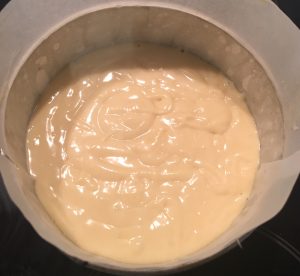
- Add the cooled jelly mix, sugar and cream cheese and beat until smooth and silky.
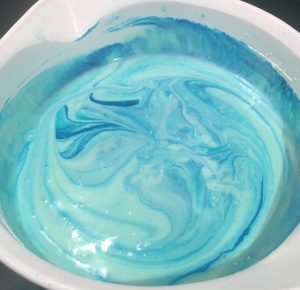
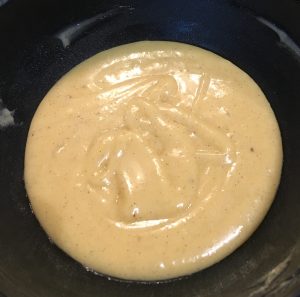
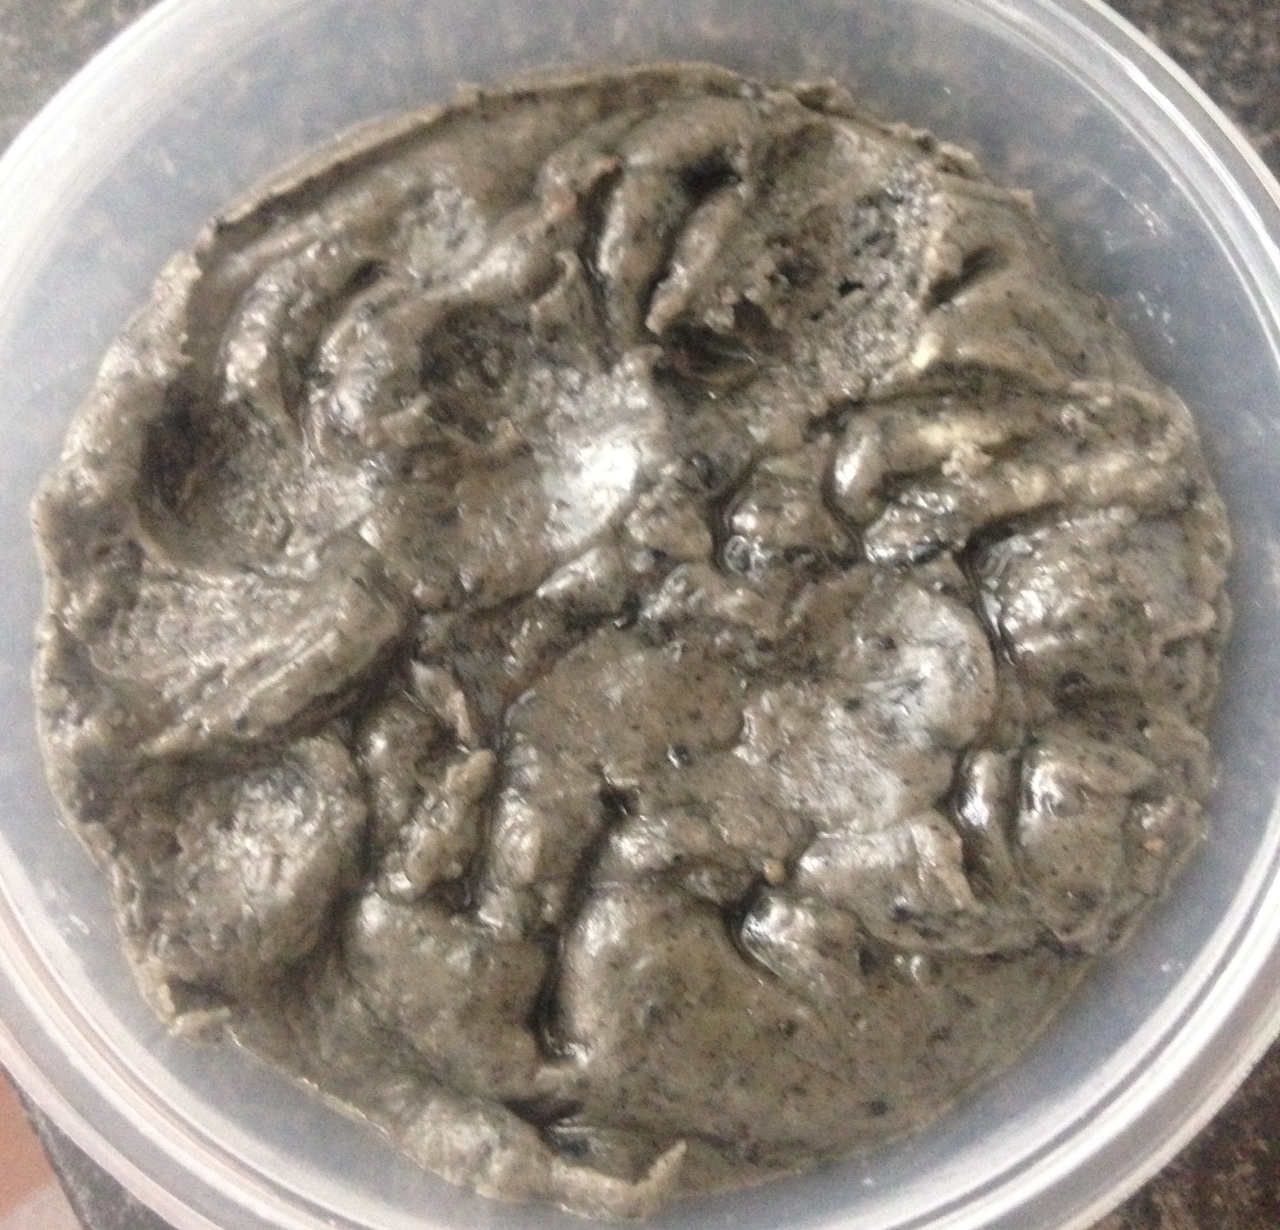
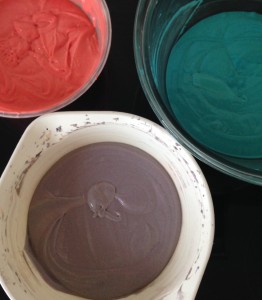
- Add the food colouring and fold the mix a few times to achieve a blue swirl.
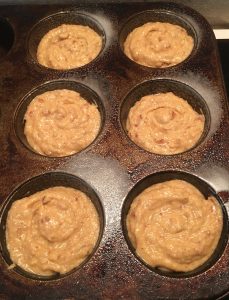
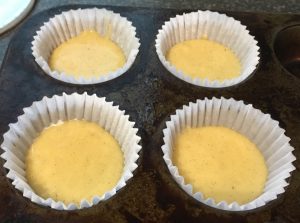
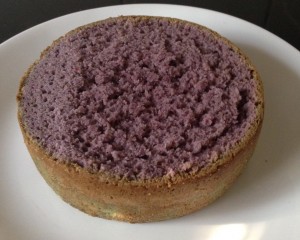
- Pour the cheesecake filling into the prepared tin, smoothing the top with a spoon.
- Place the cake tin in the fridge for 3 hours to set.
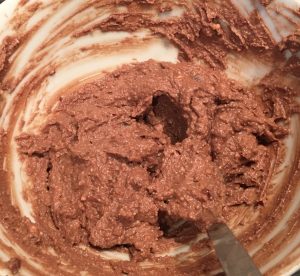
- Meanwhile, boil 50ml water and pour not a bowl. Add the jelly crystals and stir until the crystals have melted and mixed in well. Leave aside to cool.
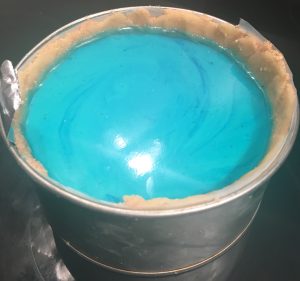
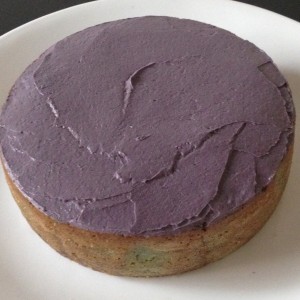
- Once jelly mix is cooled pour the jelly over the cheesecake and place in the fridge for a further 90 mins to set.
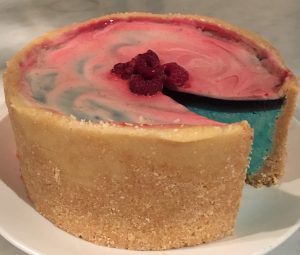
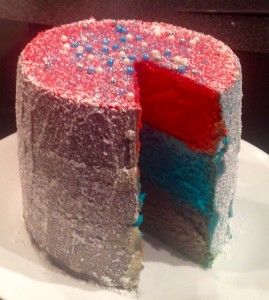
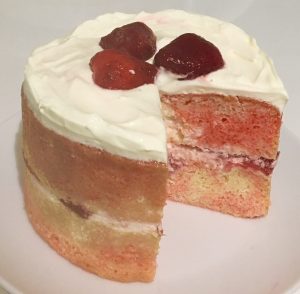
- Cut the cake into slices and enjoy!
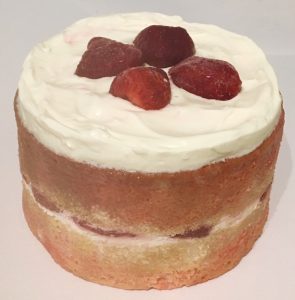
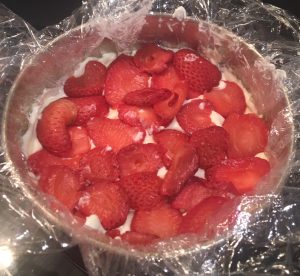
Note: Using electric beaters I whipped up 100ml of thickened cream, 1 tbsn sugar and 1 tsn of vanilla essence to decorate the cake as well as a few raspberries.
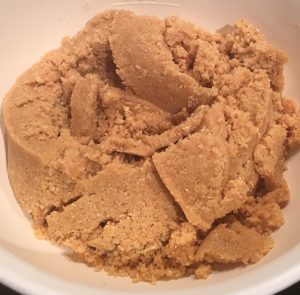
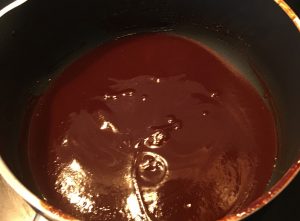
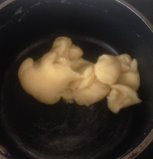
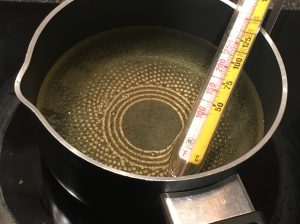
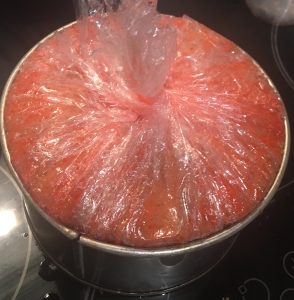
- Step 2
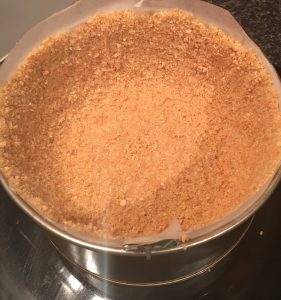
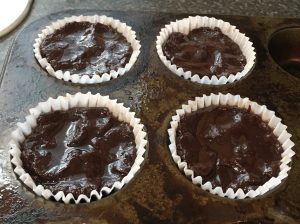
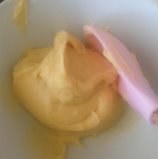
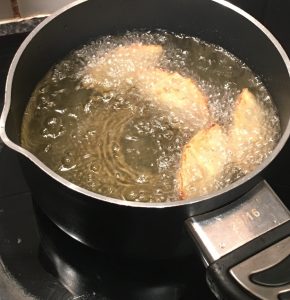
- Step 3
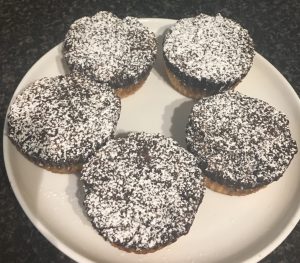
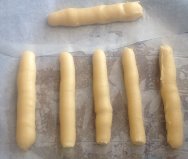
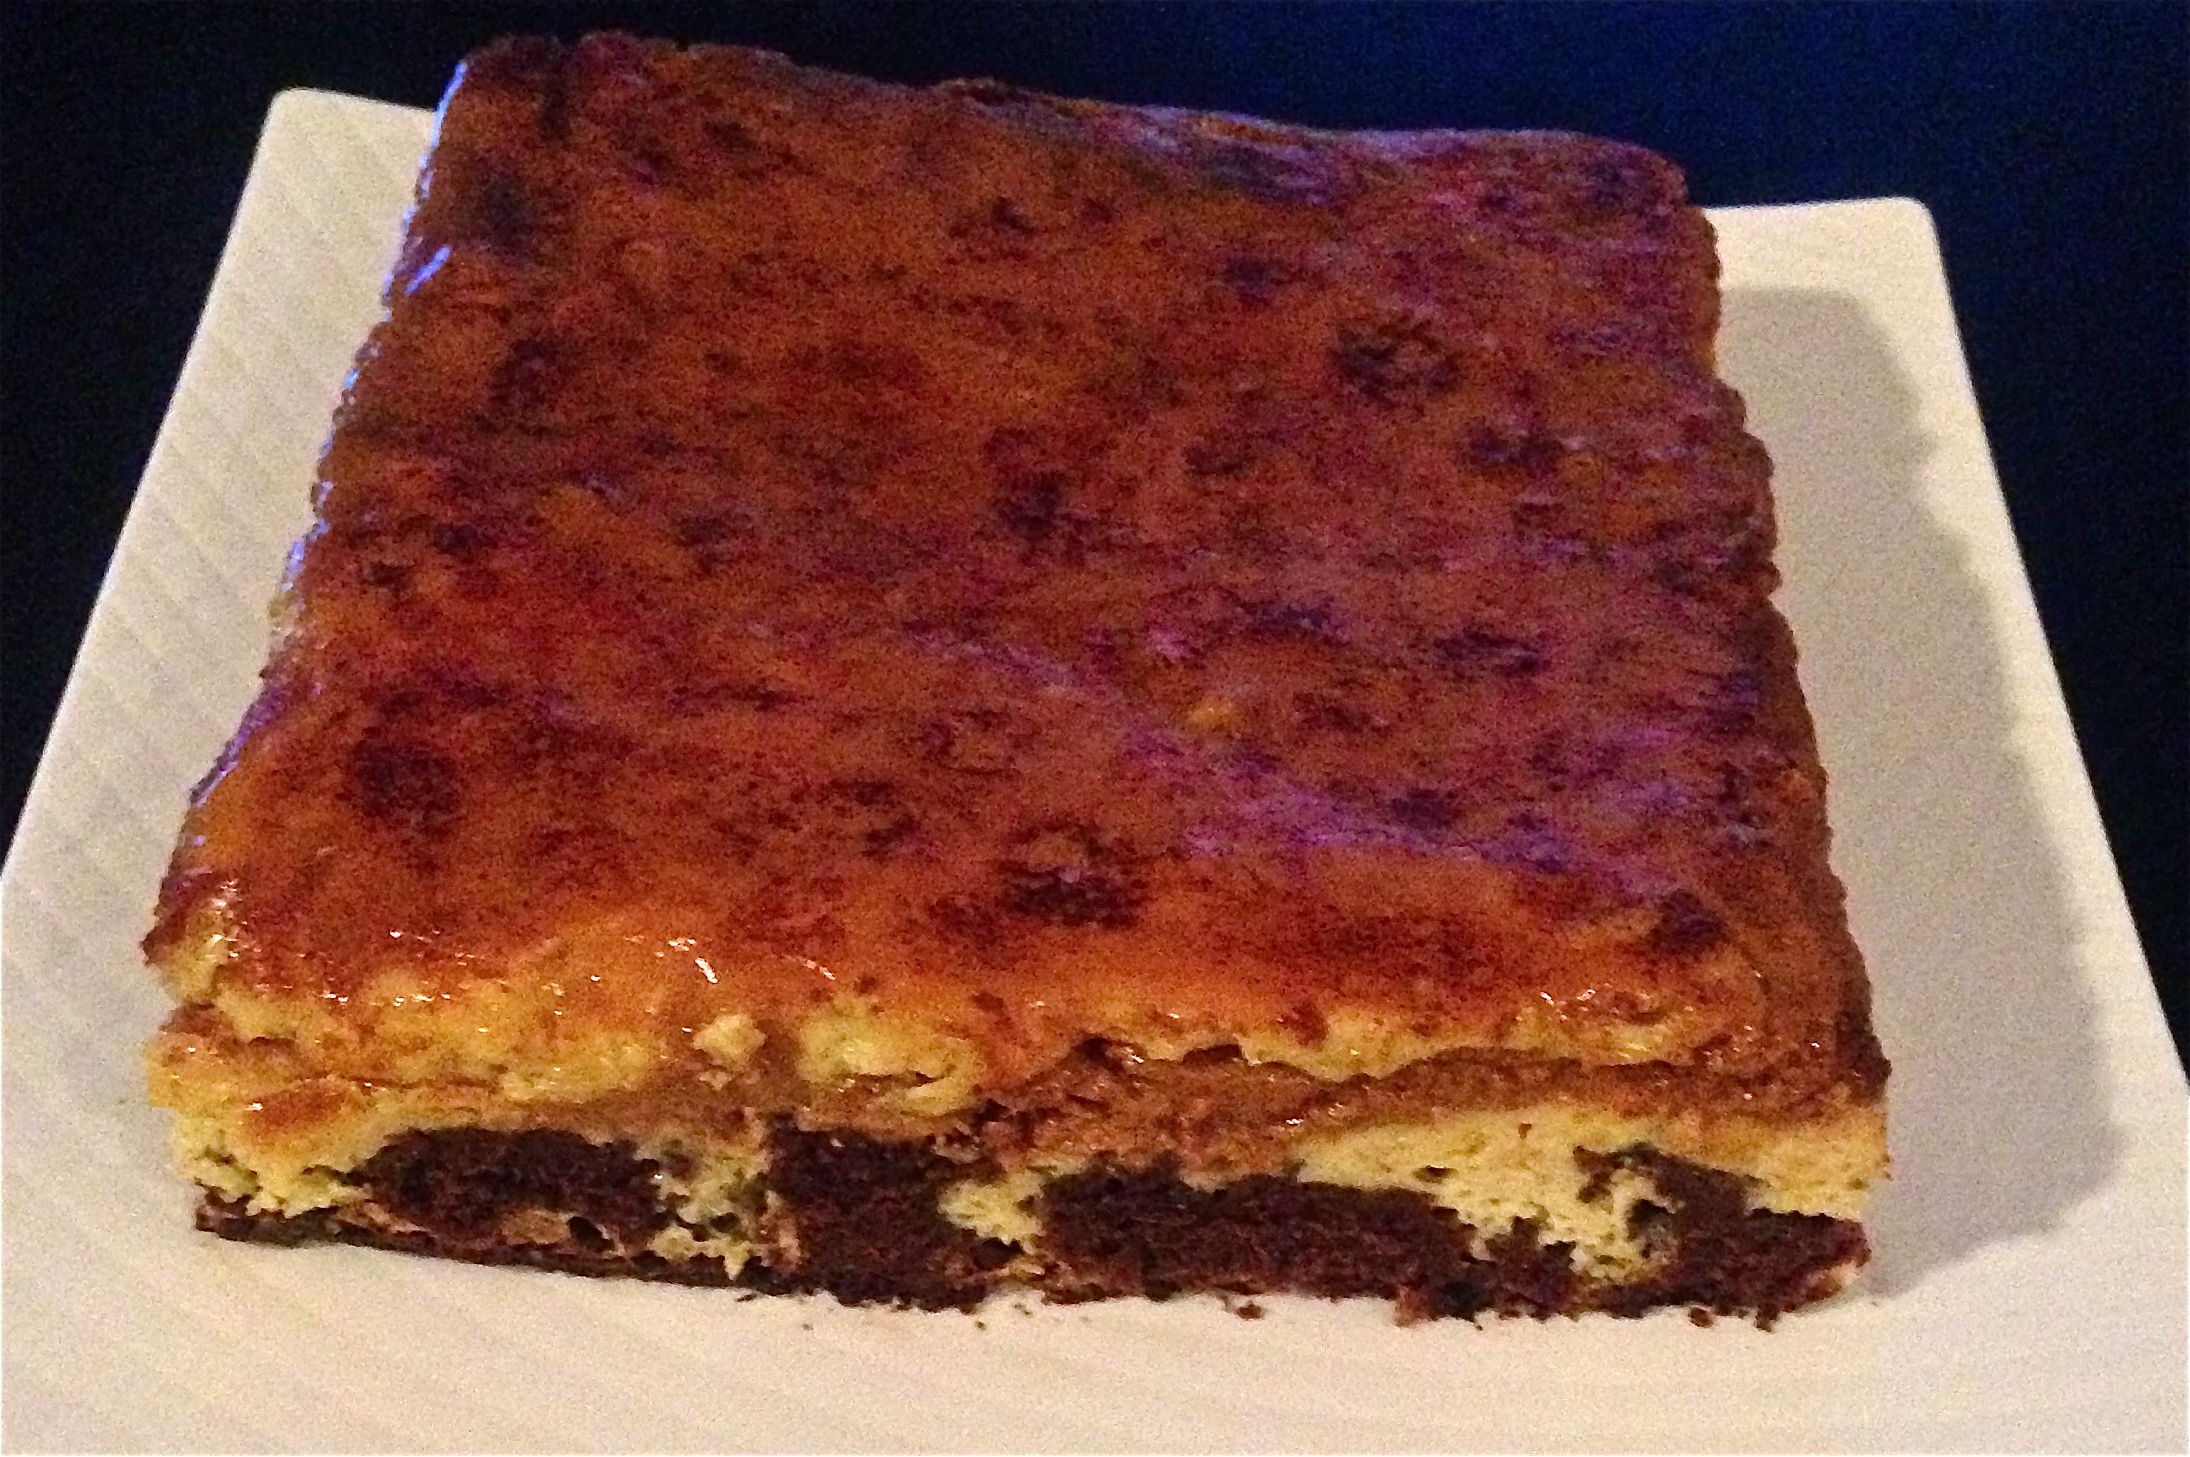
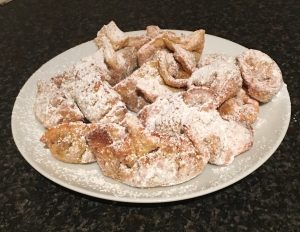
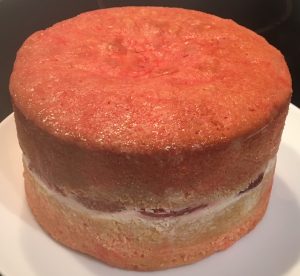
- Step 8
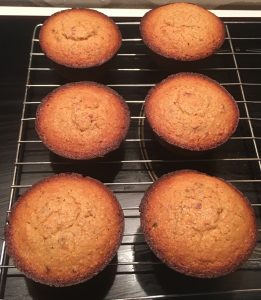
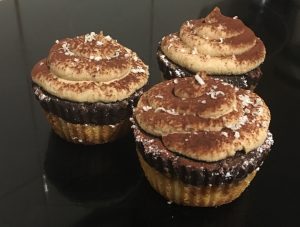
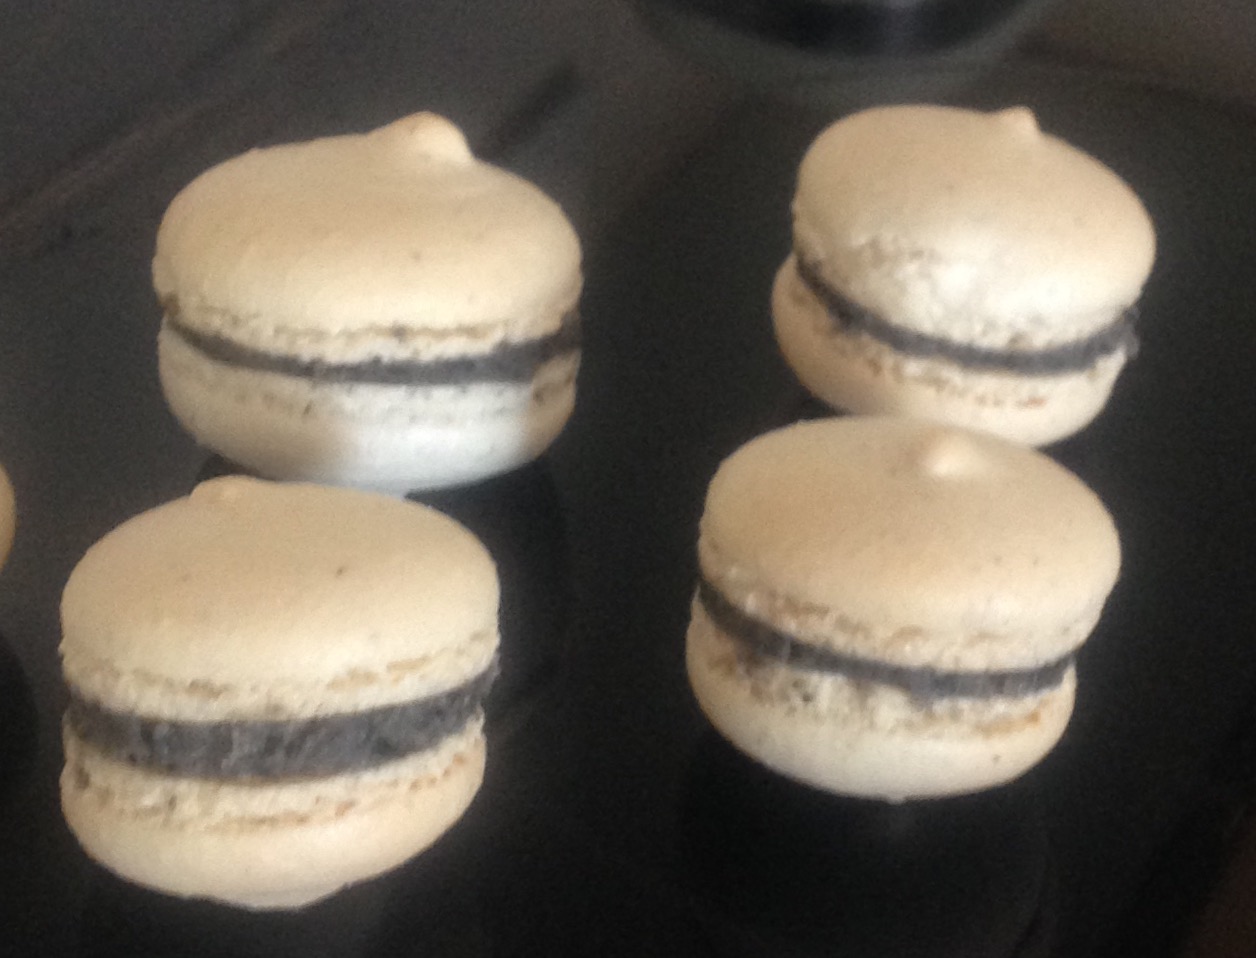
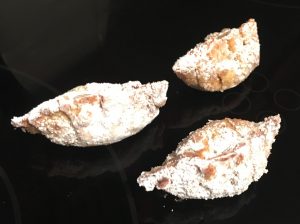
- Step 9
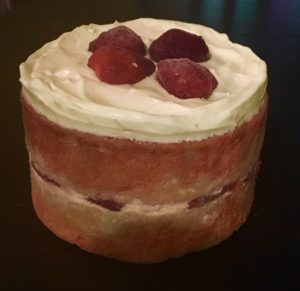
- Step 13
Like this recipe? Subscribe via RSS or email to get my new entries and more scrumptious recipes with reviews.
 Follow


