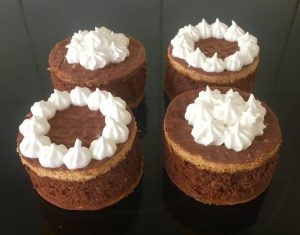
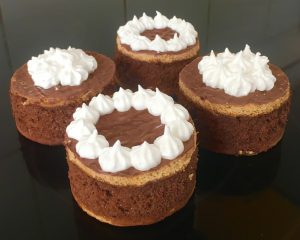
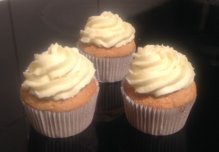
Olive Oil and Vanilla Cupcakes with Ricotta Frosting
Yes this does sound like a cupcake recipe with flavours at opposite side of the pairing scale.
The fragrant delicate vanilla taste mixed with the deep and strong olive oil palate, however stick with me for a minute as these flavours really do work together. The vanilla gives the olive oil richness and sweetness that makes an interesting and complimentary combination. However, using olive oil instead of butter means the loss of some soft and fluffiness, thus I needed to include some creaminess to the recipe.
As olive oil is a core ingredient in Greek/Italian food I though I would introduce an icing that also held these properties, therefore a ricotta icing was produced. The ricotta added the missing element making the cupcake very unique in taste and satisfying to eat. If you like the taste of olive oil you will definitely love this treat. And the touch of lemon zest, well this with the olive oil is a marriage made in heaven.
Ingredients:
Batter:
- 5 eggs (4 eggs + 1 yolk)
- 200g sugar
- 3 tbsn vanilla essence
- 180ml olive oil
- 175g flour
- ½ tsn cream of tartar
Icing:
- 200g icing sugar
- 110g butter
- 1 tbsn vanilla essence
- 1 + 1/2 tsn lemon zest
- 50ml olive oil
- 200g ricotta
Method:
- Pre-heat the oven to 180c degrees and line a 24 capacity cupcake tin with patty pans.
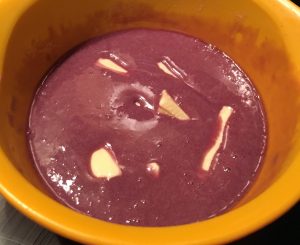
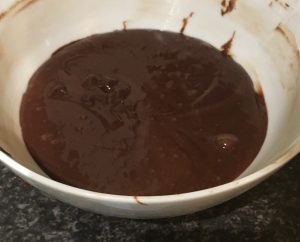
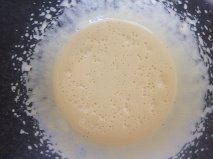
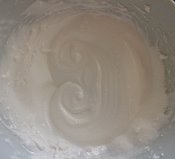
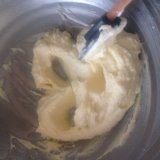
- Place the 5 egg yolks onto a bowl with 50g of the sugar and beat with electric beaters for 10 minutes, until the mix is pale and creamy.
- Add the vanilla and olive oil and beat until light and creamy.
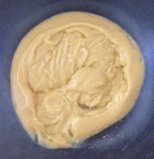
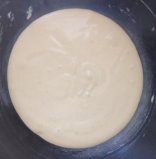
- Add the flour and beat until just combine.
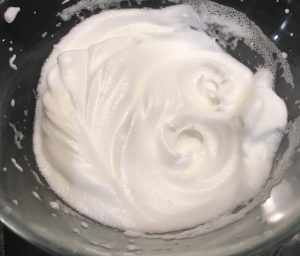
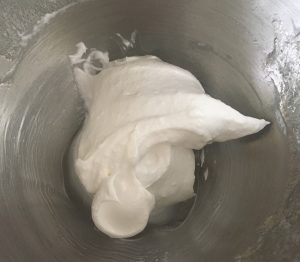
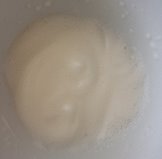
- In a separate bowl beat the 4 egg whites until soft peaks.
- Add the cream of tartar and remaining sugar, 1 tbsn at a time, beat until glossy and thick.
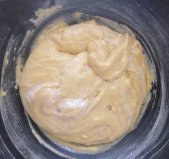
- Fold ¼ of the eggwhite mix into the olive oil batter until combine.
- Fold the remaining egg whites in until just combine.
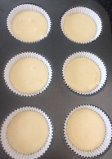
- Spoon the mix into the 24 medium size cupcake patties in the prepared cupcake tray.
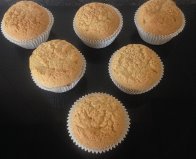
- Bake in the oven for 15 minutes of until a skewer inserted in the middle comes out clean.
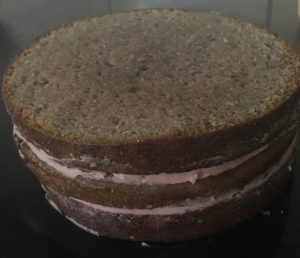
- Place the cupcakes on a rack to cool.
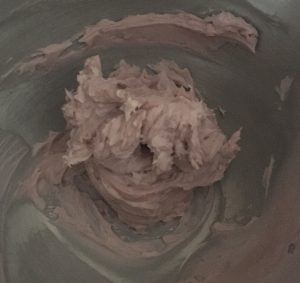
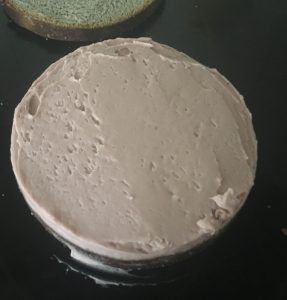
- To make the icing beat the icing sugar and butter with electric beaters until light and fluffy.
- Add the vanilla essence, zest, oil and ricotta and beat until the mix is smooth.
- Using a piping bag and star nozzle pipe the icing on the top of the cooled cupcakes.
Step 2
Step 4
Step 5
Step 6
Step 7
Step 8
Step 9
Step 11
Step 12

Step 13
Like this recipe? Subscribe via RSS or email to get my new entries and more scrumptious recipes with reviews.
 Follow