Blackberry Jelly Pillow Cakes

Its funny I have baked a bit where I incorporate Jelly crystals into recipes (for example my Jelly biscuits), but I haven’t actually make a Jelly recipe as such in the traditional sense. I’m not appose Jelly but incorporating the crystals into recipes is far more exciting and an easy way to add flavour to any recipe.
This next post’s recipe does just that, as well as plays around with the traditional Aussie (more accurately New Zealand) Lamington to give it a fruit coating instead of the traditional chocolate.
I must say this recipe turned out way more impressive than I expected and fast became one of my favorites for a while.
And why blackberry? Why not?
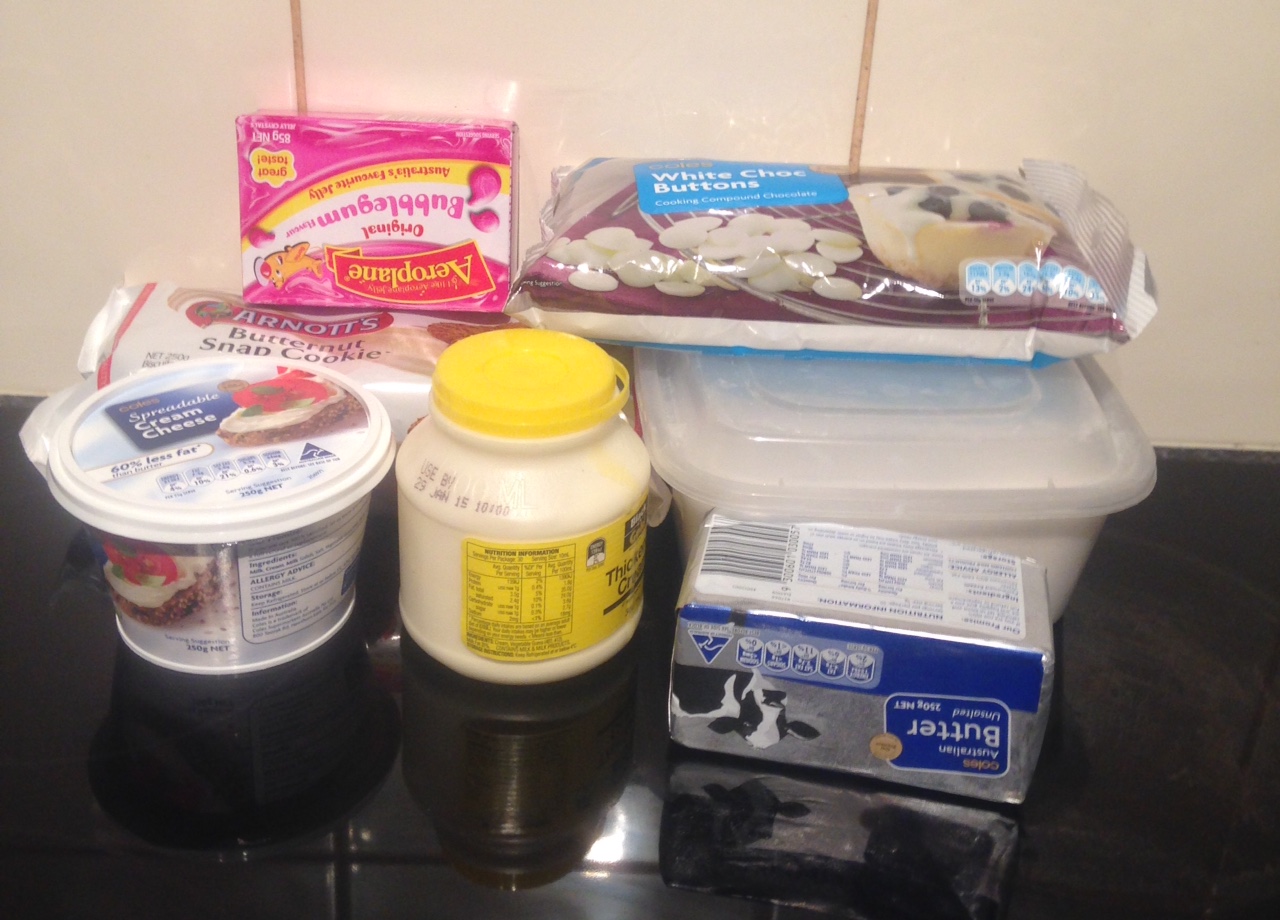
Ingredients:
- 85g packet blackberry jelly crystals
- 75g butter
- 75g sugar
- ½ tsn vanilla essence
- 1 egg
- 100g self raising flour
- 30g milk
- 90g desiccated coconut
- 100ml thickened cream
- 1 tsn icing sugar
Method:
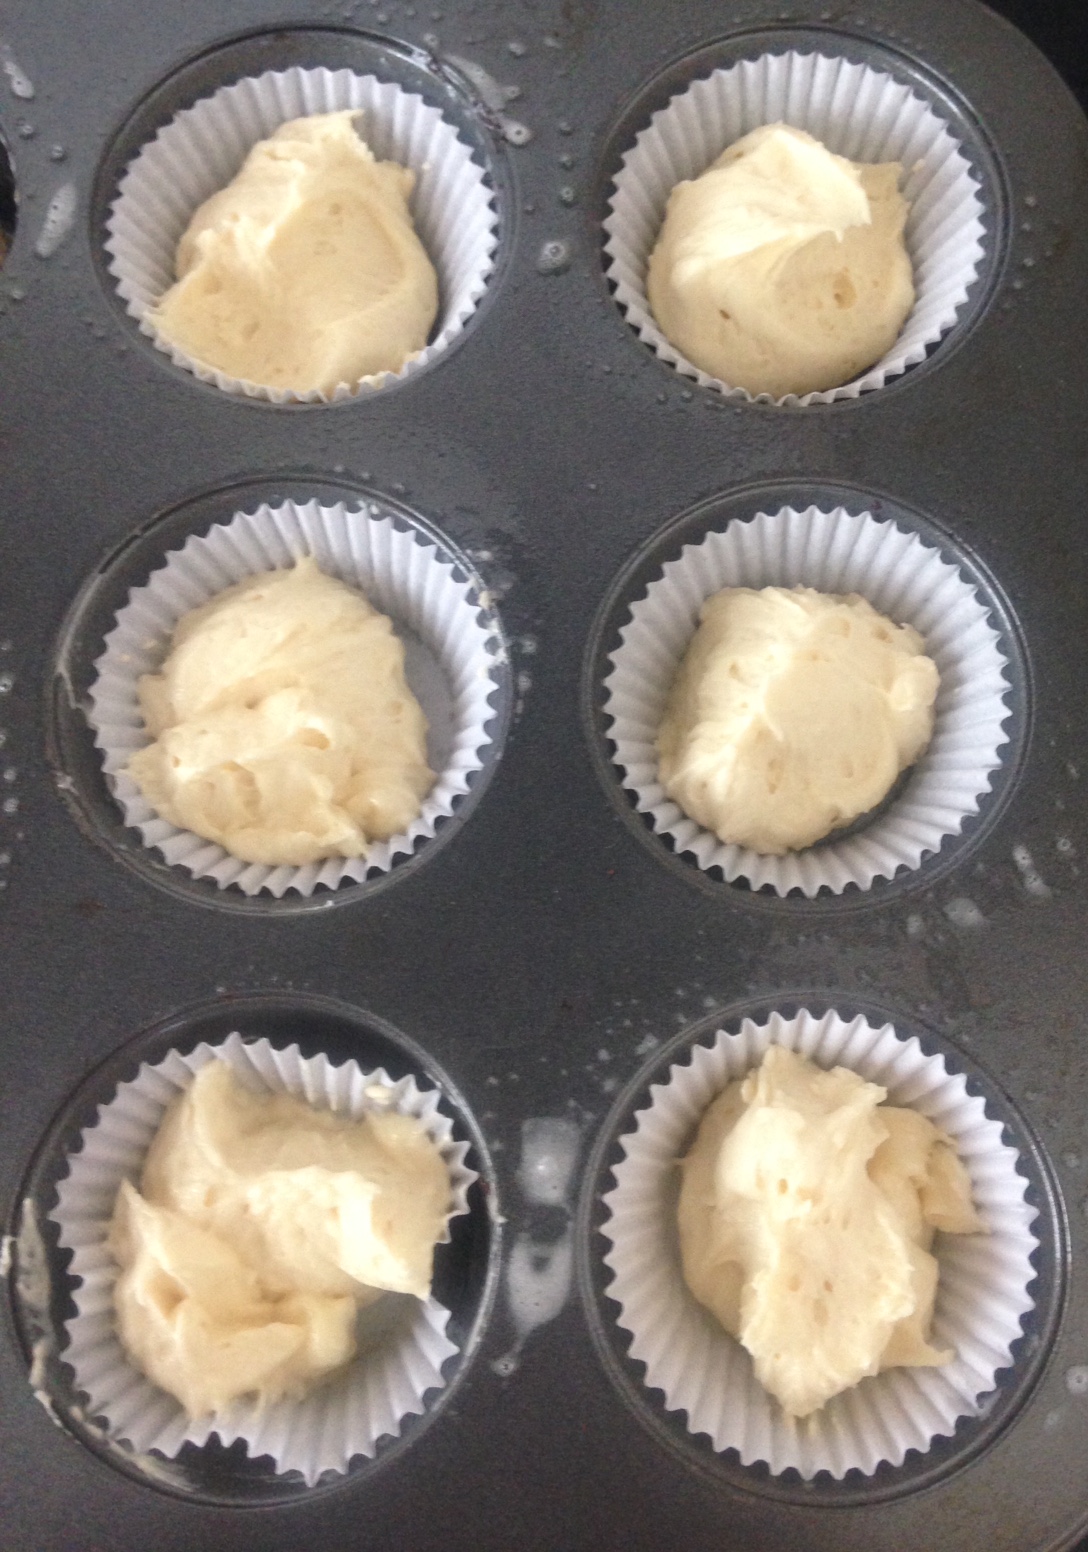
- Pre-heat the oven to 180c degrees and place 12 medium sized patty pan cases into a 12 hole cupcake tin.
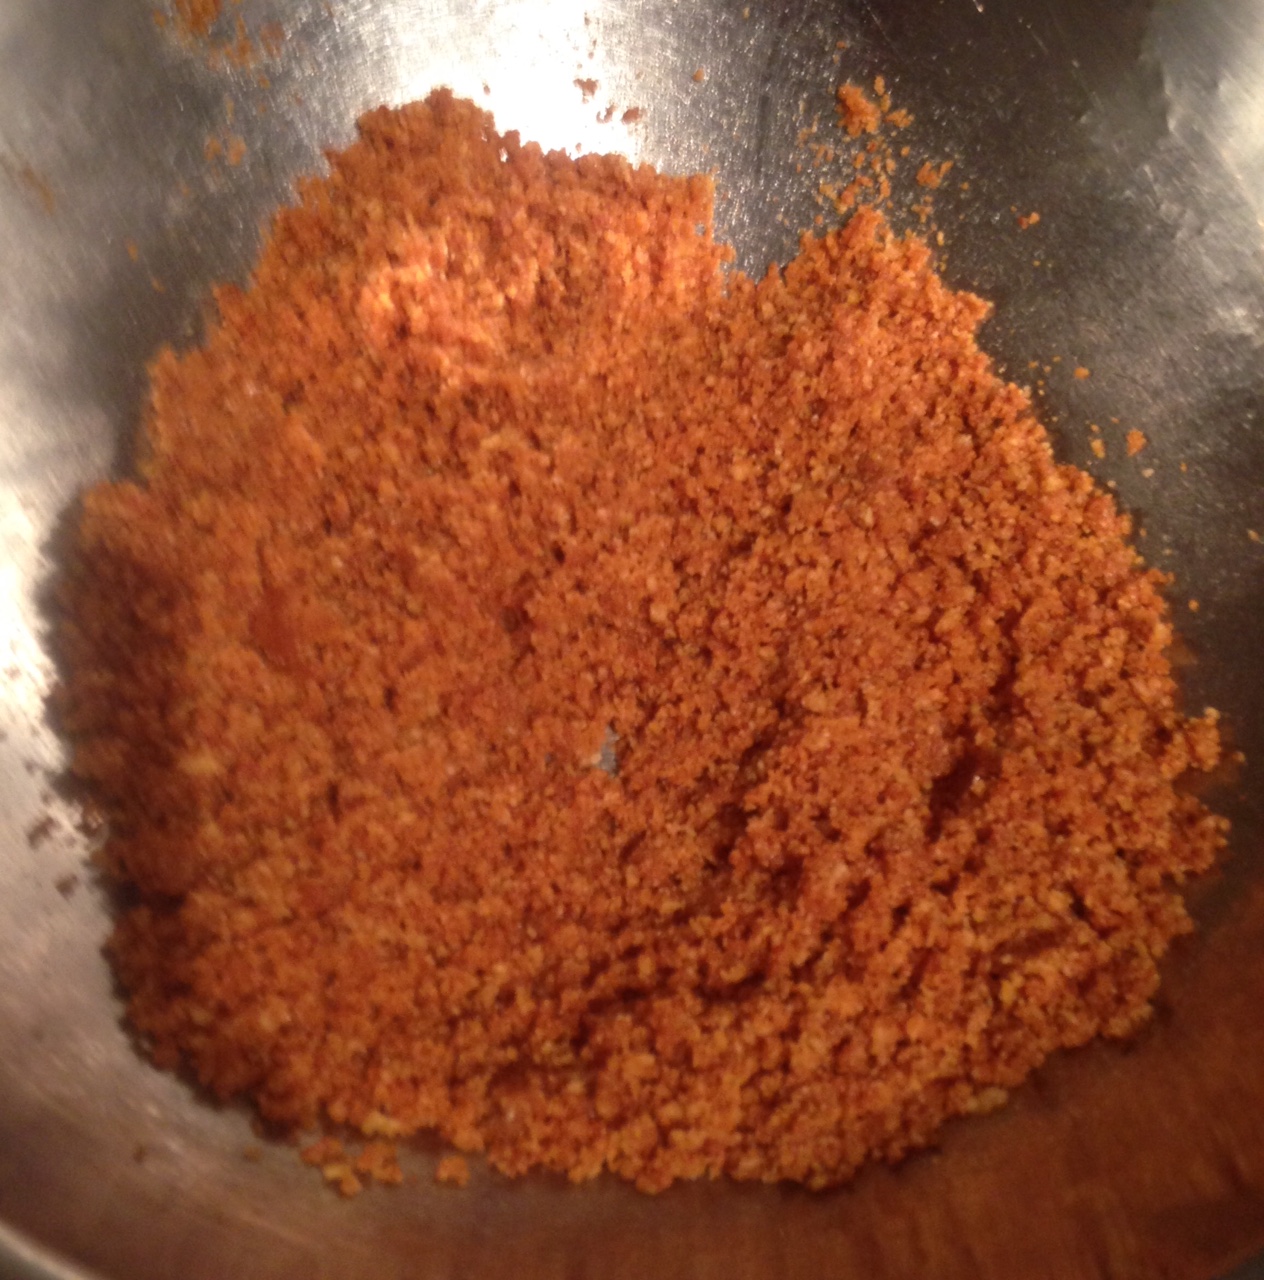
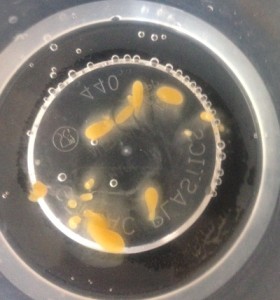
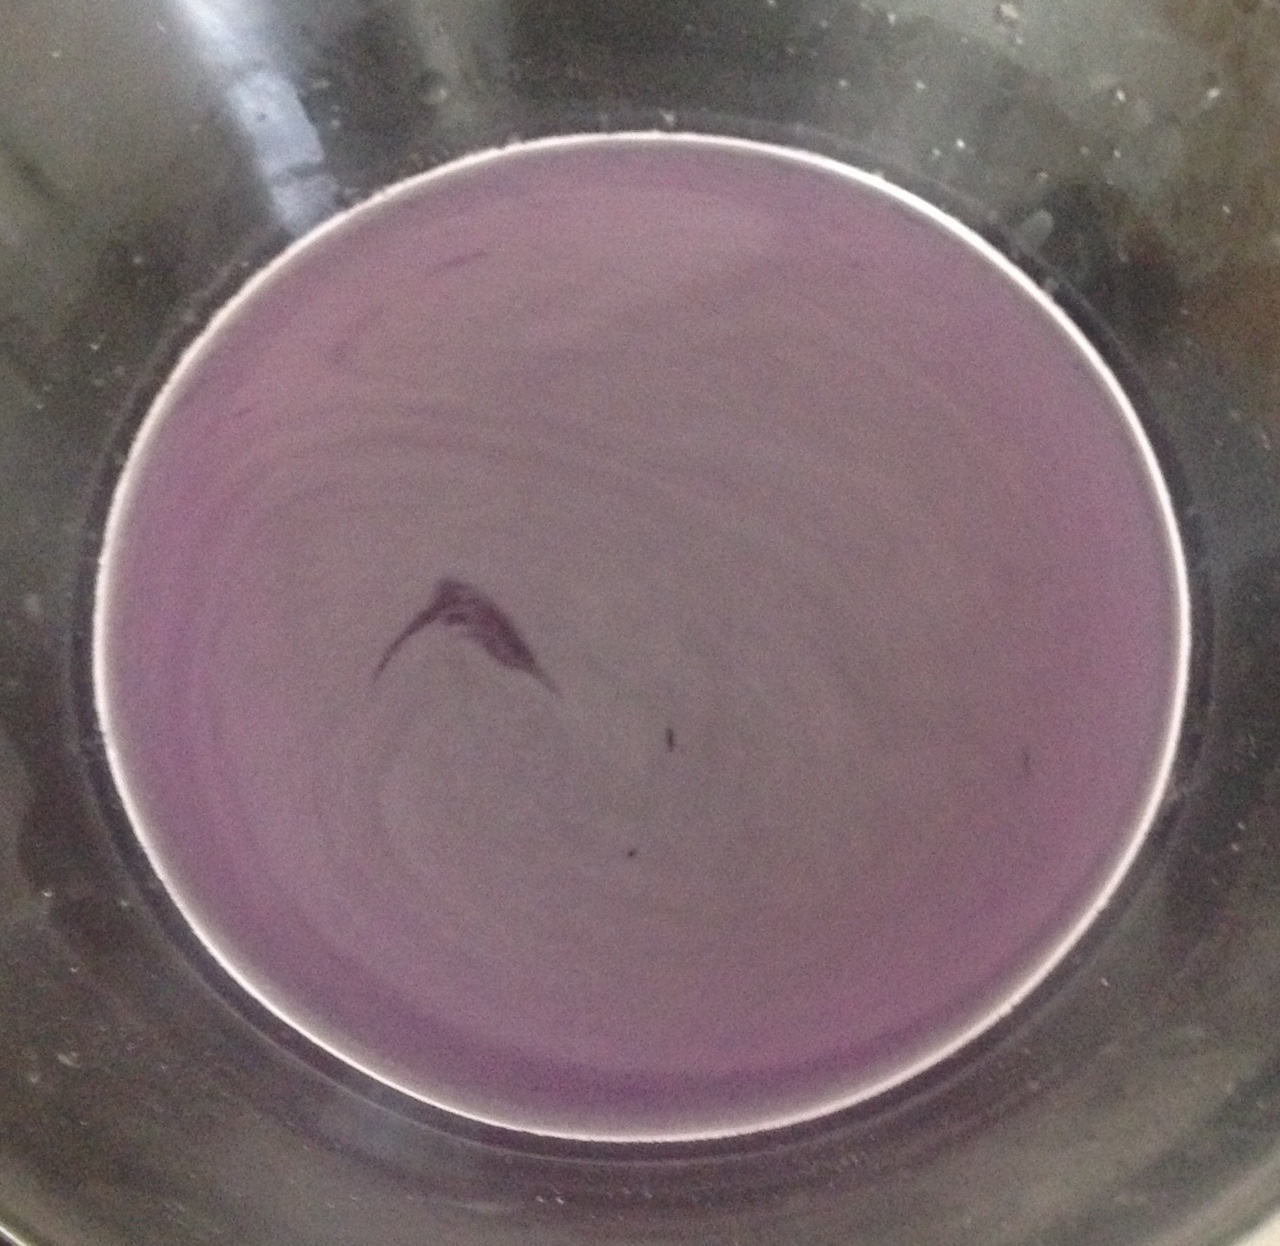
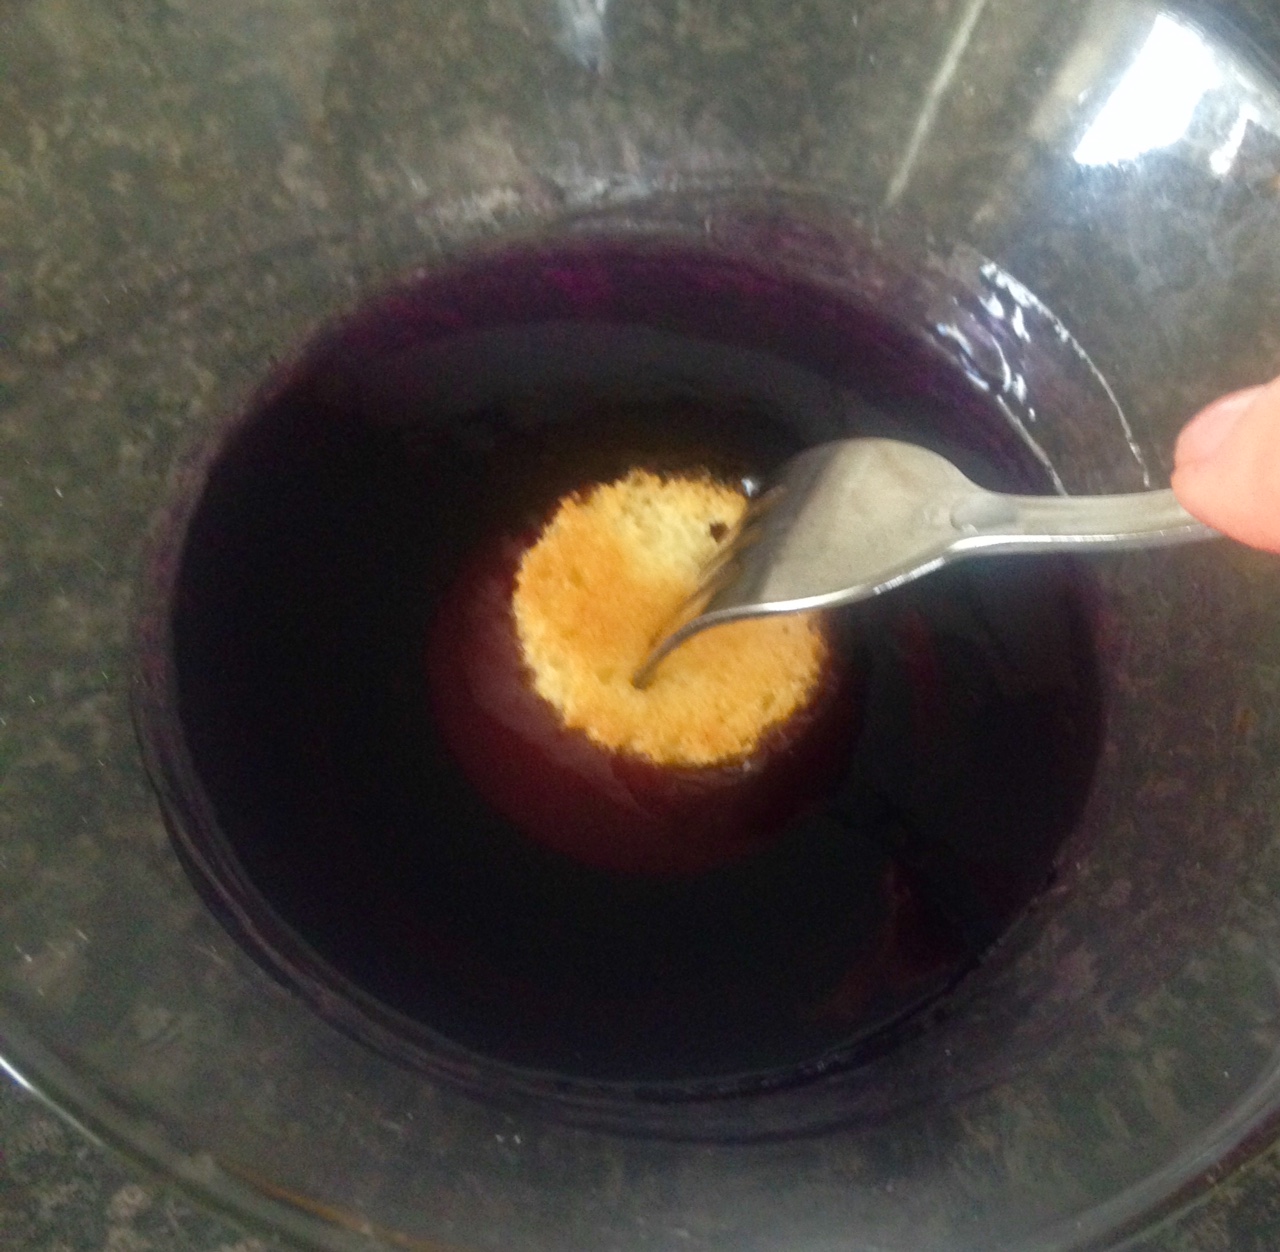
- Place 45g of the jelly crystals into a bowl of 250ml of boiling water. Whisk until the jelly has dissolved fully then pour in a further 250ml of cold water into the bowl, whisk again.
- Place the jelly mix in the fridge for 1 hour or until the jelly resembles a syrup texture and is almost set.
- Using electric beaters beat the butter and sugar for 5 minutes until light and fluffy.
- Add the vanilla and eggs, beating in each addition.
- Sift in the flour and pour the milk into the butter mix and mix with a spoon until just combine.
- Whisk with electric beaters until just fluffy.
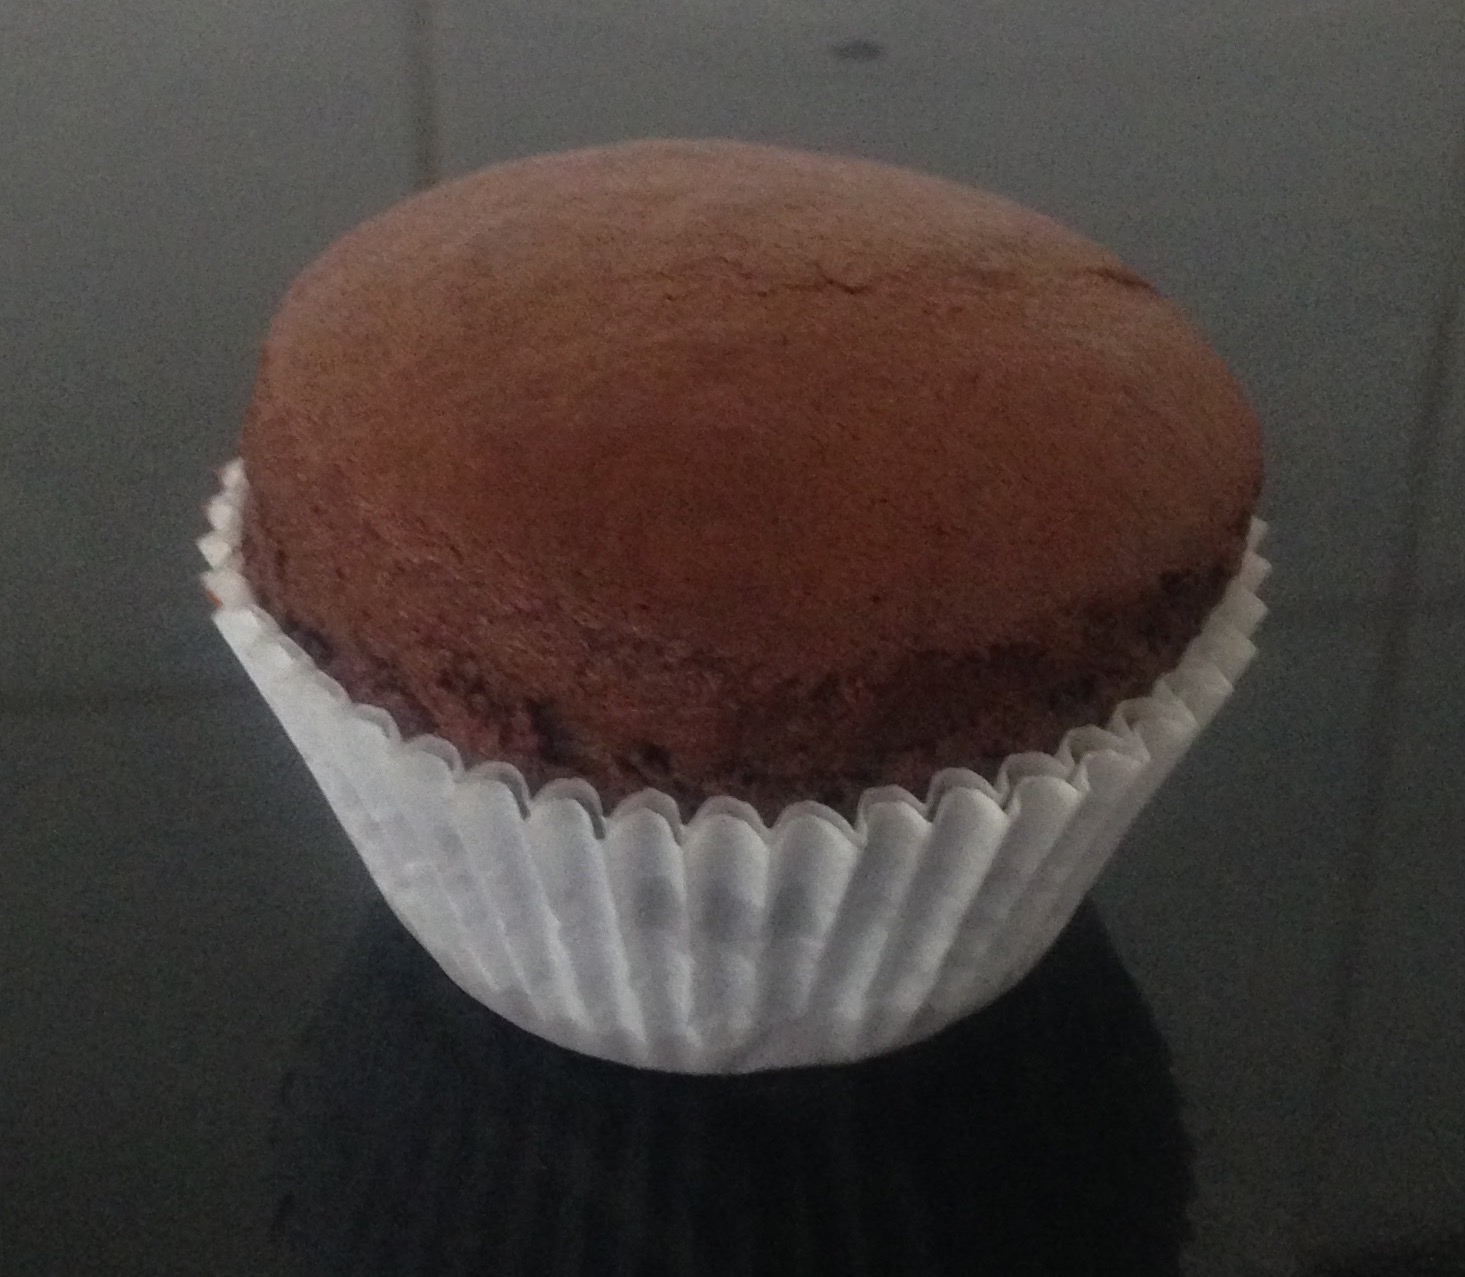
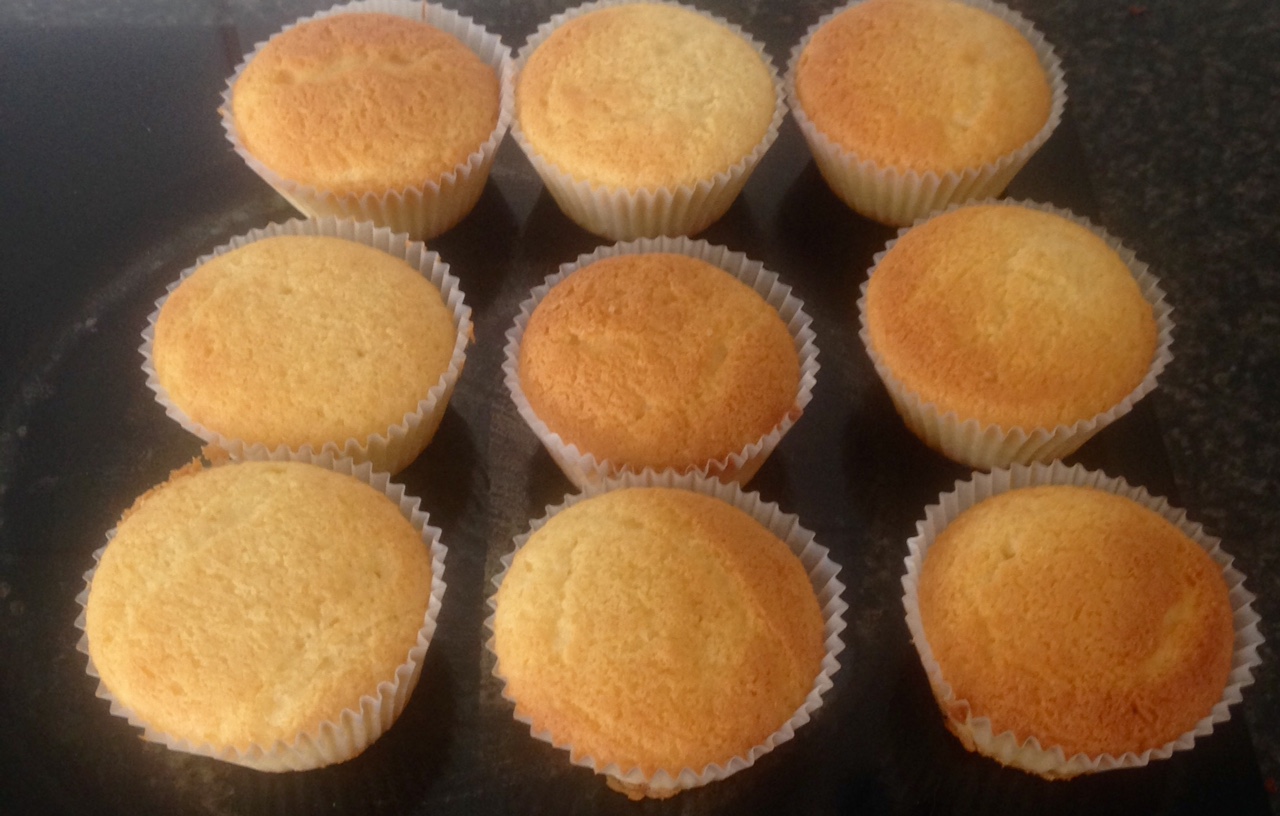
- Spoon the mix into the patty cases (about 2 tbsn of batter per cake) and bake in the oven for 15 minutes or until a skewer in the center comes out clean.
- Allow the cake to cool in the pans for 5 minutes than place on a cooling rack out of the patty cases until the cakes are cooled.
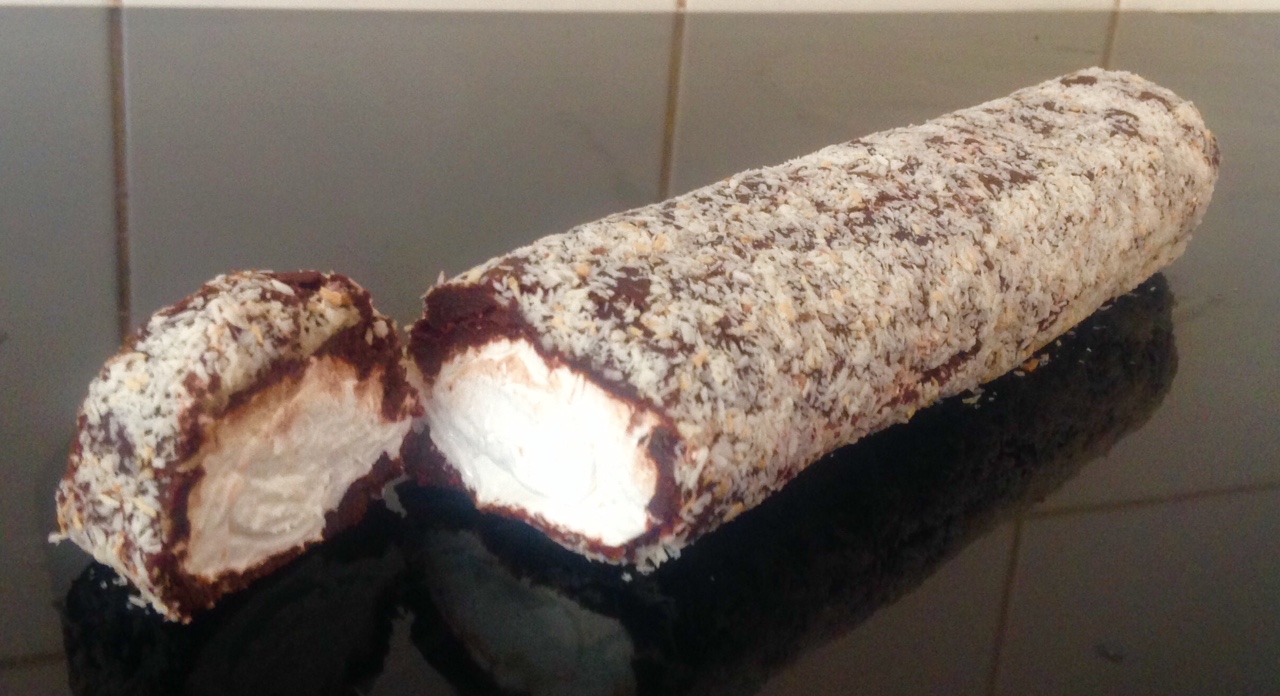
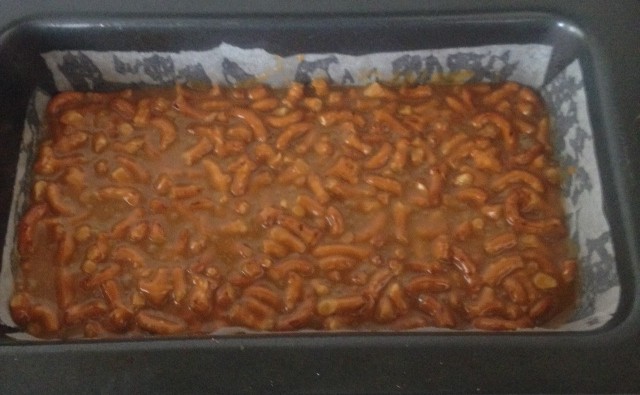
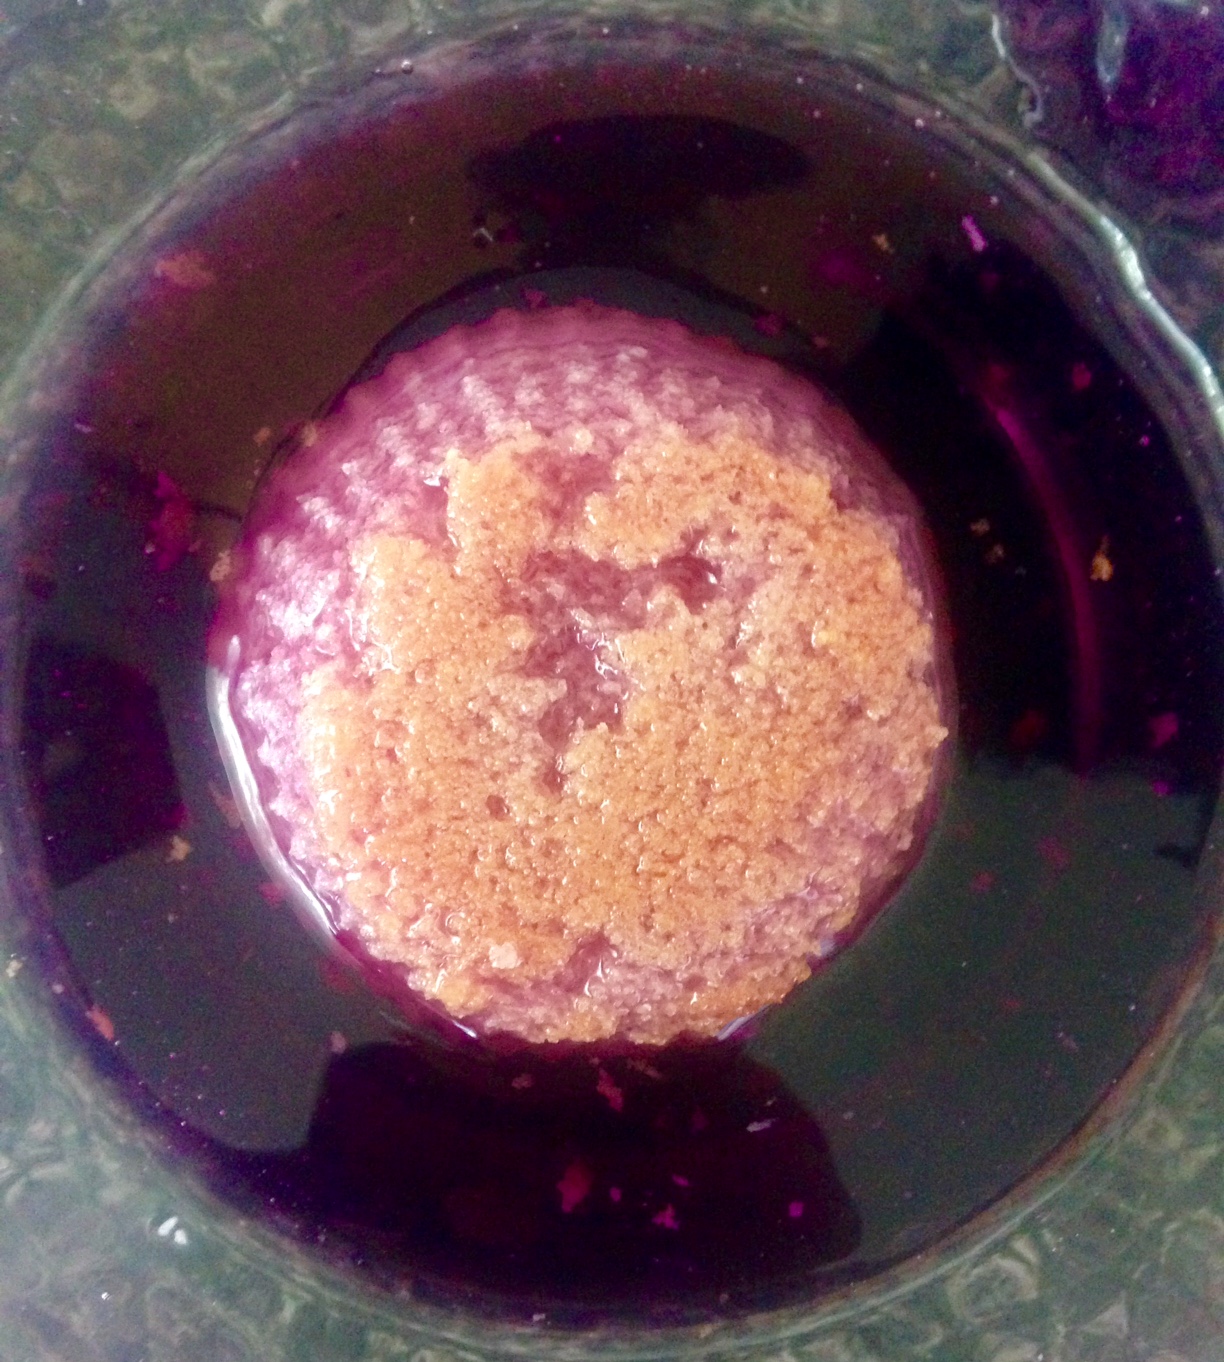
- Place the coconut onto a plate.
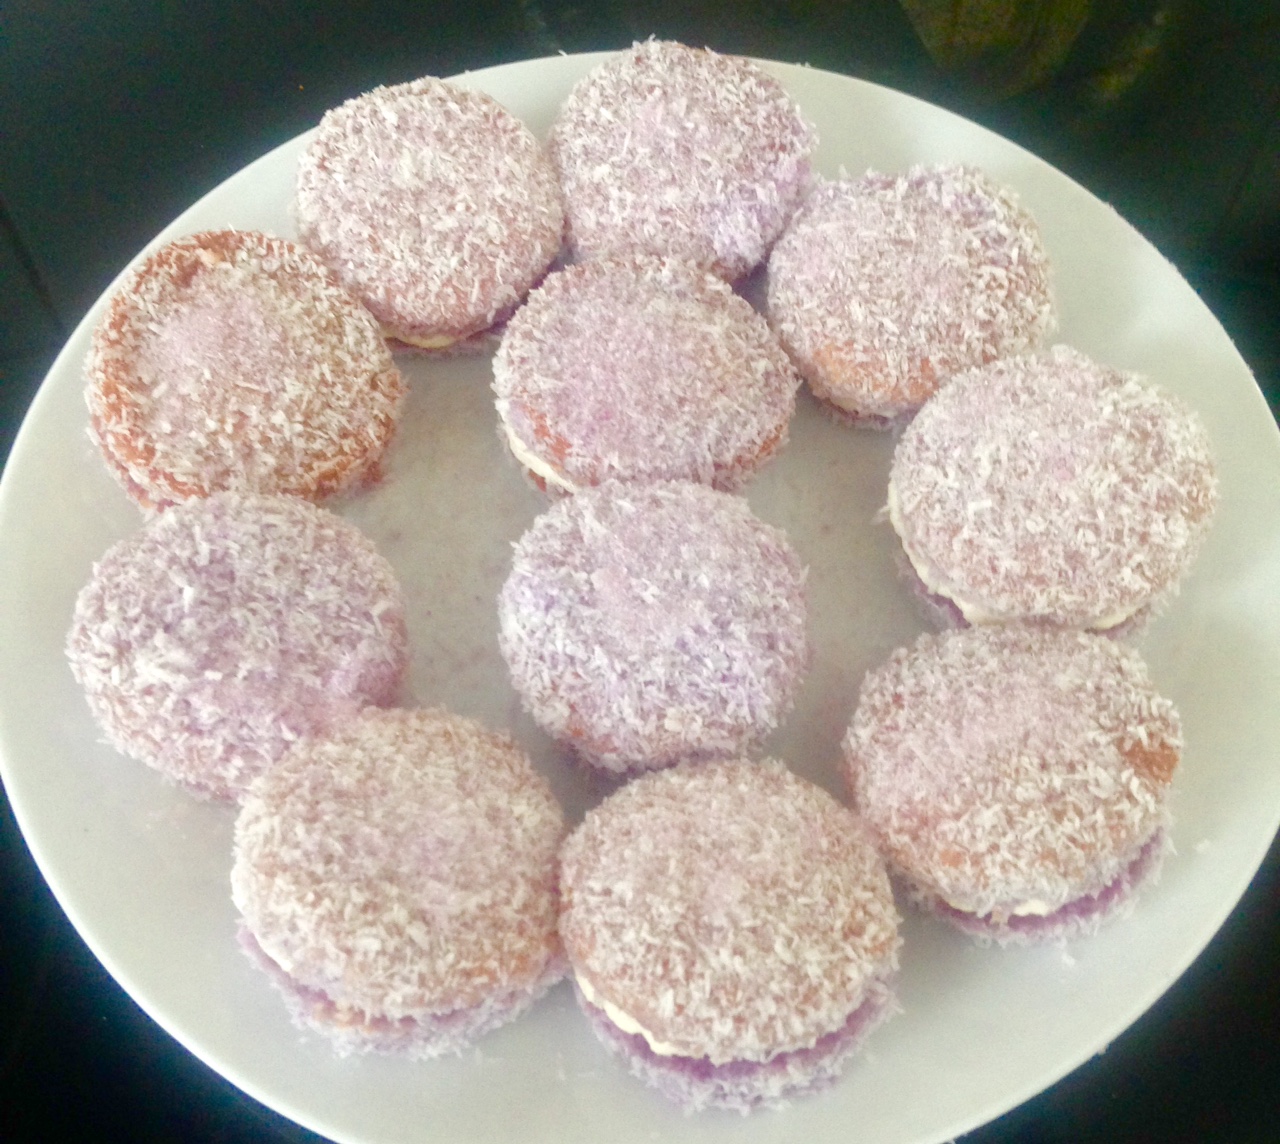
- Using a fork dip the cakes into the jelly for 25 seconds then place in the coconut and cover the cake completely.
- Place the covered cake onto a plate and repeat, all the jelly should be used up. Once all covered place the plate in the fridge for 1 hour to set.
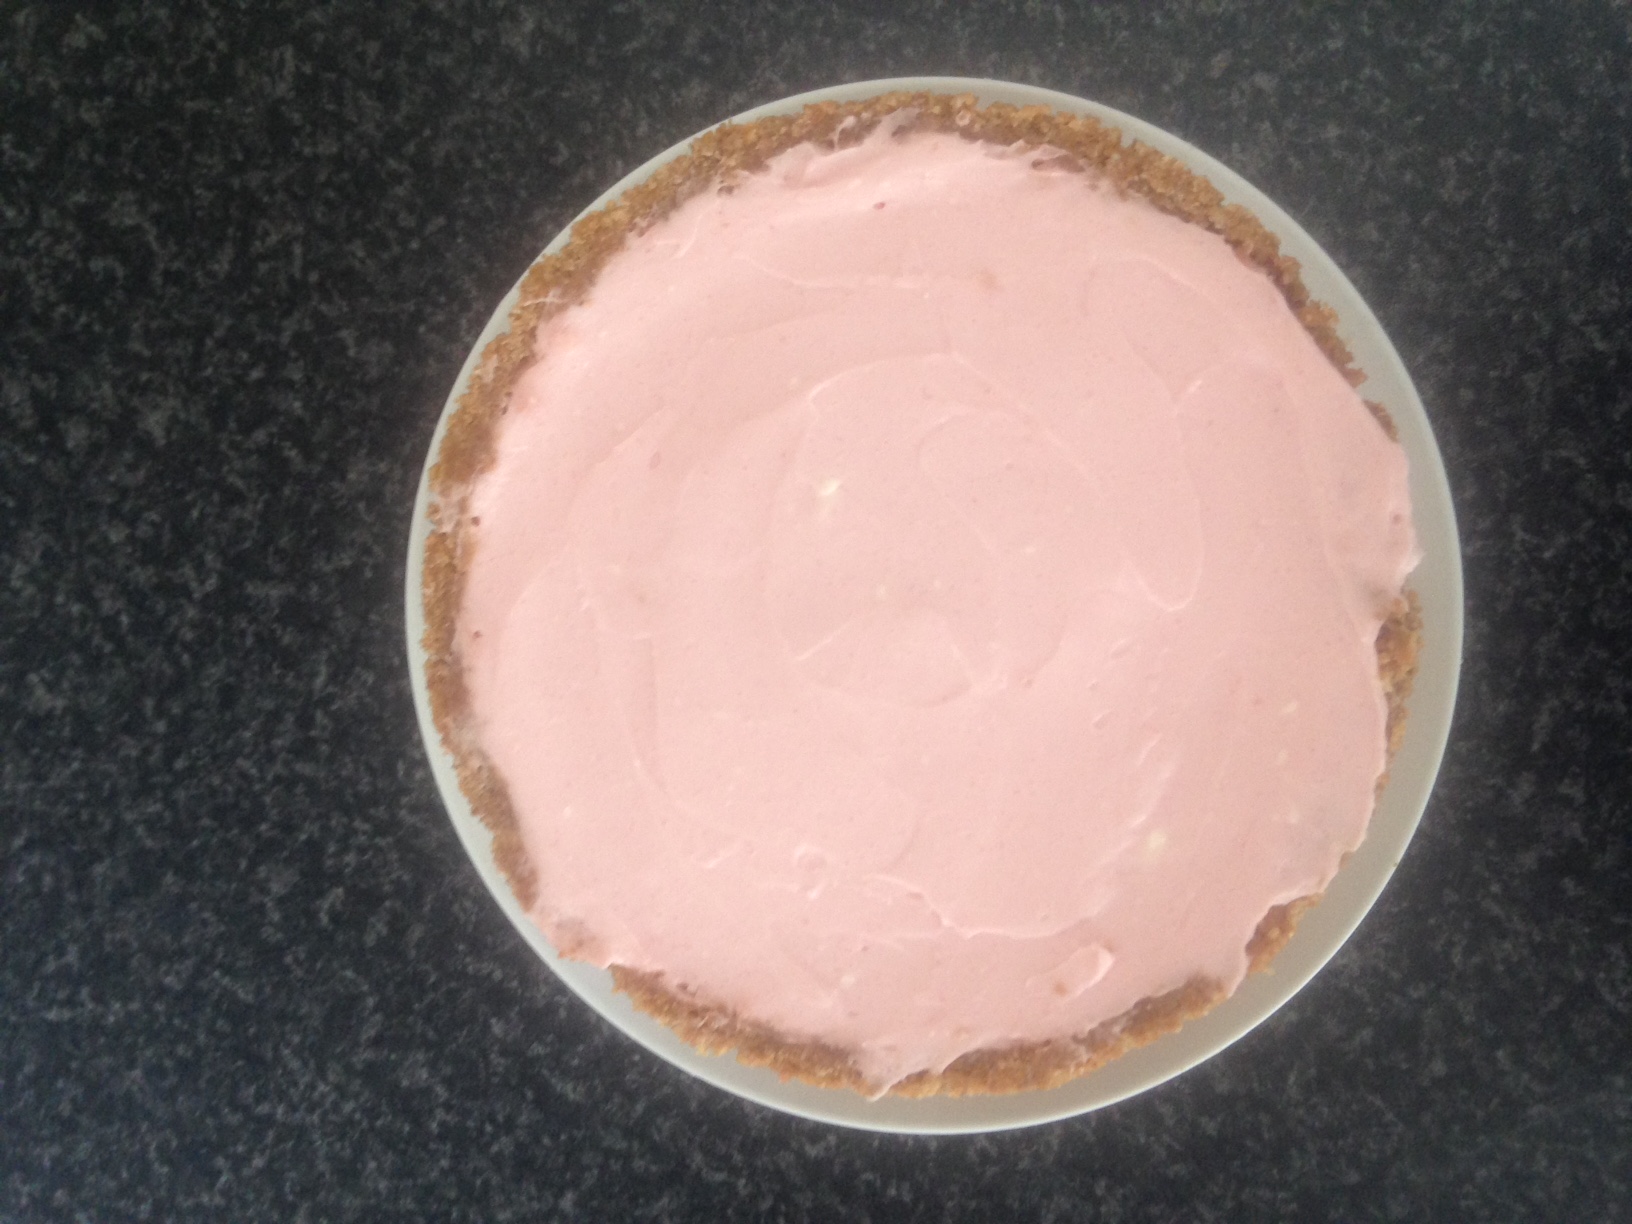
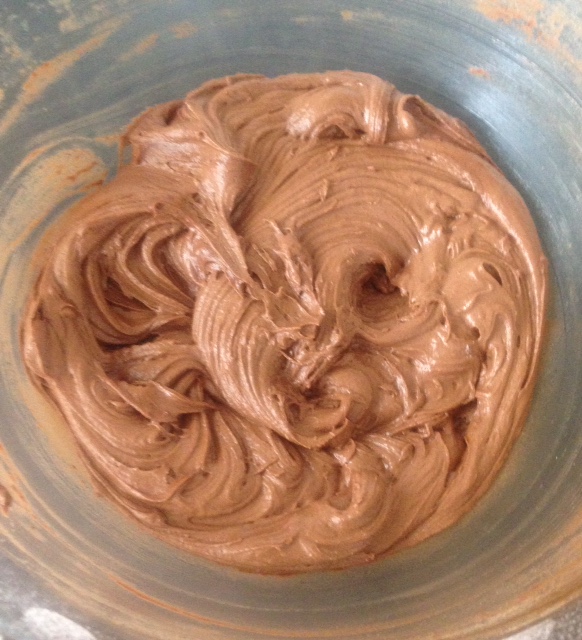
- Using electric beaters beat the cream and icing sugar until thick and peaked.
- Cut the cakes horizontally in half, spoon some cream into one of the cake halves, dust with 10g of the jelly crystals over the cakes.
- Sandwich the second cake on top of the cream and dust with a further 5g of the jelly crystals over the cakes.
- Place the cakes in the fridge again for a further 30 minutes, serve.

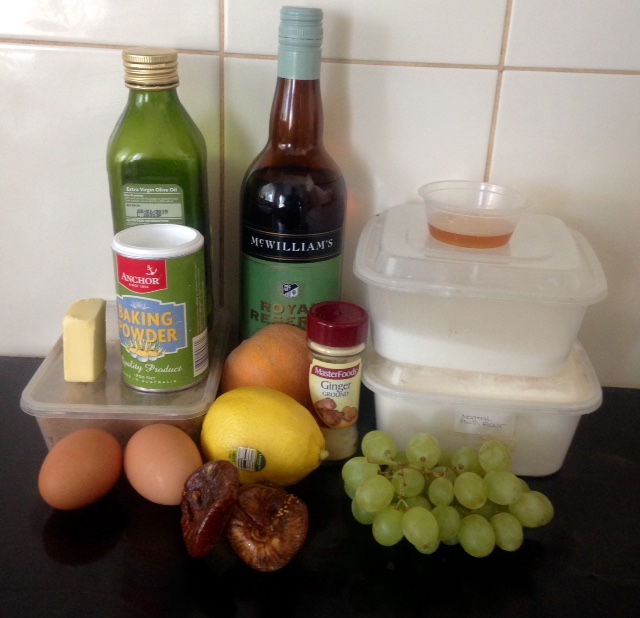
Ingredients
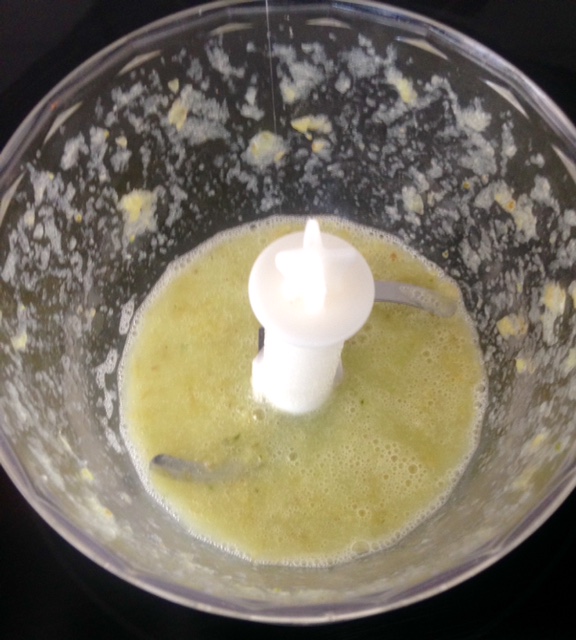
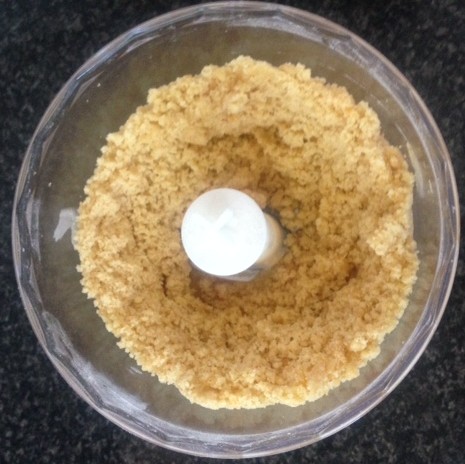
Step 2
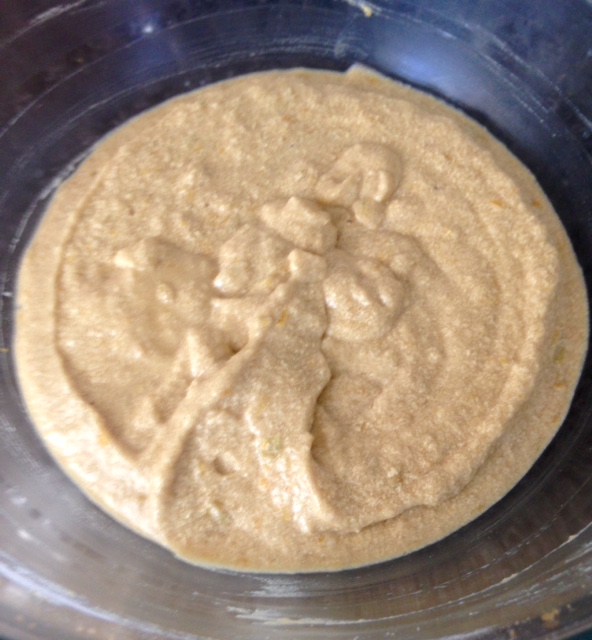
Step 8
Step 9

Step 10
Step 11
Step 11
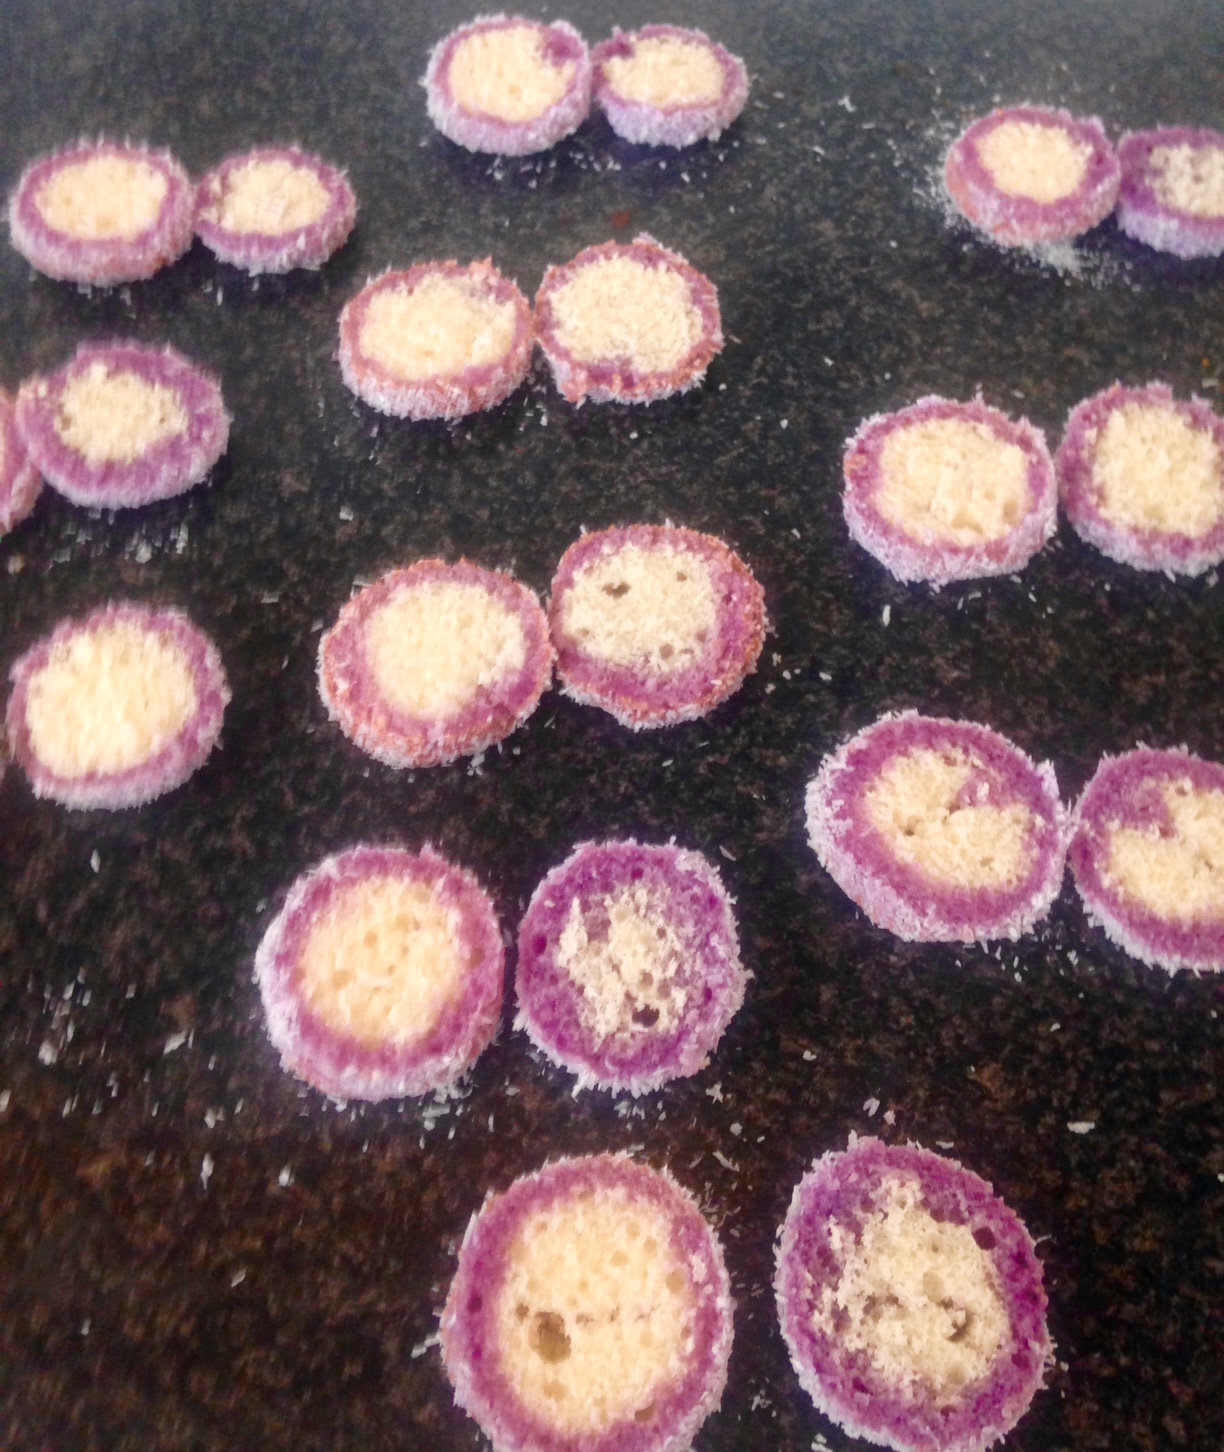
Step 14
Step 16
Like this recipe? Subscribe via RSS or email to get my new entries and more scrumptious recipes with reviews.
 Follow