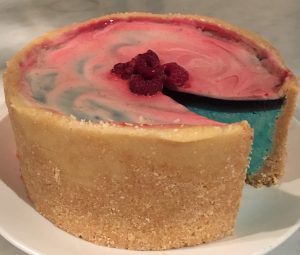
Popcorn Peanut and Protein Custard Ice-cream
I have recently been inspired by the old fashion way of making ice-cream, in which entails a thick and creamy custard base. These days vegetable oil has become the base, which is unhealthy, and 100% fat!
As the traditional method actually delivers on rich and scrumptious dairy goodness I decided I would take this theme and make a tasty ice-cream that has minimal processed elements that is packed with body loving protein. I also wanted to make sure the recipe was super easy and can be done really quickly.
Now this is actually quite a lot that the recipe will need deliver on so I created 4 different versions with differing volume ratios of ingredients and varying flavor combos.
After a bit of trial/error and testing/learning I found the recipe I was looking for.
The custard uses custard powder, meaning it takes a whole of 5 mins tops to make. Protein powder and peanuts/peanut butter provides the high protein kick with only natural good oils, while the sweetness has been delivered via natural honey. The only really naught element here is the small amount of caramel on the popcorn.
A really tasty and satisfying treat that takes only minutes to make with minimal effort!
Ingredients:
Custard:
- 480ml milk (I used low fat, but up to you)
- 25g custard powder
- 20g honey
Ice-cream:
- 500ml custard (recipe above)
- 50g vanilla protein powder
- 1 tsn vanilla essence
- 10g honey
- 240g peanut butter
- 40g chopped peanuts
- 120g caramel popcorn, roughly chopped (I used store brought)
Method:
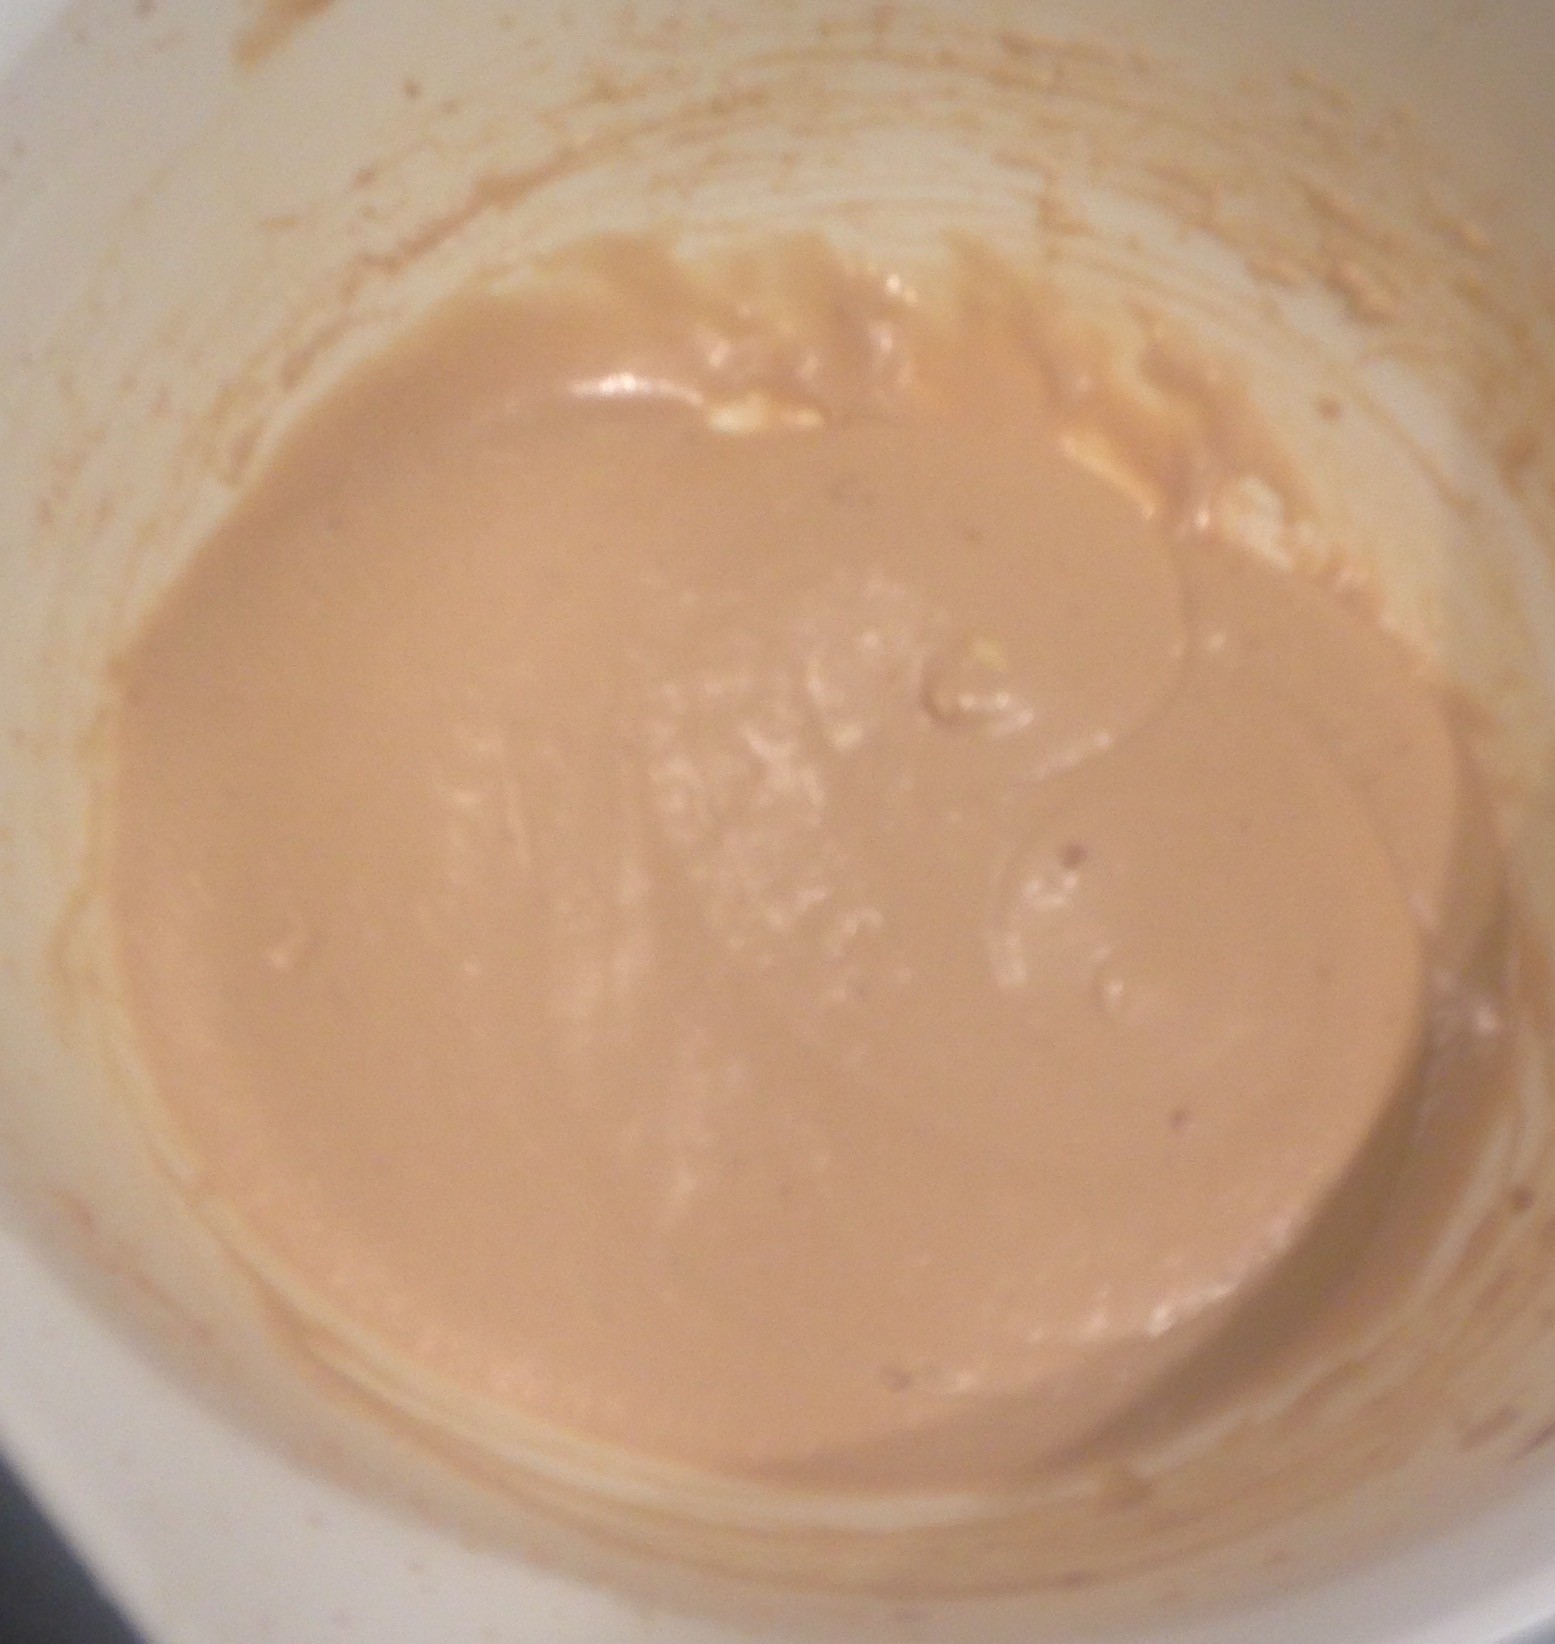
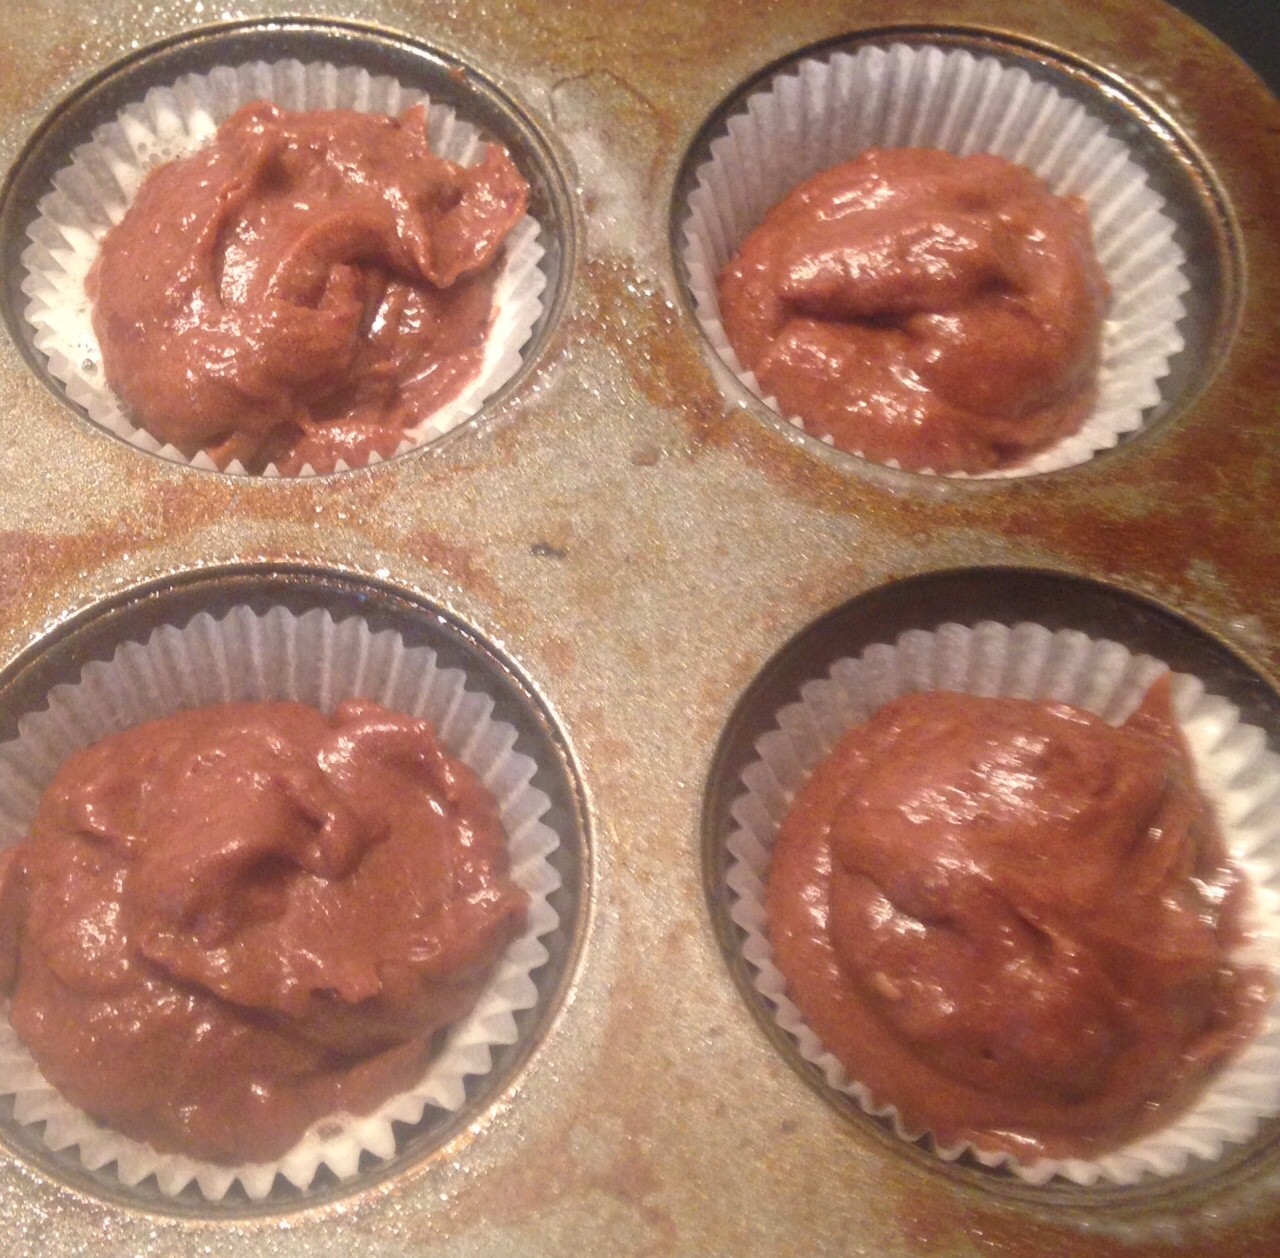
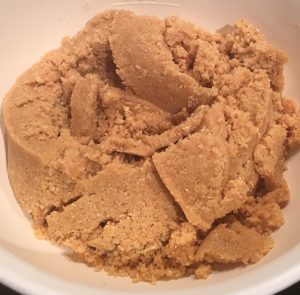
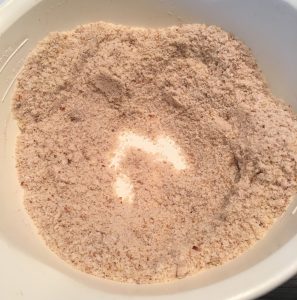
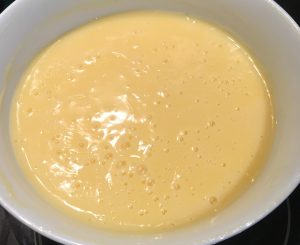
- Place the custard ingredients into a bowl and whisk with a hand whisk until combine.
- Place the bowl in the microwave for 5 minutes or until the mix resembles a thick custard texture, ensure you whisk in between every minute of cooking.
- Allow the custard to sit for 5 minutes then top with plastic wrap. Leave the mix aside to cool to room temperature.
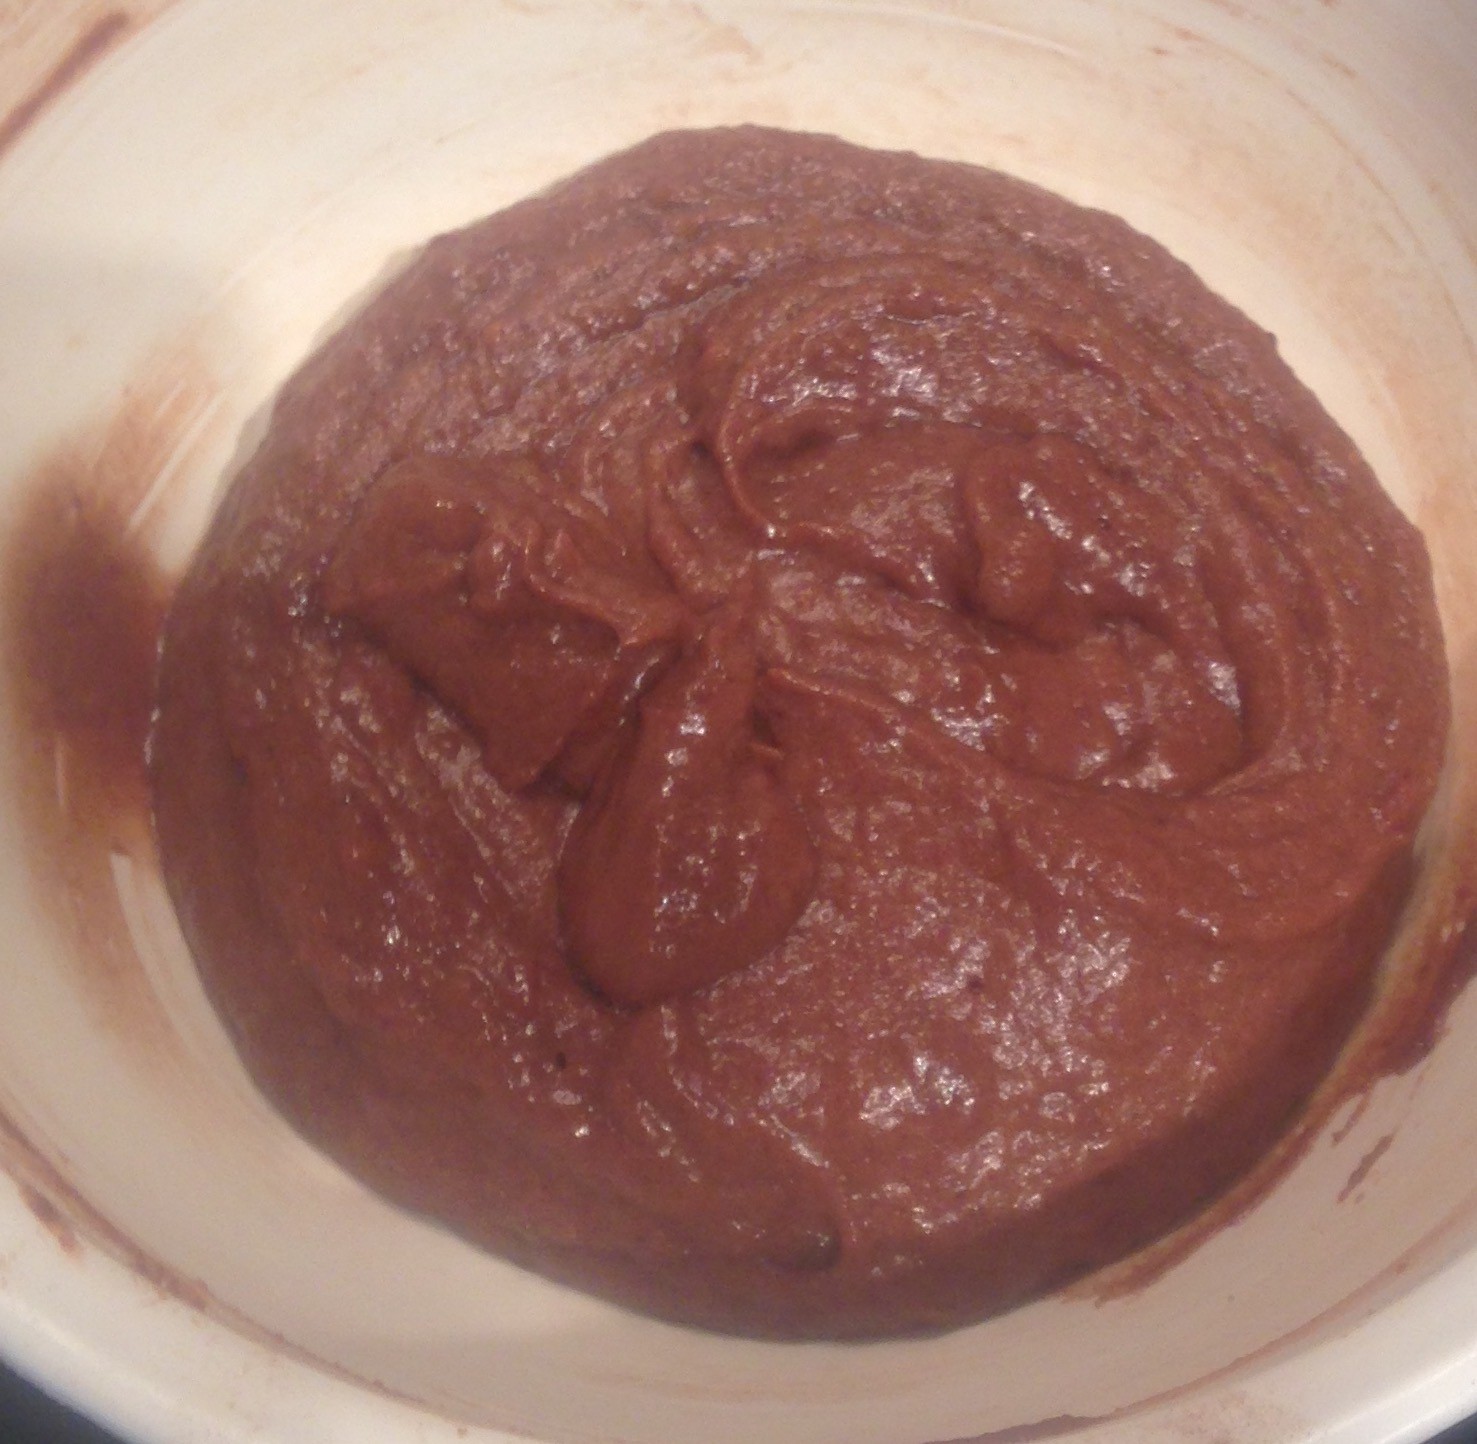
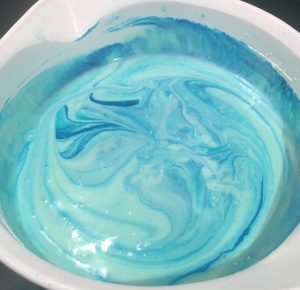
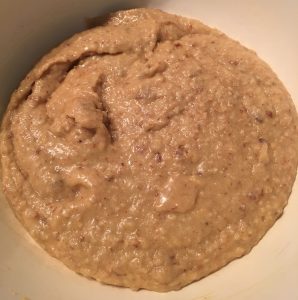
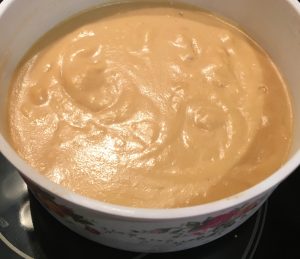
- Add to the custard the protein powder, essence, honey and peanut butter, stir.
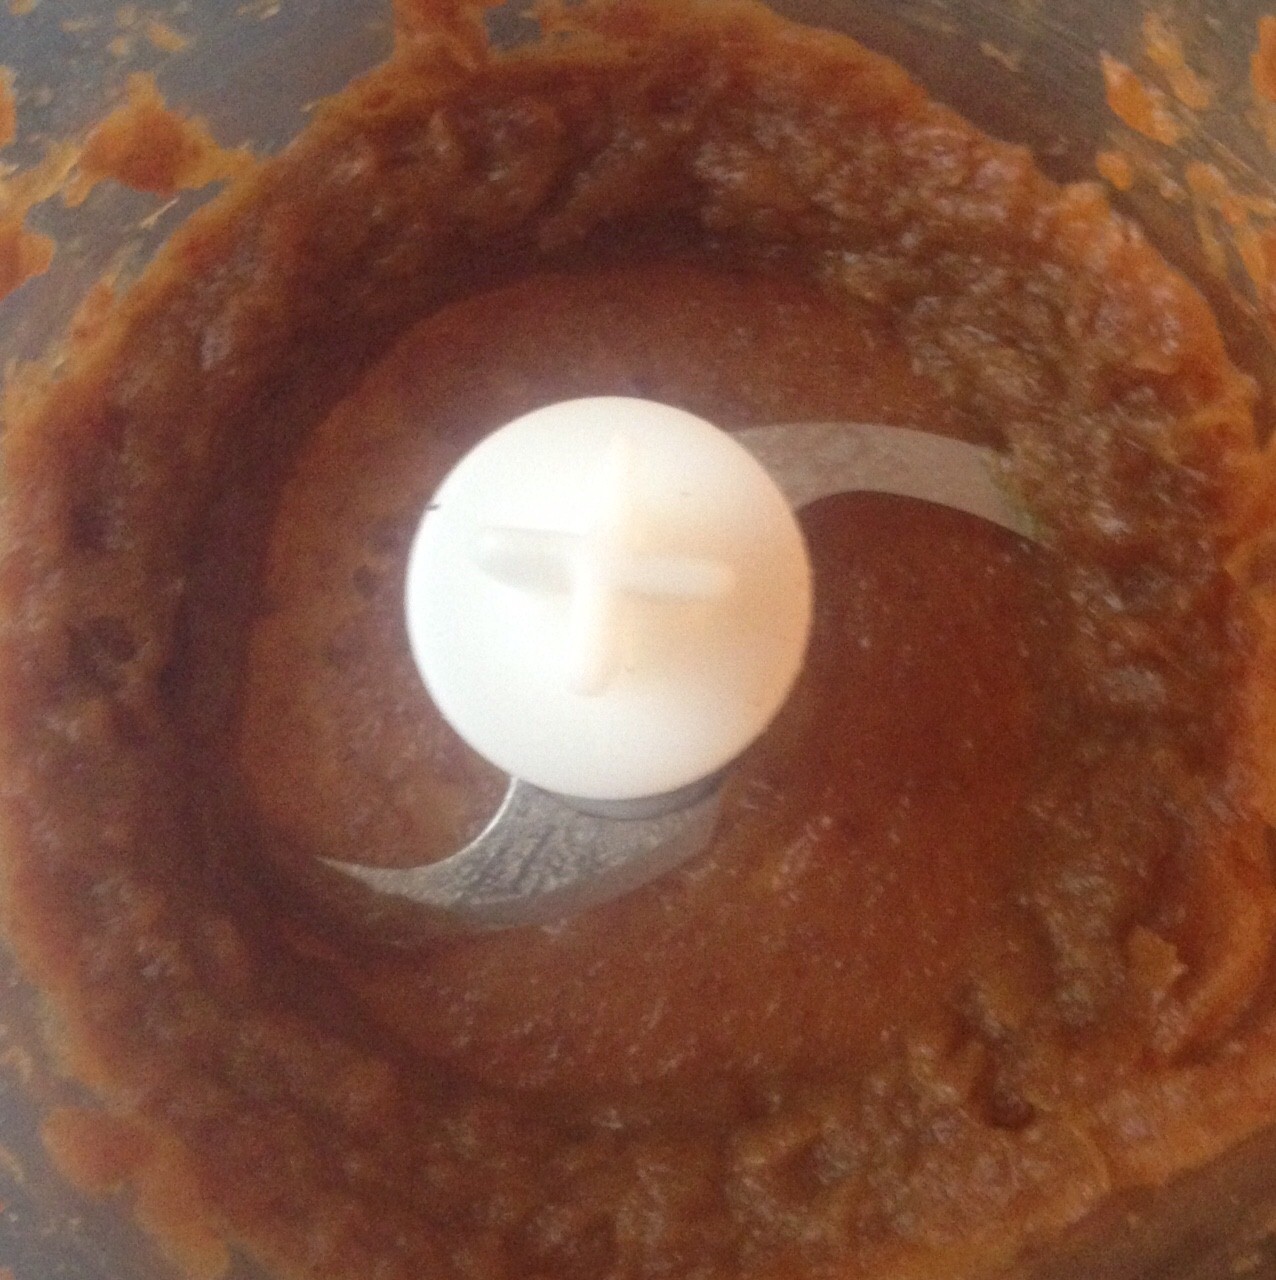
- Place the custard mix in a food processor and blitz until smooth and creamy.
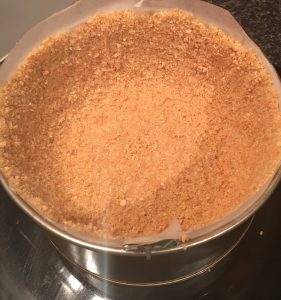
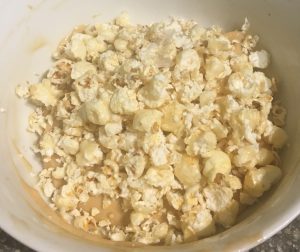
- Transfer the custard mix into a large container and stir in the chopped nuts and chopped popcorn until well combine.
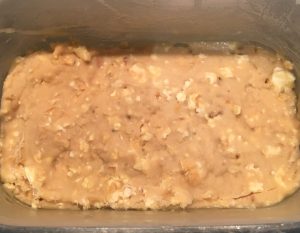
- Place the container in the freezer for 5+ hours to set.
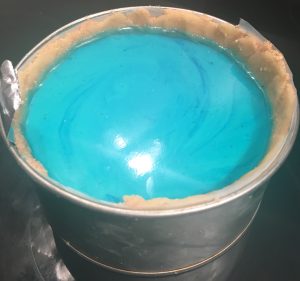
- When ready to serve remove the ice-cream from the freezer and leave aside to soften slightly for 5 minutes.
- Scoop and enjoy.
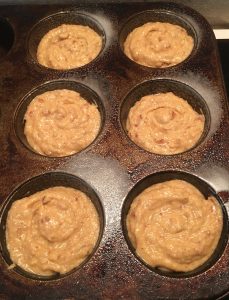
Step 2
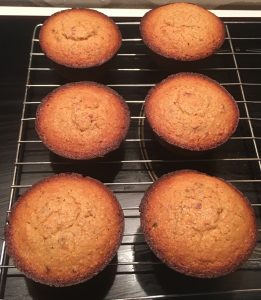
Step 4
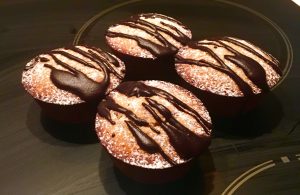
Step 6
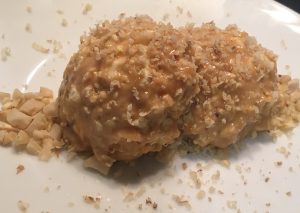
Step 8

Step 9
Like this recipe? Subscribe via RSS or email to get my new entries and more scrumptious recipes with reviews.
 Follow