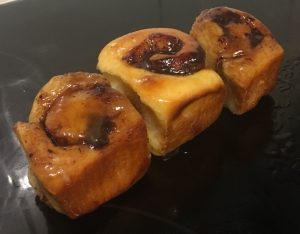
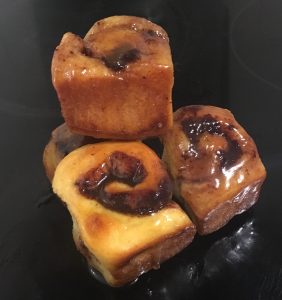
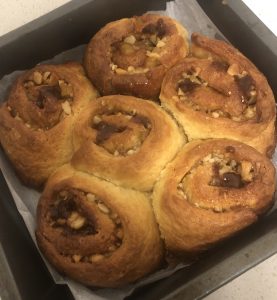
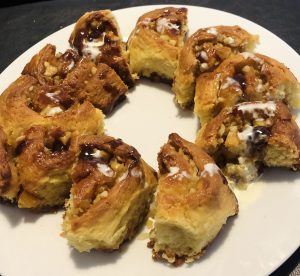
Butterscotch Macadamia and Mango Scrolls

Butterscotch, macadamia and mango…this flavour combo does not seem too out of the norm right? I’d have to agree with you actually…but using dried mango and custom-made butterscotch as a ‘coffee scroll’ is a twist on the traditional glazed cinnamons scroll. In fact my recipe doesn’t even have glaze at all!
This recipe came about as I was experimenting with different butterscotch recipes and thought that using butterscotch in a scroll instead of butter and sugar would produce an interesting texture from the usual, whilst still satisfying the sweet and buttery taste buds.
Instead of the sometimes walnuts and sultanas in scrolls I replaced them with a more decadent nut and dried fruit.
This recipe has had a few alternations to get to where it currently is, where dried paw paw and jackfruit with coconut were also played with.
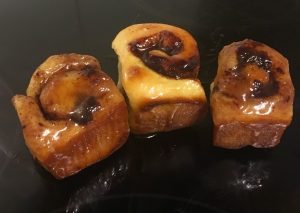
I know mango, macadamia and butterscotch is not reinventing the wheel but these scrolls straight out of the oven with a little double cream poured across them are sooo moreish. I couldn’t stop at one!

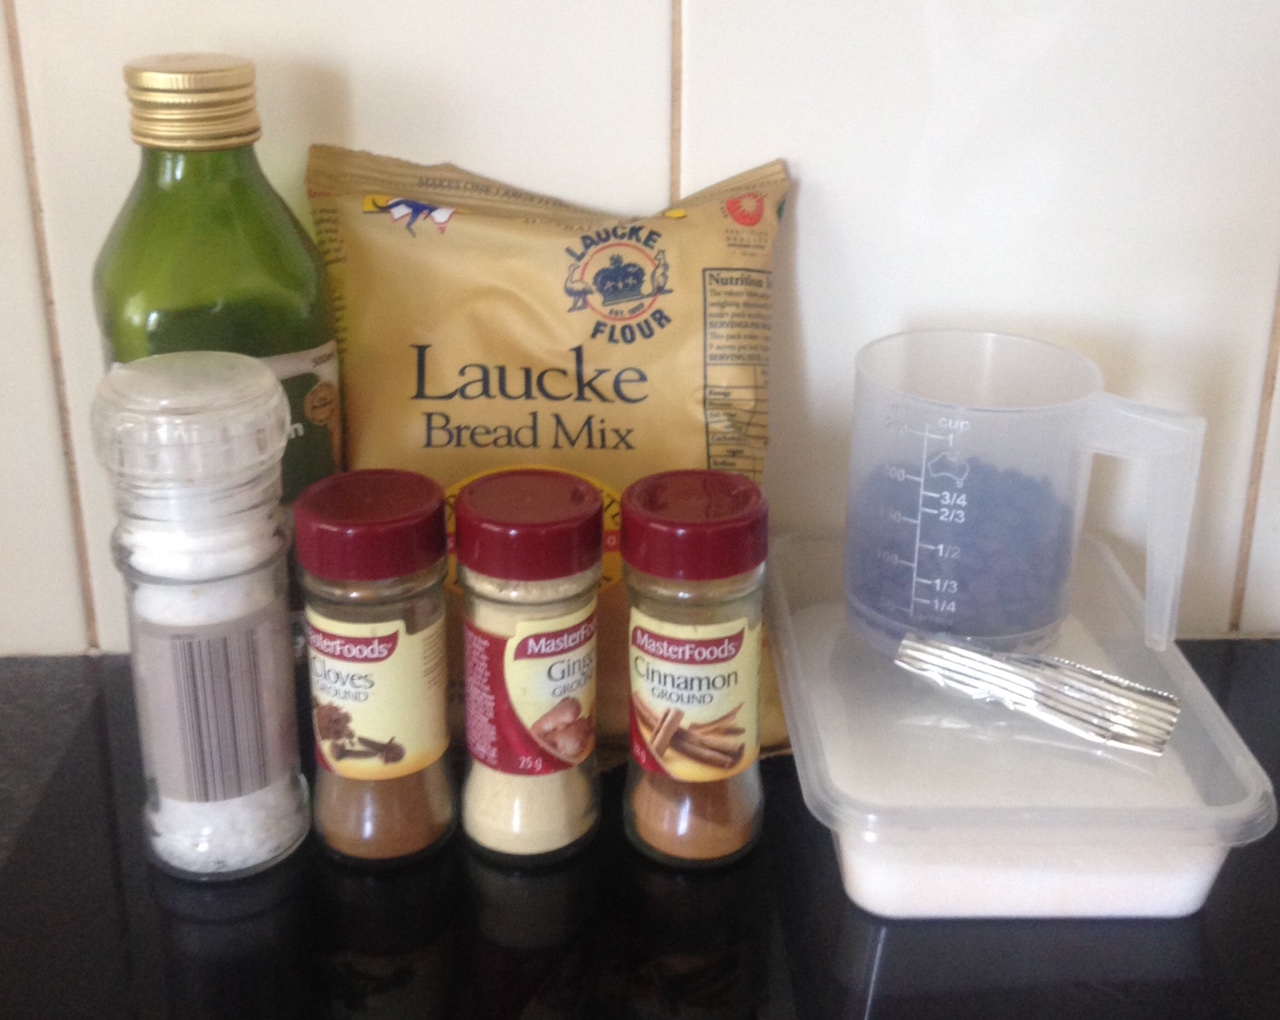
Ingredients:
Dough:
- 160ml warm milk
- 7g yeast
- 45g caster sugar
- 1 tsn vanilla essence
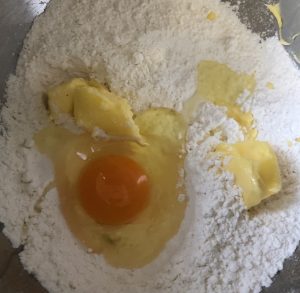
- 2 eggs
- 450g plain bread flour
- ¼ tsn salt
- 120g butter
Butterscotch:
- 2 tbsn butter
- ½ cup sugar
- 1 tsn vanilla essence
- ½ tsn salt
- 90g cream
Extra:
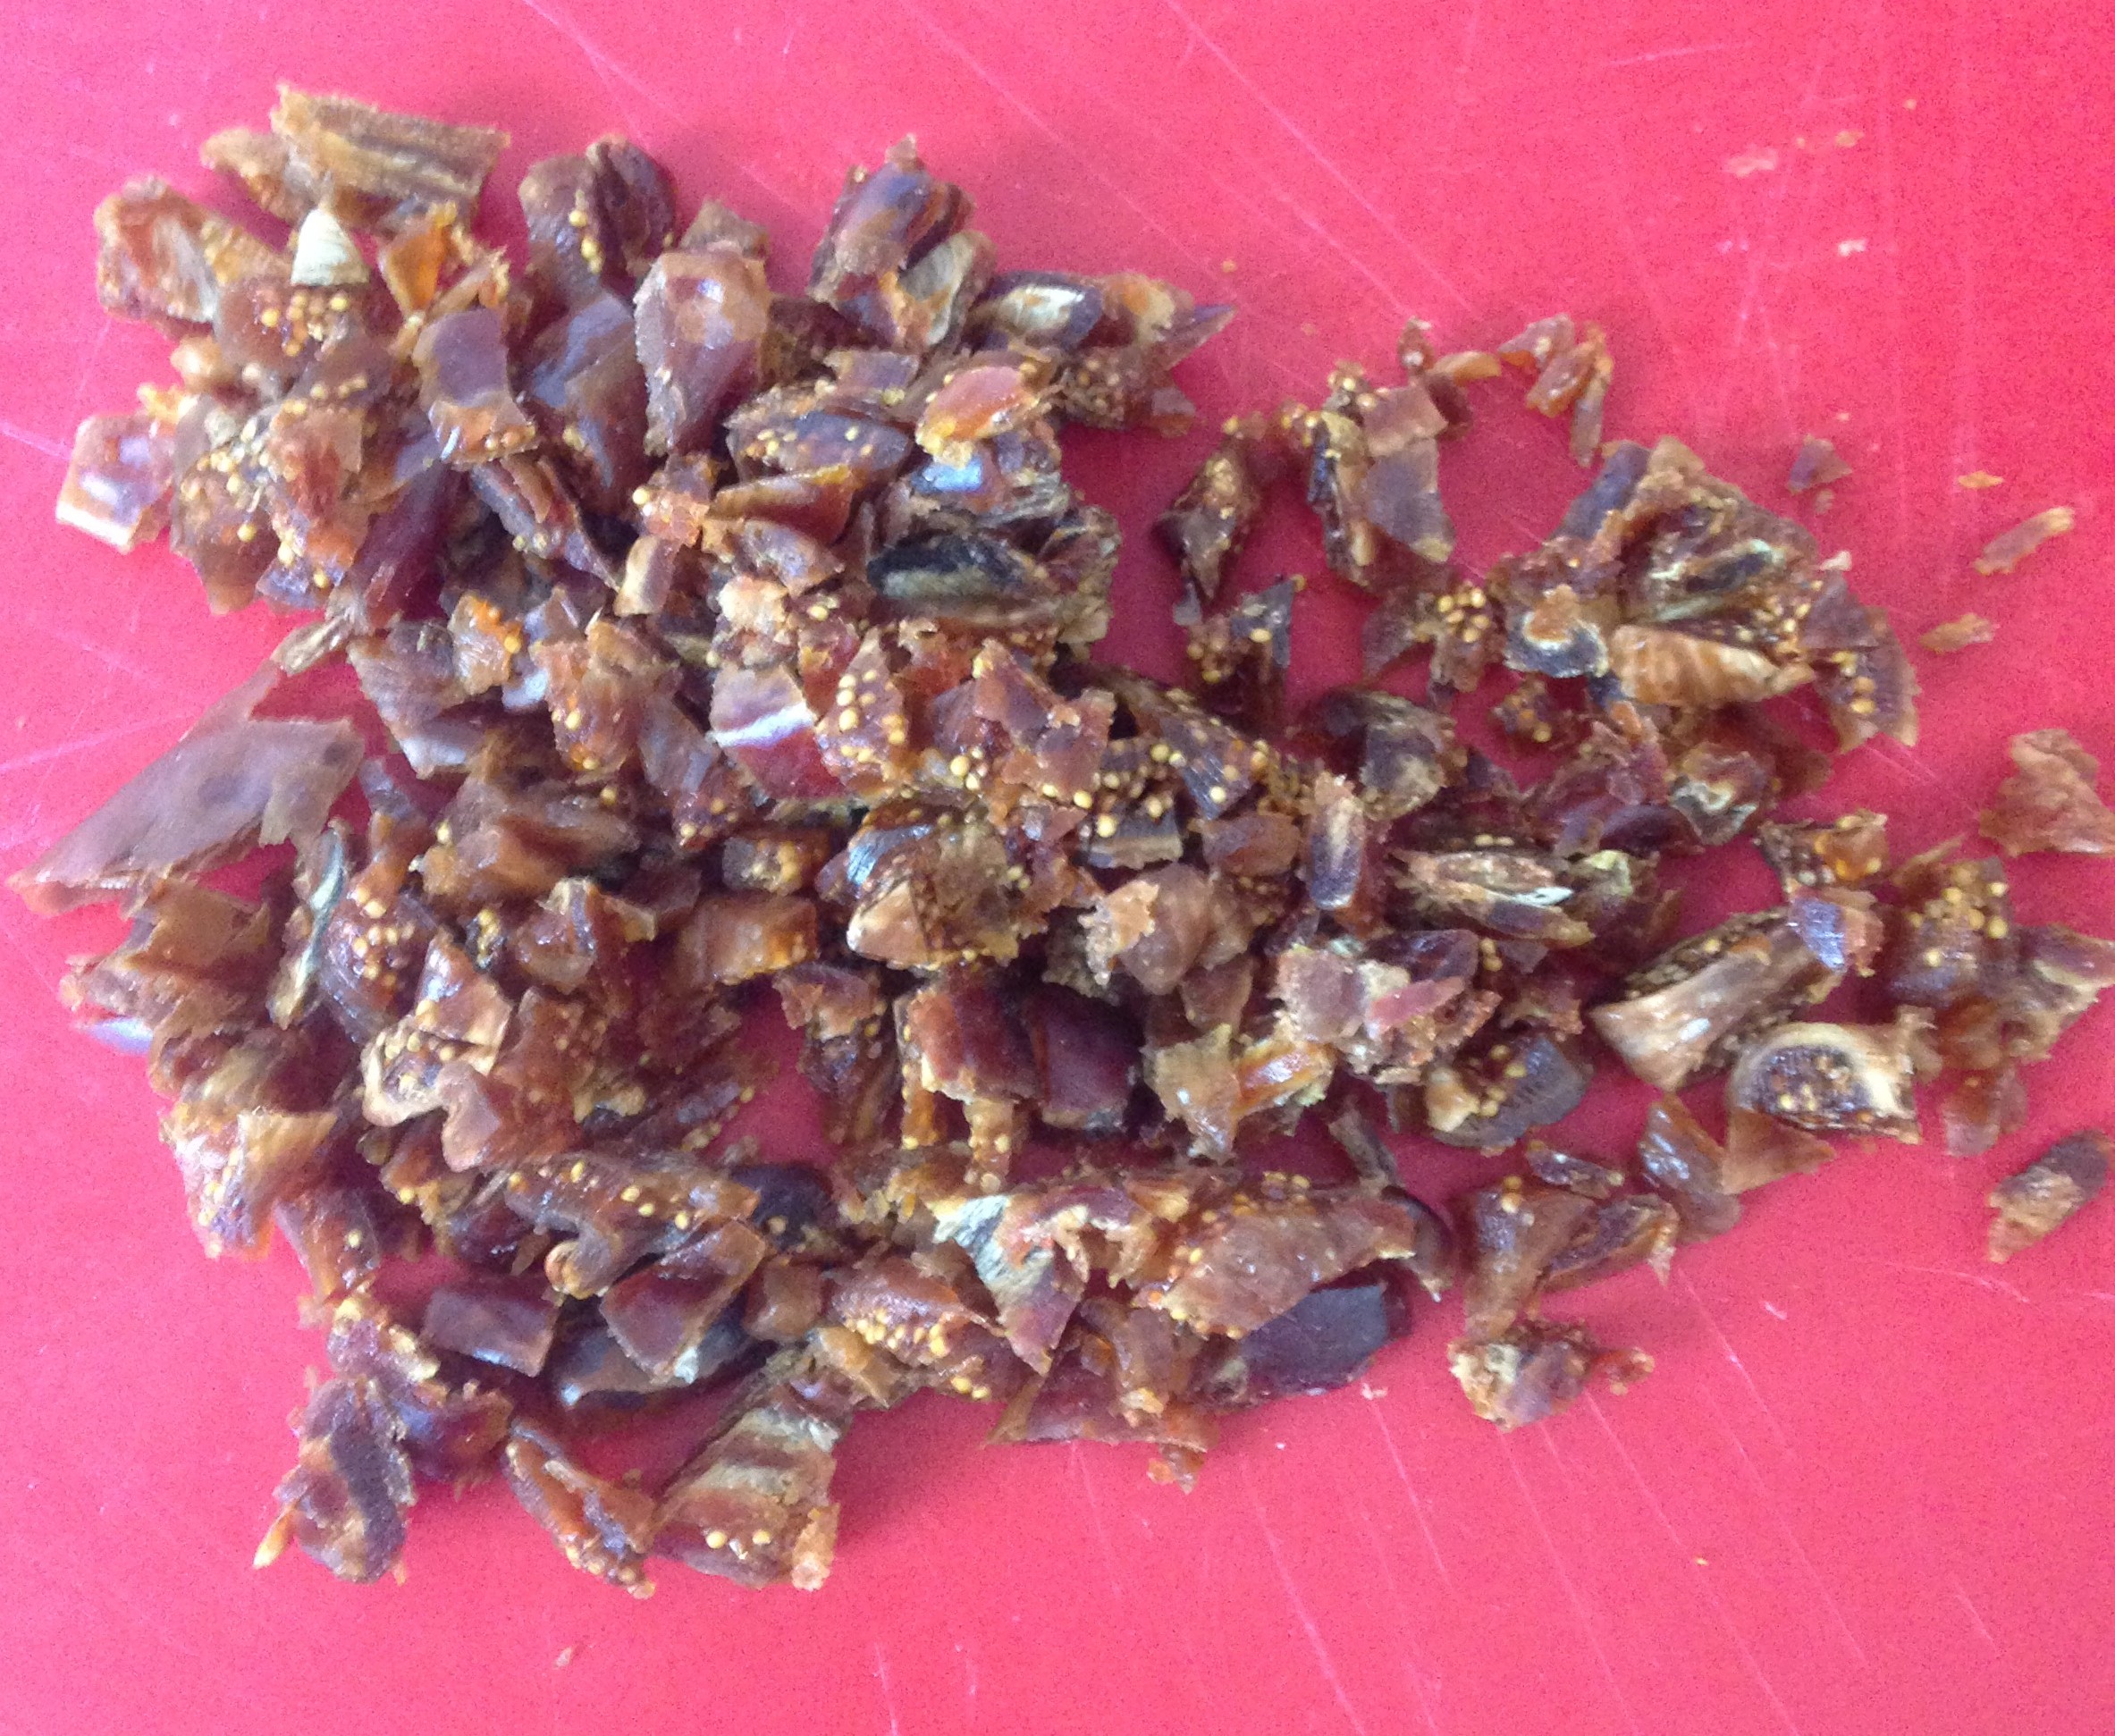
- 120g macadamia nuts
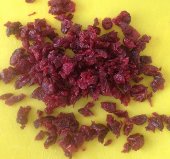
- 100g dried mango
- Double cream (optional)
Method:
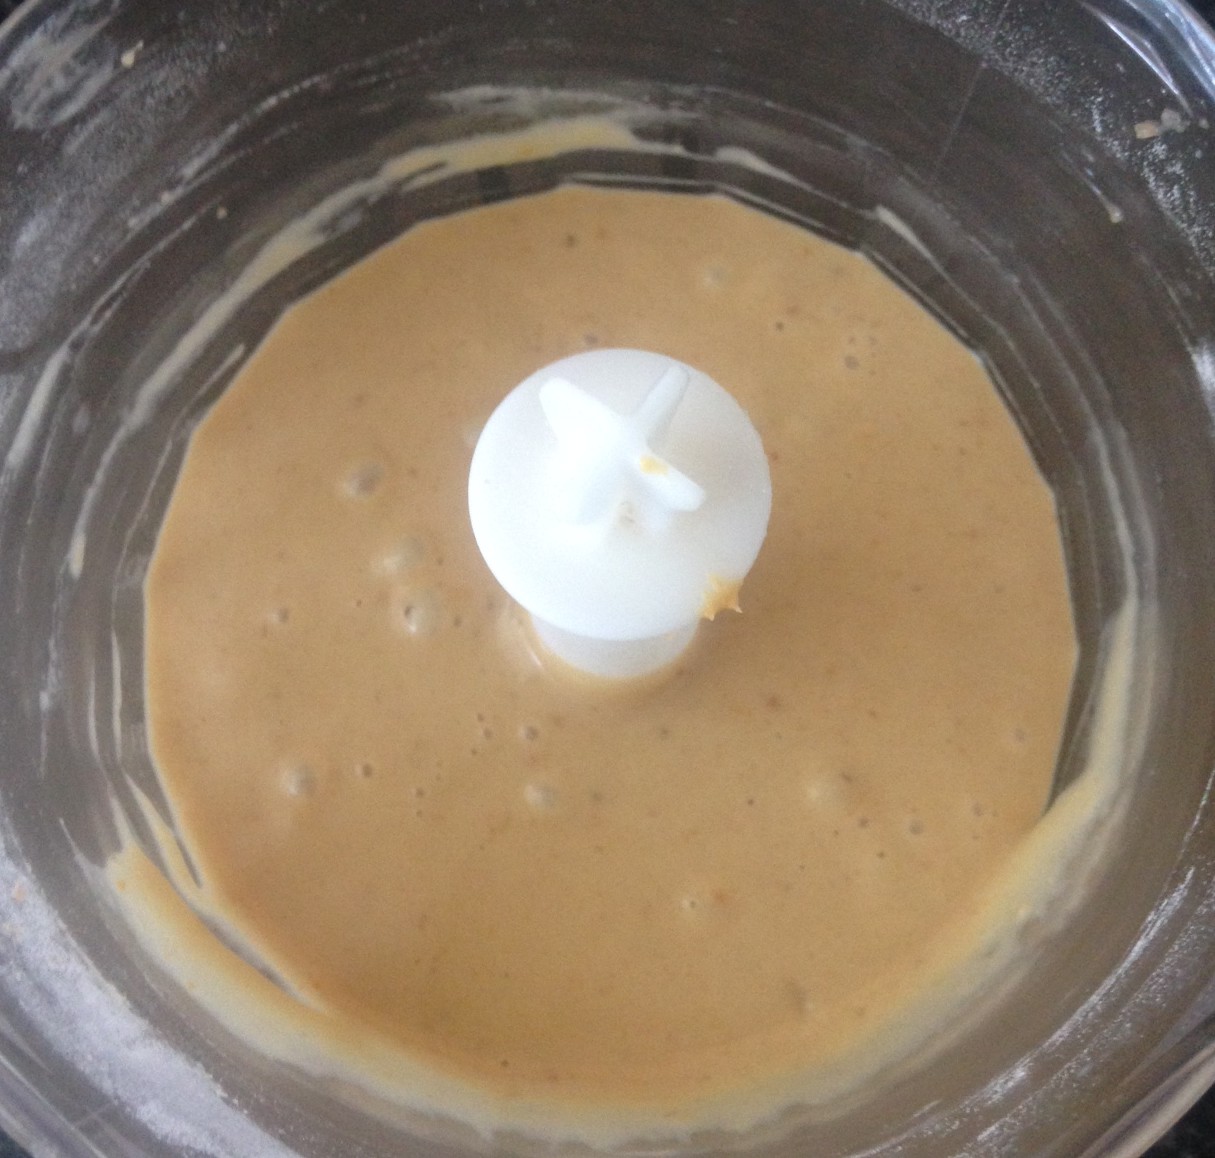
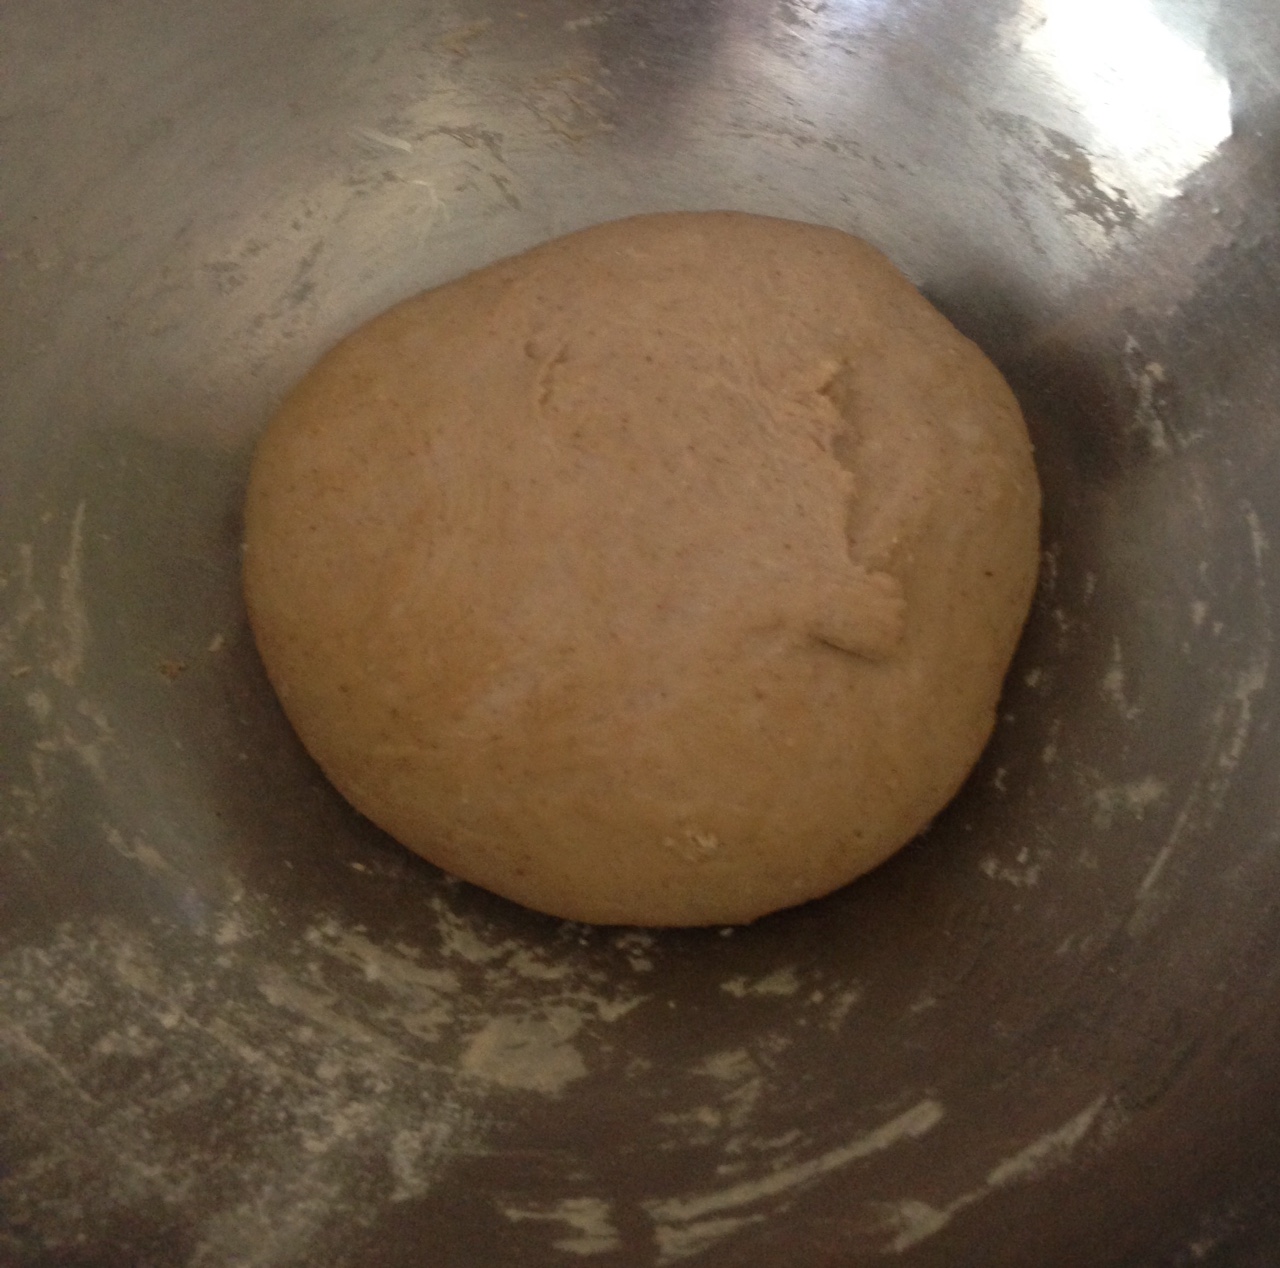
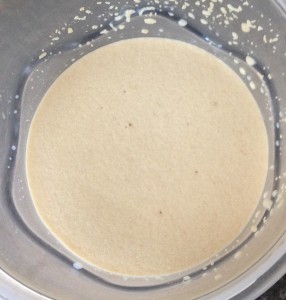
- Place the milk, yeast and vanilla in a bowl, mix and leave for 10 minutes to bubble.
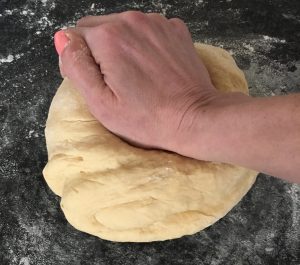
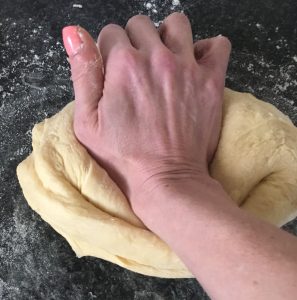
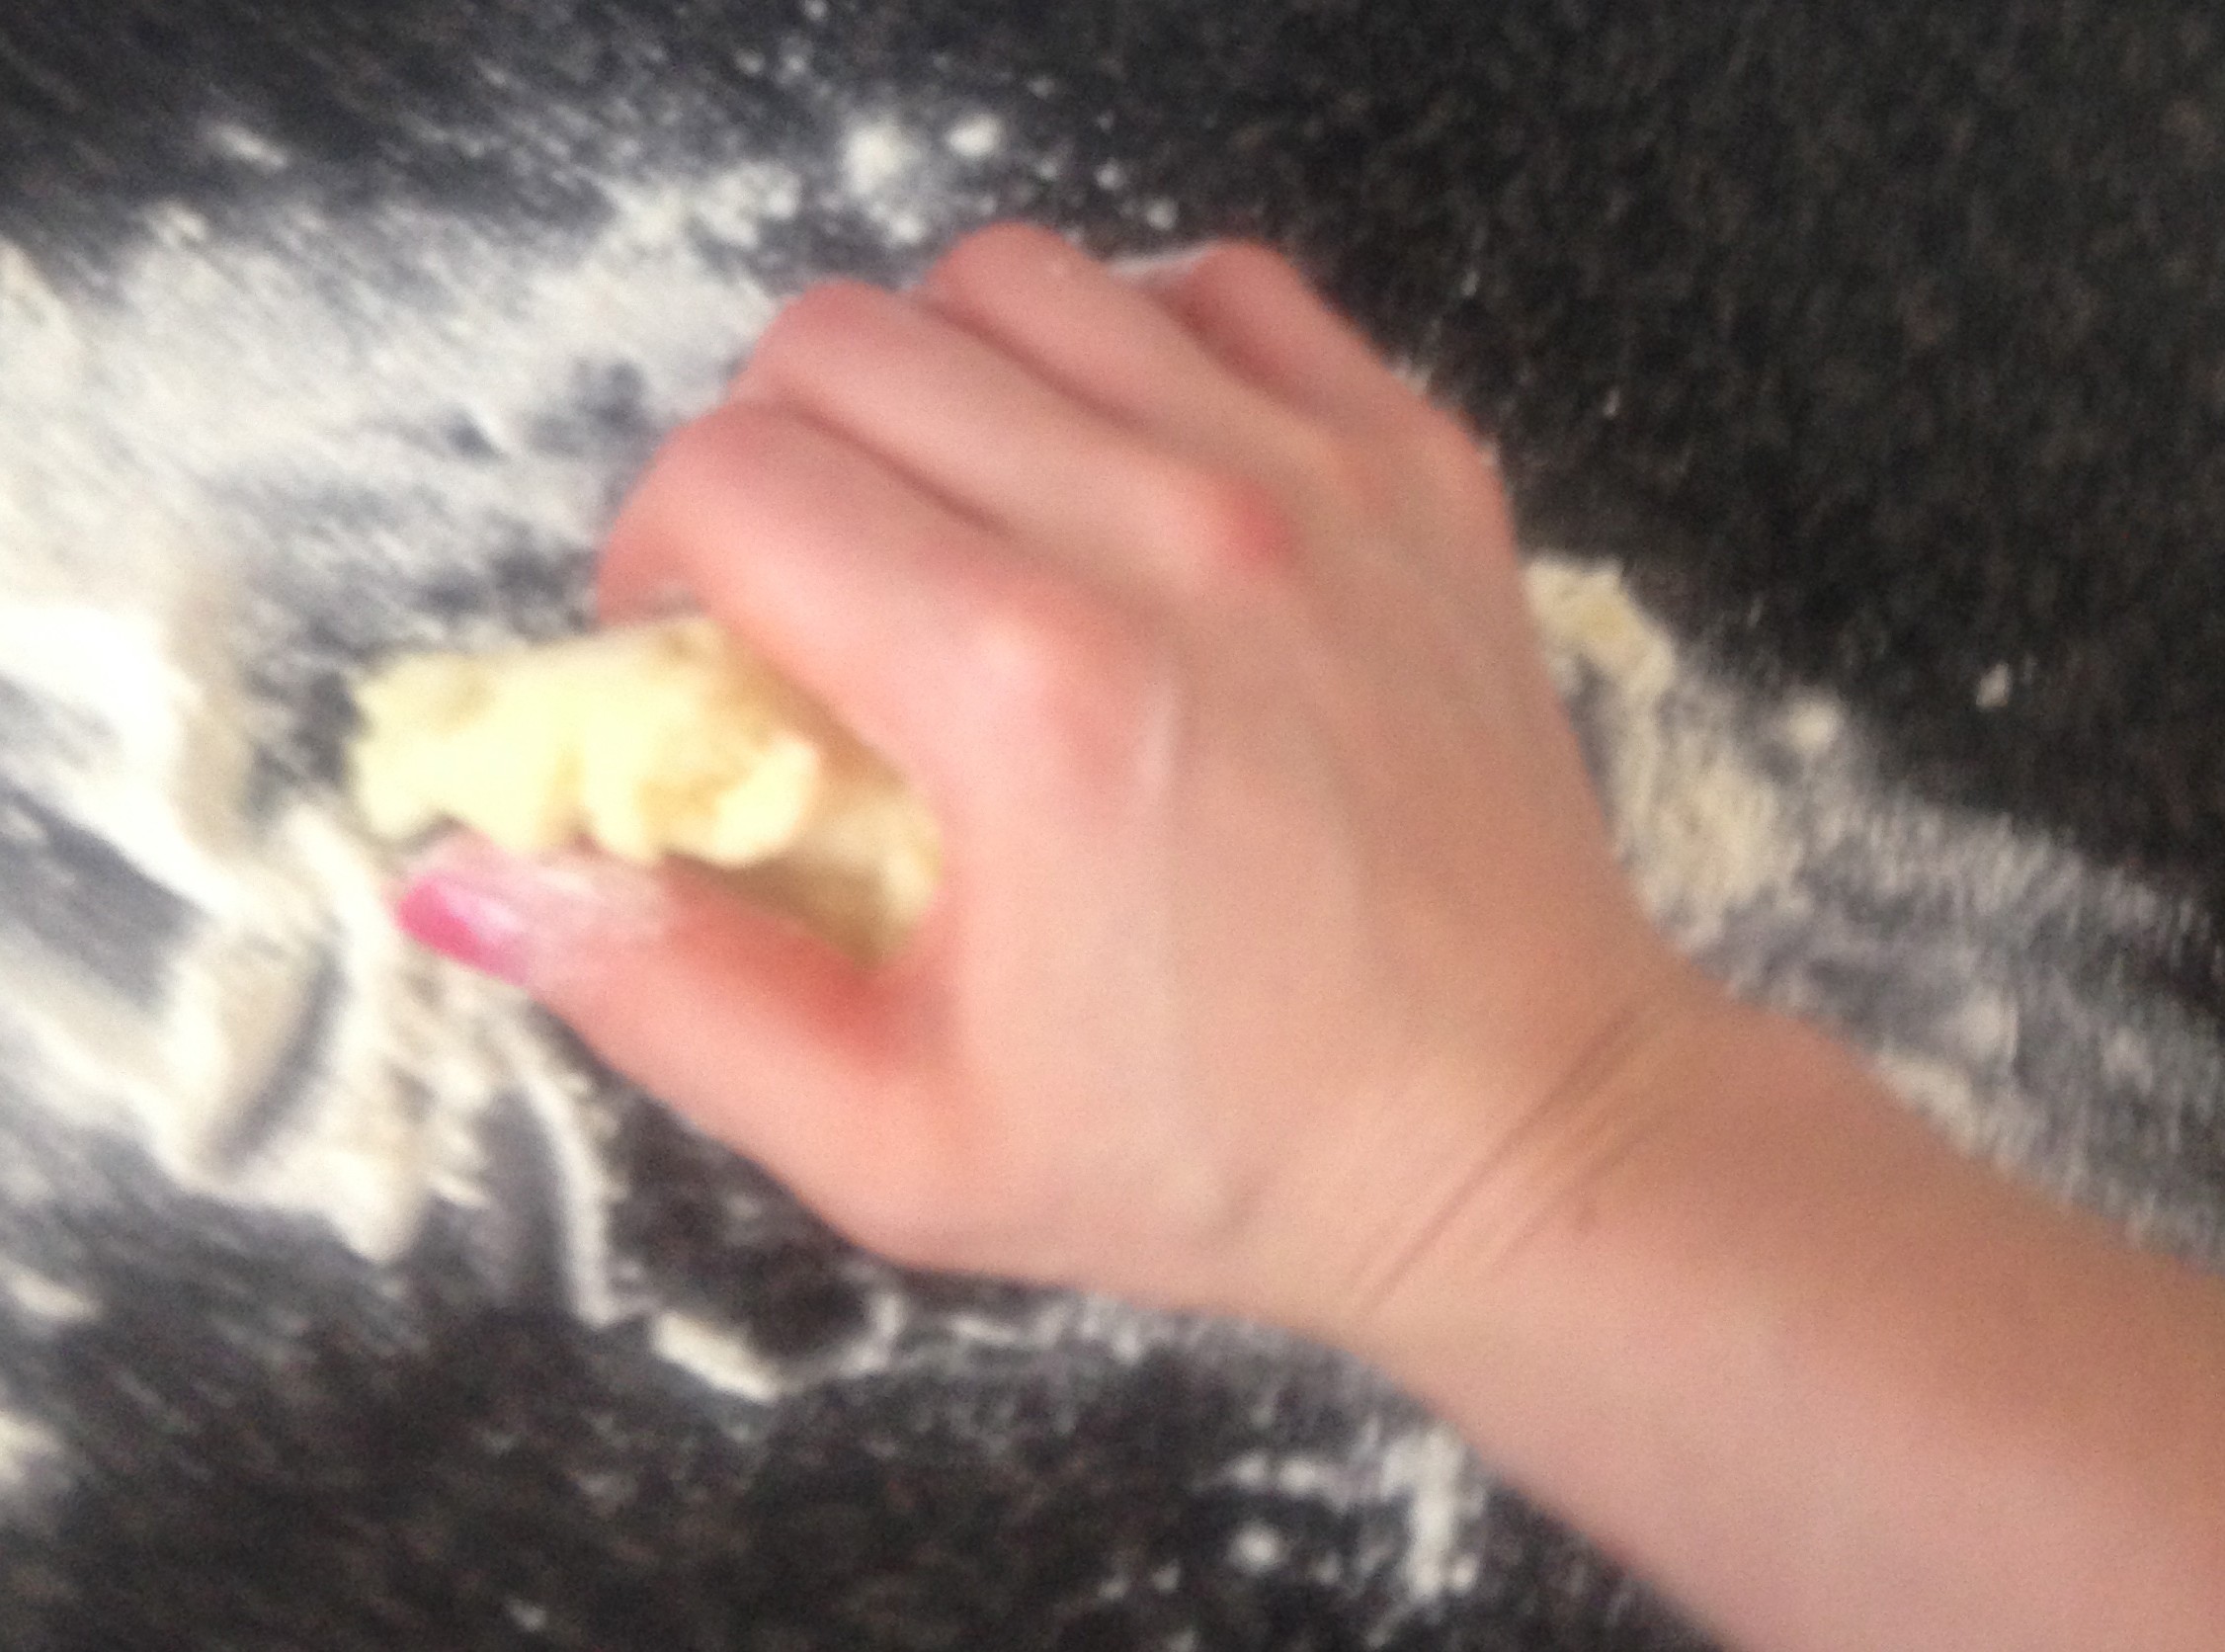
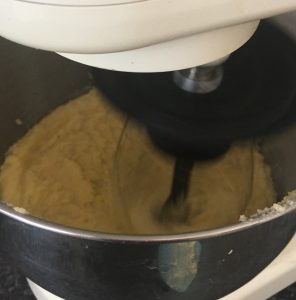
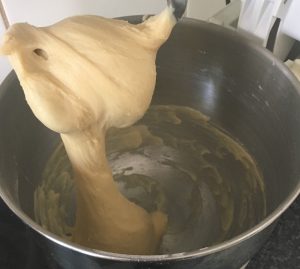
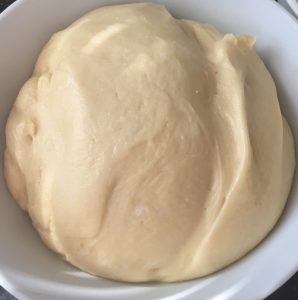
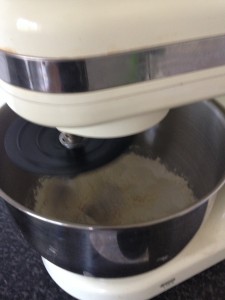
- Place the flour, sugar, salt, eggs, butter and the yeast mix into a mixer with a dough hook and mix on low for 1 minute.
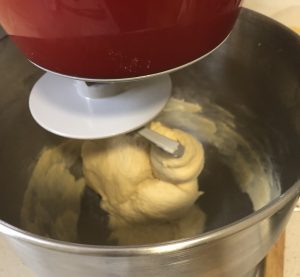
- Increase speed to high for 8 minutes.
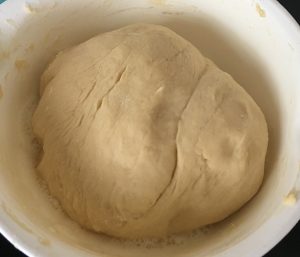
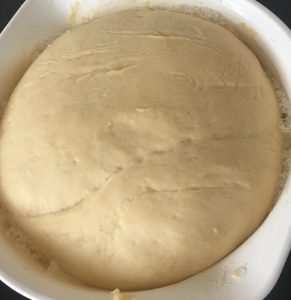
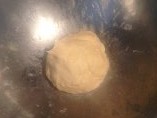
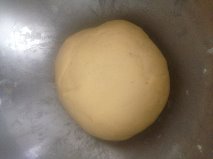
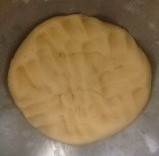
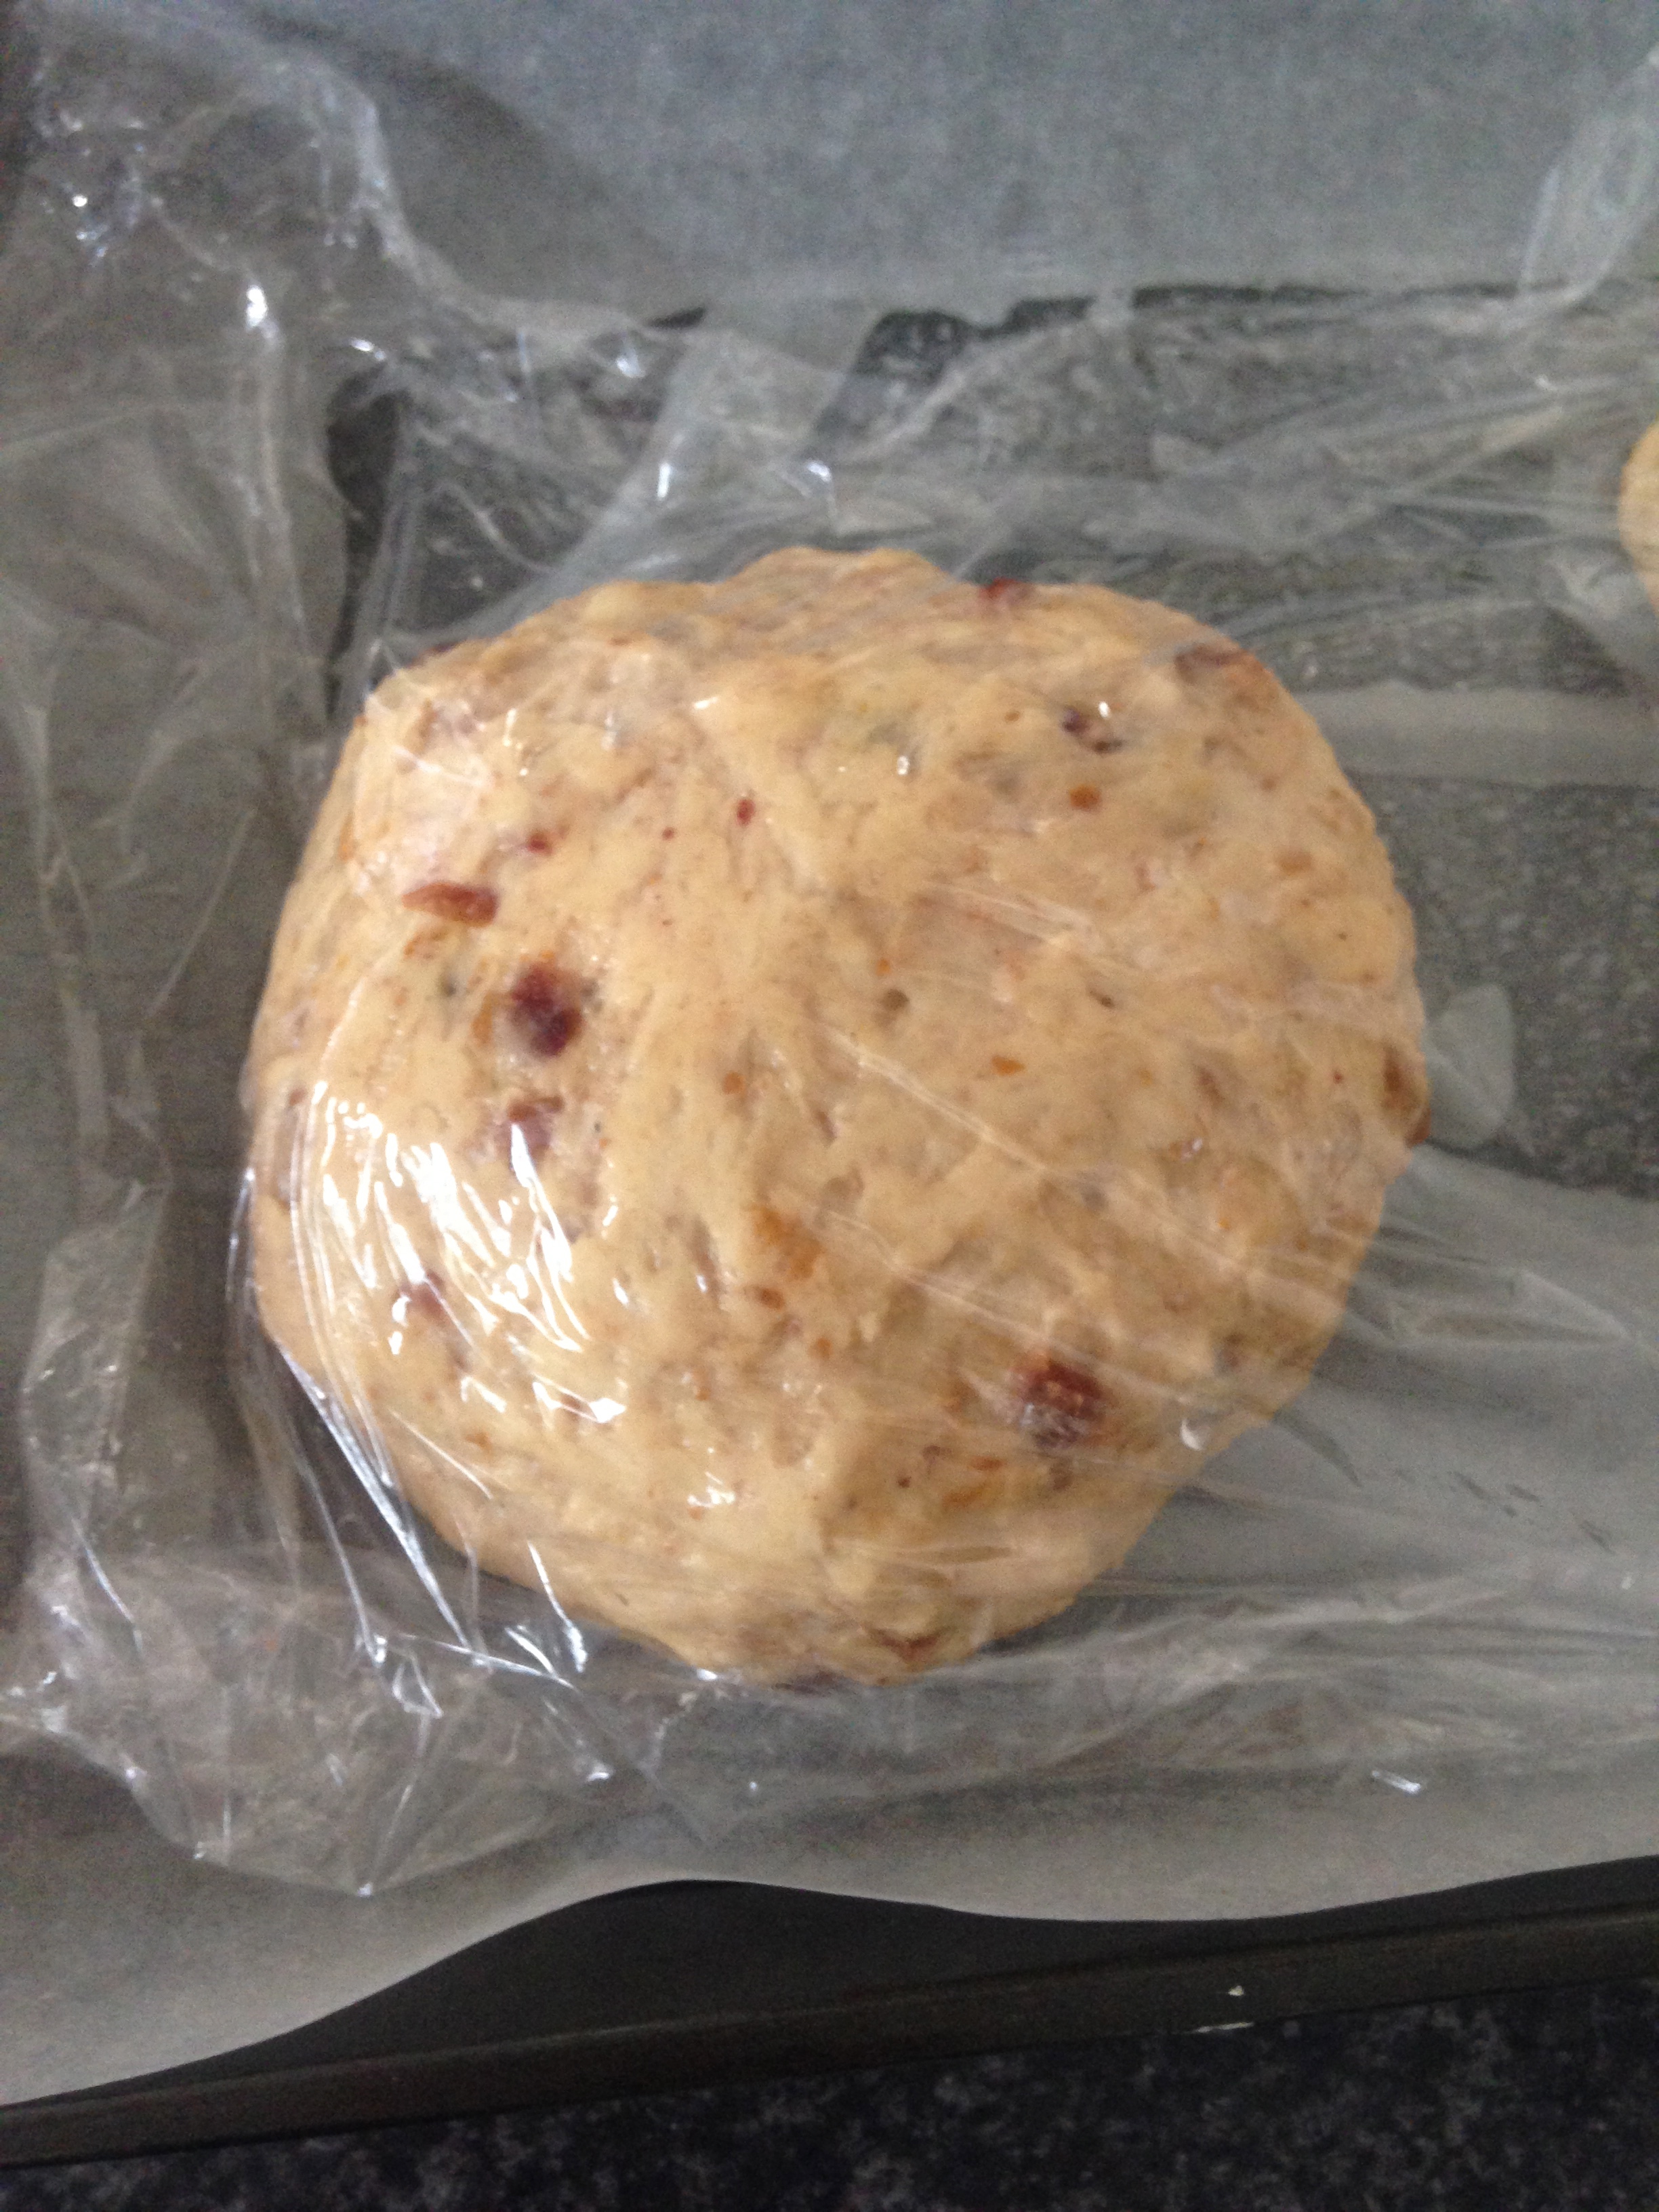
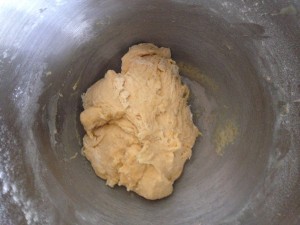
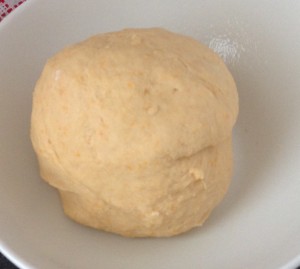
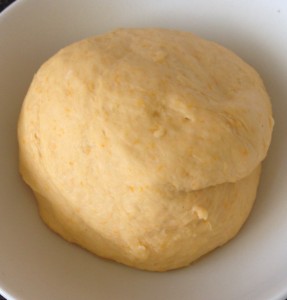
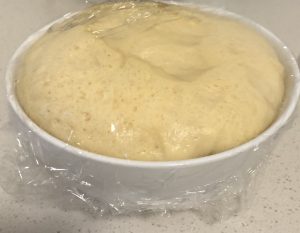
- Oil a bowl and place the dough in the bowl. Cover with plastic wrap for 90mins or until doubled in size.
- Oil a 20cm x 30cm tin lined with baking paper in the base, allowing for a 1cm border of no paper around the edge.
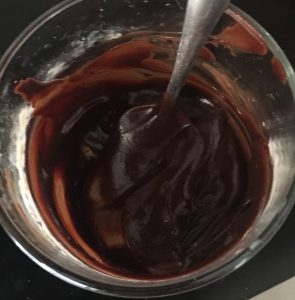
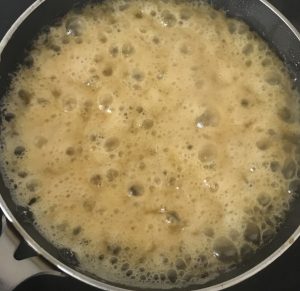
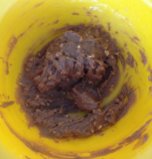
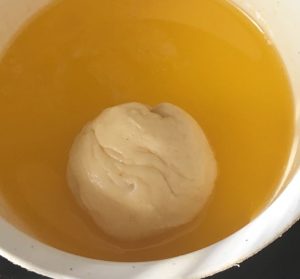
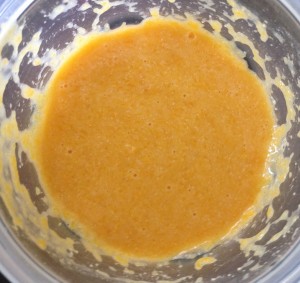
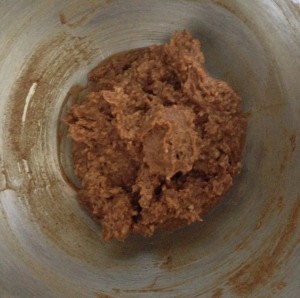
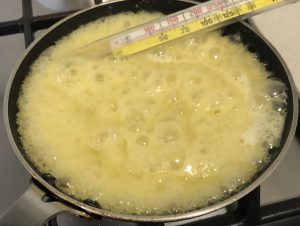
- Meanwhile make the butterscotch sauce by placing the butter, sugar, vanilla and salt in a pan on a medium heat, stir until the sugar has dissolved.
- Turn to high and allow the butterscotch to reach 90c degrees on a candy thermometer, stir in the cream and set aside.
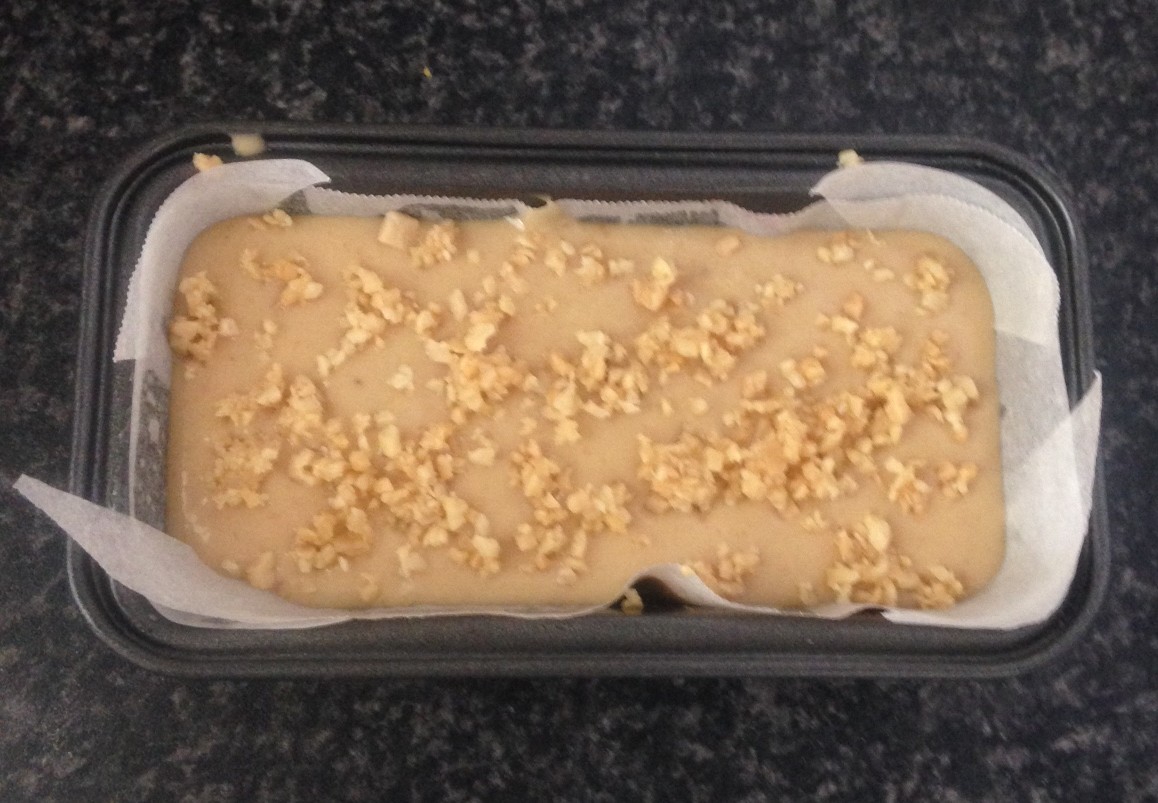
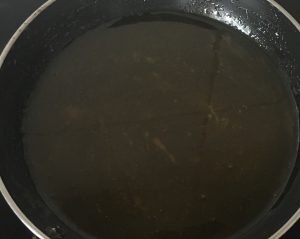
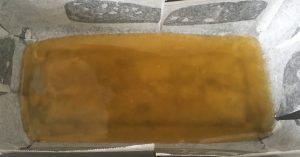
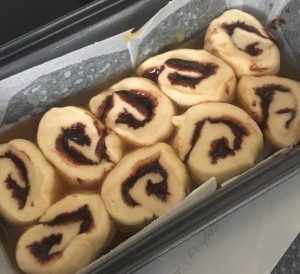
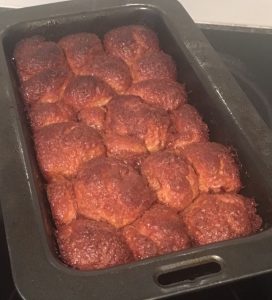
- Pour half the butterscotch into the prepared tin base.
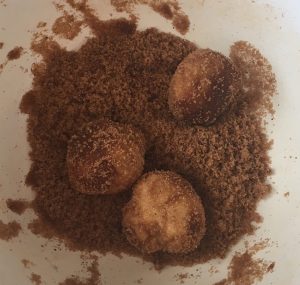
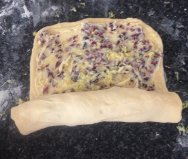
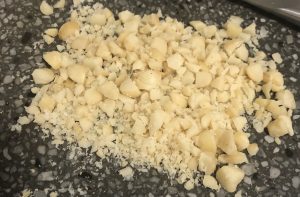
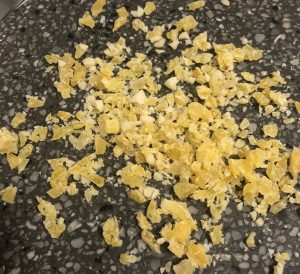
- Dice up the macadamia and dried mango into small pieces.
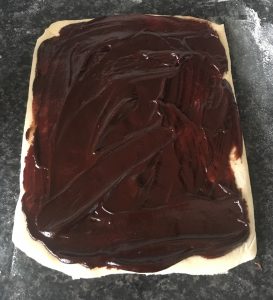
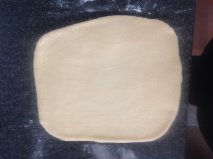
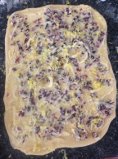
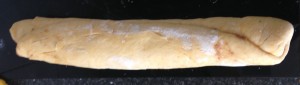
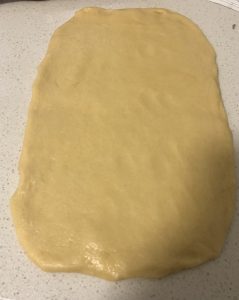
- Roll the dough with a rolling pin on a benchtop into a 60cm x 25cm rectangle.
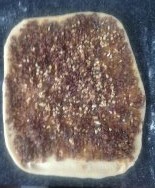
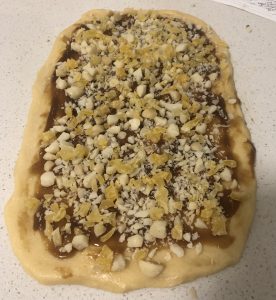
- Spread the remaining butterscotch sauce with a pastry brush onto the dough leaving a 1cm border around the edges.
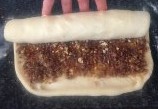
- Sprinkle the nuts and mango evenly.
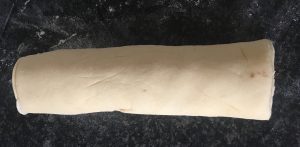
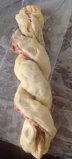
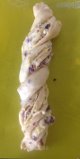
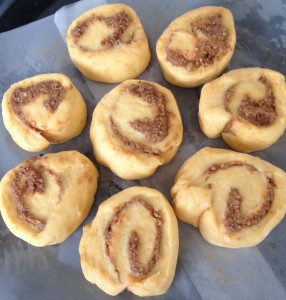
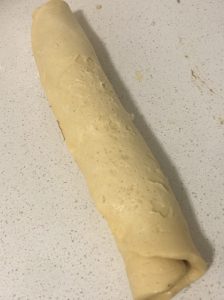
- Roll the dough into a log starting with the longest side, rolling tightly to enclose the filling.
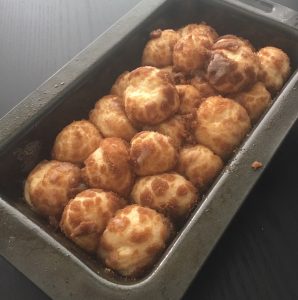
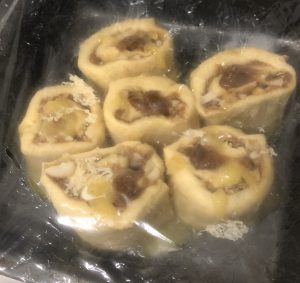
- Trim the edges and cut the log into 12 even pieces.
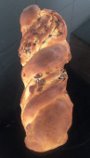
- Place the pieces side by side in the prepared tin, cut sides up.
- Cover the tin with plastic wrap for 1 hour or until it has doubled in size.
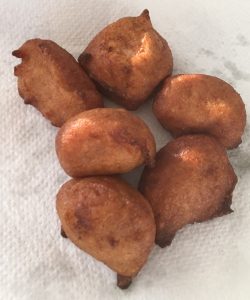
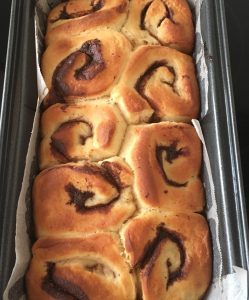
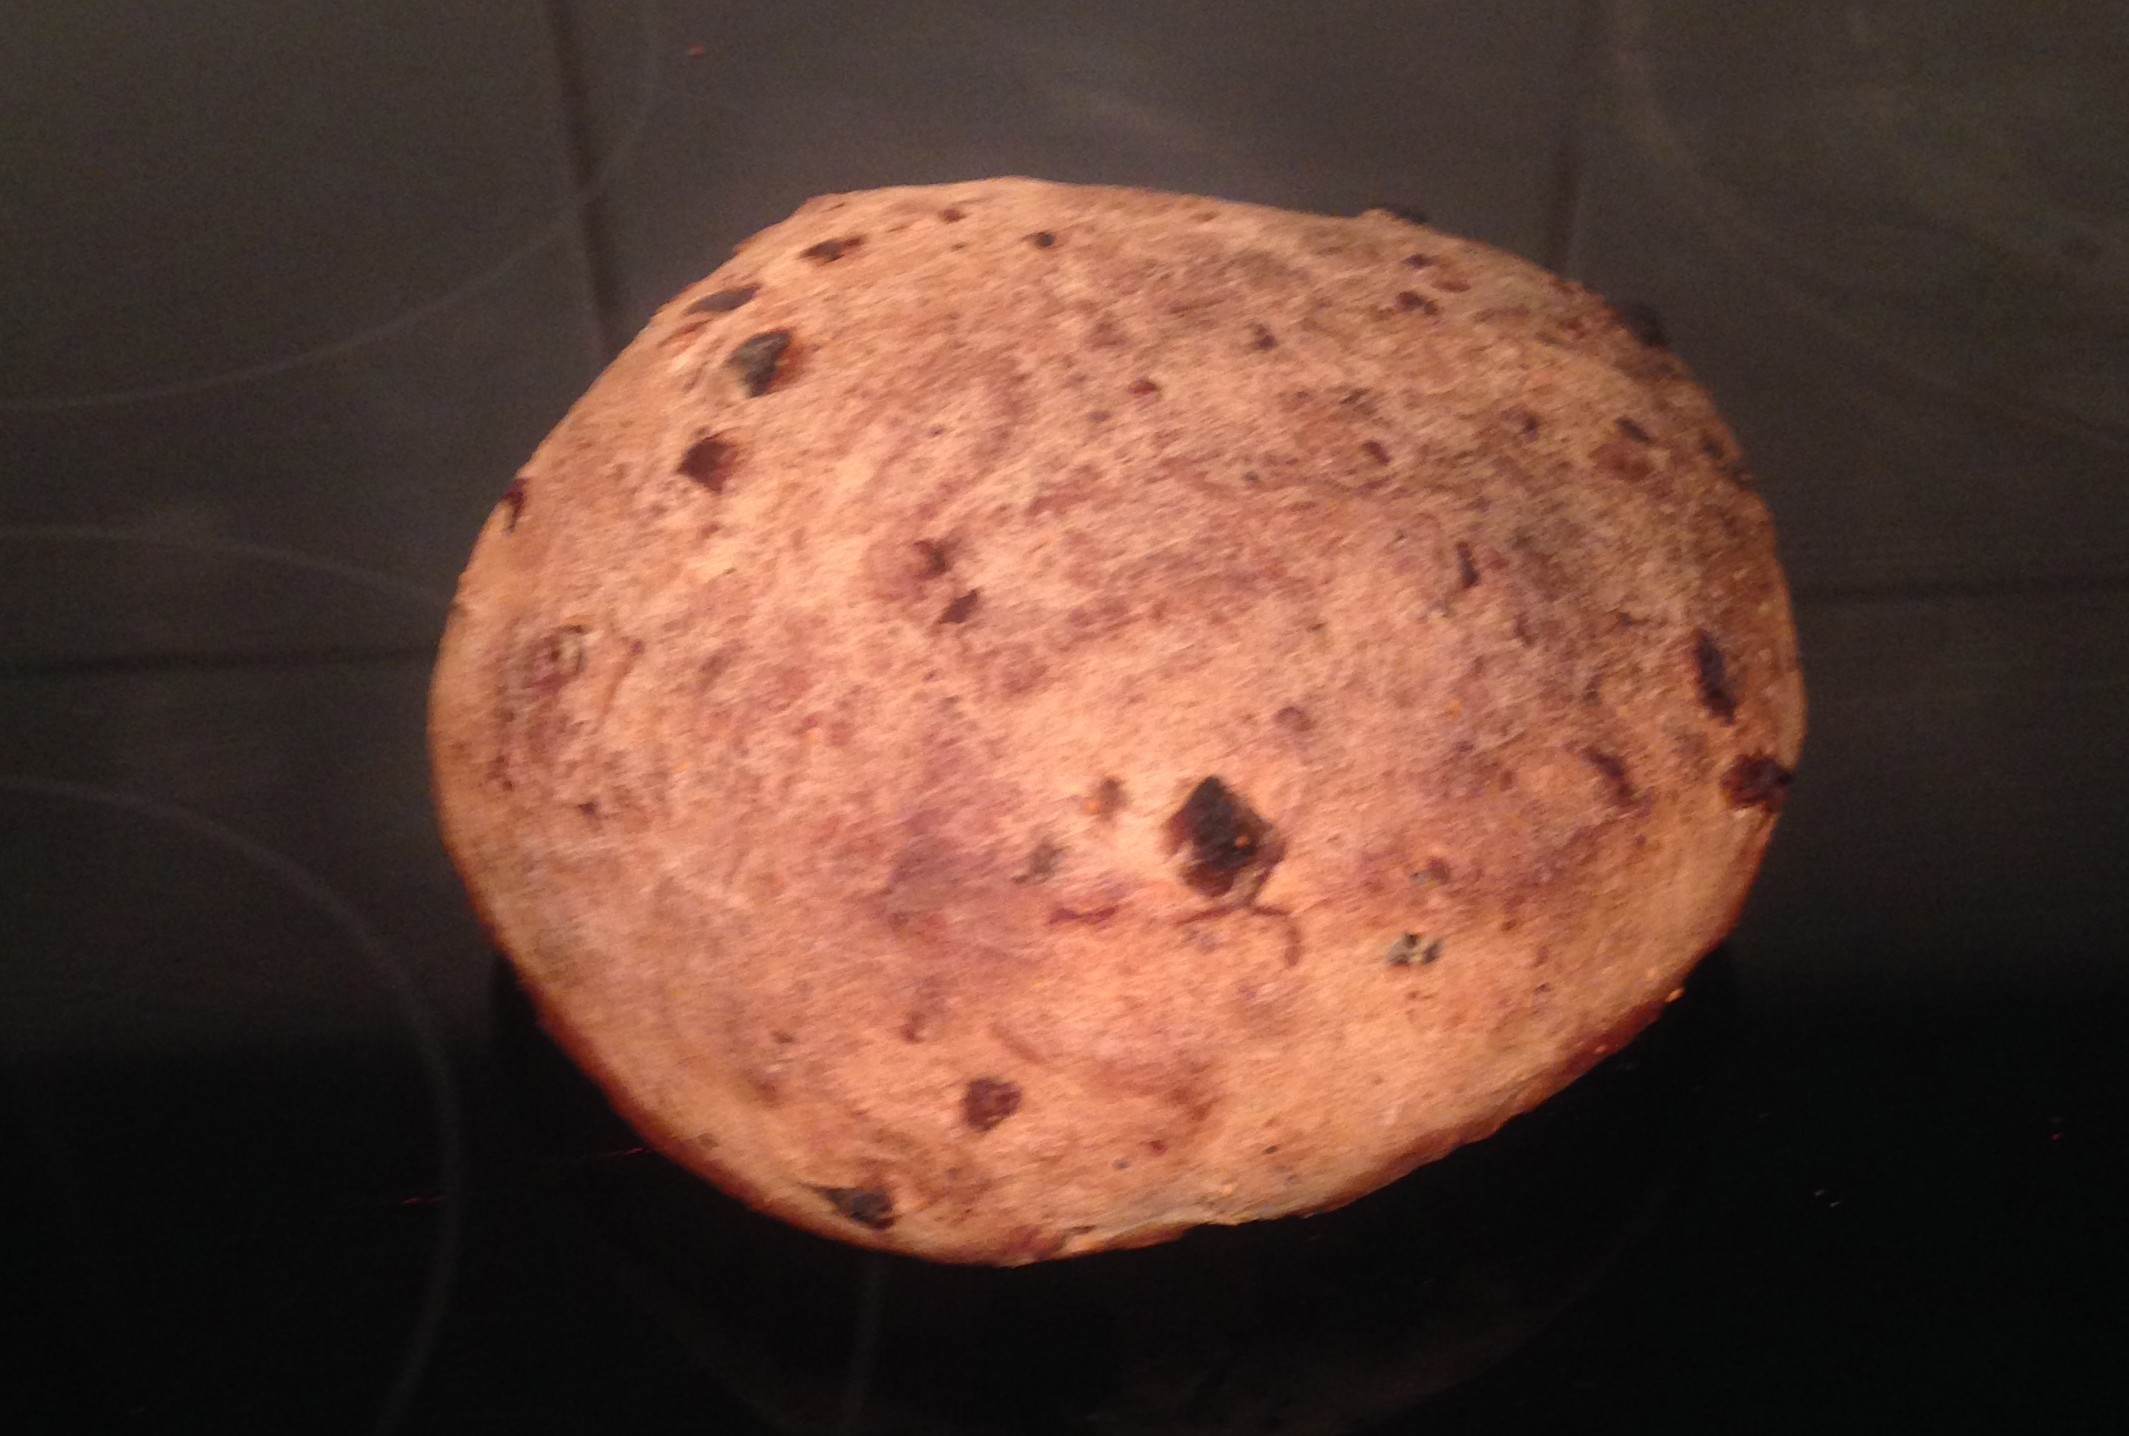
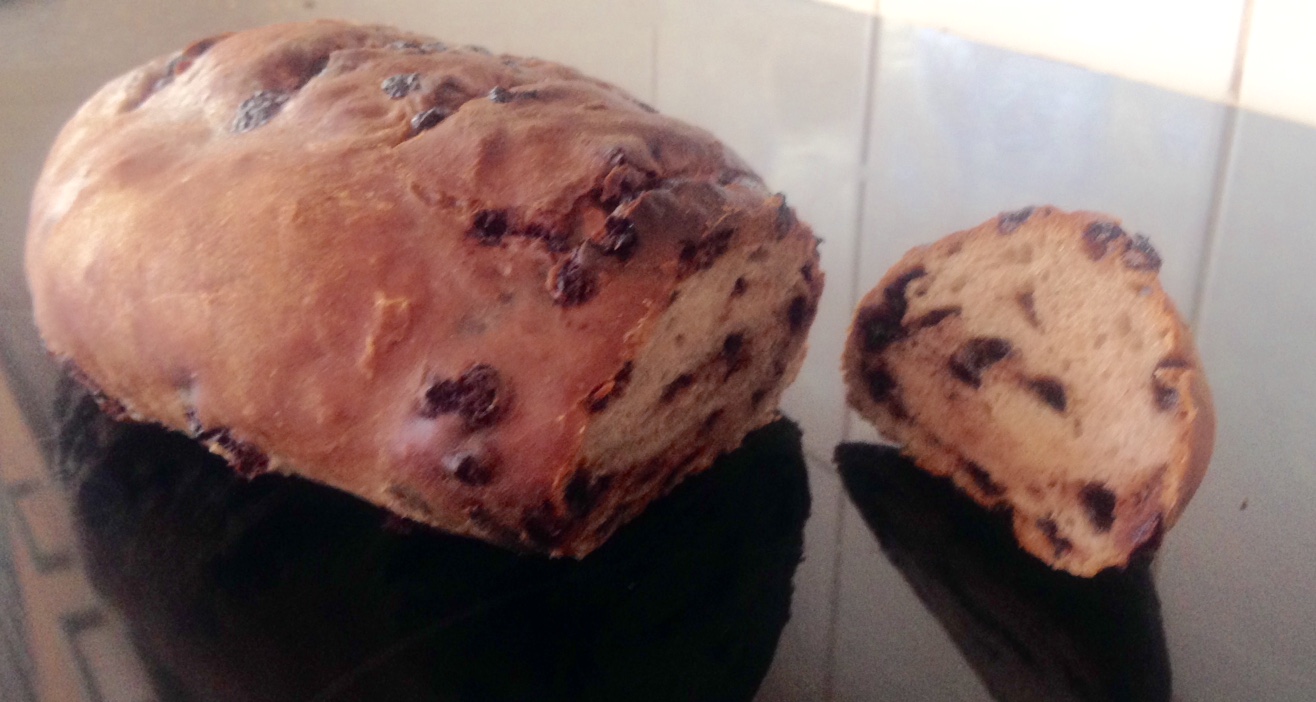
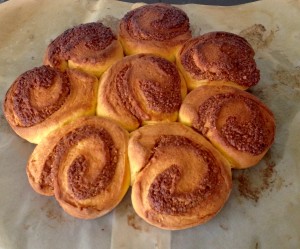
- Pre-heat the oven to 180c degrees and bake for 25 minutes.
- Cover the tin with aluminium wrap and bake for a further 15 minutes or until golden.
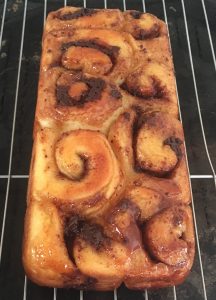
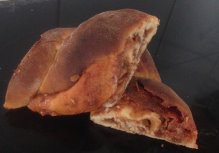
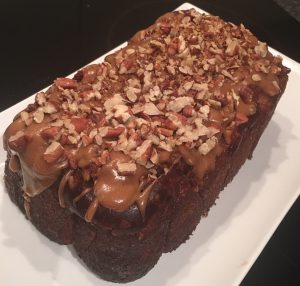
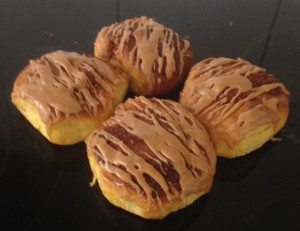
- Allow to cool for 5 minutes then invert into a cake rack to cool.
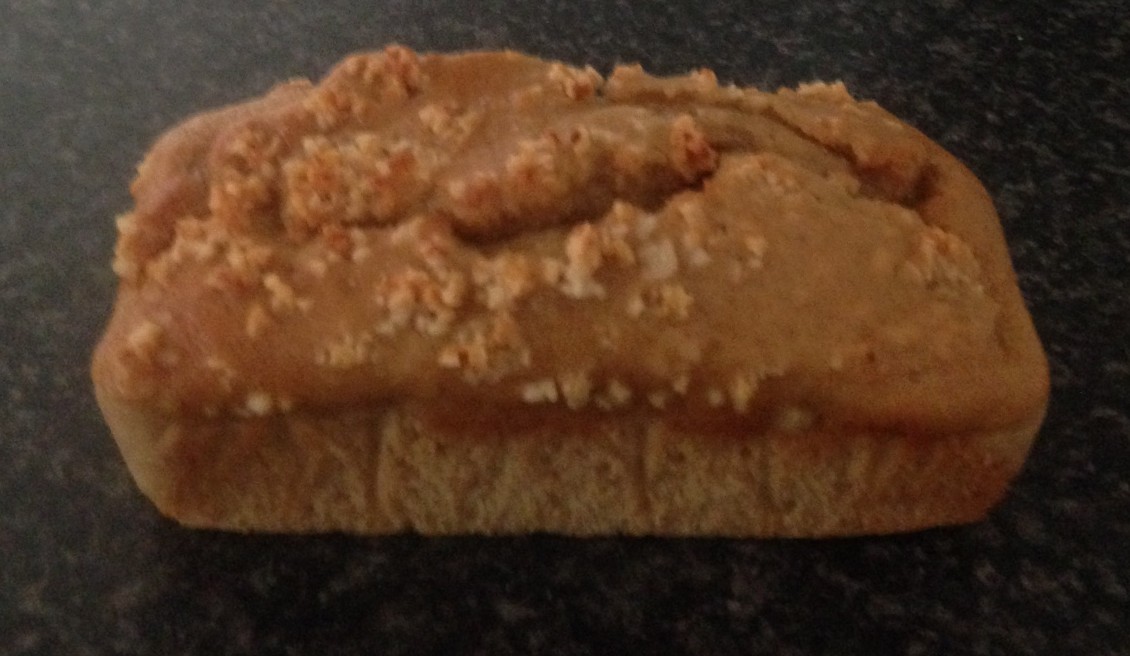
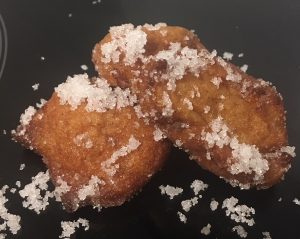
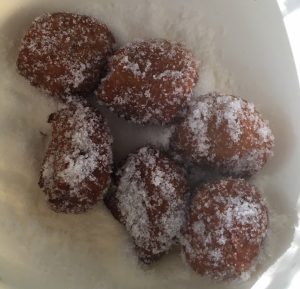
- Top with double cream as desired.
Step 2
Step 3
Step 4
Step 6
Step 9
Step 9
Step 10
Ste 12
Step 13
Step 14
Step 19
Step 19

 Follow