The randomness of this recipe… I was cleaning out the cupboards this weekend and noticed we had raspberry twists in which have been in the back of the cupboard for forever….
Knowing that we were not going to eat them anytime soon and being stuck in lockdown I decided to experiment with the raspberry twists much like I have in the past with musk sticks, red skin and fizzer lollies.
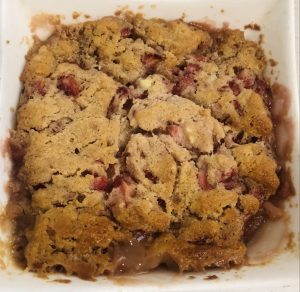
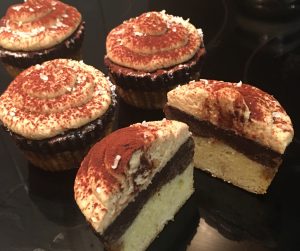
Taking inspiration from my white chocolate cupcake recipe I incorporated the lollies into the mix. The outcome of this however resulted in a very very dense cupcake bake that drooped in the middle.
Attempt 2 was using my never fail vanilla cupcake recipe with the lollies incorporated into the mix. This time I got great results but the bake was not as flavourful as I would have liked…
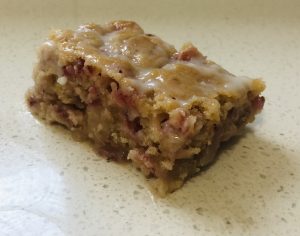
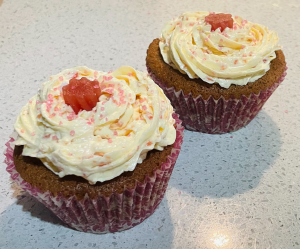
Cue adding 50% more buttermilk and 50% more raspberry twists and increasing the bake time, in which resulted in cupcake perfection.
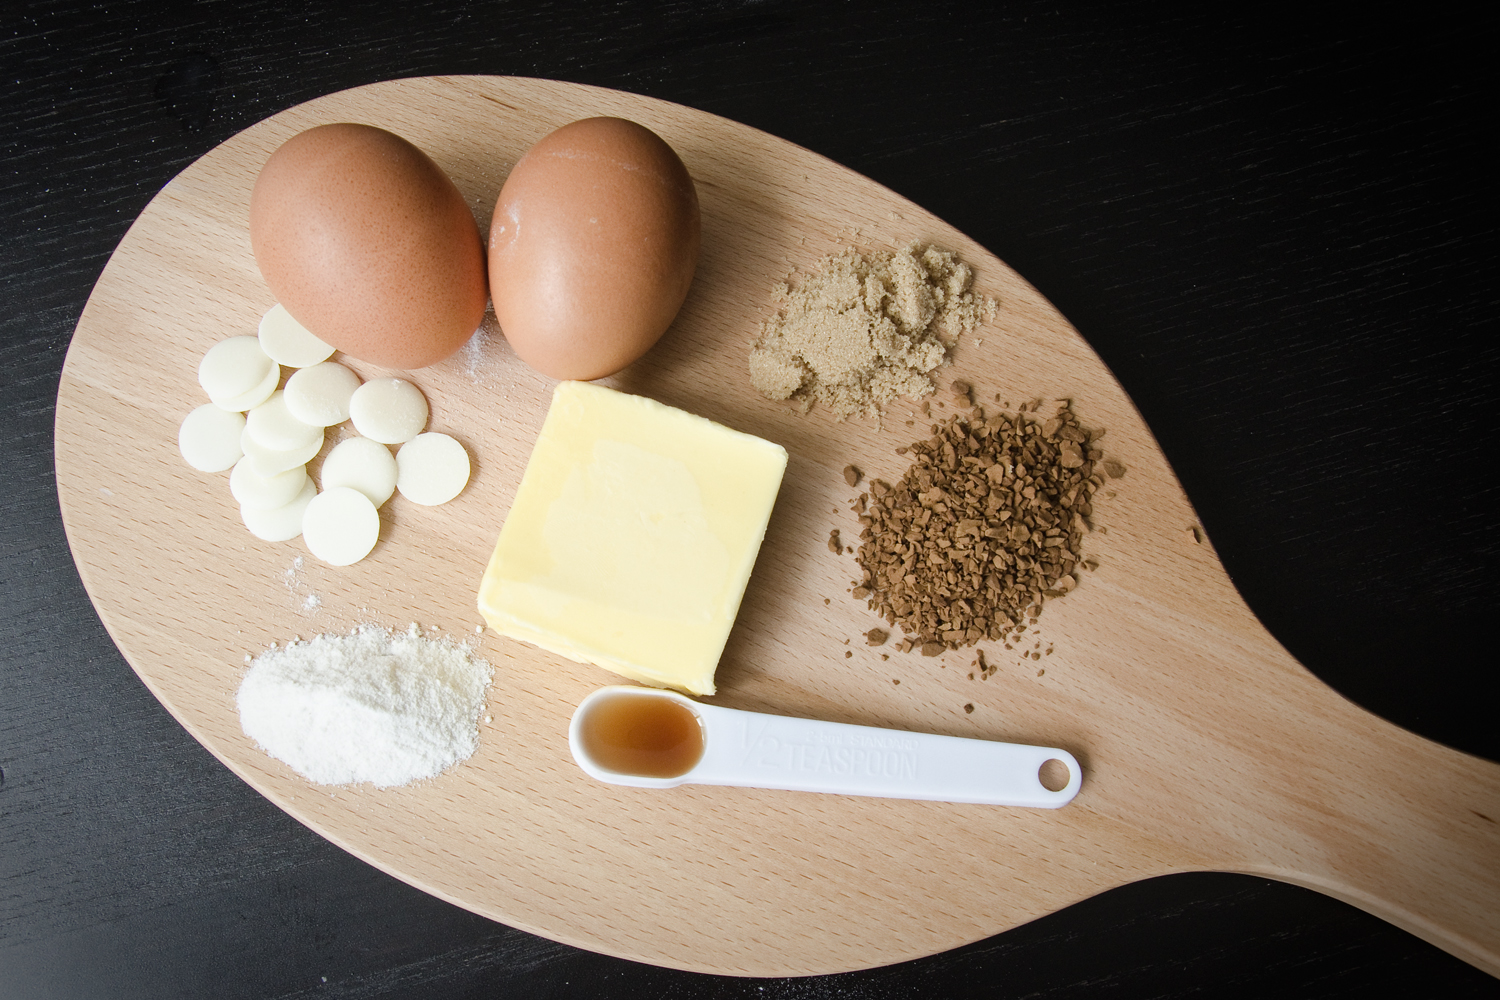
Ingredients:
Cake:
- 200ml buttermilk
- 240g raspberry twists
- 1 1/2 tsn vanilla essence
- 160g cake flour
- 1 + 1/4 tsn baking powder
- 1/2 tsn baking soda
- 150g sugar
- 1/2 tsn salt
- 2 eggs
- 125g butter
Frosting:
- 135g butter
- 100g white chocolate
- 40g icing sugar
- 70g raspberry twists
Method:
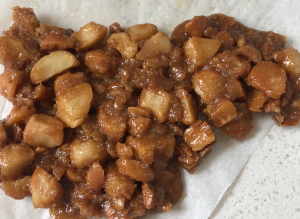
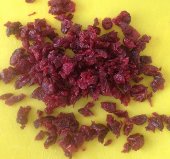
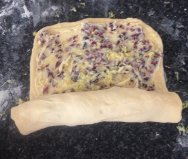
- Cut up the raspberry twists into small, diced pieces.
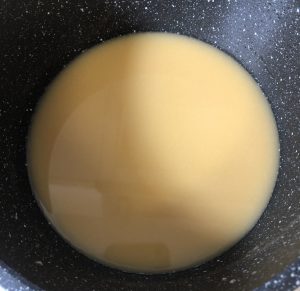
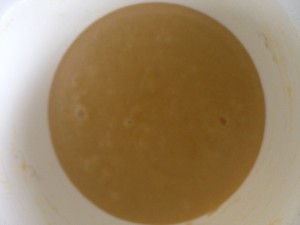
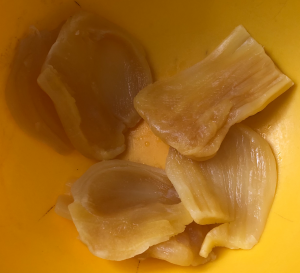
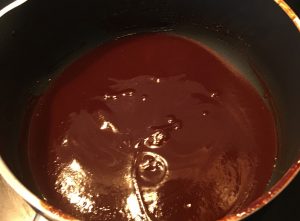
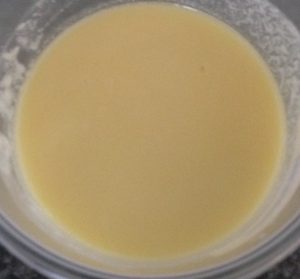
- Place the buttermilk in a bowl and microwave until bubbling.
- Add the raspberry twist pieces to the buttermilk and stir for 3 minutes, leave aside to melt a further.
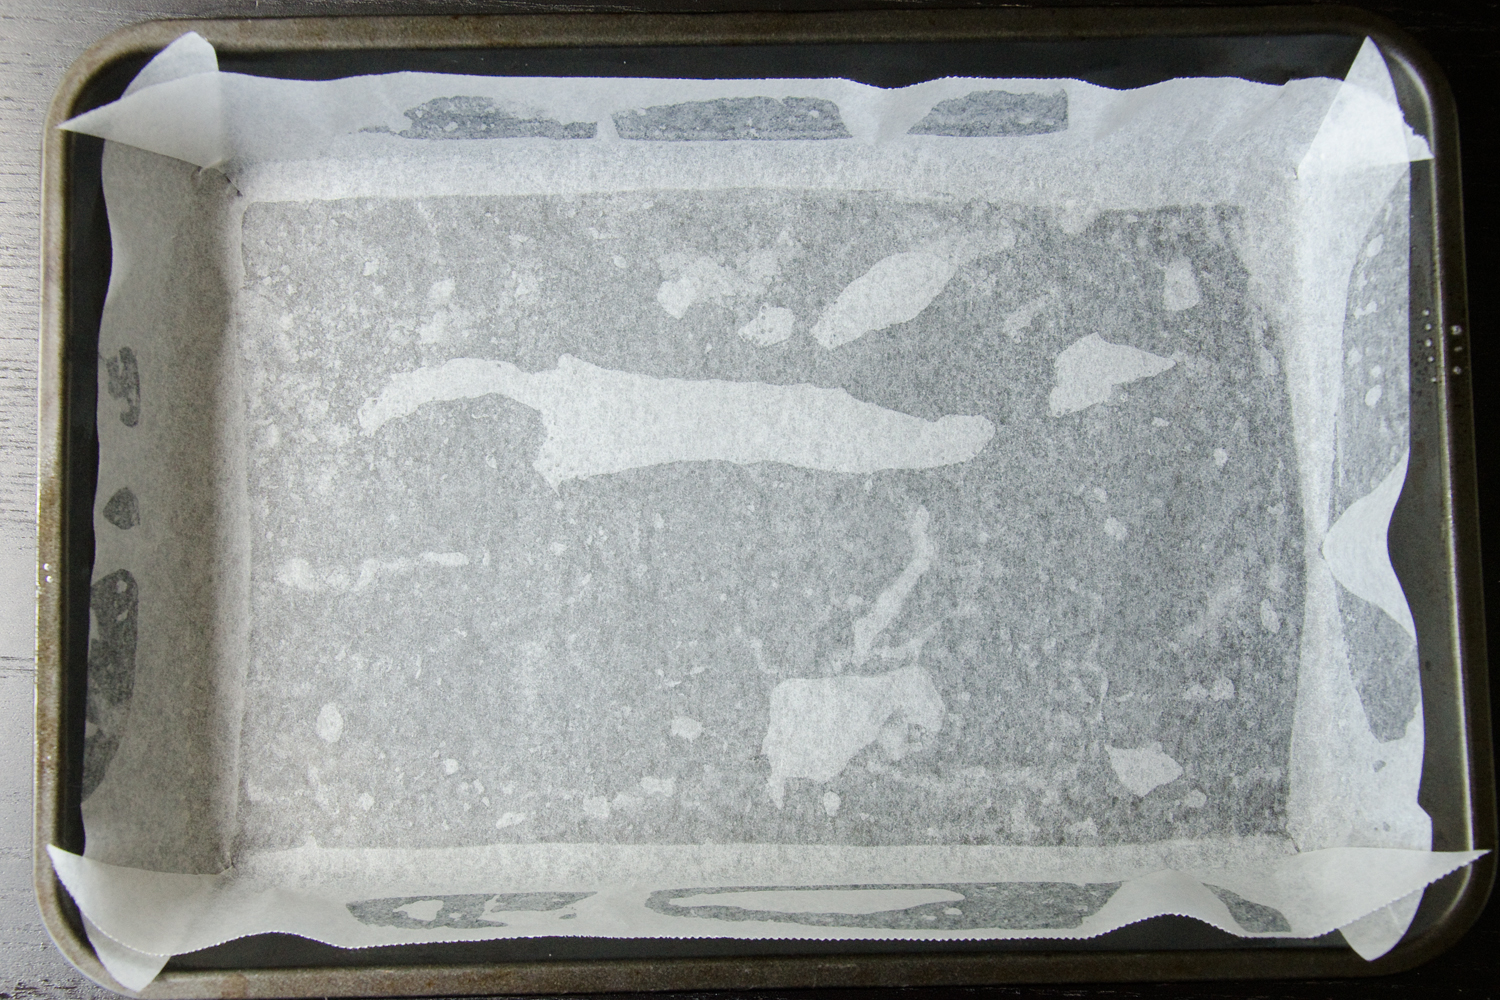
- Pre-heat the oven to 180c degrees and line a large 8-capacity cupcake tin with patty pans.
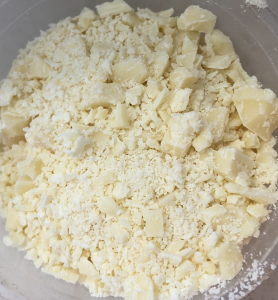
- In a bowl, pour the cake flour, baking powder, baking soda, sugar and salt. Stir together and whisk until well combined.
- Soften butter.
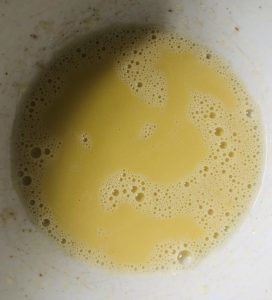
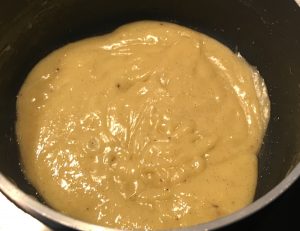
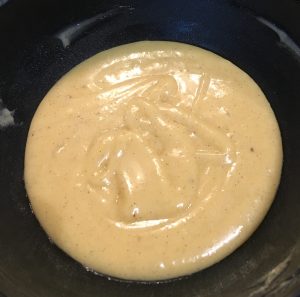
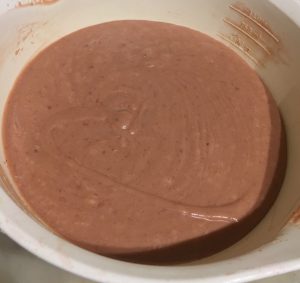
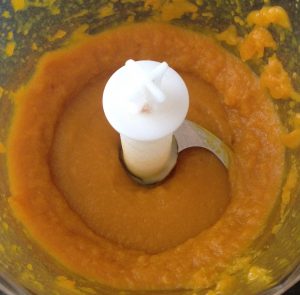
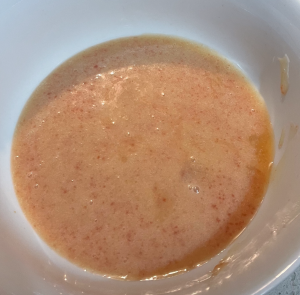
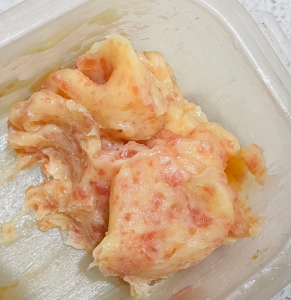
- Place the raspberry milk mix along with the butter and vanilla in a food processor and blitz until smooth.
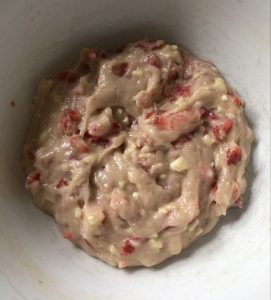
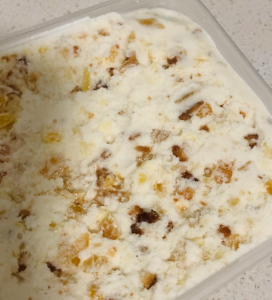
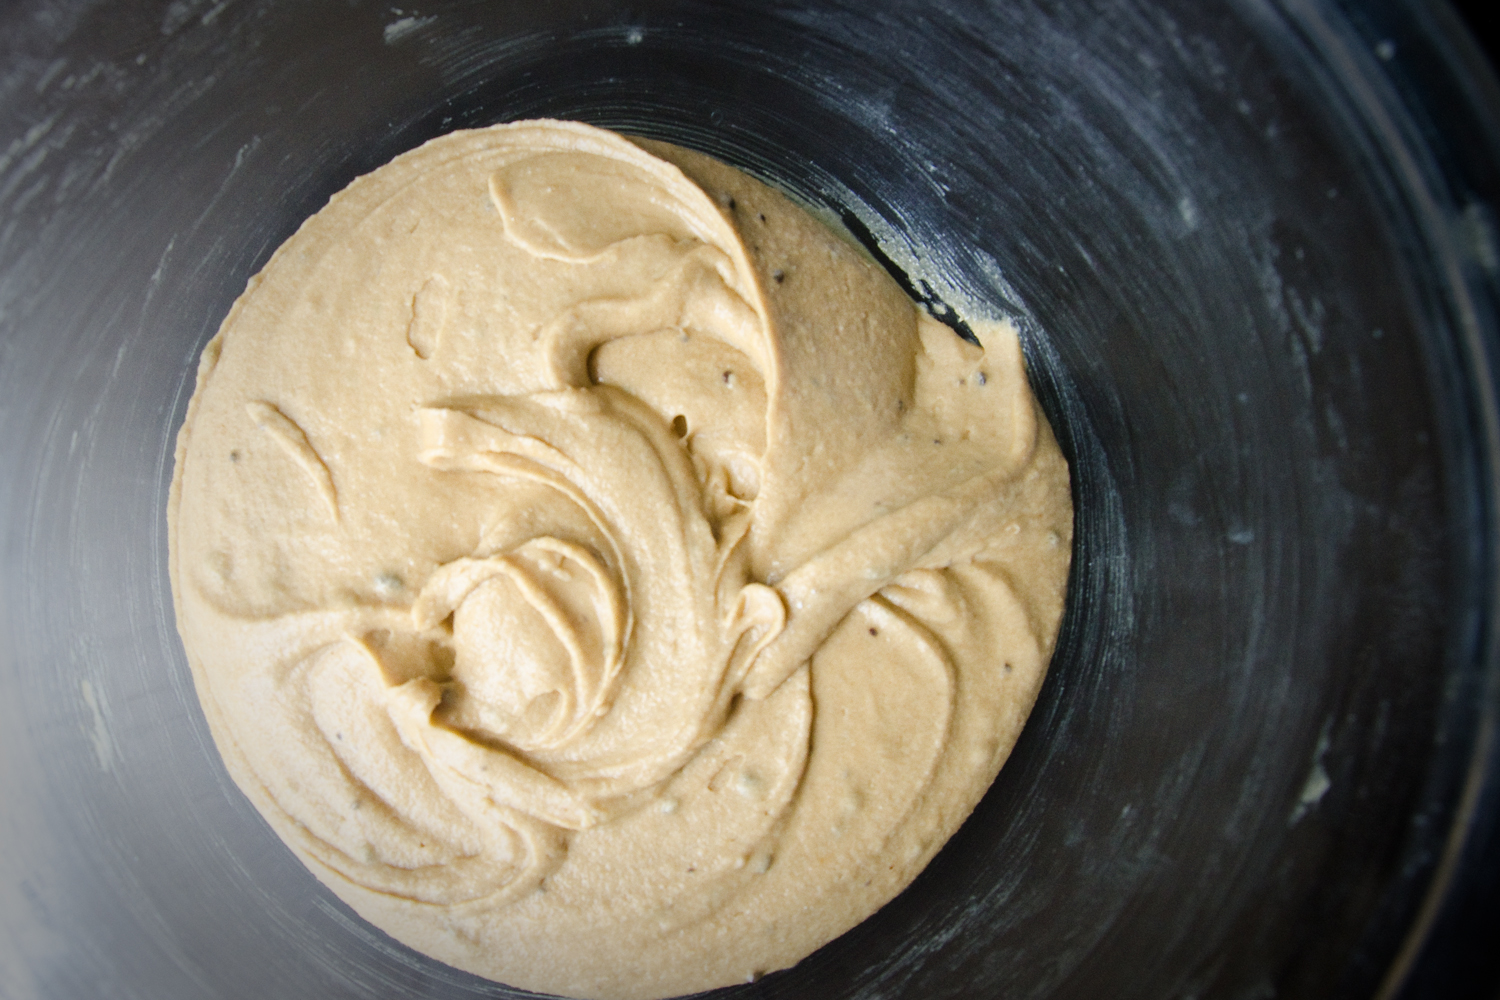
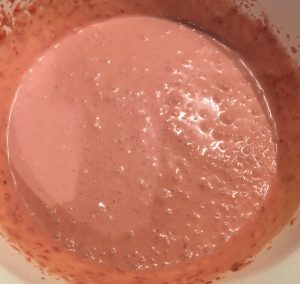
- Pour the buttermilk mix into the bowl with the flour along with the eggs.
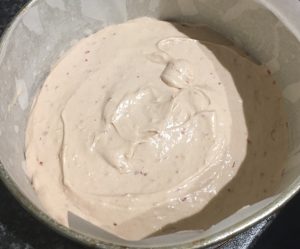
- Beat on slow with electric beaters until just combine.
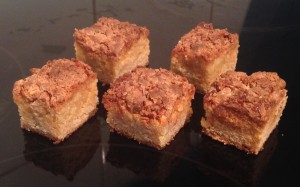
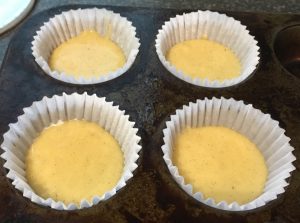
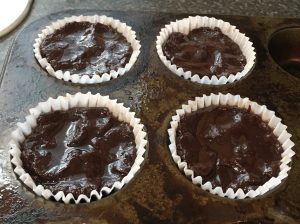
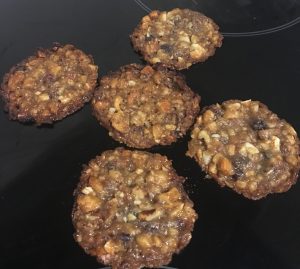
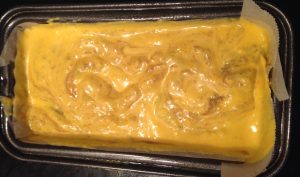
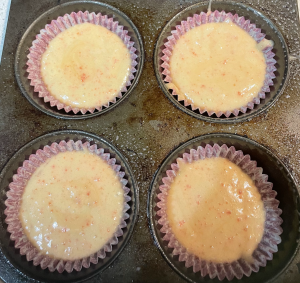
- Spoon the mix into the 8 large size cupcake patties in the prepared cupcake tray.
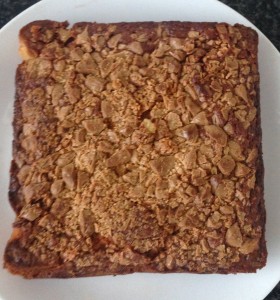
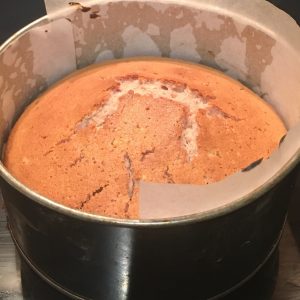
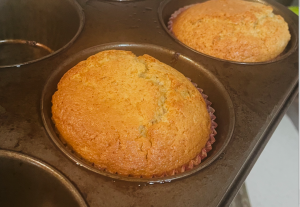
- Bake in the oven for 24 minutes or until a skewer inserted in the middle comes out clean.
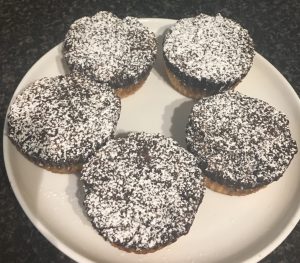
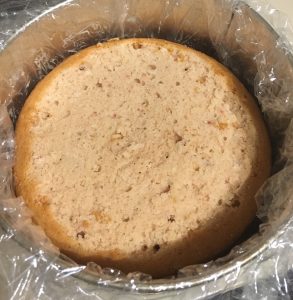
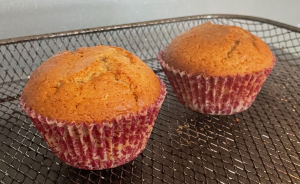
- Place the cupcakes on a rack to cool.
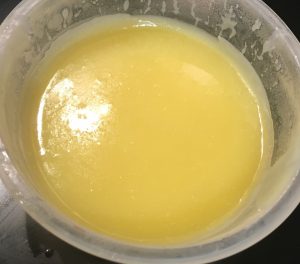
- Meanwhile, make the icing by melting the chocolate in a bowl on low in the microwave, stirring every 30 seconds until smooth.
- Cut up the raspberry twists into small, diced pieces.
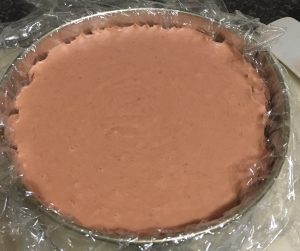
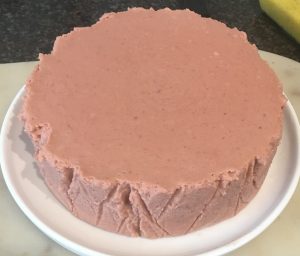
- Place the raspberry into the white chocolate bowl and whisk for 2 minutes, set aside in the fridge until set.
- Melt the butter in a bowl and microwave until just soft.
- Place the chocolate mix in a food processor and blitz until smooth.
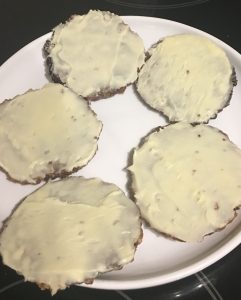
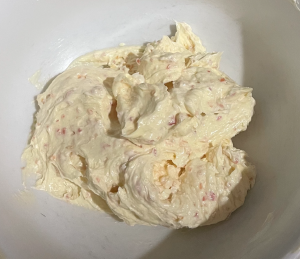
- Place the white chocolate mix in a bowl with the butter and beat with electric beaters until fluffy and pale.
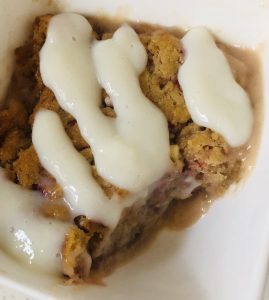
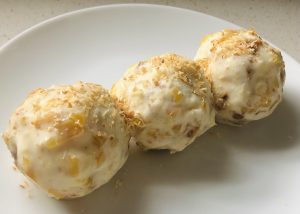
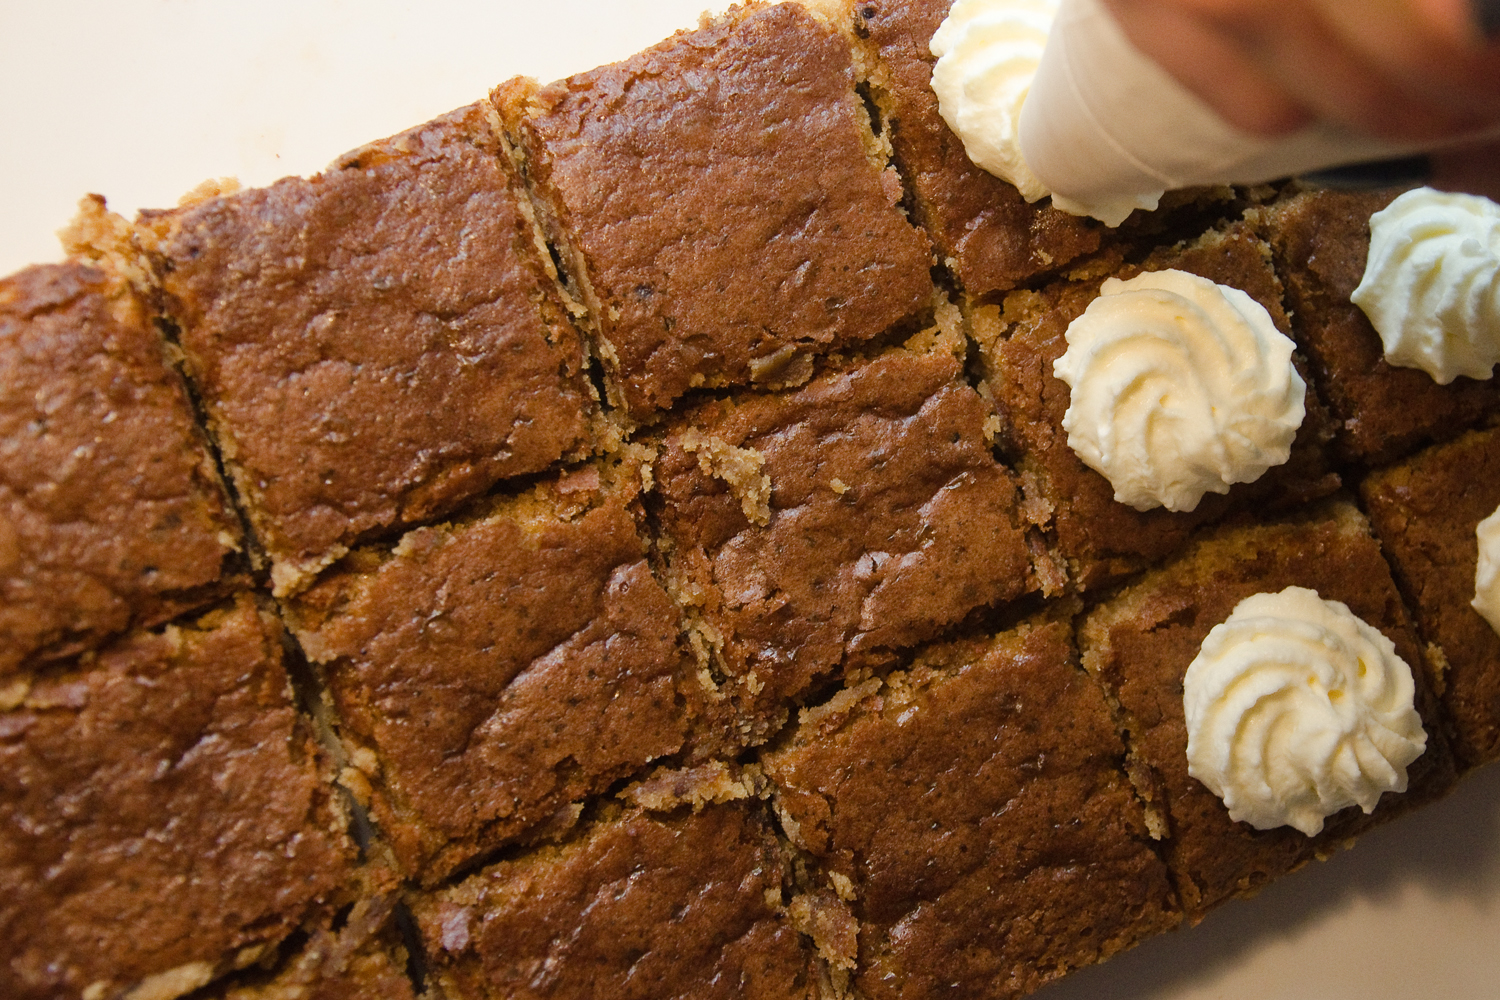
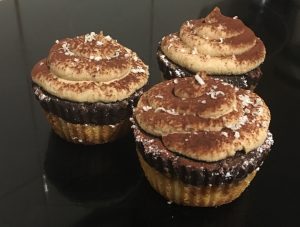
- Using a piping bag and star nozzle pipe the icing on the top of the cooled cupcakes.
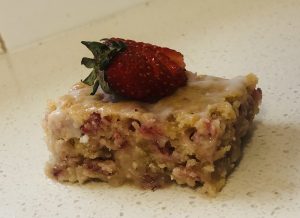
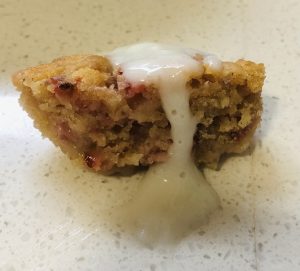
- Enjoy!
Step 9
Step 10
Step 11
Step 12
Step 15
Step 18

Step 19
 Follow