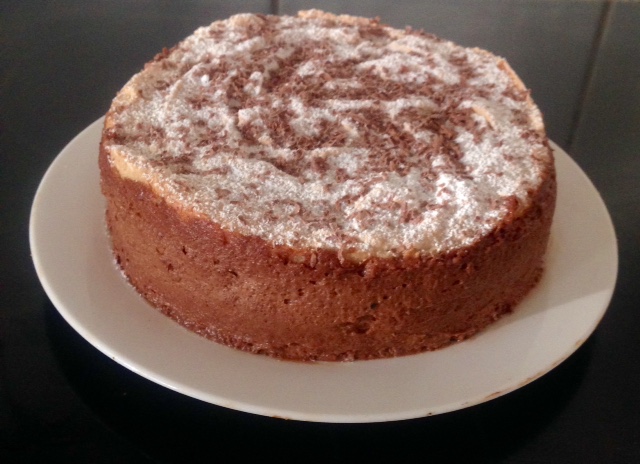
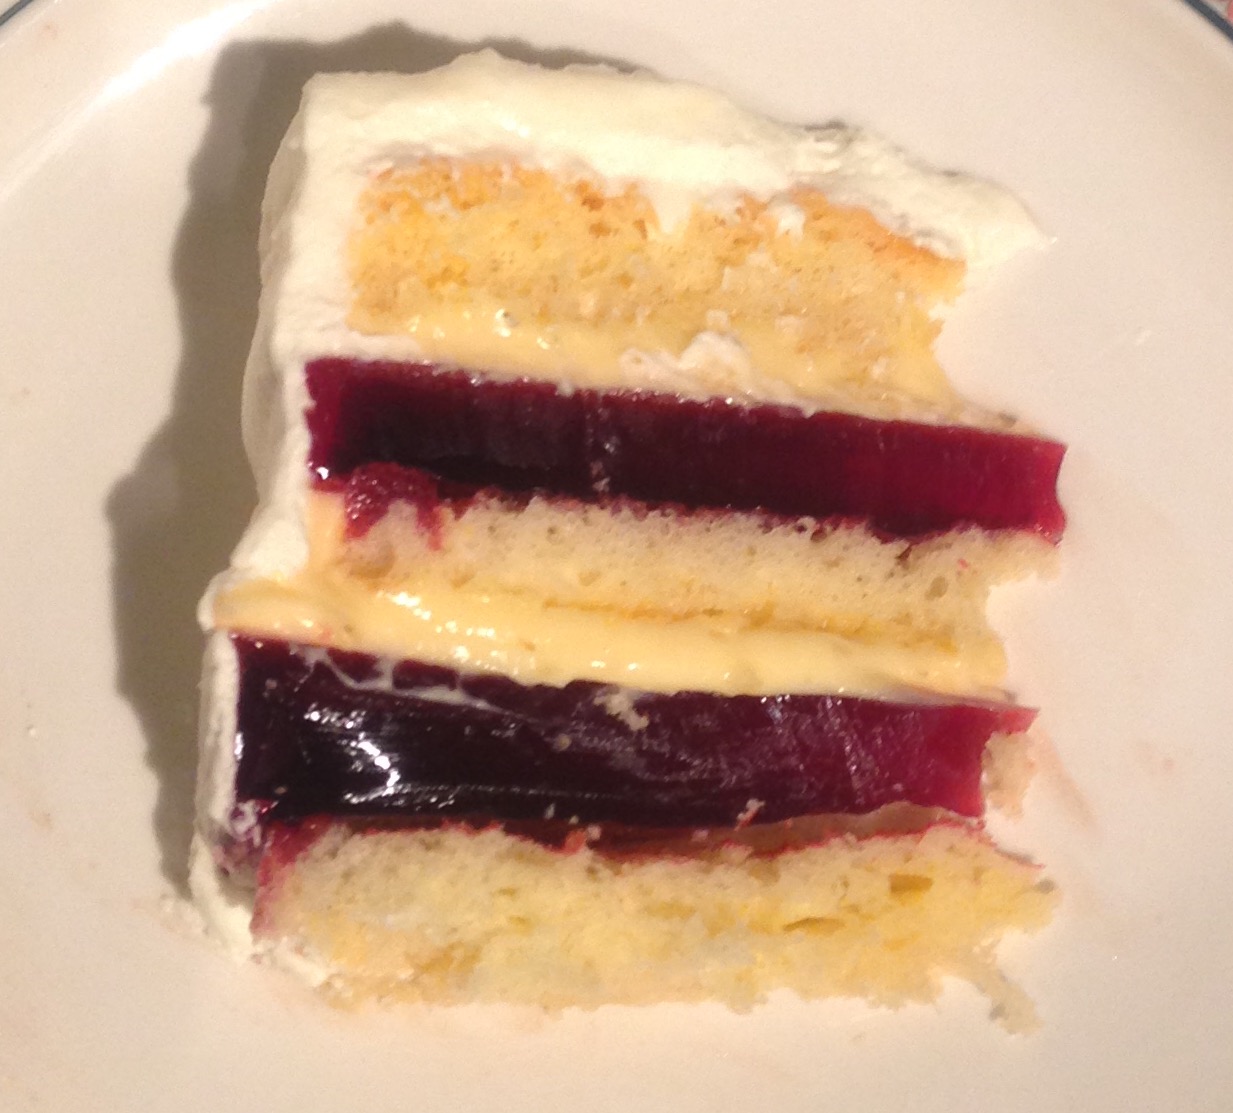
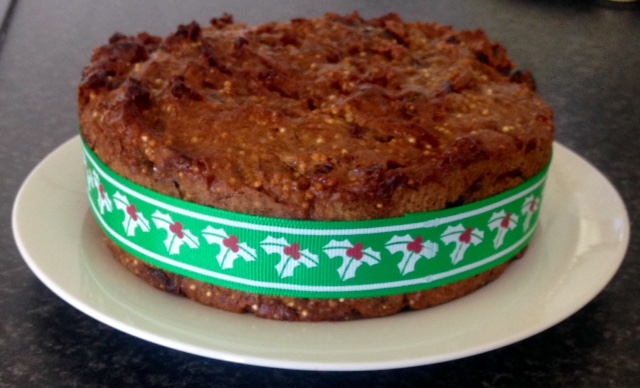
Quinoa Berry Christmas Cake
Quinoa….I have attempted to bake with this ancient grain about 10 times. This Quinoa Berry Christmas Cake was going to be the last attempt, where I only made the cake as I had some Quinoa left over from a Quinoa baking fail earlier that day.
I don’t understand how one thing can be that difficult to bake with…Semolina, couscous, polenta, almond meal – all are a breeze to bake with and add great texture and flavour. Quinoa…not so easy to bake with! The taste is quite distinct and hard to pair up, while the actual texture of the other ingredients also makes a big difference.
I have tired orange and ginger, pineapple carrot & banana, chocolate & peach even berries mango lime & mint to name a few and they were all flops!
As the fresh fruit was definitely not going to work I opted for dried fruit and knew I had to have a lot of flavour to offset the strong Quinoa taste. This directed me to dried fruit and heaps of it. As it’s Christmas time (Christmas Eve) of course a Christmas Cake was the first thing that popped into my mind.
I have also used gluten free flour to make this 100% free from gluten.
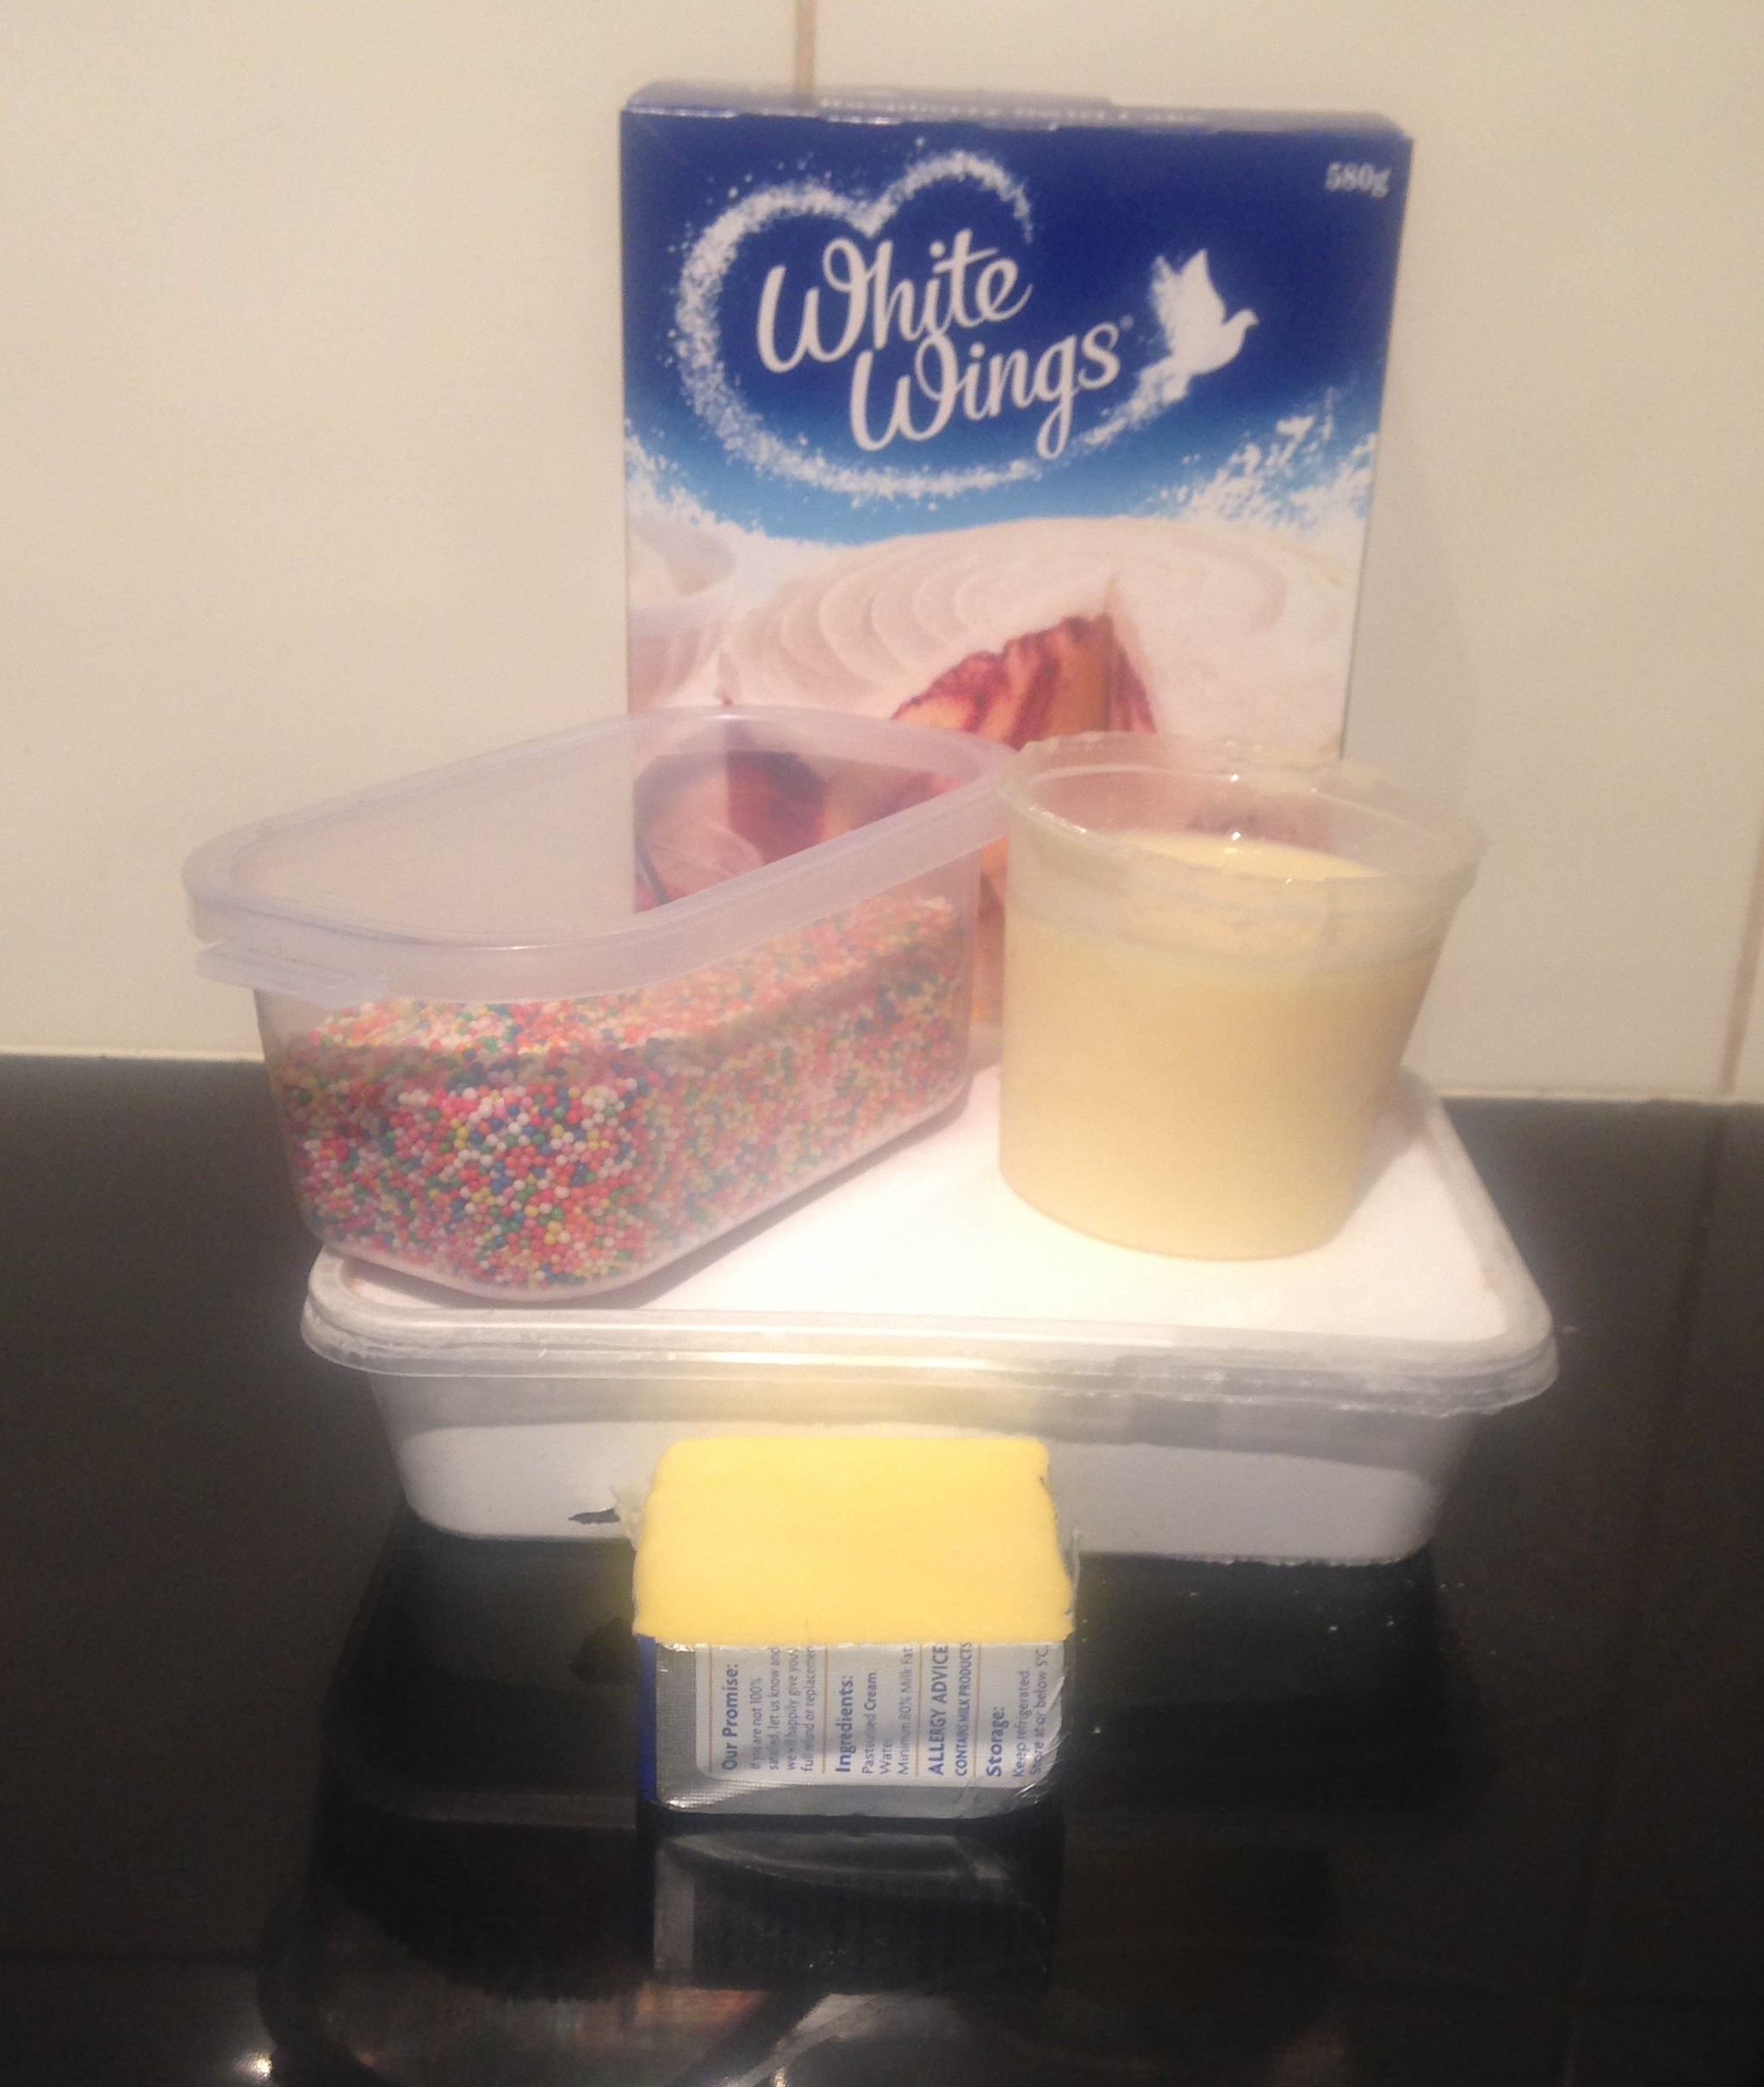
Ingredients:
- 100g quinoa
- 150g currents
- 150g sultanas
- 300g dries pitted dates
- 100g mixed dried berries
- 100g cranberries
- 100g dried pineapple
- 100g butter
- 3 tbsn sherry
- 2 oranges
- ½ tsn bicarbonate of soda
- 3 eggs
- 155g gluten free flour
- 1 tsn ground ginger
- 1 tsn mixed spice
- 1 tsn ground cinnamon
Method:
- Pre-heat the oven to 160c and line a 23cm baking tin with baking paper.
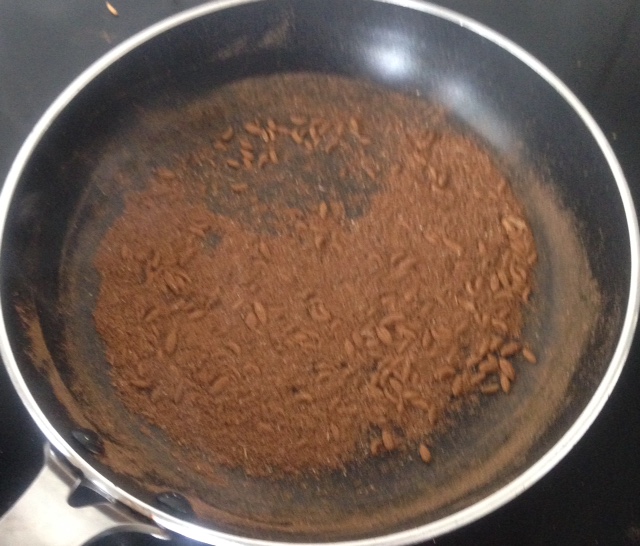
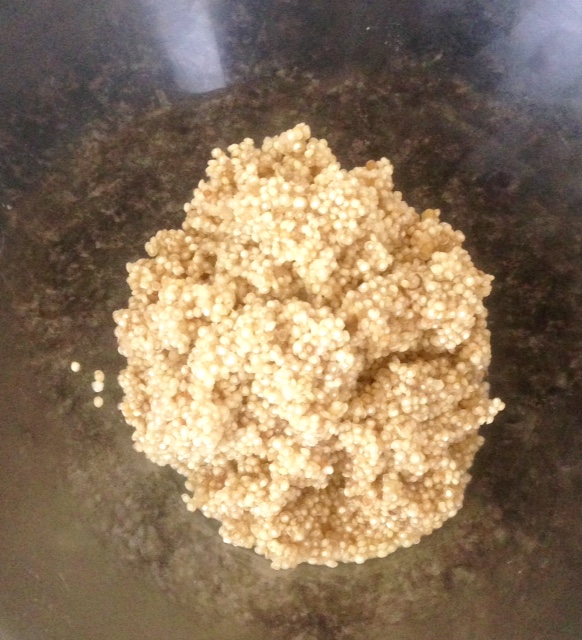
- Place quinoa in a pan on the stove with 210g water.
- Turn on high until the water boils then reduce to low and simmer for 10 minutes or until the water is all fully absorbed.
- Move the quinoa off the heat to fully cool.
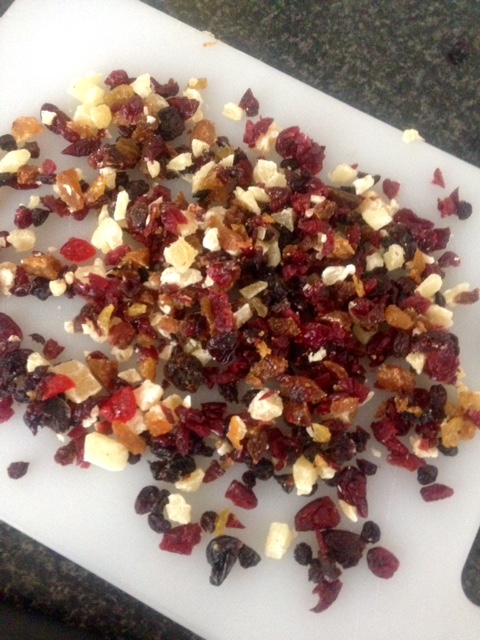
- Cut the dried fruit into small pieces.
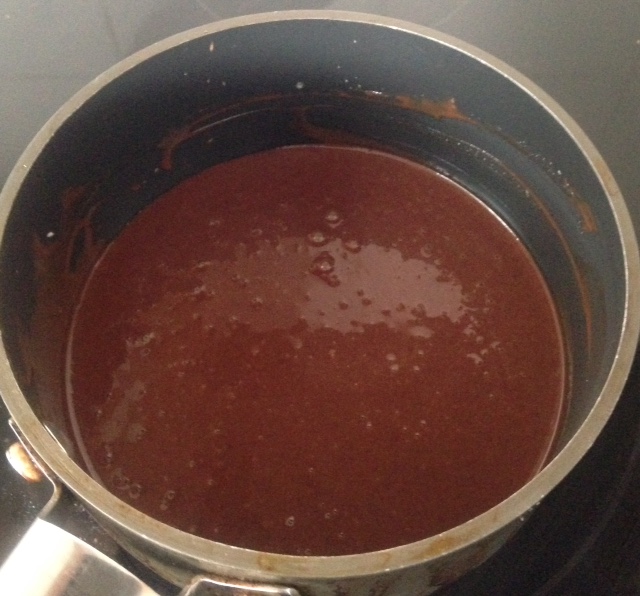
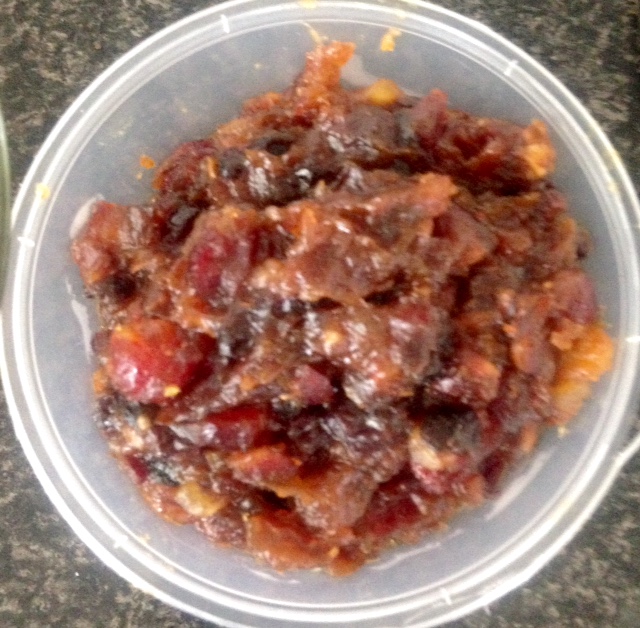
- Place 2 tbsn water, the currents, sultanas, dates, berries, cranberries, pineapple, butter, sherry, juice and zest of the 2 oranges in a saucepan.
- Bring gently to the boil and allow to simmer for 10 minutes.
- Turn off the heat, add in the bi carb and stir every 5 minutes until the mix is cool.
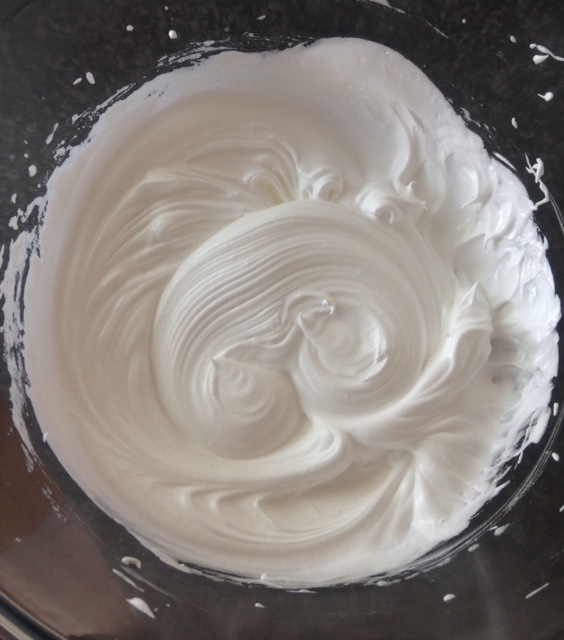
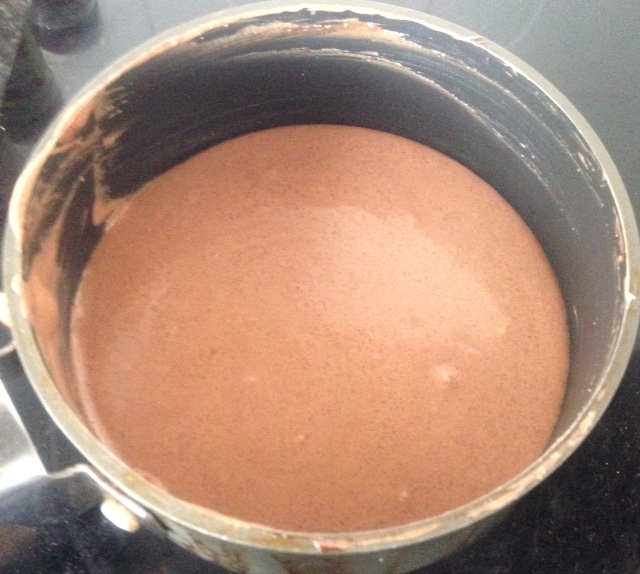
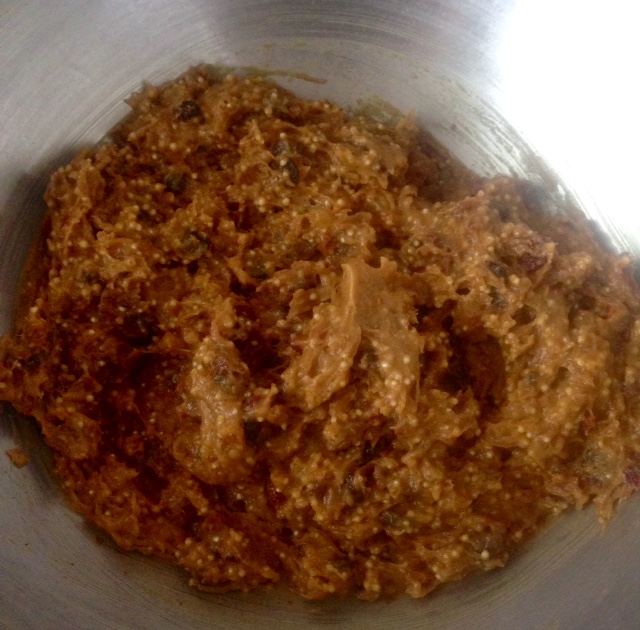
- Beat the eggs and place in the bowl with the cooled quinoa and fruit mix. Mix until combine.
- Sift in the flour and spices and stir until well combine.
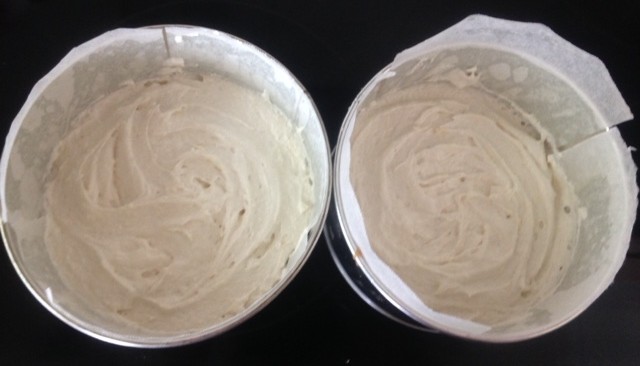
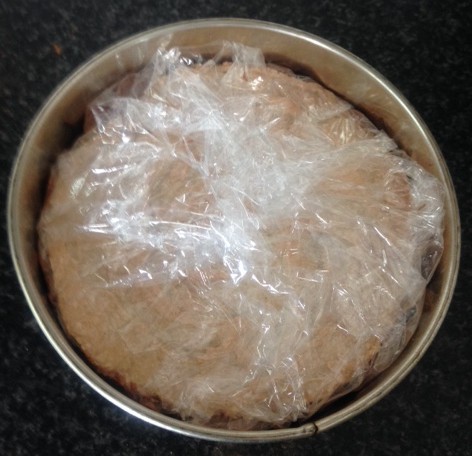
- Place in the cake tin and bake for 45 minutes or until a skewer comes out clean.
- Allow cake to cool for 10 minutes then place on a cooling rack to cool completely.
Notes:
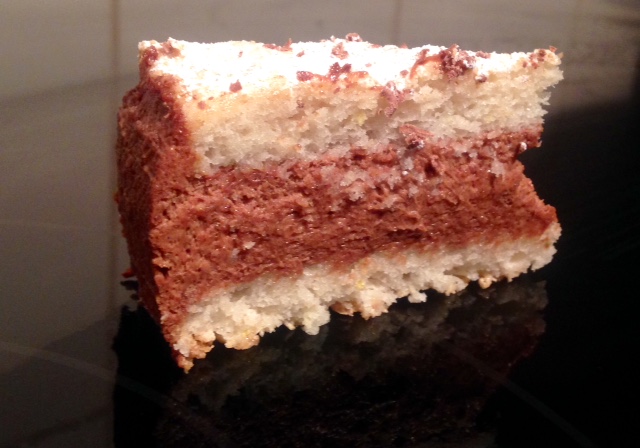
- The cake will be a moist when placing a skewer in as the dried fruit has absorbed the liquid and plumped them up.
- If you want to make this alcohol free you can forgo the sherry and add in an additional 3 tbsn on orange juice.
- If you don’t have sherry you can use brandy or port wine.
- This cake is best served with custard or ice-cream.

Ingredients
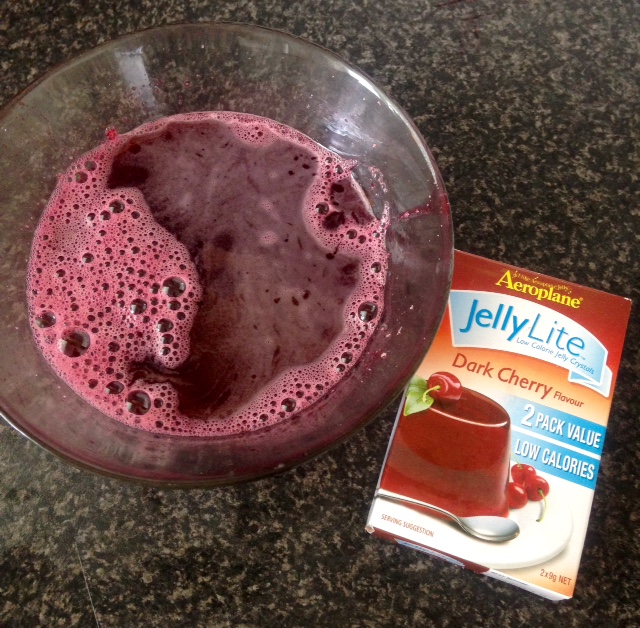
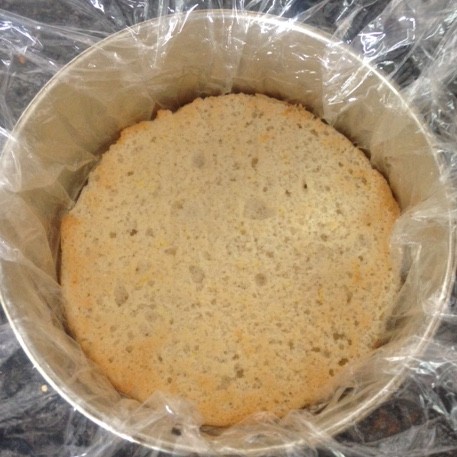
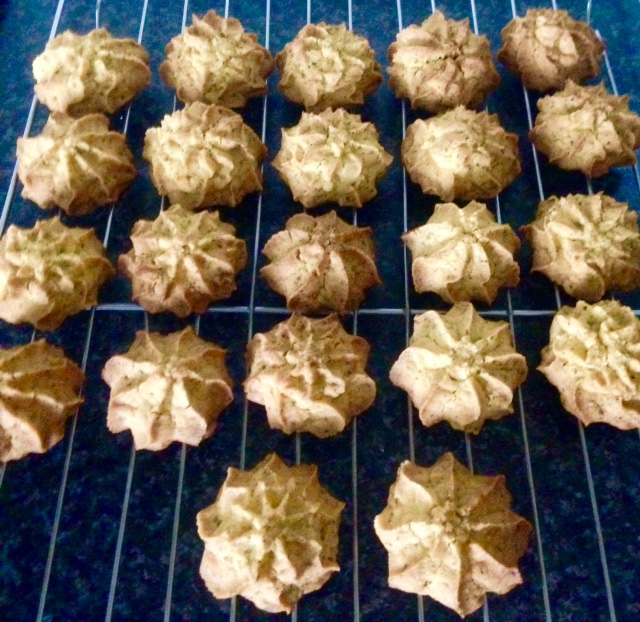
Step 4
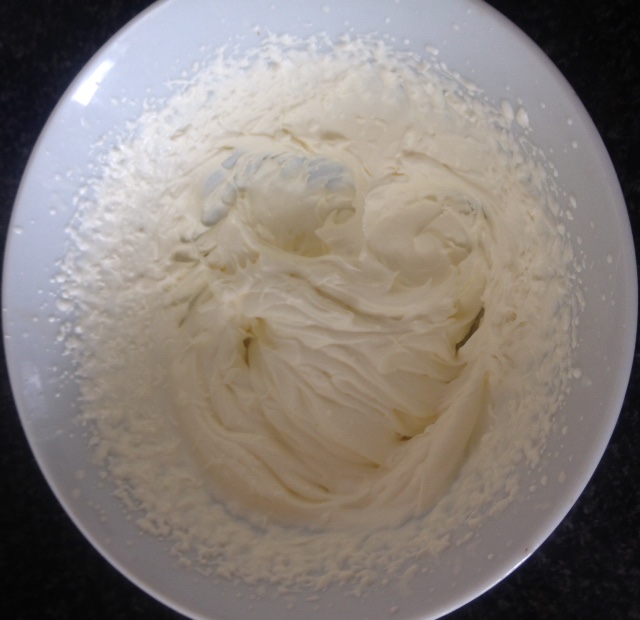
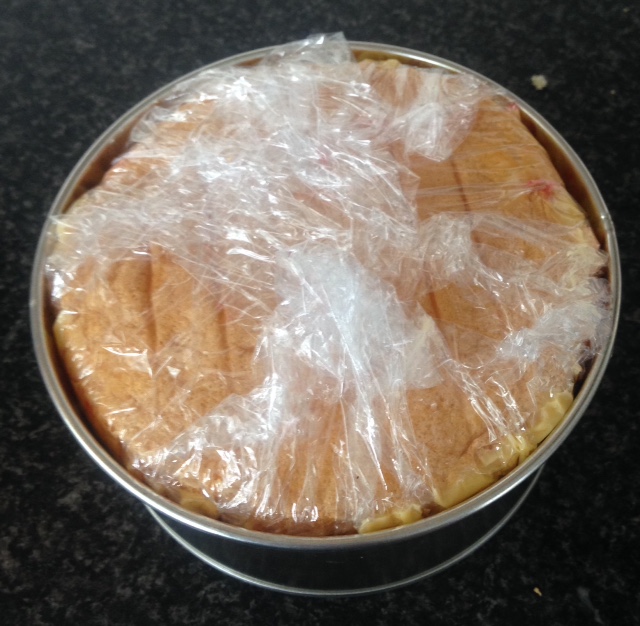
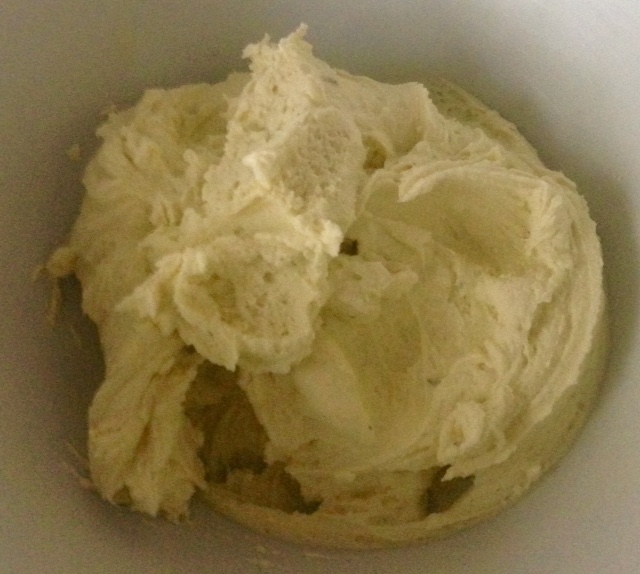
Step 5
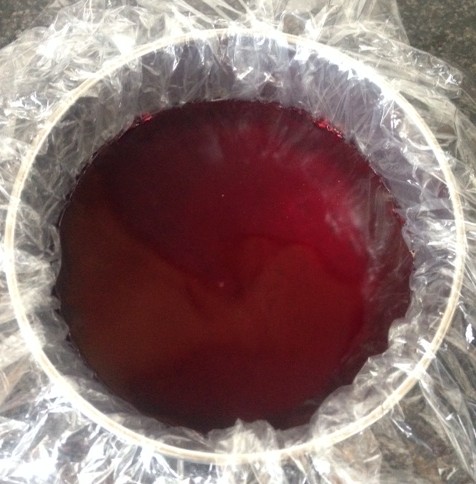
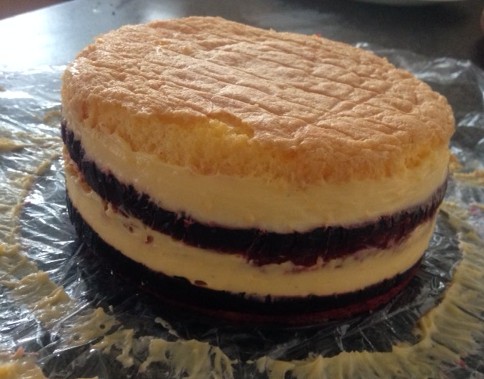
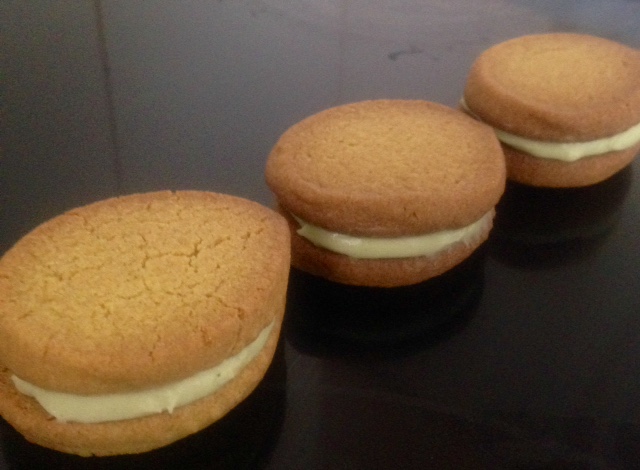
Step 8
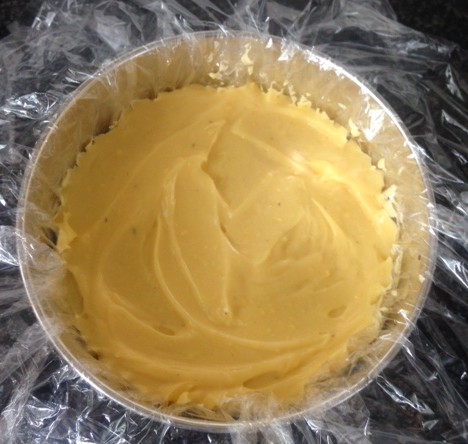
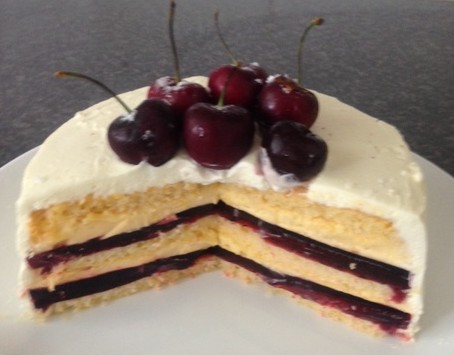
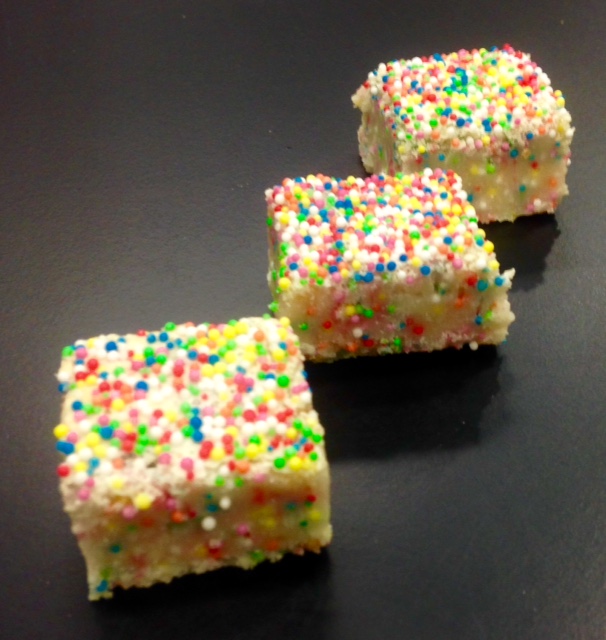
Step 10
Like this recipe? Subscribe via RSS or email to get my new entries and more scrumptious recipes with reviews.
 Follow