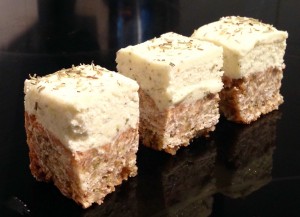
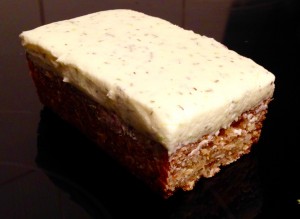
Black Forest Ricotta Layer Sponge Cake
I’m a massive fan of Black Forest Cake, however not so much a fan of high fat volume of cream this cake is predominantly made of.
So, I decided that I would create a lower fat version of this cake that has no need for an oven and is super easy so anyone can make it while still producing a great result.
This cake is a cherry lover’s dream with dried cherries, fresh cherries and kirsch Icherry liquor) = 3 x cherry flavor layer craziness.

Ingredients:
- 800g ricotta
- 120g sugar
- 3 tsn vanilla essence
- 90g dried cherries
- 300g cherries
- 60g dark chocolate
- 1 + ½ oranges
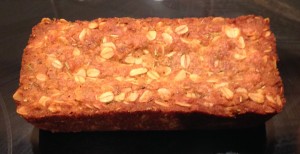
- 2 x 30cm store bought sponge cakes
- 150ml kirsch
Method:
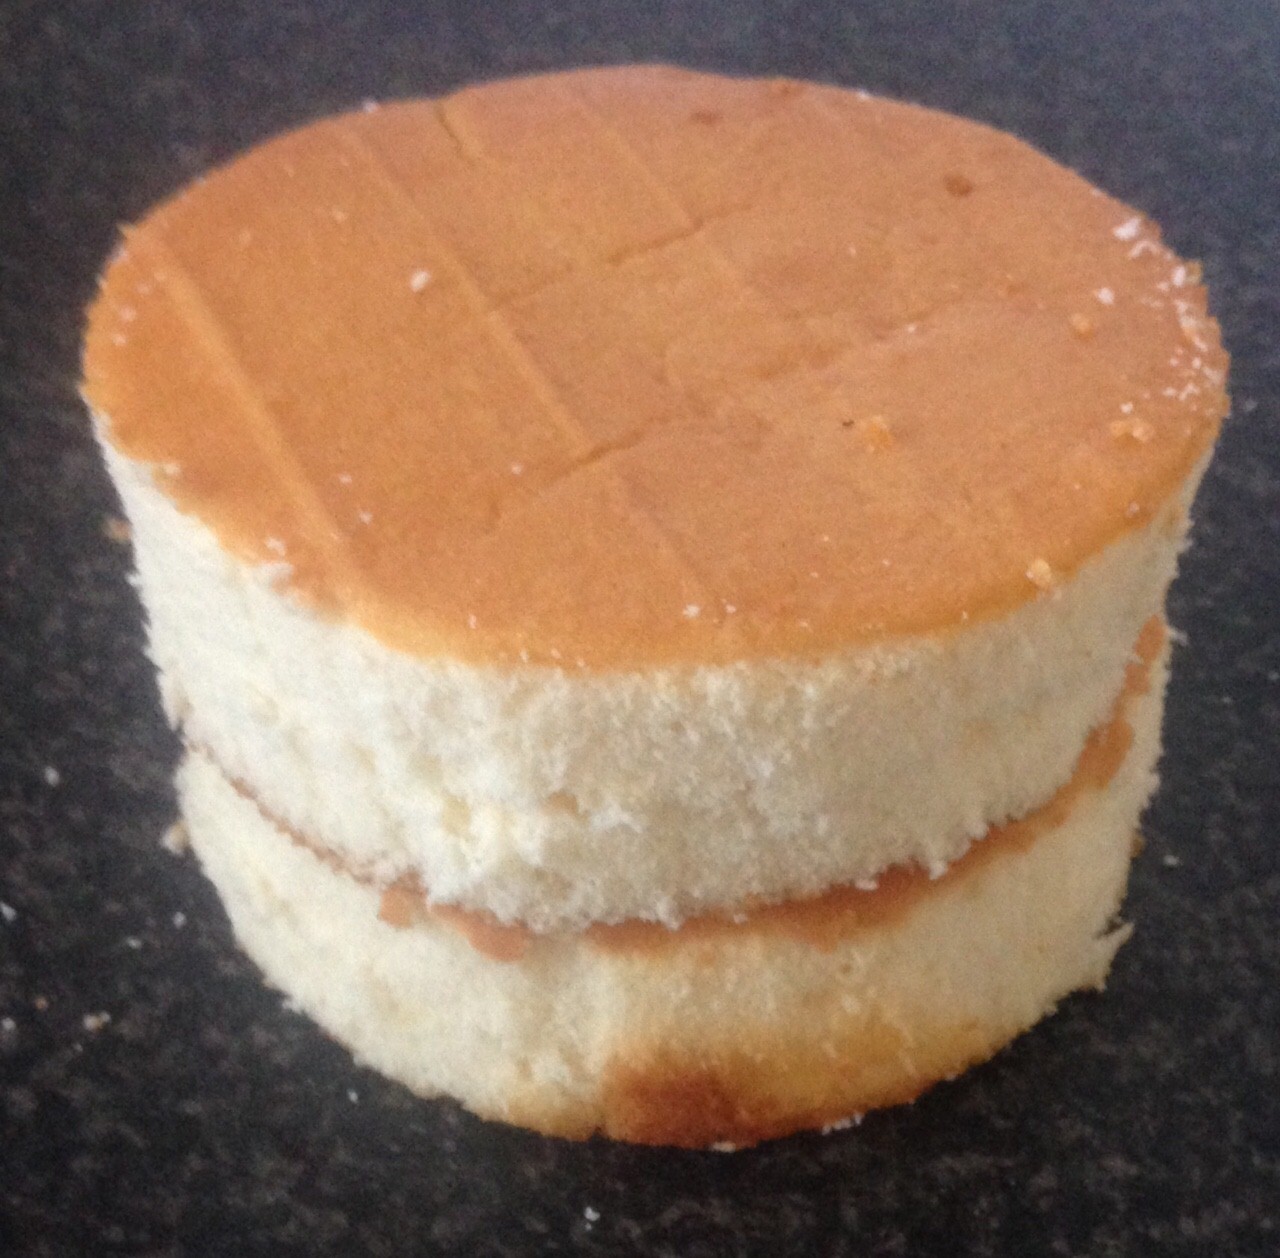
- Place a 25cm spring form cake tin on top of a sponge cake and using a knife cut around the tin for a perfect fit cake, repeat with the second sponge cake.
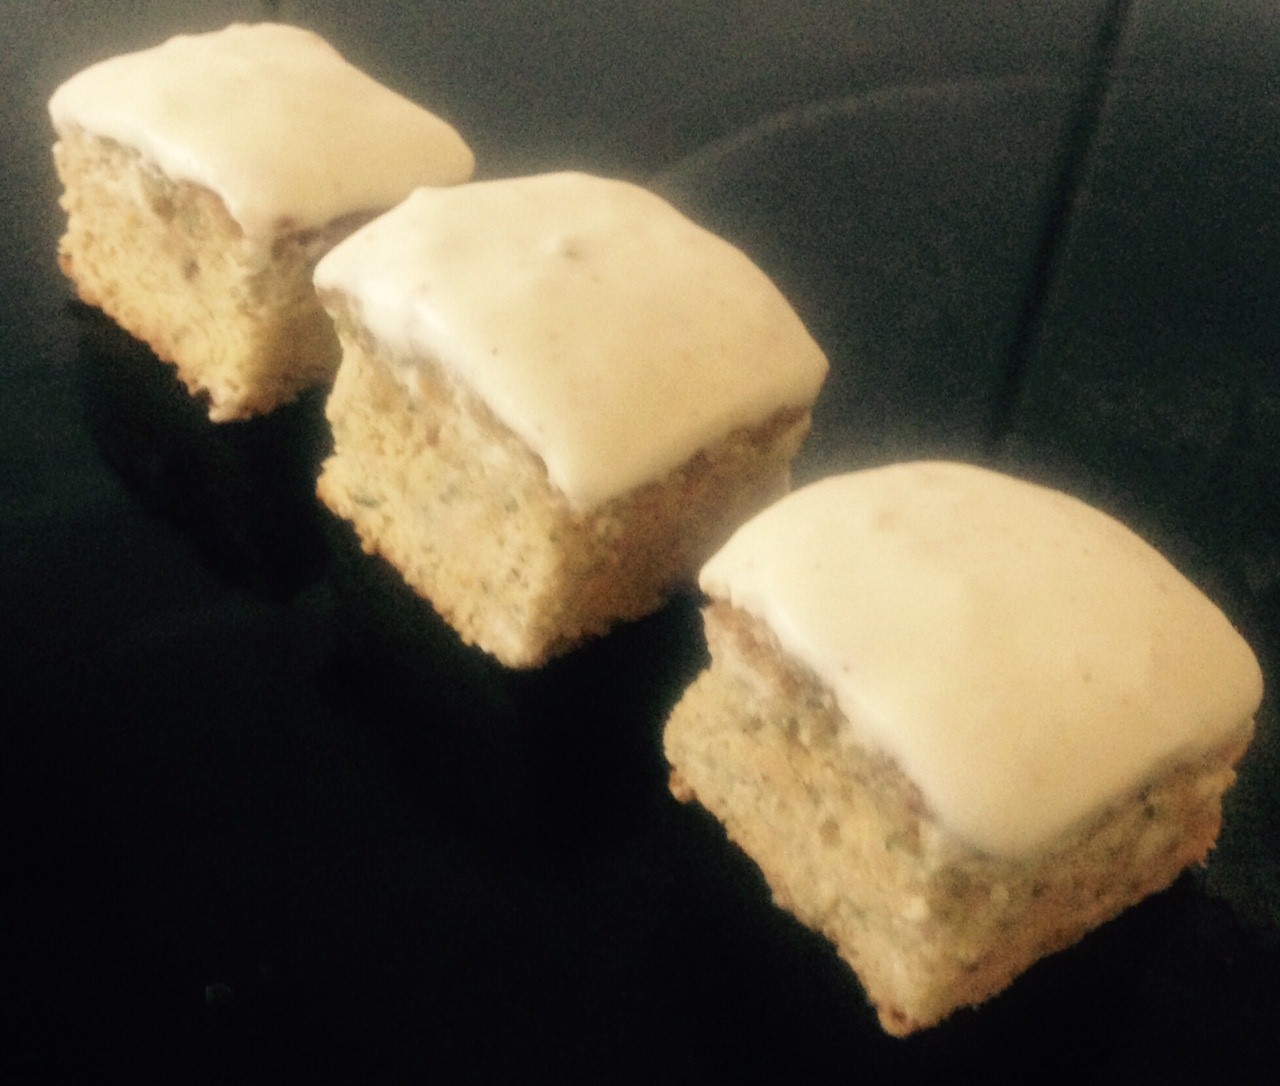
- Cut each sponge cake in half horizontally so you have 4 x 25cm cake layers.
- Using a pastry brush brush the kirsch onto the top of the 4 sponge cakes.
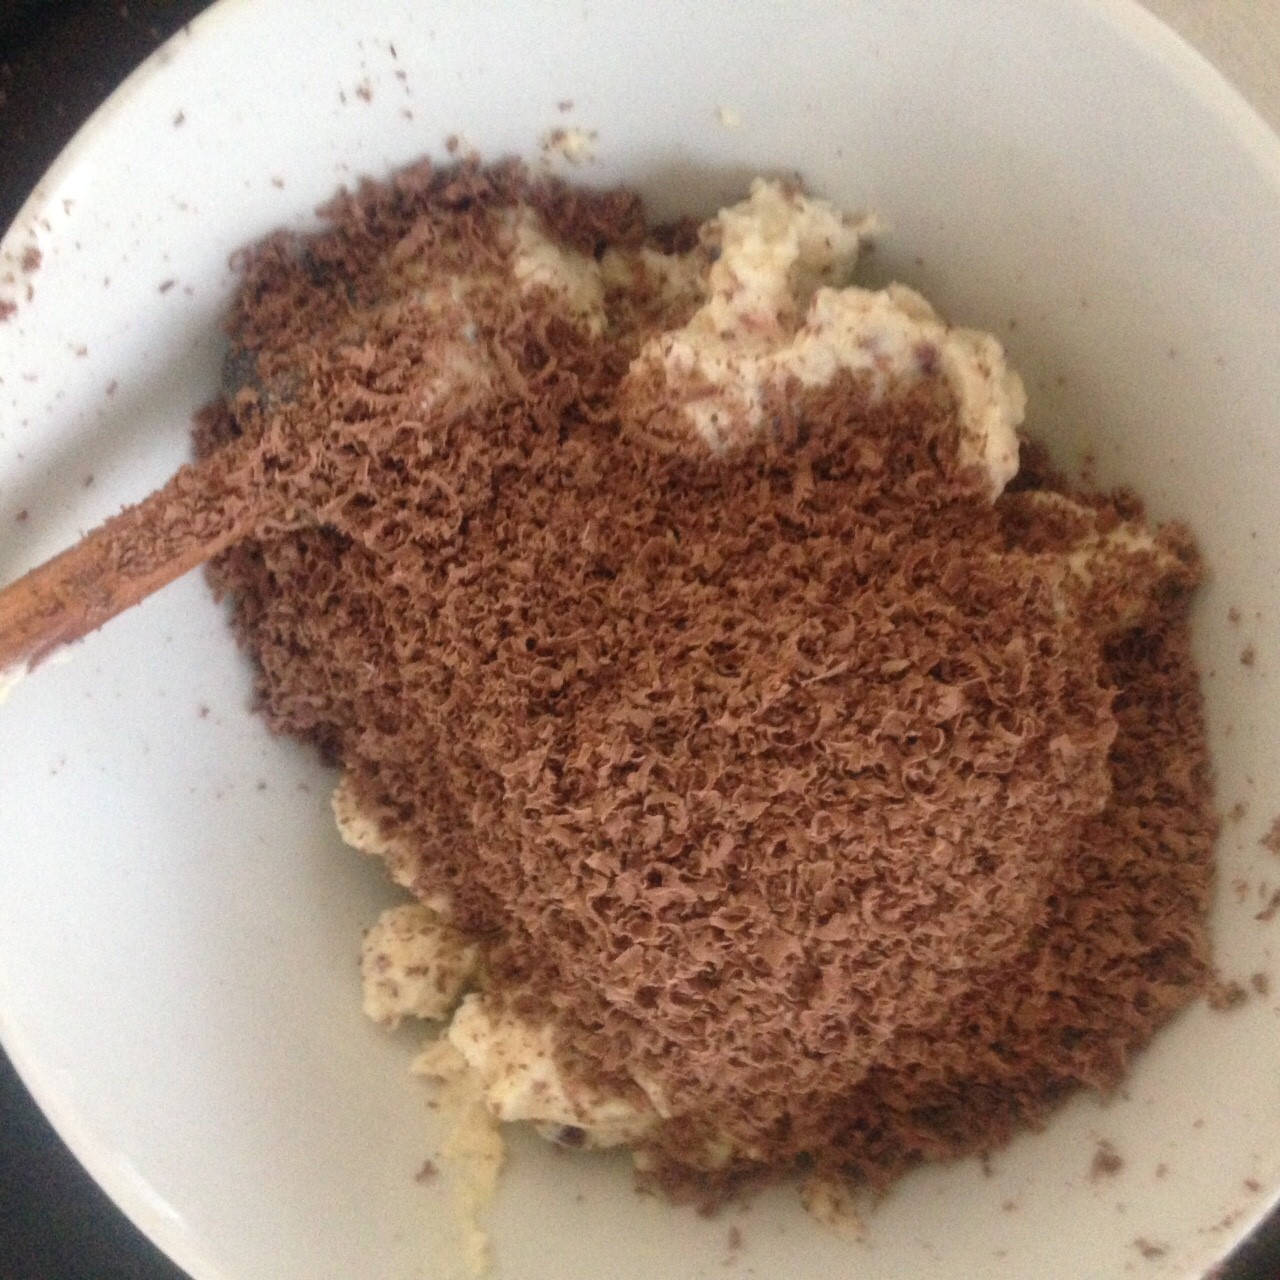
- Grate the chocolate.
- Zest 1 + ½ of the oranges.
- Dice up the cherries.
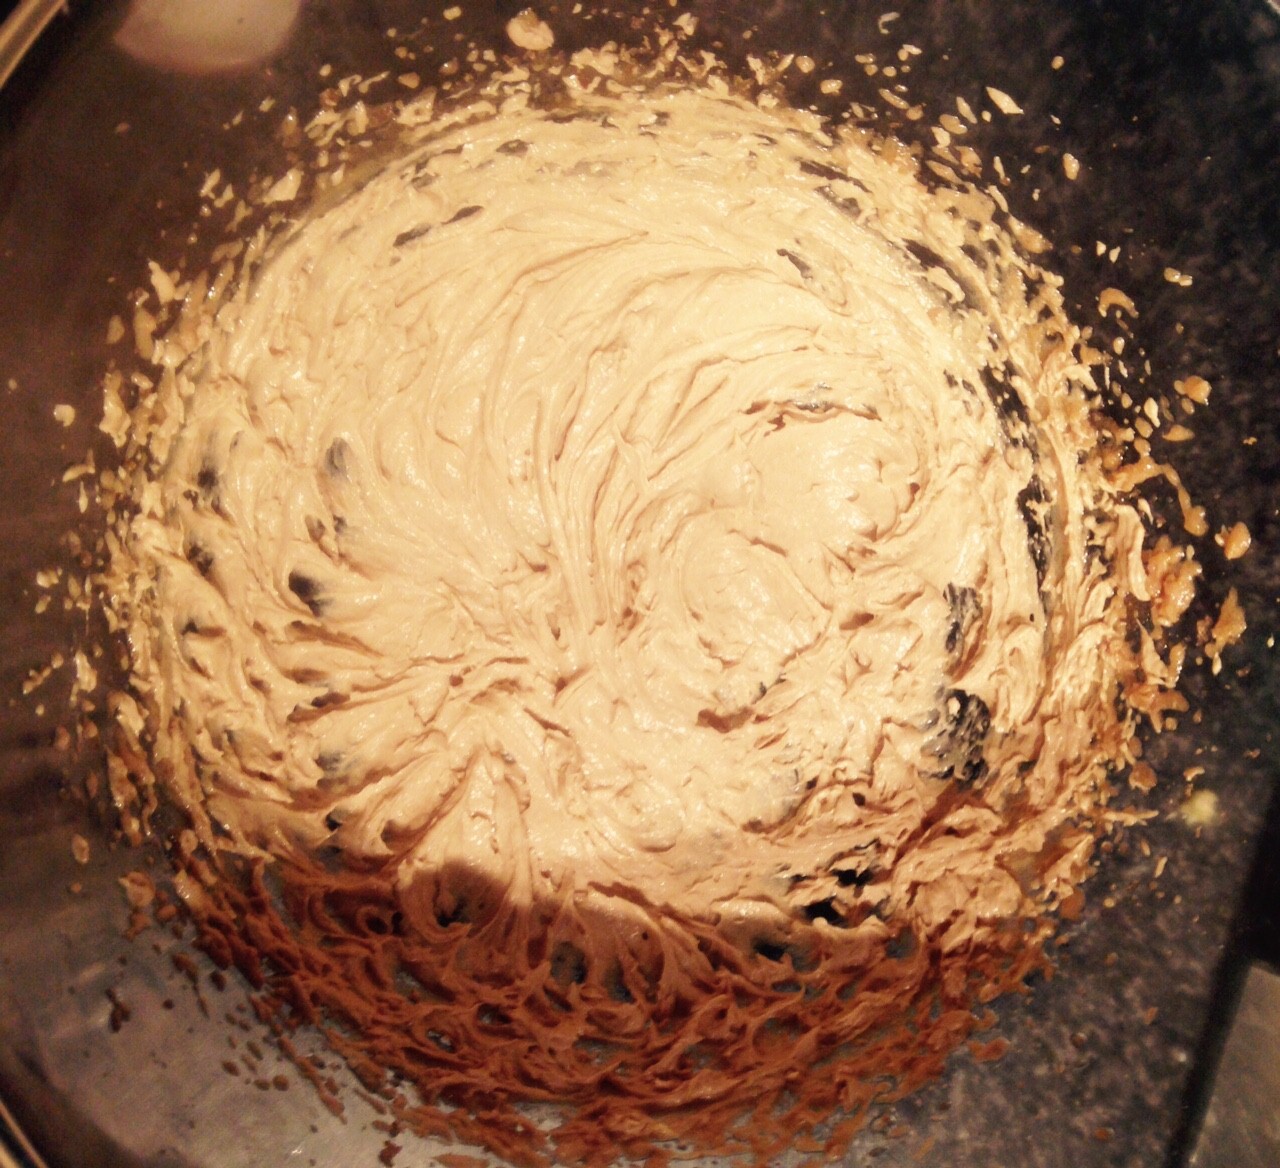
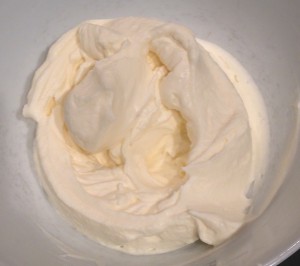
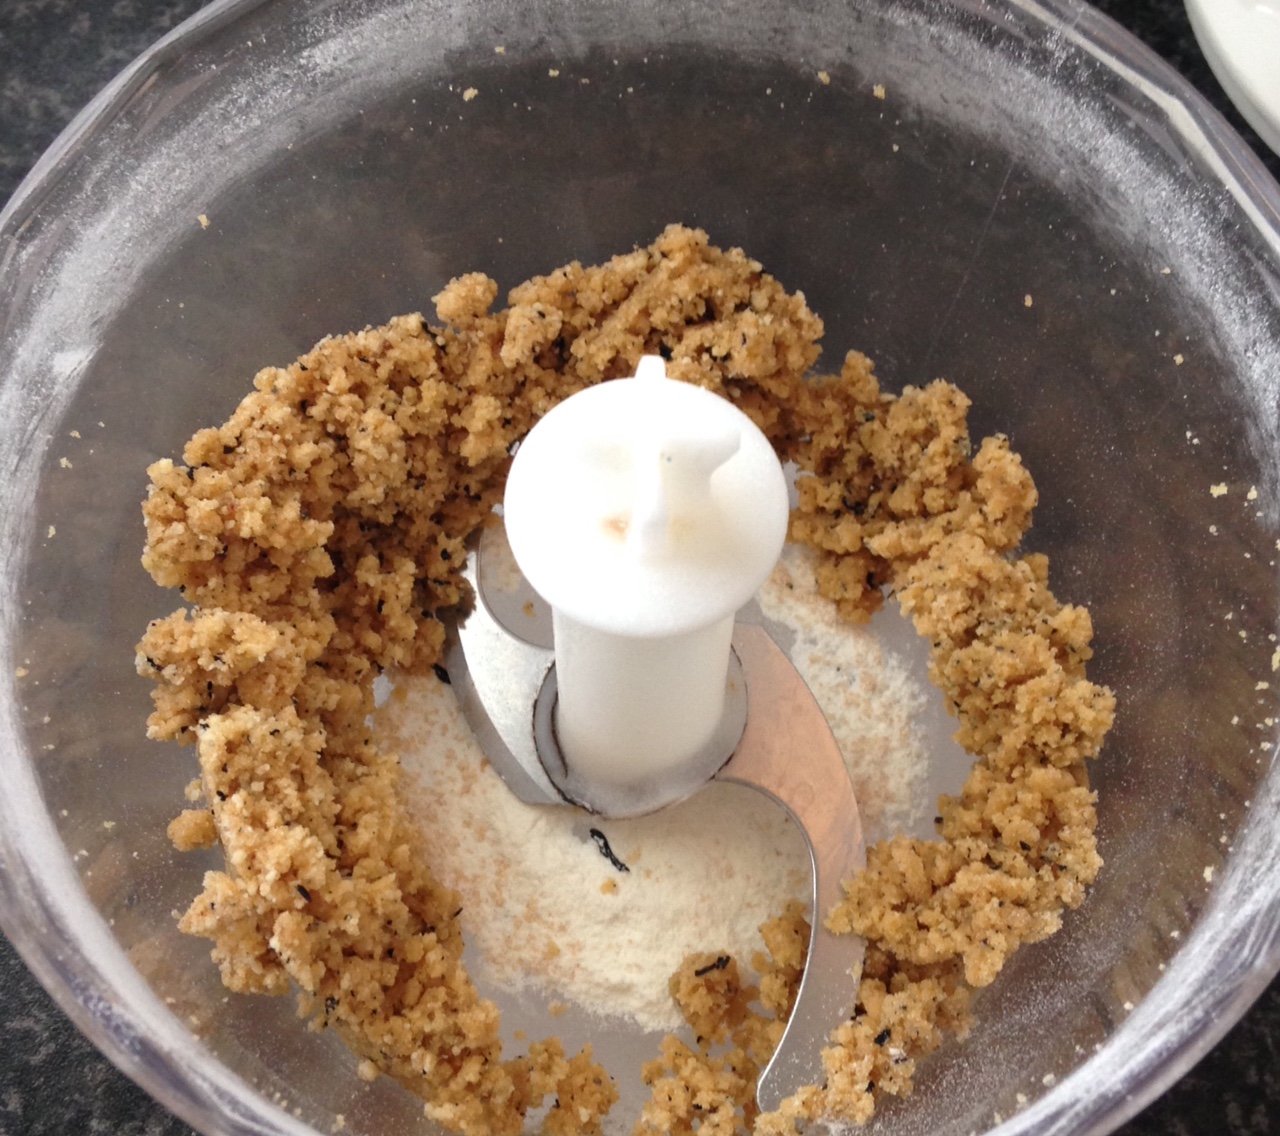
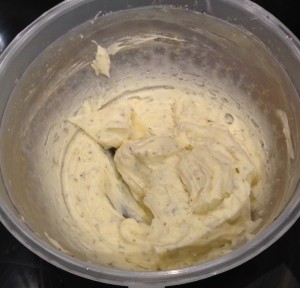
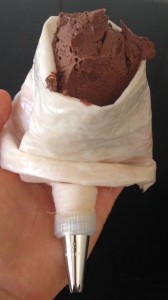
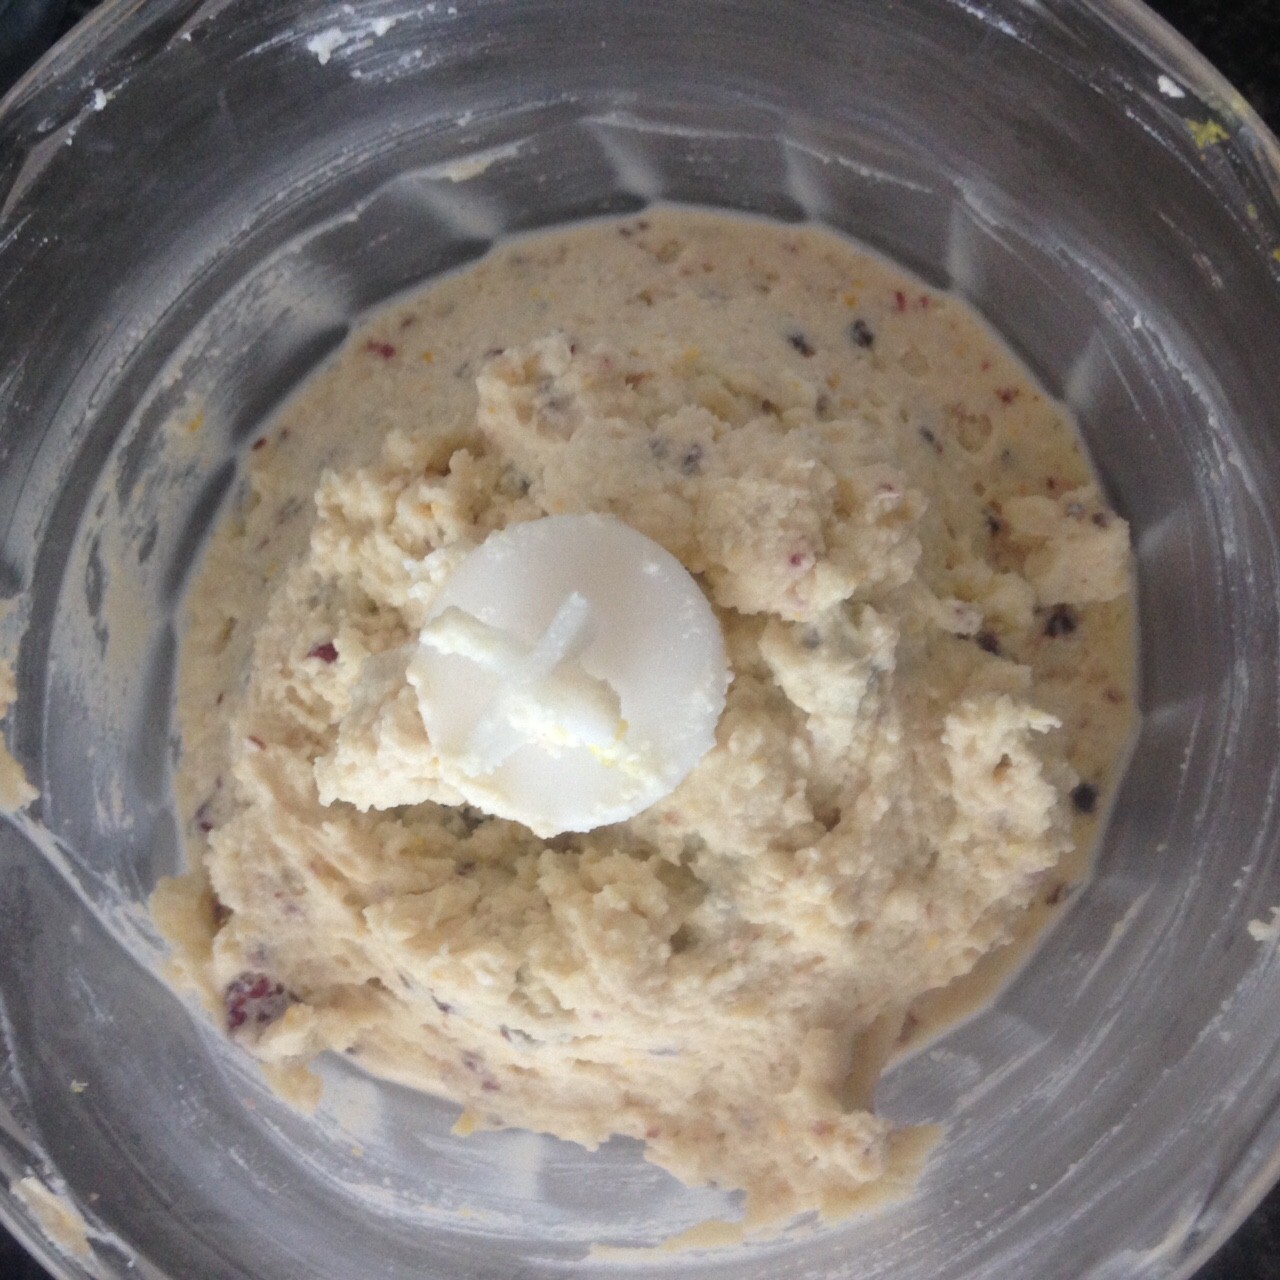
- Place the ricotta, sugar, vanilla, dried cherries and orange zest into a food processor and process until combine.
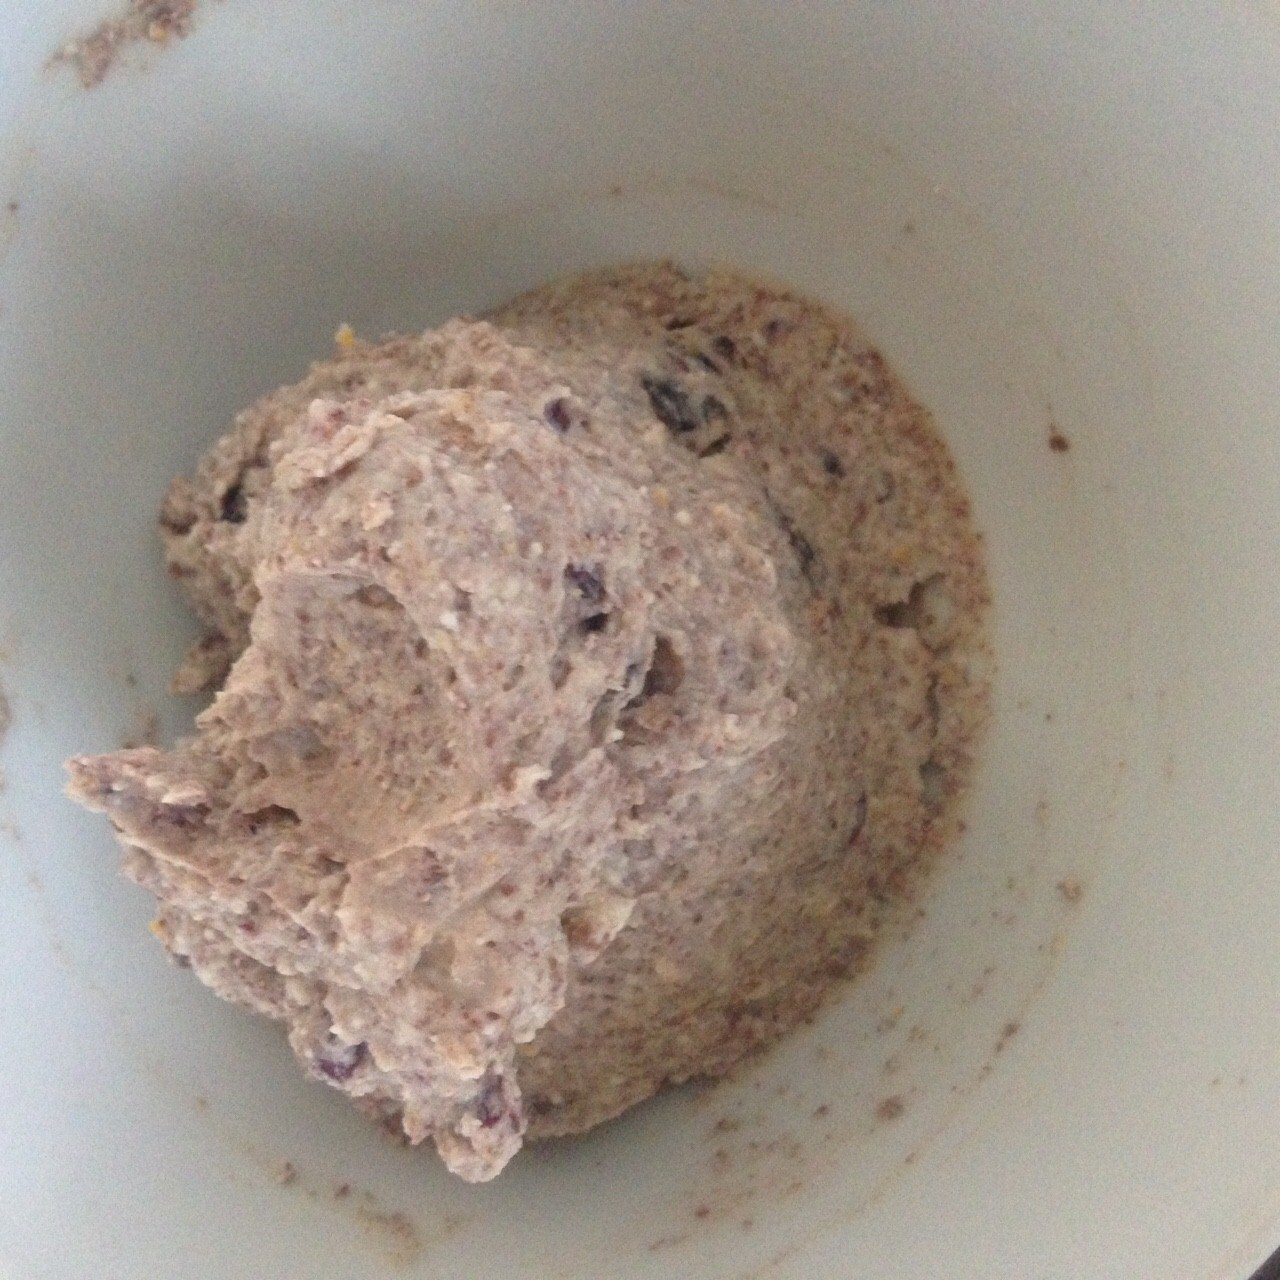
- Add the chocolate and the diced cherries and fold to combine.
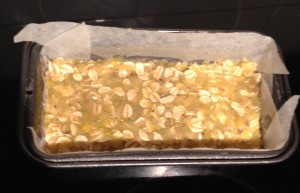
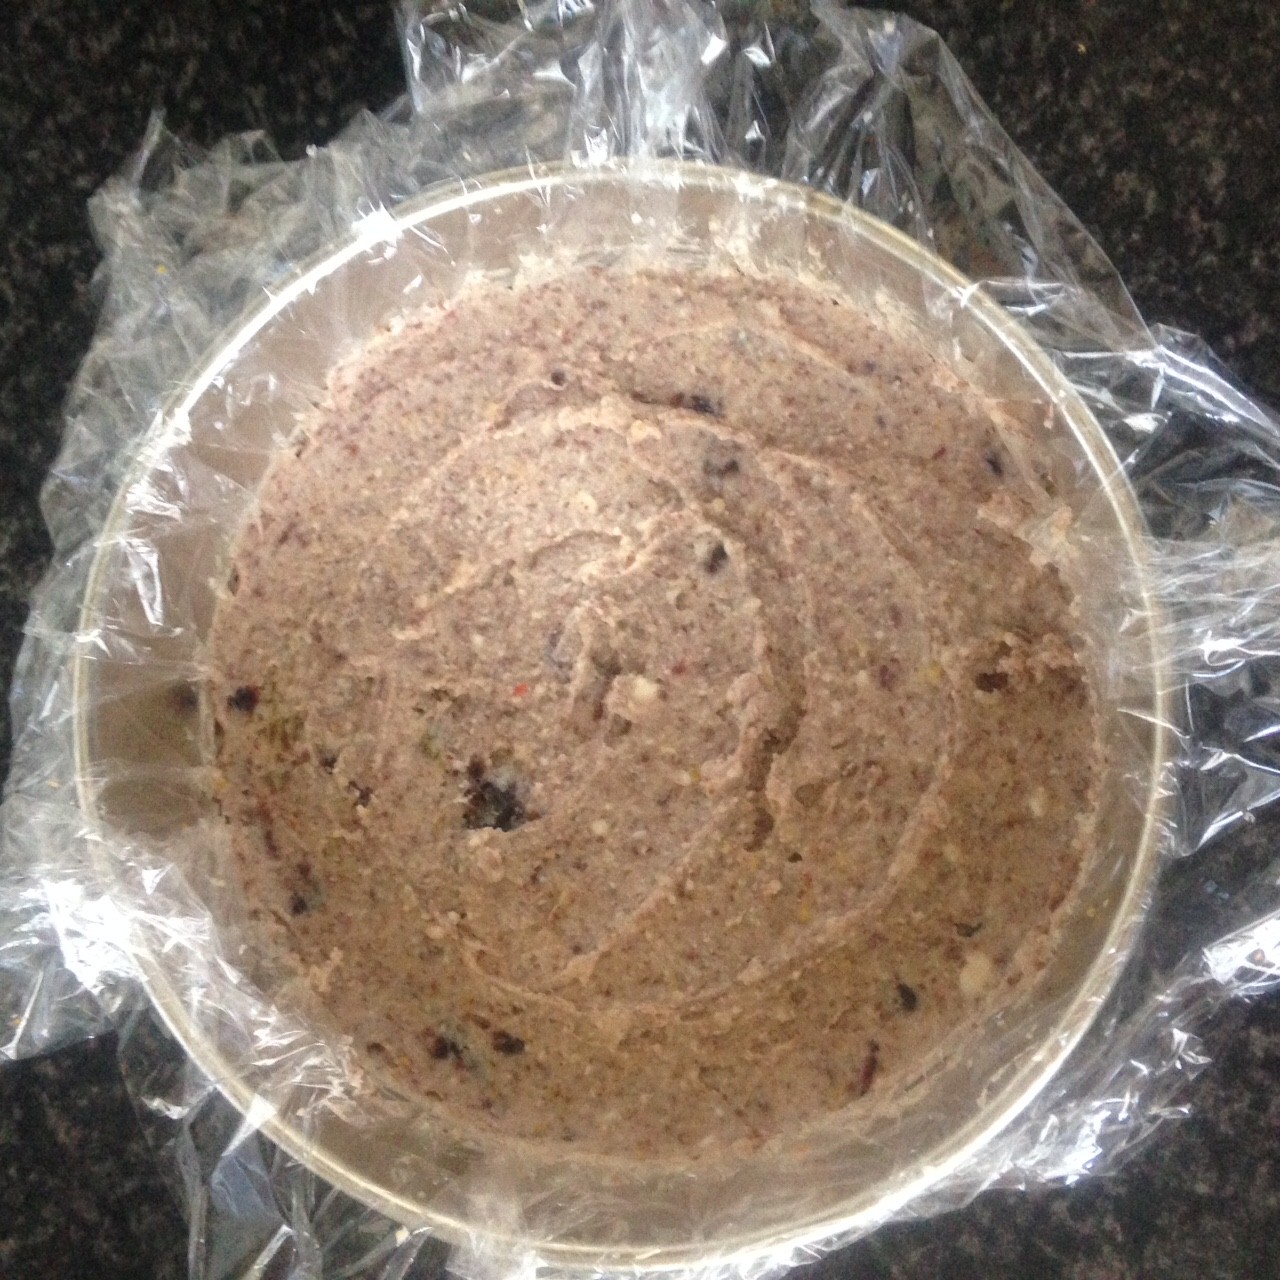
- Line the cake tin with 2 layers of plastic wrap and ensure the wrap overhangs.
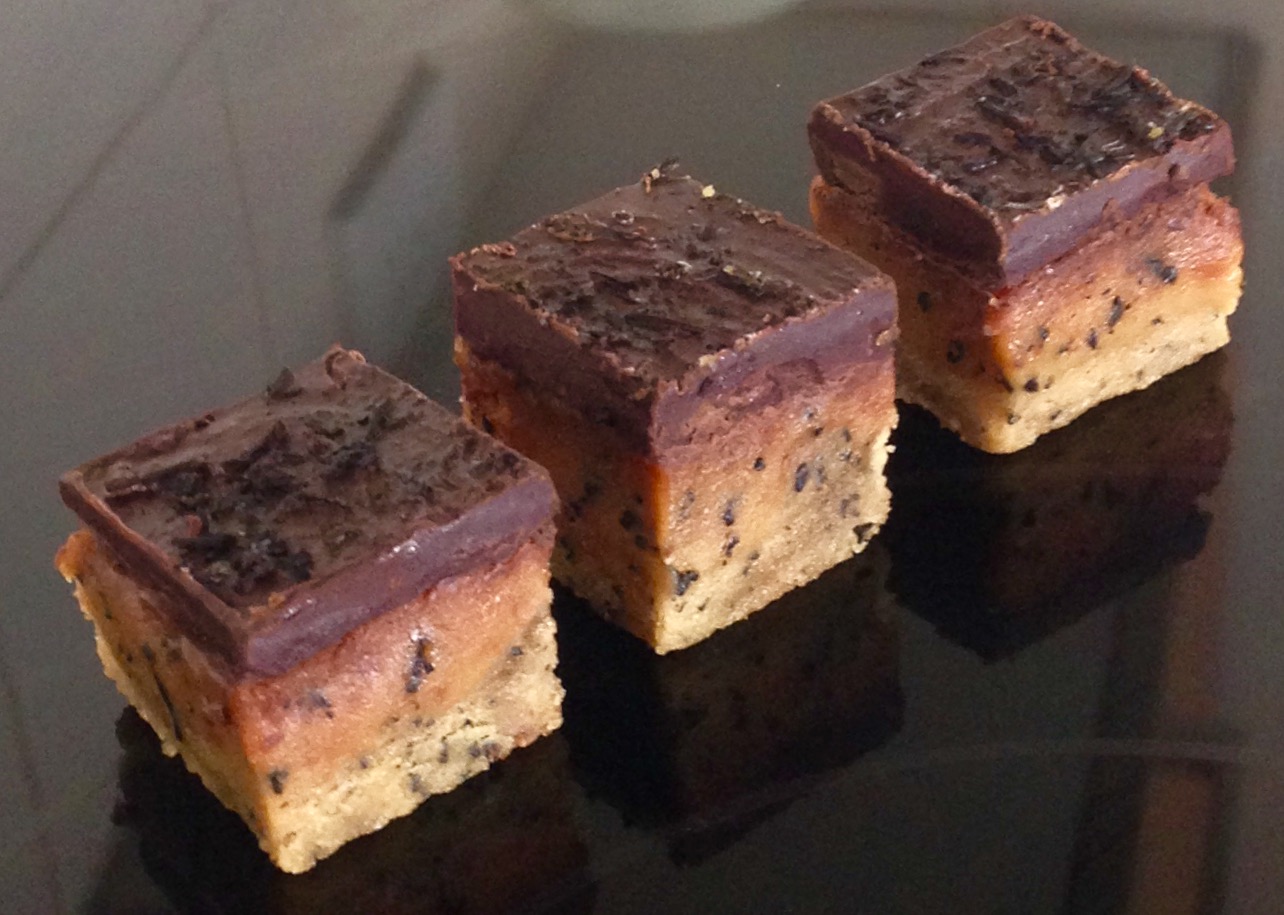
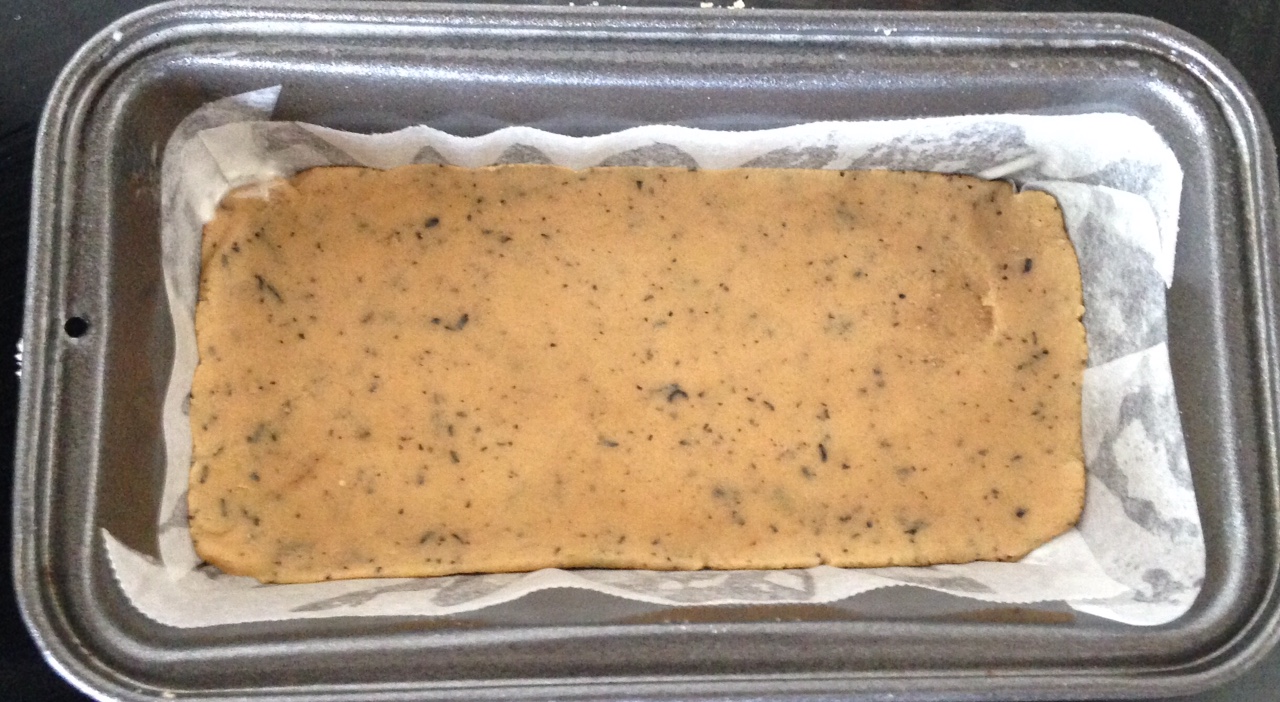
- Place one cake layer in the tin, 1/3 of the ricotta mix spread evenly, the 2nd cake layer, 1/3 ricotta mix. Repeat until all 4 layers and 3 ricotta layers are done.
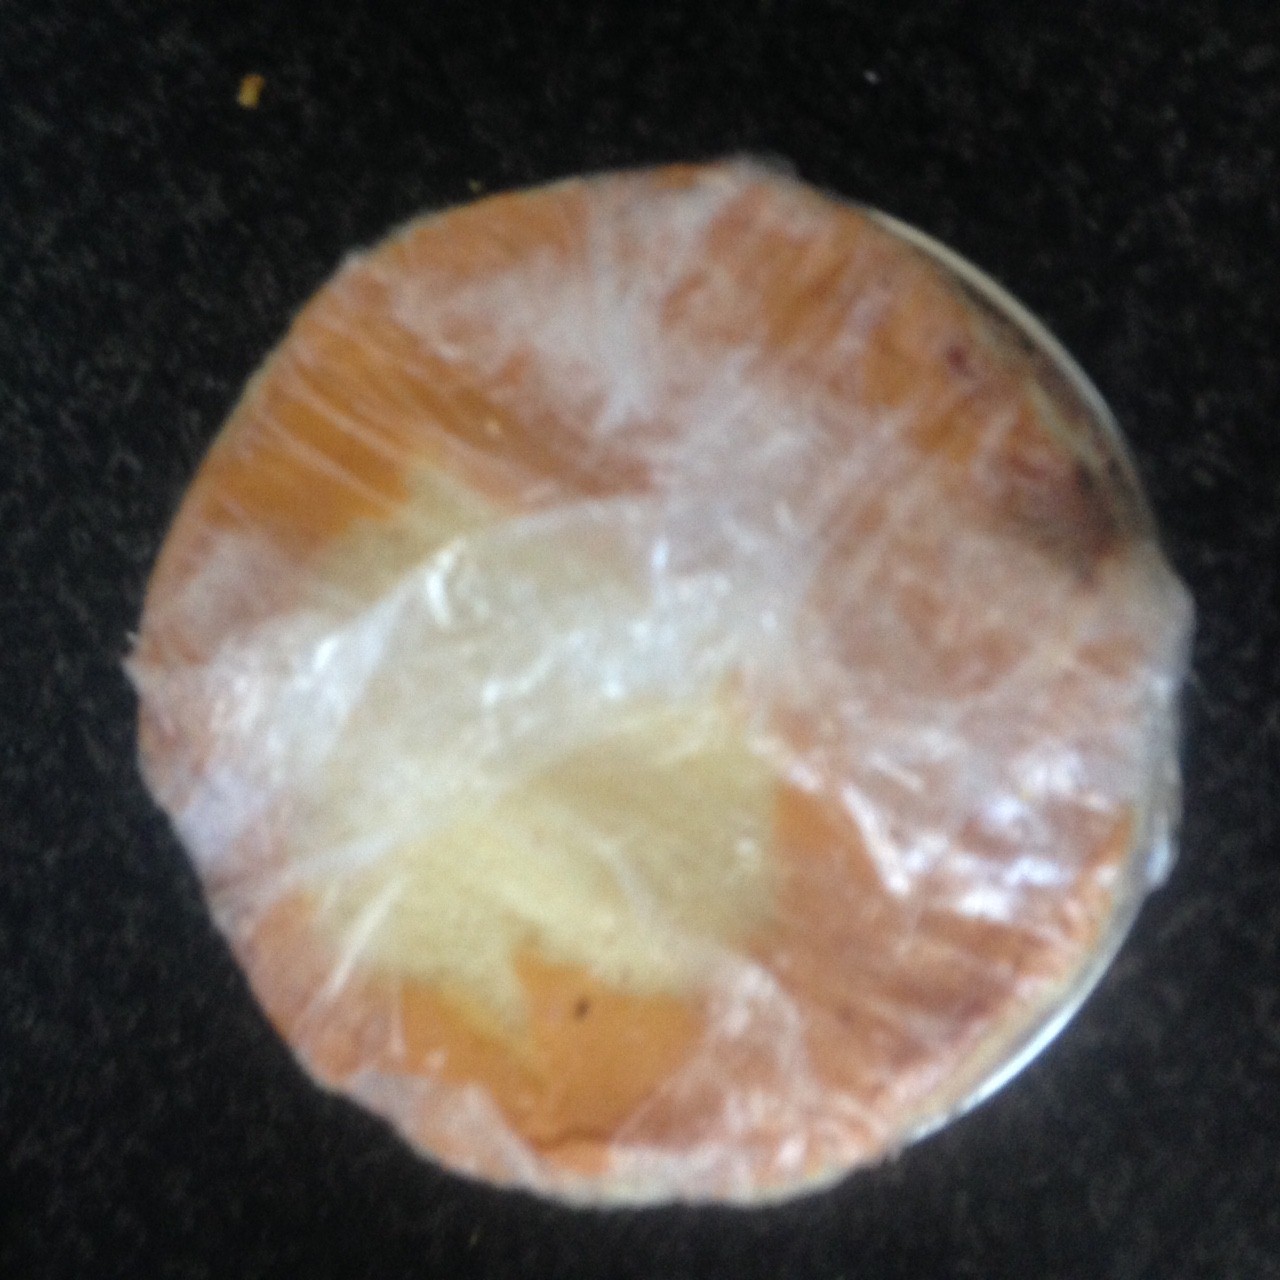
- Fold the overhang wrap over the top layer to ensure the cake is fully encompassed.
- Use a plate to weight down the top of the cake with a small weight on the top.
- Place in the fridge for 4 hours to completely firm.
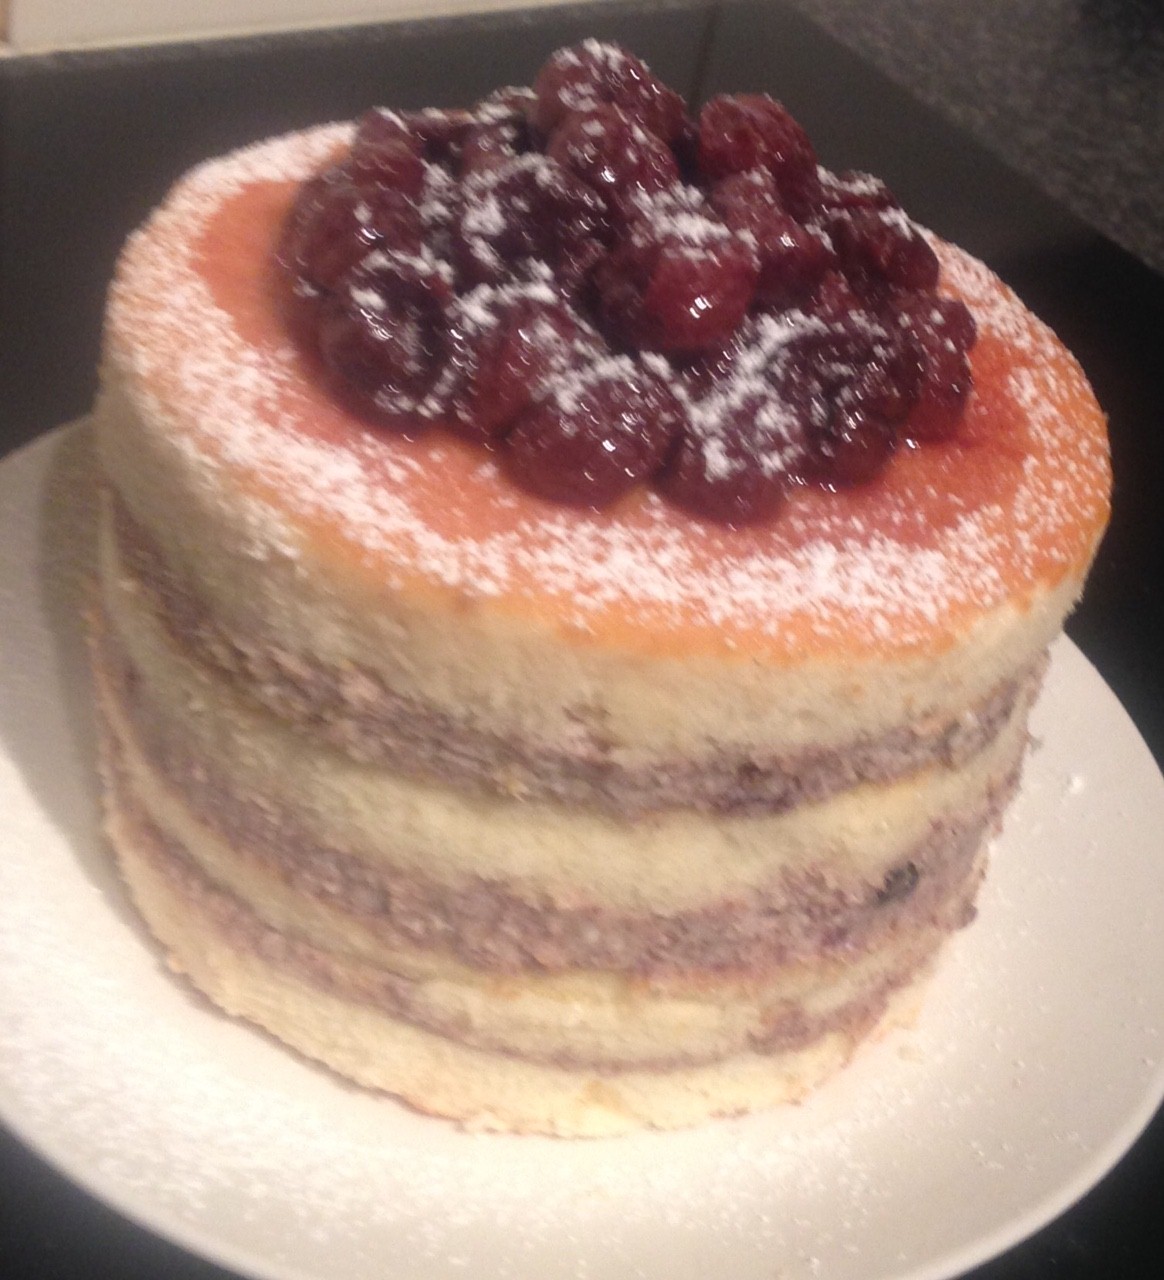
- Once firm release the spring form pan sides, the plastic wrap and turn the cake out onto a plate.
- Dust with cocoa powder and further cherries if you desire.
Step 2
Step 7
Step 8
Step 8
Step 10
Step 11
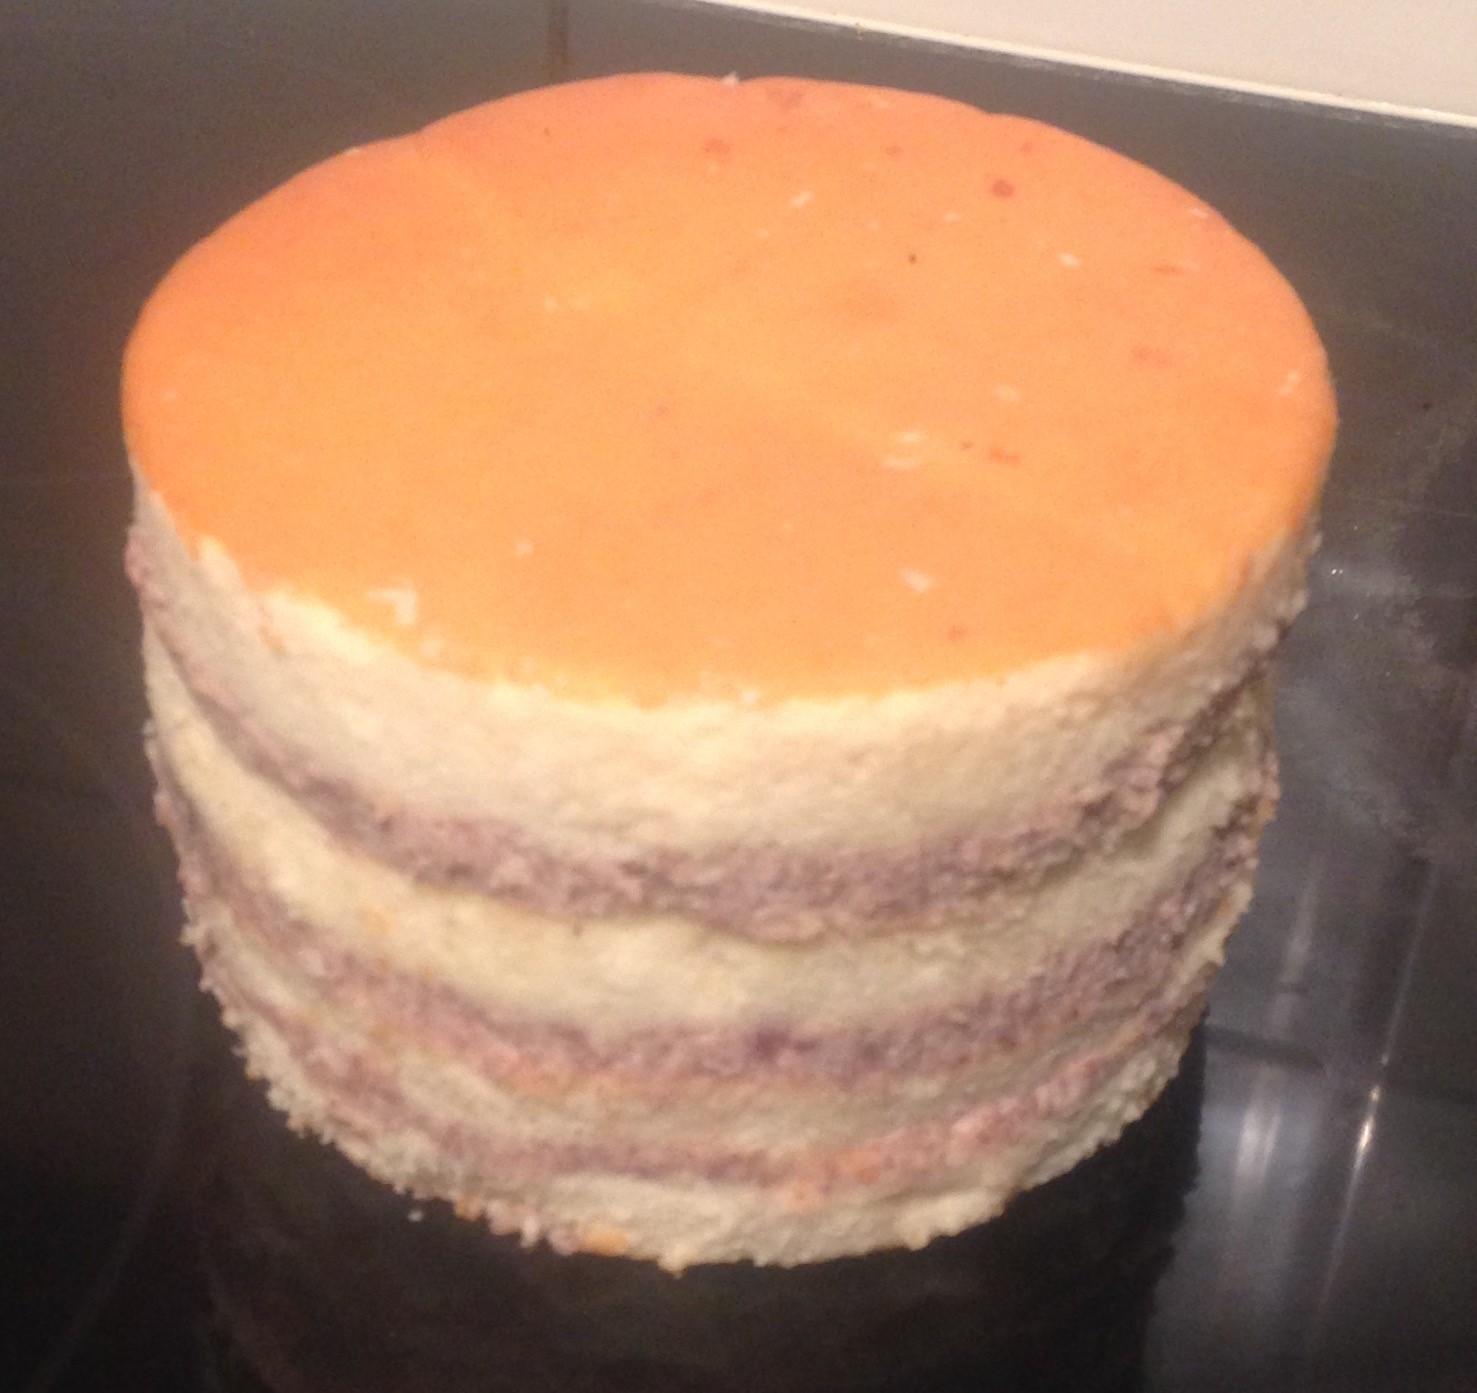
Step 14
Like this recipe? Subscribe via RSS or email to get my new entries and more scrumptious recipes with reviews.
 Follow