Technically not a ‘true’ ice-cream, I wanted to make a tasty alcoholic refreshing dessert – perfect for a hot Summers day. This recipe came off the back of exactly this concept, whilst also delivering on ease and minimal ingredients that anyone can make and look like a star.
With 4 ingredients and the most challenging step holding electric beaters this is a decadent recipe that takes seconds and will satisfy with its zesty sweet tang in every scoop.
Why pay way $$$ on fancy Ice-cream brands when you can make a delectable one with a boozy twist!
Ingredients:
- 250ml thickened cream
- 320g condensed milk
- 120ml limoncello
- 100ml lime juice
- 2 lime zest
Method:
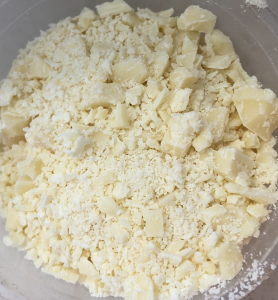
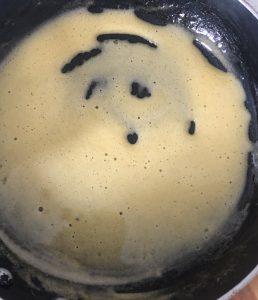
- Beat the cream with electric beaters until peaks form.
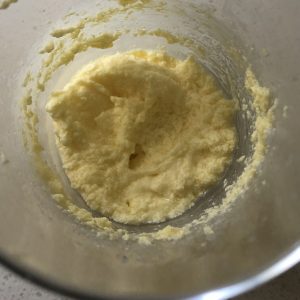
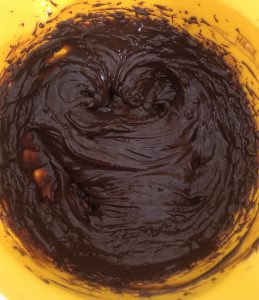
- Place the milk, limoncello, lime juice and zest of 2 limes into a bowl and whisk until combined.
- Fold the cream into the milk mix until just combine.
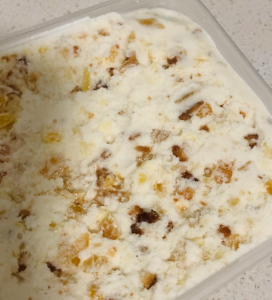
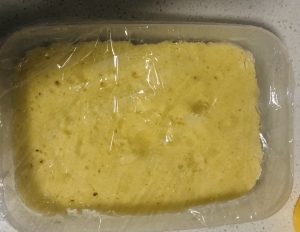
- Spoon the mix into a container and place into the fridge to set overnight.
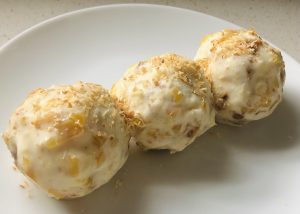
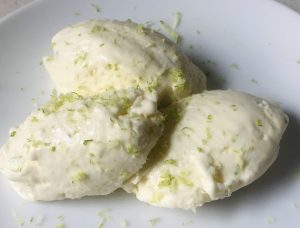
- Scoop and enjoy.
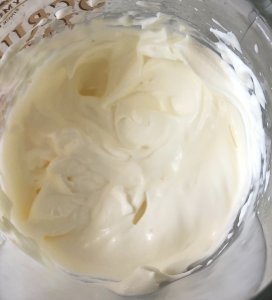
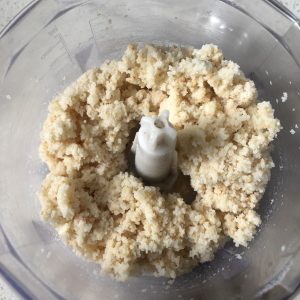
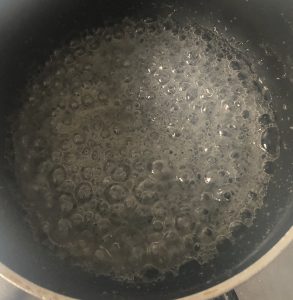
Step 1
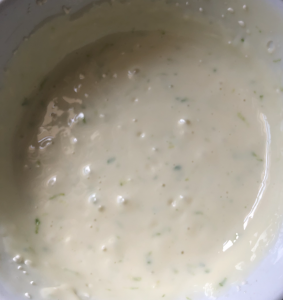
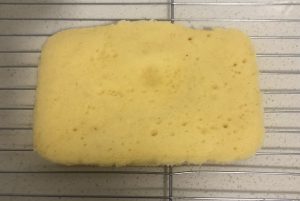
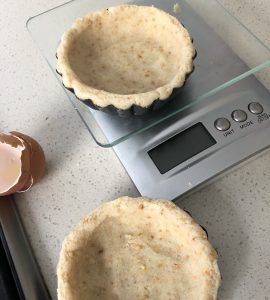
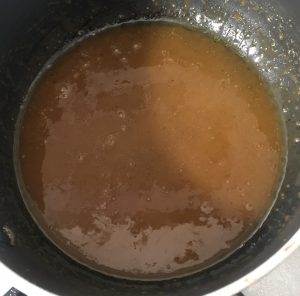
Step 2
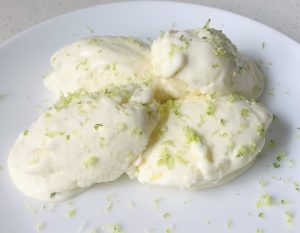
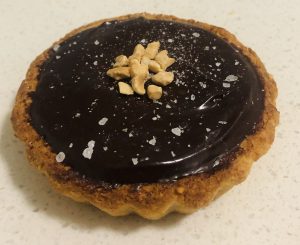
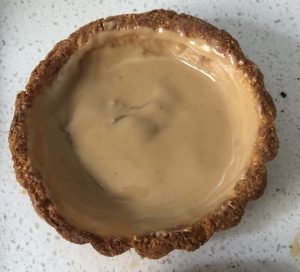
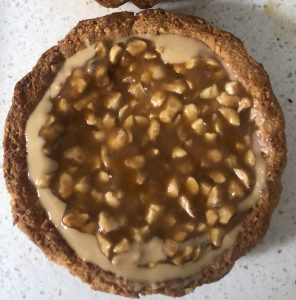
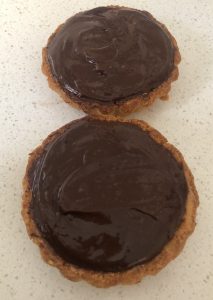
Step 4
 Follow