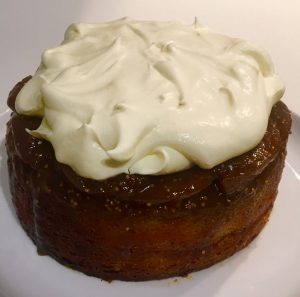
Upside-Down Golden Caramelised Fig and Port Cake
Figs are absolutely delectable when baked and then caramelised, especially when they are swimming in glossy thick caramel sauce, much like pineapple.
So if figs are most luscious utilising the same baking method as pineapple then it makes sense to look at baking techniques that pineapple shines and adapting for figs accordingly.
Thus the upside-down element to this recipe.
Next to work out was what flavours work best with figs and caramel. After a bit of research, taste testing and trial/error I found that using golden syrup in the caramel made the figs absolutely succulent – like addictively delicious.
The addition of the Port enhances the fig flavour and works as a complimentary flavour pairing.
This recipe absolutely exceeded my expectations to the point that they cake was half eaten by me in one sitting (in which a cake needs to be pretty special to do)!
- Ingredients:
- 6 dried figs
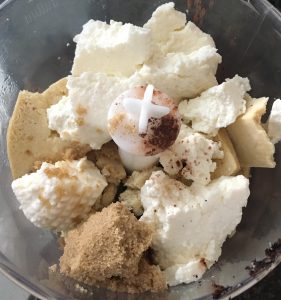
Golden Caramel Syrup:
- 60g brown sugar
- 70g butter
- 1 tsn vanilla essence
- 70ml cream
- 100ml golden syrup
- 30ml Port wine
Cake Batter:
- 150g butter
- 150g brown sugar
- 1 tsn vanilla essence
- 2 eggs
- 130g self raising flour
- 60ml buttermilk
- 20ml Port wine
Vanilla Cream:
- 200ml cream
- 30g icing sugar
- 1 tsn vanilla essence
Method:
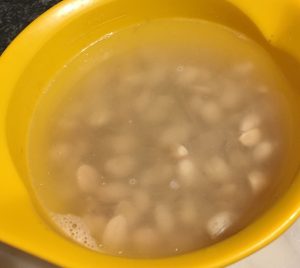
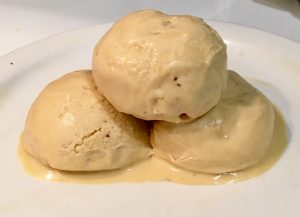
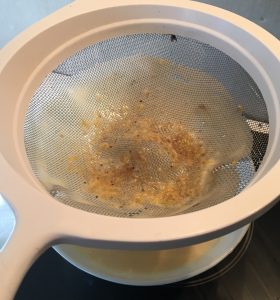
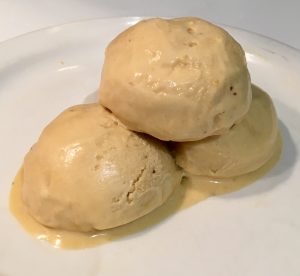
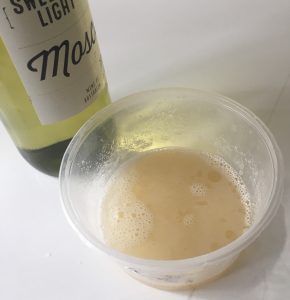
- Soak the figs in boiling water and leave to absorb overnight.
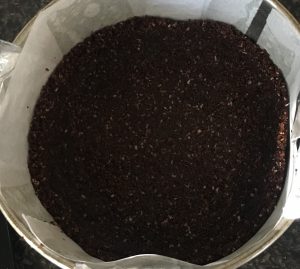
- Preheat the oven to 180c degrees and line a 25cm cake tin with baking paper, ensuring no gaps on the bottom and sides of the tin.
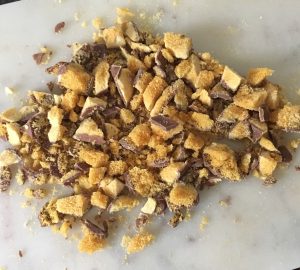
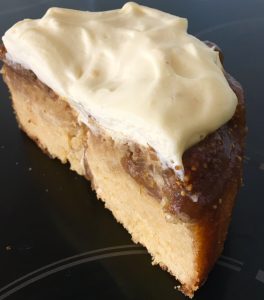
- Cut the figs in half horizontally (figs in upright position), then half again small ways (vertically). You should have 24 semi-circle fig pieces.
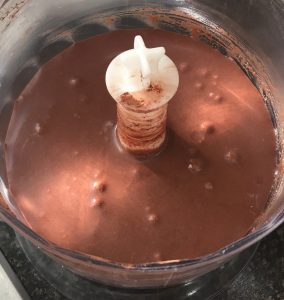
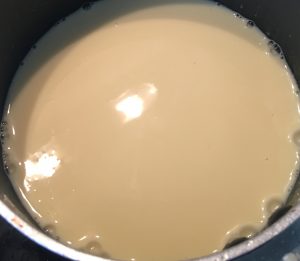
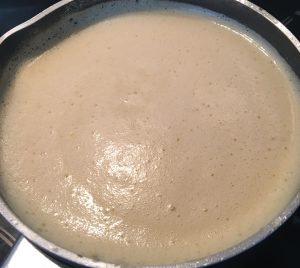
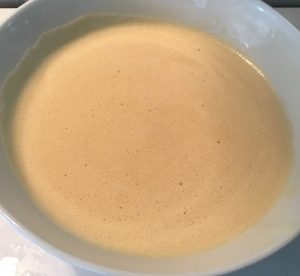
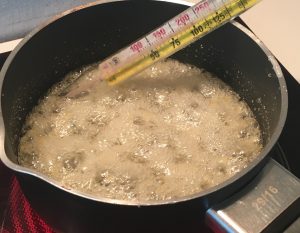
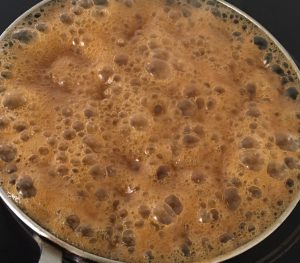
- Add all the syrup ingredients into a saucepan and stir on a medium heat until boiling and thickens slightly.
- Place the syrup aside to cool slightly.
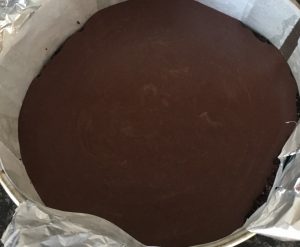
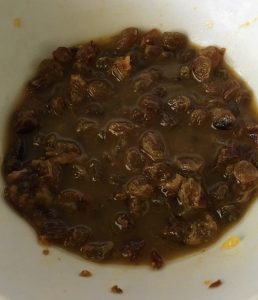
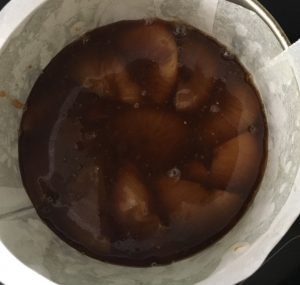
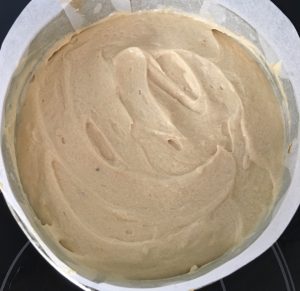
- Pour the syrup into the prepared cake tin and top with the figs ensuring they cover the base completely and evenly (as they are softened from being soaked you can easily squash them to all fit).
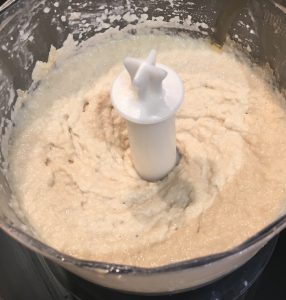
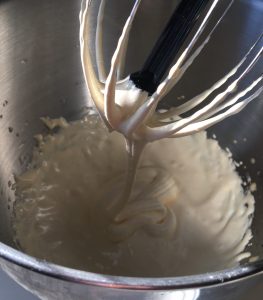
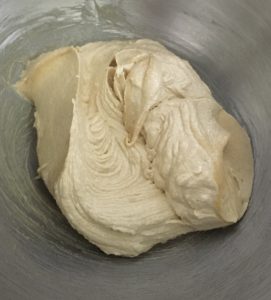
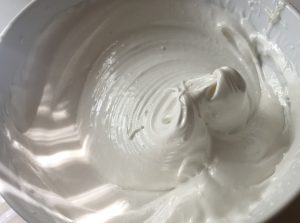
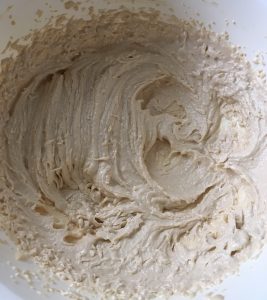
- Following make the cake by whisking the butter and sugar with electric beaters for 5 minutes or until fluffy and pale.
- Add the vanilla and the eggs, one egg at a time beating in between each addition until well combine.
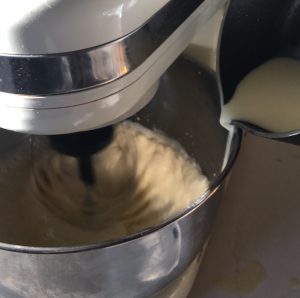
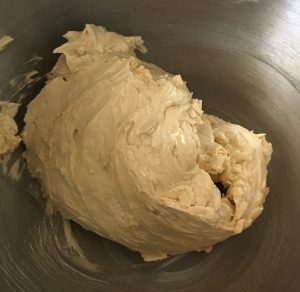
- Sieve the flour into the batter mix, pour in the buttermilk and pour in the Port.
- Beat the mix on low until only just combine (do not over beat).
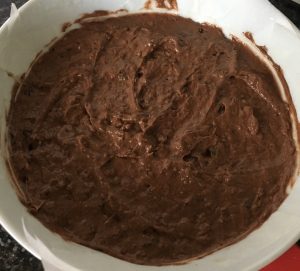
- Spoon the mix carefully over the figs and caramel completely covering. Following flatten the cake surface with the back of a spoon.
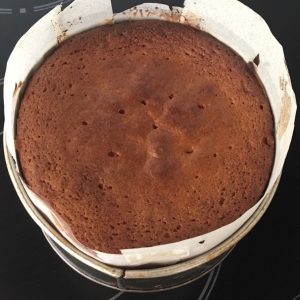
- Bake in the oven for 45 minutes of until a skewer inserted in the center comes out clean.
- Place the cake onto a cooling rack until completely cold, still in the cake tin.
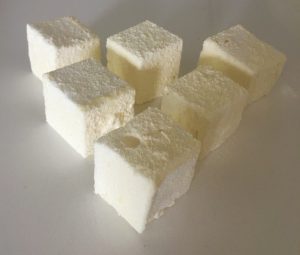
- Meanwhile, place the vanilla cream ingredients into a bowl and beat with electric beaters until firm peaks form.
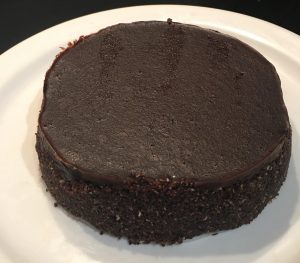
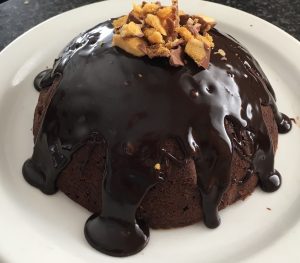
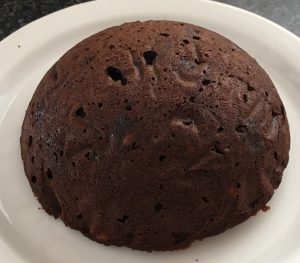
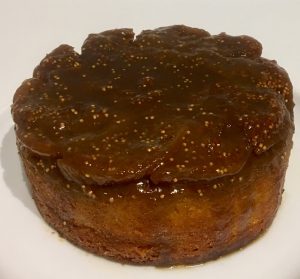
- To prepare the cake, invert the cold cake onto a serving plate.
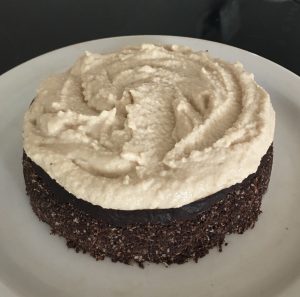
- Spoon the vanilla cream on top of the cake and enjoy.
- Step 5
- Step 6
- Step 8
- Step 11
- Step 12
- Step 15
Like this recipe? Subscribe via RSS or email to get my new entries and more scrumptious recipes with reviews.
 Follow