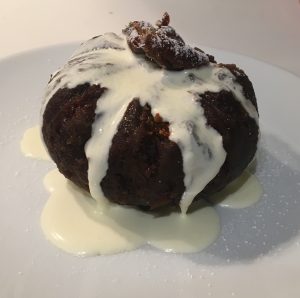
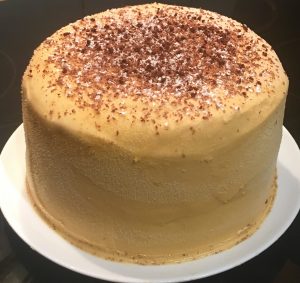
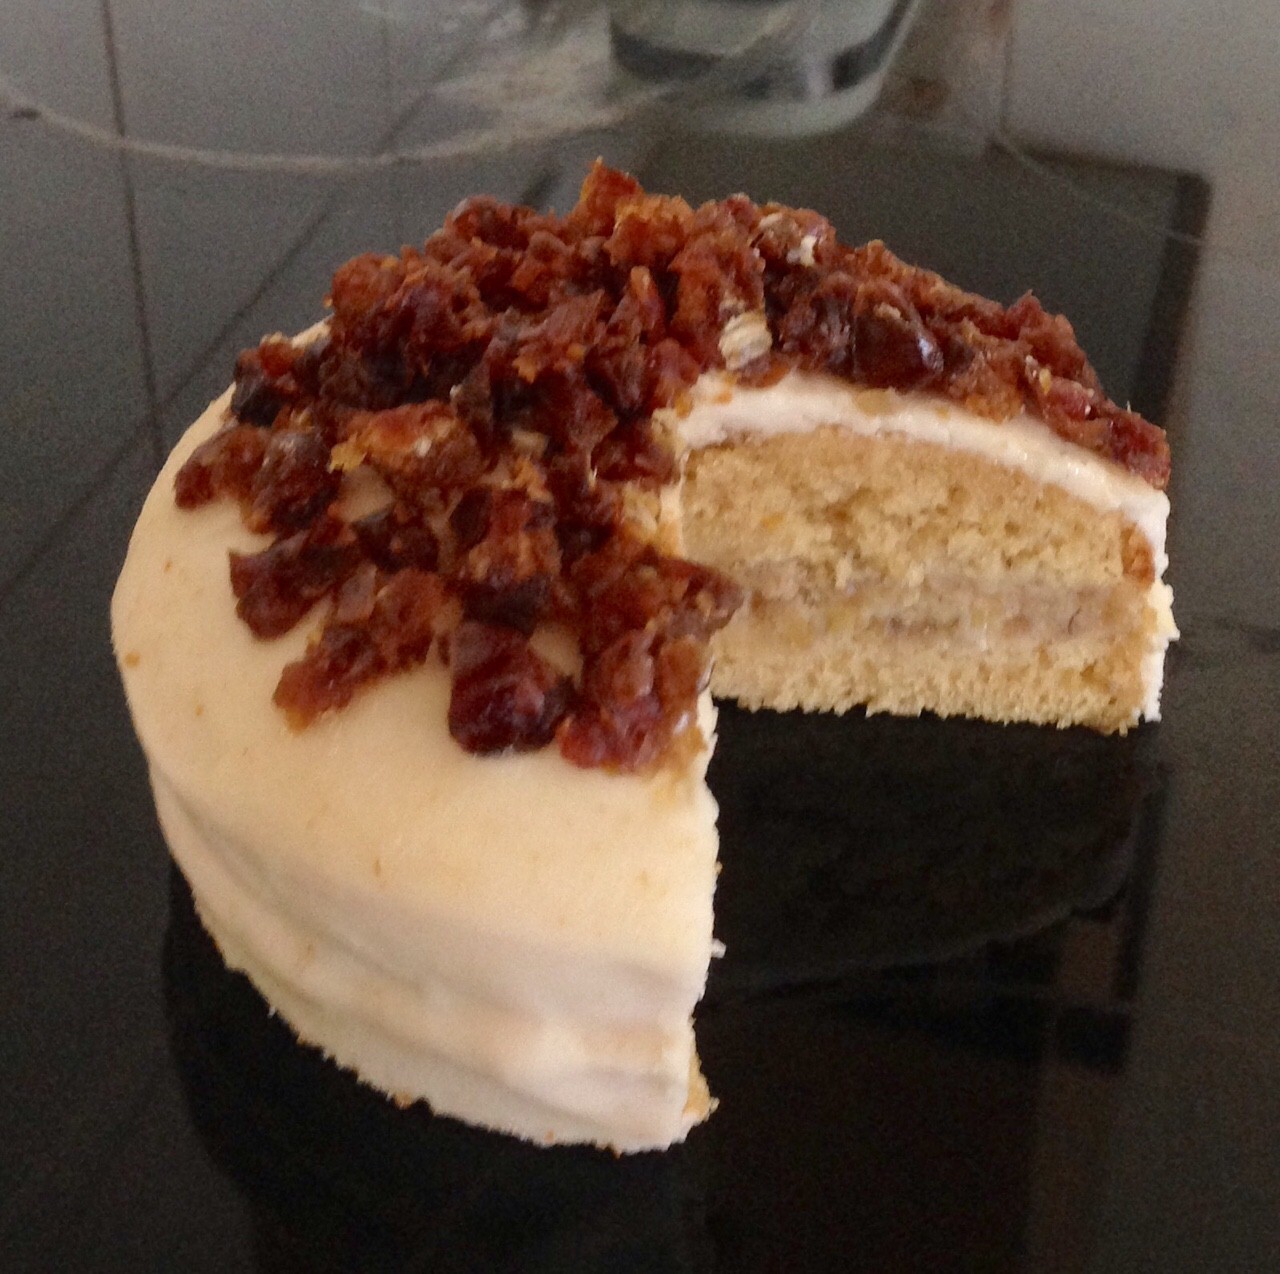
Spiced Caramel Apple Pie Cake
- After eating an apple pie recently I got the idea of turning the filling into a cake, but instead of putting the filling into the batter of the cake I wanted to use it as the filling between cake layers. For the cake batter I wanted to ensure that the apple was evident, but not the only key feature in the cake. Additionally, I wanted to cake to feature flavors that complement the apple, thus incorporating brown sugar, caramel essence, ginger and of course apples best friend…cinnamon. Think carrot cake or banana cake texture and flavors, but without the carrot and banana.To keep the apple pie mix intact and in the middle of the cake layers I opted for a cream cheese frosting for the layers and outside of the cake, again featuring the caramel flavor.
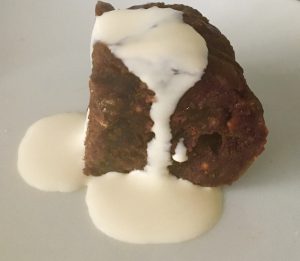
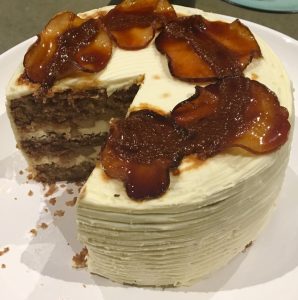
The outcome is a delectable spiced apple cake that is rich in apple pie inspired flavor layers as well as caramel cheesecake-ish frosted layers.
Ingredients:
Cake:
- 170g brown sugar
- 2 eggs
- 100ml vegetable oil
- 50ml butter, melted
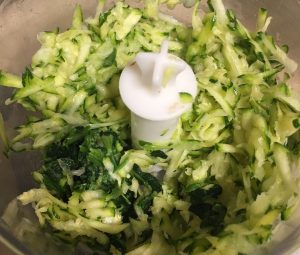
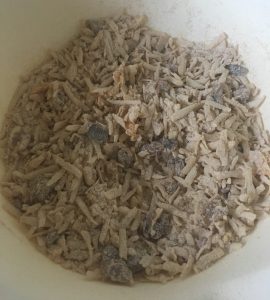
- 420g apples, peeled and grated (240g grated apple)
- 220ml self-rising flour
- 1 tsn of bi- carbonate soda
- 1 tsn ground cinnamon
- 1 tsn ground ginger
- 60g almond meal
- 1 lemon (zest of whole lemon)
Apple Filling:
- 55g brown sugar
- ½ tsn ground cinnamon
- 30g butter
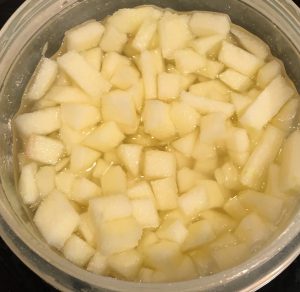
- 180ml water
- 260g apples, peeled and diced (175g diced apple)
Syrup:
- 30ml brandy
- 30ml lemon juice
- 80g brown sugar
Icing:
- 80g butter
- 100g white chocolate
- 250g cream cheese
- 120g vanilla flavored yoghurt
- 1 tsn salted caramel essence
- 30g icing sugar
Method:
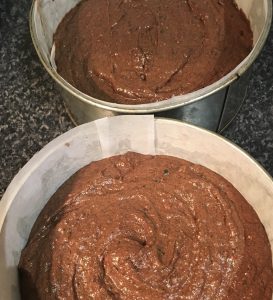
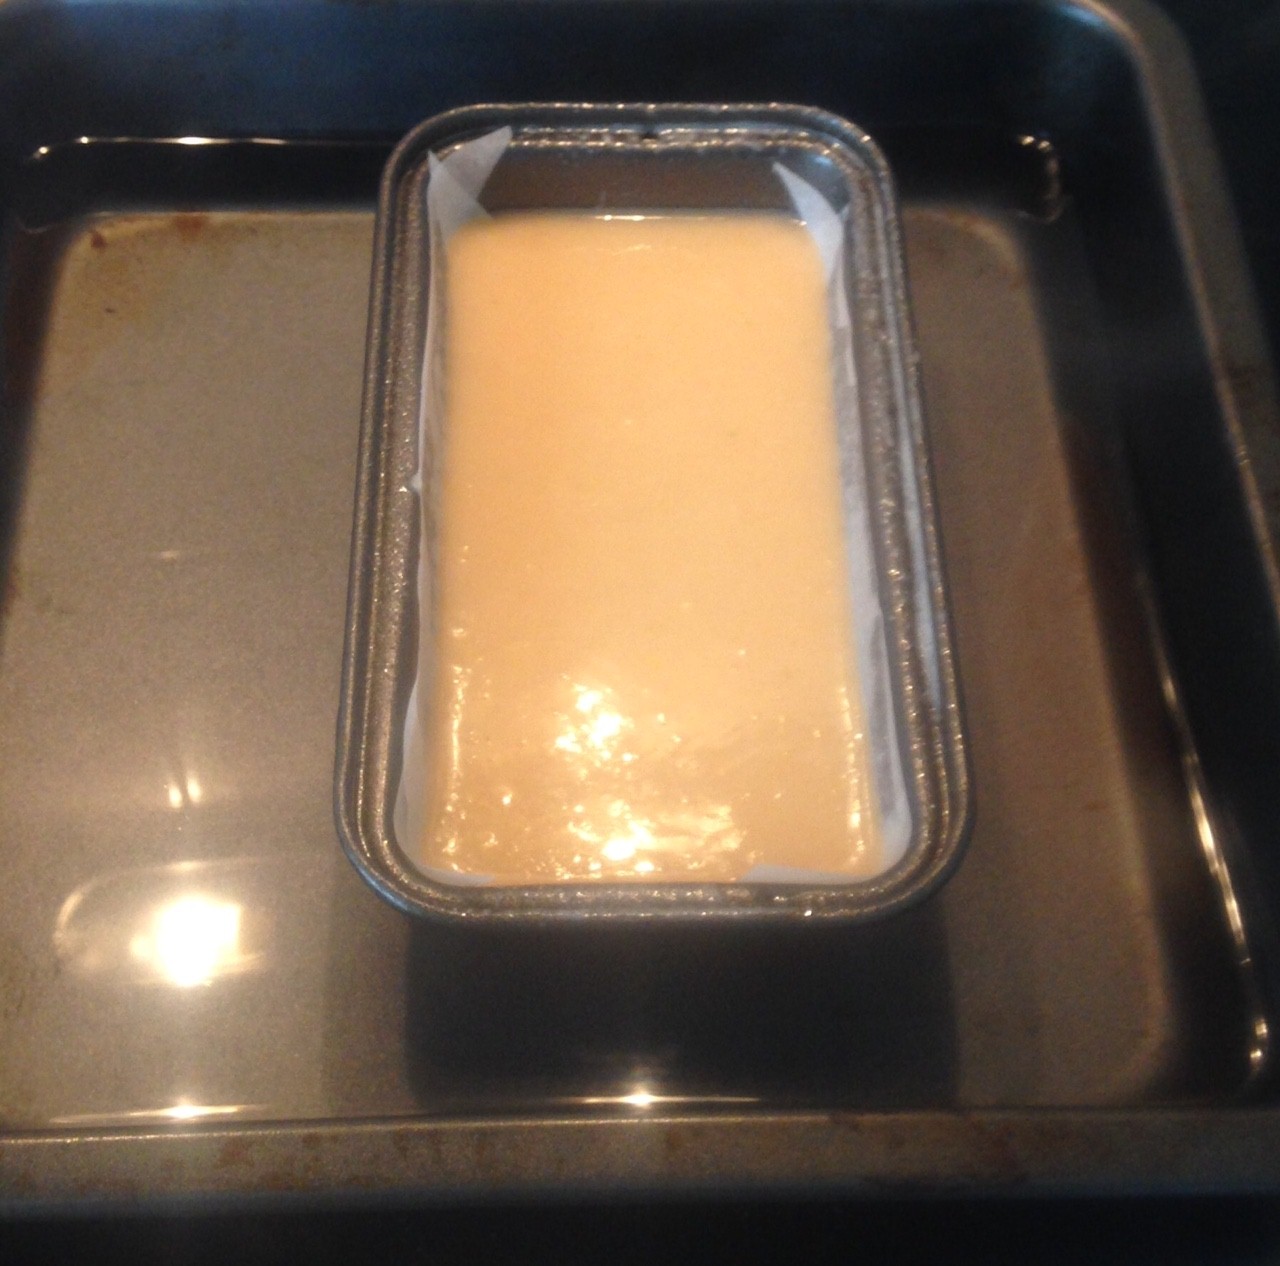
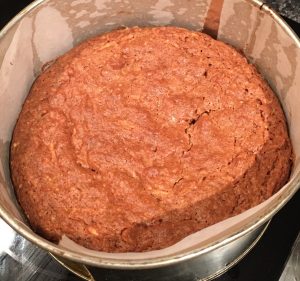
- Pre-heat the oven to 175c degrees and line 3 x 25cm cake tins with baking paper.
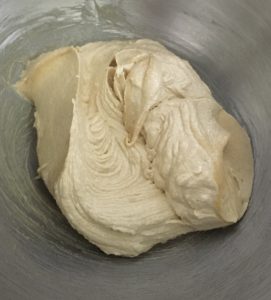
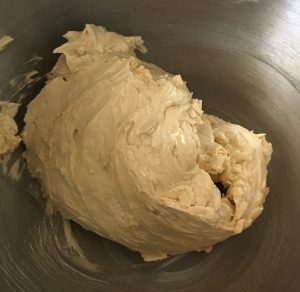
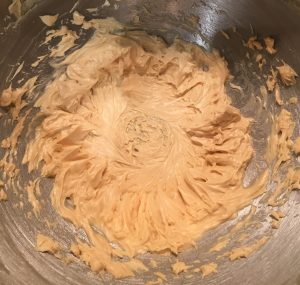
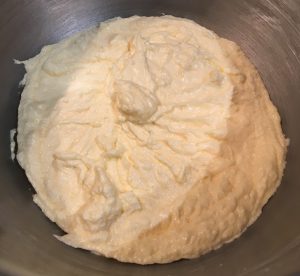
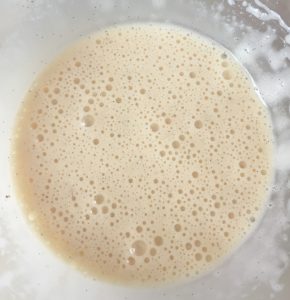
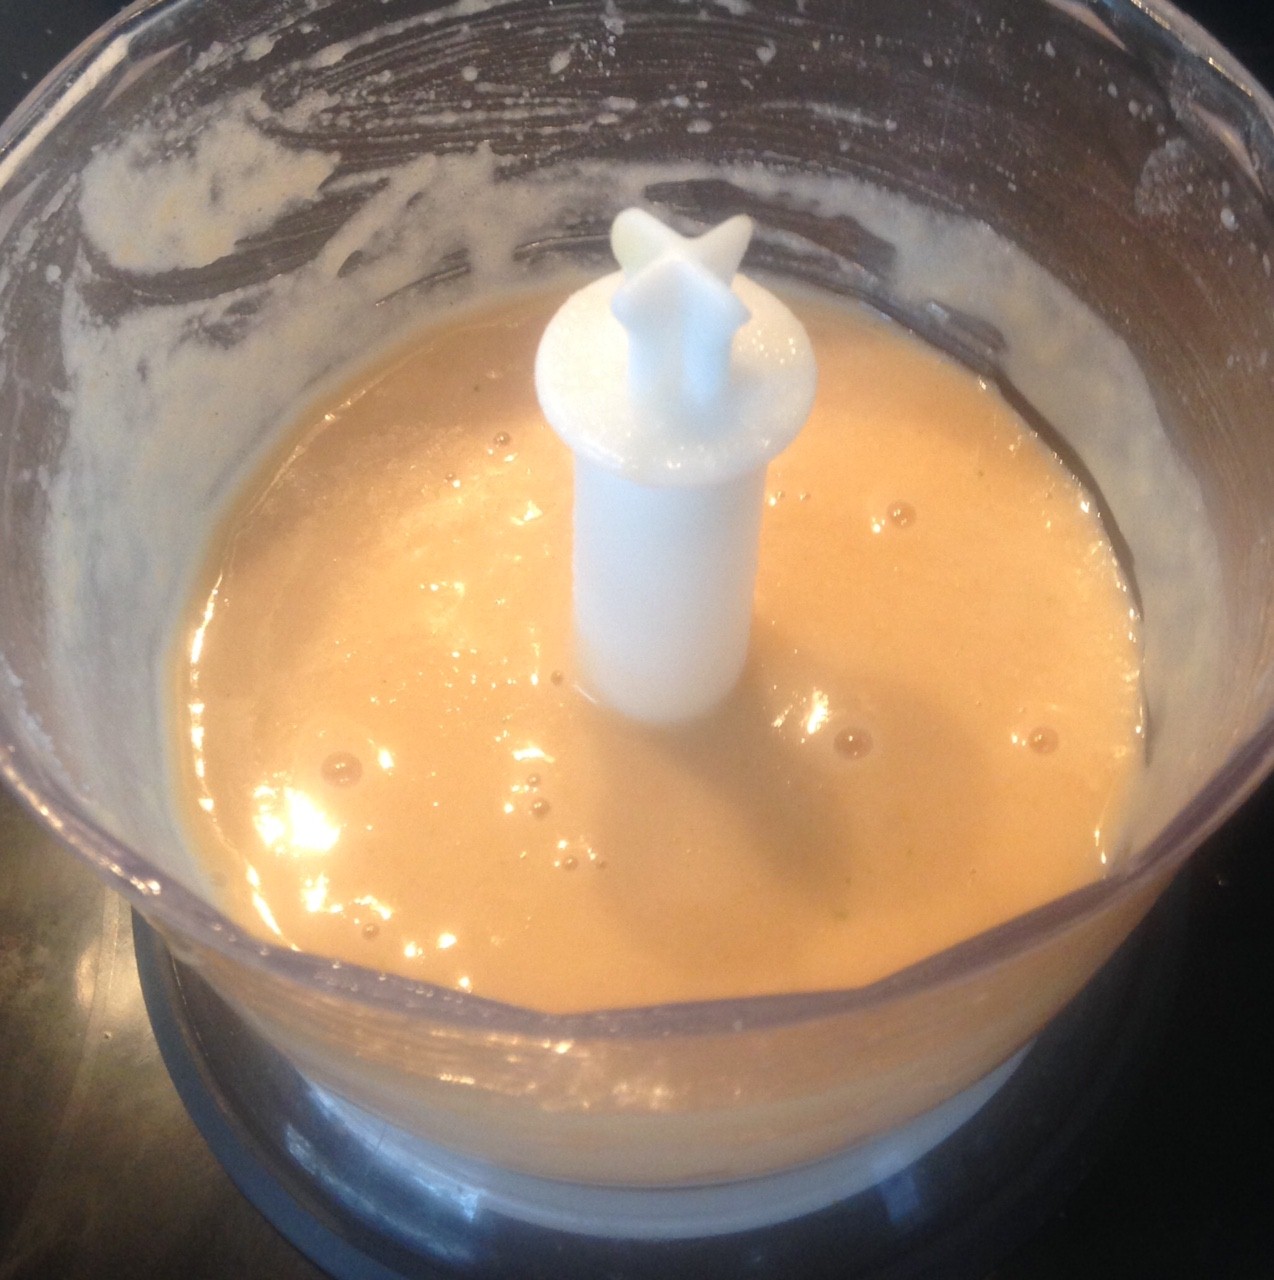
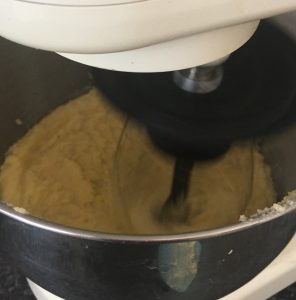
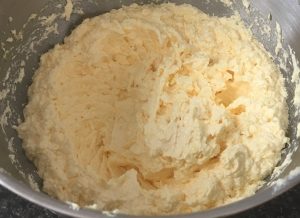
- Using your kitchen aid (electric beaters) beat the sugar and eggs for 5 minutes or until fluffy and pale.
- Add the melted butter and oil to the bowl, pouring while the beaters run.
- Stop the mixer and remove the bowl.
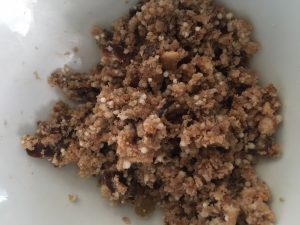
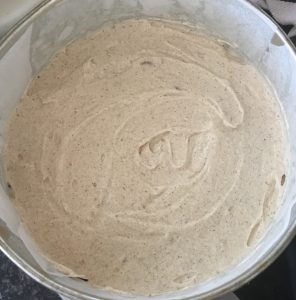
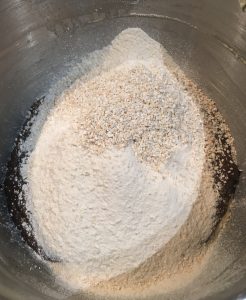
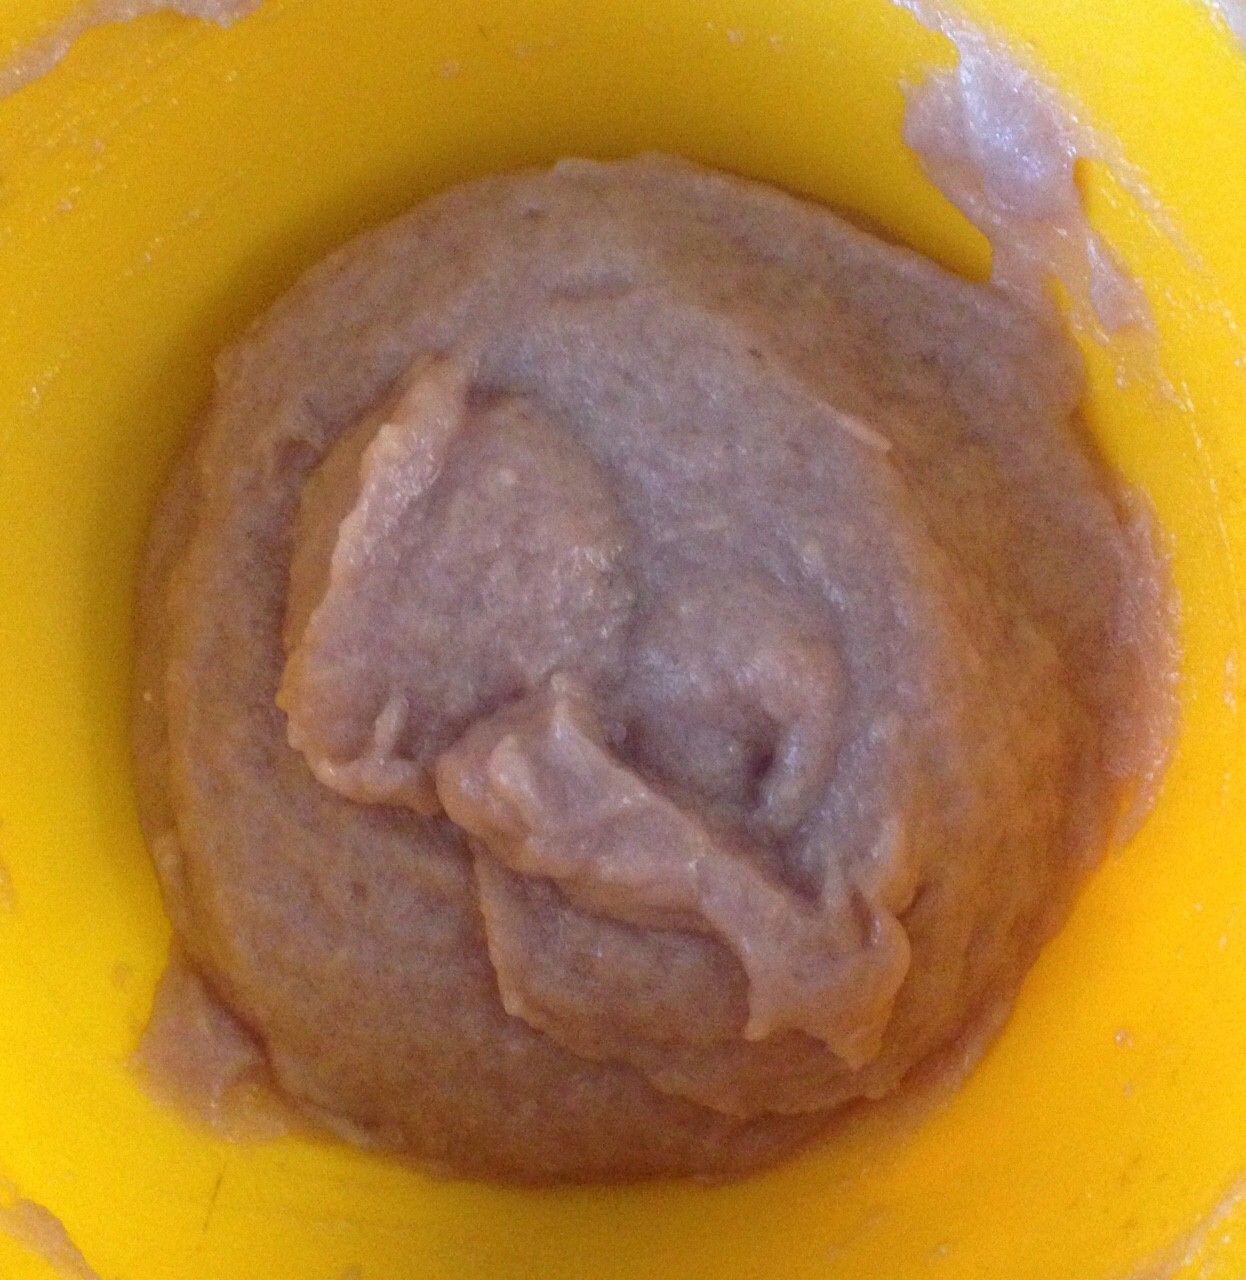
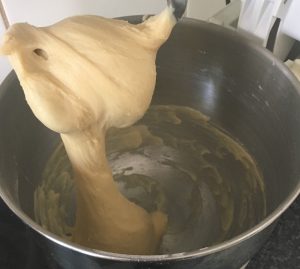
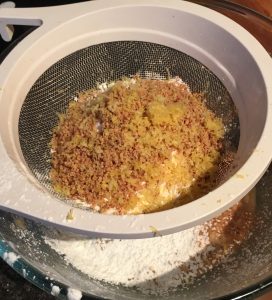
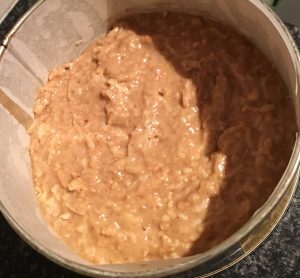
- Add the apple and sift in the flour, spices, salt, soda and almond meal.
- Carefully fold the ingredients together until just combine.
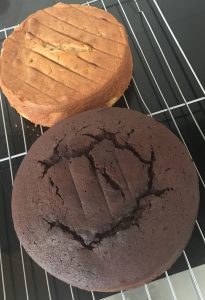
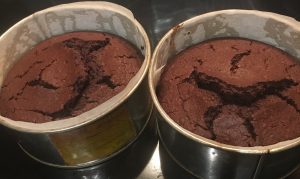
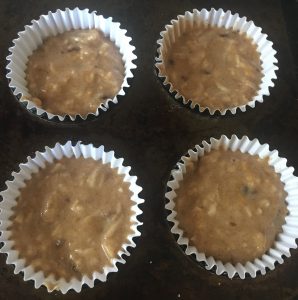
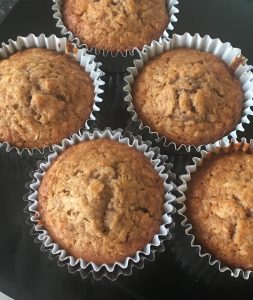
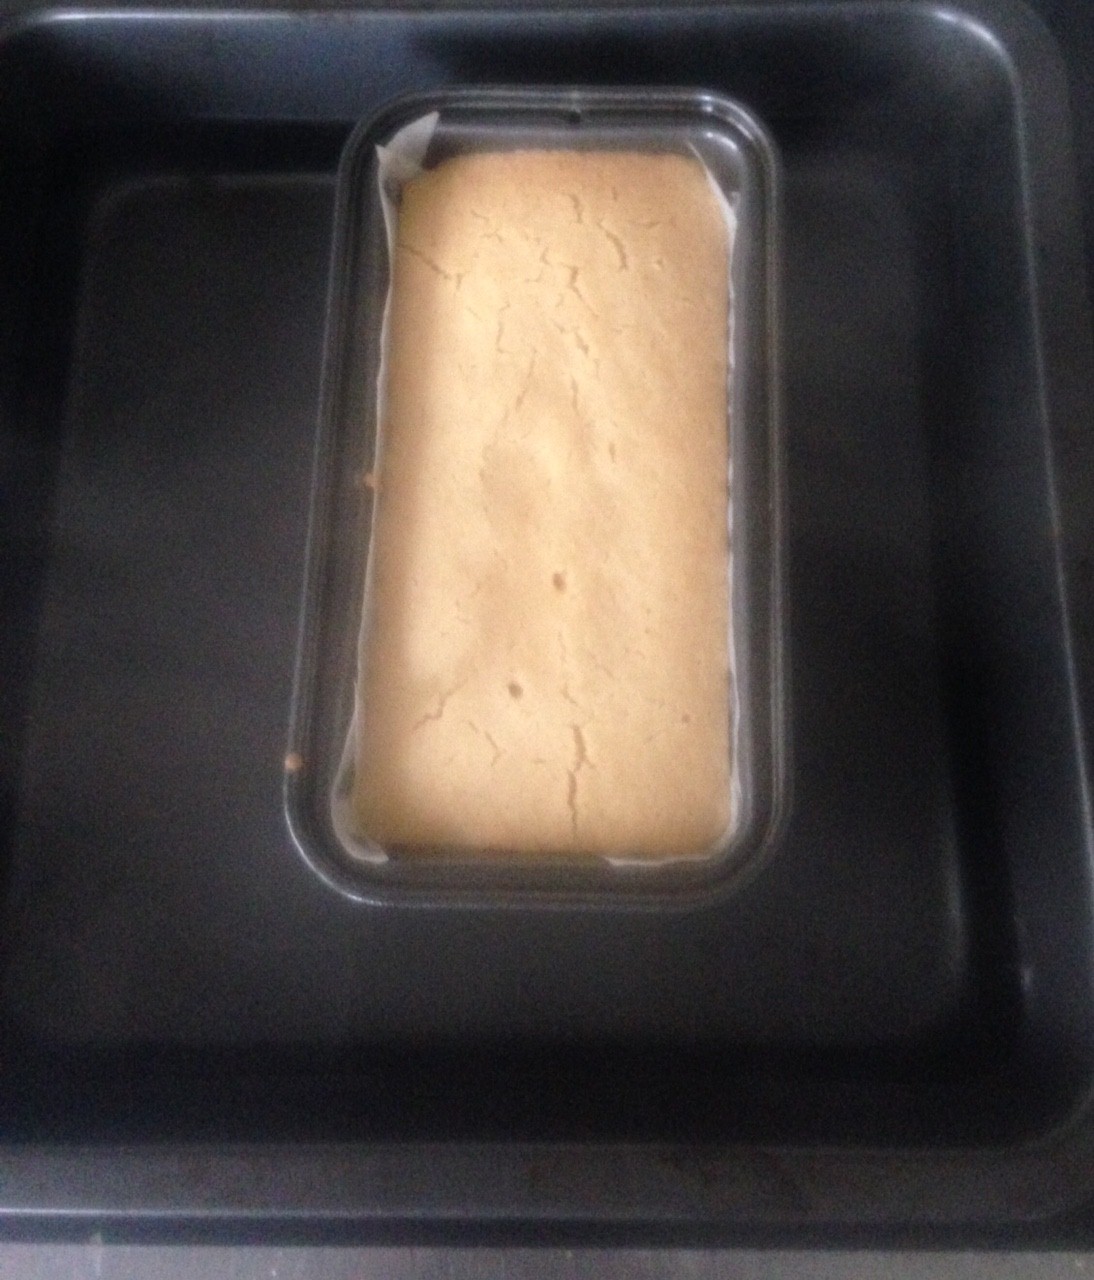
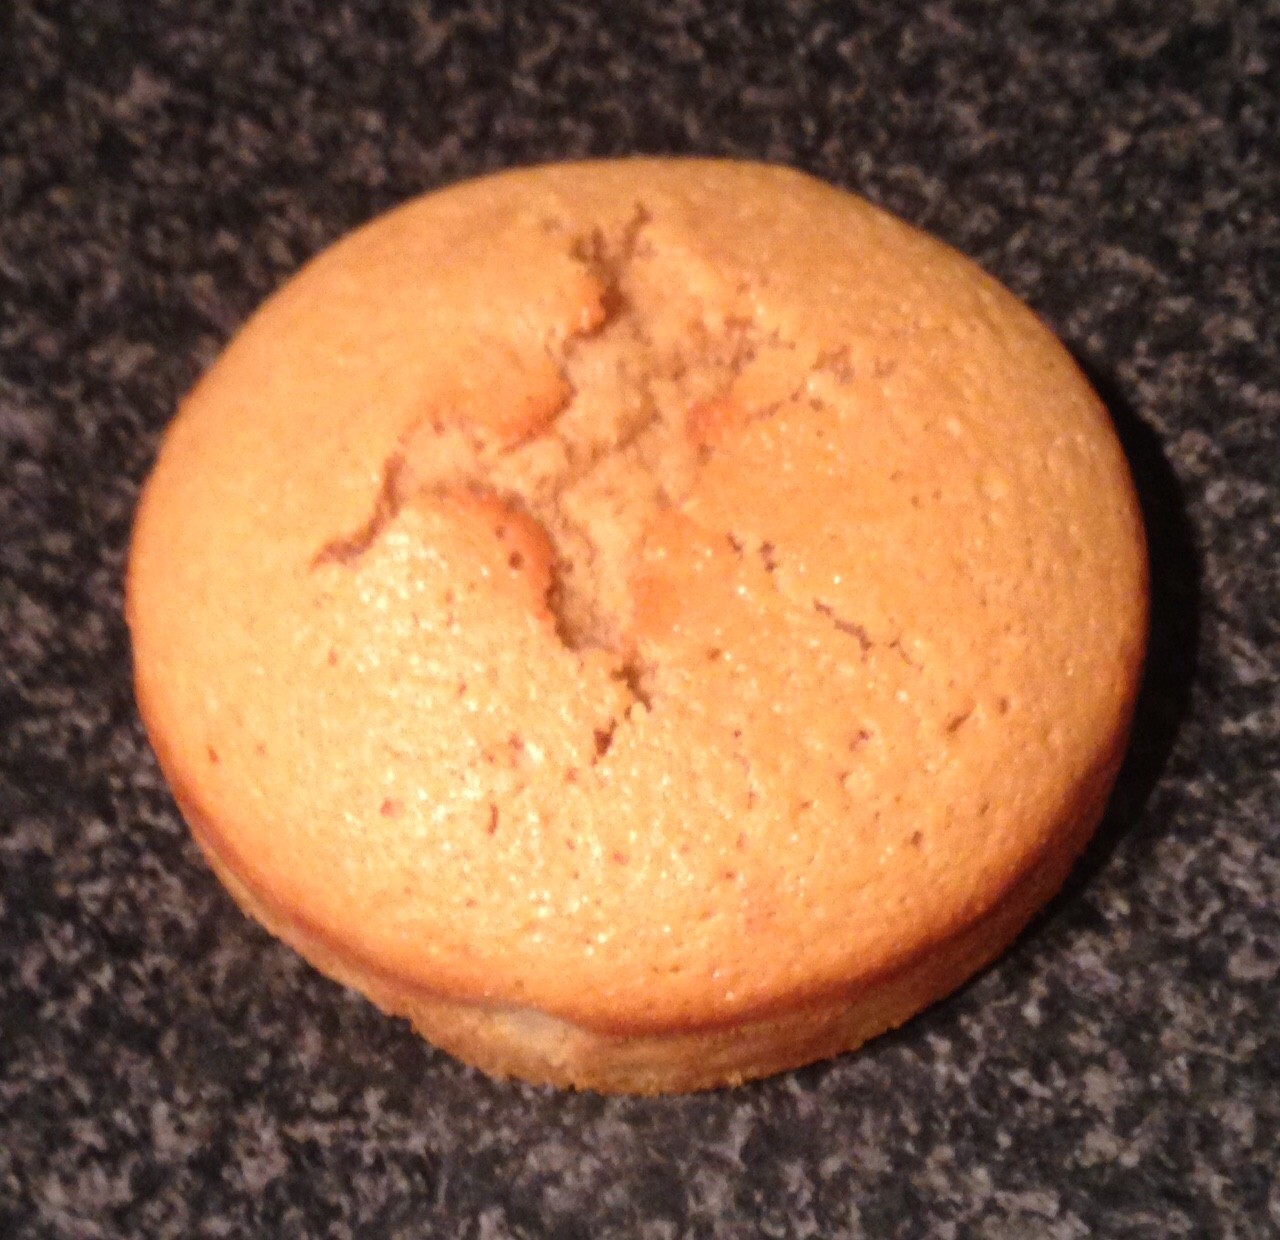
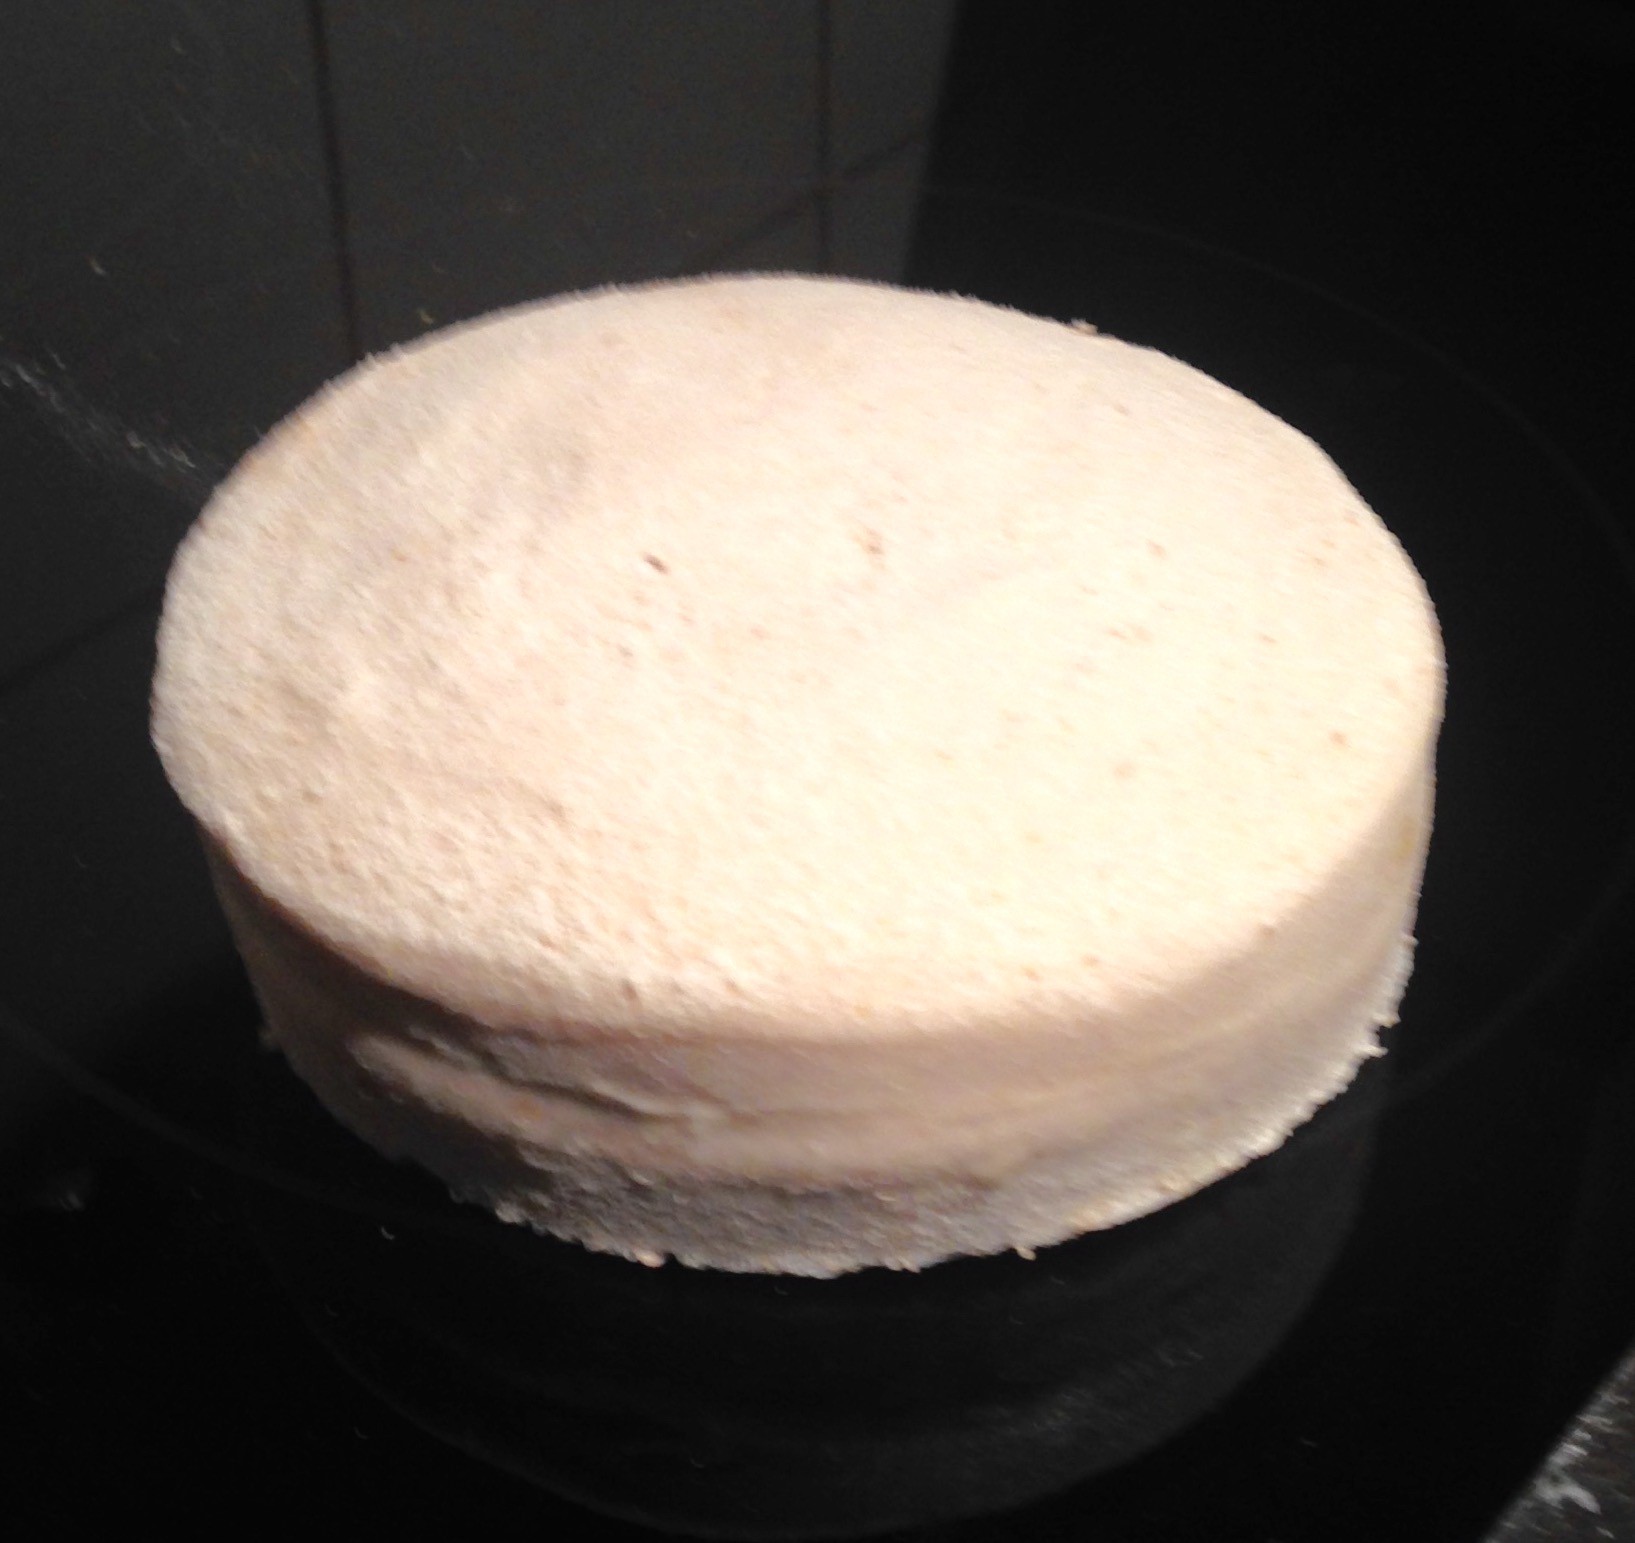
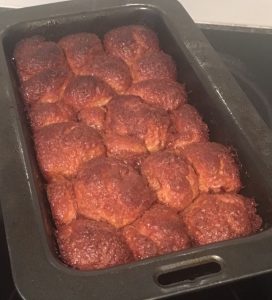
- Pour the mix evenly into the 3 tins and place in the oven for 30 minutes or until a skewer inserted into the center comes out clean.
- Leave the cakes on a cooling rack to cool completely.
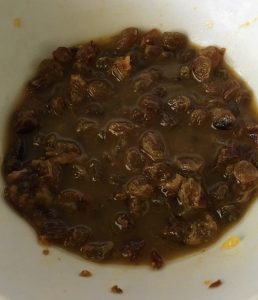
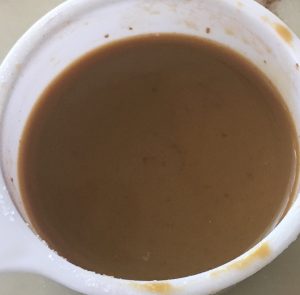
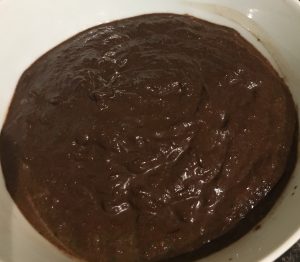
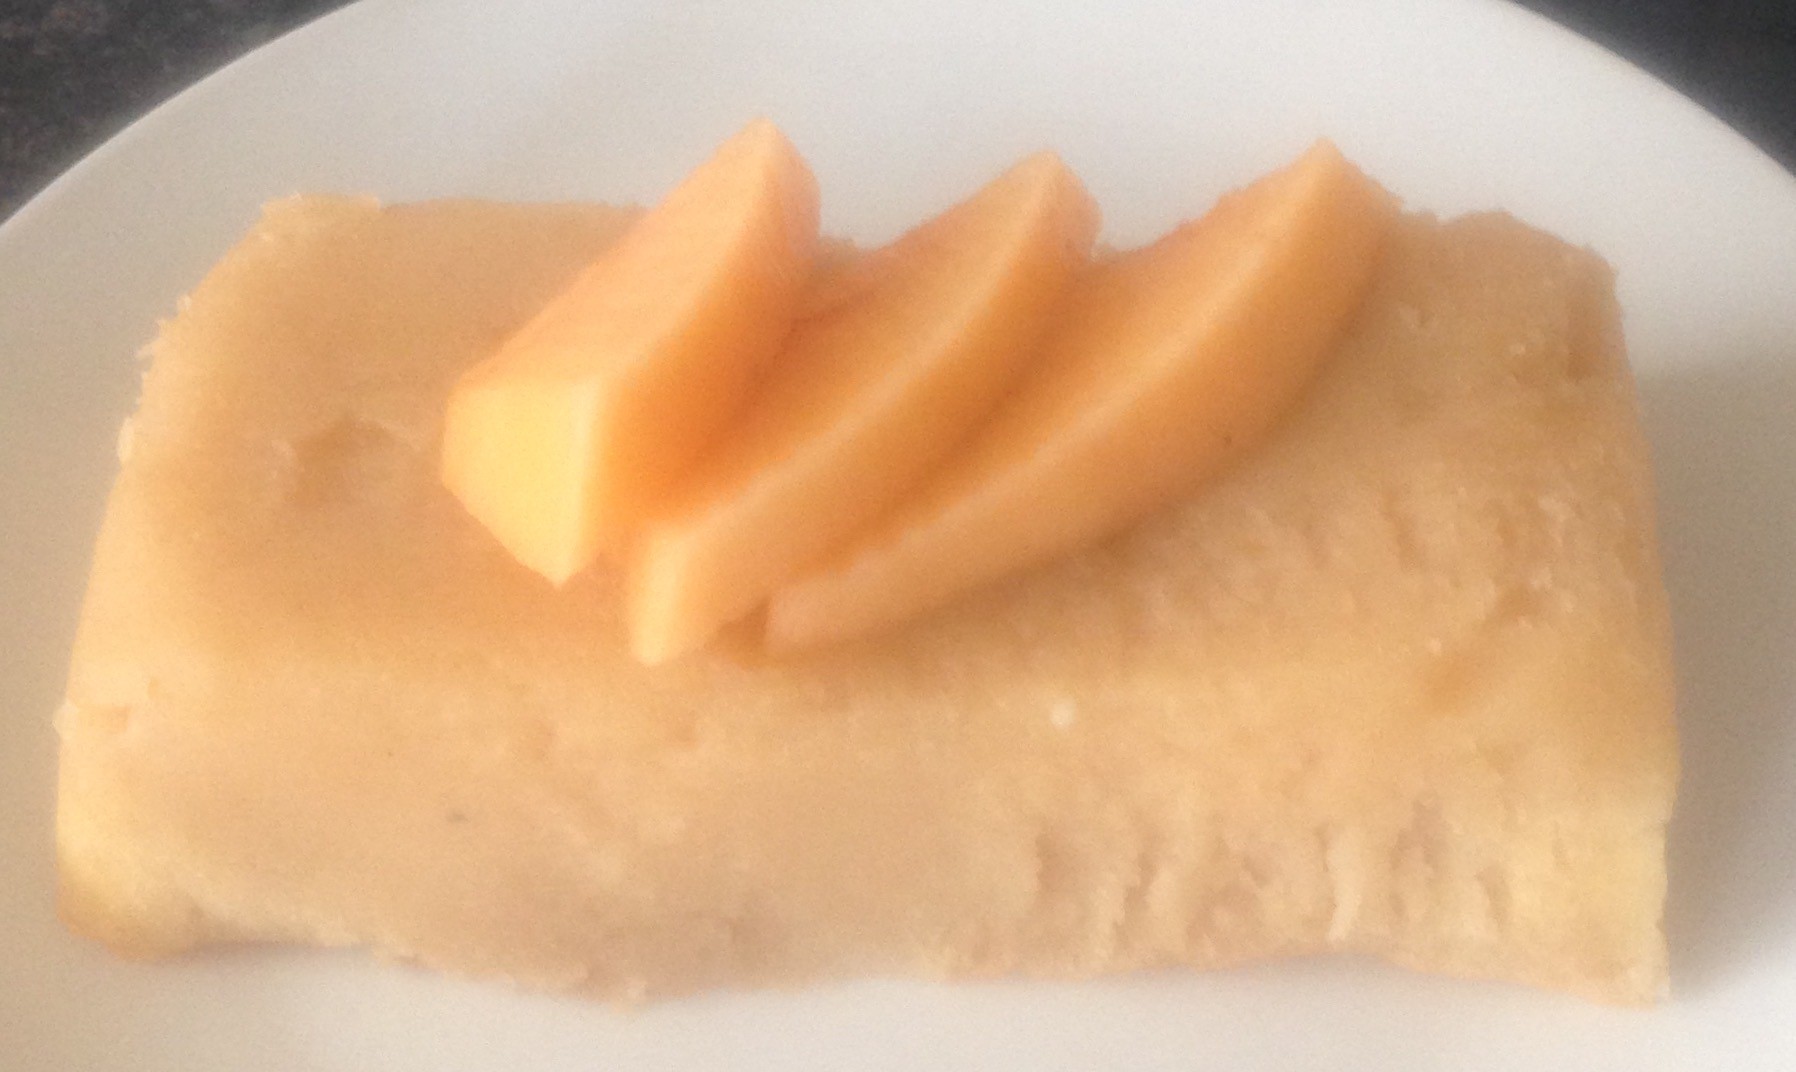
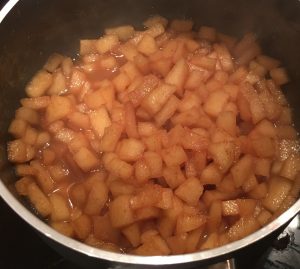
- Meanwhile, to make the filling place the butter, sugar, cinnamon and water into a saucepan and heat on high until boiling.
- Add the apples and cook on high for 10 minutes until the syrup thickens and the apple is soft but still holds it’s shape.
- Place the mix into a bowl and leave aside to cool.
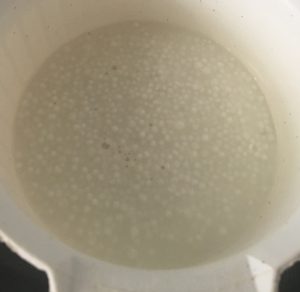
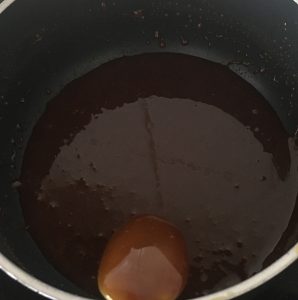
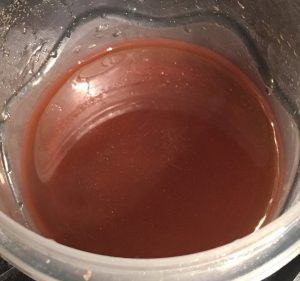
- Place the syrup ingredients into a new bowl and heat in the microwave until boiling, stir until silky smooth in texture.
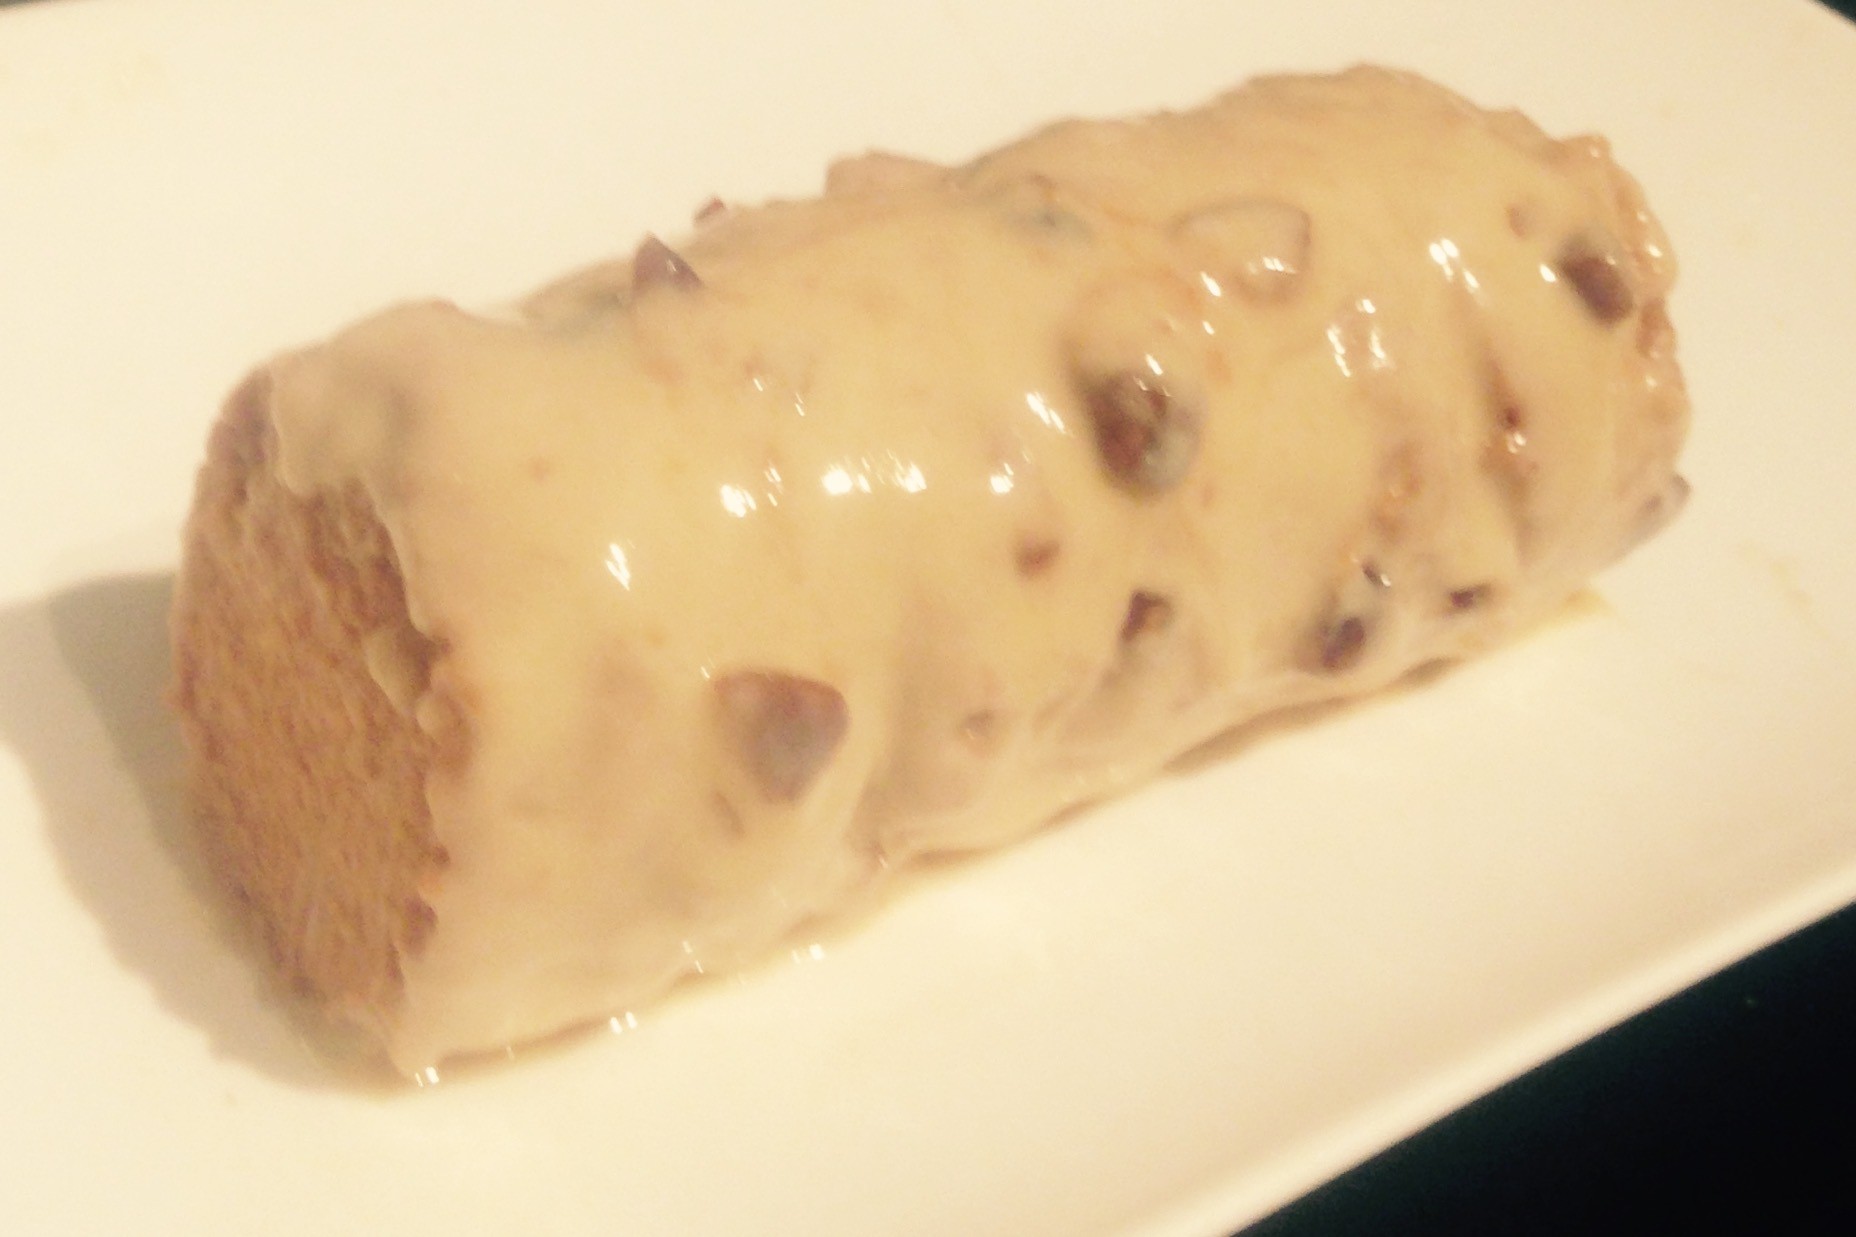
- Using a pastry brush, brush the syrup onto the top of the 3 cakes.
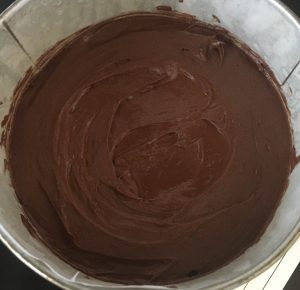
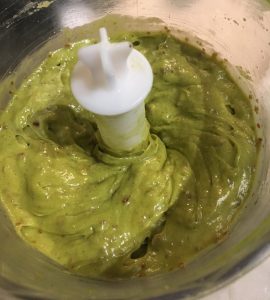
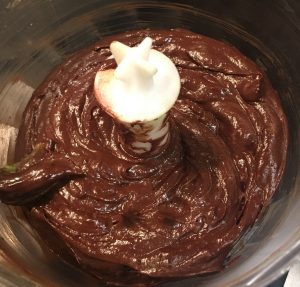
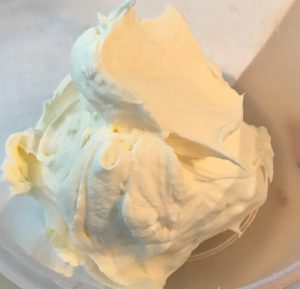
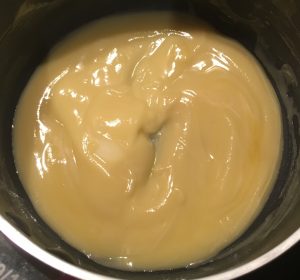
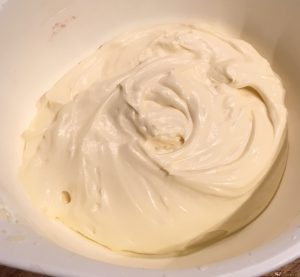
- Next make the icing by melting the butter in a medium sized bowl in the microwave until bubbling. Add the white chocolate piece and stir until smooth.
- Add the cream cheese, yoghurt and essence into the butter mix and using electric beaters whisk until smooth and silky. Place in the fridge to set.
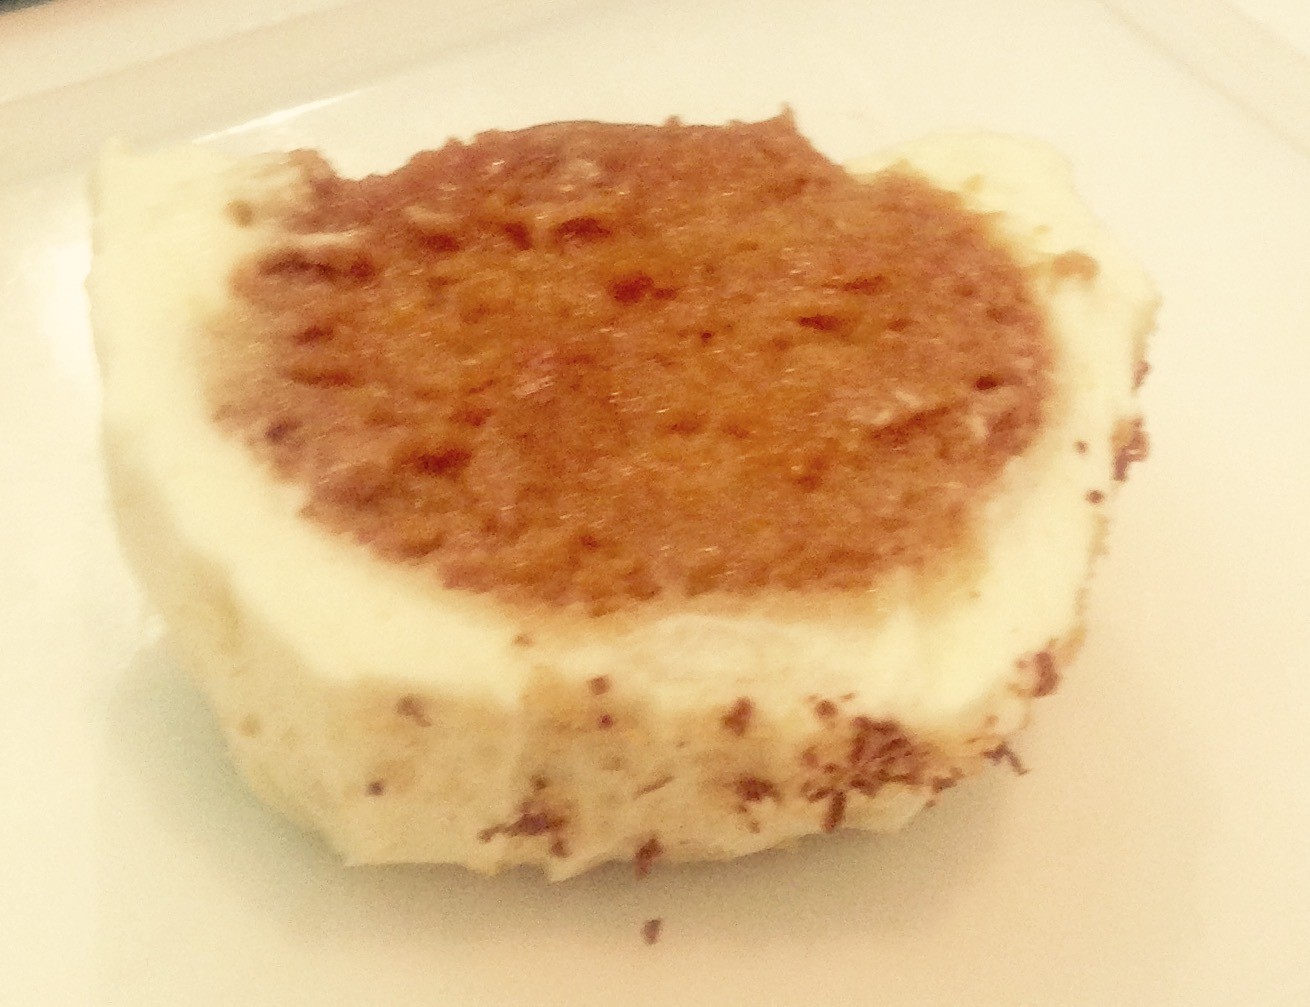
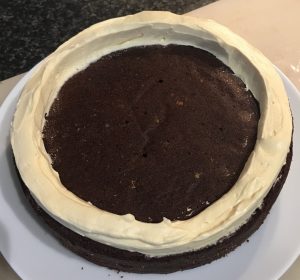
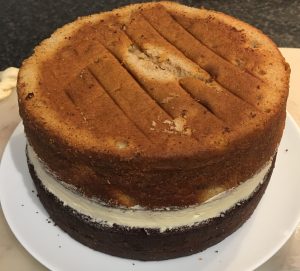
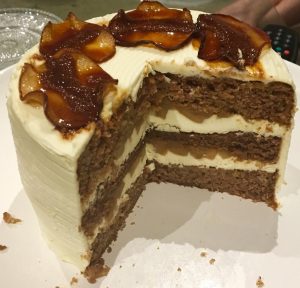
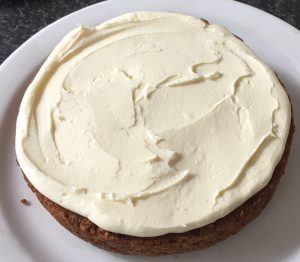
- To put the cake together place one cake layer on a plate syrup side up, top with ¼ icing, then ½ of the apple filling over the top of the icing.
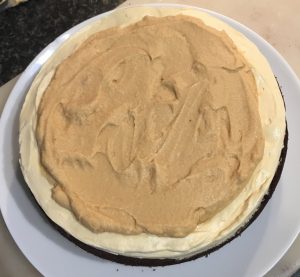
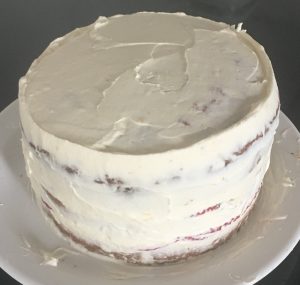
- Top with the second cake layer syrup side up, top with ¼ icing, then the remaining apple filling over the top of the icing.
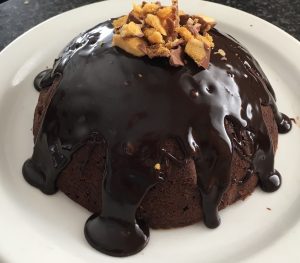
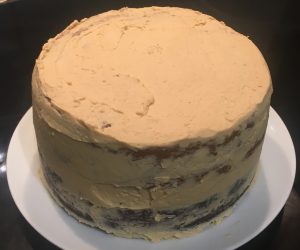
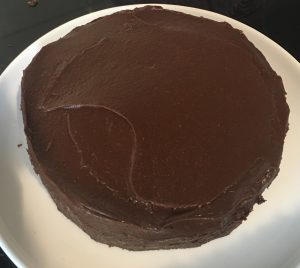
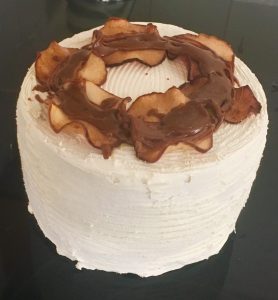
- Top with 3rd cake layer syrup side down and ice the top and the sides of the cake with the remaining icing.
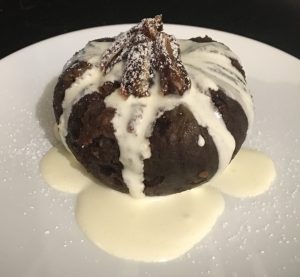
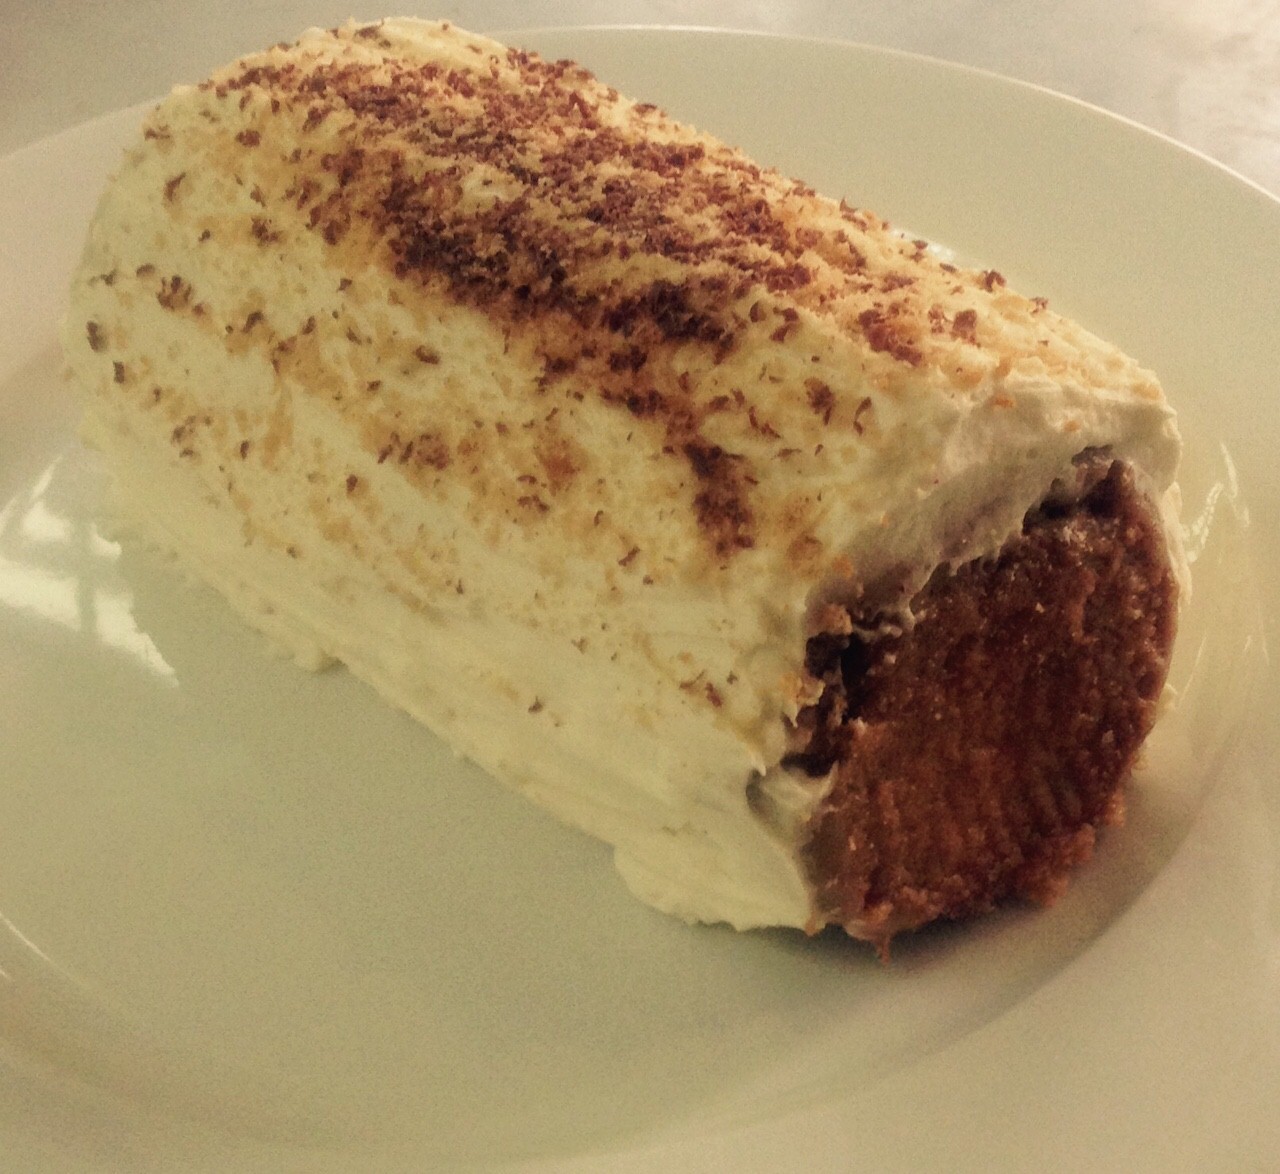
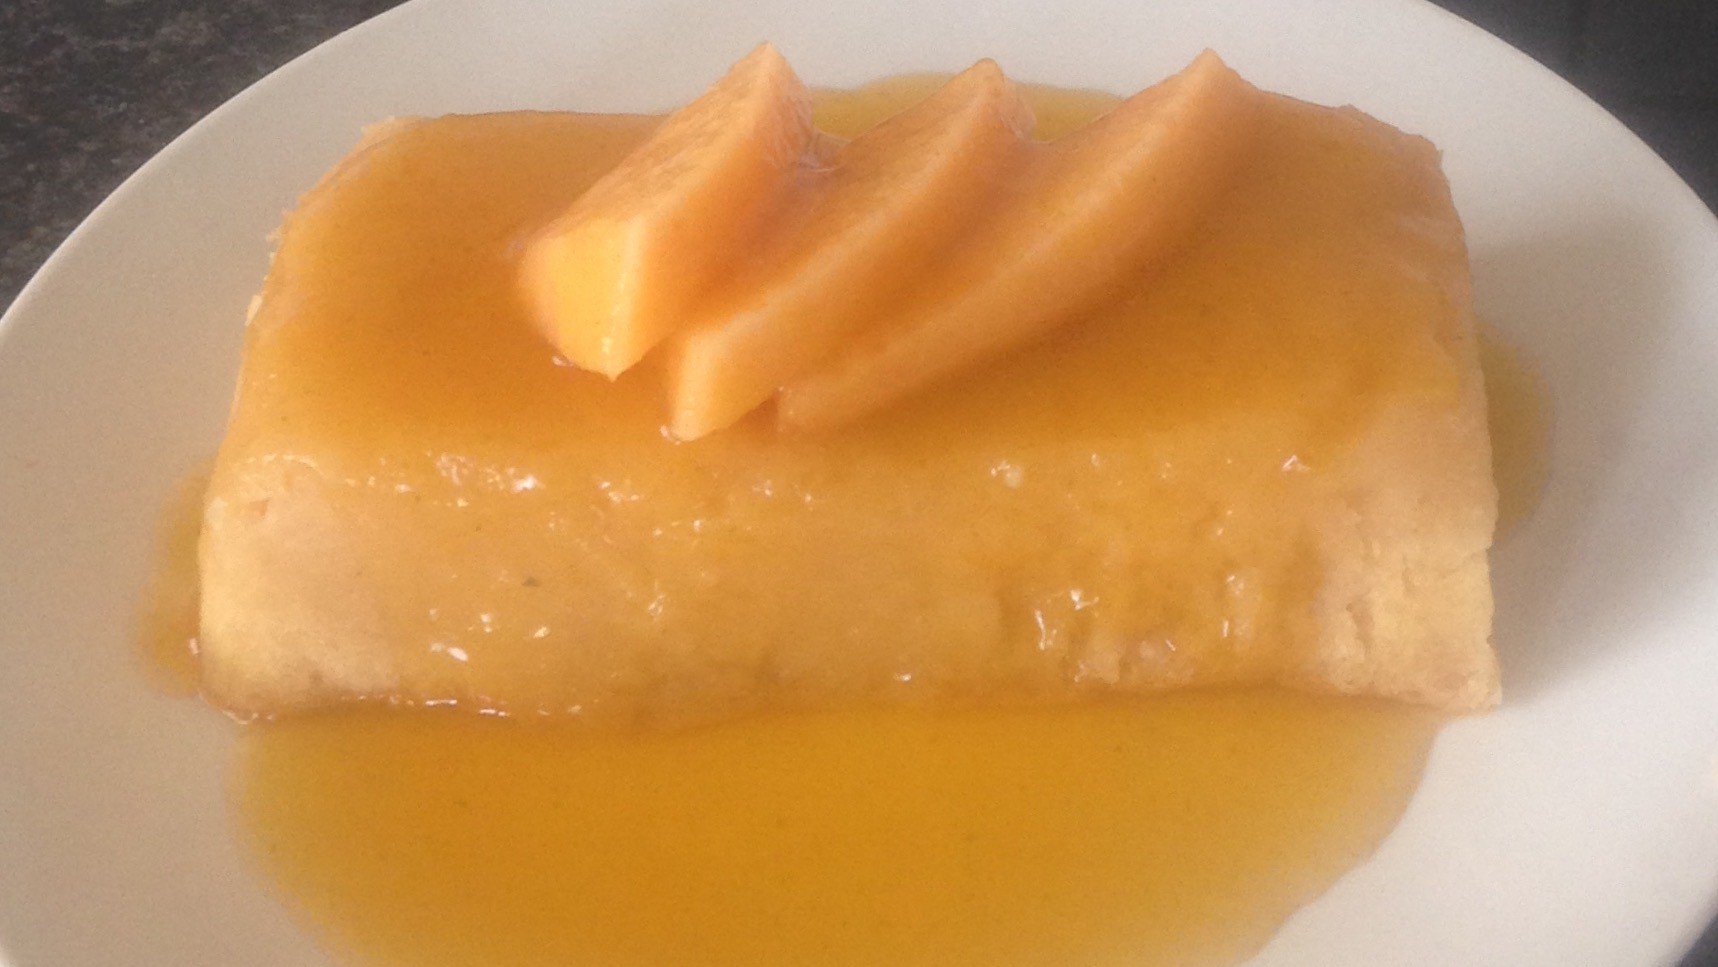
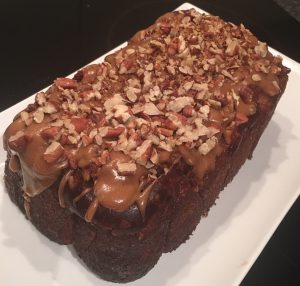
- To decorate I have topped with dried apple slices and caramel sauce.
- Step 2
Step 5
Step 7
- Step 8
- Step 9
- step 10
- Step 12
- Step 14
- Step 15
- Step 16
- Step 18
Step 19
Like this recipe? Subscribe via RSS or email to get my new entries and more scrumptious recipes with reviews.
 Follow