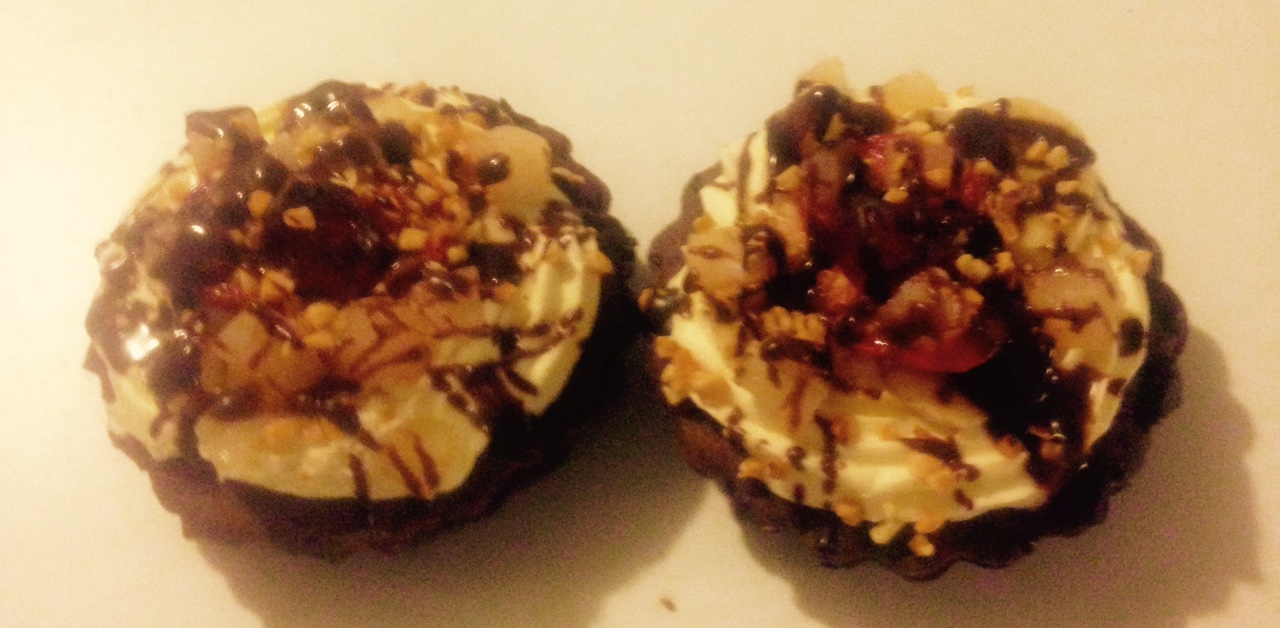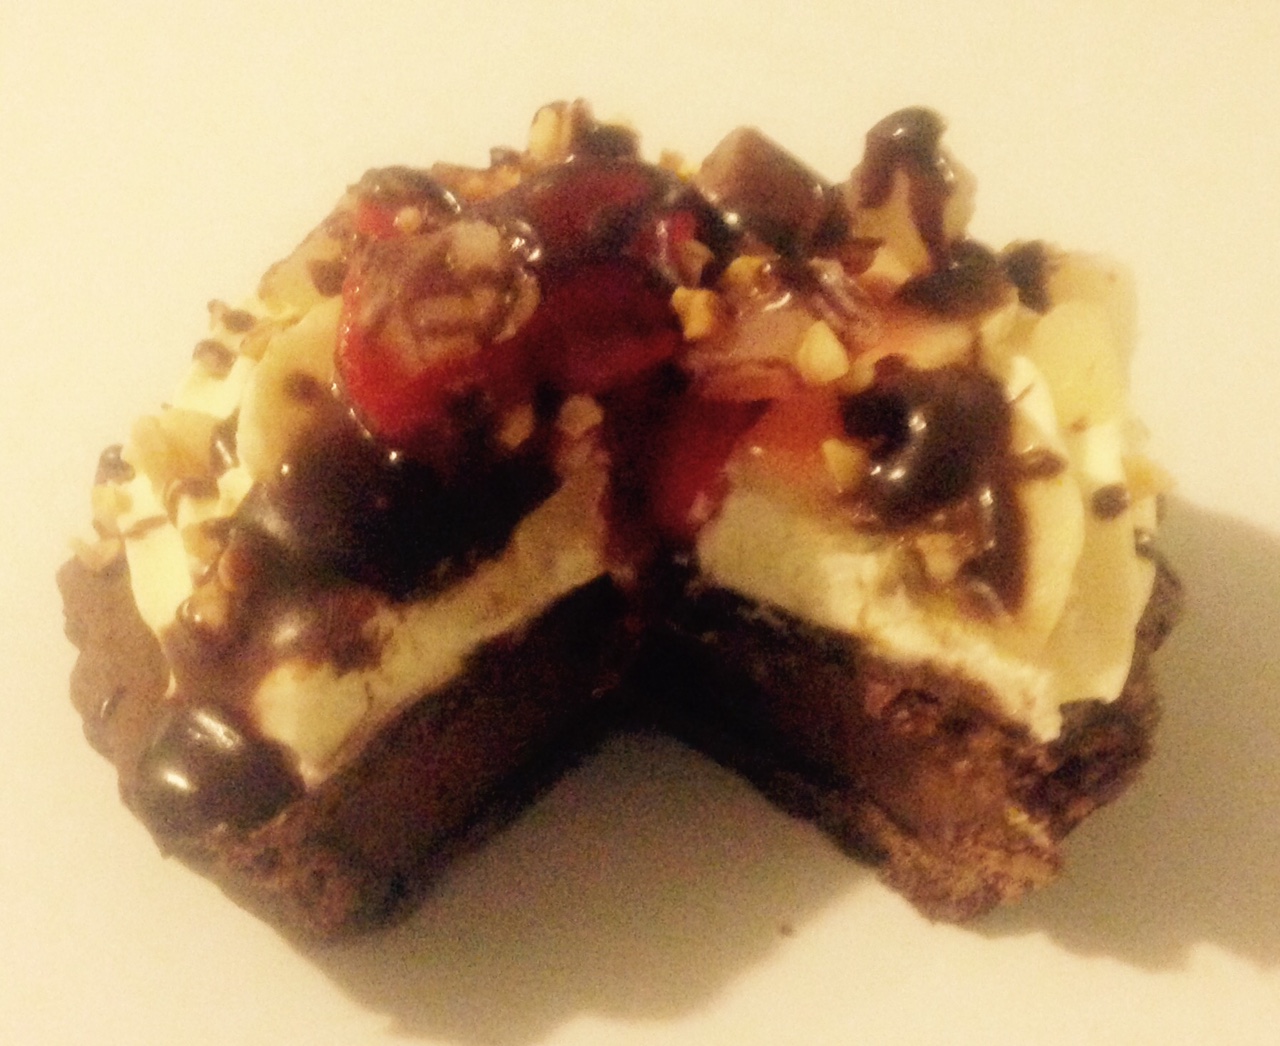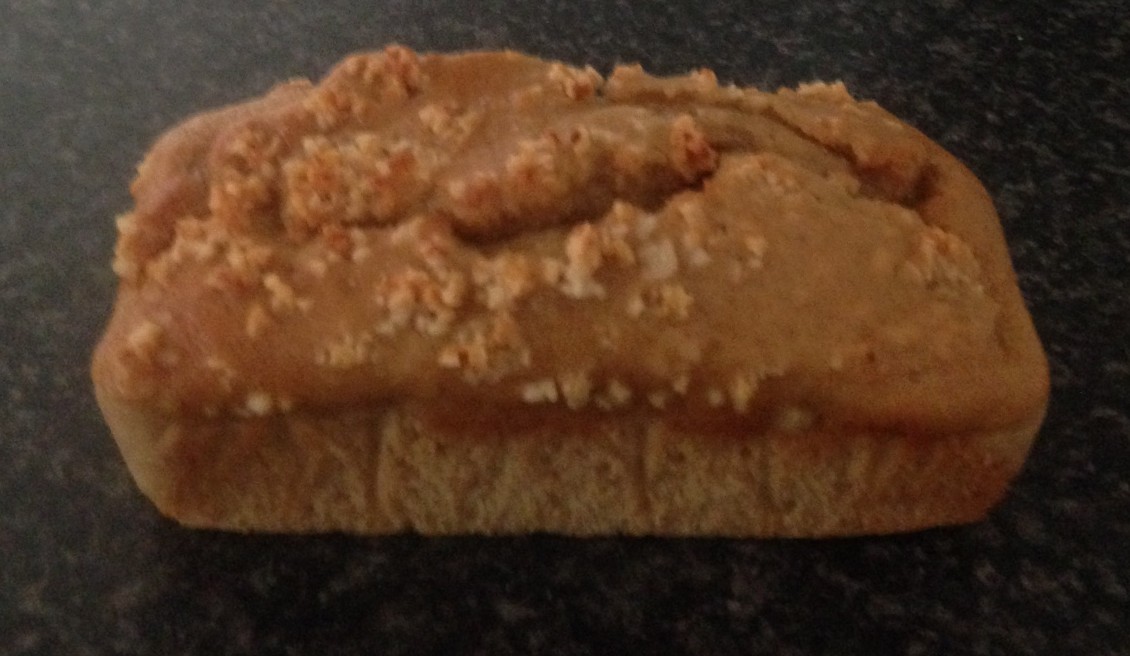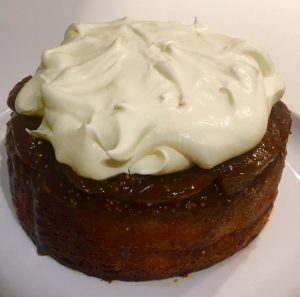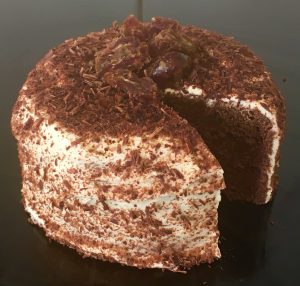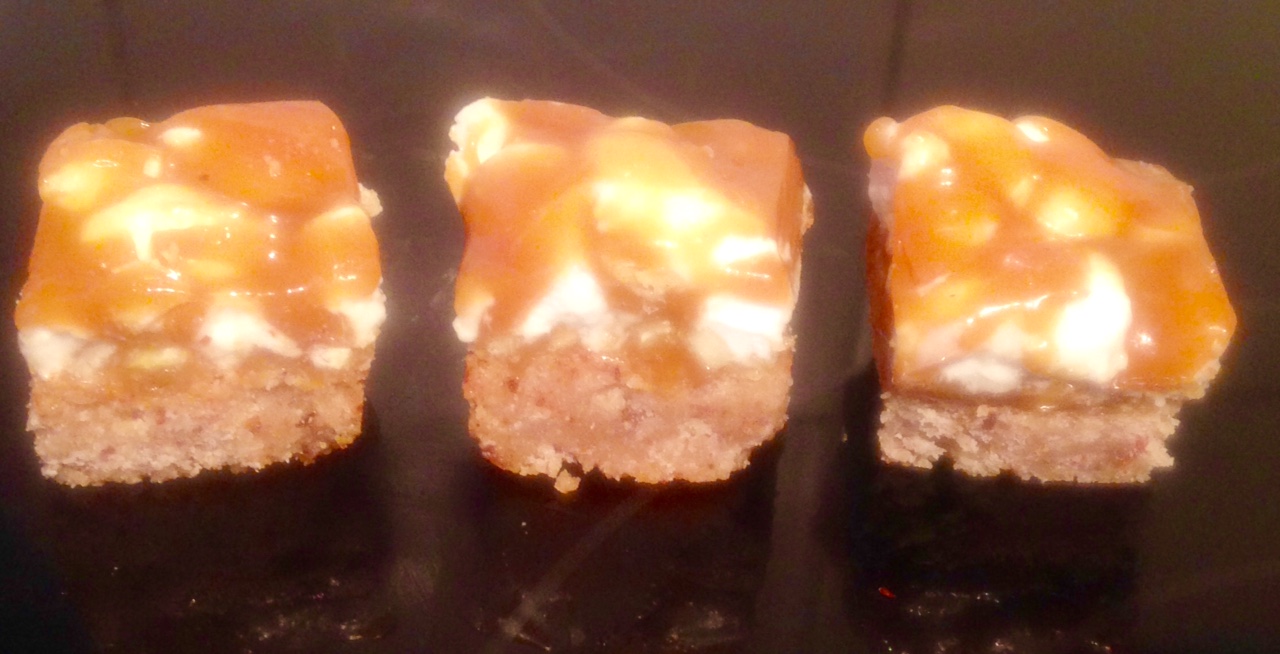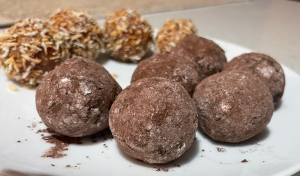
High protein, healthy good fats (yes it does contain sugar but not a large amount), these bliss balls are super rich and decadent in flavour and texture.
So simple to make with limited ingredients, these treats take a whole of 10 mins max to make.
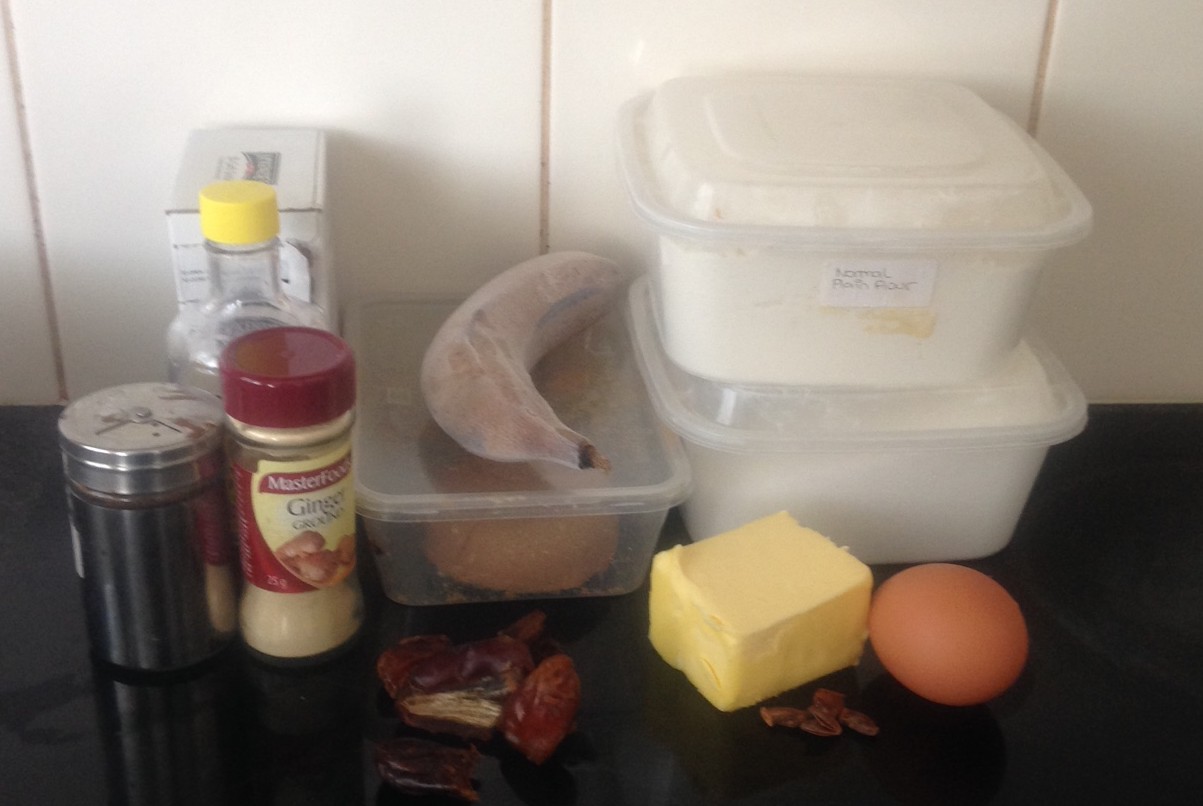
Ingredients:
- 90g banana
- 165g hazelnut meal
- 30g cocoa powder
- 30g chia seeds
- 60g brown sugar
- ¼ tsn salt
- Cocoa powder, extra
- Icing sugar, extra
Method:
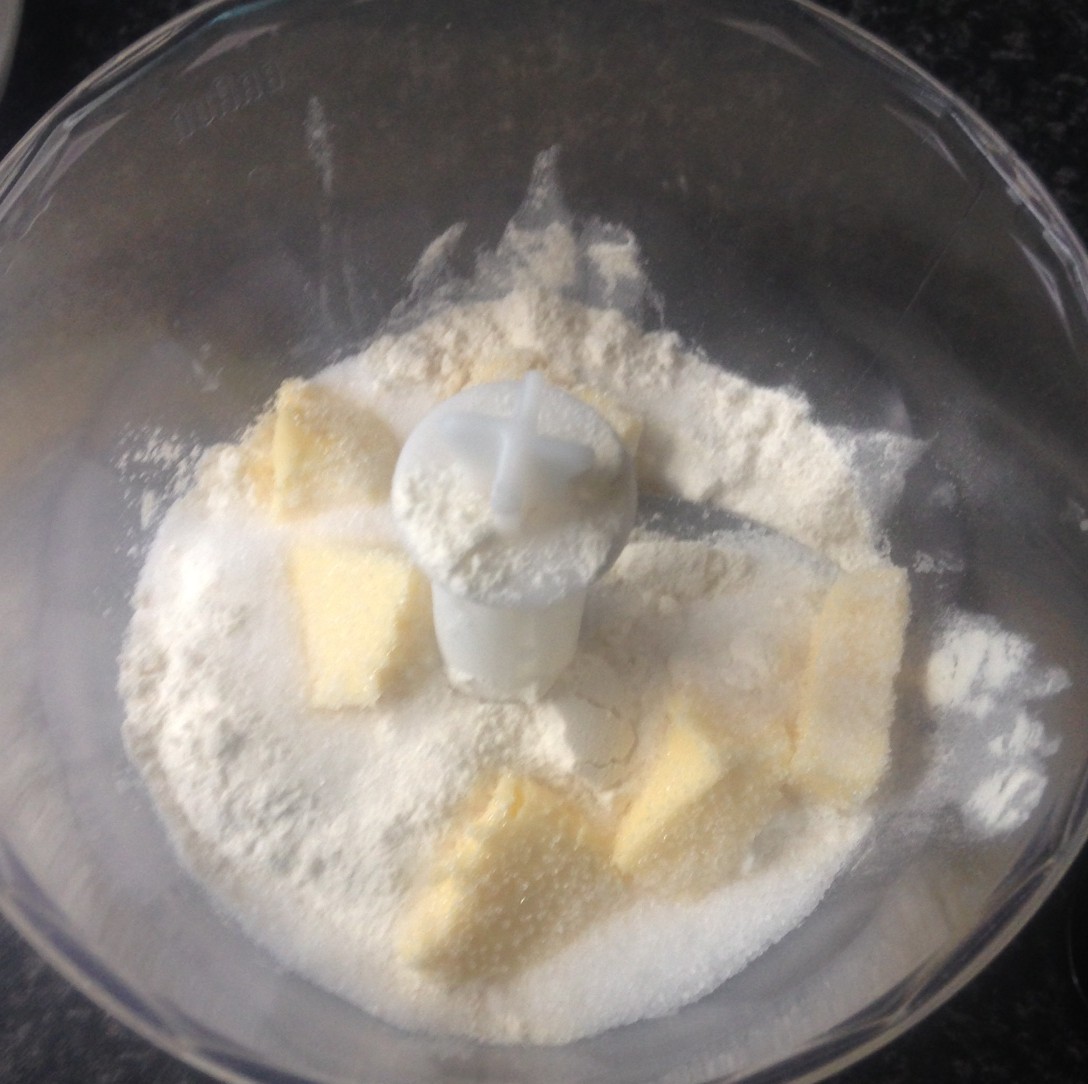
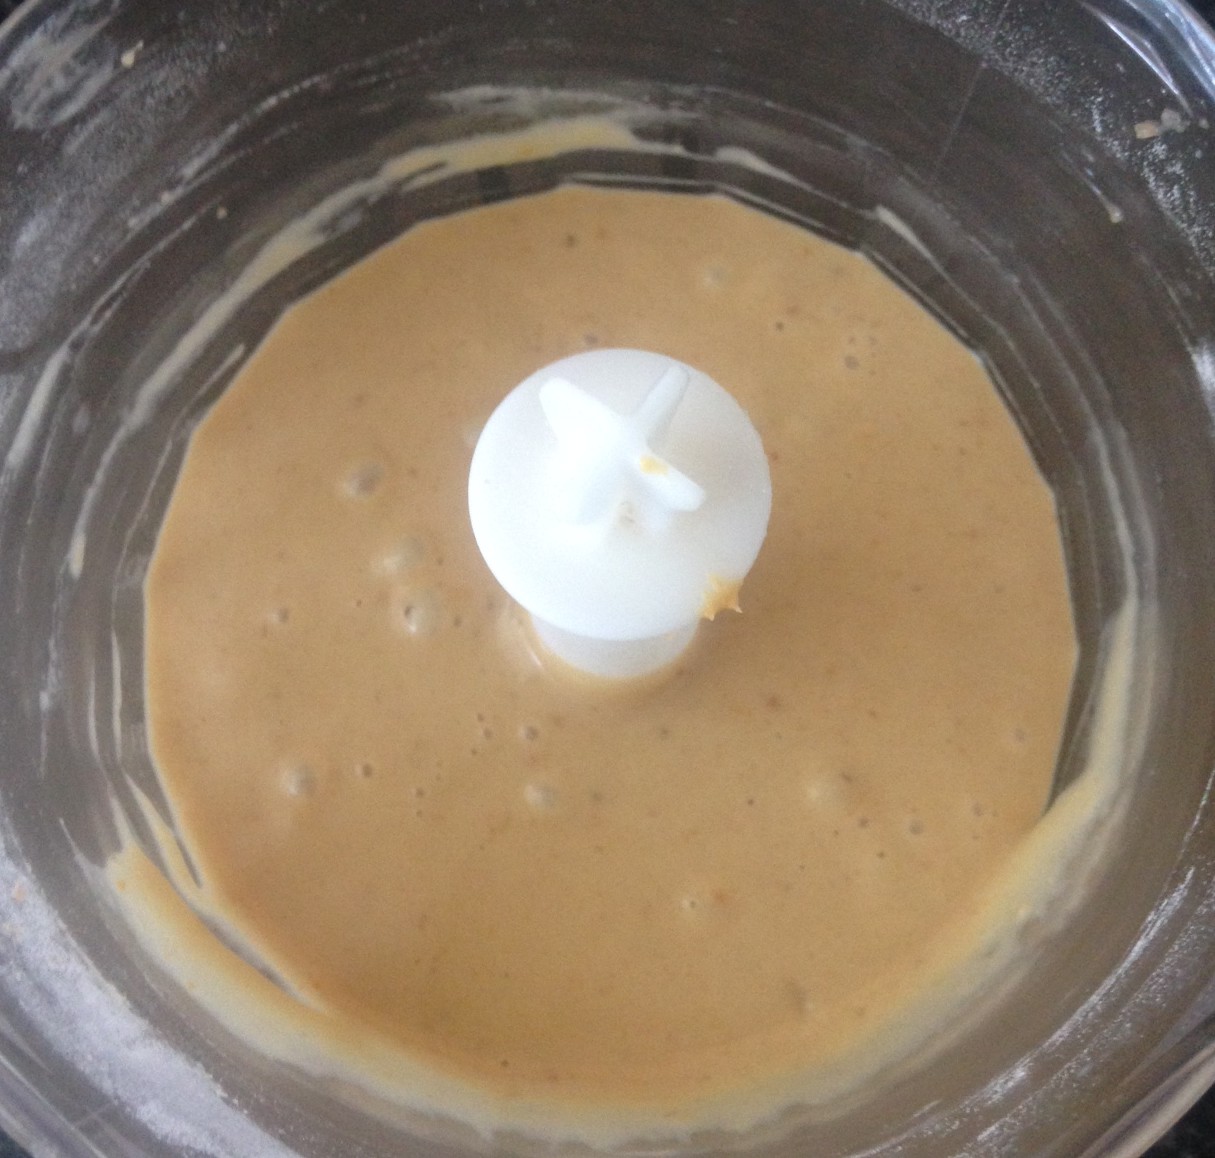
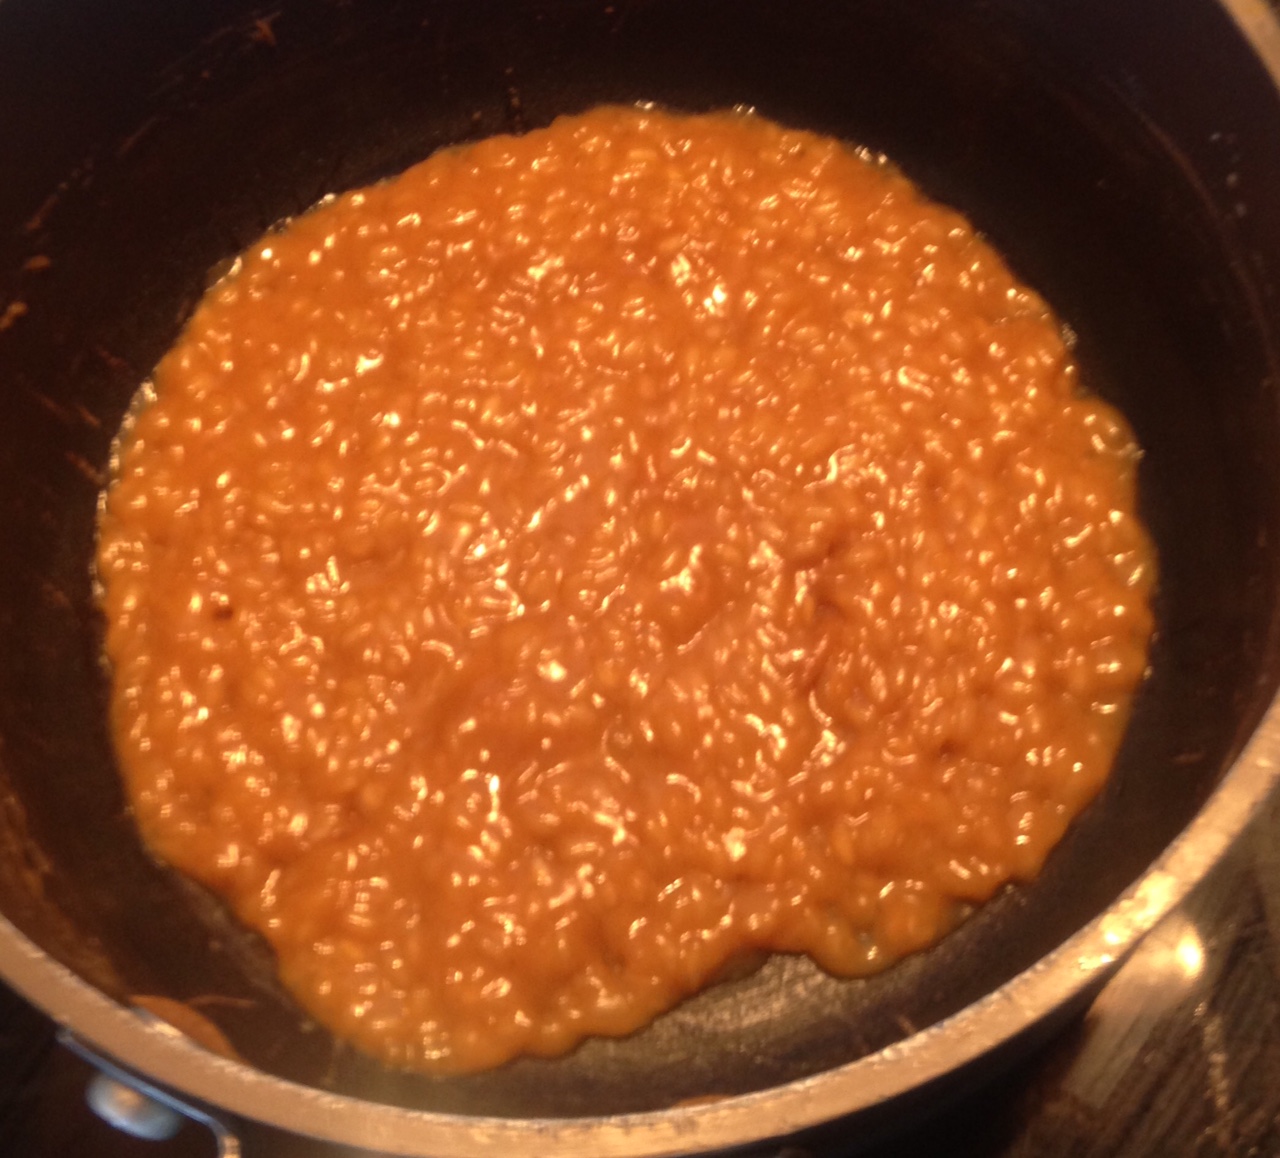
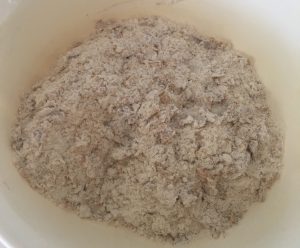
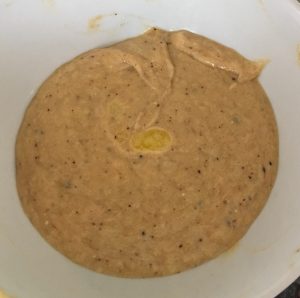
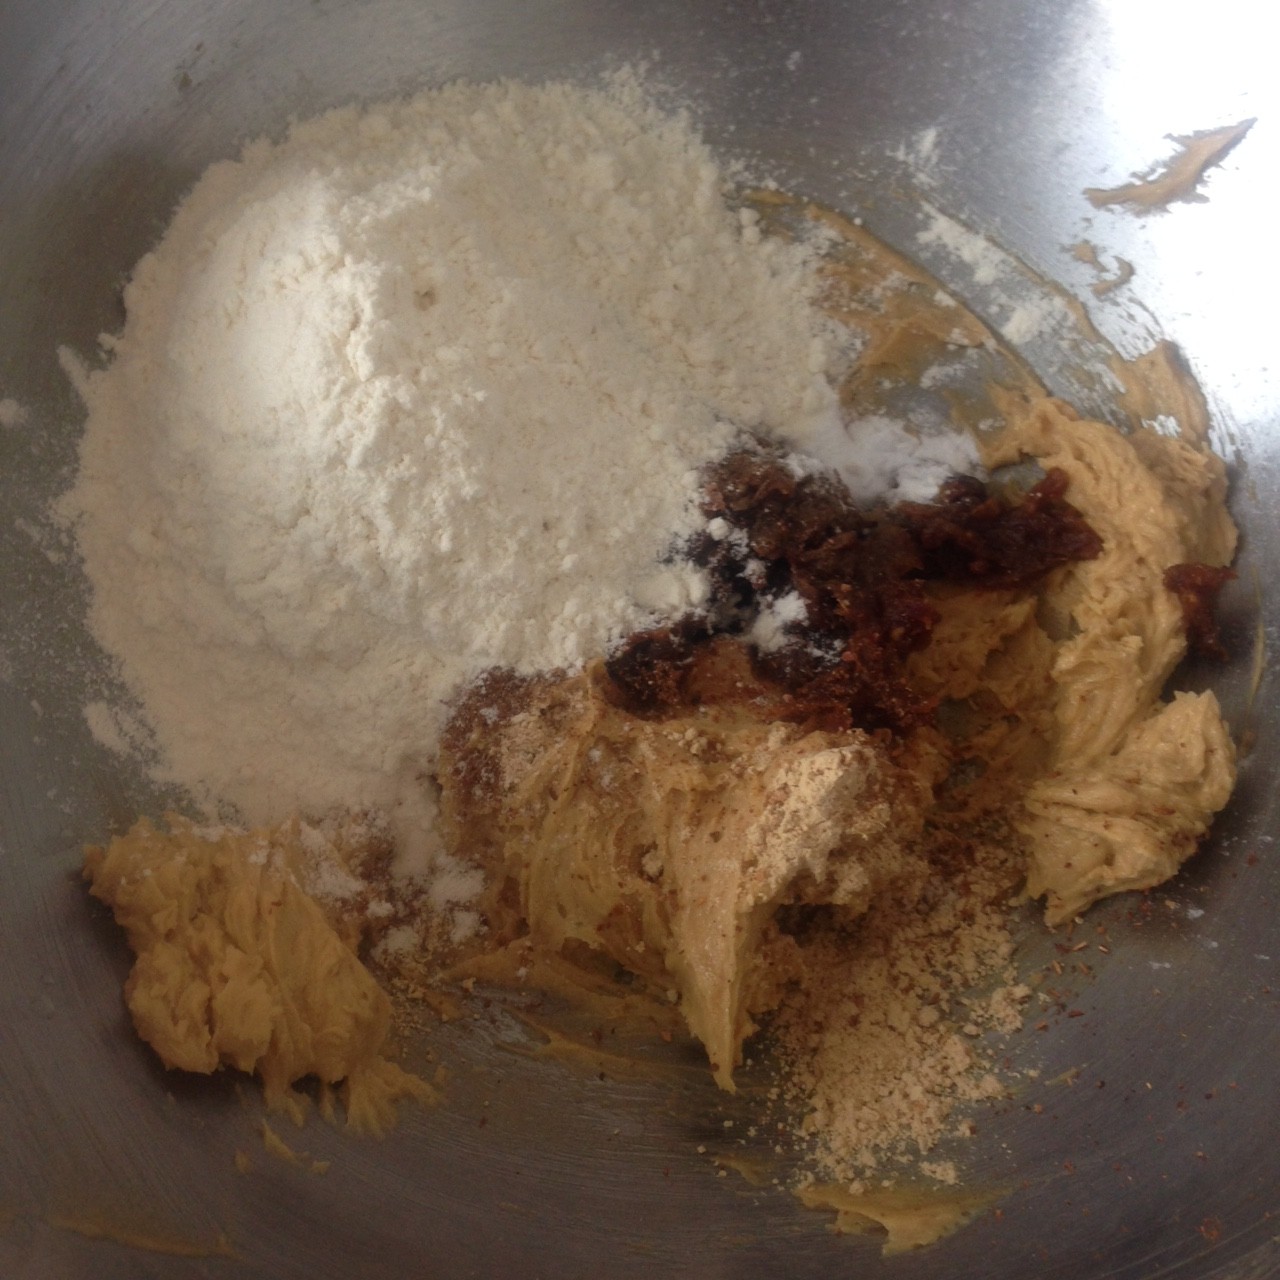
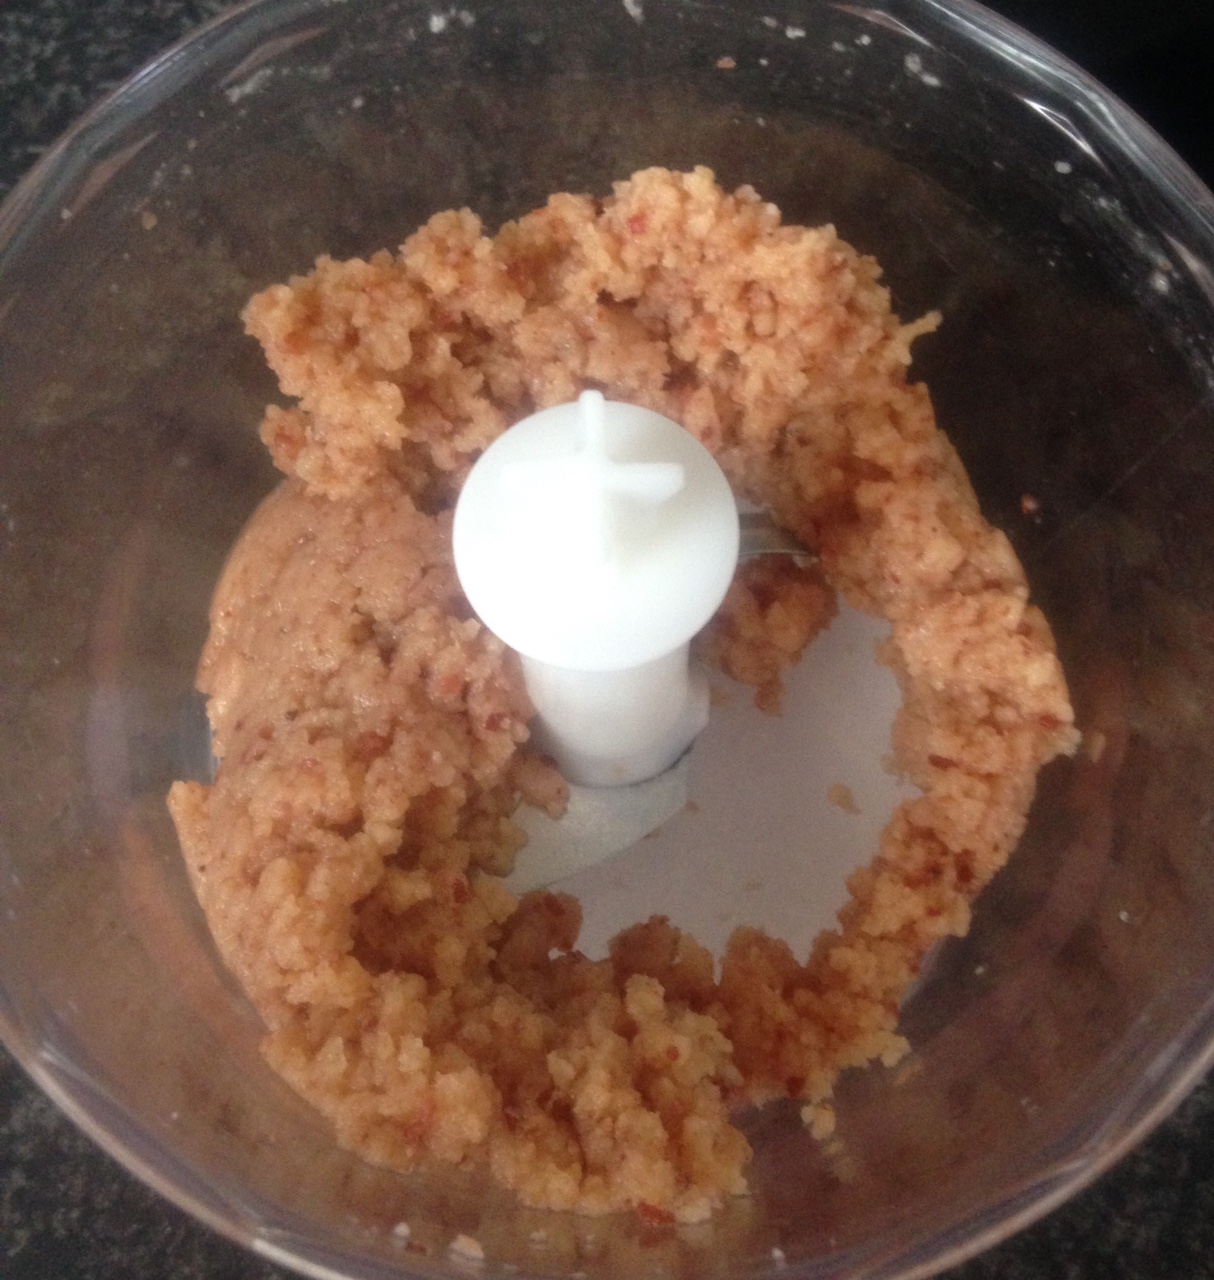
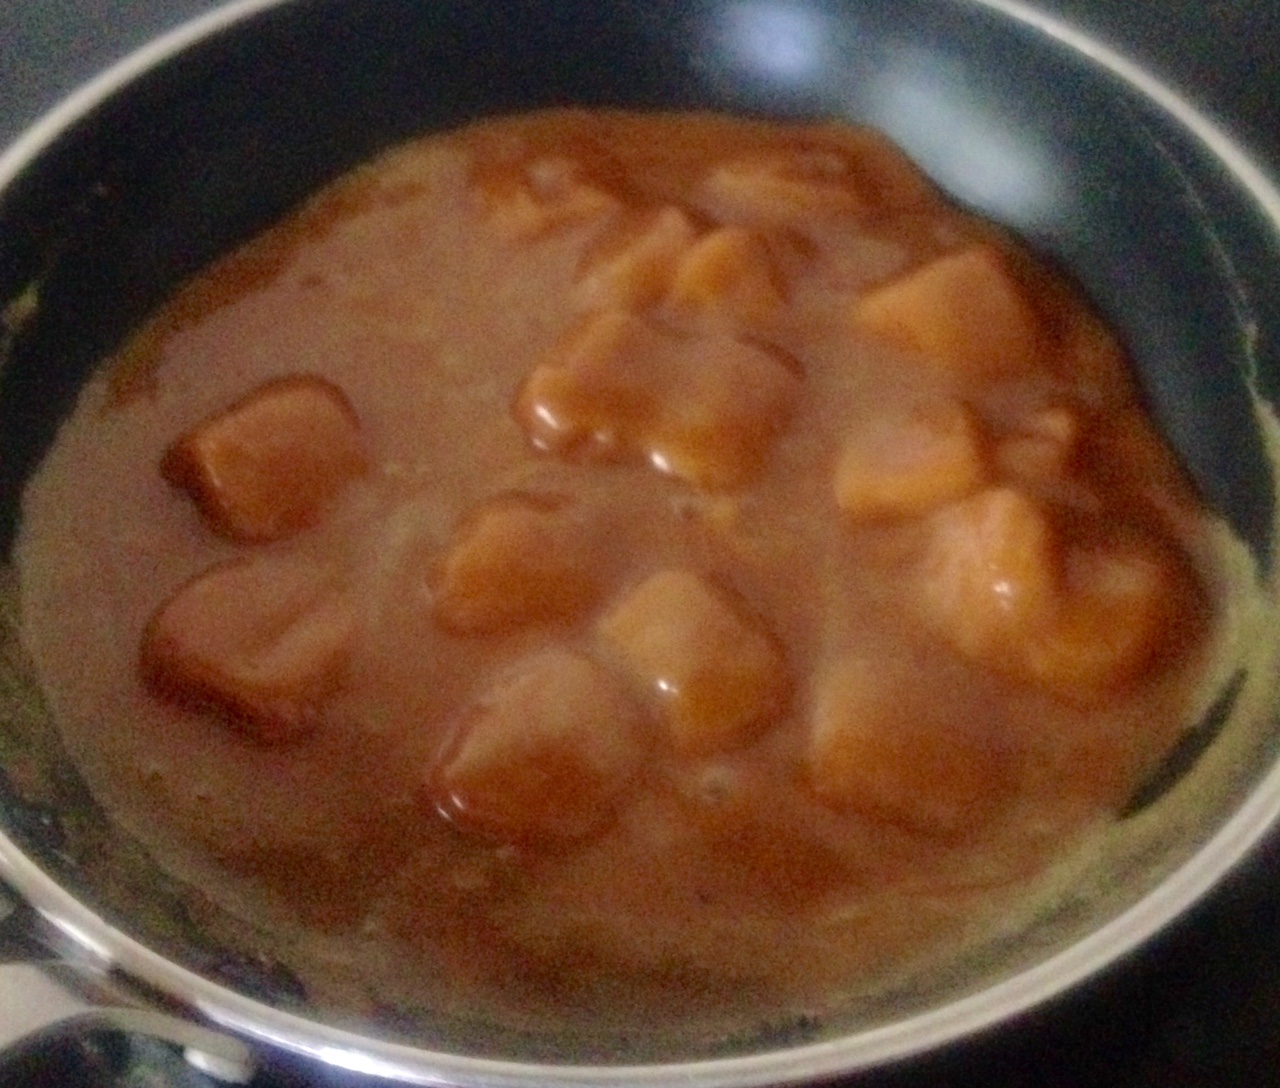
- Place the banana, hazelnut meal, chia seeds, sugar and salt into a food processor and blitz until well combine, scraping down the sides of the processor if required.
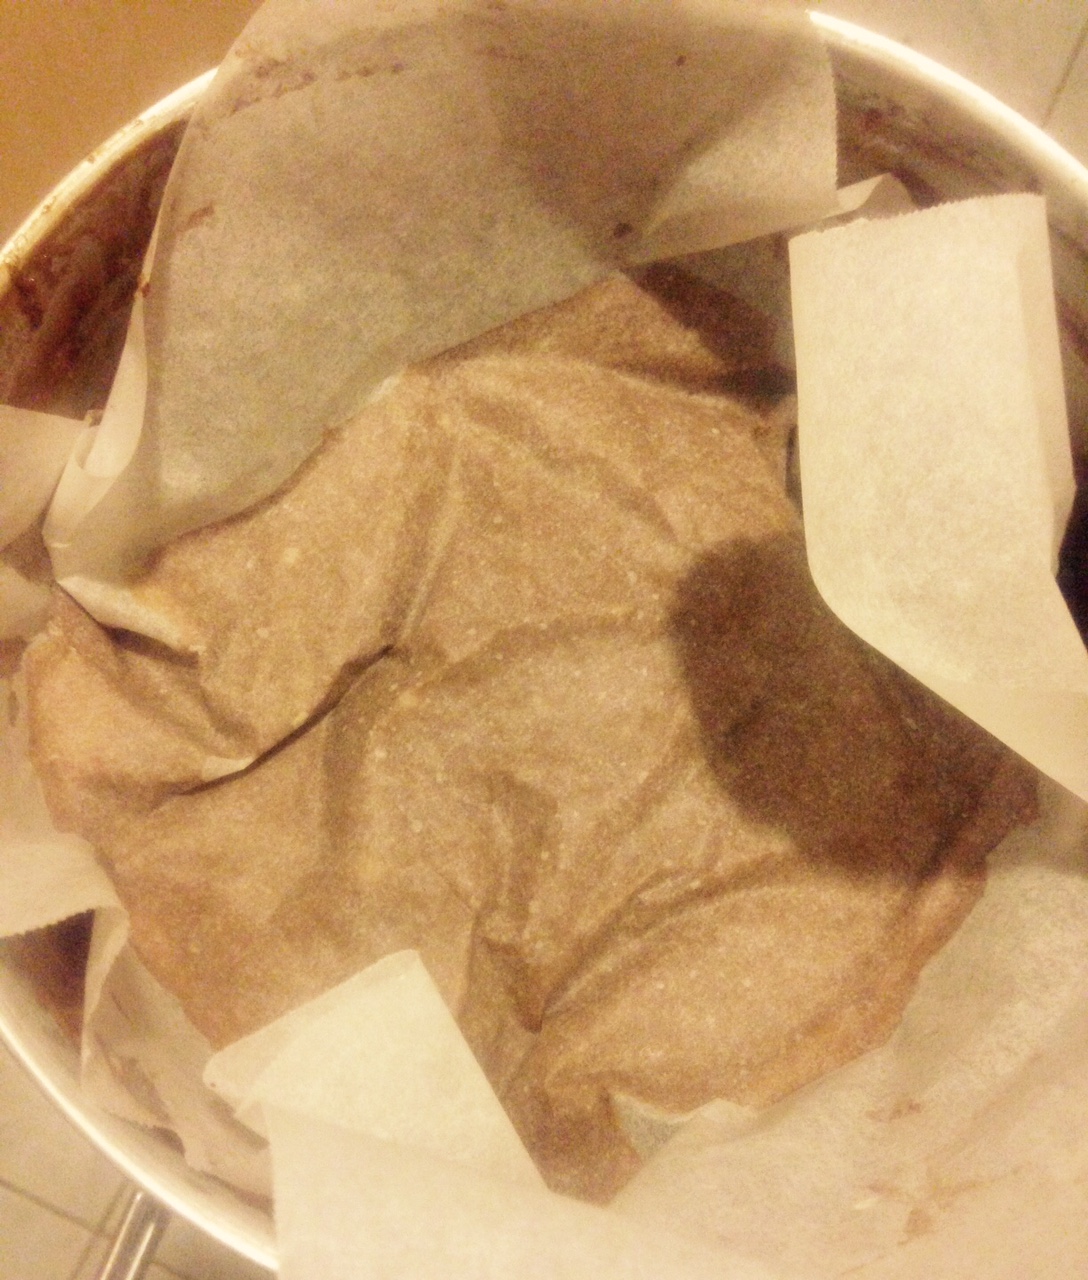
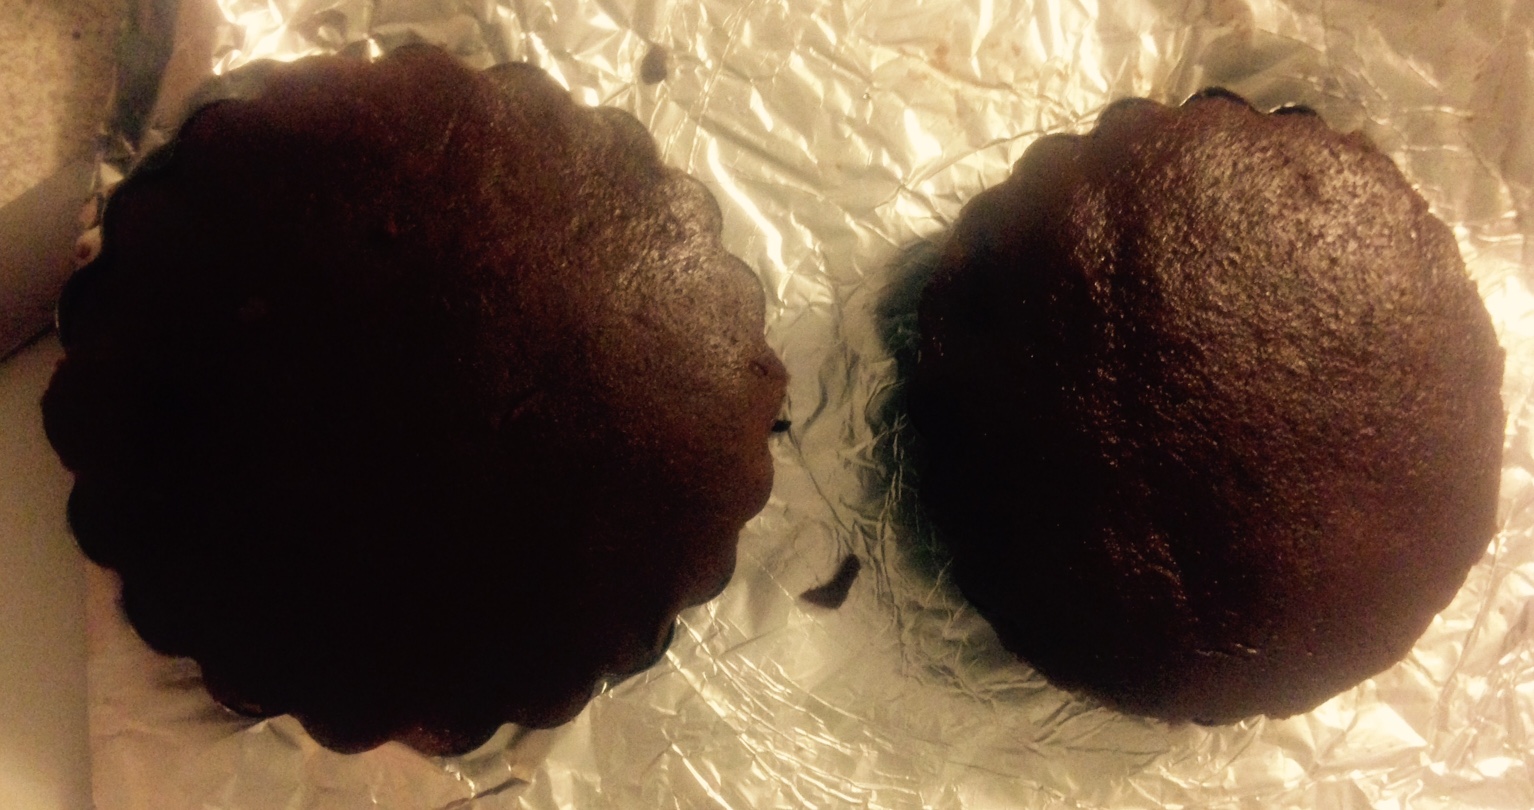
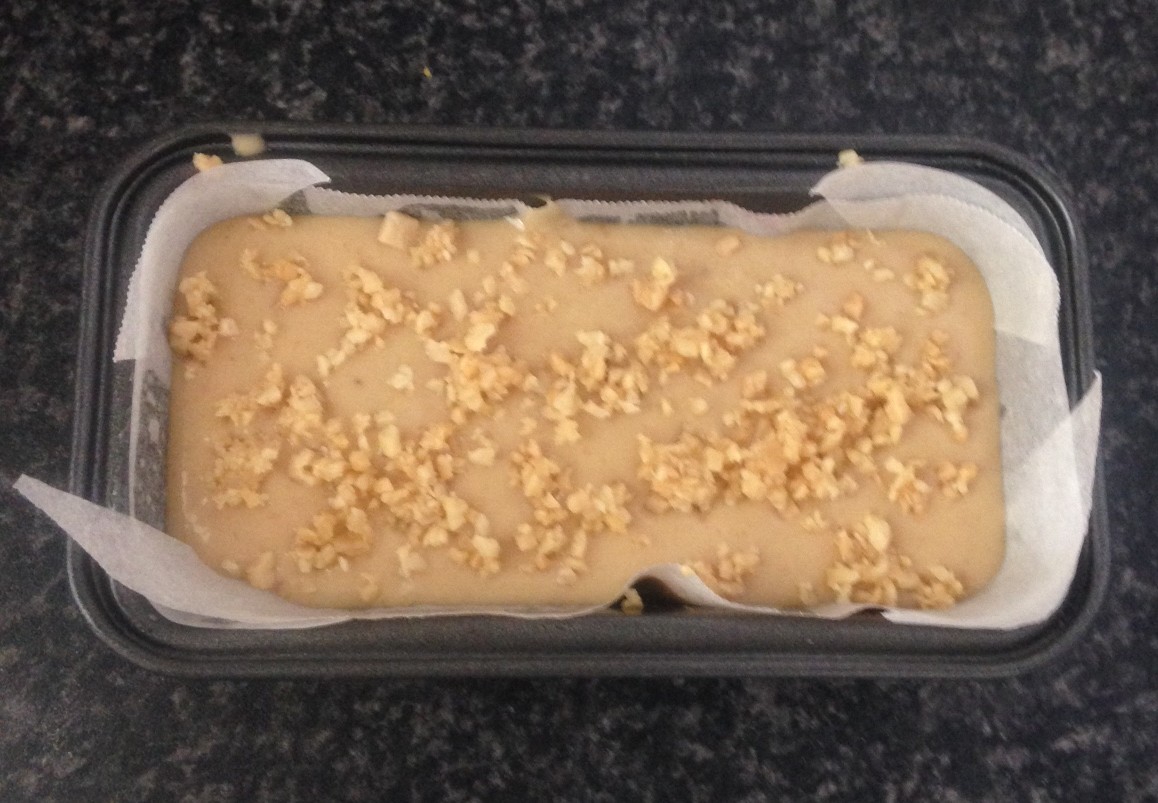
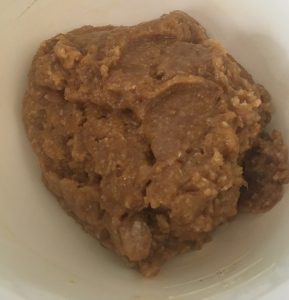
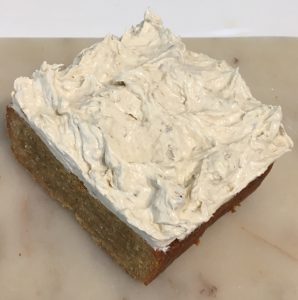
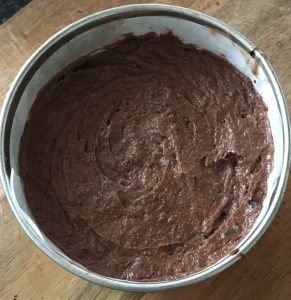
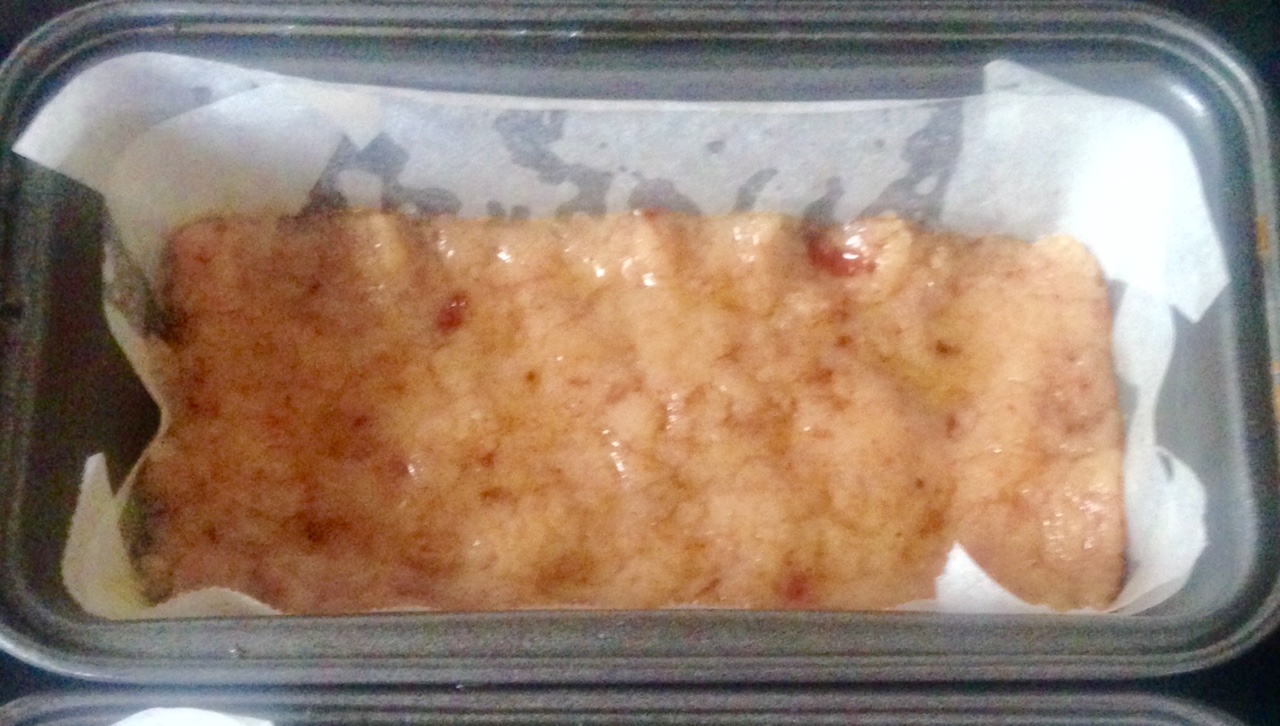
- Place the mix into a bowl and leave in the fridge to set for 1 hour.
- Remove the mix from the fridge and roll into balls of 25g each.
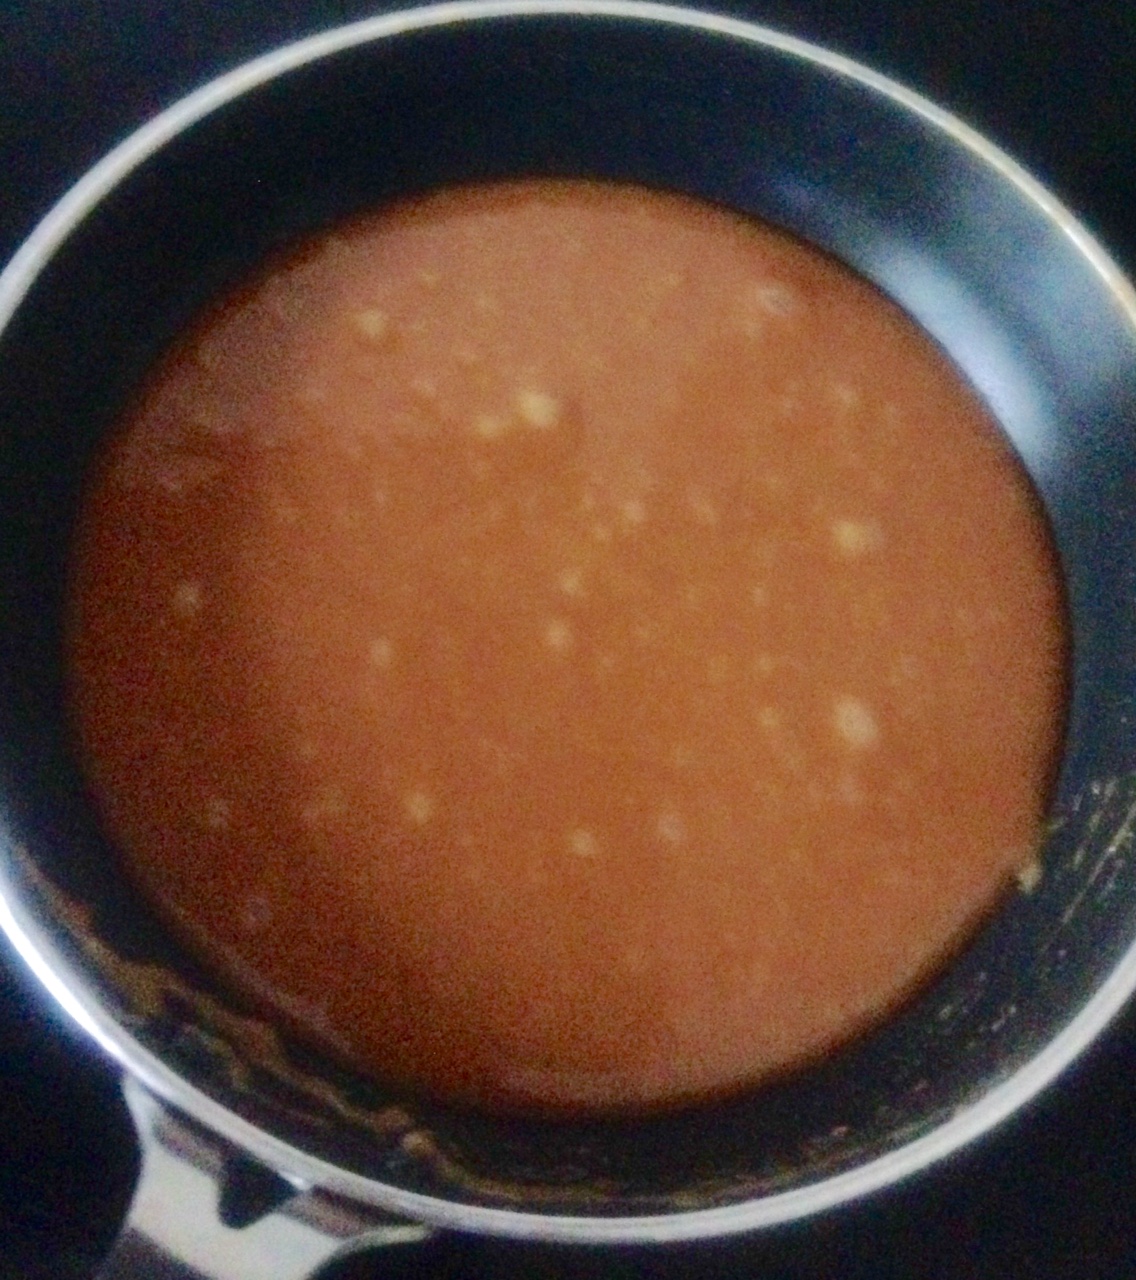
- Place the extra cocoa powder and icing sugar into a sieve and sprinkle in a shallow bowl, mix.
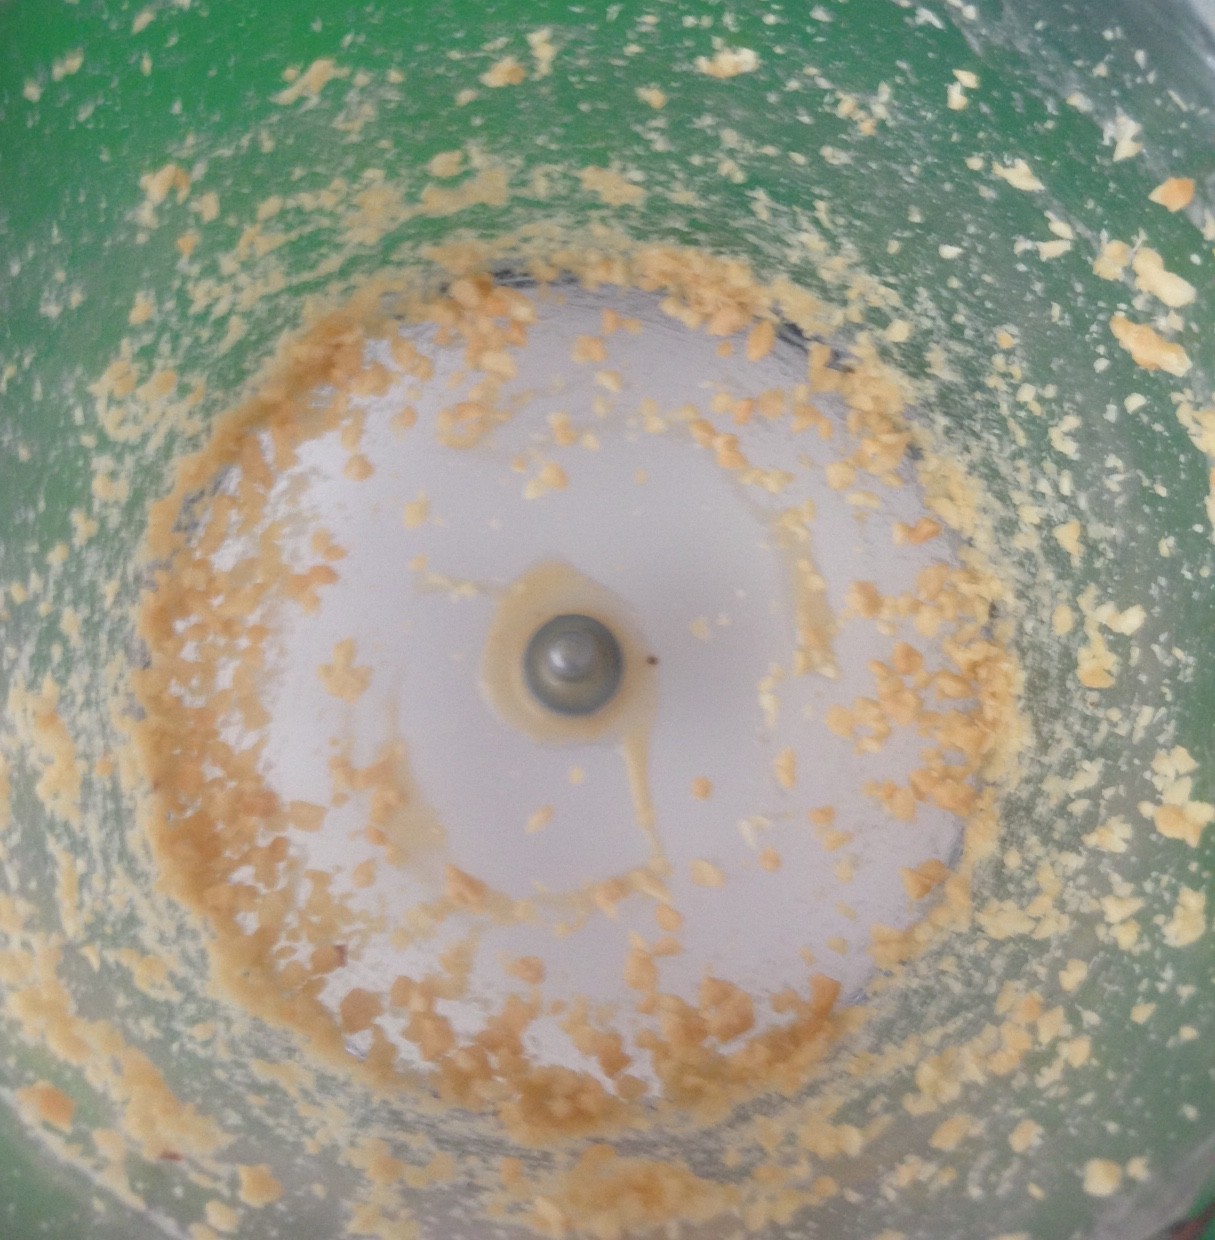
- Ball by ball, place each into the bowl, rolling to cover the mix completely.
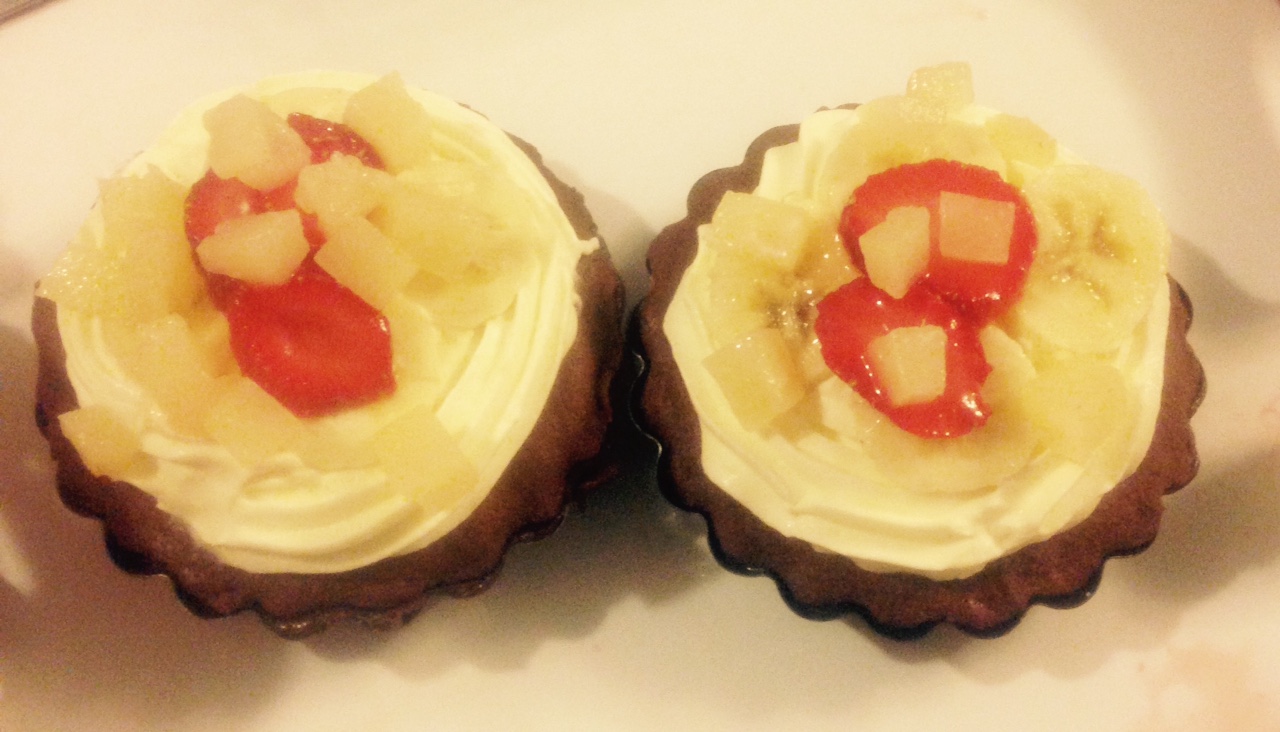
- Place all rolled balls into the fridge and enjoy!

Hazelnut Meal
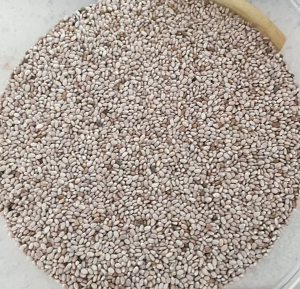
Chia Seeds
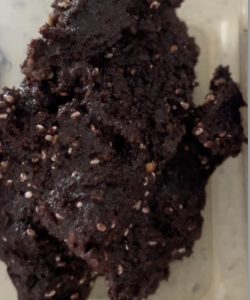
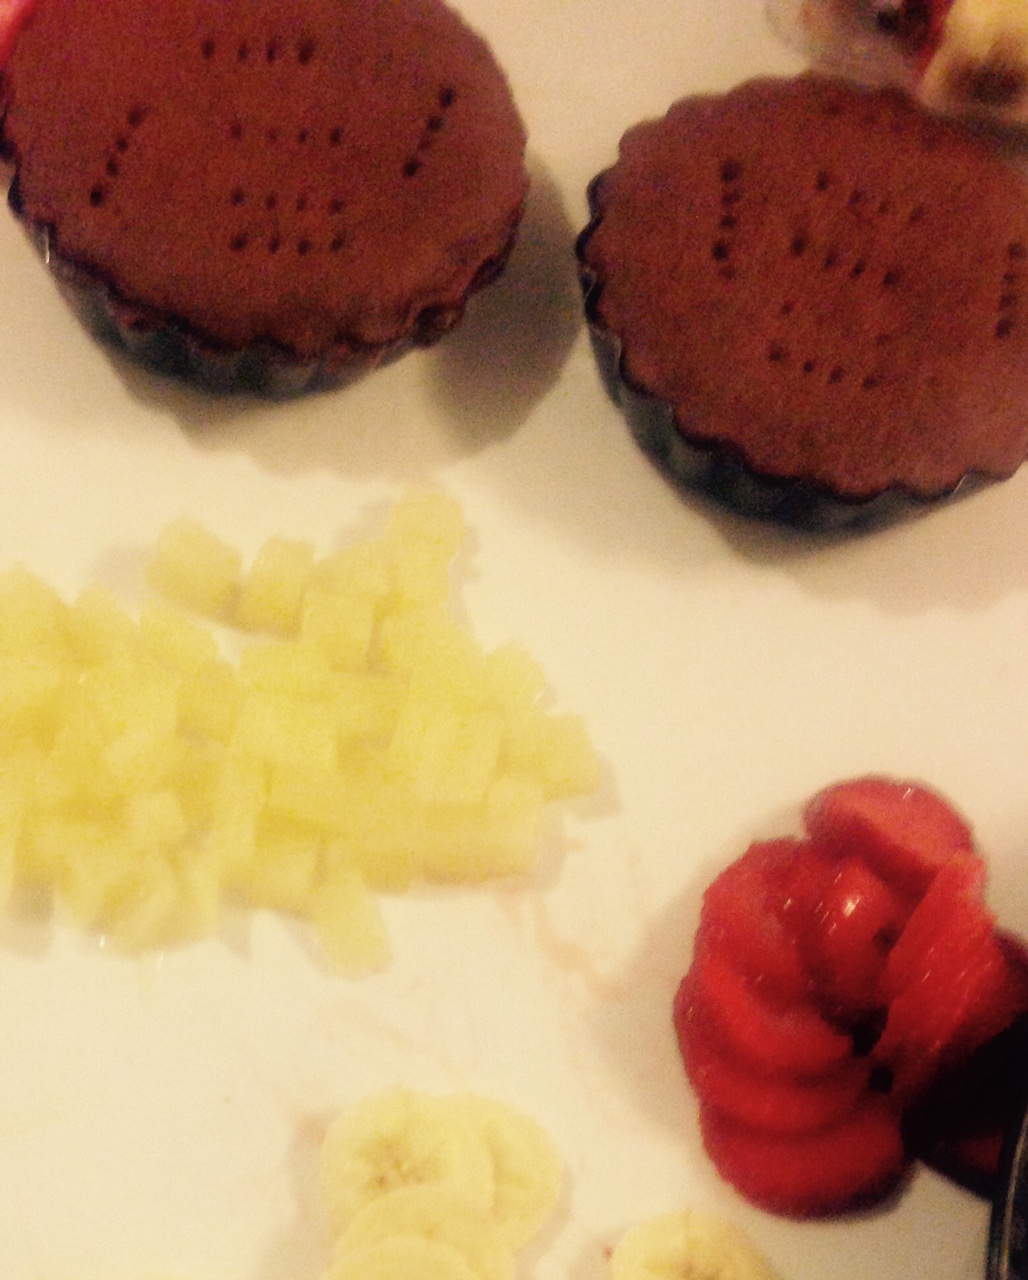
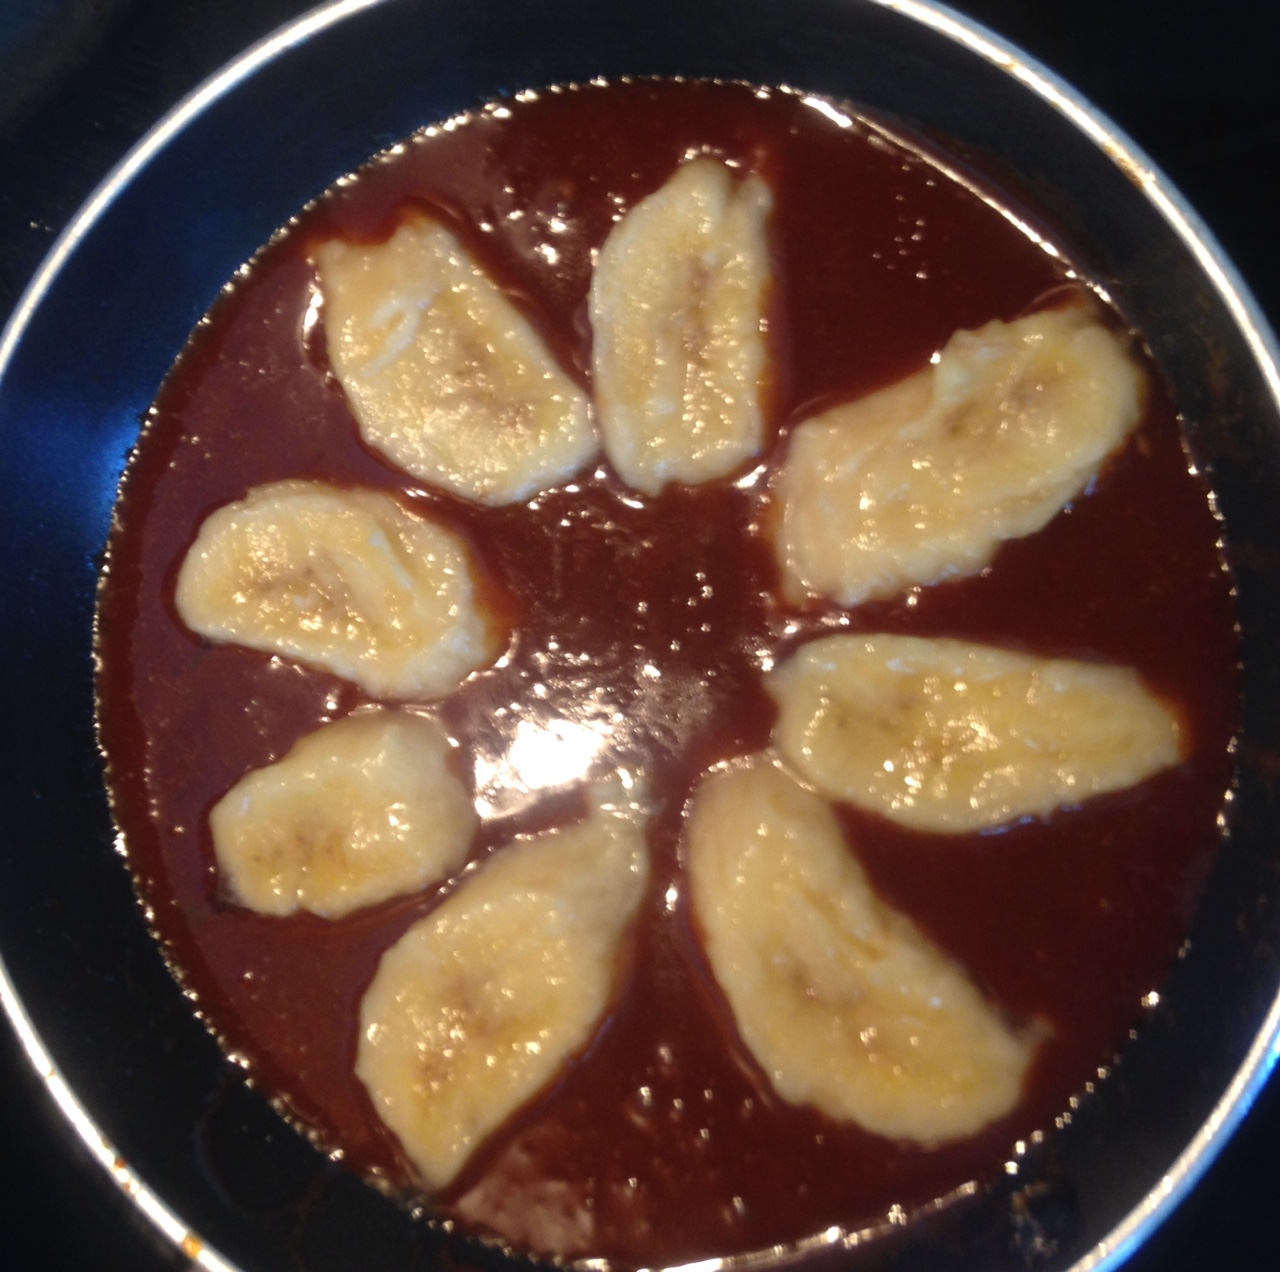
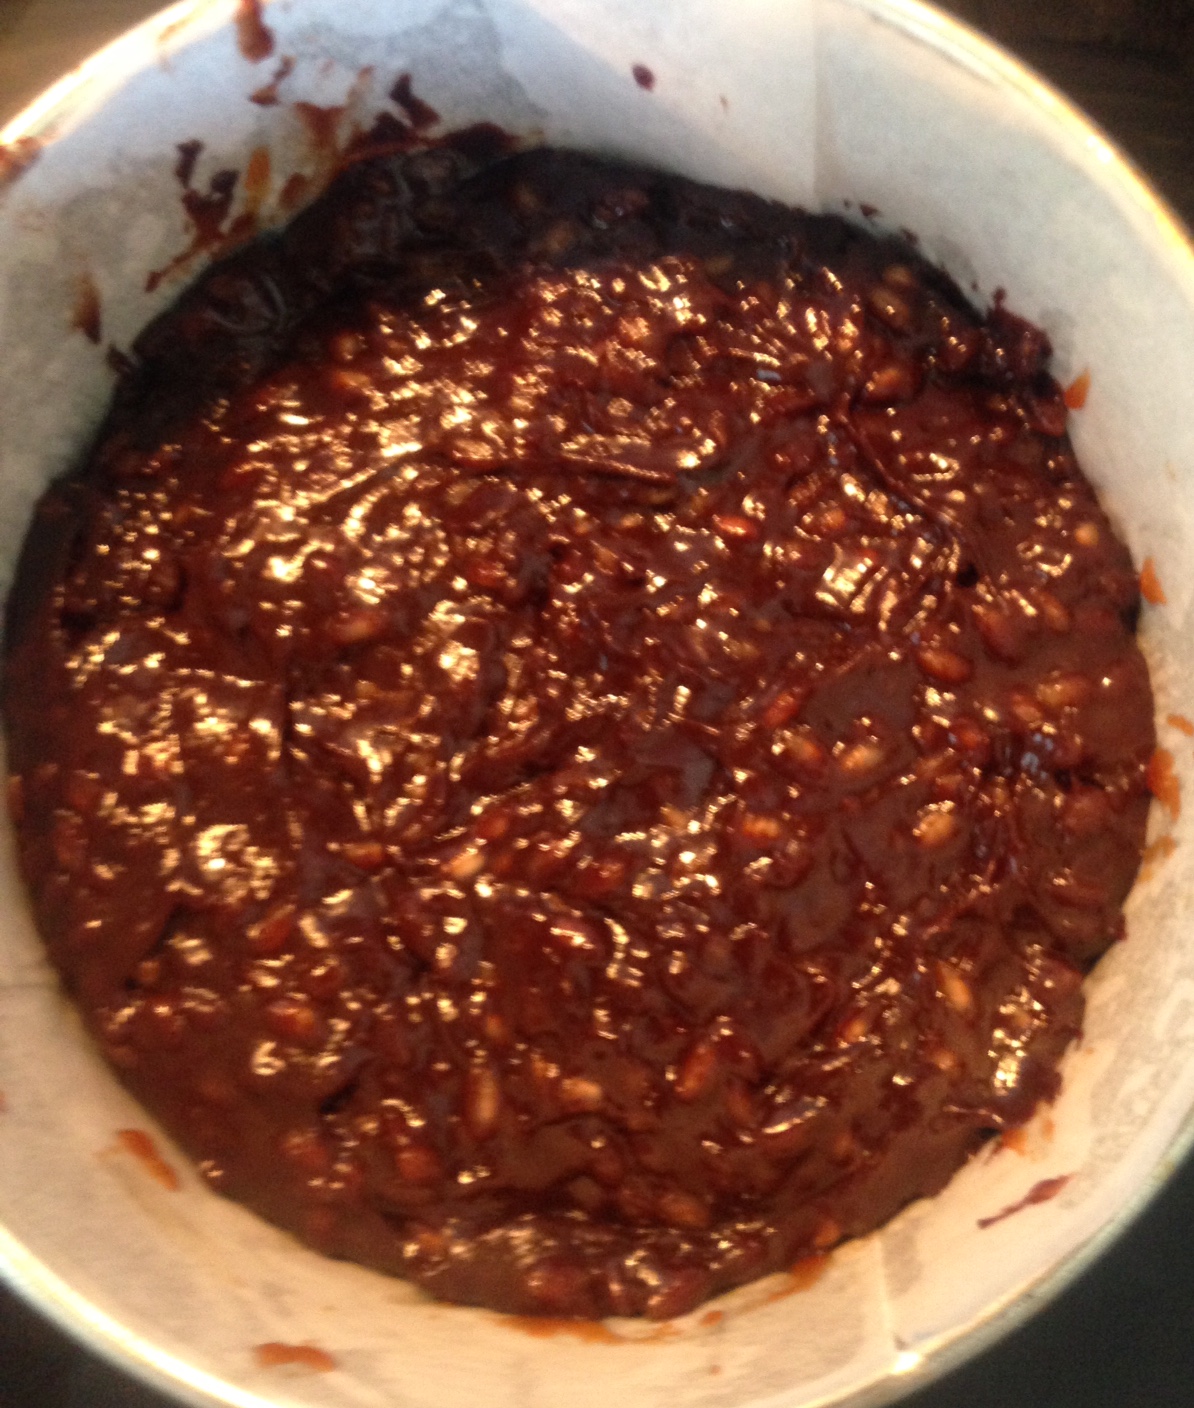
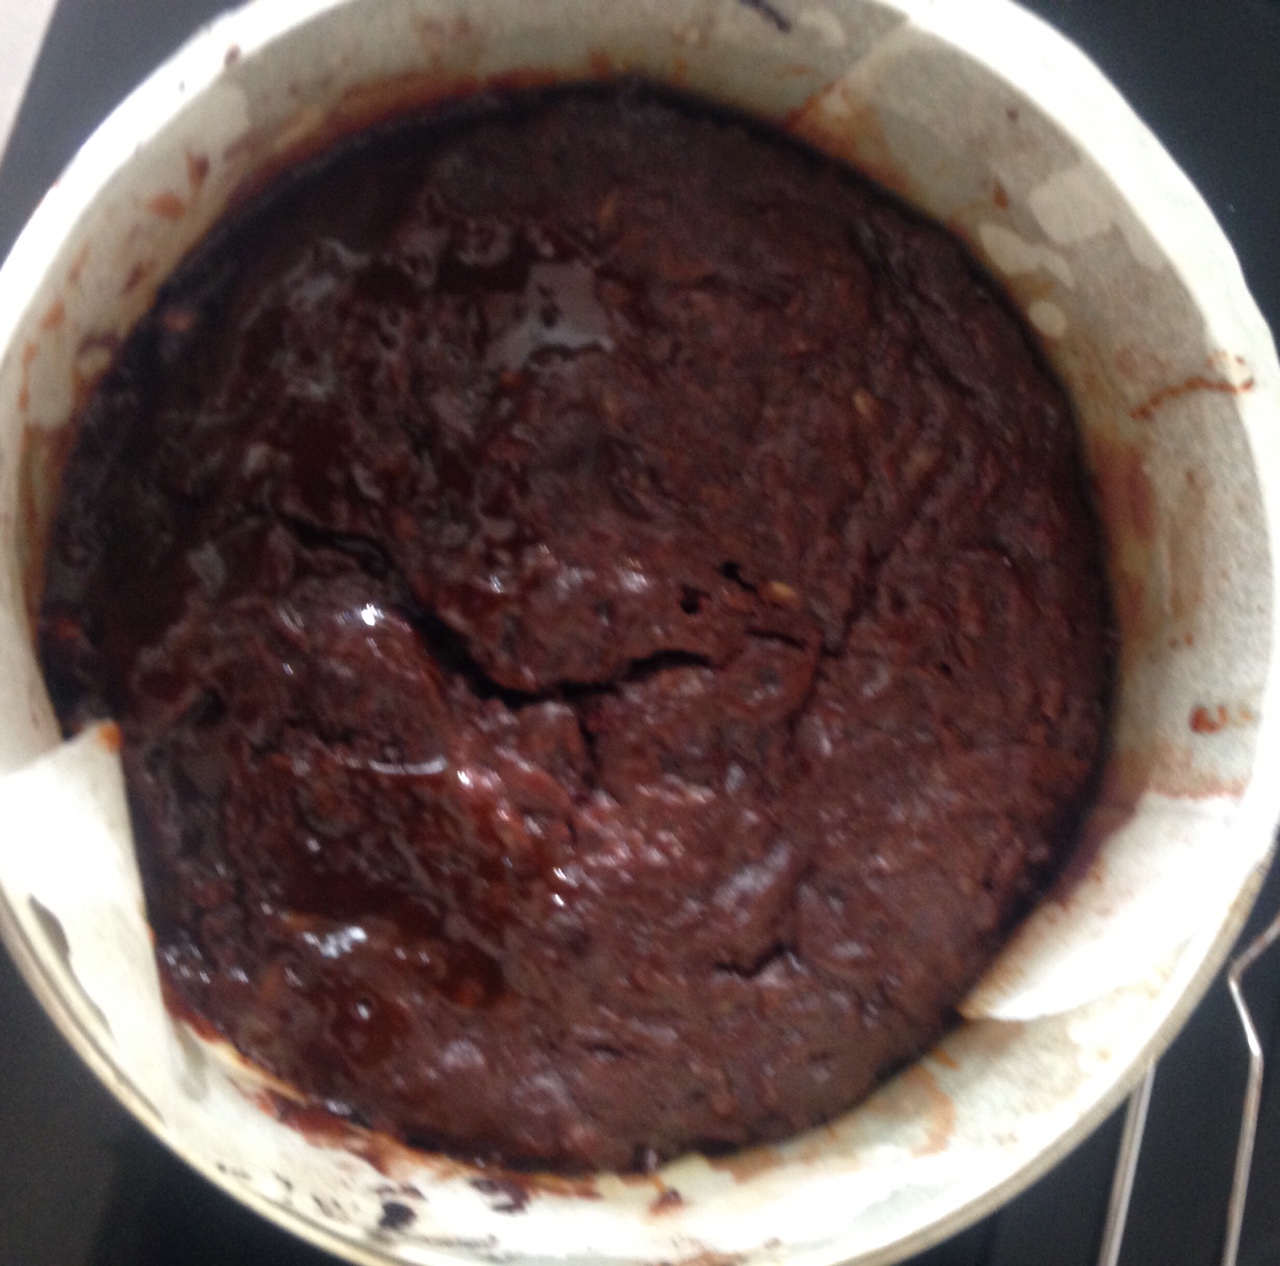
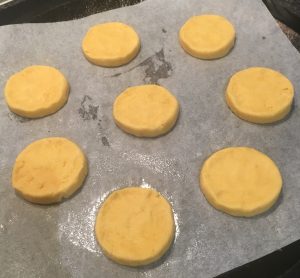
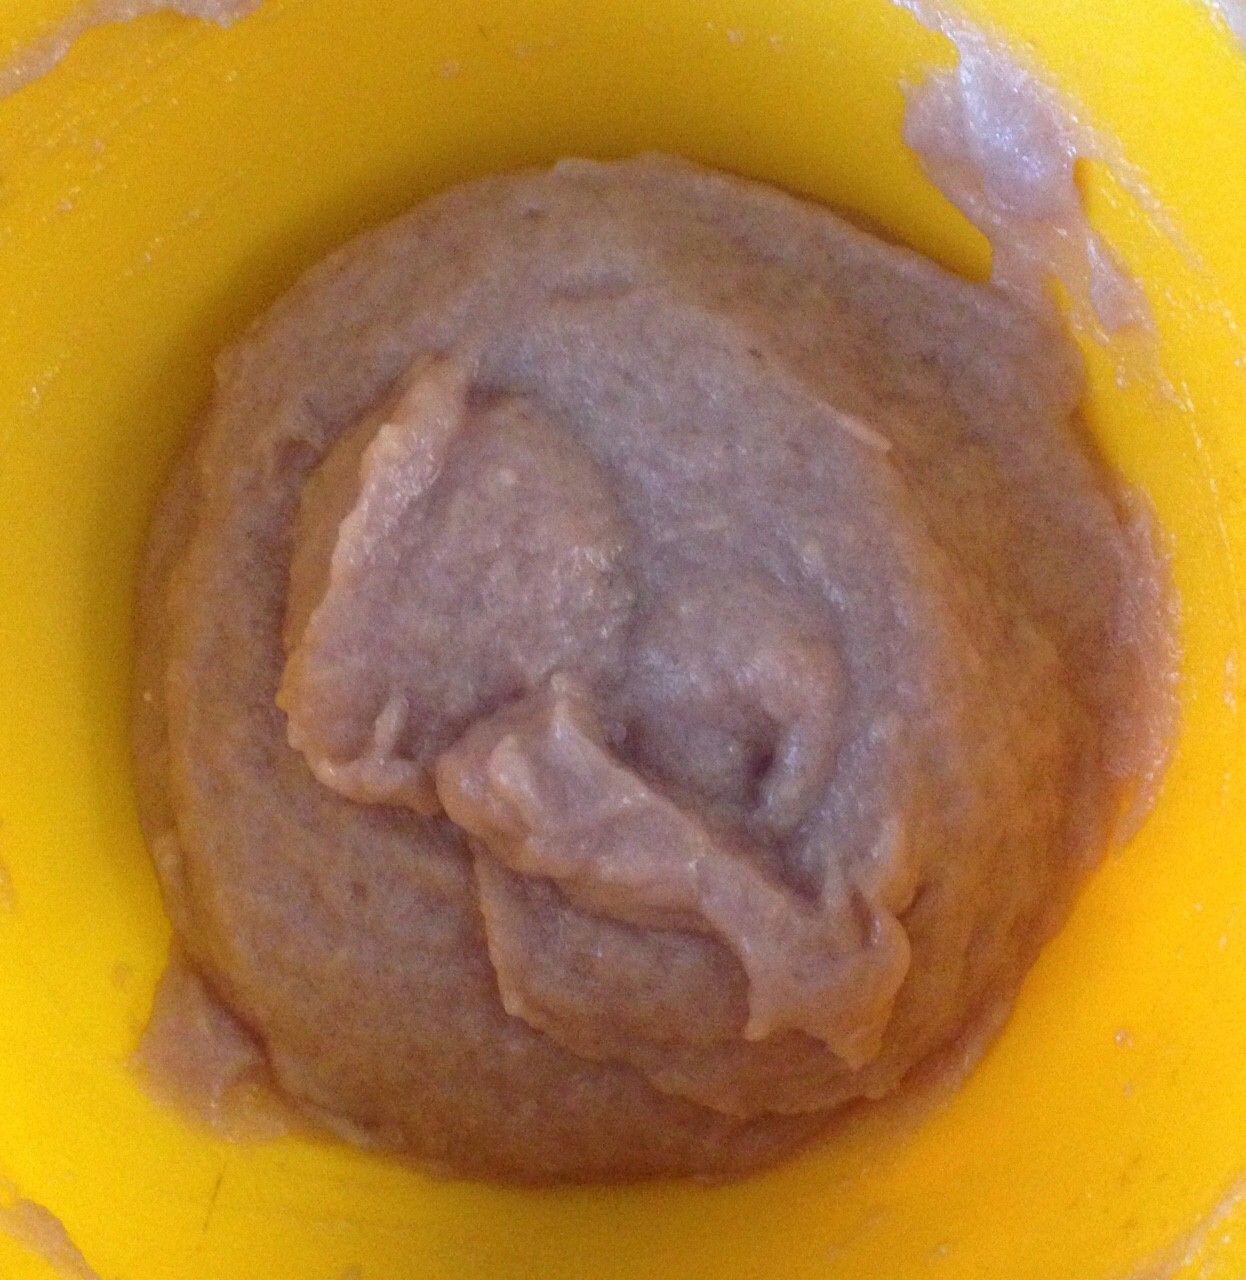
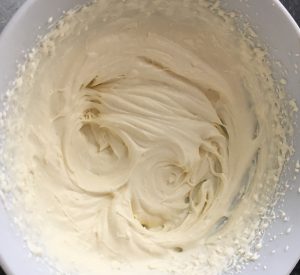
Step 2
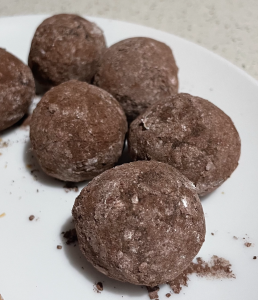
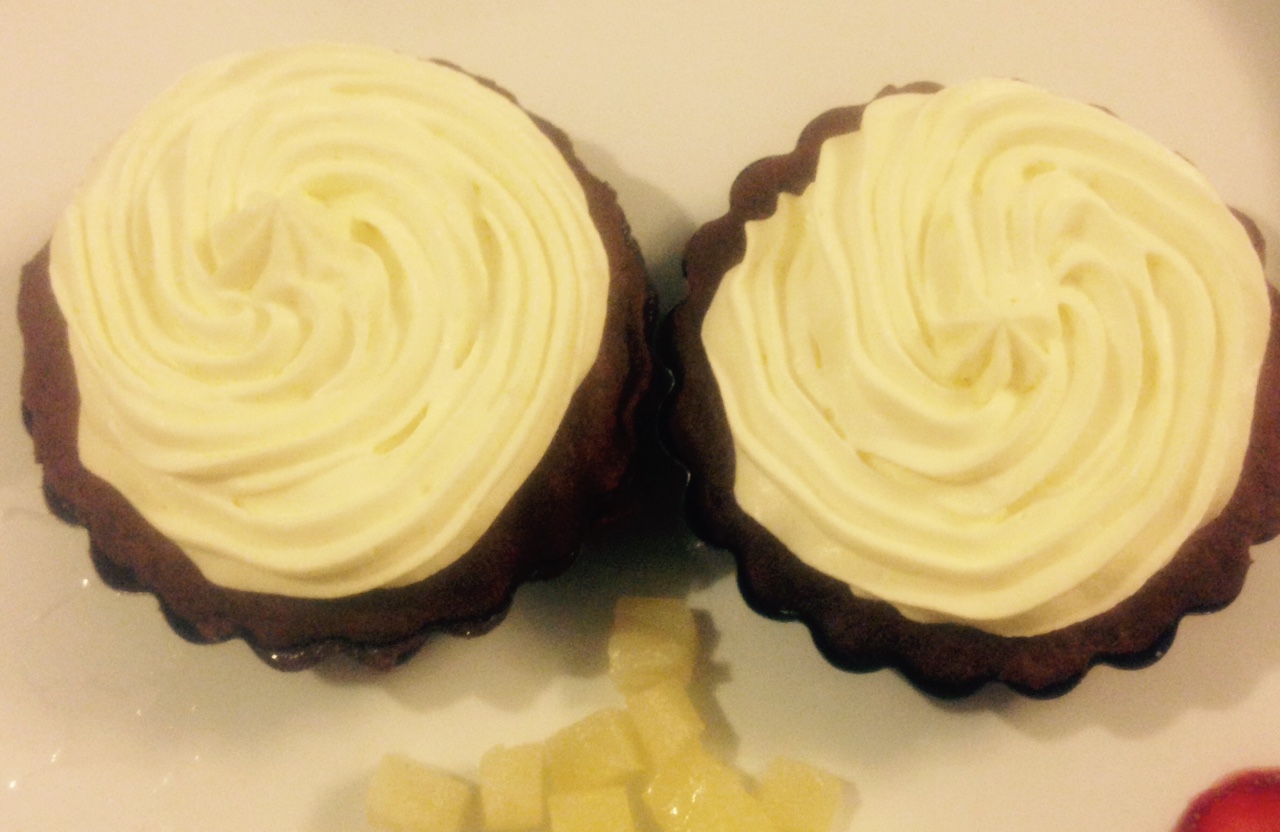
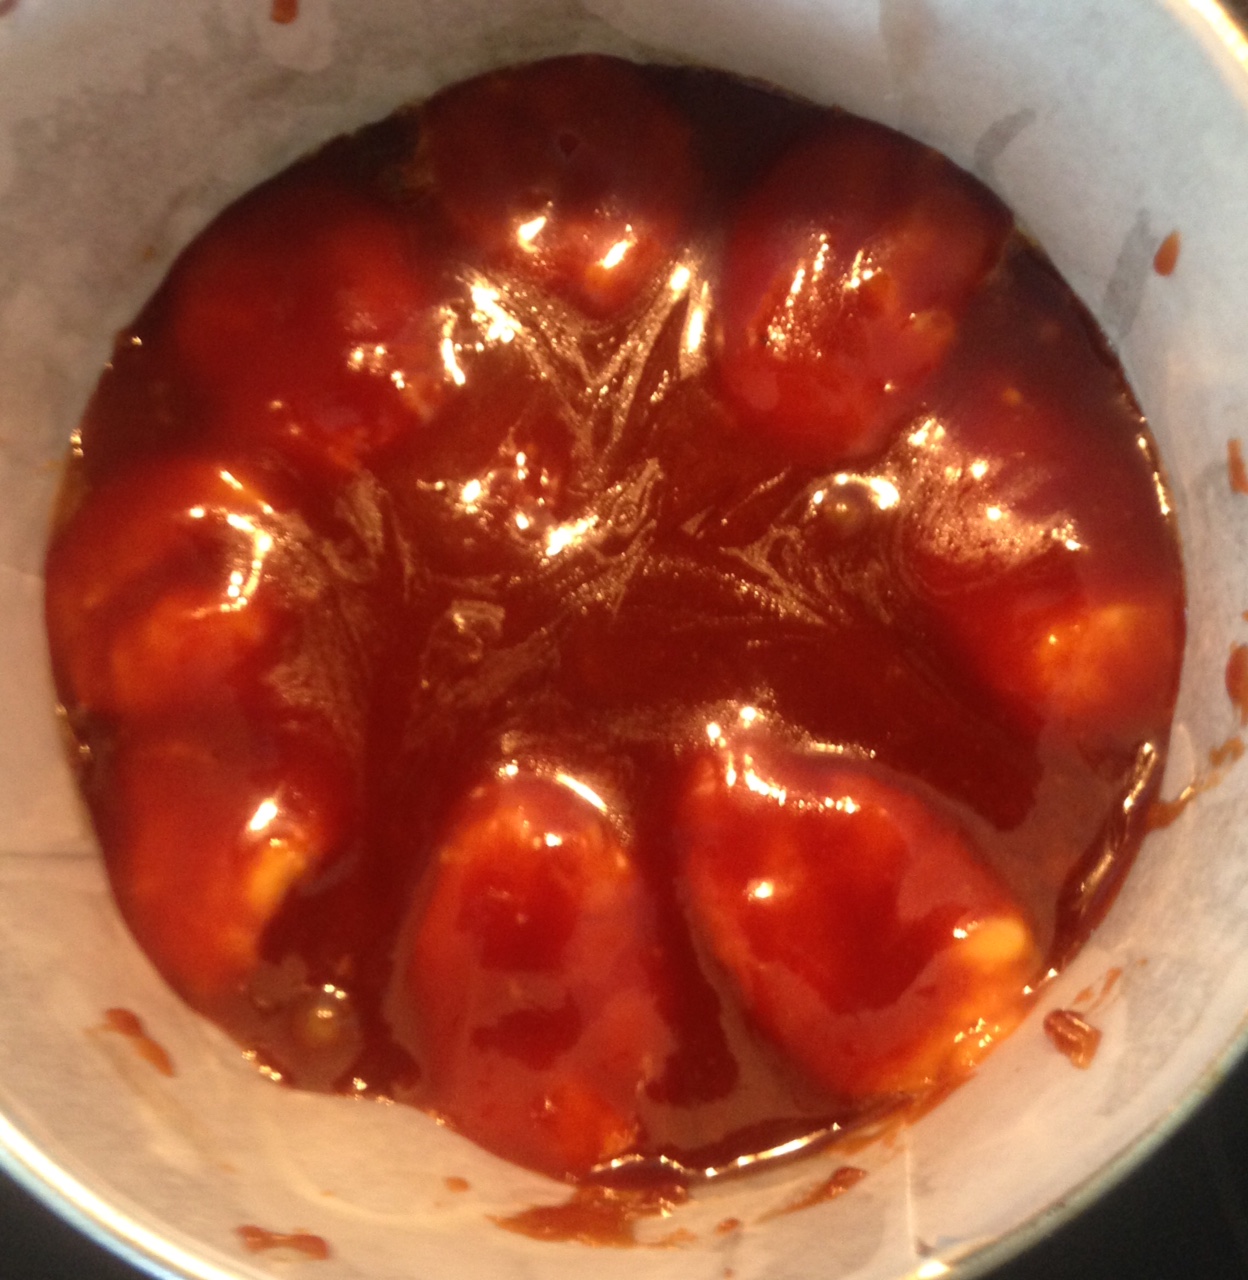
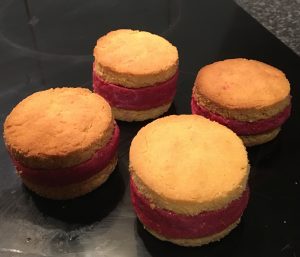
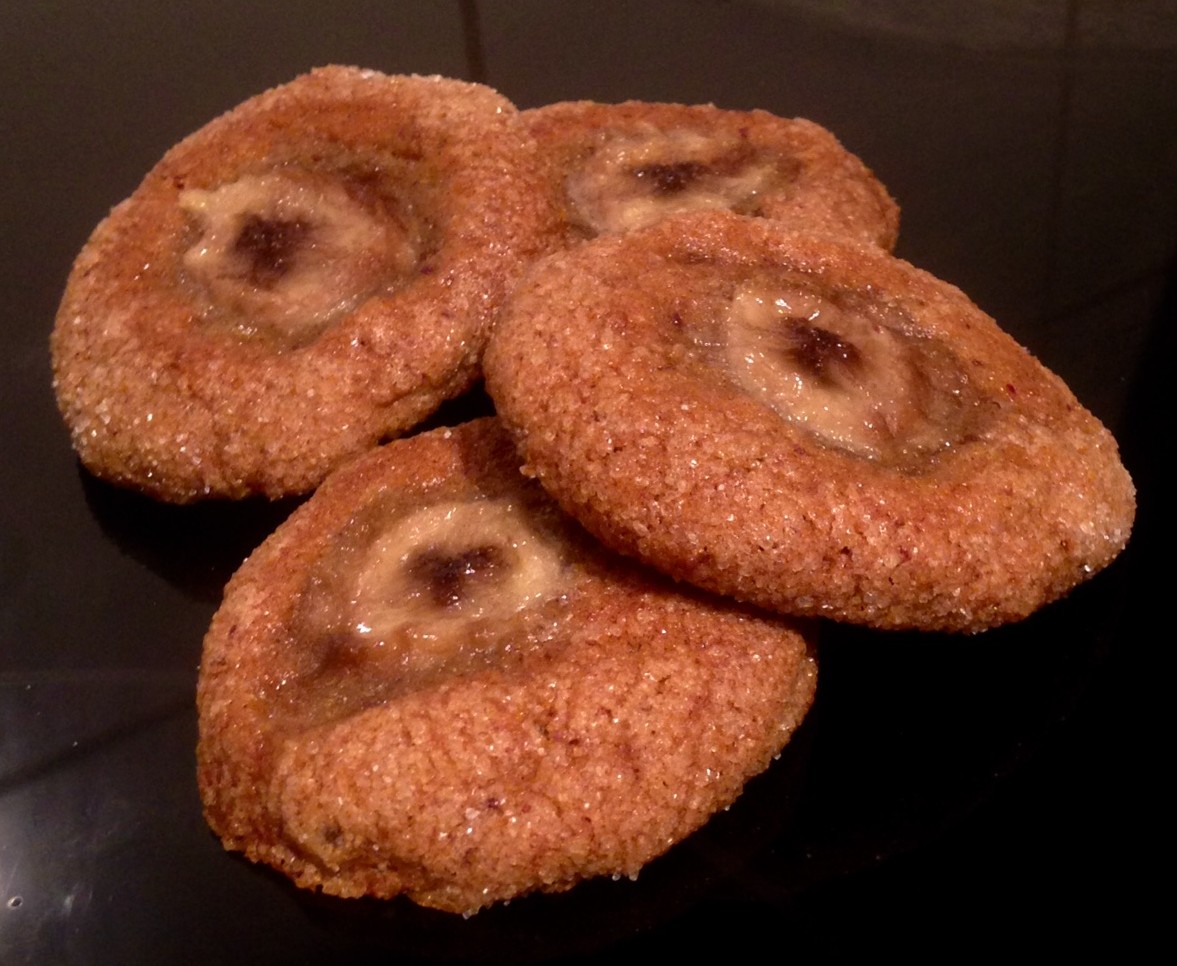
Step 6
 Follow