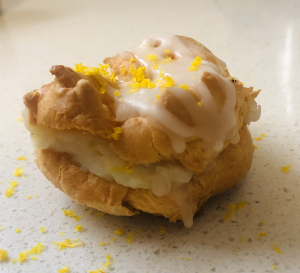
Saffron Cardamom Orange and Almond Profiteroles
This recipe came about off the back of an Indian spiced rice pudding recipe I recently had. Obviously rice pudding and profiteroles are very very different bakes – almost polar opposites, however it was the flavour combo I was influenced by in which I incorporated into my usual profiteroles. Cardamom, orange, almond, saffron and honey are the feature flavours in this bake, in which work complimentary.
I also wanted to make my filling low in fat and super quick therefore instead of the traditional whipped cream, ice-cream or pastry cream filling I have created a skim milk honey-based custard.
Traditionally the pastries are dipped into melted chocolate, however in this instance I have make an icing for a bit of a twist and extra orange hit.
Ingredients:
Pastry:
- ½ cup flour
- ½ cup water
- 40g butter
- ¼ tsn salt
- 2 egg
Custard:
- 8 tbsp corn flour
- 200ml milk
- 4 tbsp honey
- ½ tsn ground cardamom
- 1 tsn almond essence
- 2 tsn orange zest
- 10 saffron threads
Icing:
- 160g icing sugar
- 2 tsn vanilla essence
- ½ tsn orange essence
Method:
- Preheat the oven to 200c fan forced.
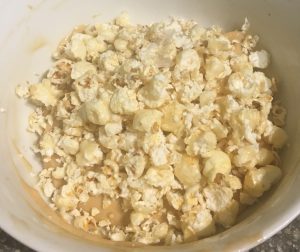
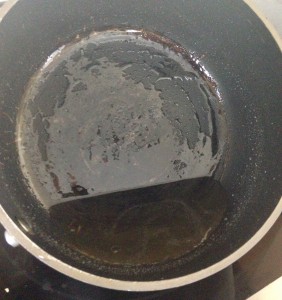
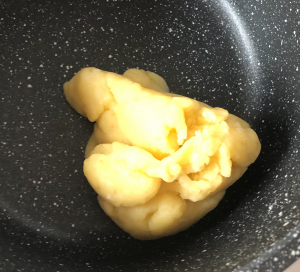
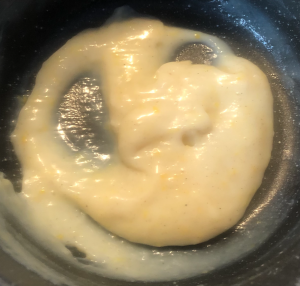
- Bring the water and butter to the boil in a saucepan on the stove to a medium heat. Once at a boil add the flour and salt stirring with a wooden spoon for 5 minutes or until the mix comes away from the side of the pan.
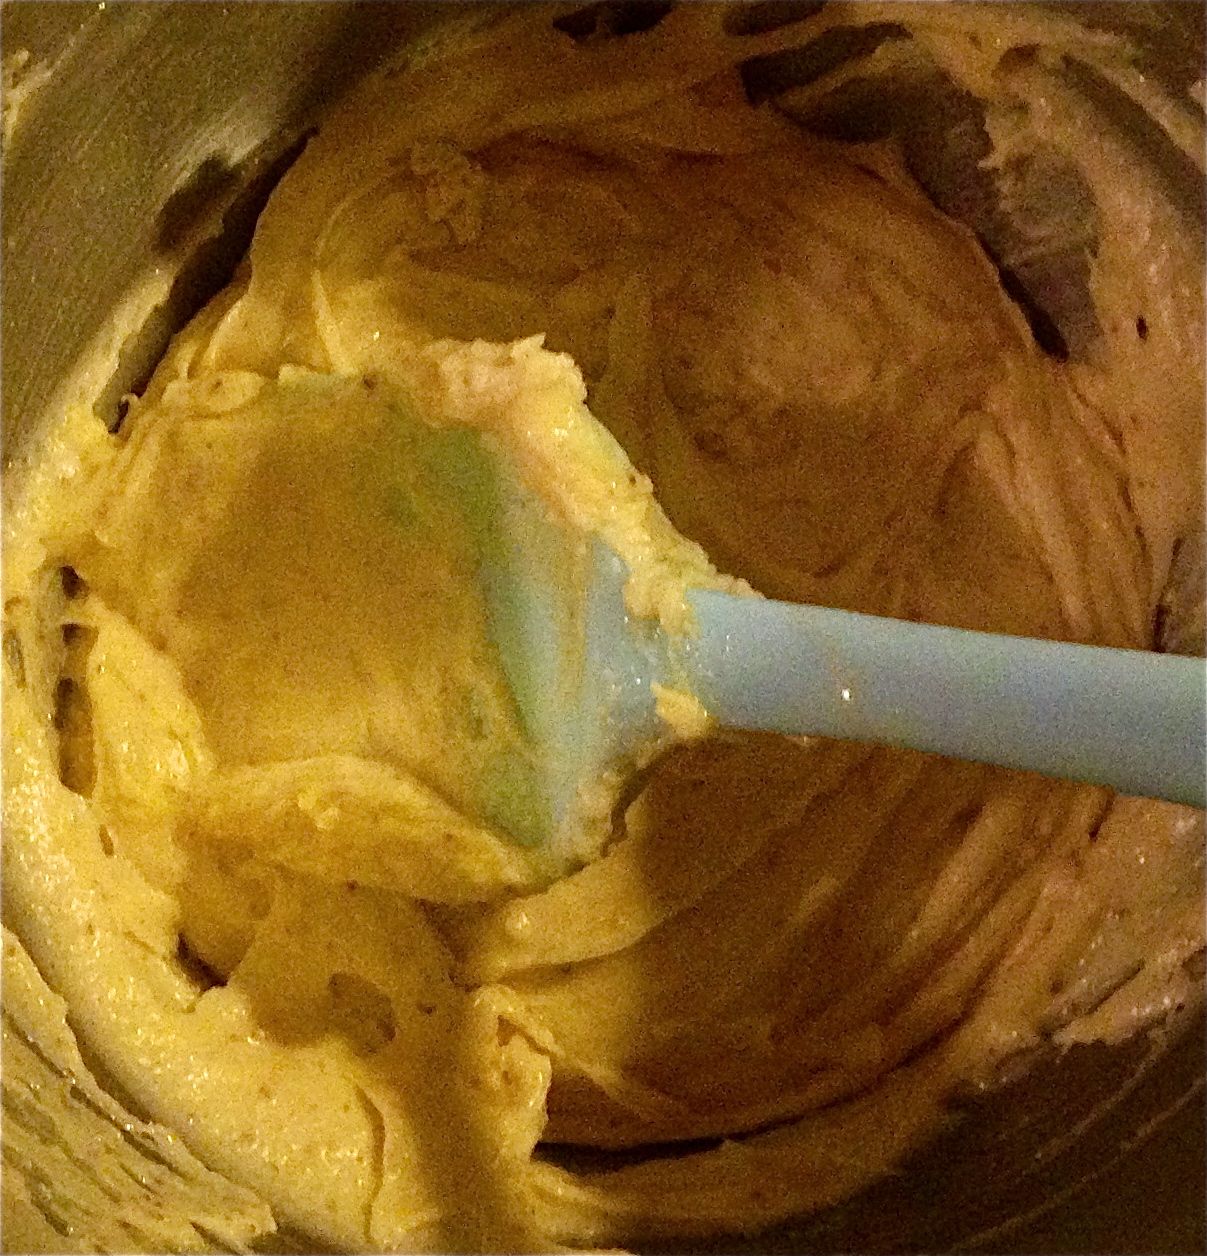
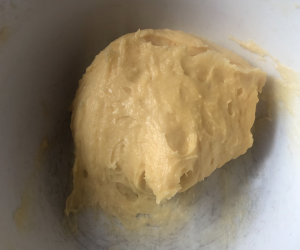
- Take off the heat, wait 5 minutes and beat the eggs in one at a time. The mix will now resemble dough.
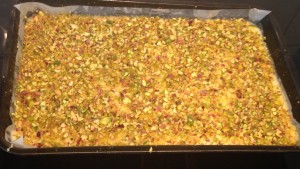
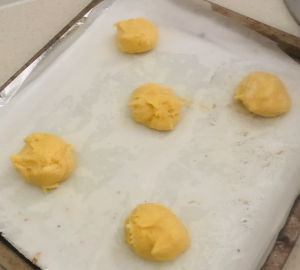
- Line 2 baking trays with baking paper.
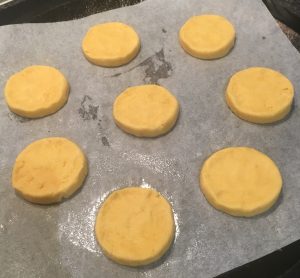
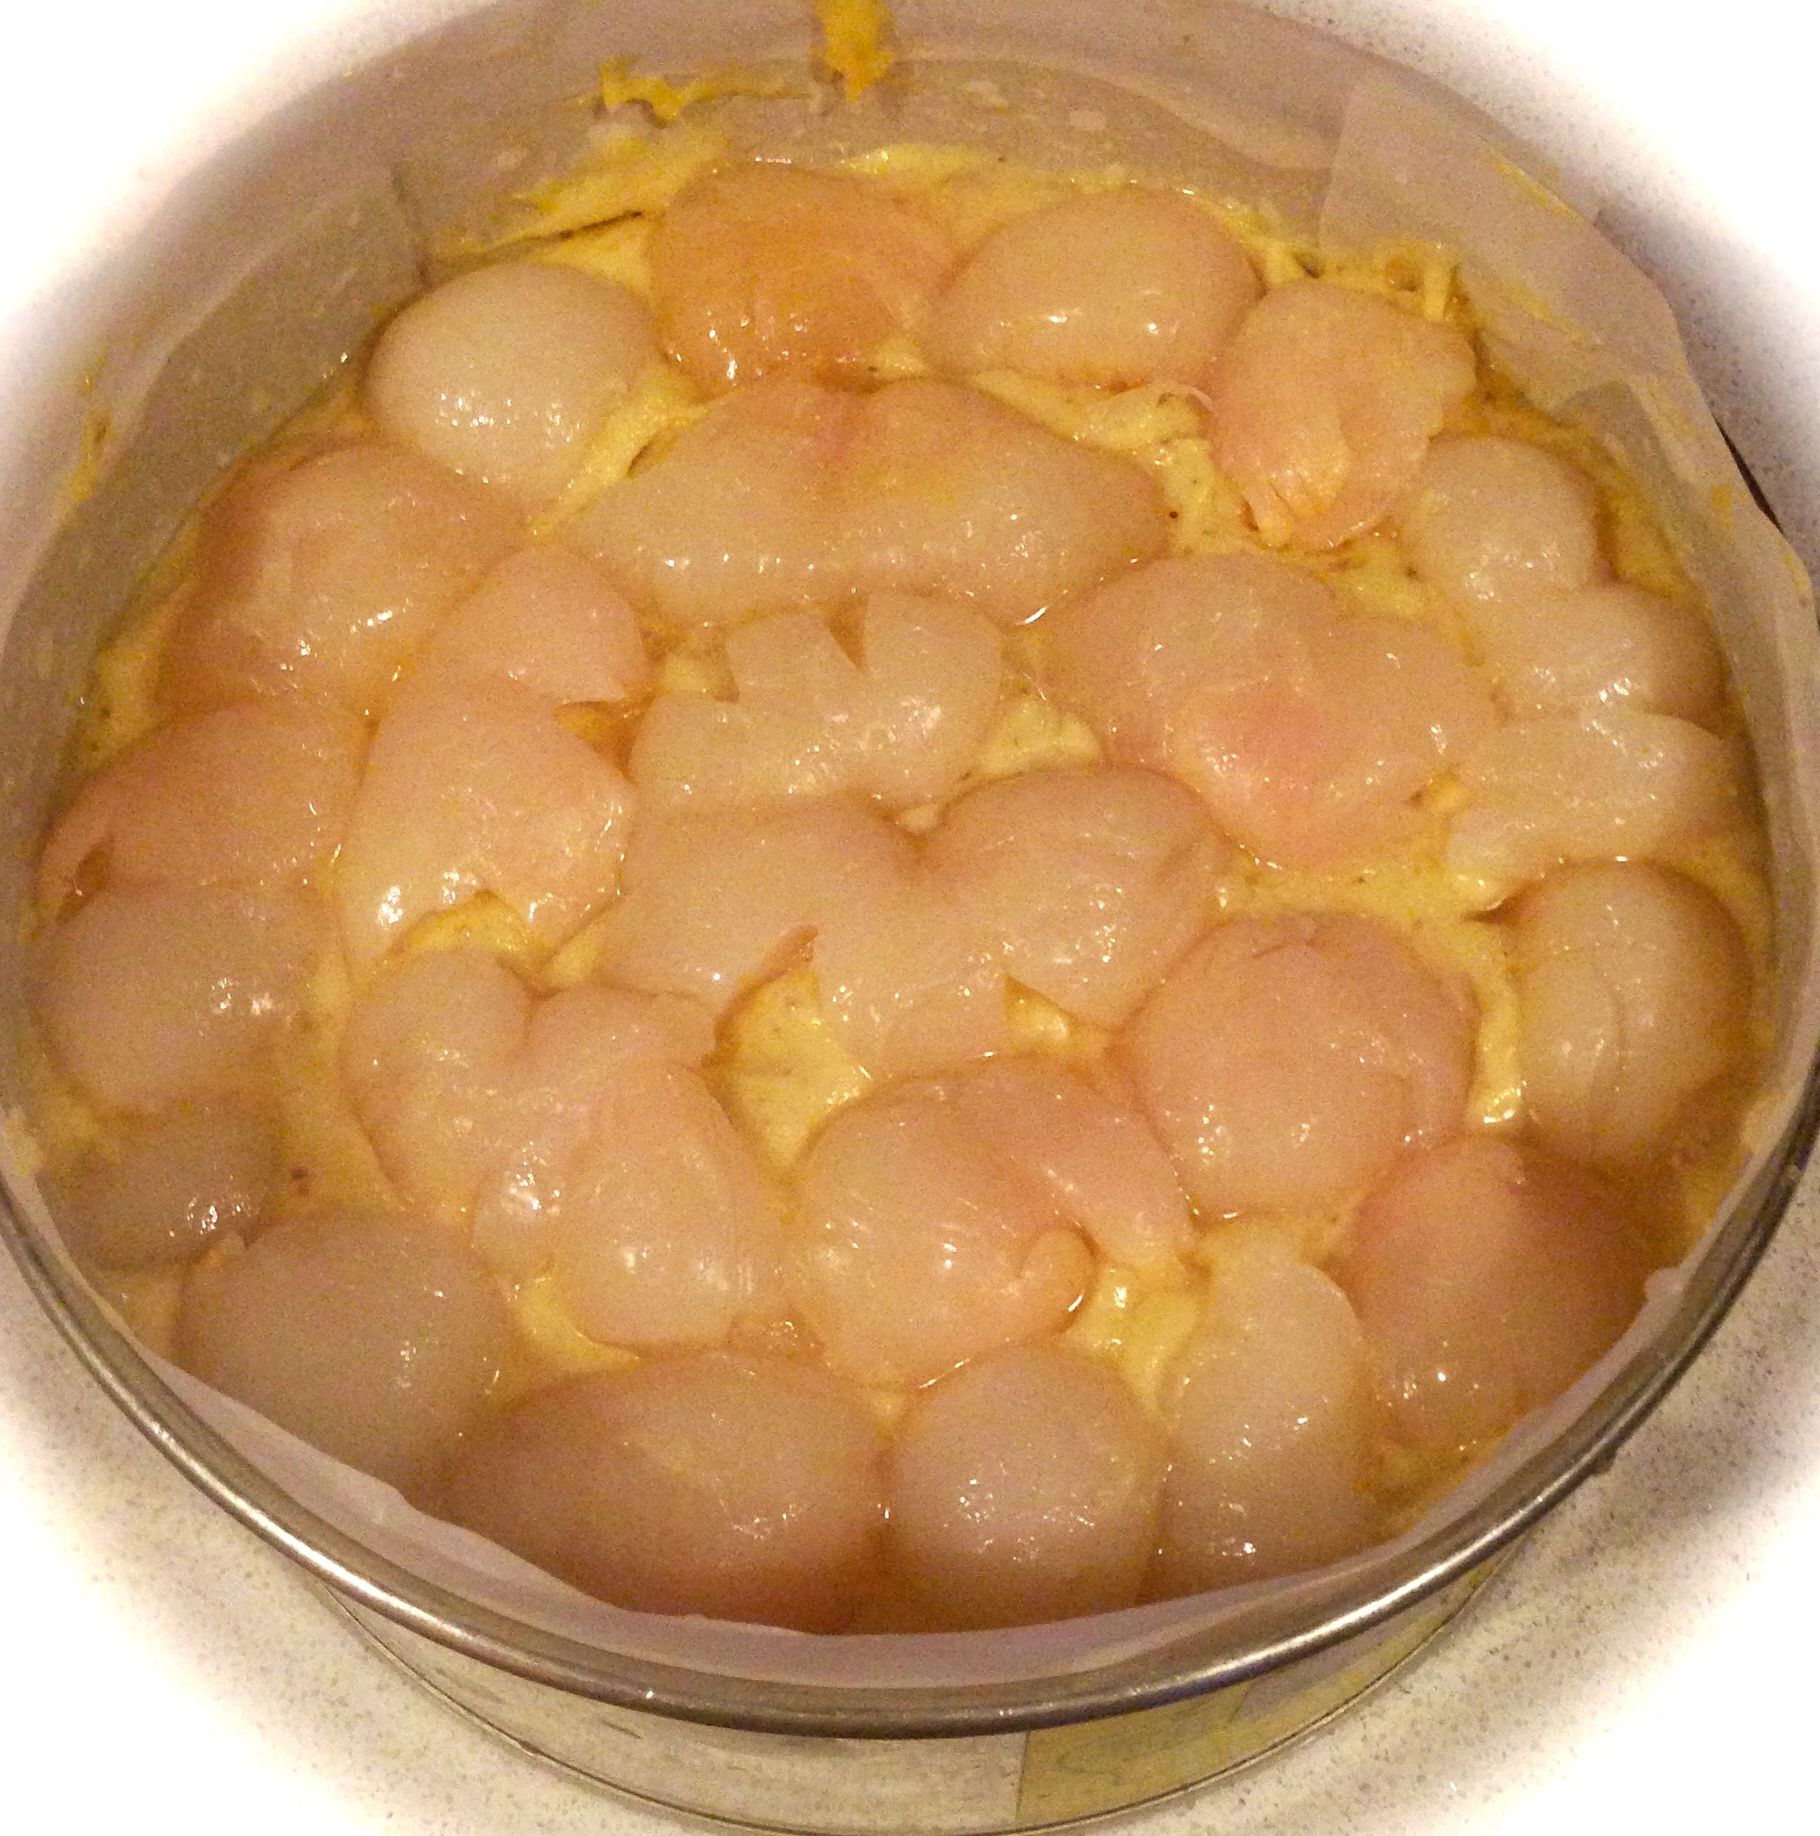
- Using a piping bag with a large tip pipe 10 puffs in the size of golf balls leaving, 5 cm apart on the 2 trays.
- Place the 2 trays in the oven and bake for 10 minutes.
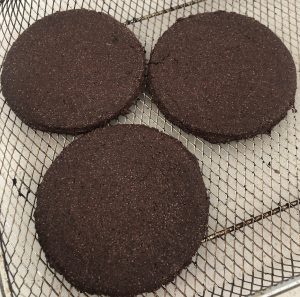
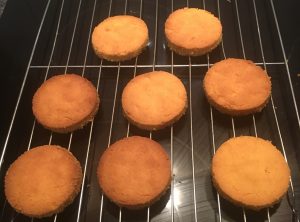
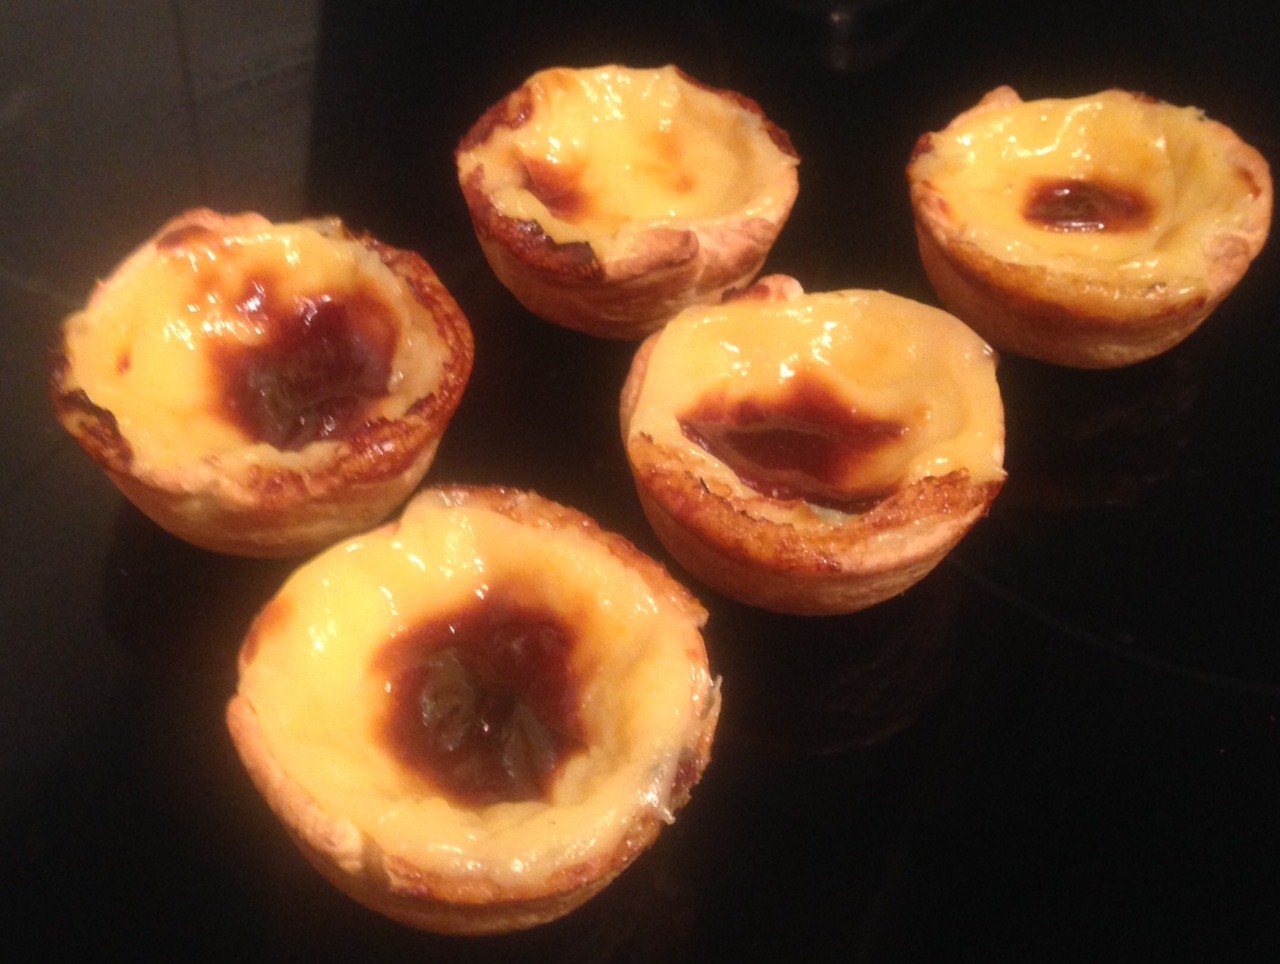
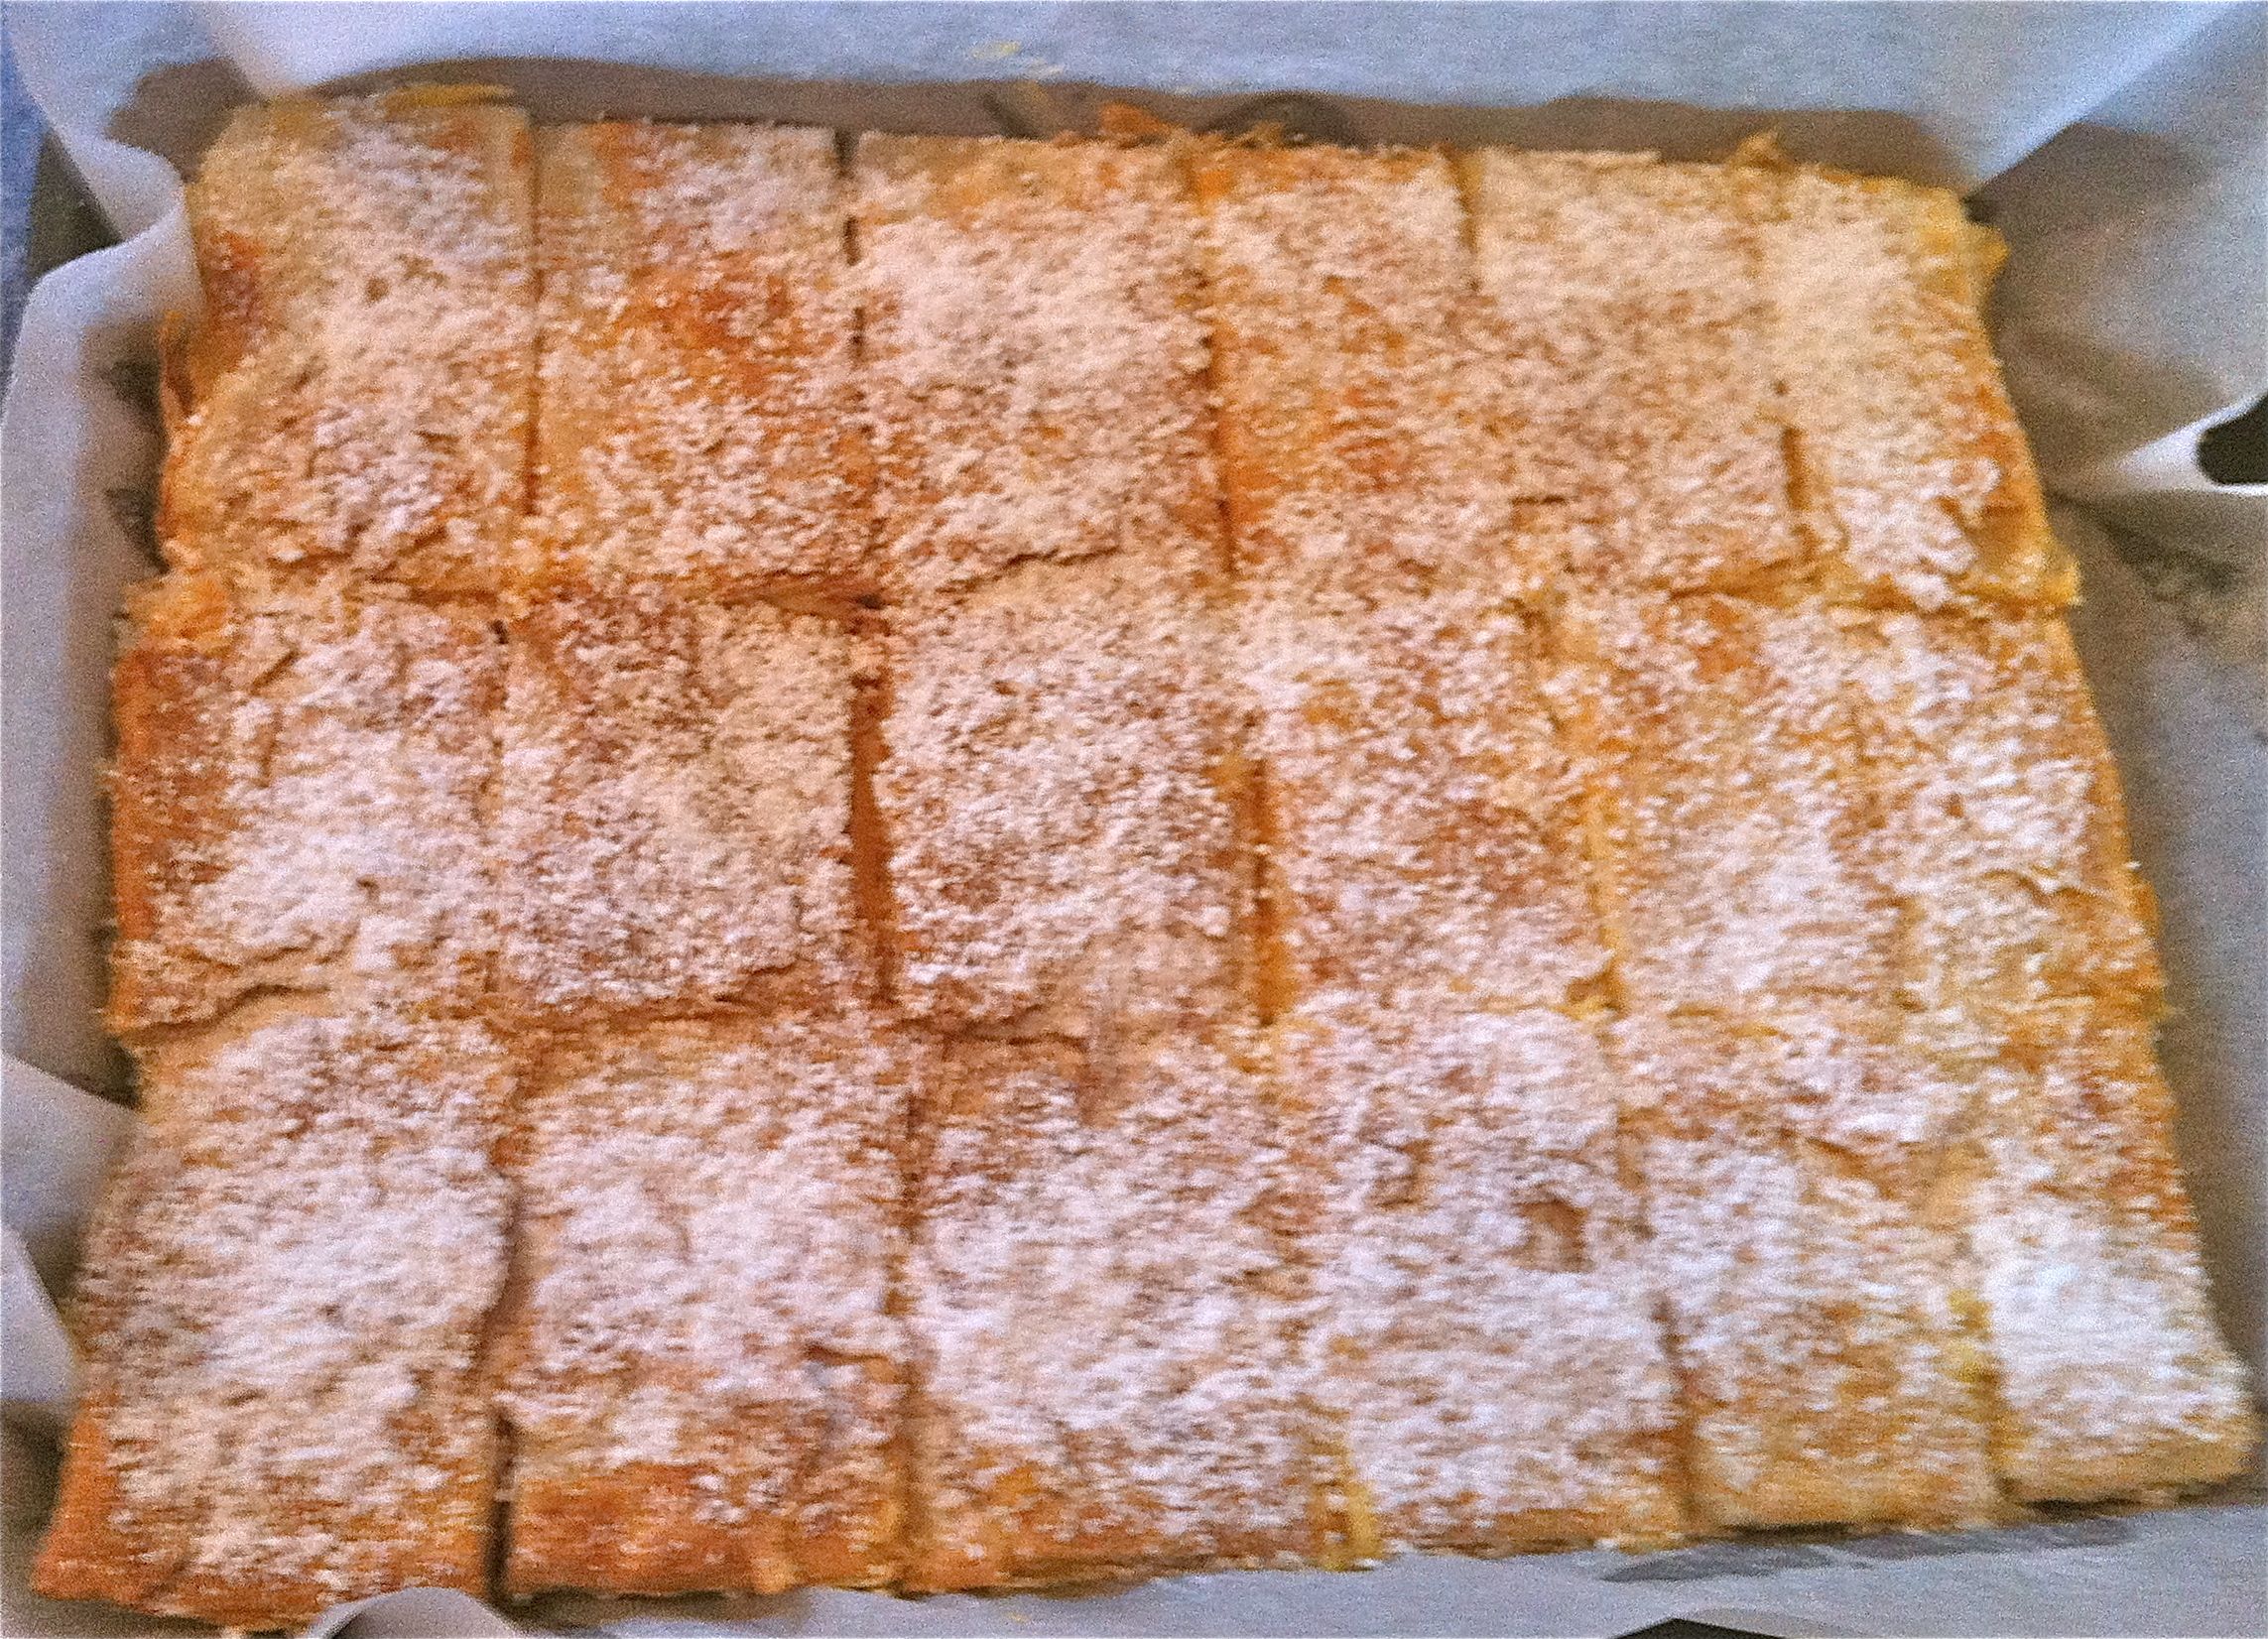
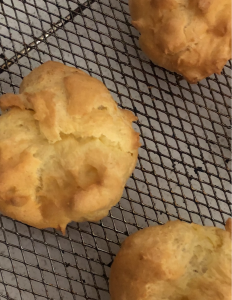
- Decrease the oven temperature down to 180c fan forced and bake for a further 10 minutes until the pastry is golden and all puffed up.
- Turn off the oven. With a knife cut a slit I the top of each puff and leave them in the oven to dry out for 10 minutes. Following, place on a cooling rack to cool.
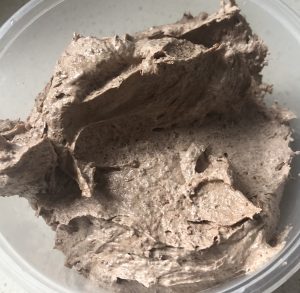
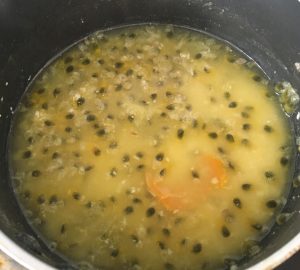
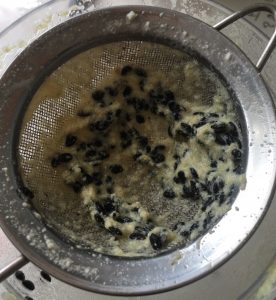
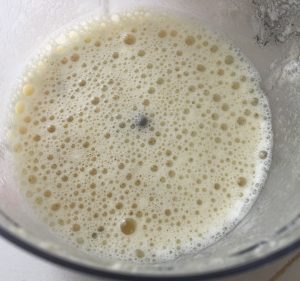
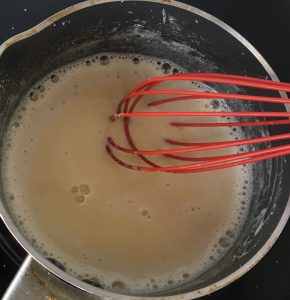
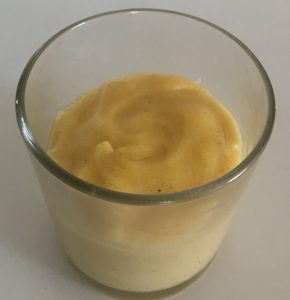
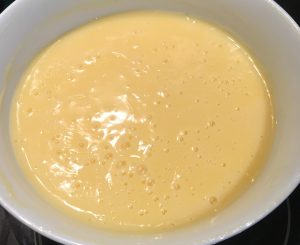
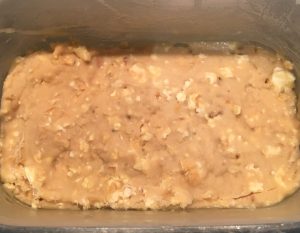
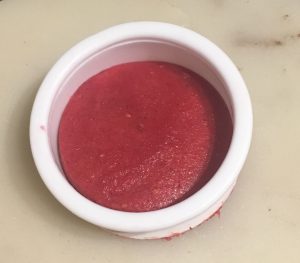
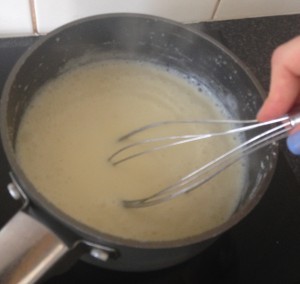
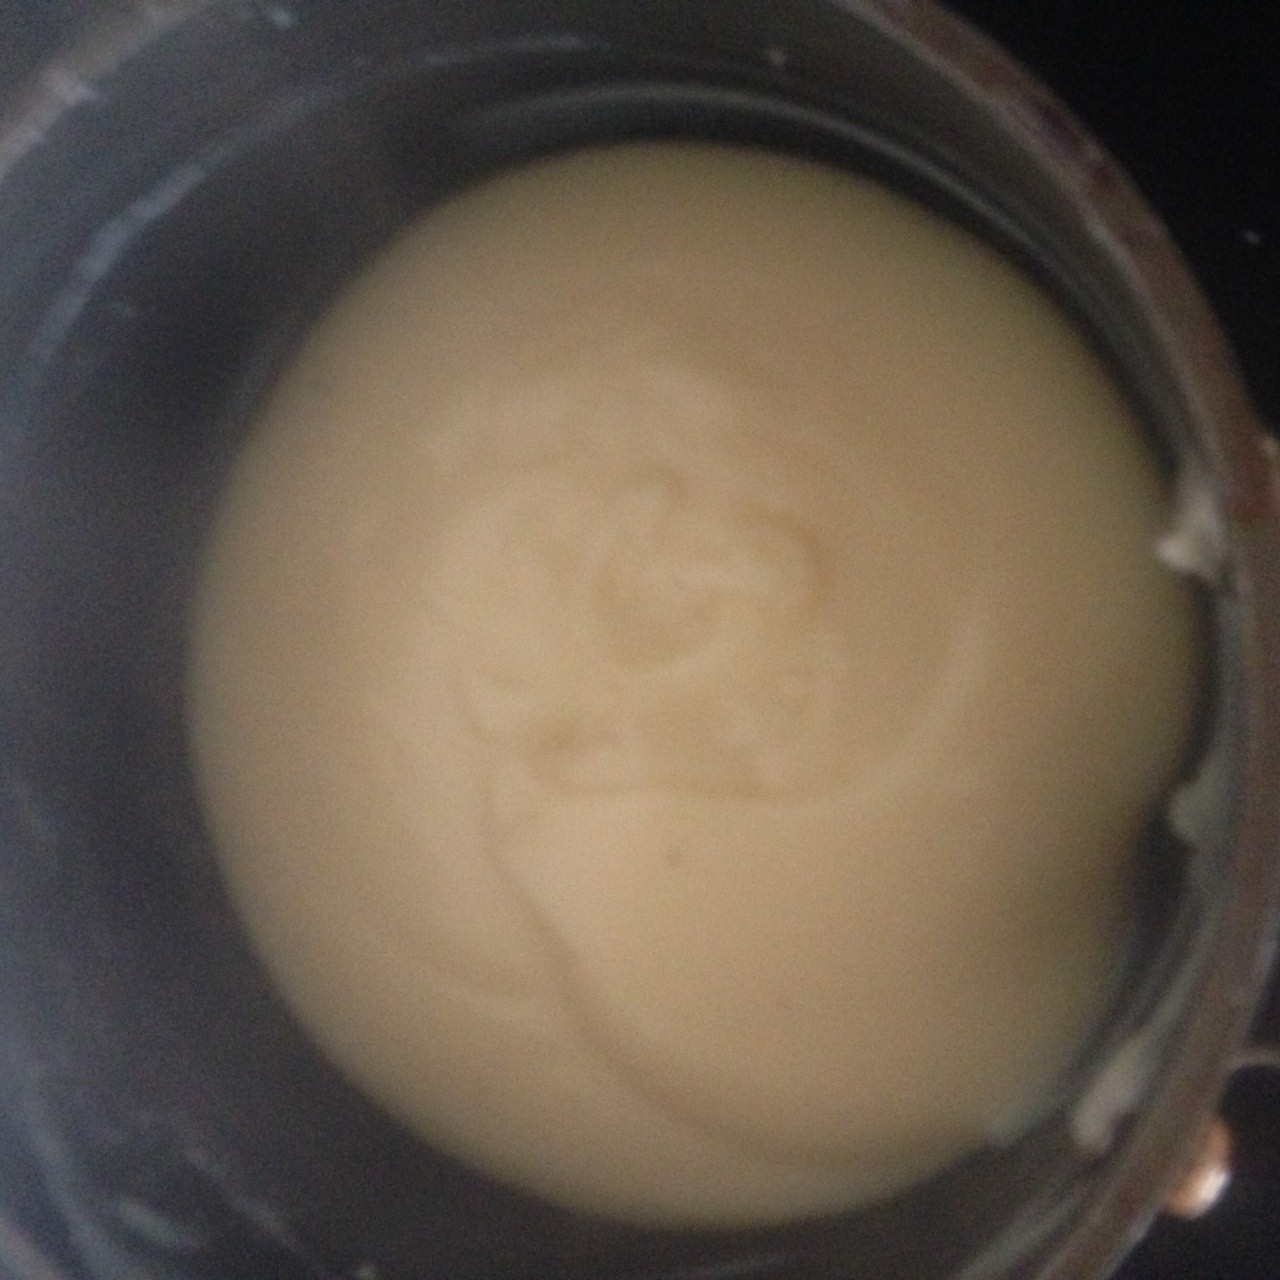
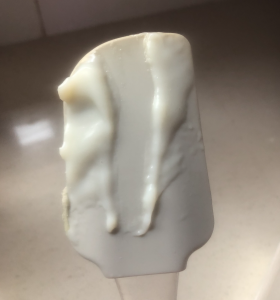
- To prepare the custard place all ingredients in saucepan on the stove. Whisk well.
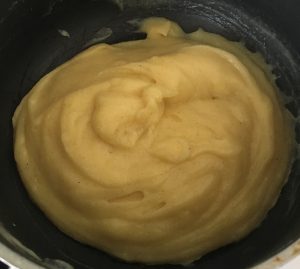
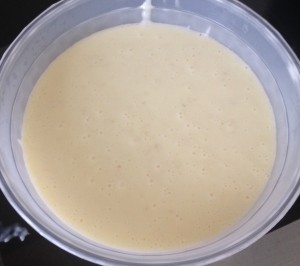
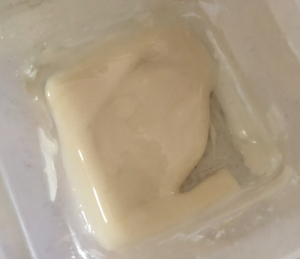
- Heat on medium, whisking until the mix is super thick and glossy. Leave to cool. The custard should be thick enough to almost hold its shape.
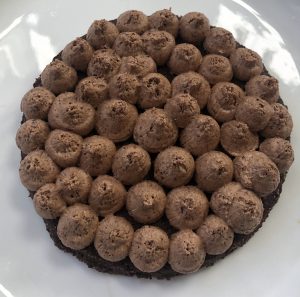
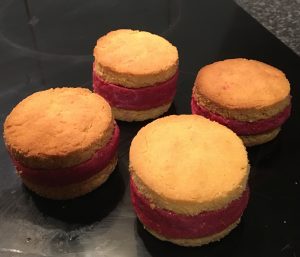
- With another piping bag and a medium star tip fill the profiterole with the cooled custard.
- Pipe the custard into each puff.
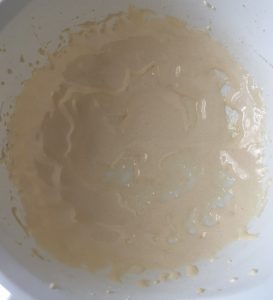
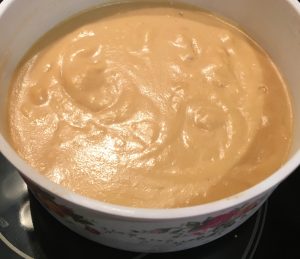
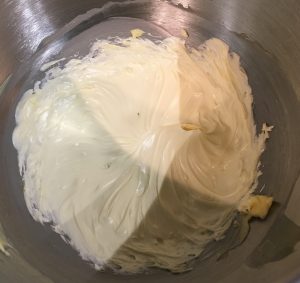
- Whisk the icing ingredients until thick and glossy.
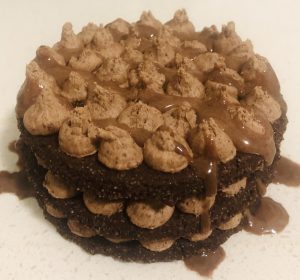
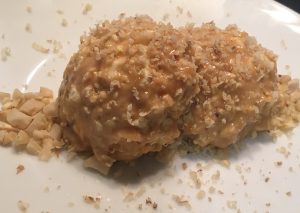
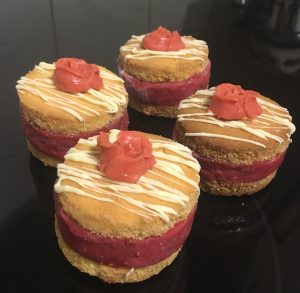
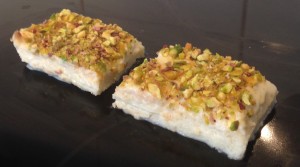
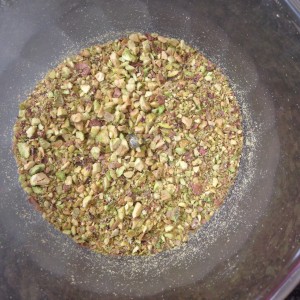
- Drizzle the icing over the top of the puffs and top with extra orange zest and chopped almonds if desired.
Step 2
Step 3
Step 6
Step 8
Step 10
Step 10
Step 13
Step 14
 Follow