This recipe is a mix of my favorite flavours, in which I have put in an easy ice-cream based recipe with delicious textured chunks.
Saffron, Orange, Cardamom and Almond are such a beautiful delight of complementing flavours that really puts a smile on my face.
I wanted to make something a bit unusual with this flavour combo so decided ice-cream would be an interesting experiment. However, I didn’t just want to make the usual smooth and creamy ice-cream that is standard (if made correctly of course), I wanted to add delicious texture. This is where the vanilla flavoured cookies and frozen orange pieces came into play.
If you’re looking for a delicious satisfying treat that’s a bit unusual with no baking or ice-cream churning this recipe is for you.
Ingredients:
- 1 orange
- 1 cup milk
- 1 cup cream
- 1 tsn almond essence
- 1 tsn orange zest
- 1 tsn cardamom
- 12 saffron threads
- 4 eggs
- 100g brown sugar
- 200g vanilla biscuits (I used vanilla Oreos)
Method:
- Place the orange in the freezer.
- Place the cream and milk in a saucepan on medium heat until the mix boils.
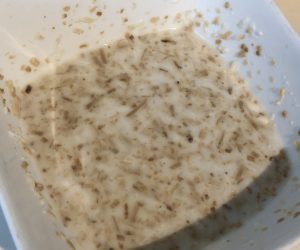
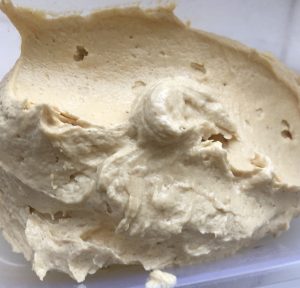
- Remove the milk mix off the heat and stir in the essence, zest, cardamom and saffron.
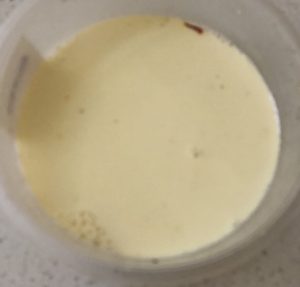
- Place the milk mix in a bowl and leave aside for 5 minutes for the flavours to infuse.
- Using a hand whisk, beat 2 eggs and 2 yolks in another bowl with the sugar.
- Add 40ml of the milk mix to the egg mix and beat with the hand whisk until combine and smooth.
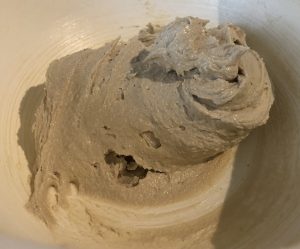
- Pour the egg mix into a saucepan along with the remaining milk mix and on a very low heat beat with a hand whisk until the mix thickens and thickly coats the back of a spoon.
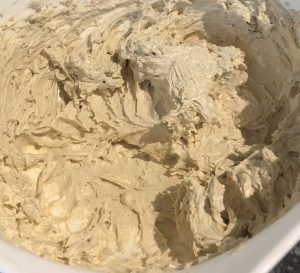
- Pour the mix into a bowl and place in the freezer until the mix is almost set.
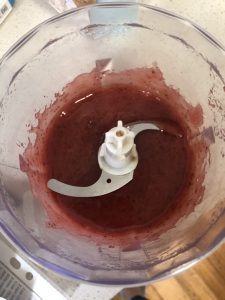
- Meanwhile, place the biscuits in a food processor and pulse until small chunks are formed.
- Peel and segment the orange, dice finely into pieces.
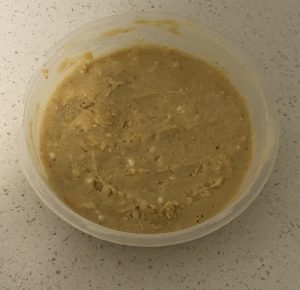
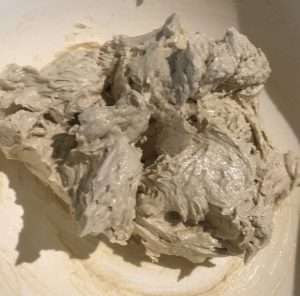
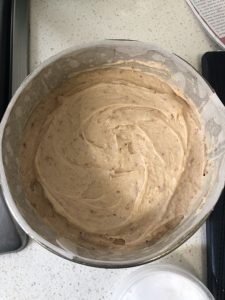
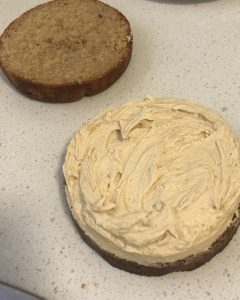
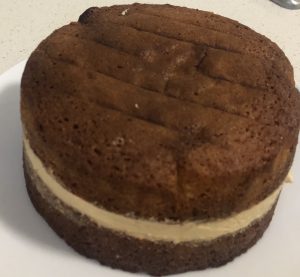
- Stir in 40g of orange diced pieces along with the biscuit pieces until well combined and place back in the fridge to set.
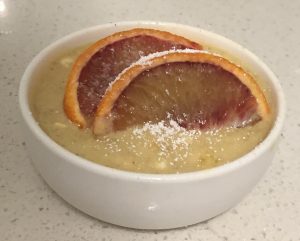
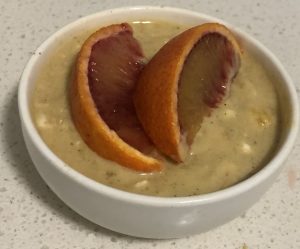
- Using an ice-cream scoop serve and enjoy.
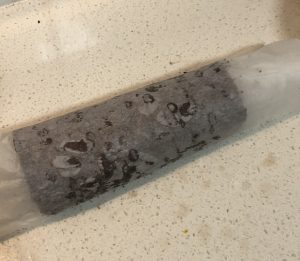
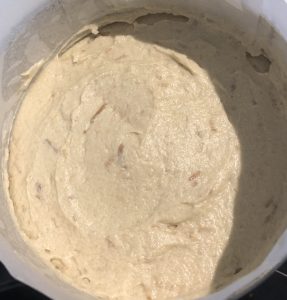
Step 4

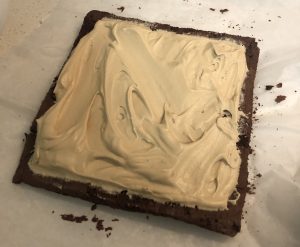
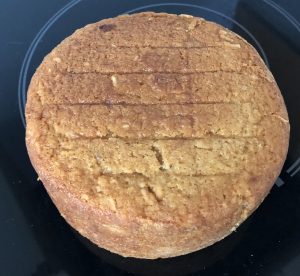
Step 7

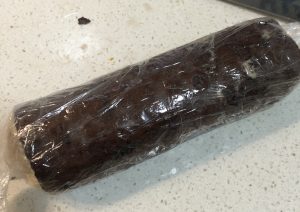
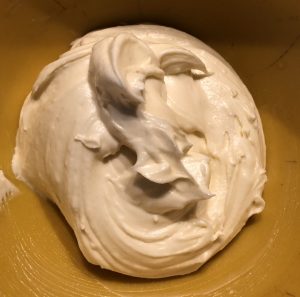
Step 9
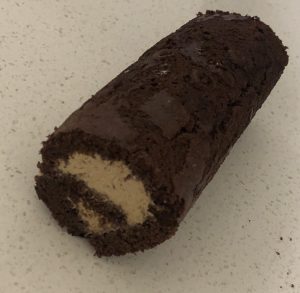
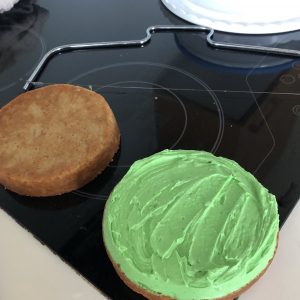
Step 11
Step 12
 Follow
