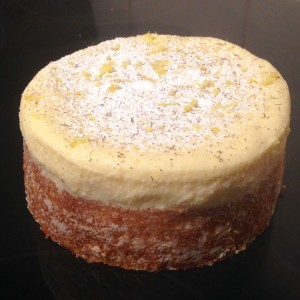
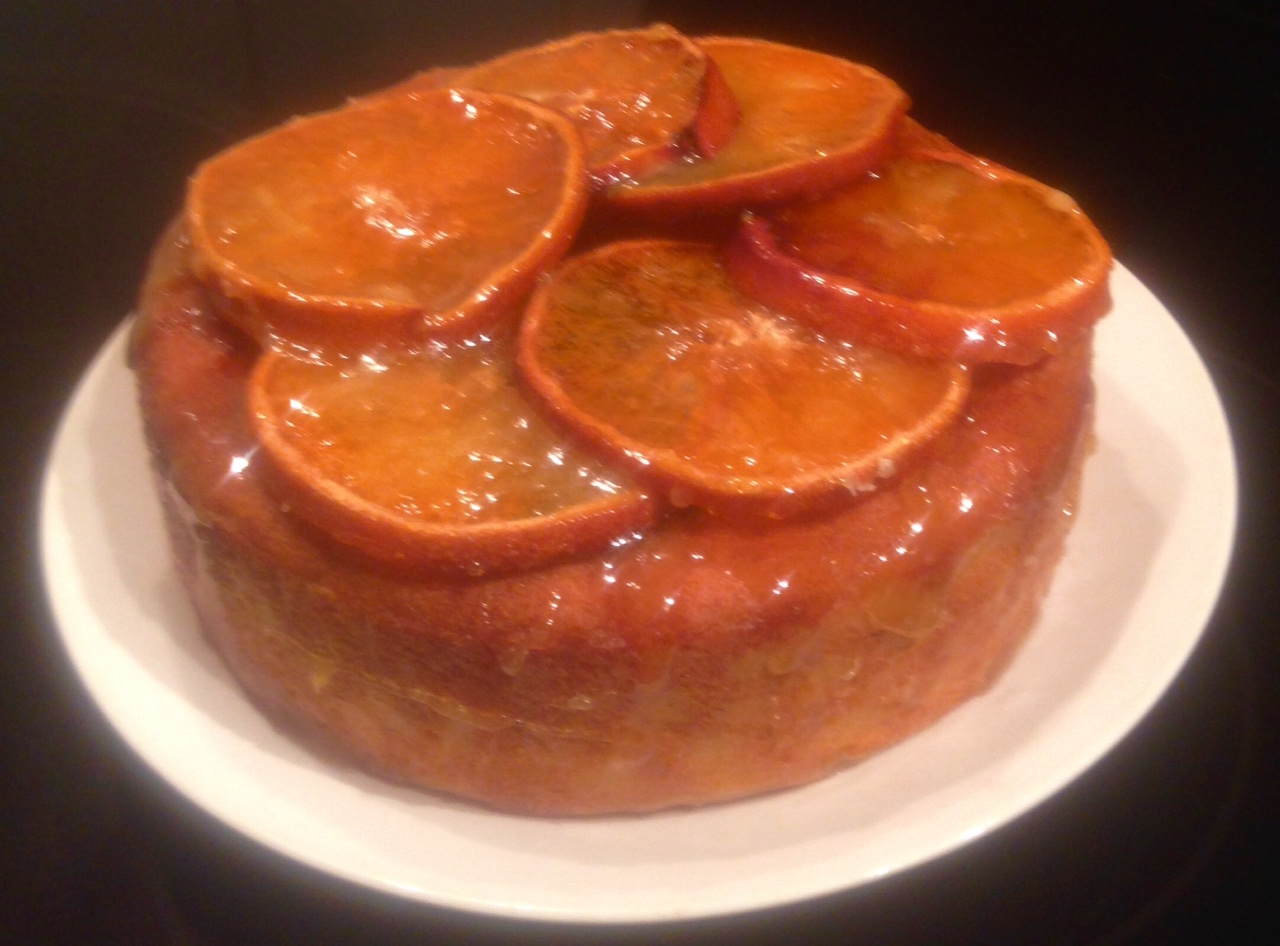
Pandan Lemon Vanilla and Coconut Cake
A friend challenged me with baking with Pandan. Sounds simple…trialling the ingredient with a range of flavour combos and deciding on one (if any) that taste amazing…but it wasn’t as simple as that. After trialling combos and experimenting with the quantity of the ingredients I landed on Pandan, lemon (zest and juice), vanilla and 2 types of coconut (milk for richness and desiccated for texture).
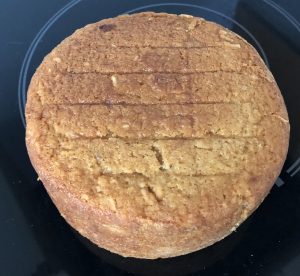
Then came the hard part, slices, lamingtons and macarons were produced. The lamingtons were too dense, macarons too sweet and the slice too boring. The following week I experimented again with a cake and cupcakes. The cake turned out moist, rich and delicious in flavour. It may have taken 2 weekends, but I believe I conquered Pandan baking!
Ingredients:
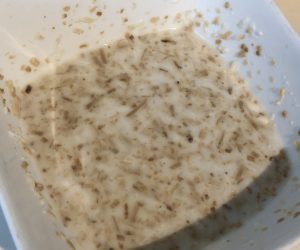
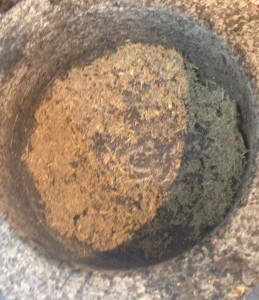
- 40g desiccated coconut, toasted
- 300ml coconut milk
- 2 tsn vanilla essence
- 1/2 tsn coconut essence
- 190g butter
- 1225g brown sugar
- 3 eggs
- 225 cups self raising flour
- 1/4 tsn salt
- 1 tsn lemon zest
Filling:
- 100g coconut oil
- 150g butter
- 150g icing sugar
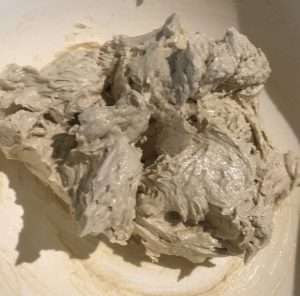
- 1 + 1/2 tsn pandan syrup
- 1 tsn vanilla essence
- 1 + 1/2 tsn lemon zest
Icing:
- 180g icing sugar
- 120g butter
- 1 tsp vanilla essence
- 1 tsn lemon zest
- 1 tbsp lemon juice
Extra:
- Desiccated coconut, toasted
Method:
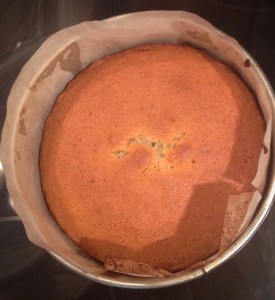
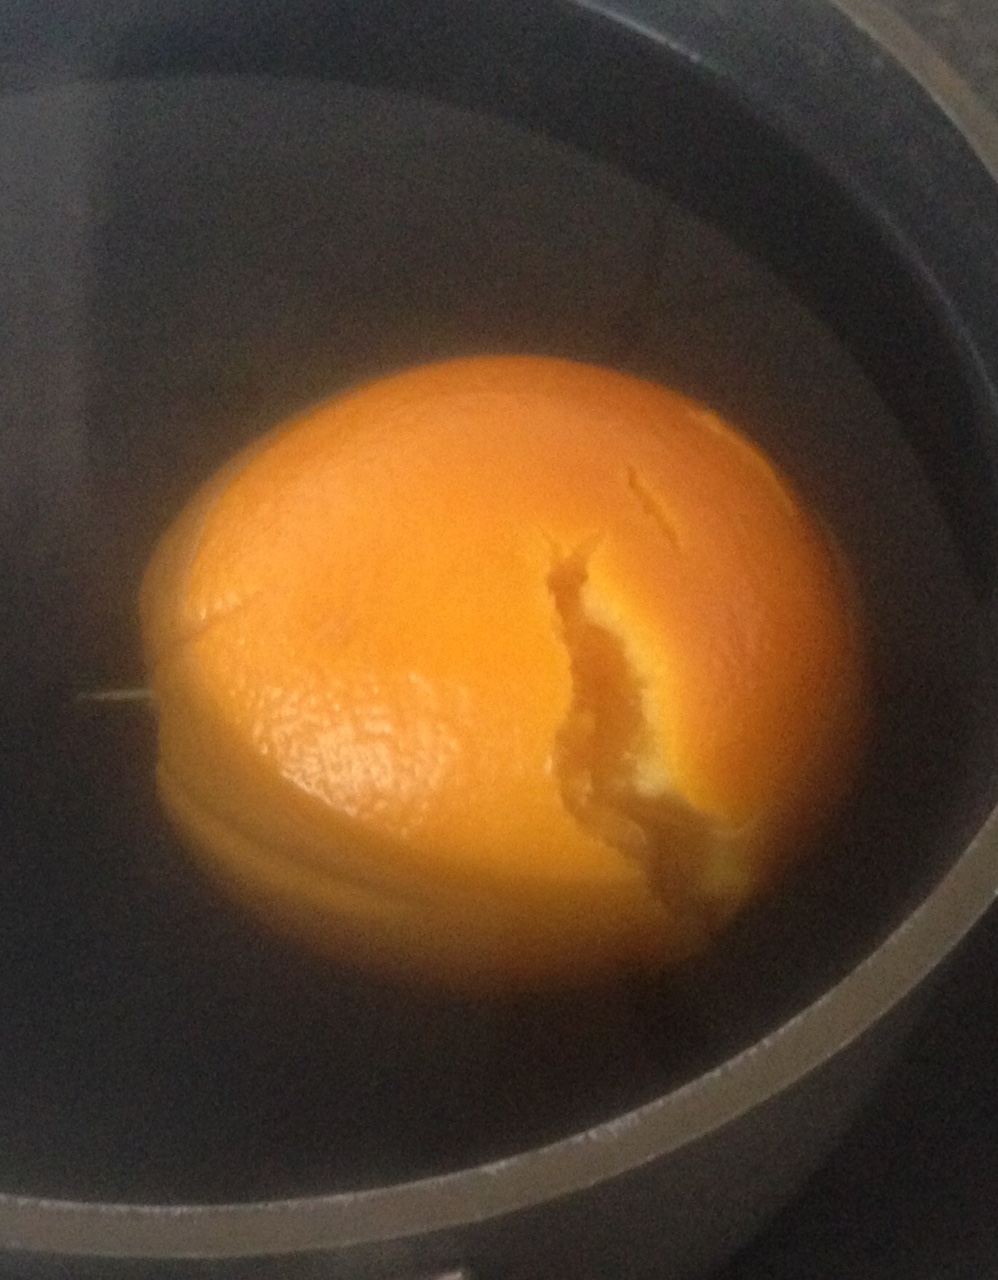
- Preheat oven to 160c. Line a 25cm base cake tin with baking paper.
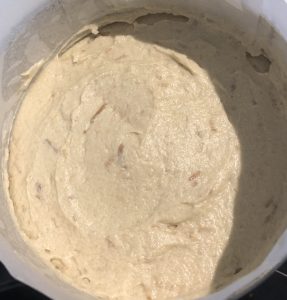
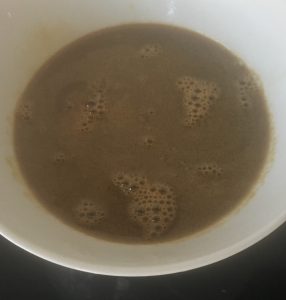
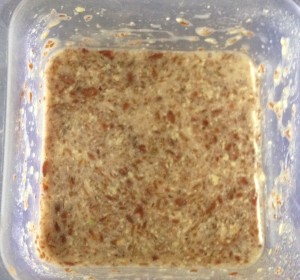
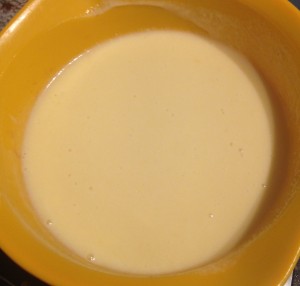
- Combine the desiccated coconut, milk and essence in a bowl. Mix and leave for an hour to soak together.
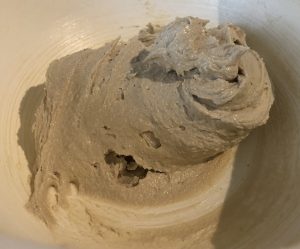
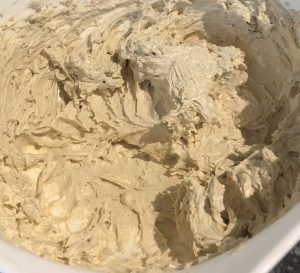
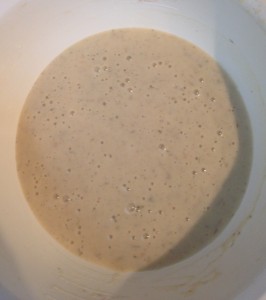
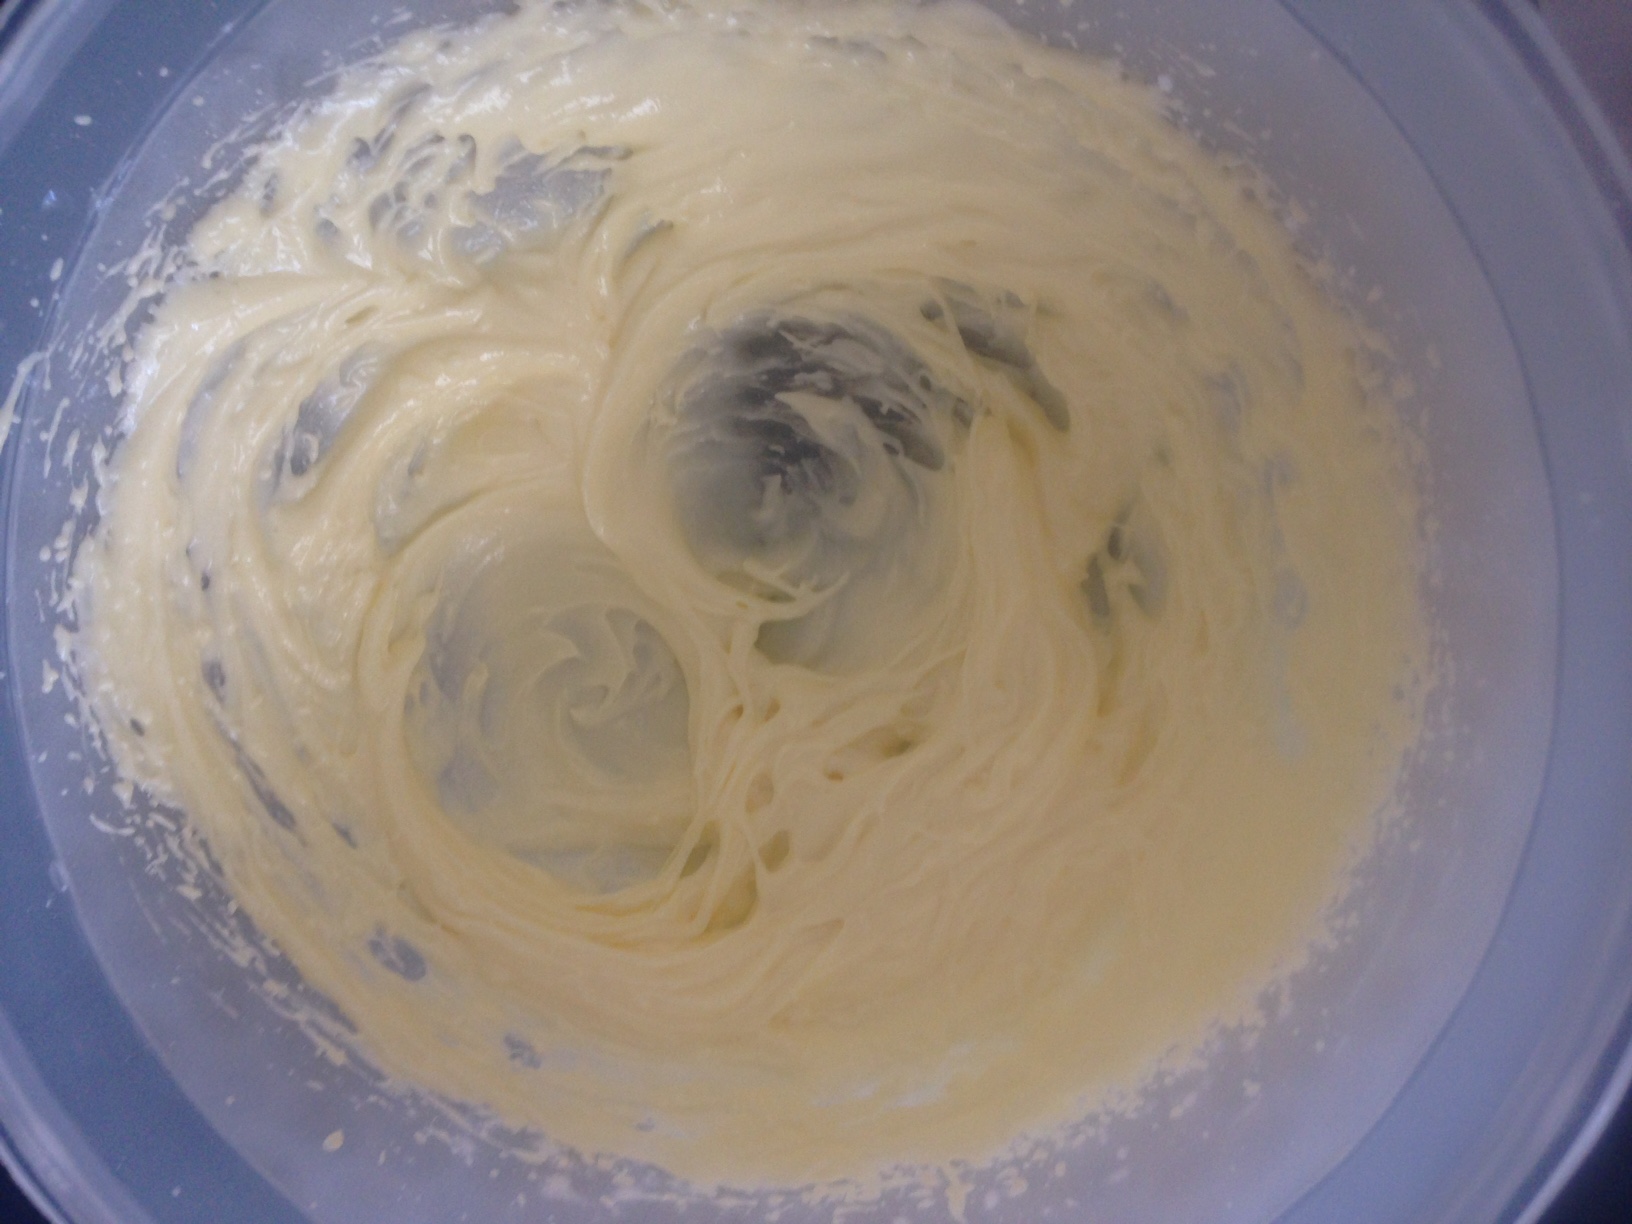
- Beat butter and sugar until creamy and pale.
- Add eggs, one at a time beating in between each addition.
- Beat the flour and coconut mix into the butter mix for 10 seconds on low or until just combined.
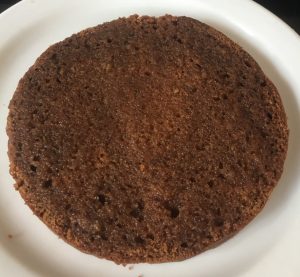
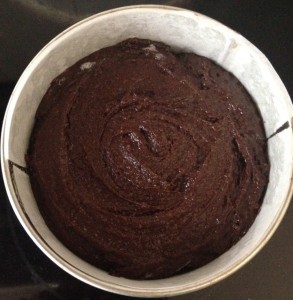
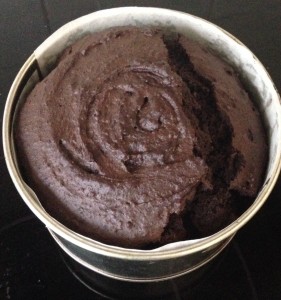
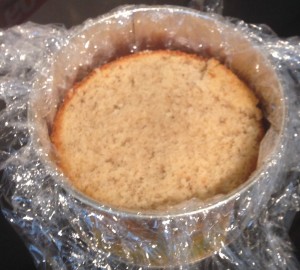
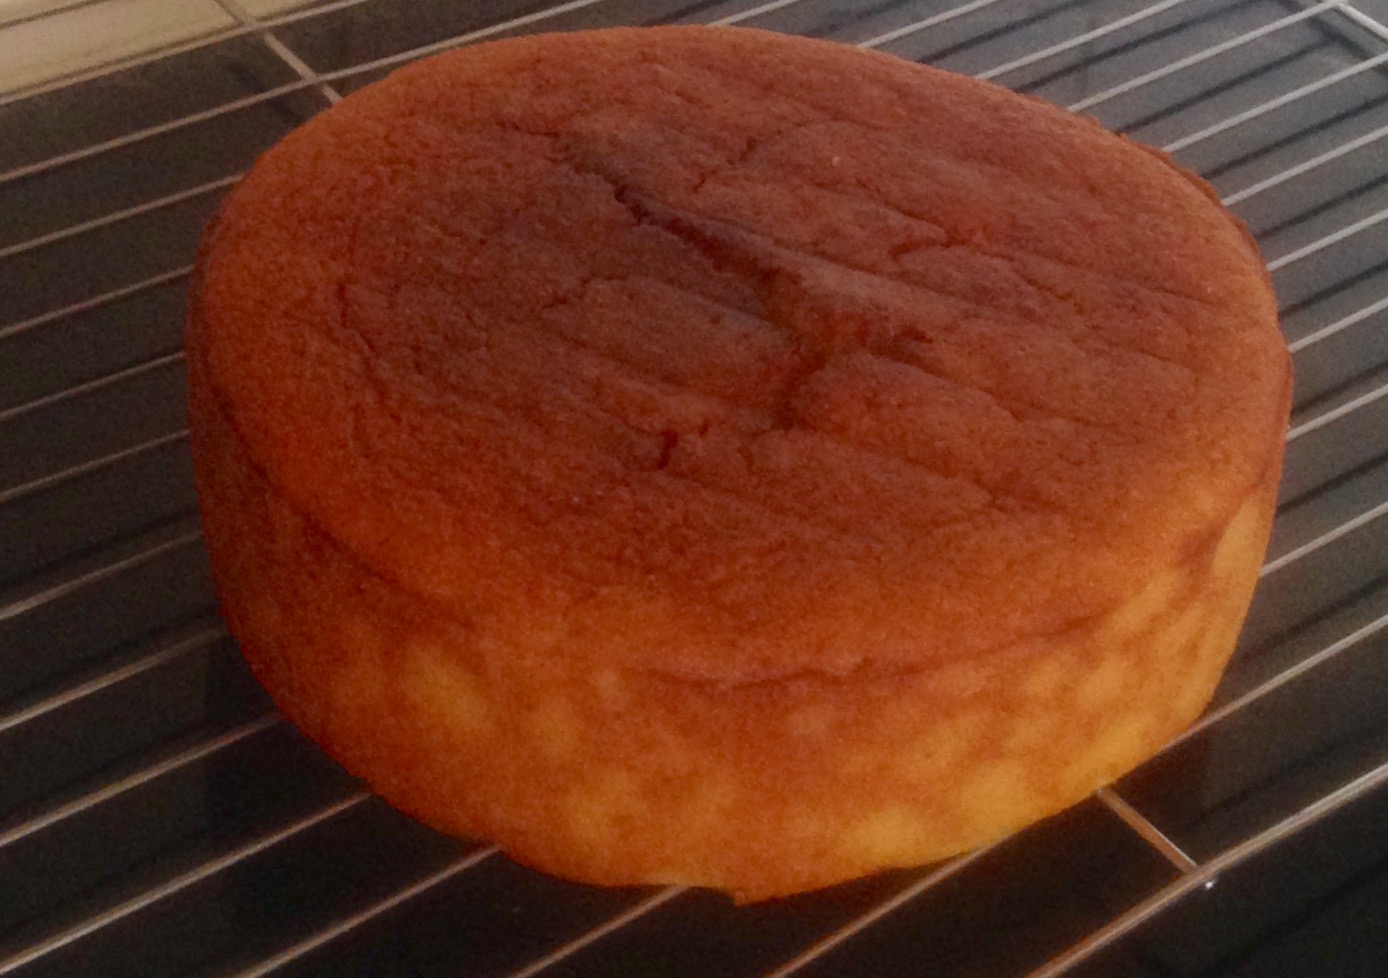
- Pour batter into the cake tin and bake for 50 minutes, or until skewer inserted in the center comes out clean.
- Cool in the pan for 10 minutes, then invert onto a cooling rack.
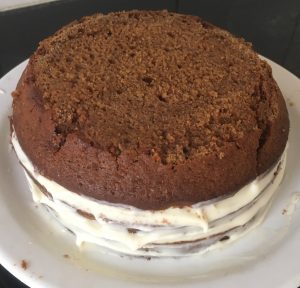
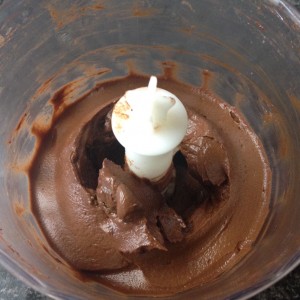
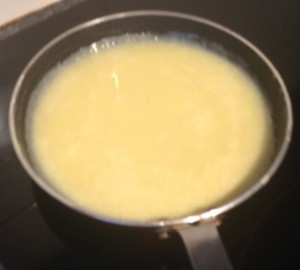
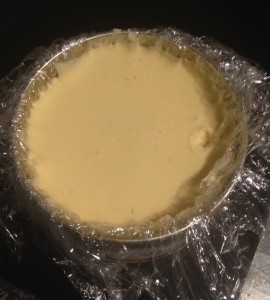
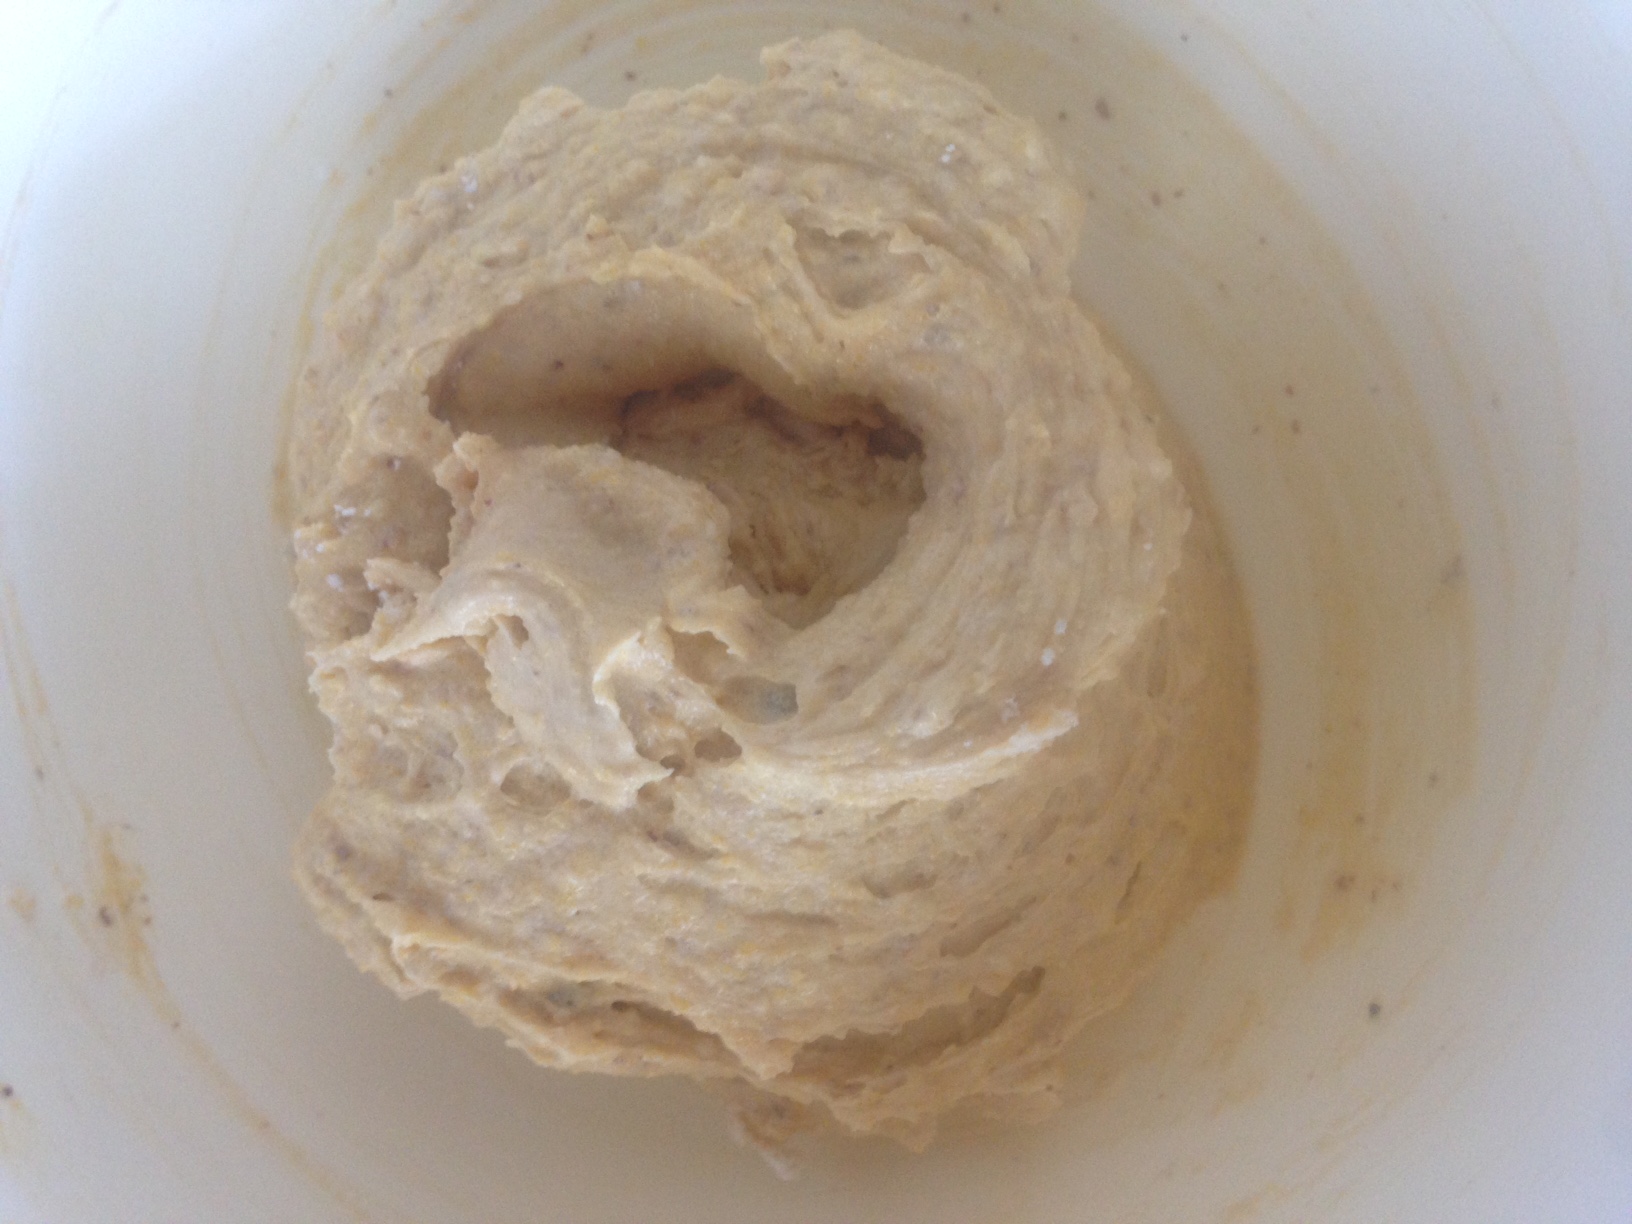
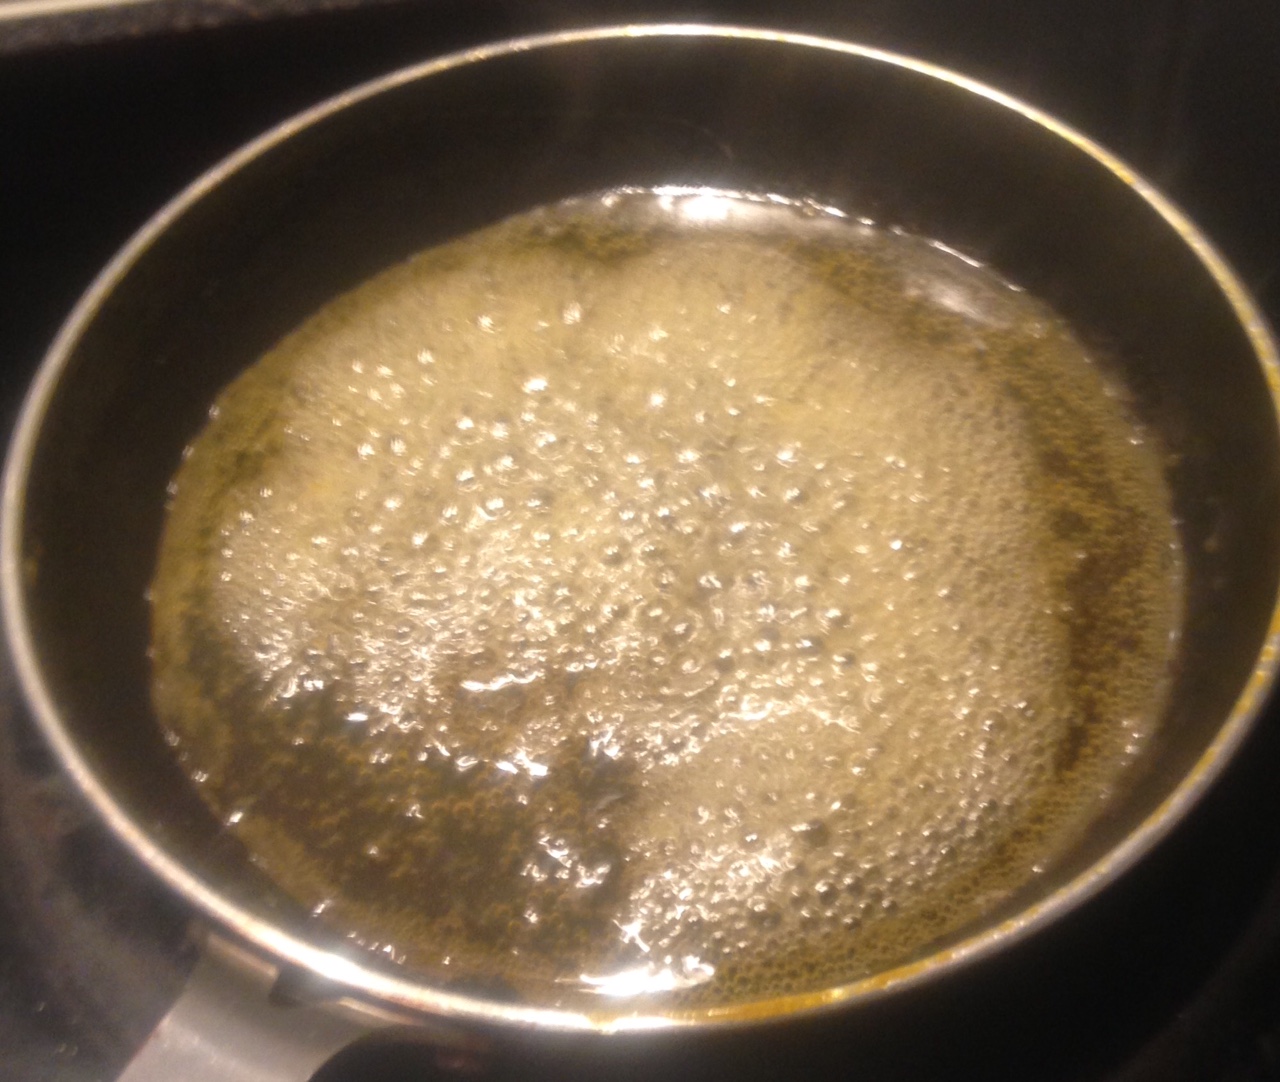
- Make the filling by microwaving the coconut oil in a bowl until just melted.
- Add the remaining filling ingredients and beat with electric beaters until creamy, pale and glossy.
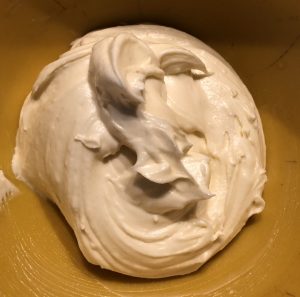
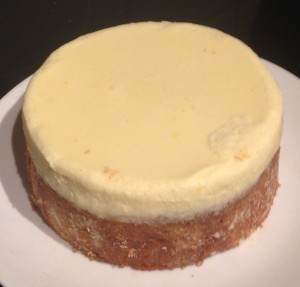
- Make the icing by beating all the ingredient for 5 minutes or until light and fluffy.
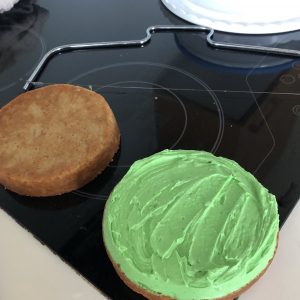
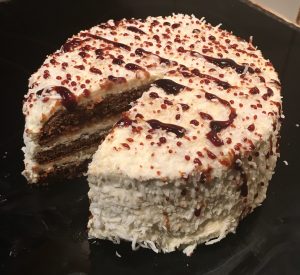
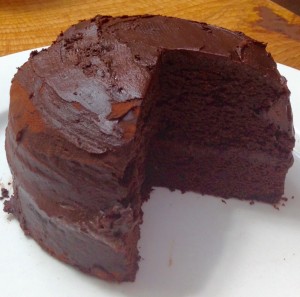
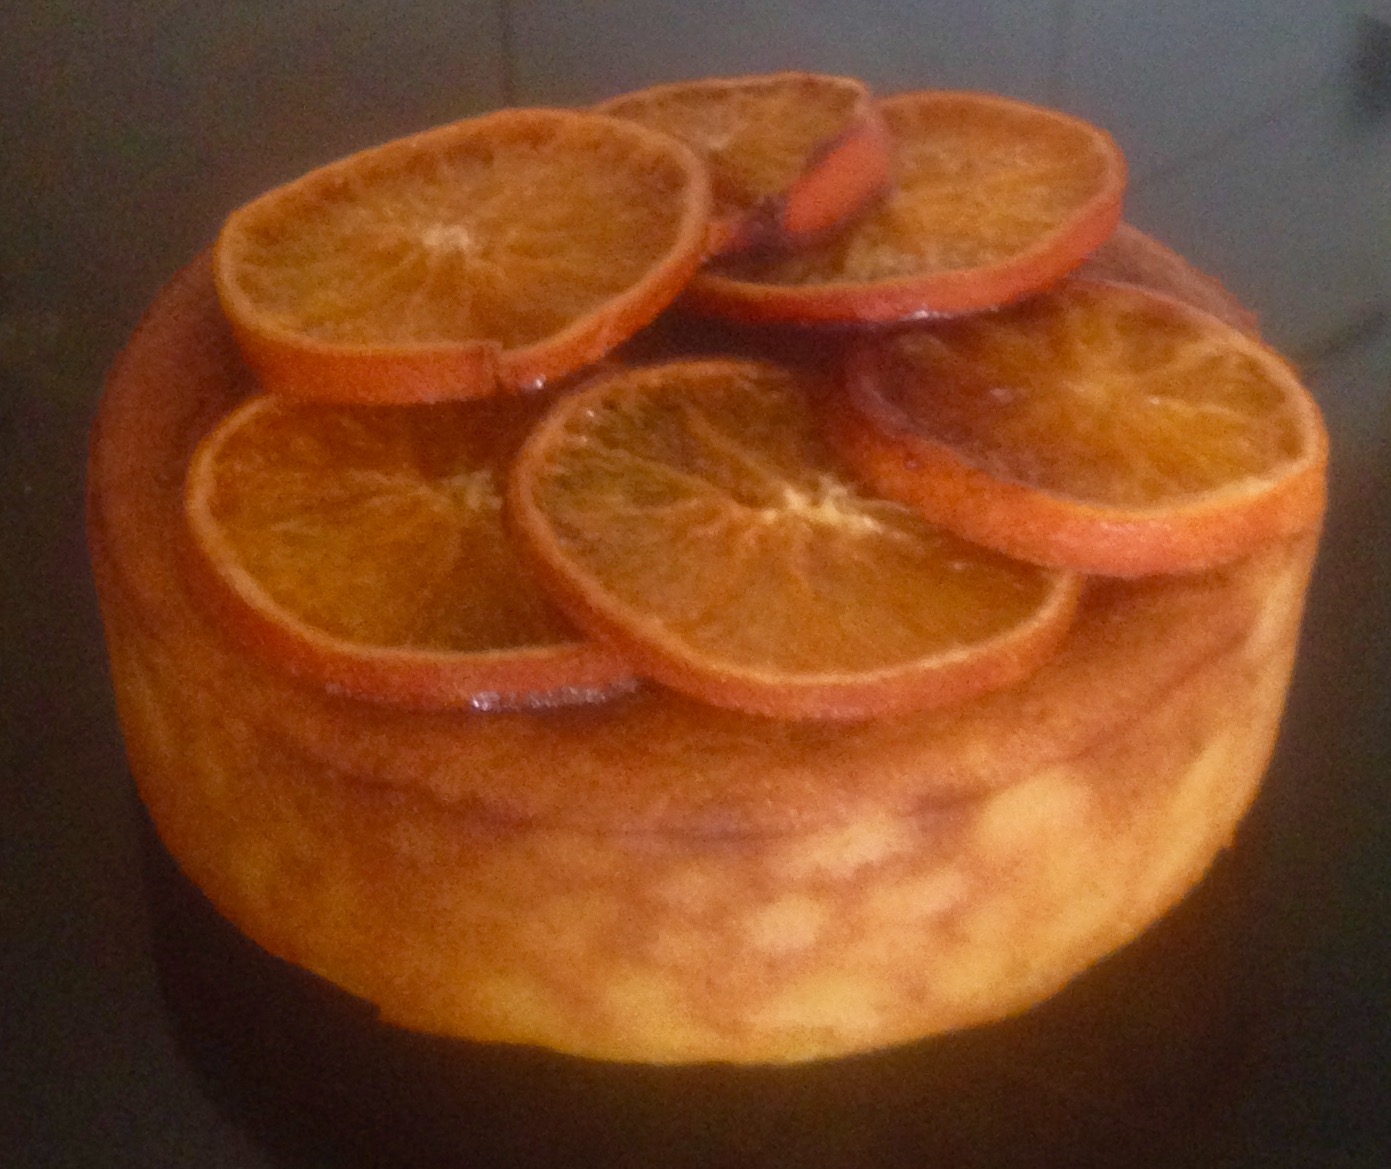
- Cut the cake into 2 layers and place the filling in between the 2 layers of cake.
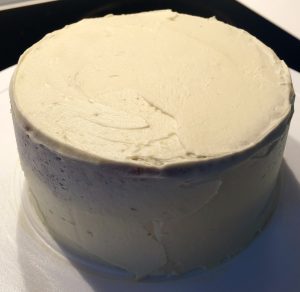
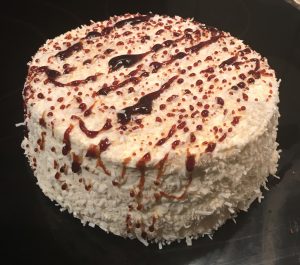
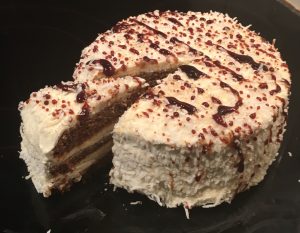
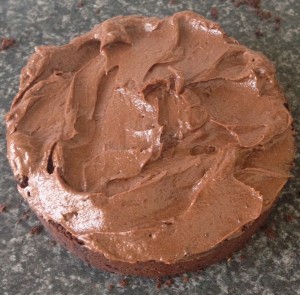
- Coat the top and sides of the cake with the icing.
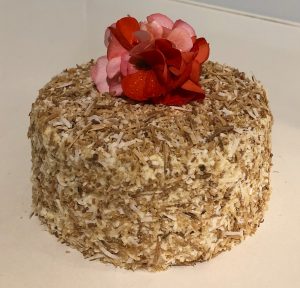
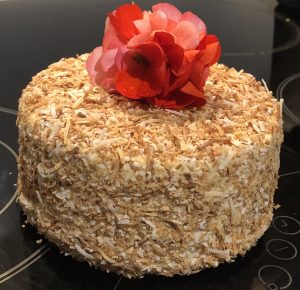
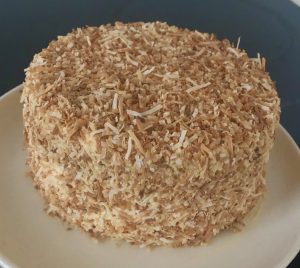
- Finish with the extra desiccated coconut by sprinkling on the top of the cake and sides.
Notes:
- The soaking is not essential, however does add to the texture and richness of the coconut in the cake.
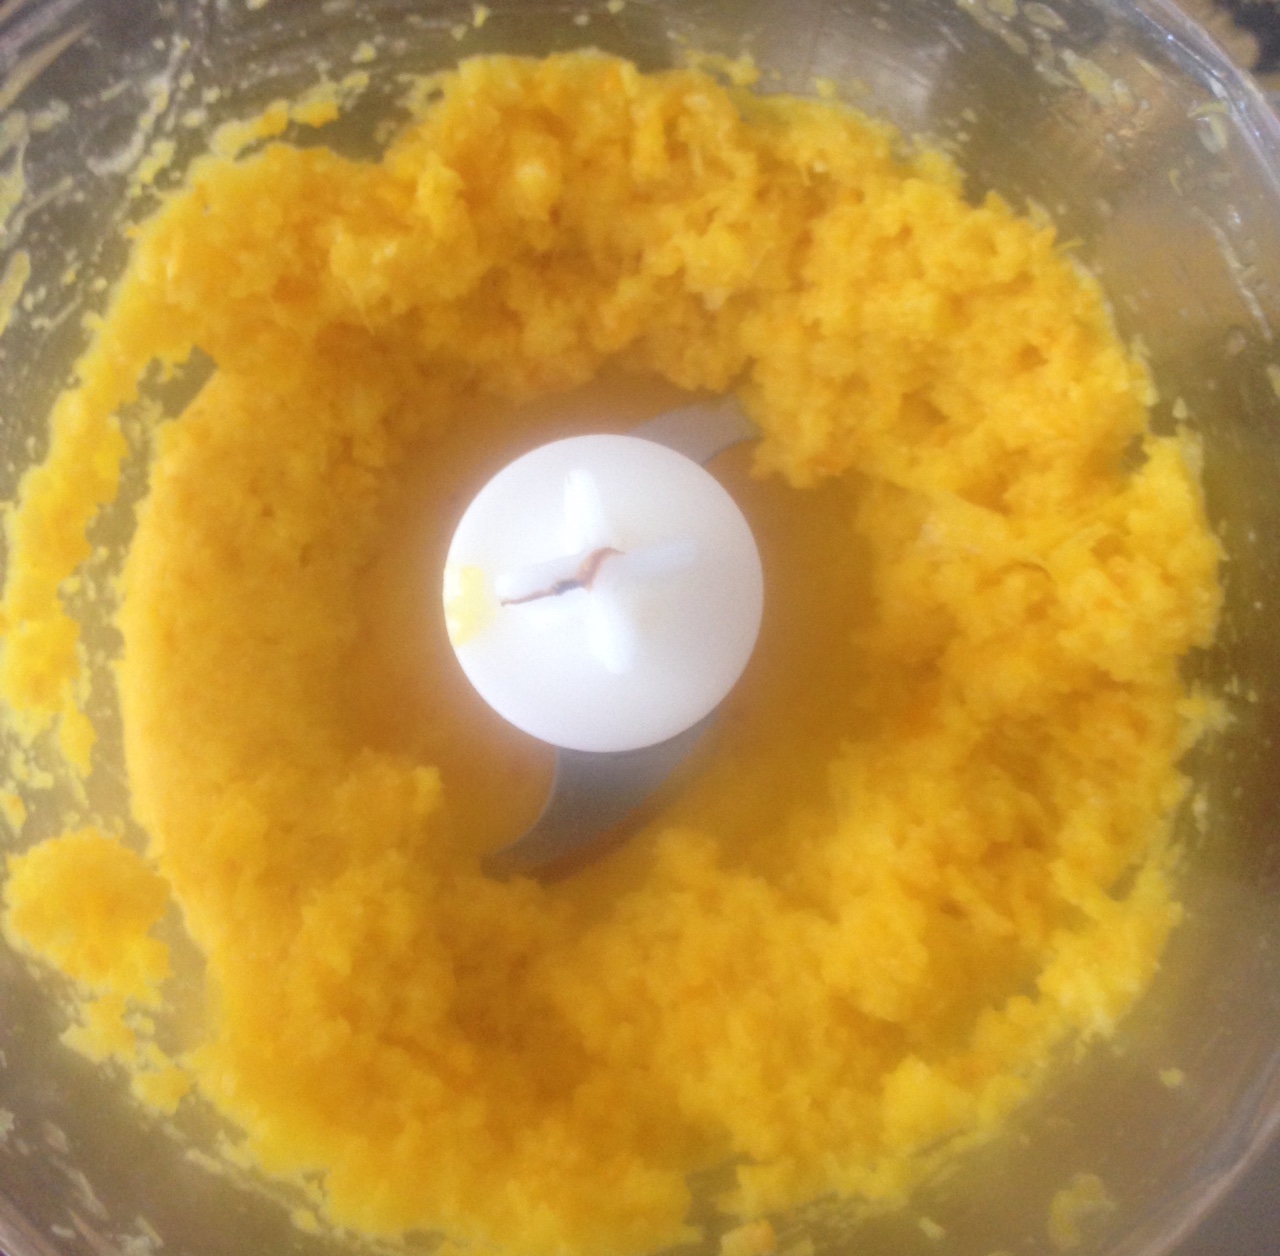
Step 2
Step 3
Step 4
Step 5
Step 6
Step 7
Step 10
Step 11
Step 10
Step 12
Step 13
Like this recipe? Subscribe via RSS or email to get my new entries and more scrumptious recipes with reviews.
 Follow


