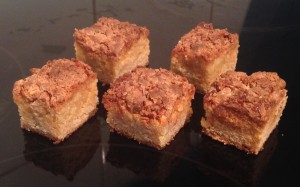
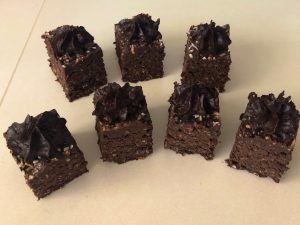
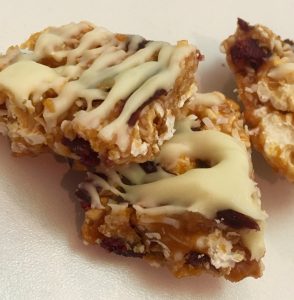
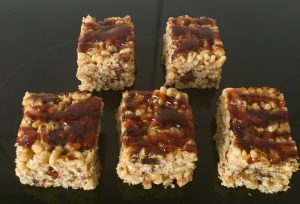
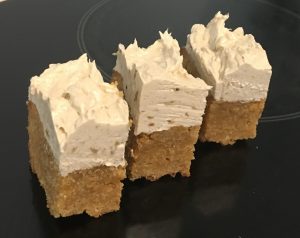
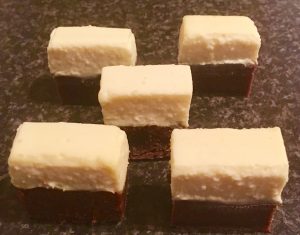
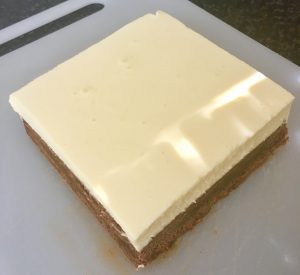
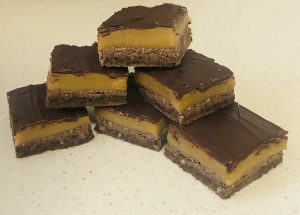
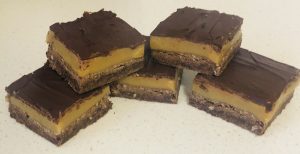
Orange Peppermint and Chocolate Slice
After making delicious but super easy and hardly challenging chocolate, orange and peppermint cookies I loved the flavour pairing so much I decided to take the flavour to a more layered and textural bake.
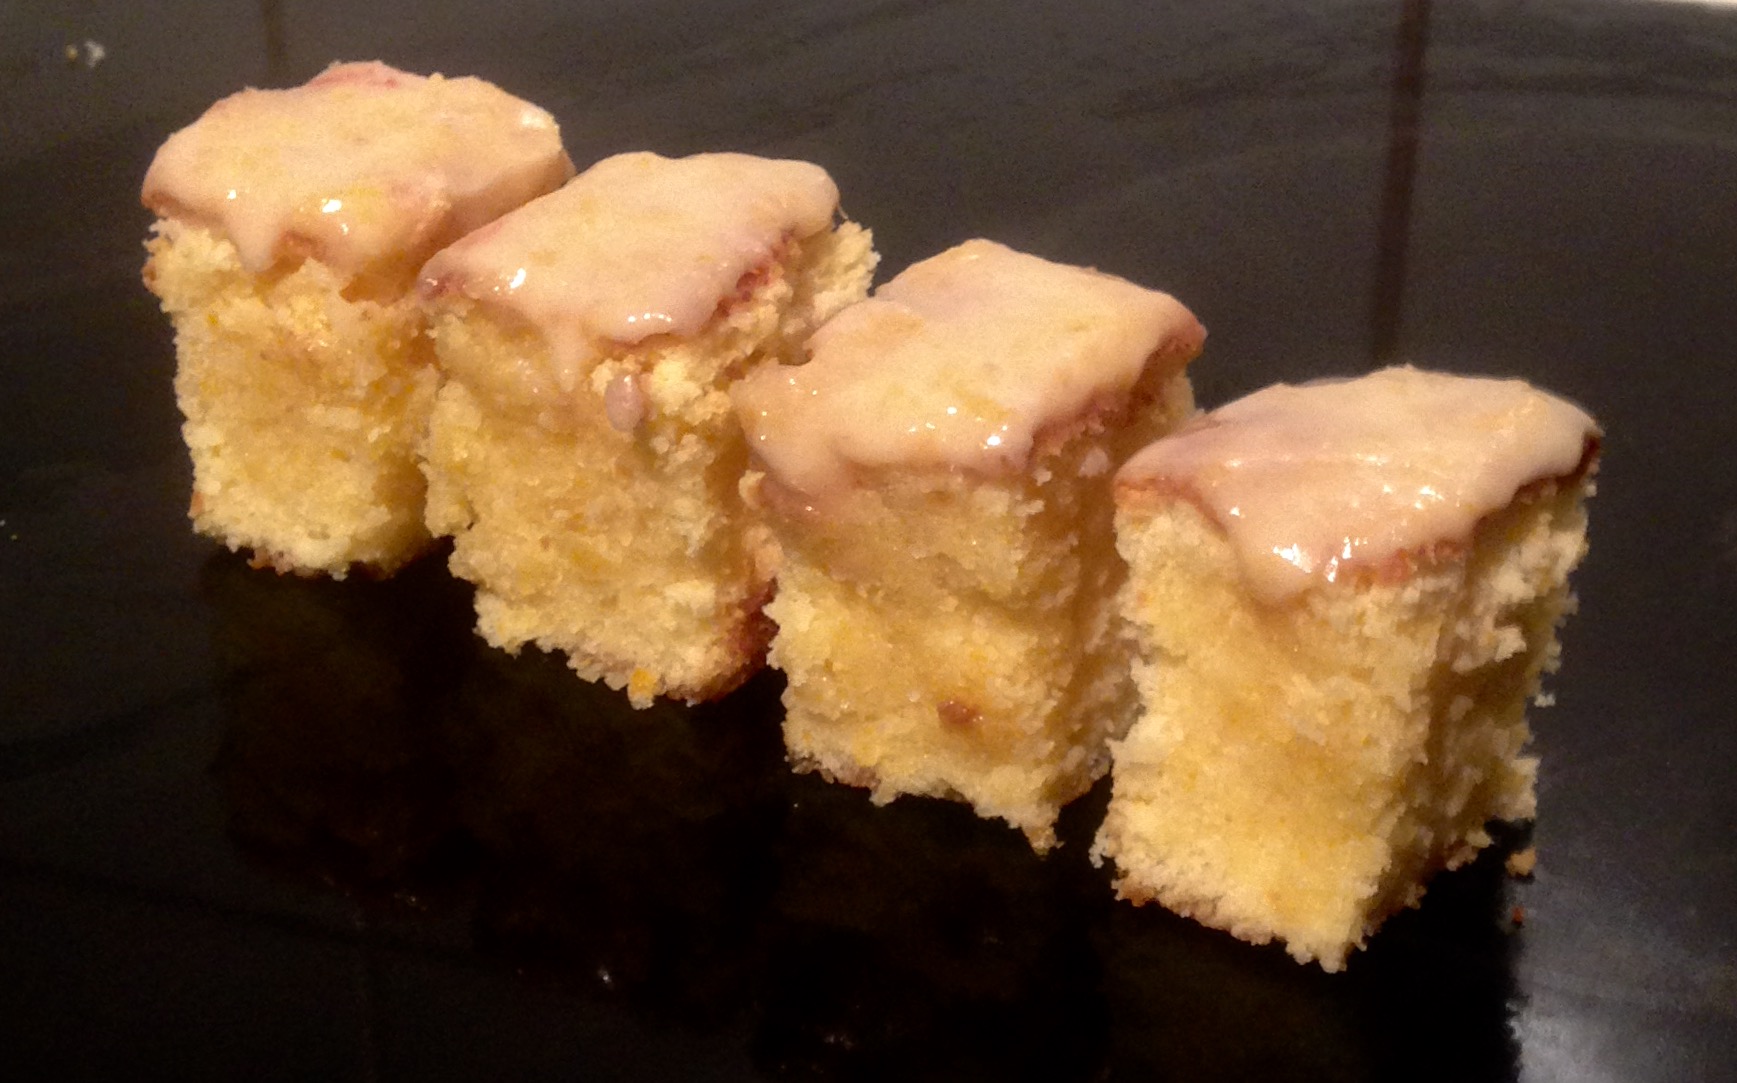
Therefore, as a follow up to see if I could replicate the same taste but in a more interesting bake format I decided to make a chocolate cake with orange filling and peppermint icing. Though the bake turned out well the peppermint was quite overpowering unlike the biscuits I had made previously therefore, that taste I was looking for was just not quite there.
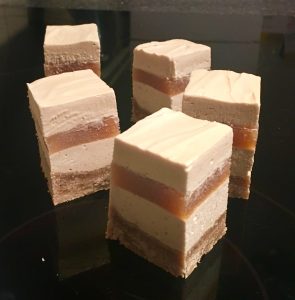
Following this I felt if I made a slice that had one layer with all 3 flavours then championed the orange in the middle and topped it with the chocolate and peppermint that maybe the intenseness of the peppermint could work with and not overpower the orange.
Outcome success! It did take a few goes of peppermint and orange ratios to get it right but I think this recipe hits the flavour I was looking for on the head.
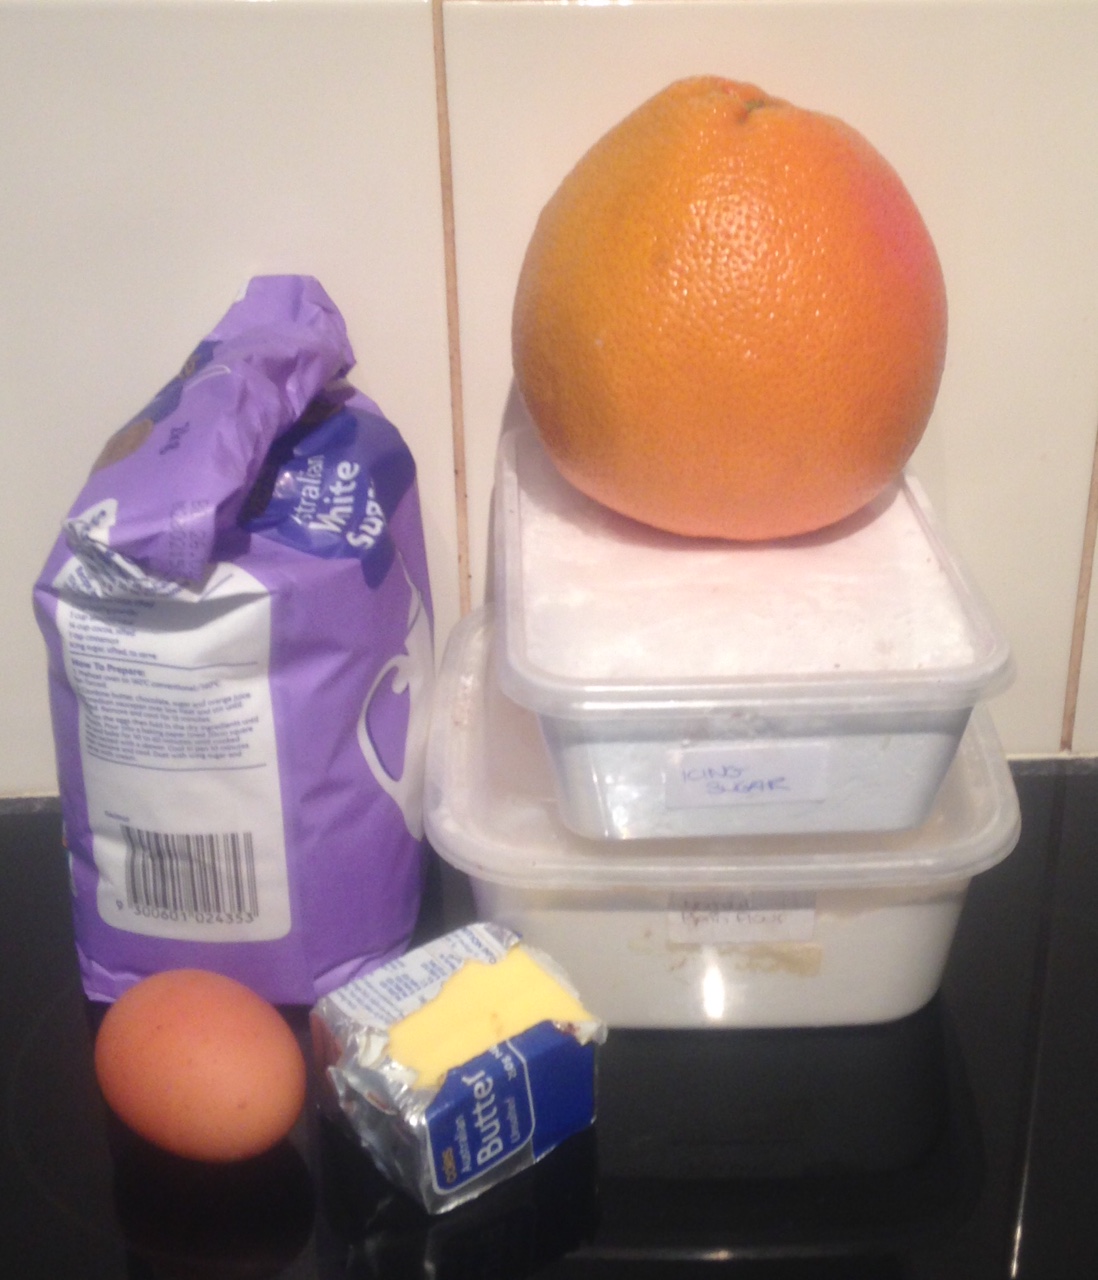
Ingredients:
Base:
- 115g plain flour
- 110g caster sugar
- 75g butter, softened
- 40g cocoa powder
- ½ egg
- 3 drops peppermint oil
- 1/2 heaped tsn orange zest
- 35g peppermint crisp bar, chopped
Filling:
- 65g butter
- 45g rice malt syrup
- 80g caster sugar
- 395g can condensed milk
- 1 + 1/2 tsn orange zest
Top:
- 80g dark choc
- 10g butter
- 4 drops peppermint oil
Method:
- Pre heat the oven to 180c degrees and line a 20 x 20cm slice tin with baking paper.
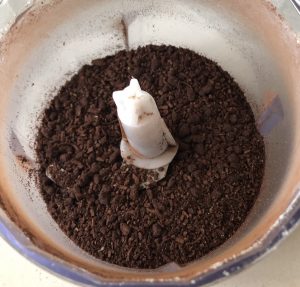
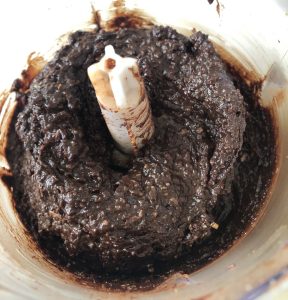
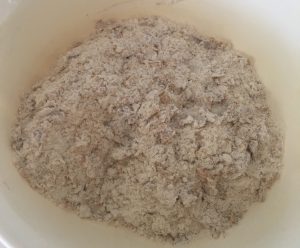
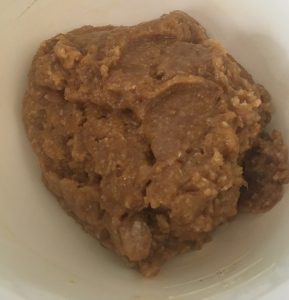
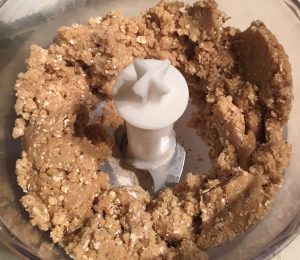
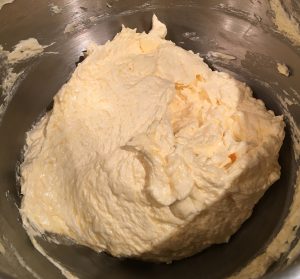
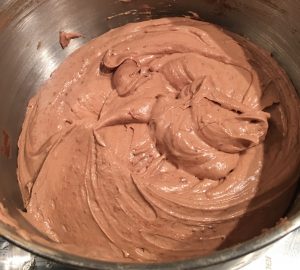
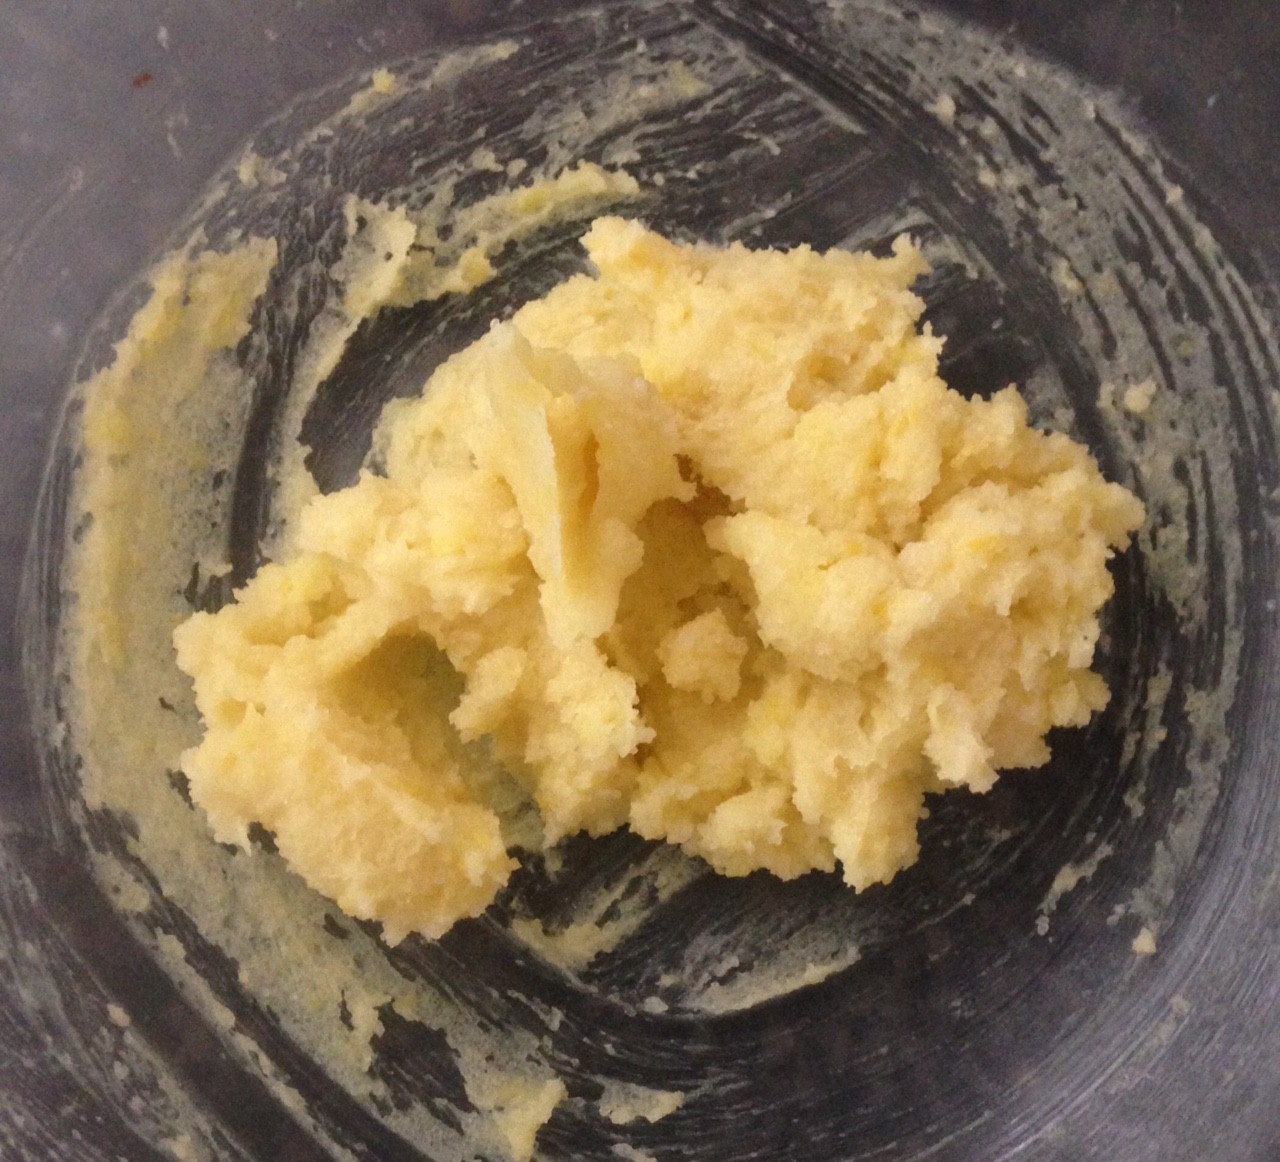
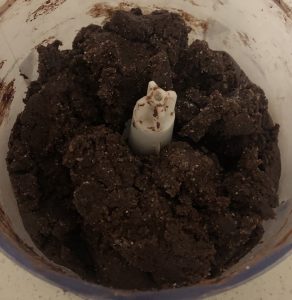
- Place the flour, sugar, butter, cocoa, egg, peppermint oil and zest base ingredients into a food processor and blitz until the mix clumps together like a dough.
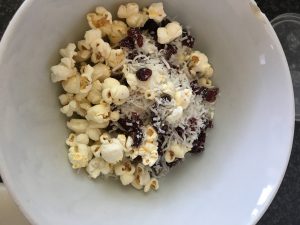
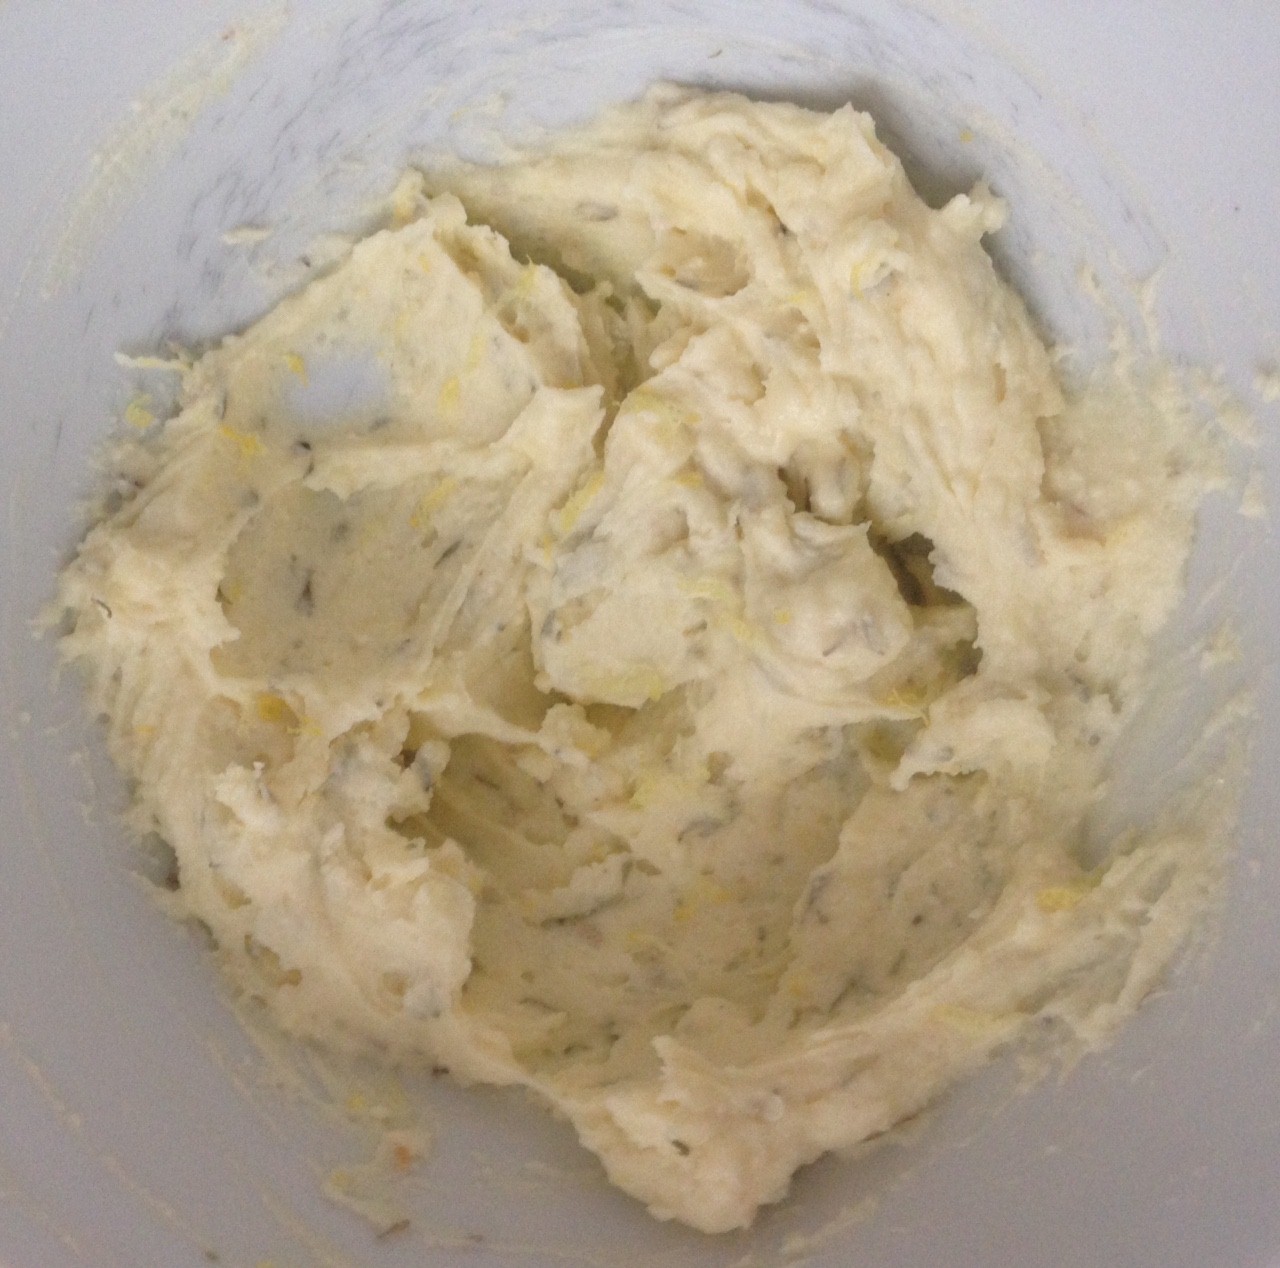
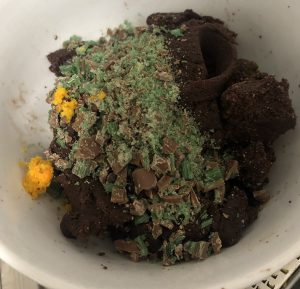
- Fold in the peppermint crisp pieces with clean hands.
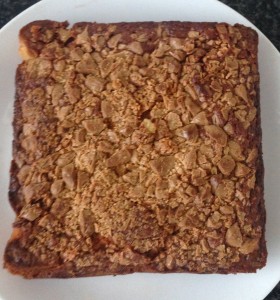
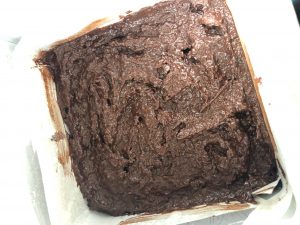
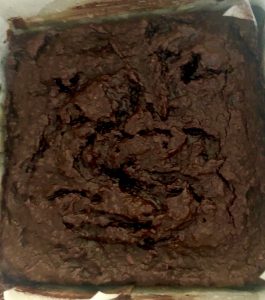
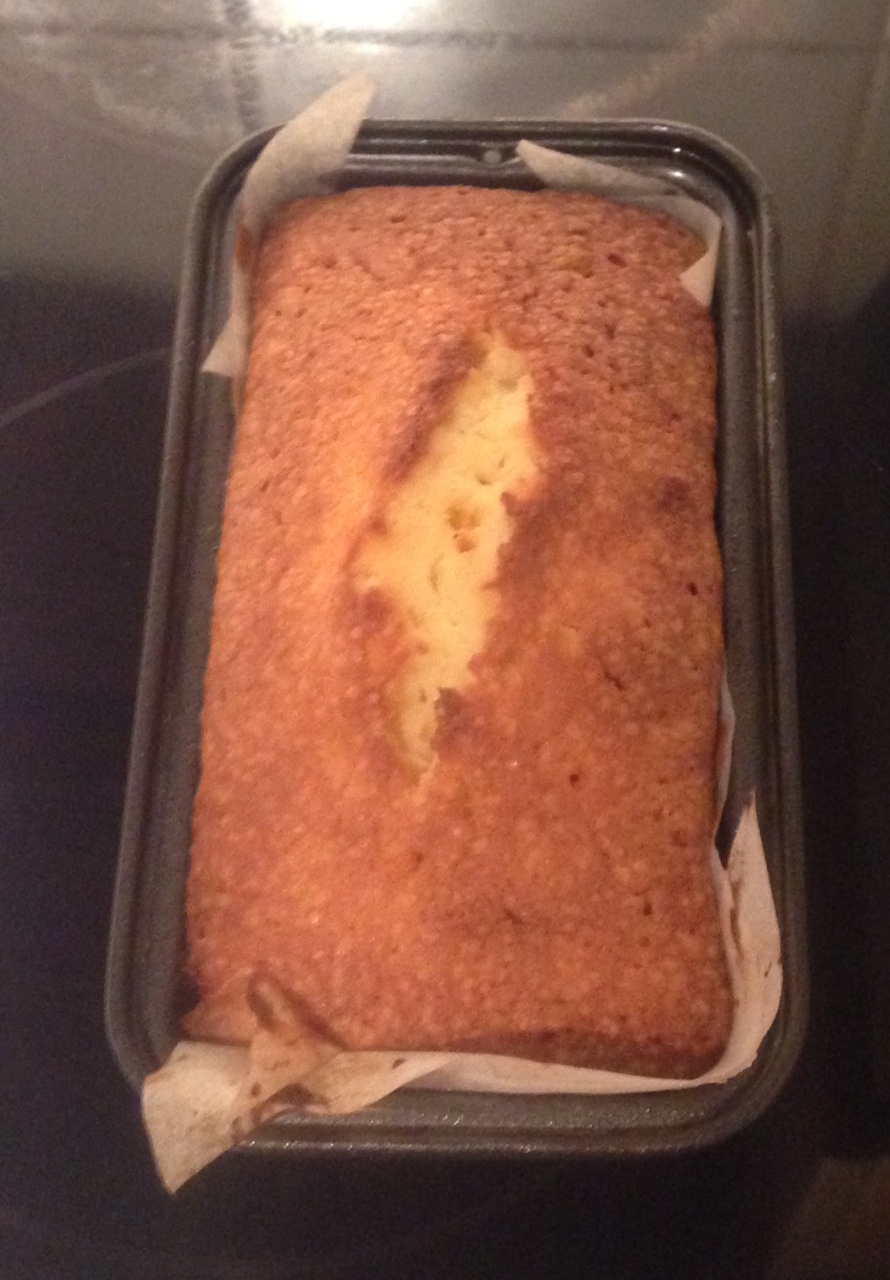
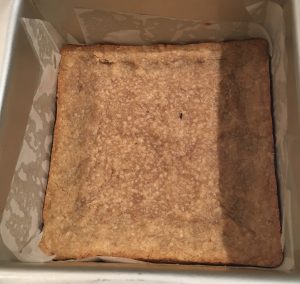
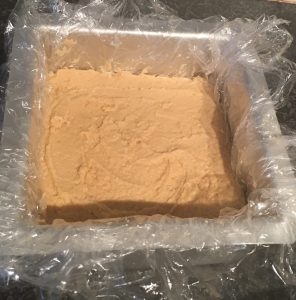
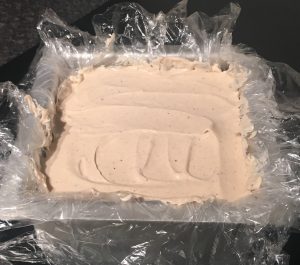
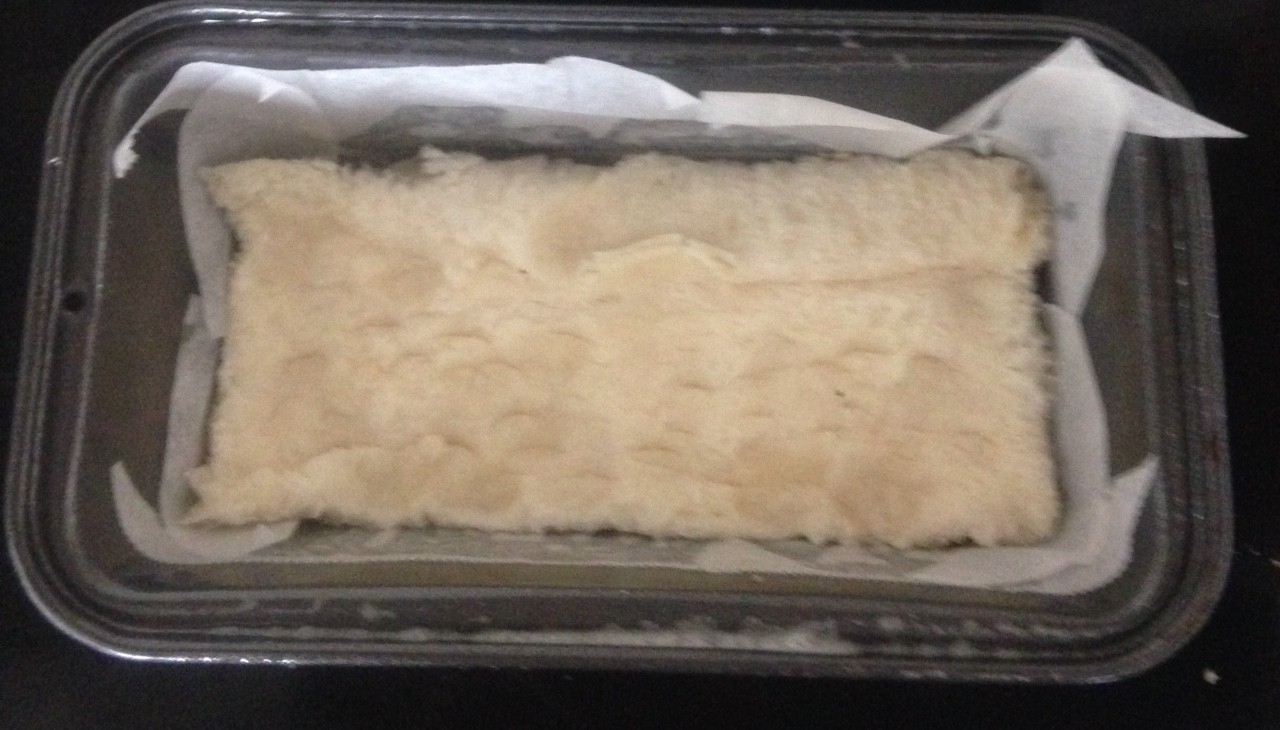
- Spread the mix into the slice tin and using the back of a spoon flatten out evenly.
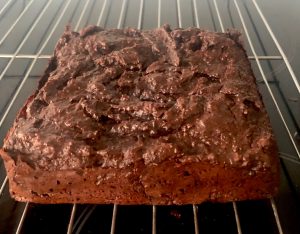
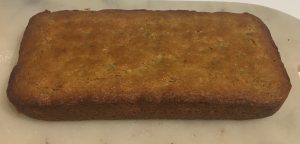
- Place the tin in the oven and bake for 20 minutes or until firm to touch.
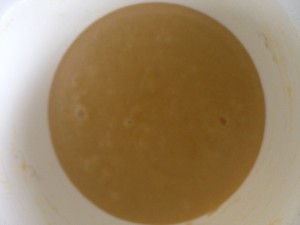
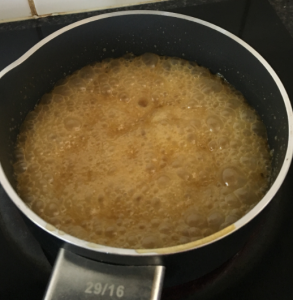
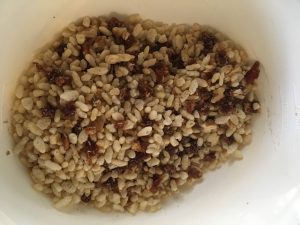
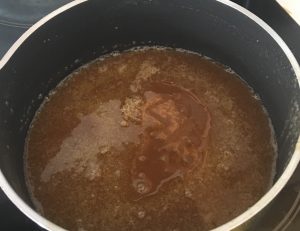
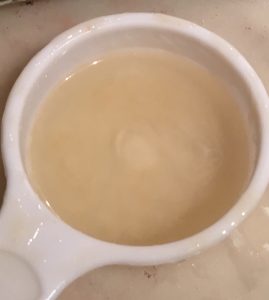
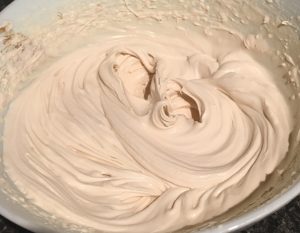
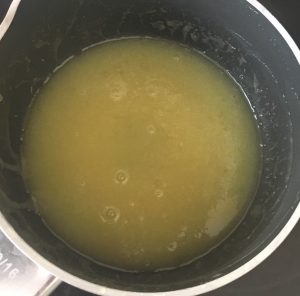
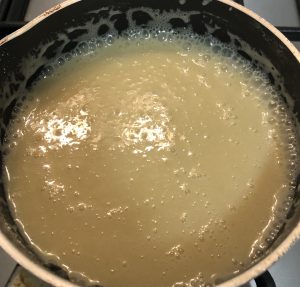
- Place all the filling ingredients into a saucepan on a low heat, stirring until the mix is well combined and the sugar has dissolved.
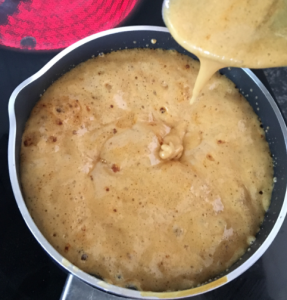
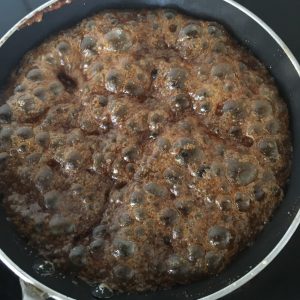
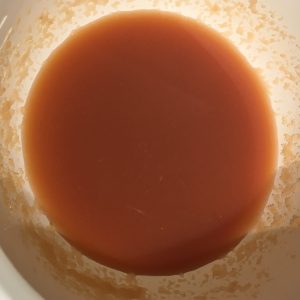
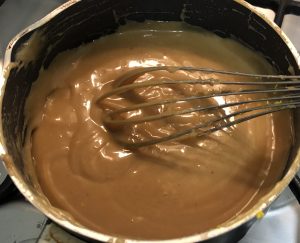
- Turn the heat to medium and cook, stirring for 15 minutes or until the mix thickens and browns (110c degrees soft ball stage on a candy thermometer).
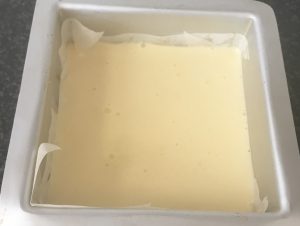
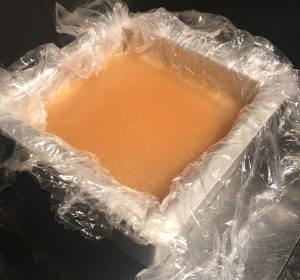
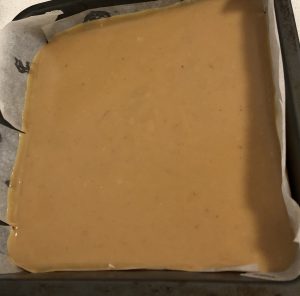
- Pour the mix on top of the base and place in the fridge for 2 hours to firm and set.
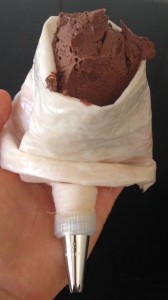
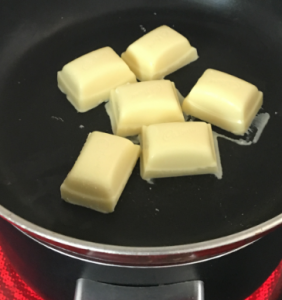
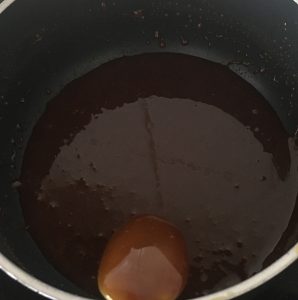
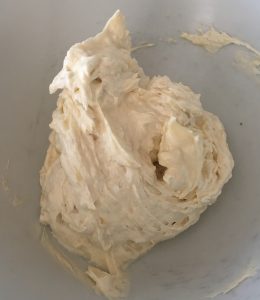
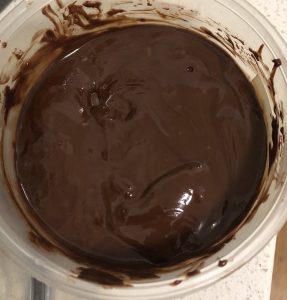
- Melt the chocolate, peppermint oil and butter in a bowl over a saucepan of boiling water and stir until well combine and silky smooth.
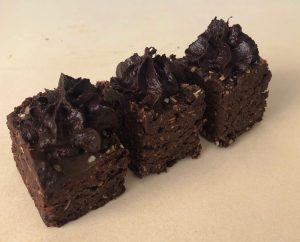
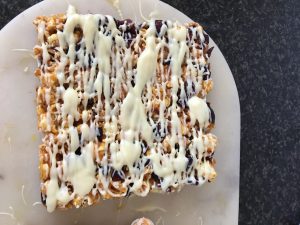
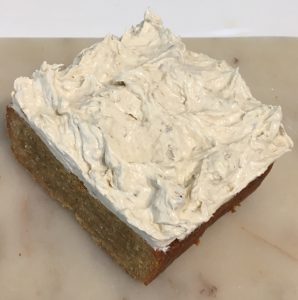
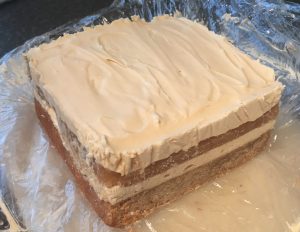
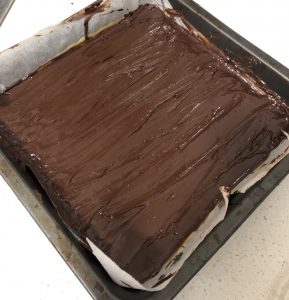
- Pour the mix over the caramel filling and spread evenly with the back of a spoon.
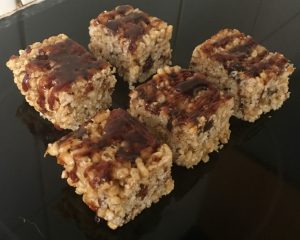
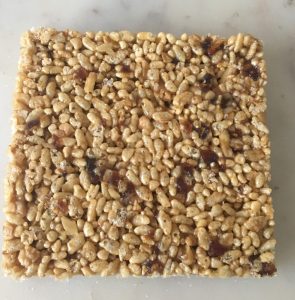
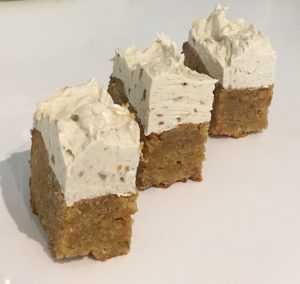
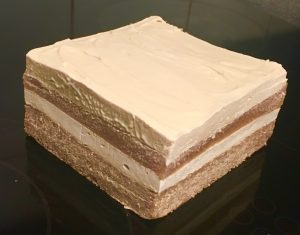
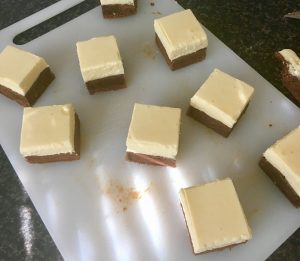
- Place the slice in the fridge for 3 hours to set. Once set slice and enjoy.
Steps:
Step 2
Step 3

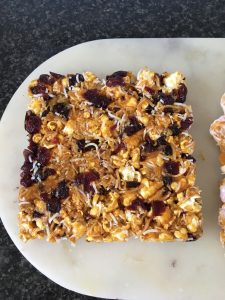
Step 5
Step 6
Step 7
Step 8
Step 9
Step 10
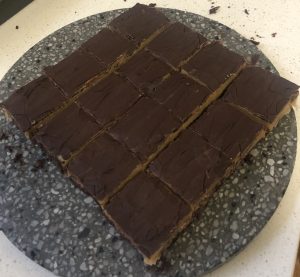
Step 11
Step 11
 Follow