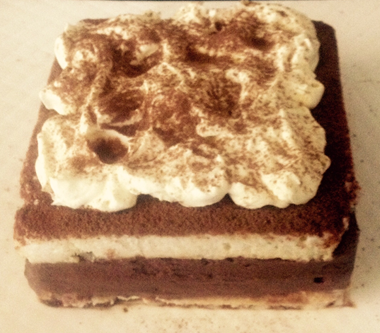
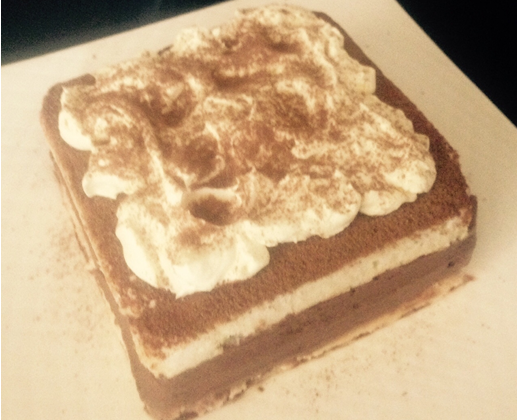
Chocolate Coconut Mousse Rum Cake
Rum and Coconut are a very common cocktail pairing which I have previously baked with (see my Pina Colada Cake) so when I needed to use up some Rum and Coconut milk I had to think outside of pineapple and glaze cherries.
For something really different I set myself a task of making a Tiramisu cake but replace the cream and cheese filling with chocolate mousse and replacing the masala with rum. Lastly I then replaced the expresso coffee with coconut milk.
Now I am a massive massive traditional tiramisu fan (my mum’s recipe is the best I have ever tasted), so this recipe had big shoes to fill and OMG it delivered with flying colors.
You would think chocolate and rum would clash, however it very much works a treat.
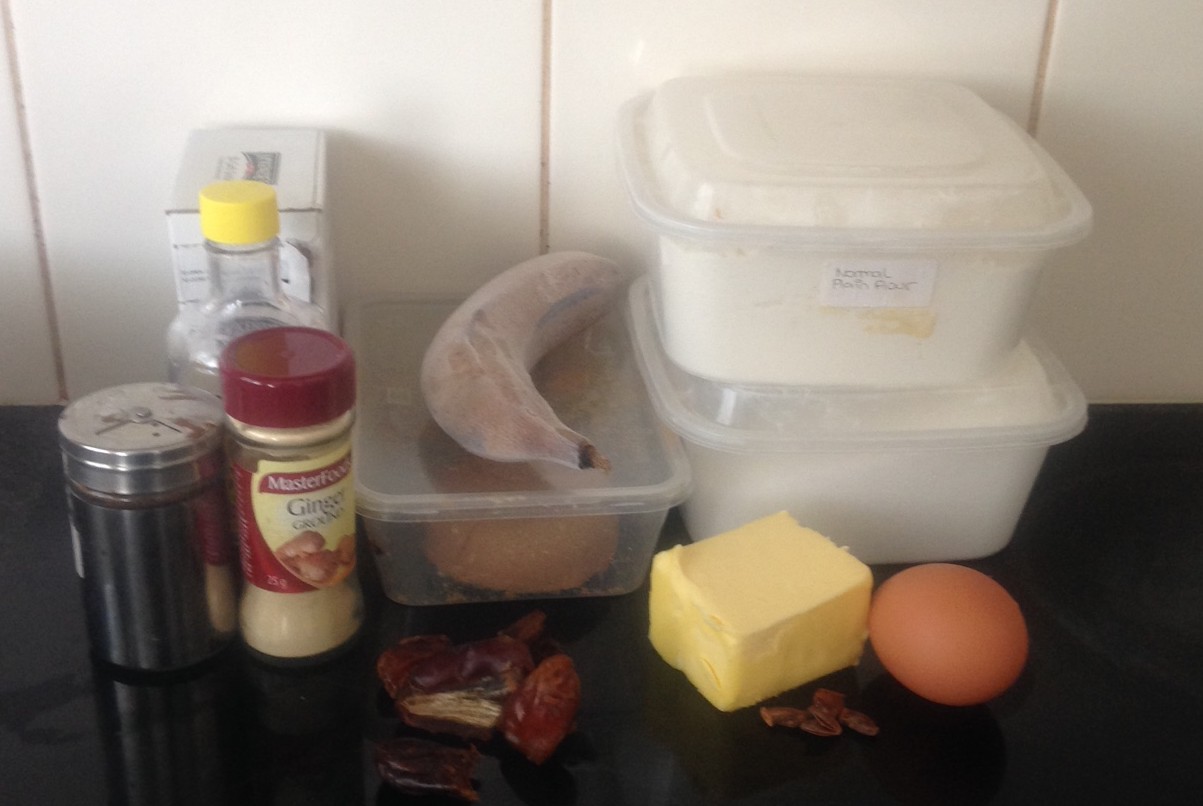
Ingredients:
Cake:
- 500ml coconut milk
- 110g sugar
- 115ml rum
- 22 sponge biscuits
- 700ml thickened cream
- 210g dark chocolate
- 3 tbsn cocoa powder
Topping:
- 150g thickened cream
- 1 tbsn icing sugar
- 1 + ½ tsn Rum
Method:
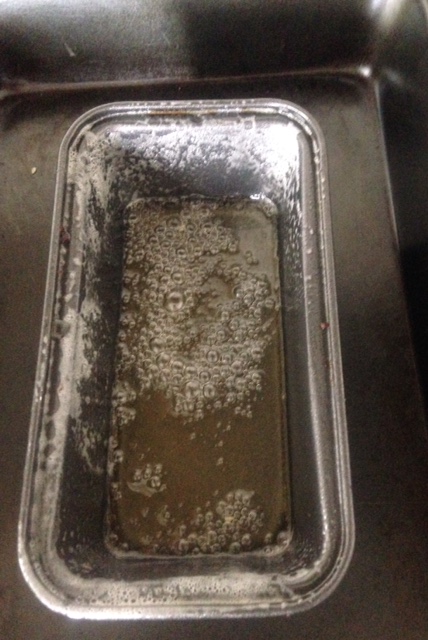
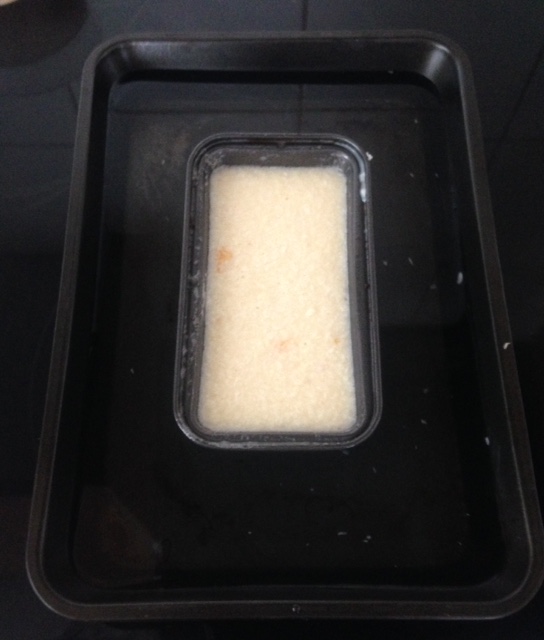
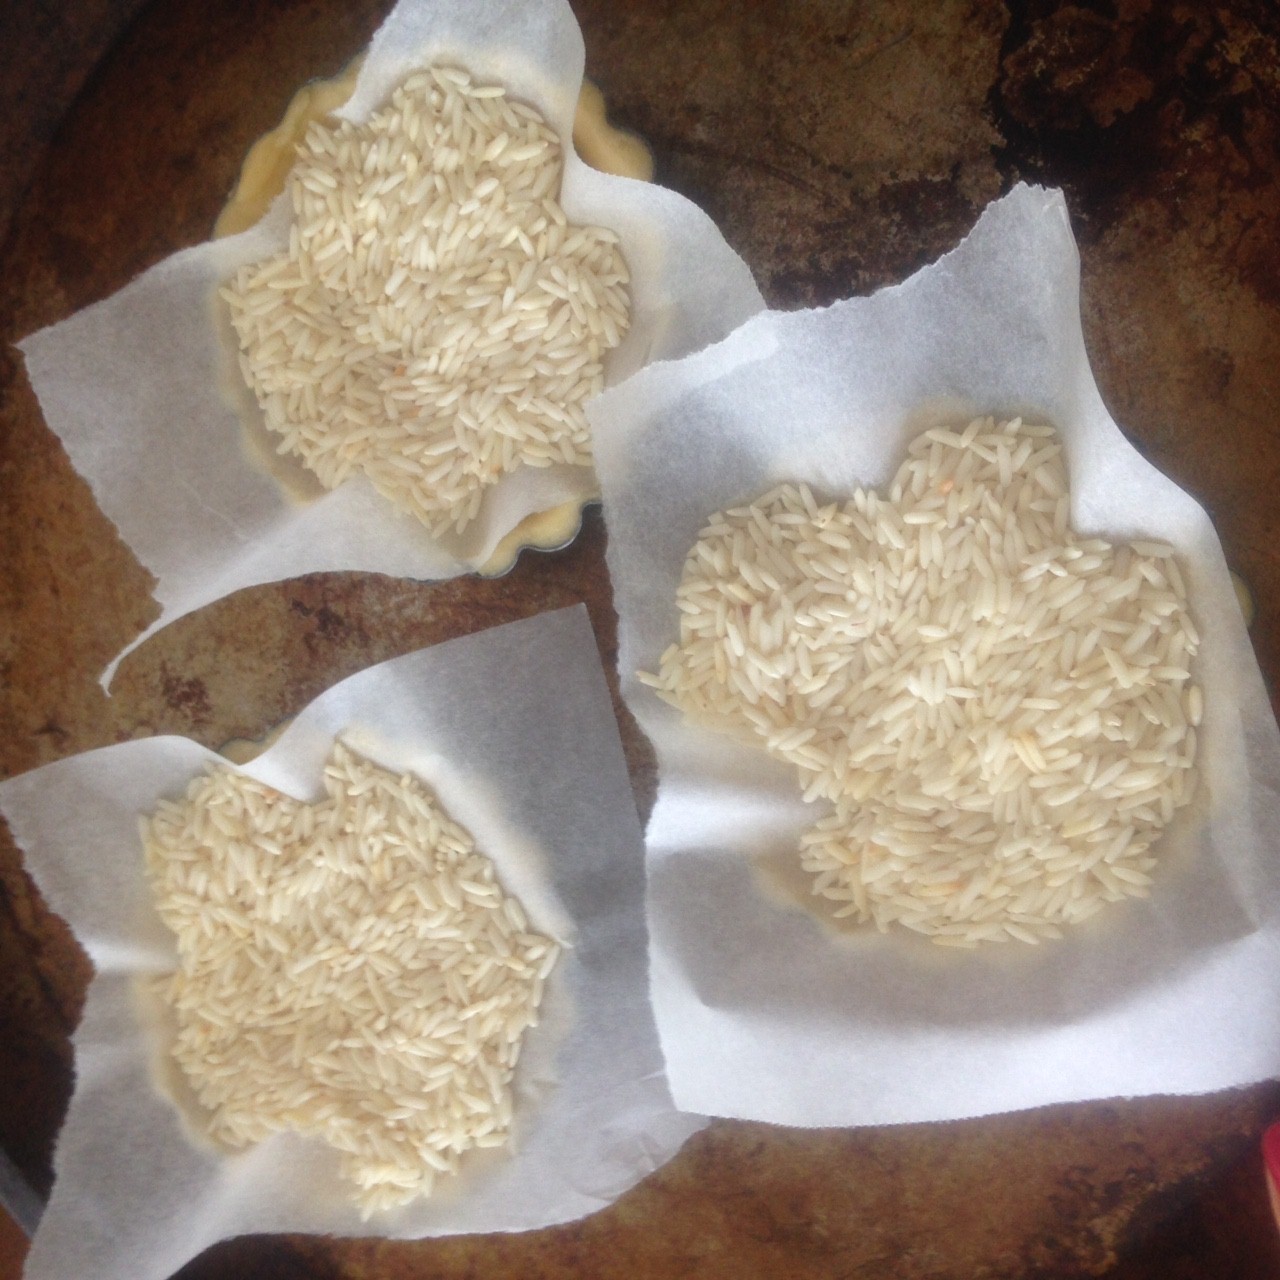
- Line a 20cm square cake tin with baking paper.
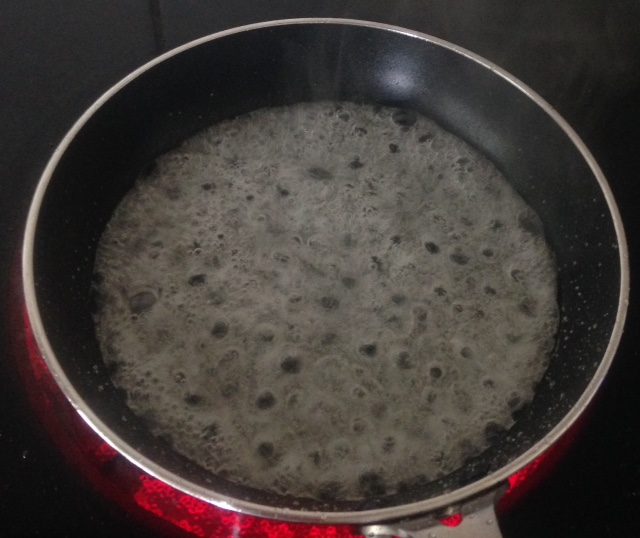
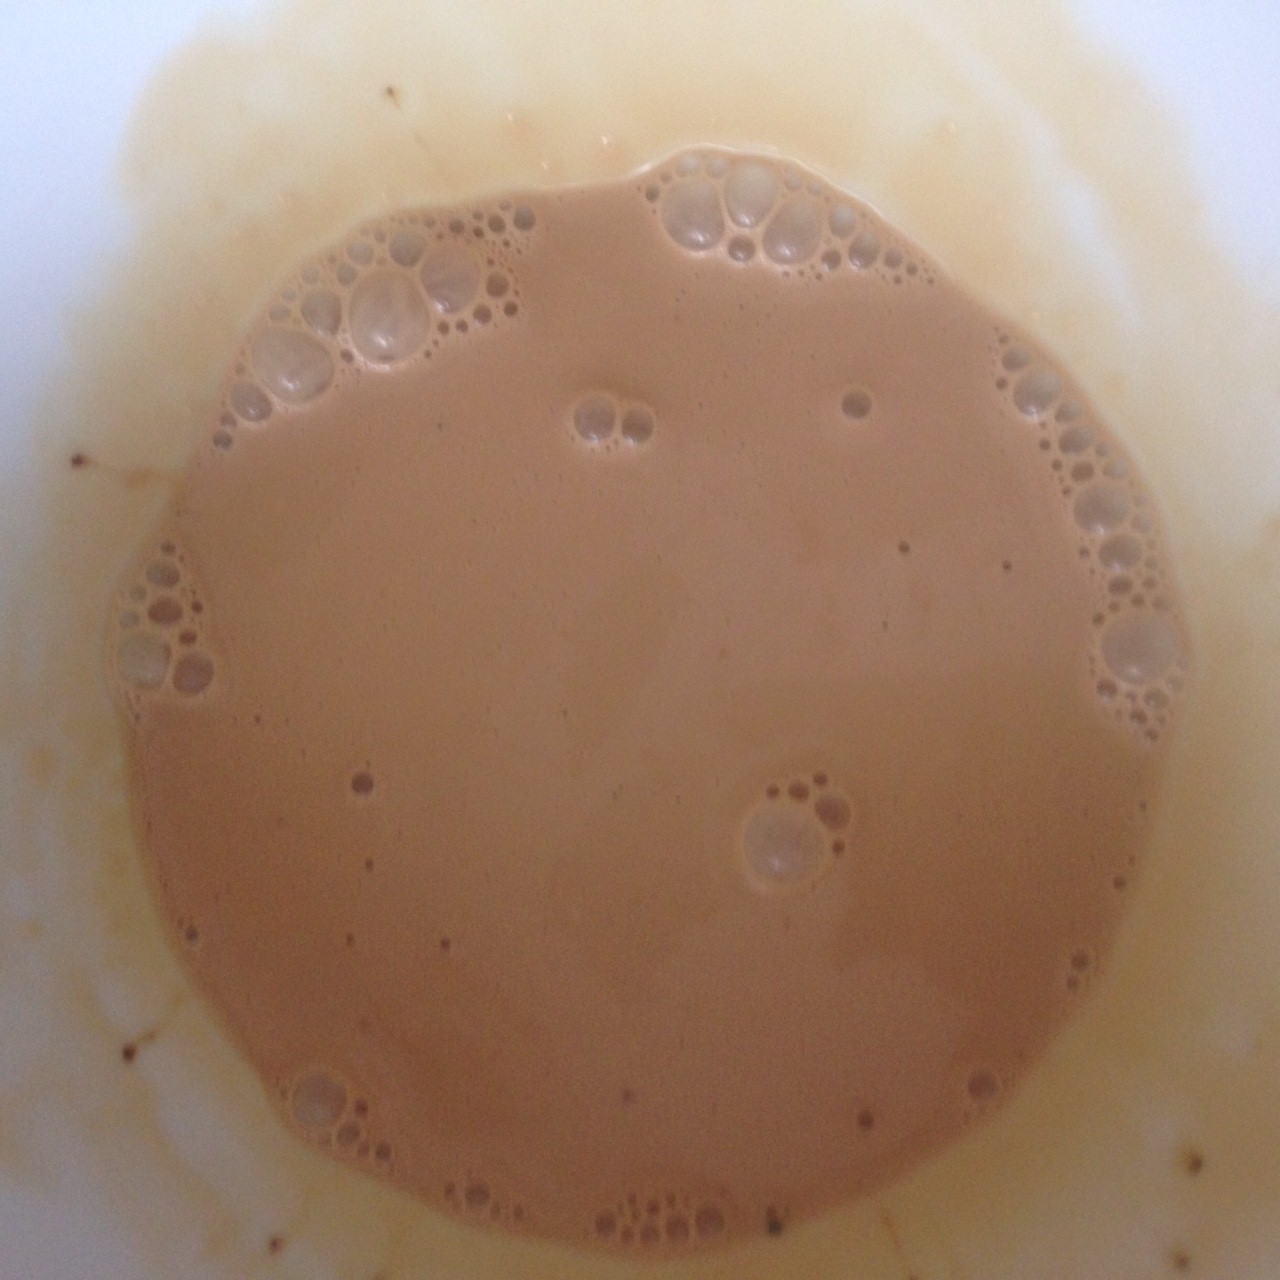
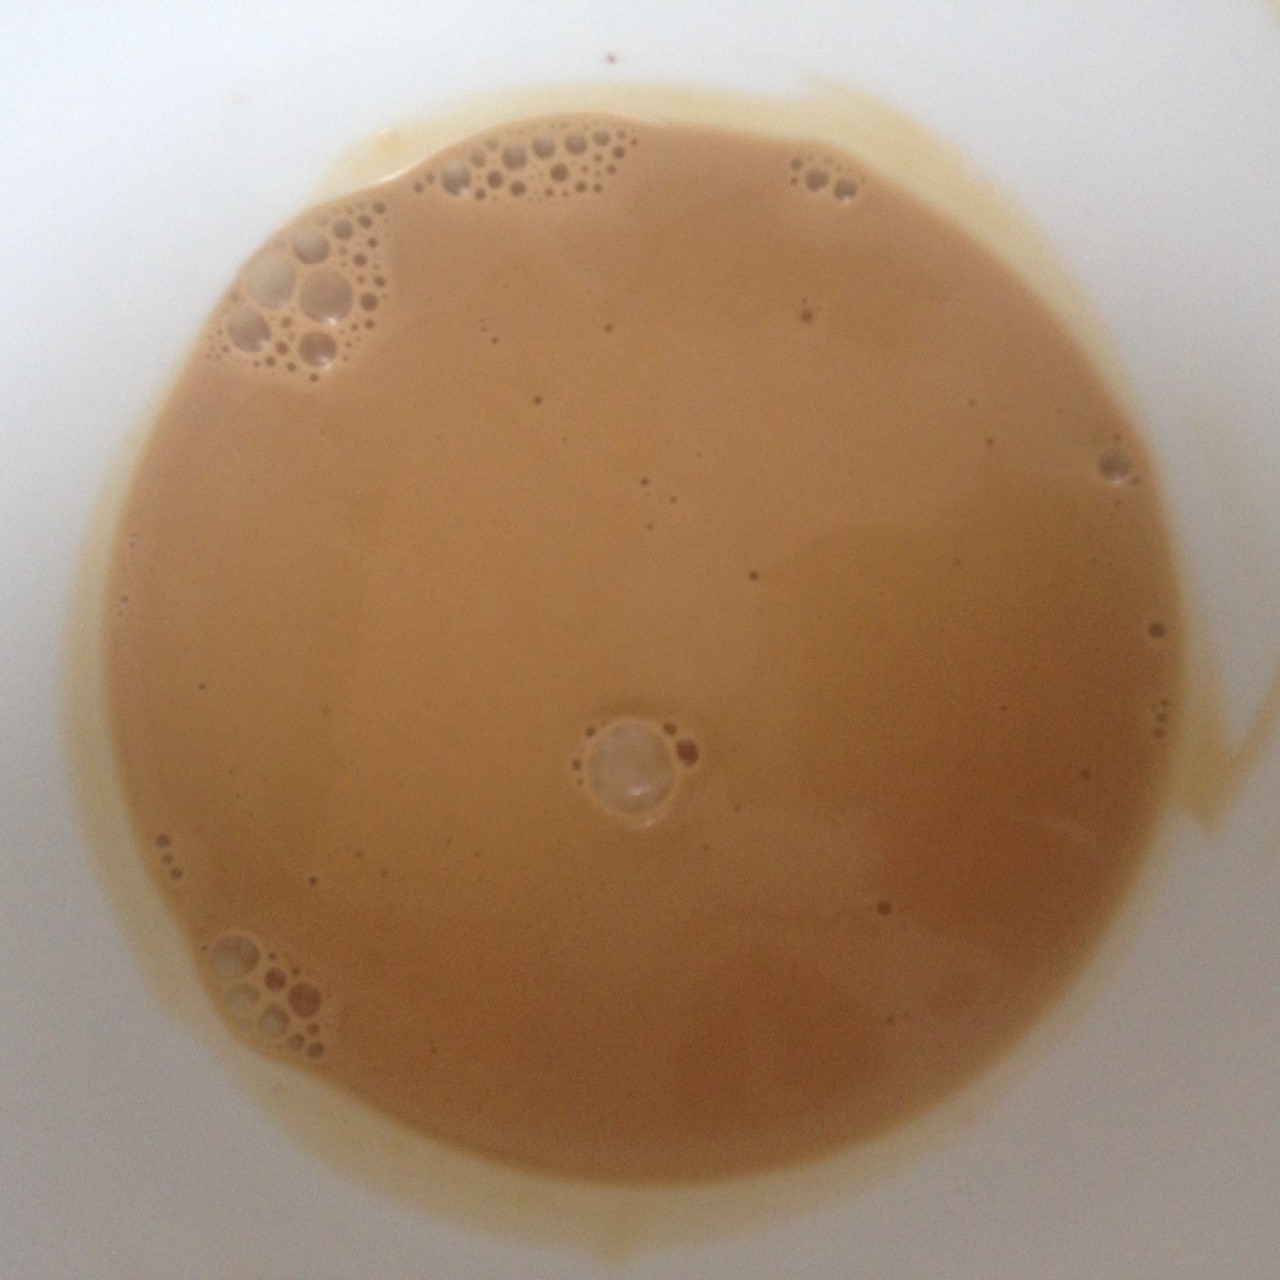
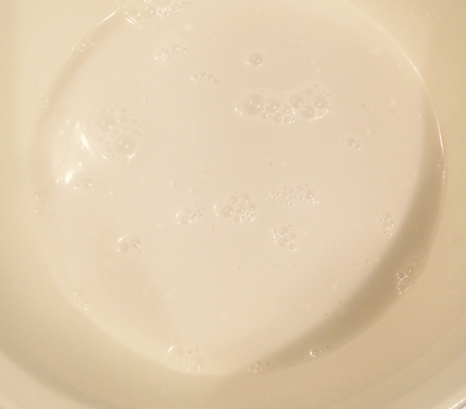
- Place the coconut milk, sugar and rum in a saucepan and simmer on a low heat until the sugar is dissolved.
- Pour the mix into a bowl and leave aside to cool.
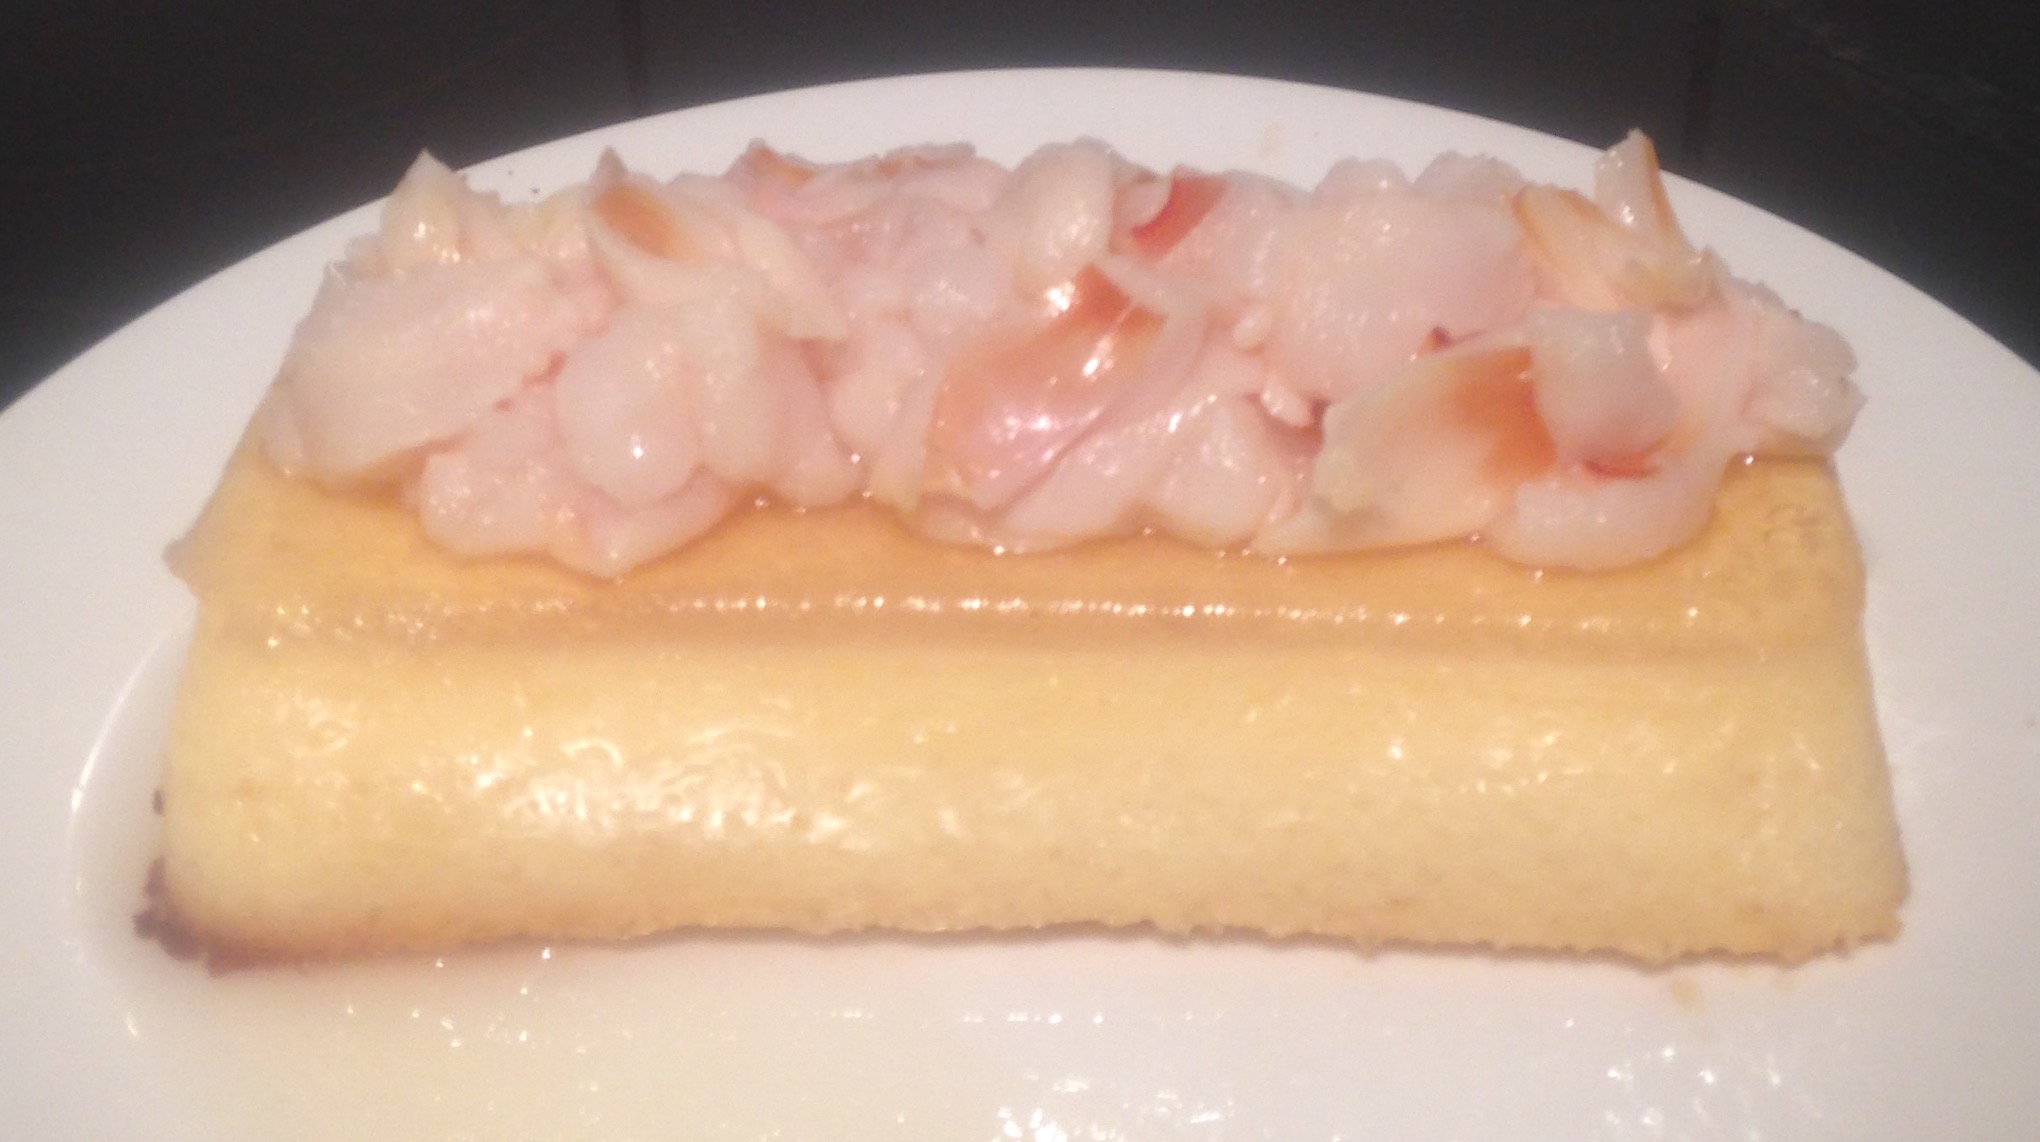
- Place half the biscuits into the coconut milk mix, one at a time until each has absorbed some mix.
- Place these biscuits on the bottom of the lined tin and trim to fit.
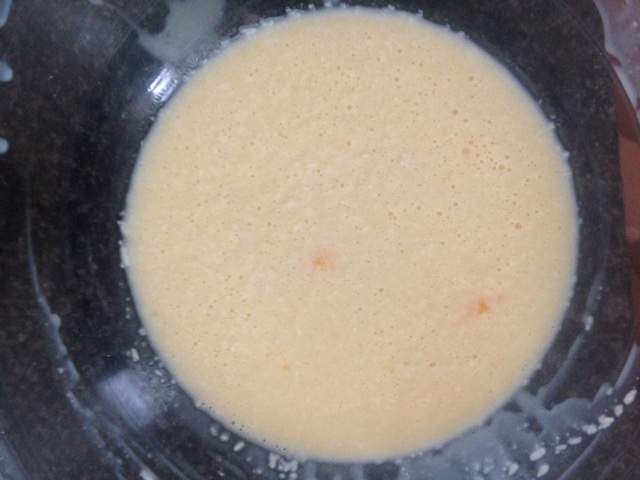
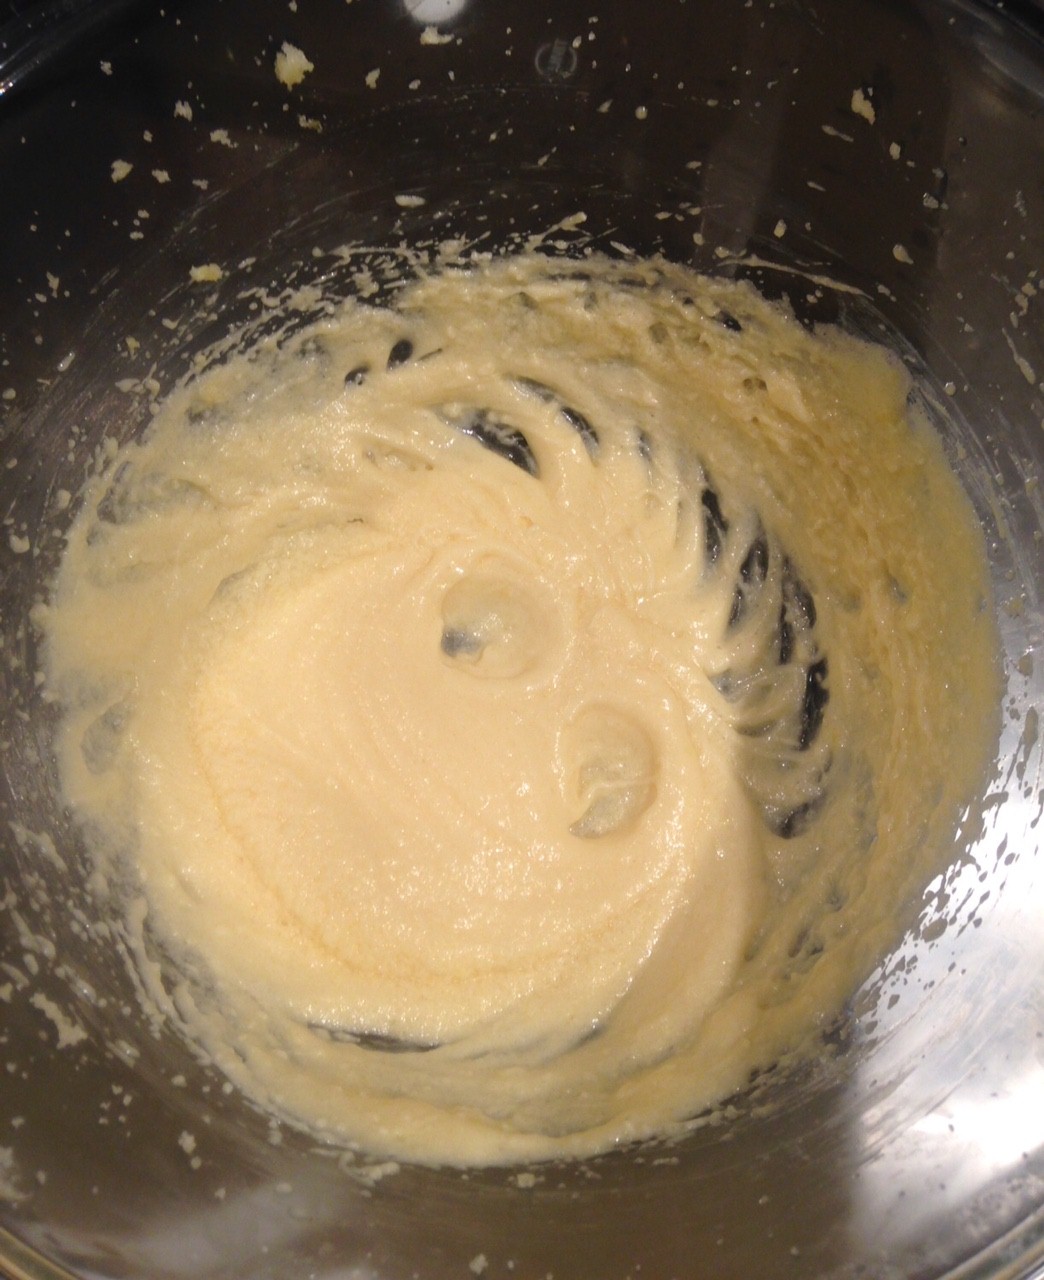
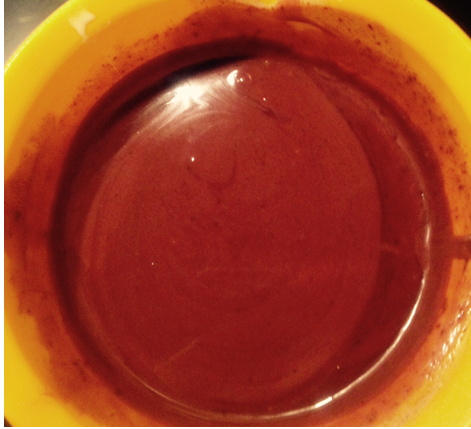
- Place 600ml cream in the microwave until simmering.
- Add the dark chocolate and stir until mix is glossy and smooth. Place in the fridge to cool.
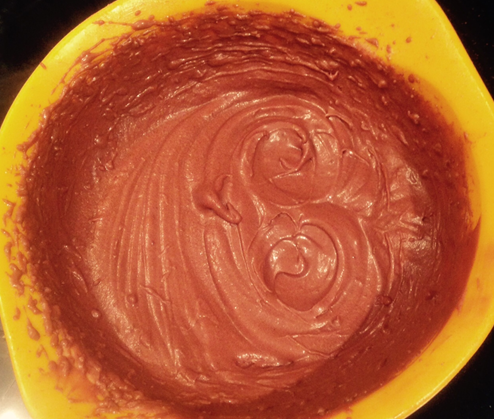
- Once the cream is cooled add the cocoa powder and whisk with electric beaters until peaks form.
- Spoon the mousse mix over the biscuit layer and flatten with the back of a spoon.
- Place the remaining biscuits into the coconut milk mix, one at a time until each has absorbed the mix (there should be only a little amount of the mix left).
- Place the biscuits on the top of the mousse and trim to fit.
- Push down the biscuits slightly and place the cake in the freezer to set for 3 hours.
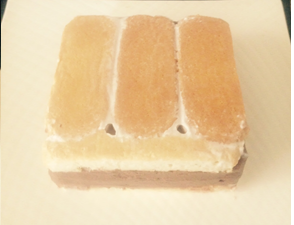
- Remove the cake from the tin by inverting onto a plate.
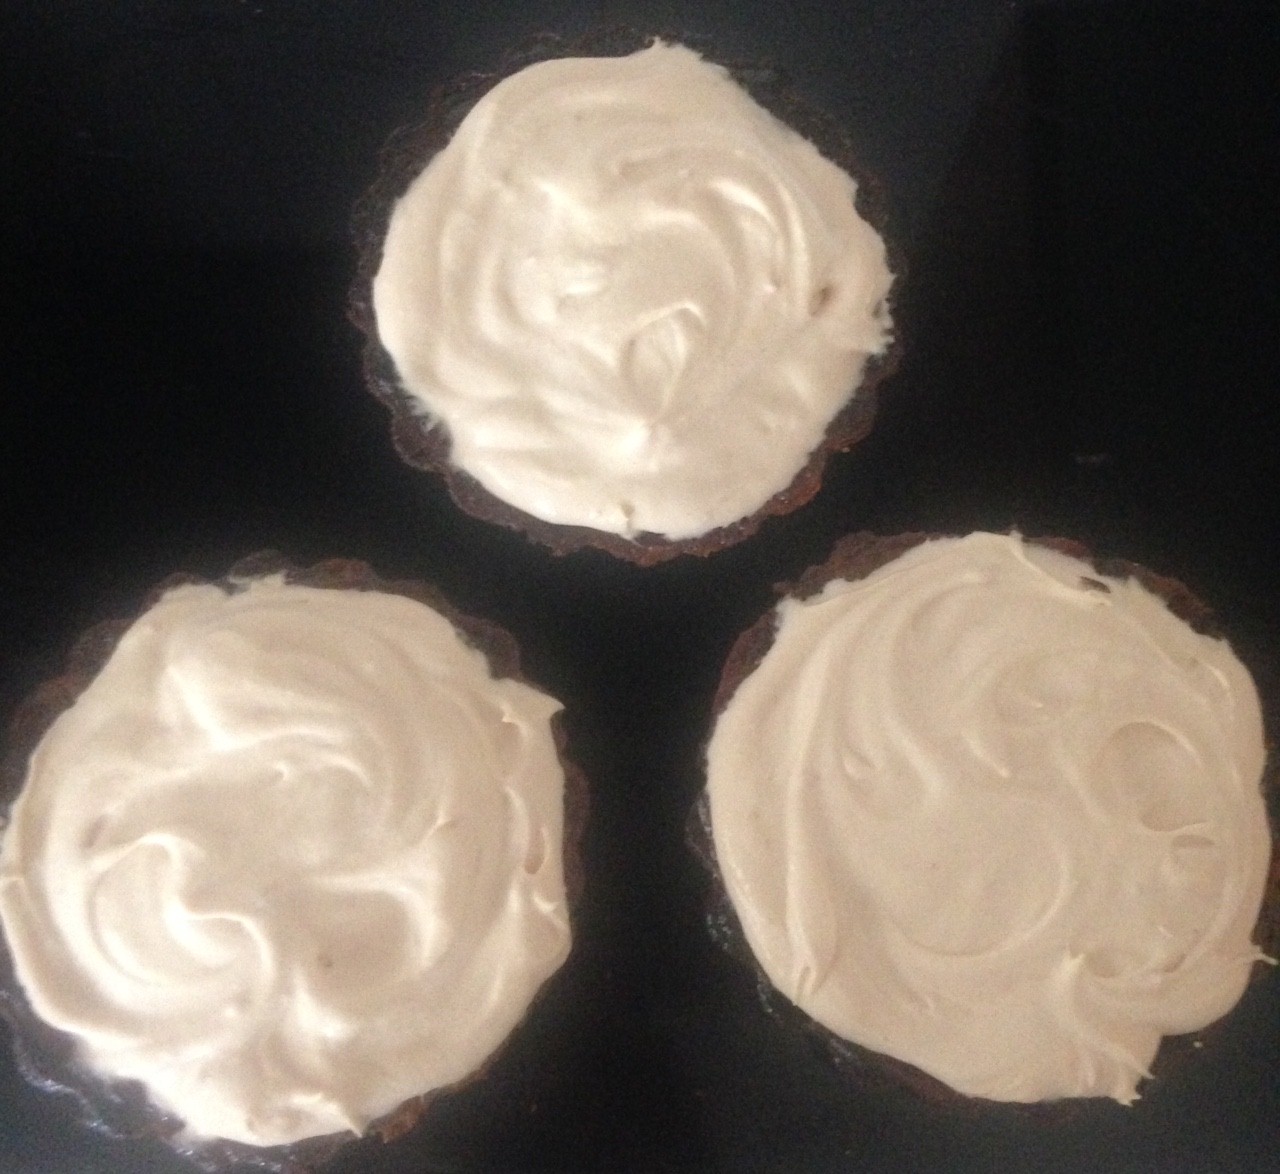
- Remove the baking paper, whisk with electric beaters the remaining 100ml of cream until peaks form and spoon over the top of the cake.
- Dust with cocoa powder.
- Whisk the cream and icing sugar until well combine.
- Stir in the rum and dollop the cream on the top of the cake.
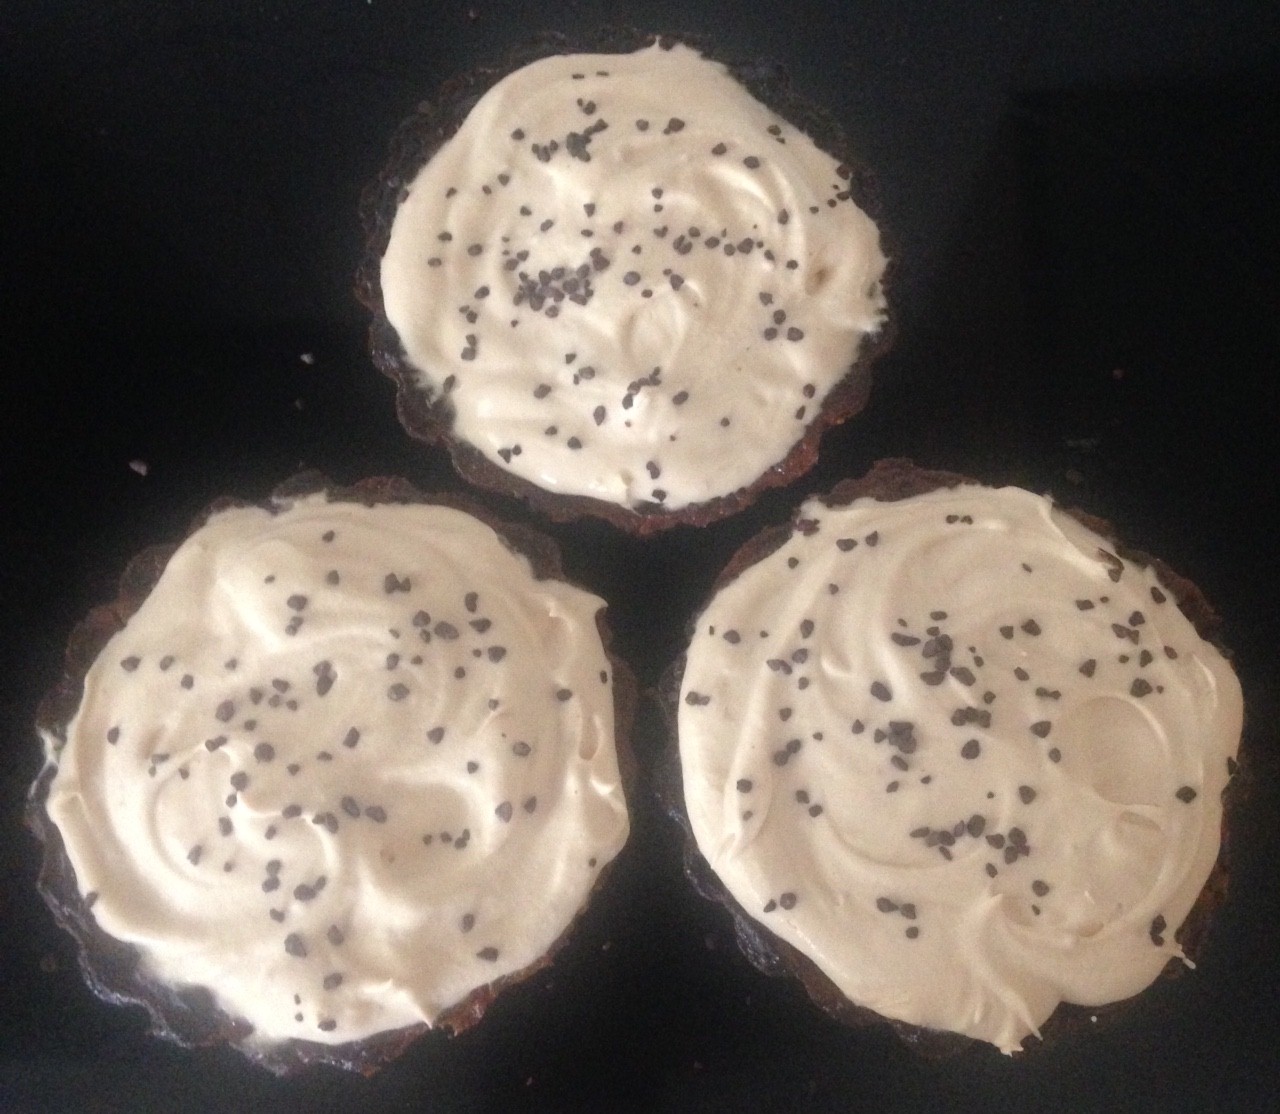
- Dust with cocoa powder and enjoy.
Step 3
Step 7
Step 8

Step 12
Step 13
Step 18
Like this recipe? Subscribe via RSS or email to get my new entries and more scrumptious recipes with reviews.
 Follow