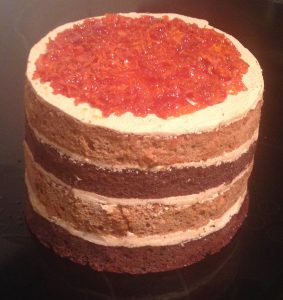
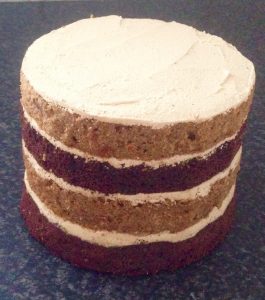
Strawberry Lemon Slice with Earl Grey Marshmallow
This recipe is easy, requires low effort and only a small number of ingredients.
The flavors all complement each other well, where they create a very unique and flavorsome little sweet treat.
This recipe originally came about as I wanted to make the easiest, fuss free marshmallow that people would be impressed with. I spend ages producing and using multiple baking techniques and ended being really happy with this outcome.
I also went through a baking with tea phase and was yet to perfect a recipe using Earl Grey tea (this was attempt number 7).
This recipe would make for a lovely high tea inclusion for any occasion.
Ingredients:
- 100g self raising flour
- 1oog plain flour
- 180g sugar
- 100g butter
- 4 tsn strawberry essence
- 1 tsn lemon zest
- 1 egg
Marshmallow:
- 4 teabags Earl Grey
- 1 tbsn gelatine powder
- 140g sugar
Method:
- Pre-heat the oven to 180c degrees and line a 20cm x 30cm cake tin with baking paper.
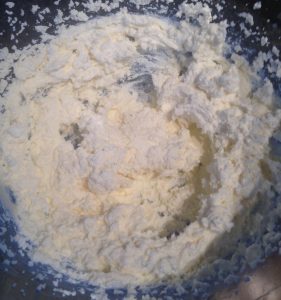
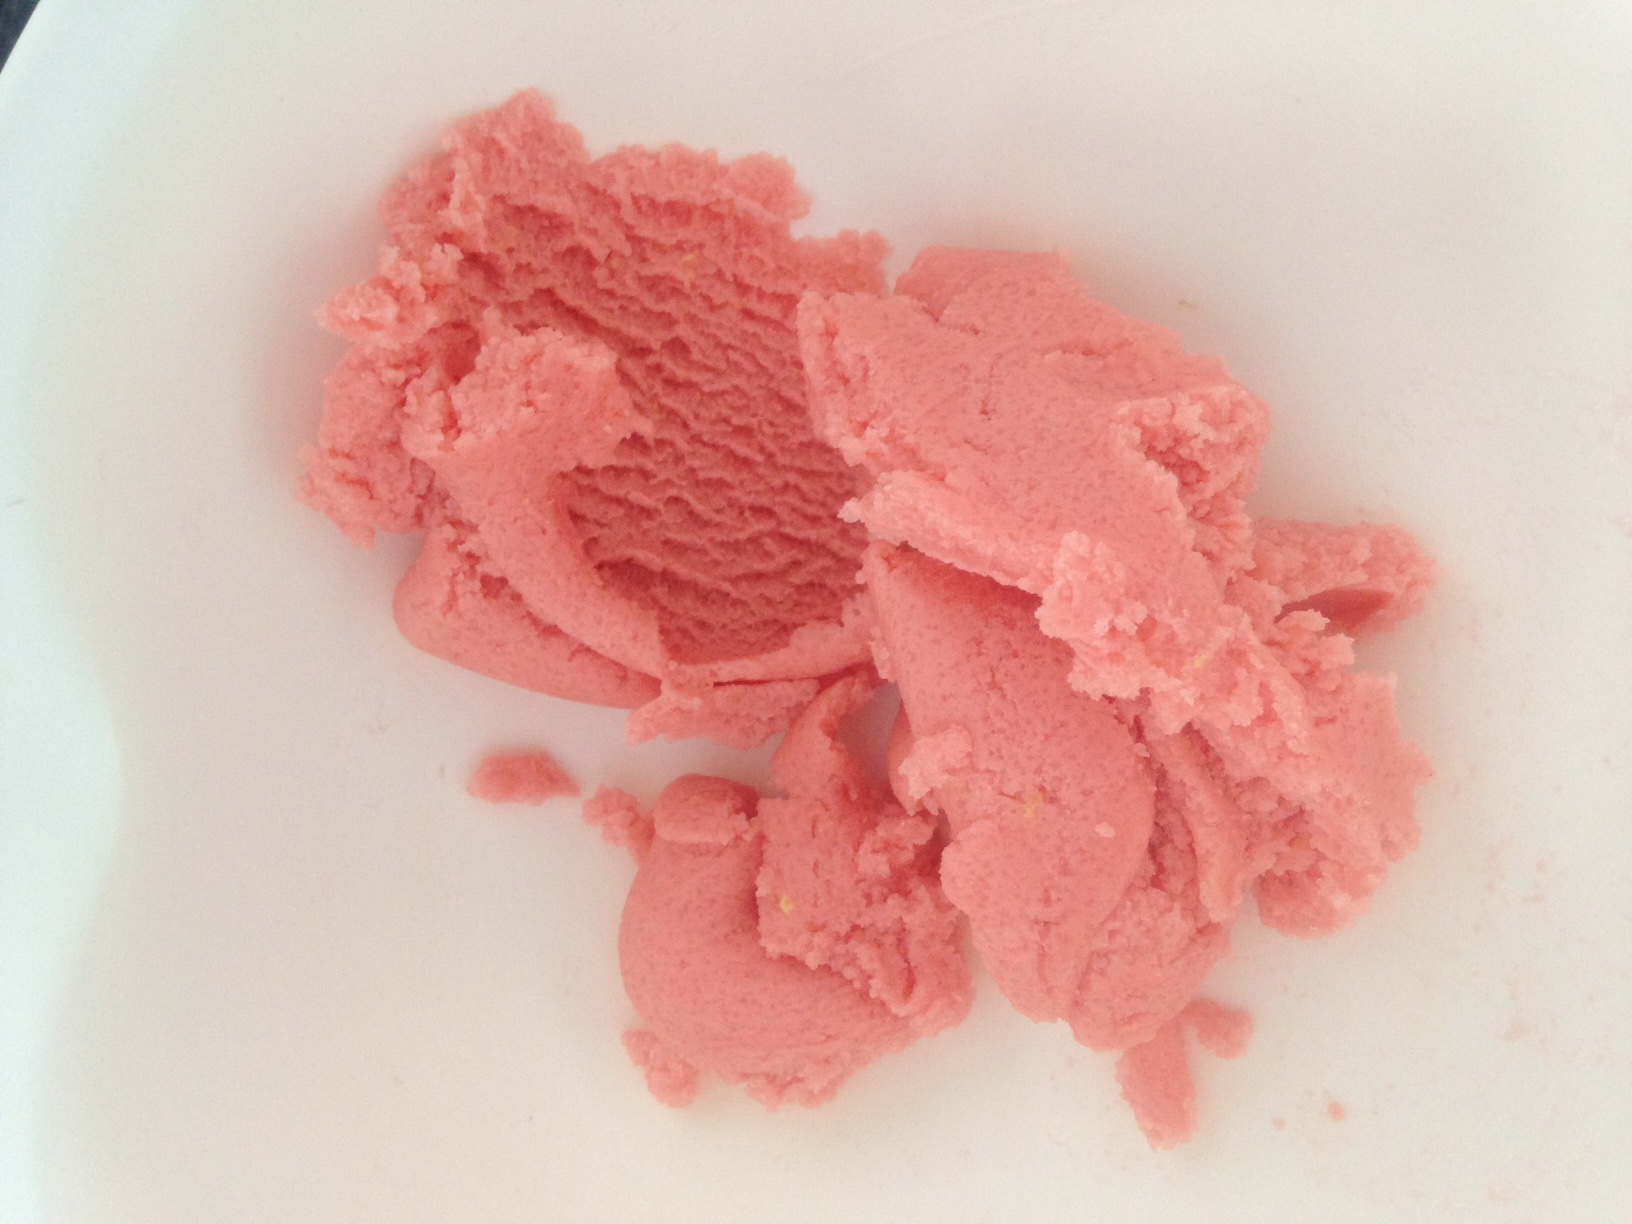
- Place the flours and sugar into a bowl and mix.
- Melt the butter in a bowl and add the essence and zest.
- Stir the egg into the flour mix, add the butter mix and stir until well combine.
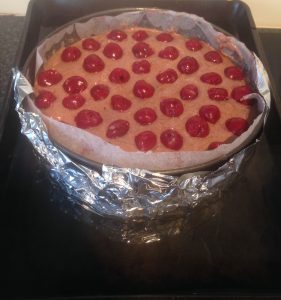
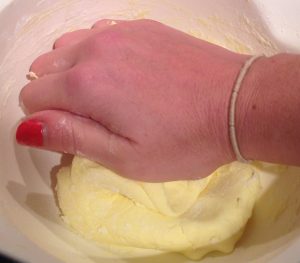
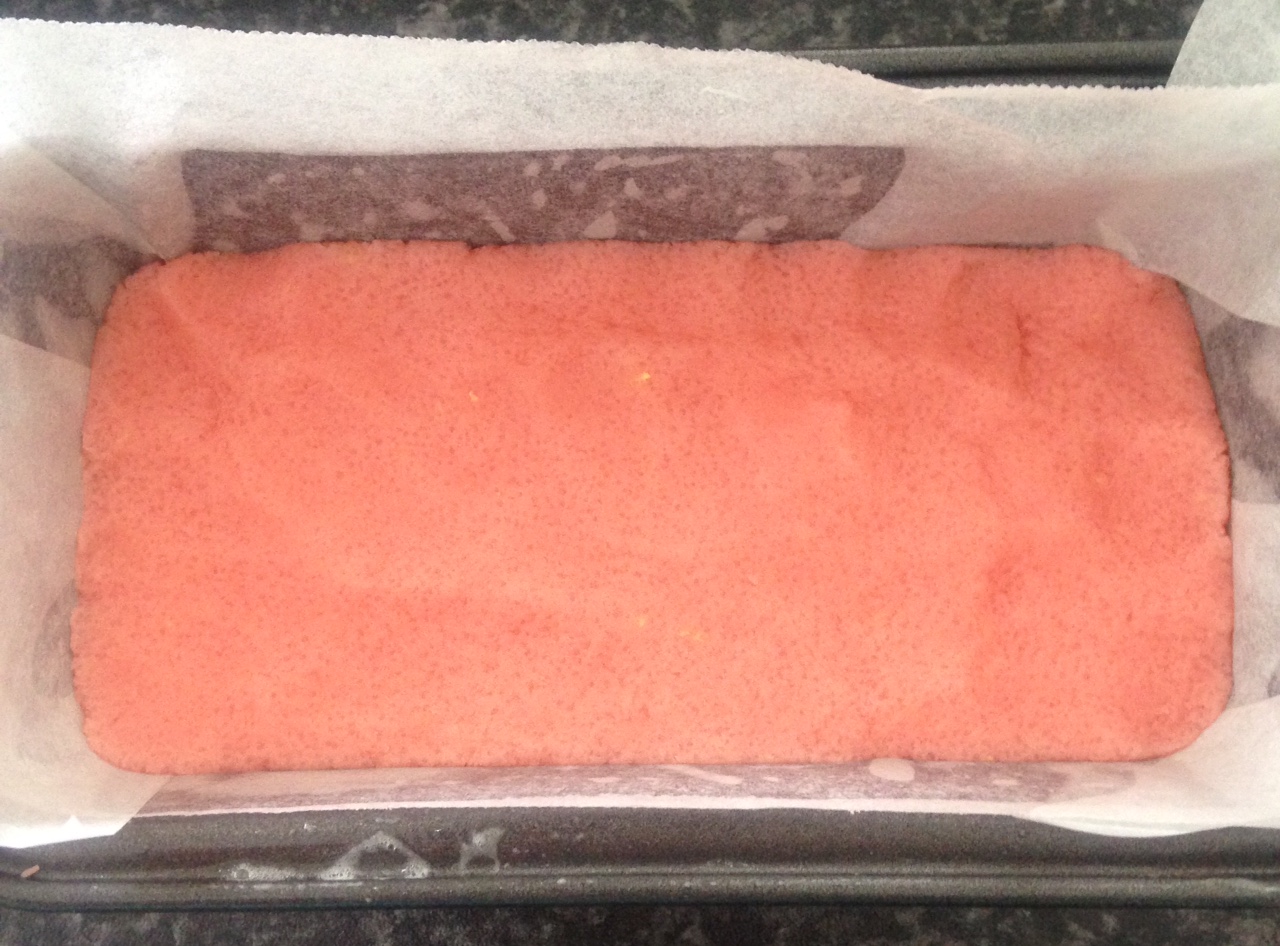
- Place the mix into the cake tin and flatten with fingers until smooth.
- Bake in the oven for 20 minutes, then set aside to cool.
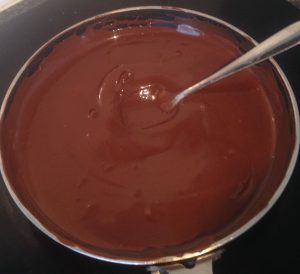
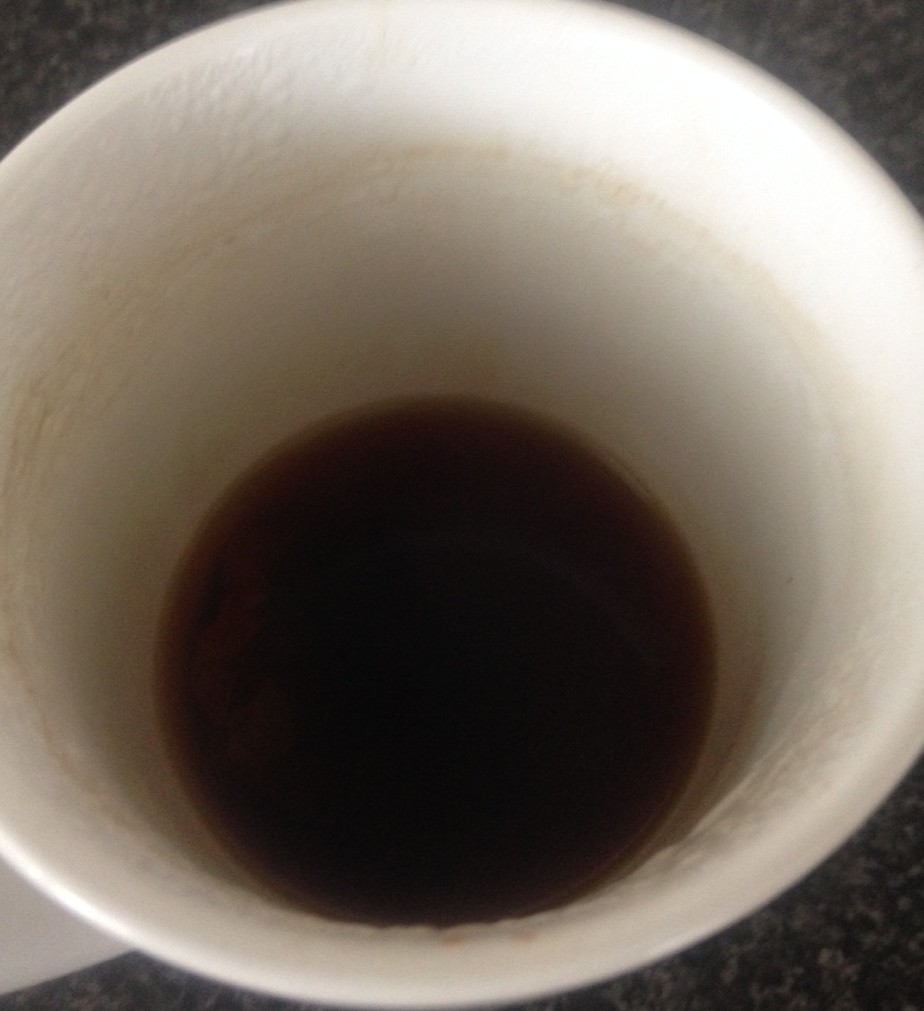
- Place 300ml boiling water into a cup and add in the tea bags. Leave the tea to infuse for 5 minutes.
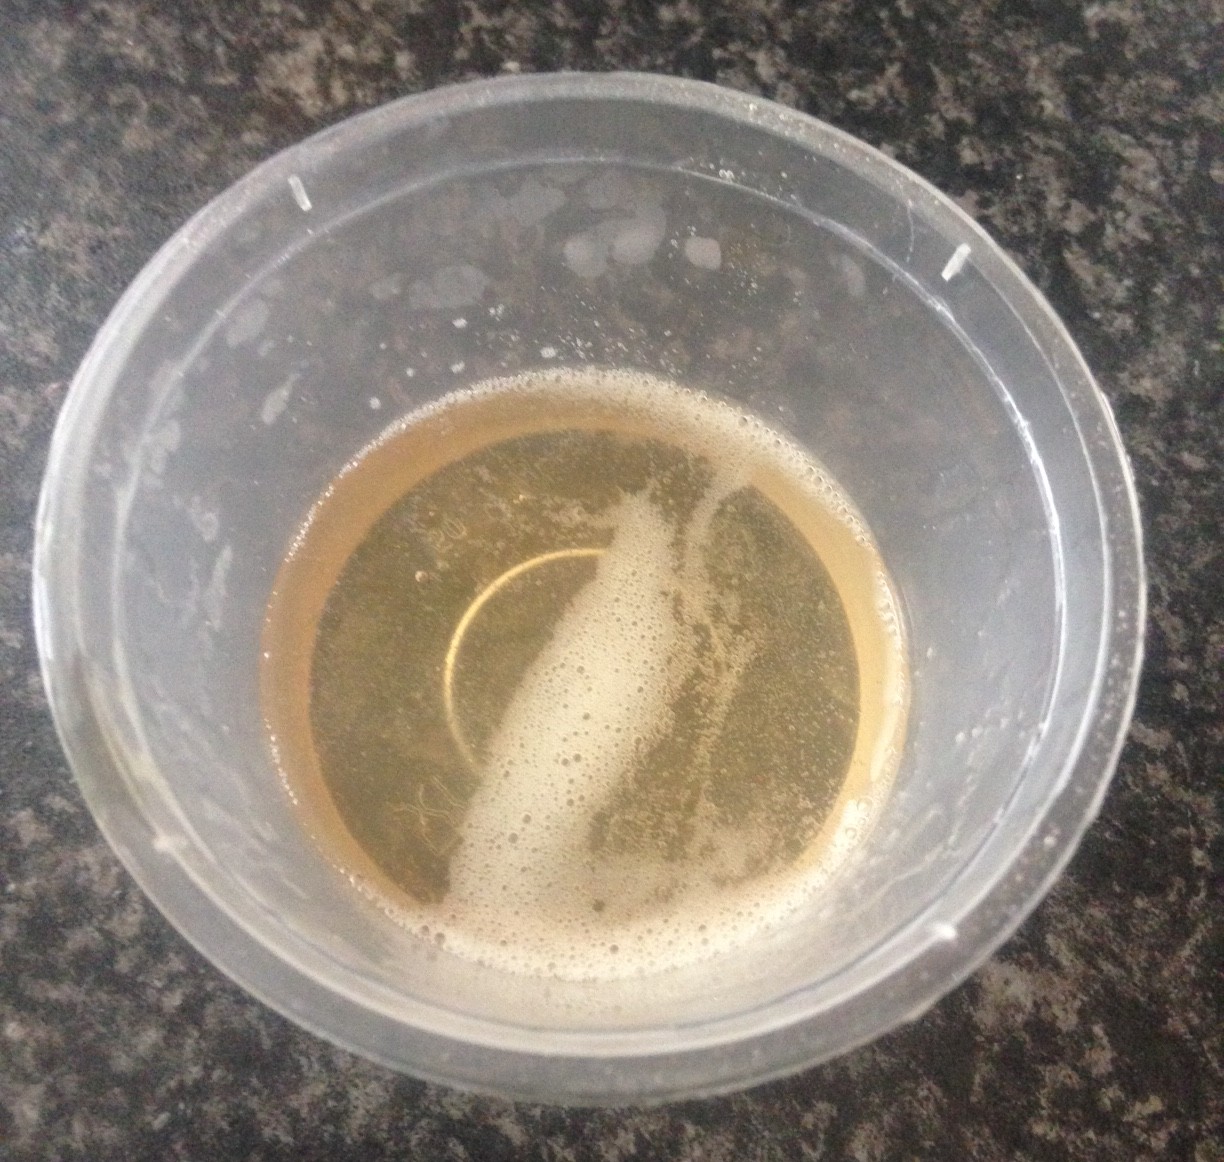
- Make the marshmallow mix by placing the gelatine into 100ml of the infused tea water in a bowl and whisk to combine the mix.
- Place another 100ml tea water and sugar into a bowl and whish with electric beaters for 4 minutes.
- Place the gelatine mix in the microwave until warm and syrupy in texture if mix has gone cool and hard.
- Slowly pour the gelatine mix into the sugar mix in a consistent stream while the beaters are on high.
- Continue beating for a further 8 minutes or until the mix is light and fluffy.
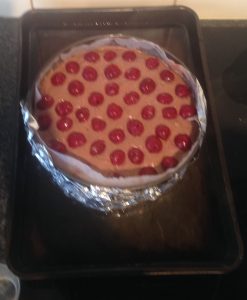
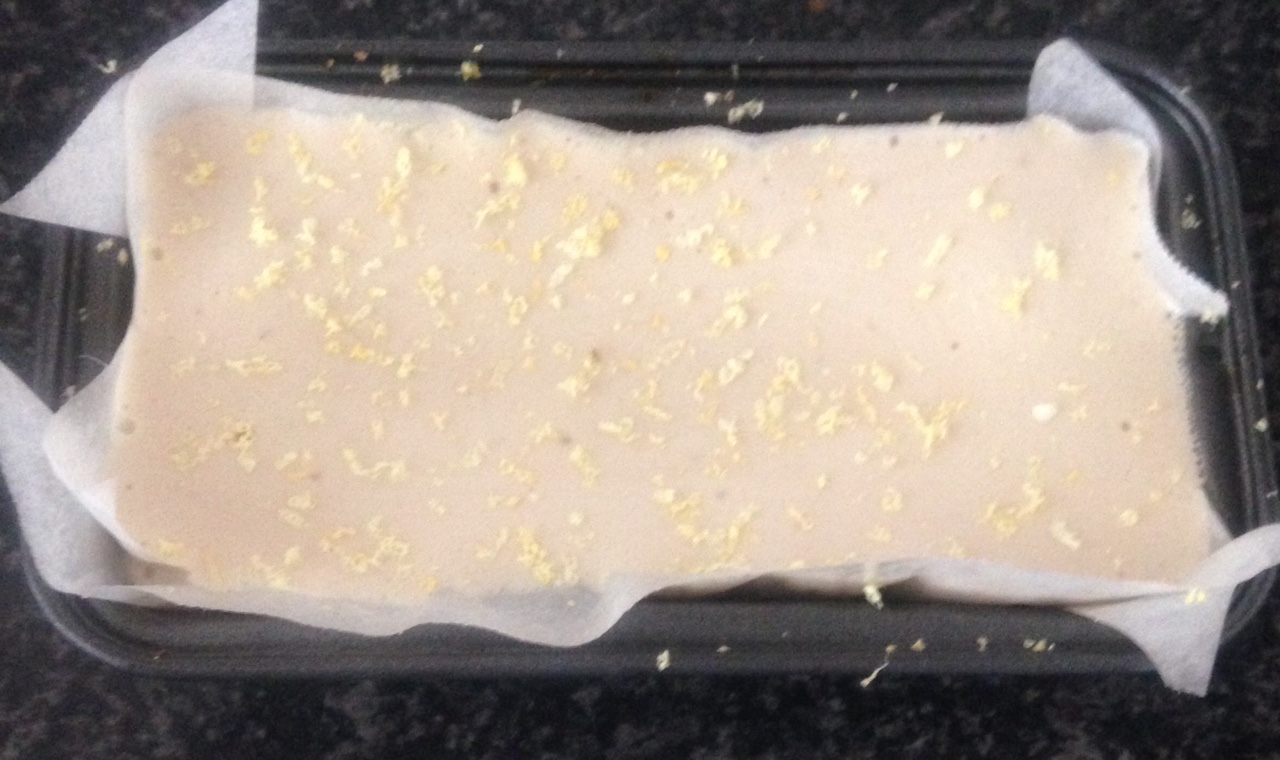
- Pour the mix over the cooled slice base and place in the fridge for 2 hours to set completely.
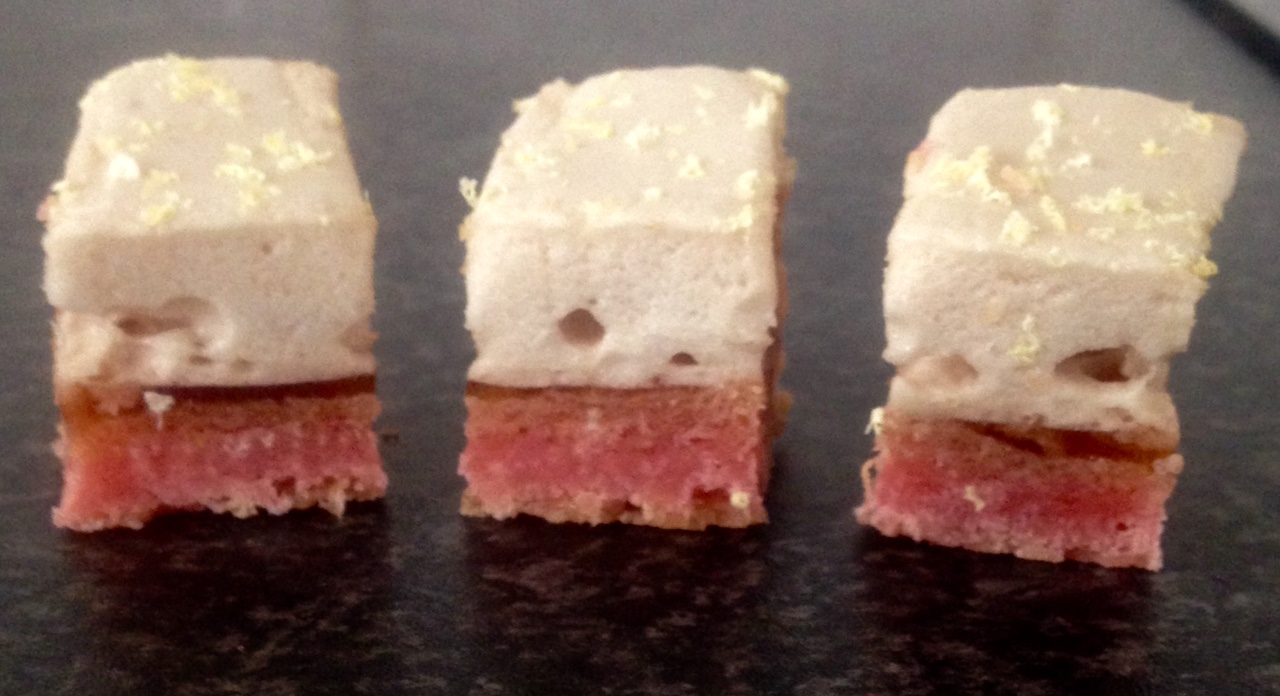
- Cut and enjoy.
Notes:
- You need to make more tea than required as the tea bags soak up a lot of the liquid.
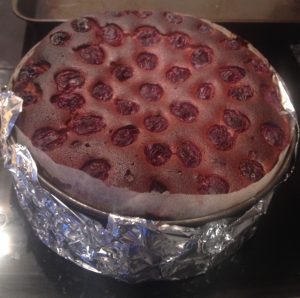
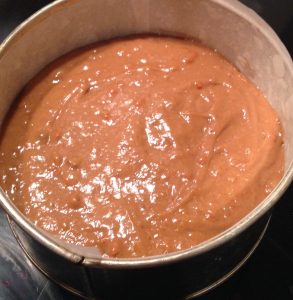
Step 4
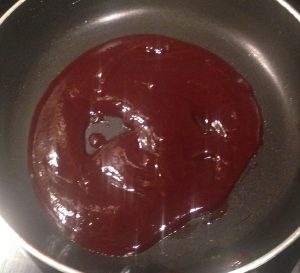
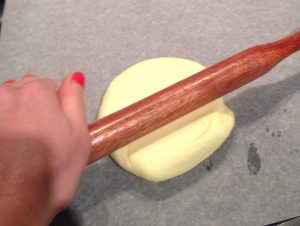
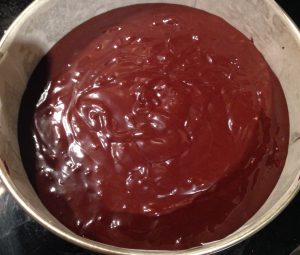
Step 5
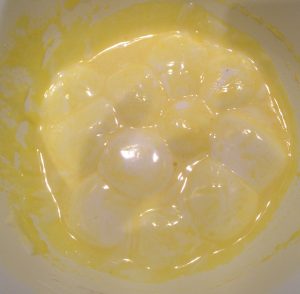
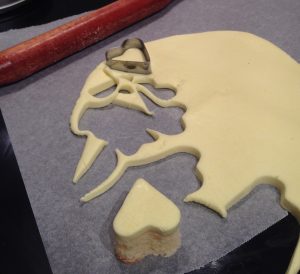
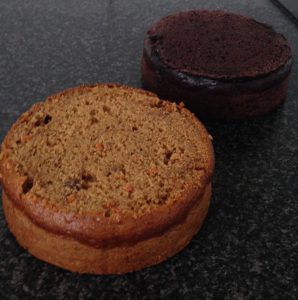
Step 7
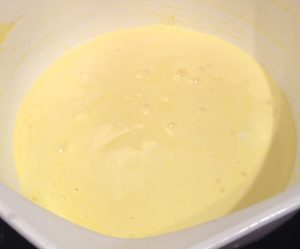
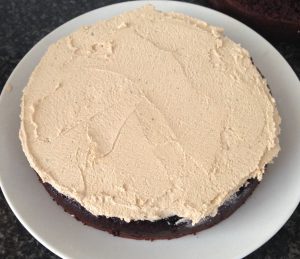
Step 8
Step 13

Step 14
Like this recipe? Subscribe via RSS or email to get my new entries and more scrumptious recipes with reviews.
 Follow