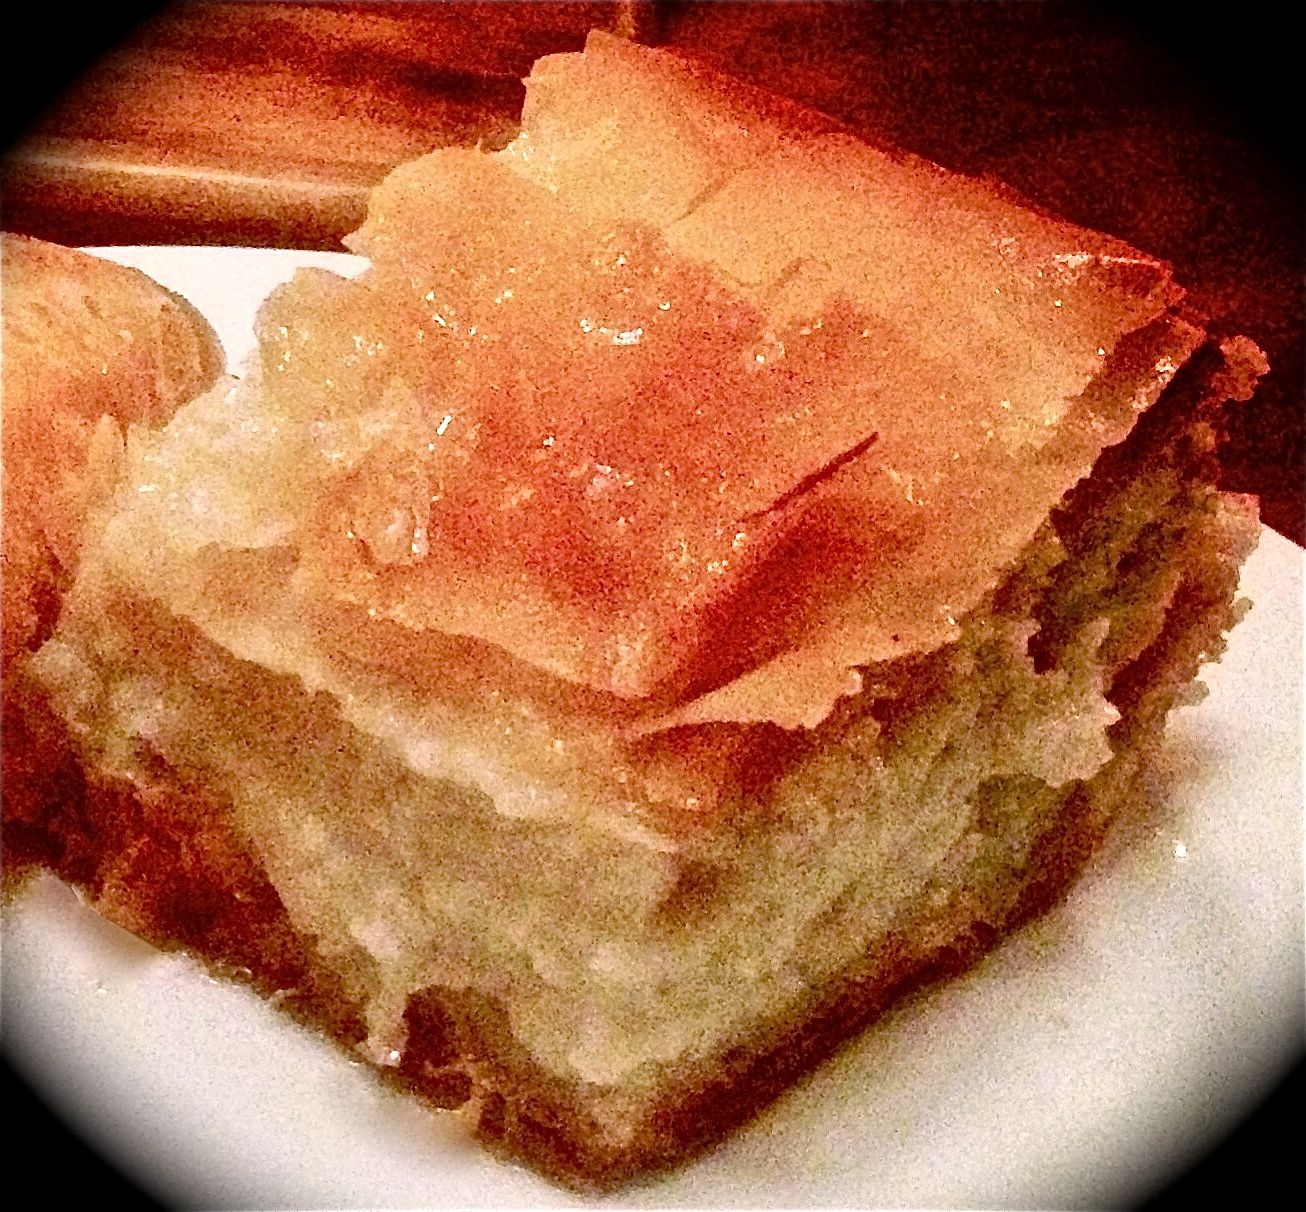
Sweet Tooth Experiments

  • About Me
  • Recipe Index
  • Baking Metrics
  • Tips & Tricks
  • Common Baking Questions
  • Contact

Monthly Archives: March 2014

Vanilla Slice

Posted on March 31, 2014 Posted in Slice .

vanilla slice

Vanilla Slice

Yummm, Vanilla Slice…my fathers all time favorite dessert and I must say my recipe is a winner. I have made this sooo many times and it is always a hit.


Ingredients:

  • 1 + ¼ cups of milk
  • 300ml thickened cream
  • 4 egg yolks
  • ½ cup caster sugar
  • 1 tsn vanilla essence
  • 1/3 cup corn flour
  • 1/3 cup custard flour
  • 60g chopped butter
  • 2 sheets of frozen puff pastry.


Method:

  1. Pre-heat the oven to 200c and line 2 baking trays with baking paper.
  2. Also line a 23cm square cake tin with baking paper.
  3. Place the milk and cream in a saucepan over medium heat and cook stiring for 10 minutes or until it is almost simmering. Don’t boil as the mix will curtel.
  4. Using the electric beaters beat the egg yolks, sugar and vanilla until thick and creamy.
  5. Add the corn flour and custard powder to the sugar mix, beating until smooth.
  6. Slowly beat in the milk mix. Once all added return the whole mix to the saucepan.
  7. Cook stirring over a low heat for 8 minutes or until the mix is thick enough to coat the back of a wooden spoon. Remove from the heat.
  8. Stir in the butter until smooth and set aside from 1 hour to cool with plastic wrap on the top to stop a custard seal from forming.
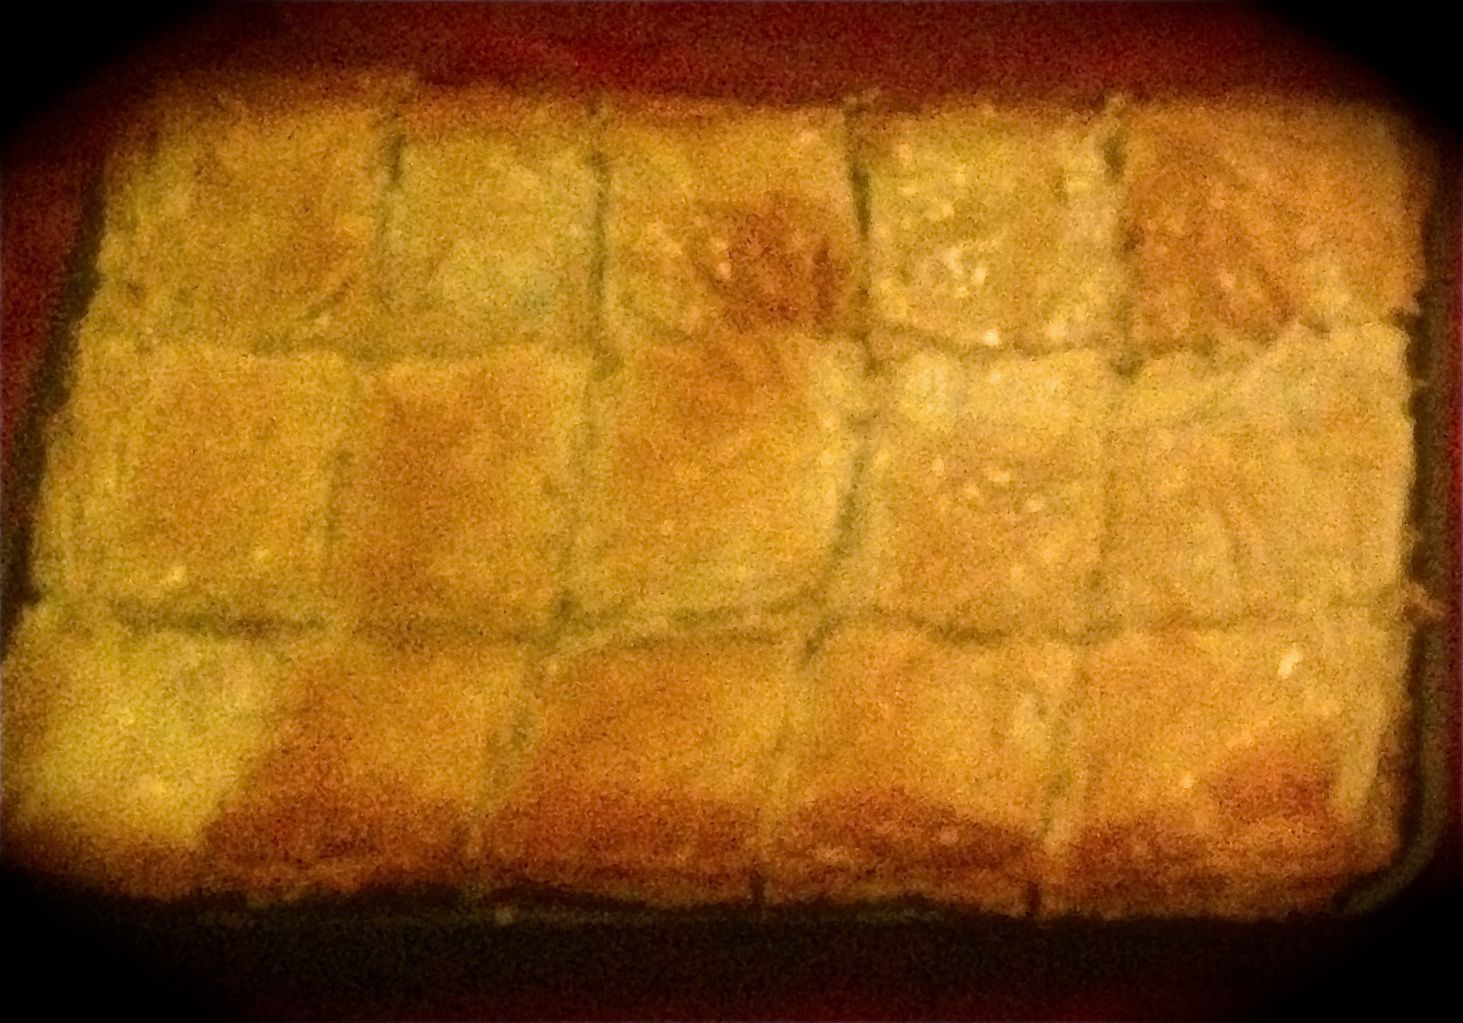
  9. Place 1 pastry sheet of each baking tray and bake for 20 minutes or until puffed and golden.
  10. Once cooled lightly press the pastry to flatten.
  11. Place 1 pastry sheet in the cake tin, pour in the custard and top with the 2nd pastry sheet.
  12. Place in the fridge for at least 3 hours or until set.
  13. Dust with icing sugar.


Notes:

  • If you would like to add icing to this slice you can use glace icing (see my recipe in icings) where you can replace the hot water in the icing with passion fruit pulp. However, I do feel this slice is better with just icing sugar.

vanilla slice2

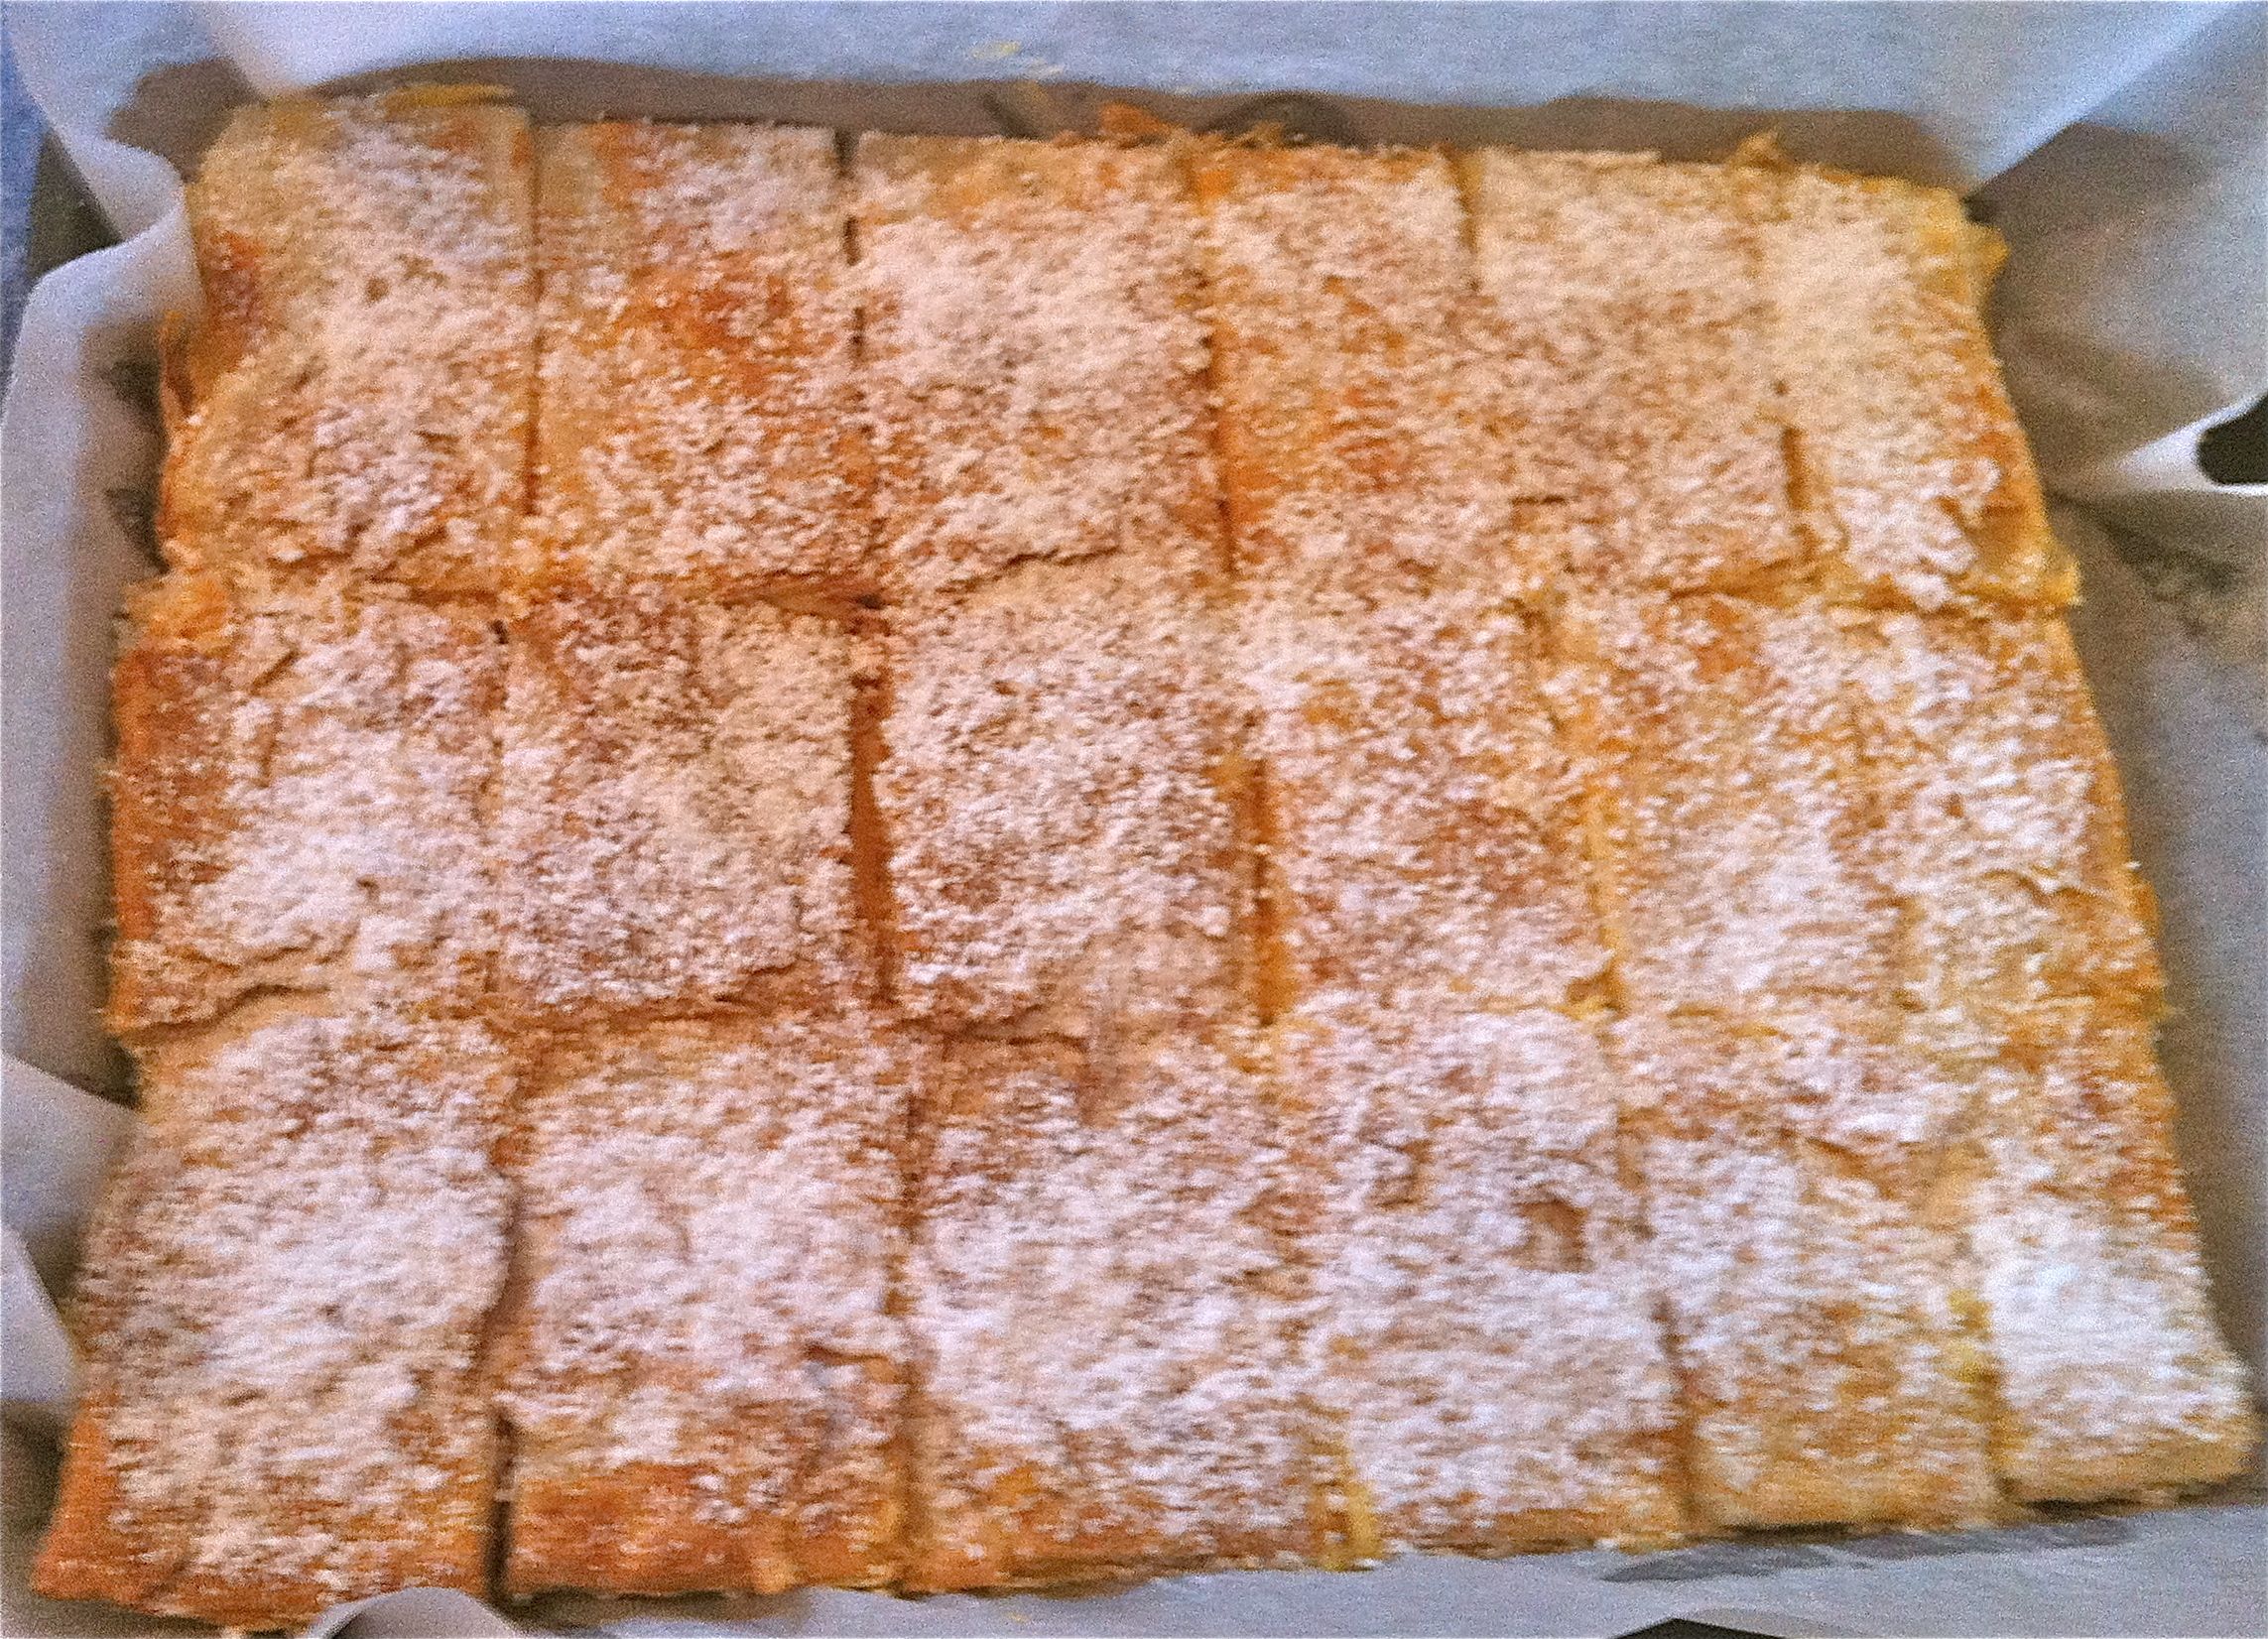
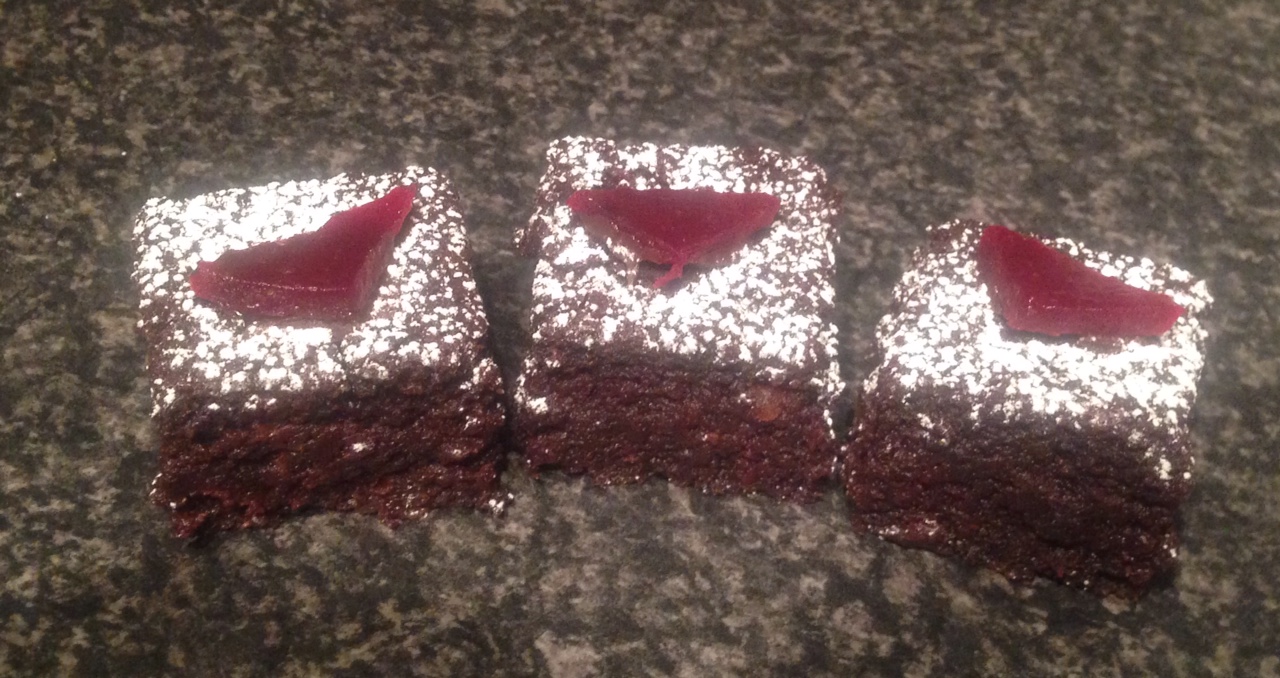
Step 13. The finished result.

Like this recipe? Subscribe via RSS or email to get my new entries and more scrumptious recipes with reviews.


Email, RSS Follow
Print
136 Comments .
Tags: custard, vanilla, vanilla slice .

Greek Custard Pie

Posted on March 26, 2014 Posted in Greece, Pies, Traditional .

greek2

Greek Custard Pie

So I have touch on America with a traditional Pumpkin Pie and Italy with Cannoli’s now we are going to Greece for a custard pie.

Wait until you try this recipe out and its not even that naughty (ignoring the syrup of course).


Ingredients:

  • 4 cups rice milk (or normal is your not a fan)
  • 1 cup fine semolina
  • ½ cup white sugar
  • 4 eggs
  • 1 tbsn finely grated lemon rind
  • 1 tsn vanilla essence
  • 12 filo pastry sheets cut in half
  • 125g butter or oil spray

Syrup

  • 1 cup white sugar
  • 1 cup water
  • A long strip of orange rind
  • A long strip on lemon rind
  • 1 tsn cinnamon
  • 2 tbsn lemon juice


Method:

  1. Grease a 20cm x 30cm ovenproof dish and pre-heat the oven to 180c.
  2. Place milk in a saucepan and heat until boiling. Once boiled reduce the heat to low.
  3. Pour in the semolina and whish until smooth.
  4. Whish in another bowl the egg and sugar until smooth.
  5. Whish I cup of the semolina into the egg mix to loosen it up.
  6. Now add the egg mix to the semolina on the stove and cook stirring for 5 mins or until the mix thickens.
  7. Remove from the heat and stir in the rind and vanilla.
  8. Place a filo sheet in the dish and brush with the butter (or spray with oil spray). Repeat with half the butter and filo sheets.
  9. Spoon in the custard.
  10. Now repeat with the remaining filo and butter.
  11. With a knife score the top of the filo to 4cm squares.
  12. Cook for 50 minutes until golden brown on the top.
  13. Combine all the syrup ingredients into a pan on the stove on high until boiling. Now reduce to a simmer for 10 minutes until syrup reduces.
  14. Cut the cooked pie from where you have scored in the dish and pour over the syrup omitting the rind. Allow the syrup to soak into the pie at least 30 minutes prior to serving.


Notes:

  • I mention in there about oil spray. This will dramatically reduce the butter amount in the pie, thus reducing the fat content. If you’re not fussed about the extra butter then ignore the spray option.
  • If your not a fan of orange if is fine to omit the rind, many custard pie recipes don’t actually include this (I think it makes the pie better personality).
  • I also recommend using rice milk as it’s much sweeter than cows milk, which is why I only have ½ cup of sugar in the custard.


Like this recipe? Subscribe via RSS or email to get my new entries and more scrumptious recipes with reviews.

greek custard

Step 11 – Scoring the pastry

Email, RSS Follow
Print
42 Comments .
Tags: custard, greece, greek, Greek custard pie, pie .

Nut Caramel and Chocolate Slice

Posted on March 19, 2014 Posted in Slice .


Nut Caramel and Chocolate Slice

 Nut Caramel and Chocolate Slice

Caramel slice has been a favorite slice for many for years. Nut caramel bars of late are also quite popular. As both of these sweet treats involve caramel with either biscuit, nuts and chocolate layers I figured combining them together would work quite well. I have made similar recipes to this in the past, however this is by far the most tastiest caramel slice, where the nuts actually bring in a great neutralizer to the sweetness of the caramel.

Nut Caramel and Chocolate Slice

Ingredients:

  • 1 cup desiccated coconut
  • 1 cup SR flour
  • 1 cup brown sugar
  • 125g melted butter
  • 395g can condensed milk
  • 2 tbs golden syrup
  • ½ cup cream
  • 15g butter, extra
  • 2/3 cup chopped mixed nuts
  • ¾ cup milk chocolate
  • 15g cream, extra


Method:

  1. Pre-heat oven to 180c. Grease and line a 28cm x 20cm cake tin with baking paper.
  2. Combine the coconut, flour, sugar and butter in a bowl. Mix together then press into the tray until flat and smooth.
  3. Bake in the oven for 10 minutes, cool in tin.
  4. Combine the milk, syrup, cream and butter in a saucepan. Bring to the boil and then simmer for 8 minutes stirring constantly until darker and thick.
  5. Pour the caramel over the base, sprinkle with the chopped nuts and place back in the oven for 10 minutes or until golden. Allow the slice to cool in the tin.
  6. Place the cream and the chocolate in a microwave on low stirring every 20 seconds with a metal spoon until chocolate is smooth and creamy.
  7. Drizzle the chocolate over the slice, let it set and slice away.


Like this recipe? Subscribe via RSS or email to get my new entries and more scrumptious recipes with reviews.

Nut Caramel and Chocolate Slice

Step 2

Nut Caramel and Chocolate Slice

Step 5


Email, RSS Follow
Print
2 Comments .
Tags: caramel, chocolate, Nut Caramel and Chocolate Slice, nuts, slice .

Popcorn Slice

Posted on March 11, 2014 Posted in Slice .

popcorn slice

Popcorn Slice

This recipe doesn’t feature any usual ingredients (apart from baking with popcorn, which is a little off-center). However the texture of this slice is very interesting and we all know that you can’t go wrong with chocolate and caramel.


Ingredients:

  • 250g butternut snap biscuits
  • 175g butter
  • 395 sweetened condensed milk
  • 40g salted popcorn
  • ½ cup desiccated coconut
  • 185g milk chocolate


Method:

  1. Line a 25cm square baking tin with baking paper.
  2. Process the biscuits and 125g melted butter until combined. Press the mix into the cake tin and refrigerate for 30 minutes.
  3. Combine the condensed milk and 30g butter in a pan on the stove stirring over a medium heat for 10 minutes until the mix turns to caramel.
  4. Take off the heat and add in the popcorn and coconut stirring quickly.
  5. Transfer the mix into the cake tin and press with wet hands to flatten.
  6. Melt the chocolate with 20g butter until you have a smooth consistency then pour over the popcorn layer.
  7. Place back in the fridge for 30 minutes, cut and serve.


Notes:

  • For a more intense chocolate flavor you can use chocolate biscuits instead of butternut snap biscuits.
  • This recipe does not involve an oven only a fridge to set.


Like this recipe? Subscribe via RSS or email to get my new entries and more scrumptious recipes with reviews.


Email, RSS Follow
Print
125 Comments .
Tags: caramel, chocolate, popcorn, popcorn slice .

Beetroot and Chocolate Brownies

Posted on March 3, 2014 Posted in Brownies .

beetroot and chocolate brownie recipe

Beetroot and Chocolate Brownies

Beetroot…this vegetable is one of the sweetest veggies around, making it perfect to incorporate into baking. I have tried many beetroot recipes from cakes to tarts and have never been happy with the end result.

I think this beetroot recipe is my 5th attempt at baking with the ingredient and finally I’m onto a winner!

Ingredients

  • 500g beetroot (almost a whole 825g can that has been drained).
  • 175g butter, chopped
  • 255g brown sugar
  • 200g dark chocolate
  • 3 eggs
  • 100g plain flour
  • 35g cocoa powder
  • ¼ tsn ground cinnamon
  • ¼ tsn ground nutmeg
  • 90g walnuts, coarsely chopped


Method:

  1. Preheat the oven to 180c and place baking paper in a 25 cm square cake tin.
  2. Process beetroot in a food processor until finely chopped, following do the same with the walnuts.
  3. Place the beetroot, sugar, butter and chocolate in a saucepan over a low heat until all ingredients are melted and the mix is smooth.
  4. Place mix in a bowl and whisk in the eggs with a hand held whisk.
  5. Combine all the dry ingredients in a bowl and sift over the beetroot mix, whisk with a hand held whisk to combine.
  6. Stir in the walnuts.
  7. Pour into the cake tin and bake for 45 mins or until a skewer inserted in the middle comes out clean.
  8. Let the brownie cool in the tin then place in the fridge for 30mins (this will ensure it is set), cut.


Notes:

  • Remember this is a dense brownie so it will look a little under cooked and not set. When you take it out of the fridge it will have the most amazing texture. It will melt in your mouth but will not be gooey.
  • I’m not really a fan of walnuts, however added some in for texture purposes. It makes no difference to the taste to go without them.
  • This brownie tastes like a rich chocolate brownie, however has a little zing from the beetroot as an after taste.
  • I had people who don’t like beetroot telling me they loved this and someone who doesn’t like chocolate cake telling me they enjoyed this.

beetroot and chocolate brownie recipe

Step 1

beetroot and chocolate brownie recipe

Step 2

beetroot and chocolate brownie recipe

Step 6

beetroot and chocolate brownie recipe

Step 8

beetroot and chocolate brownie recipe

Like this recipe? Subscribe via RSS or email to get my new entries and more scrumptious recipes with reviews.

Email, RSS Follow
Print
181 Comments .
Tags: beetroot, Beetroot and Chocolate Brownies, Beetroot Chocolate Brownies, brownie, chocolate, dark chocolate .

Pages

  • About Me
  • Baking Metrics
  • Blogroll
  • Common Baking Questions
  • Recipe Index
  • Tips & Tricks
  • Contact

Archives

  • February 2022
  • October 2021
  • September 2021
  • August 2021
  • April 2021
  • February 2021
  • January 2021
  • December 2020
  • November 2020
  • October 2020
  • September 2020
  • August 2020
  • July 2020
  • June 2020
  • May 2020
  • September 2019
  • June 2019
  • May 2019
  • April 2019
  • March 2019
  • February 2019
  • January 2019
  • December 2018
  • November 2018
  • October 2018
  • September 2018
  • August 2018
  • July 2018
  • June 2018
  • May 2018
  • April 2018
  • March 2018
  • February 2018
  • January 2018
  • December 2017
  • November 2017
  • October 2017
  • September 2017
  • August 2017
  • July 2017
  • June 2017
  • May 2017
  • April 2017
  • March 2017
  • February 2017
  • January 2017
  • December 2016
  • November 2016
  • October 2016
  • September 2016
  • August 2016
  • July 2016
  • June 2016
  • May 2016
  • April 2016
  • March 2016
  • February 2016
  • January 2016
  • December 2015
  • November 2015
  • October 2015
  • September 2015
  • August 2015
  • July 2015
  • June 2015
  • May 2015
  • April 2015
  • March 2015
  • February 2015
  • January 2015
  • December 2014
  • November 2014
  • October 2014
  • September 2014
  • August 2014
  • July 2014
  • June 2014
  • May 2014
  • April 2014
  • March 2014
  • February 2014
  • January 2014
  • December 2013

Categories

  • America (5)
  • Arabic (1)
  • Australian (2)
  • Biscuits (24)
  • Brazil (1)
  • Bread (12)
  • Brownies (5)
  • Cakes (141)
  • Croatian (1)
  • Cupcakes (20)
  • Custard (1)
  • Doughnuts (6)
  • Flan (1)
  • France (5)
  • Fudge (3)
  • German (1)
  • Greece (2)
  • Hungary (1)
  • Ice-cream & Sorbet (15)
  • Ice-cream cake (6)
  • Icing (18)
  • Italy (4)
  • Jam (1)
  • Jamaican (1)
  • Lebanese (1)
  • Marshmallows (2)
  • Mexican (1)
  • Morocco (1)
  • Mousse (2)
  • Muffins (1)
  • Panna Cotta (1)
  • Pastries (2)
  • Pies (7)
  • Portugal (1)
  • Pudding (12)
  • Roulade (1)
  • Russia (1)
  • Slice (27)
  • Souffle (1)
  • Sweden (1)
  • Swedish (1)
  • Syrup (1)
  • Tarts (13)
  • Traditional (17)
  • Trifile (1)
  • Truffles (5)
  • Turkey (1)
  • Uncategorized (1)
  • Unique (10)

WordPress

  • Register
  • Log in
  • WordPress

Subscribe

  • Entries (RSS)
  • Comments (RSS)

CyberChimps WordPress Themes

© Sweet Tooth Experiments