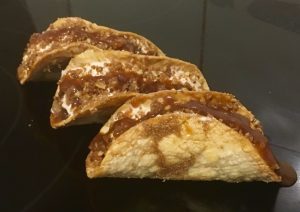
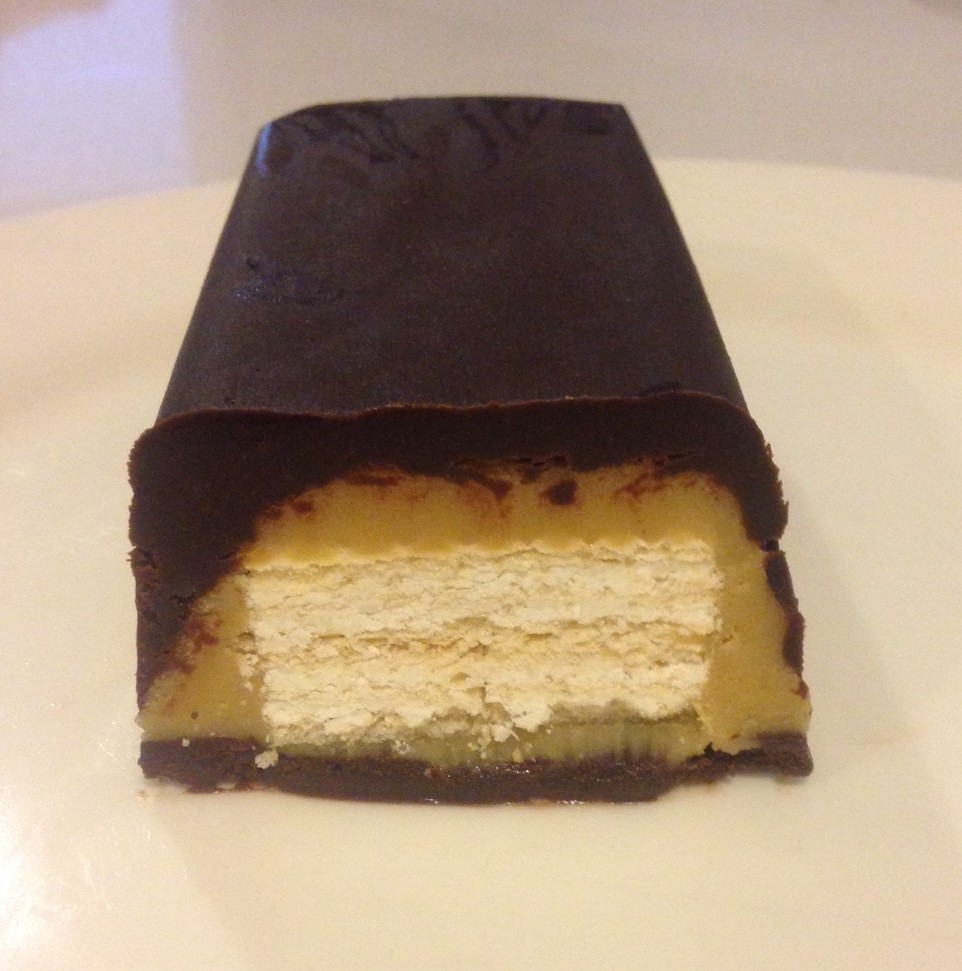
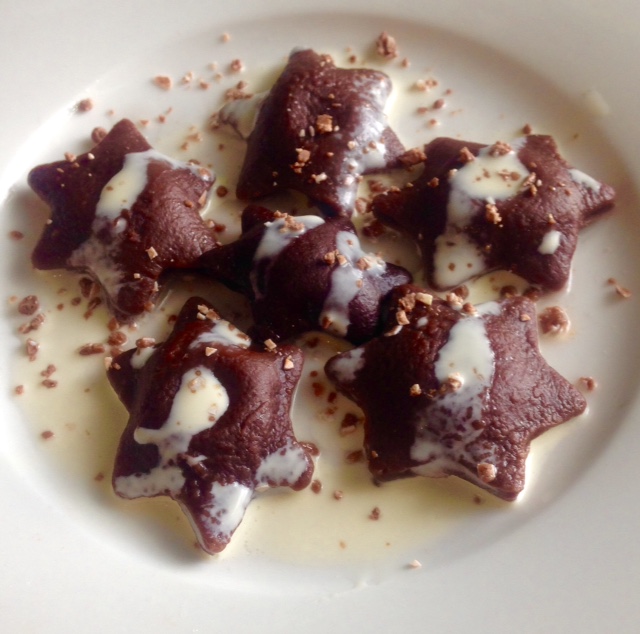
Cream Cheese Chocolate Ravioli
Out of all the sweet treats I have created over the years my favorite experimentation sessions are turning savory dishes into sweet. However, these type of baking ideas don’t come as frequently as thinking up unusual flavour combinations to experiment with.
I did the other day have ravioli filled with sweet pumpkin and maple syrup which got me thinking of sweet ravioli…chocolate pasta…chocolate ravioli…white chocolate cream cheese filled chocolate pasta ravioli…why not?
Not since my Green Tea and Pistachio Eclairs have I created a savory to sweet dish that is website worthy. Therefore, introducing my Cream Cheese Chocolate ravioli.
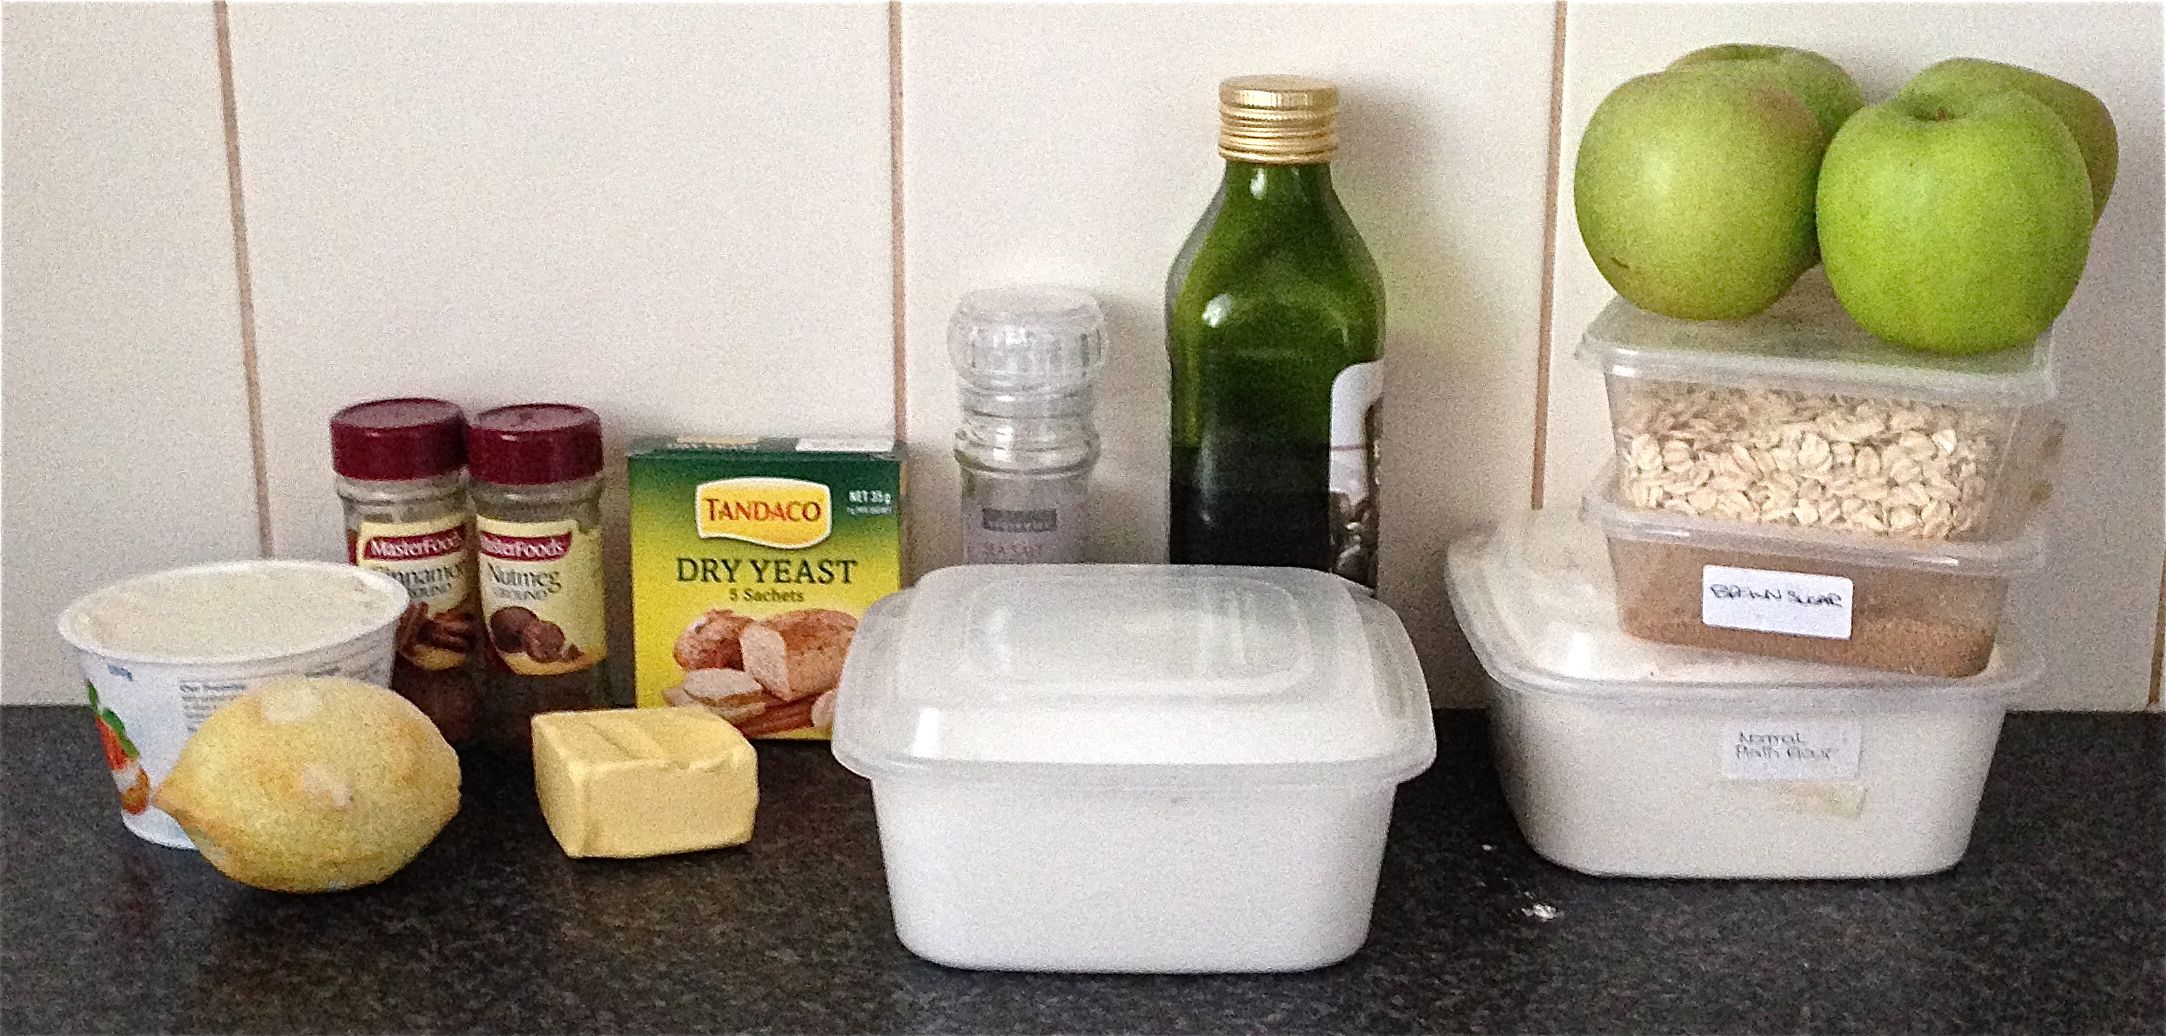
Ingredients:
- 165g plain flour
- 30g cocoa powder
- Pinch salt
- 40g icing sugar
- 2 eggs, beaten
- 15ml olive oil
Filling:
- 110g white chocolate
- 170g cream cheese
- 15g icing sugar
- 1 egg
Extra:
- 1 tsn milk
- 1 tsn oil
- 30ml cream
- 40g white chocolate, melted
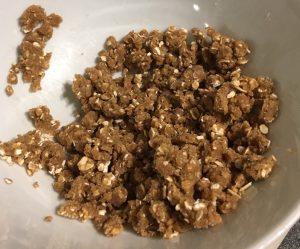
- 30g chocolate biscuit crumbs
Method:
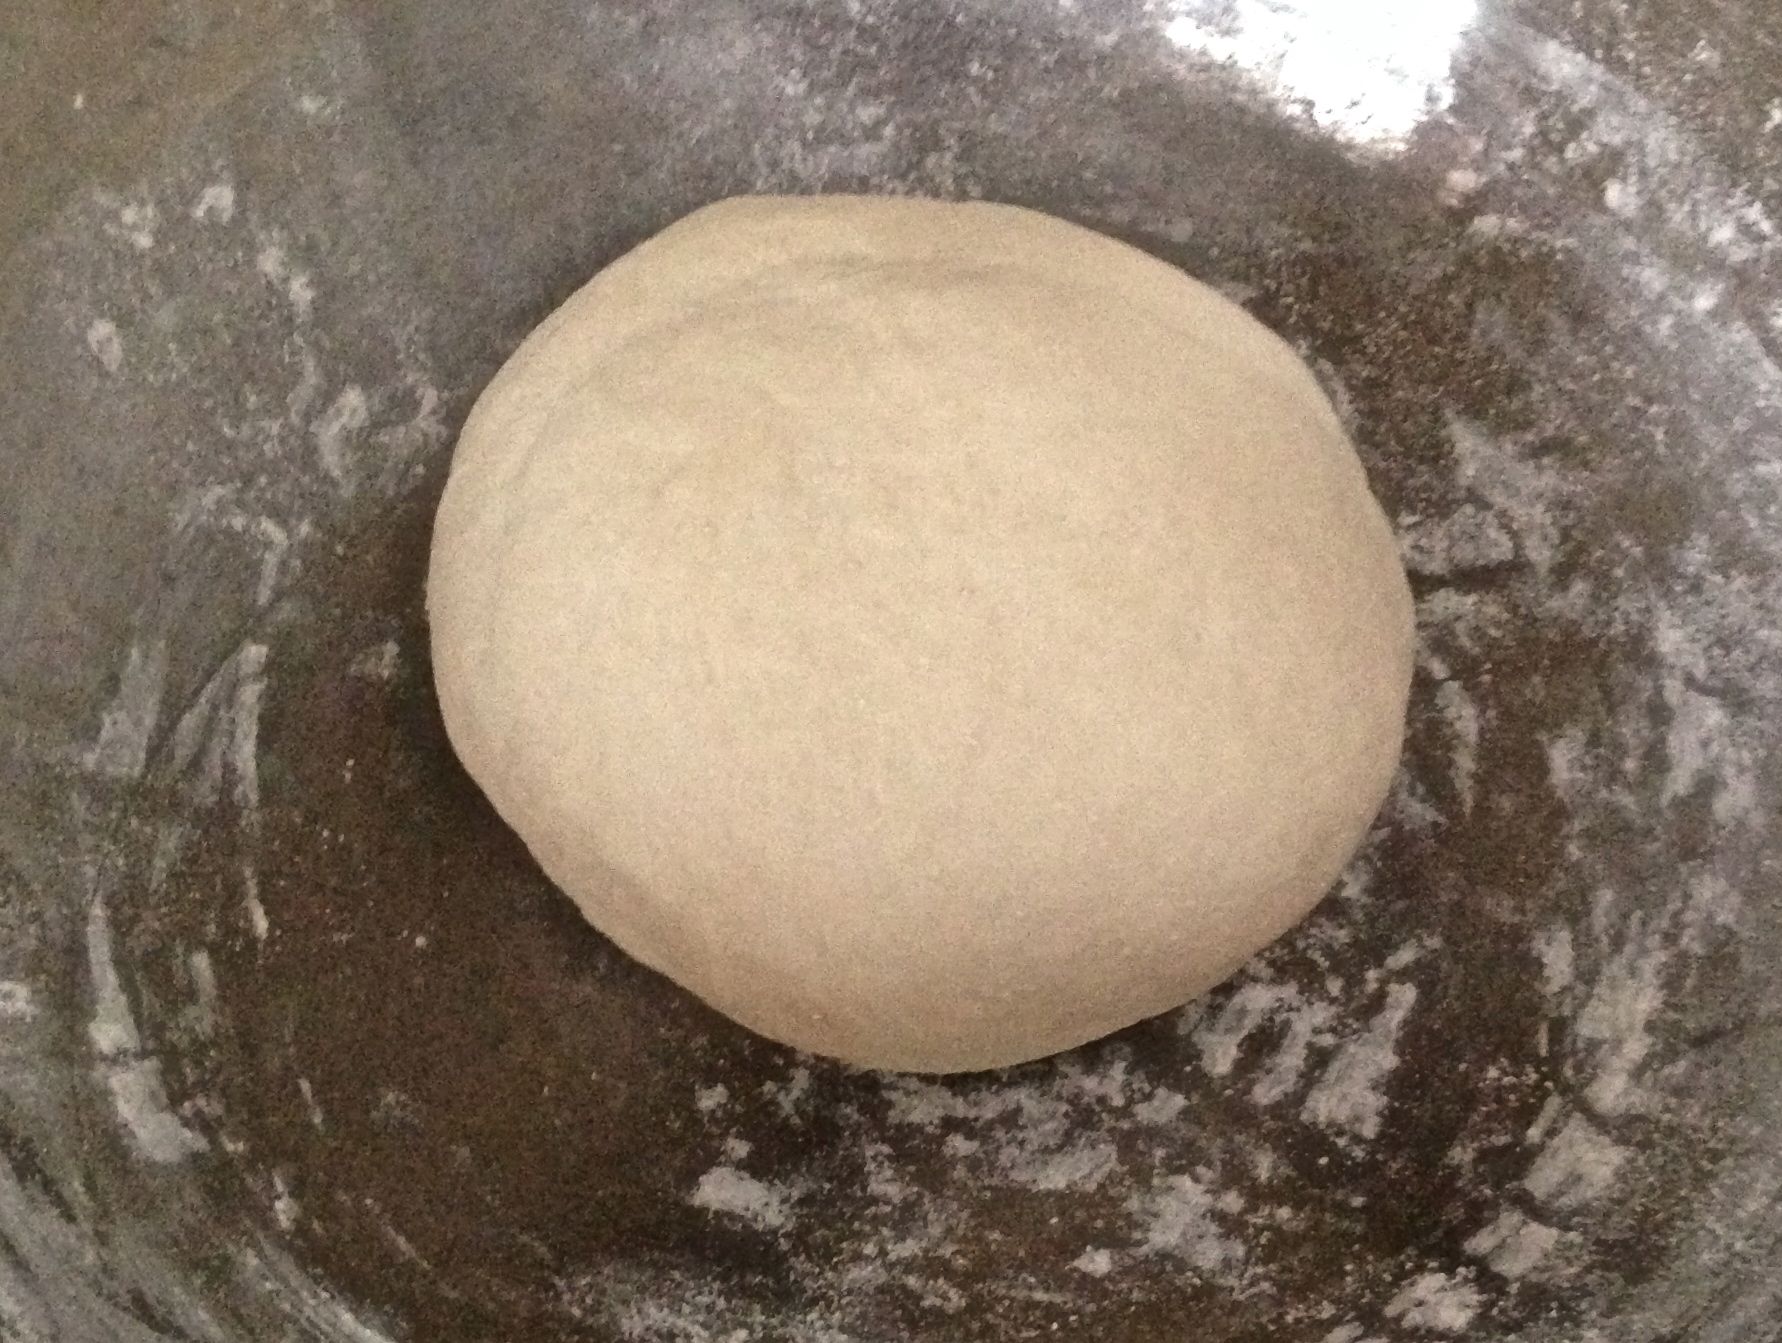
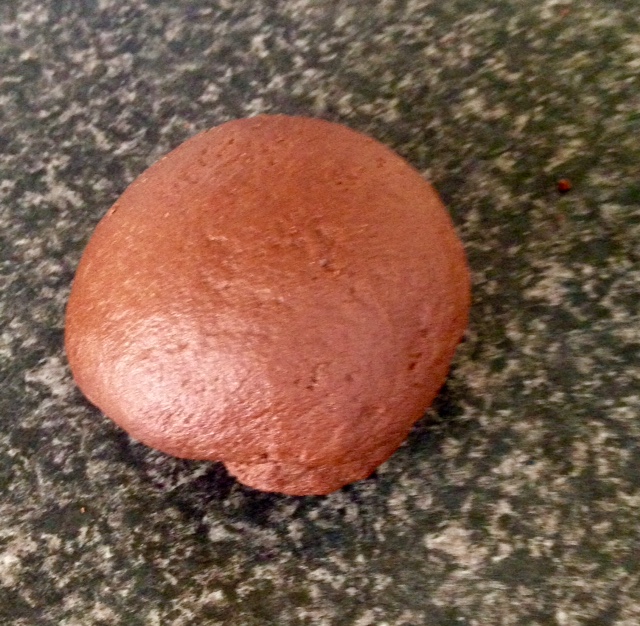
- Place the flour, cocoa, salt and sugar in a bowl, stir. Make a well in the centre then add the beaten eggs and oil.
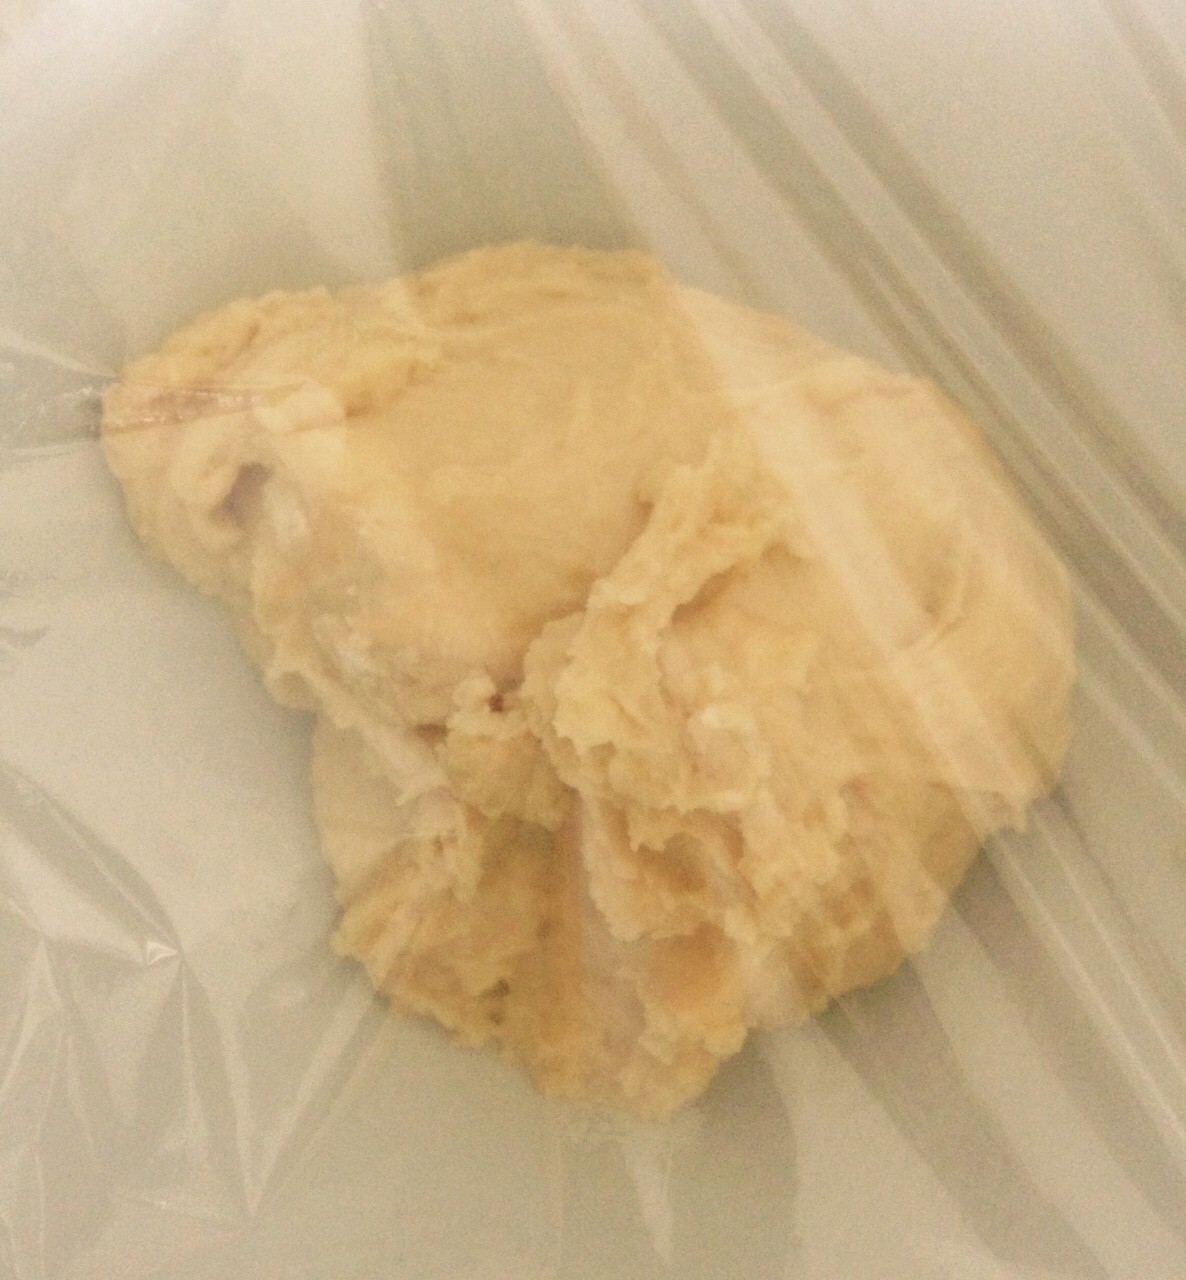
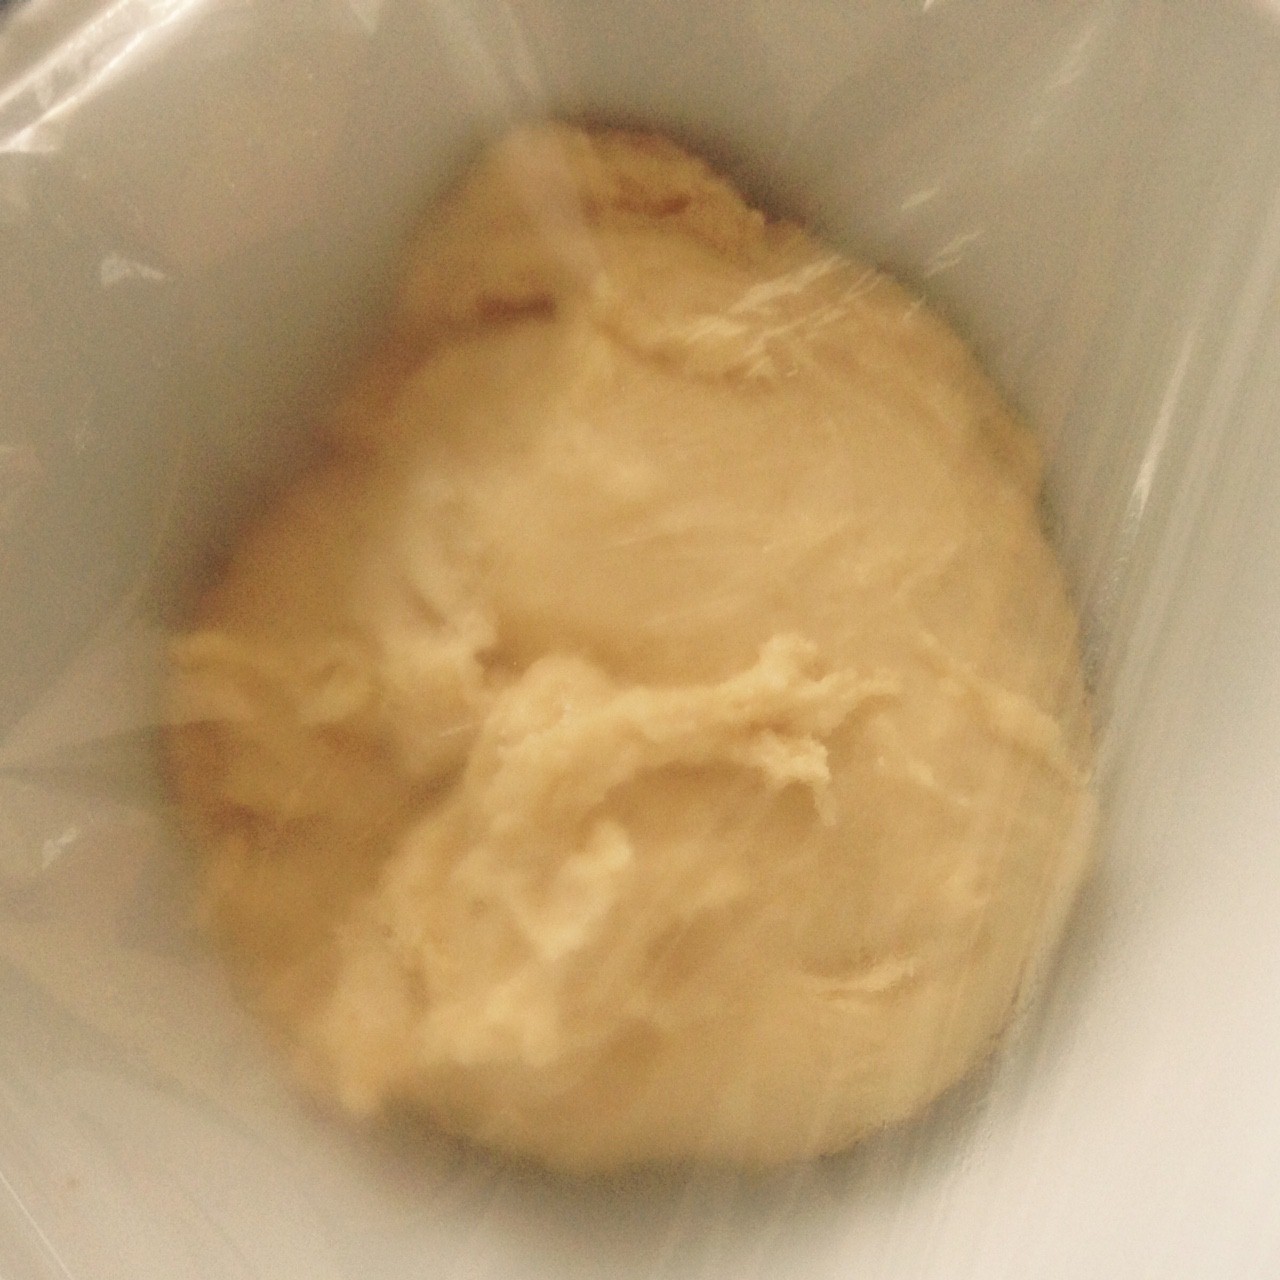
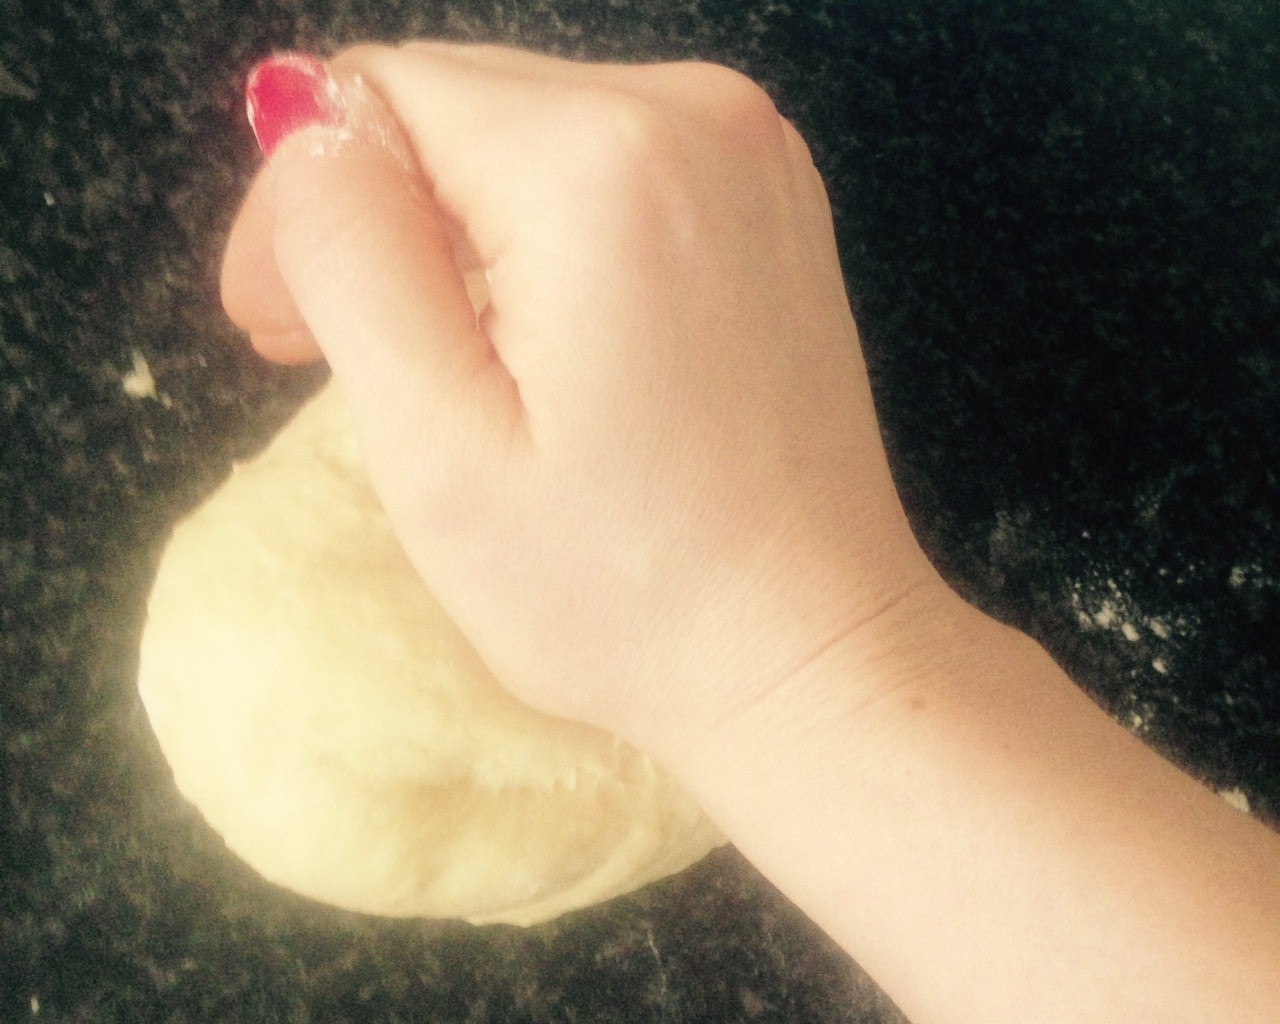
- Mix with your fingers and knead the dough until smooth, following place the dough in the fridge for 30mins.
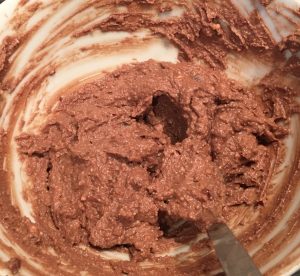
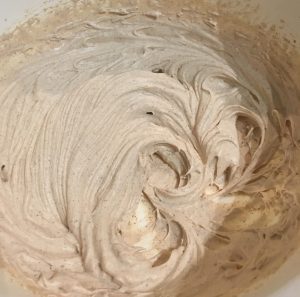
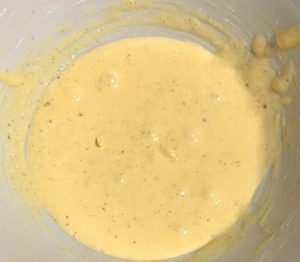
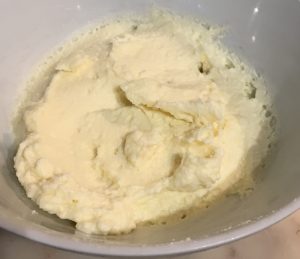
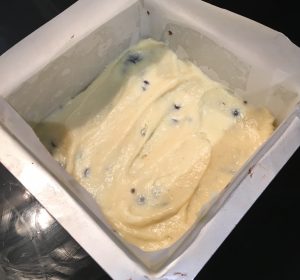
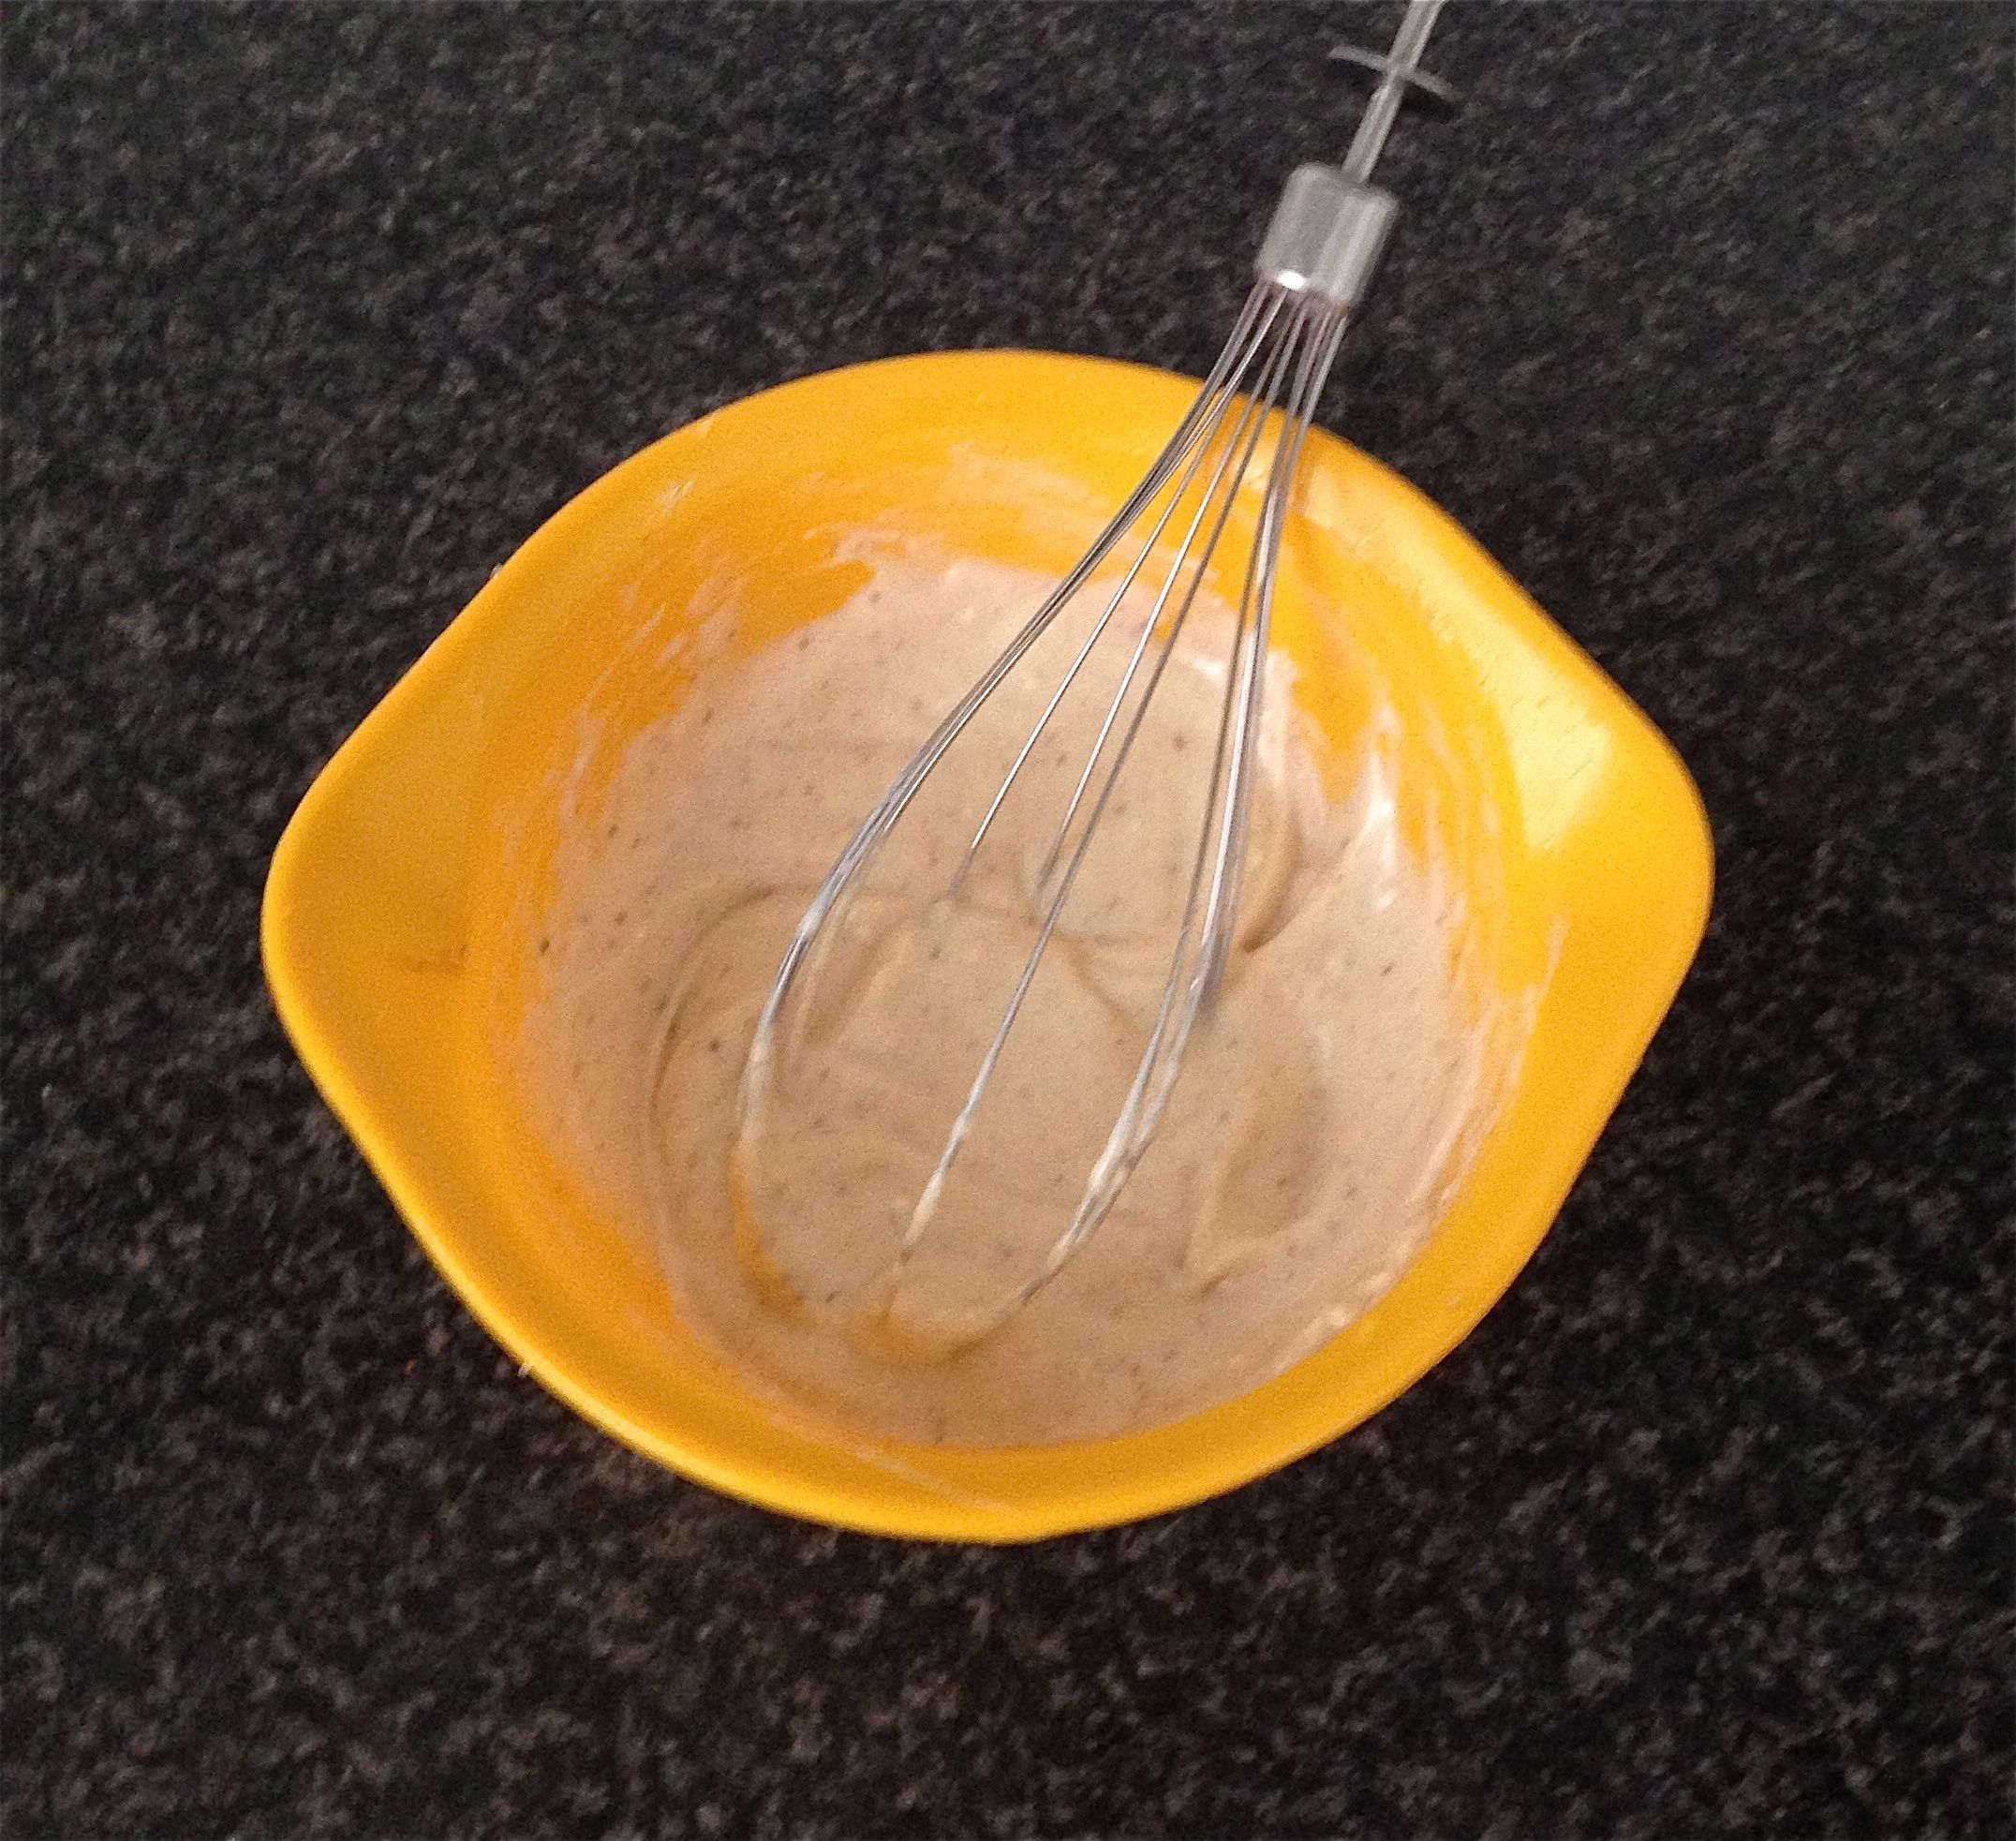
- Next make filling by whisking the cheese in with electric beaters in a bowl until smooth.
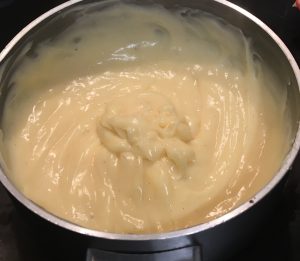
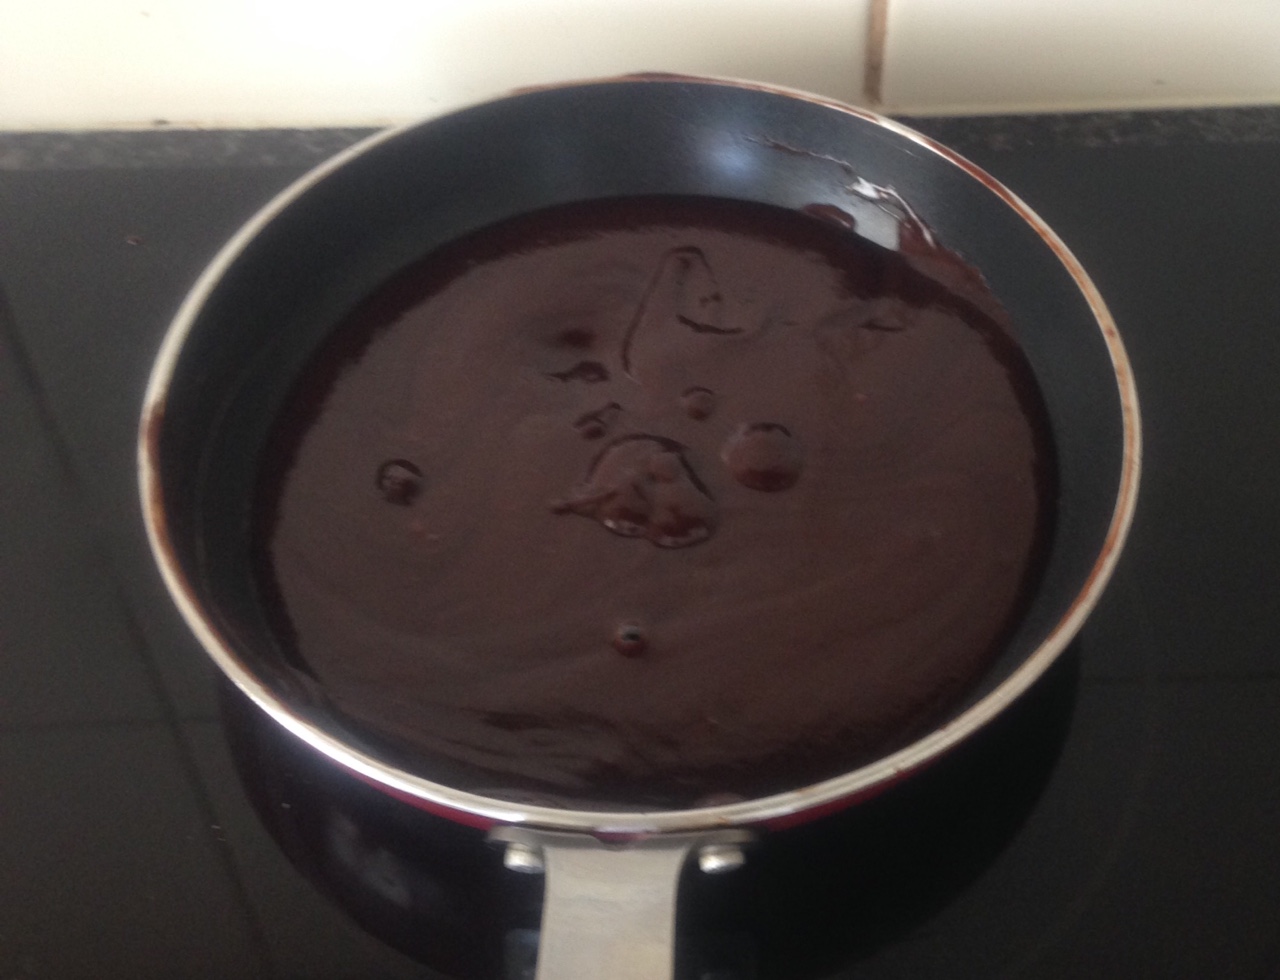
- Place the white chocolate in a bowl under a bowl of water on the stove until the chocolate has melted.
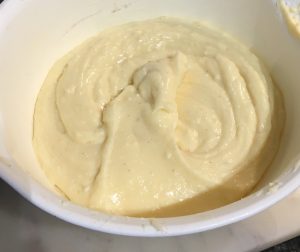
- Allow the chocolate to slight cool then add to the cheese with the icing sugar and egg and whisk until smooth and creamy.
- Place the filling into a piping bag fitted with a circle nozzle.
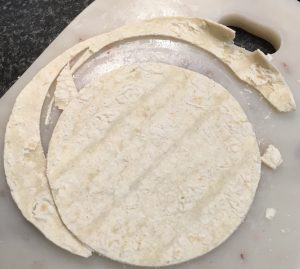
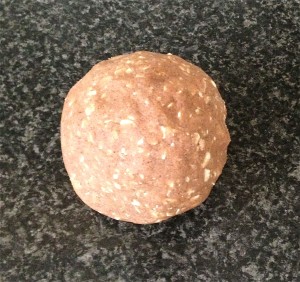
- Cut the pasta into 2 even pieces.
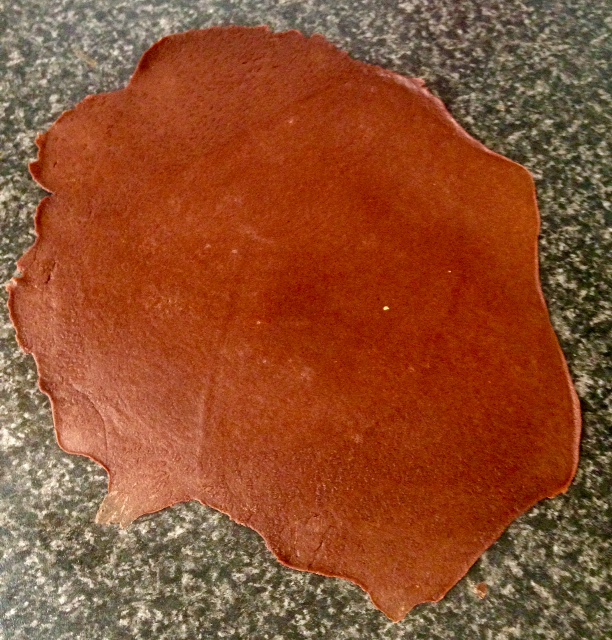
- Roll out both pieces on a lightly floured surface until the dough is 3mm thick (or ideally use a pastry machine).
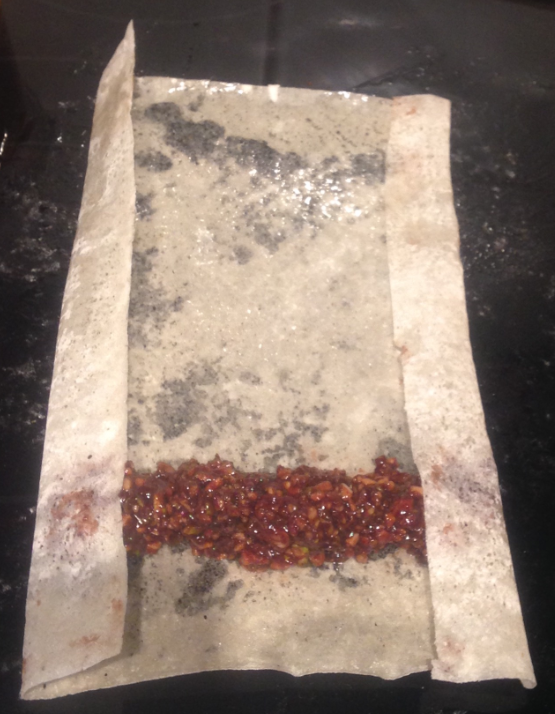
- Brush a pasta sheet with the milk.
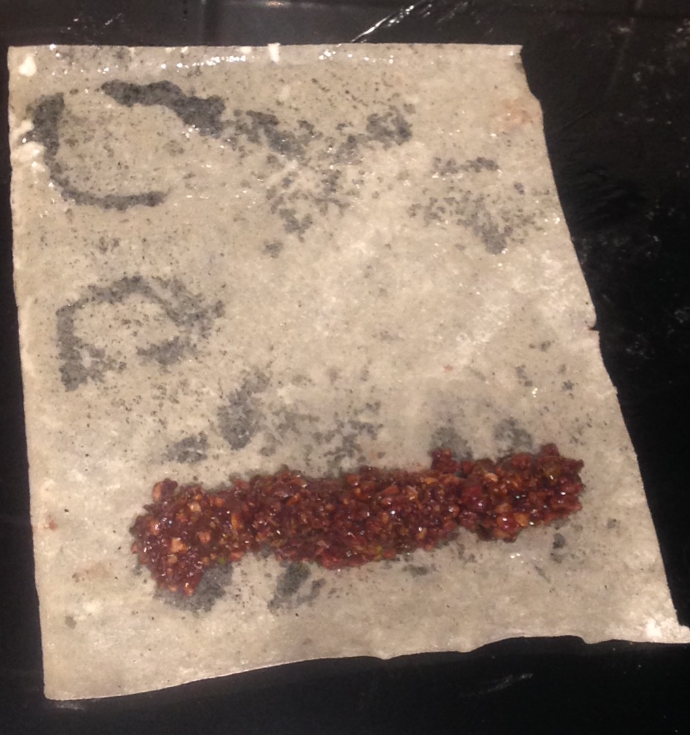
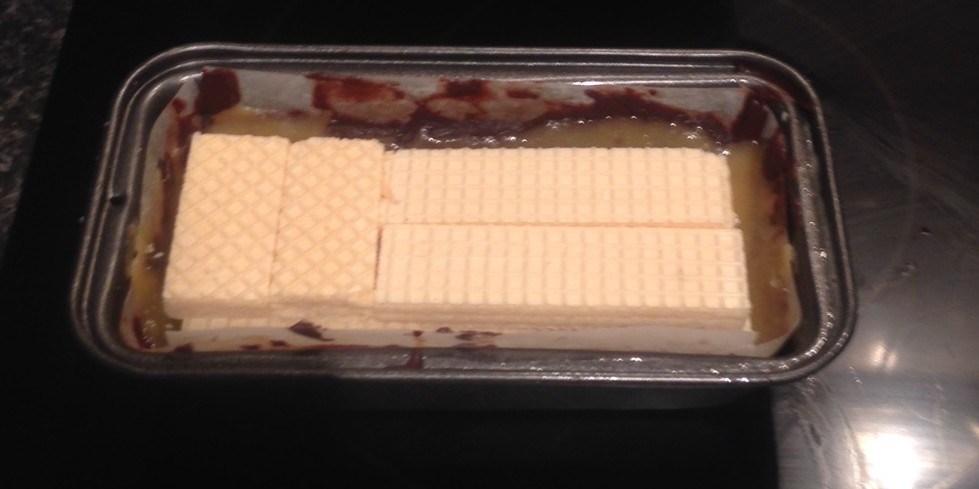
- Pipe small 1 tsn dots of the cheese filling on to the pasta 4cm apart.
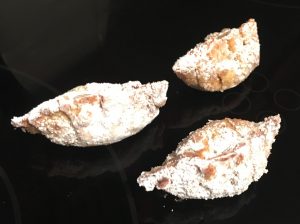
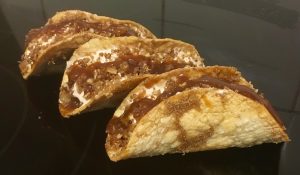
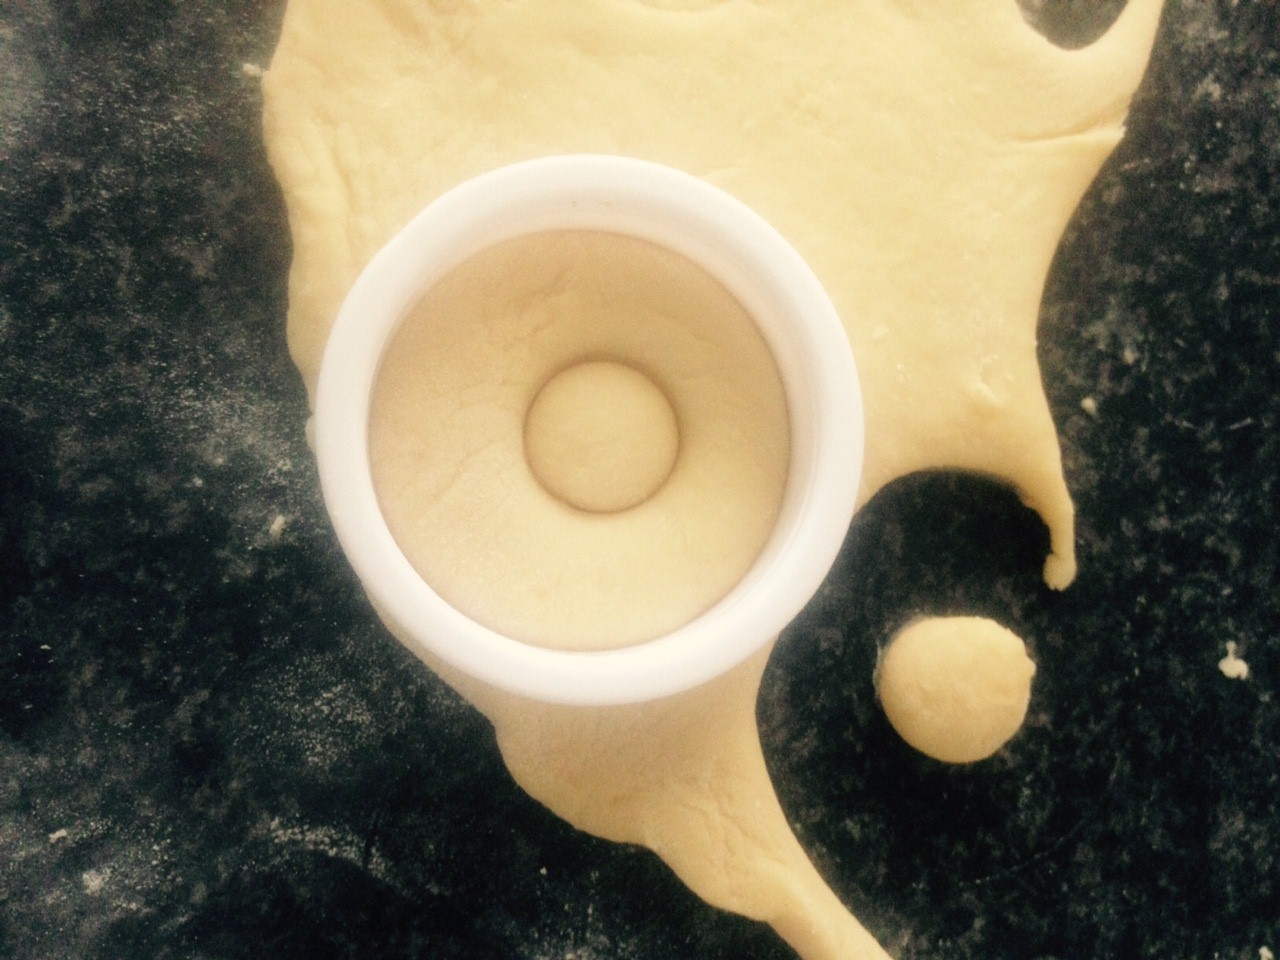
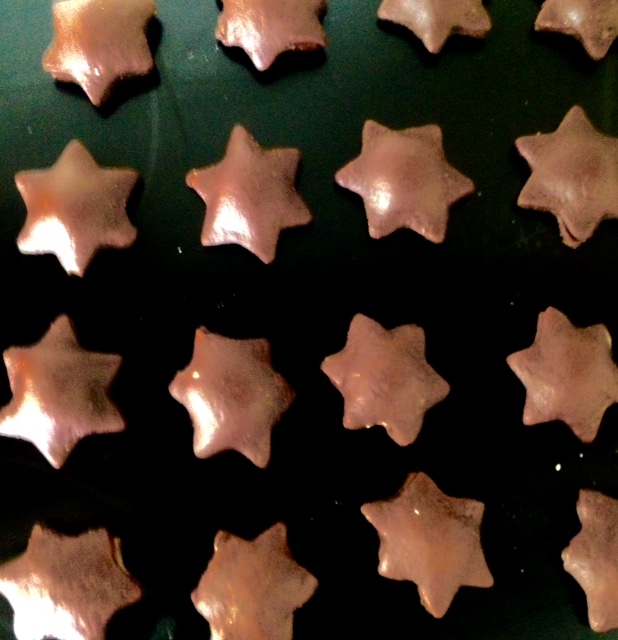
- Place the second pasta sheet on top of the first and using a ravioli cutter or cookie cutter cut out the ravioli making sure the filling bump is in the middle of the cutter.
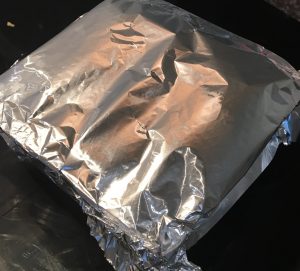
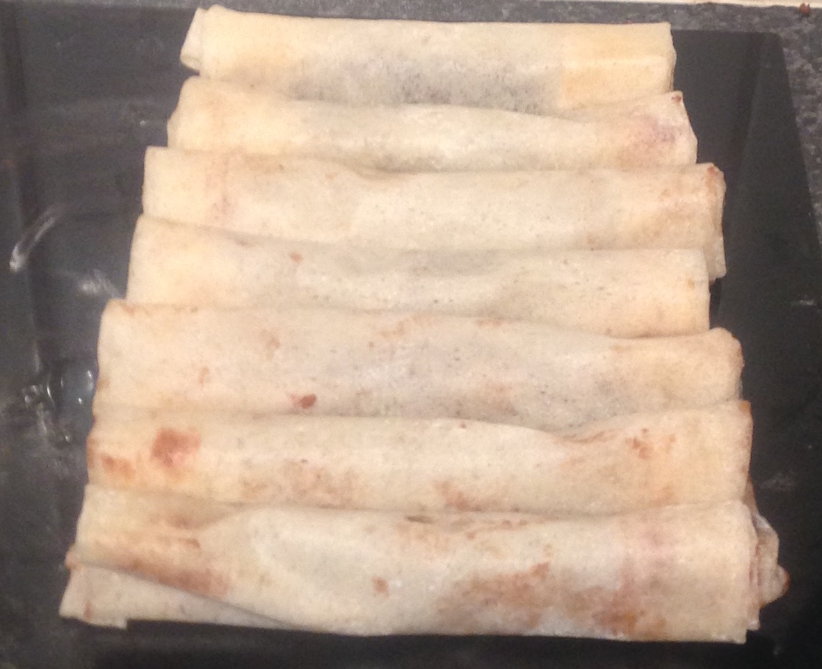
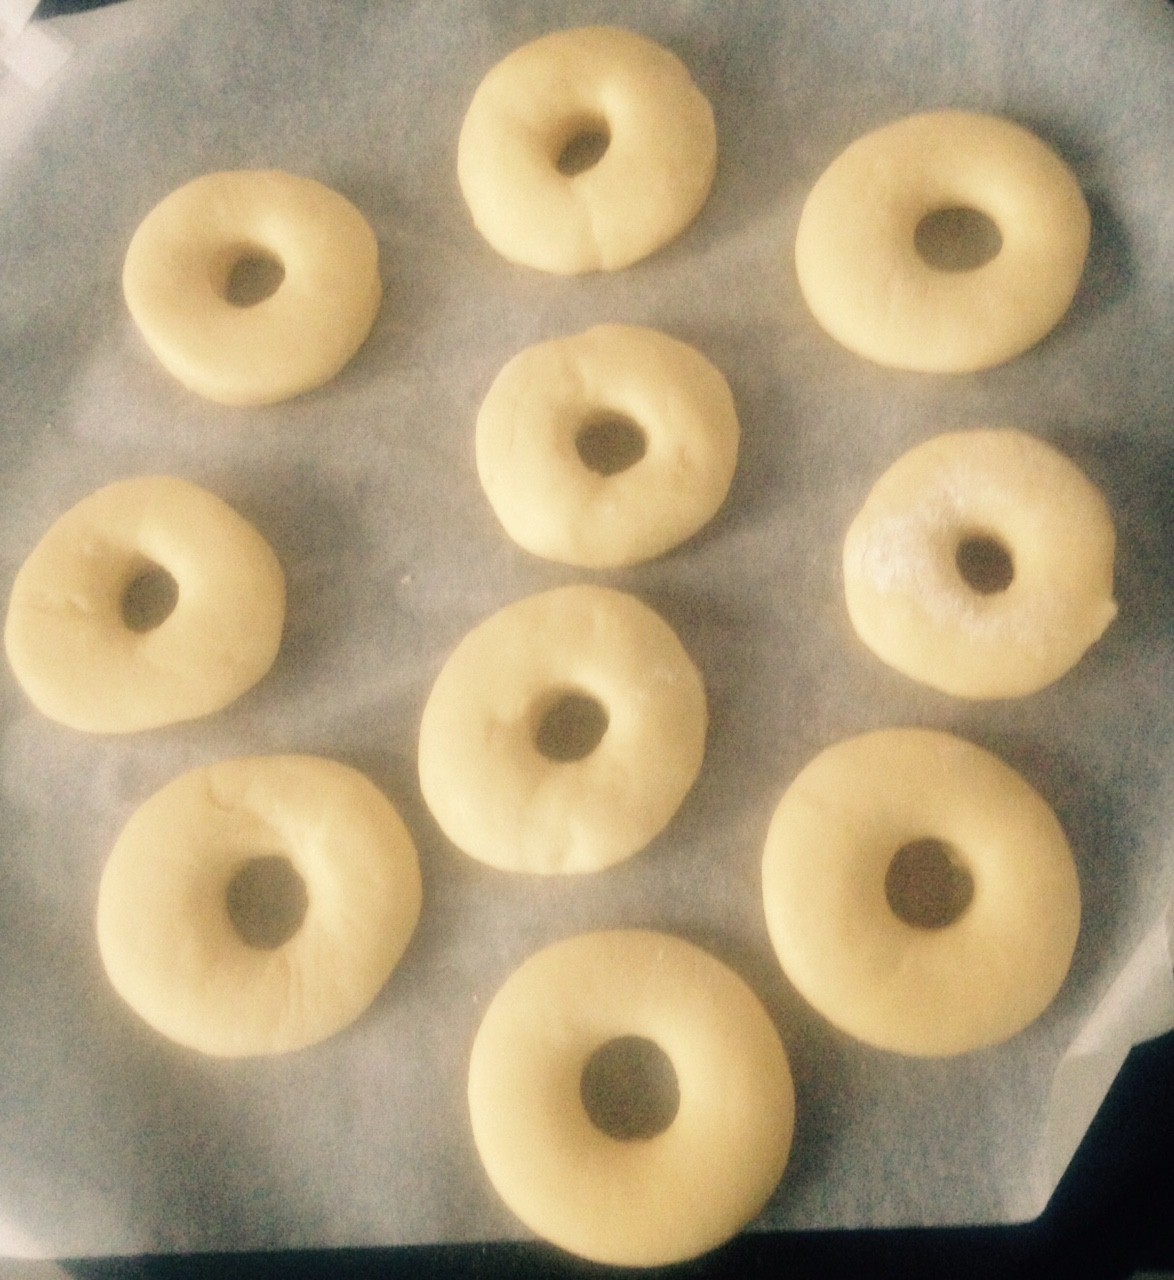
- Place ravioli pieces on a floured surface and let them dry out for 30mins.
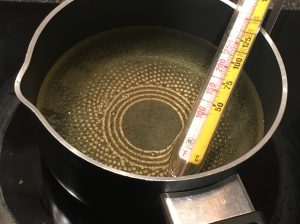
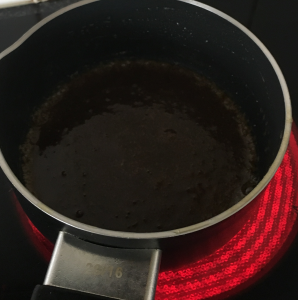
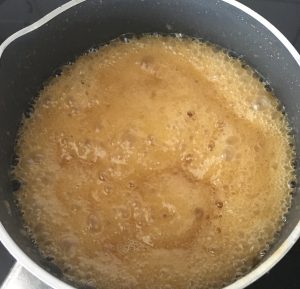
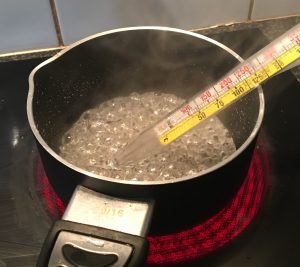
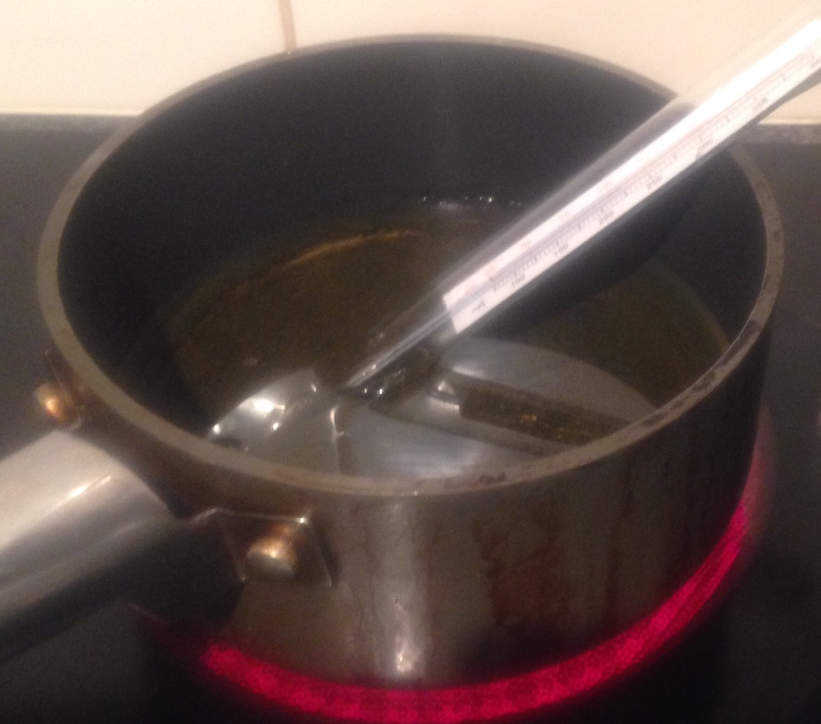
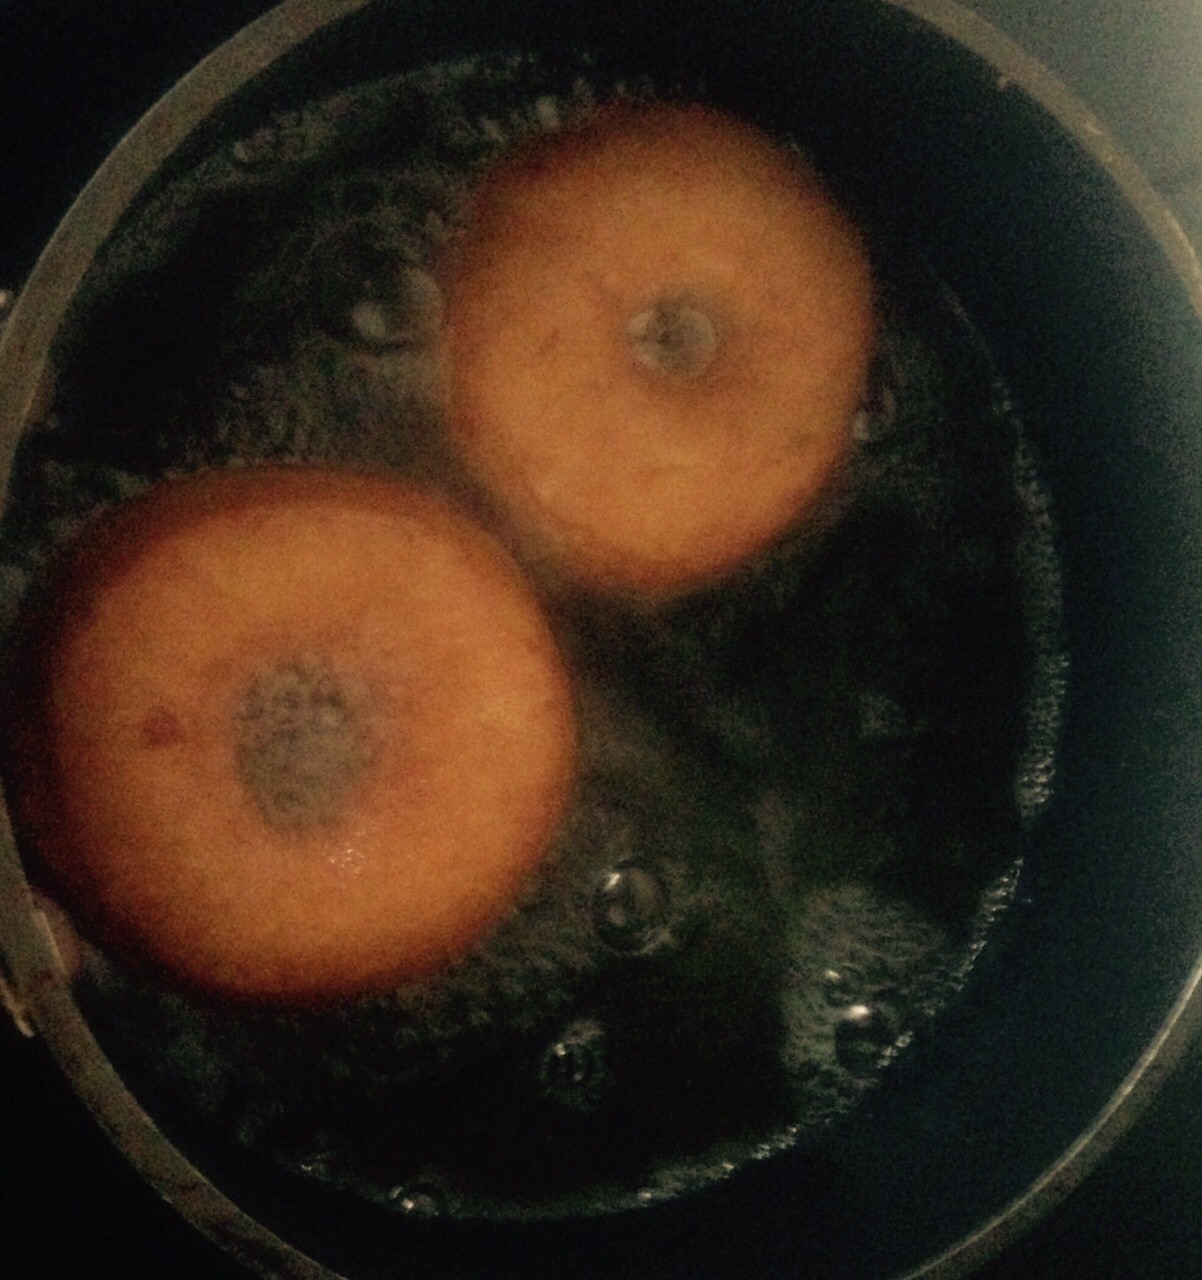
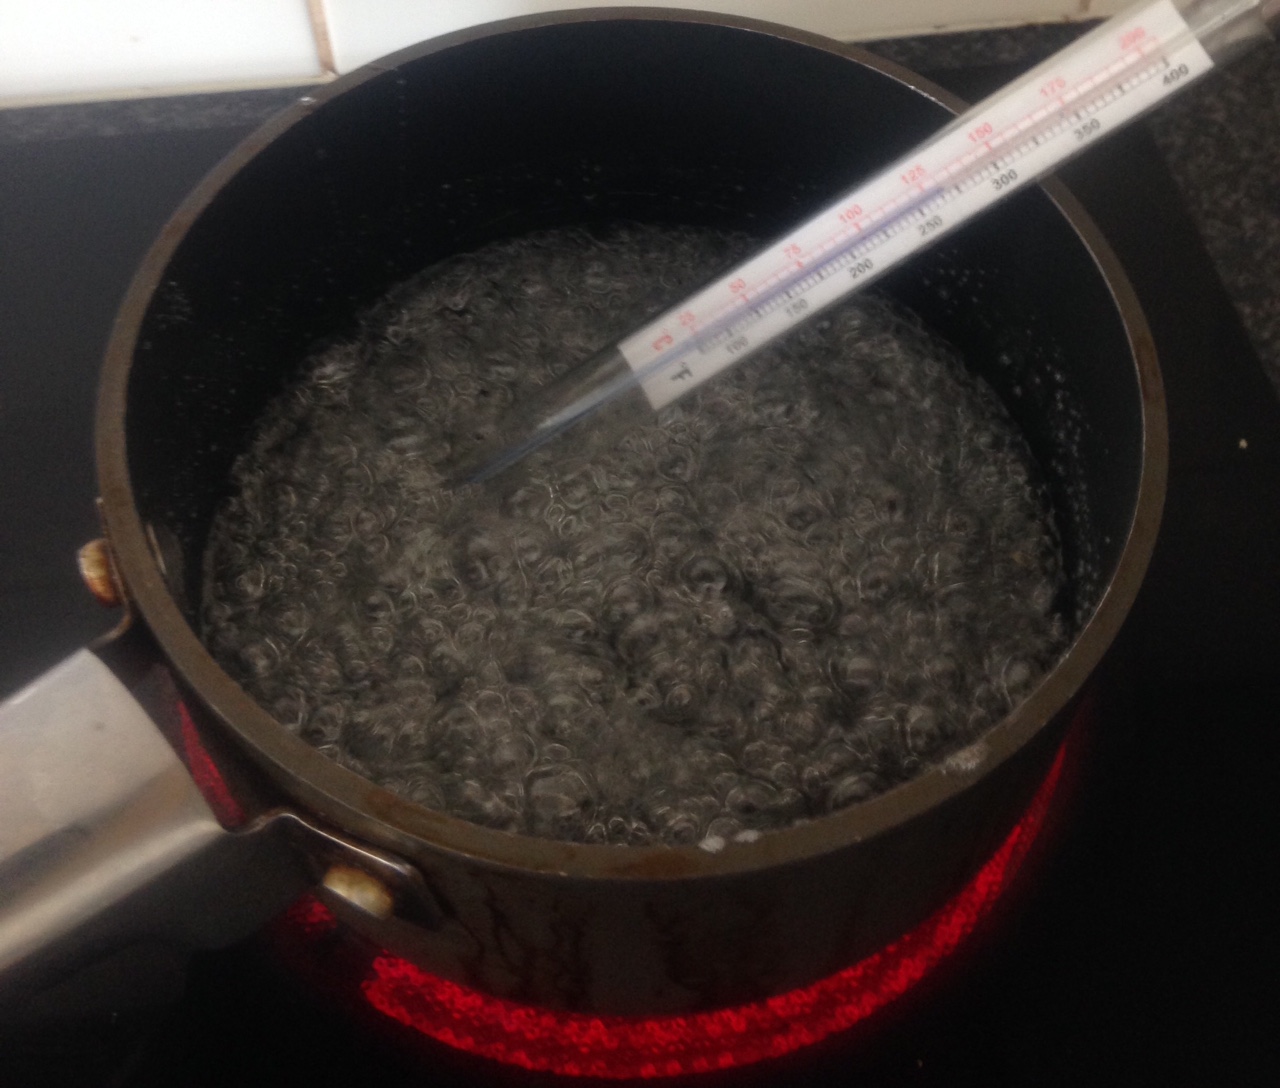
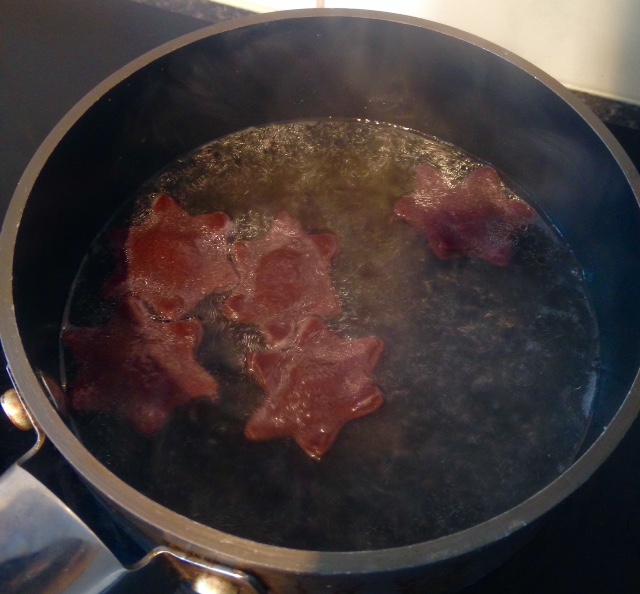
- Bring a pot of water with 1 tsn of oil on the stove and bring to the boil.
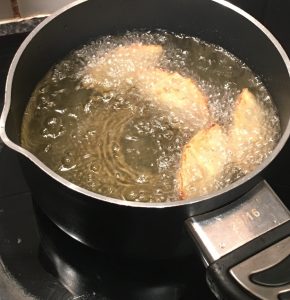
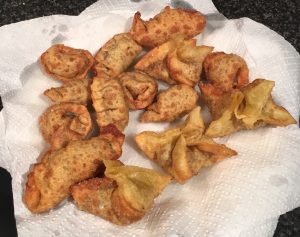
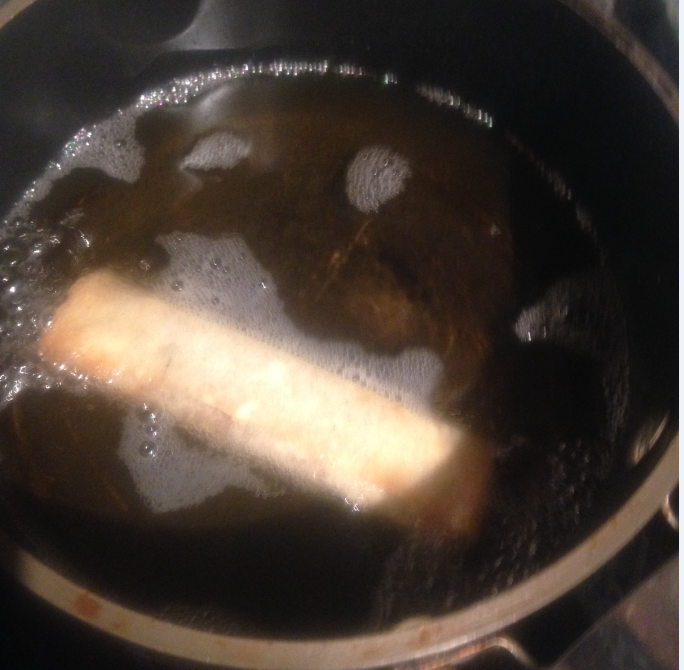
- Once boiling turn the temperature to a simmer and place the ravioli in the water, simmering gently for 5 mins (or until pasta is cooked).
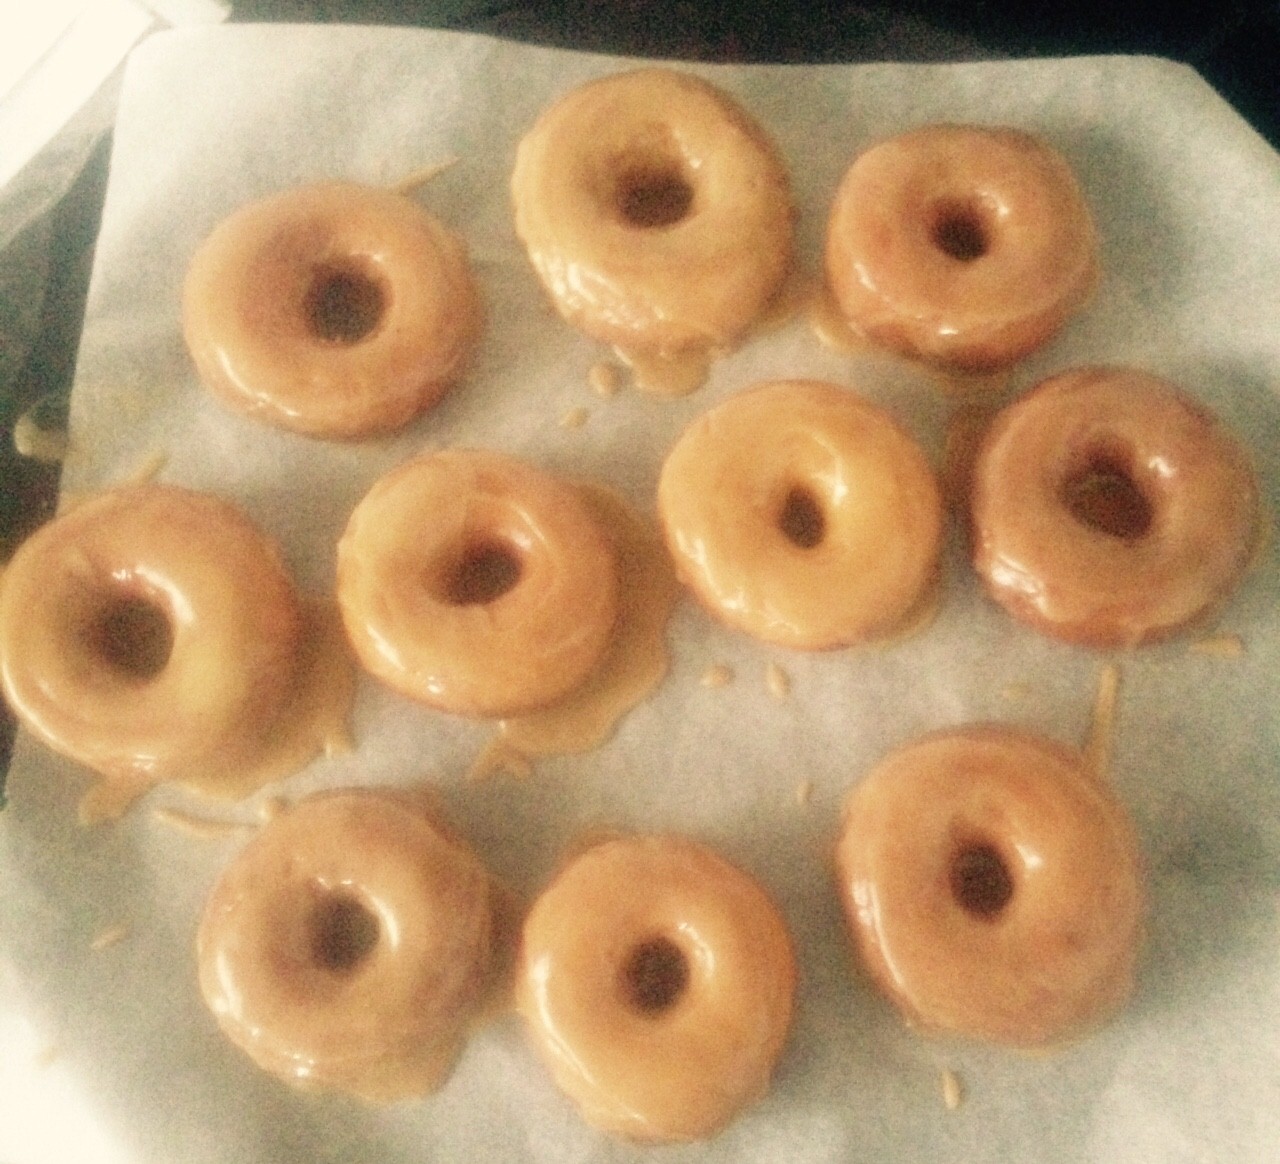
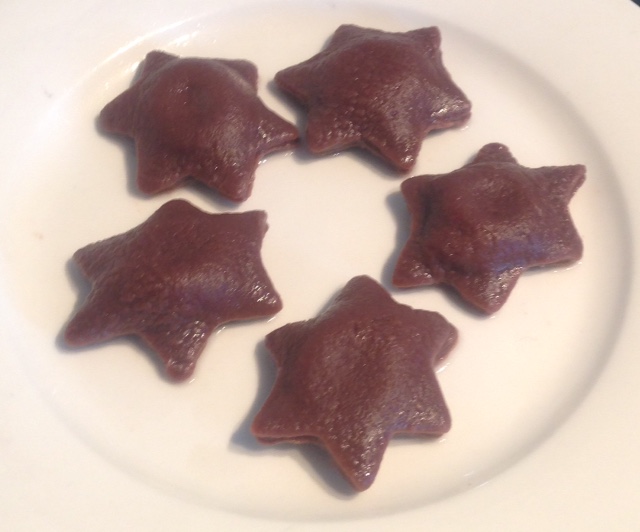
- Remove the ravioli with a slotted spatula/spoon and place pieces in serving bowls/plates.
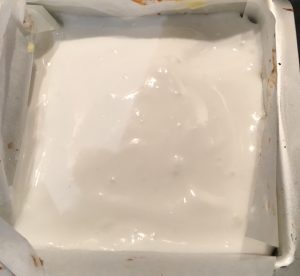
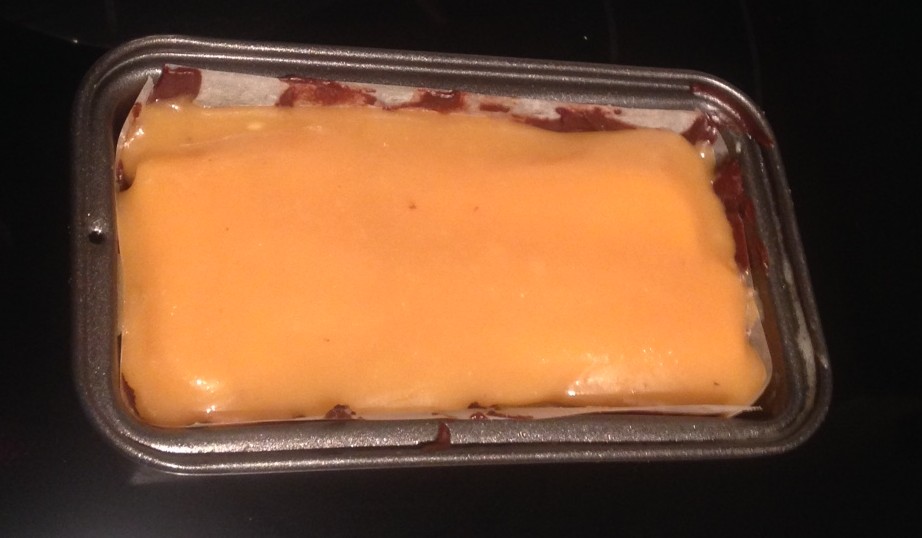
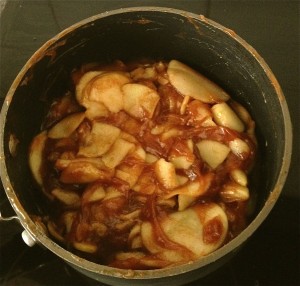
- Add the white chocolate to the cream and heat in the microwave on medium in 30 second busts, stirring in between each interval until smooth.
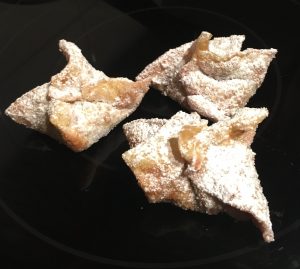
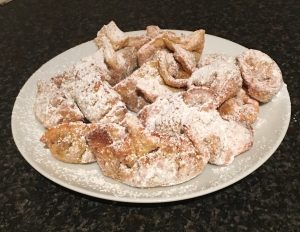
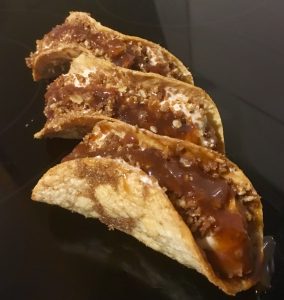
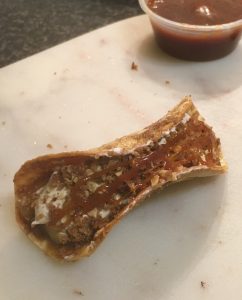
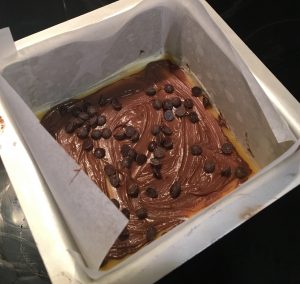
- Serve by drizzling the chocolate cream over the ravioli pieces.
- Scatter with the chocolate biscuit crumbs and enjoy.
Notes:
- It is recommended to use a 5cm cookie cutter as making the ravioli to small will be difficult to seal the pasta.
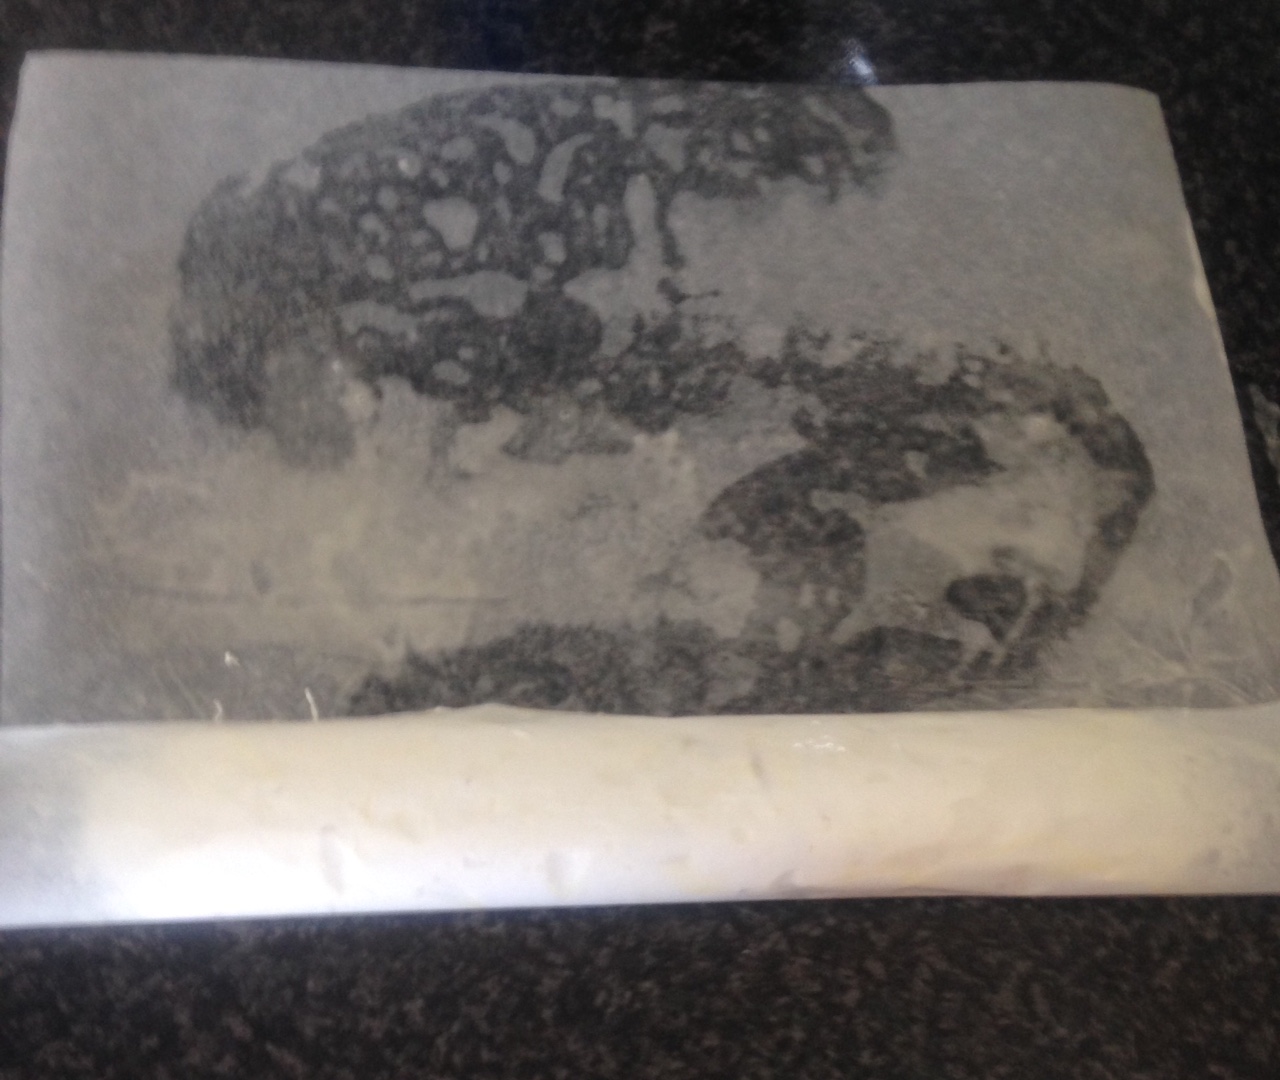
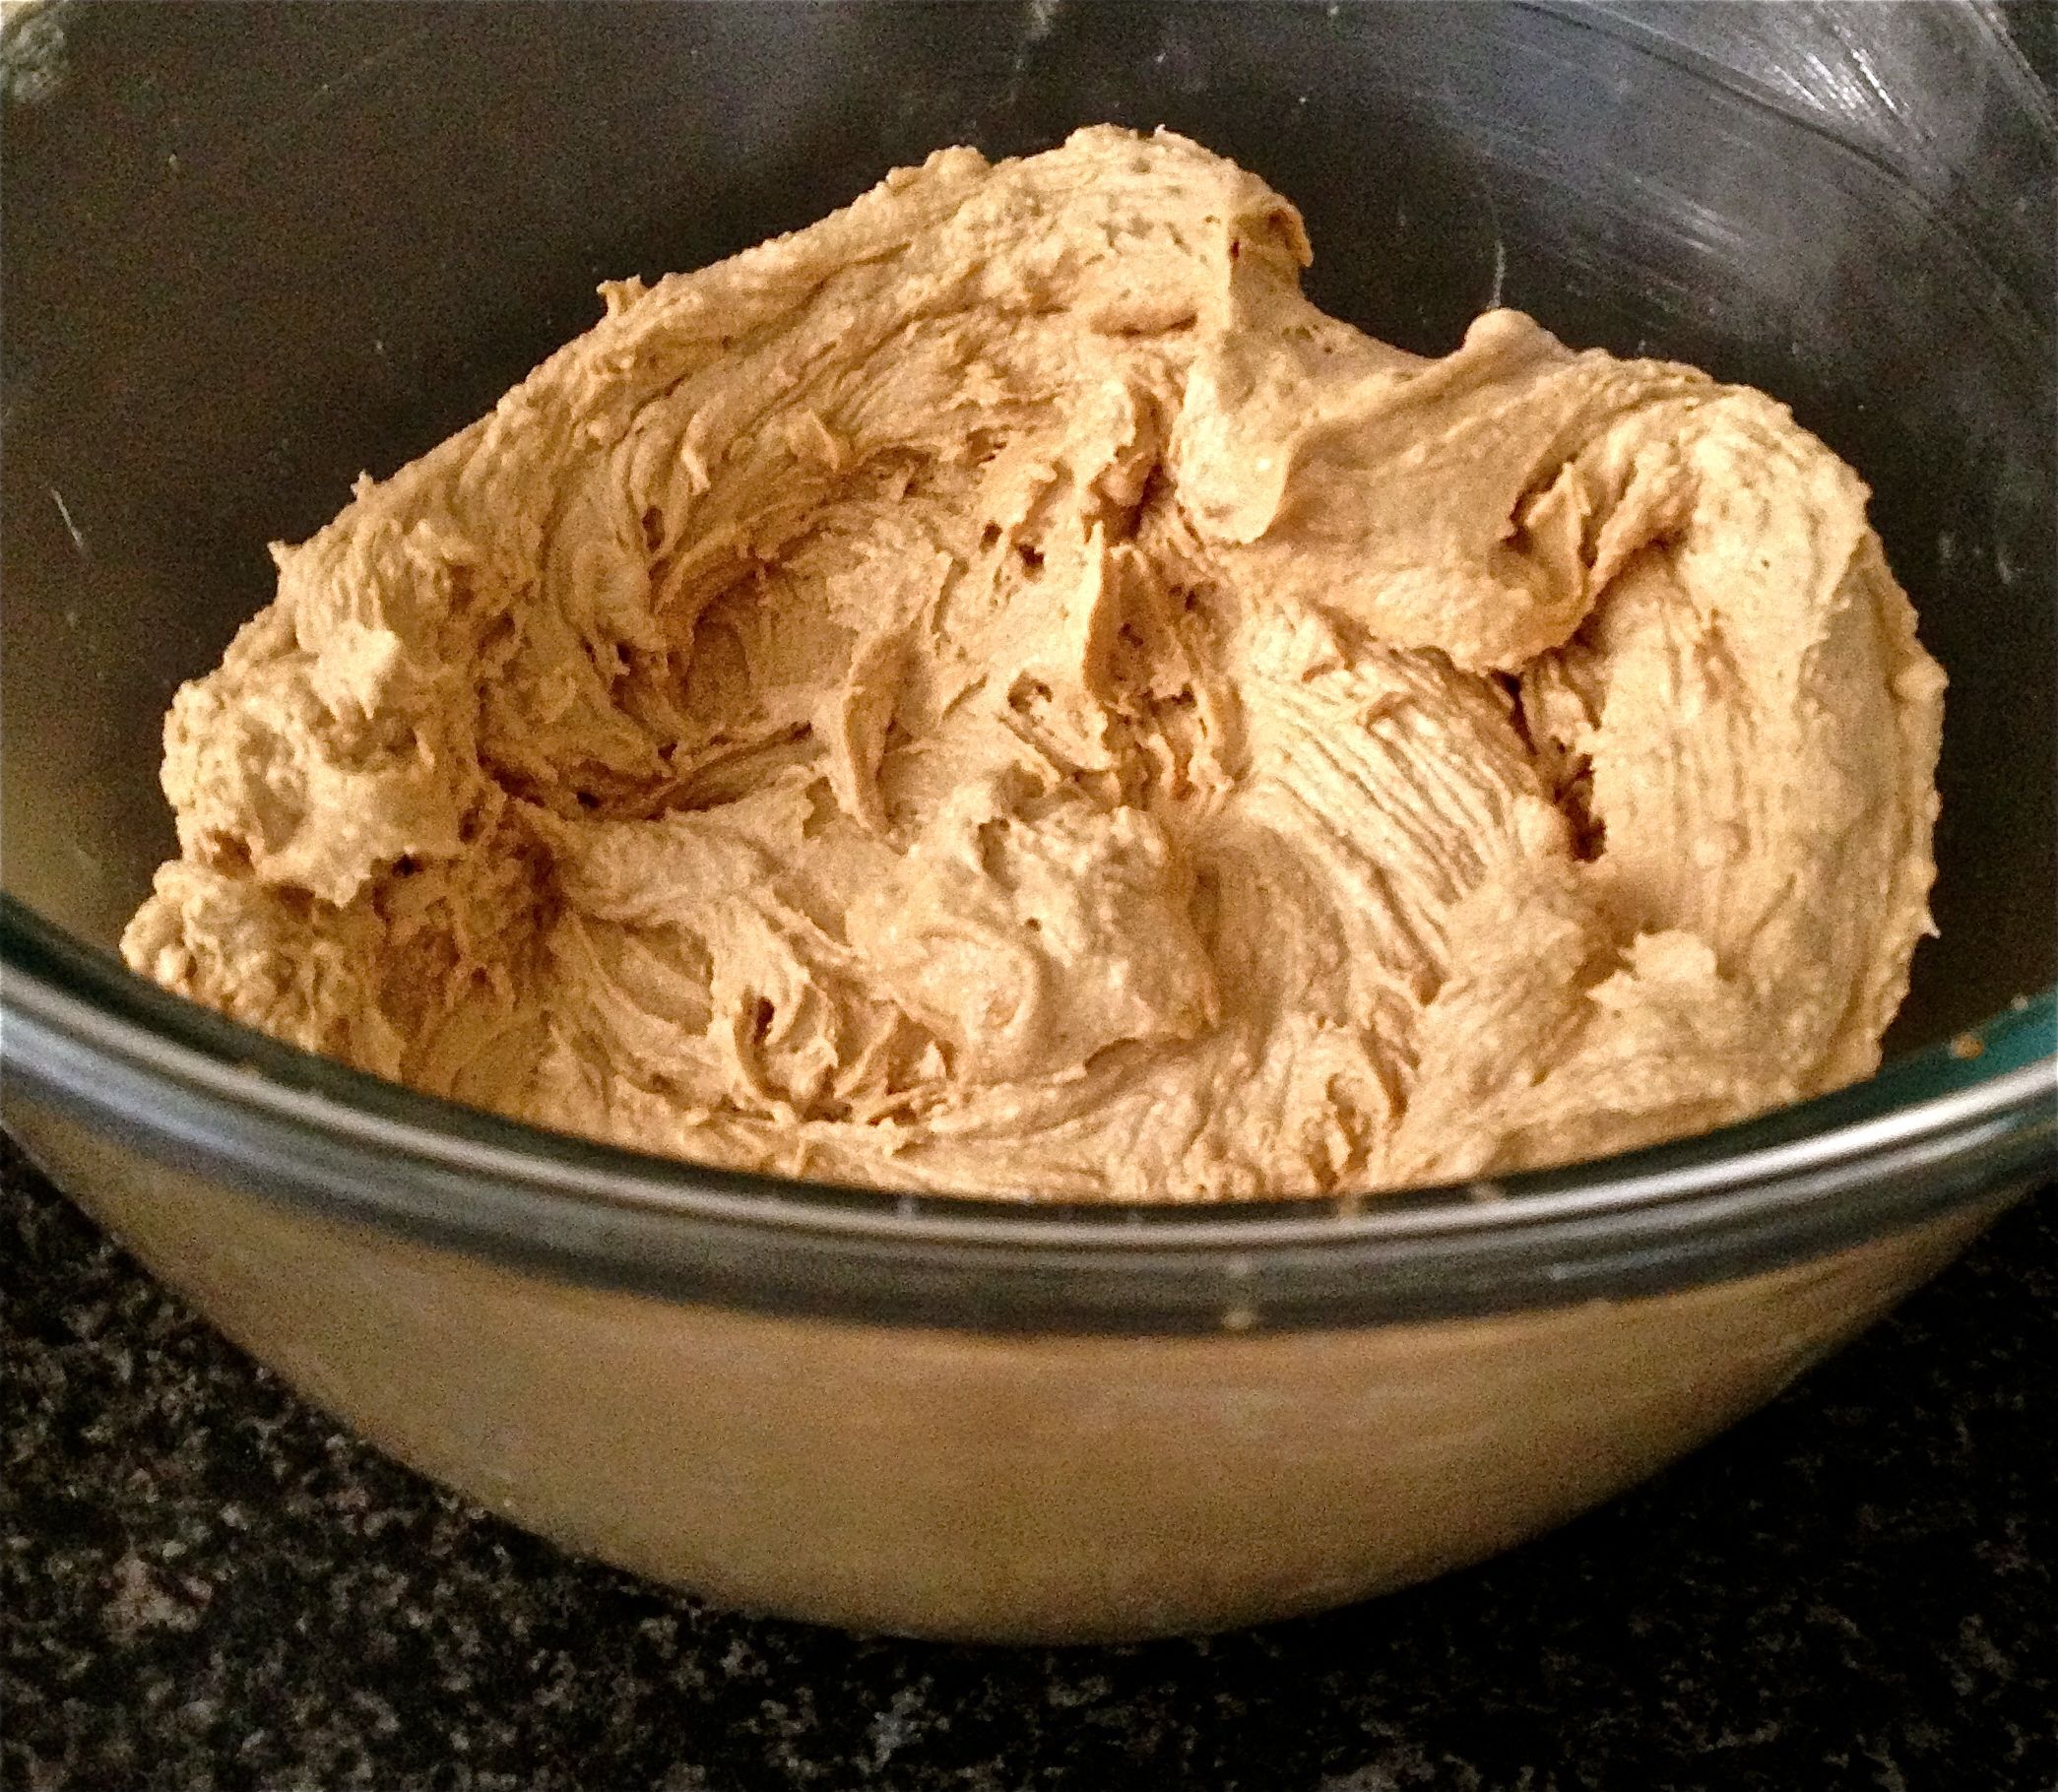
Step 2
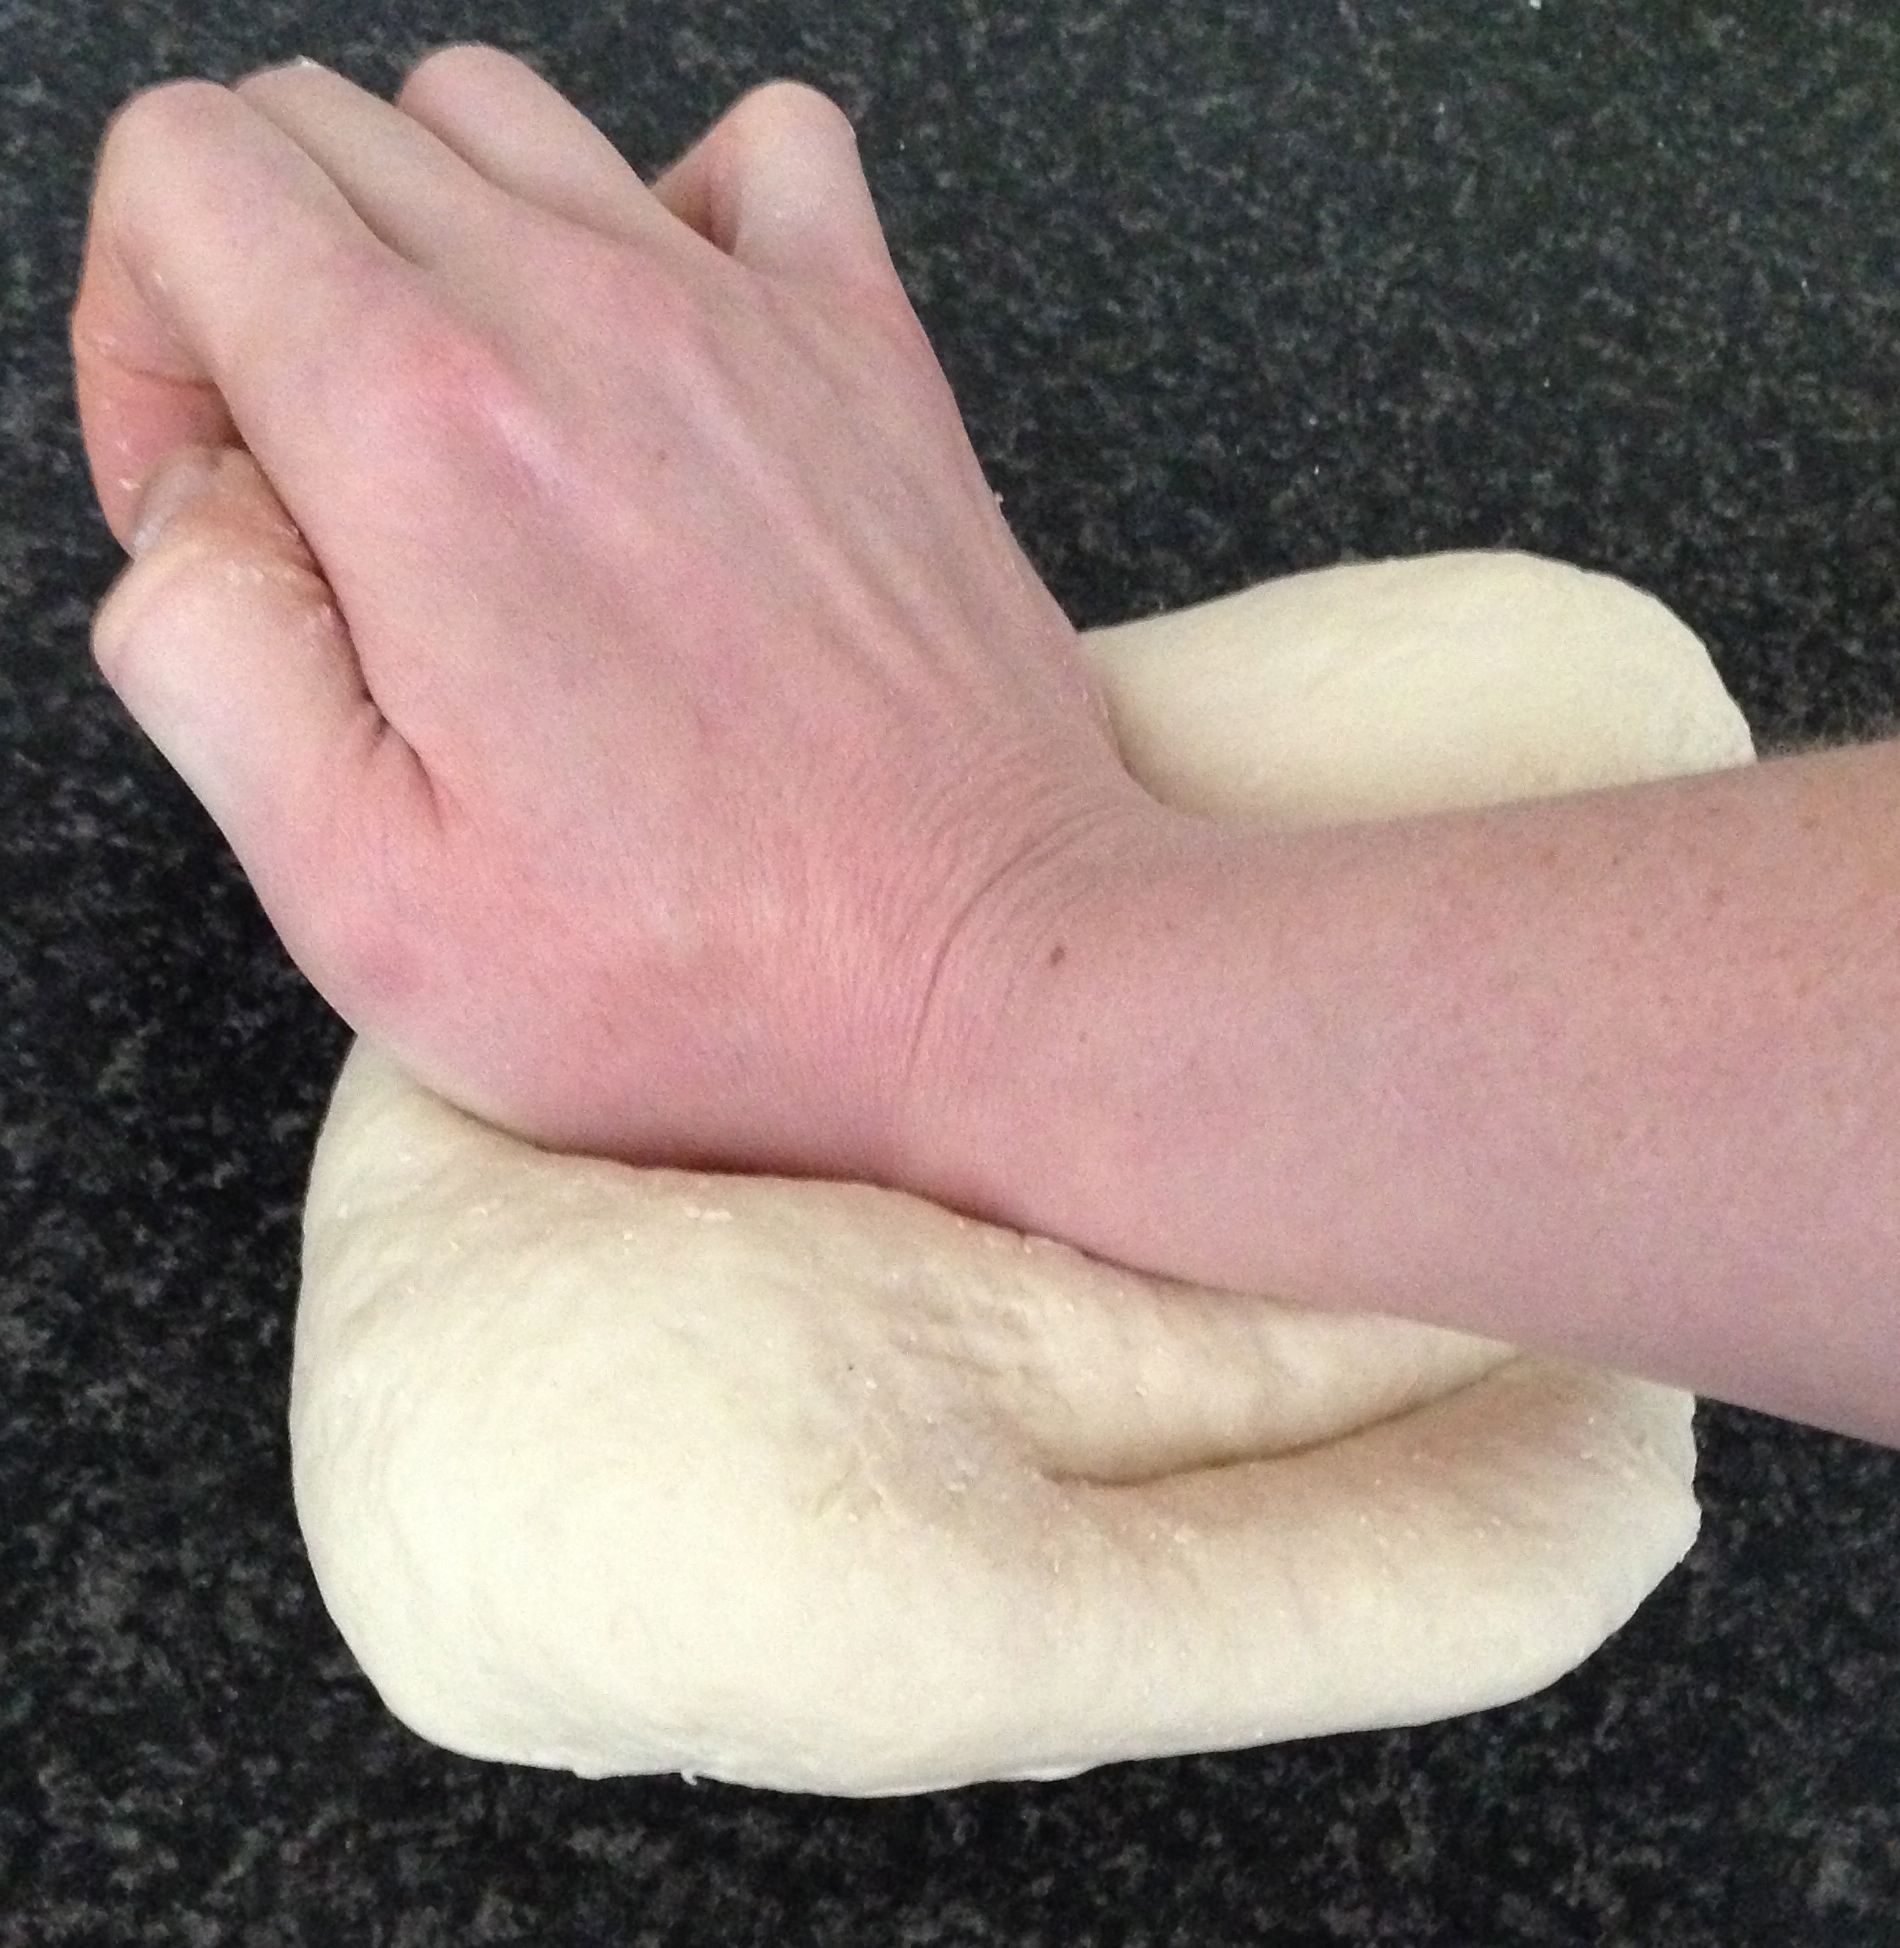
Step 8

Step 10

Step 11
Step 12
Step 14
Step 15
Like this recipe? Subscribe via RSS or email to get my new entries and more scrumptious recipes with reviews.
 Follow