Maamool

In my constant exploring and investigating for amazing worldly sweet treats I came across the Maamool biscuit (or Ma’amoul). These biscuits are Arabic traditional small shortbread pastries filled with dates or nuts.
As they are popular in so many courtiers (etc Lebanon, the Middle East and North Arica) you can imagine there are many varying recipes, particularly when it comes to the actually biscuit (cookie) dough. So I started comparing and researching recipes until I identified a few that seems to be quite consistent in ingredients and methods.
These biscuits are not my usual sweet treat fix as they are not very sweet but the fact they are predominately used for religious festivals was very interesting to me. Muslims eat these treats during holidays, and Arabic-speaking Christians eat them at Easter. So to have this much importance to cultures made me really keen to make them myself.
In my option below is the easiest and tastiest biscuit recipe (which I’ve adapted) and 2 filling options (also adapted), though the date one is by far the tastier.
Ingredients:
Biscuit dough:
- 4.5 cups fine semolina
- 1/3 cup sugar
- 2 cups butter, melted
- 4 tsp orange blossom water
- 4 tsp rose water
- 1/4 water
Date Filling:
- 2 cup chopped pitted dates
- 1 tbsp butter
- 2 tsn orange blossom water
- 2 tsn rose water
Nut Filling
- 2 cups almond (or walnuts / pistachios)
- 100g sugar
- 2 tsn orange blossom water
- 2 tsn rose water
Method:
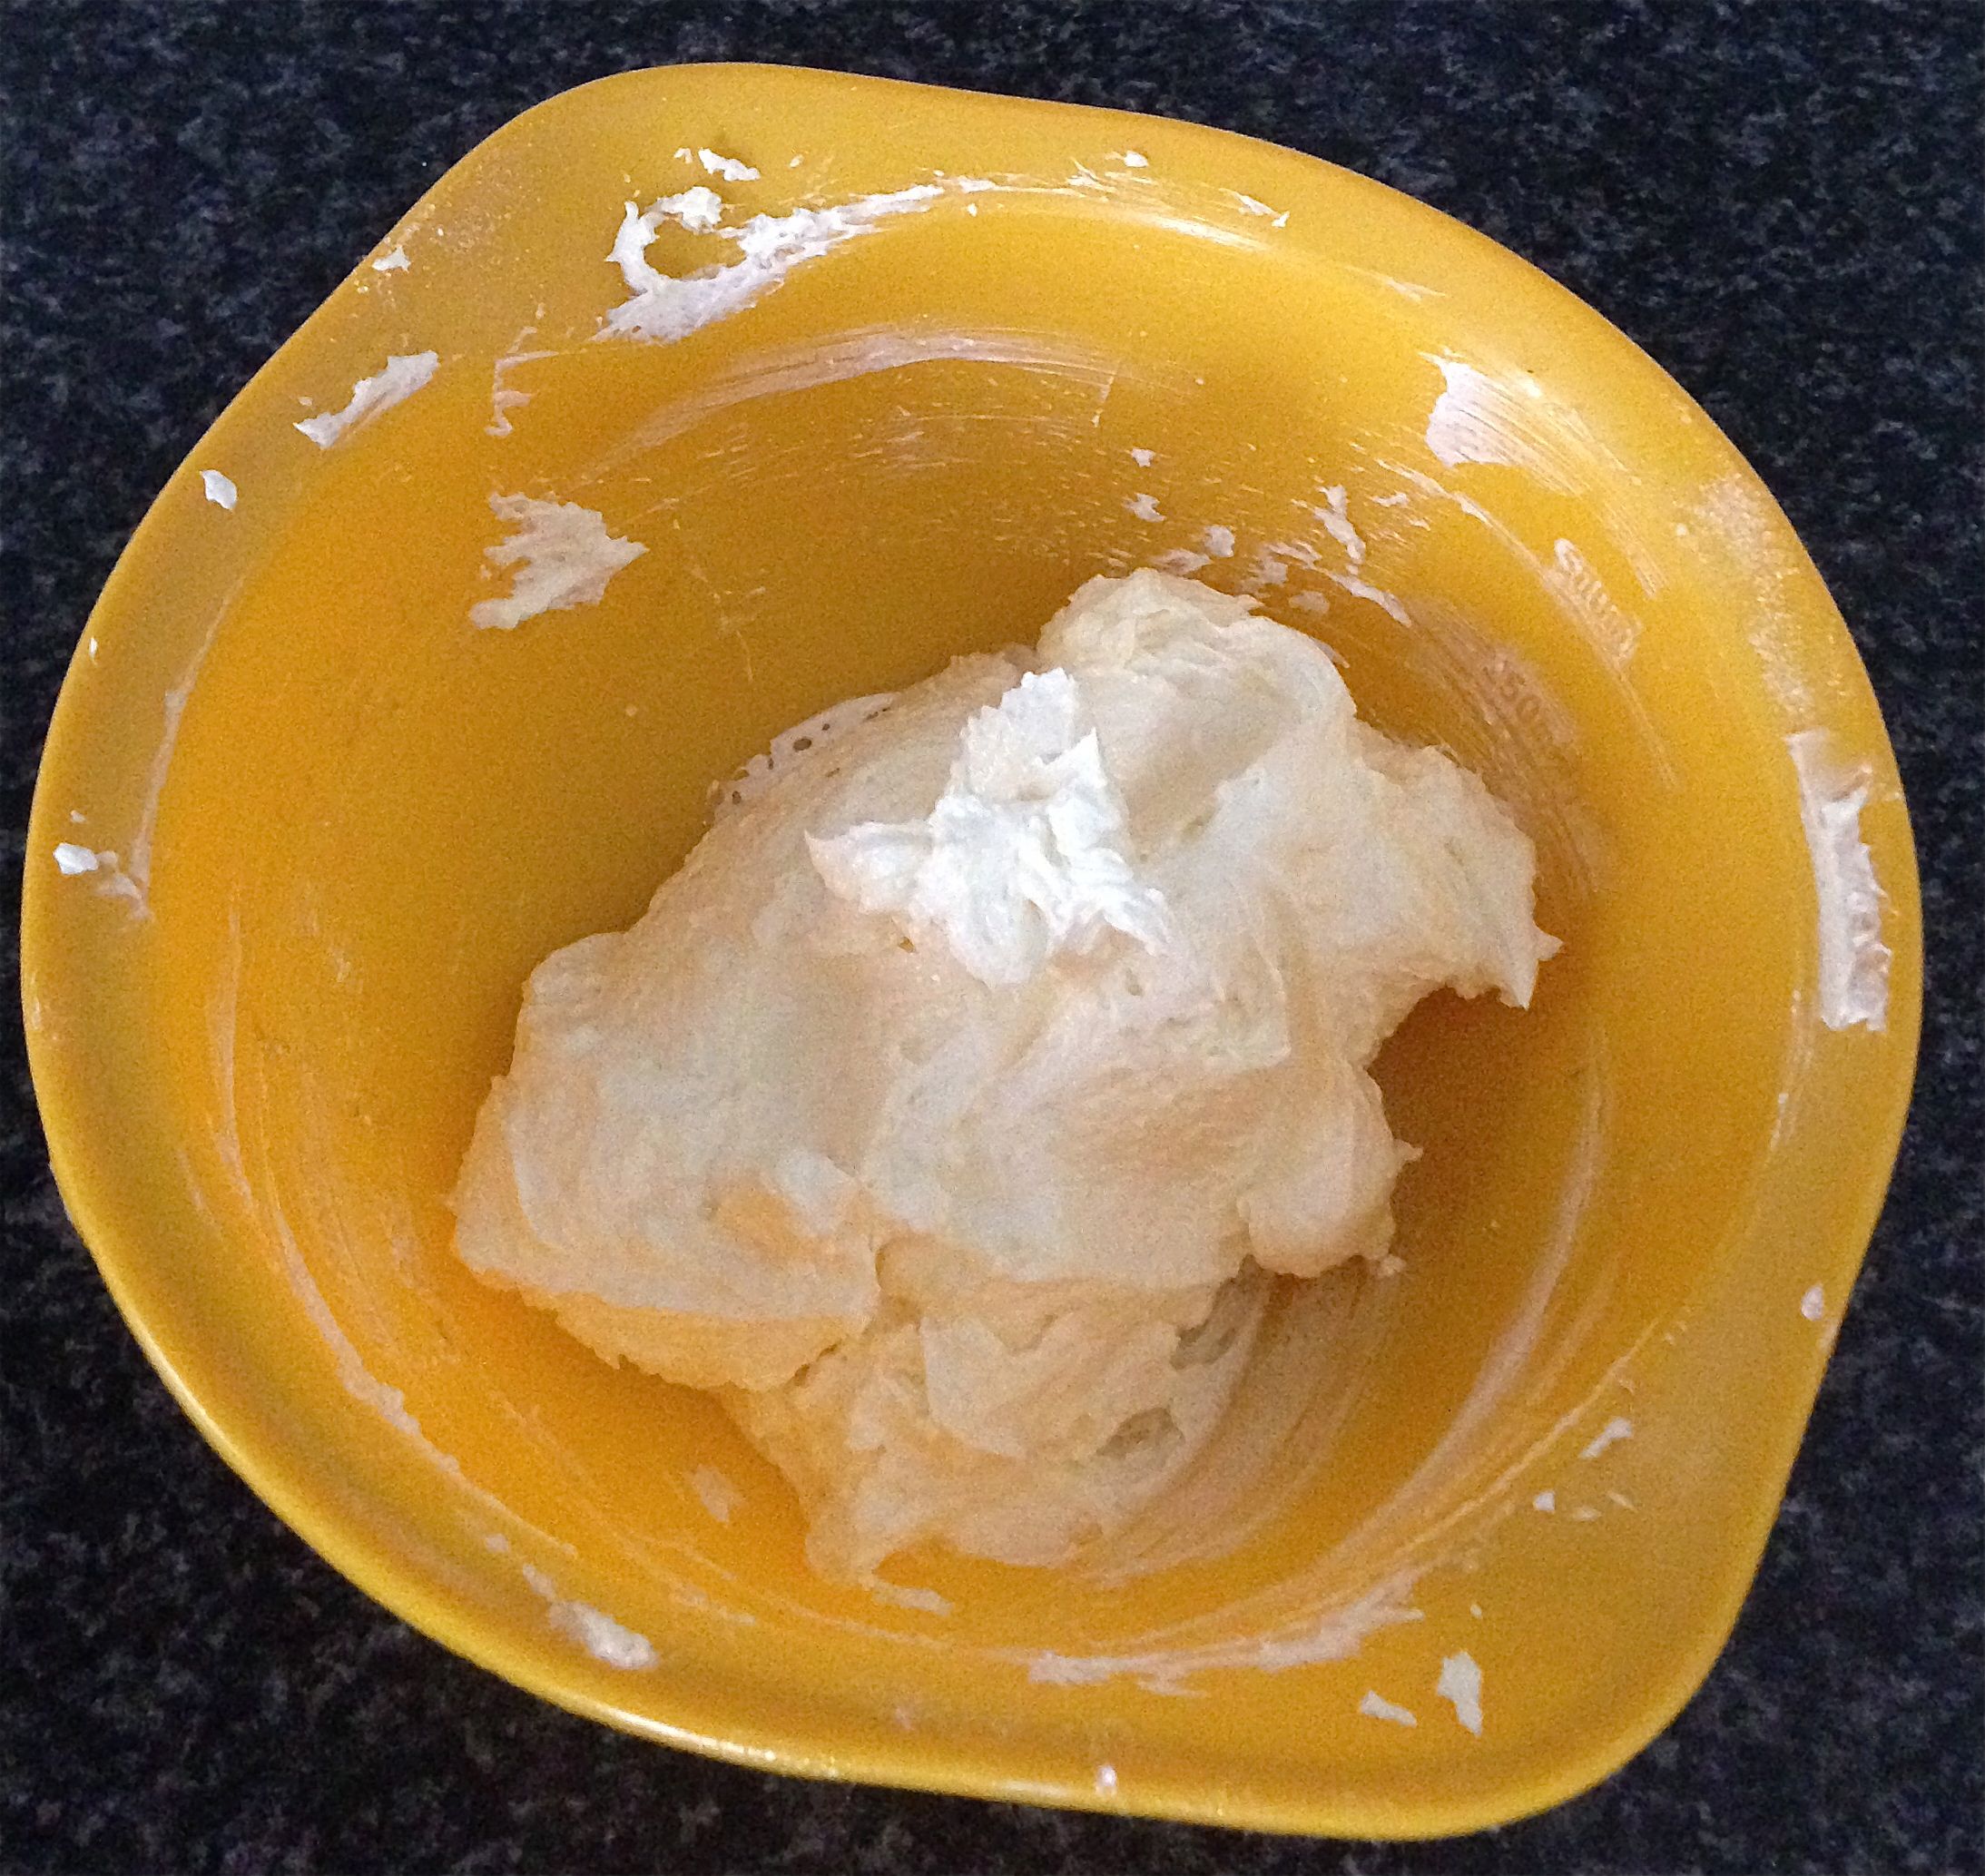
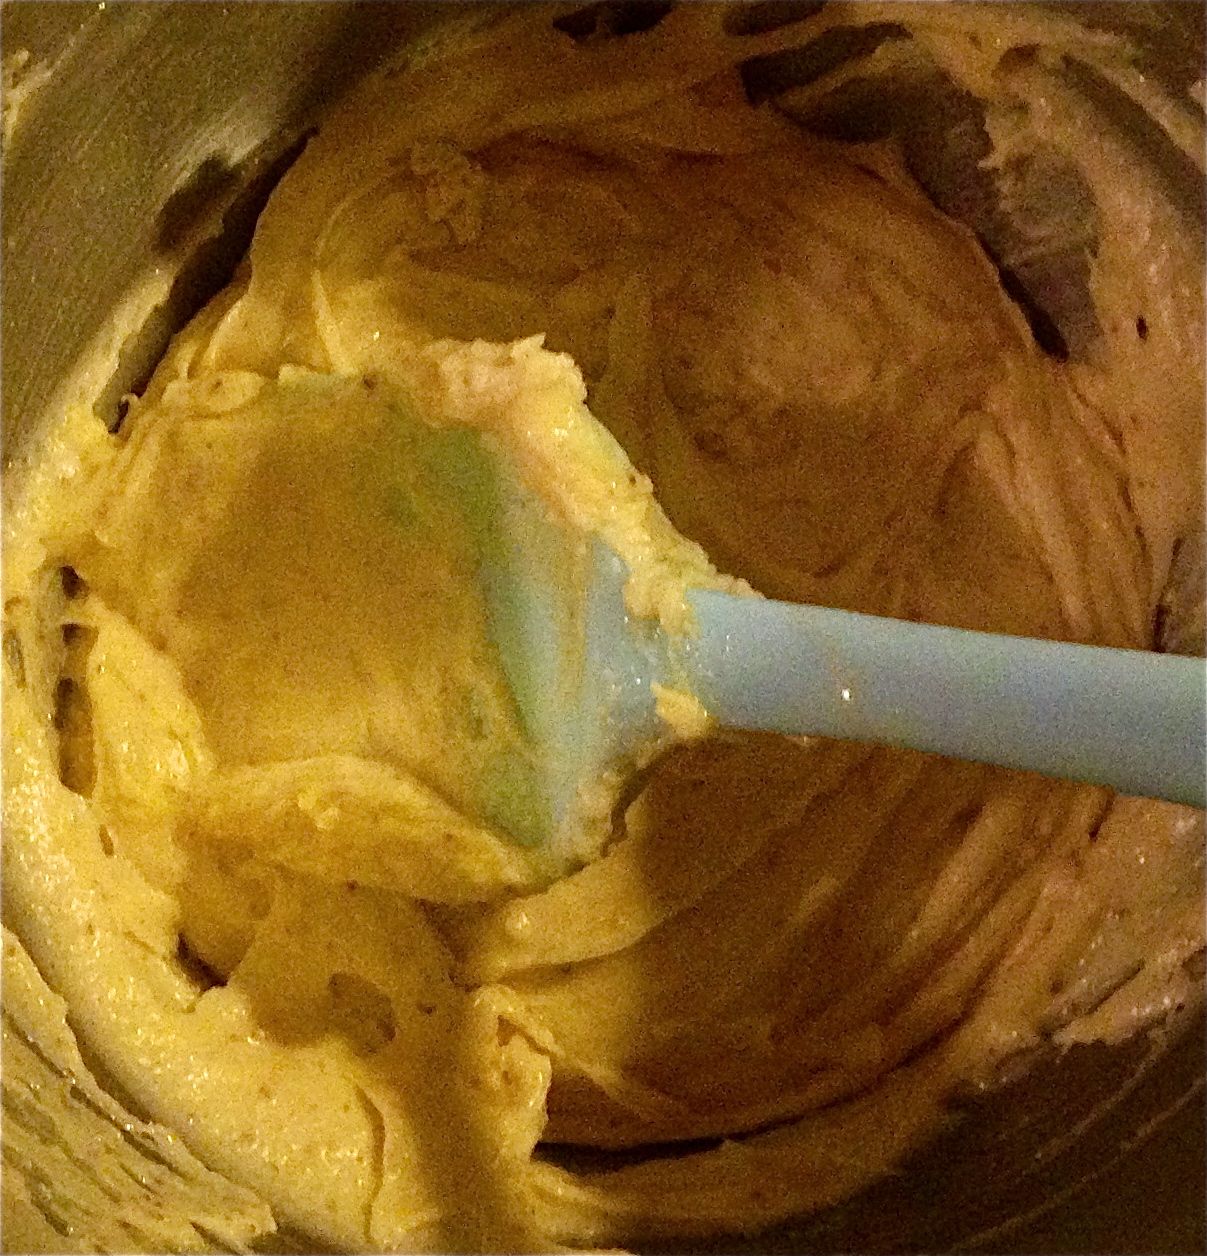
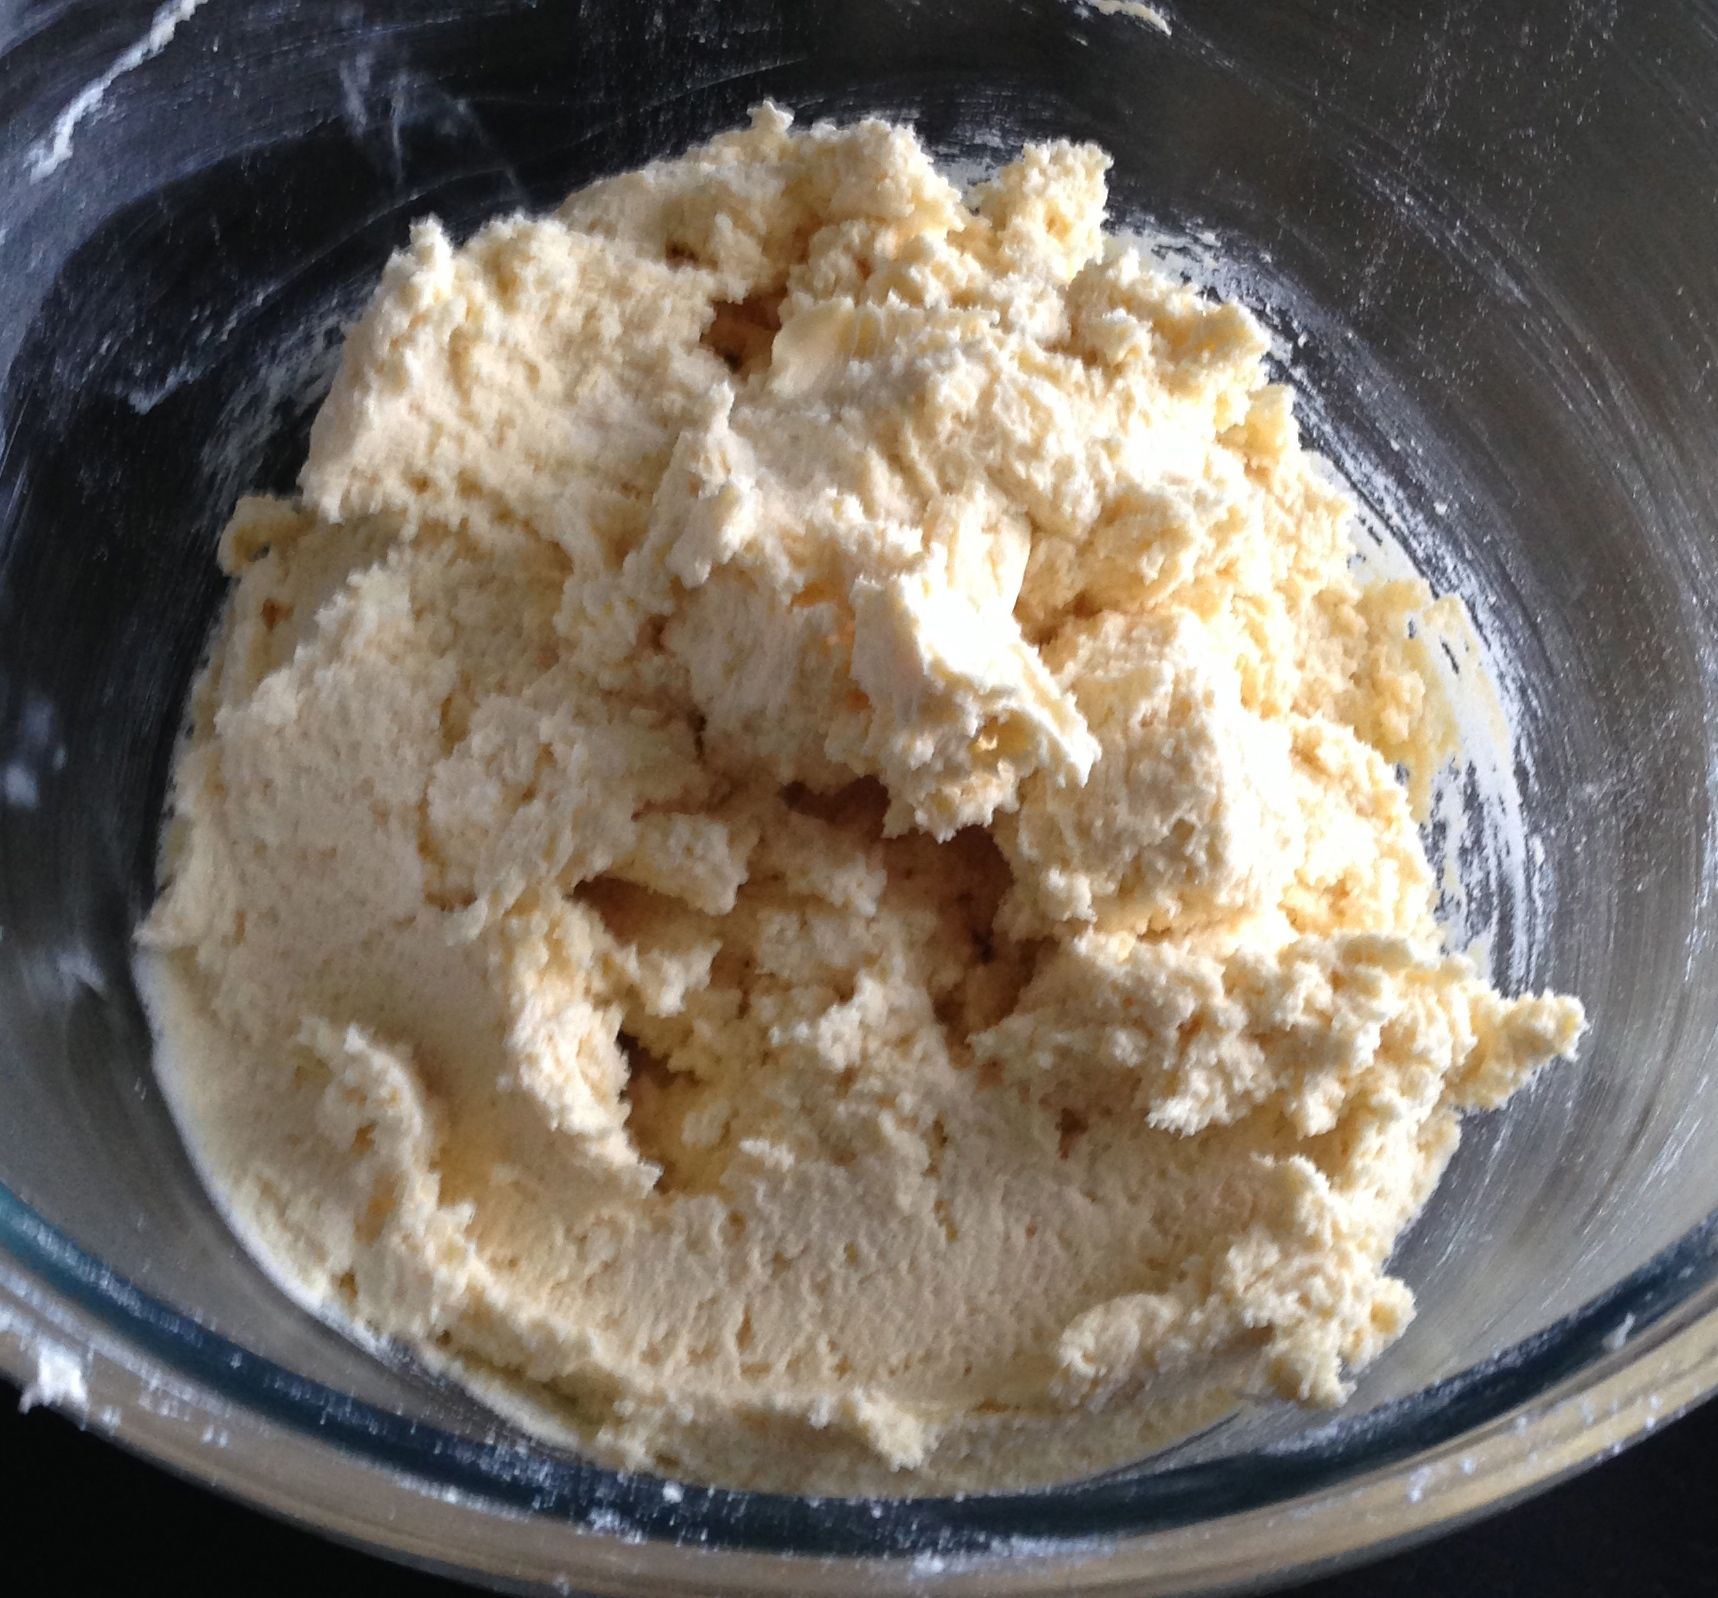
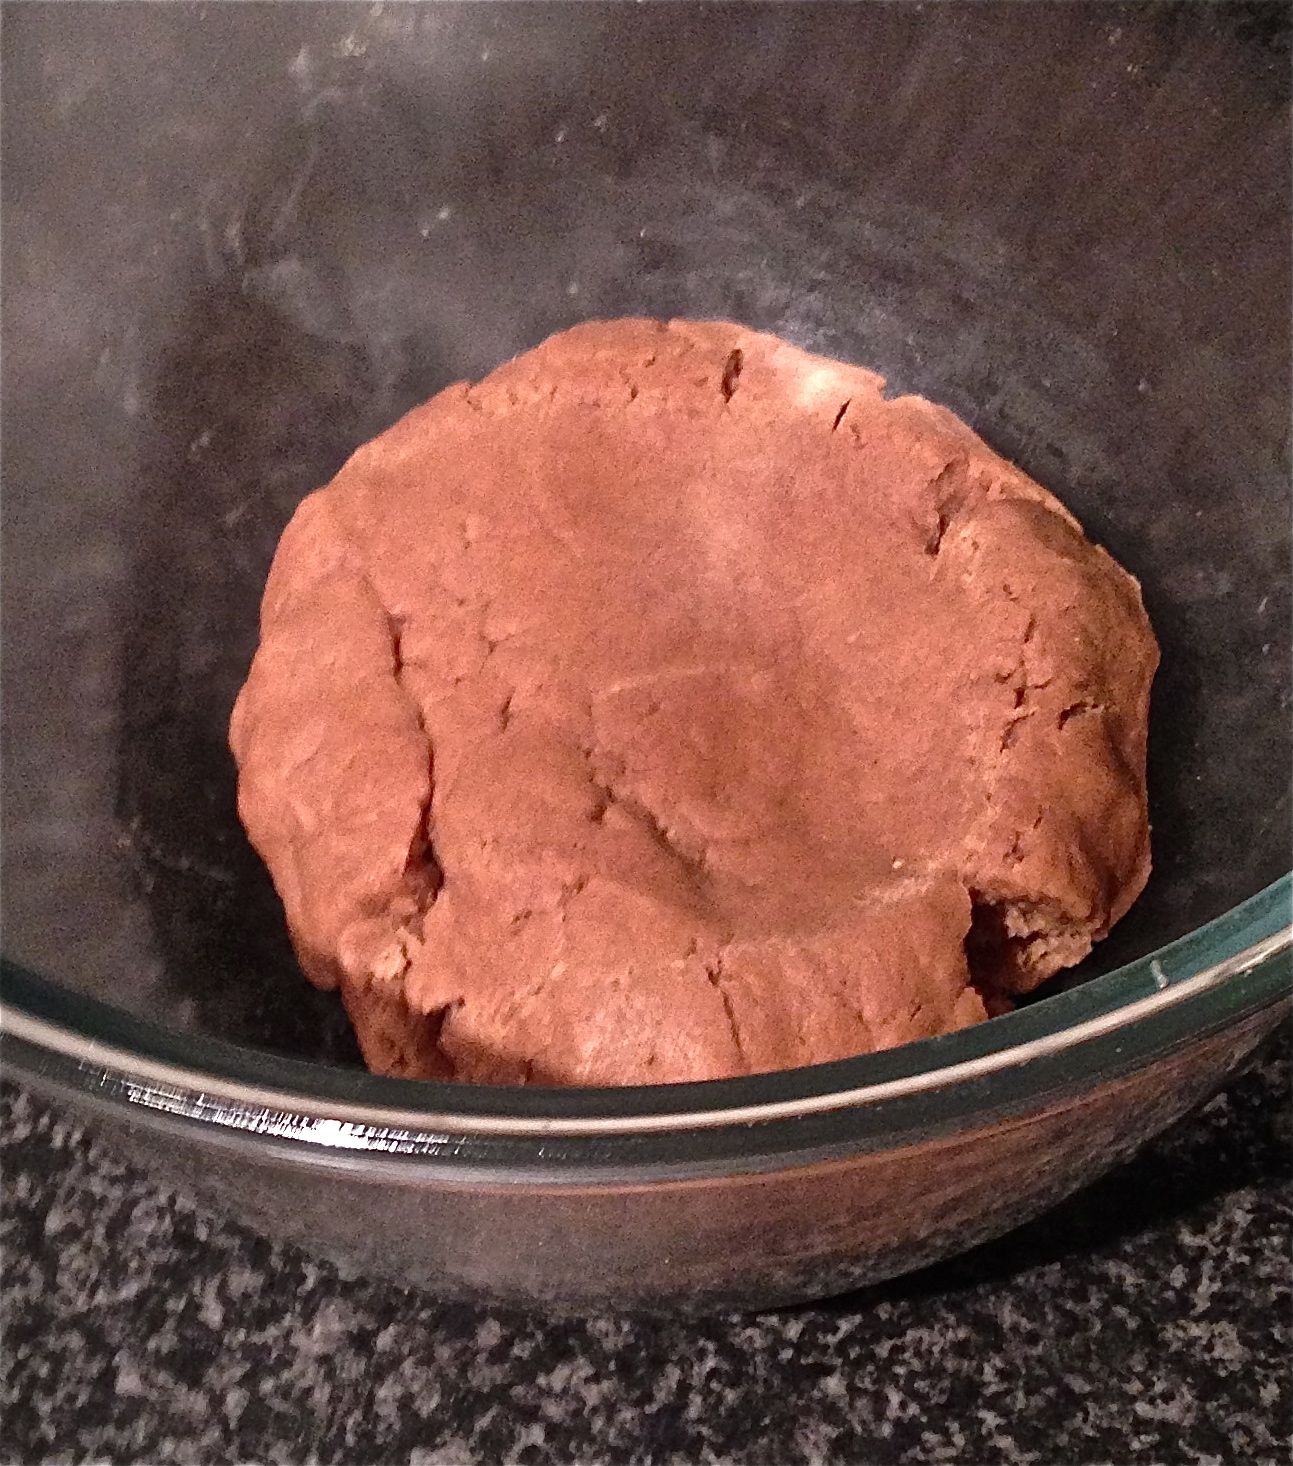
- Mix all the dough ingredients together in a bowl, massaging with slightly wet hands until the mix is combined well.
- Knead for 5 minutes to form a soft ball.
- Leave mixture in a bowl covered overnight (or at least 5 hours) to rest. This will allow the semolina to swell and soften up.
- After the mix has been left overnight line 2 large baking trays with baking paper and pre-heat the oven to 175c.
- If your making the date mix:
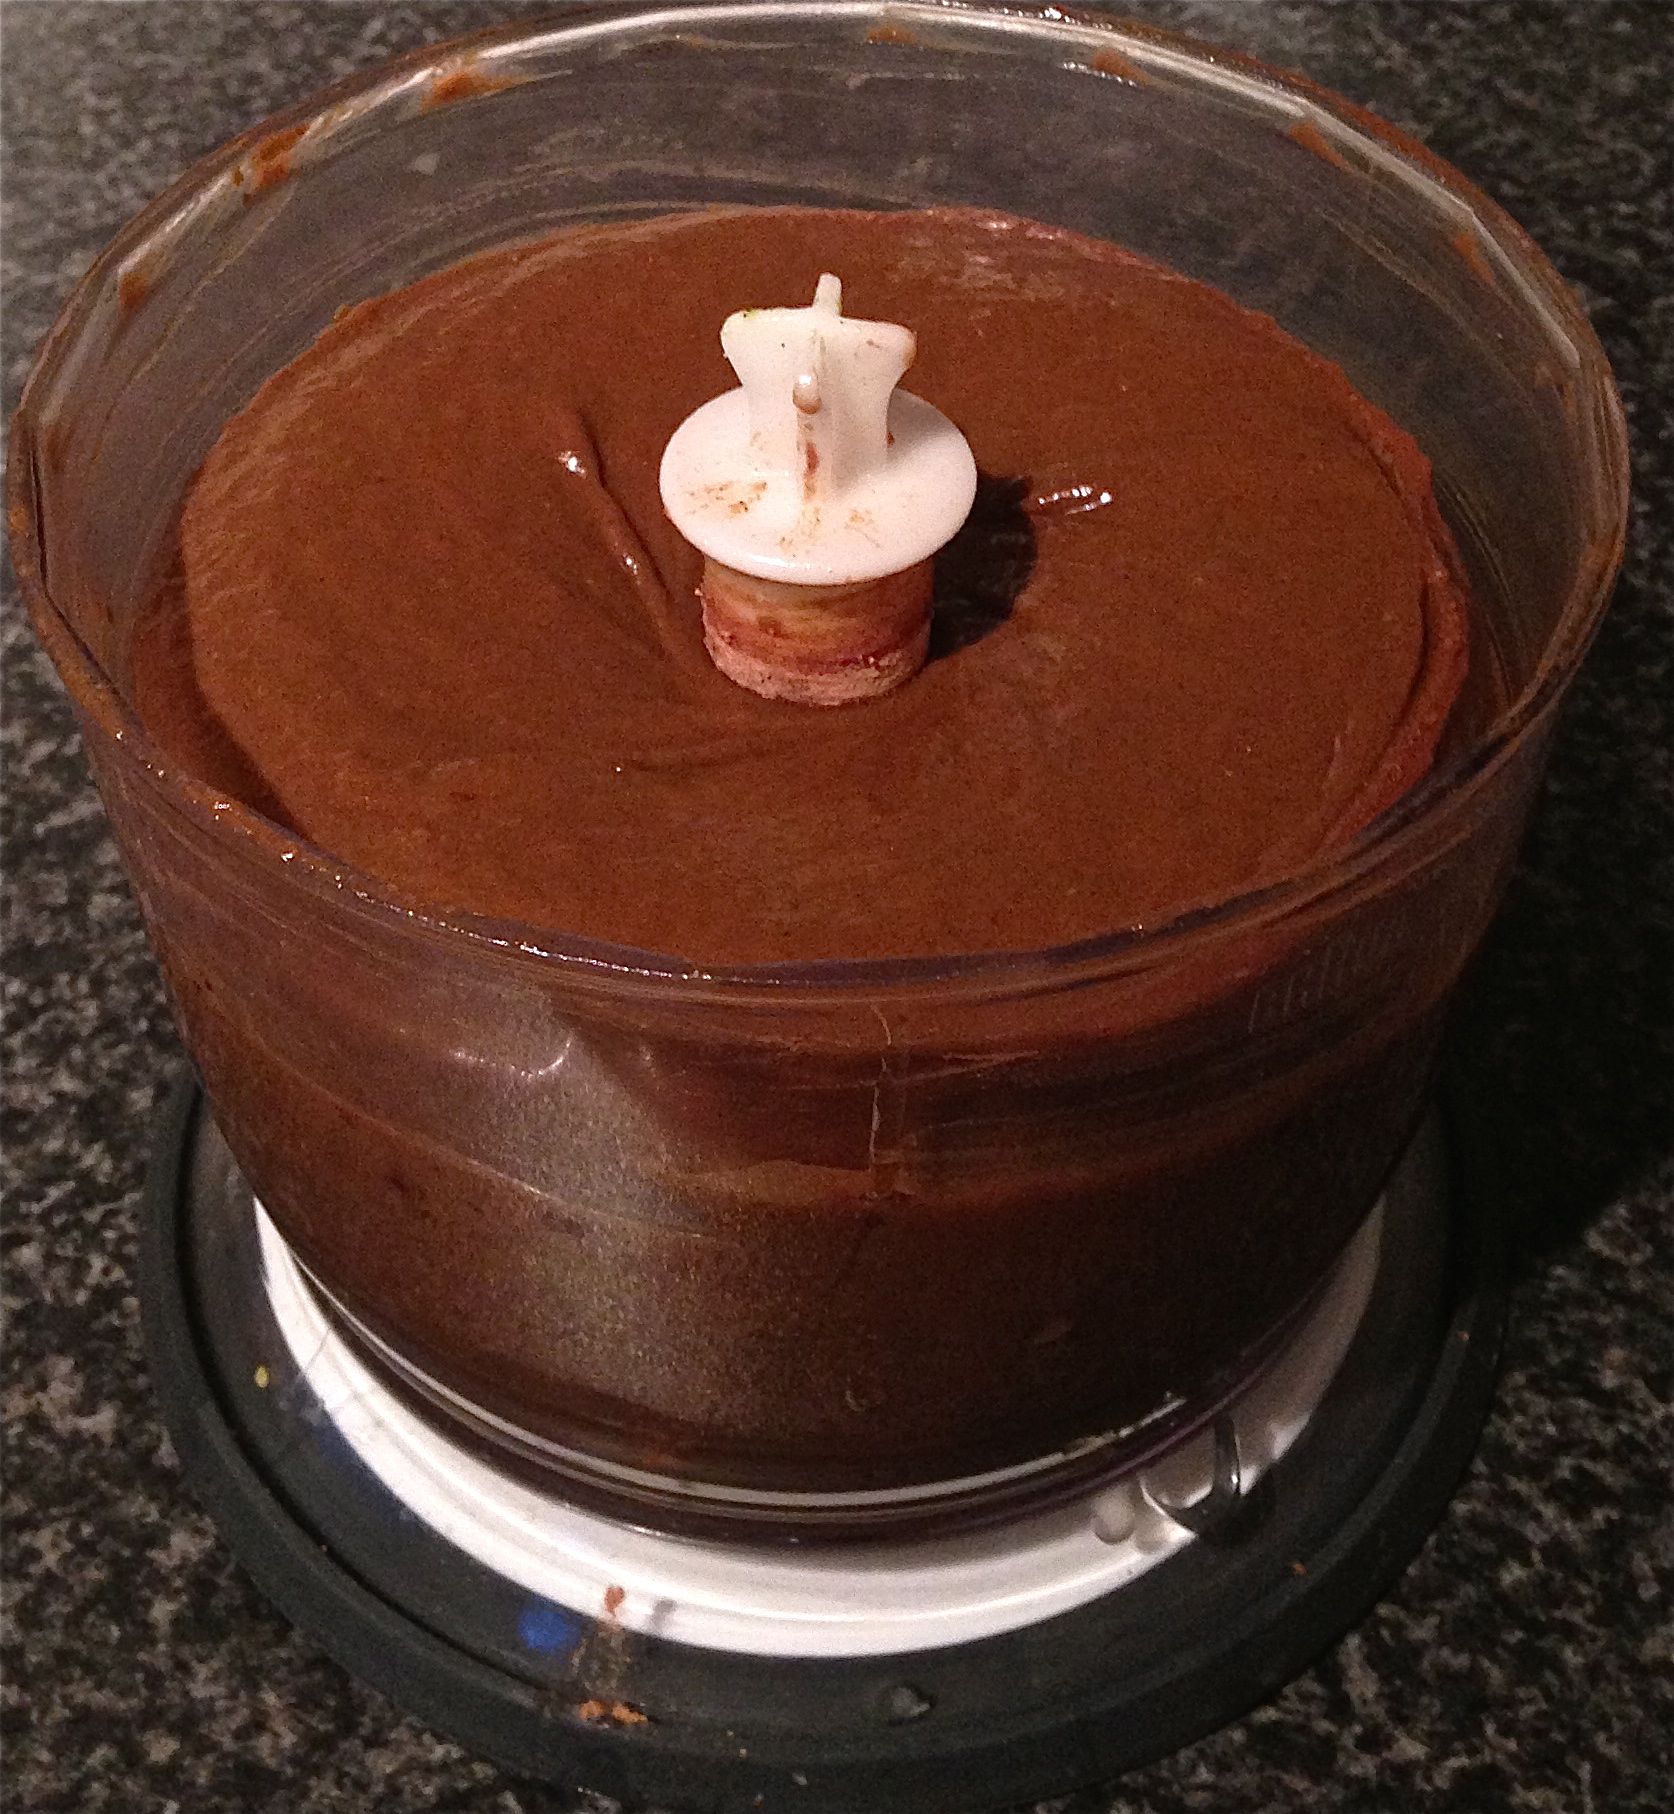
- Prepare the date filling by placing all the ingredients into a saucepan and stir on low until the dates are softened and the ingredients are combining.
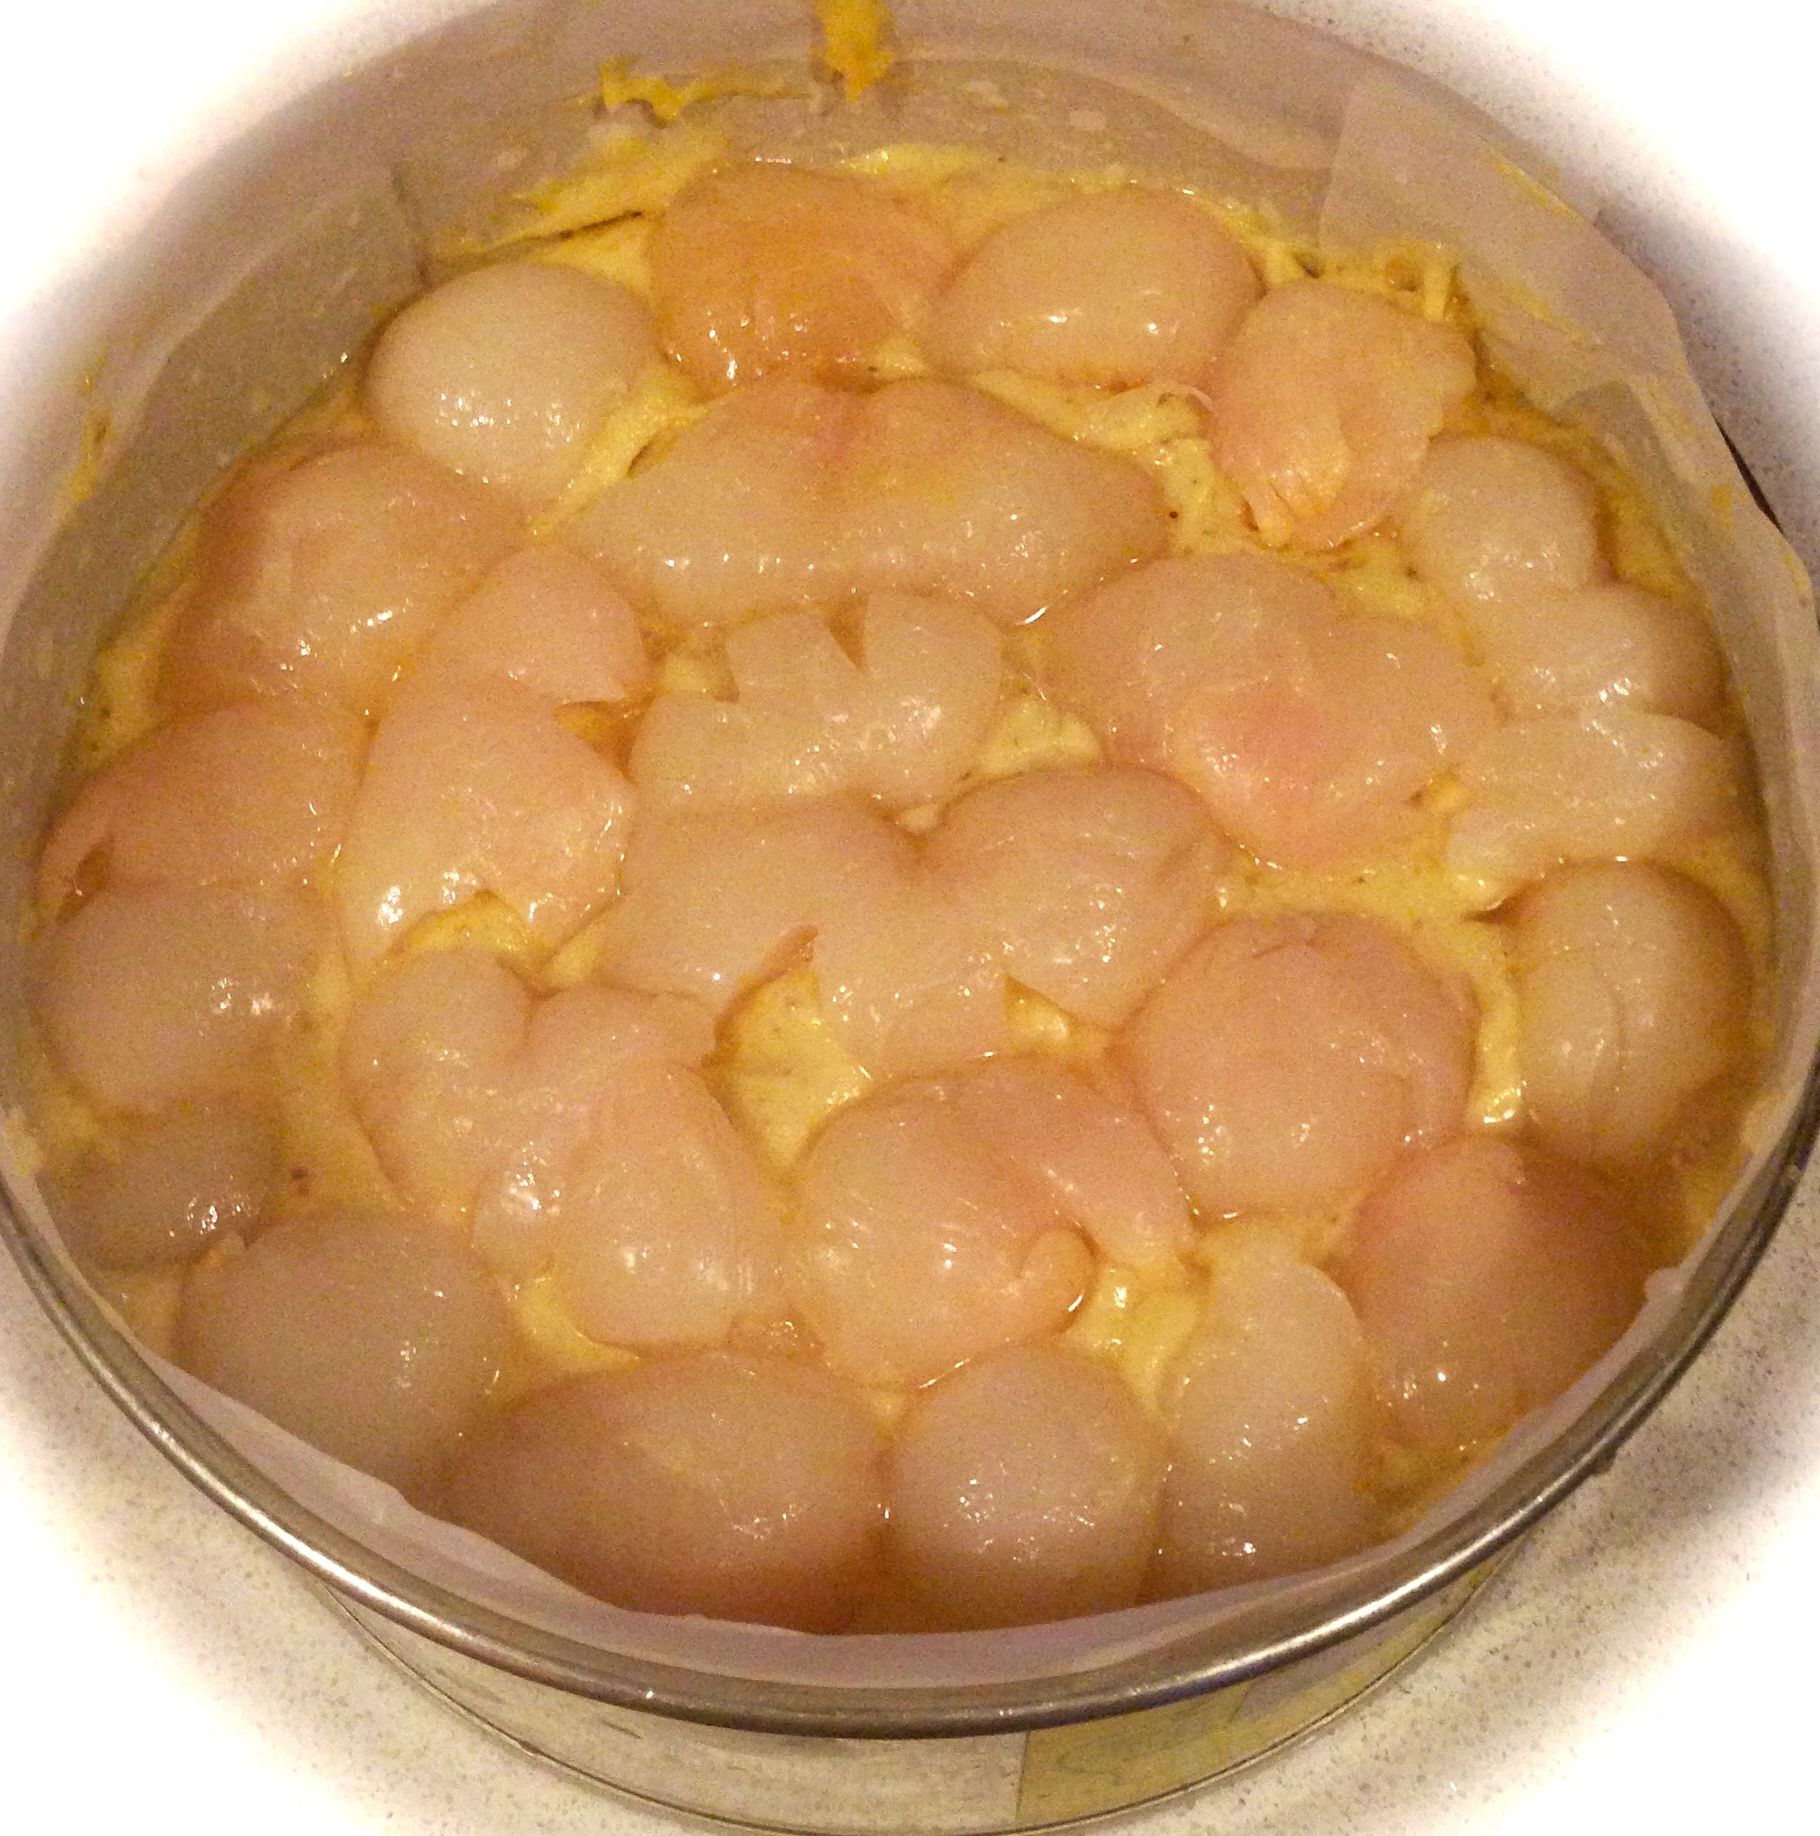
- Place in a food processor and process until the mix is smooth then form into small balls (the size or a 5 cent piece or 15g).
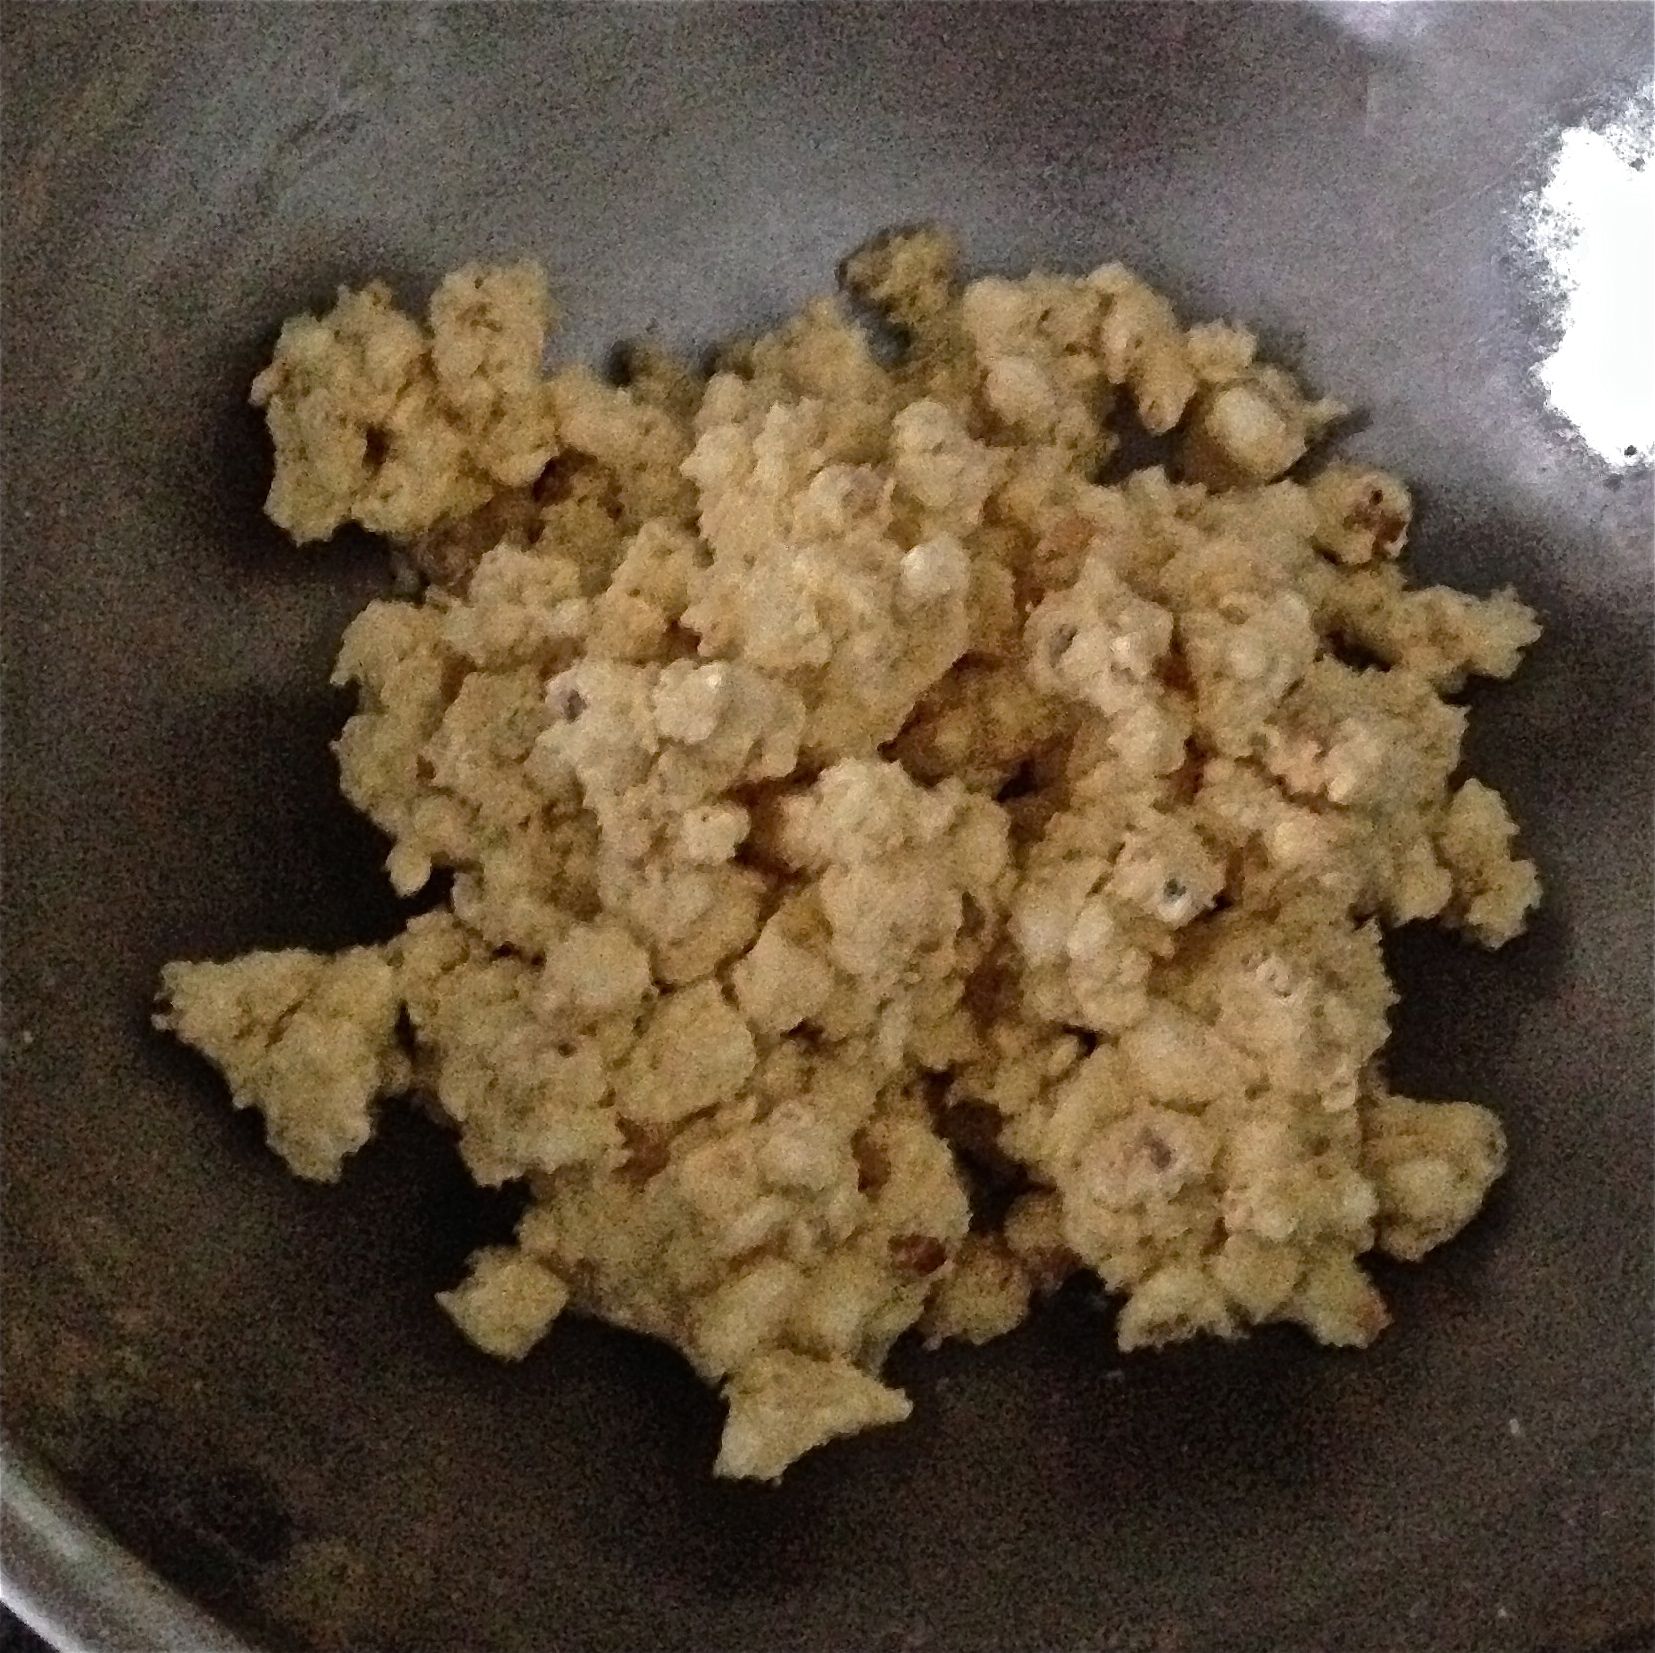
- If your making the nut mix:
- Place all the ingredients in a food processor and pulse to semi-coarse consistency.
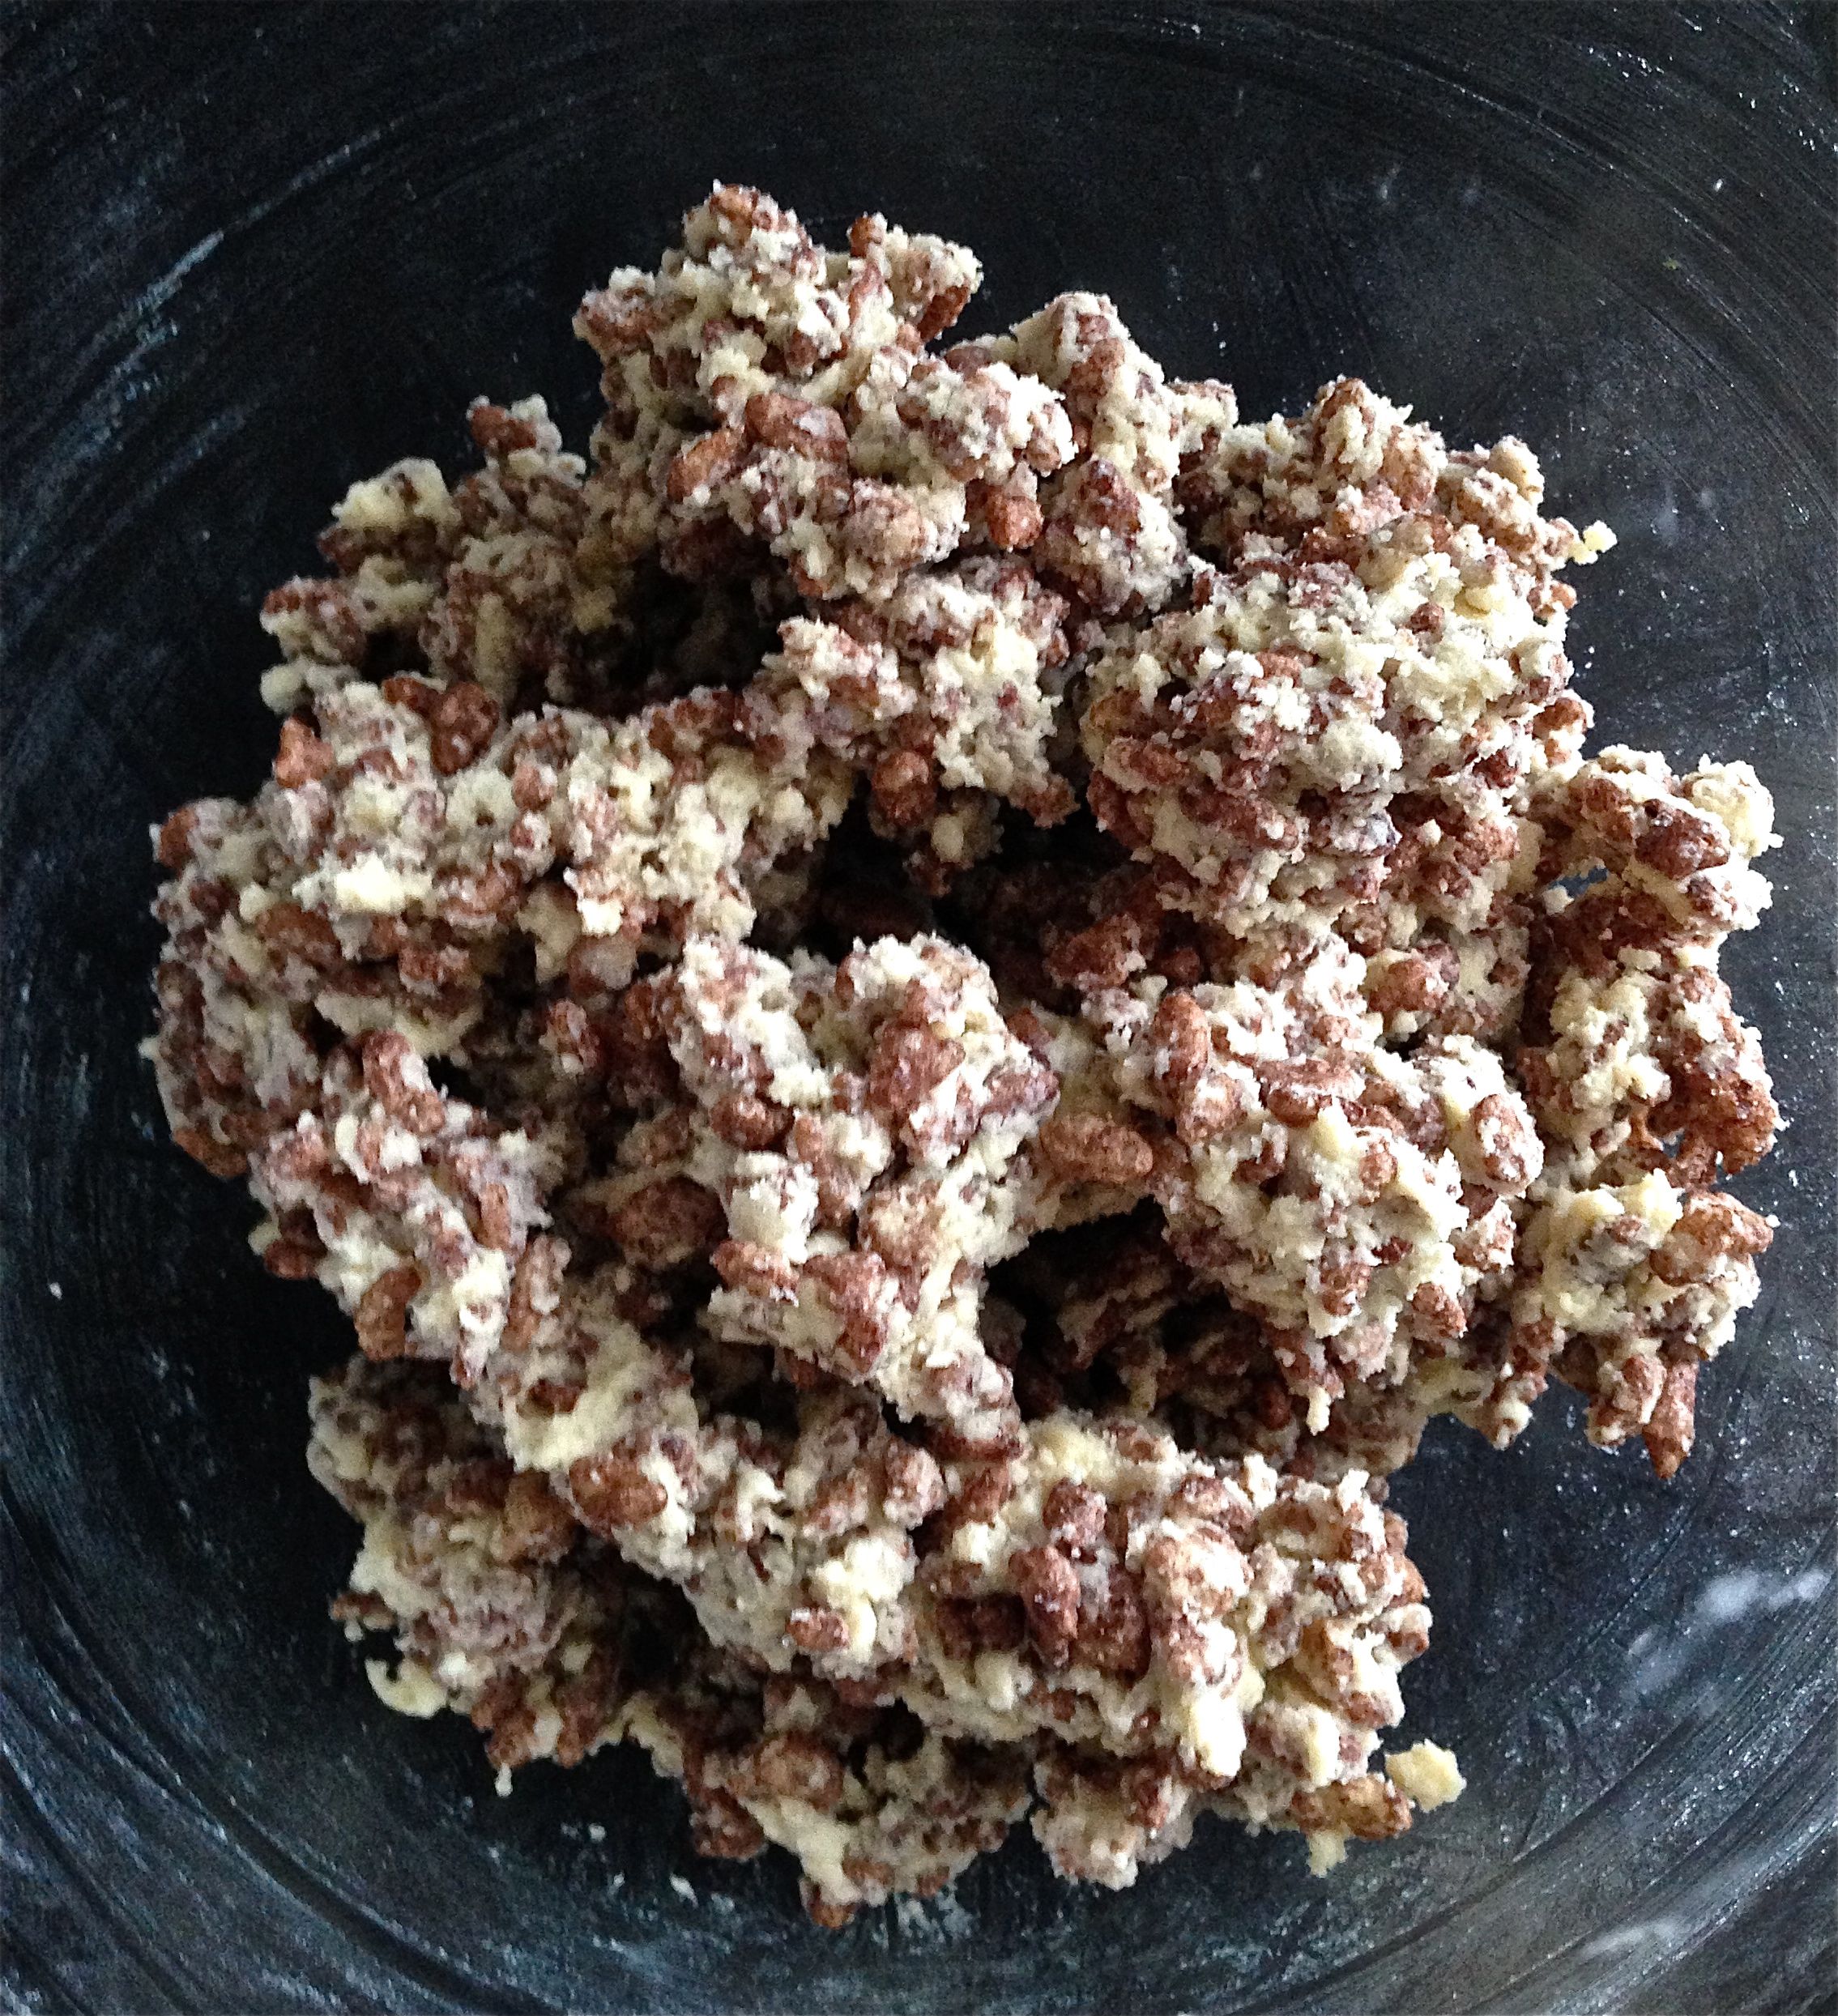
- Using your hands massage the ingredients together until well combined.
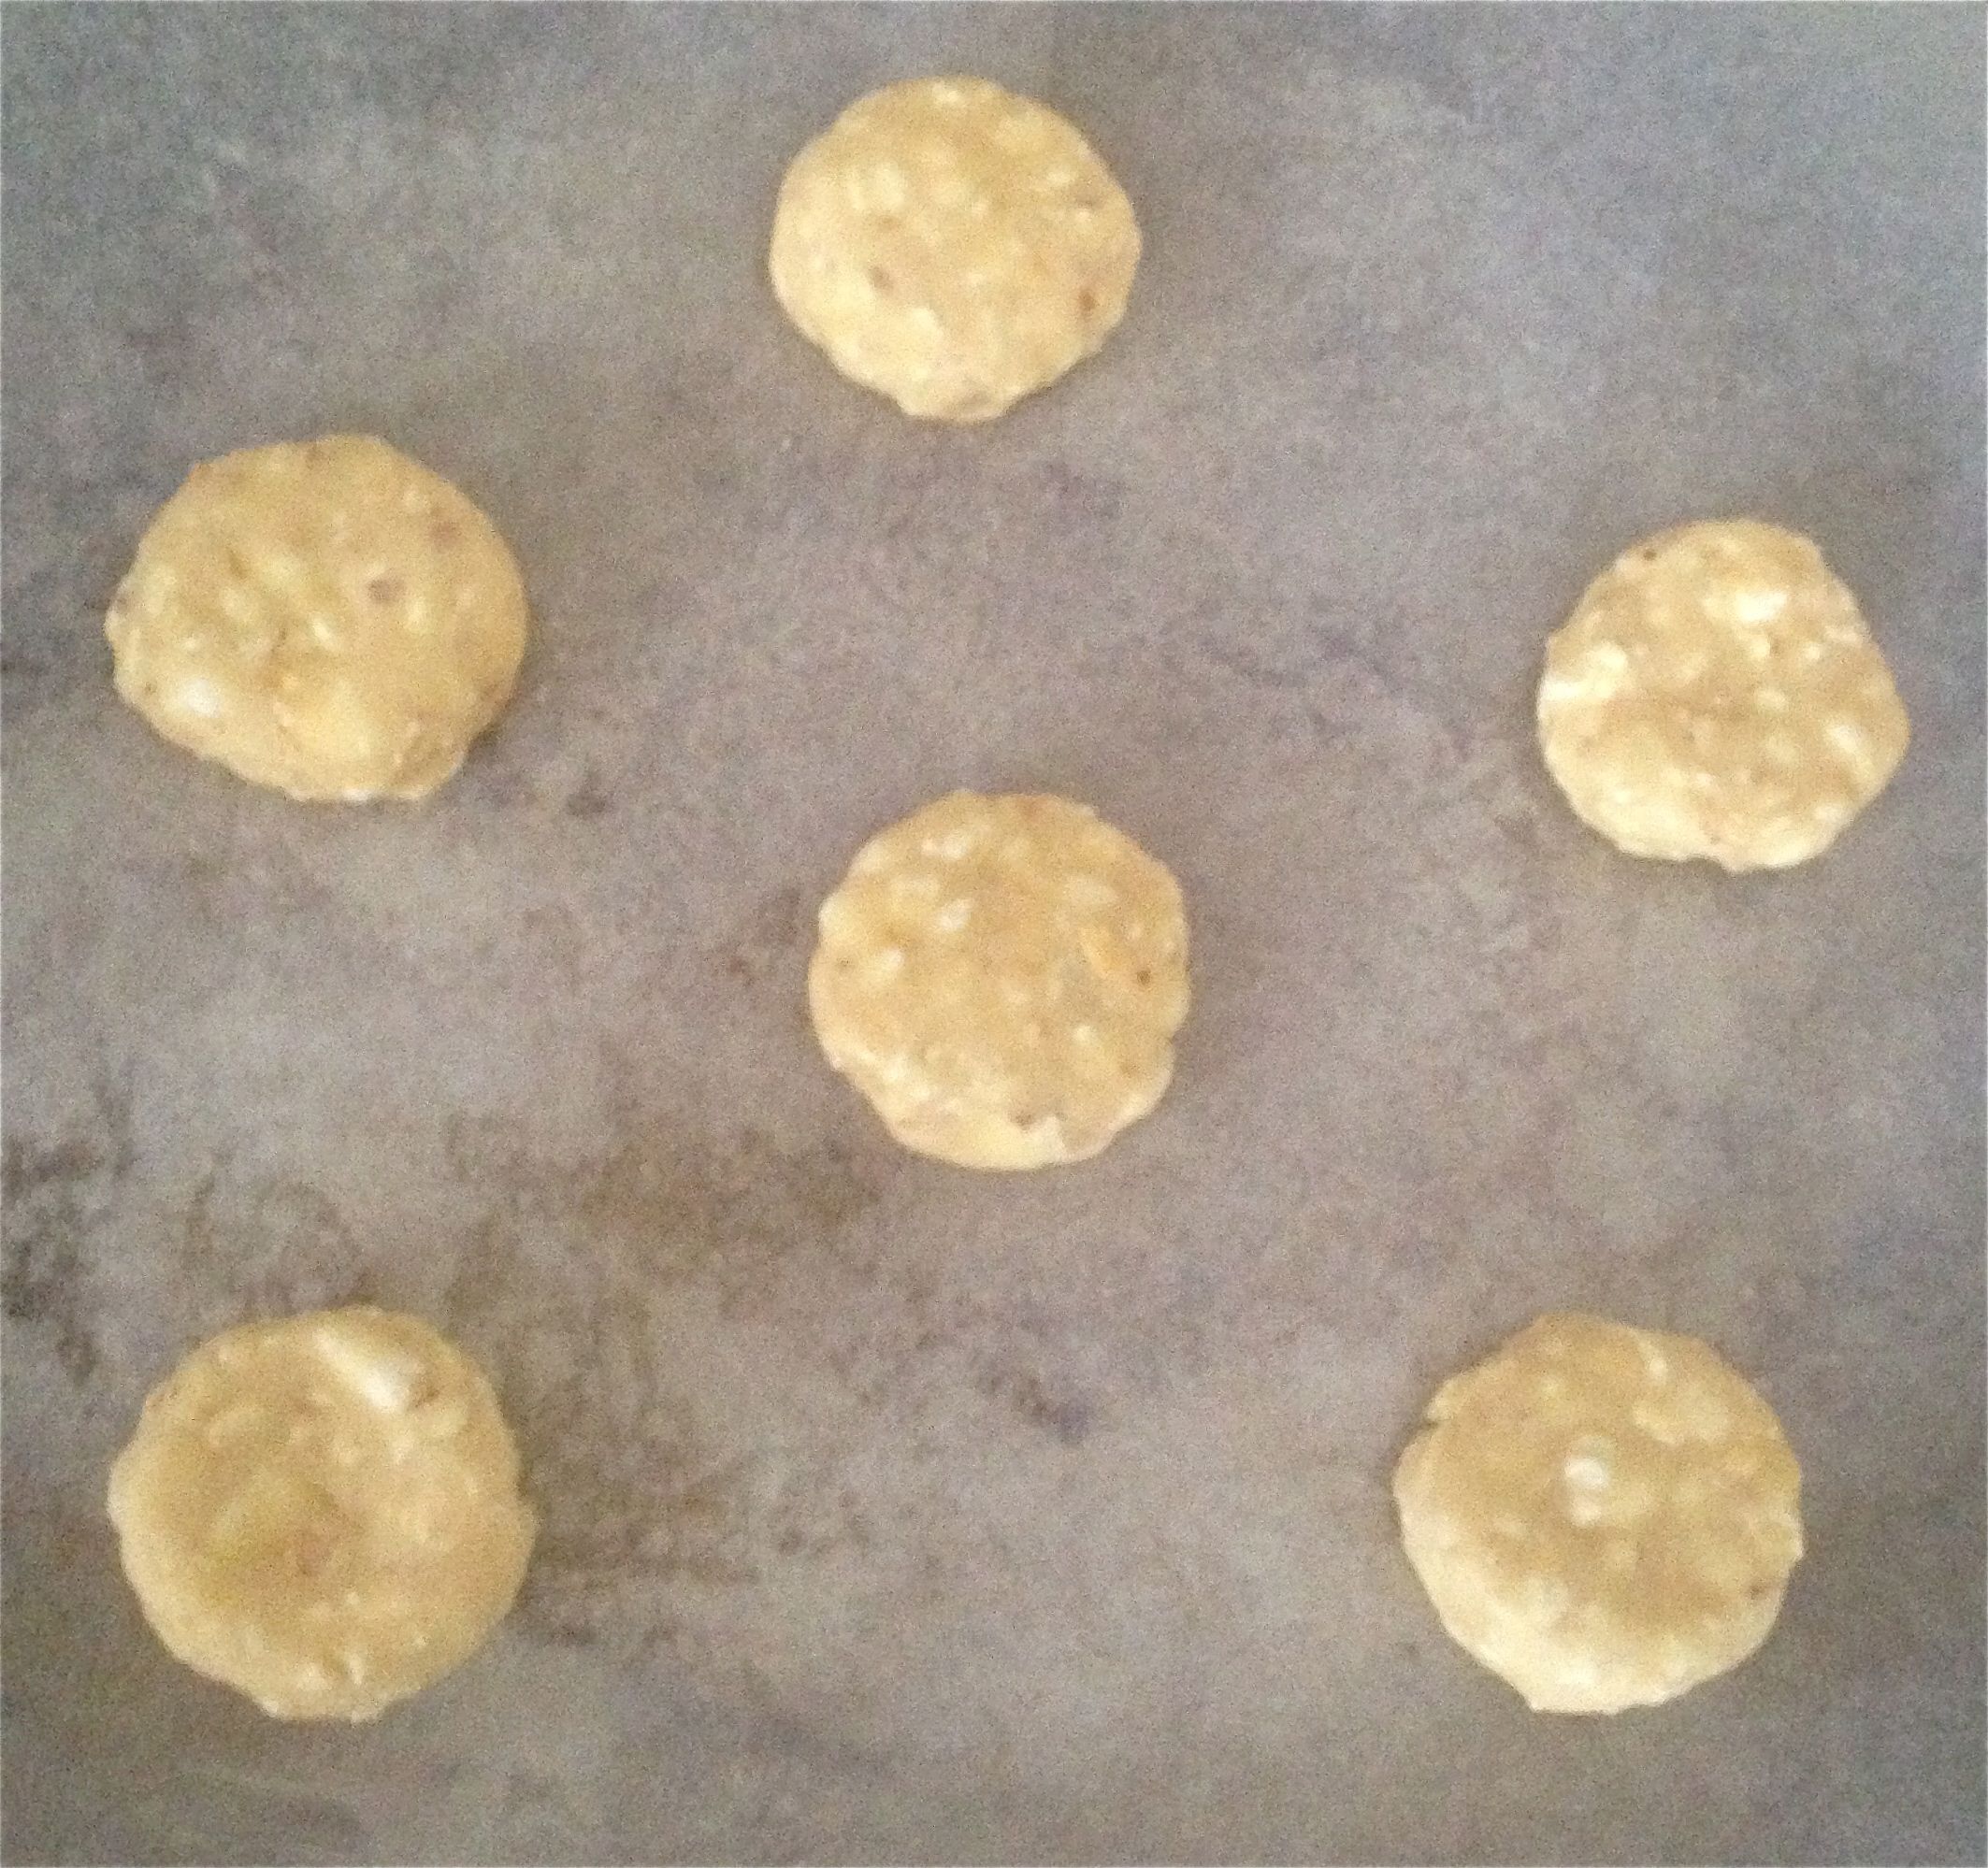
- Roll dough into 30g sized balls the size of golf balls.
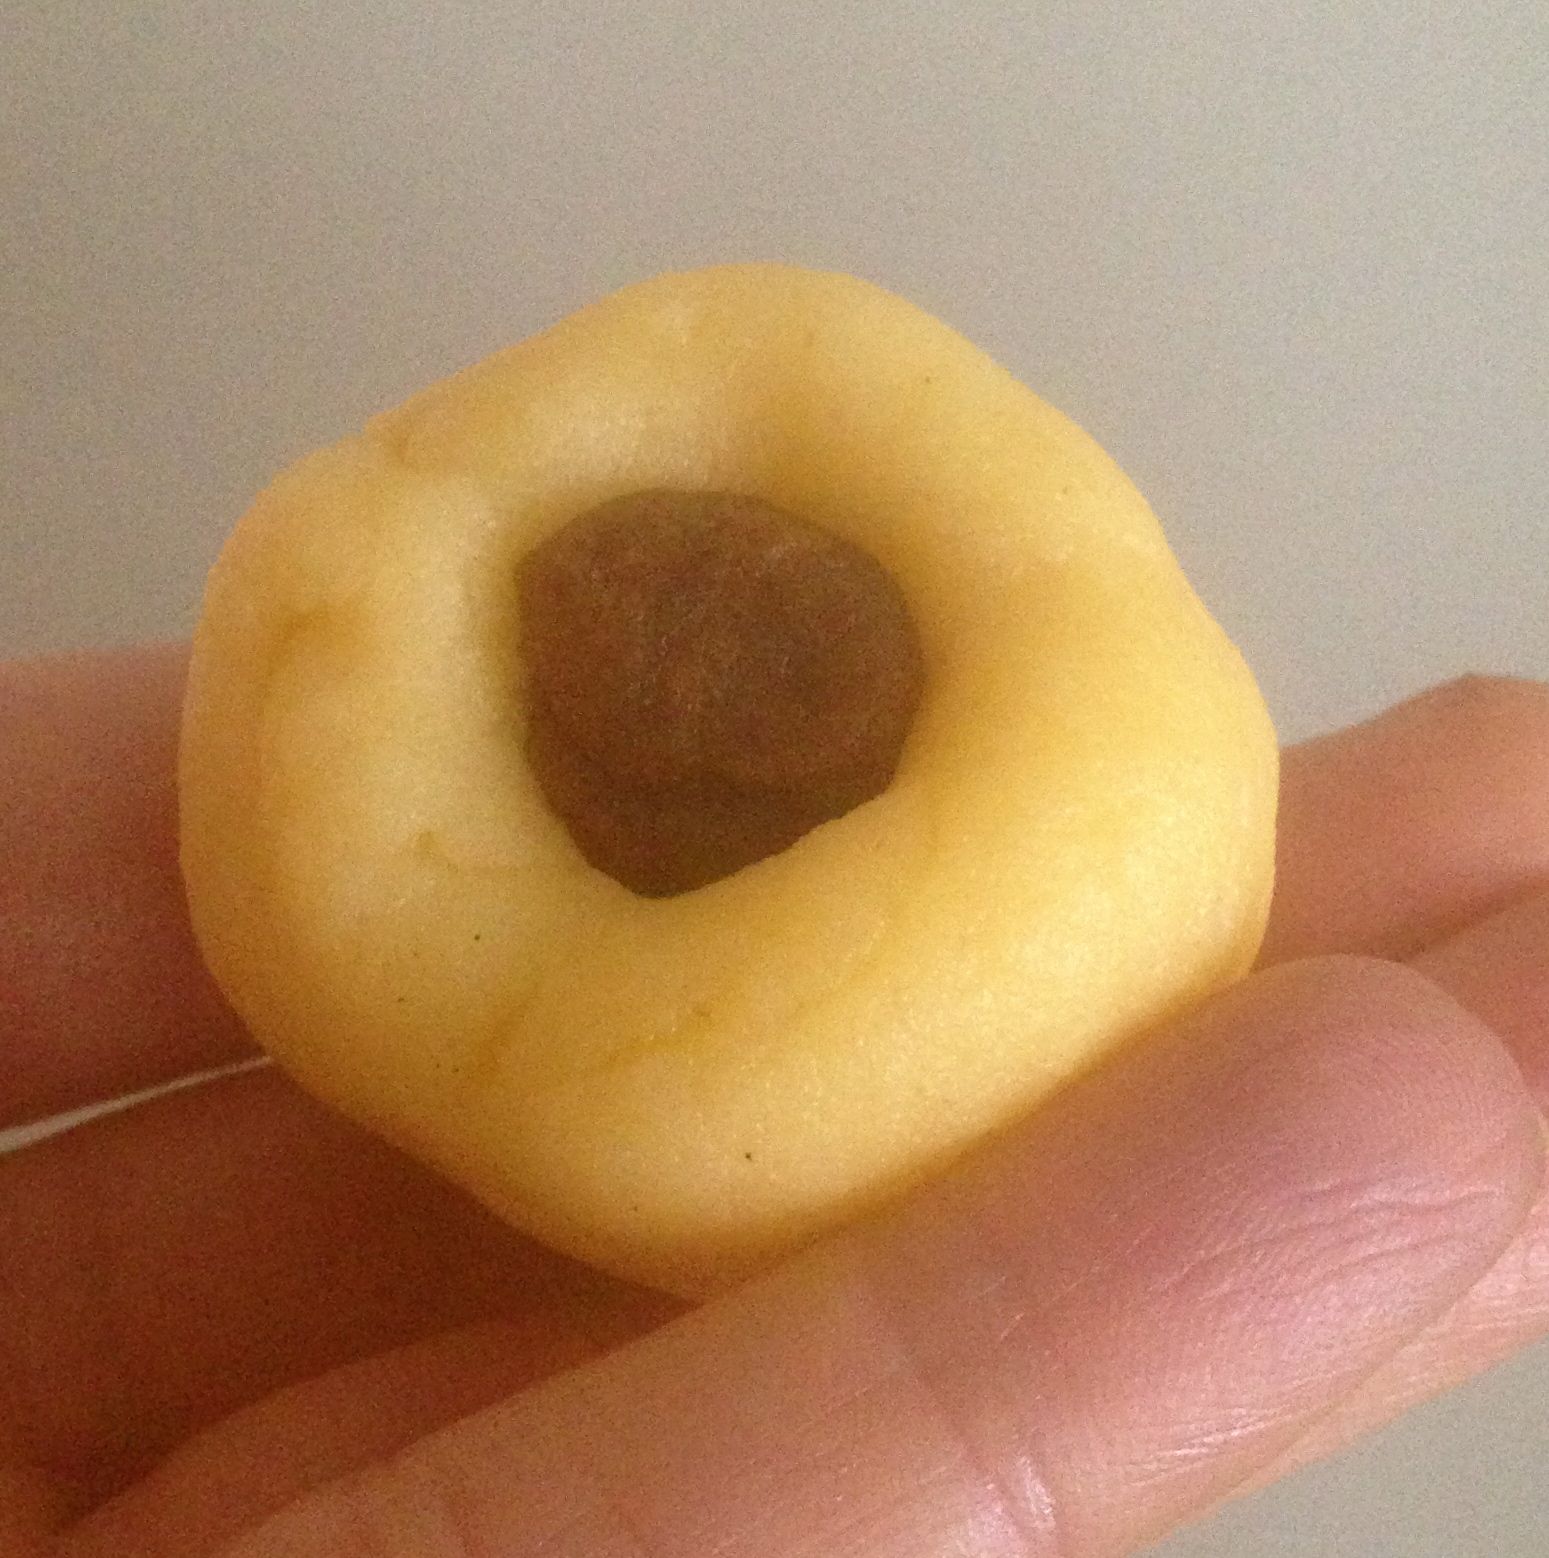
- Stuff the cookies by place your finger in the middle to form a hole in the ball and place the date balls inside / or spoon 15g of the nut mixture inside.
- Gently close up dough ball and seal and roll to be a ball again.
- If you are using the traditional Maamool mold place the ball into the mold and gently pat down to mold. Tap the mold onto a bench to remove the biscuit.
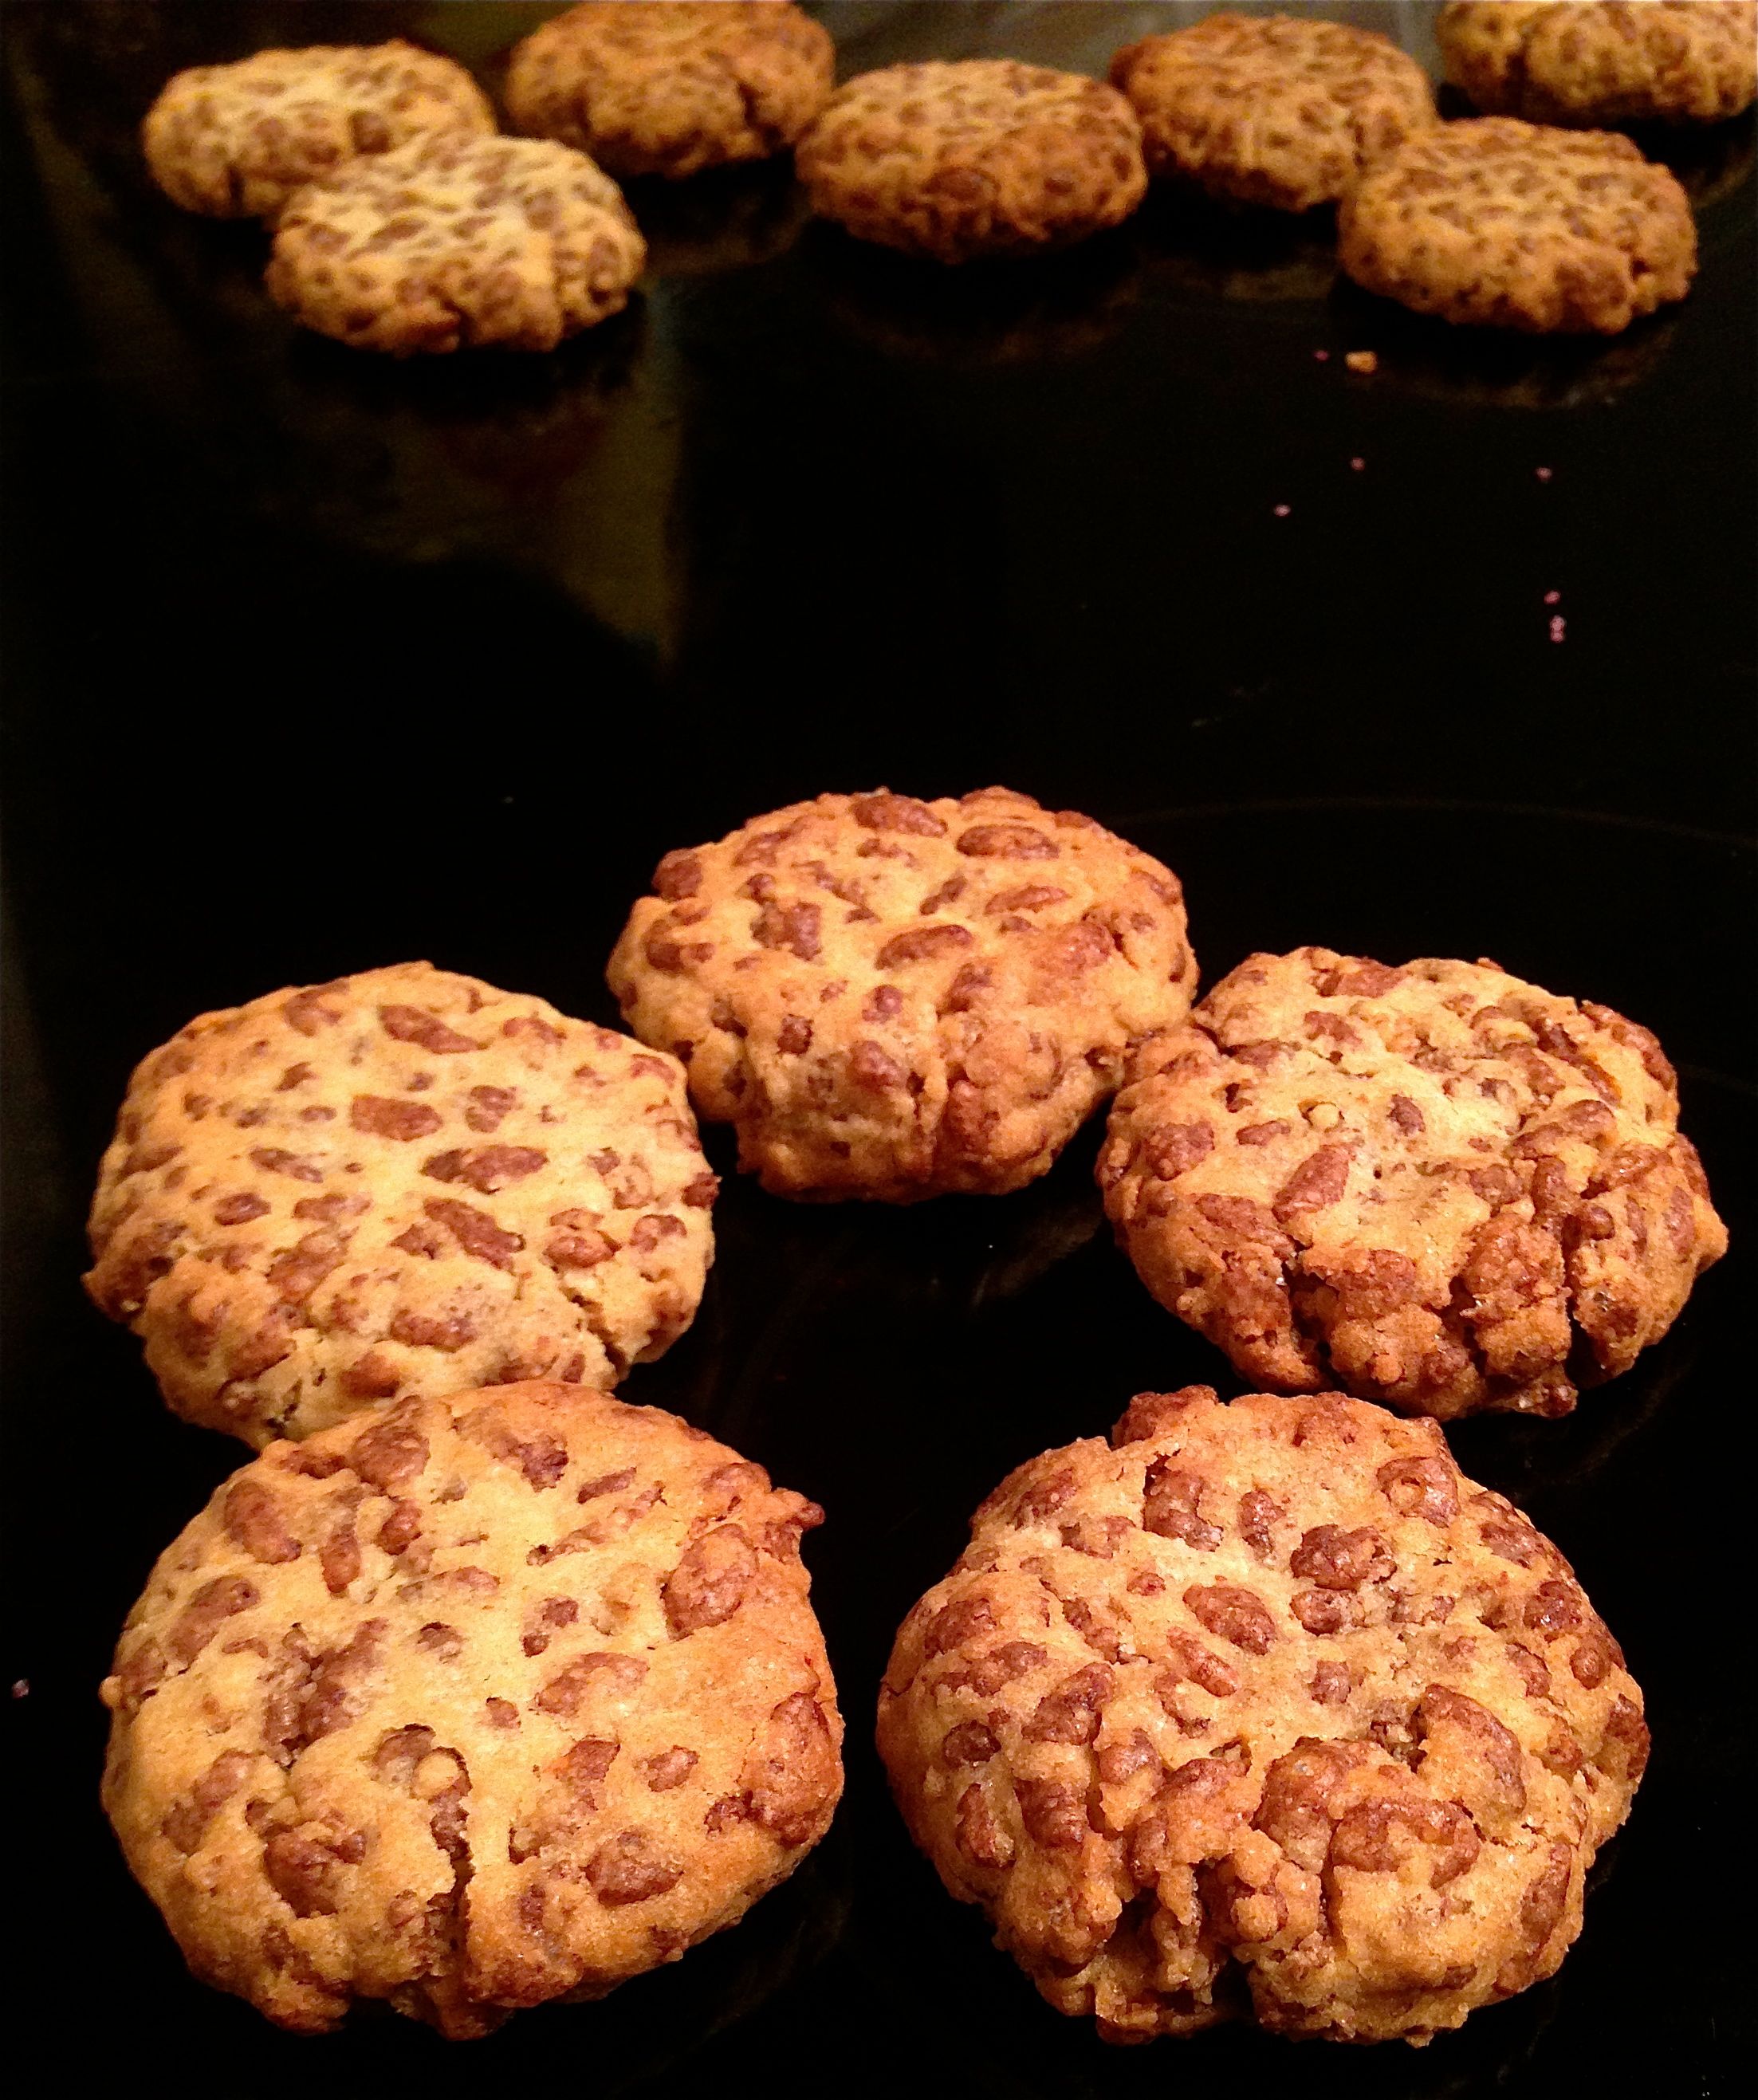
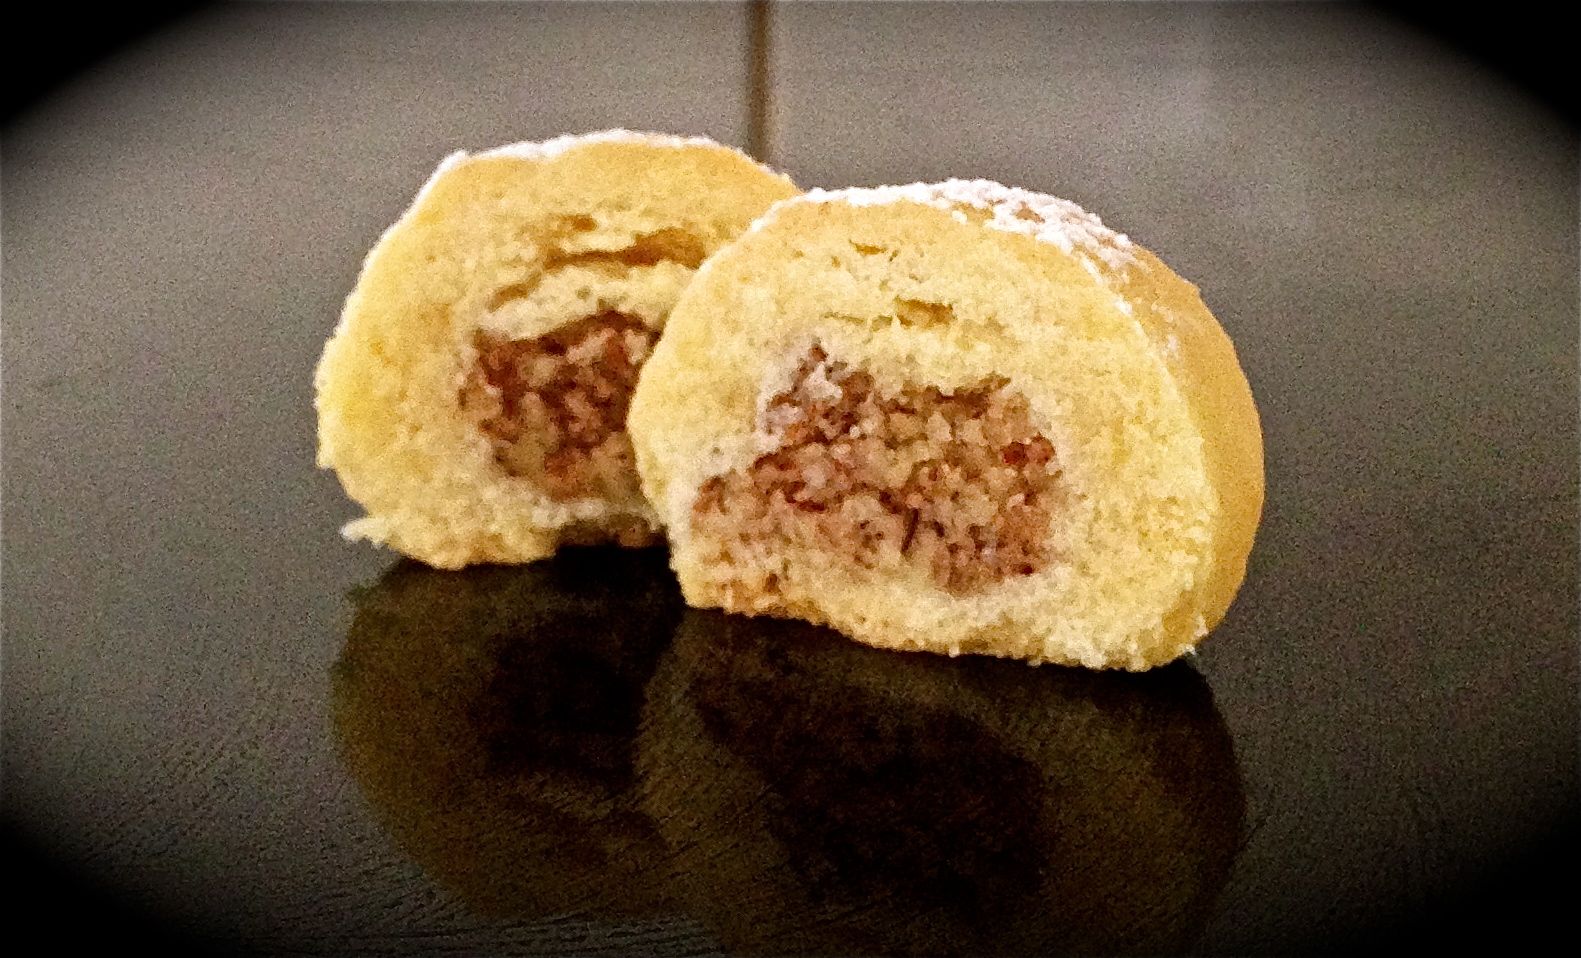
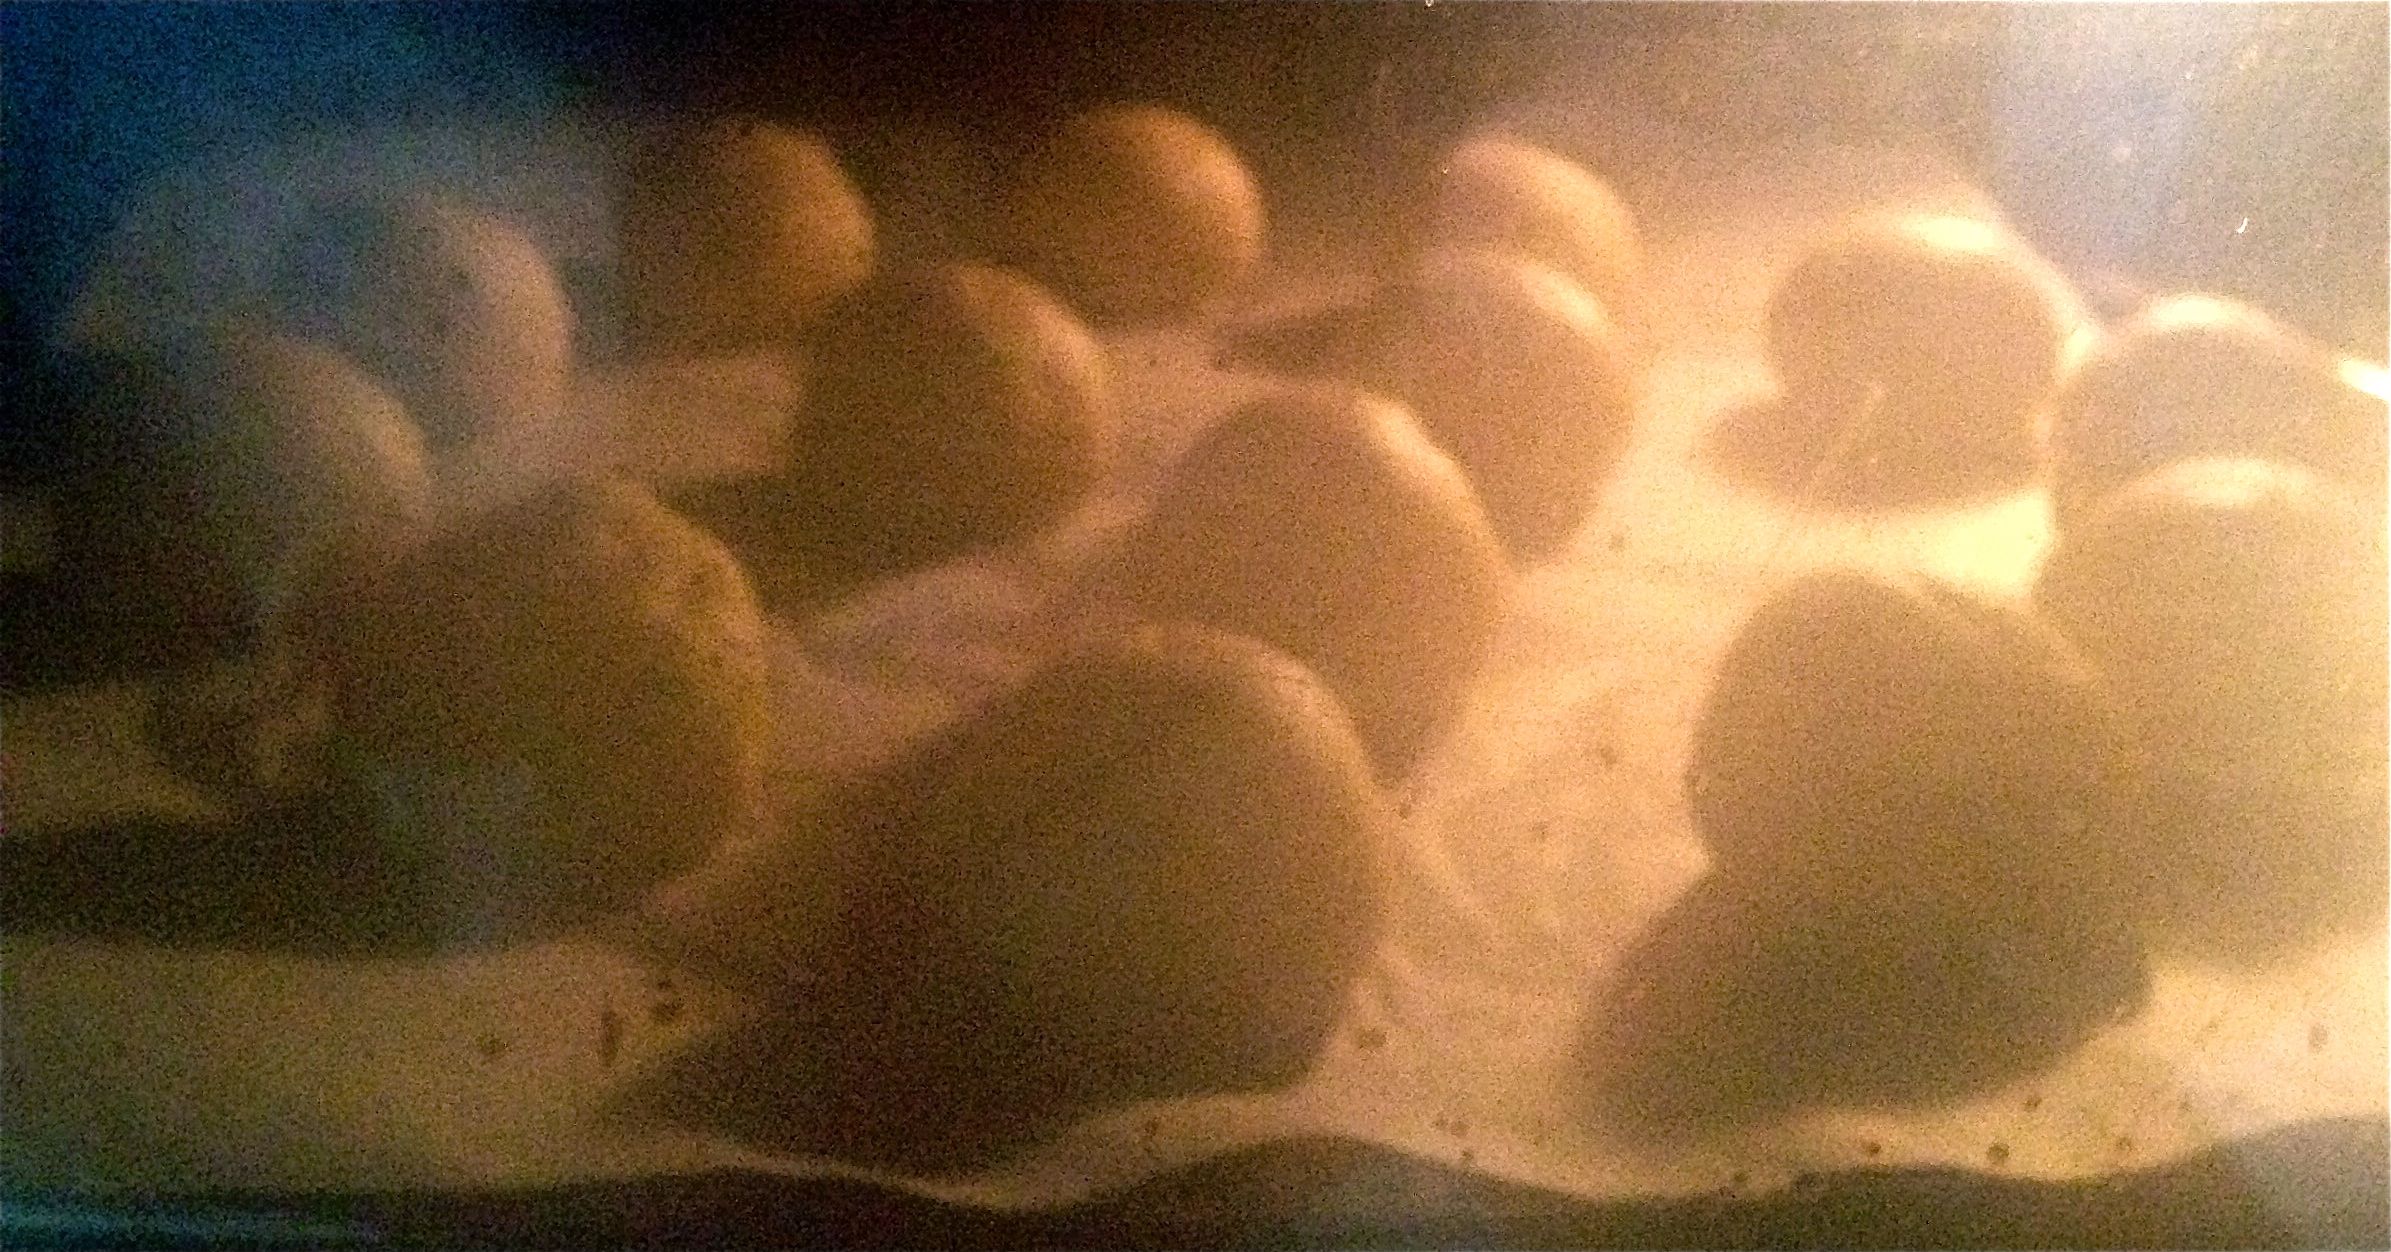
- Place Maamool onto a baking sheet and bake for 20 minutes or until just about to get a little brown.
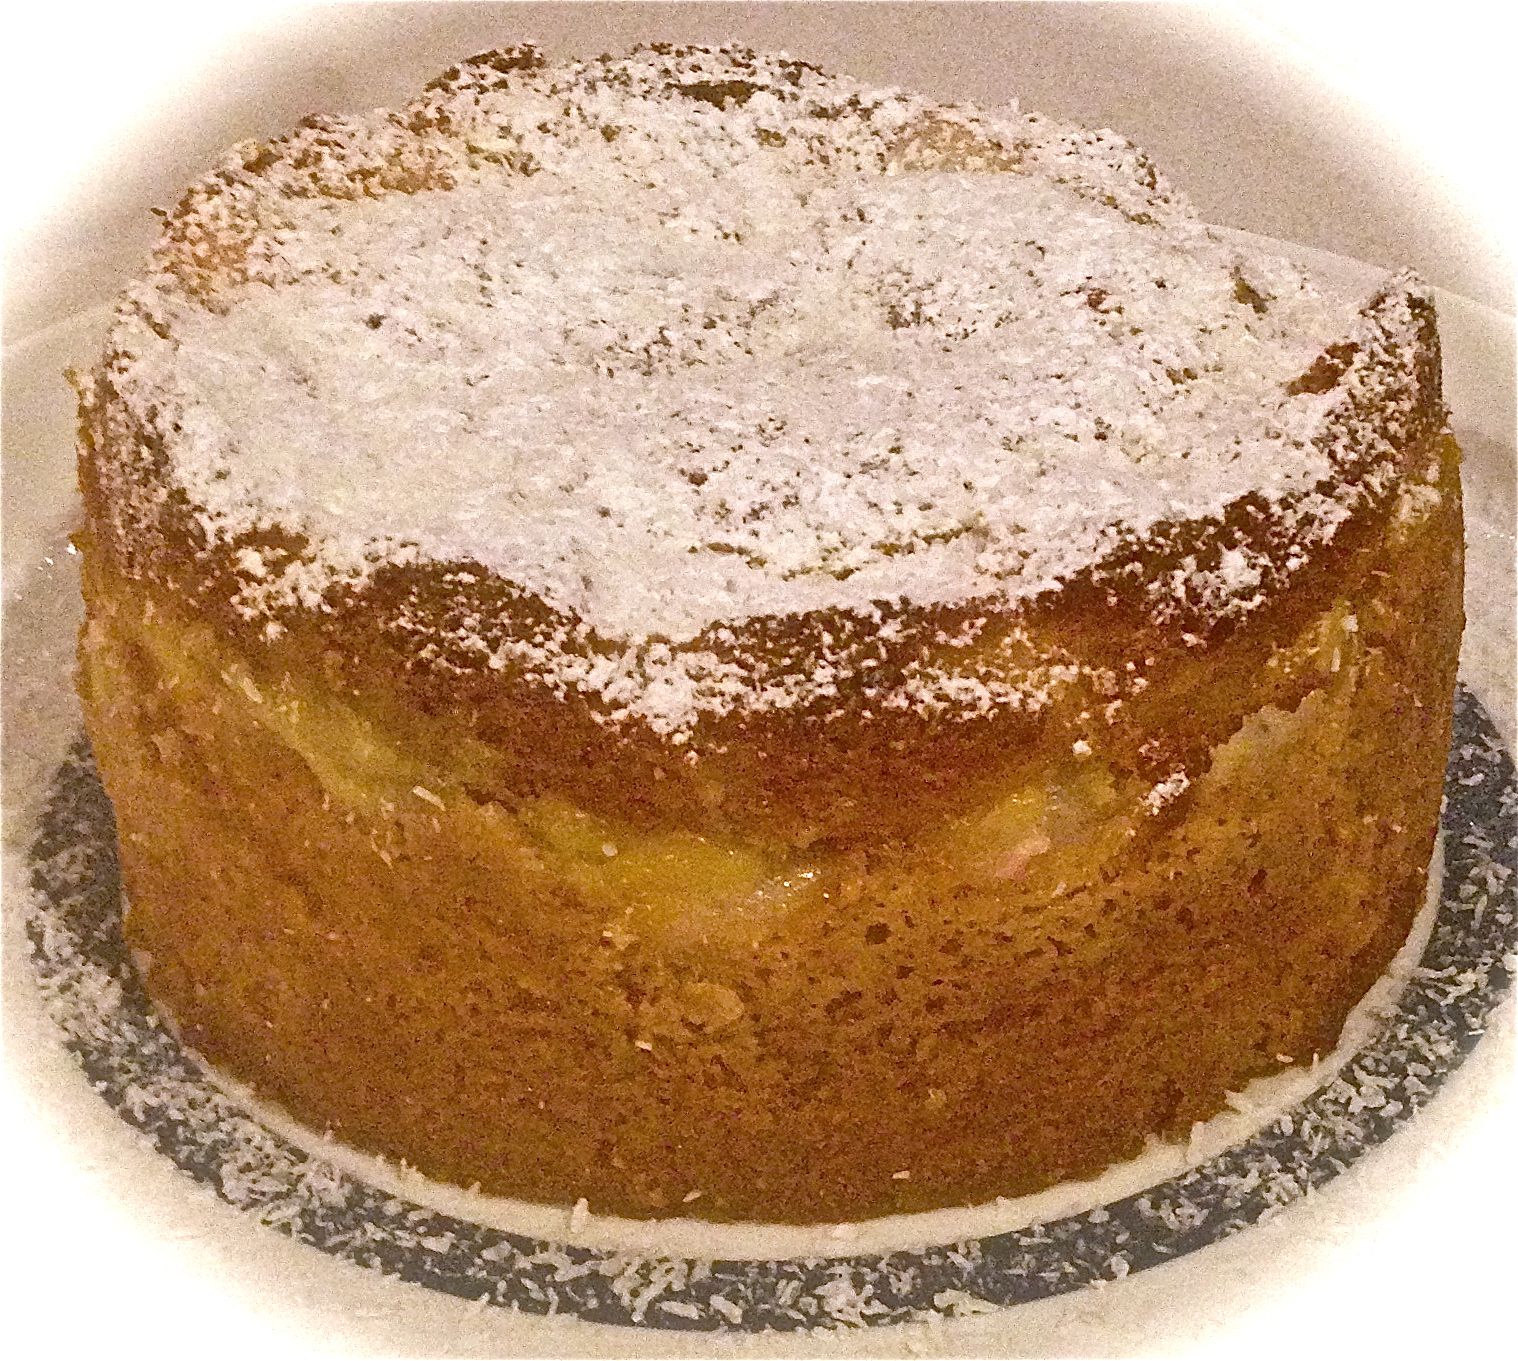
- Once cooled sift icing sugar onto the Maamool.
Notes:
- Maamoul’s can be stored in an airtight container at room temp for up to a week, in an airtight container in the fridge for 3 weeks or can be frozen for up to 3 months. The airtight container is important as without it they will go dry.
- You can also use a metal cookie cutter instead of the mold.
- You can flour the mold and tap out excess flour if you are worried about the dough sticking.
- You can place a design on the top with a folk if you are not using a mold.
- These biscuits don’t rise so 1cm apart if perfectly fine.
- If the dough is crumbly you have used too much butter.
- If you have used too little butter or you over-bake they will be crunchy and crack.
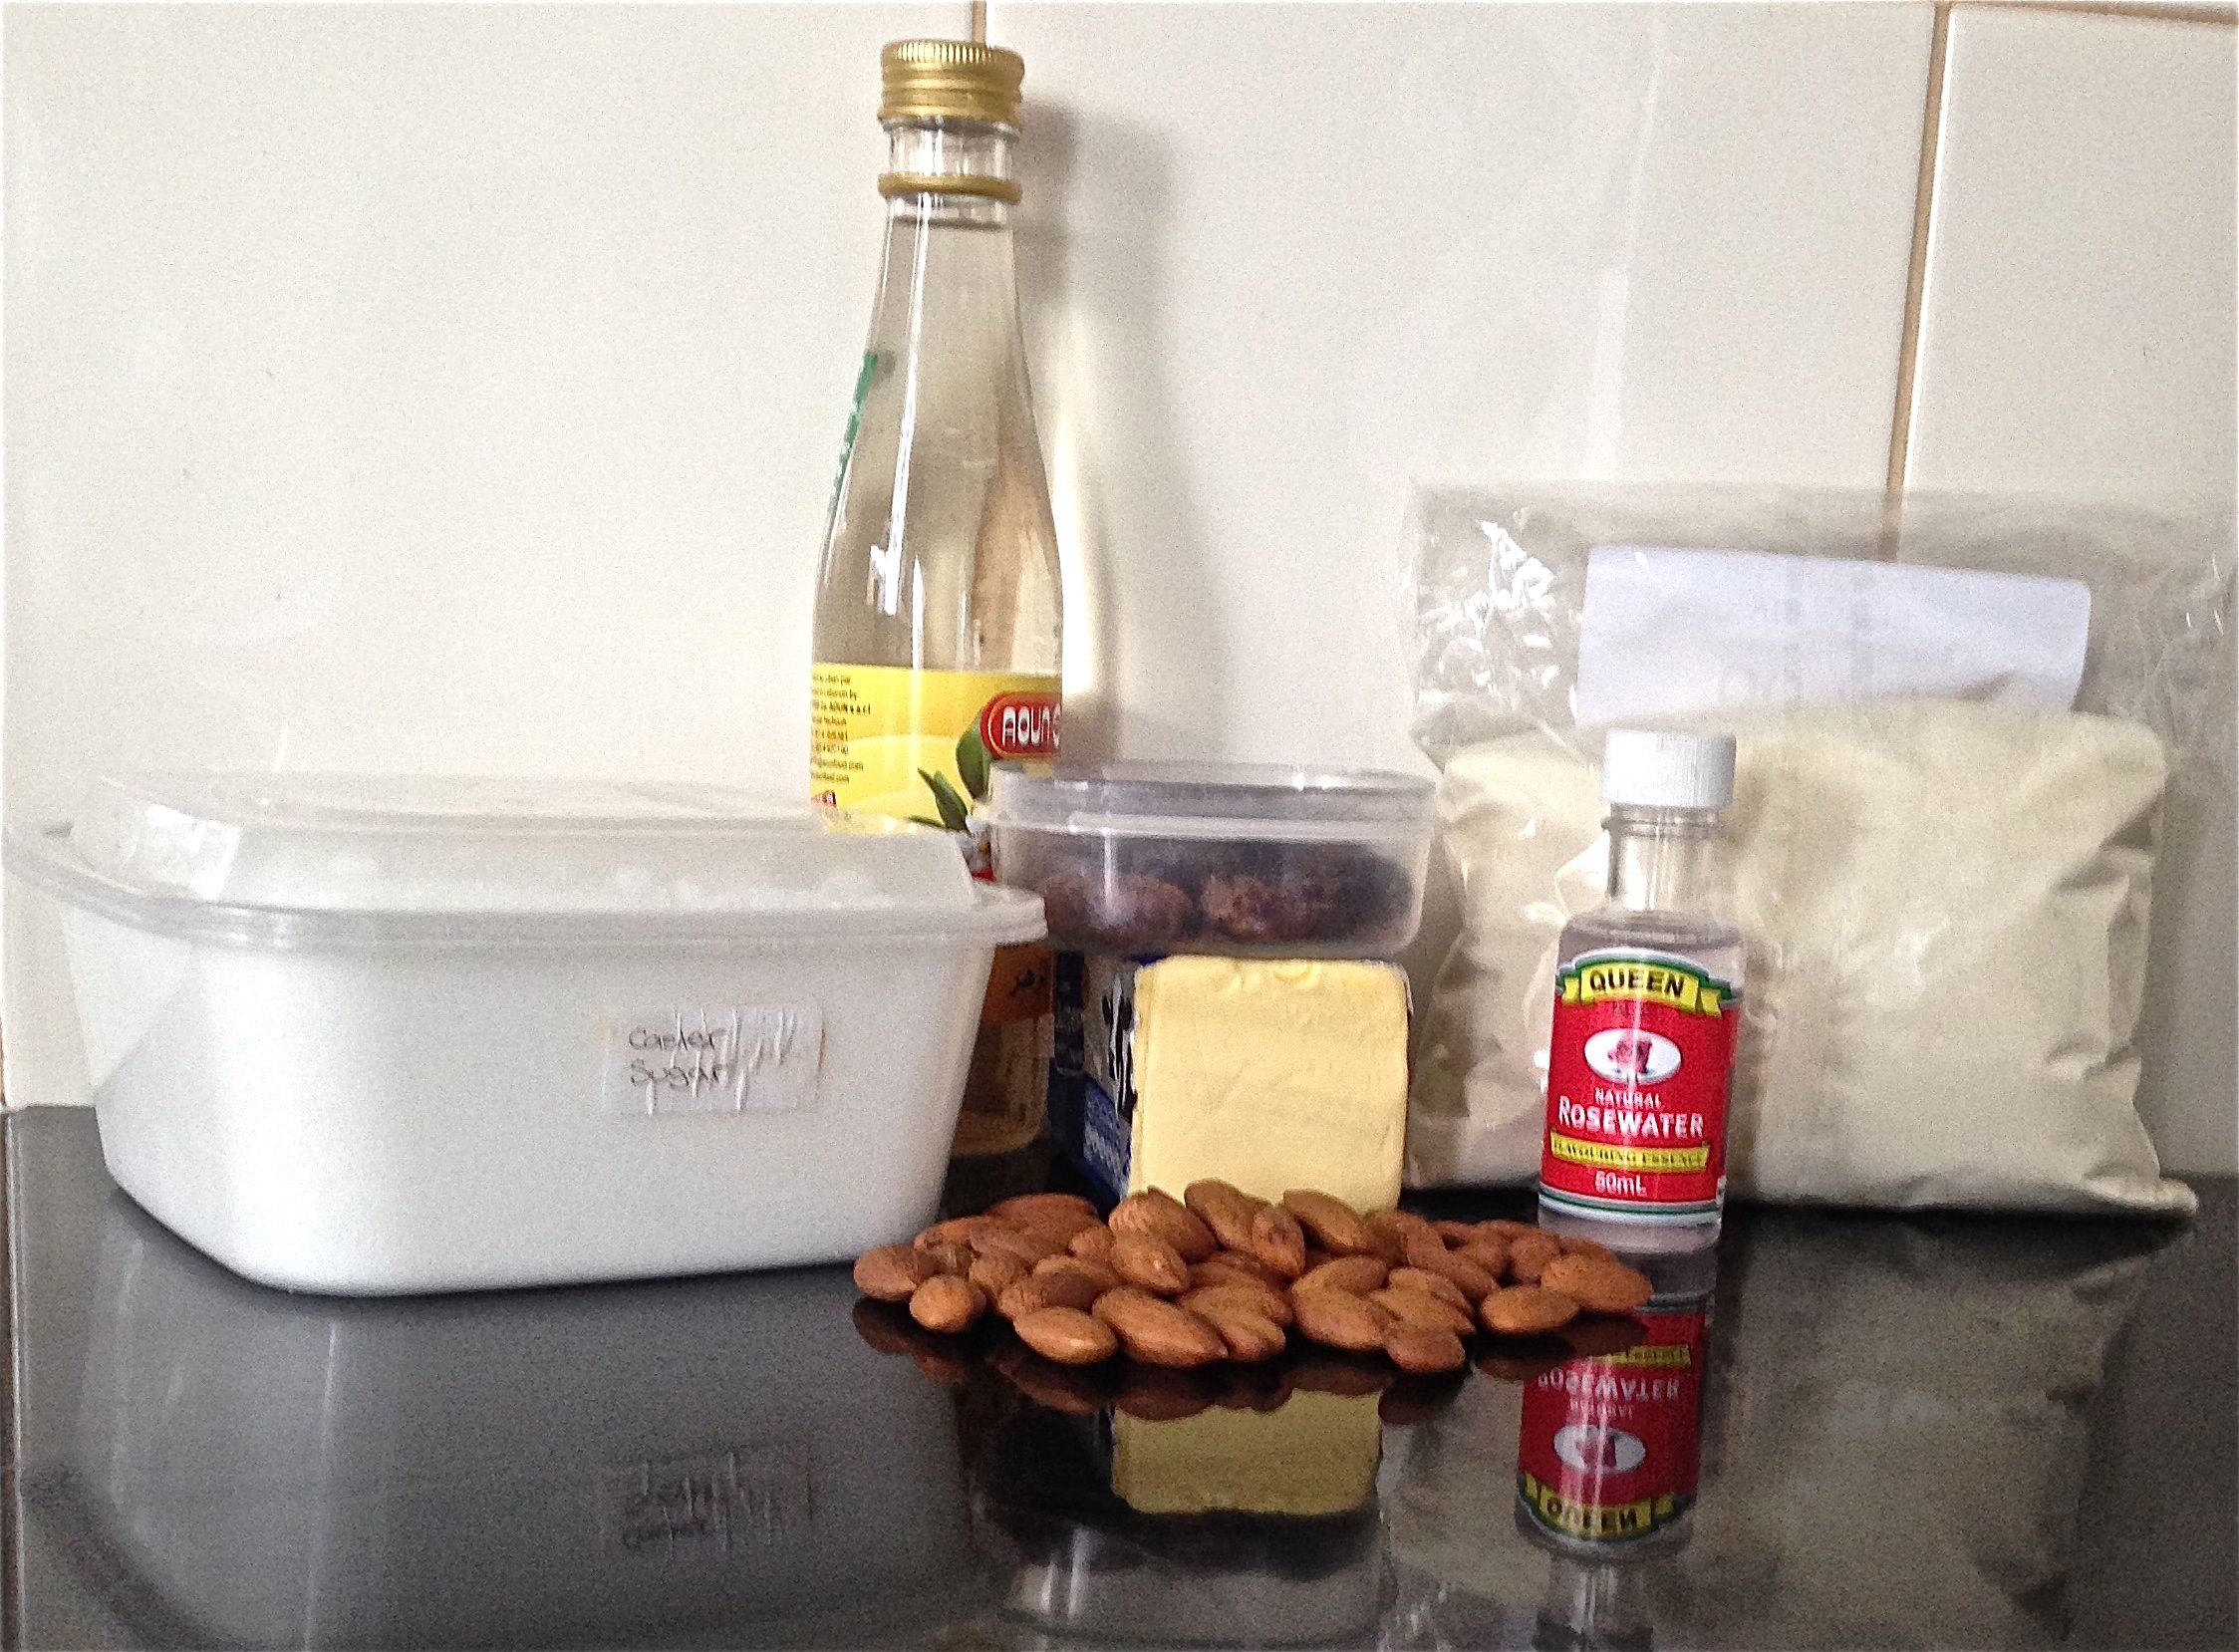
Ingredients
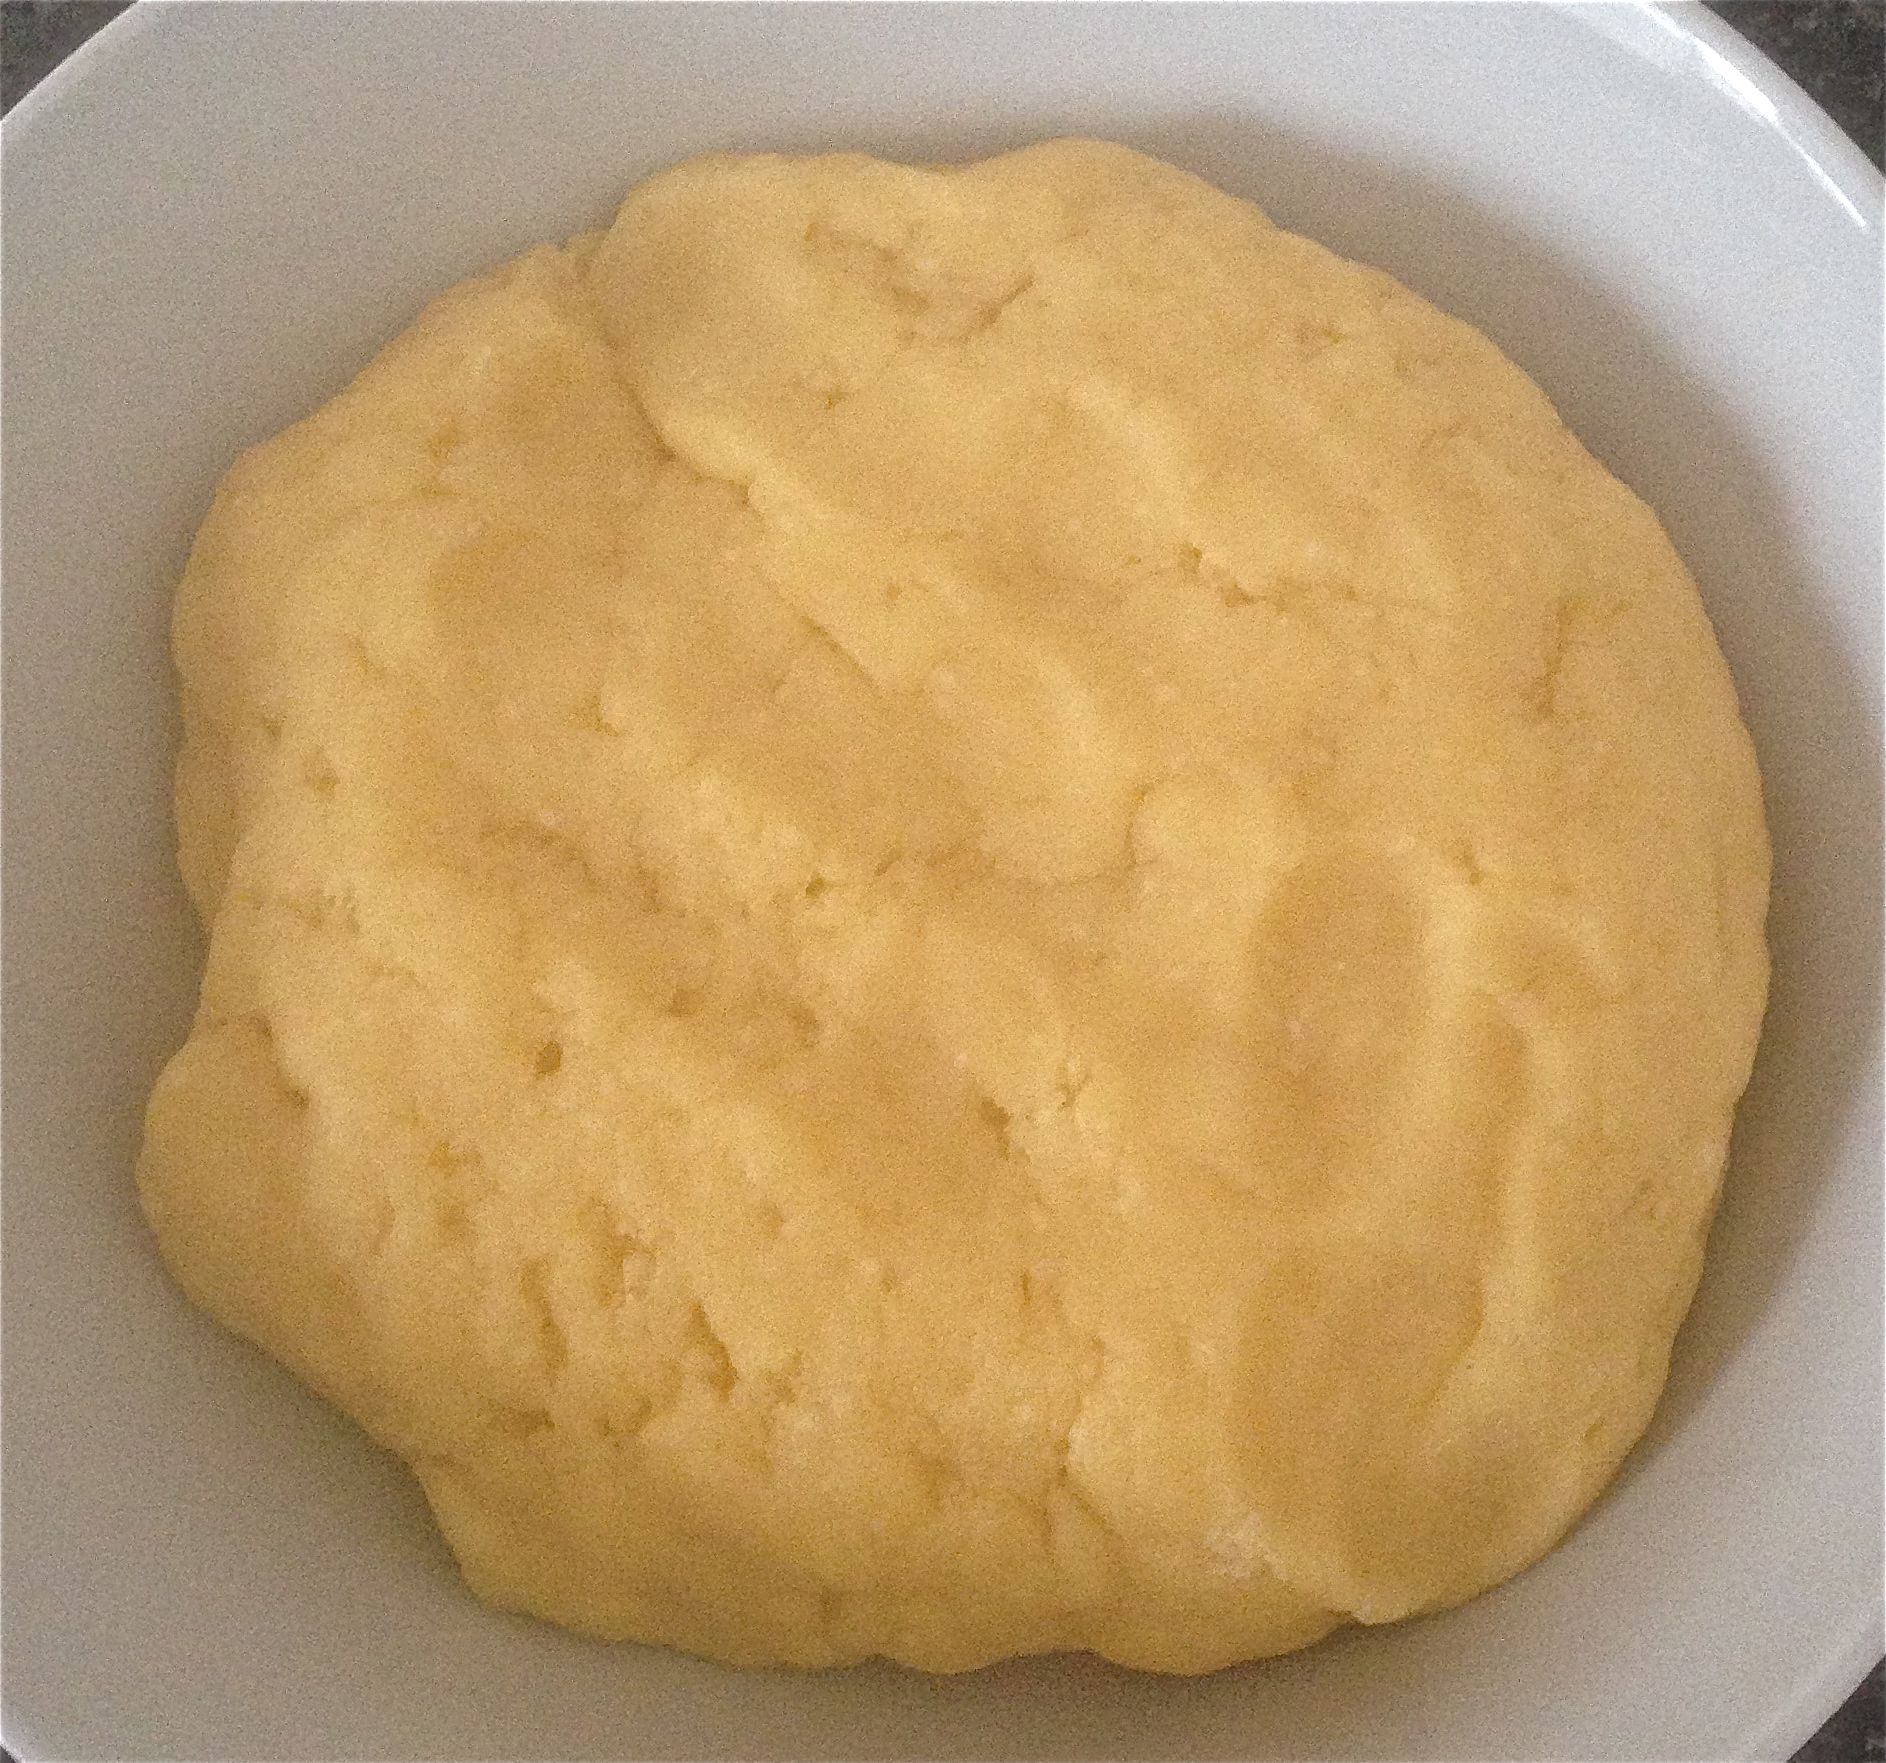
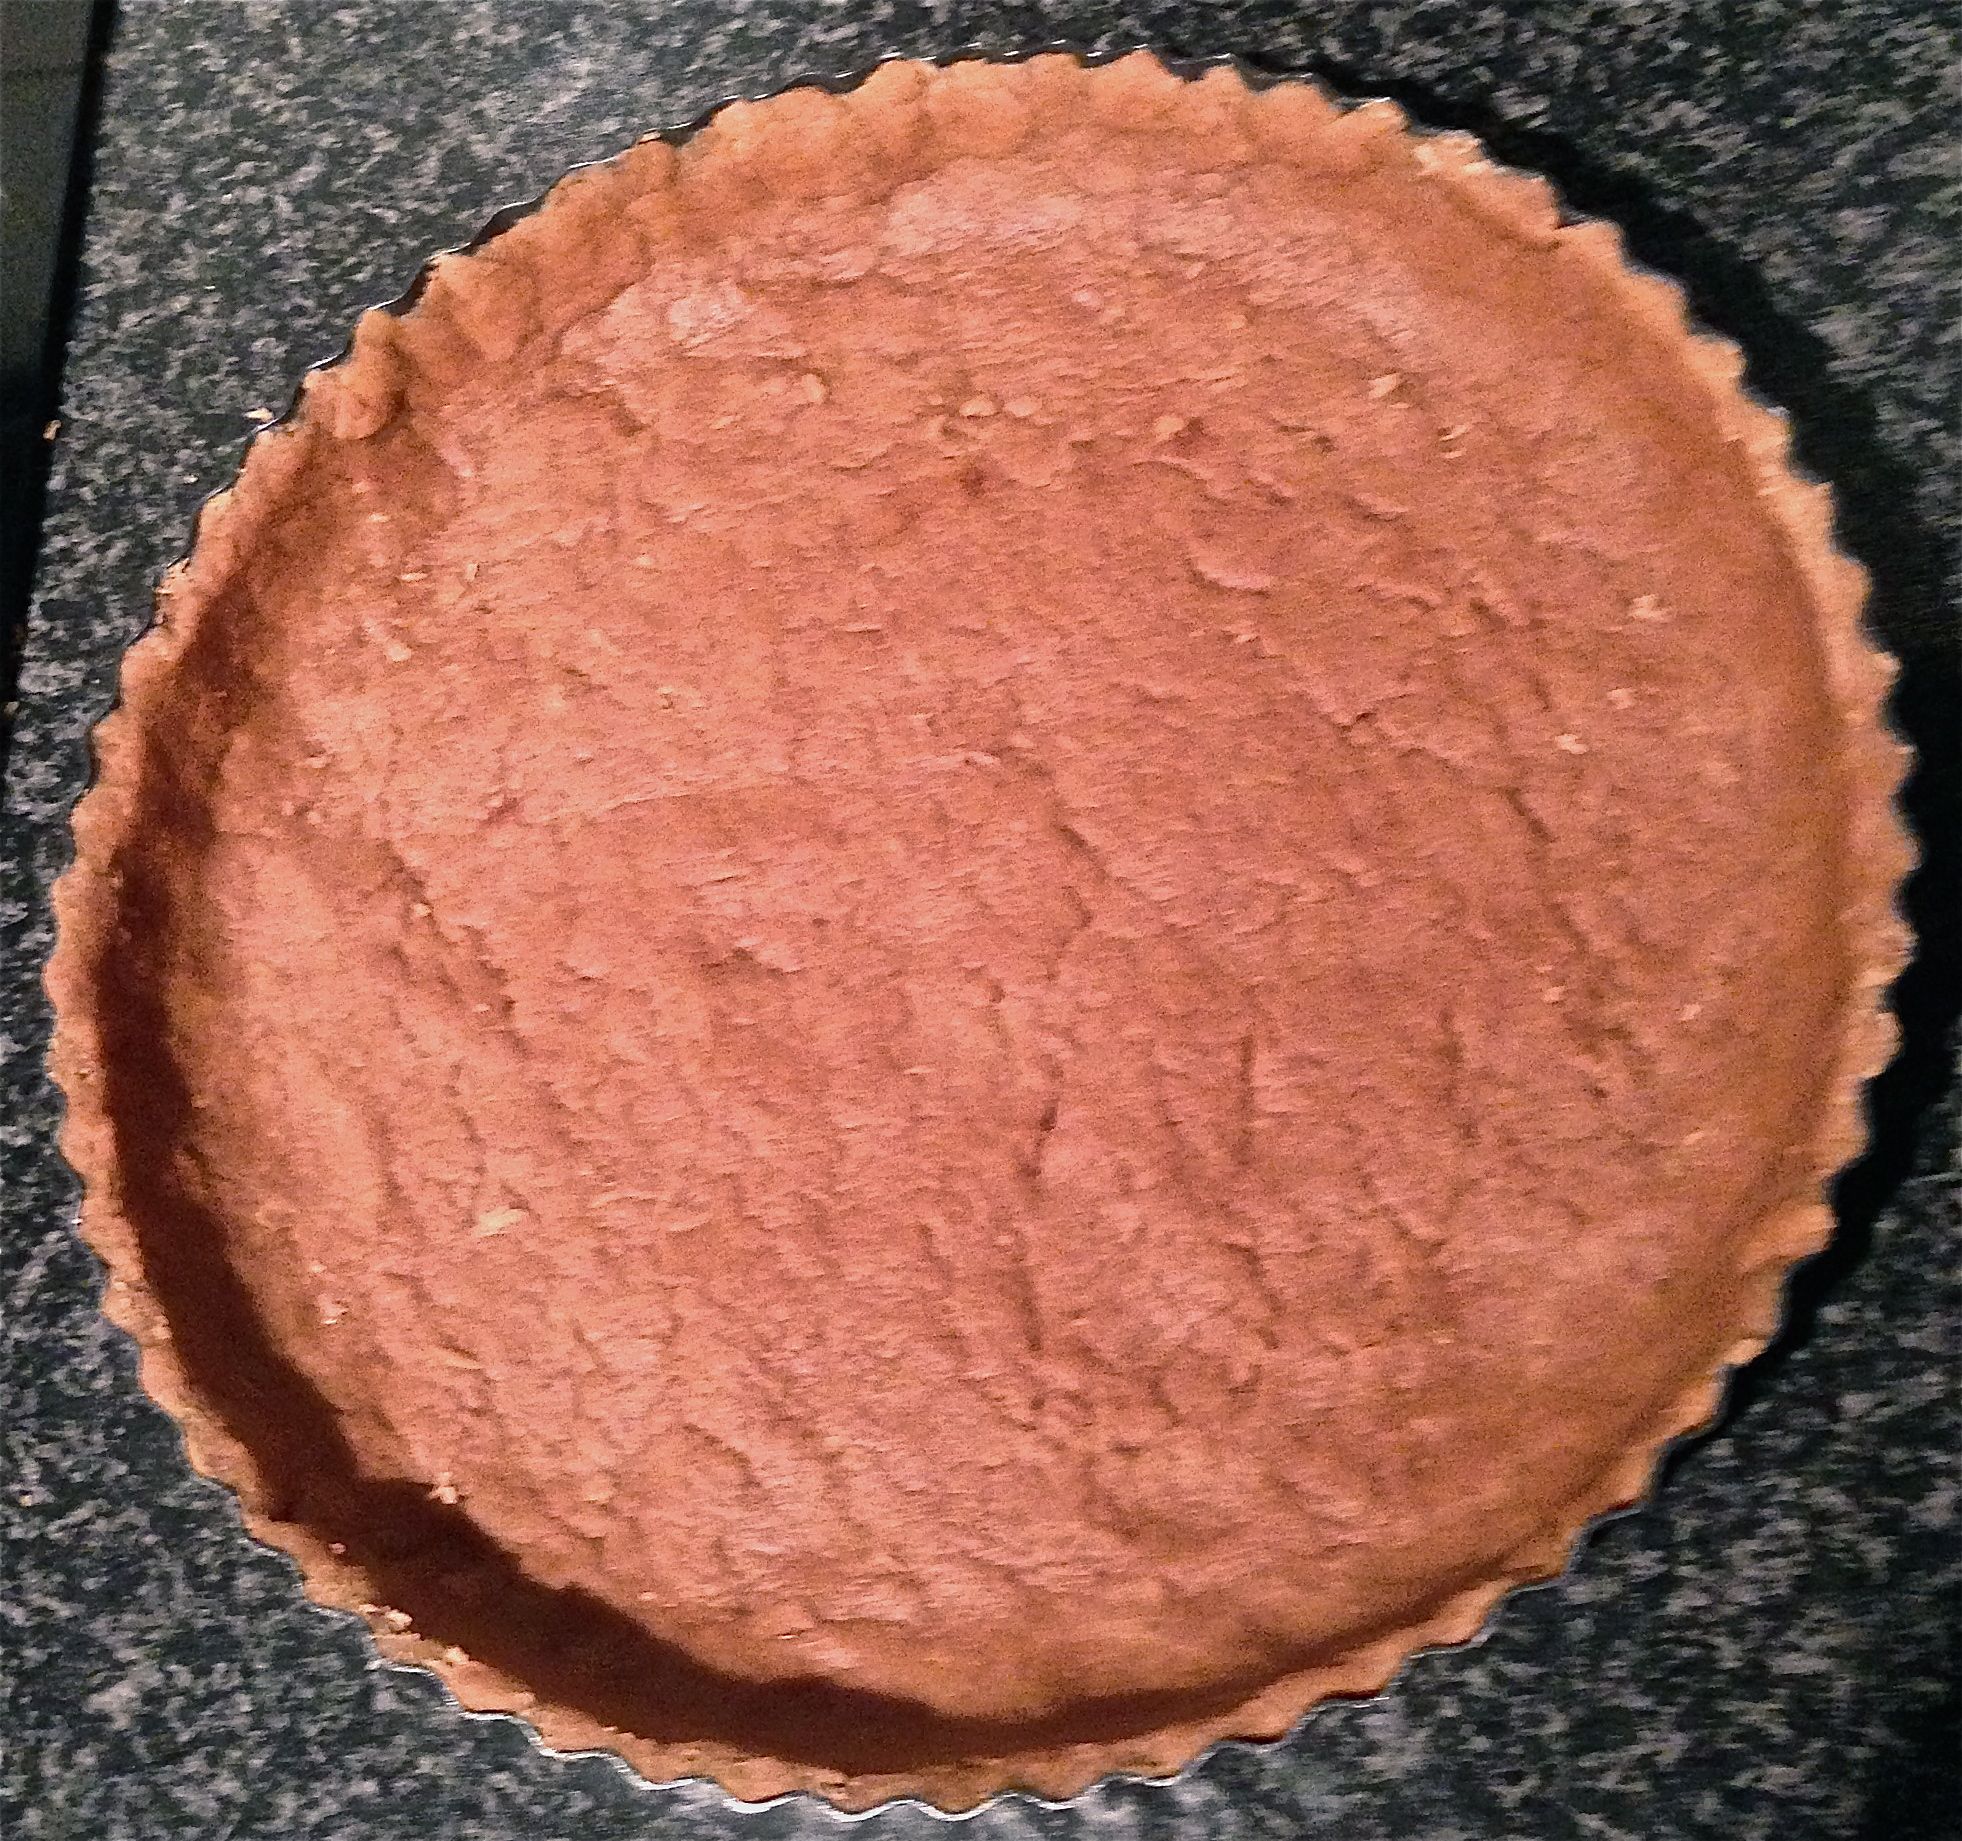
Step 2
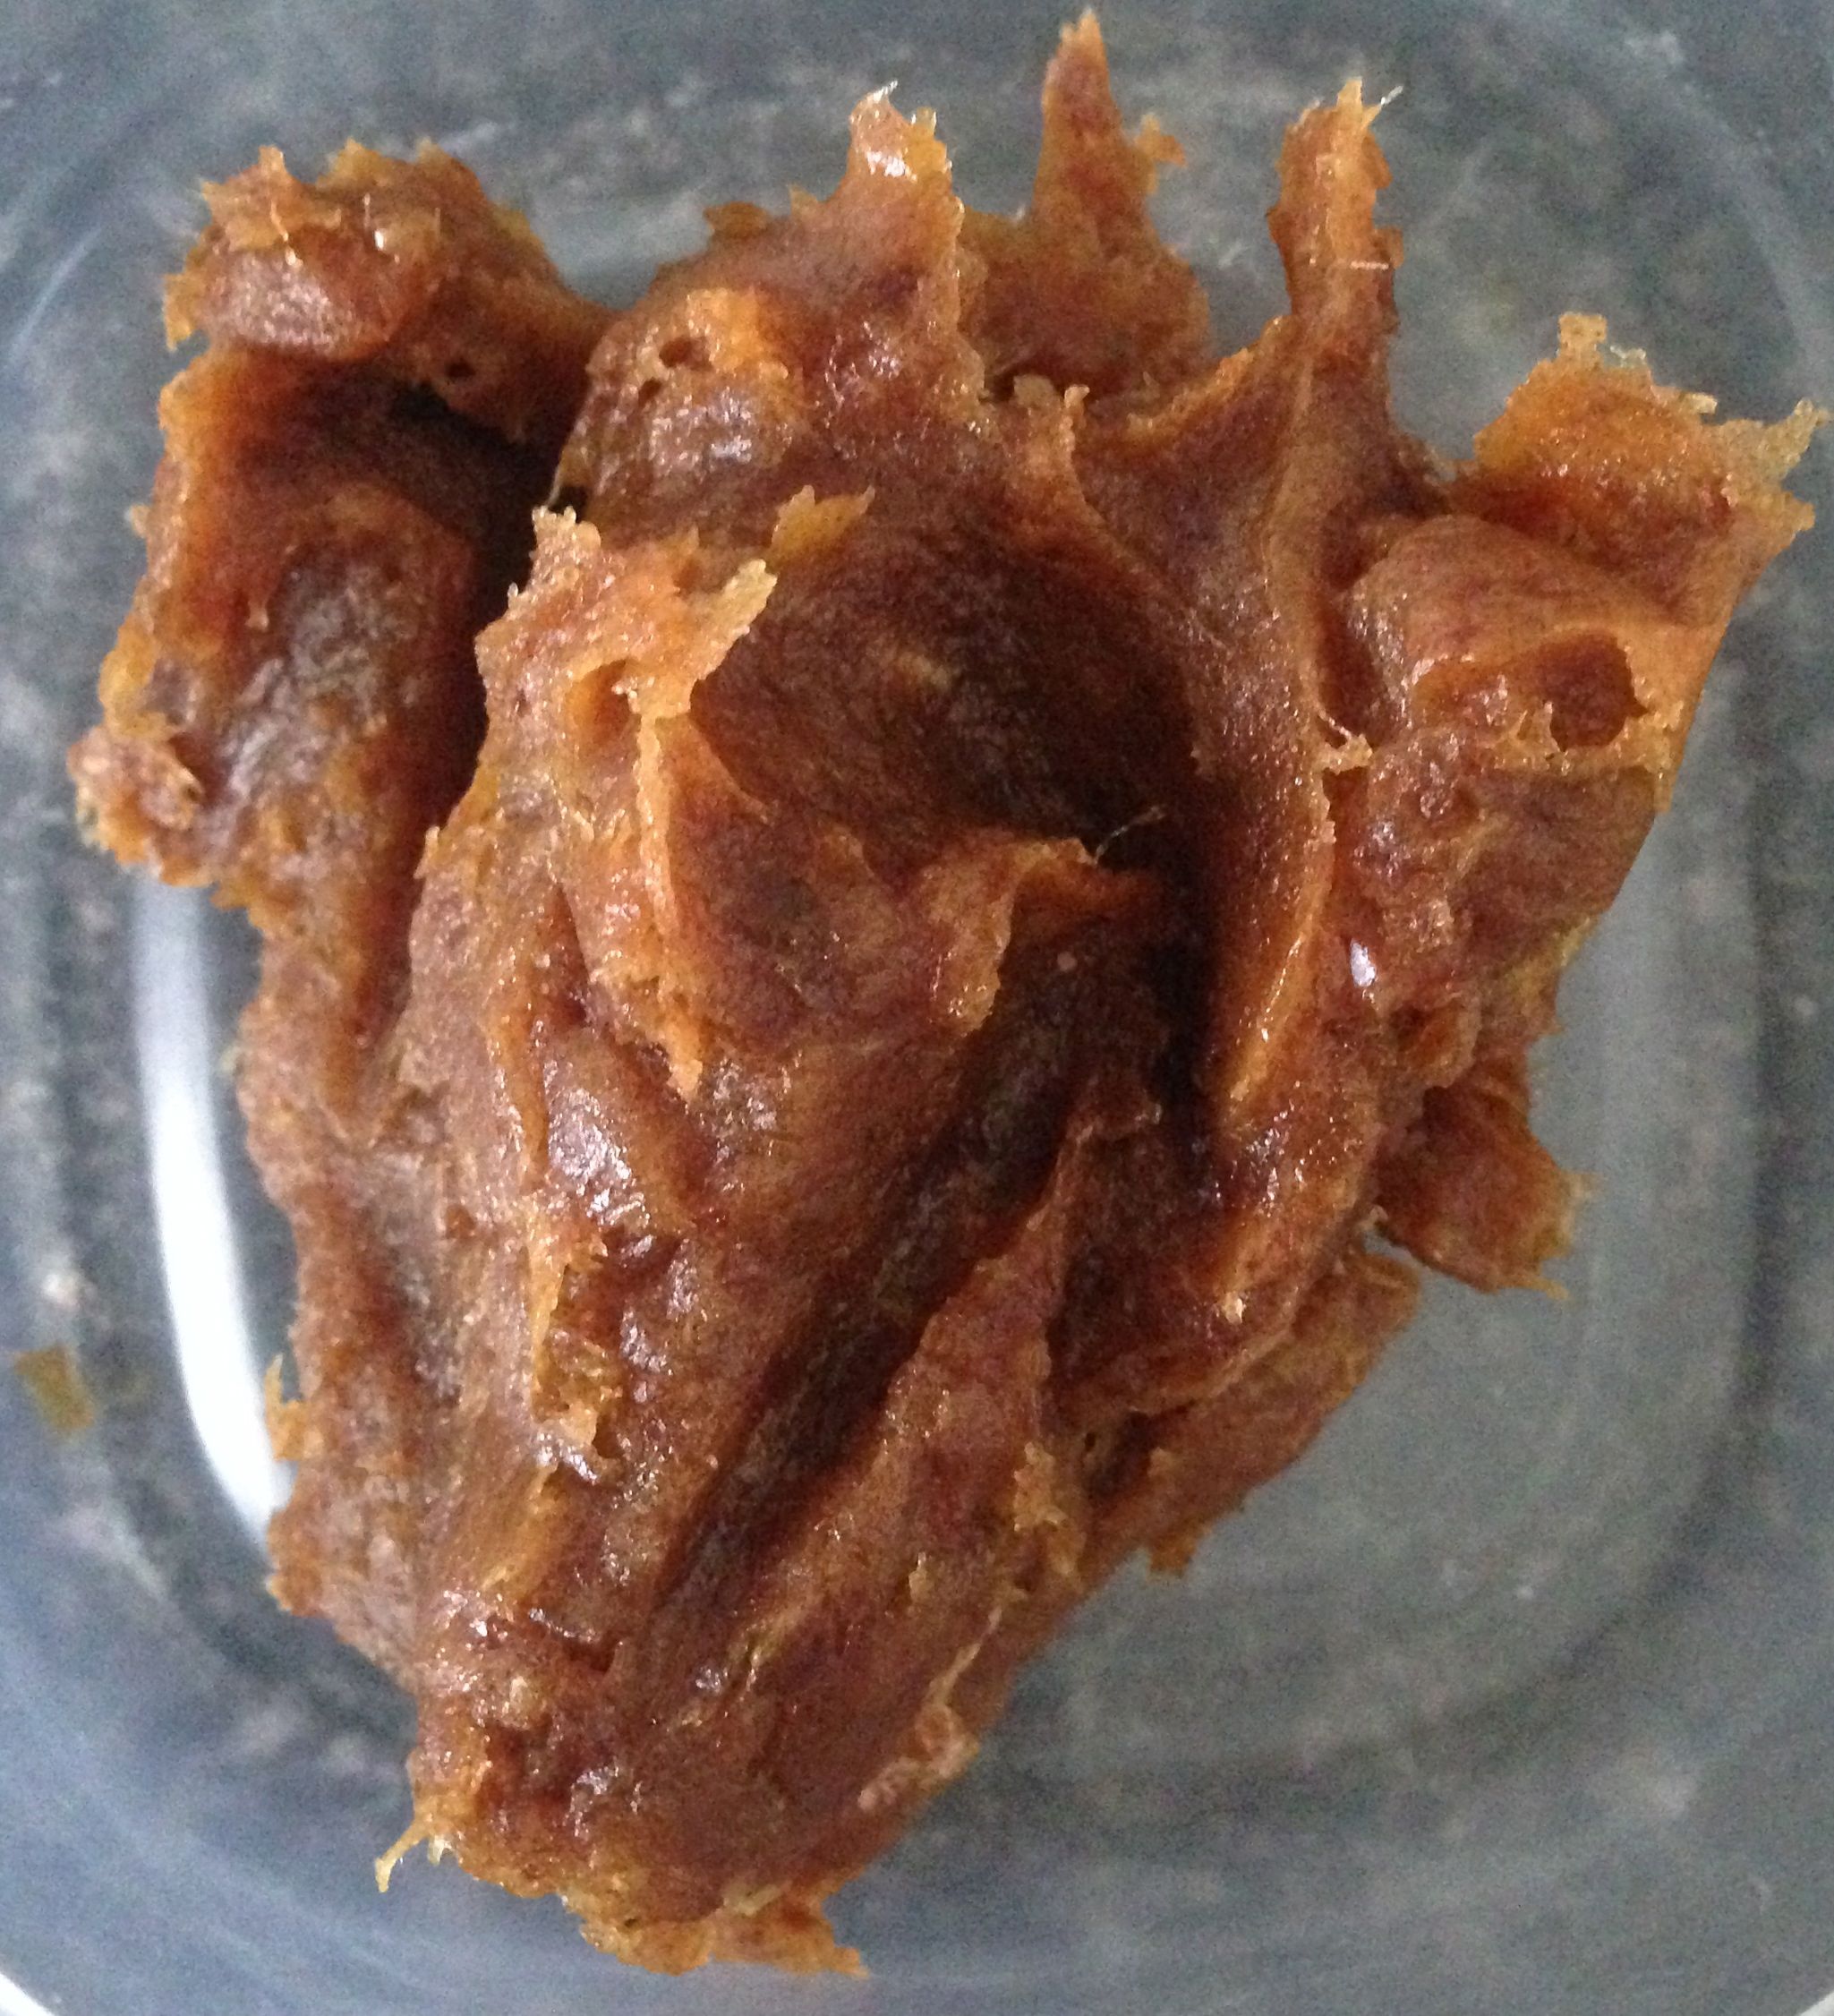
Step 5
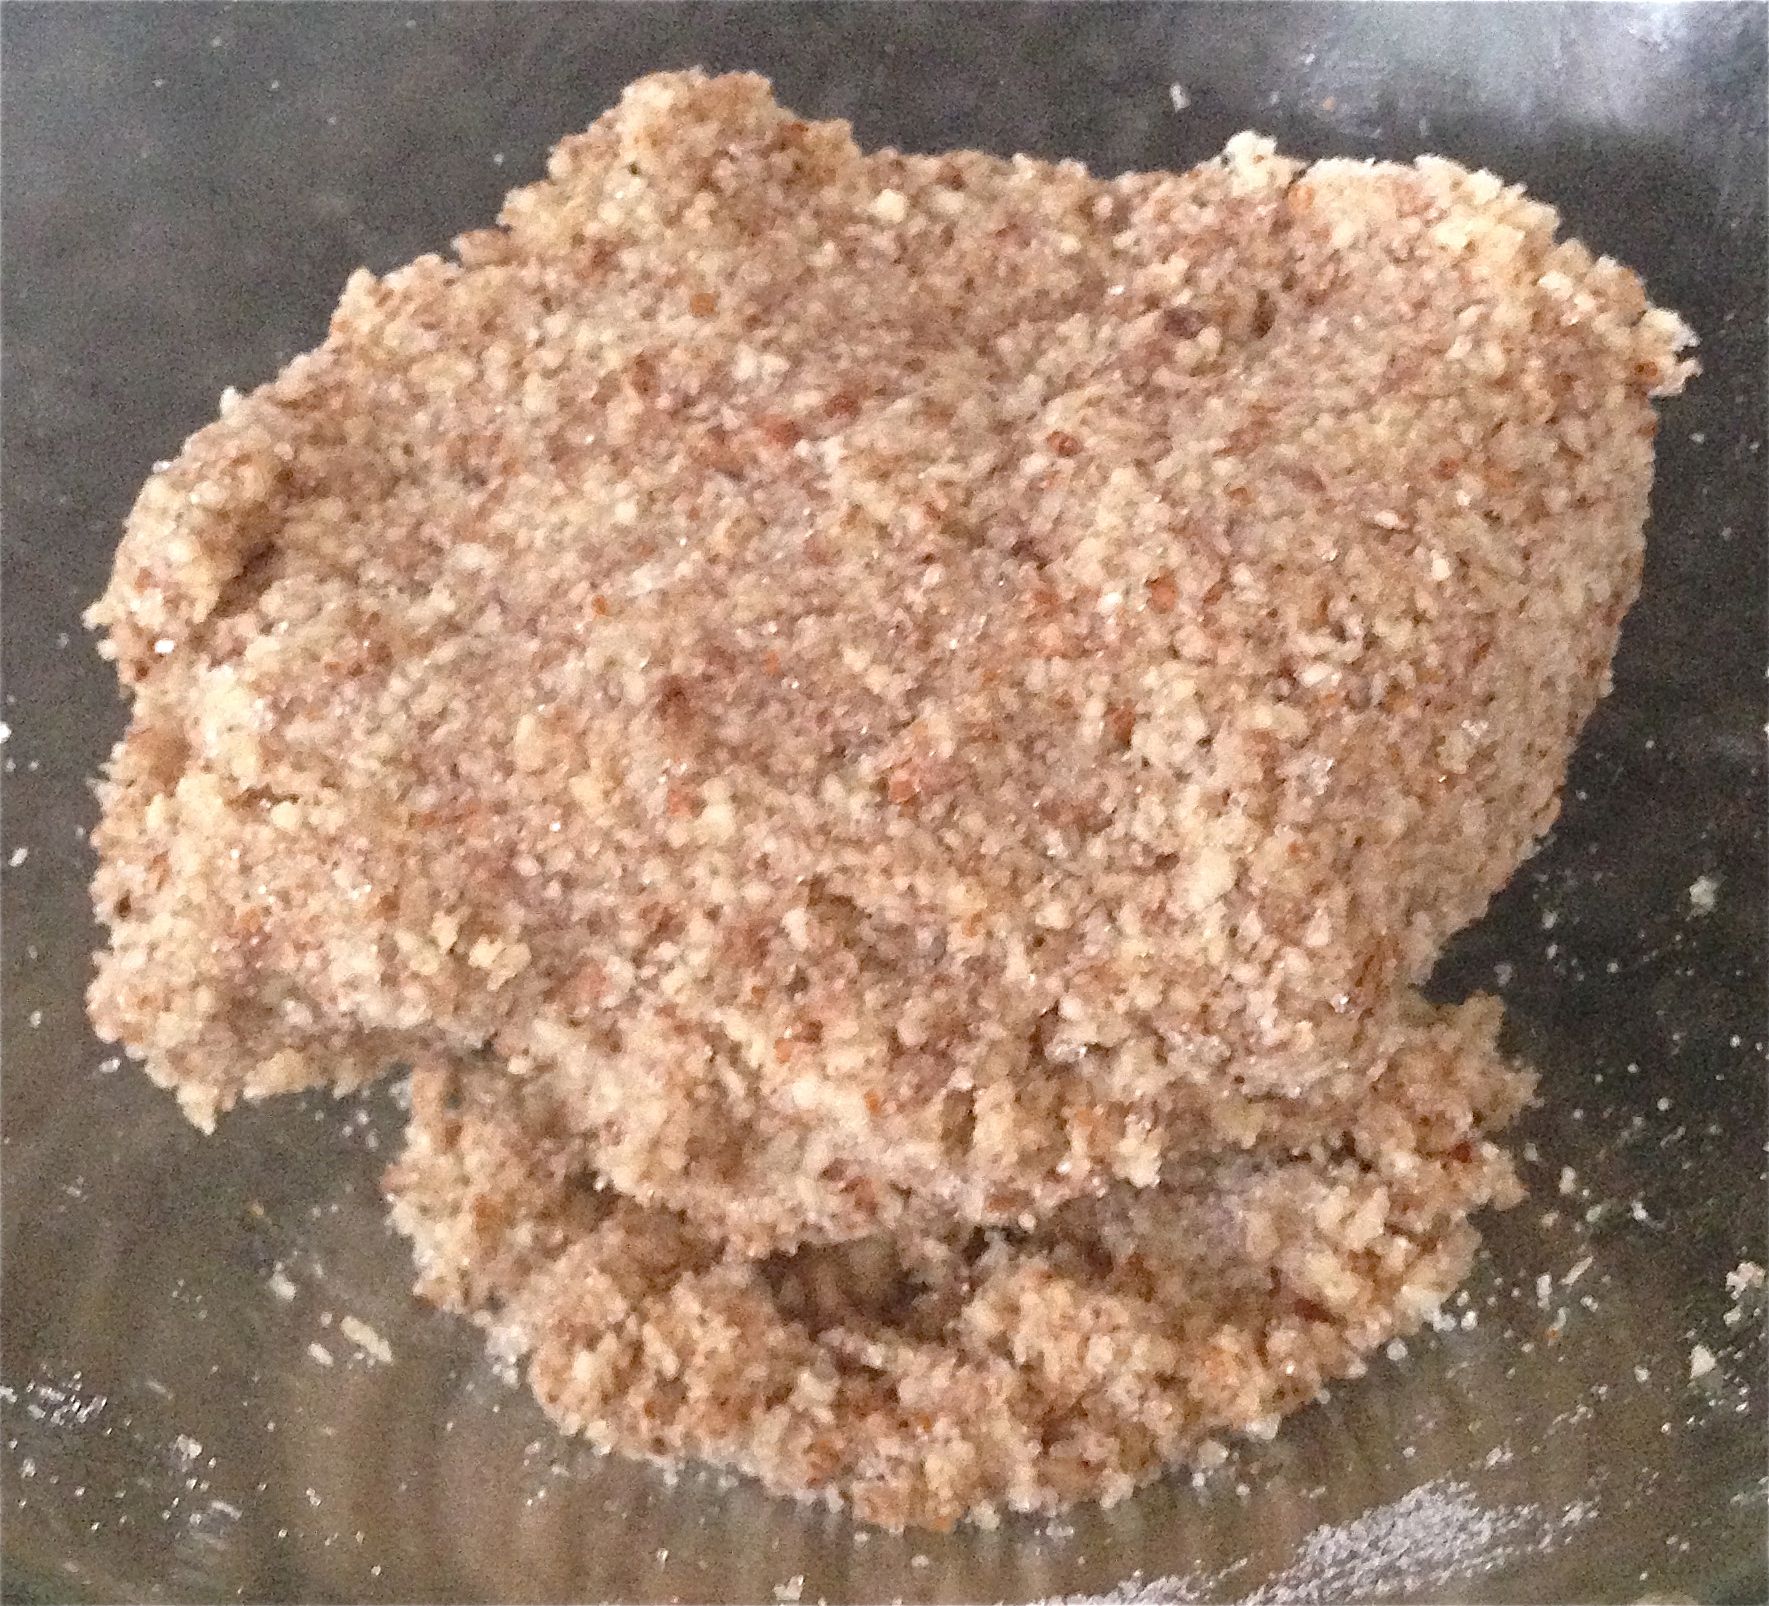
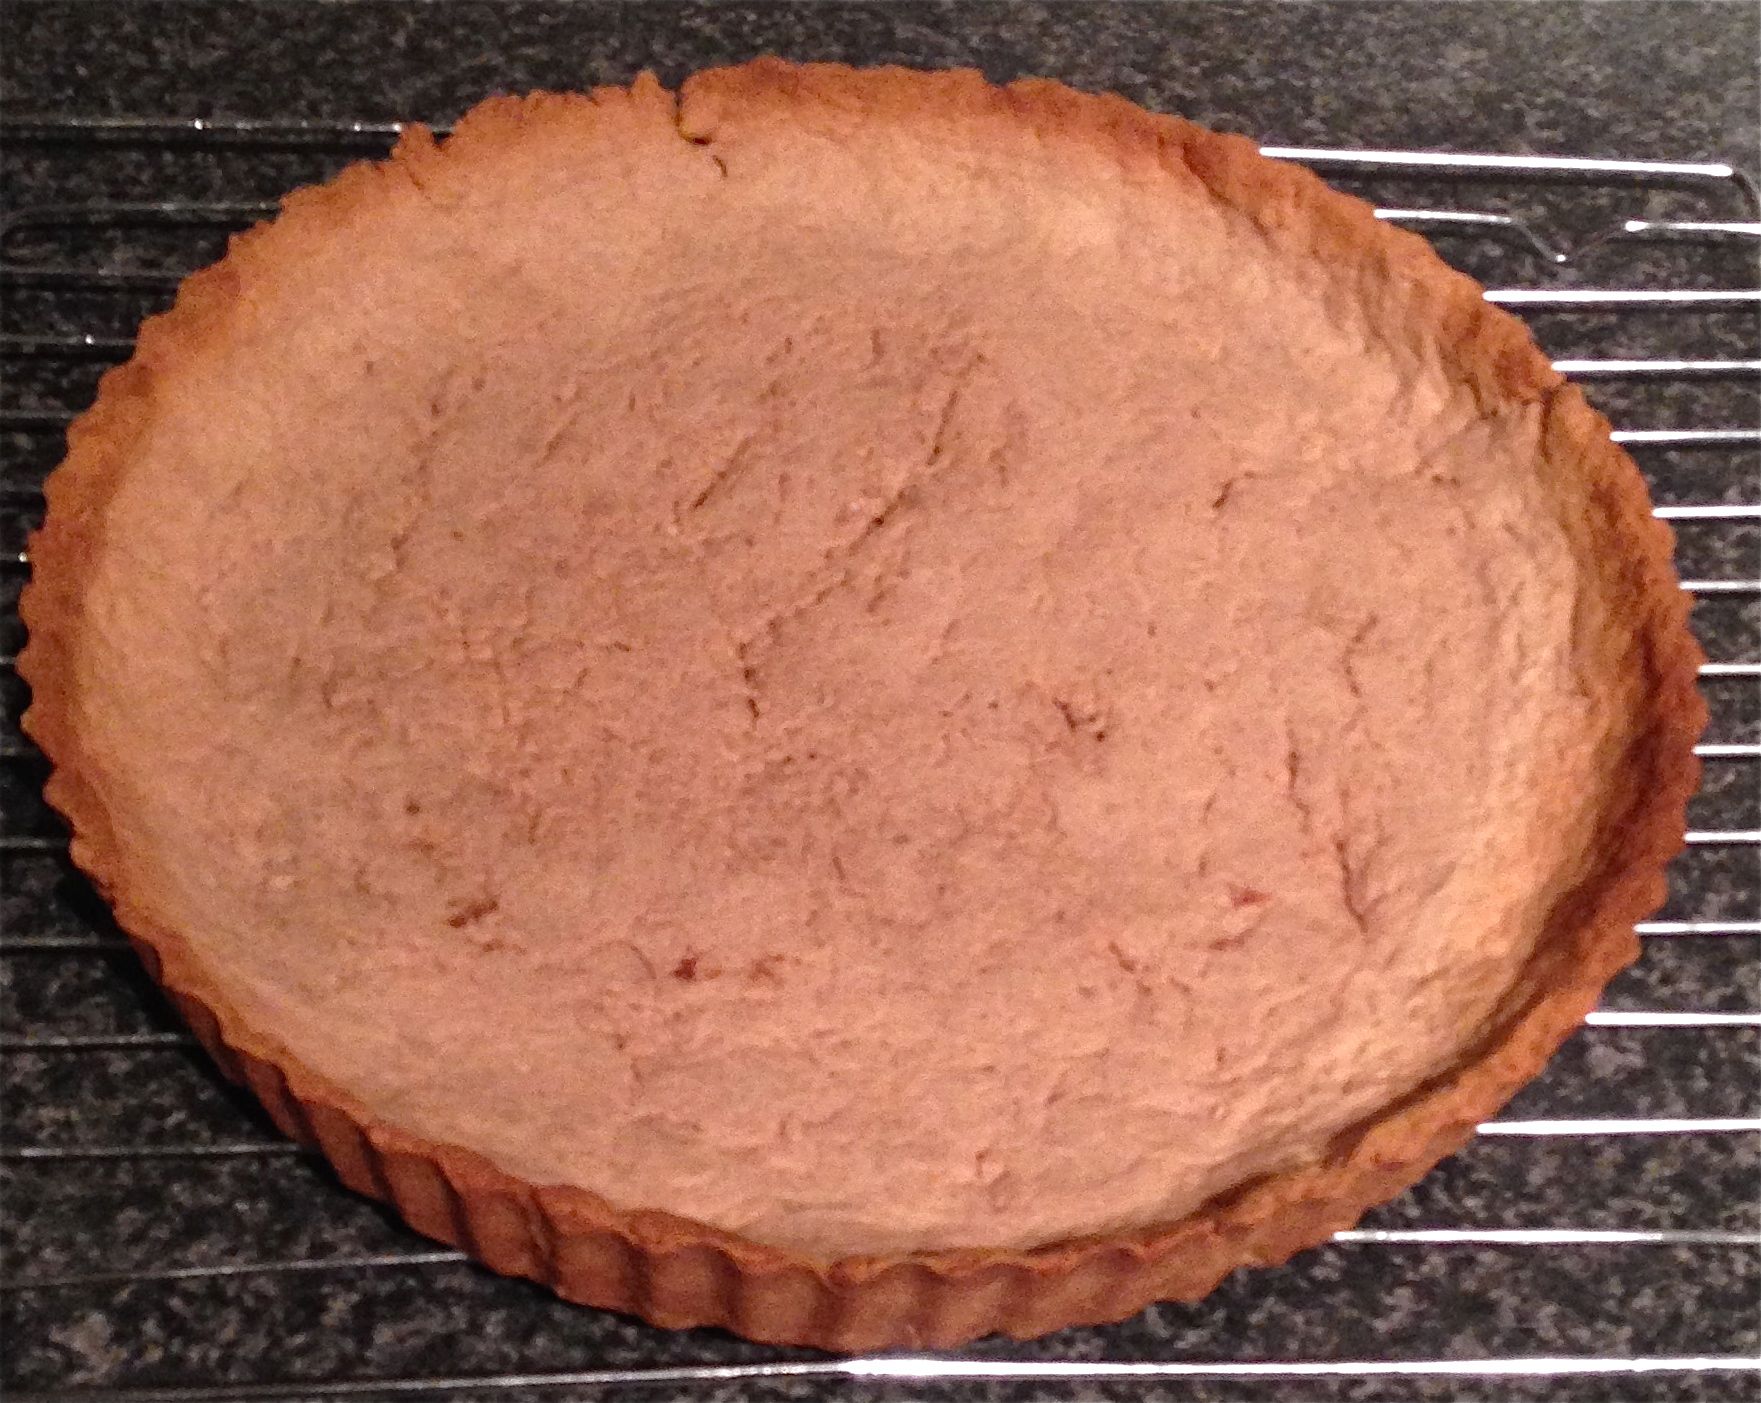
Step 6
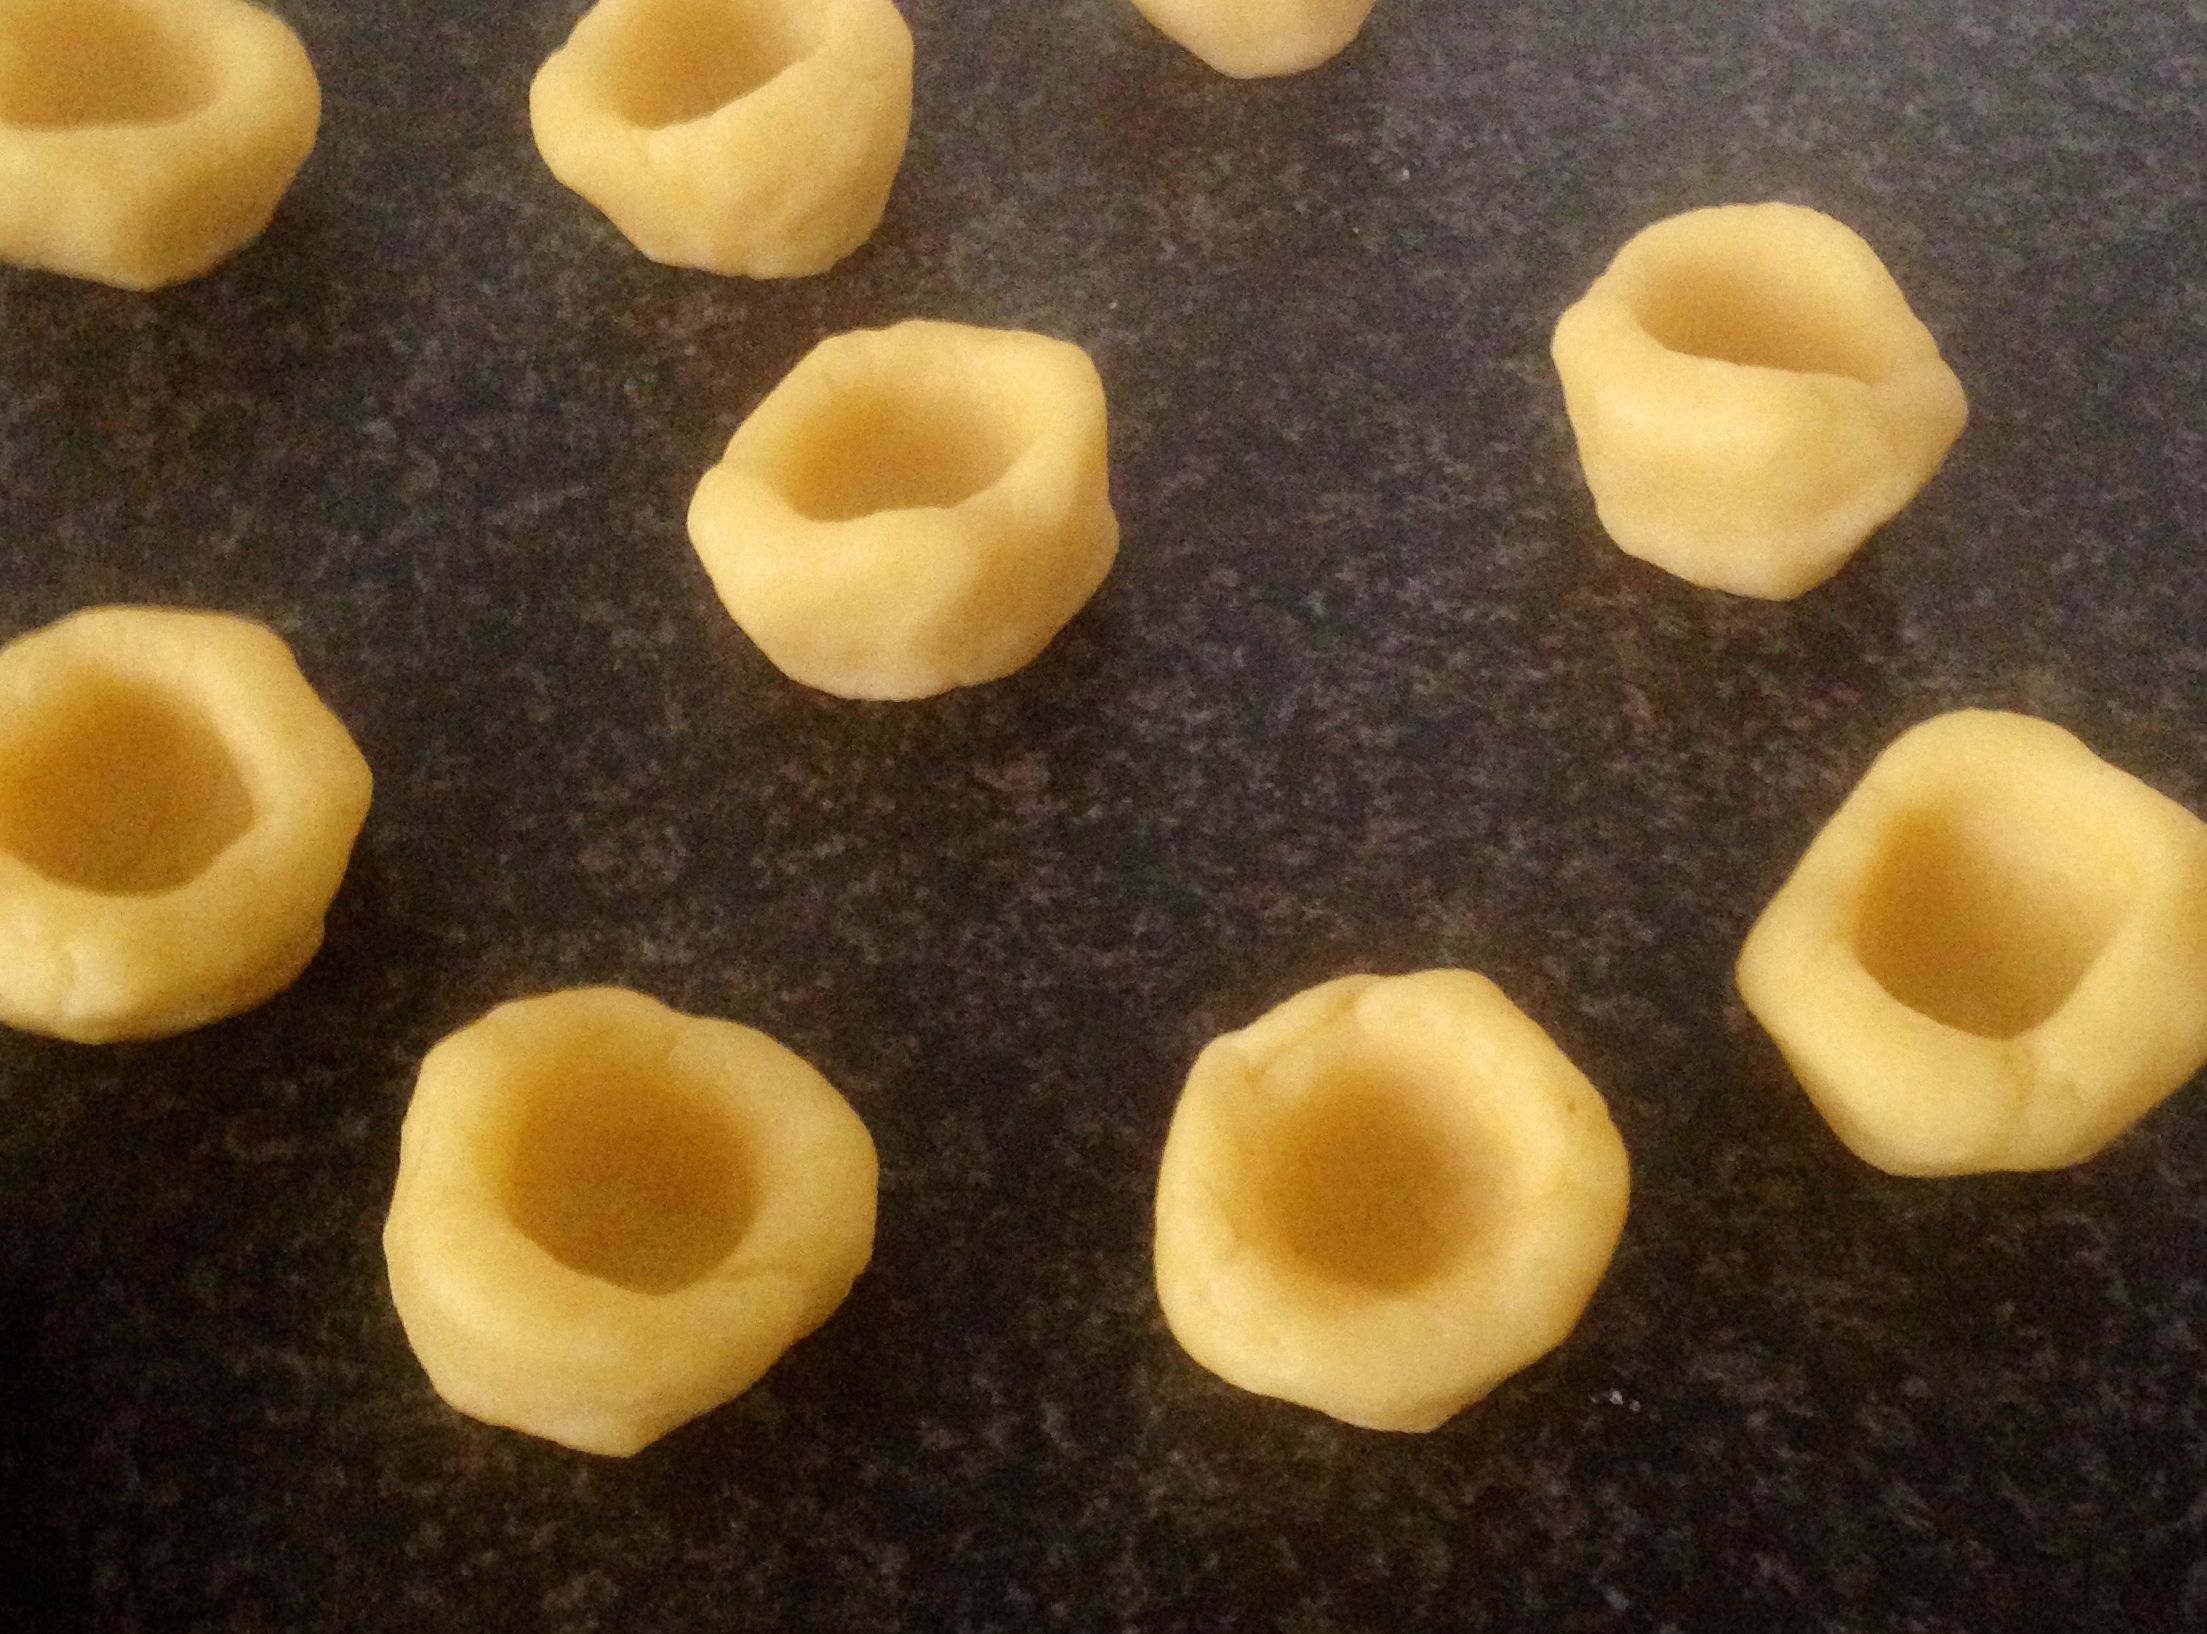
Step 8
Step 8
Step 10
Like this recipe? Subscribe via RSS or email to get my new entries and more scrumptious recipes with reviews.
 Follow