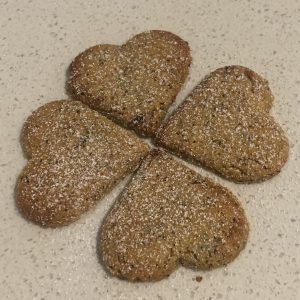
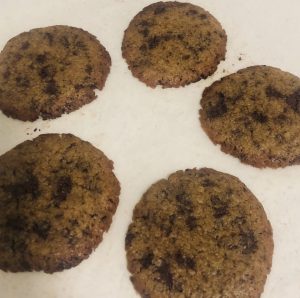
Chocolate Peppermint and Orange Cookies
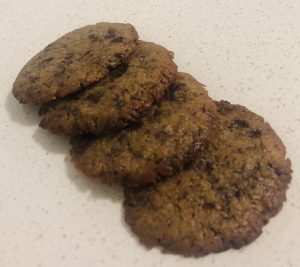
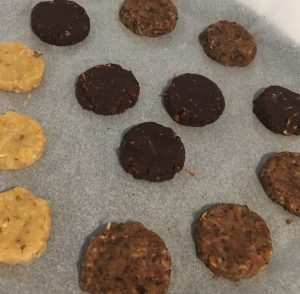
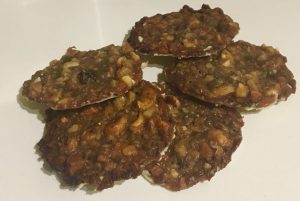
A random but delicious flavour paring, I experimented with chocolate, orange and peppermint cookies recently and as I made the recipe up on the fly I didn’t write down the ingredients or ratios I used. Of course the cookies were absolutely to die for in crunch, texture, taste and satisfaction. Pretty much this recipe took me 5 goes to get the right base cookie dough I was after as well as the right chocolate, orange and peppermint ingredient types (oils, essence, zest, peppermint crisp bars, cocoa, chocolate nibs), then there was the right ratios.
A week of a different recipe each night after work and I finally got to what I think I had in the first place. Lesson learnt – write down recipes when making them up!
Ingredients:
- 100g butter
- 110g caster sugar
- 115g brown sugar
- 1 vanilla
- 1 egg
- 8 drops peppermint oil
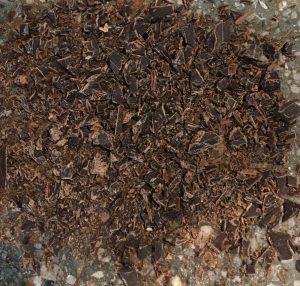
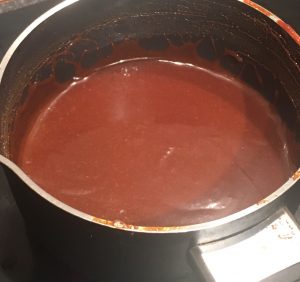
- 100g dark chocolate pieces
- 1/2 tsn orange essence
- 2 tsn orange zest
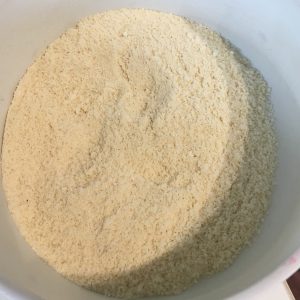
- 150g plain flour
- 1/3 tsn baking powder
- ½ tsn salt
Method:
- Pre heat the oven to 180c degrees and line 2 baking trays with baking paper.
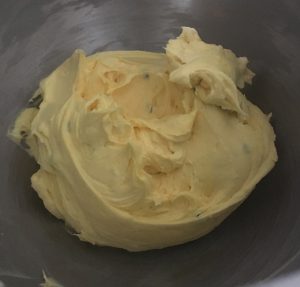
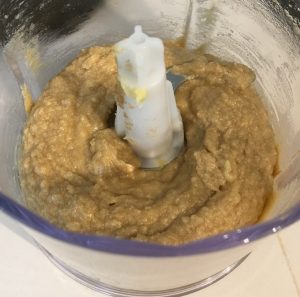
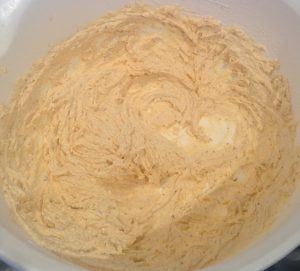
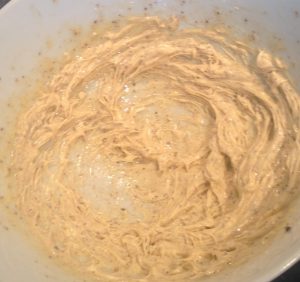
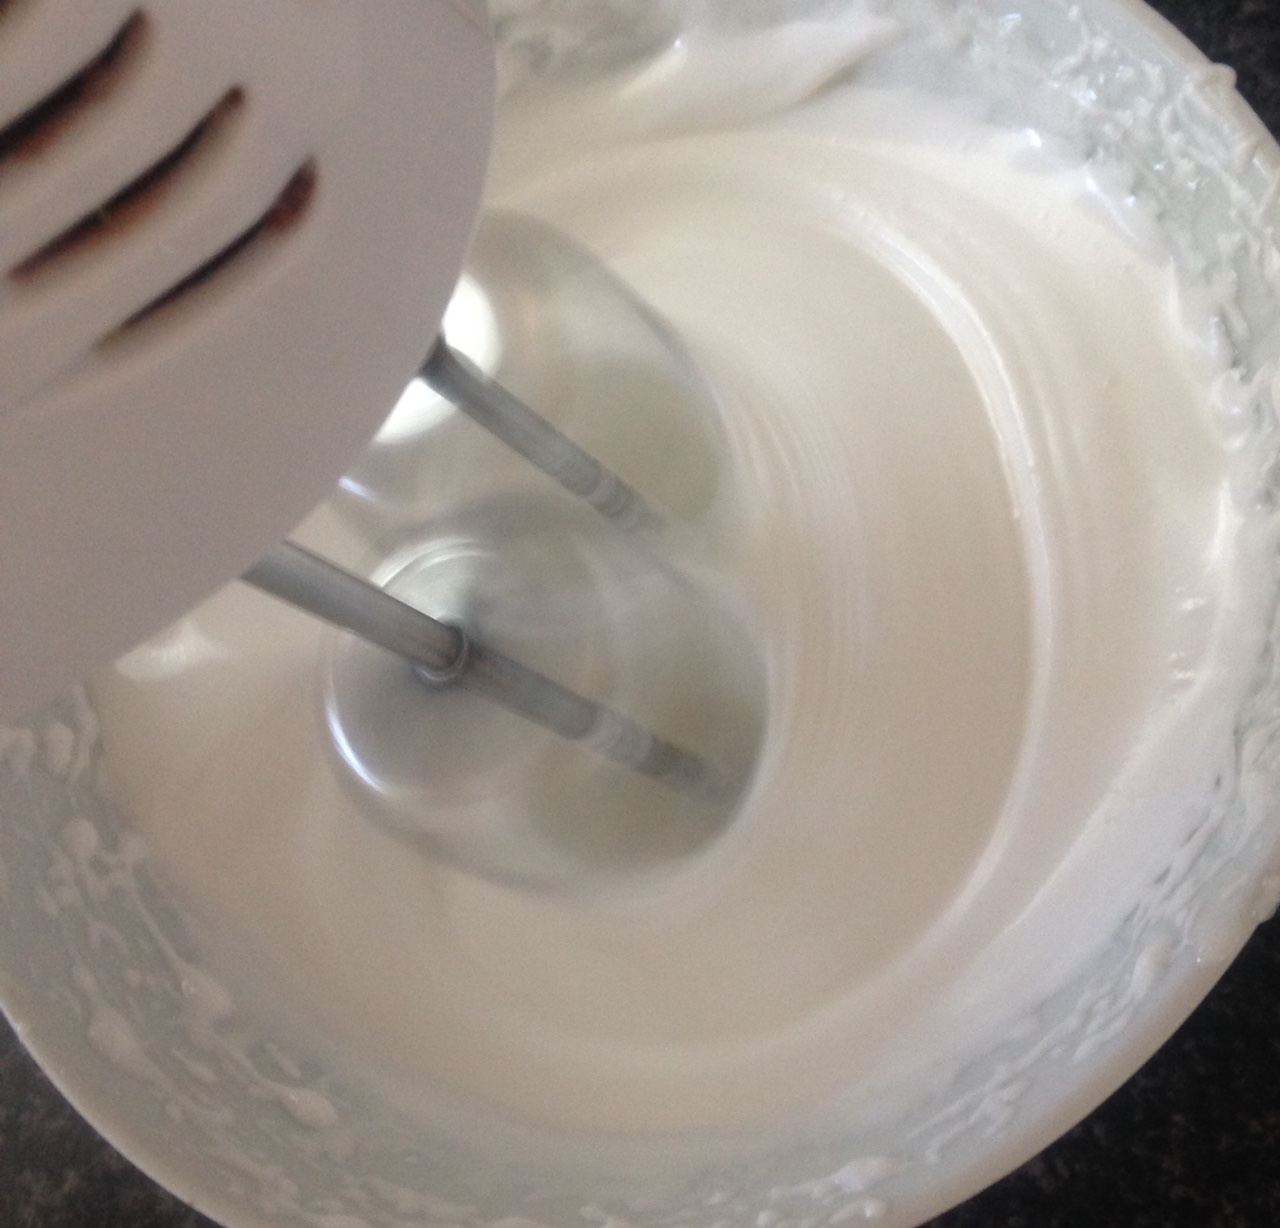
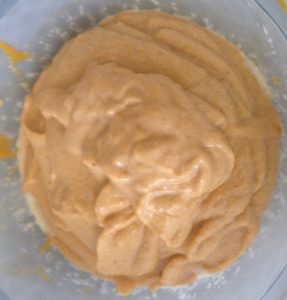
- Place the butter, sugar and vanilla into a bowl and beat with electric beaters for 5 minutes or until pale and fluffy.
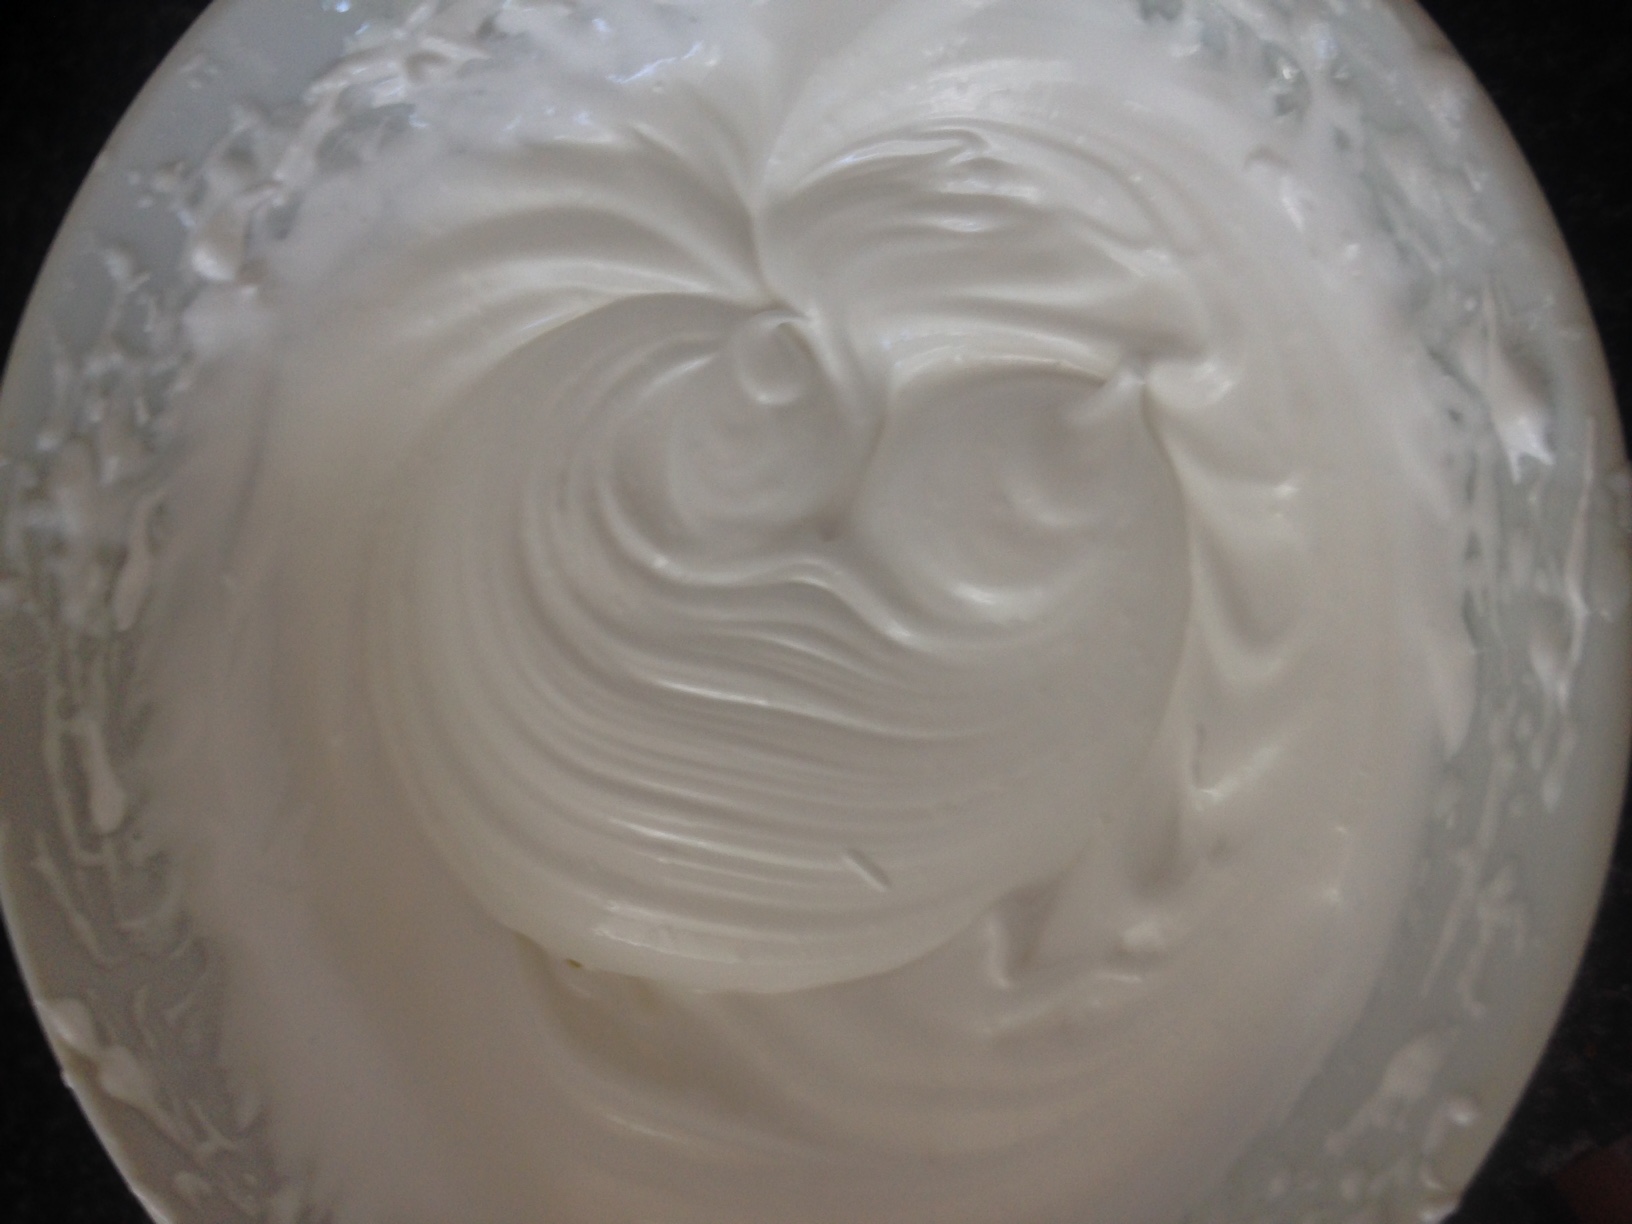
- Add the egg and beat until well combined.
- Add the orange essence, zest and oil, beat until combined.
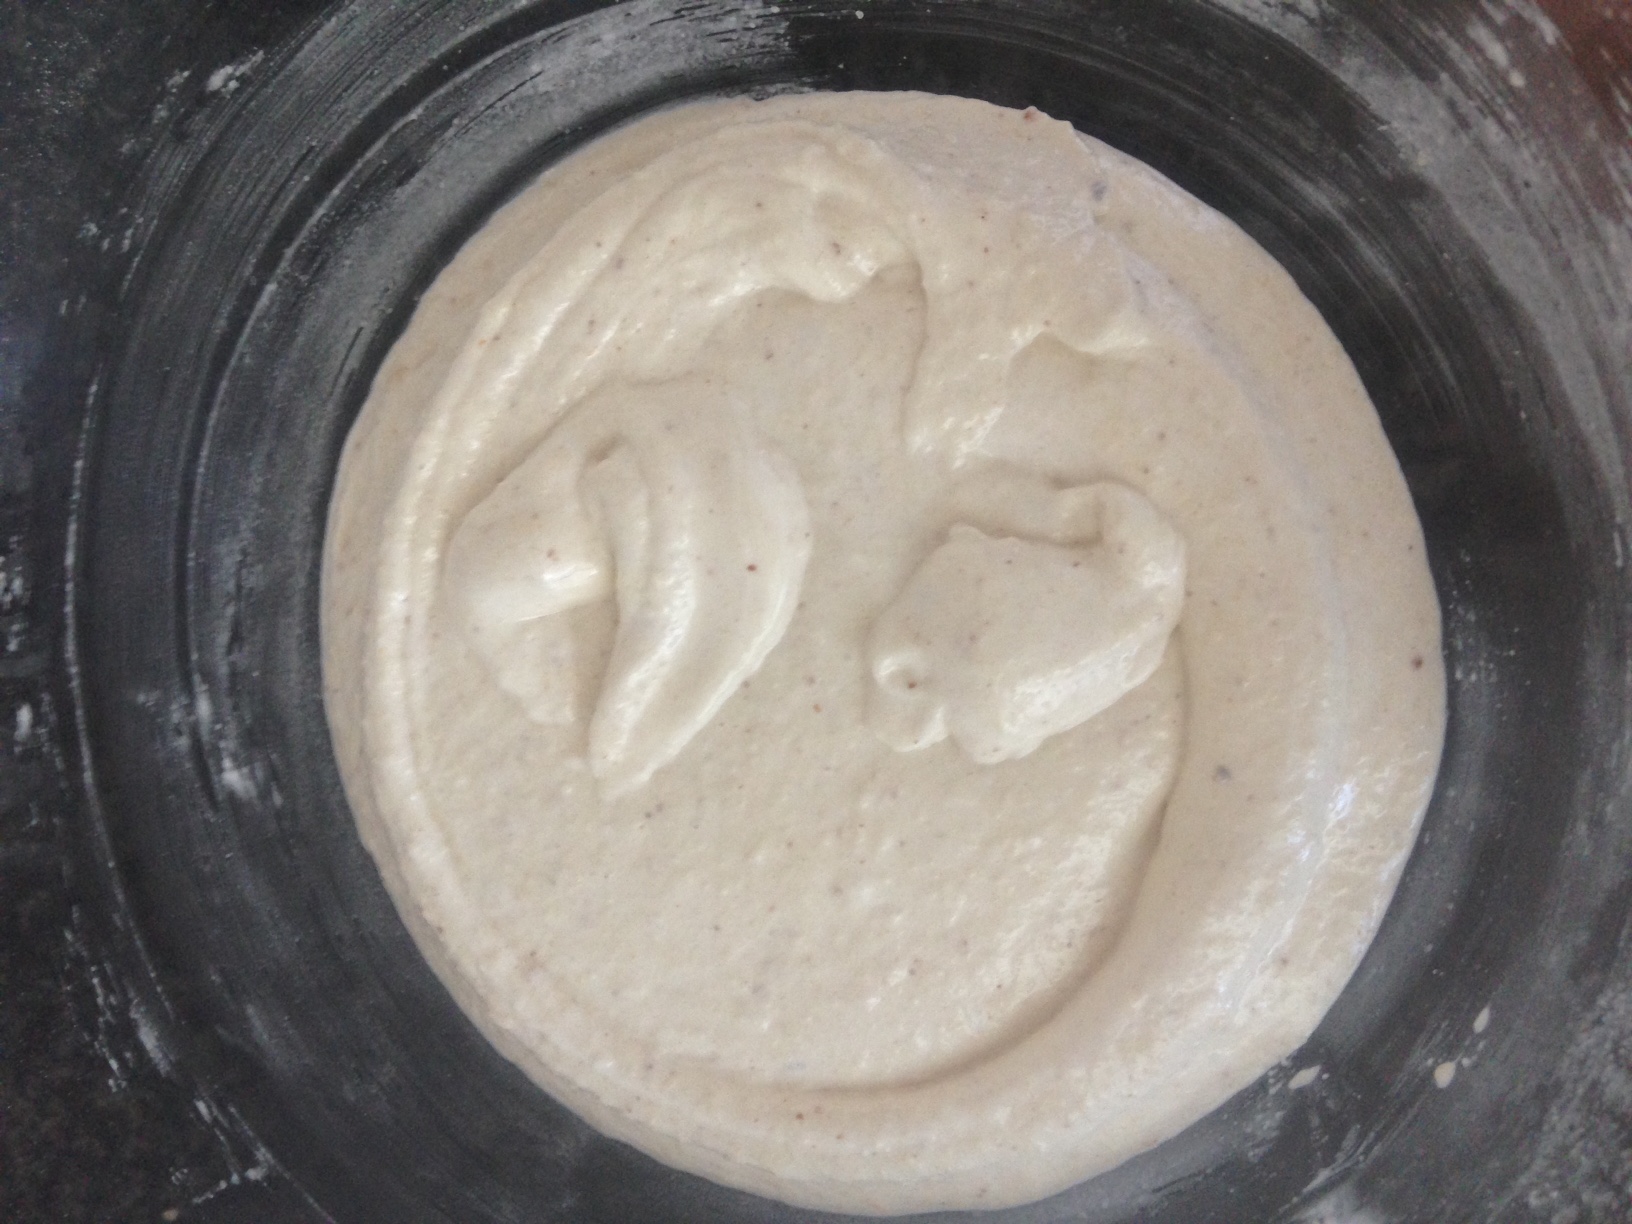
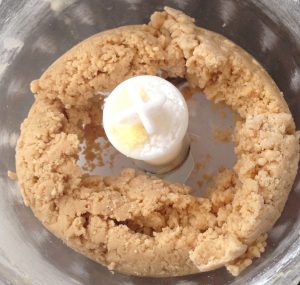
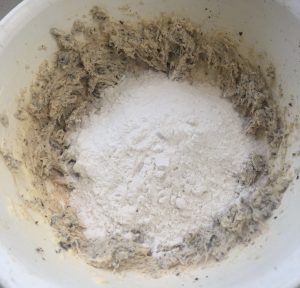
- In a separate bowl place, the flour, baking powder and salt in a bowl and sieve.
- Beat in flour mix with electric beaters for 1 minute on slow.
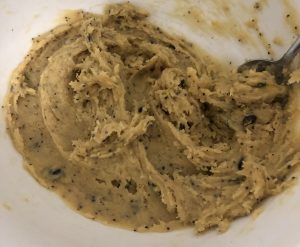
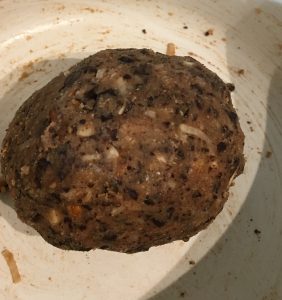
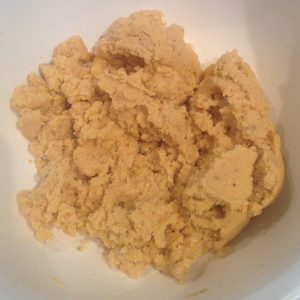
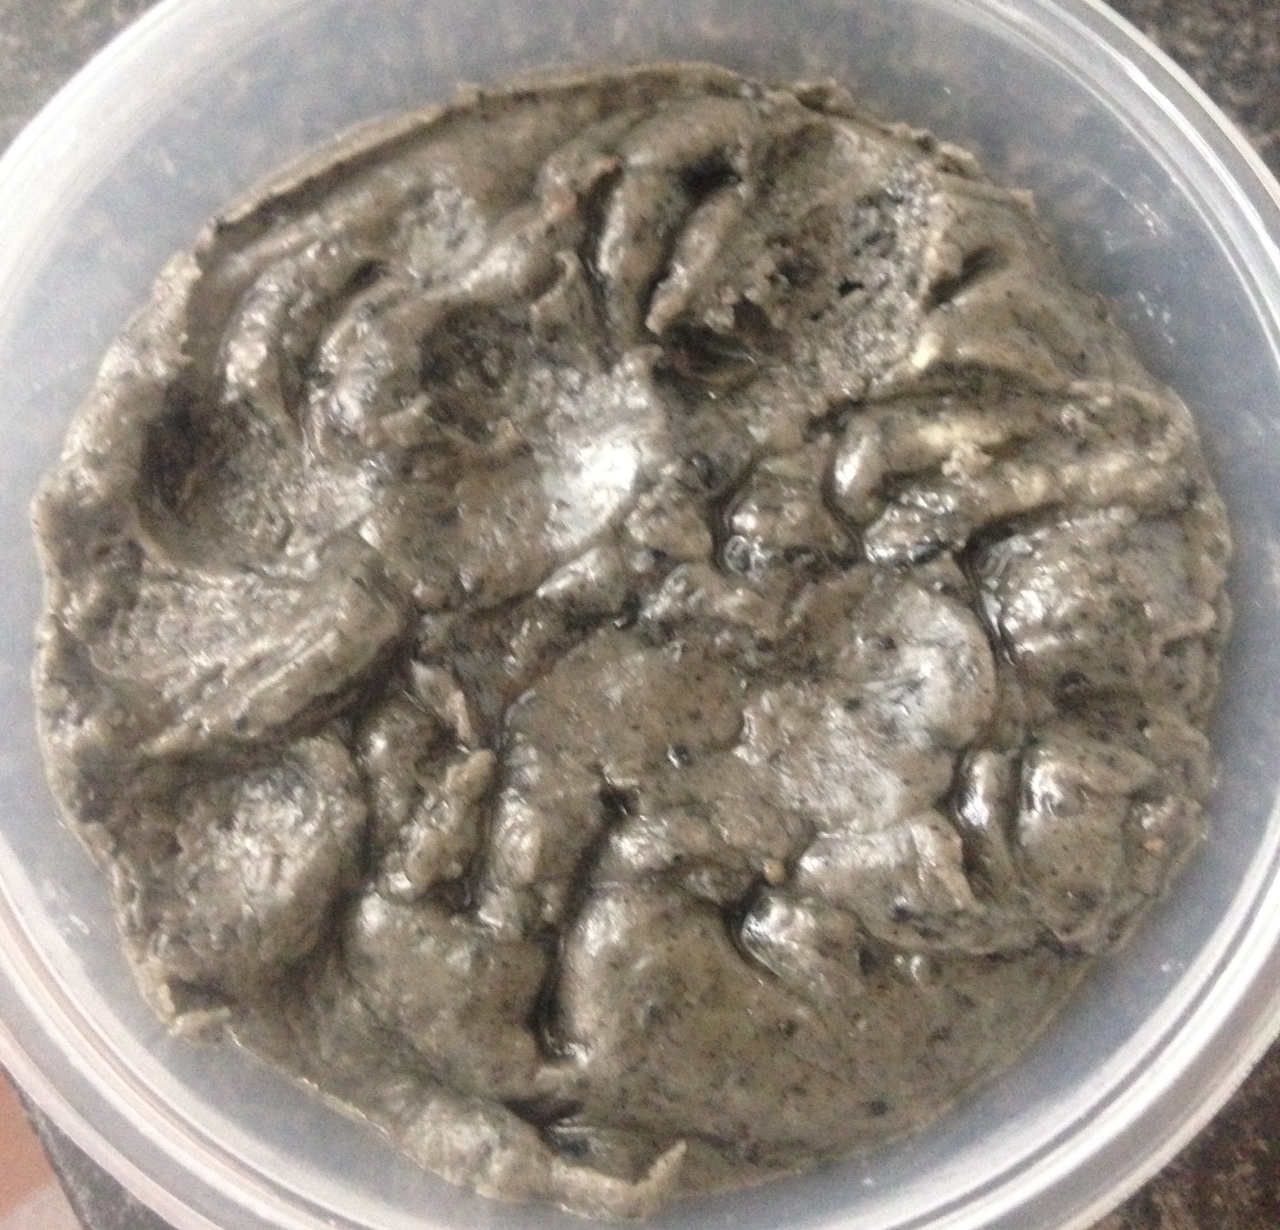
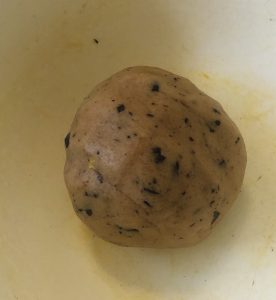
- Use hands to fold in chocolate pieces evenly.
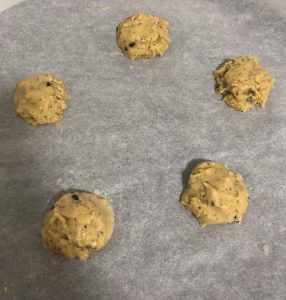
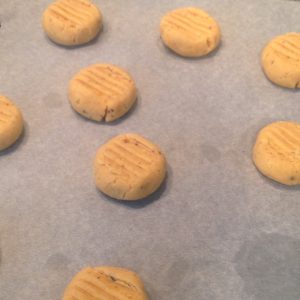
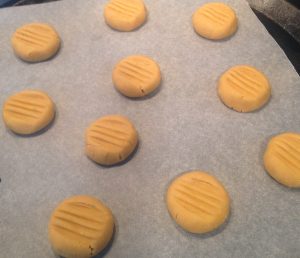
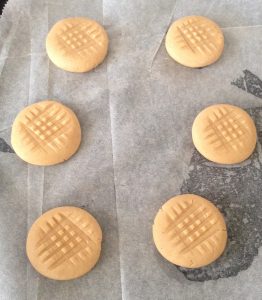
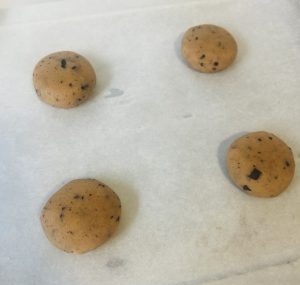
- Roll the dough into 20g balls and place onto the tray allowing for 5cm gaps between each biscuit.
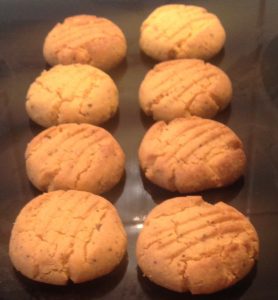
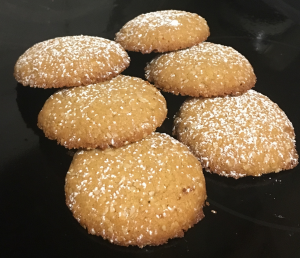
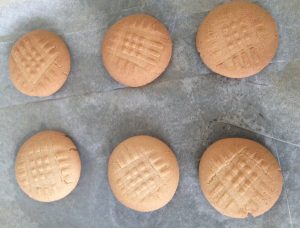
- Bake for 12-15 minutes or until the tops of the biscuits are golden brown.
- Leave the cookies on the tray to cool for 5 minutes then place on a cooling rack.
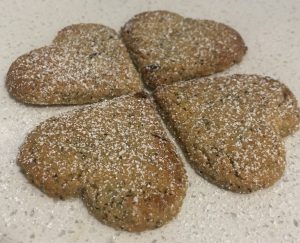
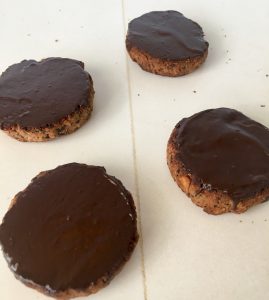
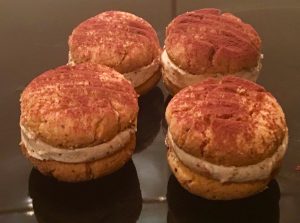
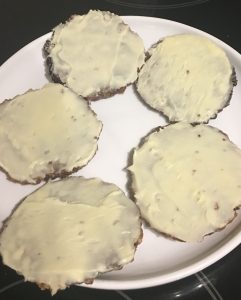
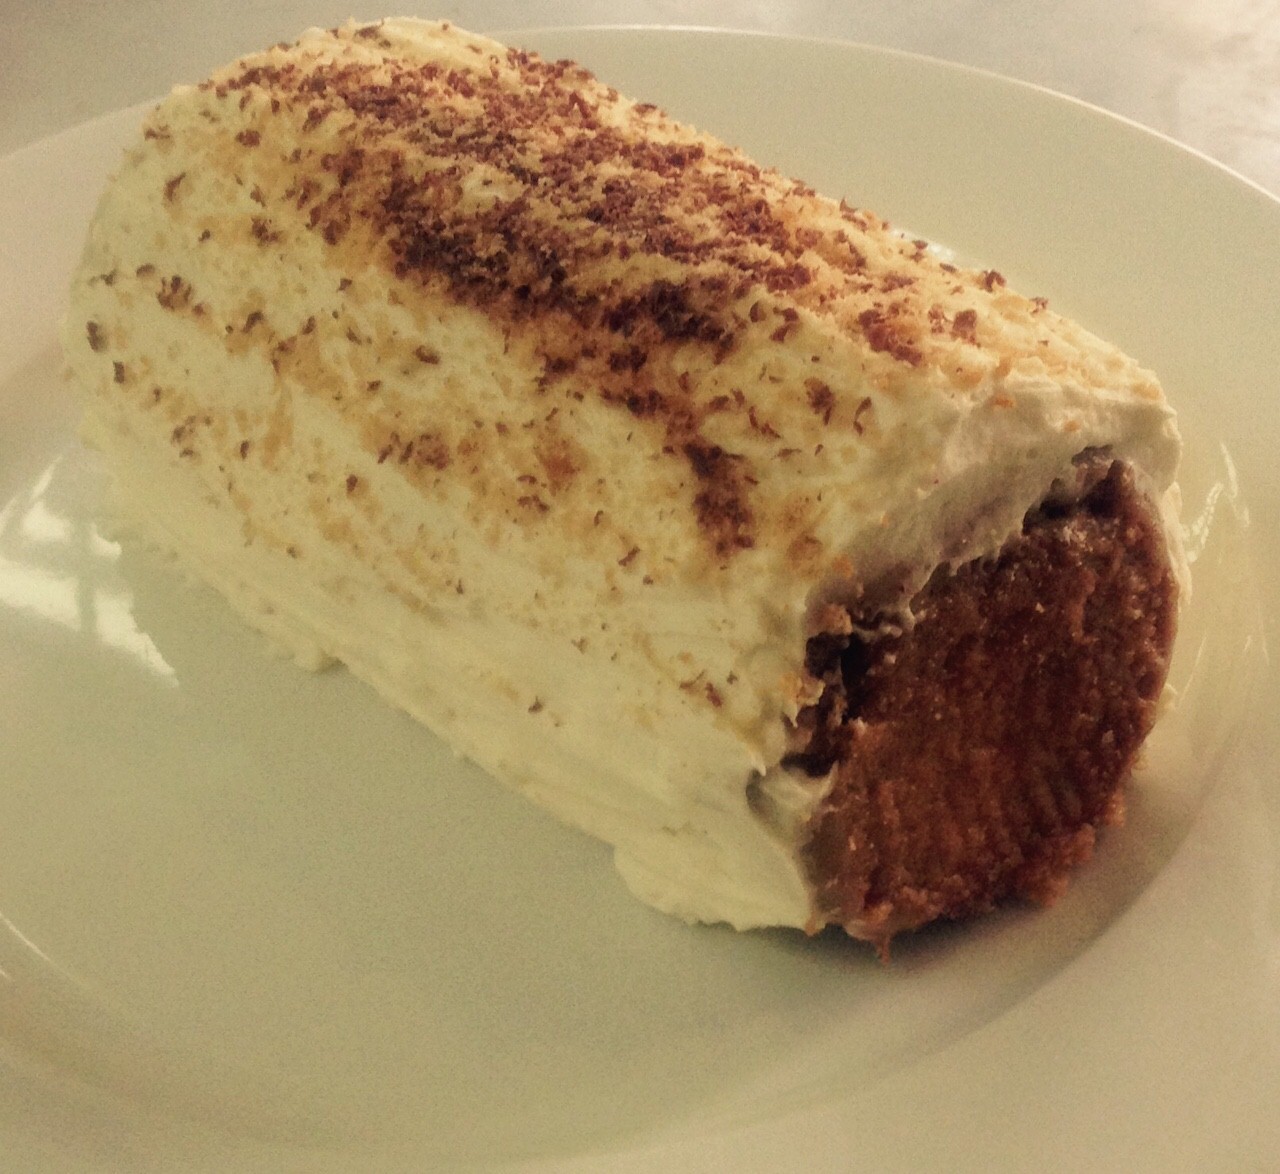
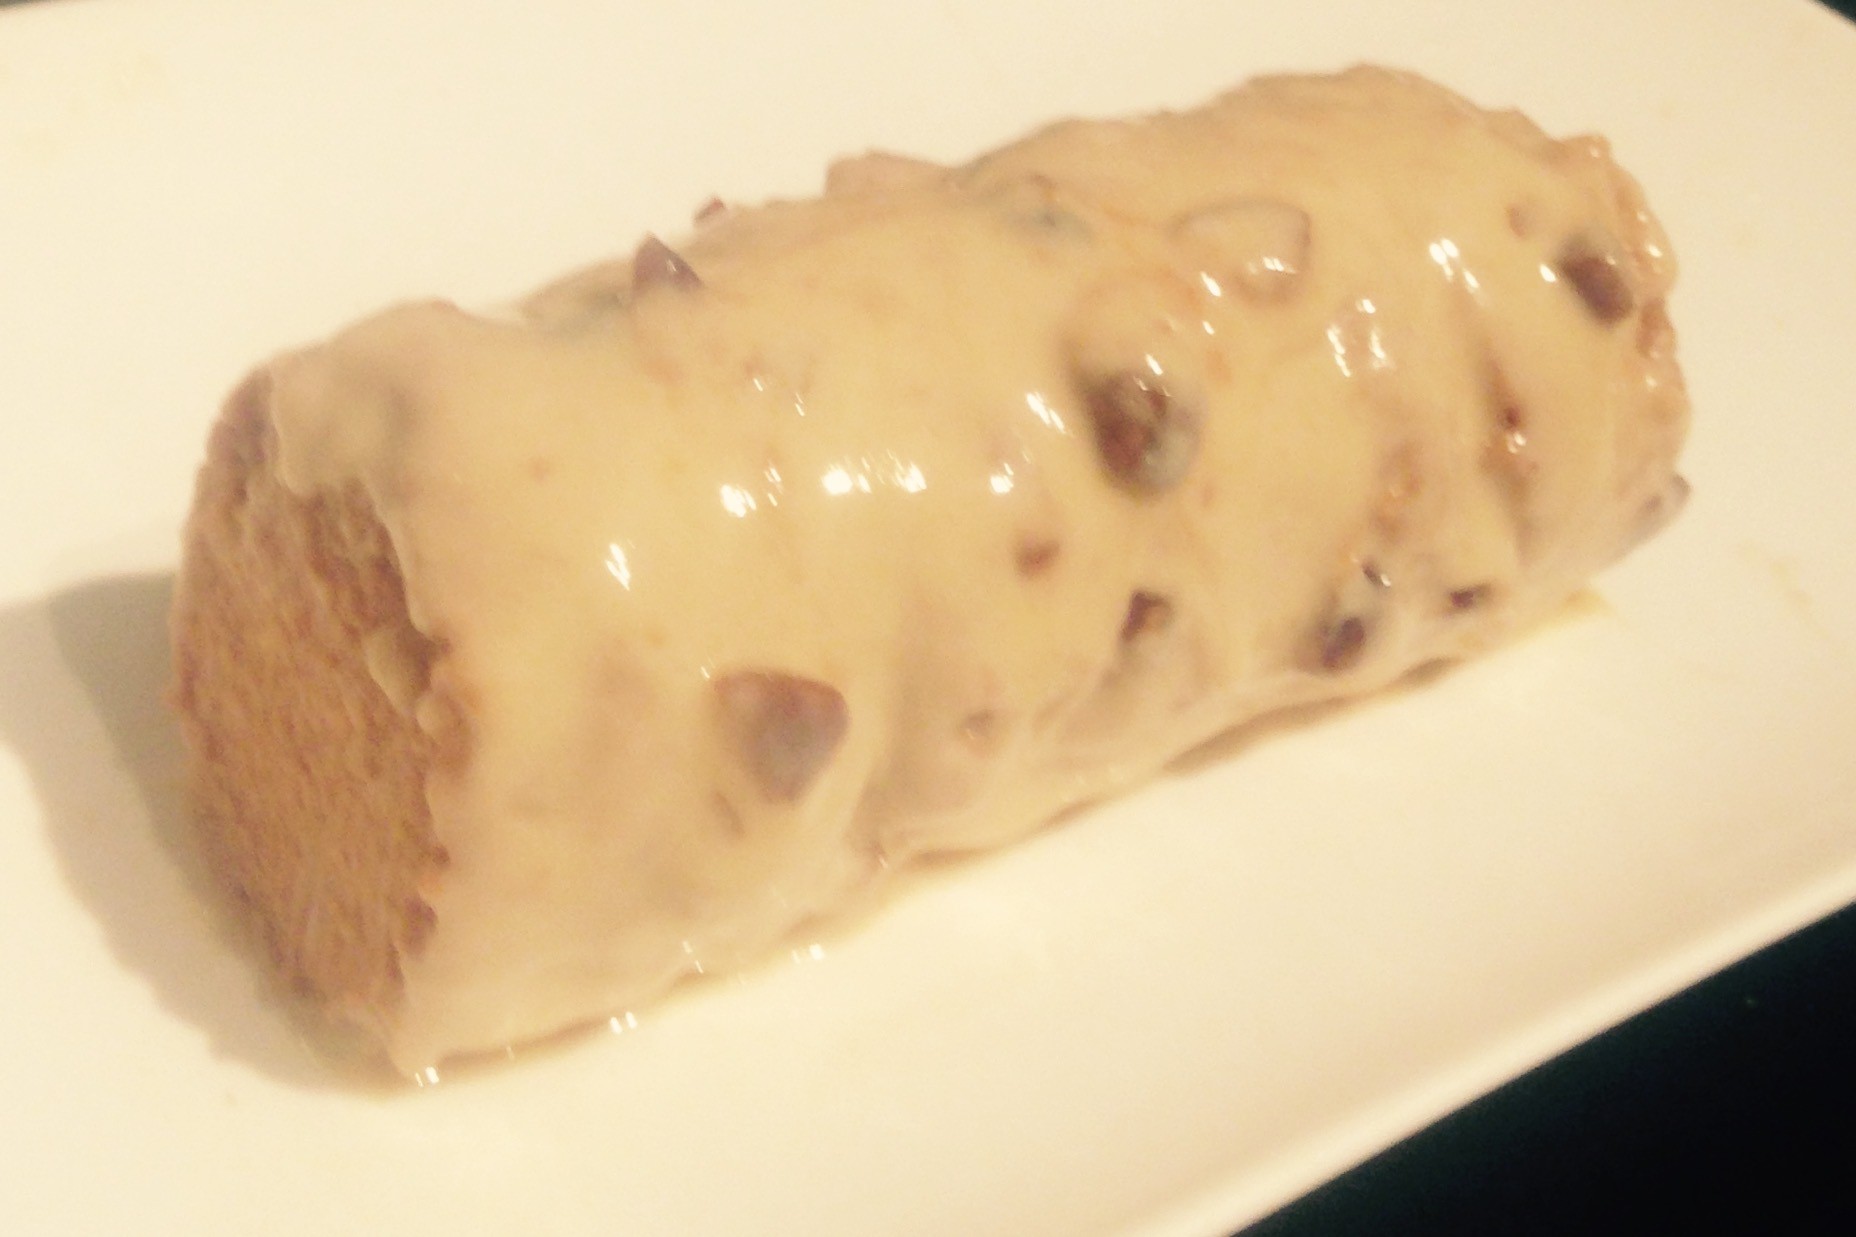
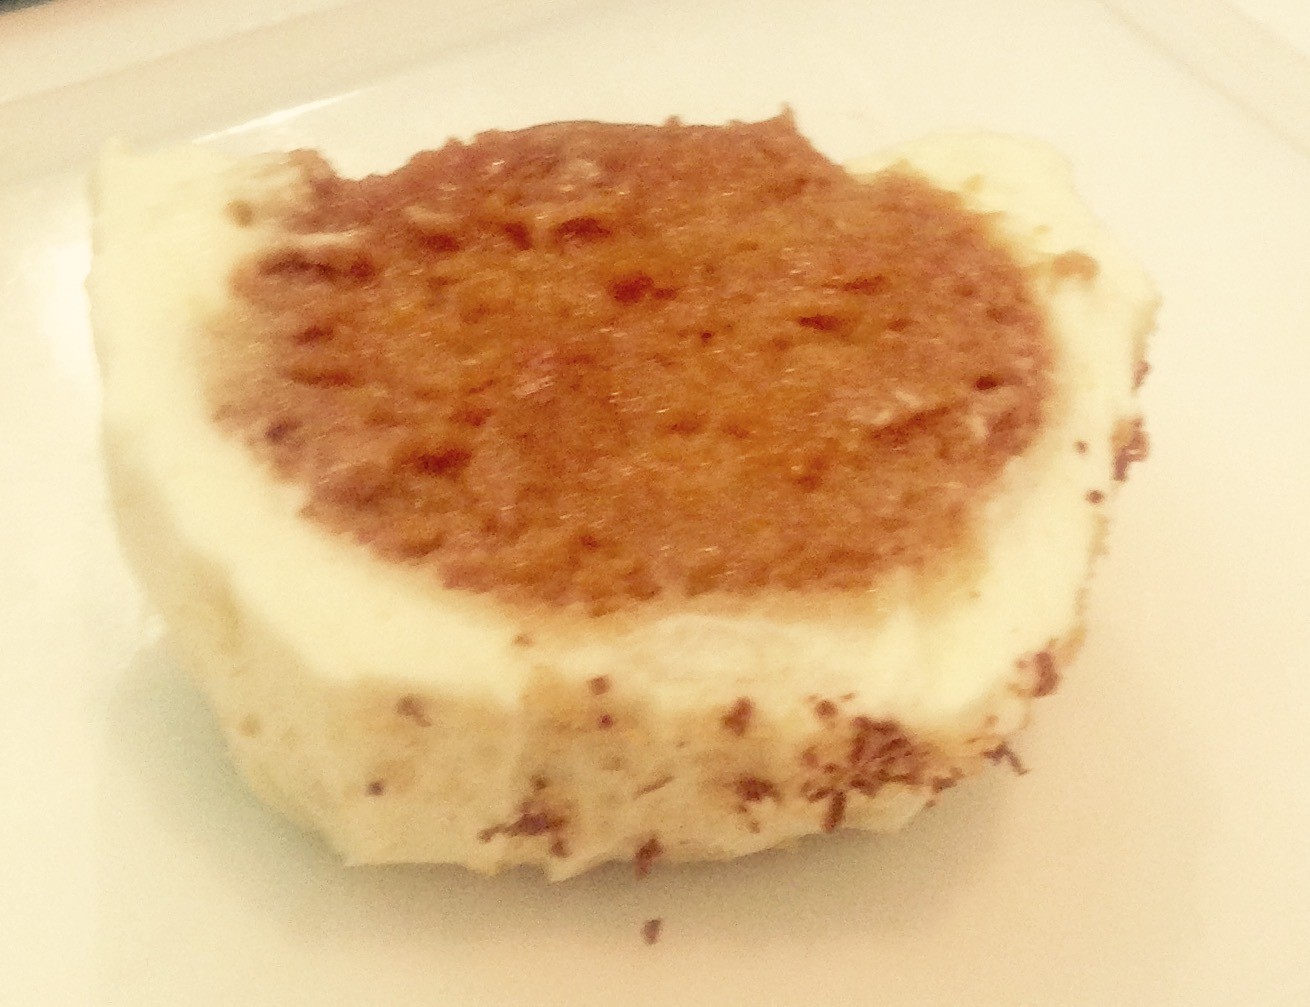
- Dust with icing sugar or drizzle with white chocolate for decoration, enjoy!
Note: I have used peppermint oil not peppermint essence. I find the oil is much stronger and richer in flavour with no artificial aftertaste.
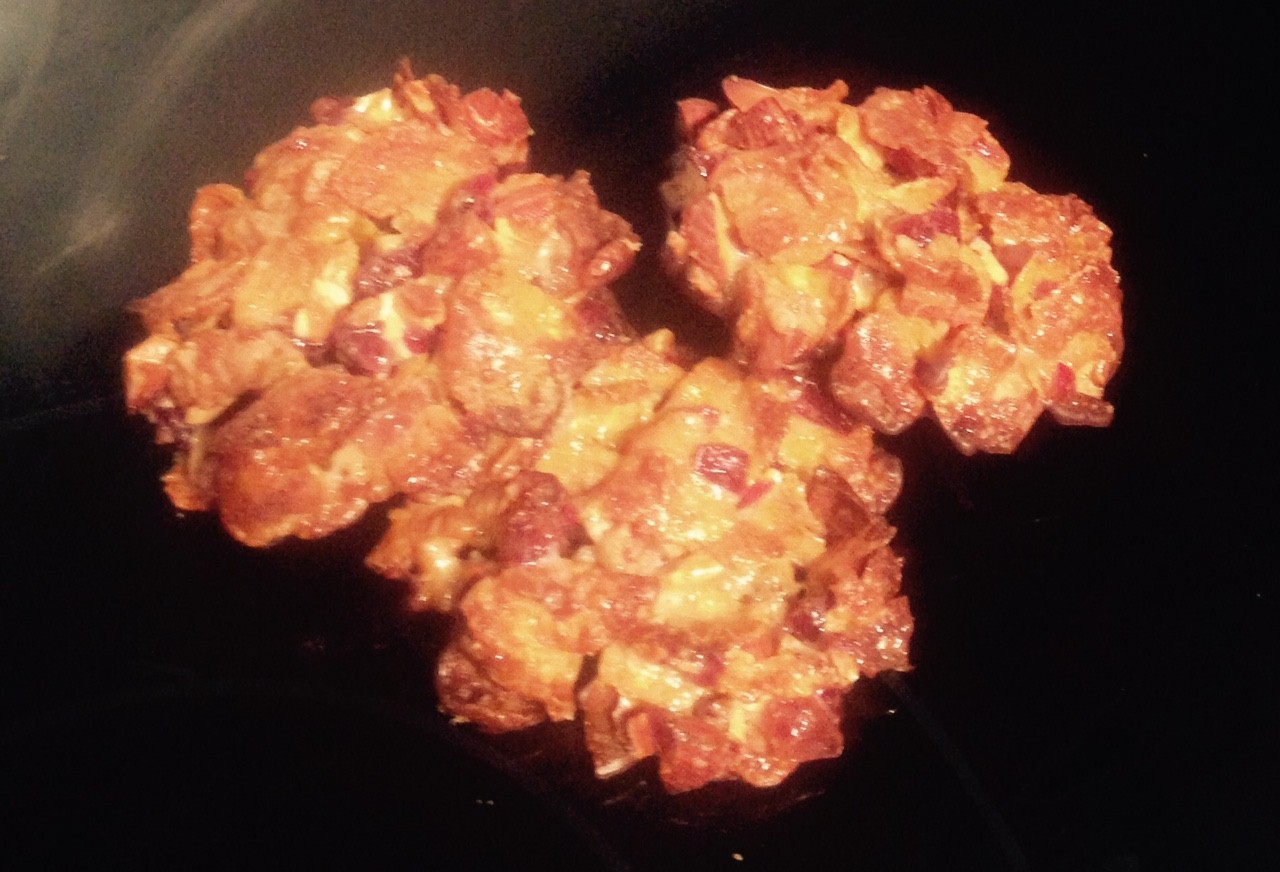
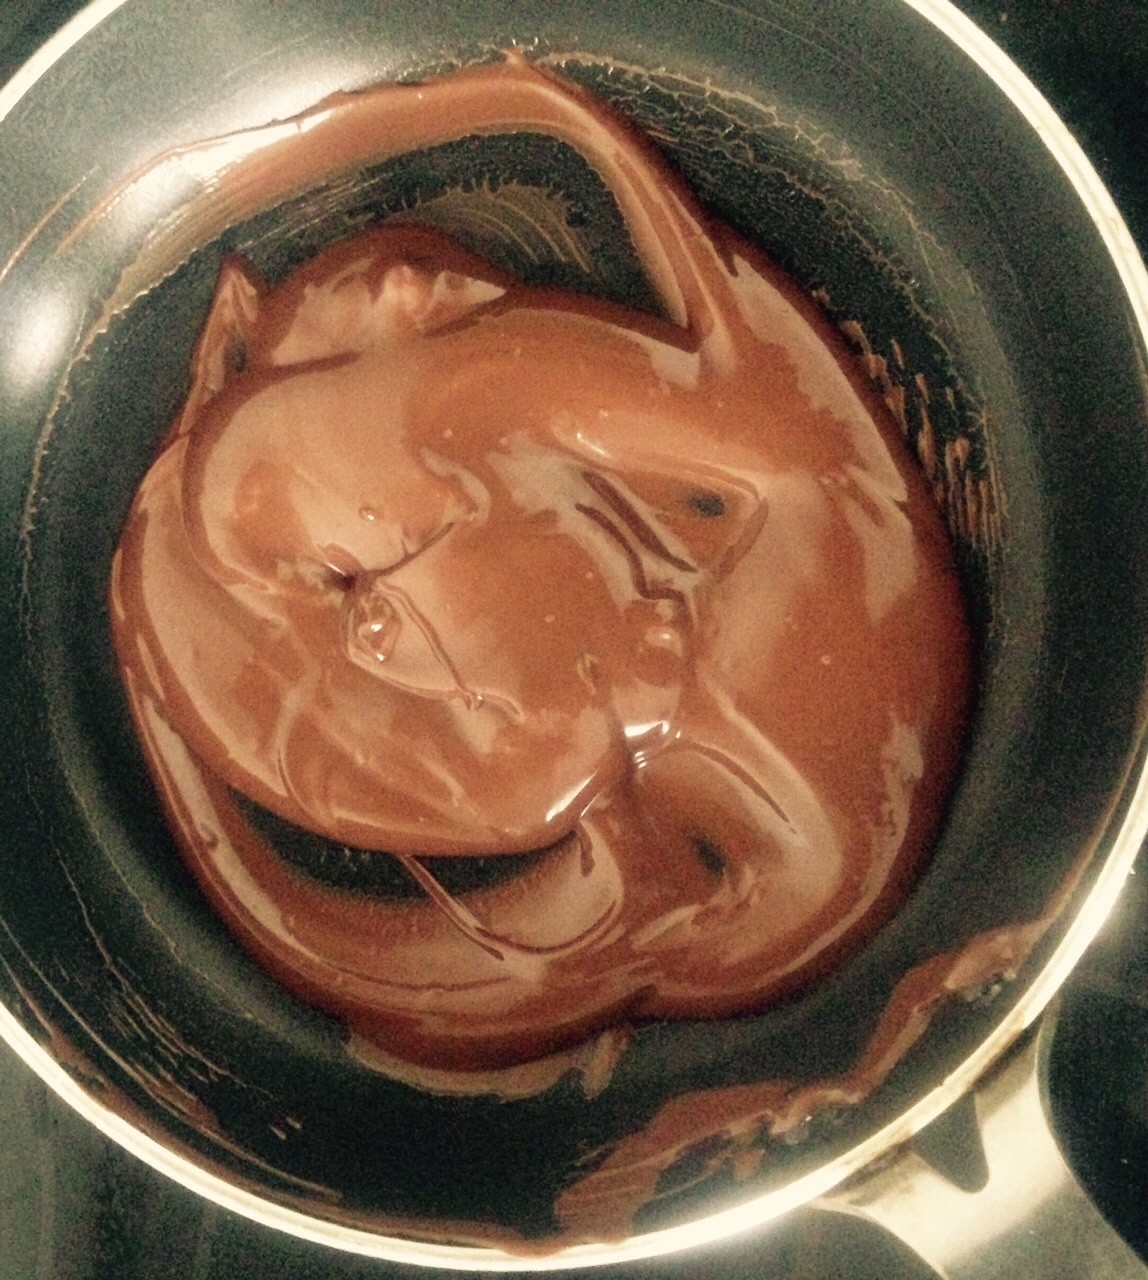
Step 6
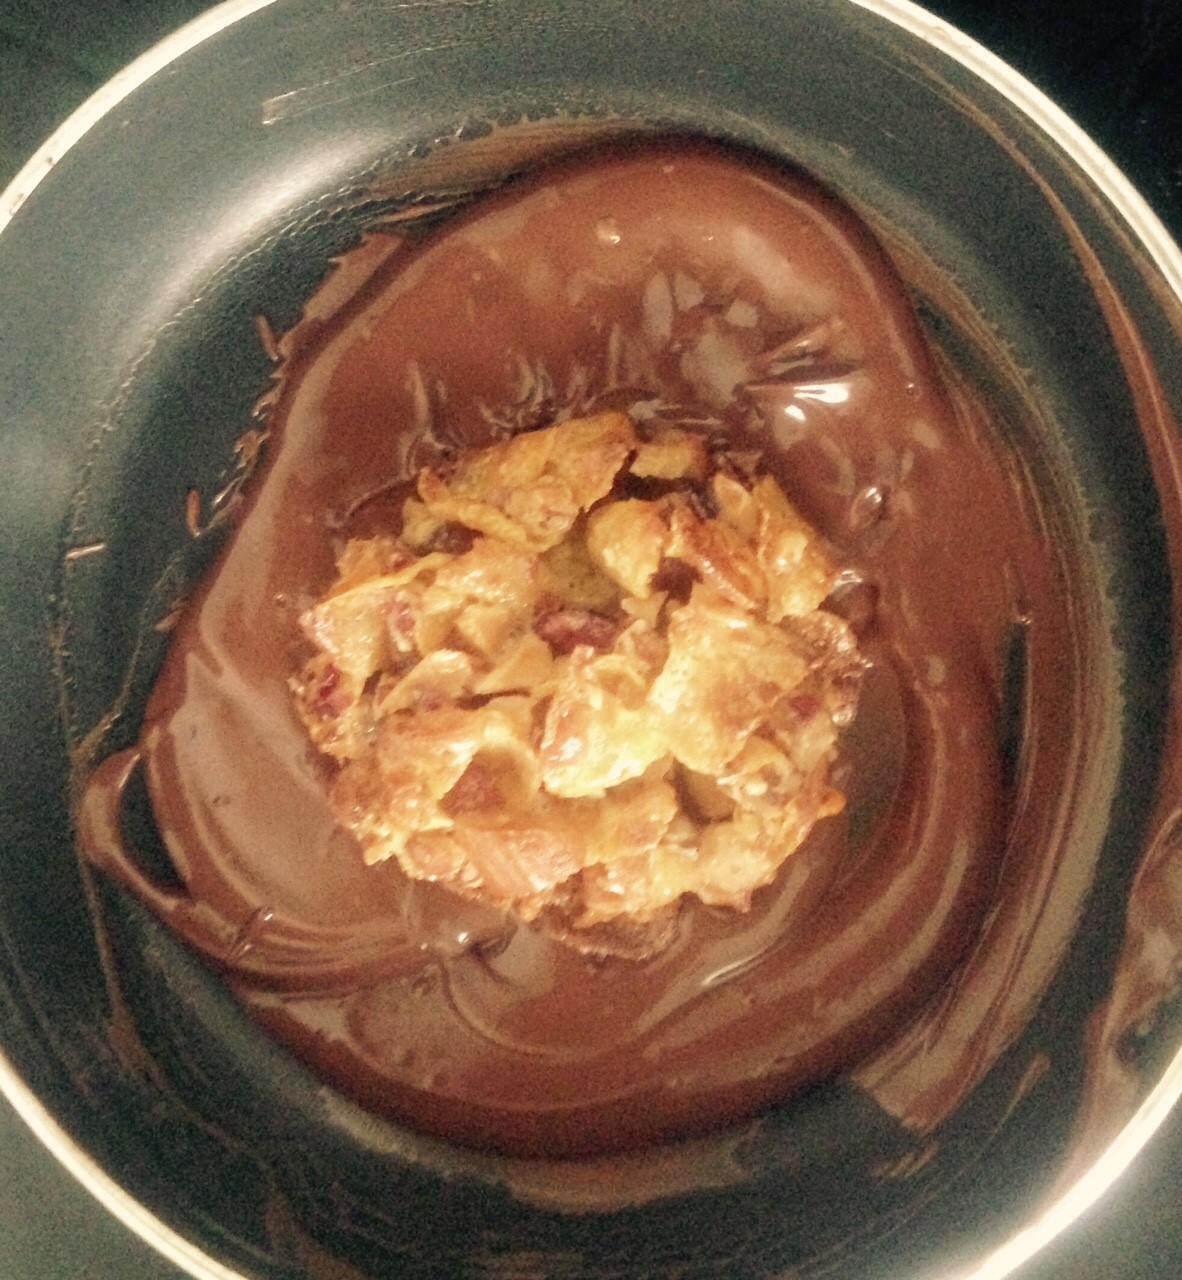
Step 7
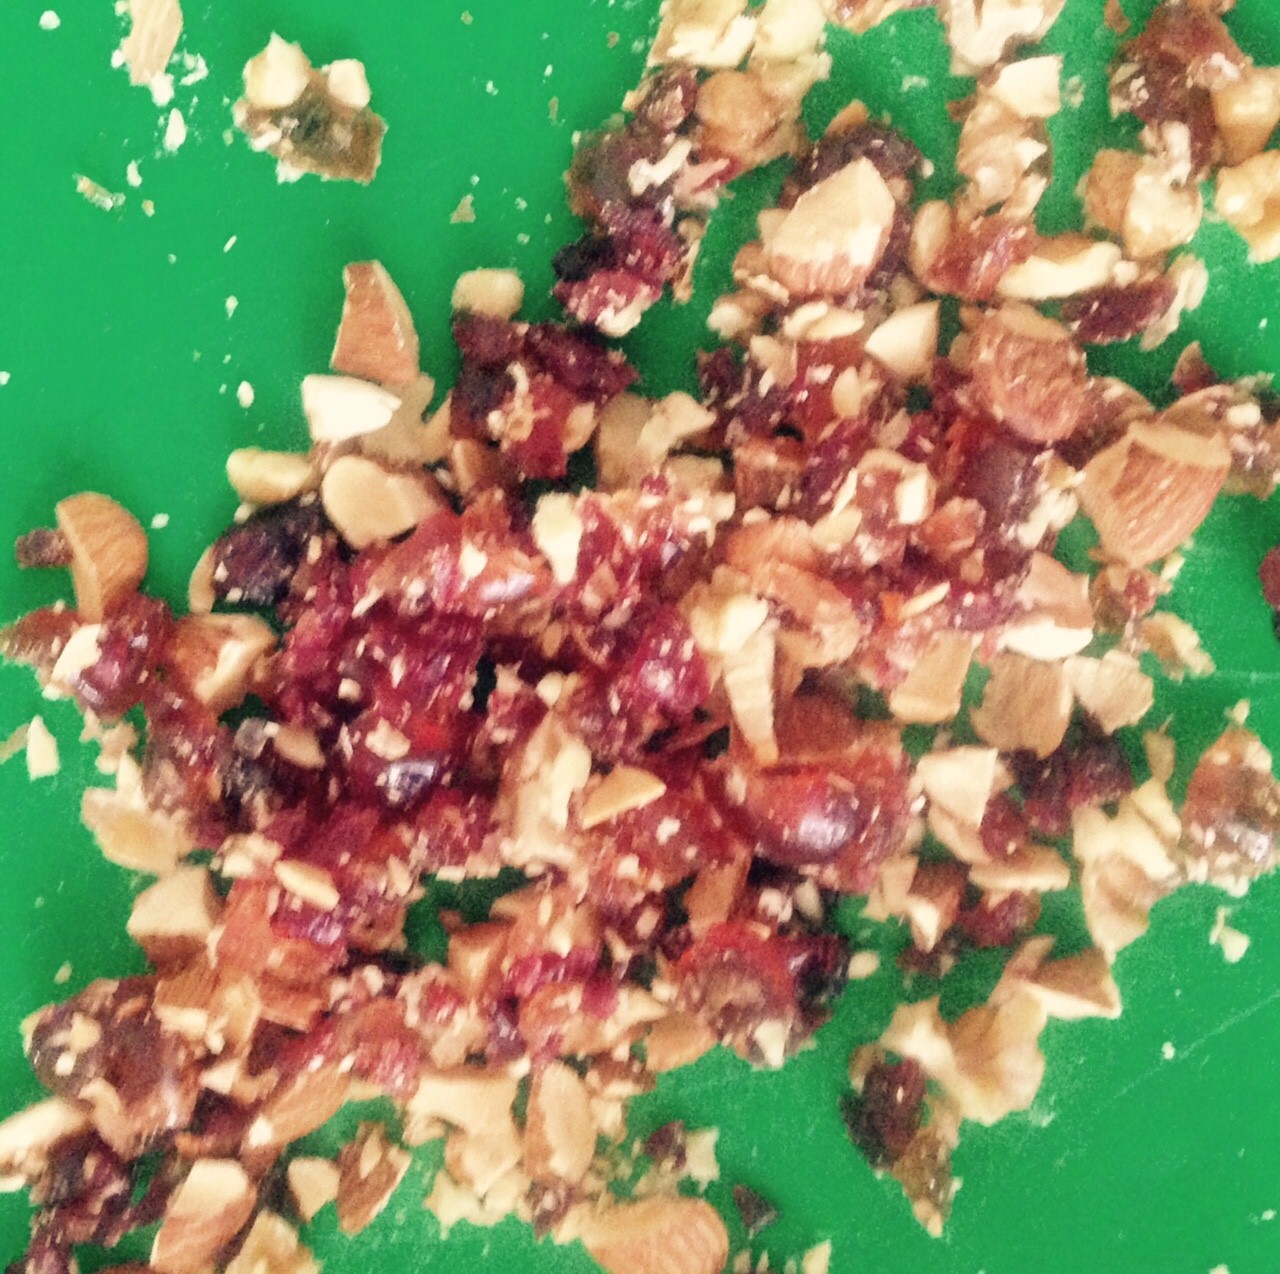
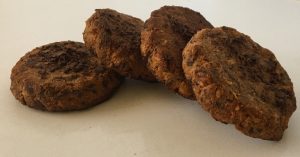
Step 8
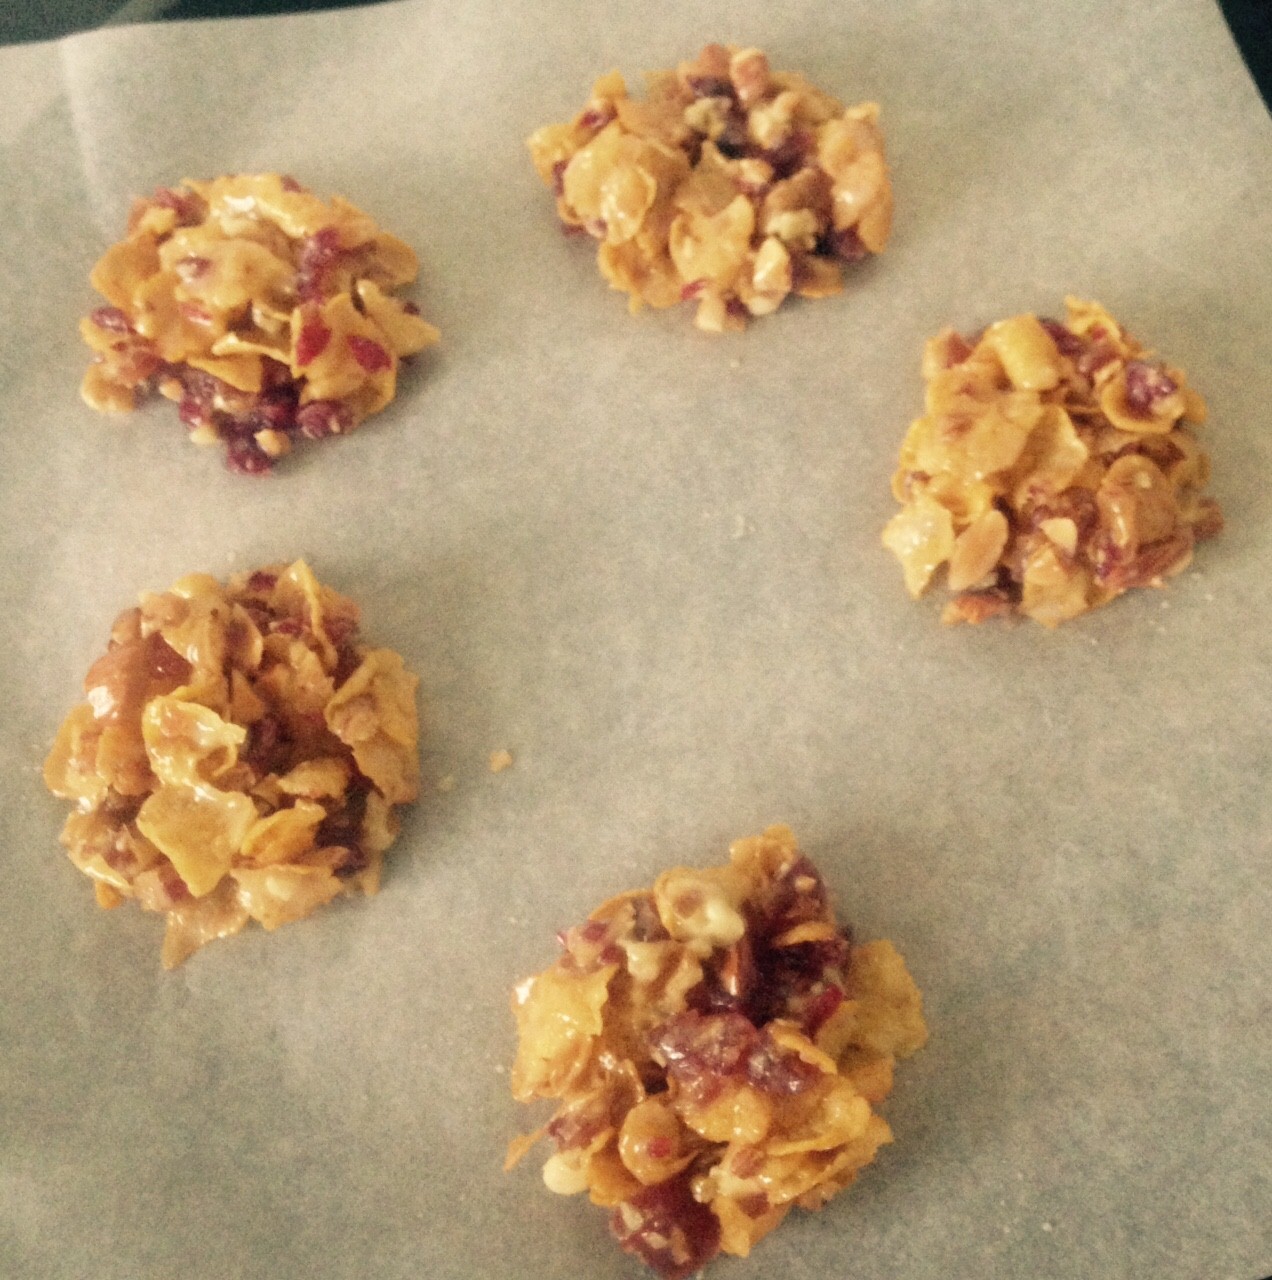
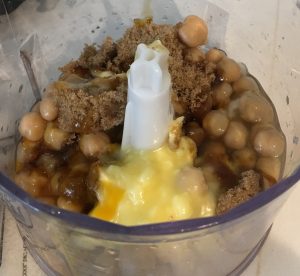
Step 10
 Follow