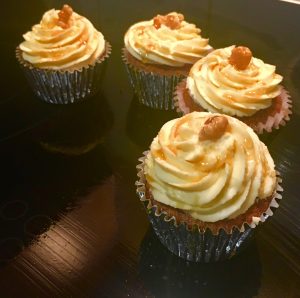
Spiced Parsnip Date and Orange Cupcakes
This recipe was designed specifically to challenge me. I’m not a fan of parsnip at all, however as I have baked with almost every other root vegetable I decided to really push my taste buds to not only come up with a Parsnip based recipe but a recipe that is super tasty.
I am so surprised at how good this recipe is, who would have though such a tasty cupcake treat could come from one of my least favorite vegetables.
The spice combos with dates, honey, walnuts and orange took a bit of tweaking I won’t lie, but it was well worth the experimenting to get it right!
Ingredients:
Cupcake batter:
- 180g self-raising flour
- 1 + ½ tsn baking powder
- 120g brown sugar
- 1 + ½ tsn ground ginger
- 1 + ½ tsn ground cinnamon
- ¼ tsn salt
- 1/3rd tsn ground nutmeg
- 1/3rd tsn mixed ground spice
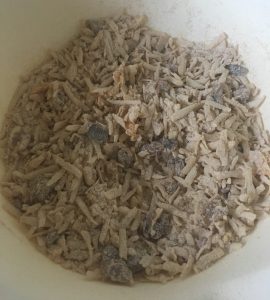
- 80g dried dates
- 60g walnuts
- 180g parsnip
- 3 tsn orange zest
- 3 eggs
- 120g vegetable oil
- 70ml honey
- 1 tsn vanilla essence
Frosting:
- 300g cream cheese, softened
- 70g butter, softened
- 1 tsn orange zest
- 100g icing sugar
Method:
- Preheat the oven to 175c degrees and line a cupcake tin with 12 patty cases.
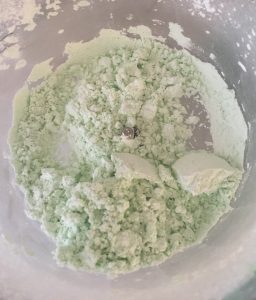
- Place the flour, baking powder, sugar, ginger, cinnamon, salt, nutmeg and mixed spice into a bowl and stir until well combined.
- Dice the dates and walnuts into small pieces and add to the flour mix, stir.
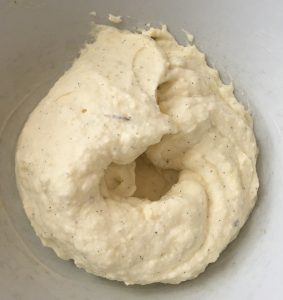
- Grate the parsnip into the flour mix as well as the orange zest, stir until well combined.
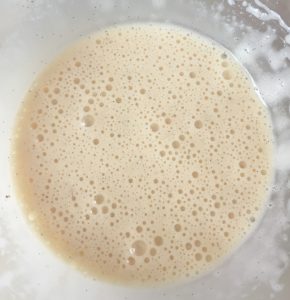
- In a separate bowl whisk the eggs with electric beaters until light and fluffy.
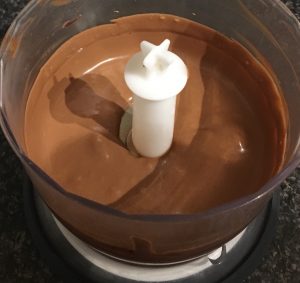
- Add the oil, honey and vanilla to the egg mix and beat for 4 minutes, until well combine and bubbly.
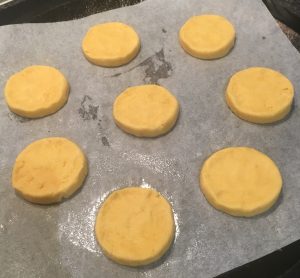
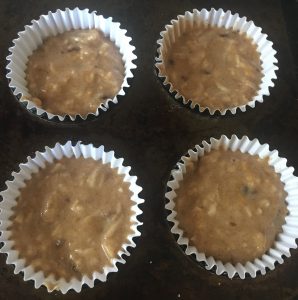
- Evenly spoon the batter into the patty cases.
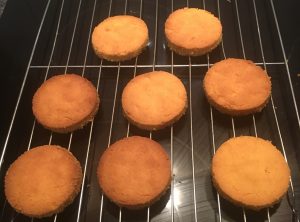
- Bake the cupcakes in the oven for 20 minutes or until a skewer inserted in the center comes out clean.
- Leave for cupcakes for 5 minutes before placing on a cooling rack until cold.
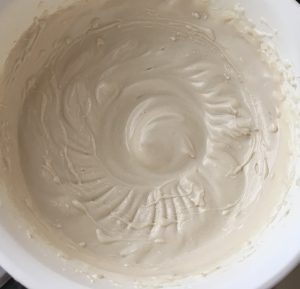
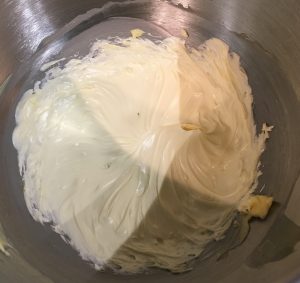
- Meanwhile make the icing by placing the softened cream cheese, softened butter, orange zest and icing sugar into a bowl.
- Using electric beaters whisk until fluffy and well combine.
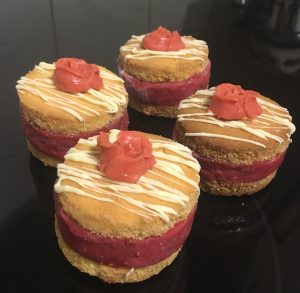
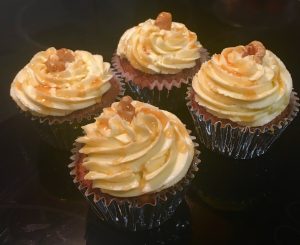
- Place the icing into a piping bag fit with a star noddle and pipe the icing on top of the cupcakes.
- Enjoy!
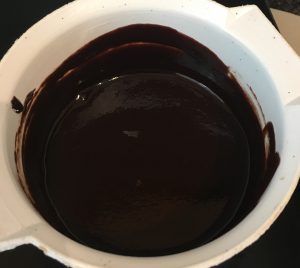
Step 4
Step 6
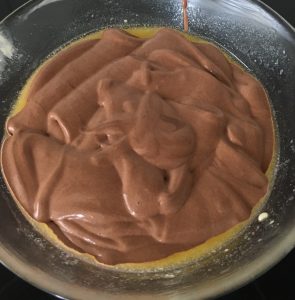
Step 7
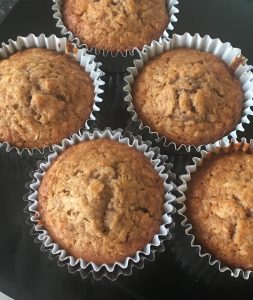
Step 9
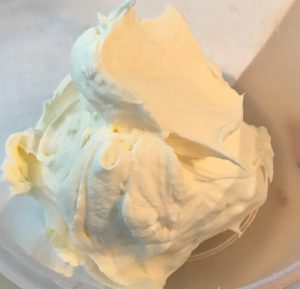
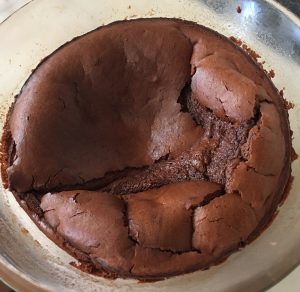
Step 11
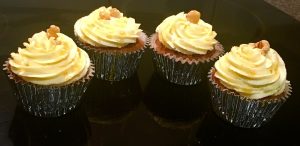
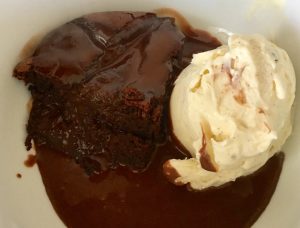
Step 12
Like this recipe? Subscribe via RSS or email to get my new entries and more scrumptious recipes with reviews
 Follow