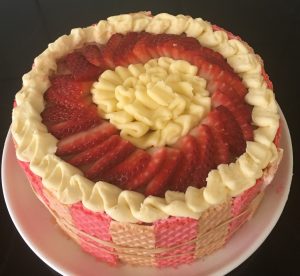
Frozen strawberries in a glass of Rosé on a hot summer day, strawberries coated in melted white chocolate to end a dinner party, strawberry and vanilla smoothies for a morning snack….all delicious strawberry treats with complimentary flavour profiles.
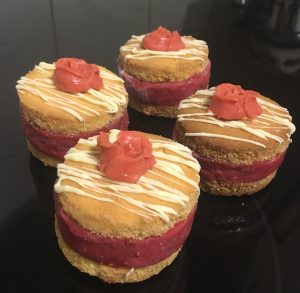
This recipe expands on these flavour profiles to combine them together to make a rich, decadent, alcohol spiked dessert.
Why a pudding? This gave me the best chance to really allow the Rosé flavour to own the show!
Ingredients:
Batter:
- 30g butter
- 60g milk
- 20g sugar
- 1 tsn vanilla essence
- 1/2 tsn strawberry essence
- Pinch cinnamon
- 100g self raising flour
- 30g white chocolate
- 120g strawberries
Sauce:
- 20g butter
- 60ml milk
- 20g sugar
- 60g white chocolate
- 1/2 tsn vanilla essence
- 160ml Rosé (sparking wine)
Ingredients:
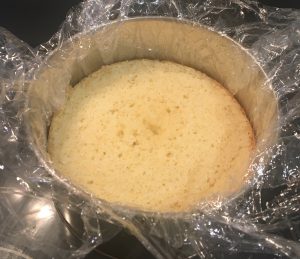
- Pre-heat the oven to 180c degrees and spray 4-cup shallow overproof dishes with oil spray.
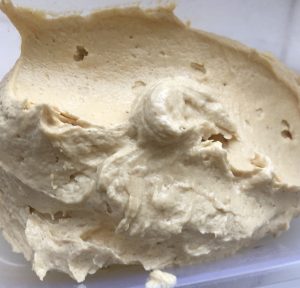
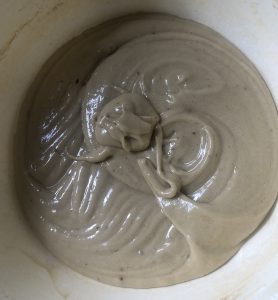
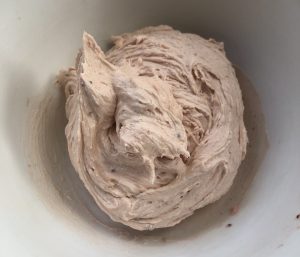
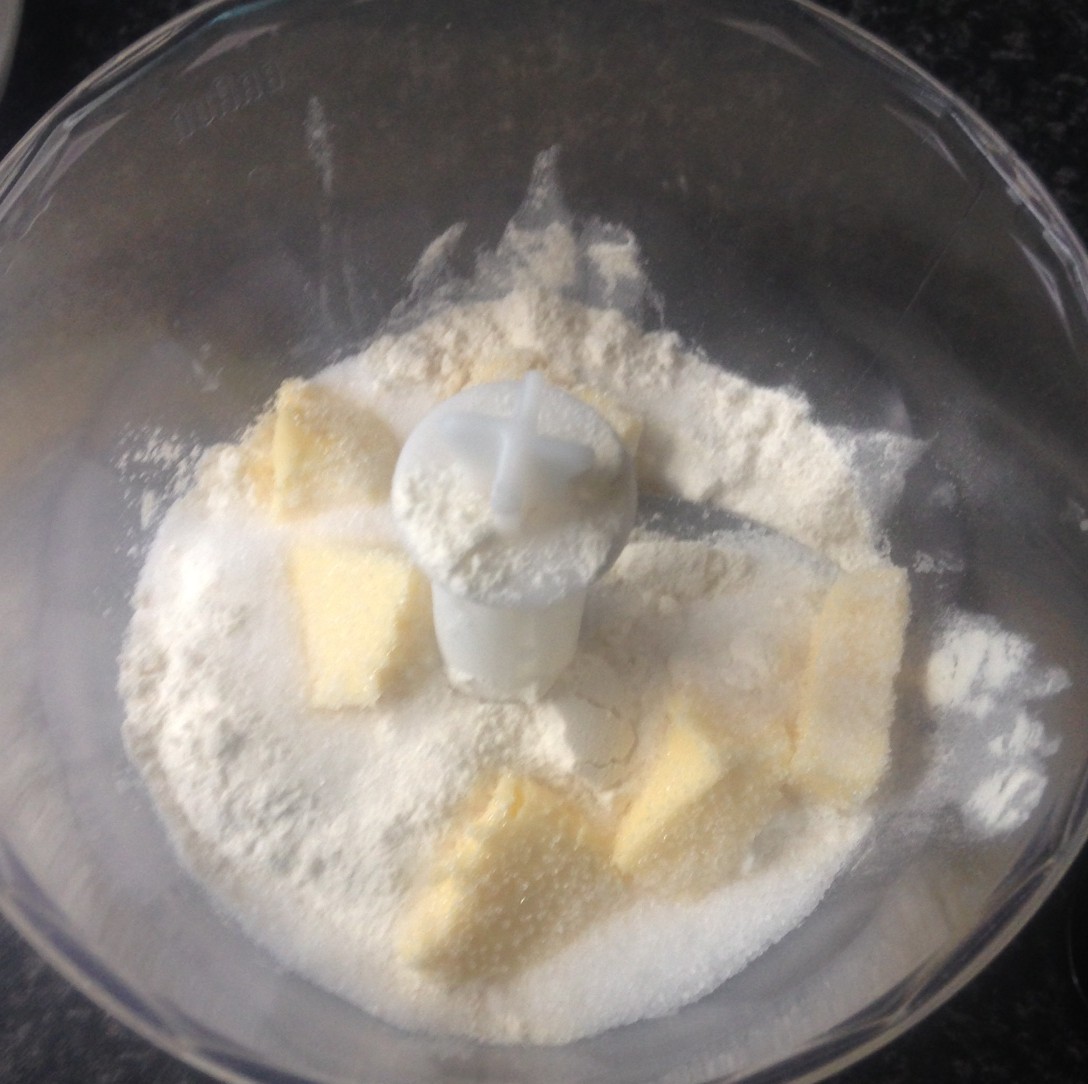
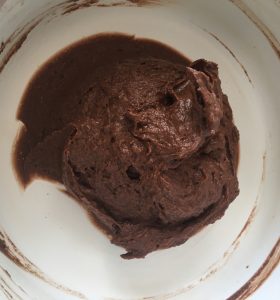
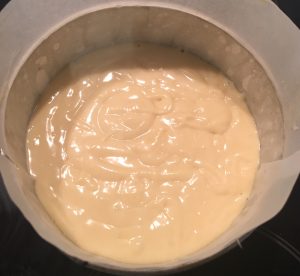
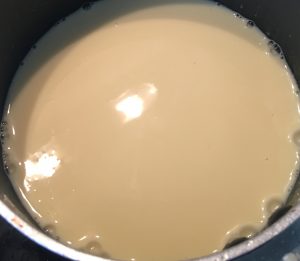
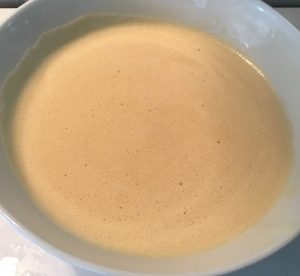
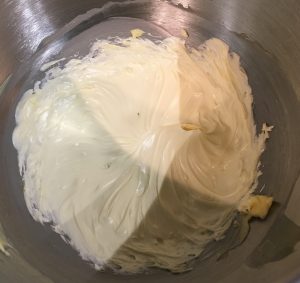
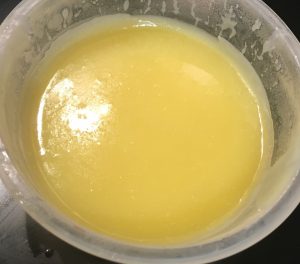
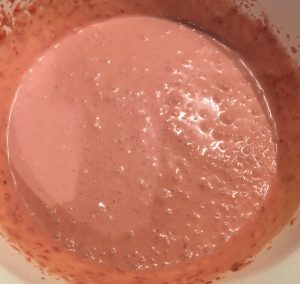
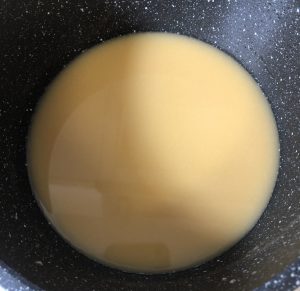
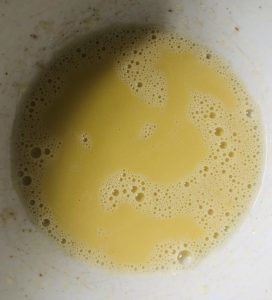
- First make the batter by placing the butter, milk and sugar in a microwave proof bowl and heat on high until the mix is bubbling.
- Stir to ensure the mix is well combine, adding in the vanilla and strawberry essence then leaving aside to cool to room temperature.
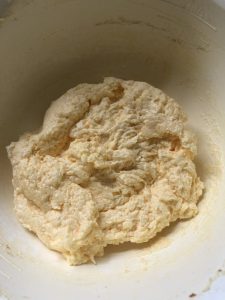
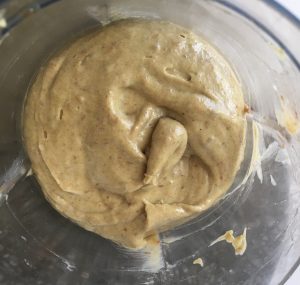
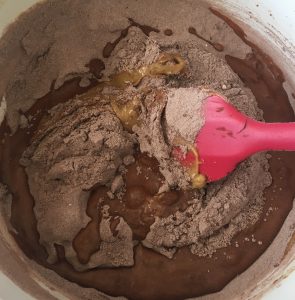
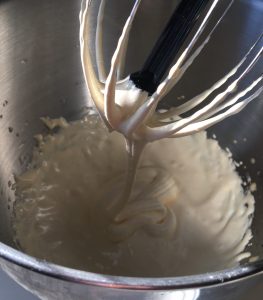
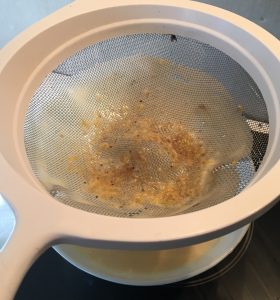
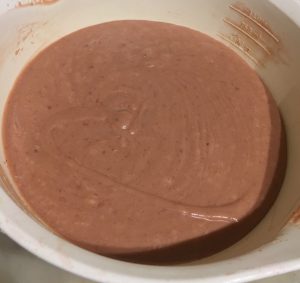
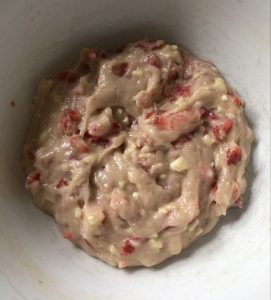
- Sieve the cinnamon and flour into the milk mix and stir.
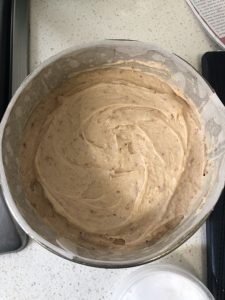
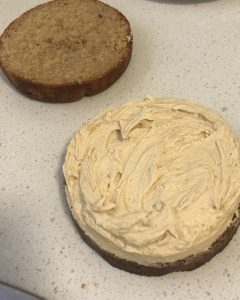
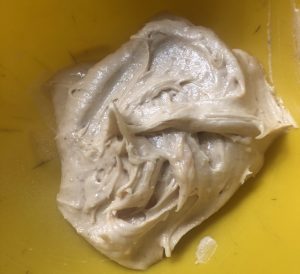
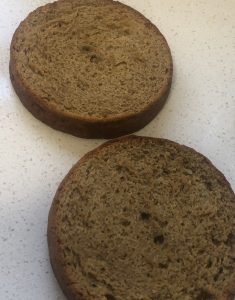
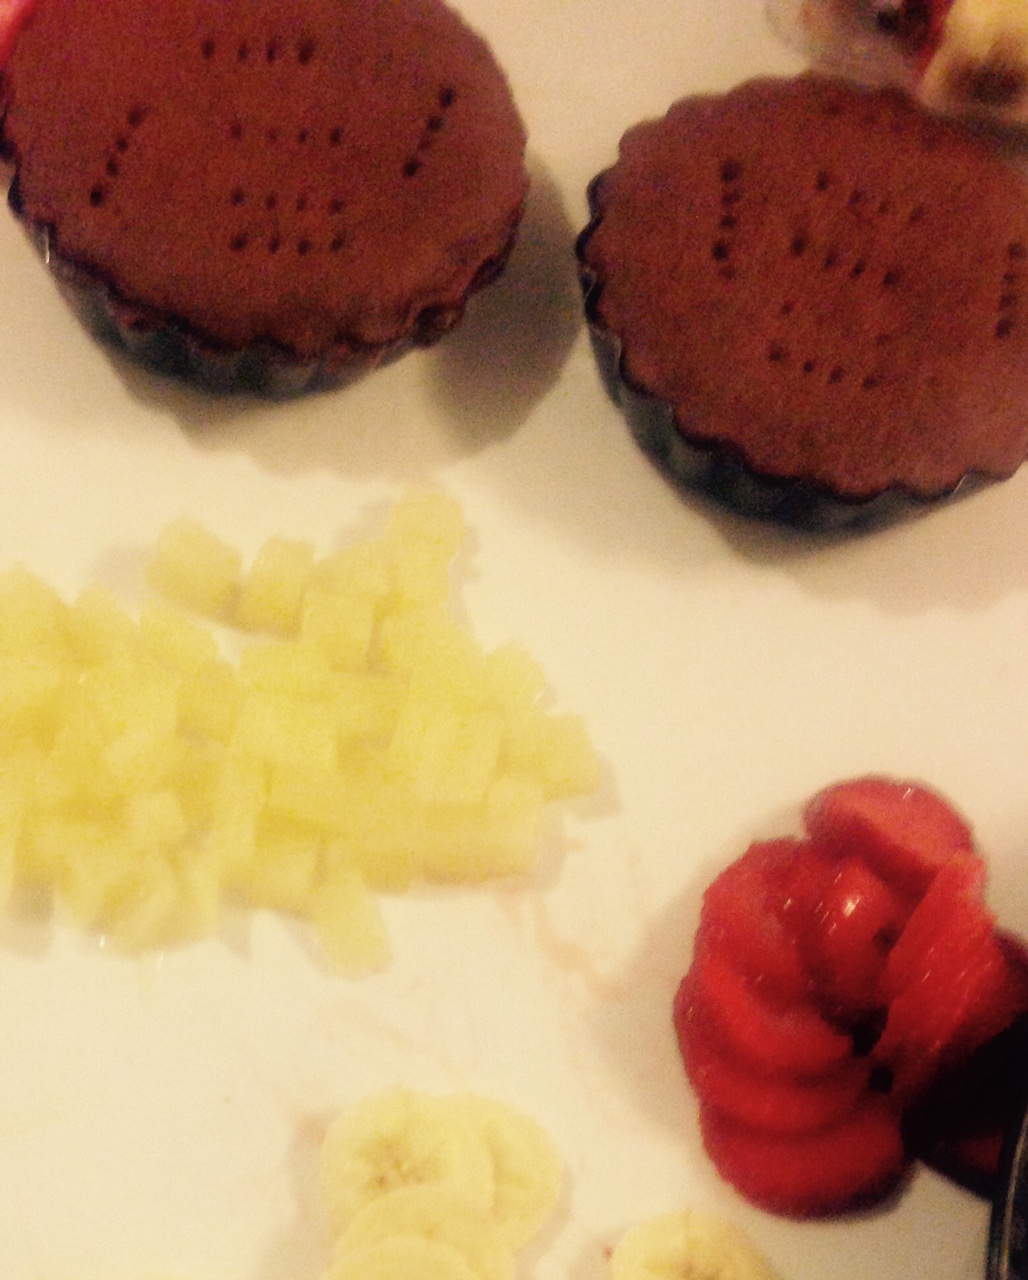
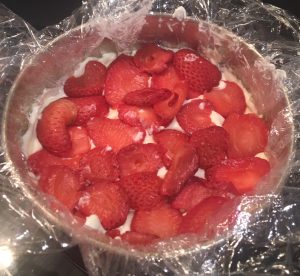
- Finely dice the strawberries and finely chop the chocolate, stir into the batter mix.
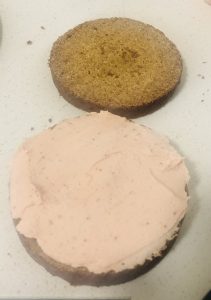
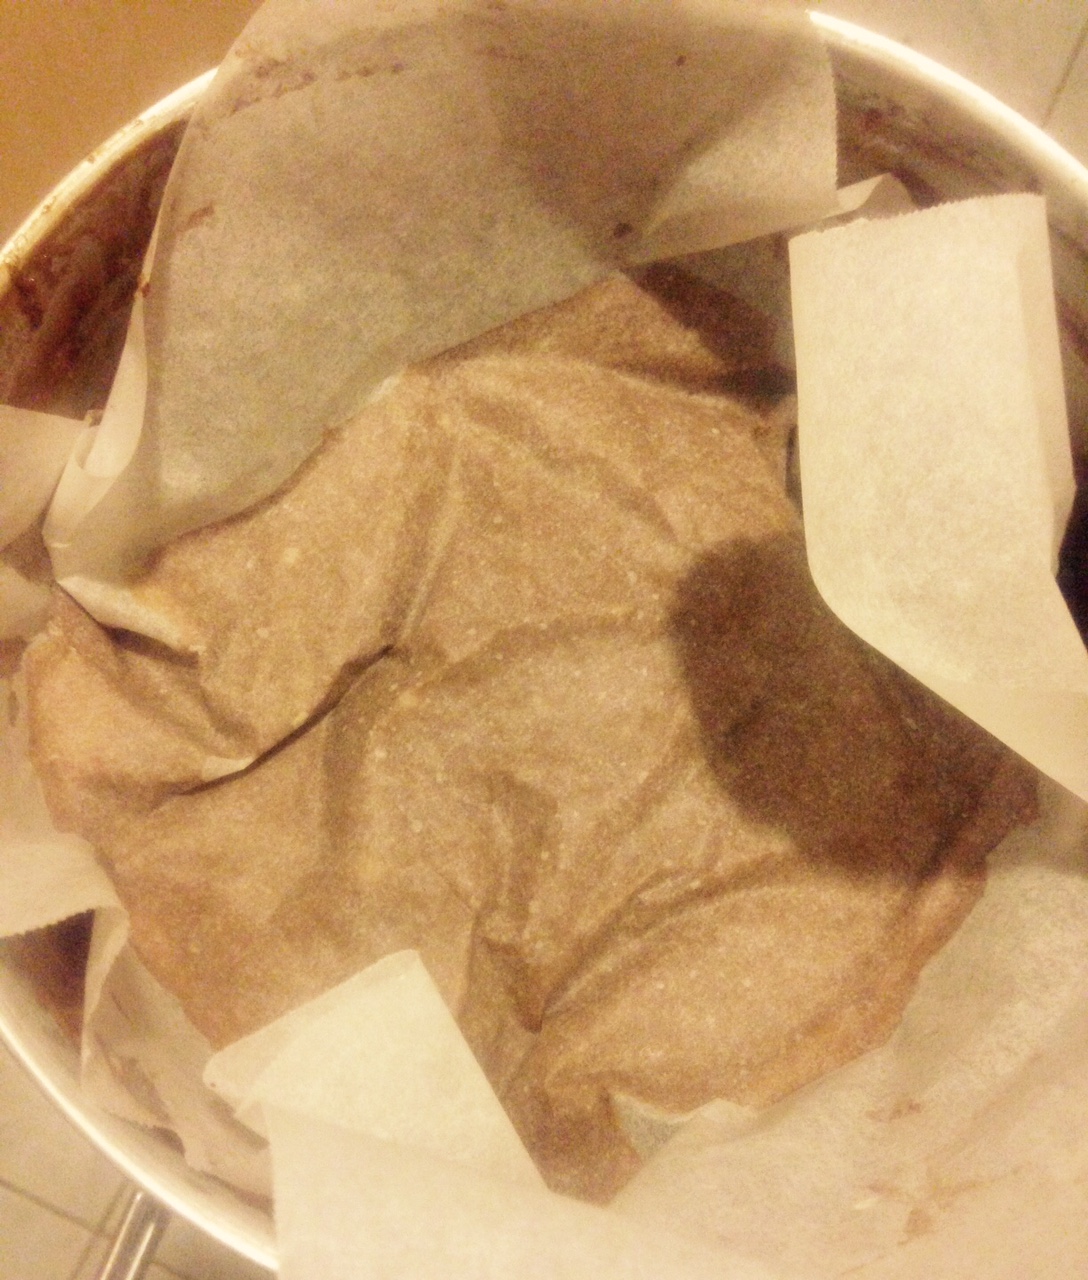
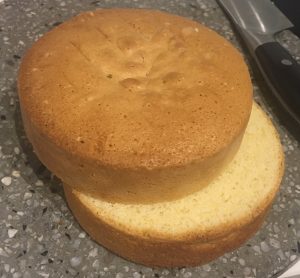
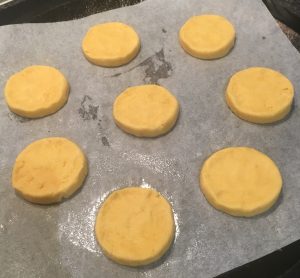
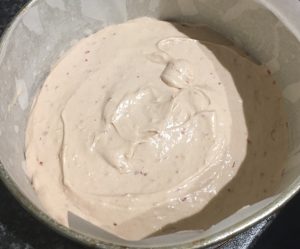
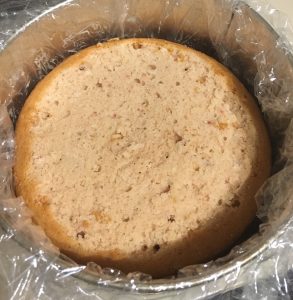
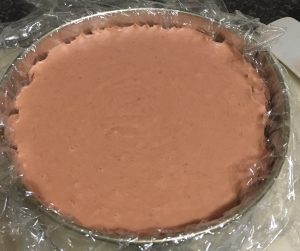
- Spoon the batter into the prepared 4 dishes to even amounts.
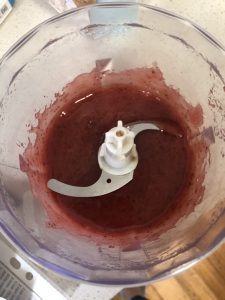
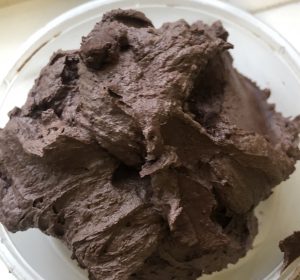
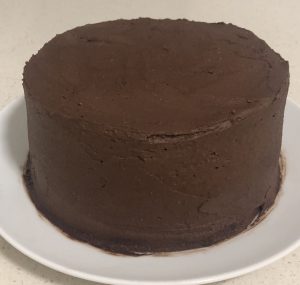
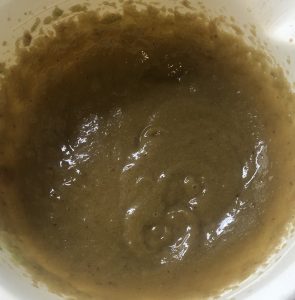
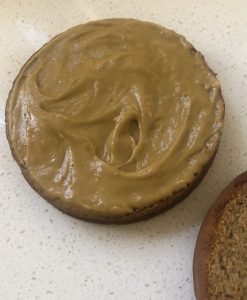
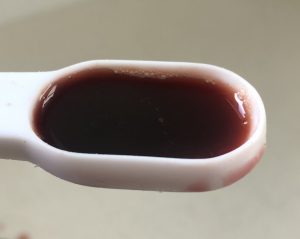
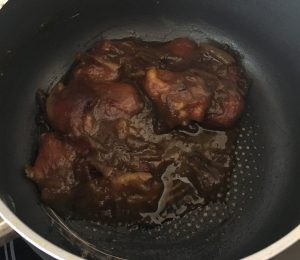
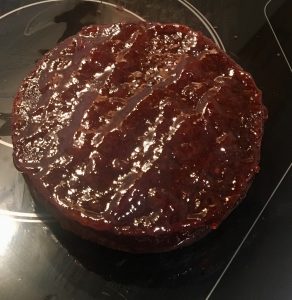
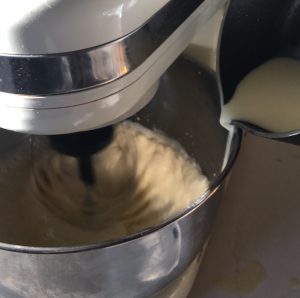
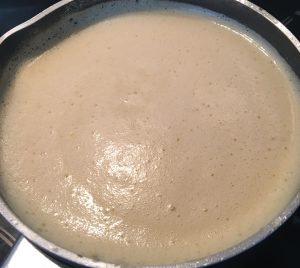
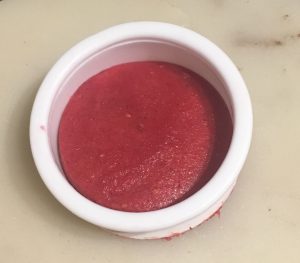
- To make the sauce combine the butter, milk, sugar, chocolate and vanilla essence into a pan and place onto the stove on a medium heat, stirring until smooth and glossy.
- Take off the heat and stir through the sauce the Rosé (or your preferred sparkling wine).
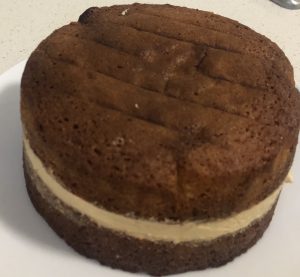
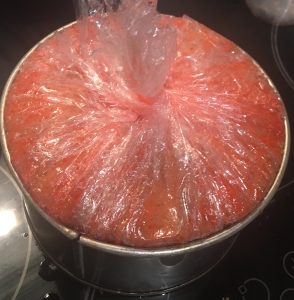
- Carefully pour the sauce over the back of a spoon evenly into each pudding.
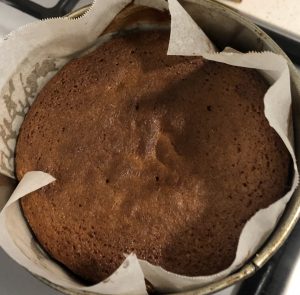
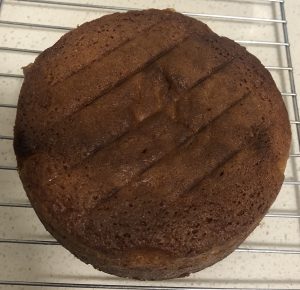
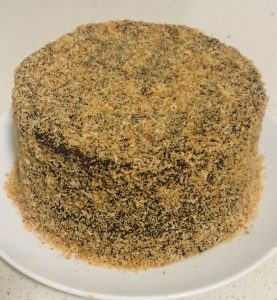
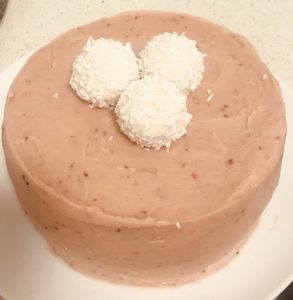
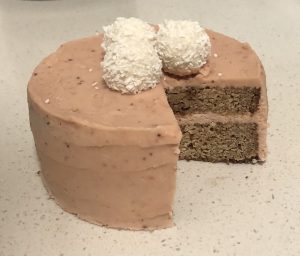
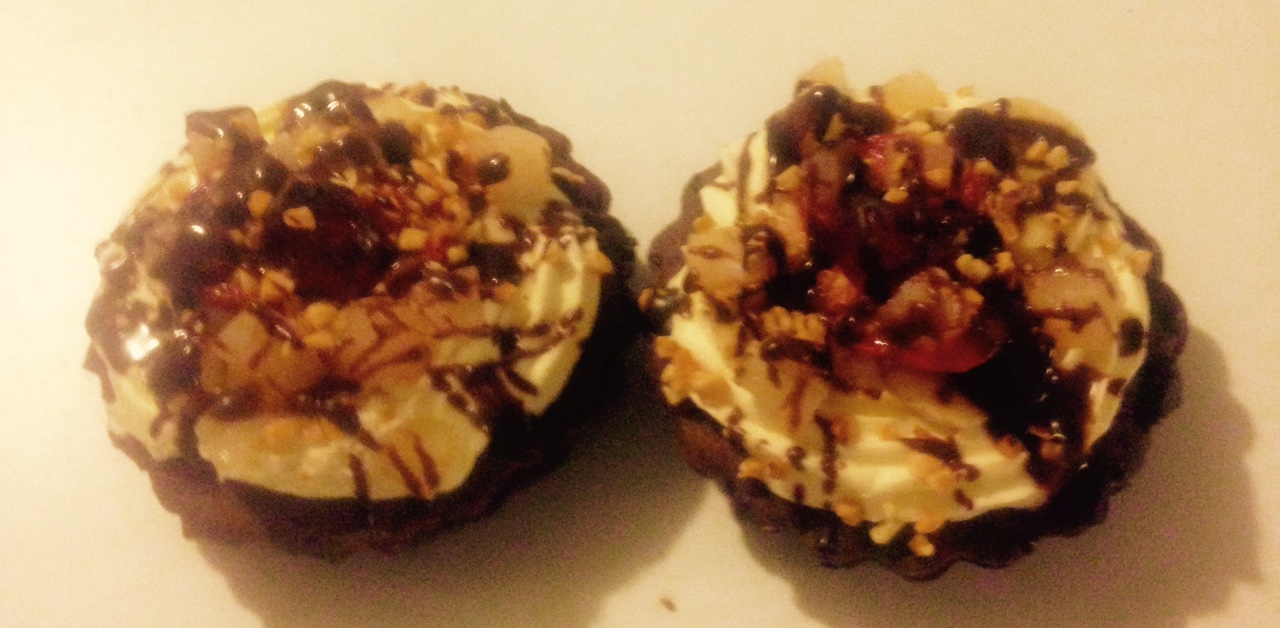
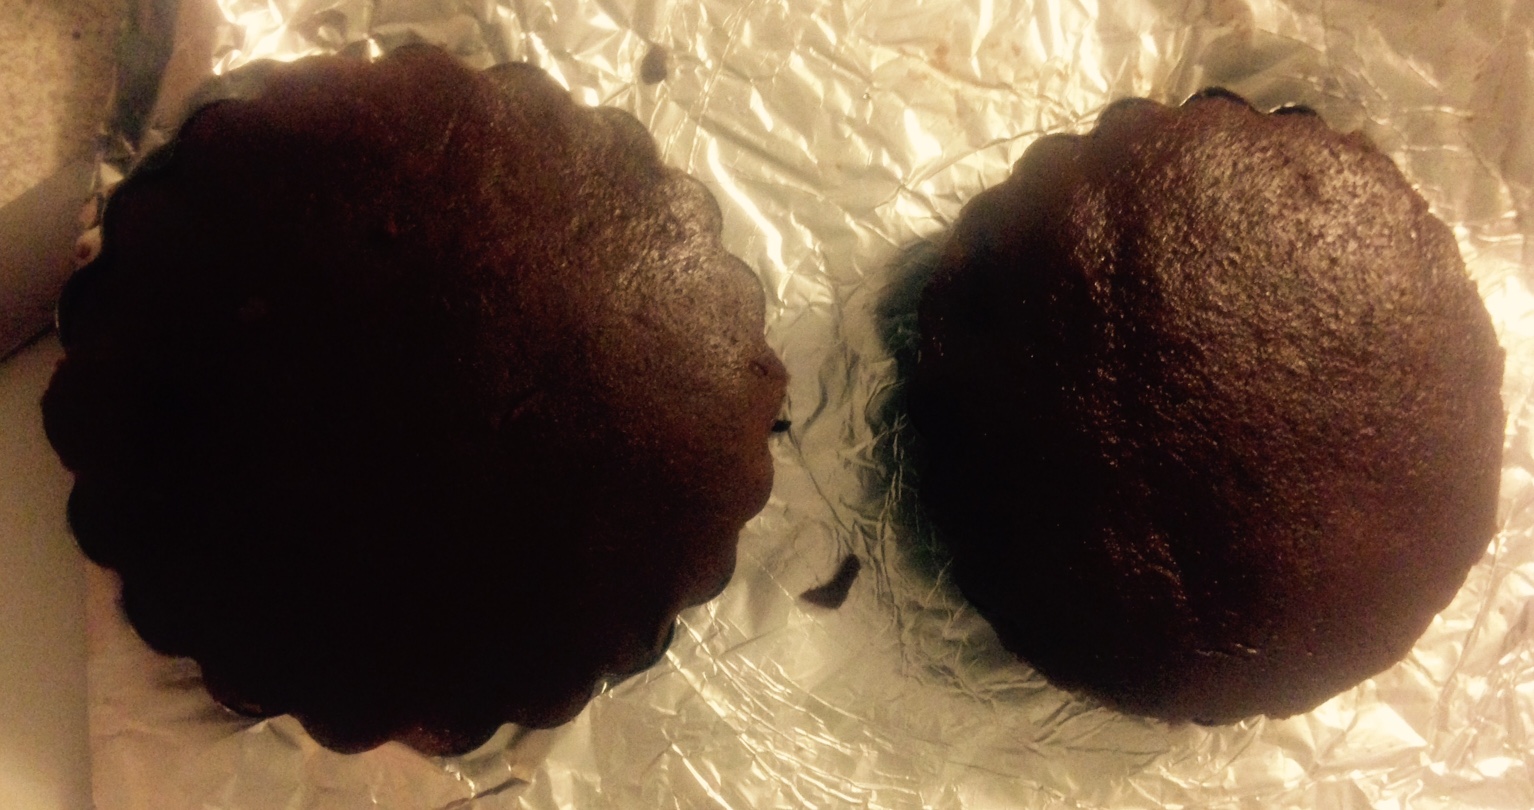
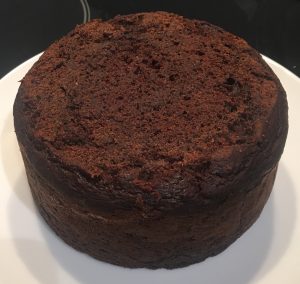
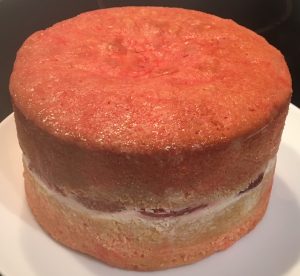
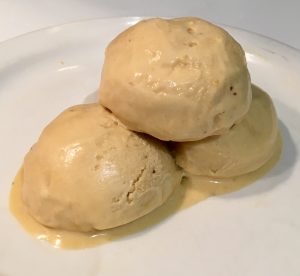
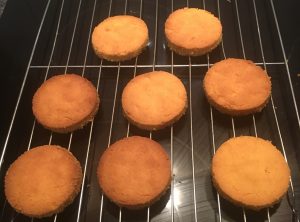
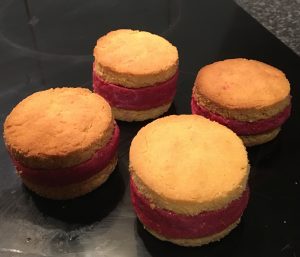
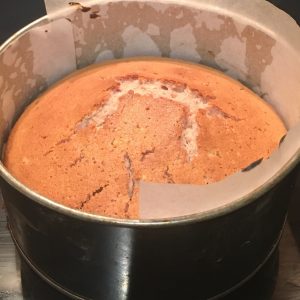
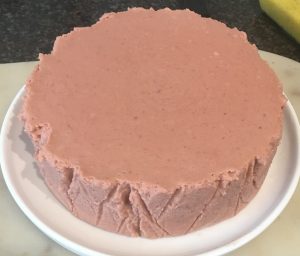
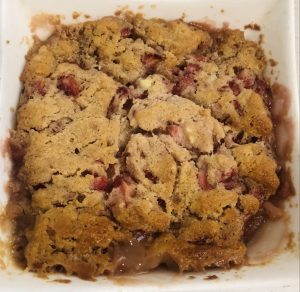
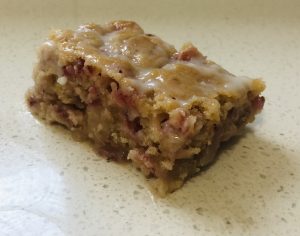
- Place the puddings in the oven for 30 minutes or until golden and bubbling.
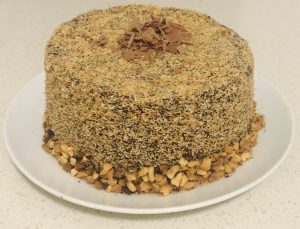
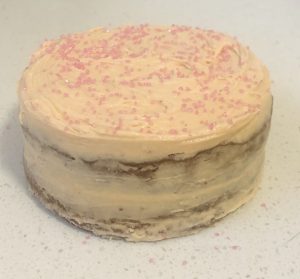
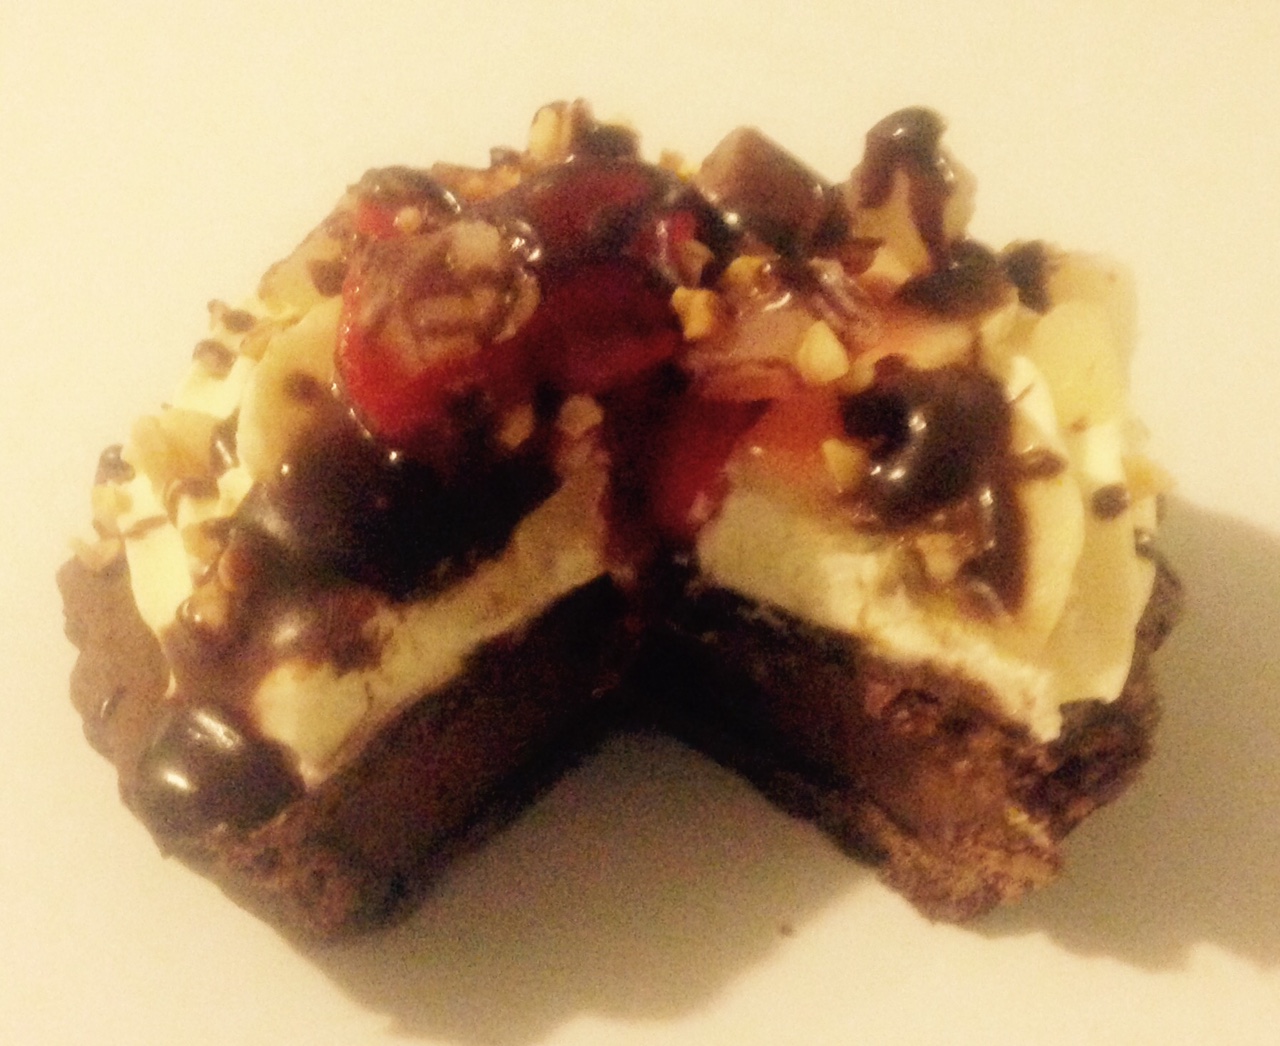
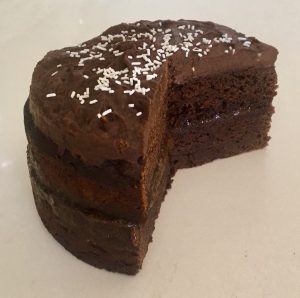
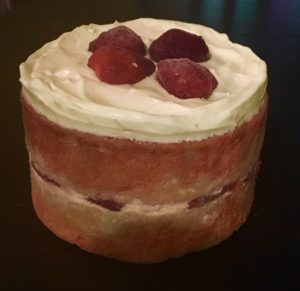
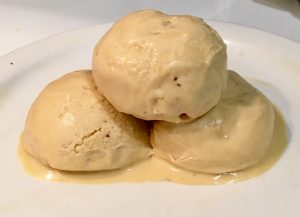
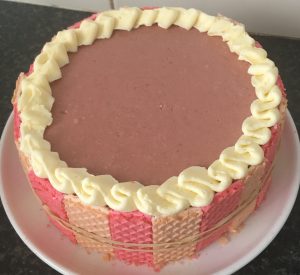
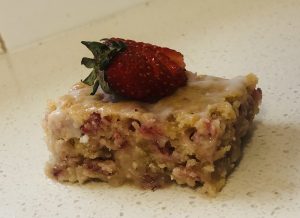
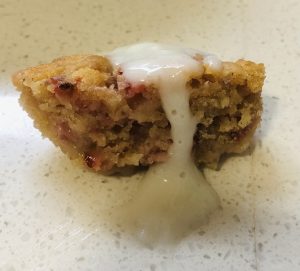
- Serve hot with ice-cream or custard.
Step 2
Step 5
Step 8
Step 10
Step 11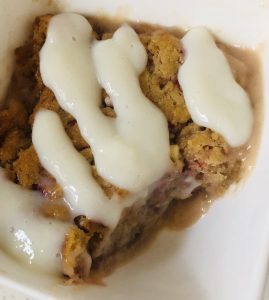
Step 12
Step 12
 Follow