Sweet Tooth Experiments

  • About Me
  • Recipe Index
  • Baking Metrics
  • Tips & Tricks
  • Common Baking Questions
  • Contact

Tag Archives: cream

Chocolate Banana Split Sundae Pie

Posted on March 9, 2019 Posted in Pies .

Chocolate Banana Split Sundae Pie

Chocolate Banana Split Pie recipe

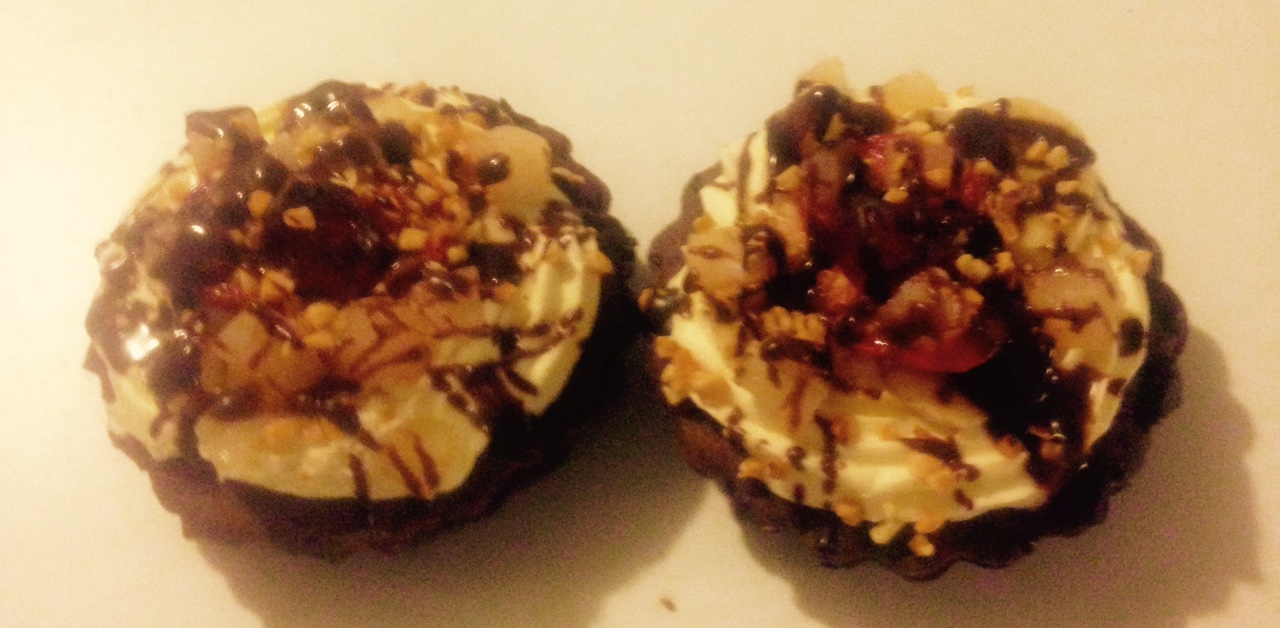
I have always been a fan of chocolate banana split sundae. Vanilla ice-cream, banana, chocolate, cherries, nuts and strawberry, how could this not taste absolutely amazing?

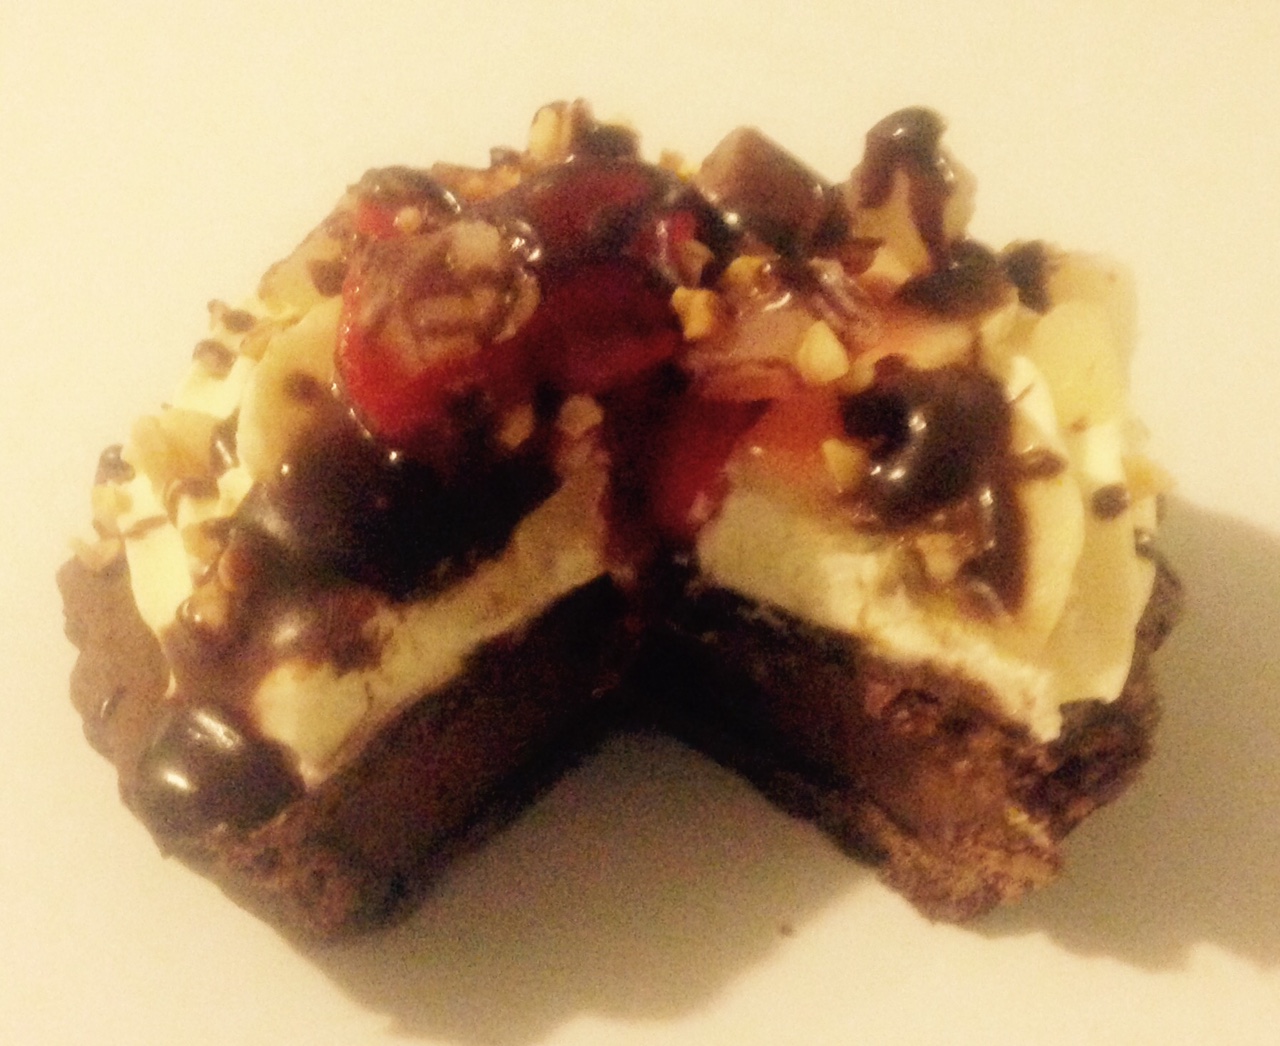
The only thing is that ice-cream is not a great ‘comfort food’ in the colder months, so to mitigate this I decided to turn the banana split sundae into a pie.

I have kept the core flavors and added a few secondary complementing flavors into the mix to make the pies even tastier.

Chocolate Banana Split Pie recipe

Ingredients:

Pastry:

  • 180g plain flour
  • 20g cocoa powder
  • 100g butter
  • 50g sugar
  • 45ml water

Filling:

  • 180g dark chocolate
  • ¾ cup sugar
  • 750ml milk
  • ¼ cup corn flour
  • 5 egg yolks
  • 2 tsn vanilla extract
  • 20g butter

Topping:

  • 150g thickened cream
  • 20g icing sugar

Extra:

  • 2 chopped bananas
  • 200g strawberries chopped
  • 200g chopped pineapple
  • 20g peanuts
  • 4 glace cherries

Chocolate Sauce:

  • 30g cream
  • 50g dark chocolate


Method:

  1. Pre-heat the oven to 220c degrees.
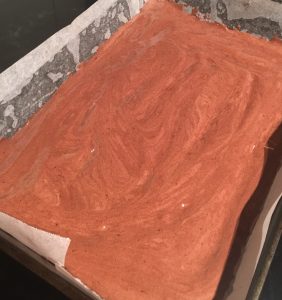
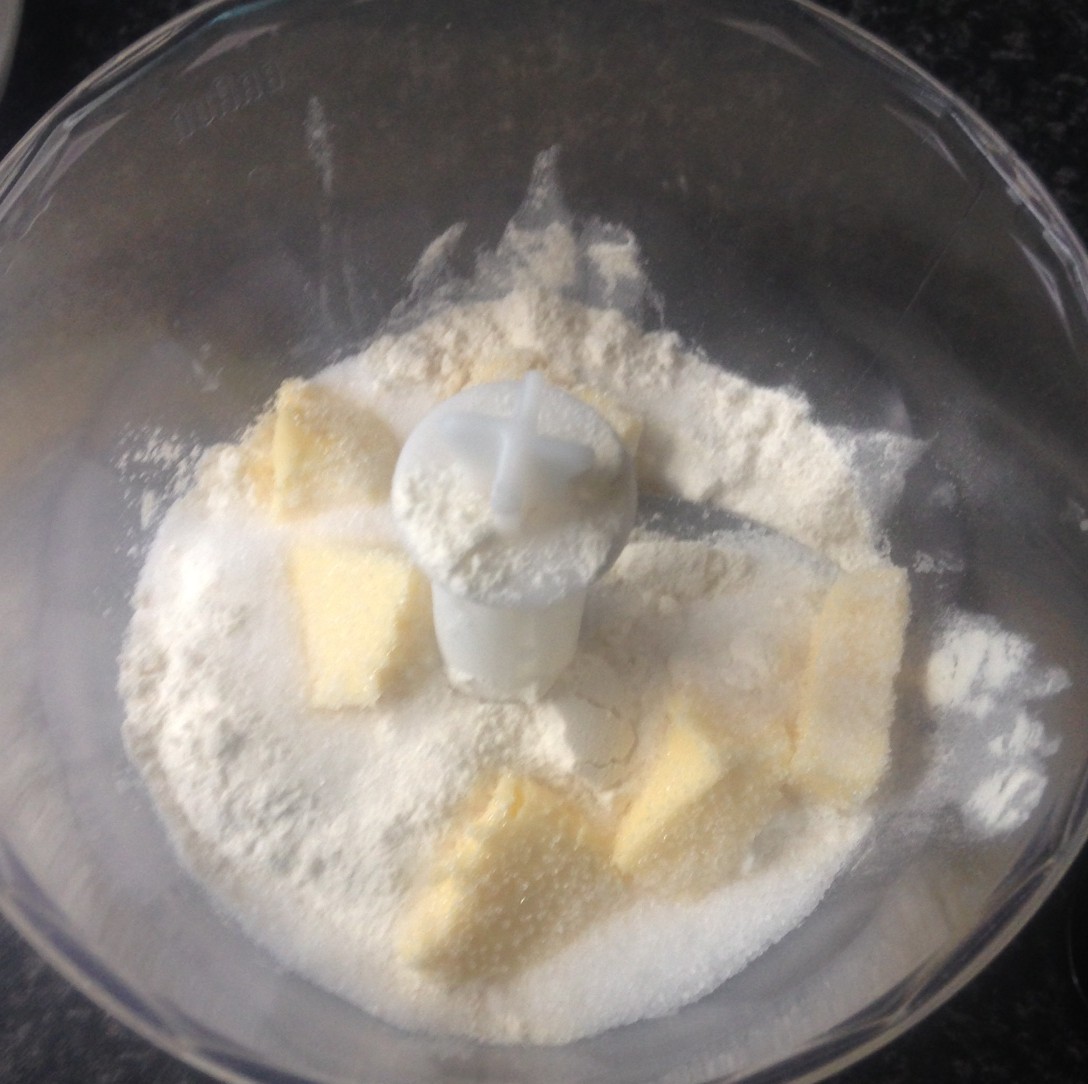
  2. Place all the pastry ingredients except the water into a food processor and blitz until the mix resembles fine breadcrumbs.
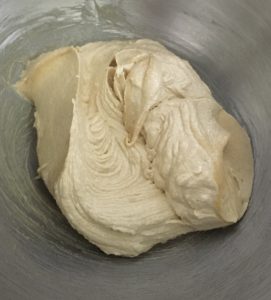
  3. Add 45g of water and process until the mix resembles dough and comes away at the sides of the bowl.
  4. Knead the dough for a minute then divide into 4 balls of 60g each.
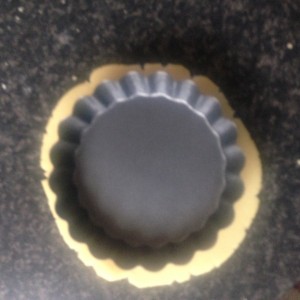
  5. With a rolling pin roll the balls to disks and place into 4 medium sized tart cases, trim edges. Place the remaining pastry aside back in the fridge.
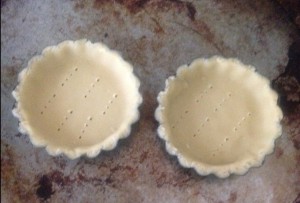
  6. Prick the pastry with a fork a few times in the center and place the tarts in the fridge for 30 minutes.
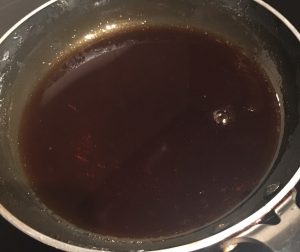
  7. Meanwhile make the filling by placing the chocolate, sugar, milk and corn flour in a saucepan on a medium heat and whisk with a hand whisk until the mix is thick.
  8. Lightly beat the 5 egg yolks and vanilla in a bowl and add in 1 cup of the chocolate custard mix, beat.
  9. Add the yolk mix into the chocolate custard mix and beat with a hand whisk for 2 minutes while the mix boils.
  10. Take off the heat and beat in the 20g butter.
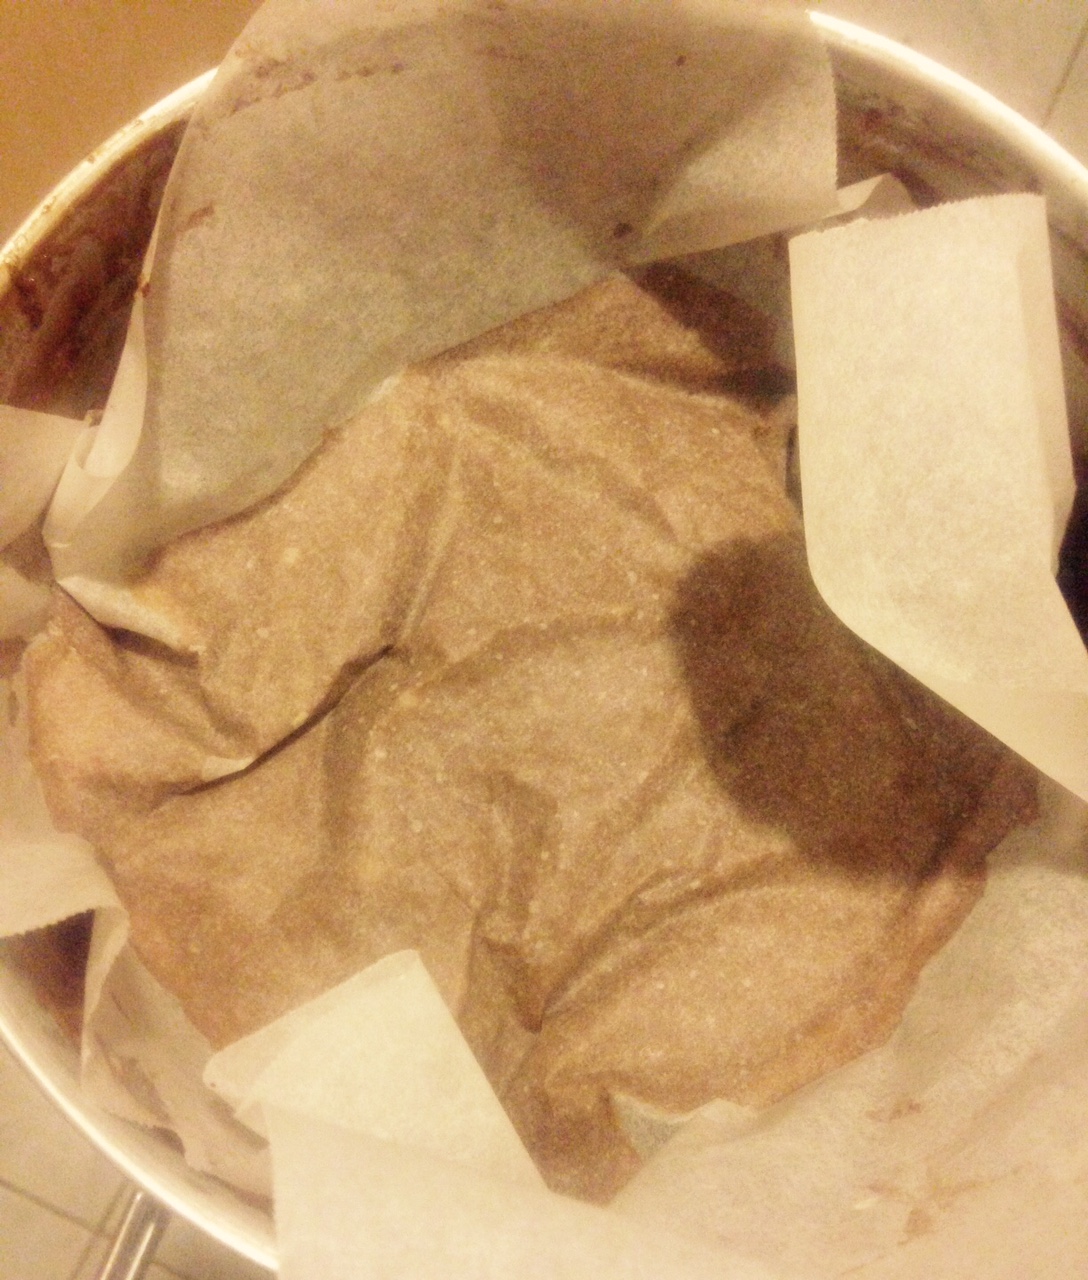
  11. Place some baking paper on the top of the custard mix to stop a skin from forming and leave for 10 minutes to cool.
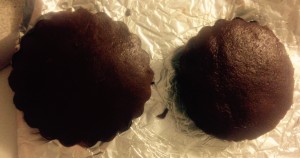
  12. Take the tart cases out of the fridge and place on a baking tray covering the tarts with foil, baking for 10 minutes.
  13. Remove the foil and bake for a further 5 minutes.
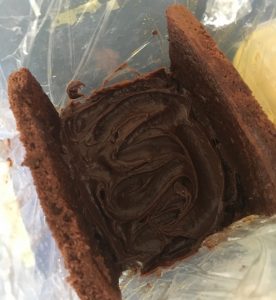
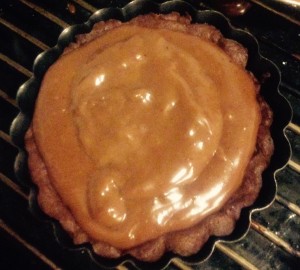
  14. Once the tart cases have cooled place the chocolate custard mix in each tart base.
  15. Turn the oven down to 160c degrees.
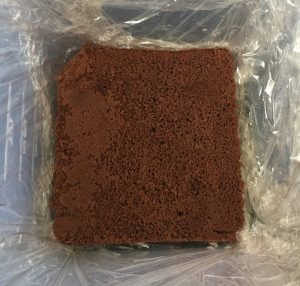
  16. Roll the remaining pastry into 3 equal balls then roll out into a disk shape.
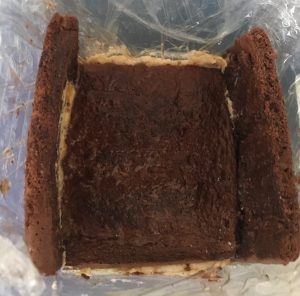
  17. Top the remaining disks on top of the custard and trim excess.
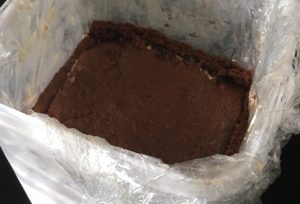
  18. Poke the top a few times with a fork and place in the oven for 25 minutes.
  19. Remove tarts from the oven and leave to completely cool, then place in the fridge for 30 minutes.
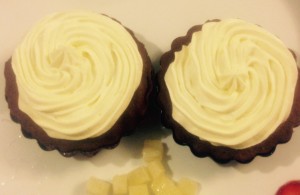
  20. Meanwhile, with electric beats whisk the cream and icing sugar until peaks form.
  21. Place the cream into a piping bag with a star nozzle and pipe on top of each chilled pie evenly.
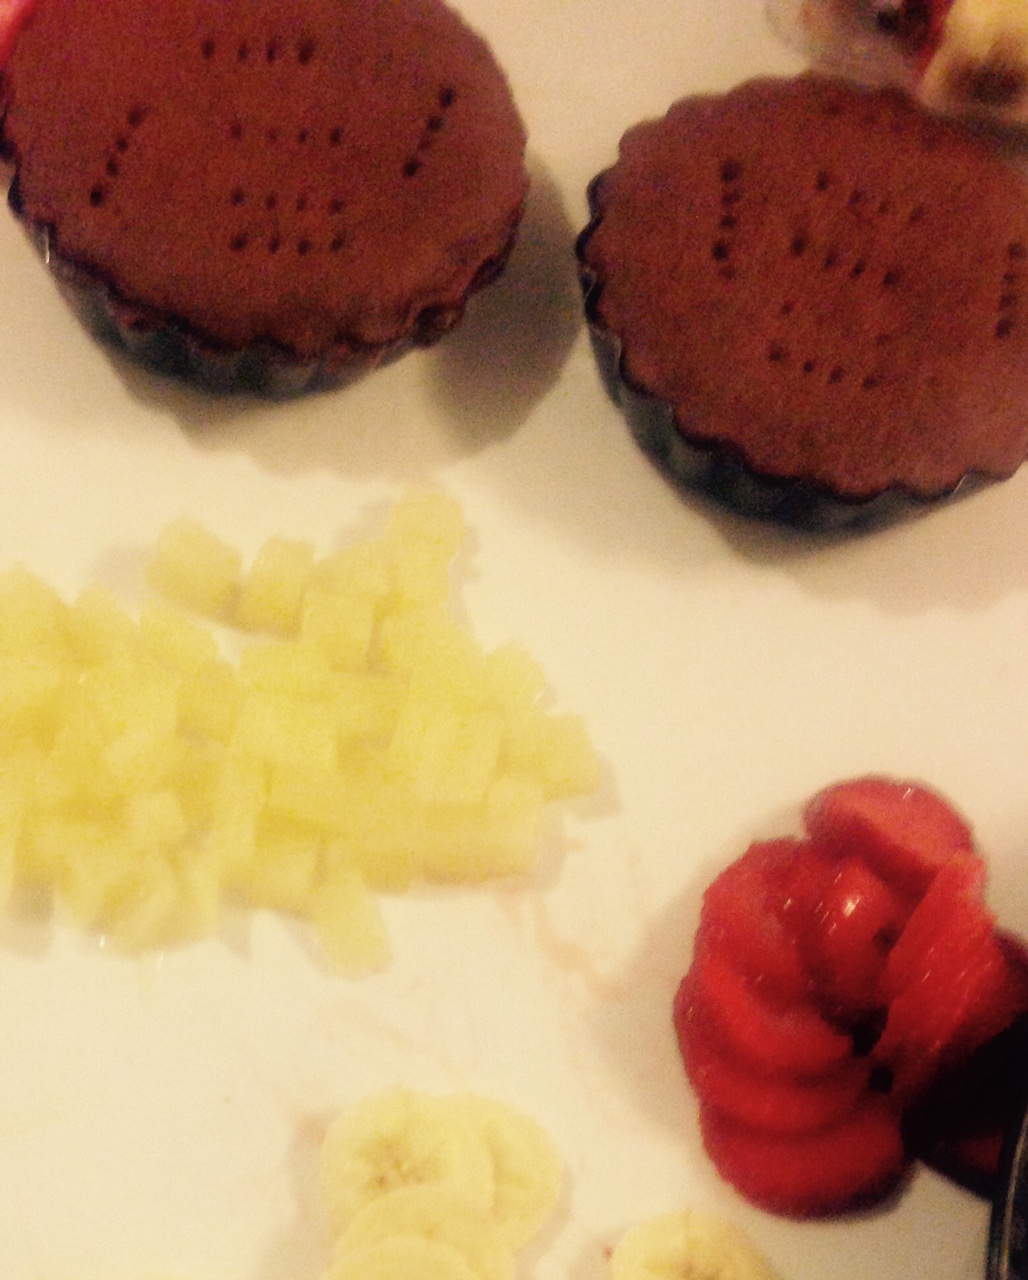
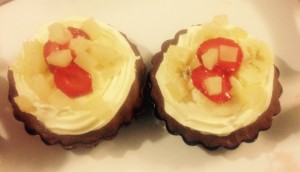
  22. Cut up the strawberries, banana and pineapple and place on top of the cream.
  23. Chop up the peanuts and sprinkle on top.
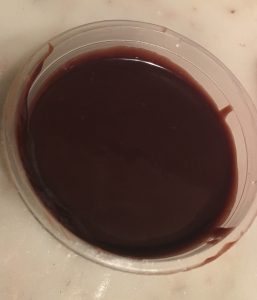
  24. To make the sauce place the chocolate and cream in the microwave for 1 minute, stirring every 20 seconds until a sauce is formed.
  25. Allow sauce to cool slightly and drizzle on top of the pies.
  26. Place a cherry in the center and into the fridge to fully set for 1 hour.


Coconut Cream Pie recipe
Step 2
Coconut Cream Pie recipe
Step 4
Coconut Cream Pie recipe
Step 6
Chocolate Banana Split Pie recipe
Step 11
Chocolate Banana Split Pie recipe
Step 14
Chocolate Banana Split Pie recipe
Step 17
Chocolate Banana Split Pie recipe
Step 18
Chocolate Banana Split Pie recipe
Step 21
Chocolate Banana Split Pie recipe
Step 22

Like this recipe? Subscribe via RSS or email to get my new entries and more scrumptious recipes with reviews.

Email, RSS Follow
Print
Leave a comment .
Tags: banana, cherries, chocolate, Chocolate Banana Split Pie, Chocolate Banana Split Sundae Pie, cream, peanuts, pineapple, strawberry .

Strawberry Jelly Soaked Vanilla Cake

Posted on May 12, 2018 Posted in Cakes .

Strawberry Jelly Soaked Vanilla Cake

Strawberry Jelly Soaked Vanilla Cake recipe

If you visit my blog frequently you will recall I went on a baking journey of 15 recipes from the Australian Green & Gold cookery book published by New Holland, in which features 100’s and 100’s of traditional Australian recipes from ‘experienced housewife’s and cookery experts’.

From the 15 recipes I made 3 were key standouts that I couldn’t ignore and had to add to my Aussie traditional section on this blog.

Following the Bread Fritters and the Sago Plum Boiled Pudding my final favorite was the Strawberry Soaked Sponge Cake.

Think sponge cake with strawberries and cream…yes it’s sounds quite standard and nothing special…however, what about if I mention…the whole cake is soaked in strawberry jelly?! I’ve made cake with jelly crystals before but never poured jelly over a cake like you would a syrup cake.

I did slightly tweak the volume of some ingredients to appeal further to the current palate, but only little tweaks here and there.

This cake is a delicious sponge cake with an Aussie traditional old school twist.

Strawberry Jelly Soaked Vanilla Cake recipe

Ingredients:

  • 40g butter, softened
  • 1+1/2 tsn vanilla essence
  • 240g sugar
  • 4 eggs
  • 170g plain flour
  • 1+1/2 tsn cream of tartar
  • ¾ tsn bi carbonate of soda
  • 250ml thickened cream (200g for the filling, 50g for decoration)
  • 10g icing sugar
  • 200g strawberries (160g for the filling, 40g for decoration)
  • 140g strawberry jelly crystals
  • 700ml water


Method:

  1. Line a 25cm cake tin with baking paper and pre heat the oven to 180c degrees.
  2. Place the butter, vanilla and sugar into a bowl and whisk using electric beaters for 3 minutes or until thick, pale and creamy.
  3. Add eggs, beating in between each addition for 15 minutes in total.
  4. Sieve the flour, cream of tartar and bi carb of soda into a bowl them add the flour mix into the egg mix.
  5. Beat the mix until the flour is only just combine and there are no lumps.
  6. Pour the mix into the prepared tin and bake in the oven for 45 -50 minutes or until a skewer inserted in the centre comes out clean.
  7. After 5 minutes cooling in the tin invert the cake on a cooling rack until cold.
  8. Using electric beaters whisk the cream and icing sugar until stiff peaks form.
  9. Wash and dry the cake tin used for the sponge cake, spray with oil spray and line the tin with 2 pieces of plastic wrap allowing for lengthily overlap.
  10. Make the strawberry jelly by placing the crystals in a bowl with 400ml boiling water and stir.
  11. When crystals are dissolved add the remaining 300ml cold water and leave the jelly aside to hit room temperature.
  12. Meanwhile, cut the cake in half horizontally and place the bottom cake layer in the lined tin, cut side up.
  13. Cover the top of the cake layer in the tin with 100g of the thickened cream.
  14. Cut 160g of the strawberries into slices and scatter evenly on top of the cream.
  15. Top the strawberries with an additional 100g of thickened cream then place the second cake layer, cut side down onto the cream layer.
  16. Push the cake a little with your hands to ensure even consistency of cream and no air bubbles.
  17. When the jelly is cooled pour half the mix over the top of the cake slowly, ensuring even coverage, allowing for the jelly to soak into the sponge before pouring further. Leave the jelly aside for later use.
  18. Pull the overlapped plastic wrap over the top of the cake and place the tin in the fridge to set for 2 hours.
  19. Following, pull the plastic wrap up to release the cake from the tin. Turn the cake carefully upside-down on the plastic wrap and gently place back into the tin.
  20. Pour the now top (previously bottom) of the cake with the remaining jelly mix and cover the cake again with the overlapping plastic wrap. Place the cake in the fridge for 2 hours to set.
  21. To finish the cake, remove it from the tin by pulling up the plastic wrap and place the cake onto a plate.
  22. Spread the remaining 50g of whipped cream over the top of the cake and decorate with the remaining 40g of strawberries.
  23. Enjoy!


Strawberry Jelly Soaked Vanilla Cake recipe

Step 5


Step 12


Strawberry Jelly Soaked Vanilla Cake recipe

Step 12

Strawberry Jelly Soaked Vanilla Cake recipe

Step 14


Strawberry Jelly Soaked Vanilla Cake recipe

Step 18


Strawberry Jelly Soaked Vanilla Cake recipe

Step 21


Strawberry Jelly Soaked Vanilla Cake recipe

Step 22


Like this recipe? Subscribe via RSS or email to get my new entries and more scrumptious recipes with reviews.

Email, RSS Follow
Print
Leave a comment .
Tags: cream, jello, jelly, soak cake, soaked, strawberries and cream, strawberry, strawberry jelly, Strawberry Jelly Soaked Vanilla Cake, vanilla cake .

Mocha Layered Date Mousse Cake

Posted on January 29, 2017 Posted in Cakes .

Mocha Layered Date Mousse Cake

Mocha Layered Date Cream Cake

What a journey this experimental baking session as been.

Originally I was opting to make a traditional European cake. However, after I was unable to find quite a number of ingredients the recipe called for I was left to get creative with substitute flavour pairings. I soon realized that the ingredients I used to substitute actually have no baring at all of the flavors the cake was supposed to have. Without realizing I opted for coffee, chocolate and dates in which I bake with often as they are such great complementary flavors.

In addition to completely changing the flavors I actually changed some textures as well as I found the traditional recipe too sickly sweet (even for me), also I needed textures that would highlight the flavors and layers. Lastly as I didn’t have the tin that the recipe called for I changed the structure and presentation of the cake.

Sooo….in the end after a bit of trial and error I don’t think I actually kept one original element (85% of the recipe is me making things up as I went along)…but nether less the result was a tasty moreish and unique layered cake that melts in your mouth.

Mocha Layered Date Cream Cake

Cake:

  • 4 eggs
  • 125g sugar
  • 30g cocoa powder
  • 1/2 tsn espresso coffee granules
  • 70g plain flour

Syrup:

  • 75g sugar
  • 75g water
  • 2 tsn expresso coffee granules

Ganache:

  • 120ml cream
  • 140g dark chocolate

Date mousse:

  • 190g dried dates
  • 15ml rum
  • 200ml thickened cream
  • 12 glace cherries

Icing:

  • 140g cream
  • 220g ricotta cheese
  • 65g icing sugar


Method:

  1. Preheat the oven to 180c degrees and line a 30cm x 45cm baking tray with baking paper.
  2. Using electric beaters whisk the eggs and sugar until doubled in size.
  3. Sift the cocoa powder, coffee granules and flour into the mix and fold with a spatula until just combine.
  4. Spoon into the tray and lightly smooth the surface with the back of a spoon.
  5. Bake the cake for 10 minutes or until the cake springs back when you lightly touch the surface with your fingers.
  6. Leave the cake in the tin for 5 minutes then invert onto a cooling rack. Remove the baking paper.
  7. Meanwhile make the syrup by placing the ingredients into a pan on a medium heat and stir until the sugar is dissolved and the mix resembles a syrup consistency.
  8. Leave the syrup aside to cool.
  9. To make the ganache heat the cream up in a bowl in the microwave until boiling.
  10. Add the chocolate to the cream, leave for 1 minute before stirring until the mix resembles a silky thick consistency.
  11. To make the mousse, place the dates in a food processor with the rum and blitz until the mix is smooth.
  12. Add the cream and blitz until the mix is combine well and the cream is whipped to firm peaks, leave aside.
  13. To assemble the cake spray with oil spray and line a 15cm x 20cm high cake tin with plastic wrap, allowing for overlap.
  14. Cut 3 cake into 3 15cm x 15cm pieces.
  15. Place 1 cake layer into the bottom of the tin a using the remaining cake cut 2 more pieces to line 2 opposite sides of the tin moving the bottom layer slightly for a snug fit.
  16. Using a pastry brush brush the bottom and sides of the cake layers in the tin with 2/3rds of the coffee syrup.
  17. Spoon half the ganache on top of the bottom cake layer and level out with the back of a spoon.
  18. Spoon half the date mousse over the ganache pop in half of the cherries and smooth with a spoon.
  19. Add the second cake layer and push down on top of the date mousse until snug.
  20. Brush the remaining syrup onto the cake layer.
  21. Repeat ganache layer with the remaining mix as well as the date mousse and cherries with the remaining mix.
  22. Top the cake with the 3rd cake and push down until snug, place the cake in the freezer to firm.
  23. Meanwhile make the icing by placing the ingredients into a bowl and using an electric beater whip until firm peaks form.
  24. Pull up the plastic wrap to remove the cake from the tin and invert onto a plate, remove the wrap.
  25. Place the icing into a piping bag with a circle nozzle and pipe 5cm dots with peaks onto the top and cake sides of the cake.
  26. Place in the fridge for 2 hours to set.
  27. Serve by slicing across the side with no cake to show the beautiful mousse cake and chocolate layers inside.


Mocha Layered Date Cream Cake
Step 2
Mocha Layered Date Cream Cake

Step 4

Mocha Layered Date Cream Cake

Step 8

Mocha Layered Date Cream Cake
Step 10
Mocha Layered Date Cream Cake
Step 15
Mocha Layered Date Cream Cake
Step 17
Mocha Layered Date Cream Cake
Step 18
Mocha Layered Date Cream Cake
Step 20
Mocha Layered Date Cream Cake
Step 22
Chocolate Honeycomb Spiced Christmas Pudding recipe
Step 23

Like this recipe? Please subscribe via RSS or email to get my new entries and more scrumptious recipes with reviews.

Email, RSS Follow
Print
2 Comments .
Tags: cherries, chocolate, coffee, cream, date, date puree, mocha, Mocha Layered Date Mousse Cake, ricotta .

Pages

  • About Me
  • Baking Metrics
  • Blogroll
  • Common Baking Questions
  • Recipe Index
  • Tips & Tricks
  • Contact

Archives

  • February 2022
  • October 2021
  • September 2021
  • August 2021
  • April 2021
  • February 2021
  • January 2021
  • December 2020
  • November 2020
  • October 2020
  • September 2020
  • August 2020
  • July 2020
  • June 2020
  • May 2020
  • September 2019
  • June 2019
  • May 2019
  • April 2019
  • March 2019
  • February 2019
  • January 2019
  • December 2018
  • November 2018
  • October 2018
  • September 2018
  • August 2018
  • July 2018
  • June 2018
  • May 2018
  • April 2018
  • March 2018
  • February 2018
  • January 2018
  • December 2017
  • November 2017
  • October 2017
  • September 2017
  • August 2017
  • July 2017
  • June 2017
  • May 2017
  • April 2017
  • March 2017
  • February 2017
  • January 2017
  • December 2016
  • November 2016
  • October 2016
  • September 2016
  • August 2016
  • July 2016
  • June 2016
  • May 2016
  • April 2016
  • March 2016
  • February 2016
  • January 2016
  • December 2015
  • November 2015
  • October 2015
  • September 2015
  • August 2015
  • July 2015
  • June 2015
  • May 2015
  • April 2015
  • March 2015
  • February 2015
  • January 2015
  • December 2014
  • November 2014
  • October 2014
  • September 2014
  • August 2014
  • July 2014
  • June 2014
  • May 2014
  • April 2014
  • March 2014
  • February 2014
  • January 2014
  • December 2013

Categories

  • America (5)
  • Arabic (1)
  • Australian (2)
  • Biscuits (24)
  • Brazil (1)
  • Bread (12)
  • Brownies (5)
  • Cakes (141)
  • Croatian (1)
  • Cupcakes (20)
  • Custard (1)
  • Doughnuts (6)
  • Flan (1)
  • France (5)
  • Fudge (3)
  • German (1)
  • Greece (2)
  • Hungary (1)
  • Ice-cream & Sorbet (15)
  • Ice-cream cake (6)
  • Icing (18)
  • Italy (4)
  • Jam (1)
  • Jamaican (1)
  • Lebanese (1)
  • Marshmallows (2)
  • Mexican (1)
  • Morocco (1)
  • Mousse (2)
  • Muffins (1)
  • Panna Cotta (1)
  • Pastries (2)
  • Pies (7)
  • Portugal (1)
  • Pudding (12)
  • Roulade (1)
  • Russia (1)
  • Slice (27)
  • Souffle (1)
  • Sweden (1)
  • Swedish (1)
  • Syrup (1)
  • Tarts (13)
  • Traditional (17)
  • Trifile (1)
  • Truffles (5)
  • Turkey (1)
  • Uncategorized (1)
  • Unique (10)

WordPress

  • Register
  • Log in
  • WordPress

Subscribe

  • Entries (RSS)
  • Comments (RSS)

CyberChimps WordPress Themes

© Sweet Tooth Experiments