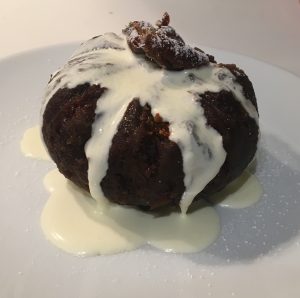
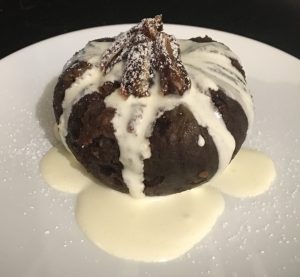
Quince Golden Syrup Pudding

Quinces
I have had a few attempts at baking with this fruit in the past but have never been blown away by the finished product created. As it is a difficult ingredient to bake with my few attempts resulted in getting nowhere fast, in which, drove me even further to see Quince’s as a challenge to be conquered. After a string of attempts
As quinces in texture are similar to an apple and flavor like a sour nashi pear I opted for a cake style bake that would allow for a moist texture, but sturdy enough to holdup the heavy fruit pieces.
After a string of attempts I ended being very pleased with was a Quince pudding, in which I paired up with the complementing flavor of luscious golden syrup.
Ingredients:
Pudding:
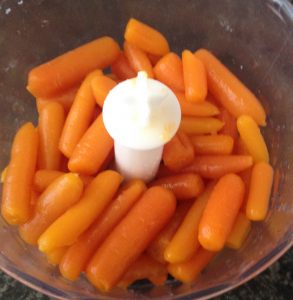
- 220g quince peeled and diced
- 2 tbsn sugar
- 1 tbsn water
- 60g condensed milk
- 30g sugar
- 40g thickened cream
- 60g self raising flour
- 1 egg
- 2 egg yolks
- 1 tsn vanilla essence
Extra:
- Vanilla ice-cream or double cream
- Golden syrup
Method:
- Pre-heat the oven to 170g degrees.
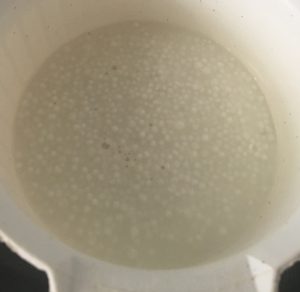
- Place the diced quince in a bowl with the 2 tbsn sugar and the 1 tbsn water, stir.
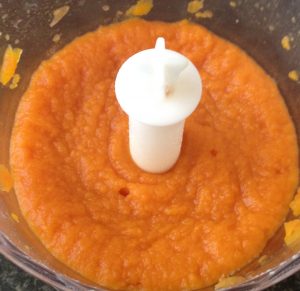
- Place the bowl in the microwave for 5 minutes or until the quince has absorbed the water and sugar and is soft at touch.
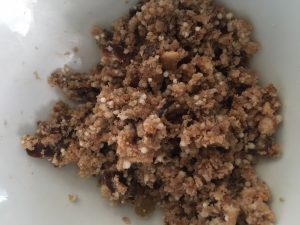
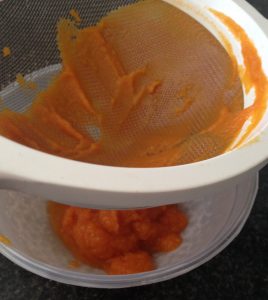
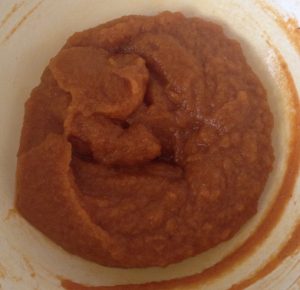
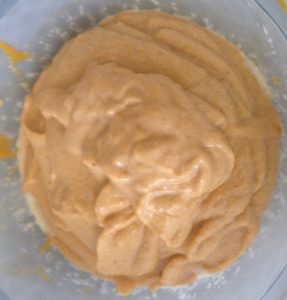
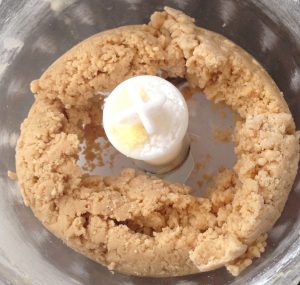
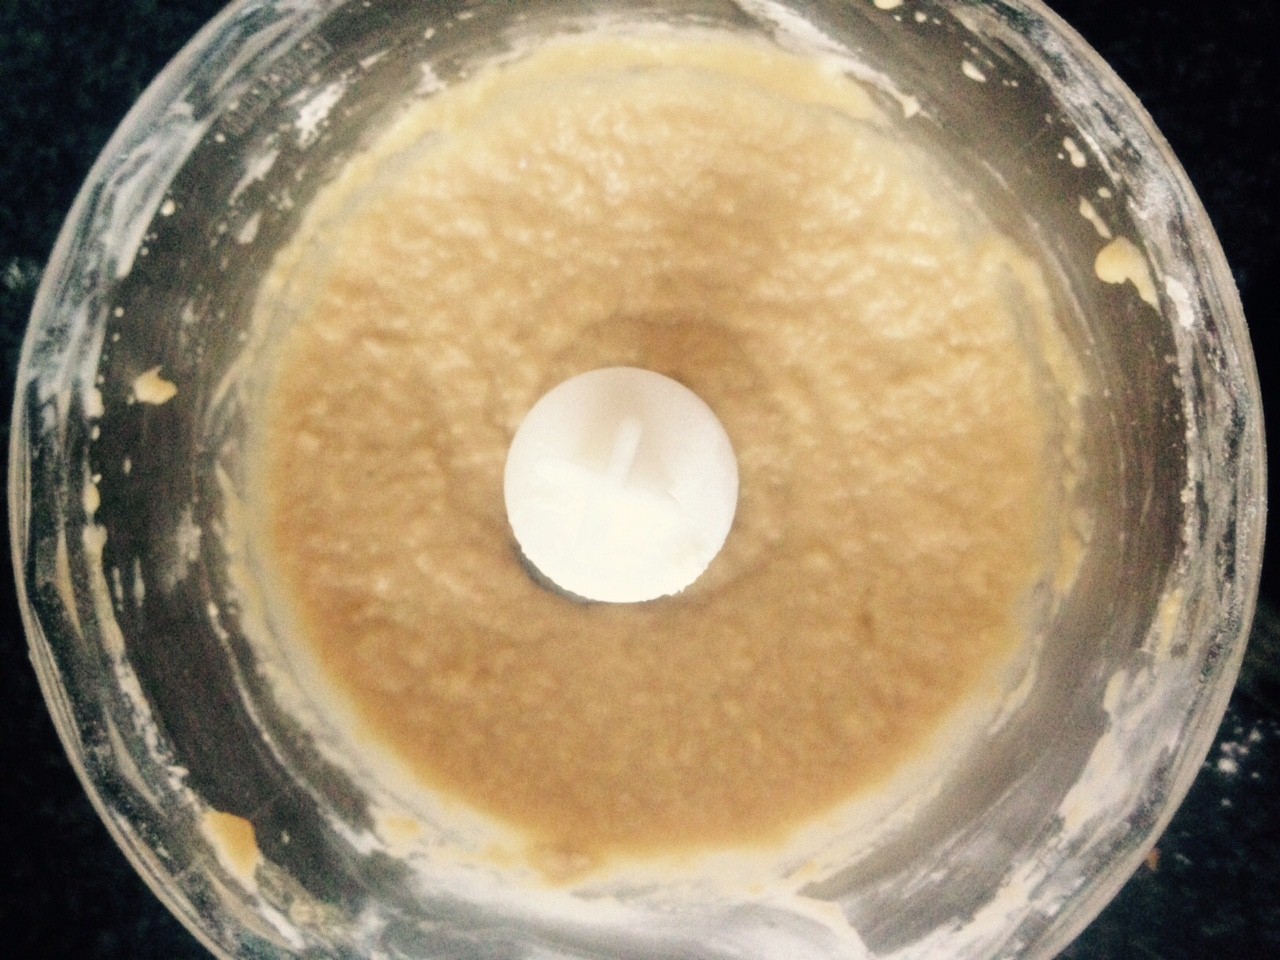
- Once cooled, place the quince and all the remaining pudding ingredients into a food processor and blitz until smooth and creamy.
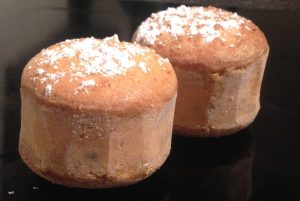
- Grease 4 x 250ml (1 cup) soufflé ramekins with butter or oil spray.
- Place the ramekins into a roasting tray (or equivalent tray/tin/pan) and pour the mix evenly into the ramekins.
- Pour water into the bottom of the tray outside the ramekins until 1/3rd of the ramekins are under the water.
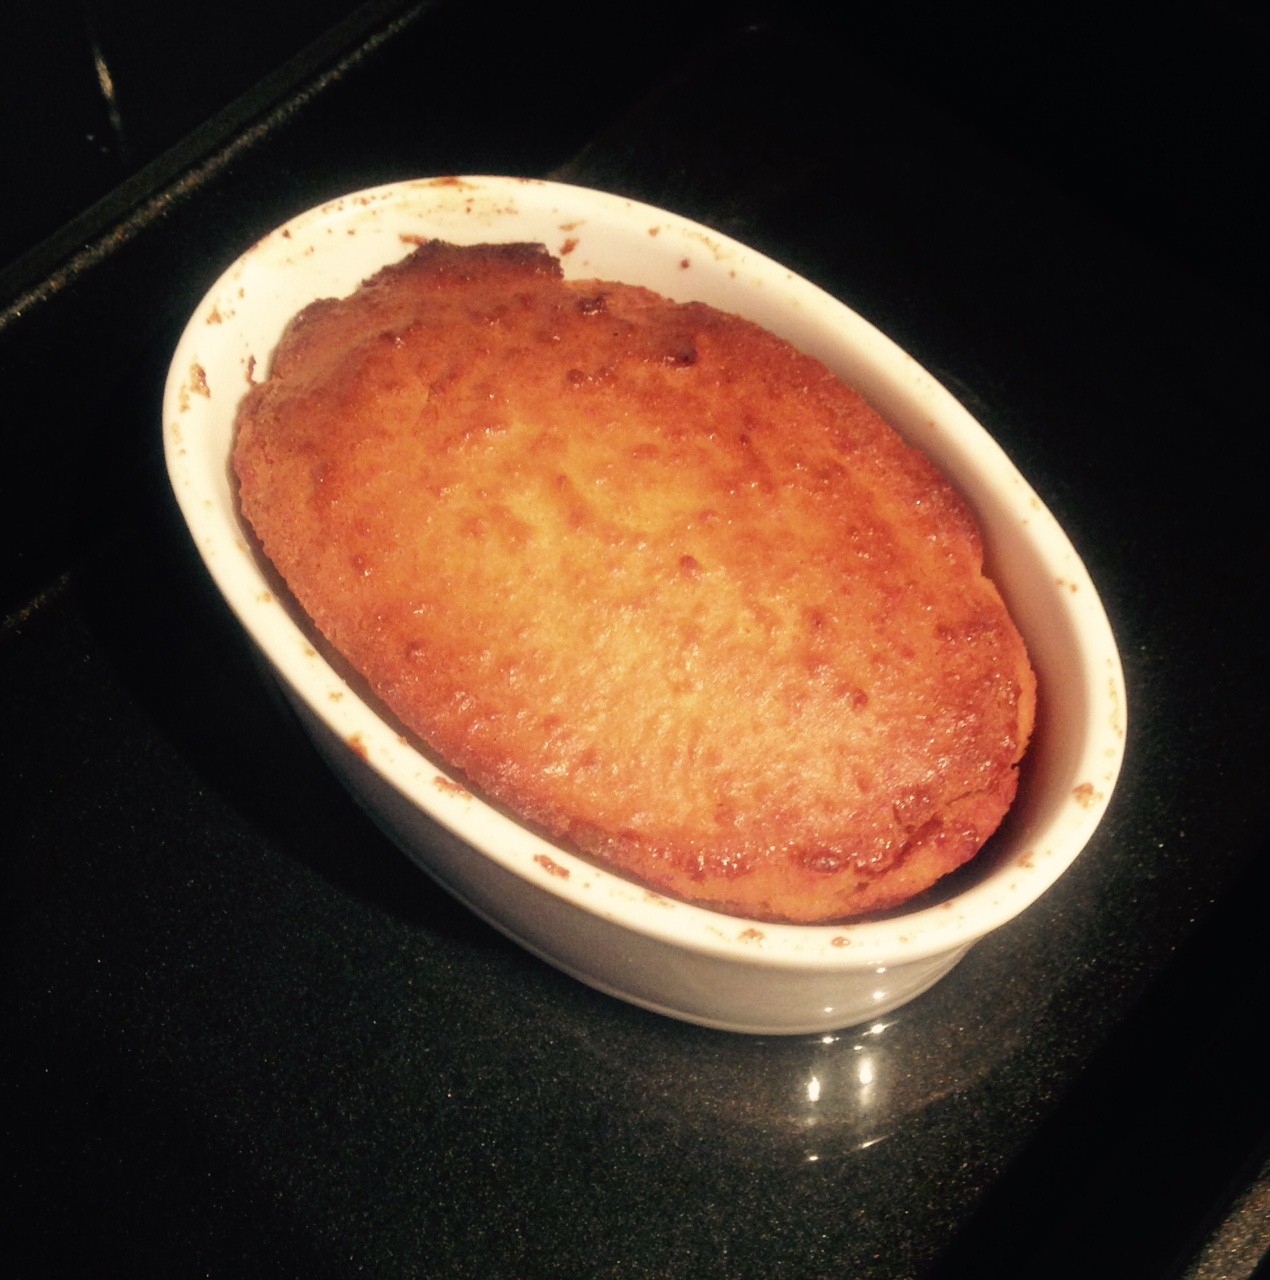
- Place the tray in the oven and bake for 20 minutes or until the cake bounced back once touched.
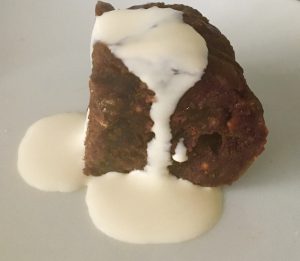
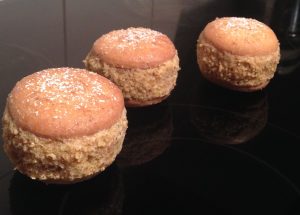
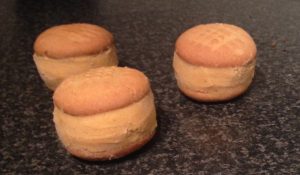
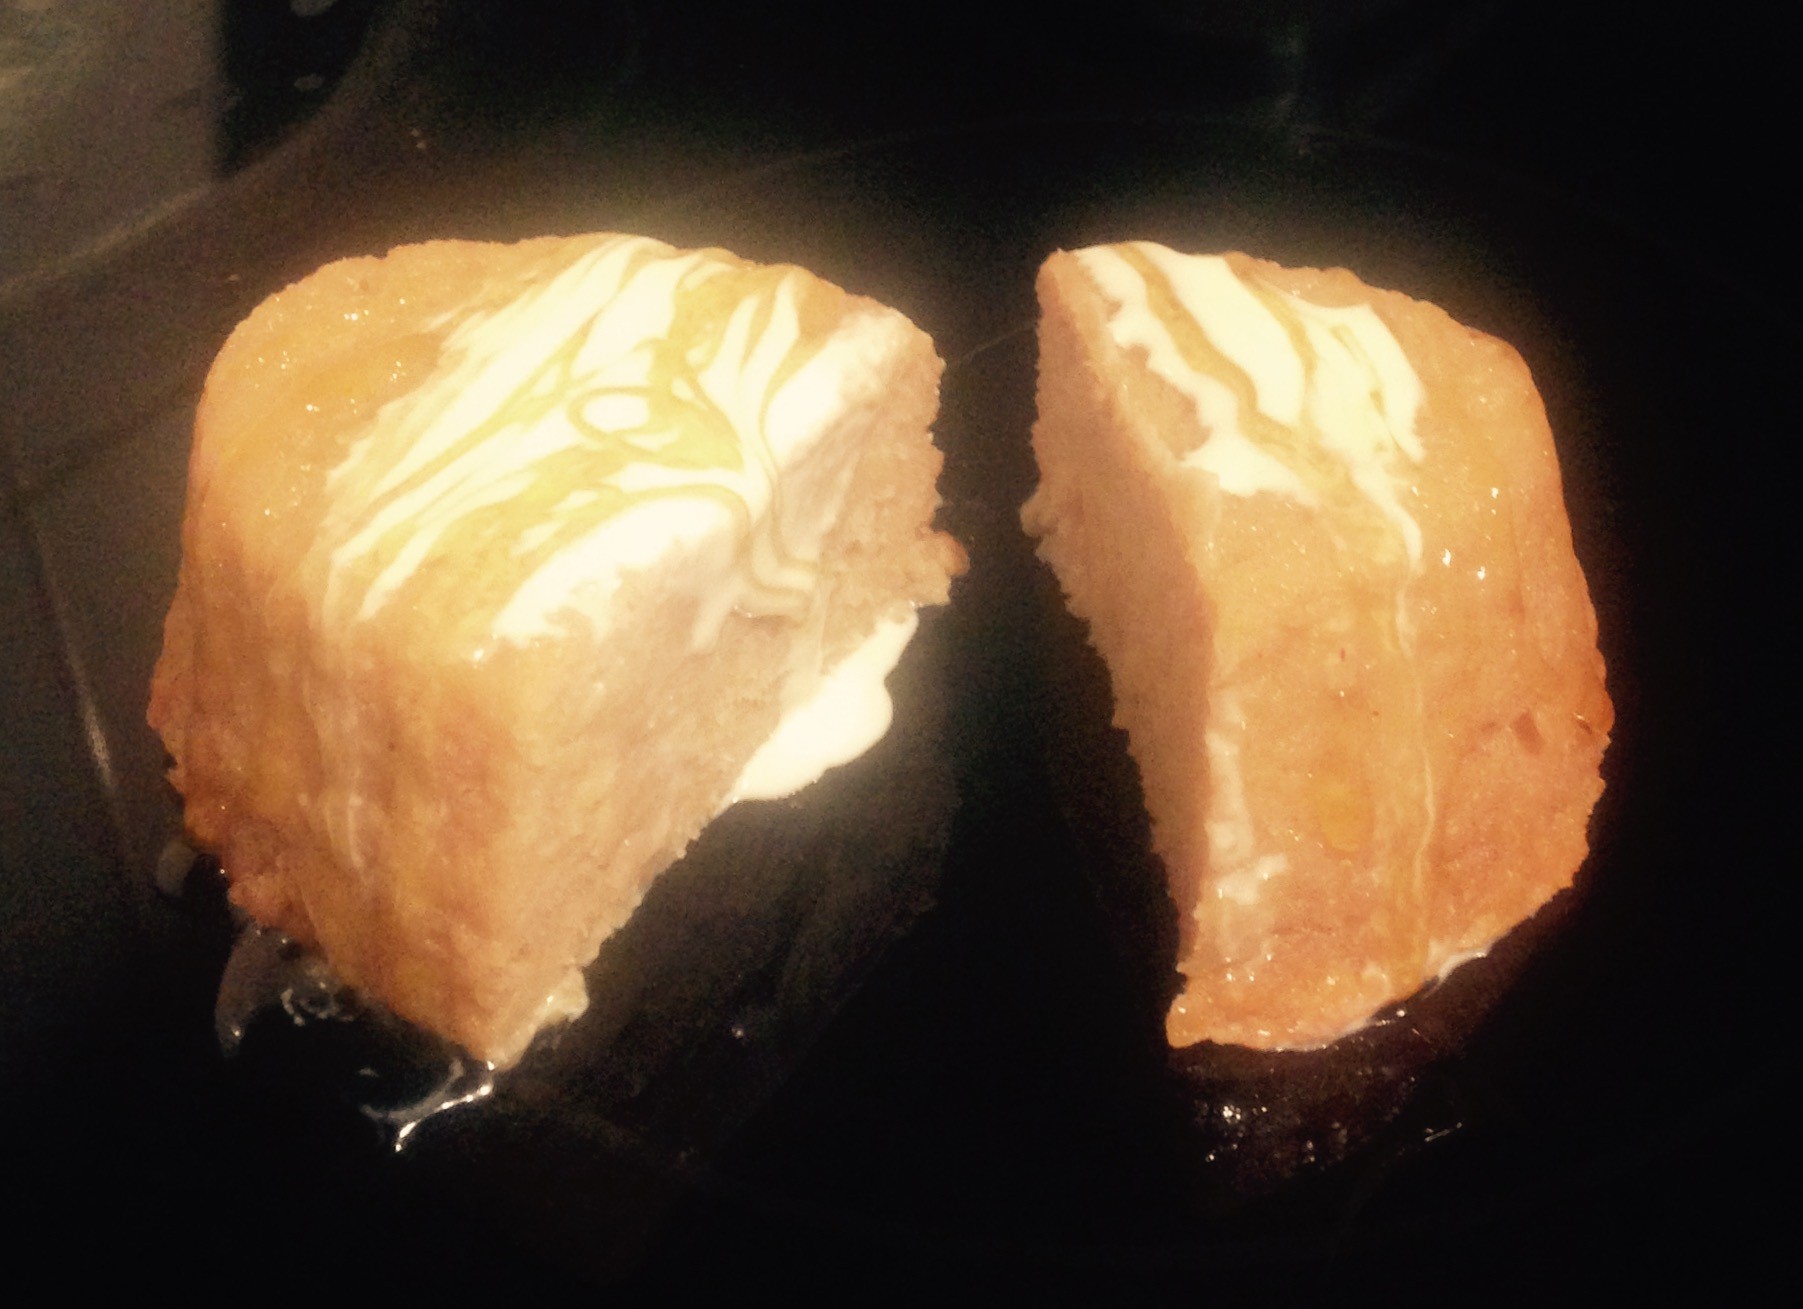
- Remove the puddings from the tray and invert the ramekins onto serving plates.
- Serve with a good scoop of vanilla ice-cream or double cream.
- Top the pudding and ice-cream with a very generous drizzle of golden syrup and enjoy!
Step 4

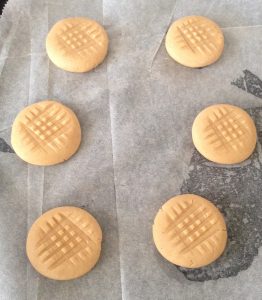
Step 6
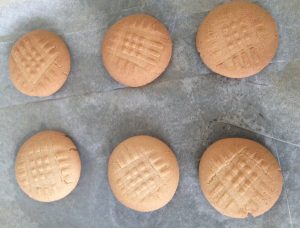
Step 9
Like this recipe? Subscribe via RSS or email to get my new entries and more scrumptious recipes with reviews.
 Follow