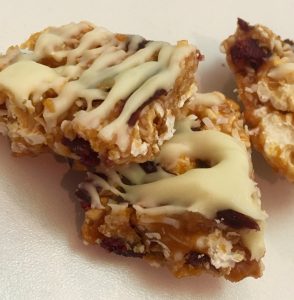
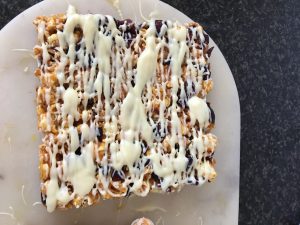
Rice Flour, White Chocolate and Coffee Brownies
This recipe is the most simple and quick recipe you will come across. This took me a whole of 5 minutes to prepare and 5 minutes to decorate.
I recommend you read the notes to this recipe before planning to bake as it does have a defined ‘textural’ consistency.
This recipe made it to my blog due to the interesting texture, simplicity, gluten-free bake and cost efficiency. Also, it is quite the tasty flavor (hmm coffee).
Introducing the unique Rice flour, white chocolate and coffee brownies.
Ingredients:
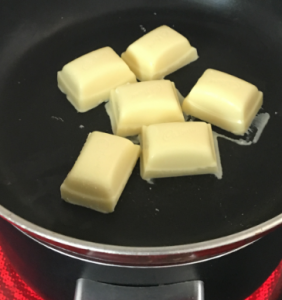
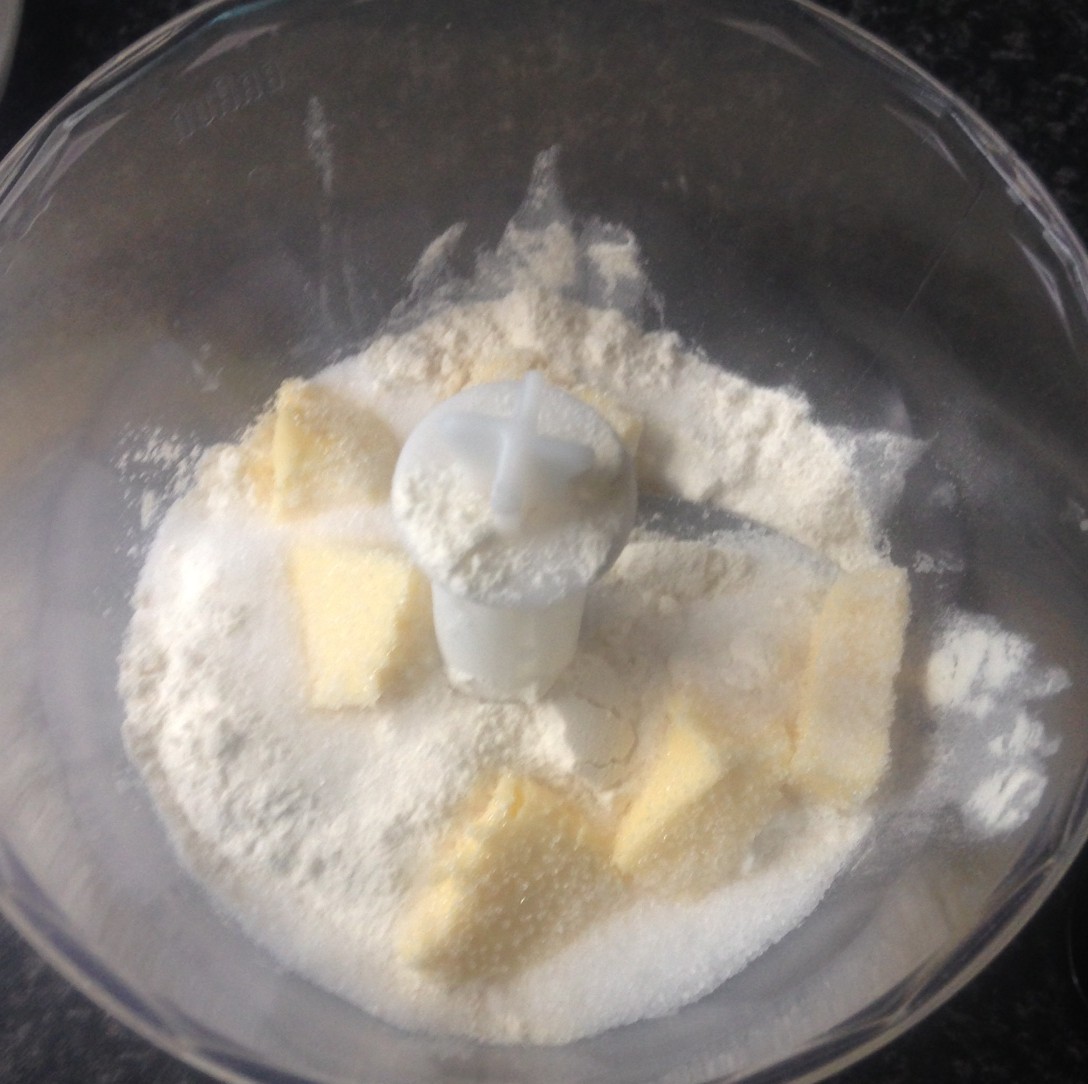
- 90g white chocolate
- 70g butter
- 190g brown sugar
- 3 eggs, beaten
- ½ tsn vanilla essence
- ½ tsn almond essence
- 160g-rice flour
- 1 tbsn instant espresso coffee granules
- 150ml thickened cream
Method:
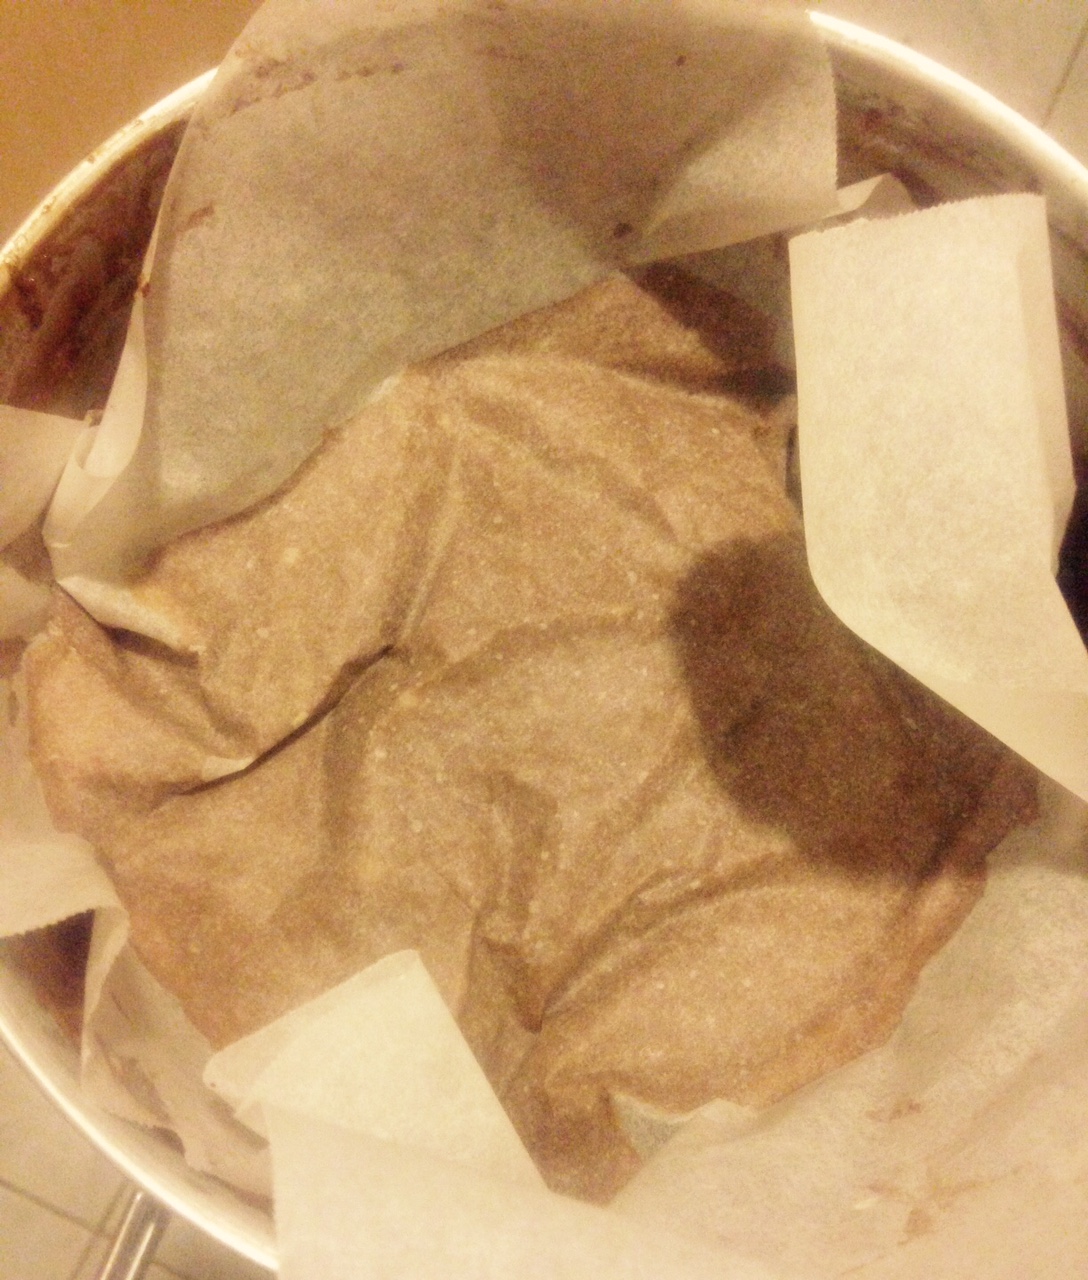
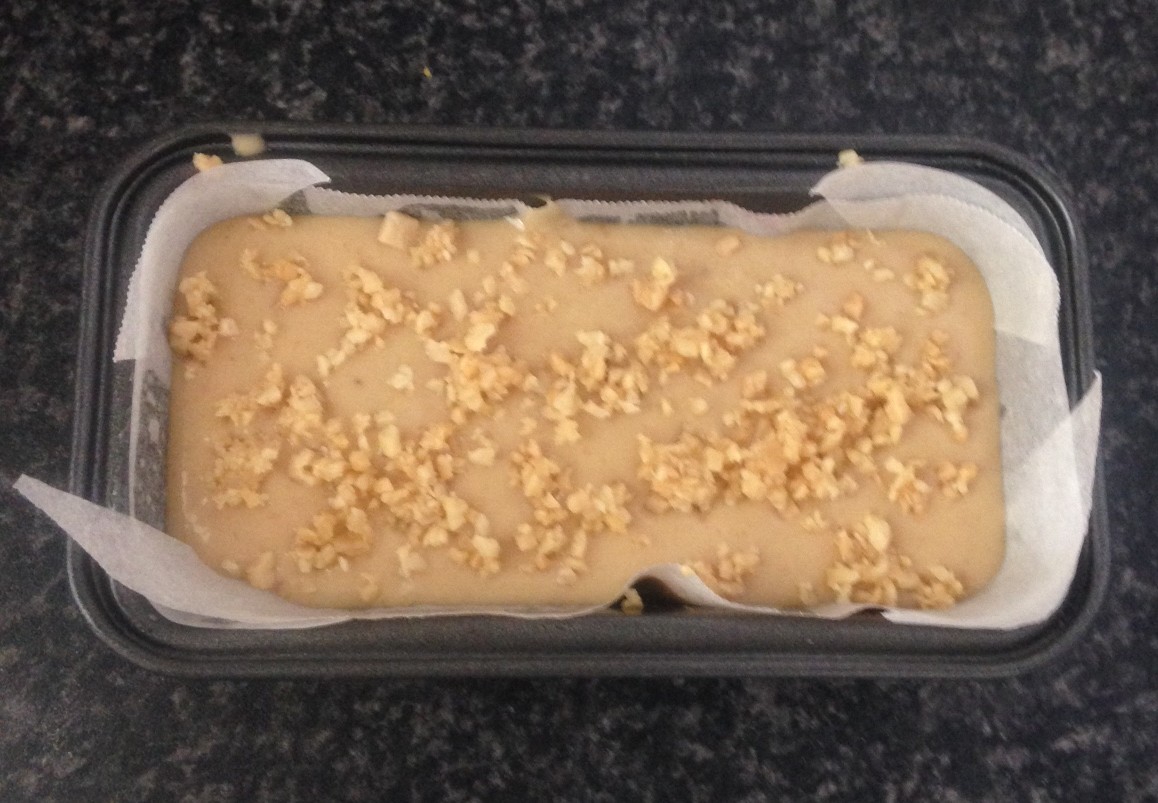
- Line a 30cm x 15cm baking tray with baking paper and pre-heat the oven to 180c degrees.
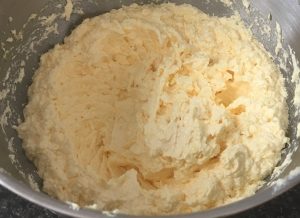
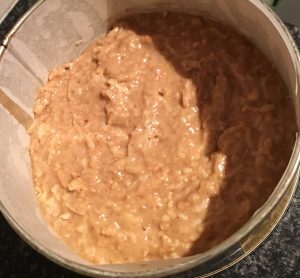
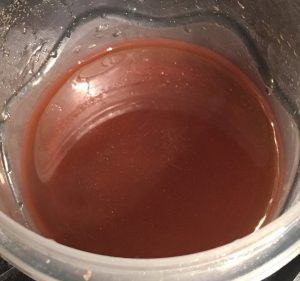
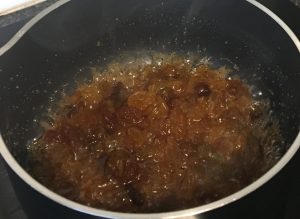
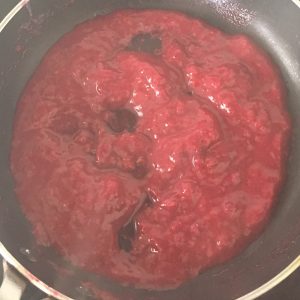
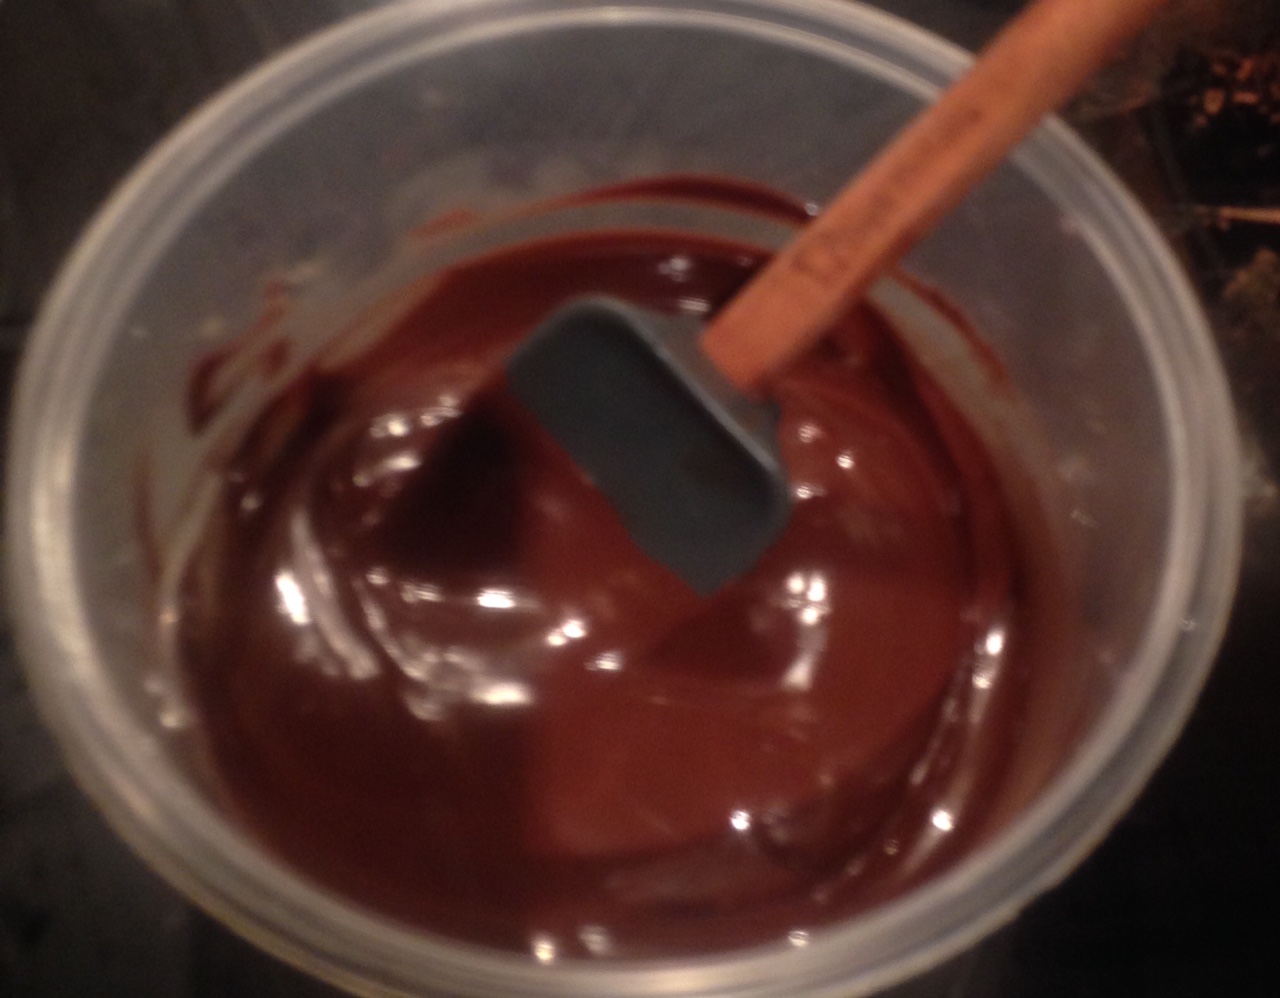
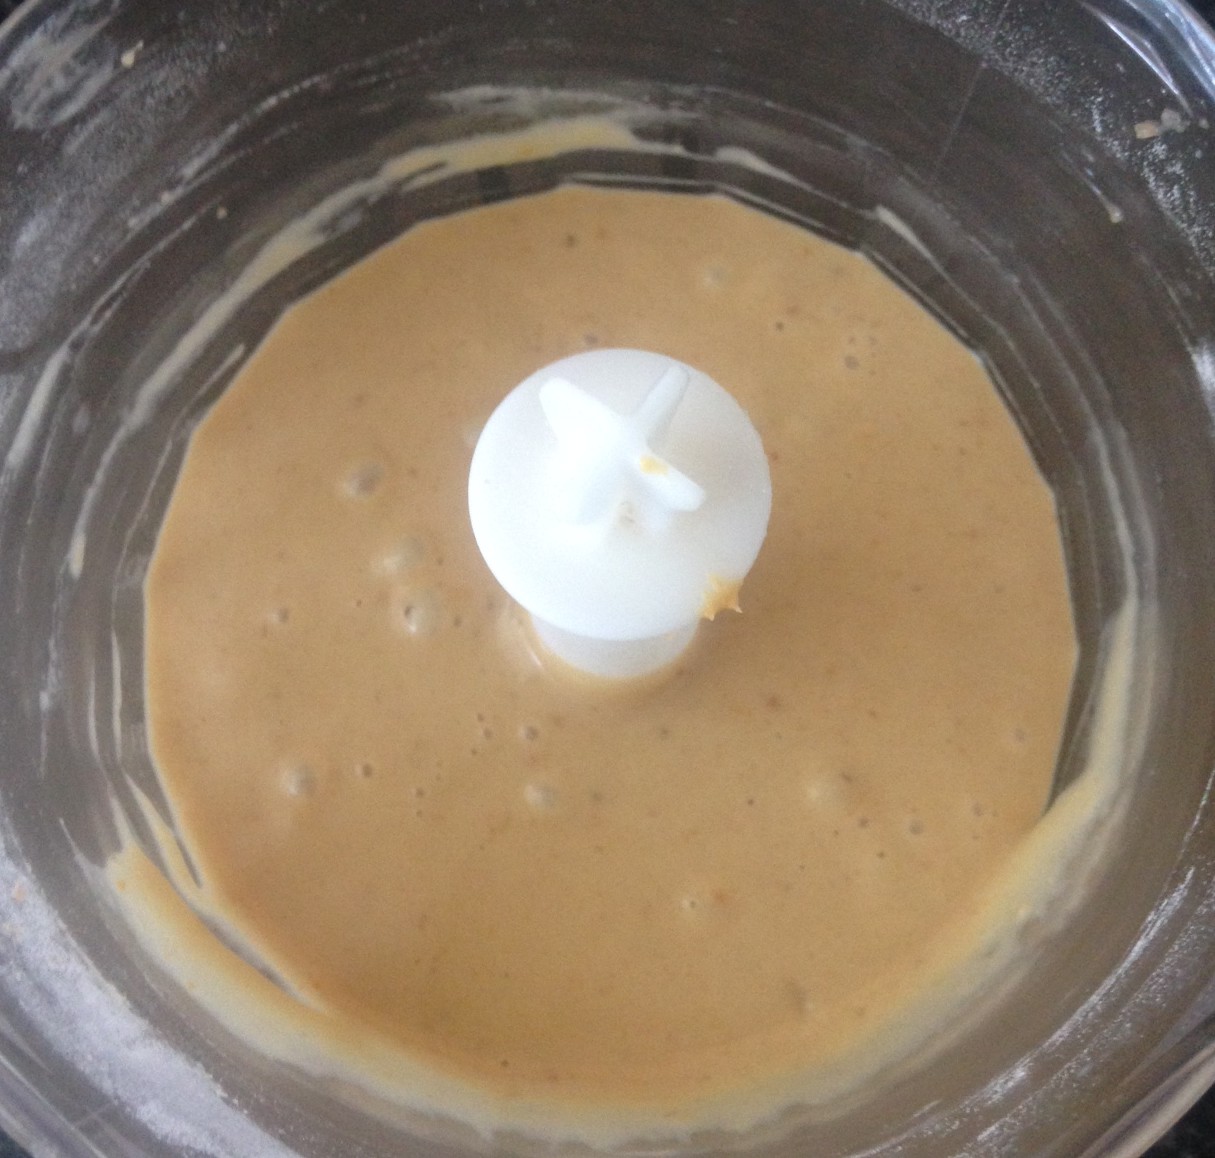
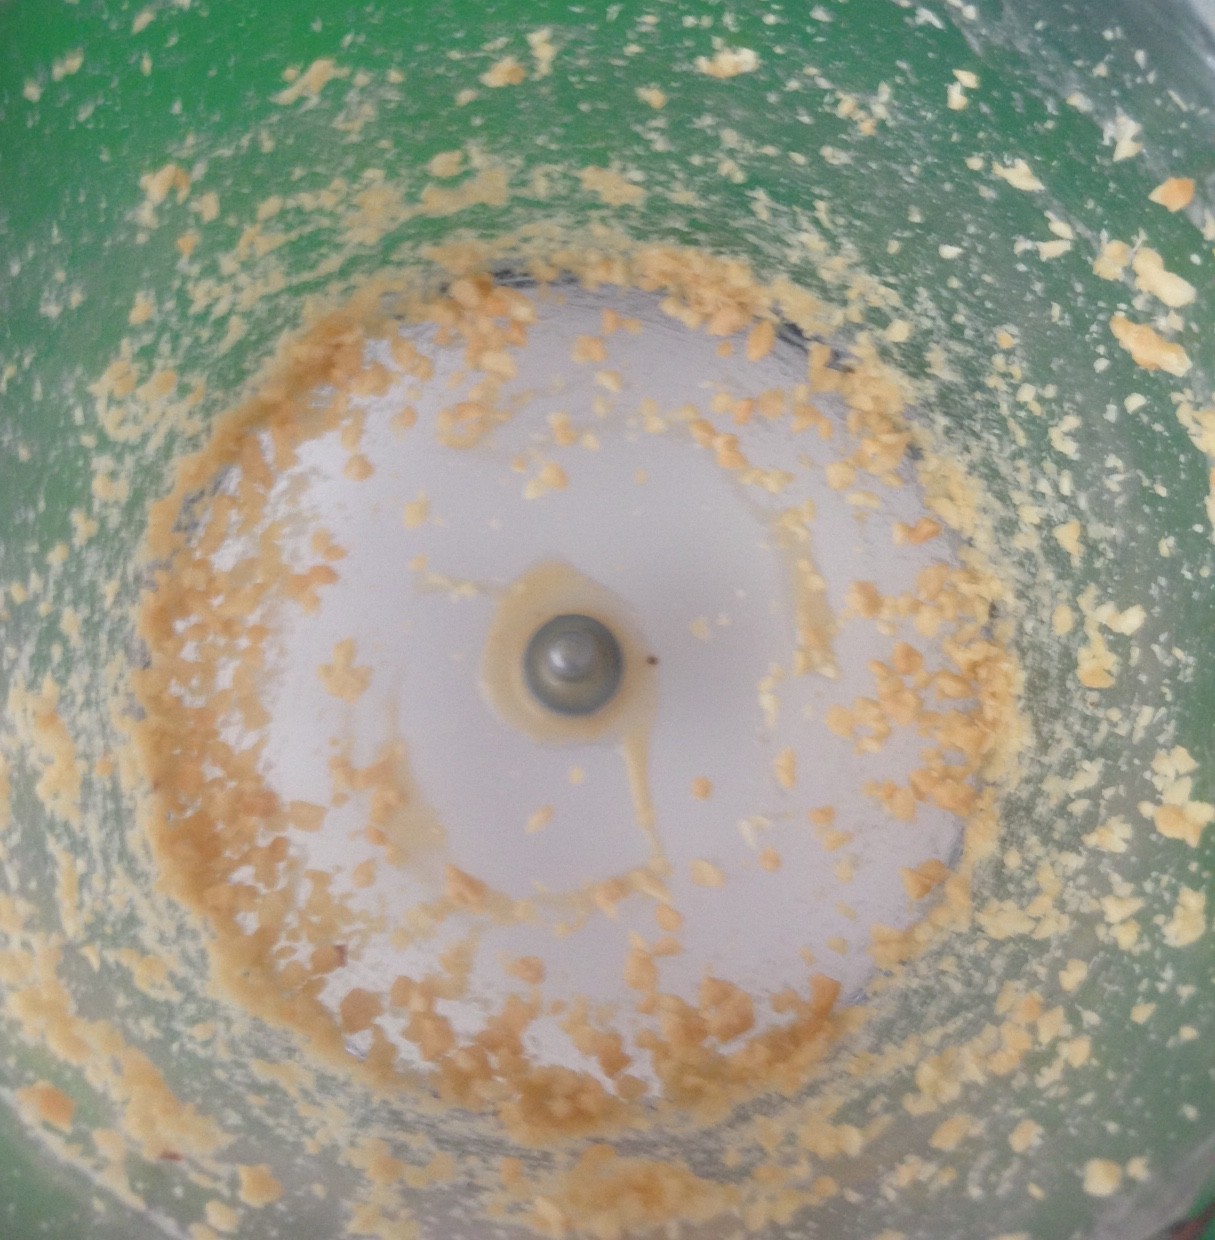
- Place the butter and sugar in a microwave safe bowl and microwave on medium for 1 minute or until the chocolate is half melted. Stir with a metal spoon until smooth and glossy.
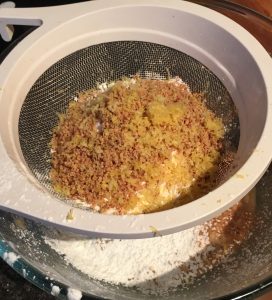
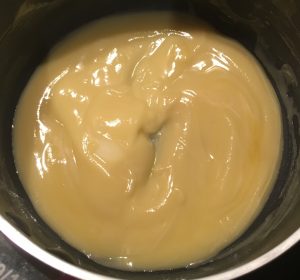
- With a hand whisk beat in the instant coffee until dissolved then beat in the remaining ingredients.
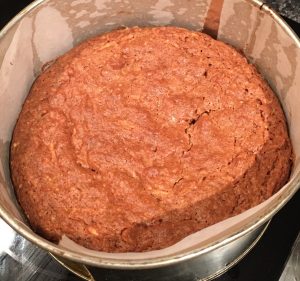
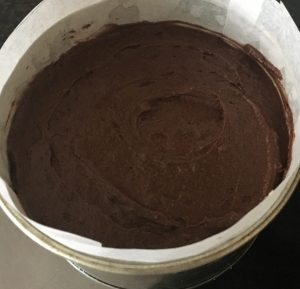
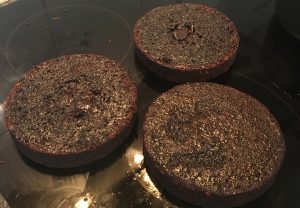
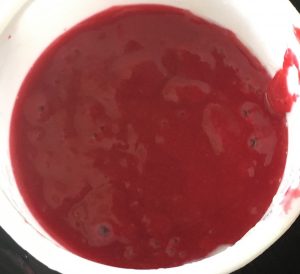
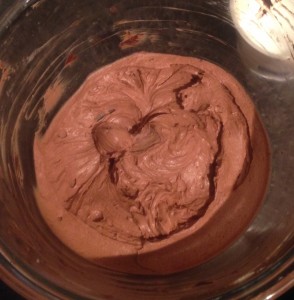
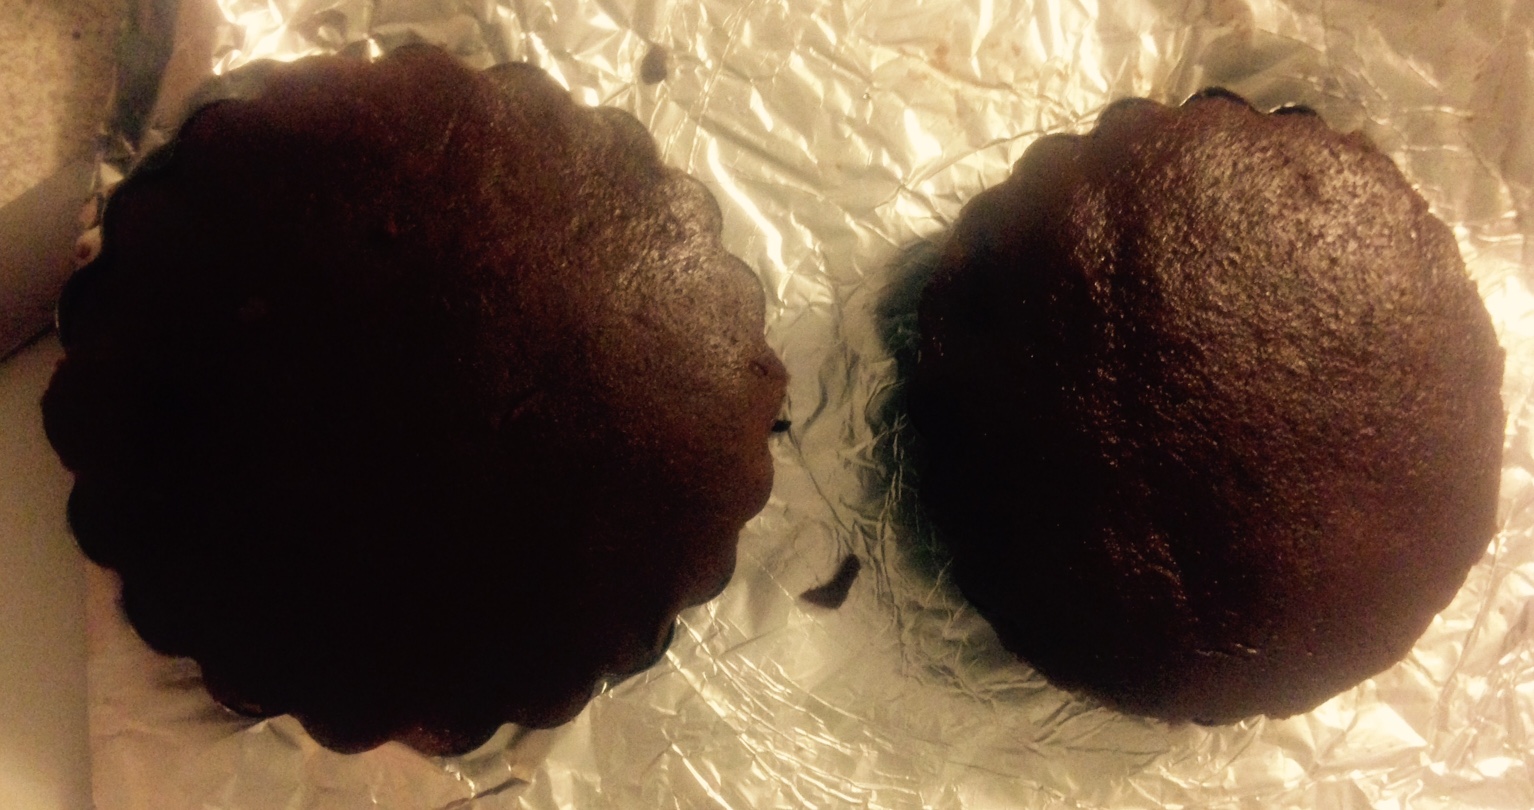
- Pour the mix into the tin and place in the oven for 30 mins or until a skewer inserted into the centre comes out clean.
- Tap the tin on a table lightly to get rid of air bubbles before placing in the oven (otherwise the brownie will get bubble like domes on the base).
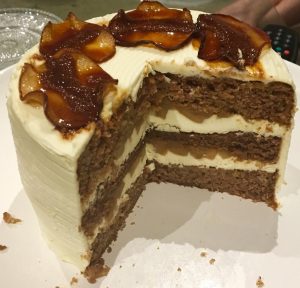
- Cool in the tin for 10 minutes for place on a cooling rack and cut.
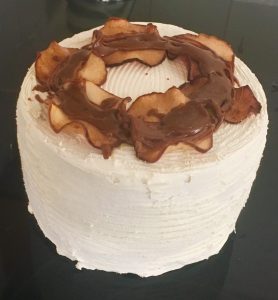
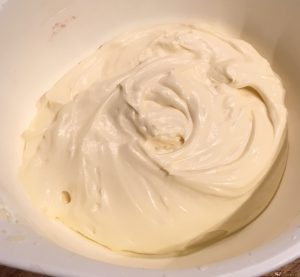
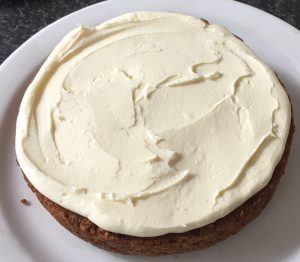
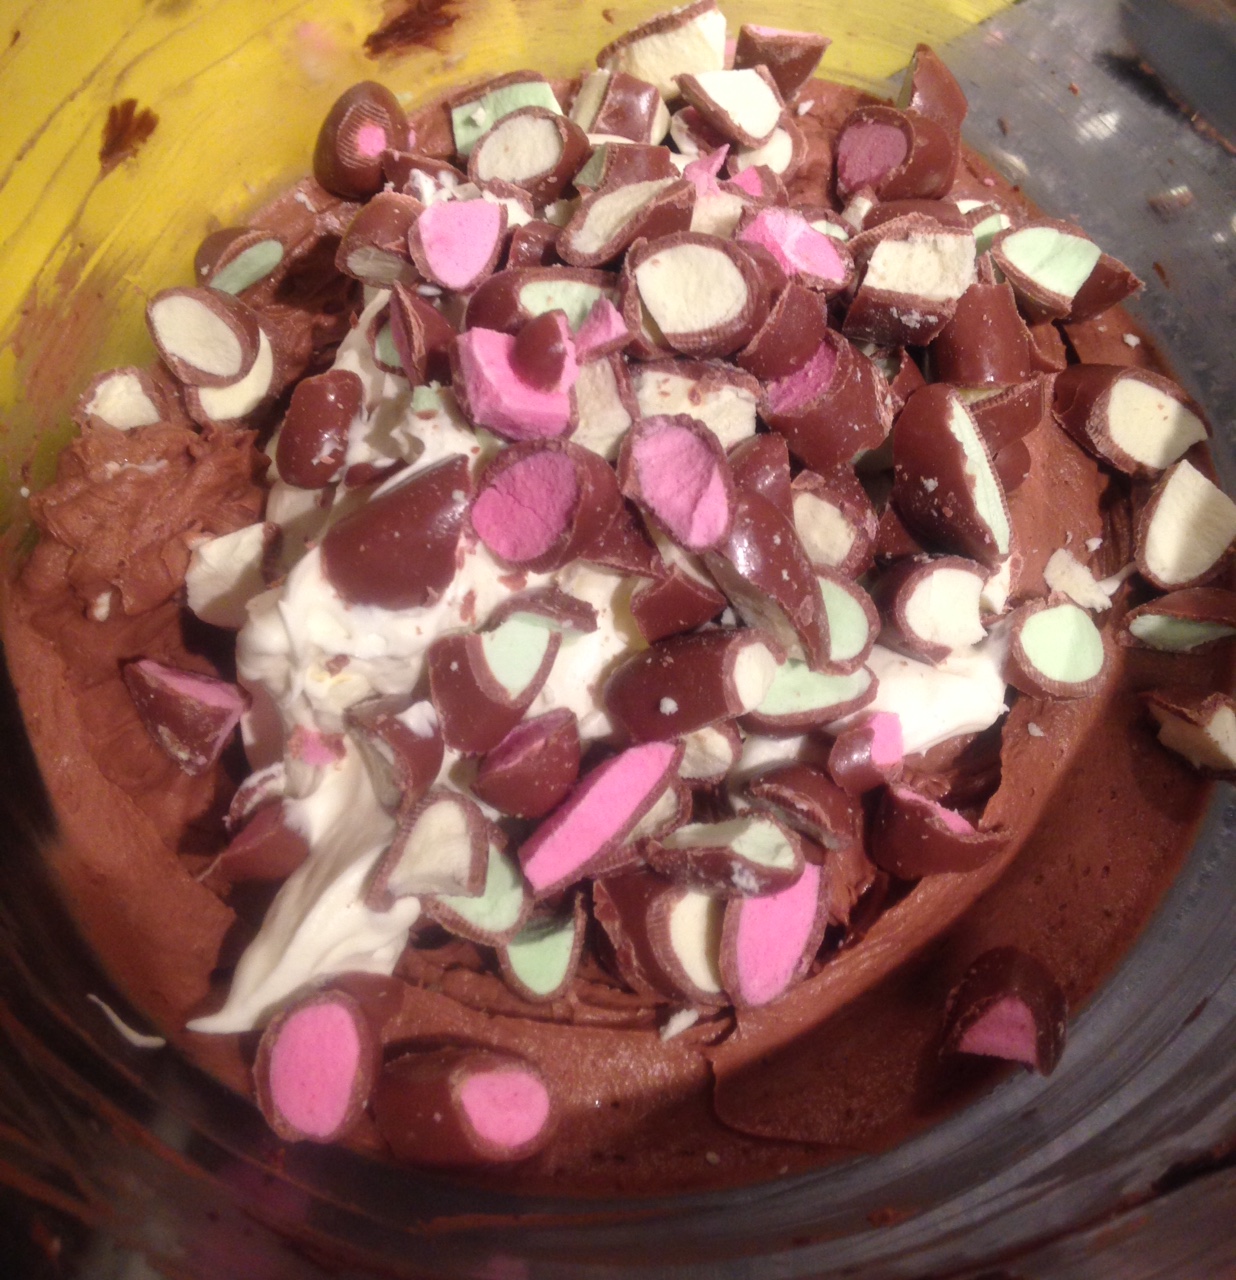
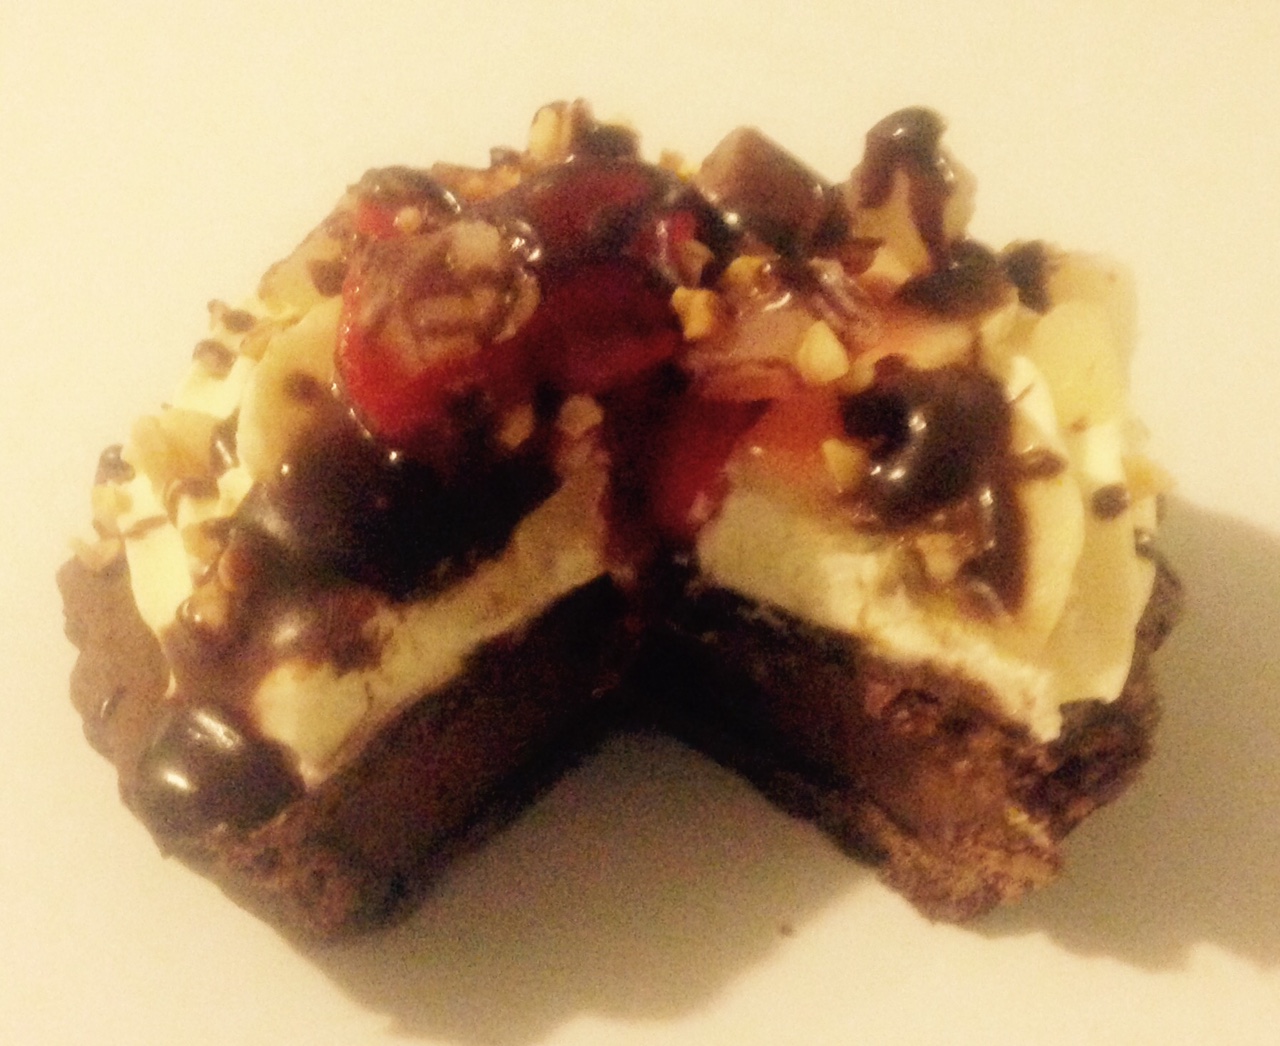
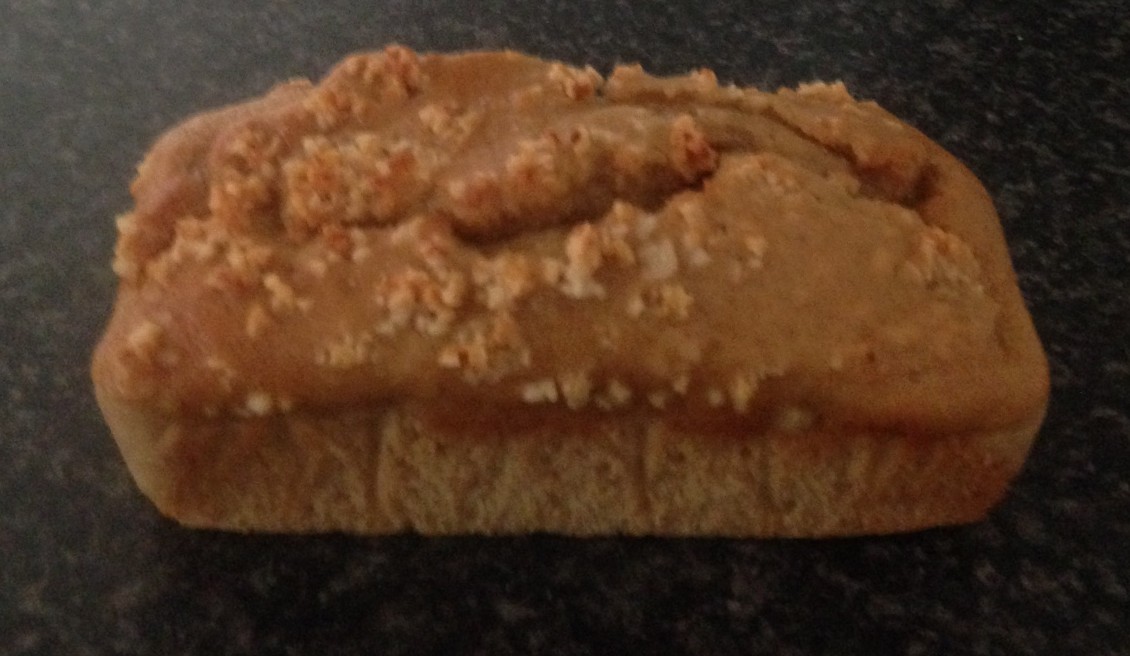
- Whip up the thickened cream with electric beaters until peaks form and pipe on the top of each brownie then sprinkled with a little coffee granules on top to decorate.
Notes:
- The title of this brownie does state rice flour, however I have made this a few times and suggest that if you are not a real fan of texture (rice flour is much more granular than other flours) then substitute it with normal plain flour or gluten free plain flour to stay gluten-free.
Like this recipe? Subscribe via RSS or email to get my new entries and more scrumptious recipes with reviews.
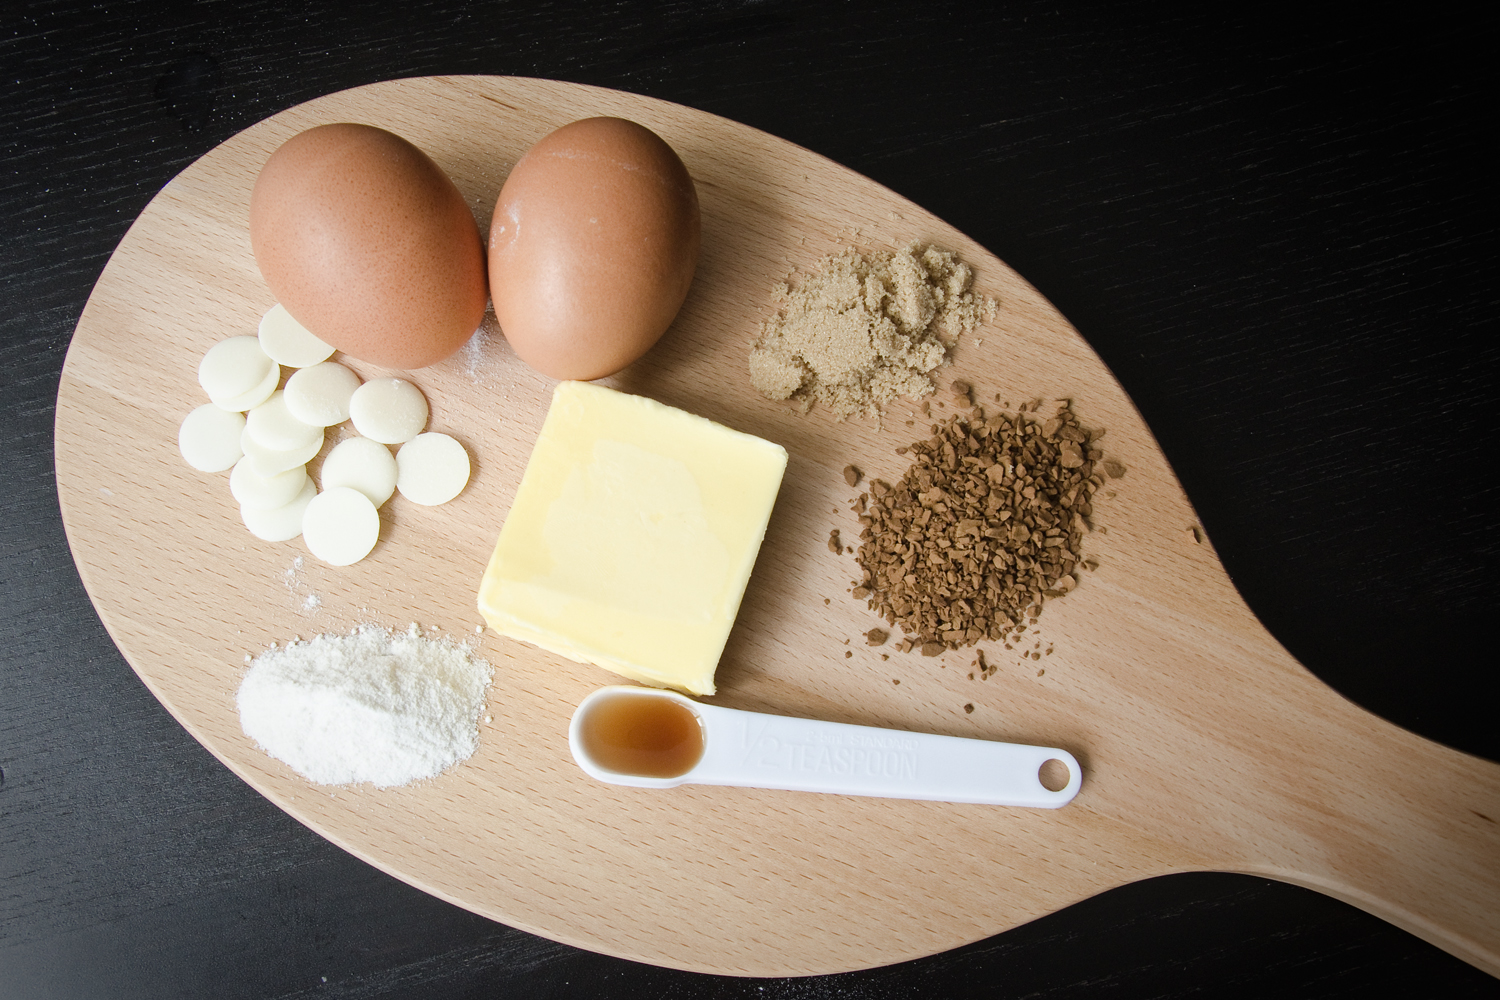
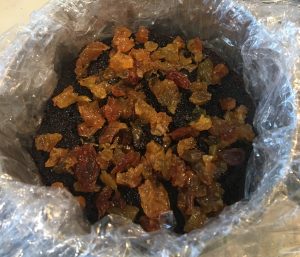
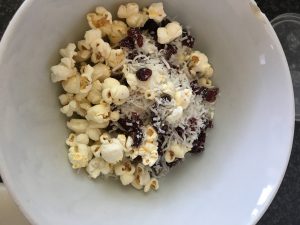
The ingredients
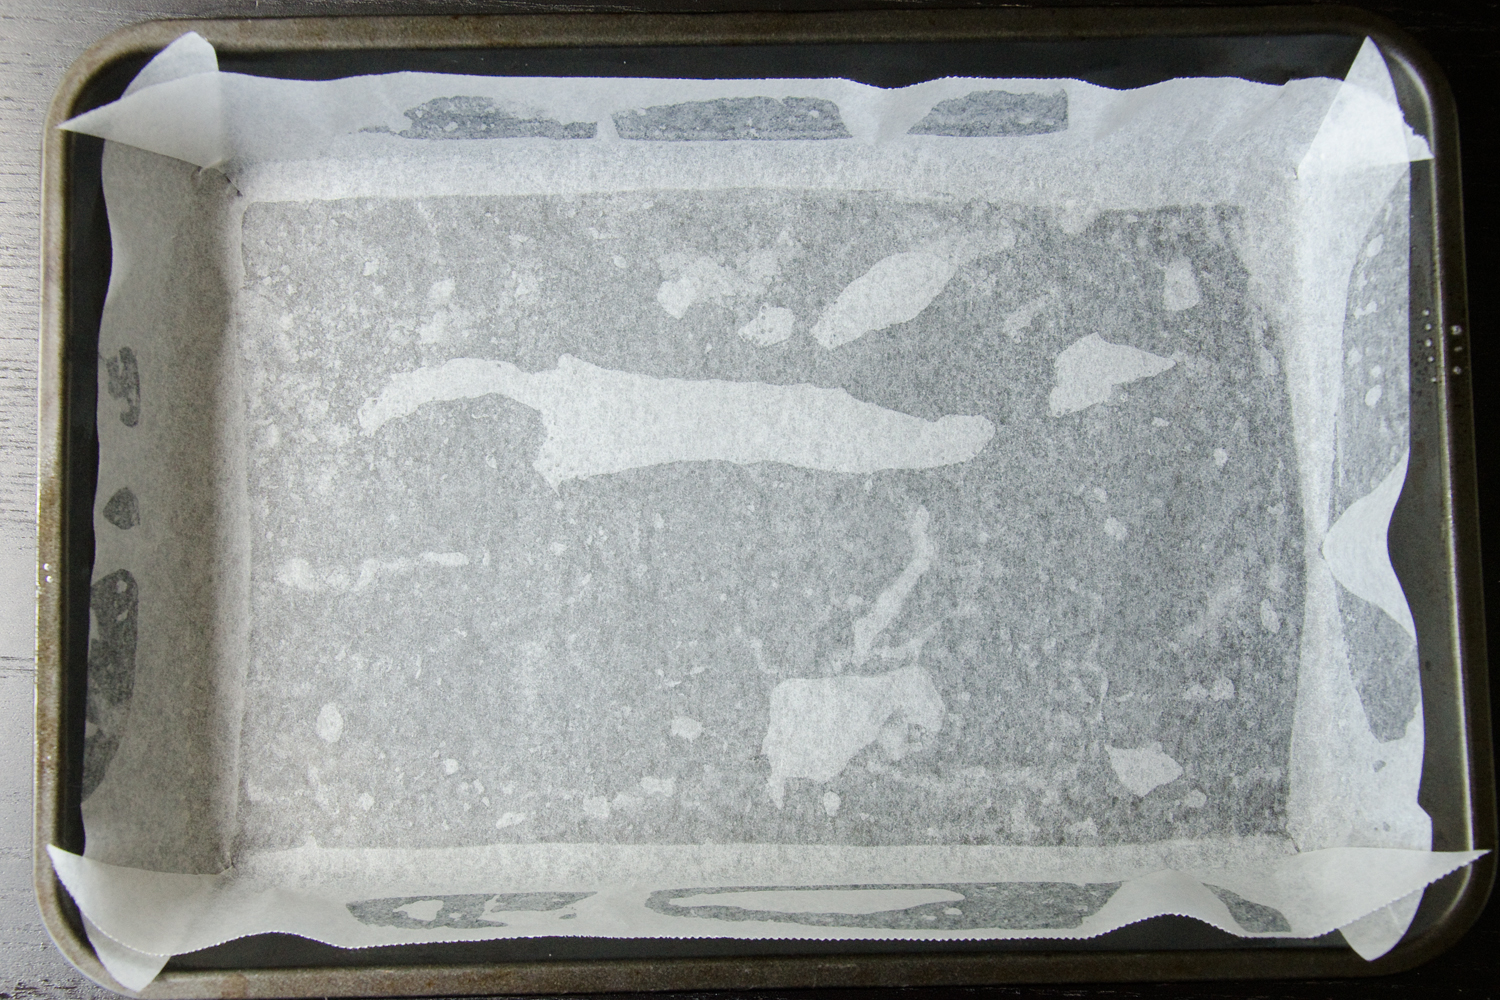
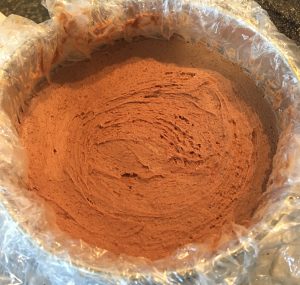
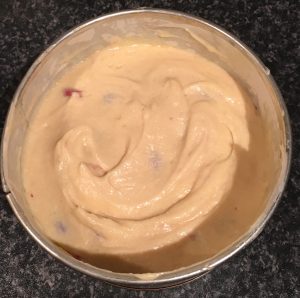
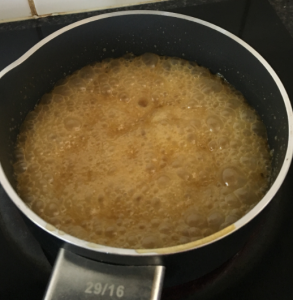
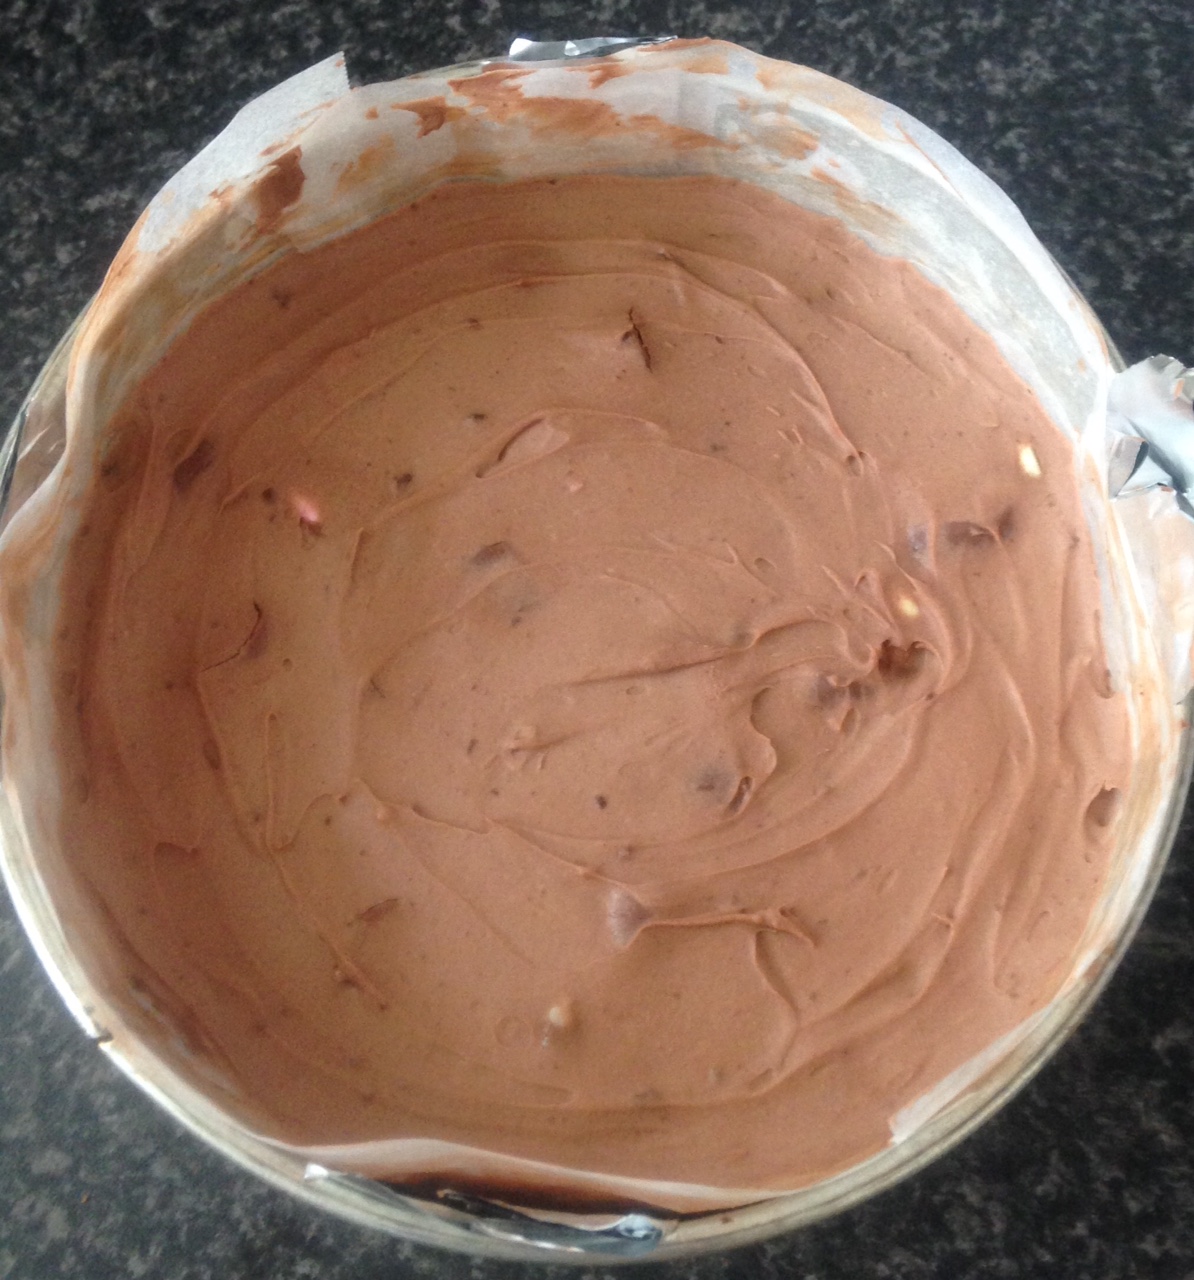
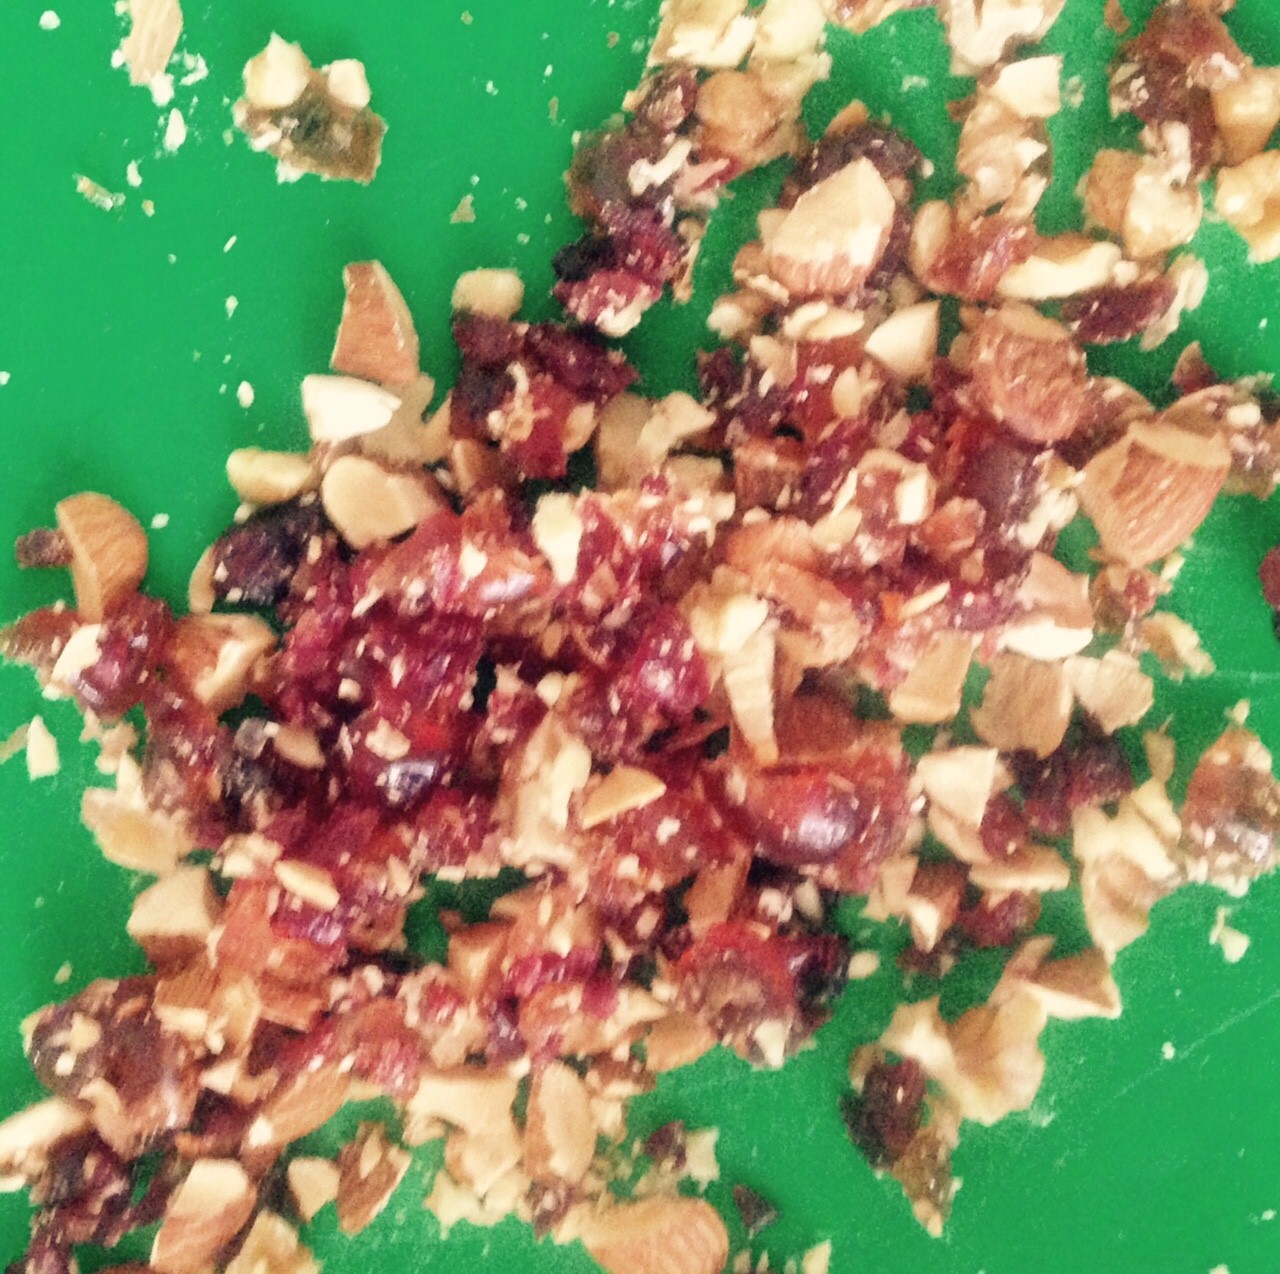
Step 1
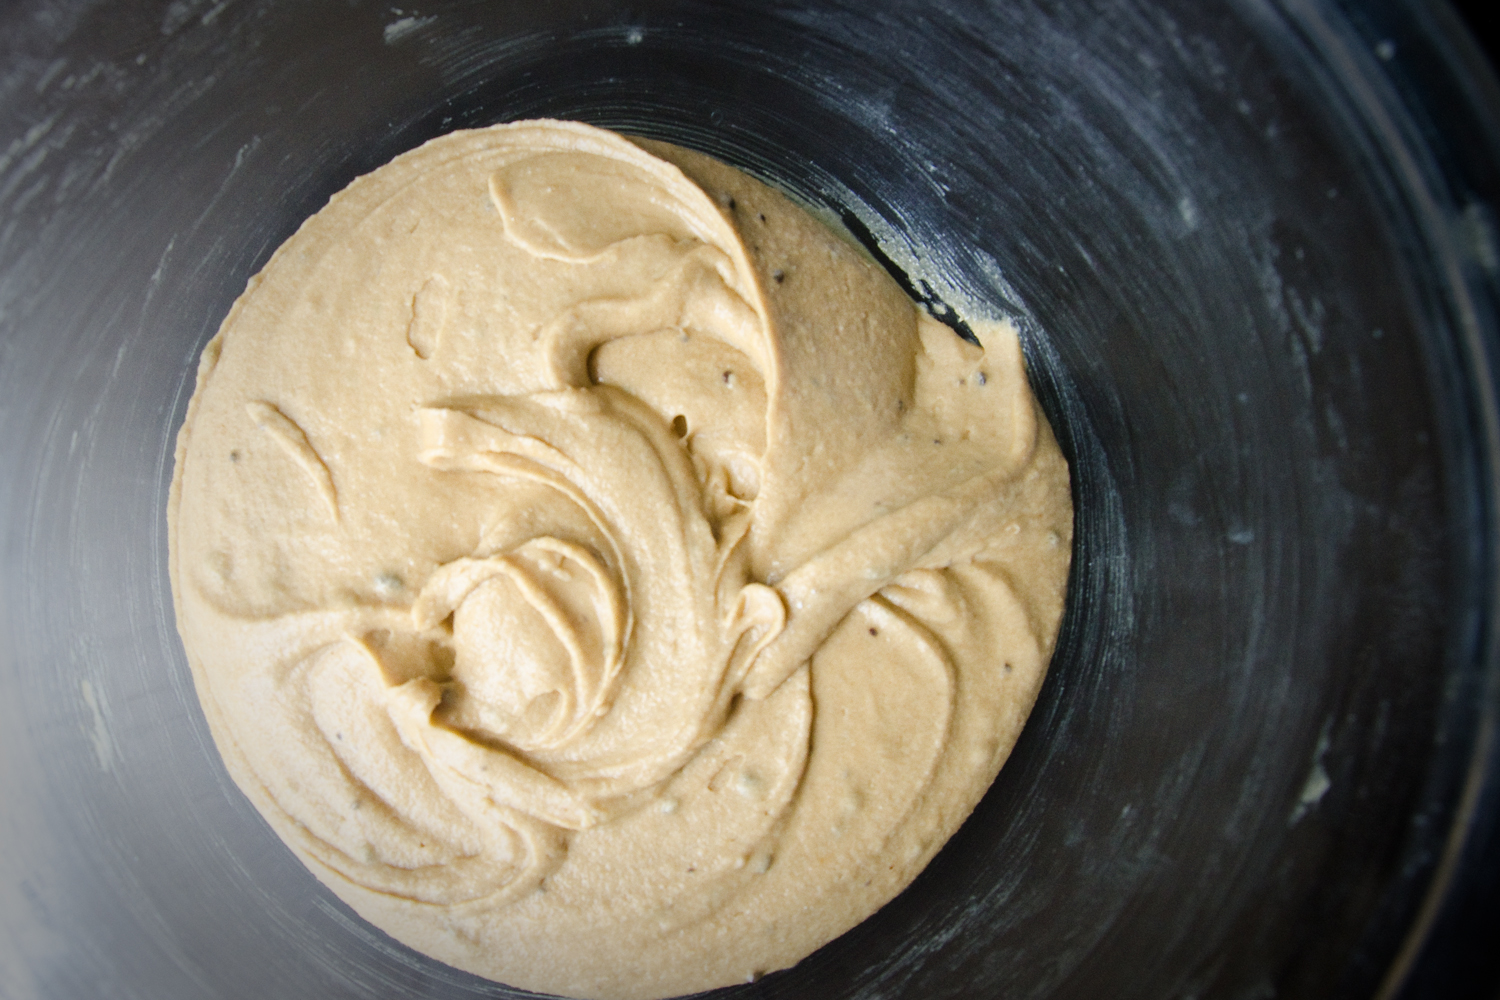
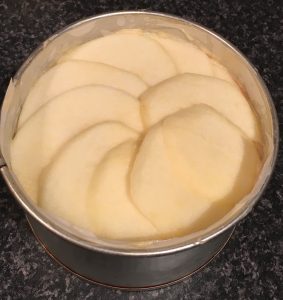
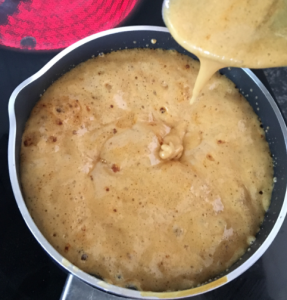
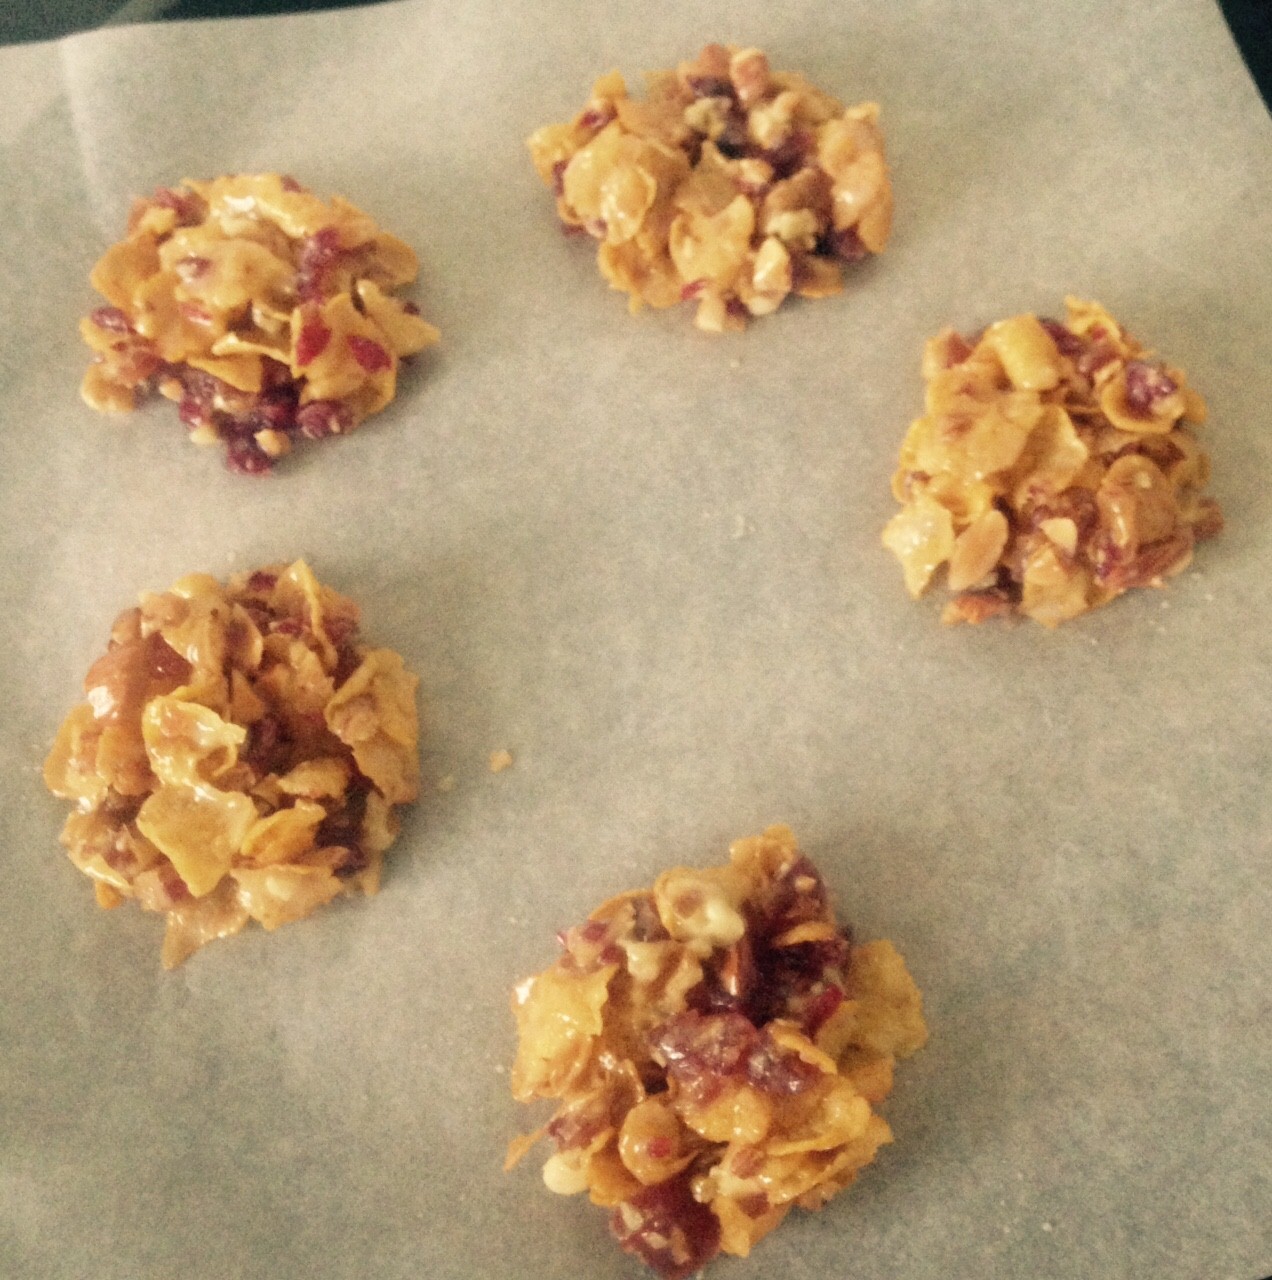
Step 3

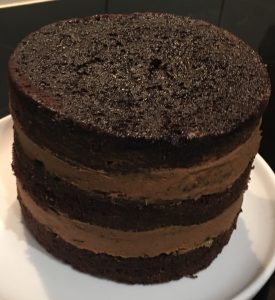
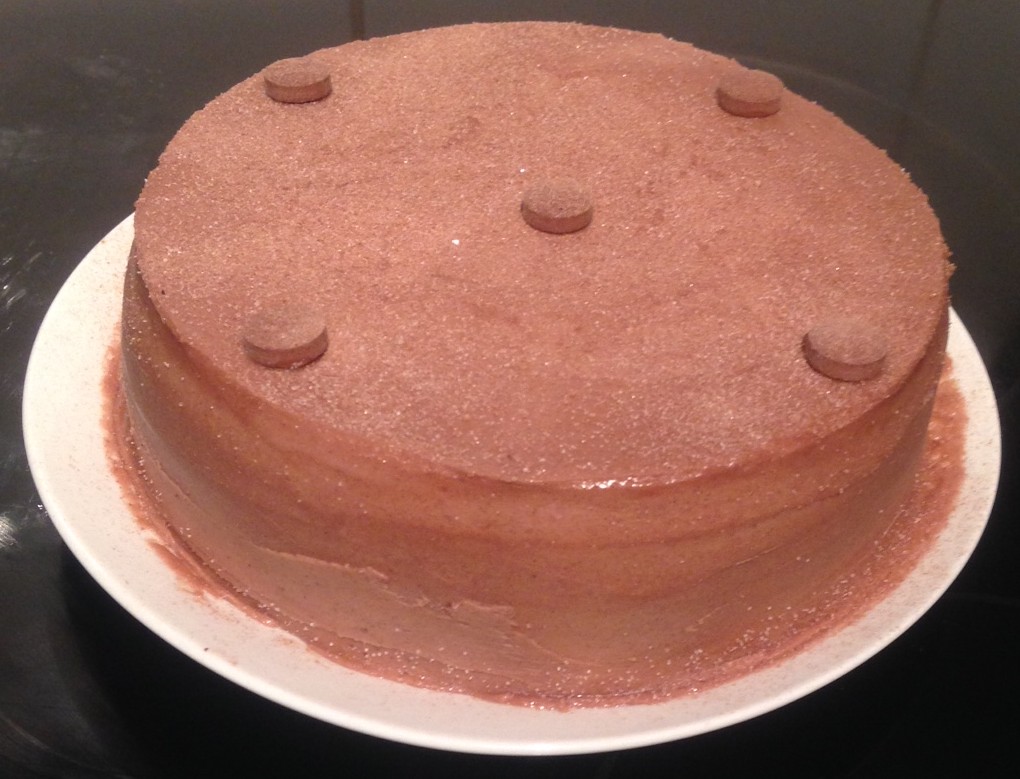
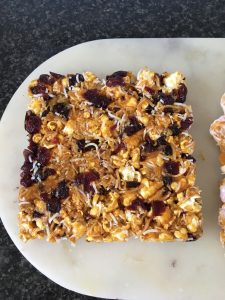
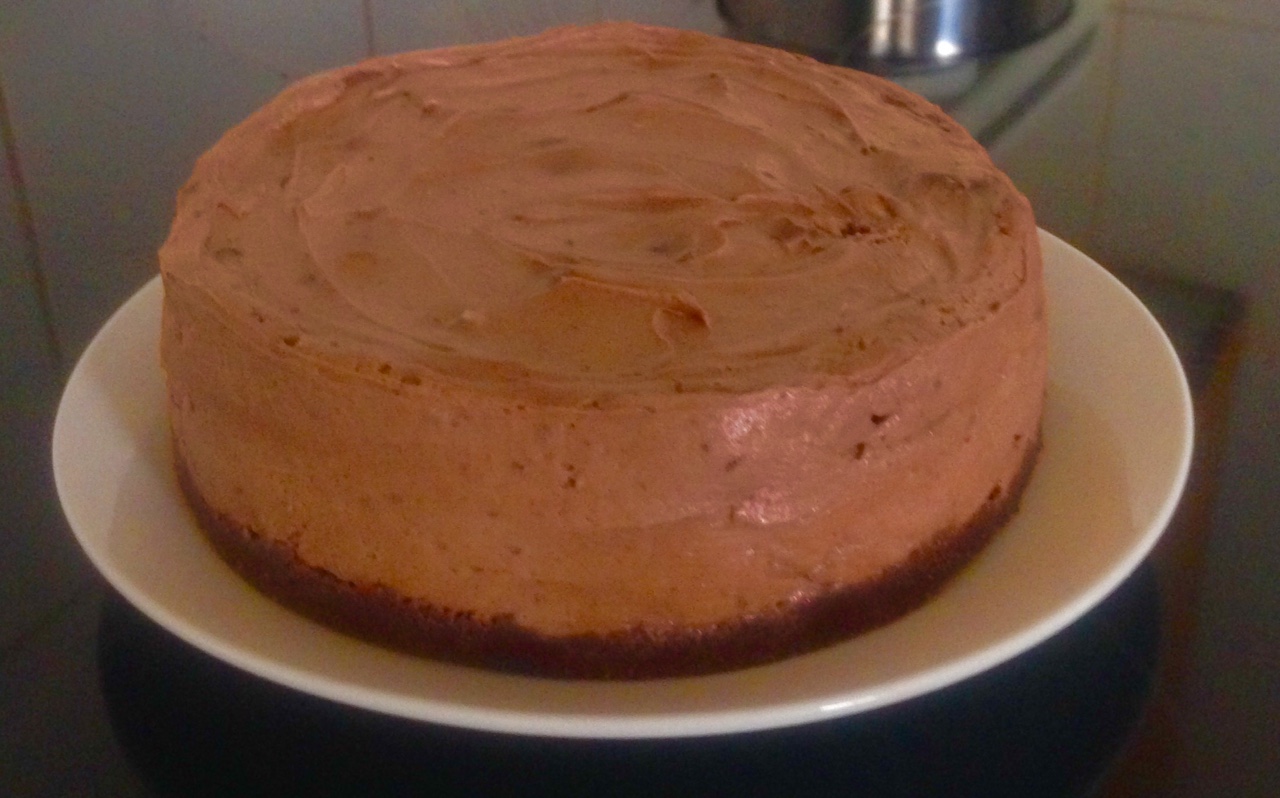
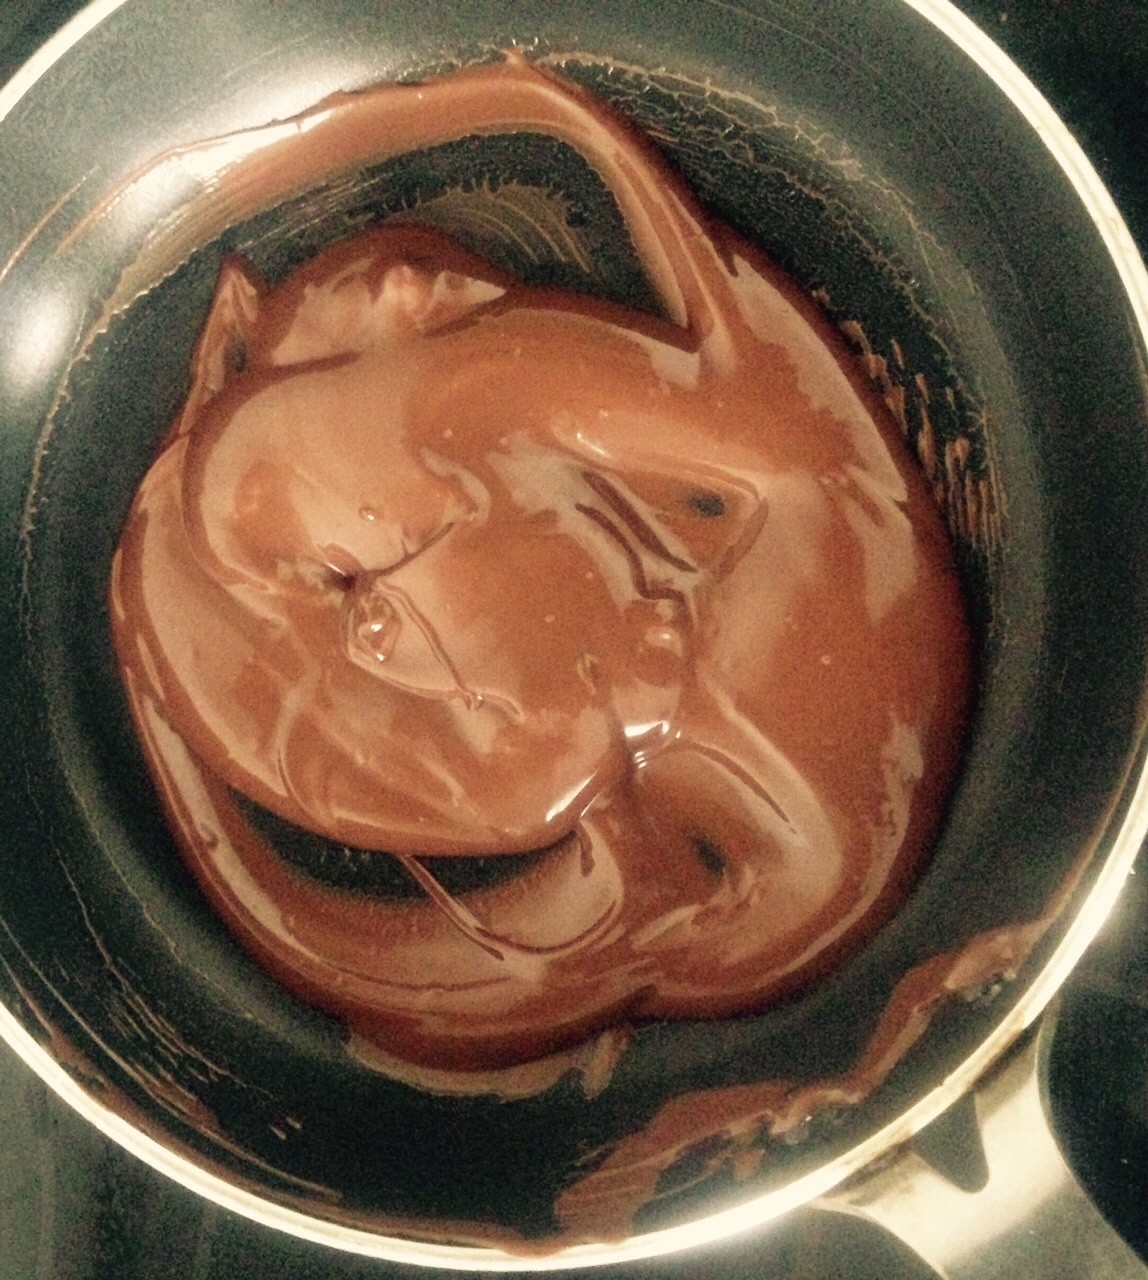
Step 6

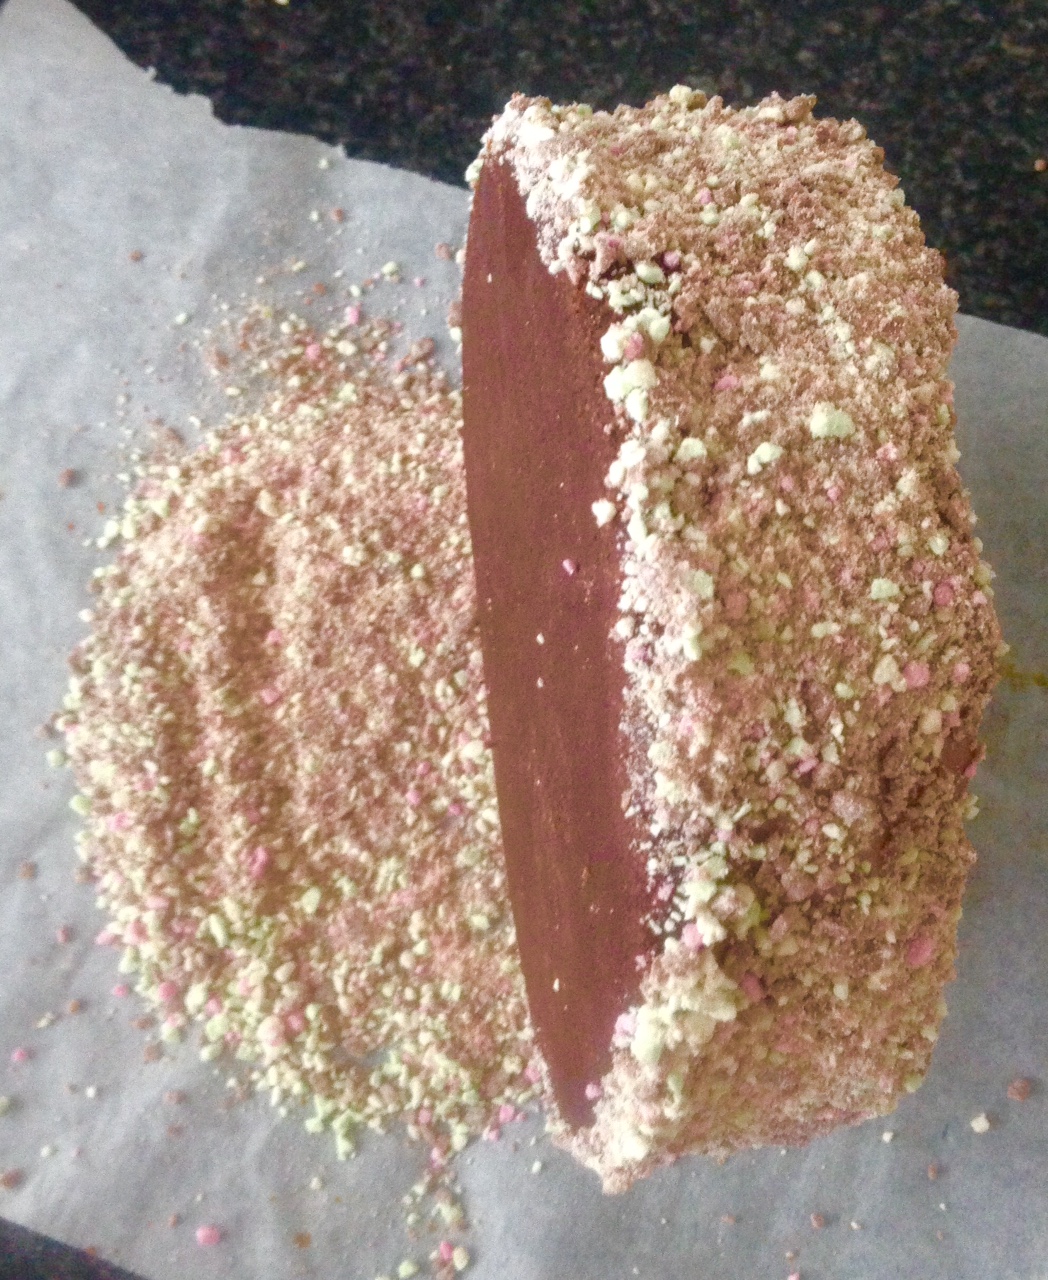
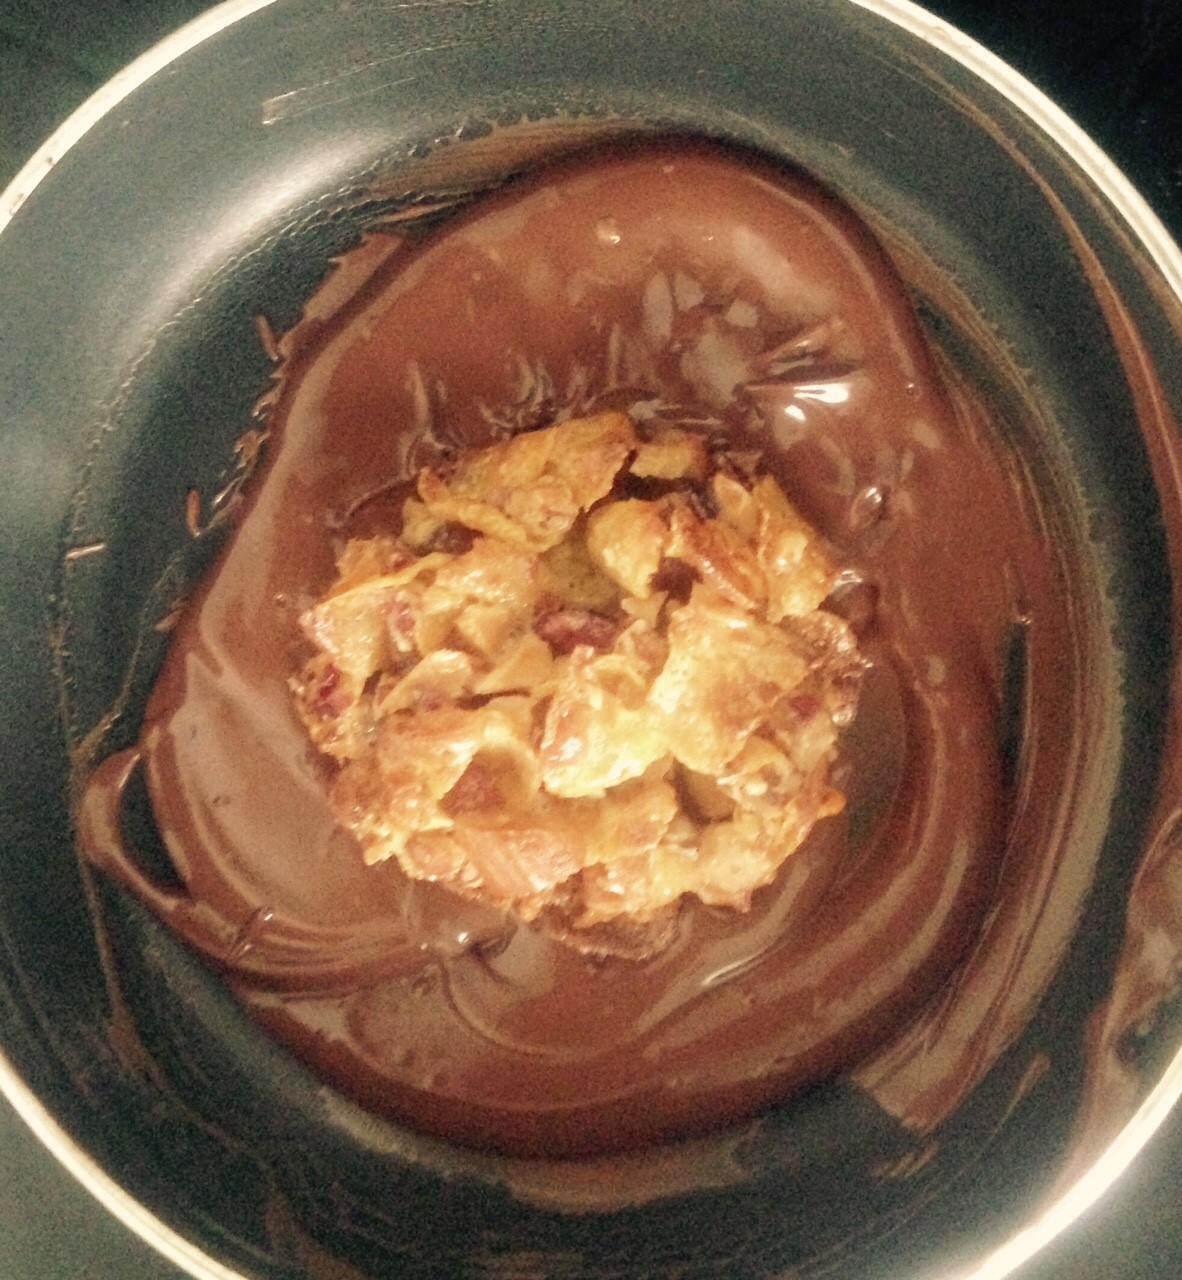
Step 7
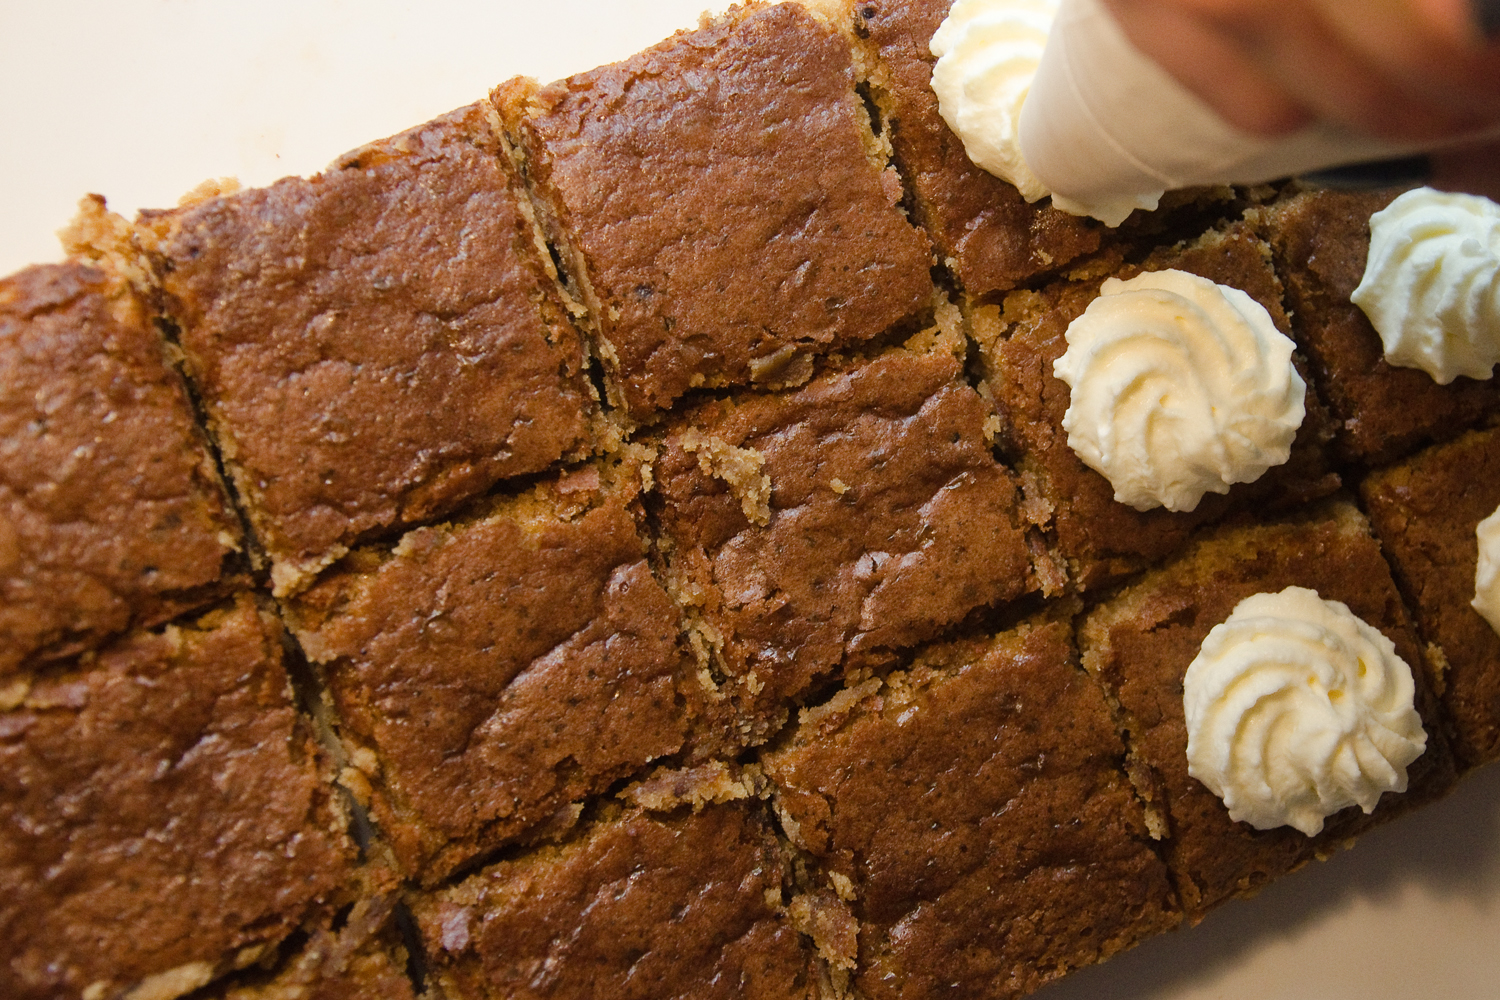
Step 7

Step 7
 Follow