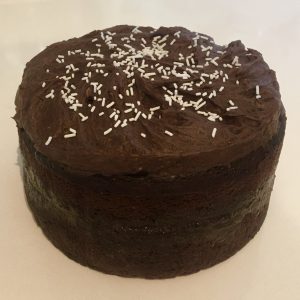
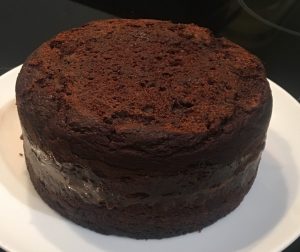
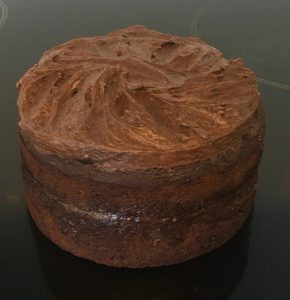
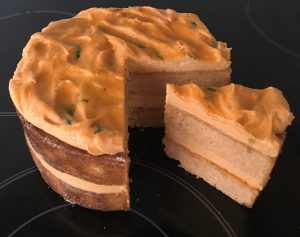
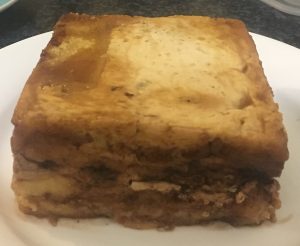
Cauliflower Chocolate and Coconut Cake
Recently I have gone cauliflower rice crazy (the current fav is with stock, coriander, mint, olive oil, falafels and tahini paste…yum!). Why I bring this up…savory dishes weren’t my only thought for utilising the cauliflower rice.
You will know that I have made many cakes with grains and vegetables as a core base ingredient, from pumpkin, zucchini and potato, to millet, quinoa and polenta. As cauliflower is a new one for me I of course had to start experimenting with this veggie in a sweet bake.
Using a past quinoa recipe as a base I started to test and learn with flavour and ingredient variations.
To keep on the ‘healthy’ theme I opted for a ‘sugar free’ frosting where I took my sticky date pudding recipe, coping the date prep and blitz with a loooot of cauliflower, cocoa powder and a little coconut oil for richness.
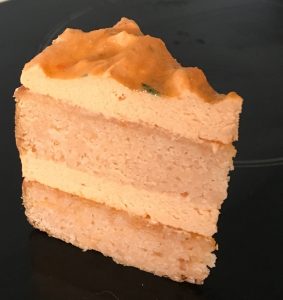
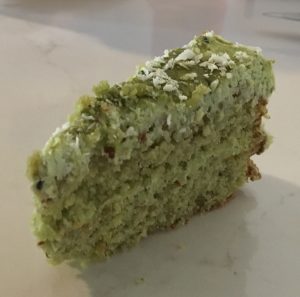
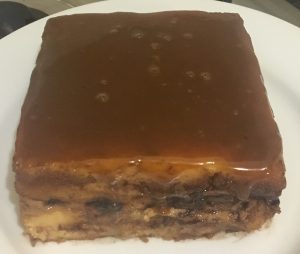
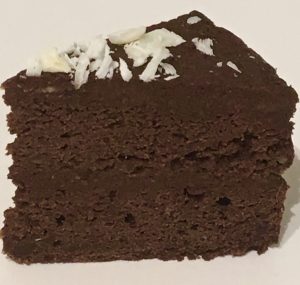
This cake is so moreish, in fact most people that trialled this cake saw it as more satisfying than a mud cake, with a better texture, taste and product.

Ingredients:
Cake:
- 350g cauliflower
- 100ml plain yoghurt
- 100g coconut oil
- 180g brown sugar
- 2 eggs
- 250g self-raising flour
- 80g cocoa powder
- 1/8 tsn salt
- 1 tsn lemon juice
- 180ml coconut cream
Frosting:
- 40g cocoa powder
- 50g coconut oil
- 140g dates
- 70ml water
- Pinch salt
Method:
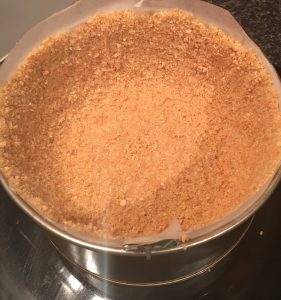
- Pre heat the oven to 175c degrees and line a 25cm cake tin with baking paper.
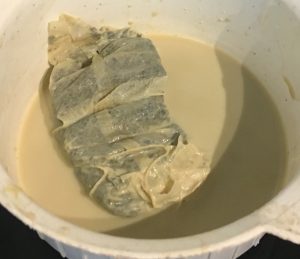
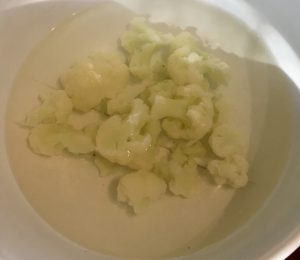
- Cut the cauliflower into chunks. Place cauliflower into a bowl and cover with hot water.
- Cook the cauliflower in the microwave until just soft, drain and leave aside to cool.
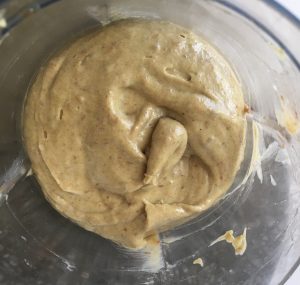
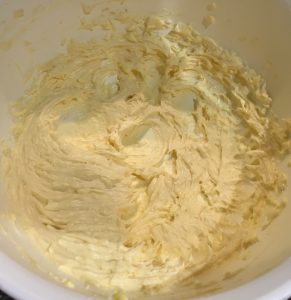
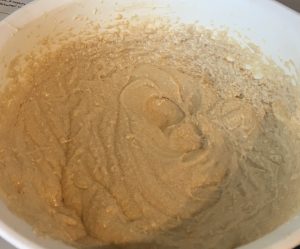
- Place the yoghurt, oil and sugar into a bowl and beat with electric beaters until pale and fluffy.
- Add the eggs one at a time, beating in between each addition.
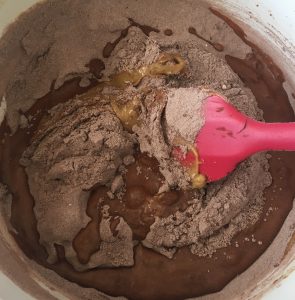
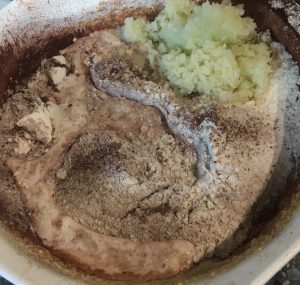
- In a separate bowl sieve the flour, cocoa and salt, stir to combine.
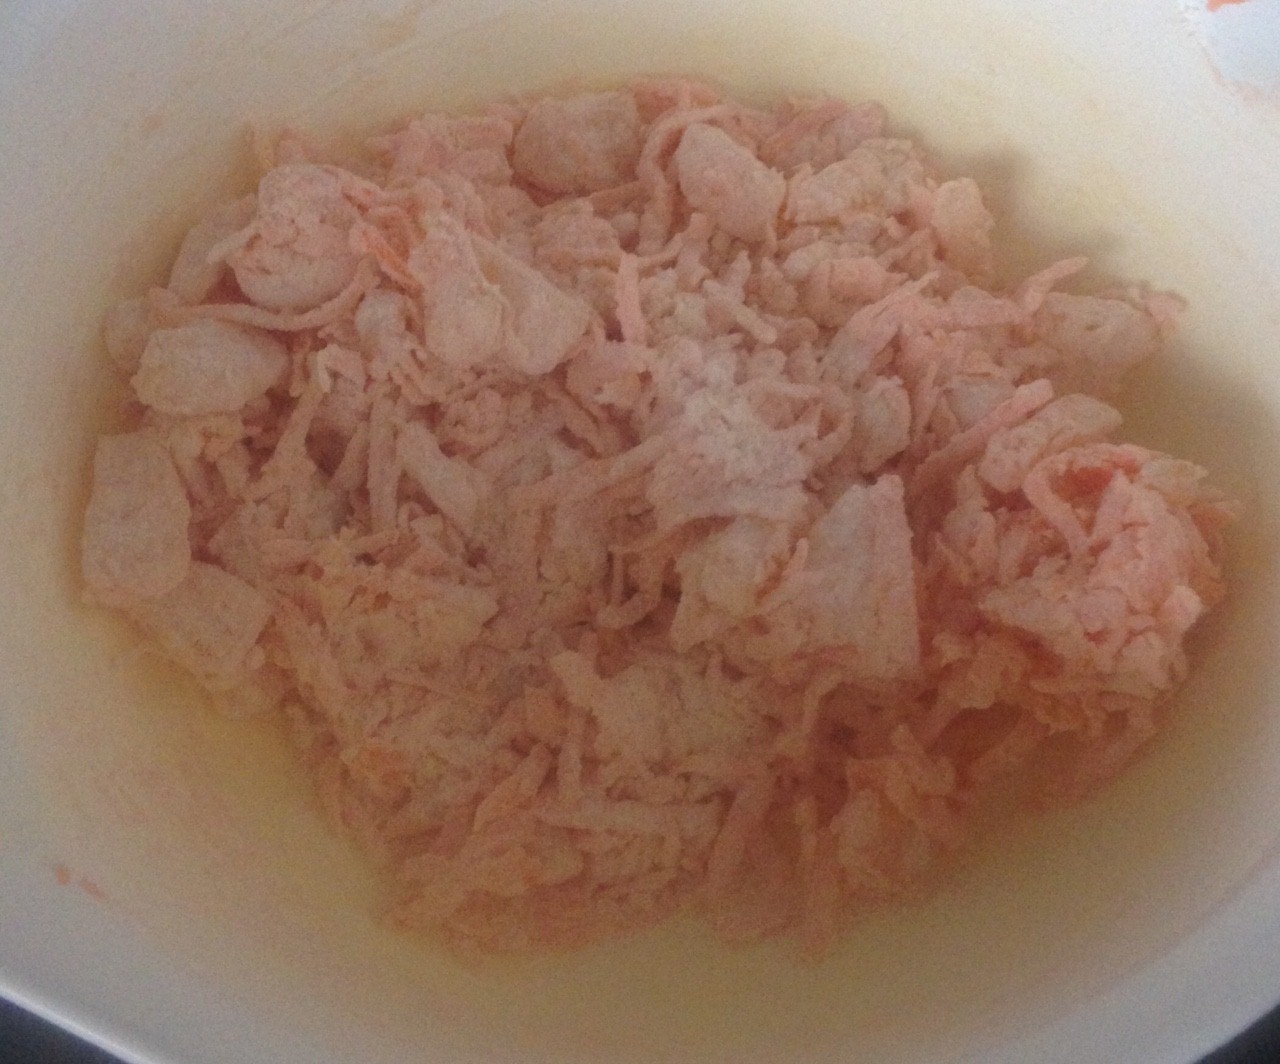
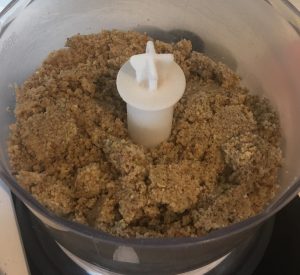
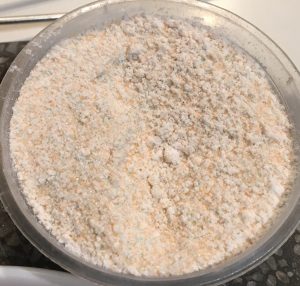
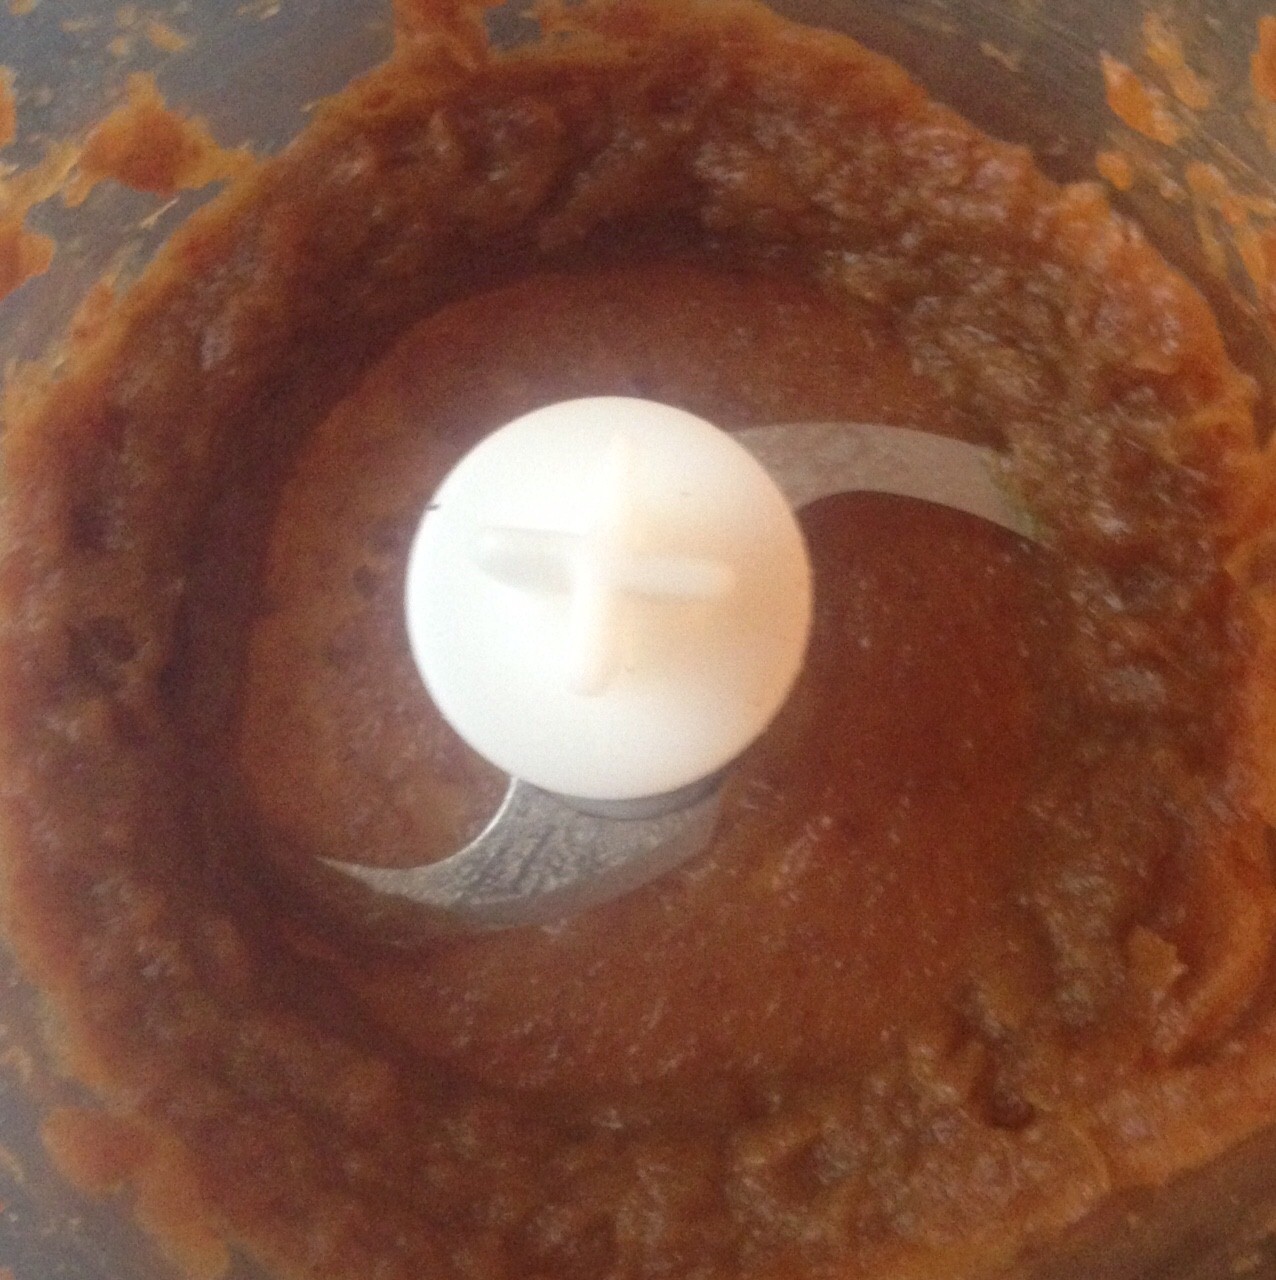
- Place the cauliflower into a food processor and blitz until almost pureed.
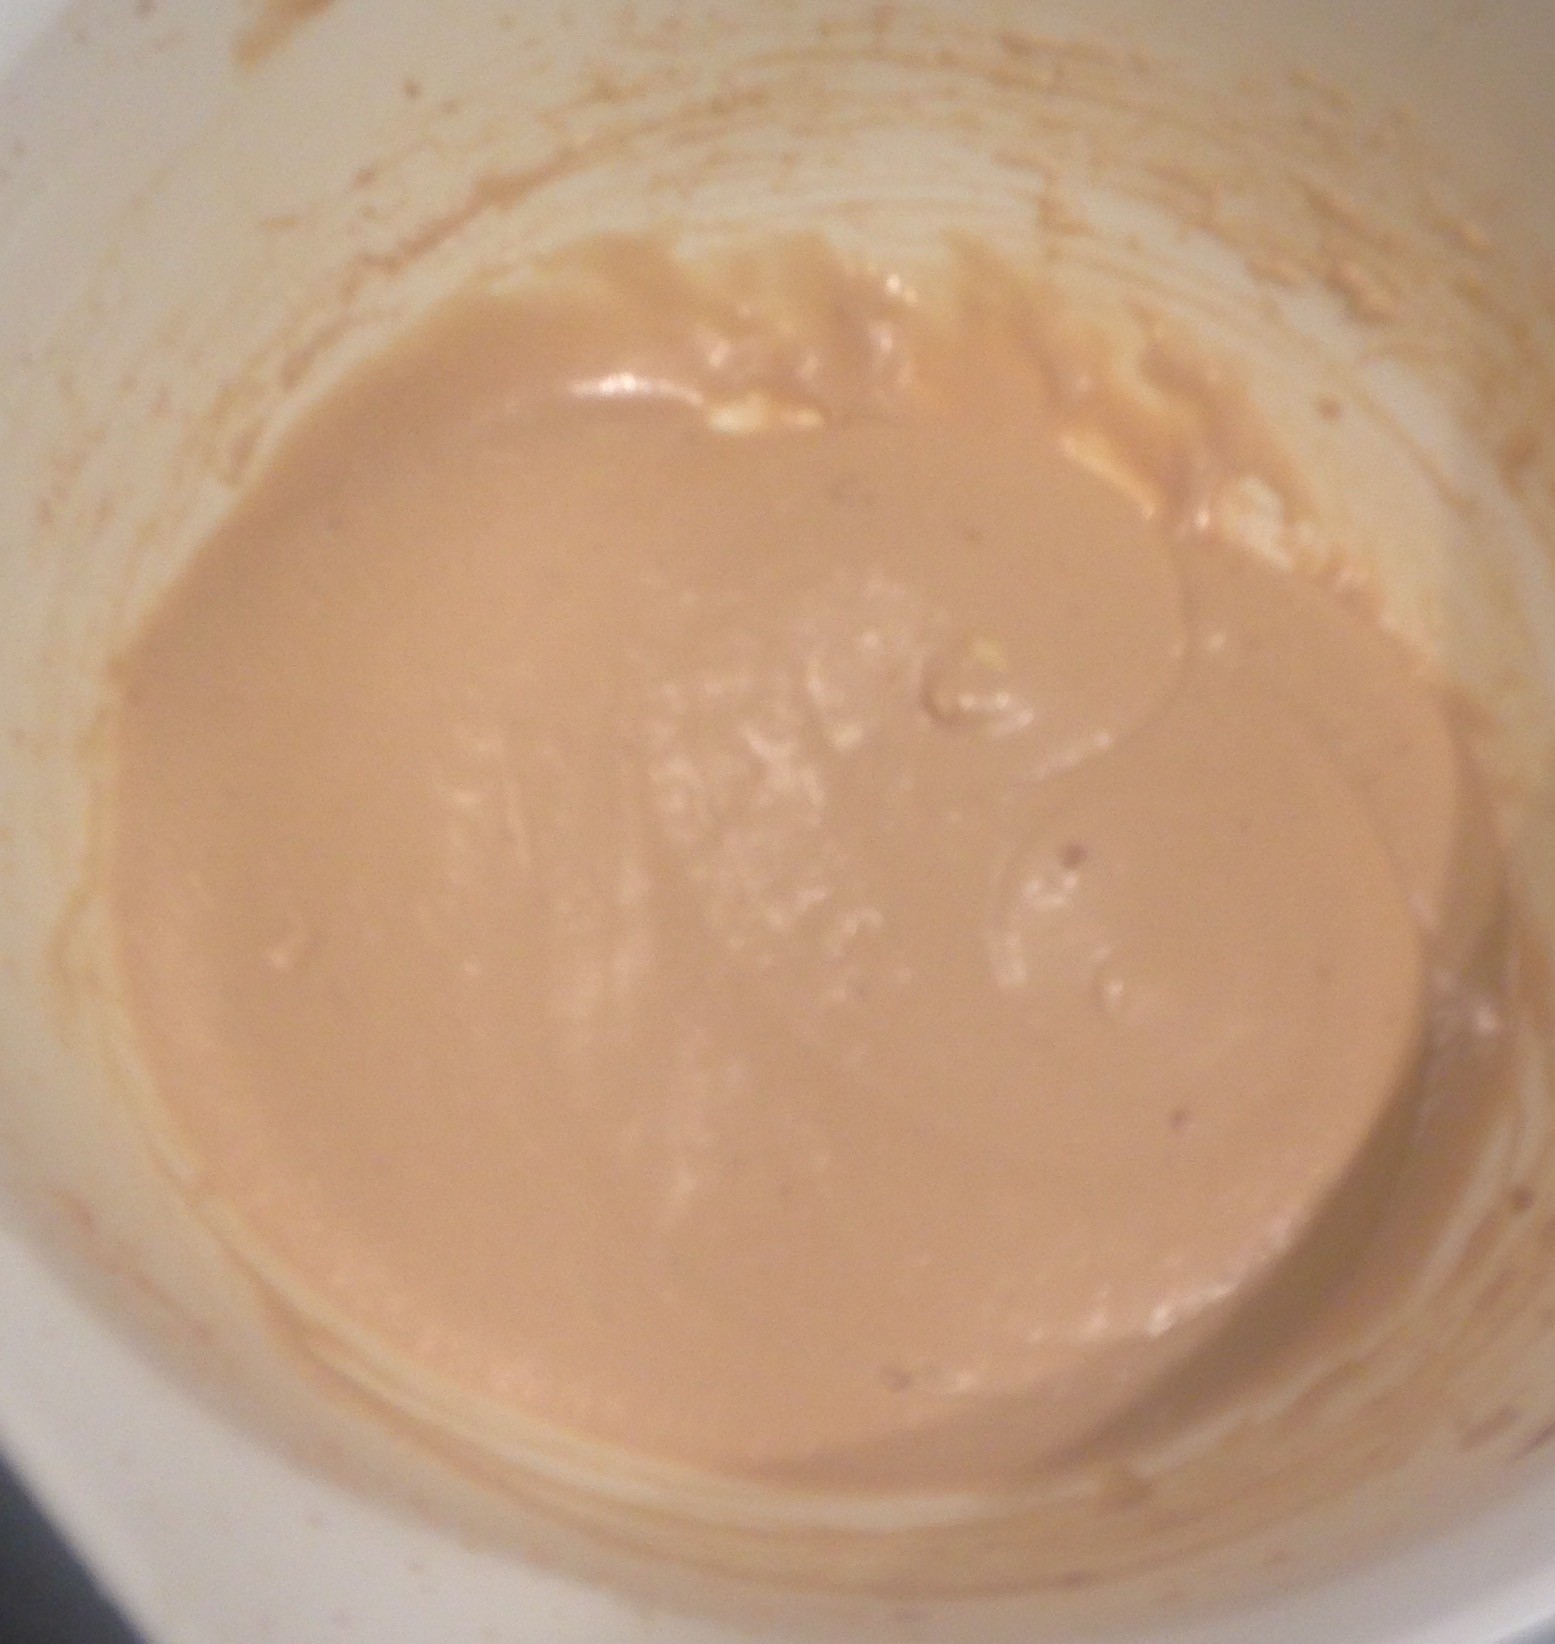
- Spoon 110g of the puree cauliflower, lemon juice, coconut cream and flour mix into the egg mix.
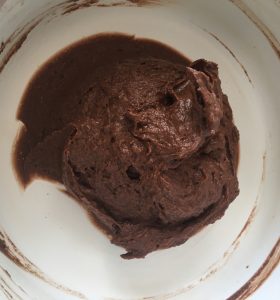
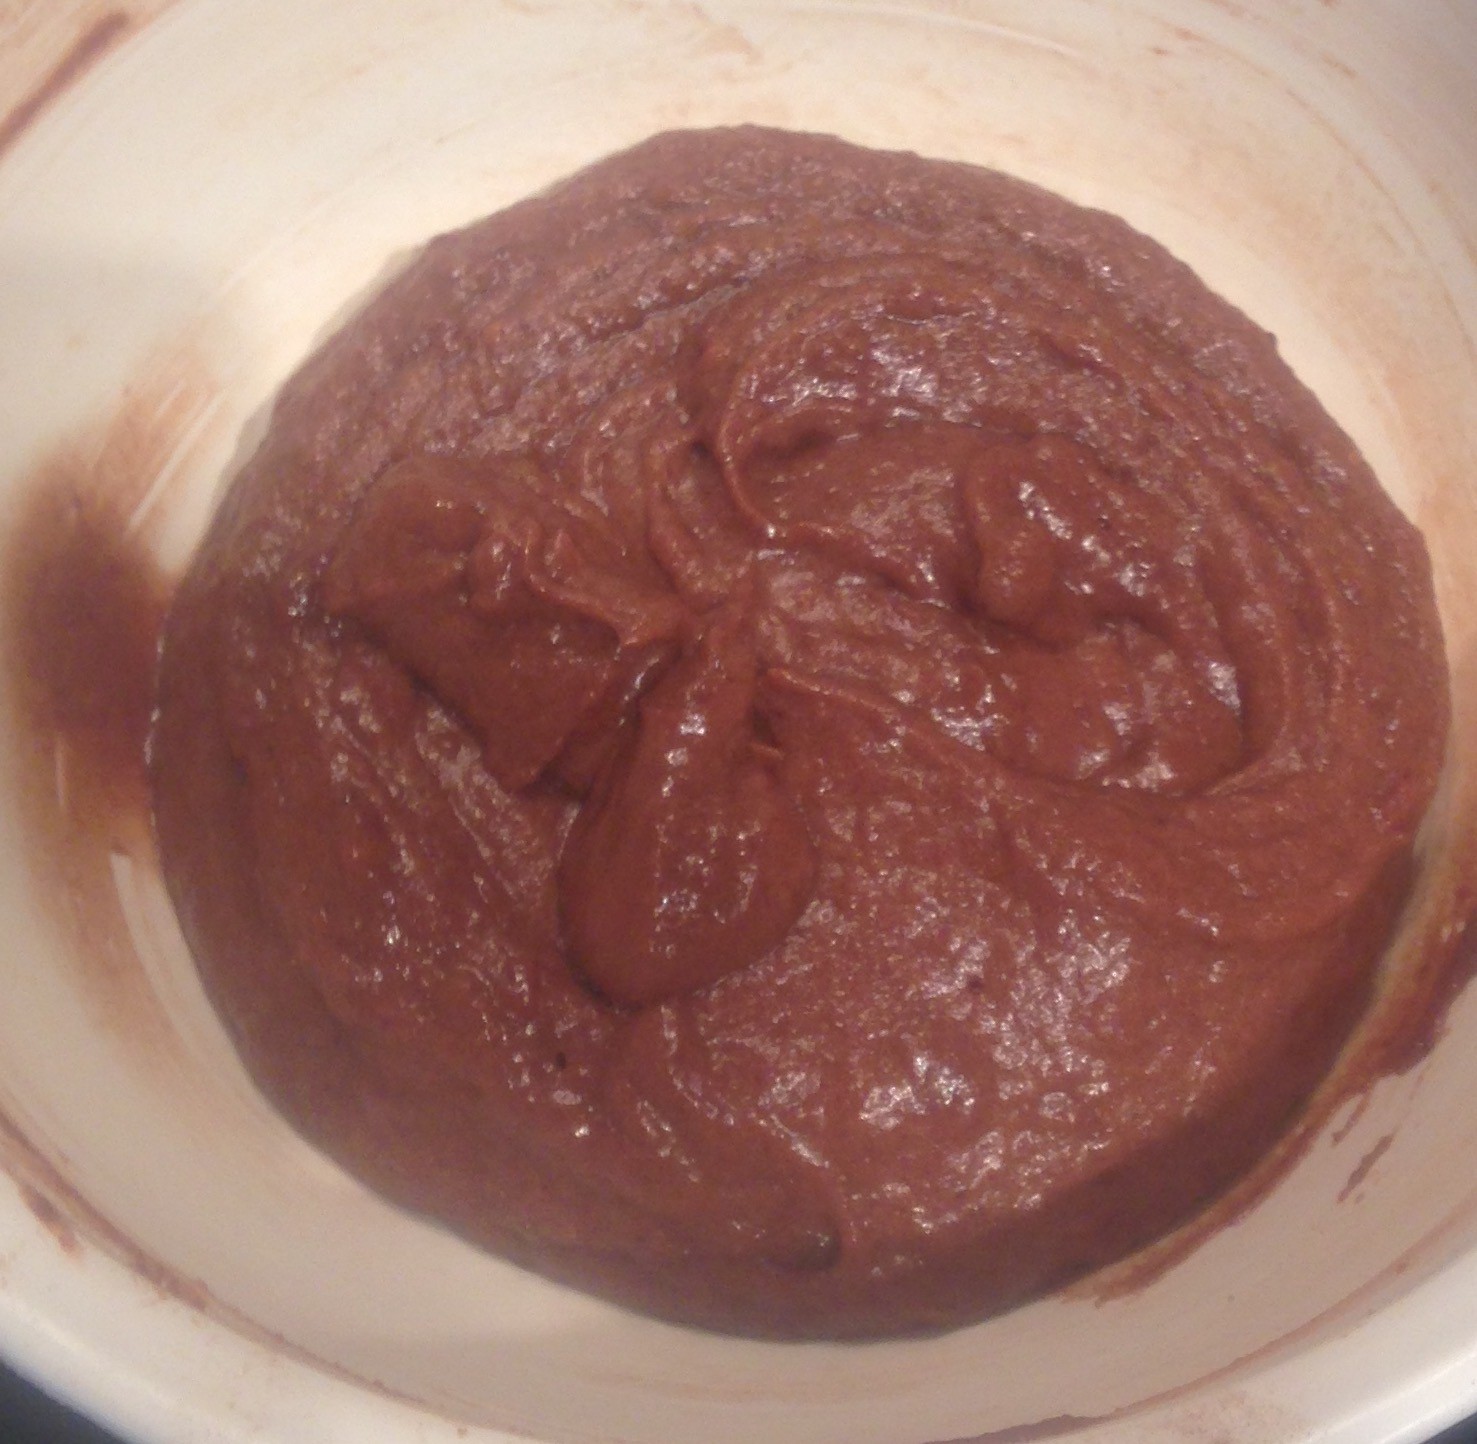
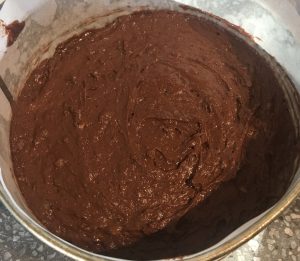
- Fold all ingredients until just combine.
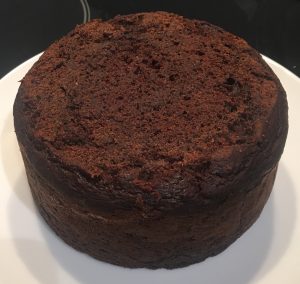
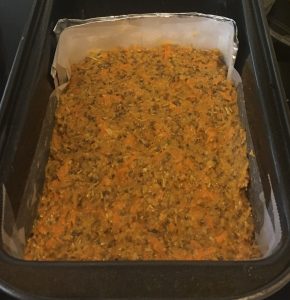
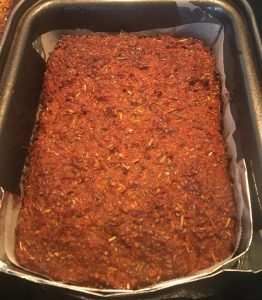
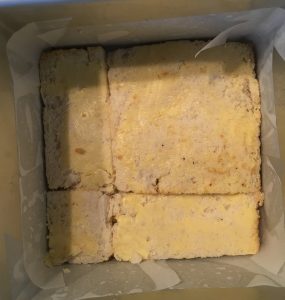
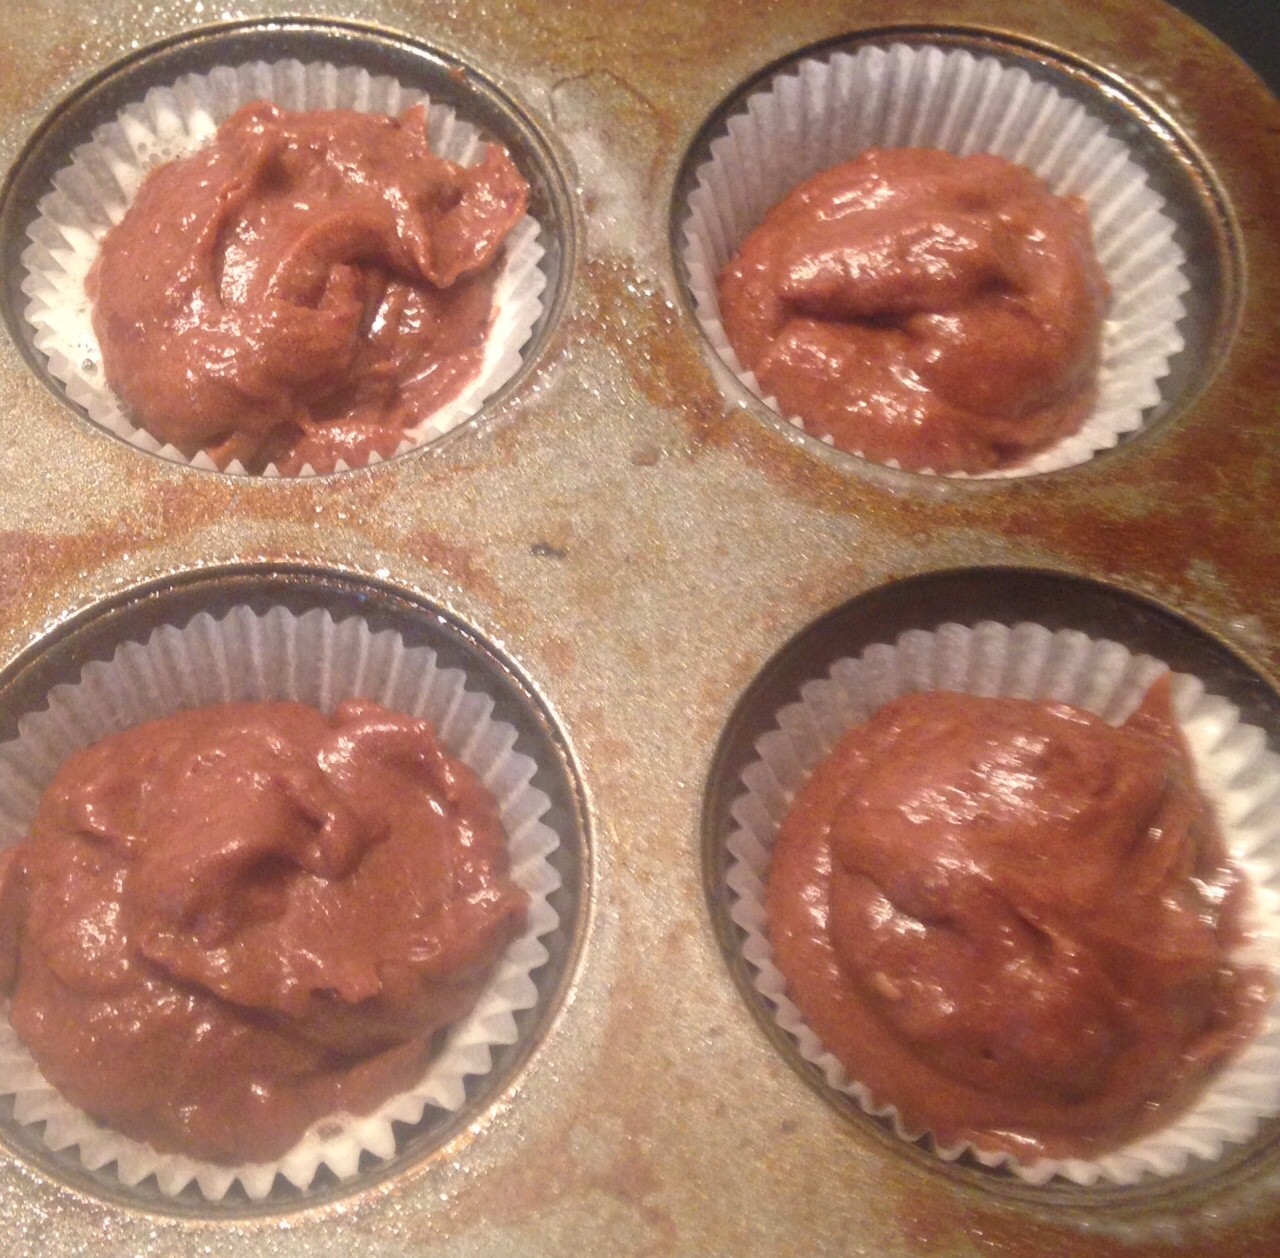
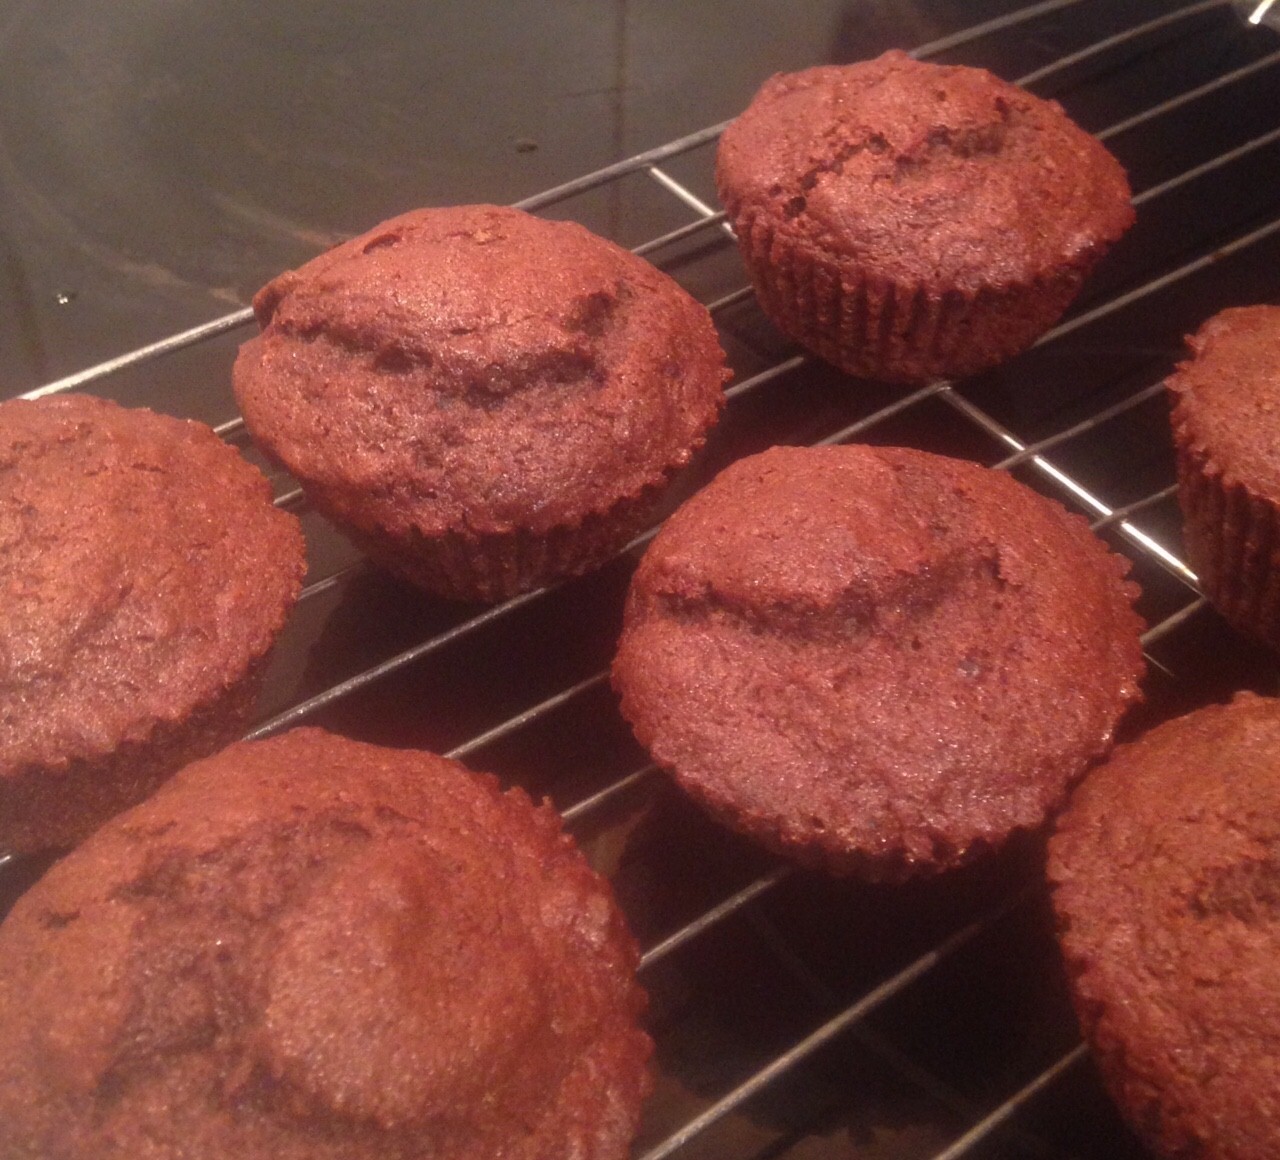
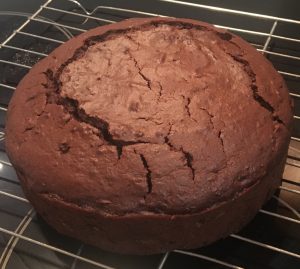
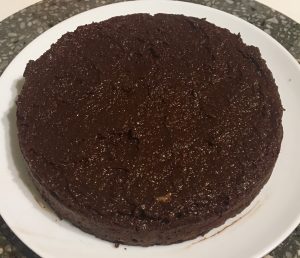
- Pour the batter into the cake tin and bake for 45 minutes or until a skewer inserted in the centre comes out clean.
- Place the cake on a cooling rack until completely cooled.
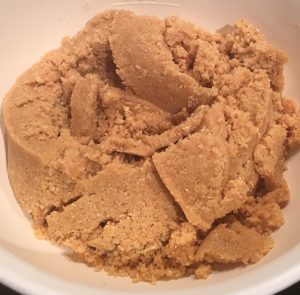
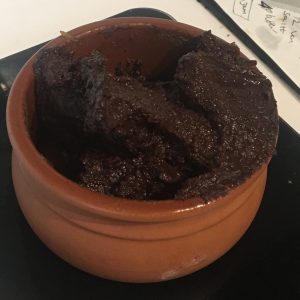
- Meanwhile, place the dates and water into a saucepan on a high heat until the water is absorbed and the dates have broken down, leave aside to cool.
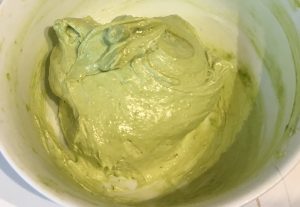
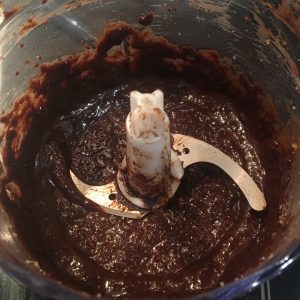
- Make the frosting by place the remaining 240g cauliflower, cocoa, oil, dates and salt into a food processor and blitz until silky smooth.
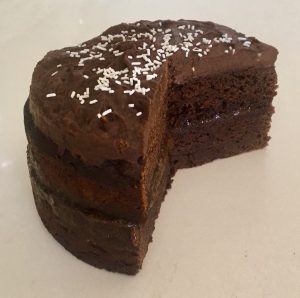
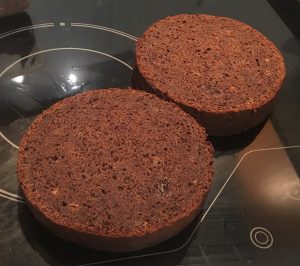
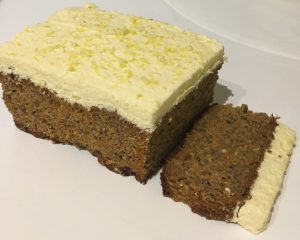
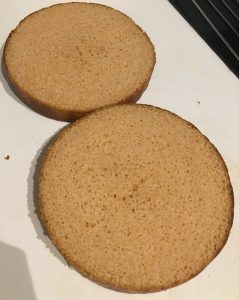
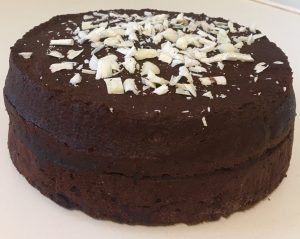
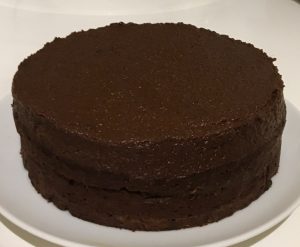
- Cut the cake horizontally into 2 layers.
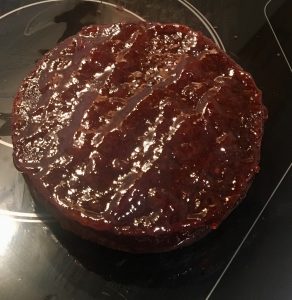
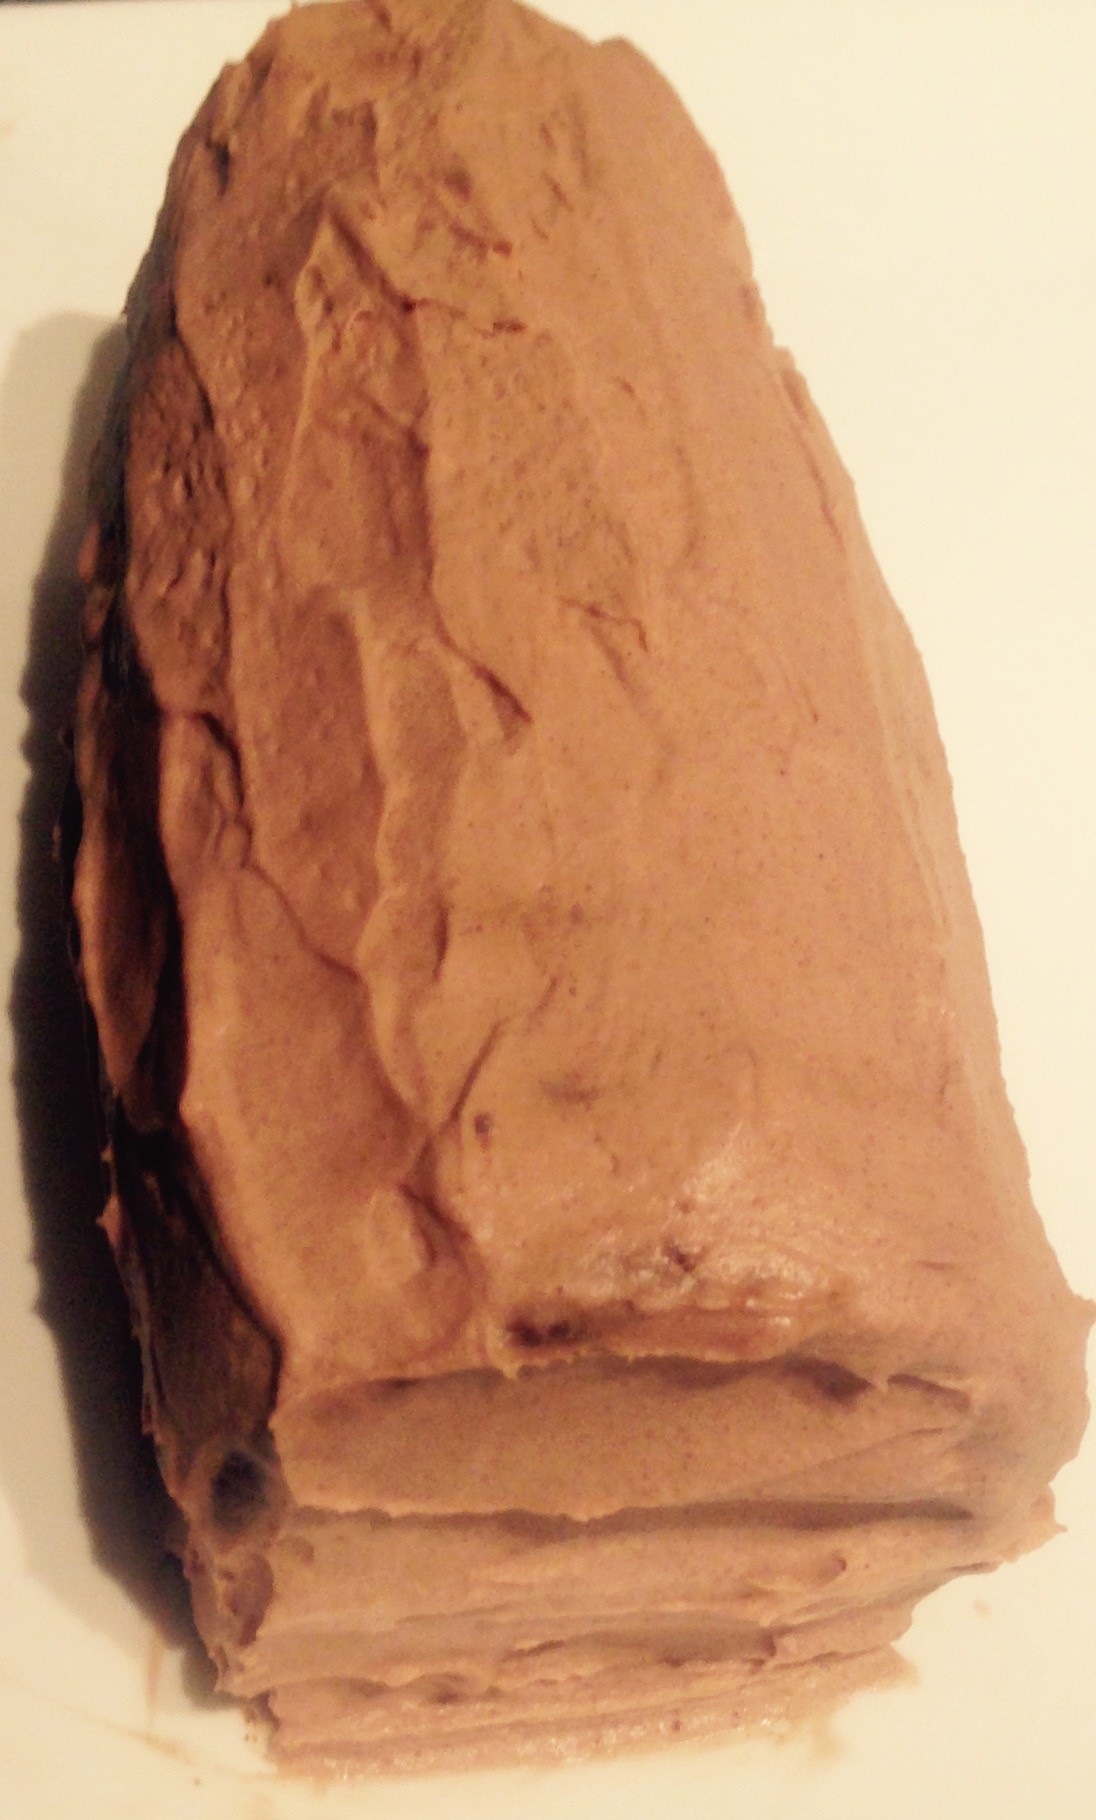
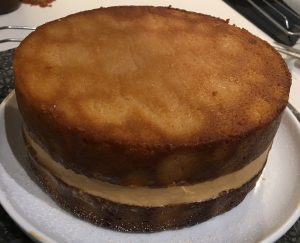
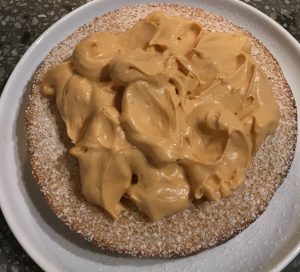
- Place a cake layer on a plate and top with half the frosting.
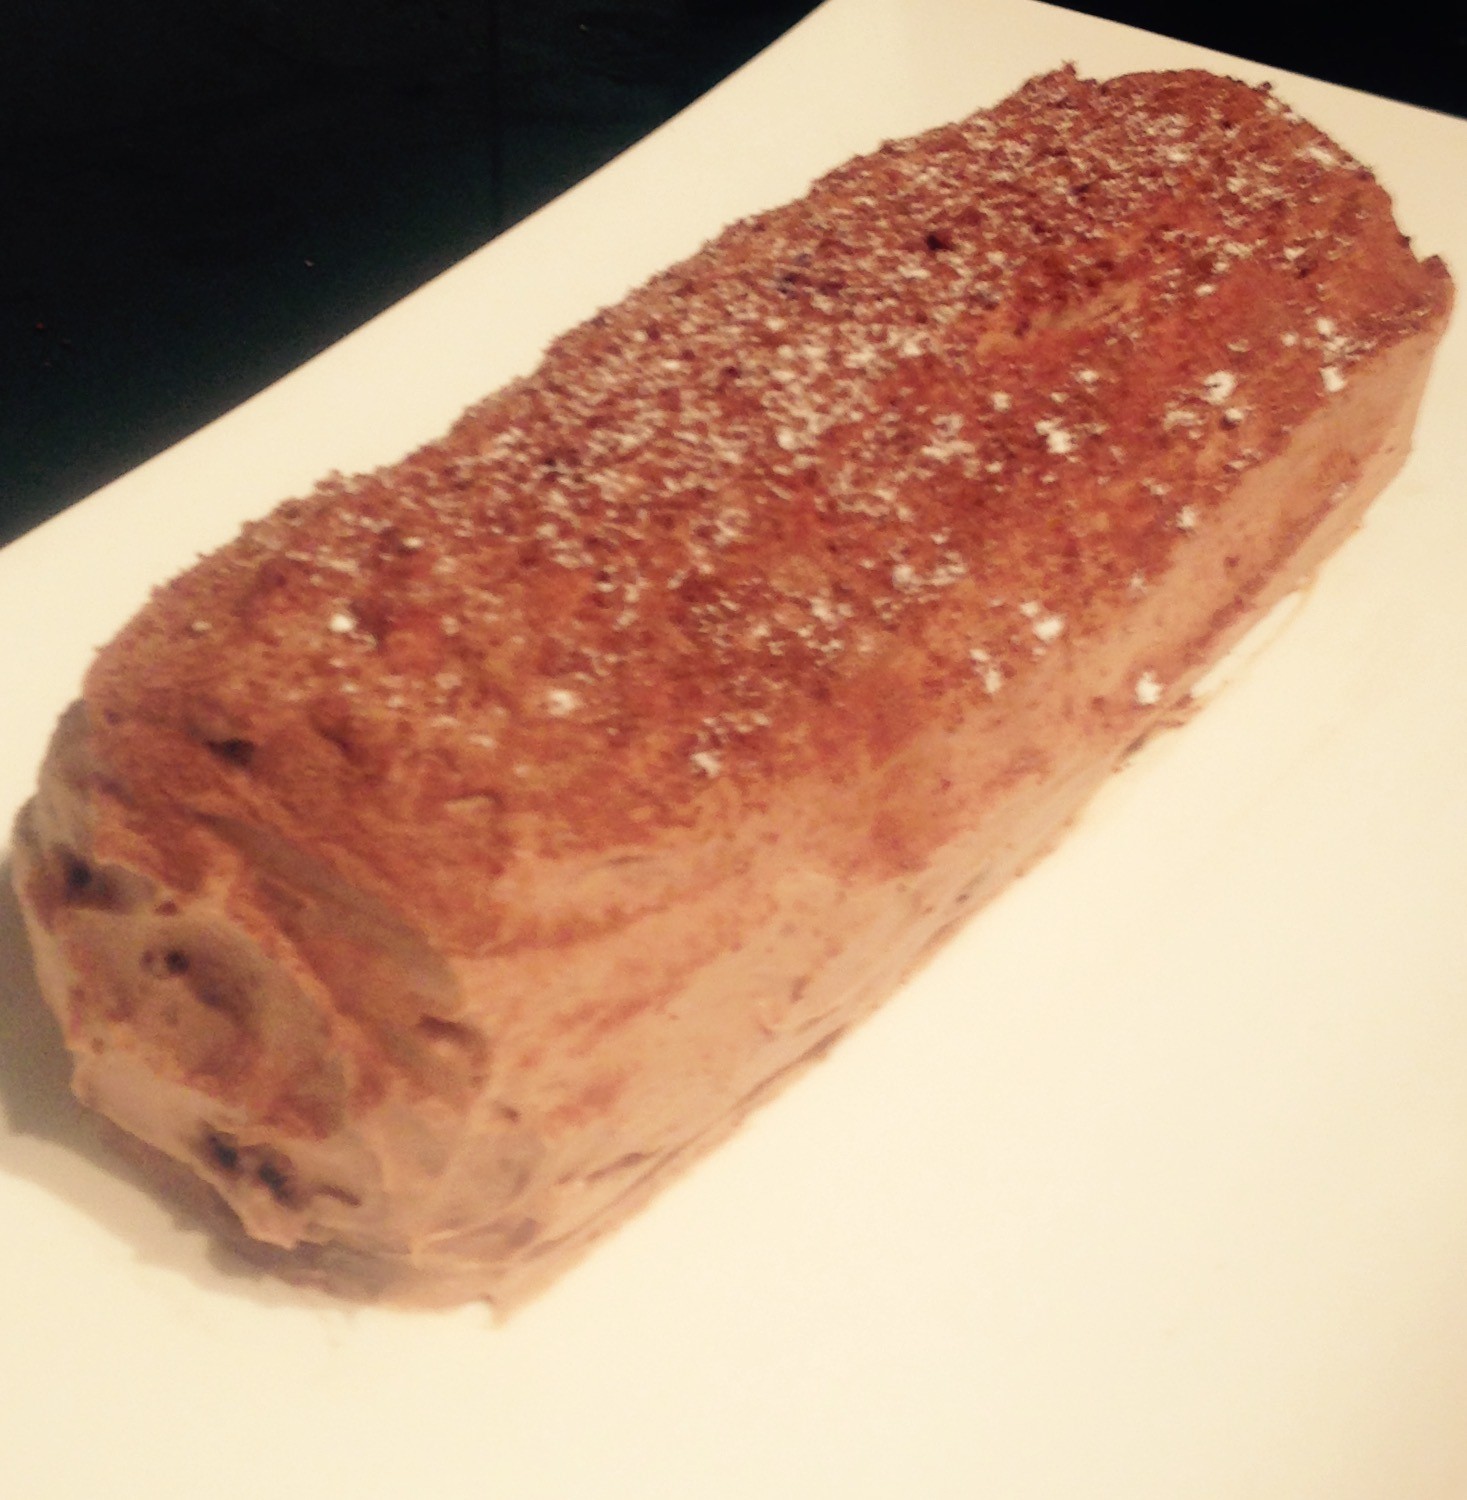
- Top the frosting with the second cake layer, then top with the remaining frosting.
- Enjoy!
Step 2
Step 5
Step 8
Step 10
Step 11
Step 13
Step 13
Step 15
Step 16
Step 16
Like this recipe? Subscribe via RSS or email to get my new entries and more scrumptious recipes with reviews.
 Follow