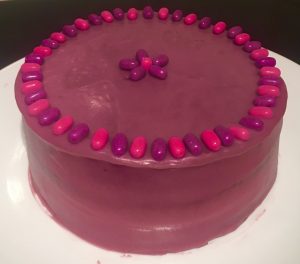
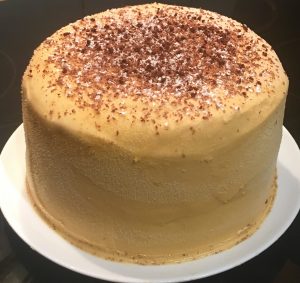
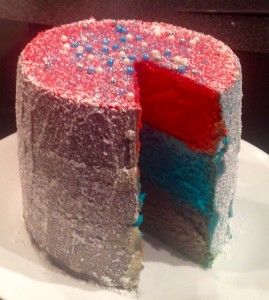
Blue Heaven, Grape Bubblegum and Creamy Soda Jelly Cake
-
When I was a tween/teen I use to love grape bubble-gum, creamy soda and blue heaven flavours. The grape flavour HubbaBubba bubble-gum was the go to, creamy soda was my favourite soft drink and blue heaven syrup was a must for the usual ‘spider’ milkshake I got at cafes with the family.
As these flavours are all available in jelly crystals in the local Coles and Woolworths I decided I would use the crystals as the flavouring, in which is a method I have done many times in the past with a range of recipes.
Once I had the flavours it was as simple as using my never fail vanilla cake mix and just dividing up the batter.
This cake definitely brings back so many childhood memories!
And of course, is very tasty as well!
Cake:
- 260g butter
- 200g sugar
- 4 eggs
- 1 + ½ cup cake flour
- 1 + ½ cup plain flour
- 1 tsn baking powder
- ½ tsn bicarbonate soda
- 1 cup milk
- 1 tsn vanilla essence
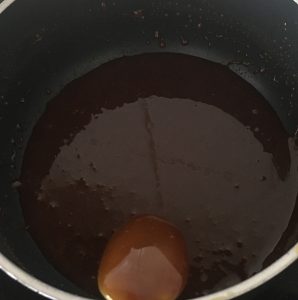
- 60g blue heaven jelly crystals
- 60g bubblegum grape jelly crystals
- 60g creamy soda jelly crystals
- Blue and Red food colouring
Icing:
- 190g butter
- 150g icing sugar
Method:
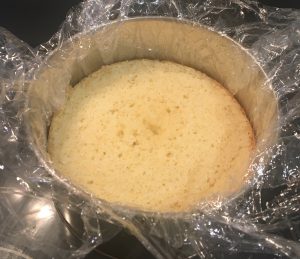
- Grease and line 3 x 25 cm cake tins and pre-heat the oven to 175c.
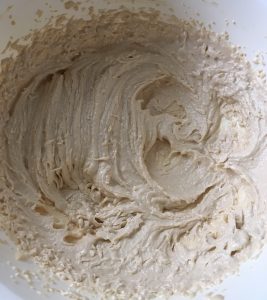
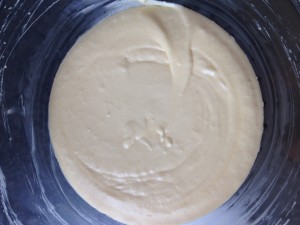
- Using electric beaters cream the butter and sugar for 5 minutes until creamy and fluffy.
- Add eggs one at a time, beating between each addition.
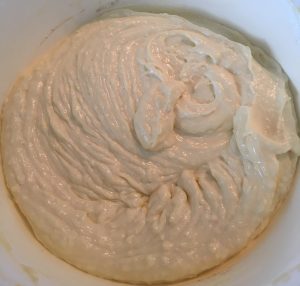
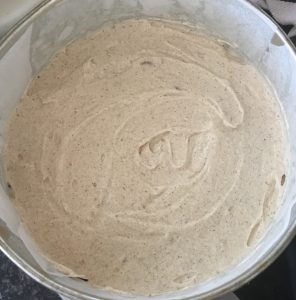
- Sift the flours, powder and soda in a bowl, add this dry mix to the butter mix. Add the milk and vanilla to the butter mix, beat on slow until just combined (do not over beat).
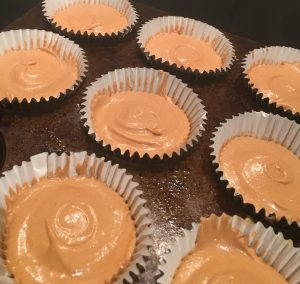
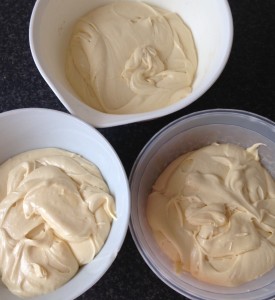
- Divide the batter equally into 3 bowls.
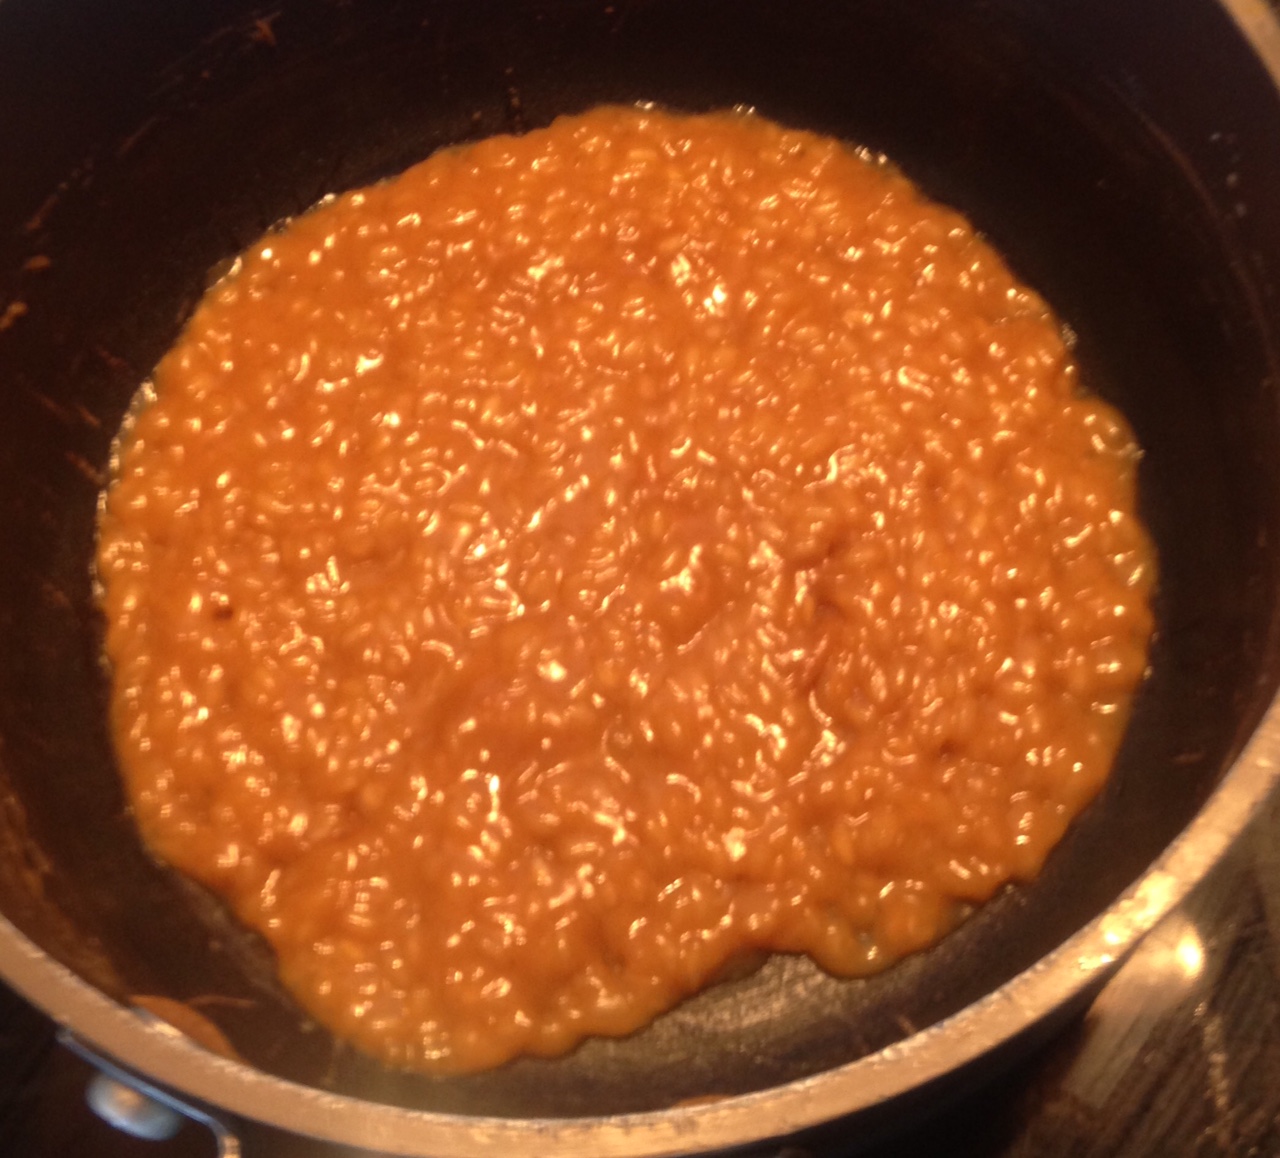
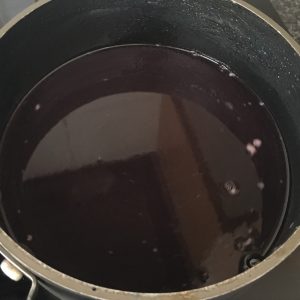
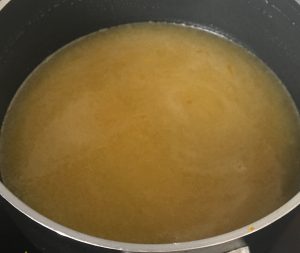
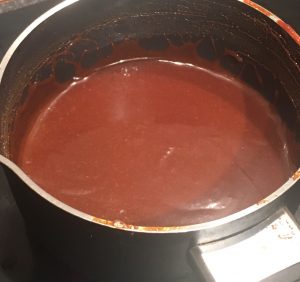
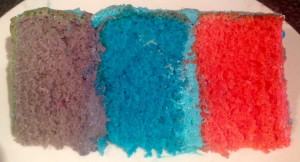
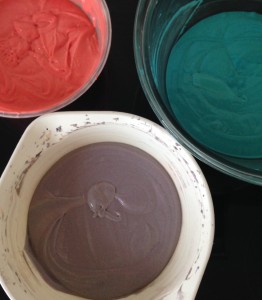
- Add the blue heaven jelly crystals and blue food colouring to one bowl of batter mix.
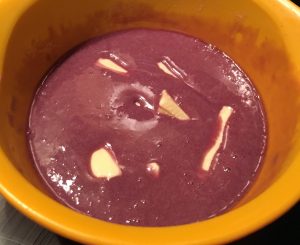
- In the second bowl of batter add the Bubblegum jelly crystals mixed with a little red and blue food colouring to make the purple grape colour.
- Lastly add the creamy soda jelly crystals as well as the red food colouring to the last bowl.
- Stir each bowl of batter until the crystals and colour is just combine and even.
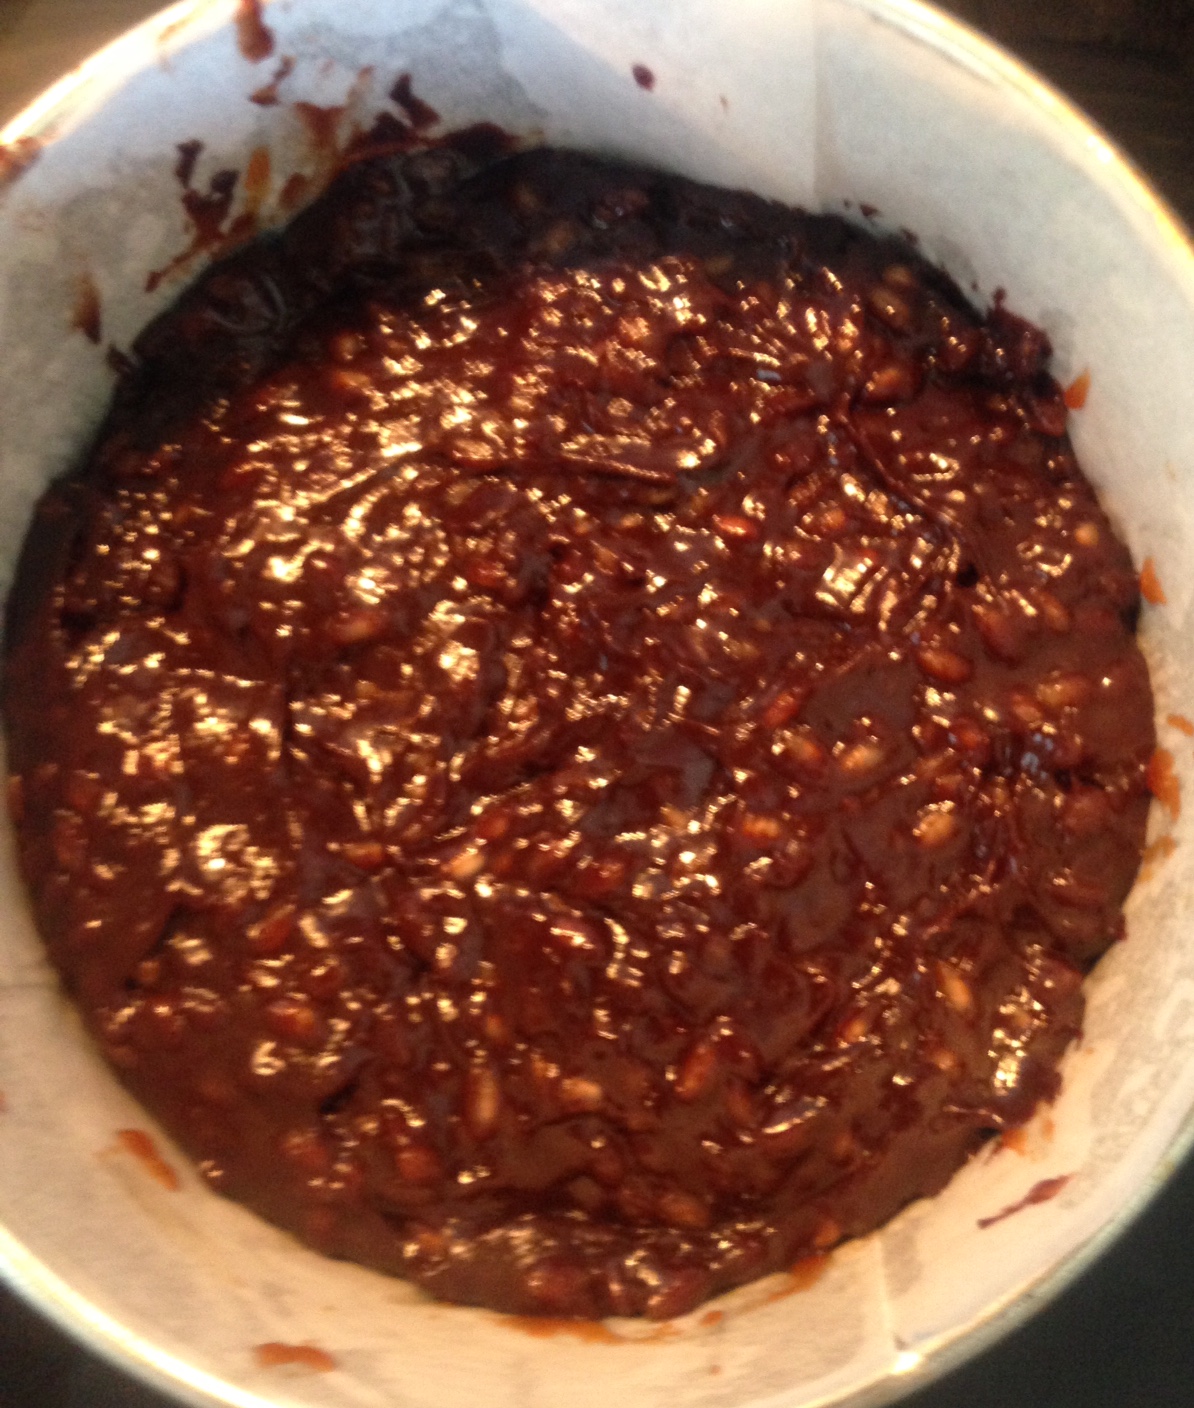
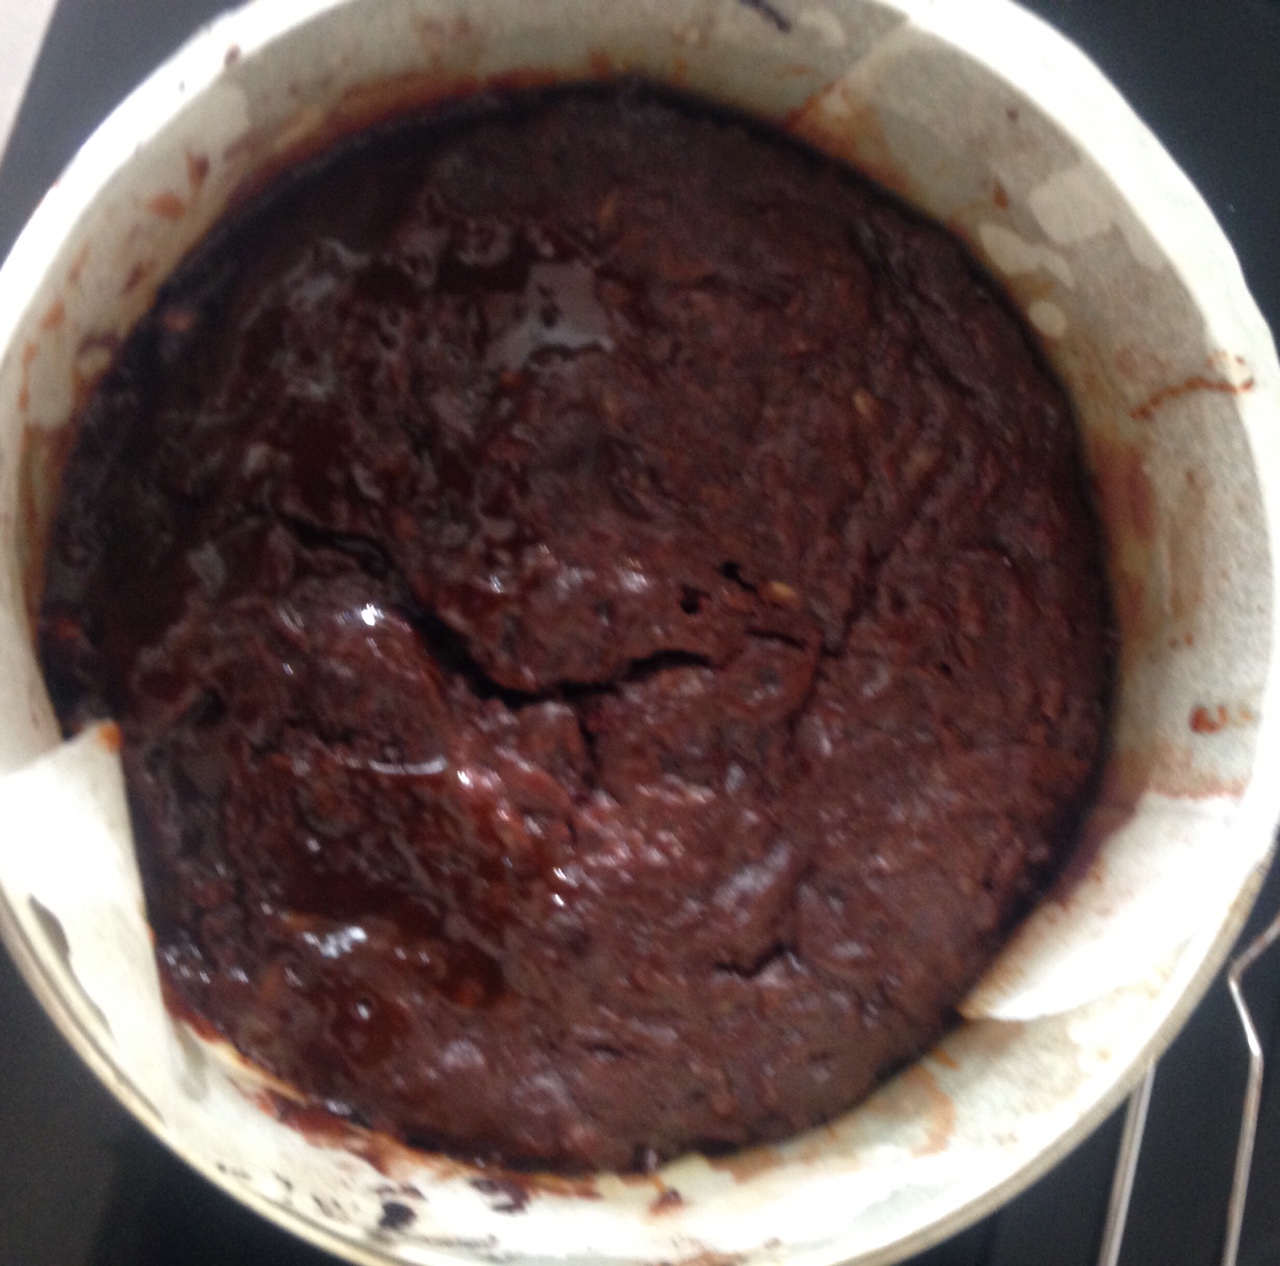
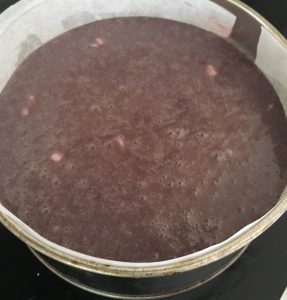
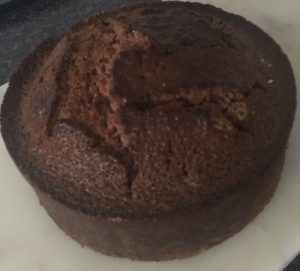
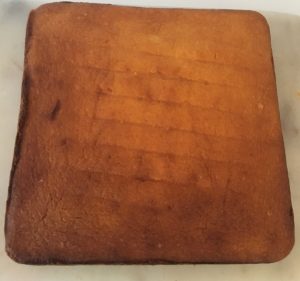
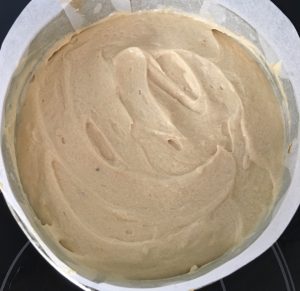
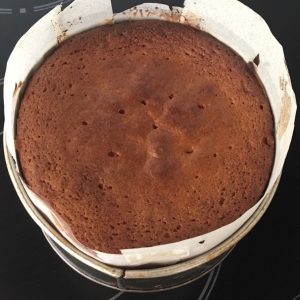
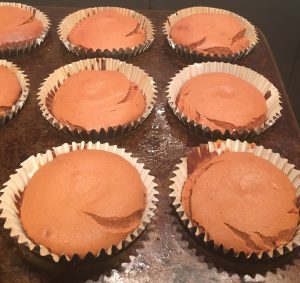
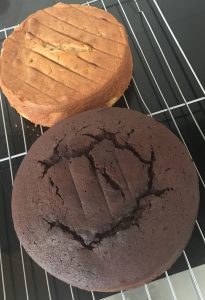
- Pour the 3 bowls of batter into the 3 tins and bake for 45 minutes until a skewer inserted in the centre comes out clean.
- Cool the cakes in the pan for 5 minutes then place on a cooling rack.
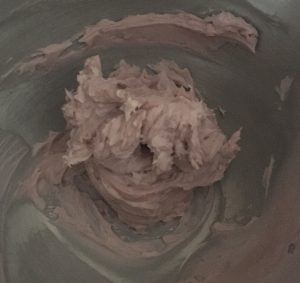
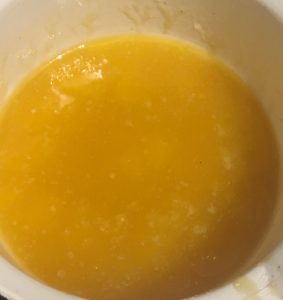
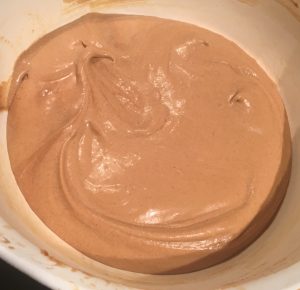
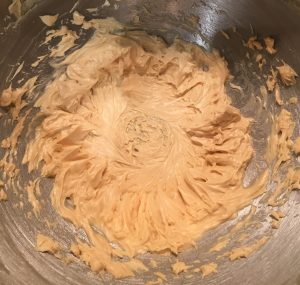
- To make the icing beat the butter and sugar for 5 minutes until fluffy and creamy.
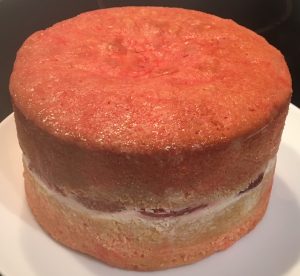
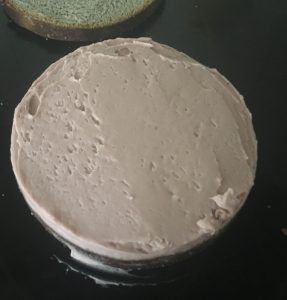
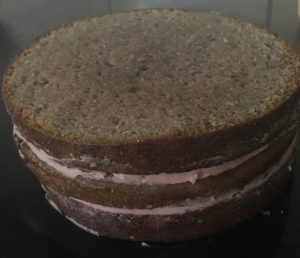
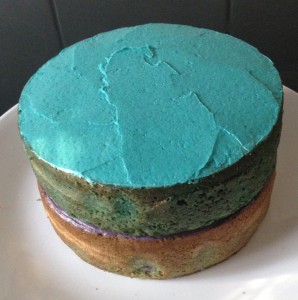
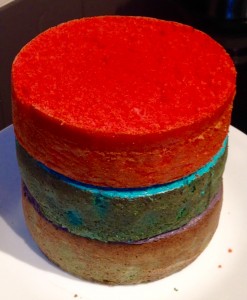
- Once the cakes are cold place the purple layer onto a plate and spread a layer of icing on top.
- Add the blue cake layer and top with icing.
- Add the pink cake layer and top with icing.
- Use the remainder of the icing to spread around the sides of the cake to ensure top and side coverage.
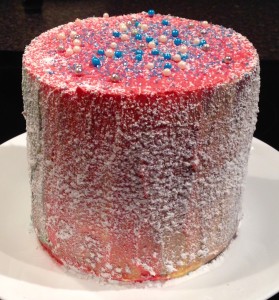
Notes: I divided the icing into 3 bowls and added colours according to the layer (for the outside icing combine the leftover icing). This is not required but I felt it further enhanced the colours vibrancy. I also decorated with an icing sugar dusting and coloured sugar pearls.
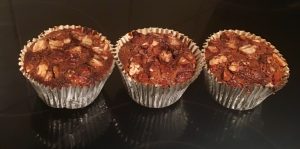
- Step 4
- Step 5
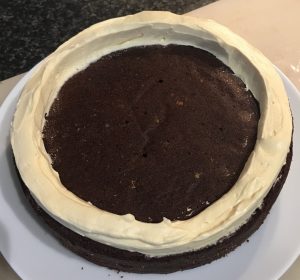
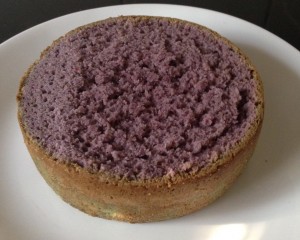
- Step 9
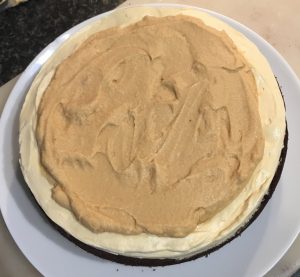
- Step 13
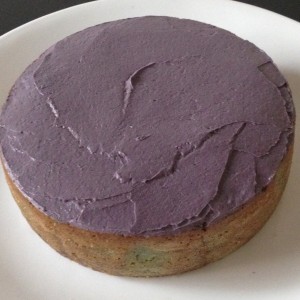
- Step 13
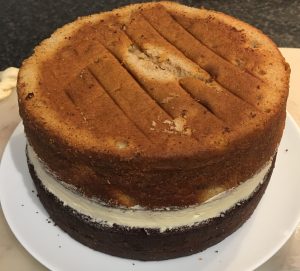
- Step 14
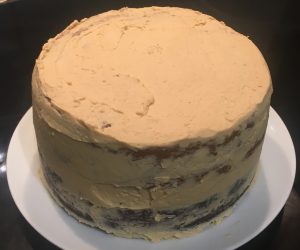
- Step 15

- Step 16
Like this recipe? Subscribe via RSS or email to get my new entries and more scrumptious recipes with reviews.
 Follow