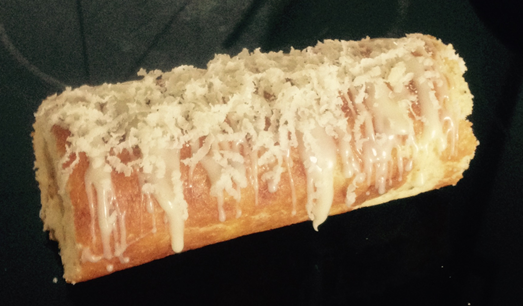
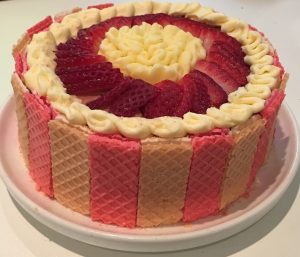
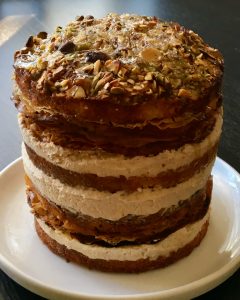
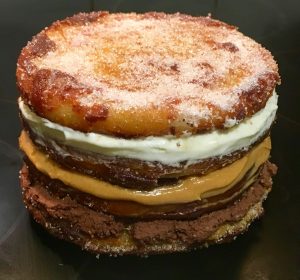
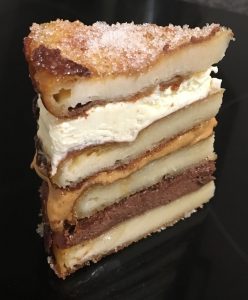
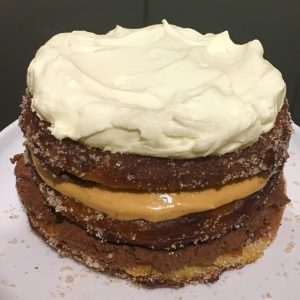
Lemon Almond and Lavender Roulade
For a long time now I have been playing with different flavour pairings of roulades. Thanks to my curiosity in experimenting I got hooked on continuing to play until I created a recipe I deemed blog-worthy. It may have taken about 7 attempts but I got there in the end. It took me about 3 goes to get the perfect sponge cake base that could bend seamlessly and not split as soon as it is rolled. I then also trial many flavour pairings where I went through Early Grey & Blueberry, Chestnut & Chocolate and a citrus blend to name a few…all were ok but nowhere near my expectations. It was the pairings combo of white chocolate, the multiple layers of almond flavour via almond meal & marzipan, lemon zest and lavender that created an end product of complimentary taste profiles.
Making a curd also meant that I could easily roll the roulade, handy as I struggled keeping the cream in place when using traditional filling methods.
Ingredients:
- 5 eggs
- 150g sugar
- 1 + ½ tbsn hot water
- 100g white chocolate
- 100g self raising flour
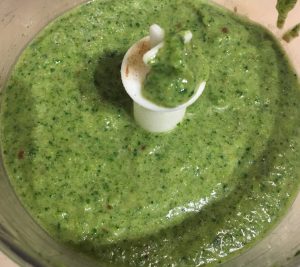
- 1 tsn ground dried lavender
- 2 tsn lemon zest
Curd:
- 2 egg yolks
- 2 eggs
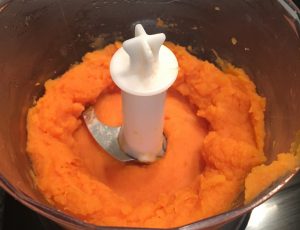
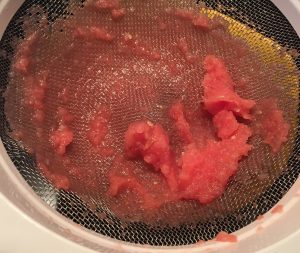
- 160g marzipan
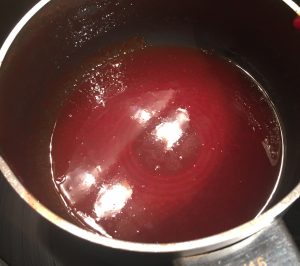
- 60ml lemon juice
- 100g butter
- 2 tsn ground lavender
- ½ tsn almond essence
Extra
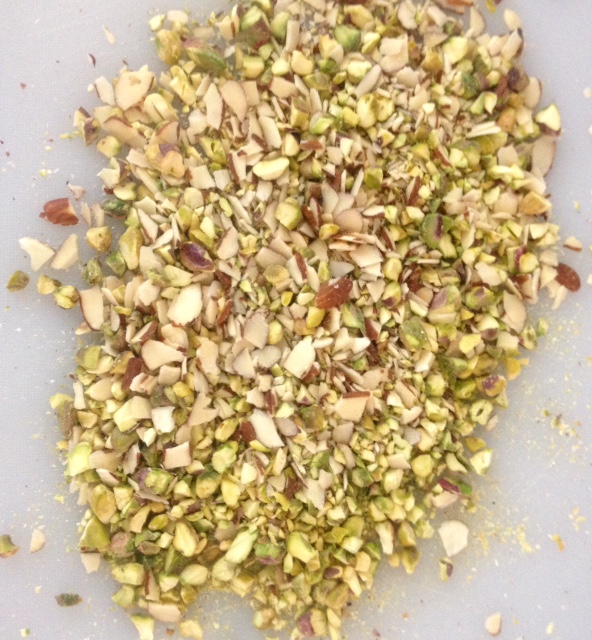
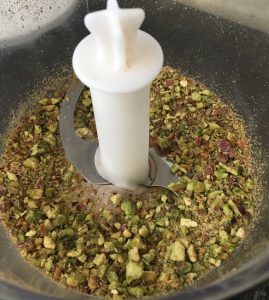
- 30g almonds
- Whipped cream or ice-cream to serve
Method:
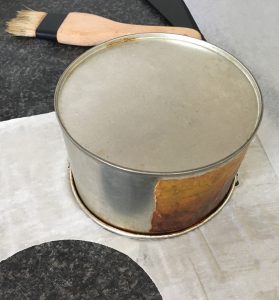
- Pre-heat oven to 175c degrees and line a 40cm x 20cm cake tin with baking paper.
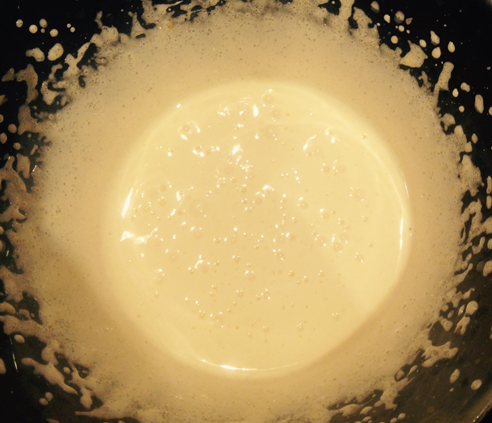
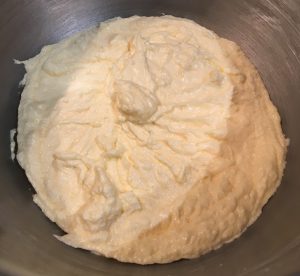
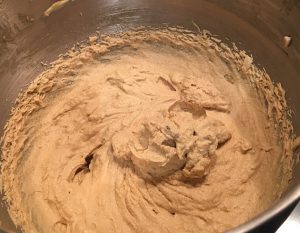
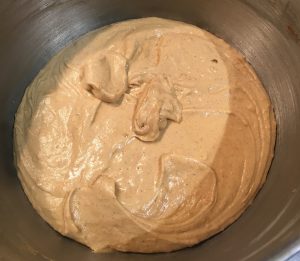
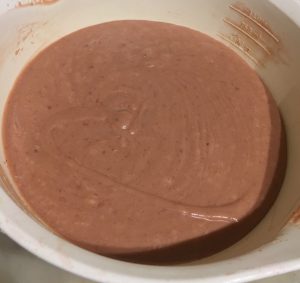
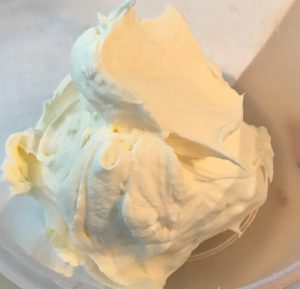
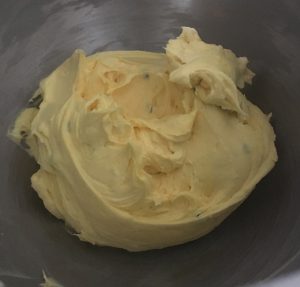
- Separate eggs and whisk egg yolks with the sugar with electric beaters until light and cream.
- Add the hot water and beat for 1 minute.
- Grate the chocolate into the egg yolk mix.
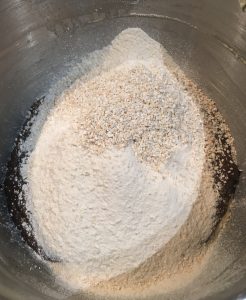
- Add the flour to the egg yolk mix and fold until just combine.
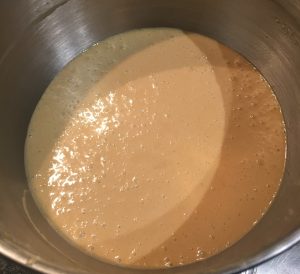
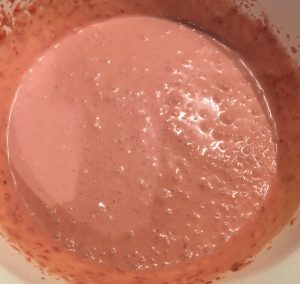
- Using electric beaters in a separate bowl whisk the egg whites until peaks form.
- Fold 1/3rd of the egg whites into the egg yolk mix until just combine to loosen the mix.
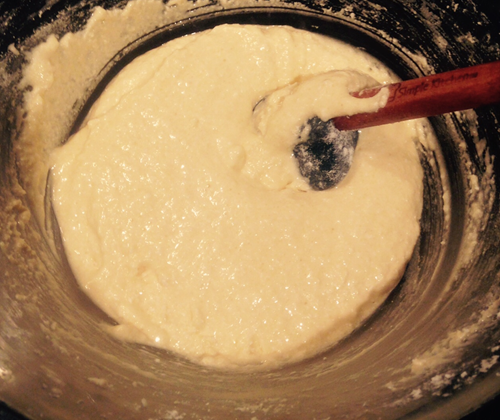
- Add the remaining egg whites and fold until just combine.
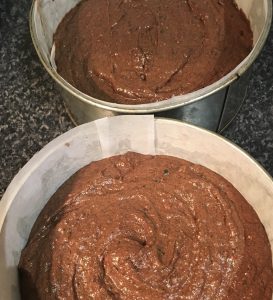
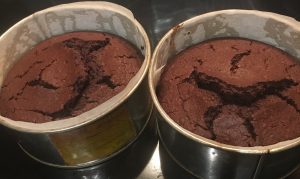
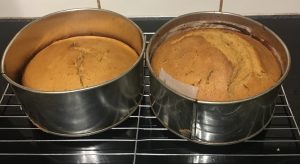
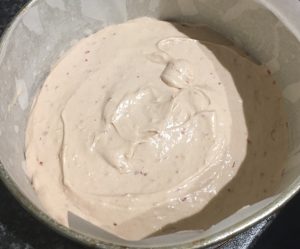
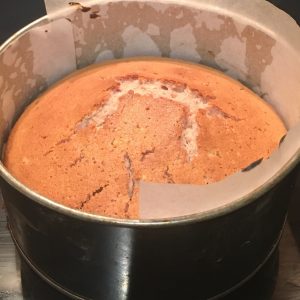
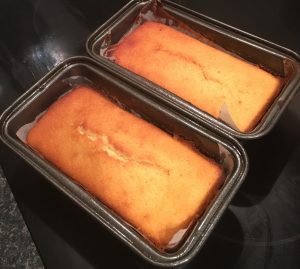
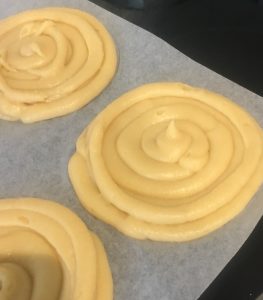
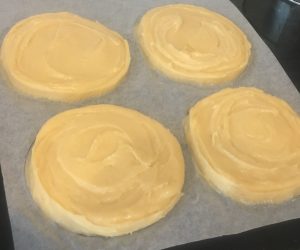
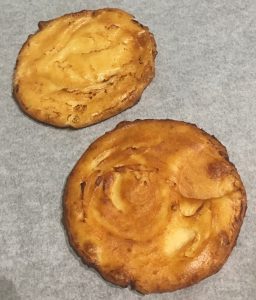
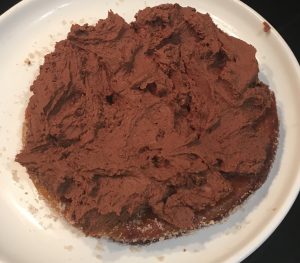
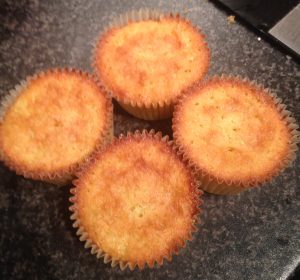
- Pour mix into the tin, even the top of the mix with the back of a spoon and bake for 12 minutes or until the cake springs back when touched.
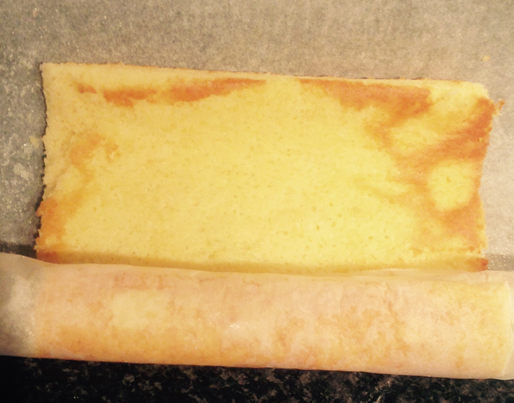
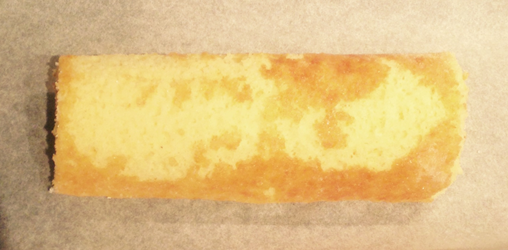
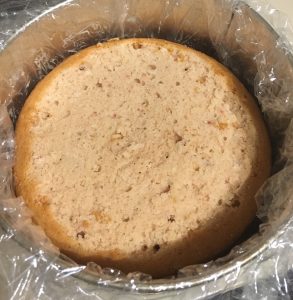
- Invert the hot cooked cake onto a piece of baking paper and cut off all 4 sides of the cakes crusts.
- Roll the cake with the paper up into a log shape. The paper should be on top of the cake guiding the rolling. Leave for 5 mins to cool in the rolled shape.
- Following unroll the cake and reroll without the paper, leave until the cake is fully cooled.
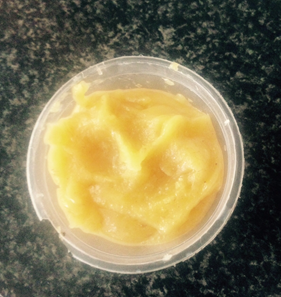
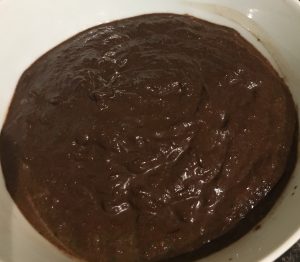
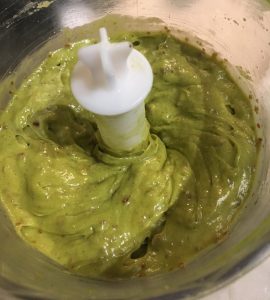
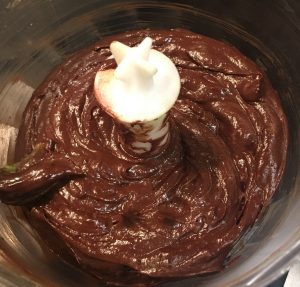
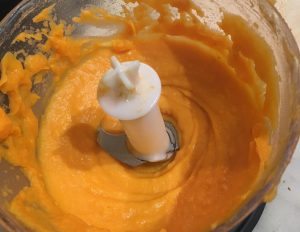
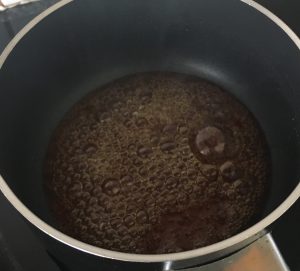
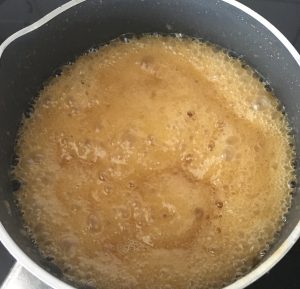
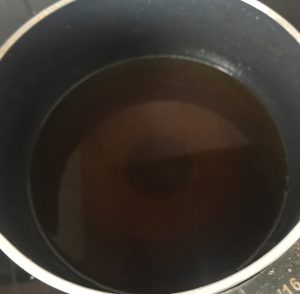
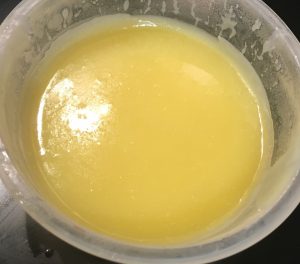
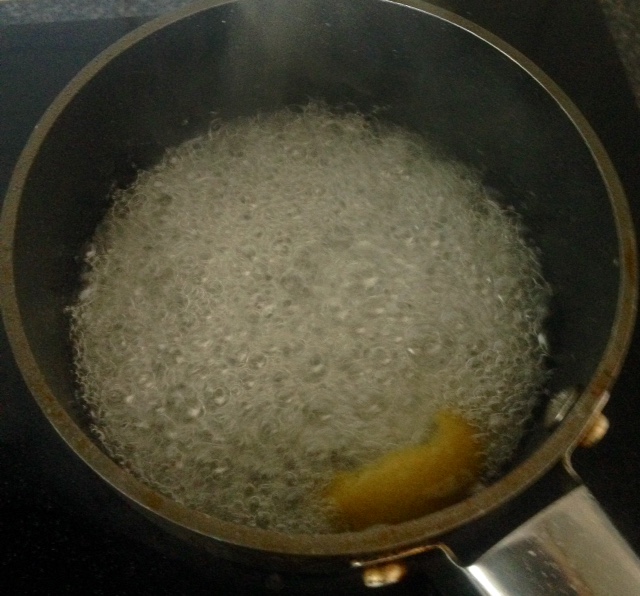
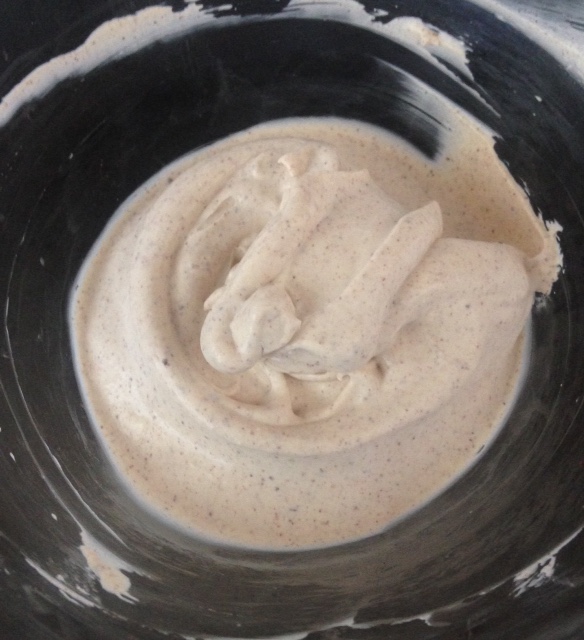
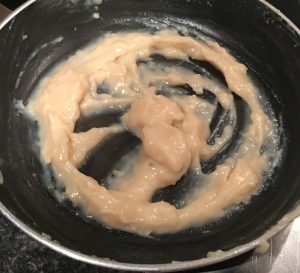
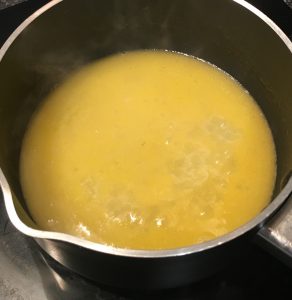
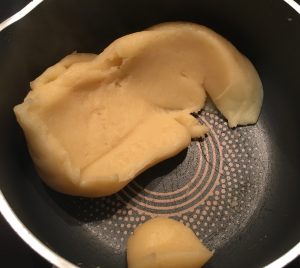
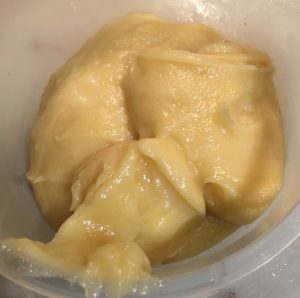
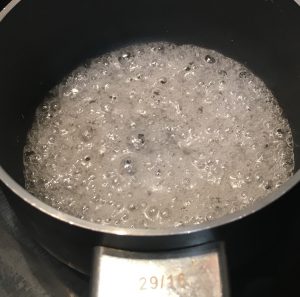
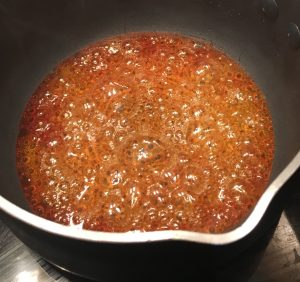
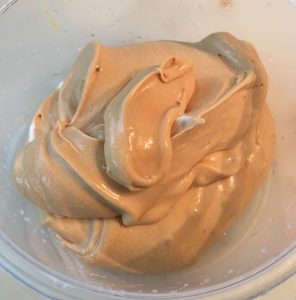
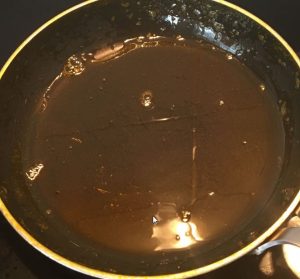
- Place the curd ingredients into a saucepan and beat with a hand whisk on a low heat until the mix is well combine and thickened. Leave side to cool.
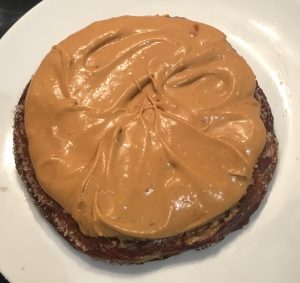
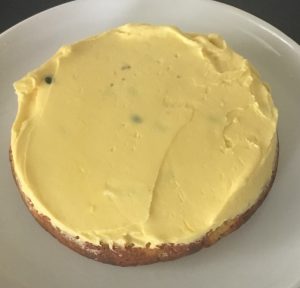
- To assemble the roulade unroll the cake.
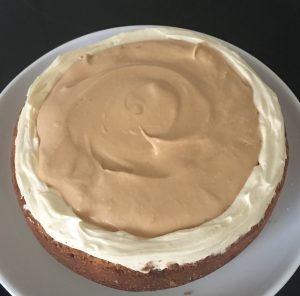
- Spread the whole cake with the curd and grate OR finely diced the almonds over the curd (whichever you prefer. I personally like the diced almonds crunch).
- Place a sheet of plastic wrap onto your bench and again, on top of the plastic wrap, roll the cake into a log shape following the roll shape you created earlier.
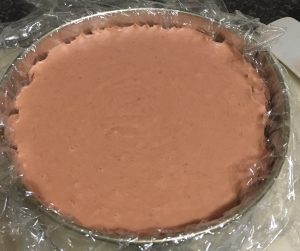
- Place the plastic wrap around the outside of the roulade to seal the cake and into the fridge for 3 hours to set.
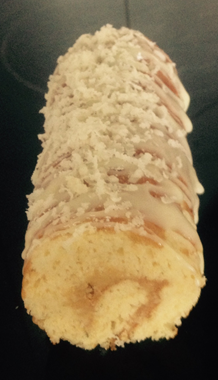
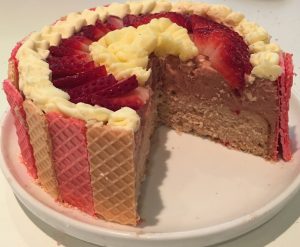
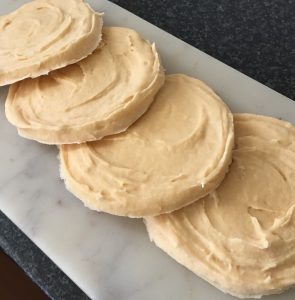
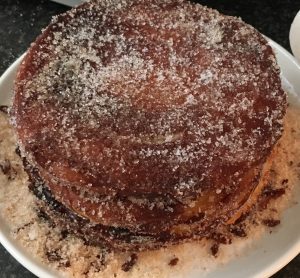
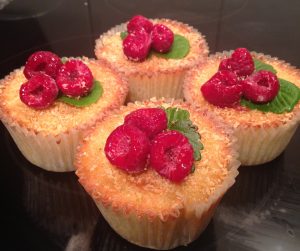
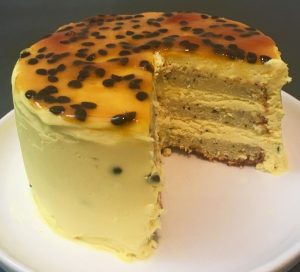
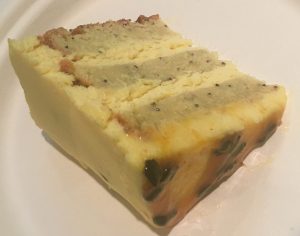
- Remove the plastic wrap and cut the roulade into thick wheel shapes. Serve with a generous serving of whipped cream or vanilla ice-cream on top of the cake with the swirl pattern facing up, enjoy!
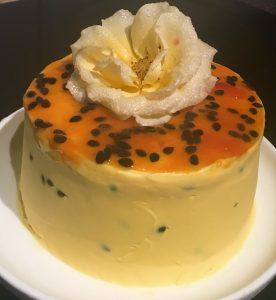
NOTE: I melted white chocolate with a little cream to create a white chocolate ganache that I drizzled over the completed cake just prior serving for some extra decoration.
Step 3
Step 5

Step 6

Step 10
Step 11
Step 11
Step 13

- Step 15

Like this recipe? Subscribe via RSS or email to get my new entries and more scrumptious recipes with reviews.
 Follow


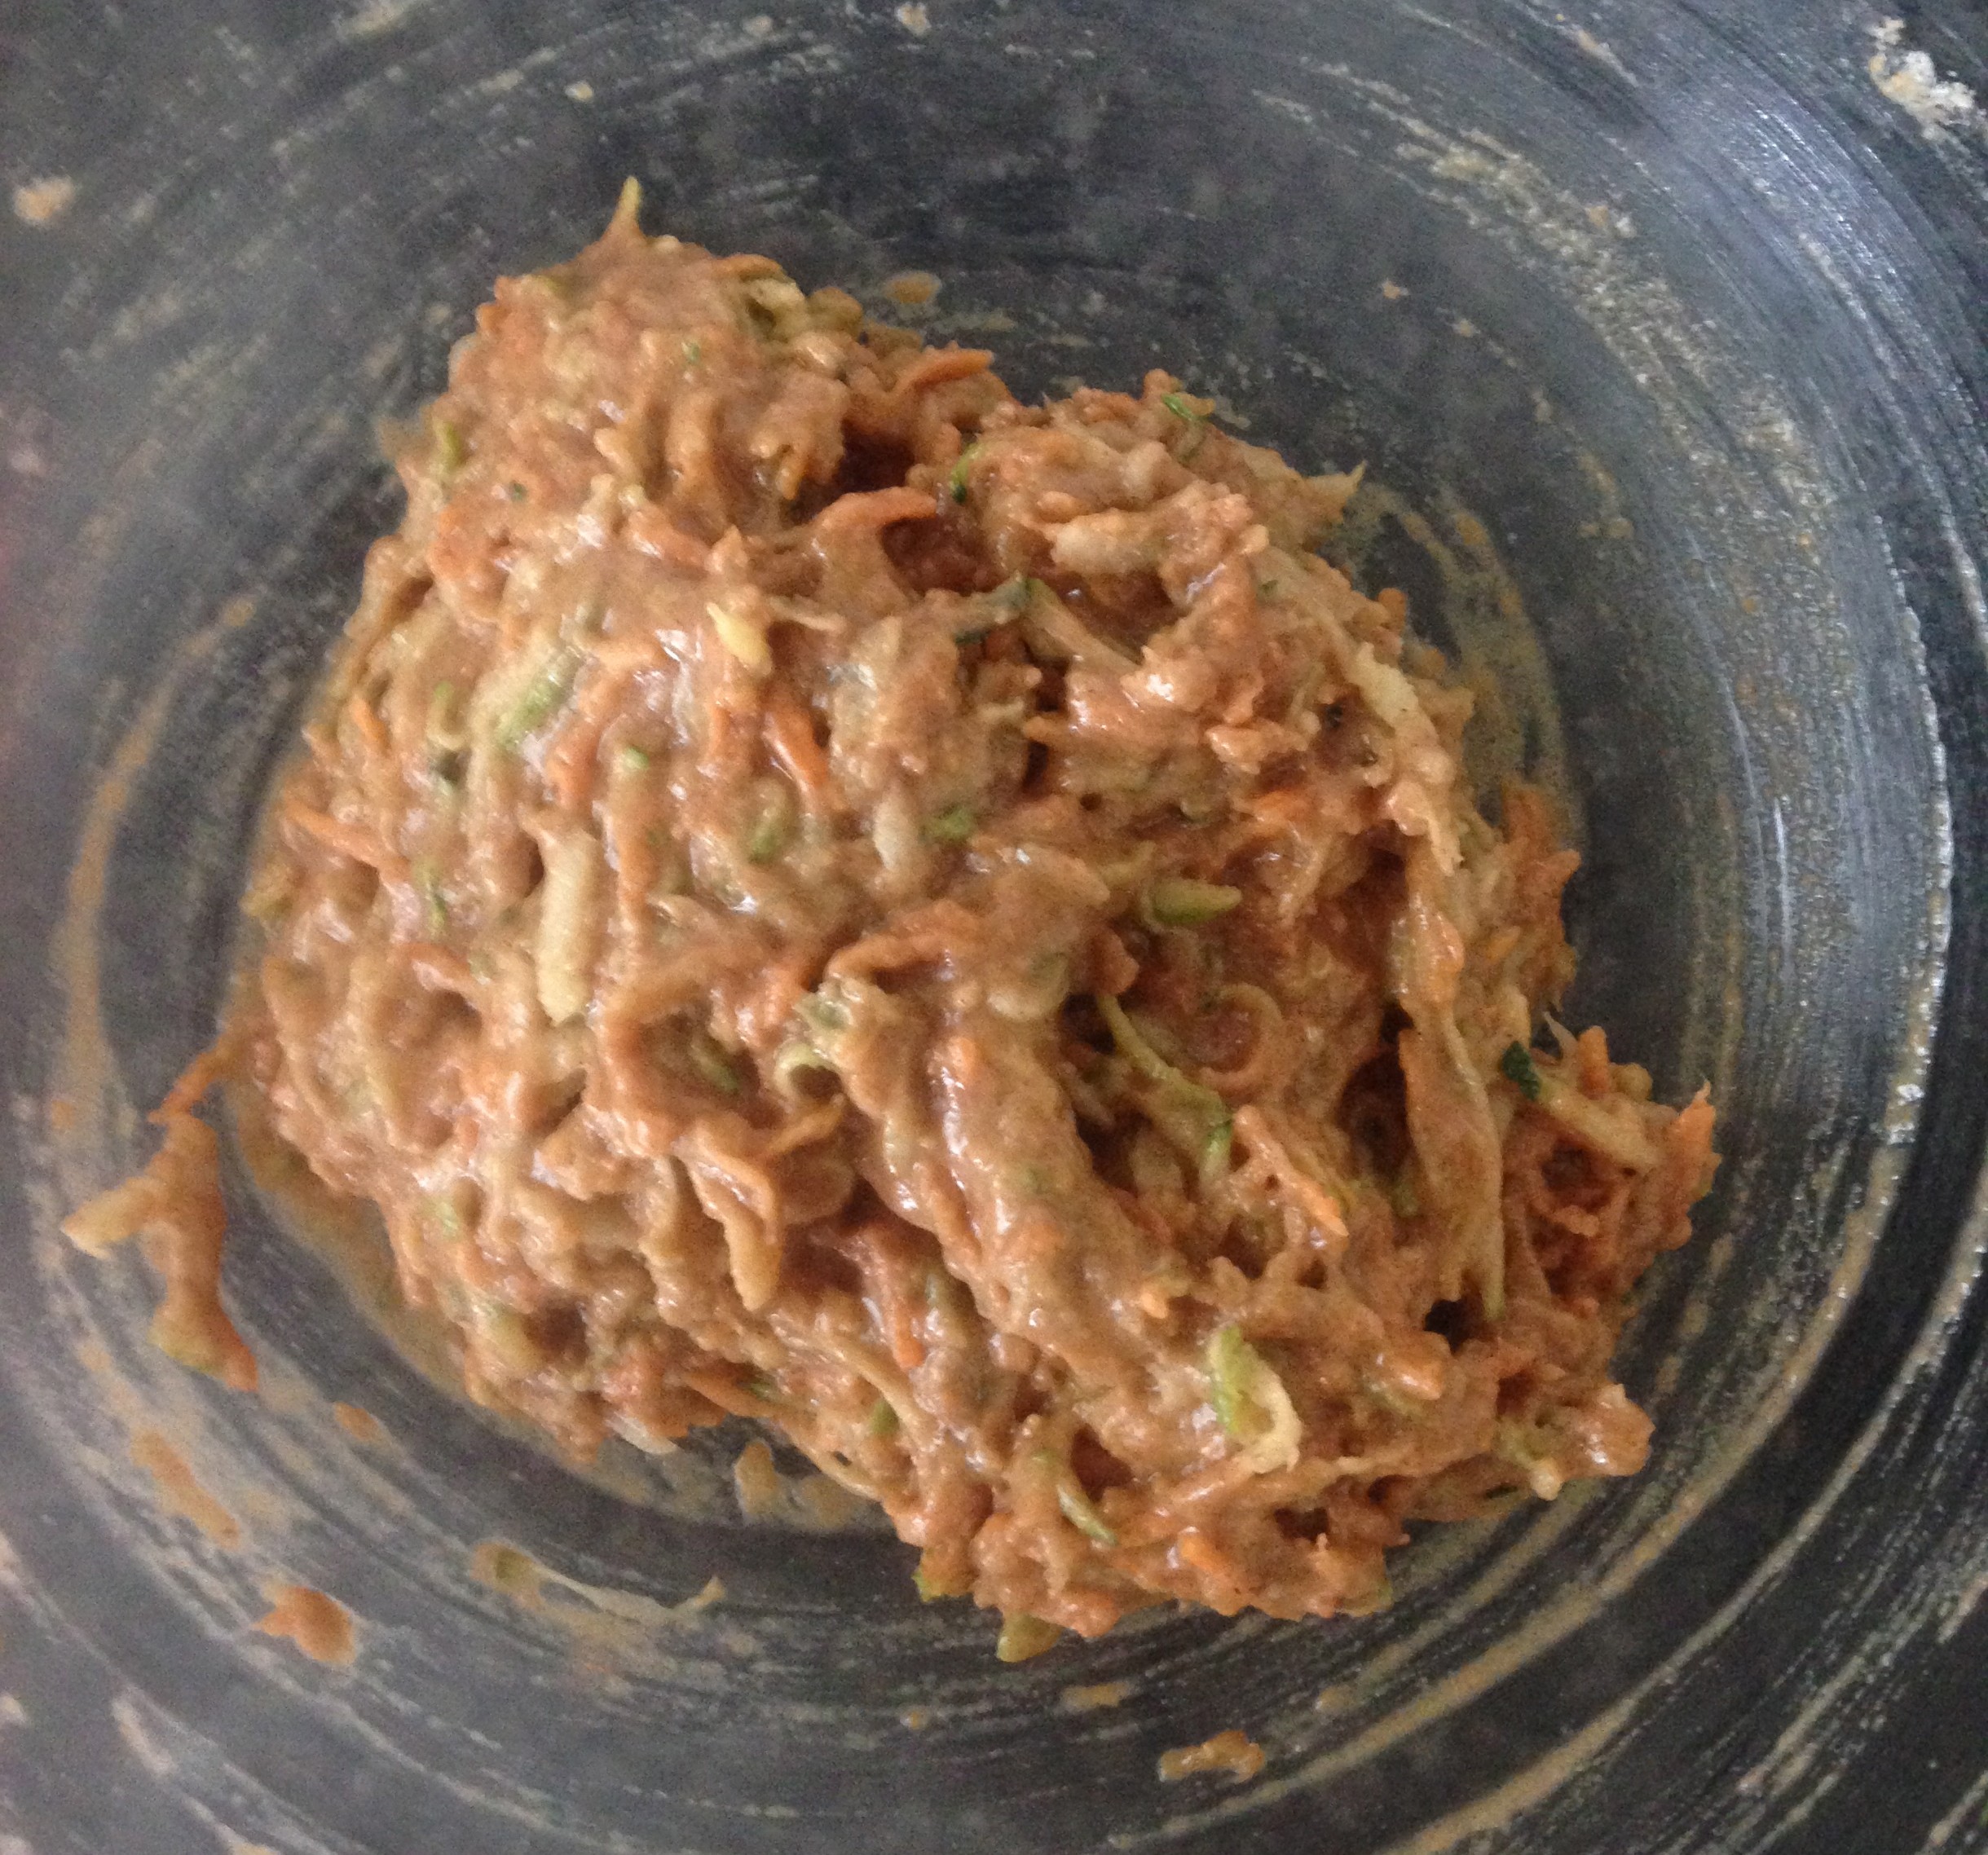
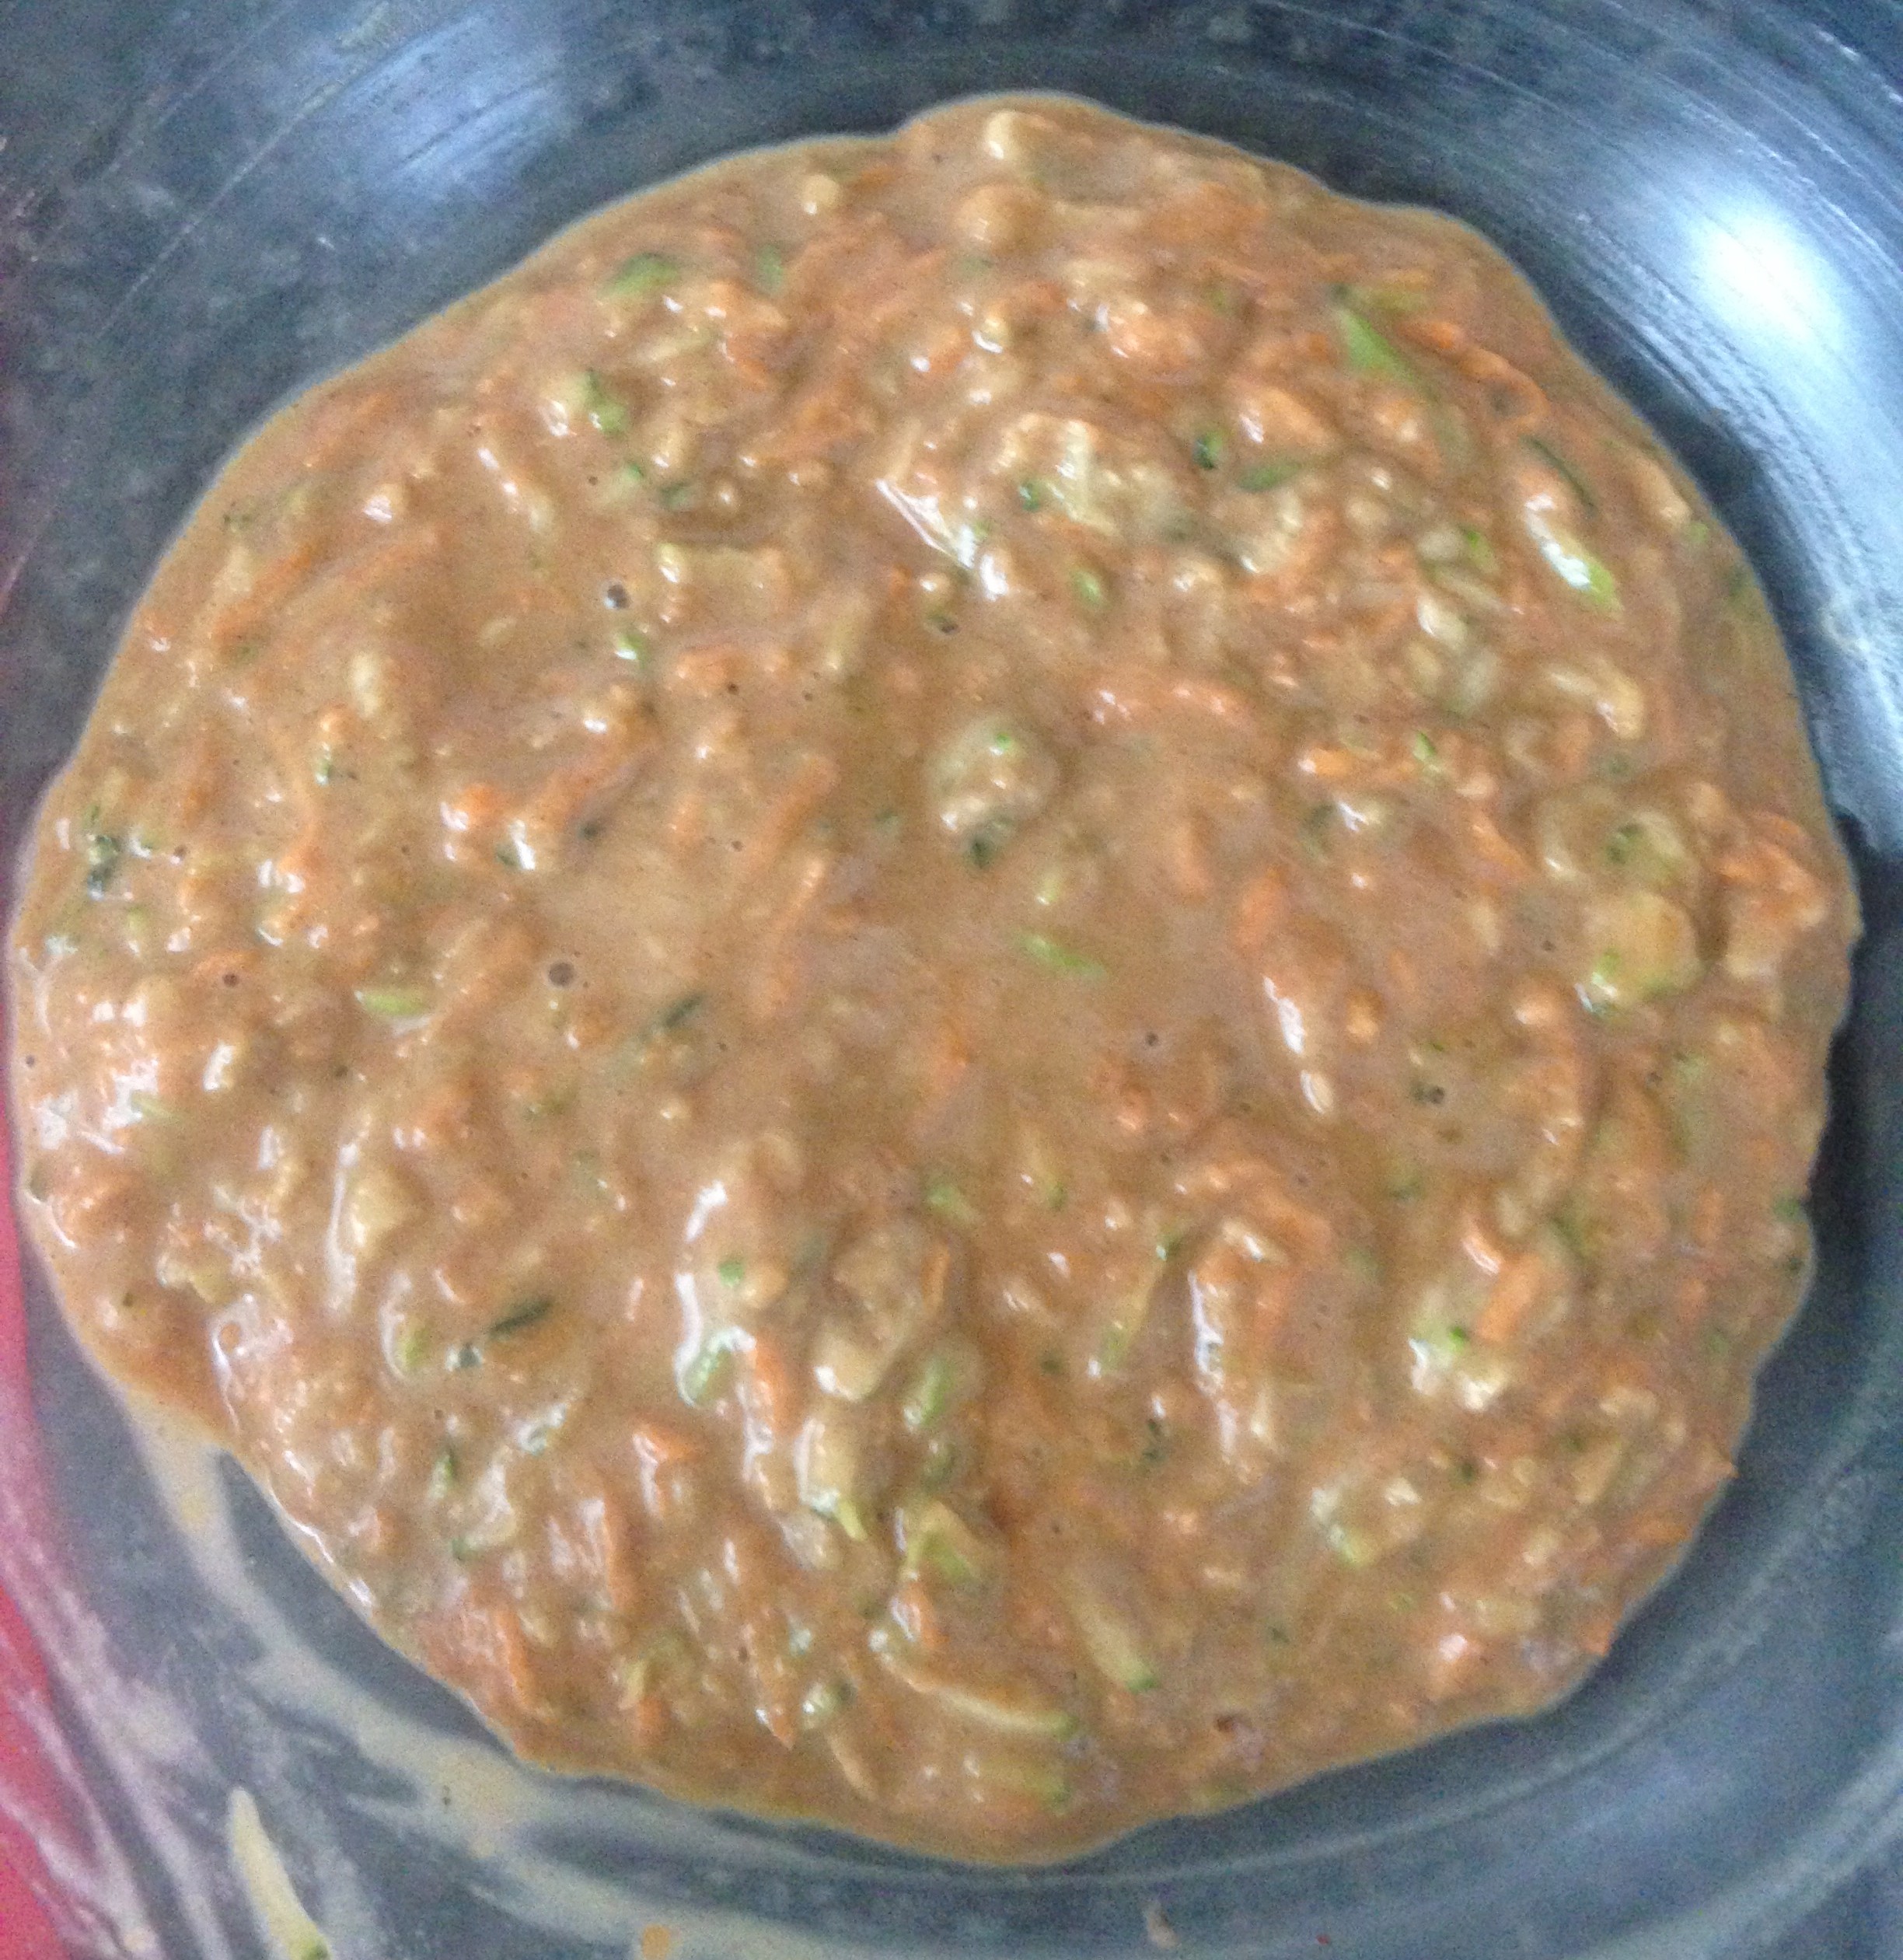
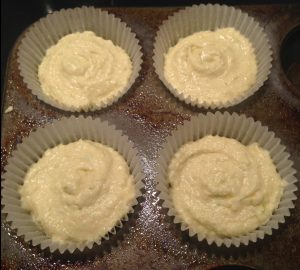
 Batter:
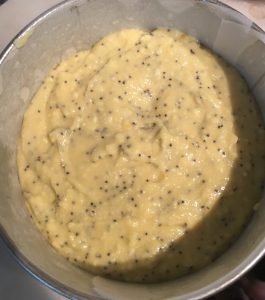
