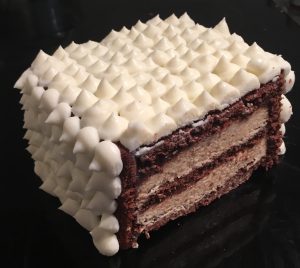
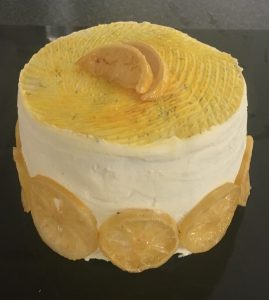
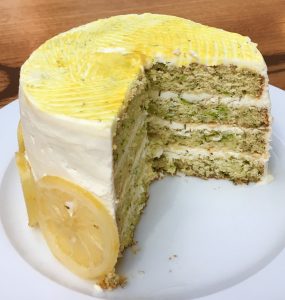
Mocha Marsala and Almond Sandwich Cake
Tiramisu is my ultimate, all-time favorite sweet treat.
I love playing with the flavor combo of chocolate, marsala and coffee, it always reminds me of my birthday as my mum made the dessert every year without fail.
I’ve made many variations on Tiramisu over the years, cake, ice-cream and frozen cheesecake to name a few. Something I have never tried is extending the flavor profile and incorporating multiple nontraditional layered textures.
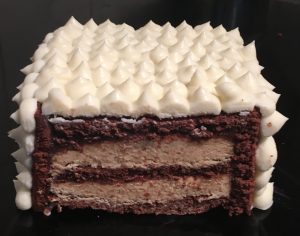
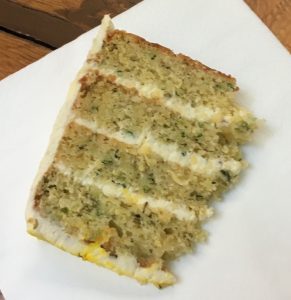
The additional flavor I have utilised that’s not common with Tiramisu is almonds. I felt that the dessert needed an extra crunch layer therefore opted for chopped almonds to complement the silky ganache and smooth mouthwatering filling texture.
Ingredients:
Cake:
- 180g butter, softened
- 1 tsn Marsala
- 180g brown sugar
- 3 eggs
- 150g self-raising flour
- 30g cocoa powder
- ½ tsn salt
- 60g almonds, finely chopped
- 5 tsn espresso coffee
Filling:
- 140ml thickened cream
- 35ml Marsala
- 35ml espresso coffee
- 40g dark (70%) chocolate
- 60ml icing sugar
- 200g cream cheese, at room temperature
Ganache:
- 40g cream
- 100g dark chocolate
- ½ tsn coffee granules
- 2 tsn Marsala
Method:
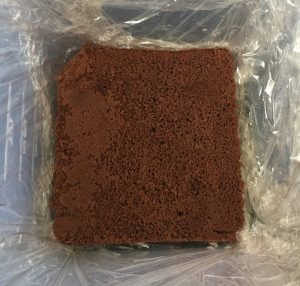
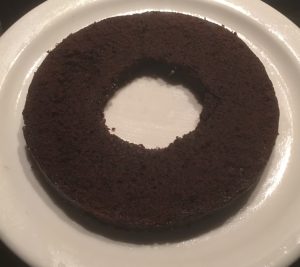
- Pre-heat the oven to 175c degrees and line a 25cm cake tin with baking paper.
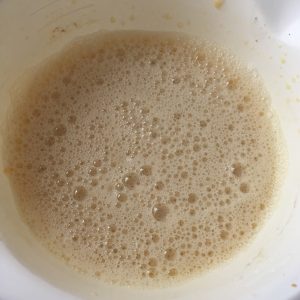
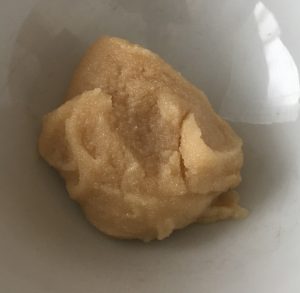
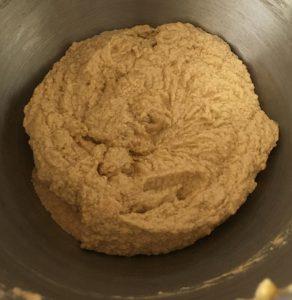
- Place the butter, Marsala and sugar into a bowl and beat with electric beaters for 5 minutes until light and fluffy.
- Add the eggs, one at a time beating in between each addition.
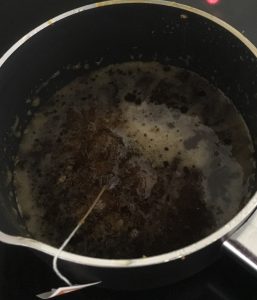
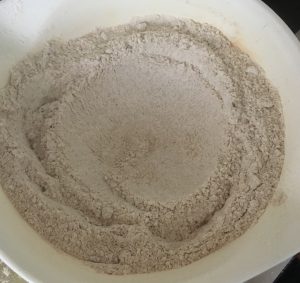
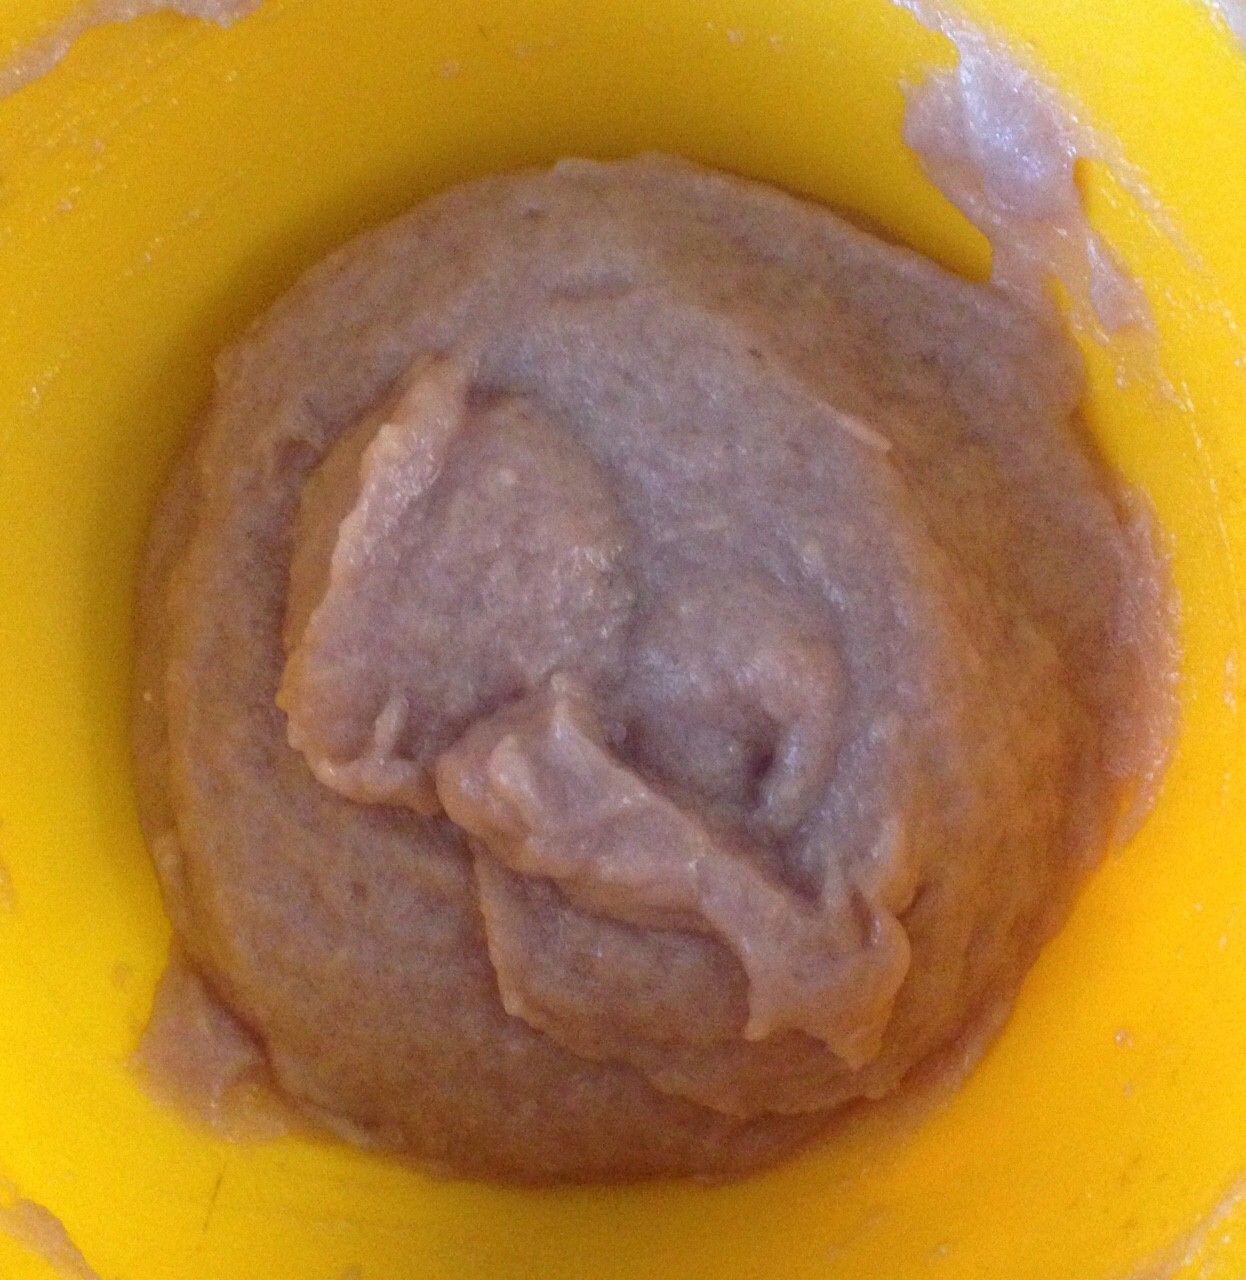
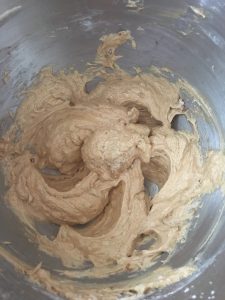
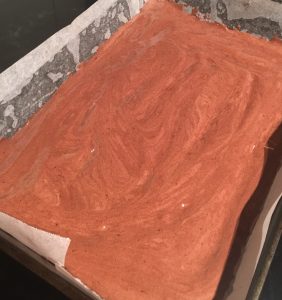
- Sift the flour, cocoa powder and salt into the mix, pour in the cold coffee and add the chopped almonds.
- Carefully mix the batter until just combine.
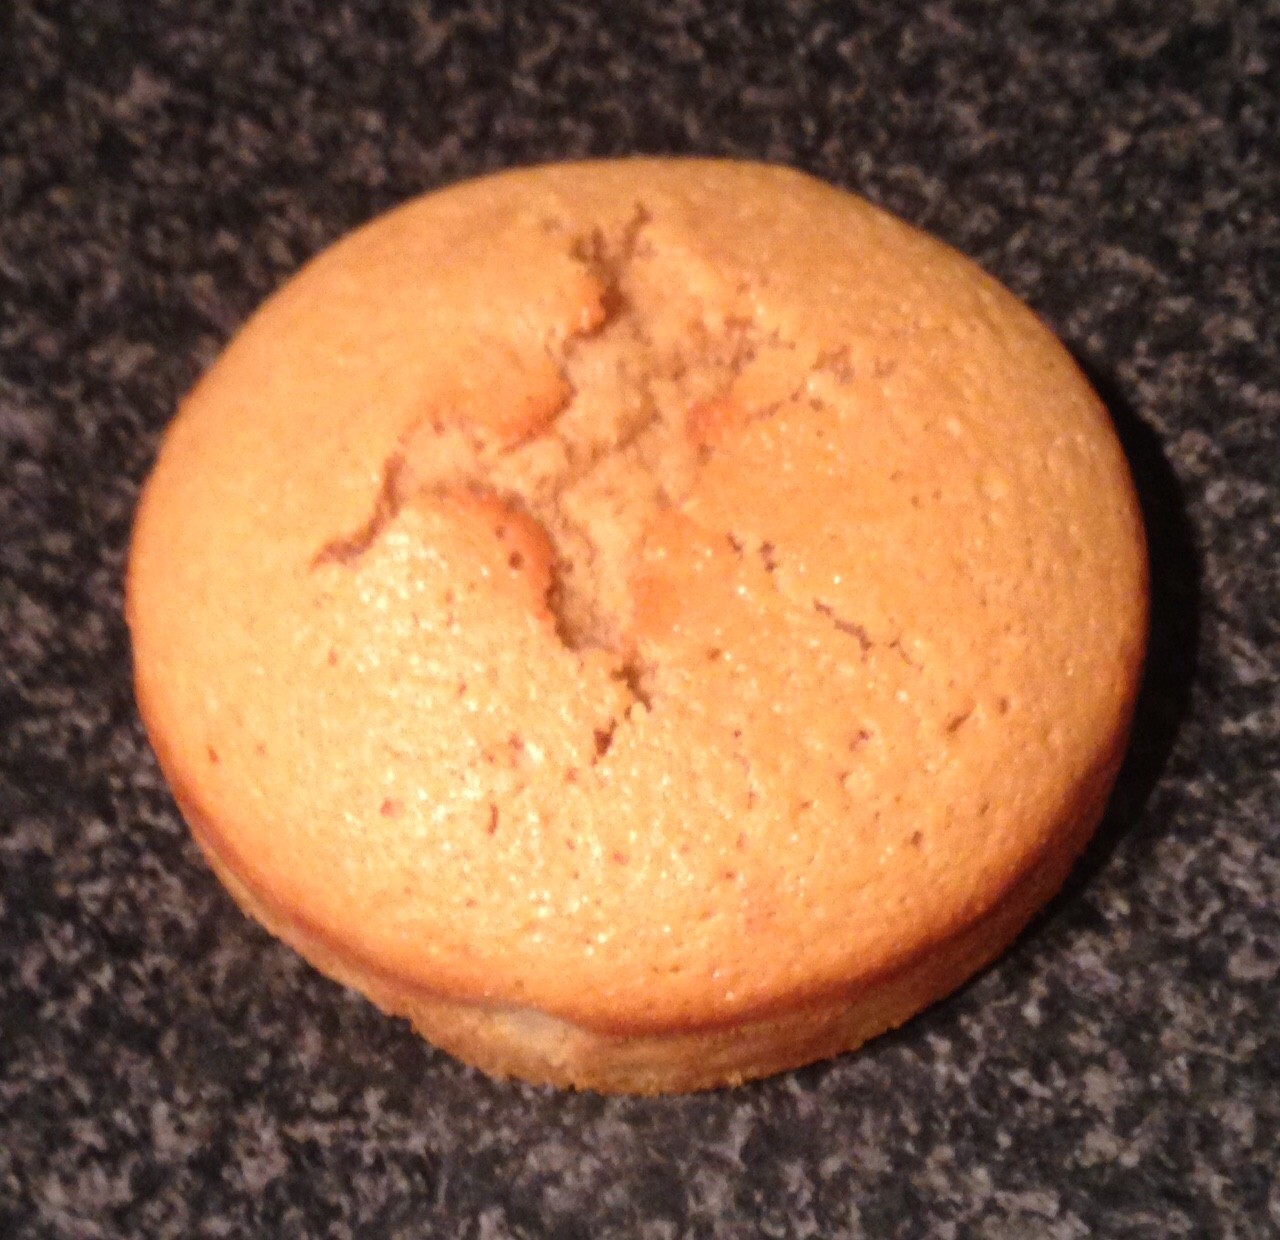
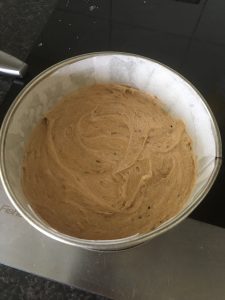
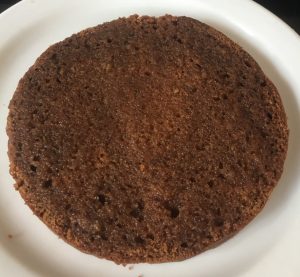
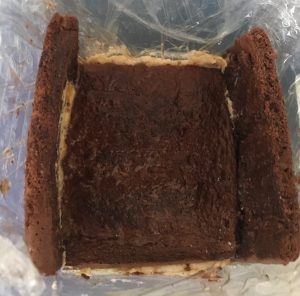
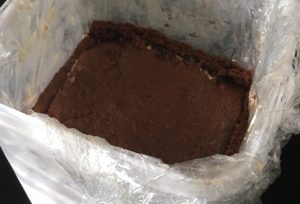
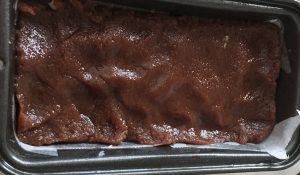
- Pour the mix into the prepared cake tin and bake for 40 minutes or until a skewer inserted into the center comes out clean.
- Leave the cake aside to cool on a cooling rack.
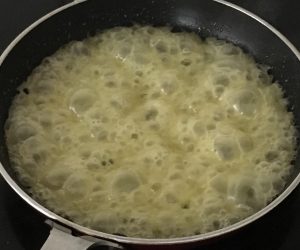
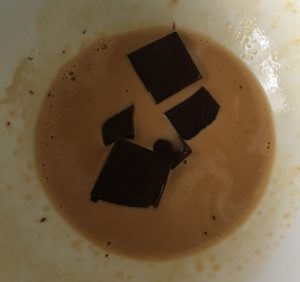
- Meanwhile, to make the filling place 30ml cream into a bowl along with the coffee and Marsala.
- Place the bowl in the microwave and heat until the mix starts to boil.
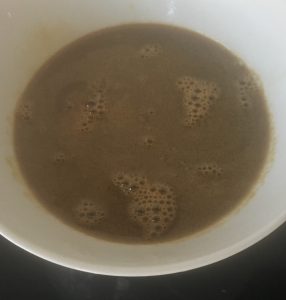
- Stir cream mix and add in the chocolate in pieces, leave to sit for 1 minute.
- Stir the chocolate into the cream with a metal spoon until smooth and glossy, leave aside to cool.
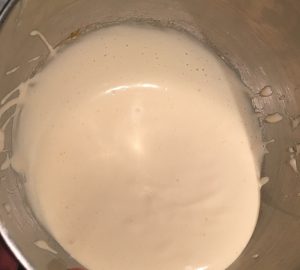
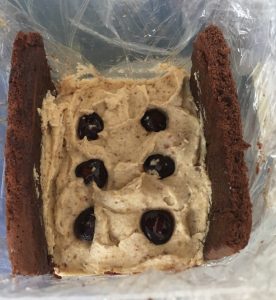
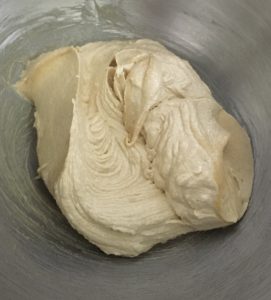
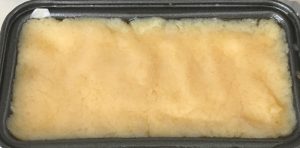
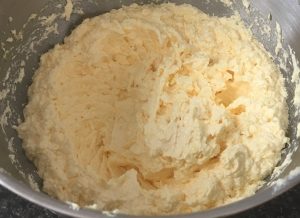
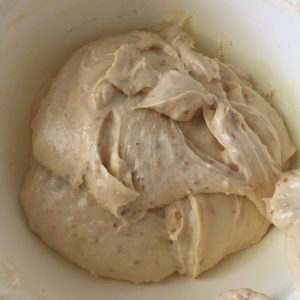
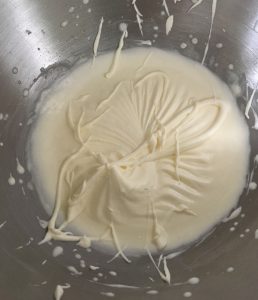
- Place the remaining 110ml cream into a bowl with the icing sugar and beat with electric beaters until soft peaks form, leave aside.
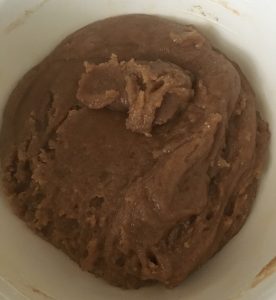
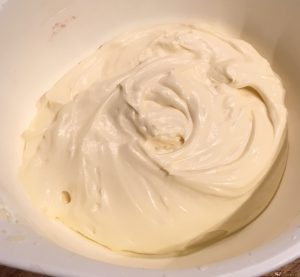
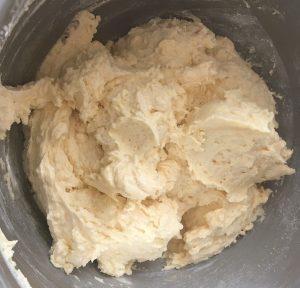
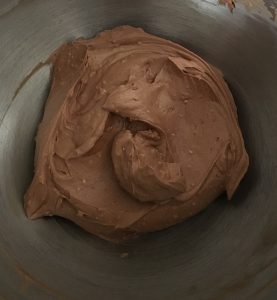
- Add the cream cheese into the chocolate mix and beat for 4 minutes or until the mix is smooth and pale in colour.
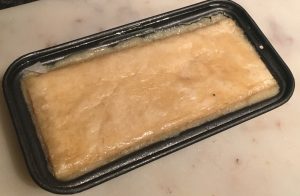
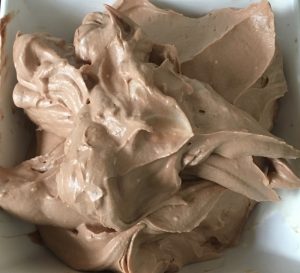
- Add the cream mix to the chocolate cream cheese mix and beat on low until just combine.
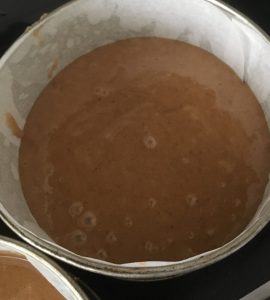
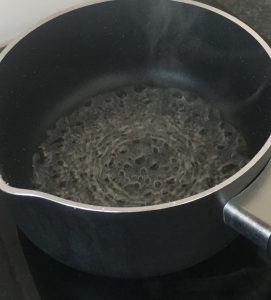
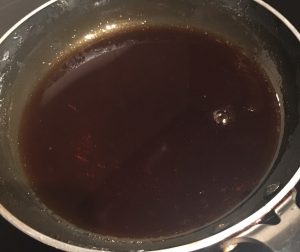
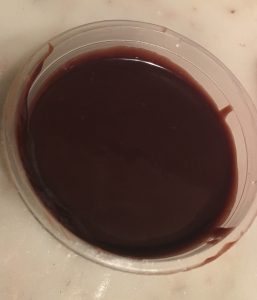
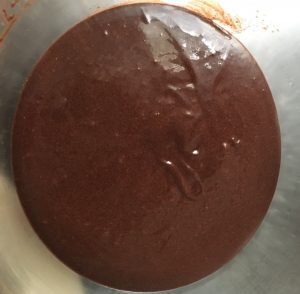
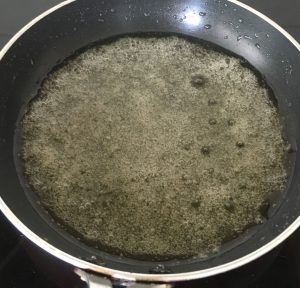
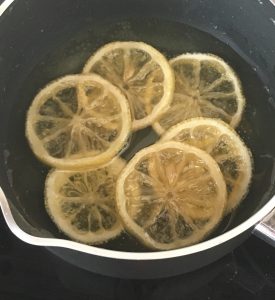
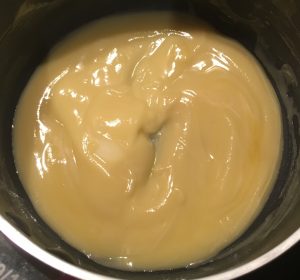
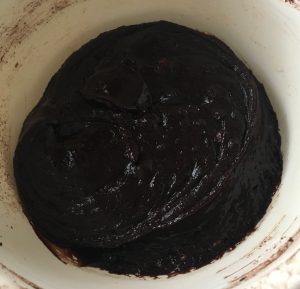
- Make the ganache by placing the cream, coffee and Marsala into a bowl and heat in the microwave until boiling.
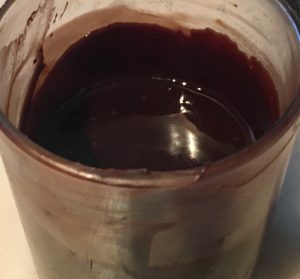
- Add the chocolate and leave for 1 minute, stir until smooth and glossy in texture.
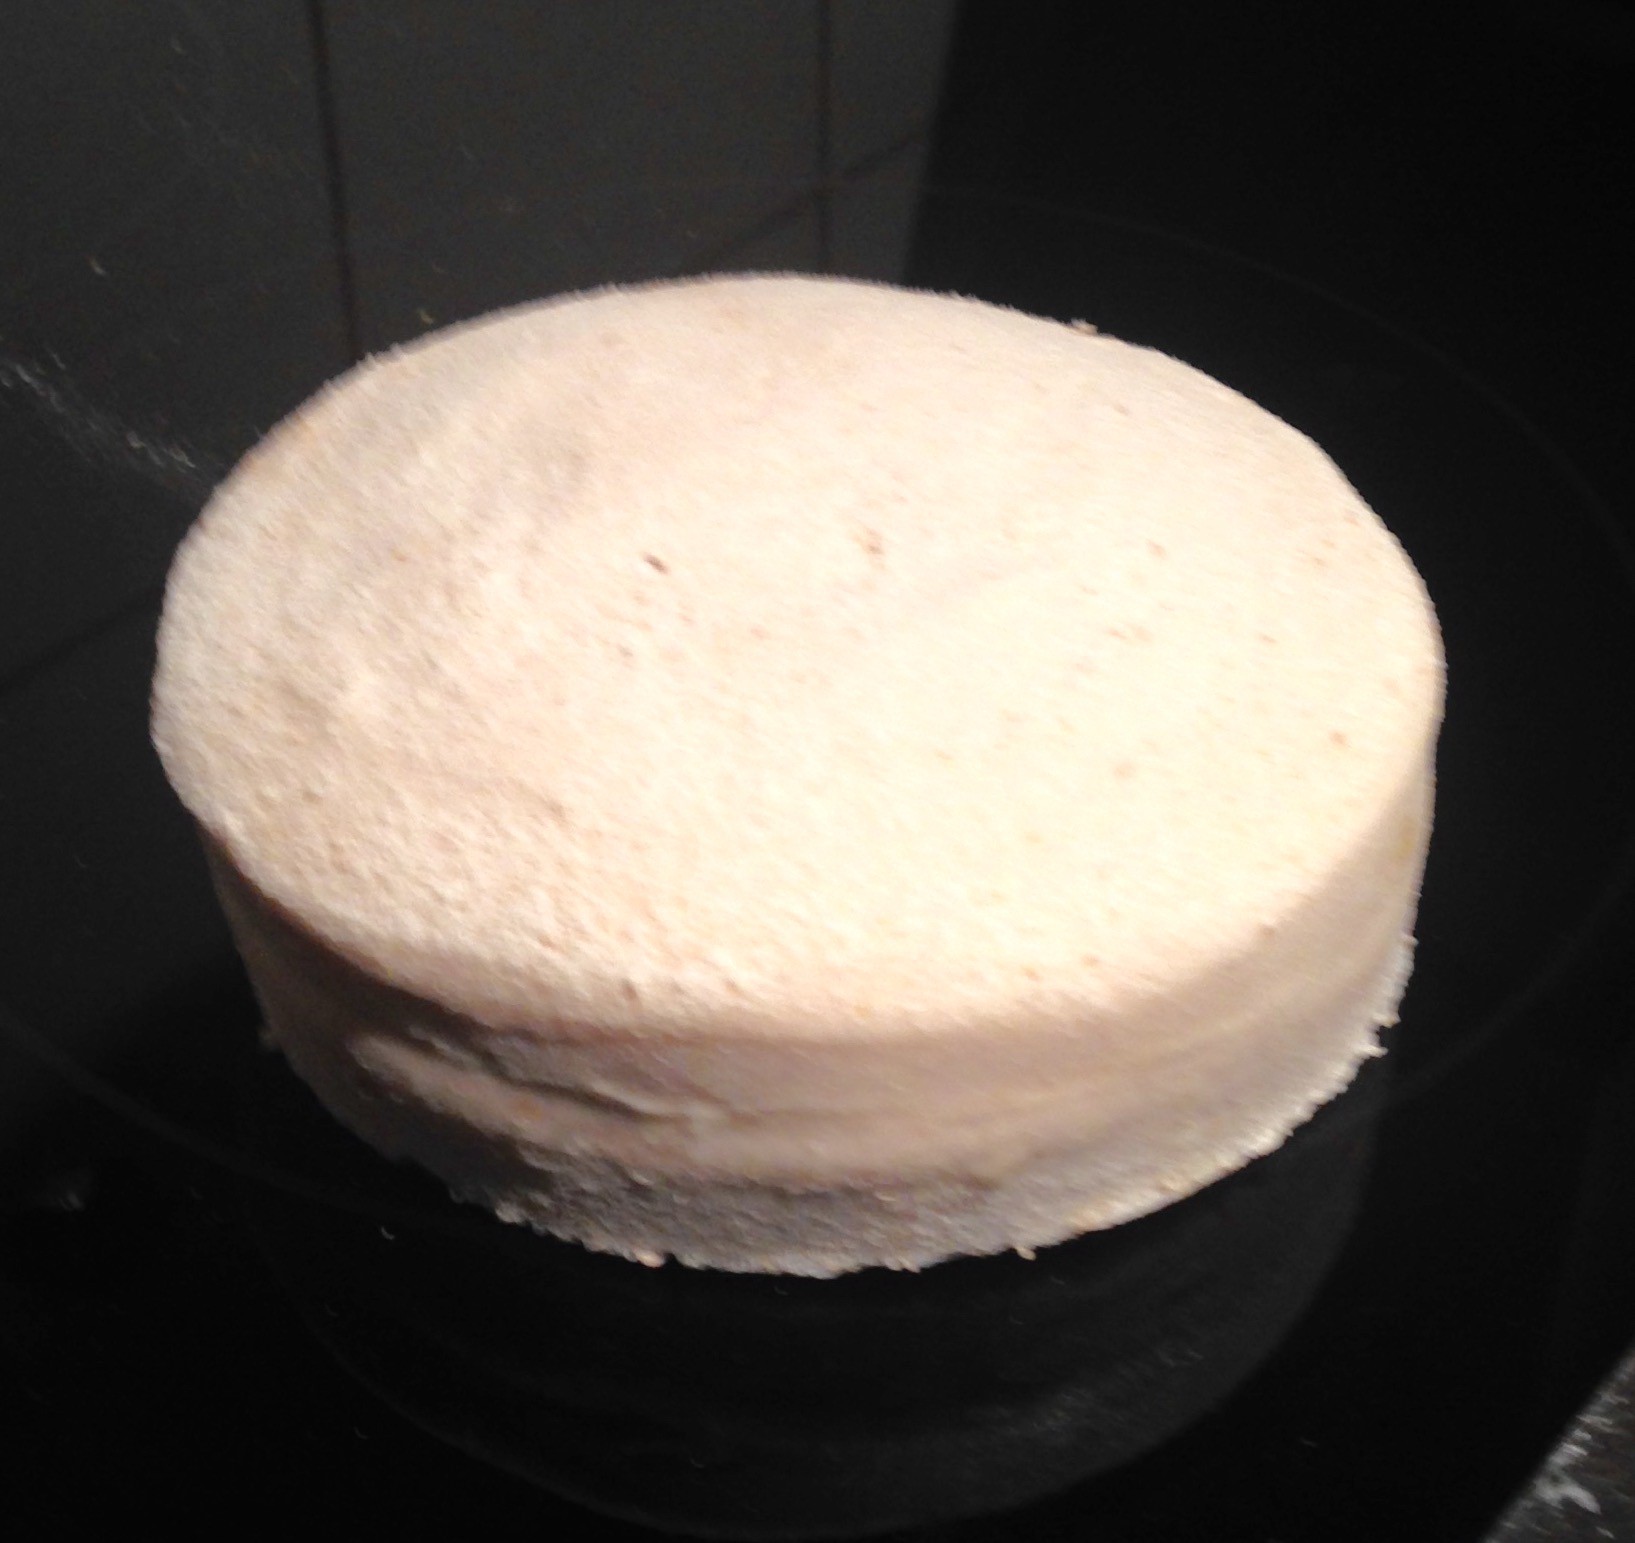
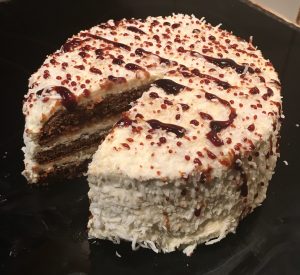
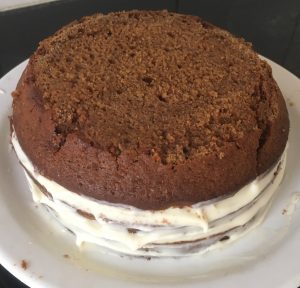
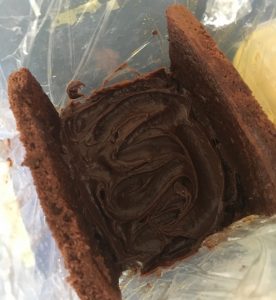
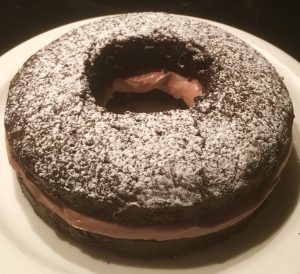
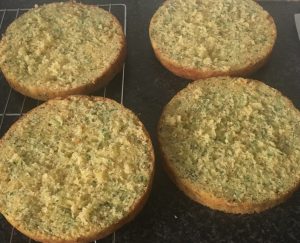
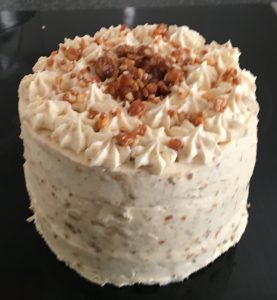
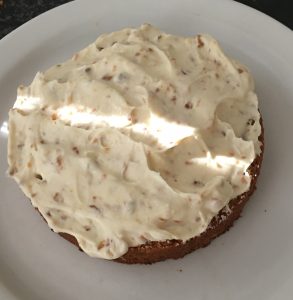
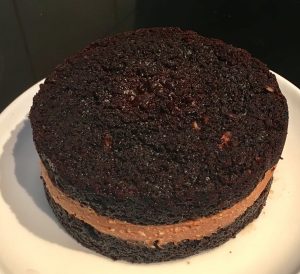
- To put the cake together, cut the cake in half horizontally and place one layer on a plate.
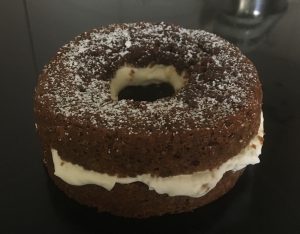
- Add the filling, place the second cake layer on top of the filling.
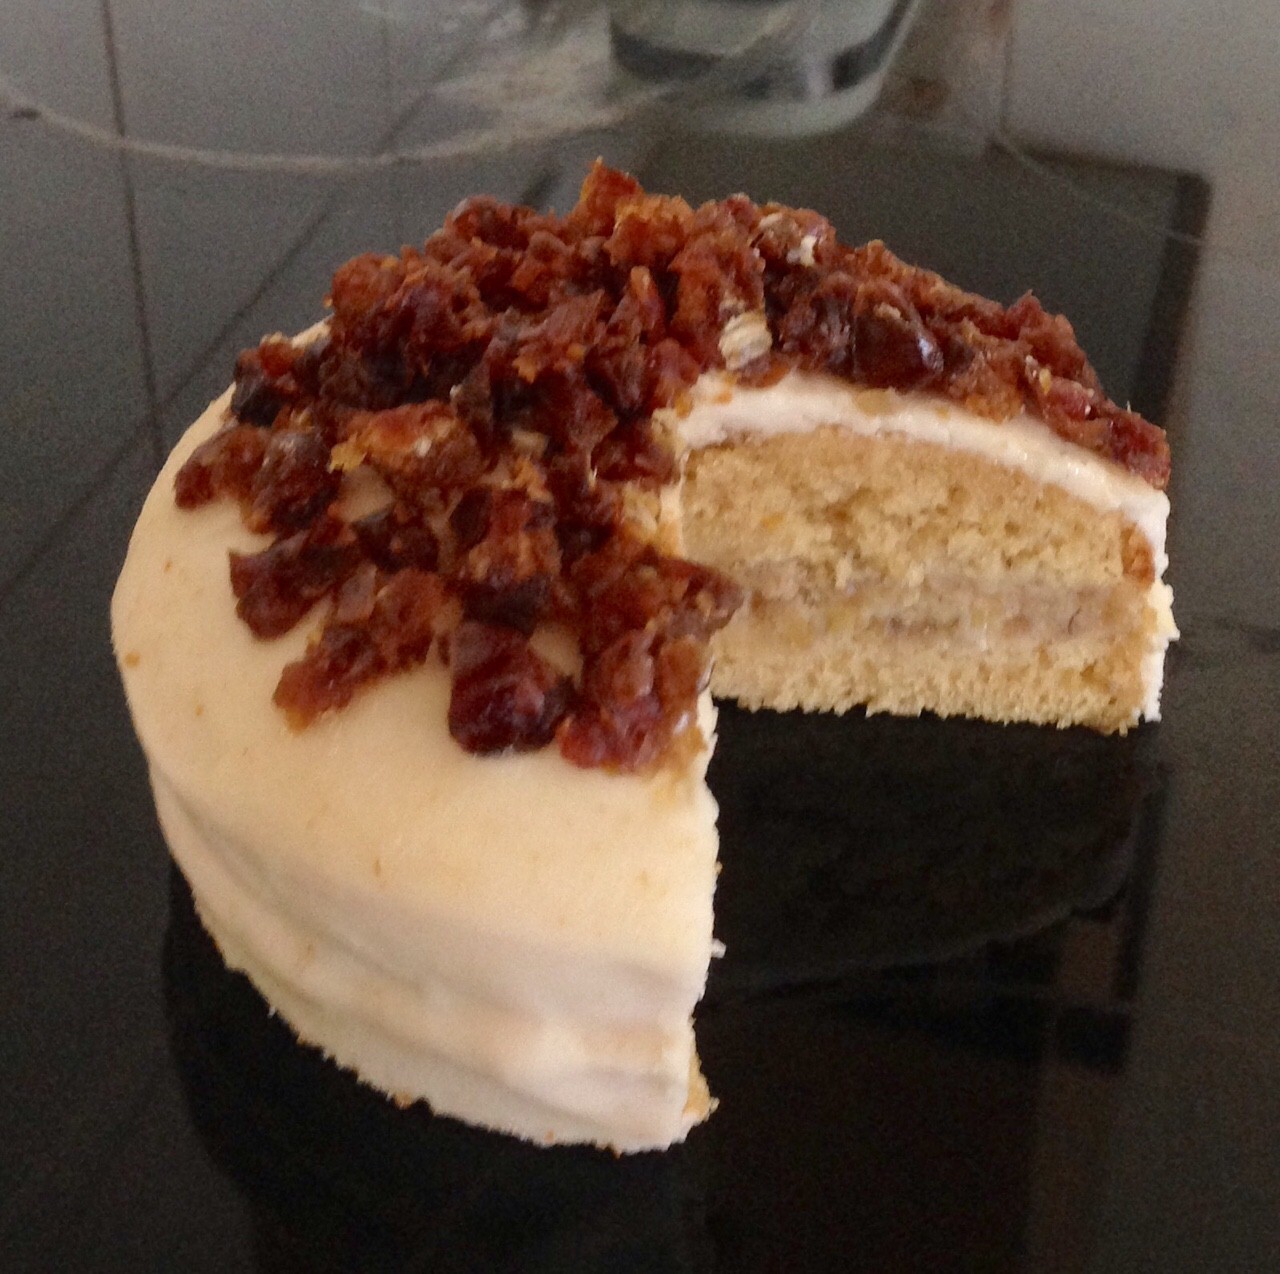
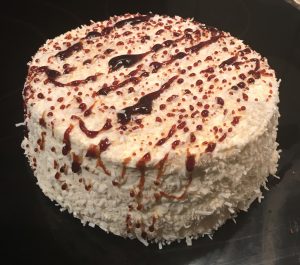
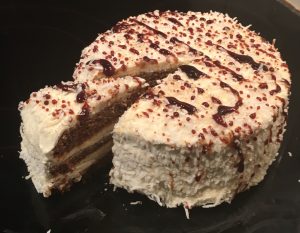
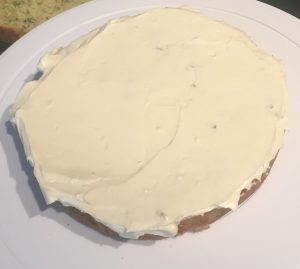
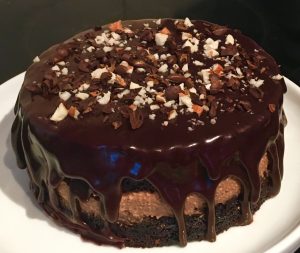
- Pour the ganache over the cake and allow to overflow the sides.
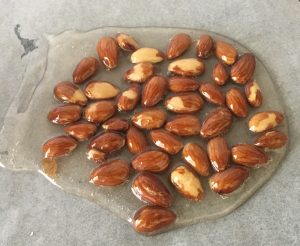
- Top with extra chopped almonds and enjoy.
- Cut into slices and serve.
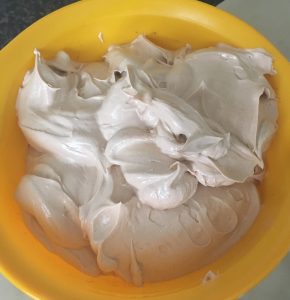
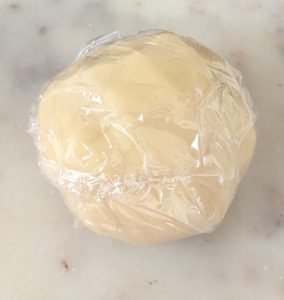
Step 4
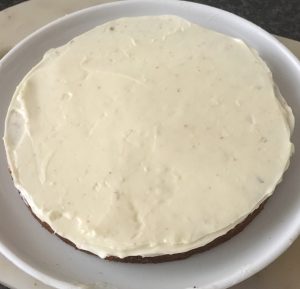
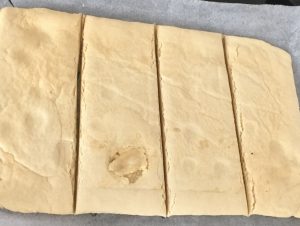
Step 10

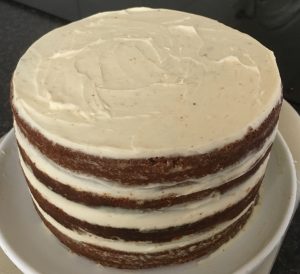
- Step 11
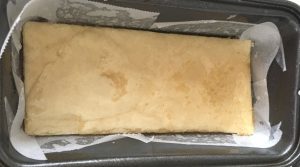
Step 12
- Step 13
- Step 14
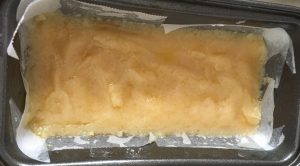
- Step 16
- Step 18
Like this recipe? Subscribe via RSS or email to get my new entries and more scrumptious recipes with reviews.
 Follow