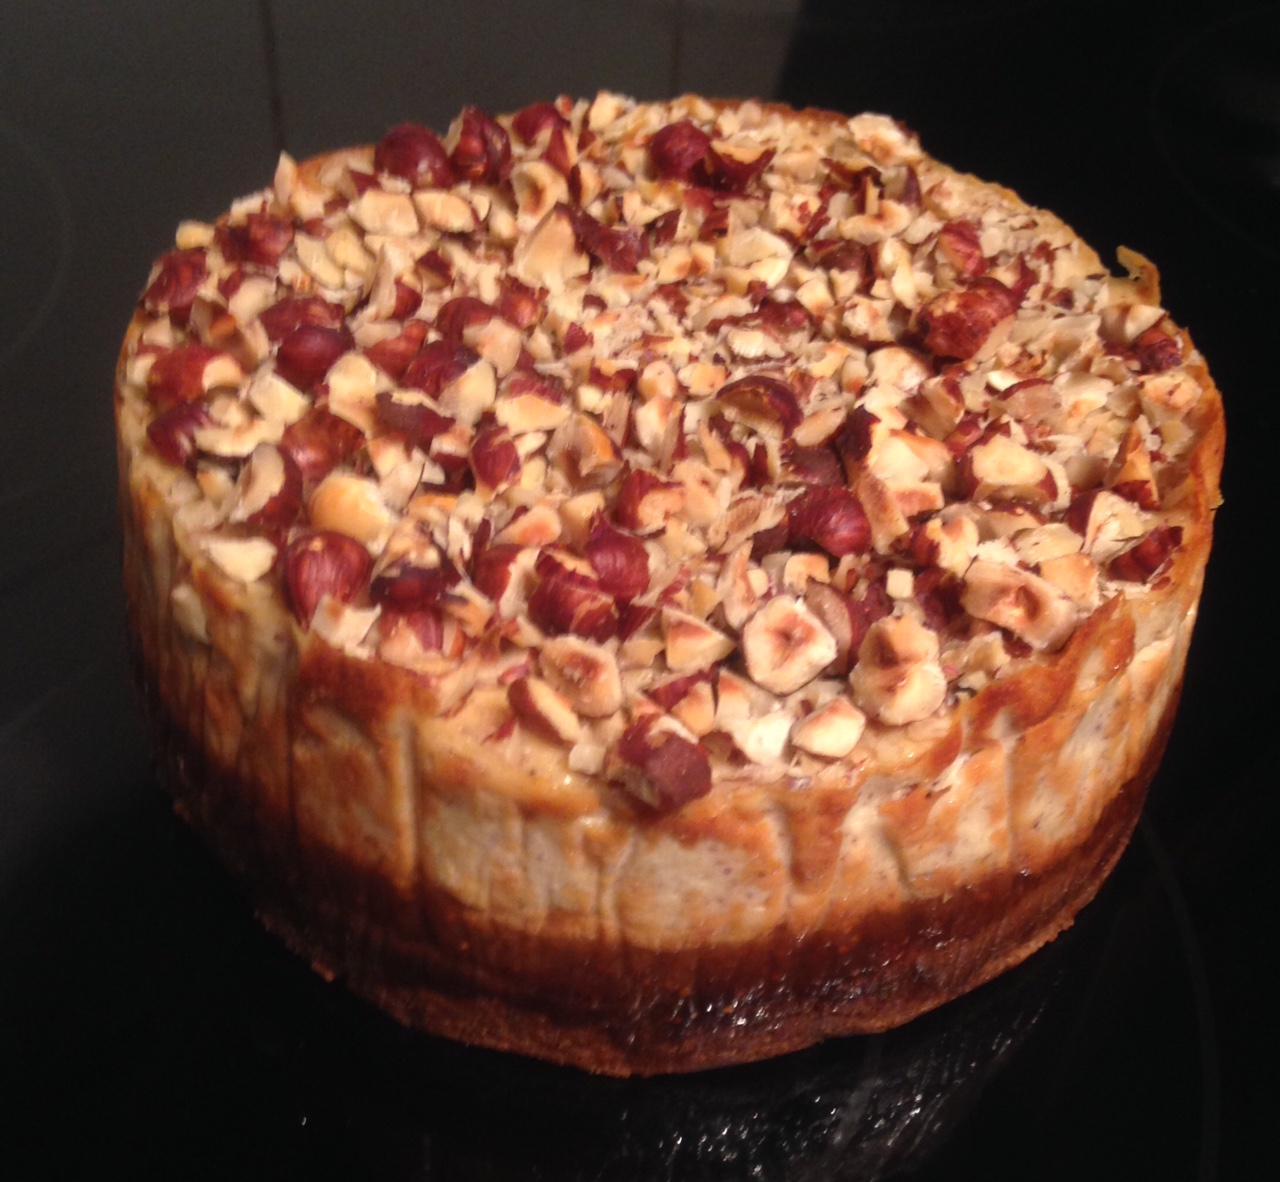
Spiked Spiced Chocolate Tofu ‘Cheesecake’
You may recall in the past I have made the most amazing chocolate mousse tart with tofu and a cheesecake with yoghurt and milk instead of actual cheese.
On this same vein of thought I decided to experiment with a tofu ‘cheesecake’.
I am always looking for ways to incorporate unusual ingredients into my recipes as well as create healthier alternatives to the normal sweet treat version.
Once I worked up a base recipe I then came up with an interesting (but scrumptious) flavour pairing.
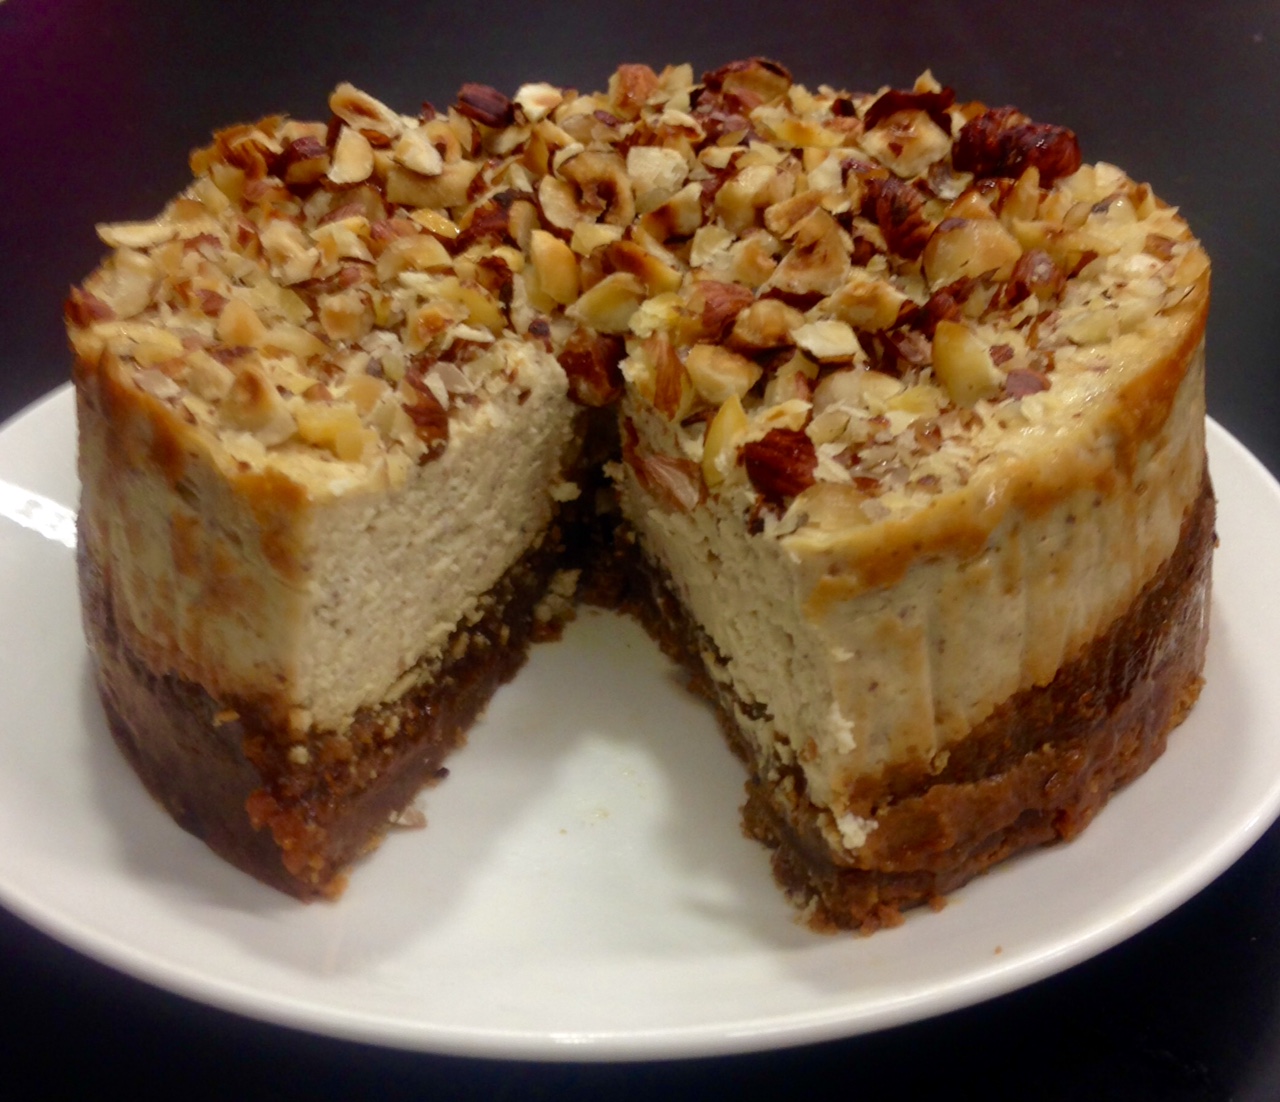
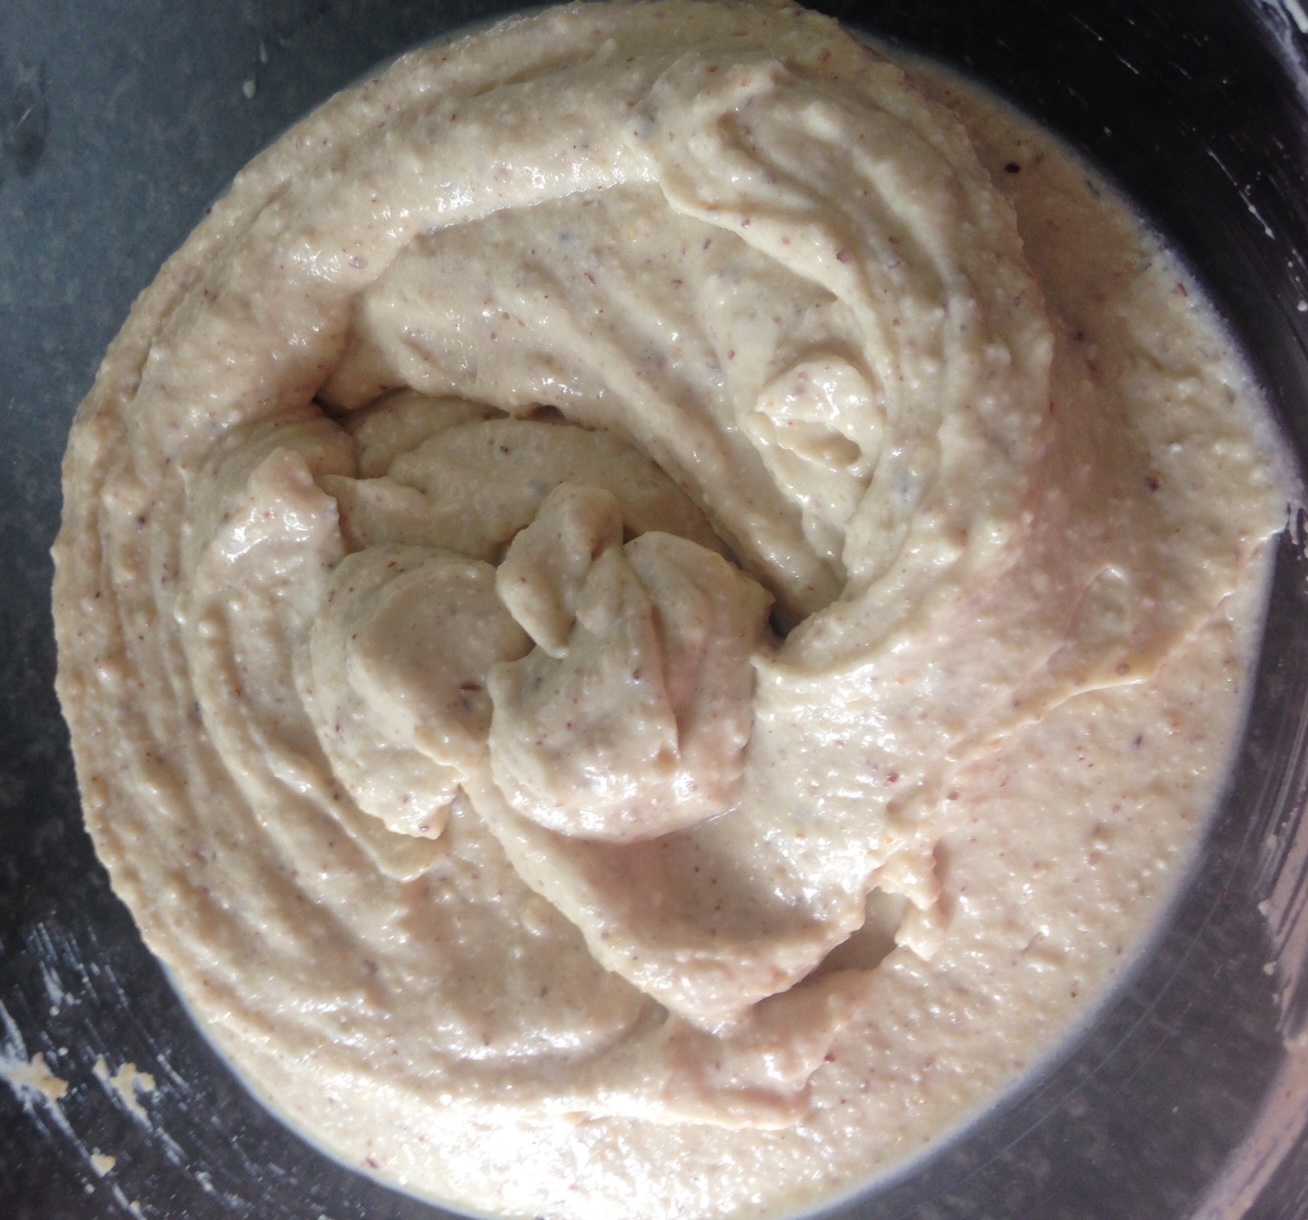
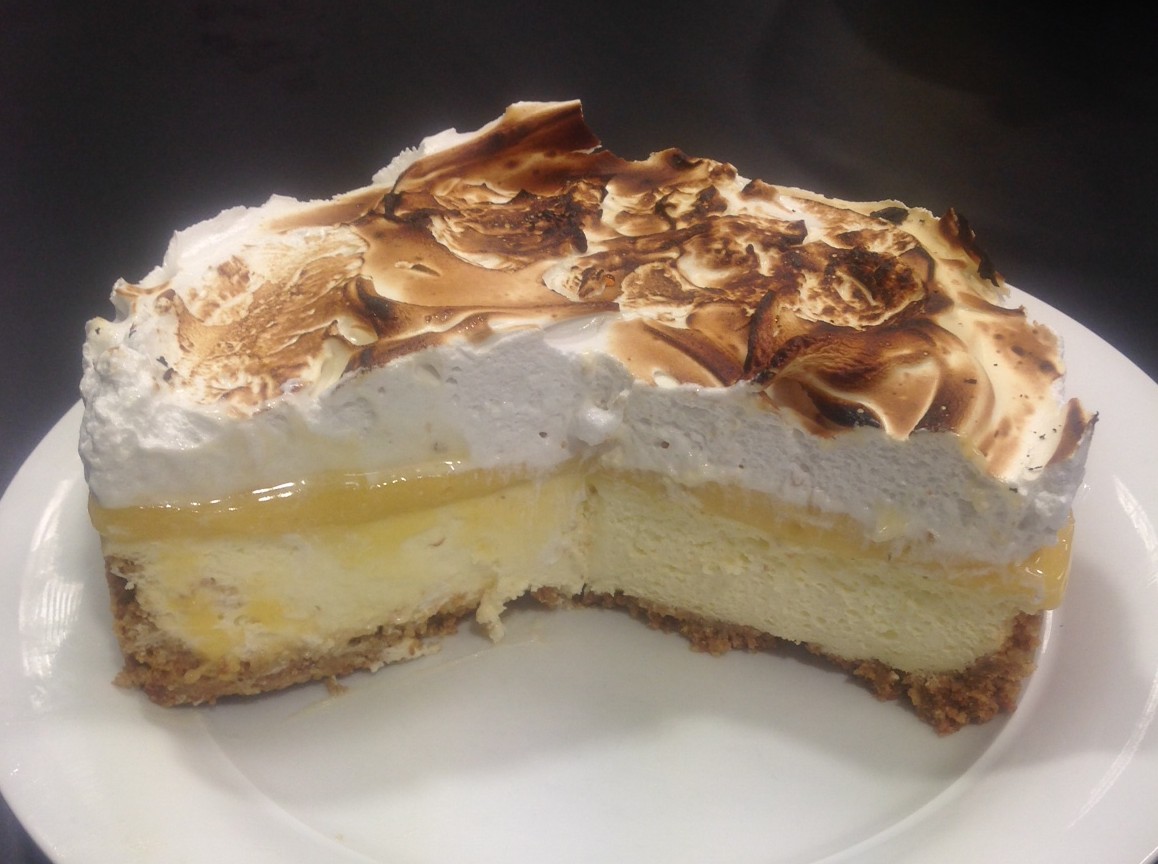
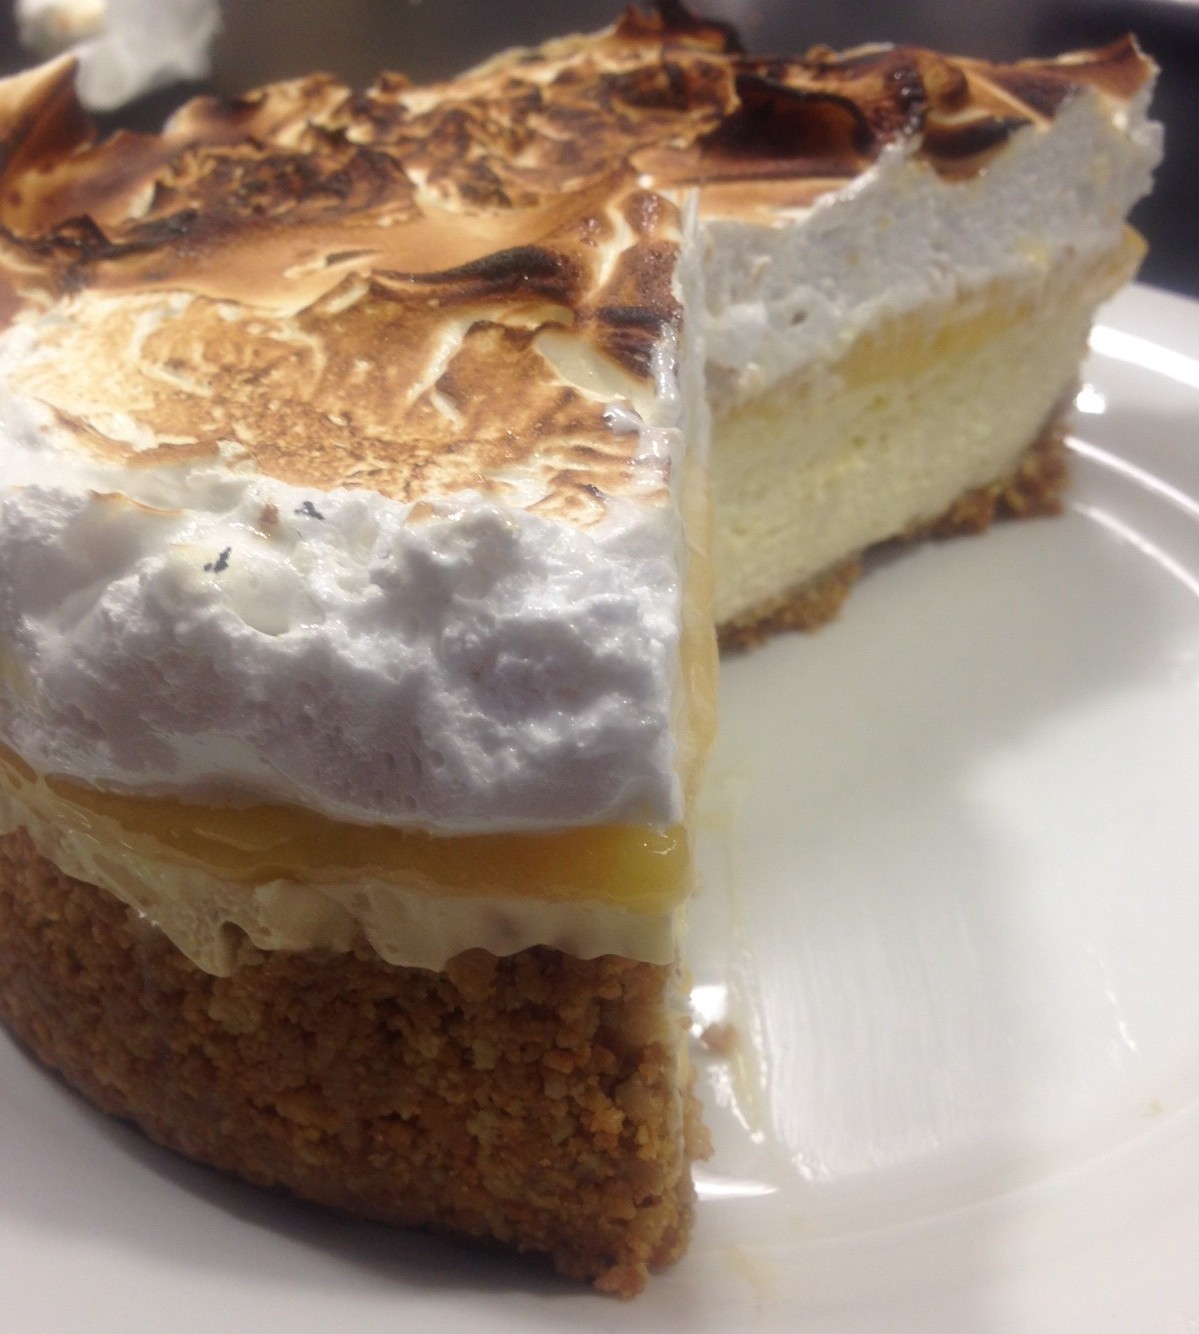
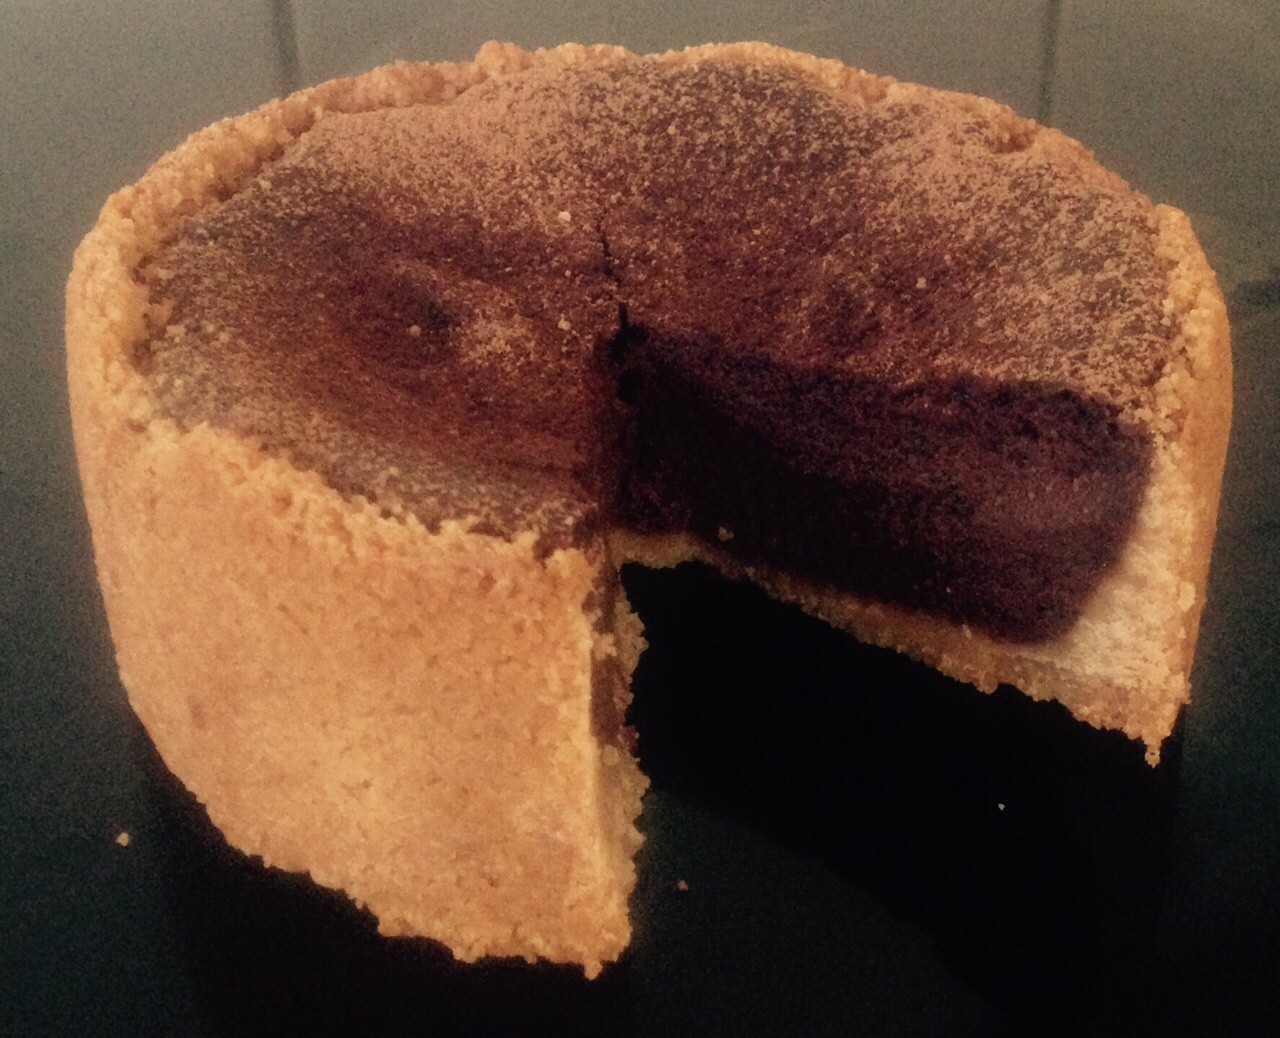
The end result = silky smooth filling of a low fat and high protein sweet treat.
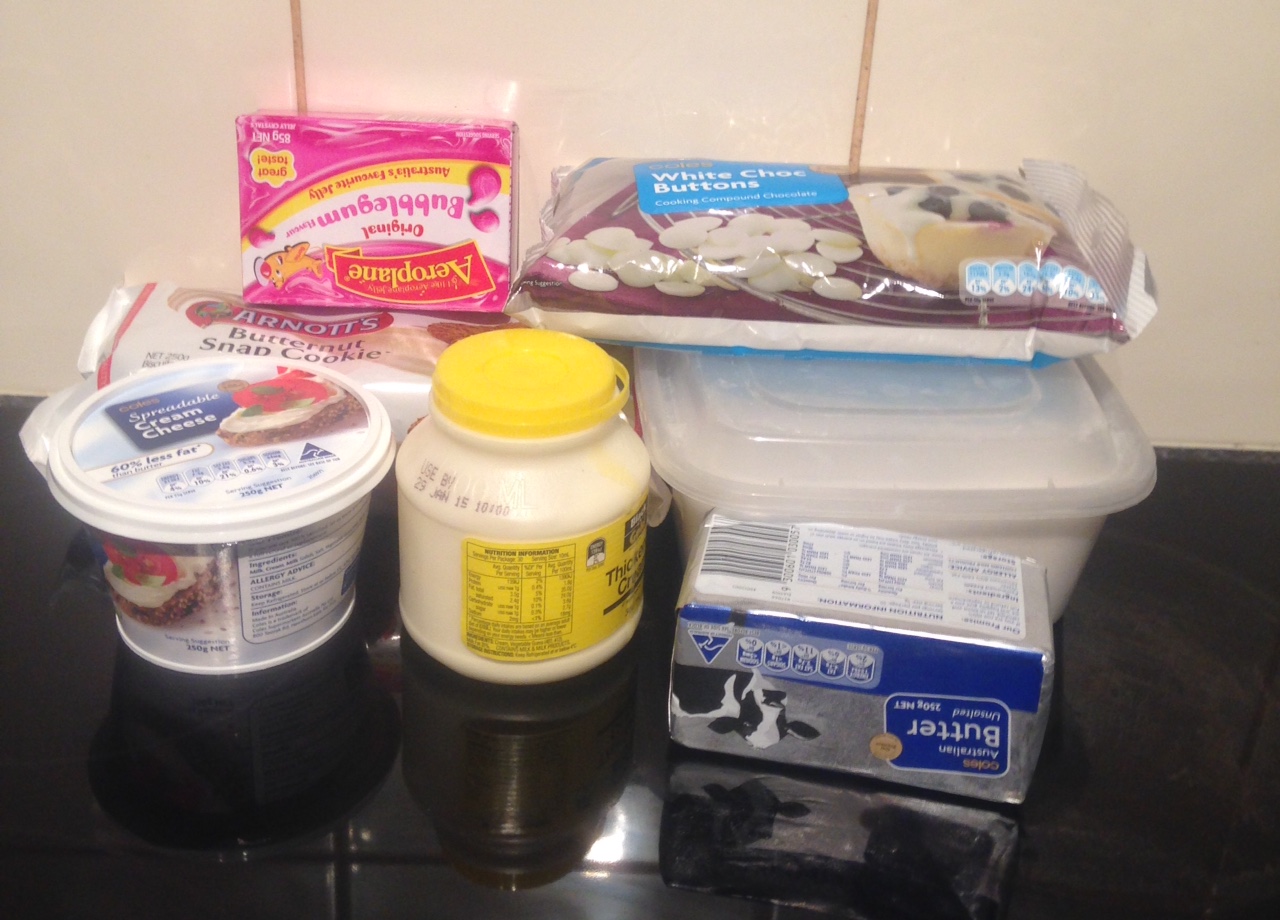
Ingredients:
Base:
- 280g Nice biscuits
- 130g butter
Filling:
- 80ml milk
- 1 tsn coffee granules
- 240g sugar
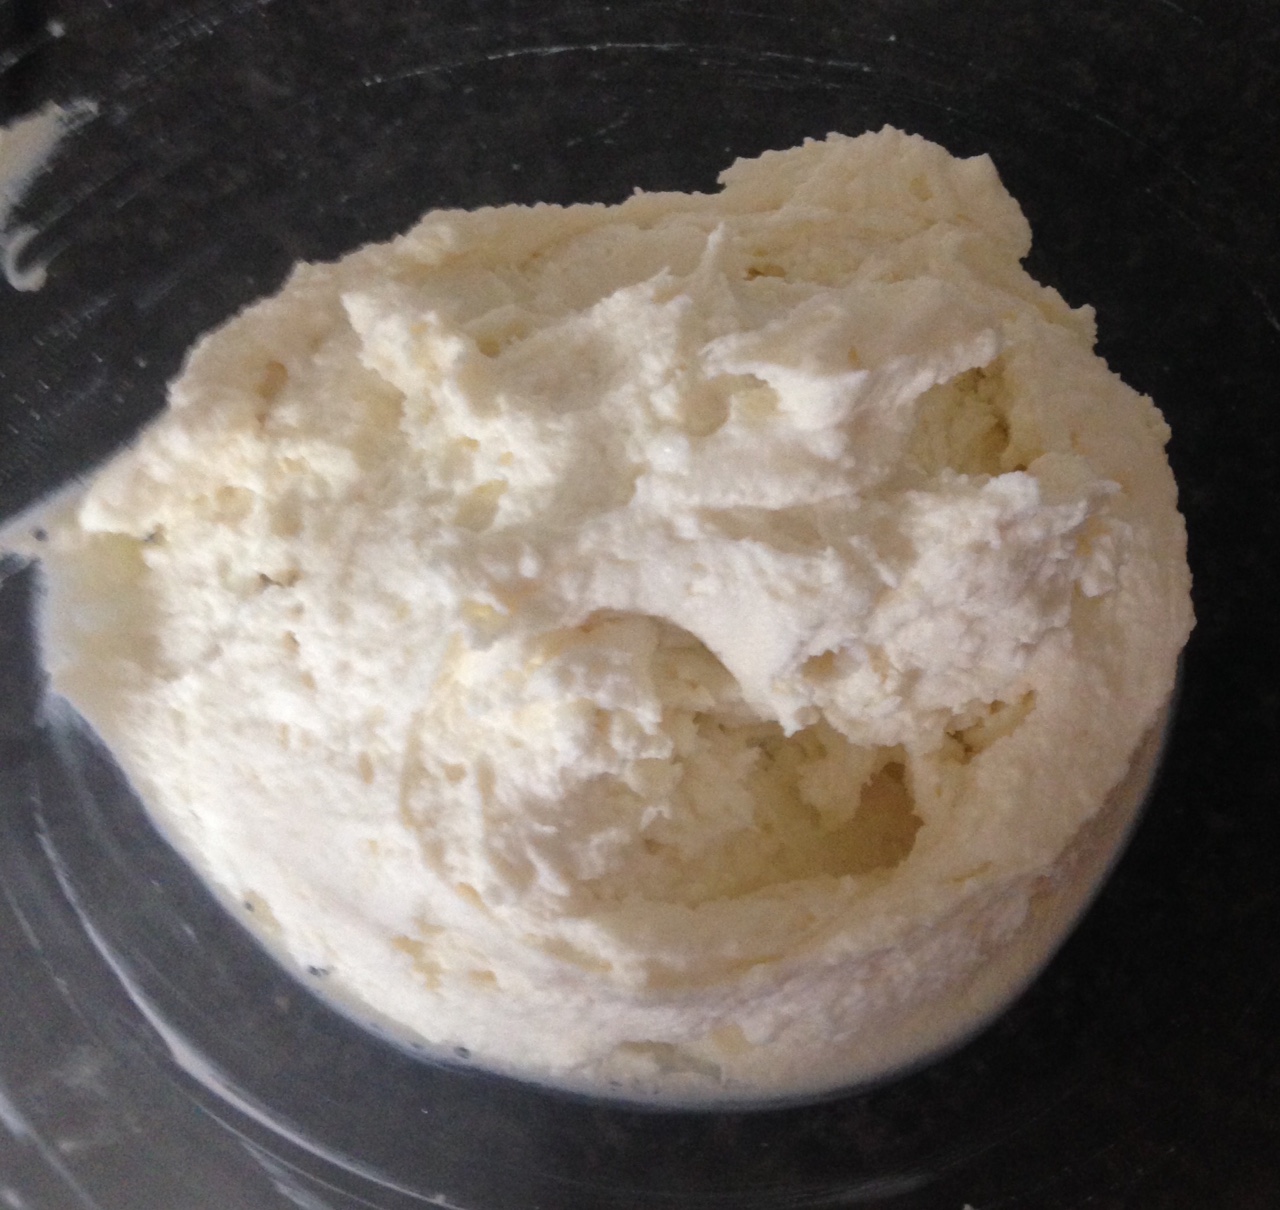
- 240g firm tofu
- 40g butter
- 40ml orange juice
- ½ tsn orange zest
- 2 tsn vanilla essence
- 25ml bourbon
- 50g cocoa powder
- ½ tsn ground ginger
- ½ tsn ground cinnamon
- 1 tsn all spice
Method:
- Pre-heat the oven to 160c degrees and line a 25cm spring form cake tin with baking paper.
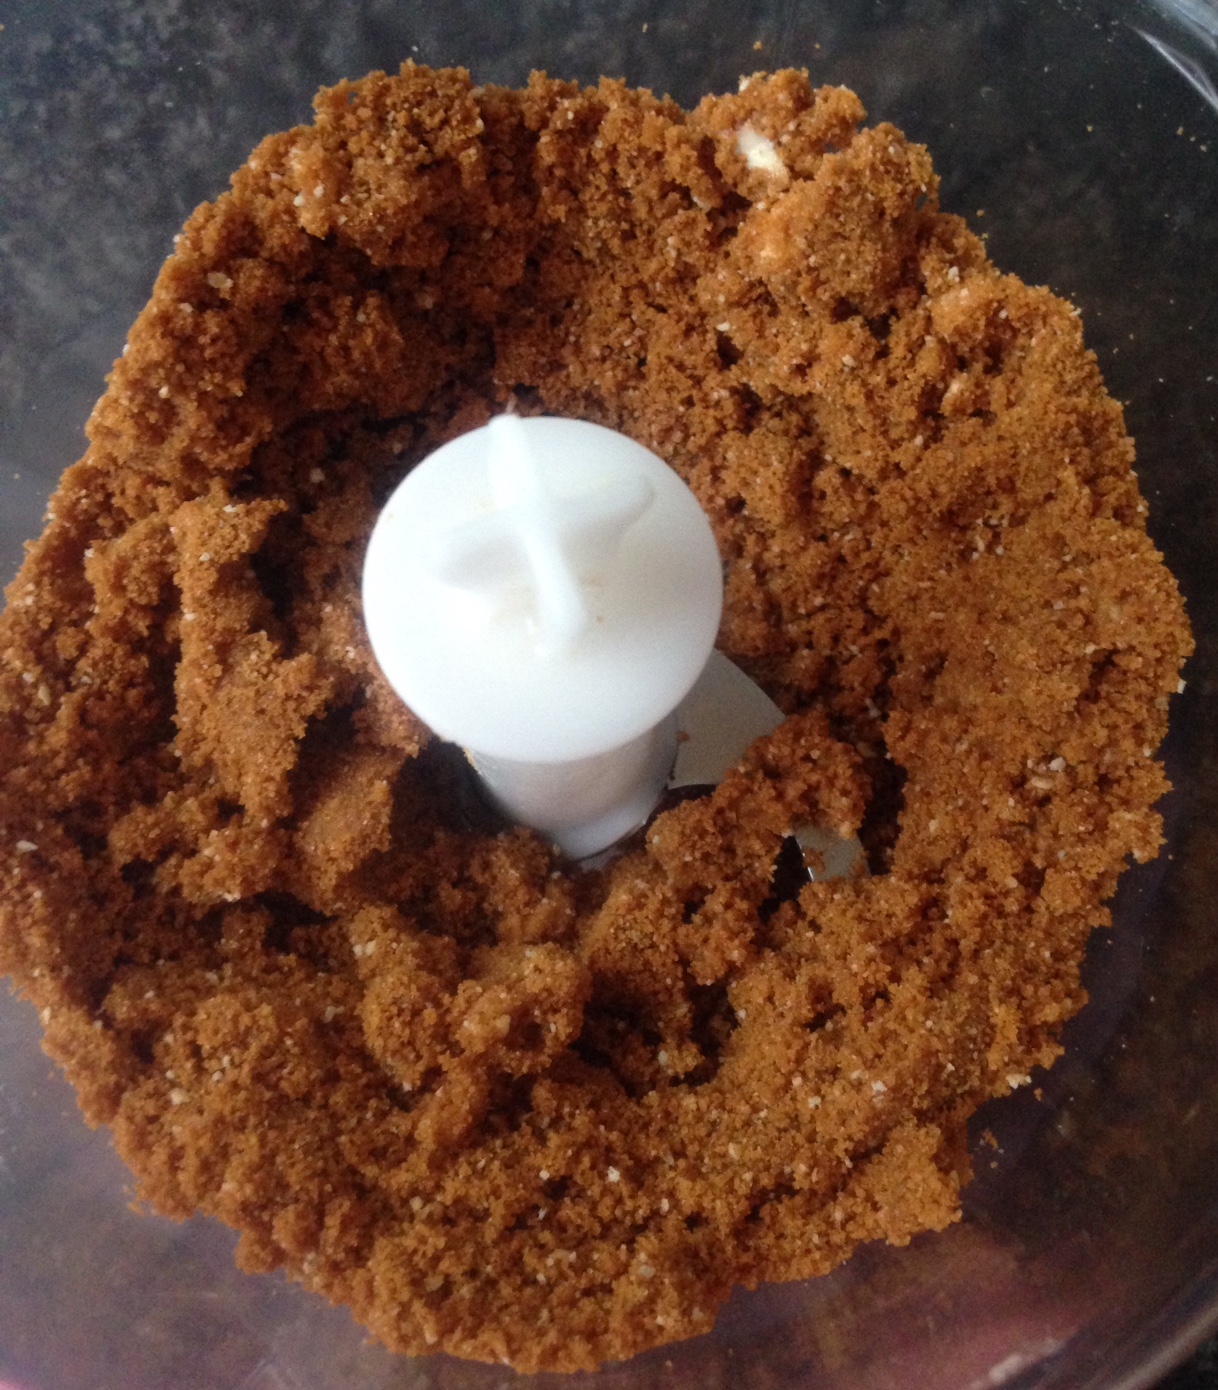
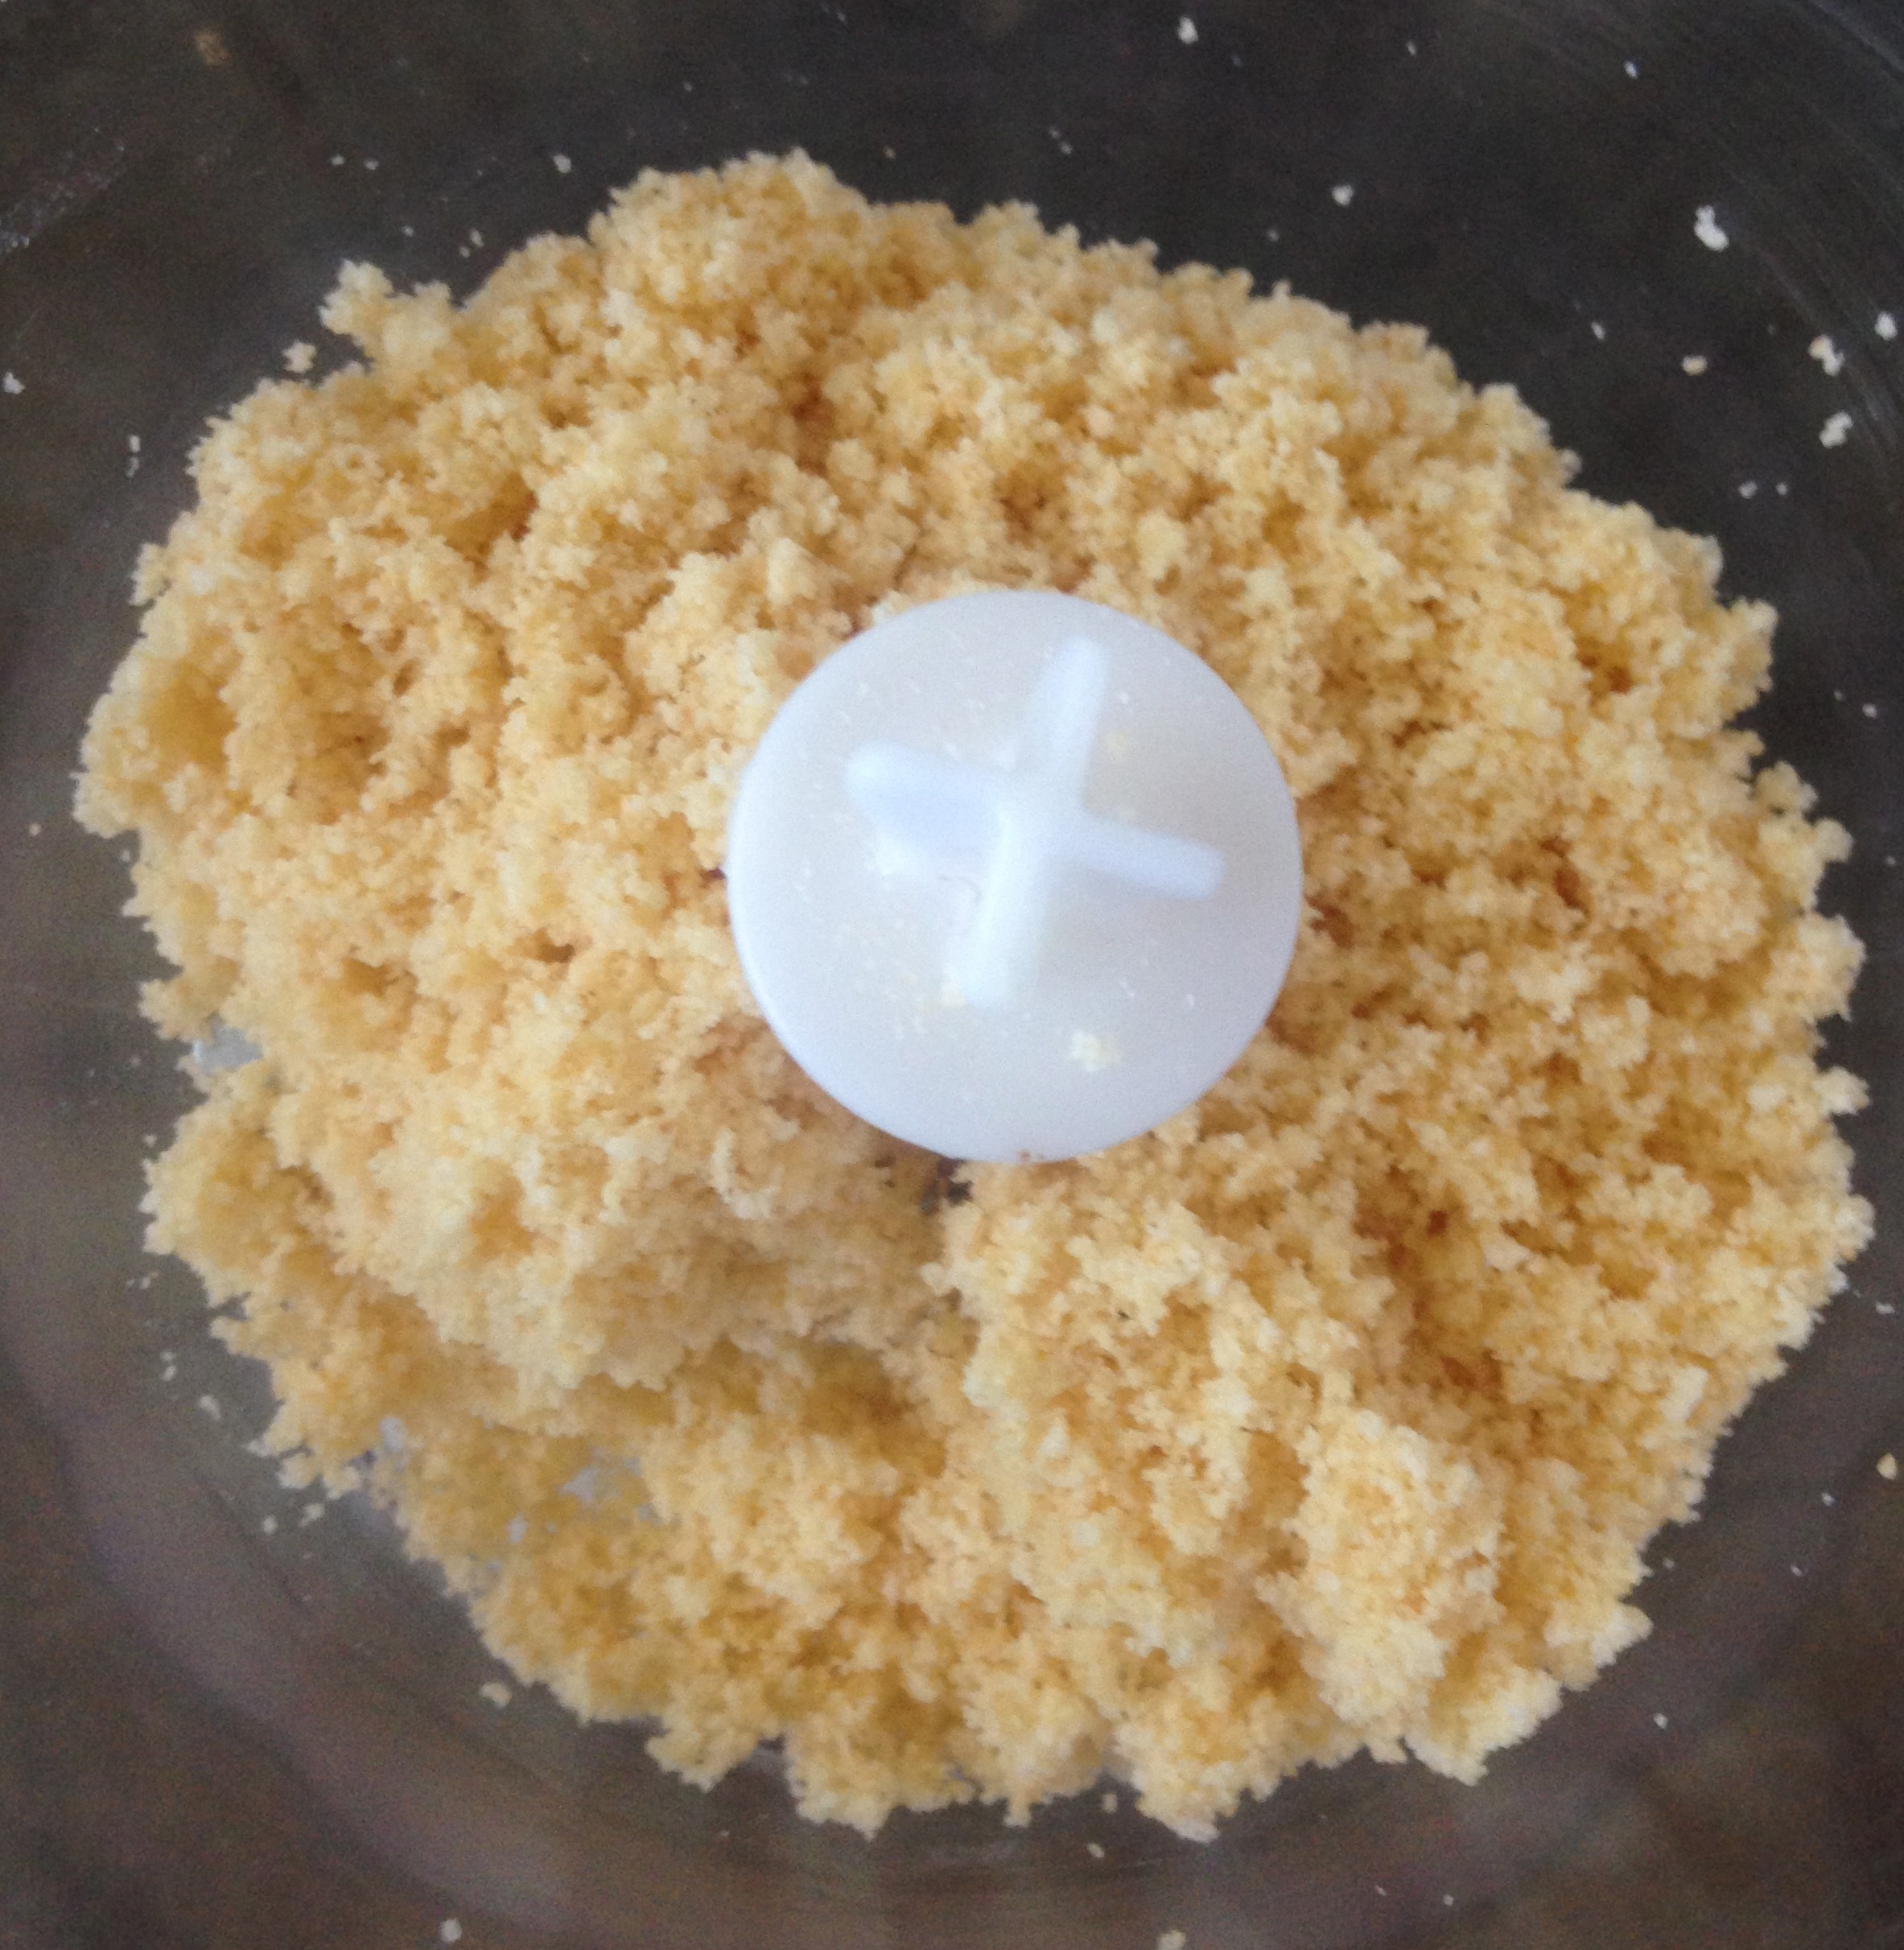
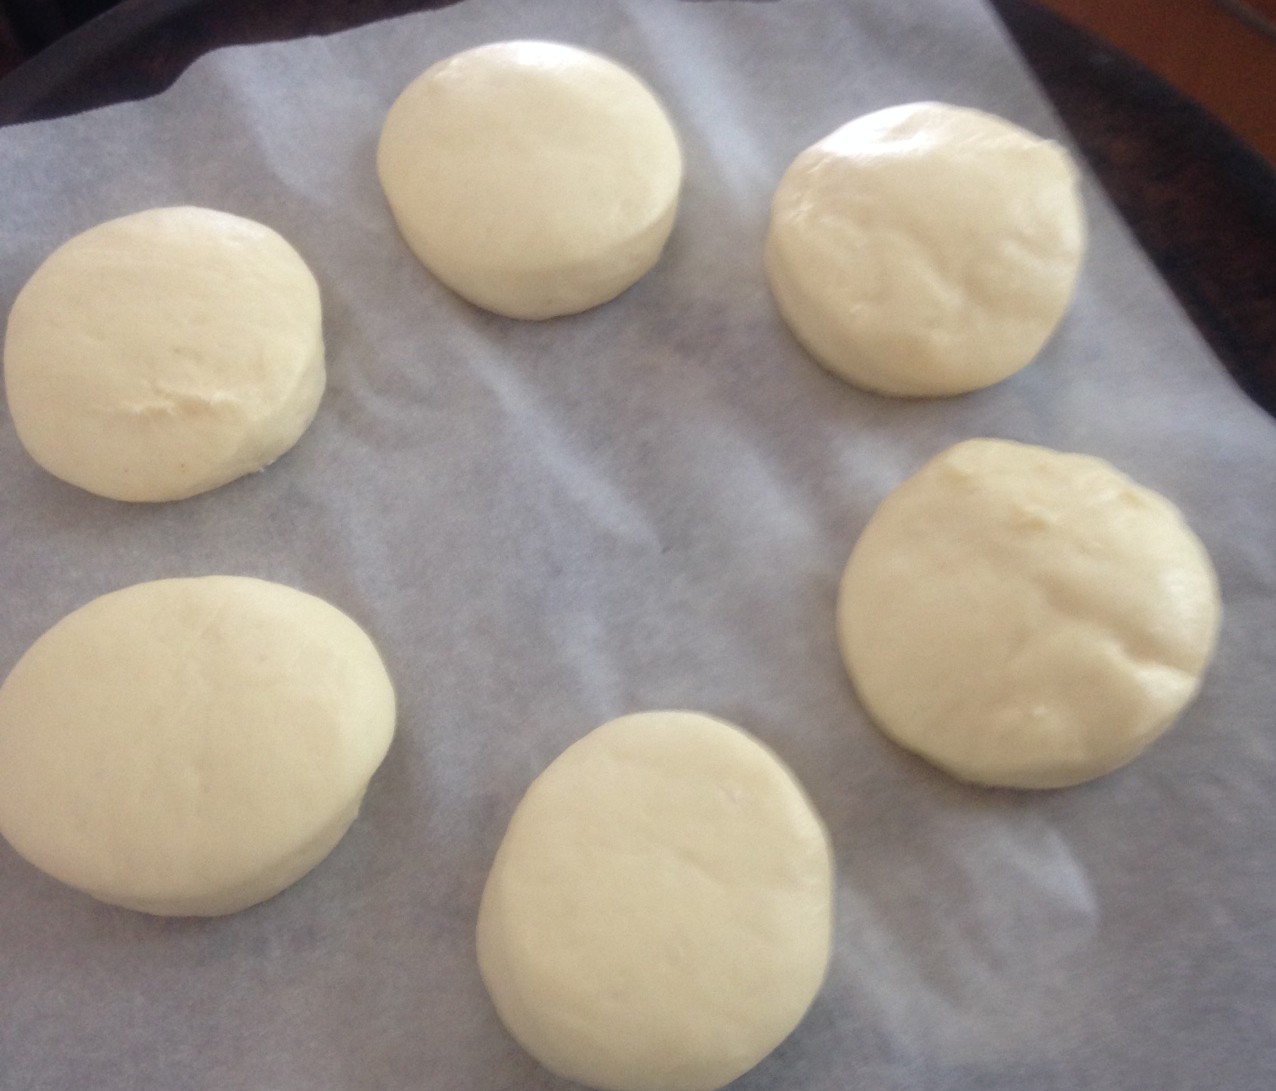
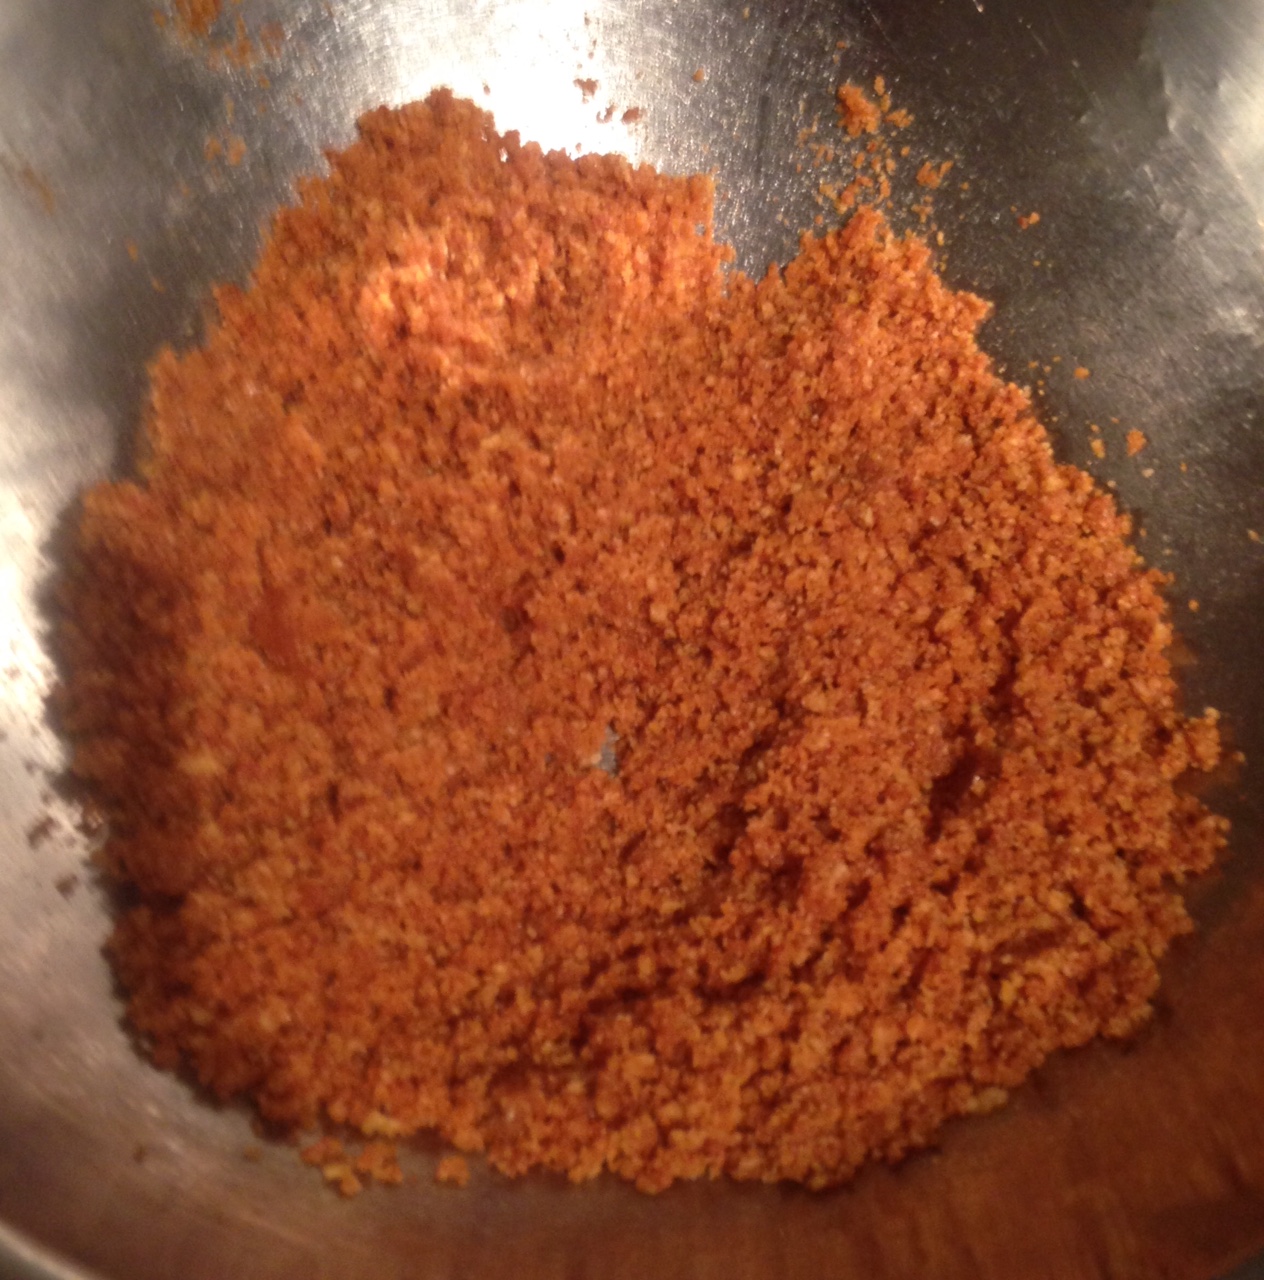
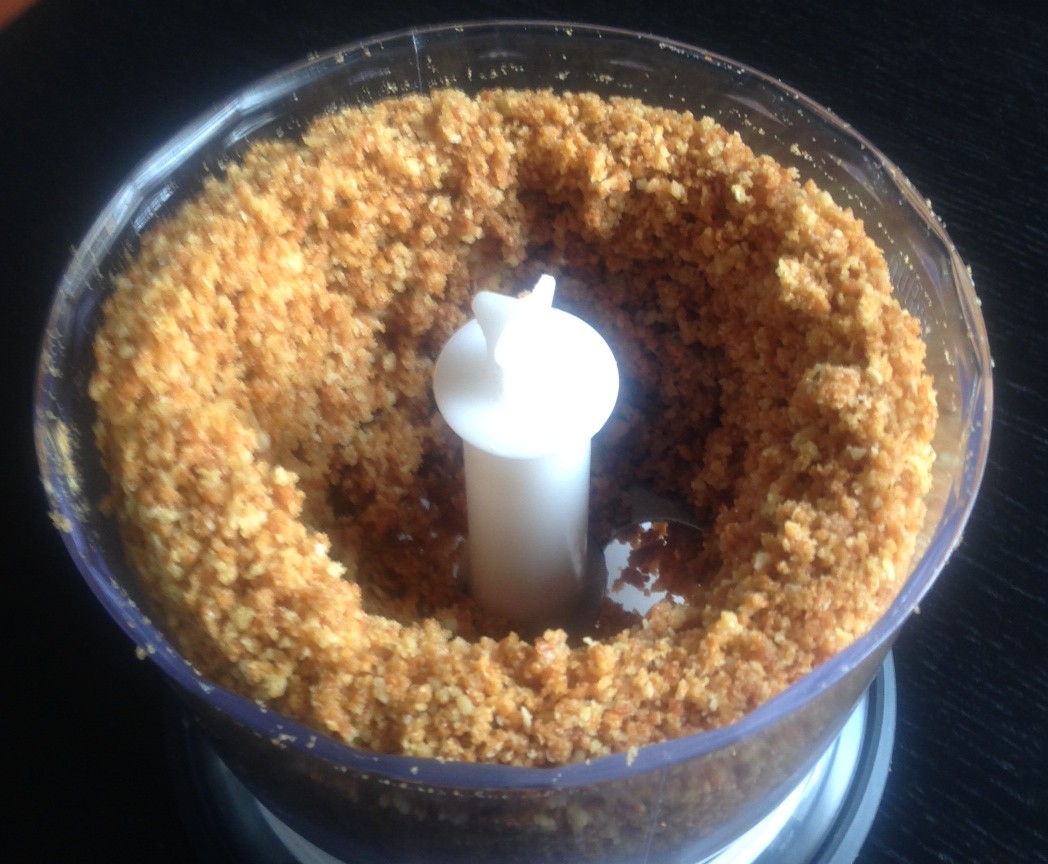
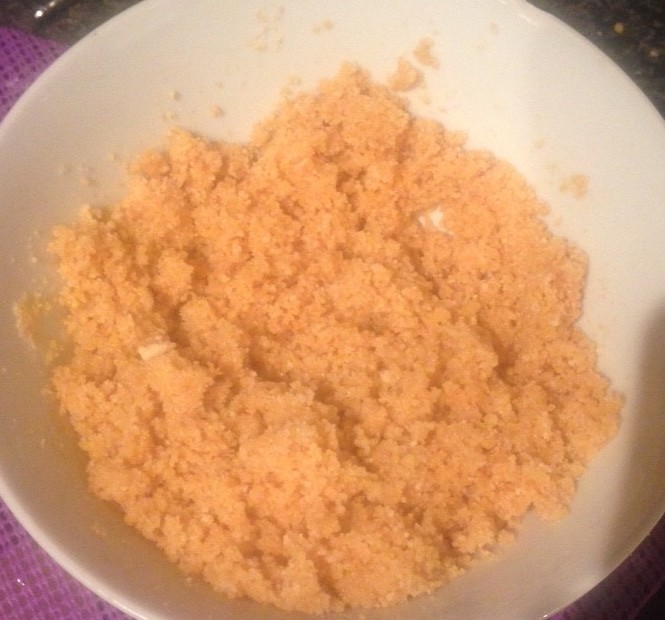
- Place the biscuits in a food processor and blitz until they resemble fine breadcrumbs.
- Melt the 130g of butter and mix through the biscuit crumbs.
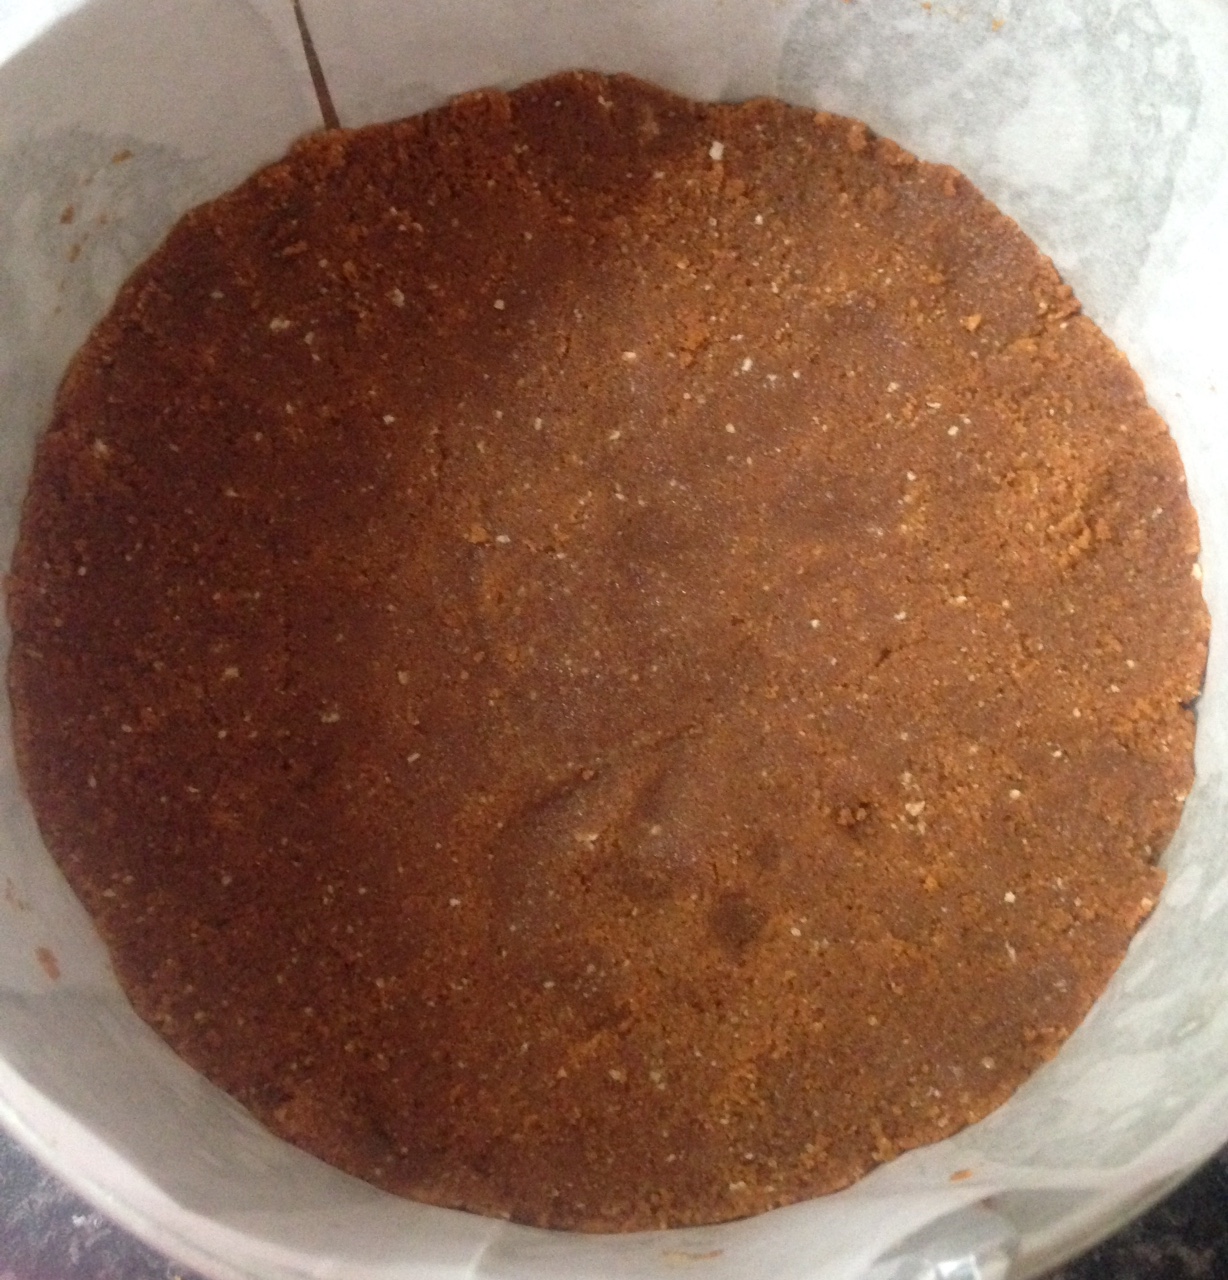
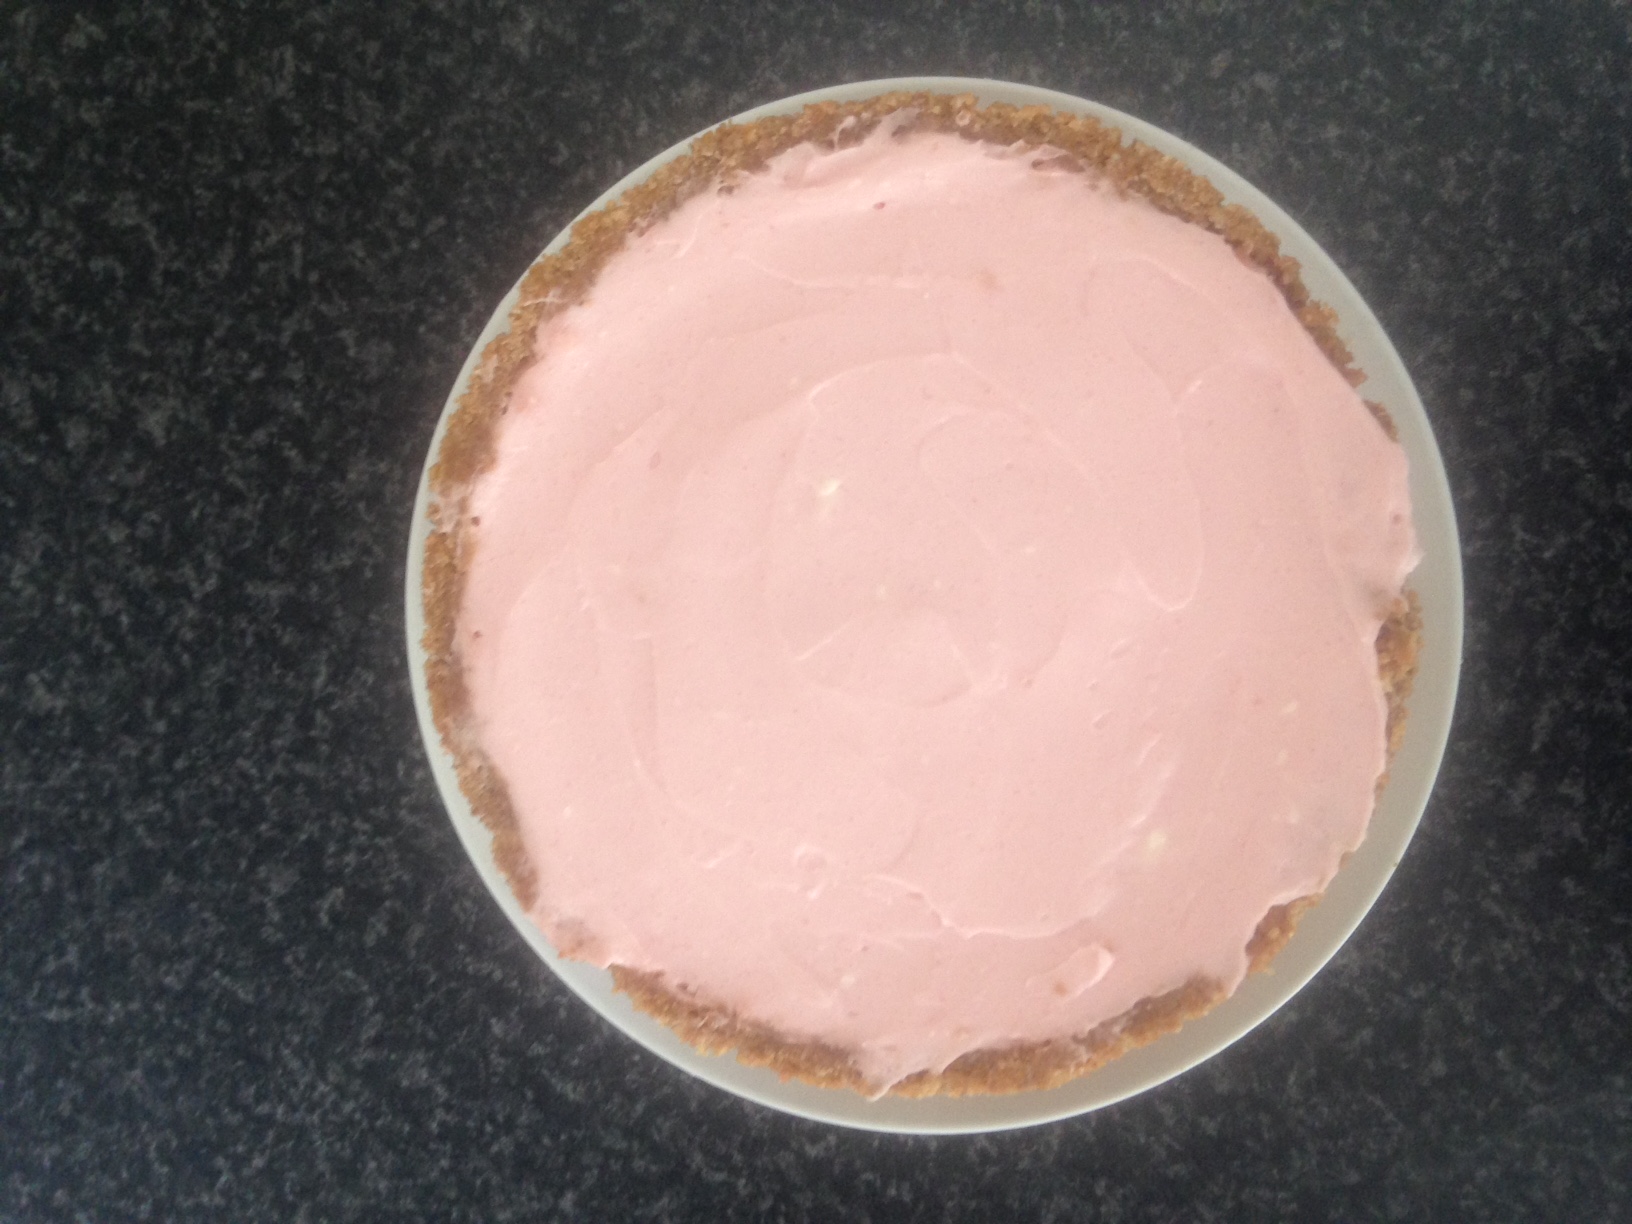
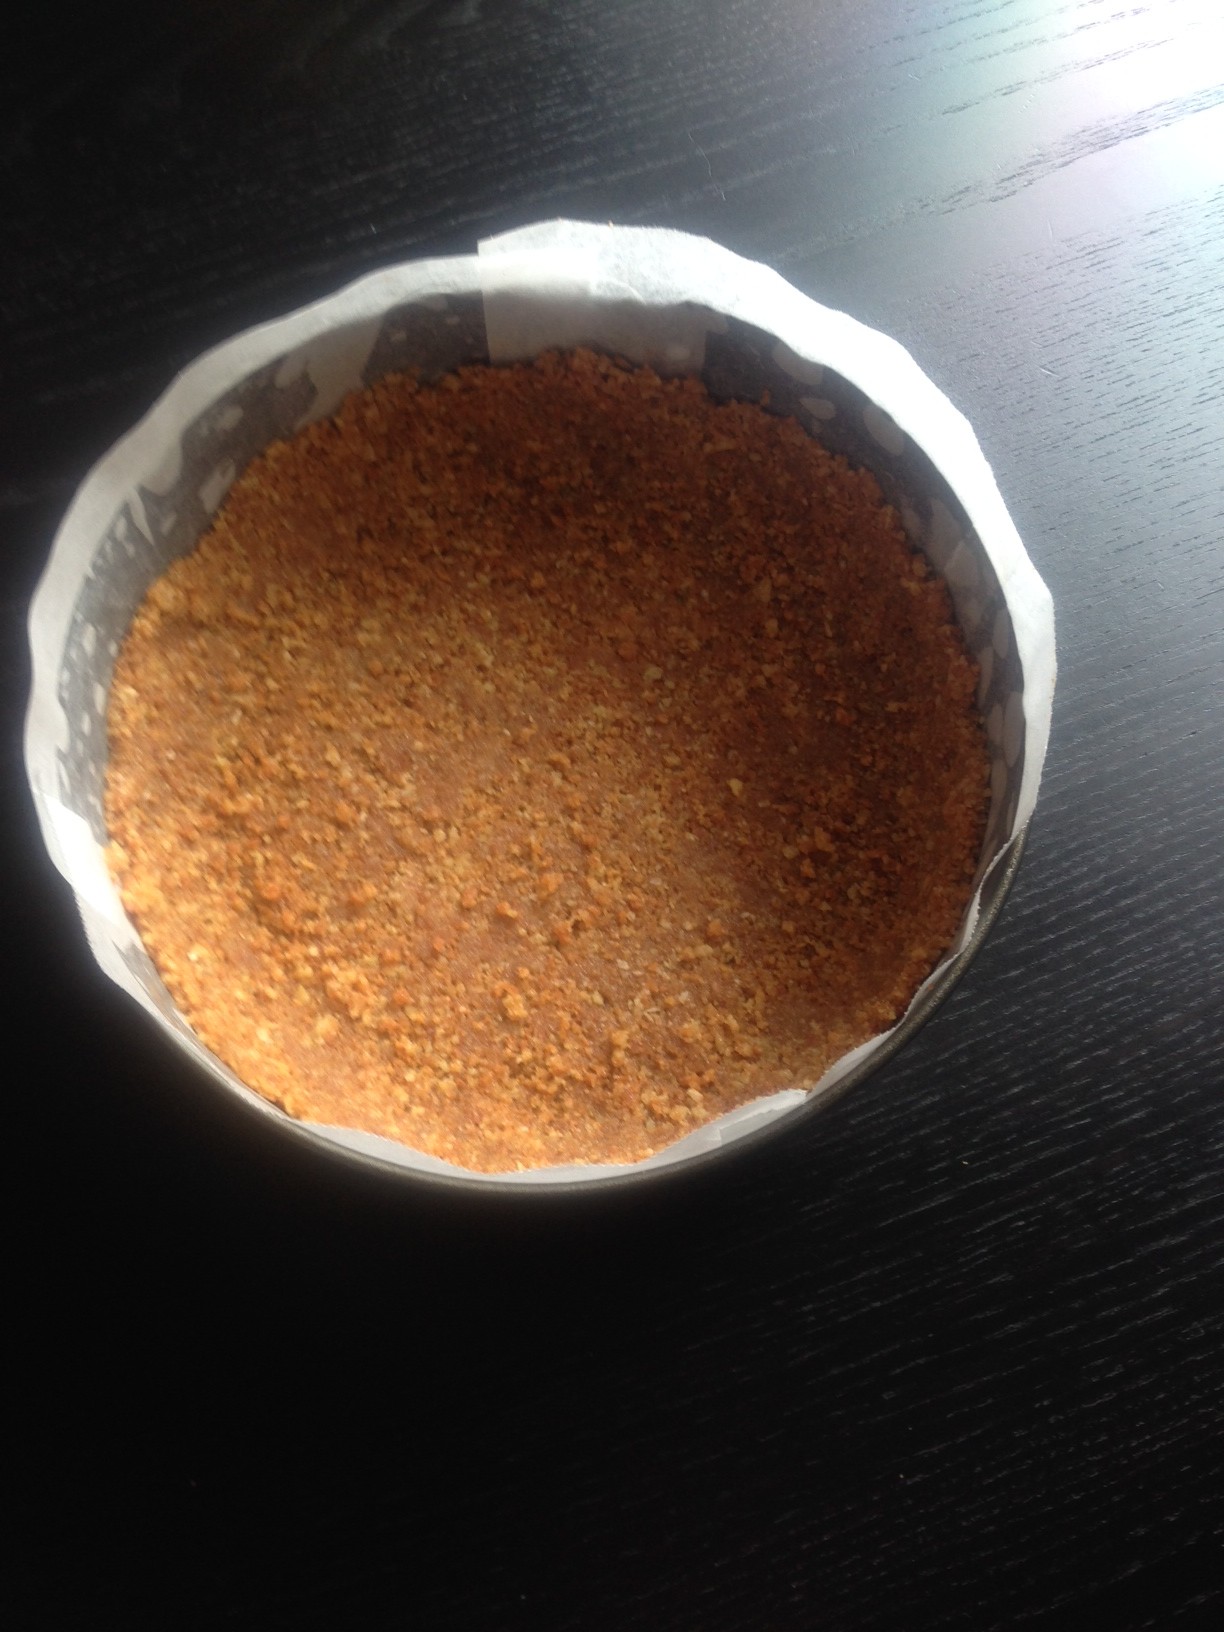
- Once well combine pour the mix into the cake tin and using fingers press the mix into the base and sides of the cake tin. Place tin in the fridge to firm.
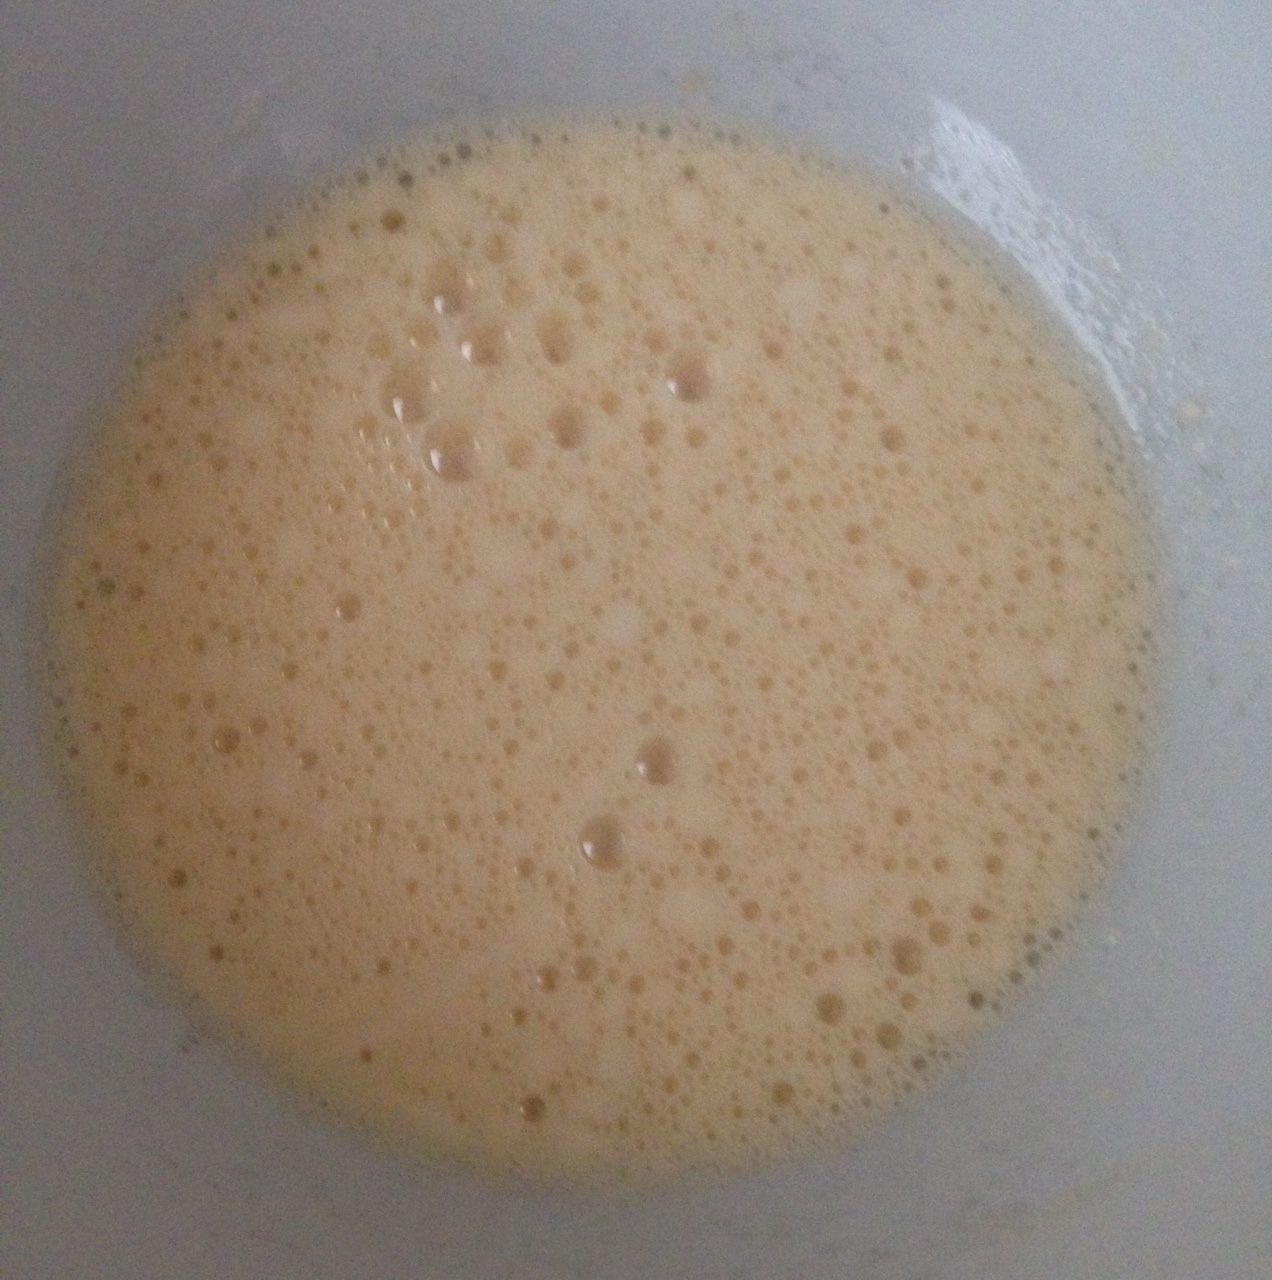
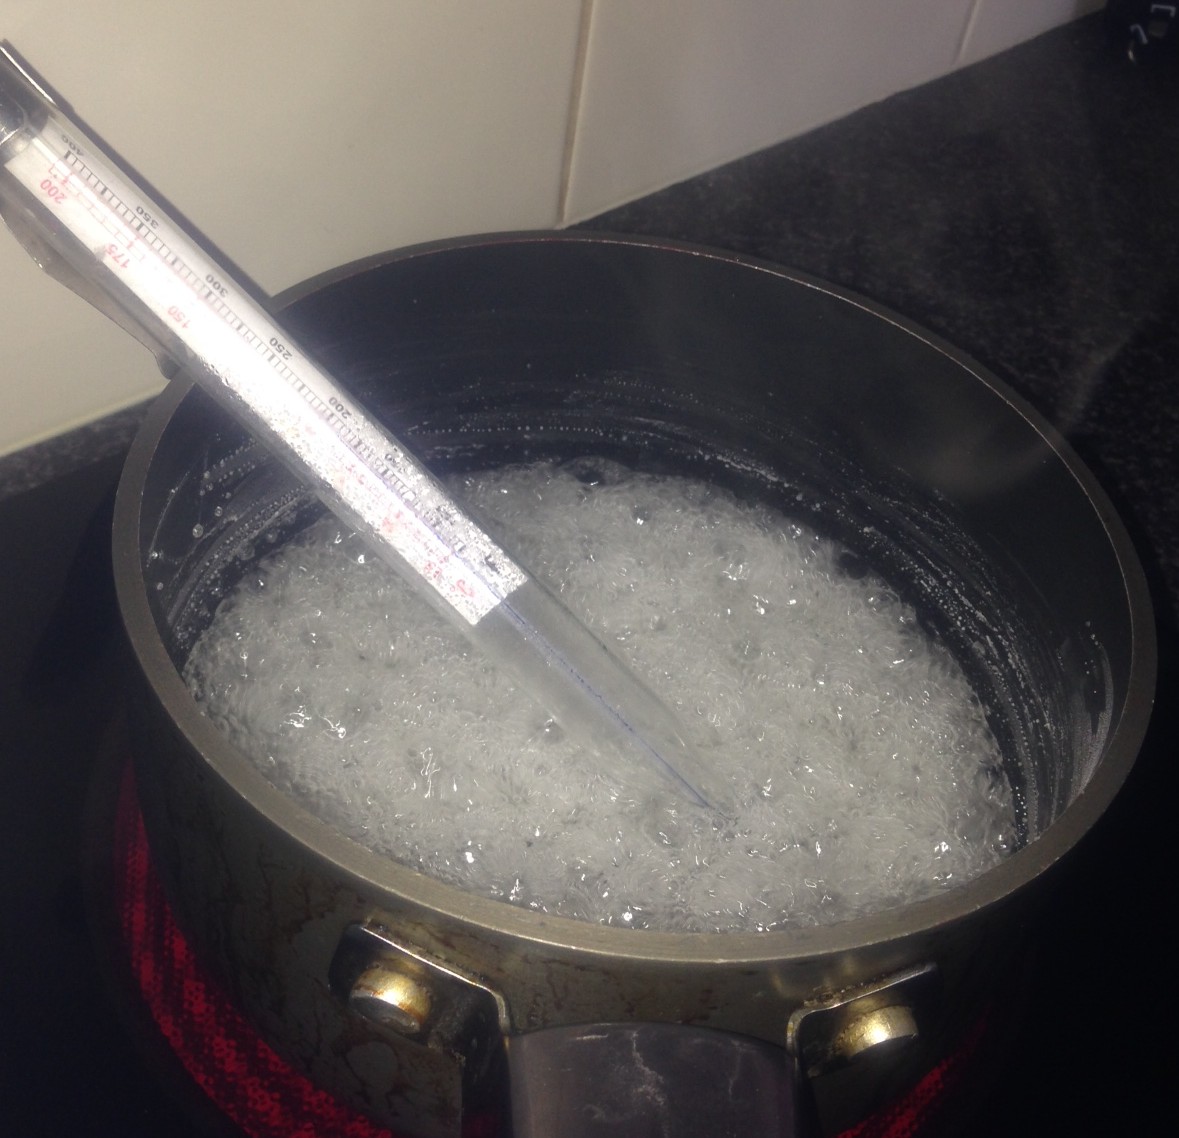
- To make the filling heat the milk up in the microwave until boiling.
- Add the coffee granules and sugar to the milk and stir until well combine and the sugar has melted.
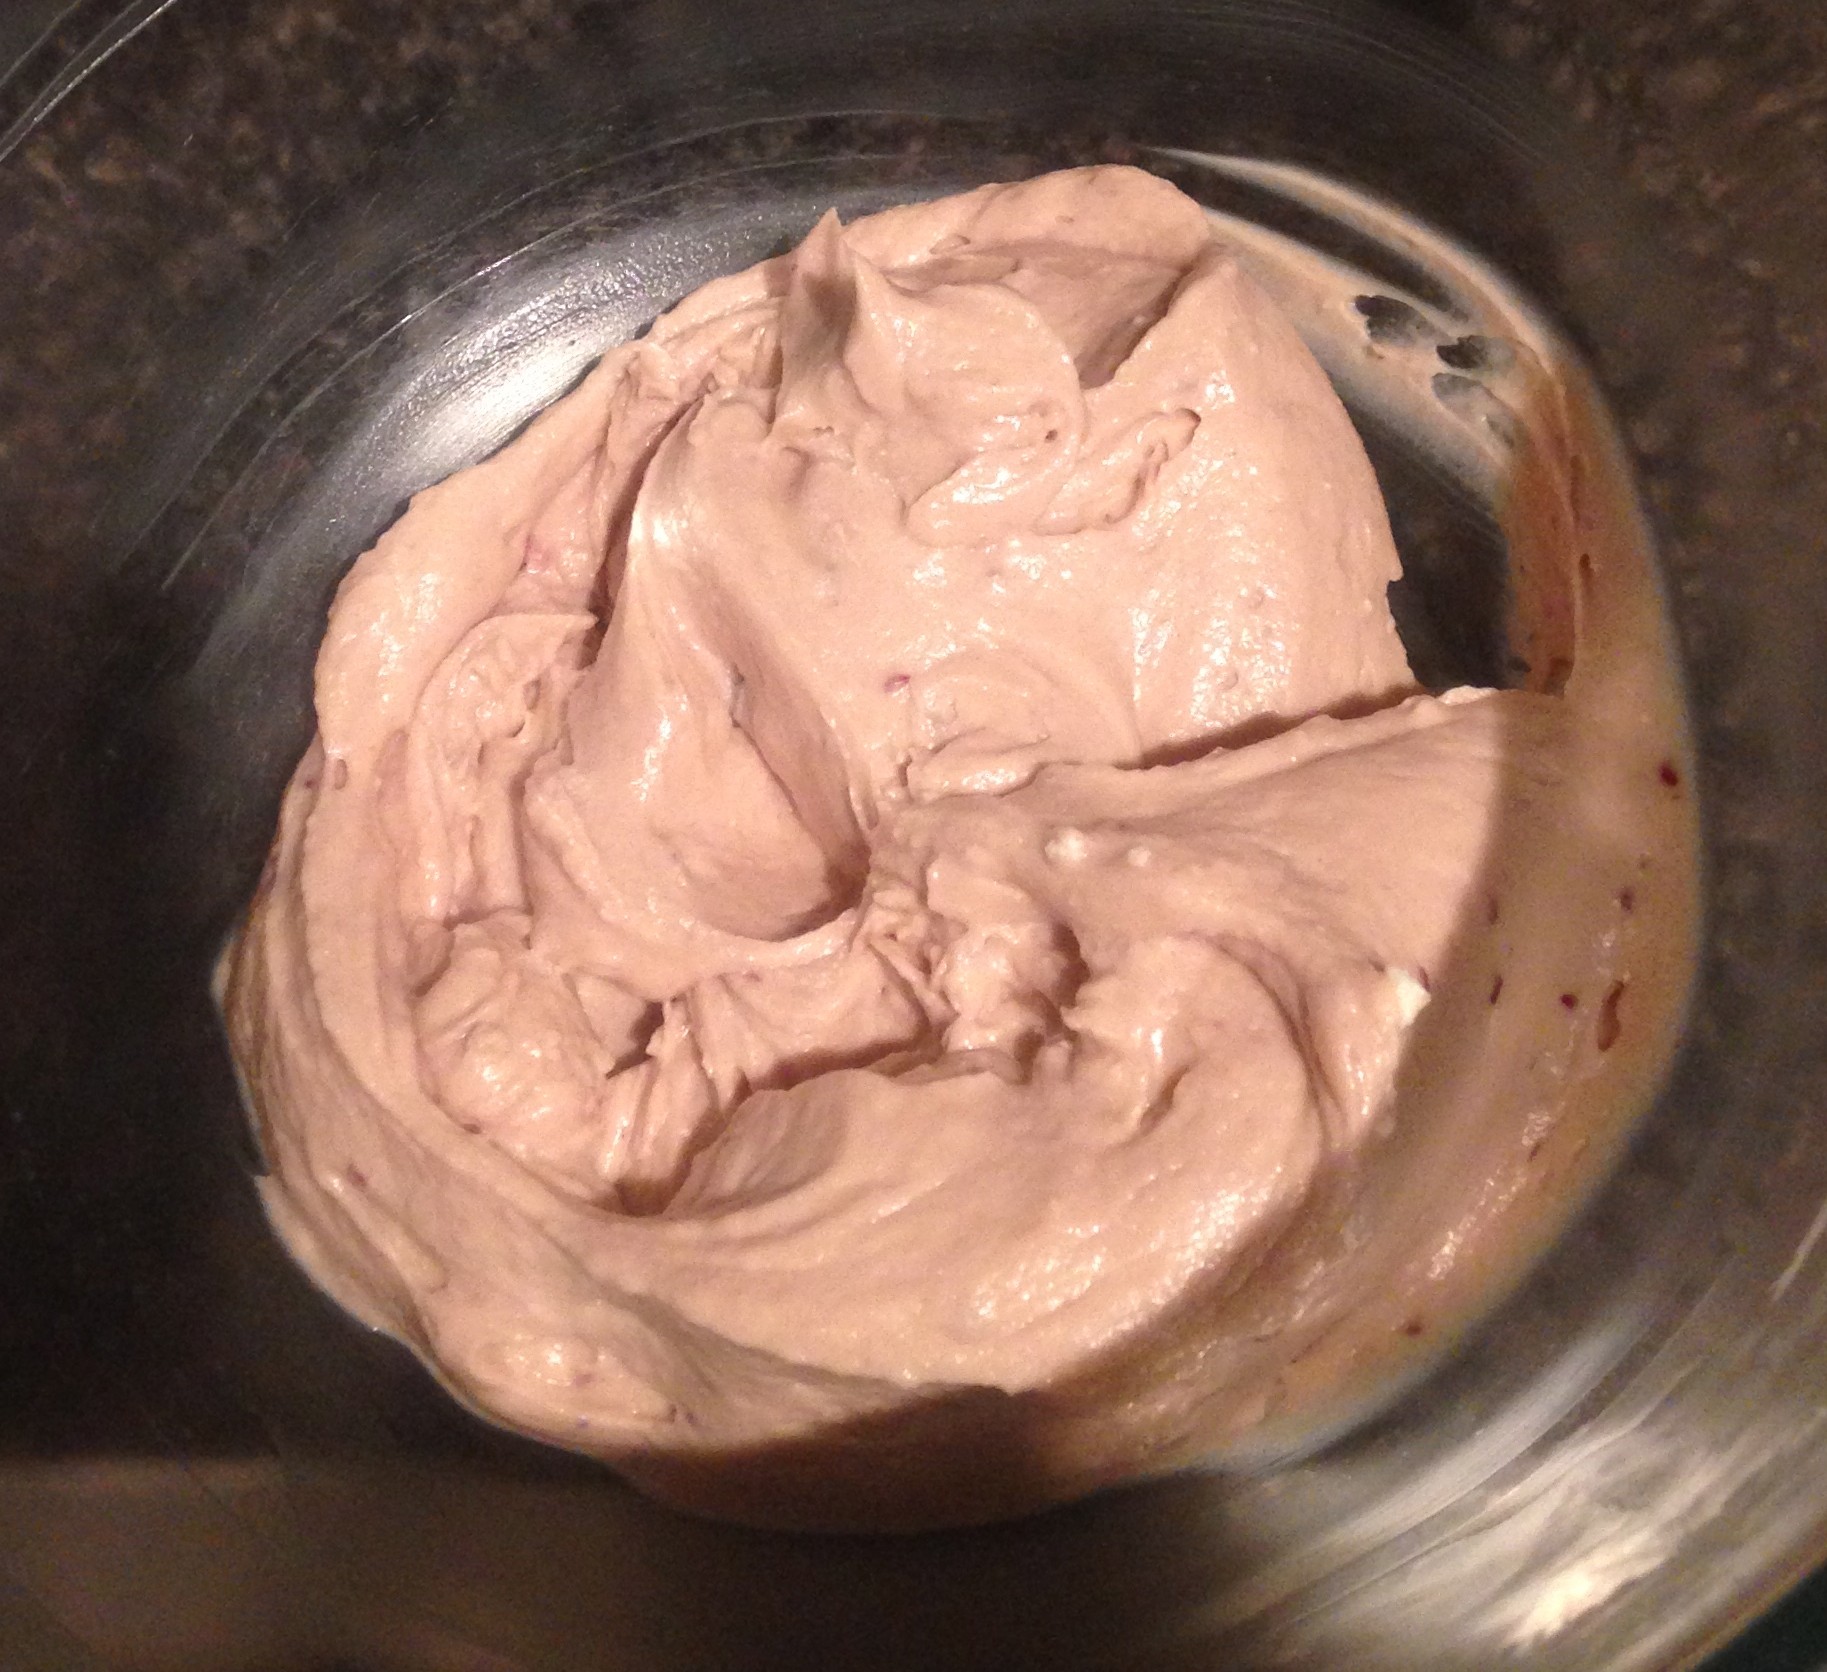
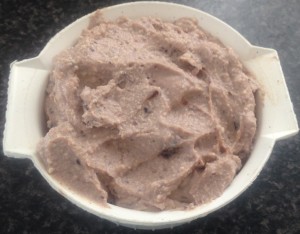
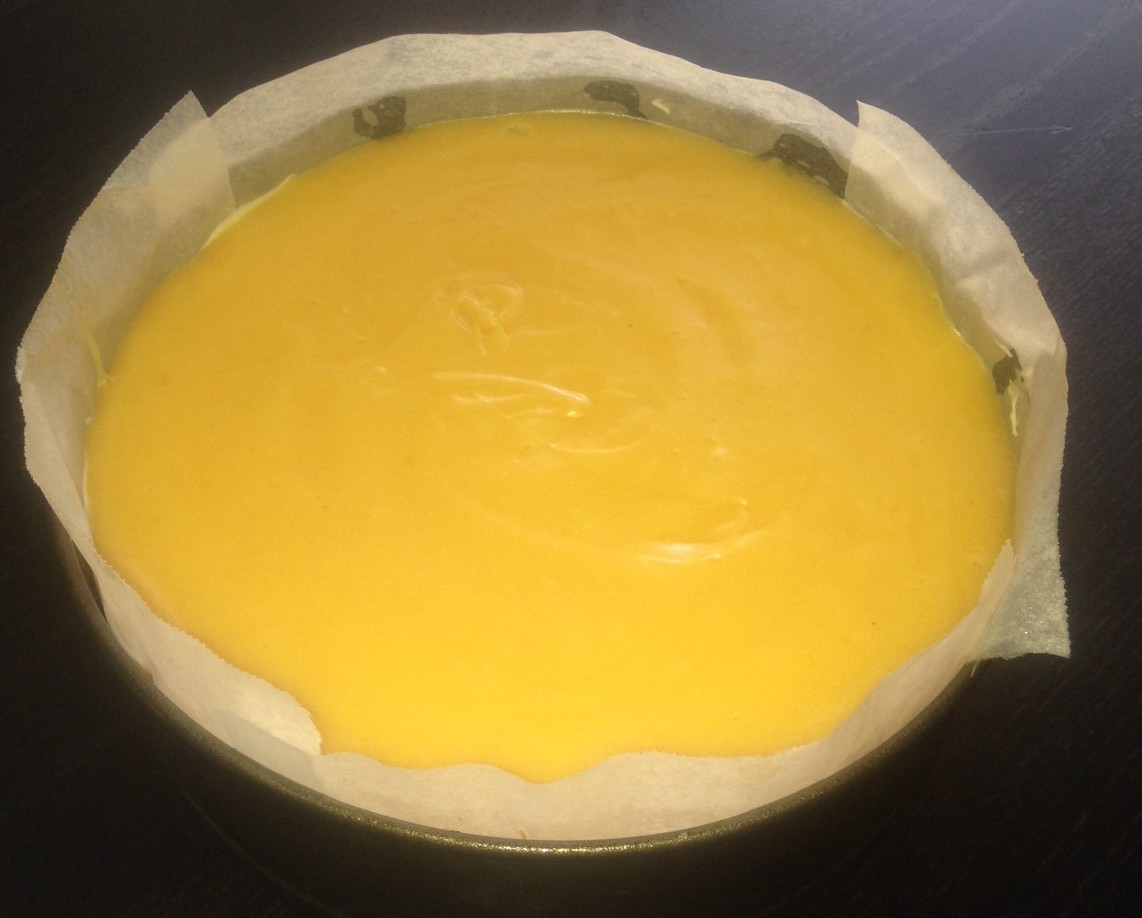
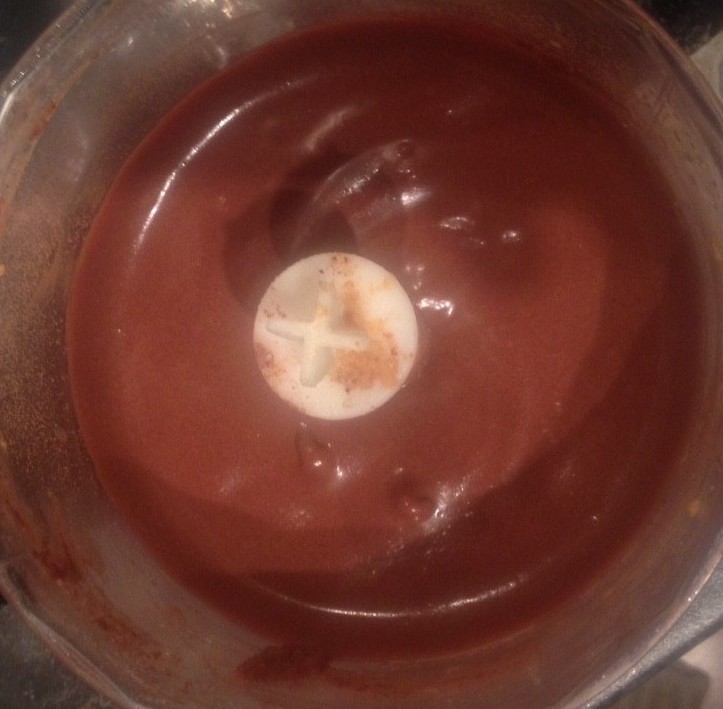
- Place the milk mix into a food processor with all the remaining ingredients and blitz until well combine and smooth.
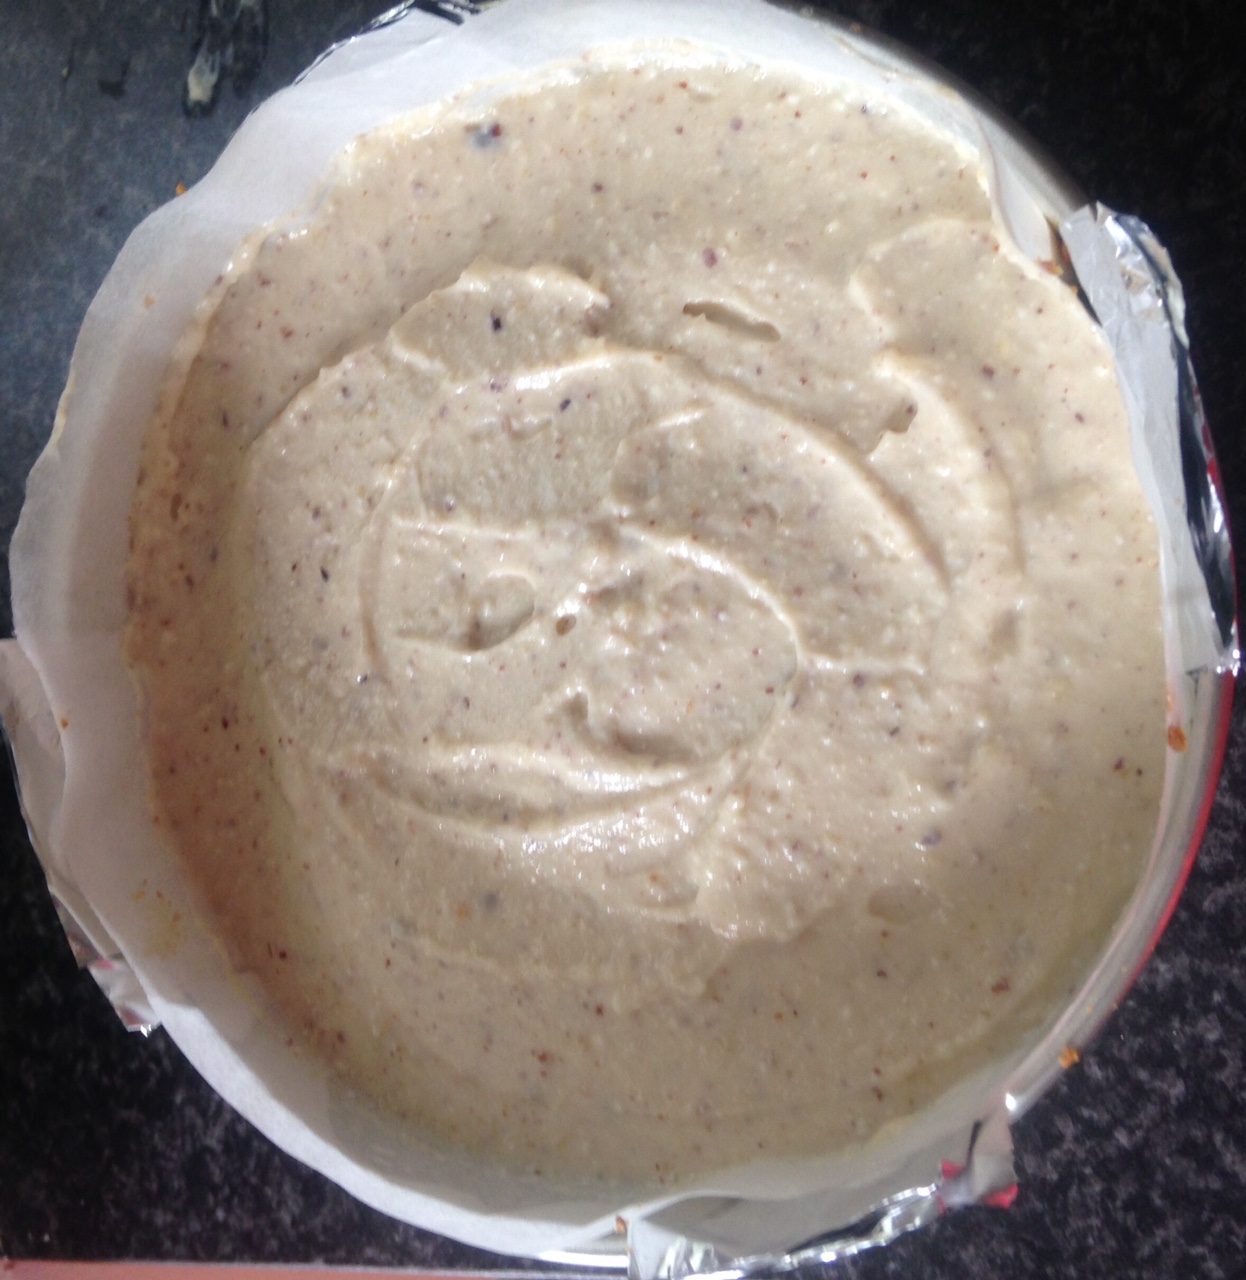
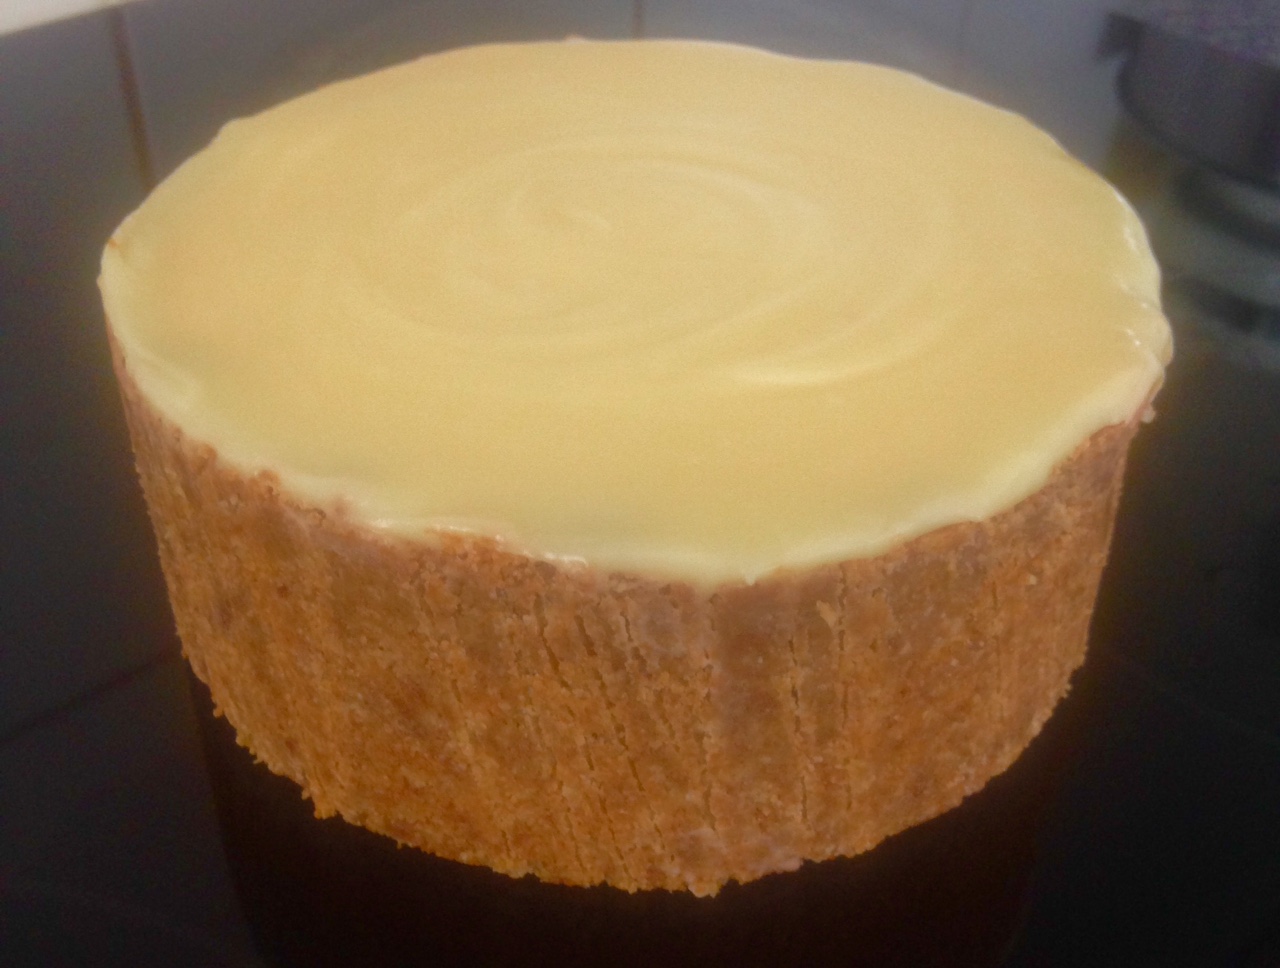
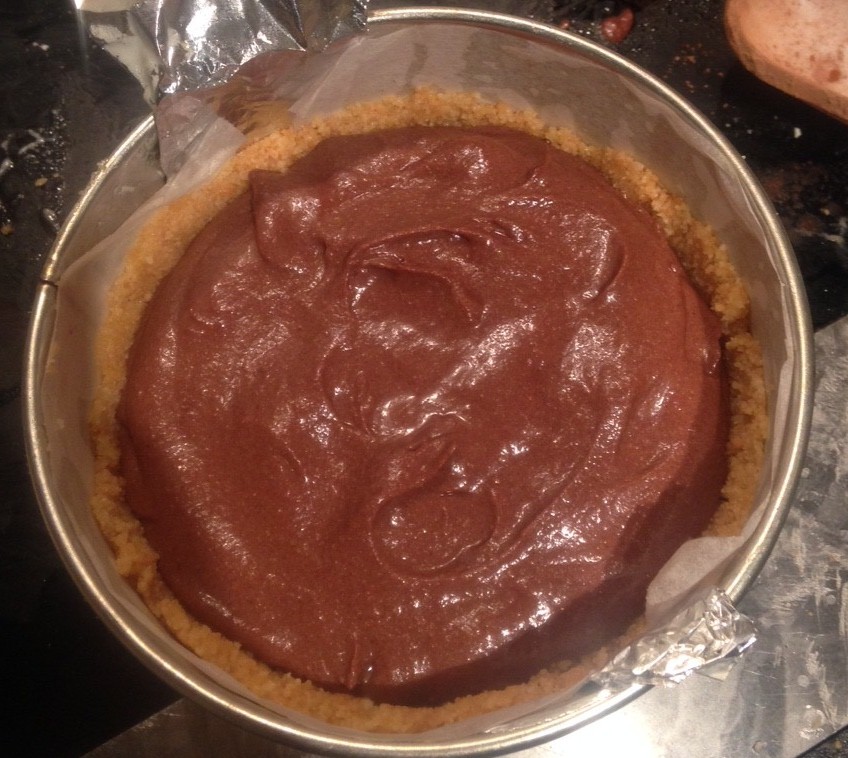
- Pour the mix into the cake tin and bake in the oven for 1h 15mins, or until the top is set completely.
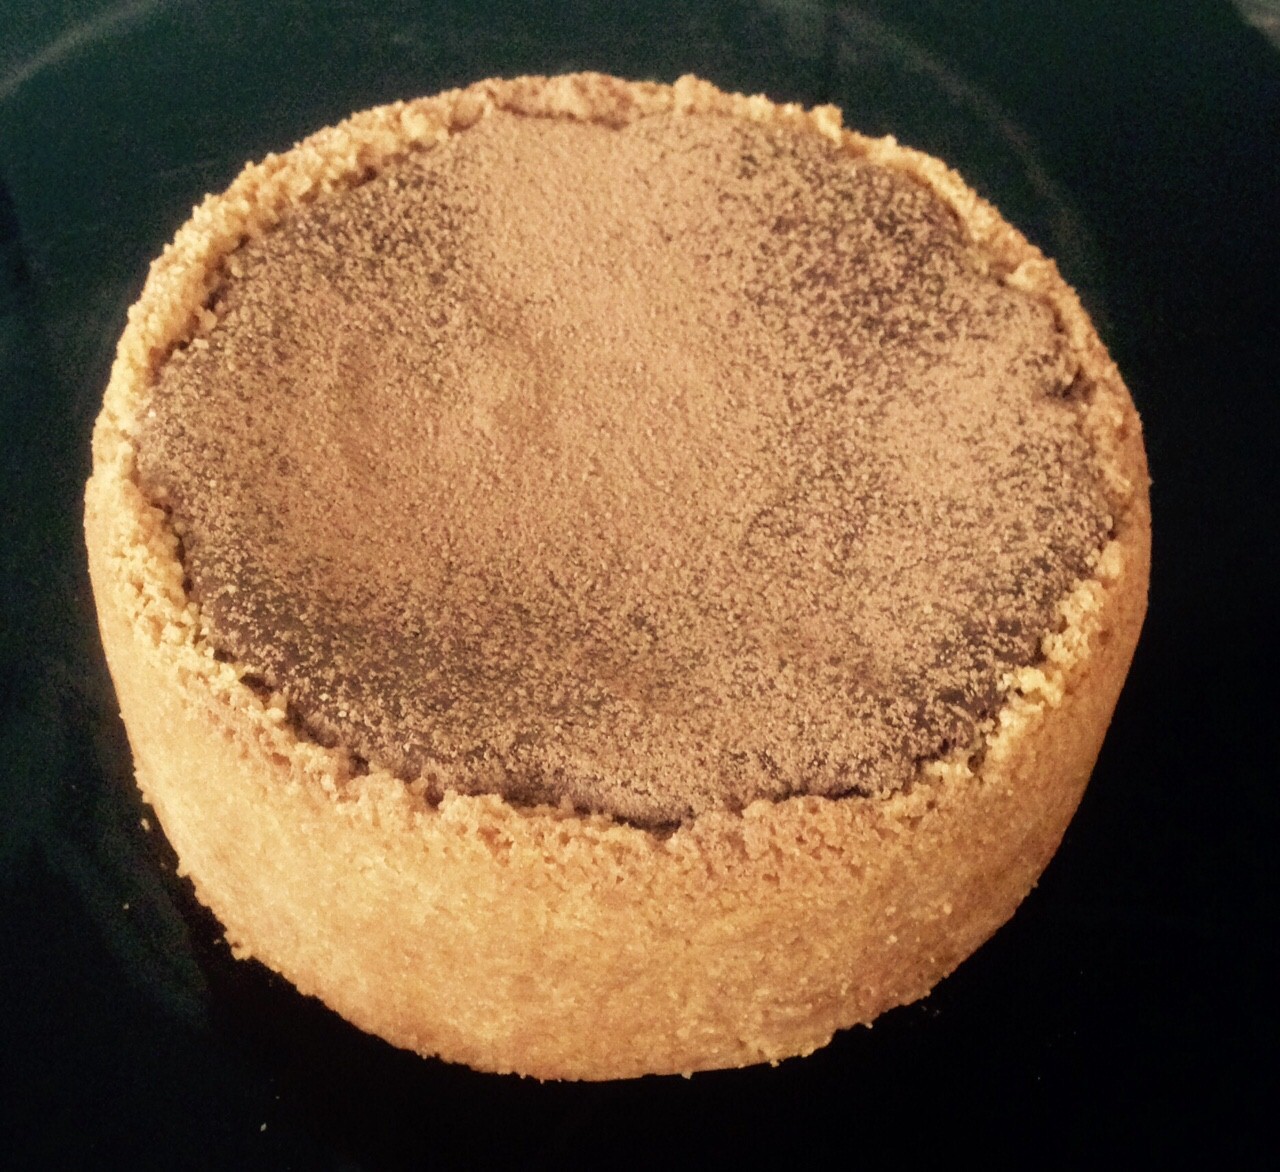
- Leave in the tin to cool then allow to firm in the fridge for 3 hours.
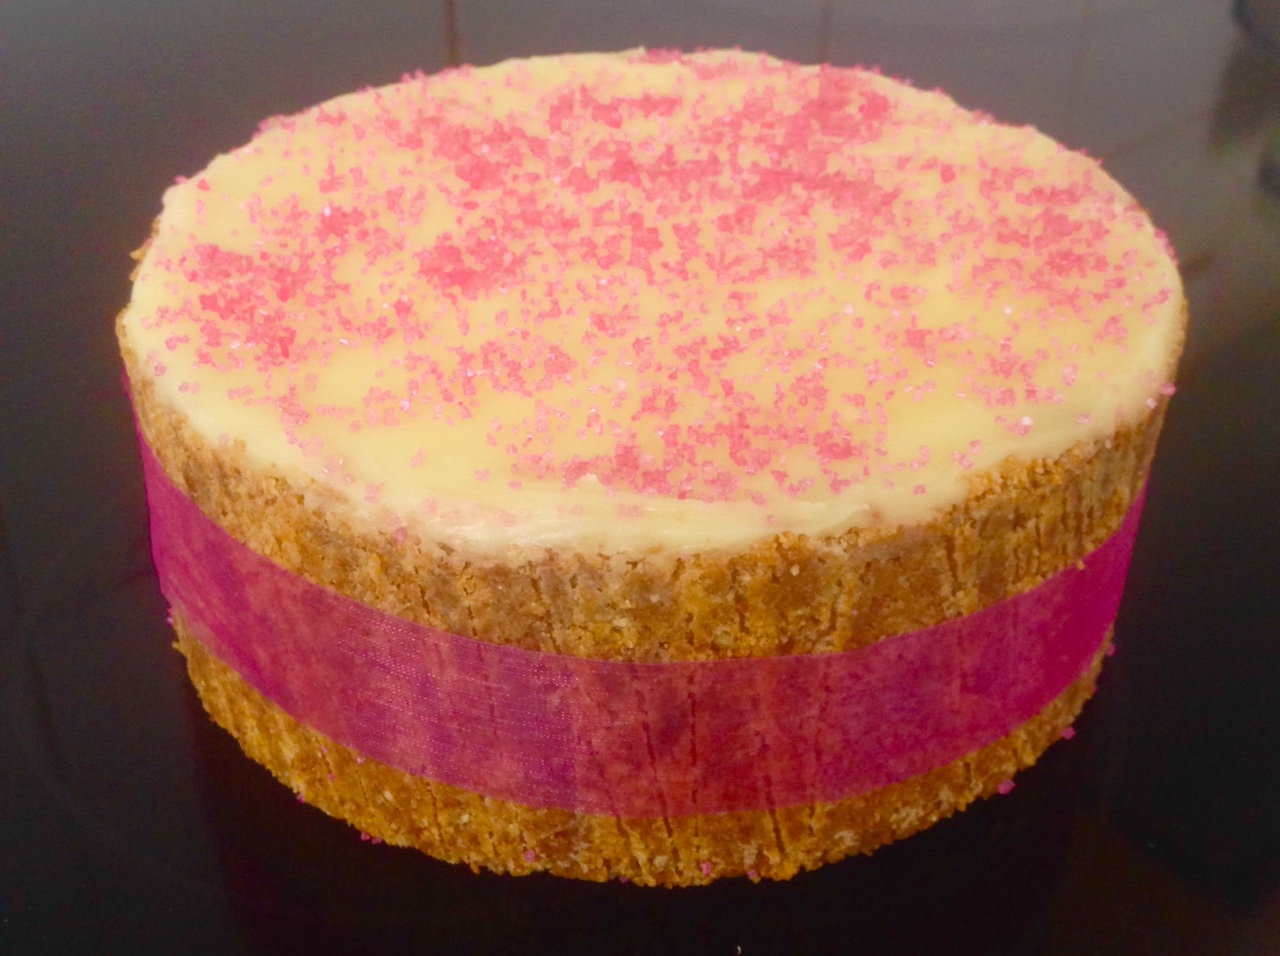
- Release from the tin, decorate with cocoa powder and enjoy.
Step

Step
Step
Step

Step
Like this recipe? Subscribe via RSS or email to get my new entries and more scrumptious recipes with reviews.
 Follow