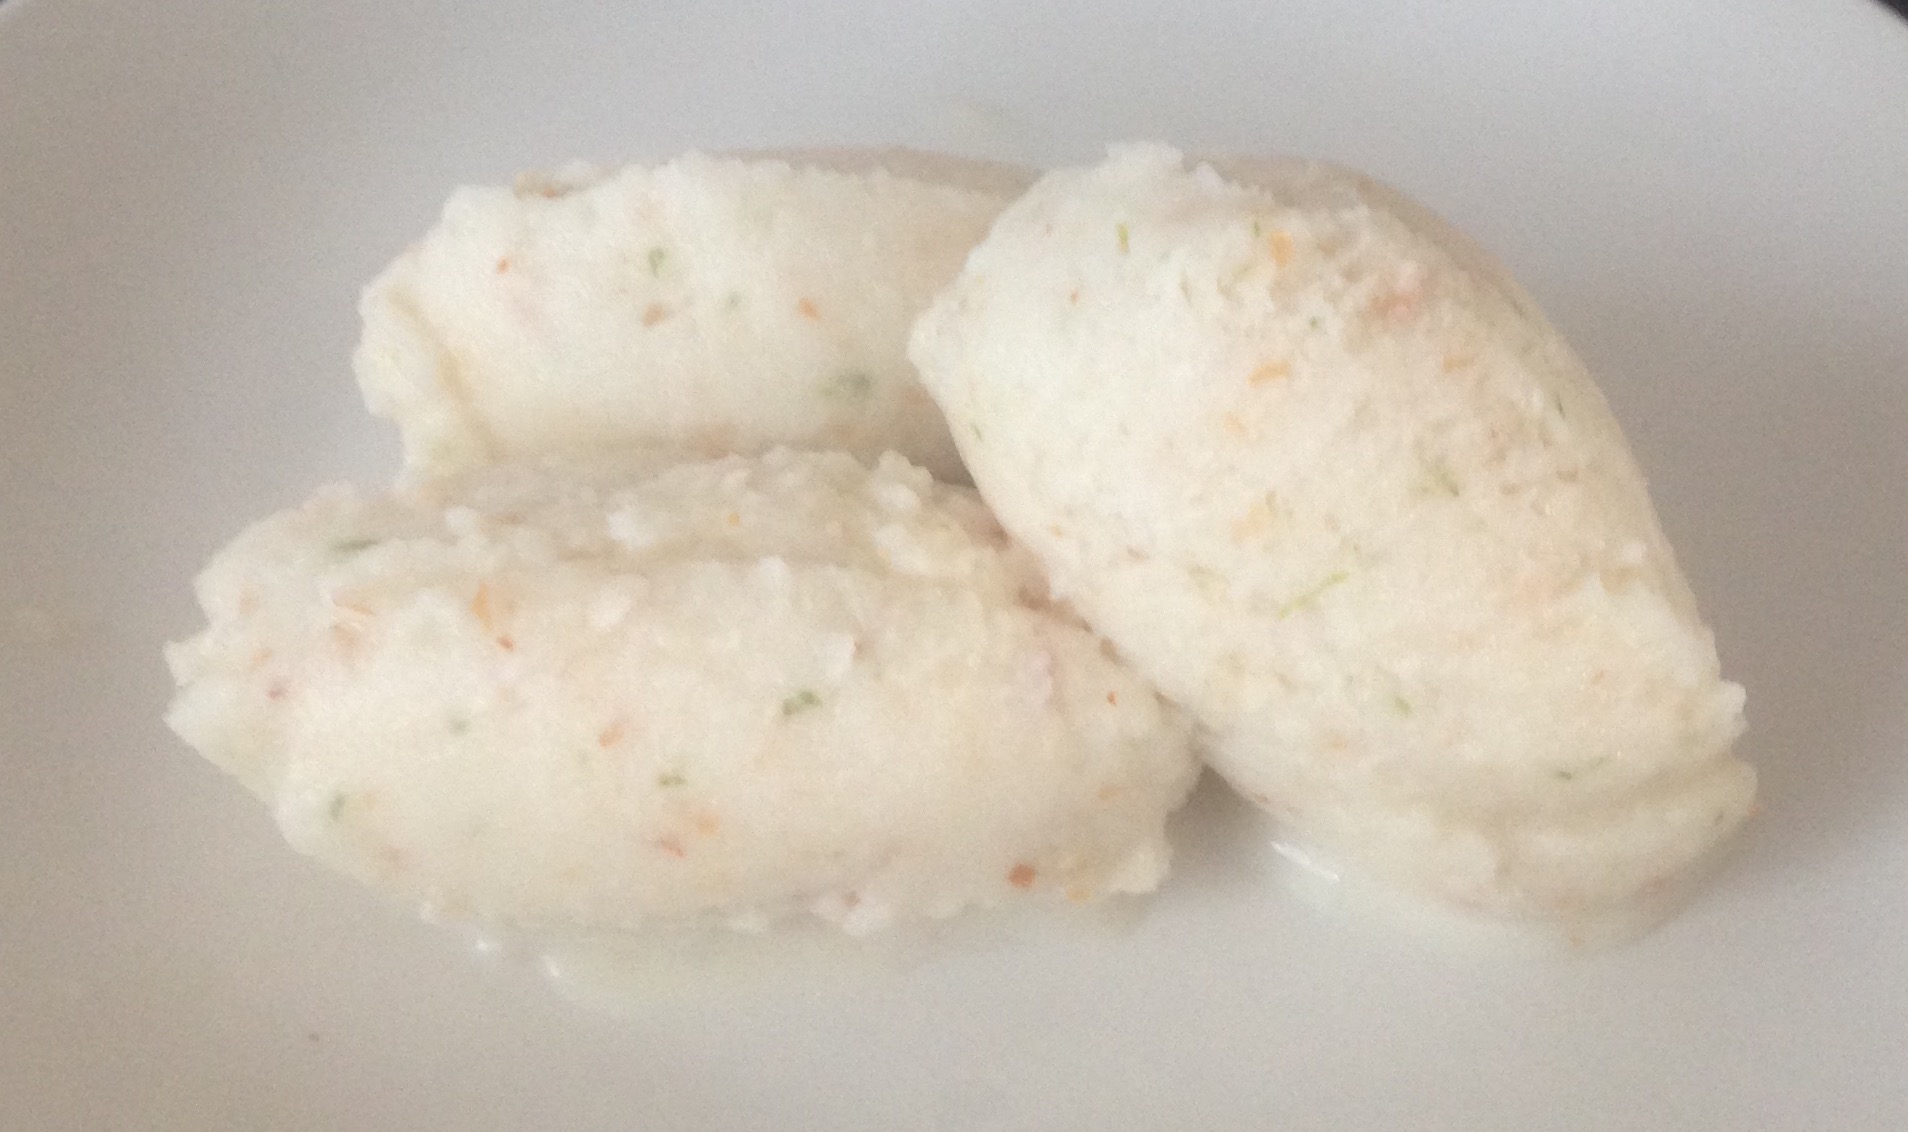
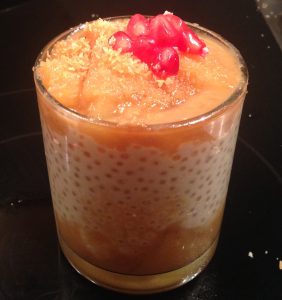
Pineapple Lime and Coconut Tapioca Pudding
I have done quite a few experiments with tapioca/sago with a varying range of results. To be completely honest 90% of the time the end result is disappointing, bland and needs more sweetness.
This recipe’s success was a major surprise. The flavors of coconut, lime, ginger and pineapple all make perfect sense to be combine into a lovely treat, though it’s the caramel sauce made with coconut milk and a slight tang of lime juice that really steals the show. This little addition brings the recipe to a new level and makes the dessert so moreish.
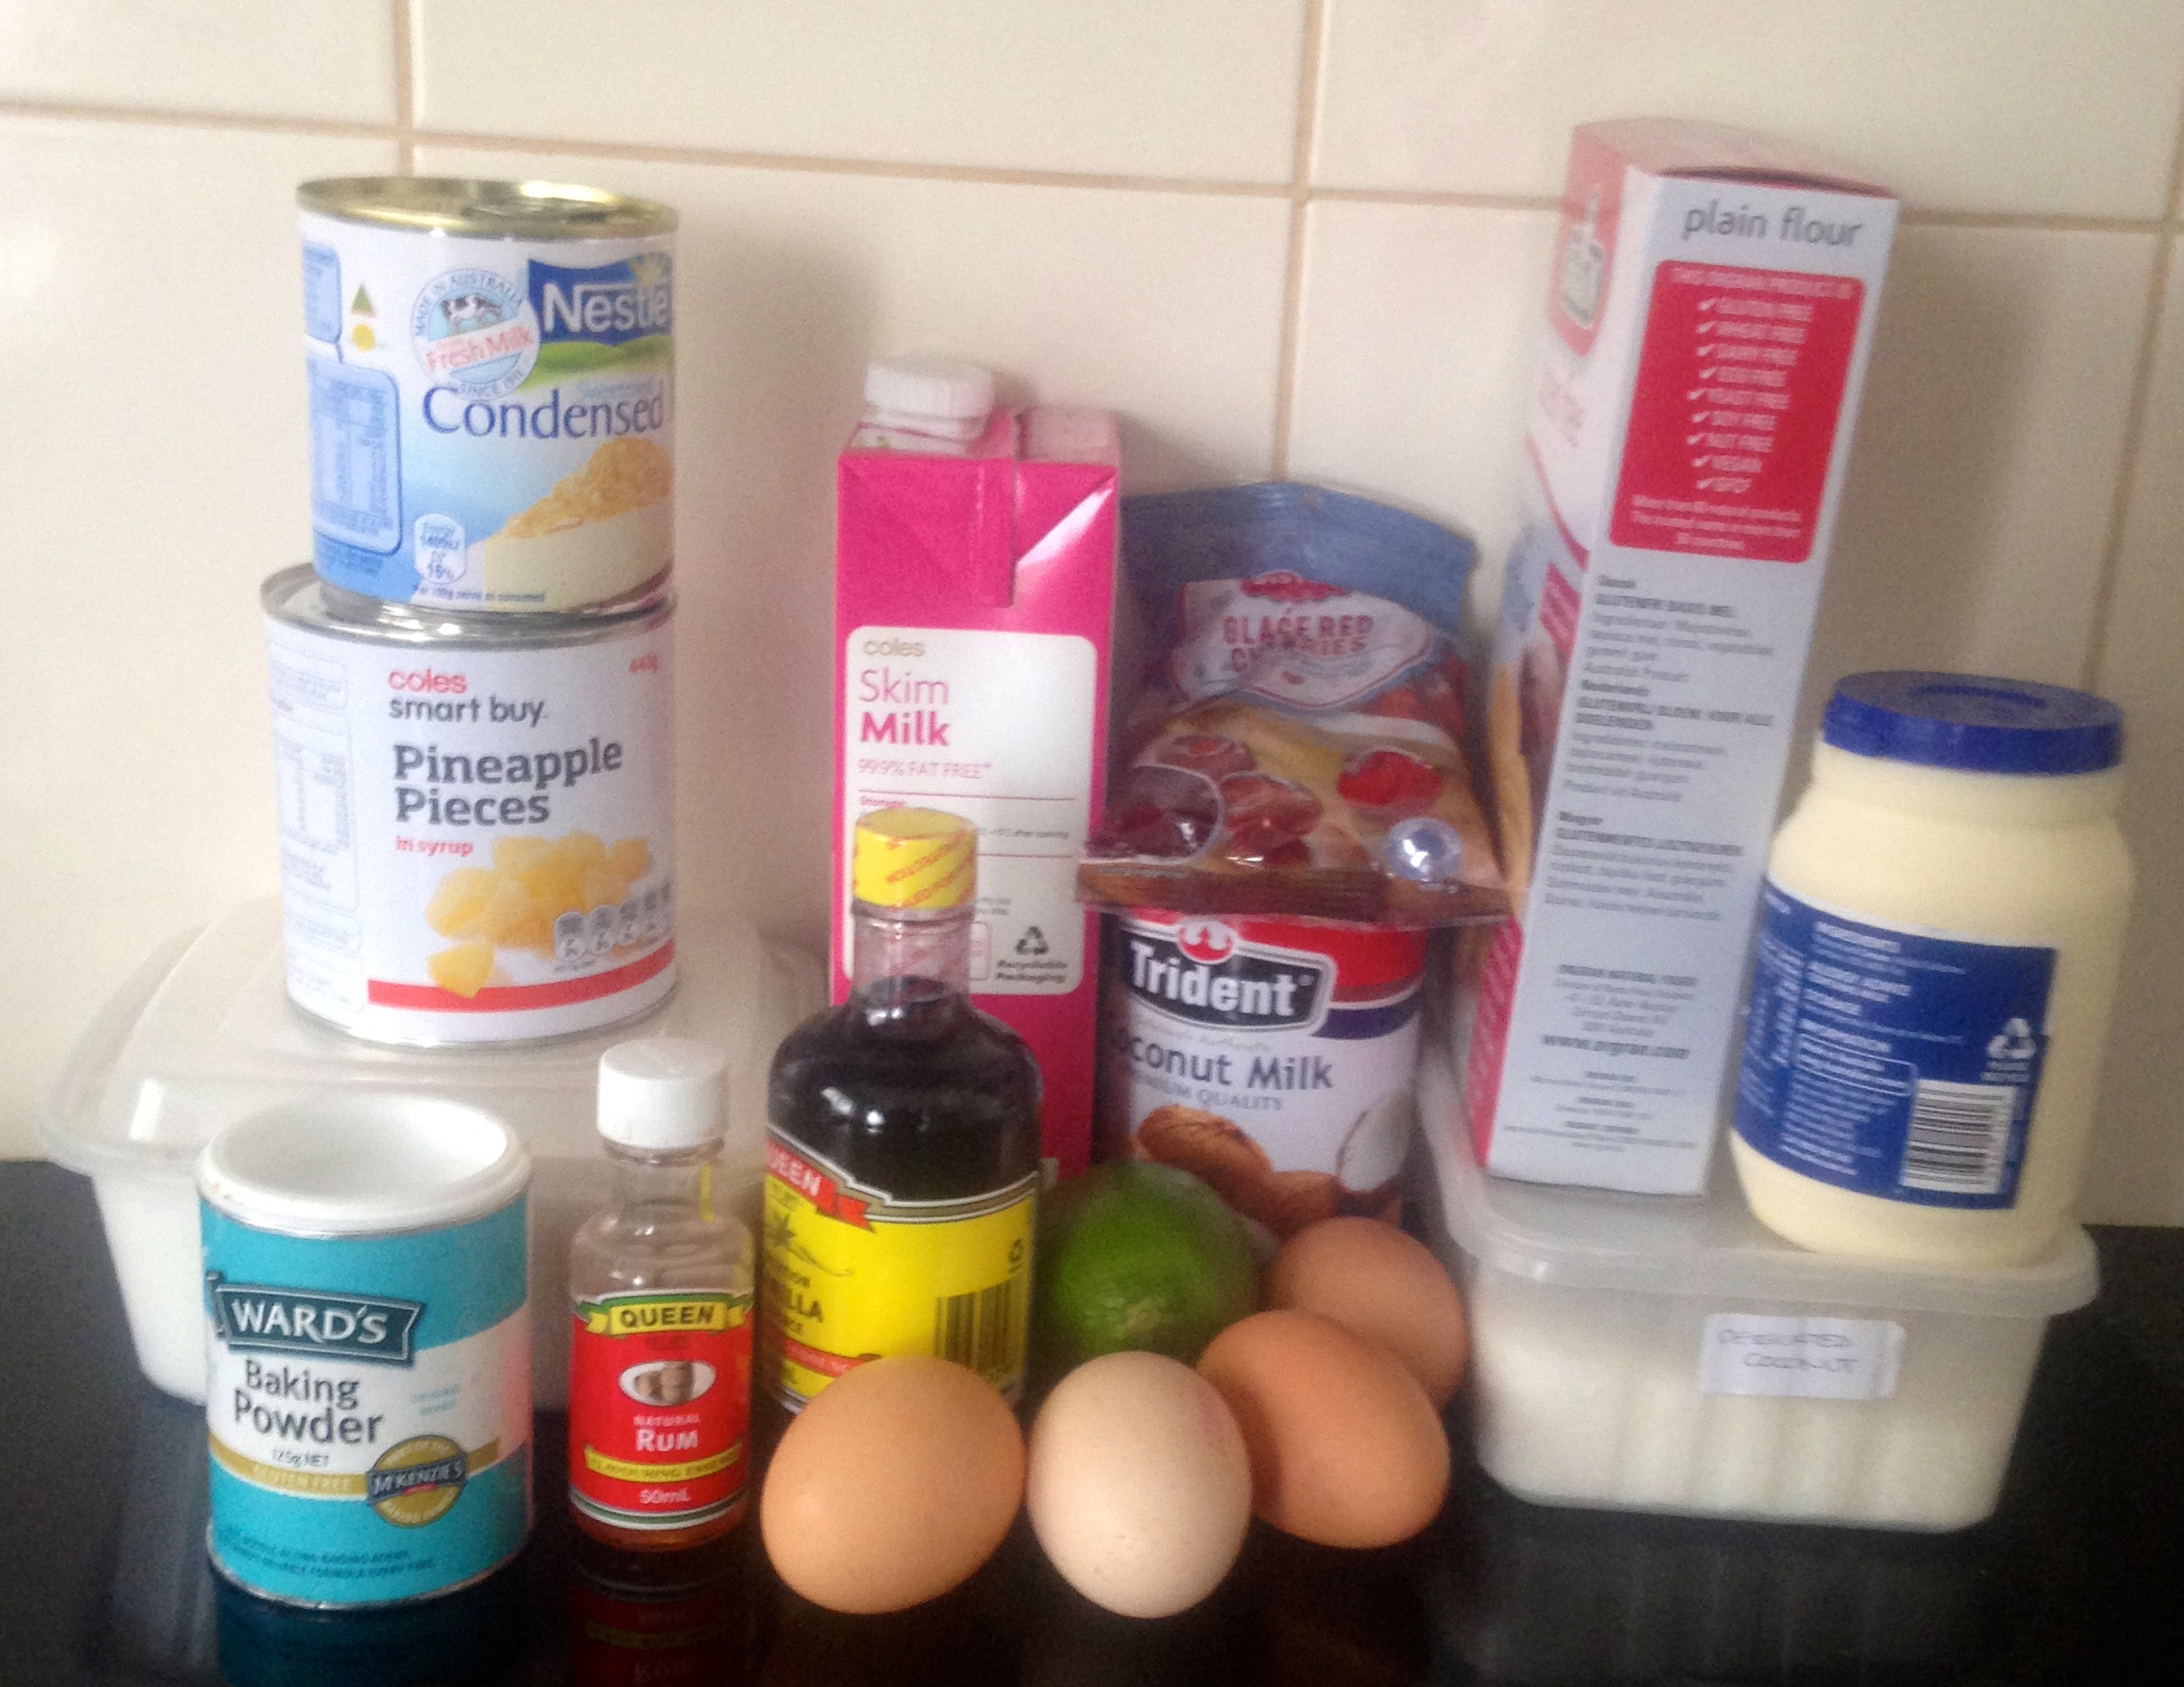
Ingredients:
- 400g coconut cream
- 625ml coconut milk
- 40g white sugar
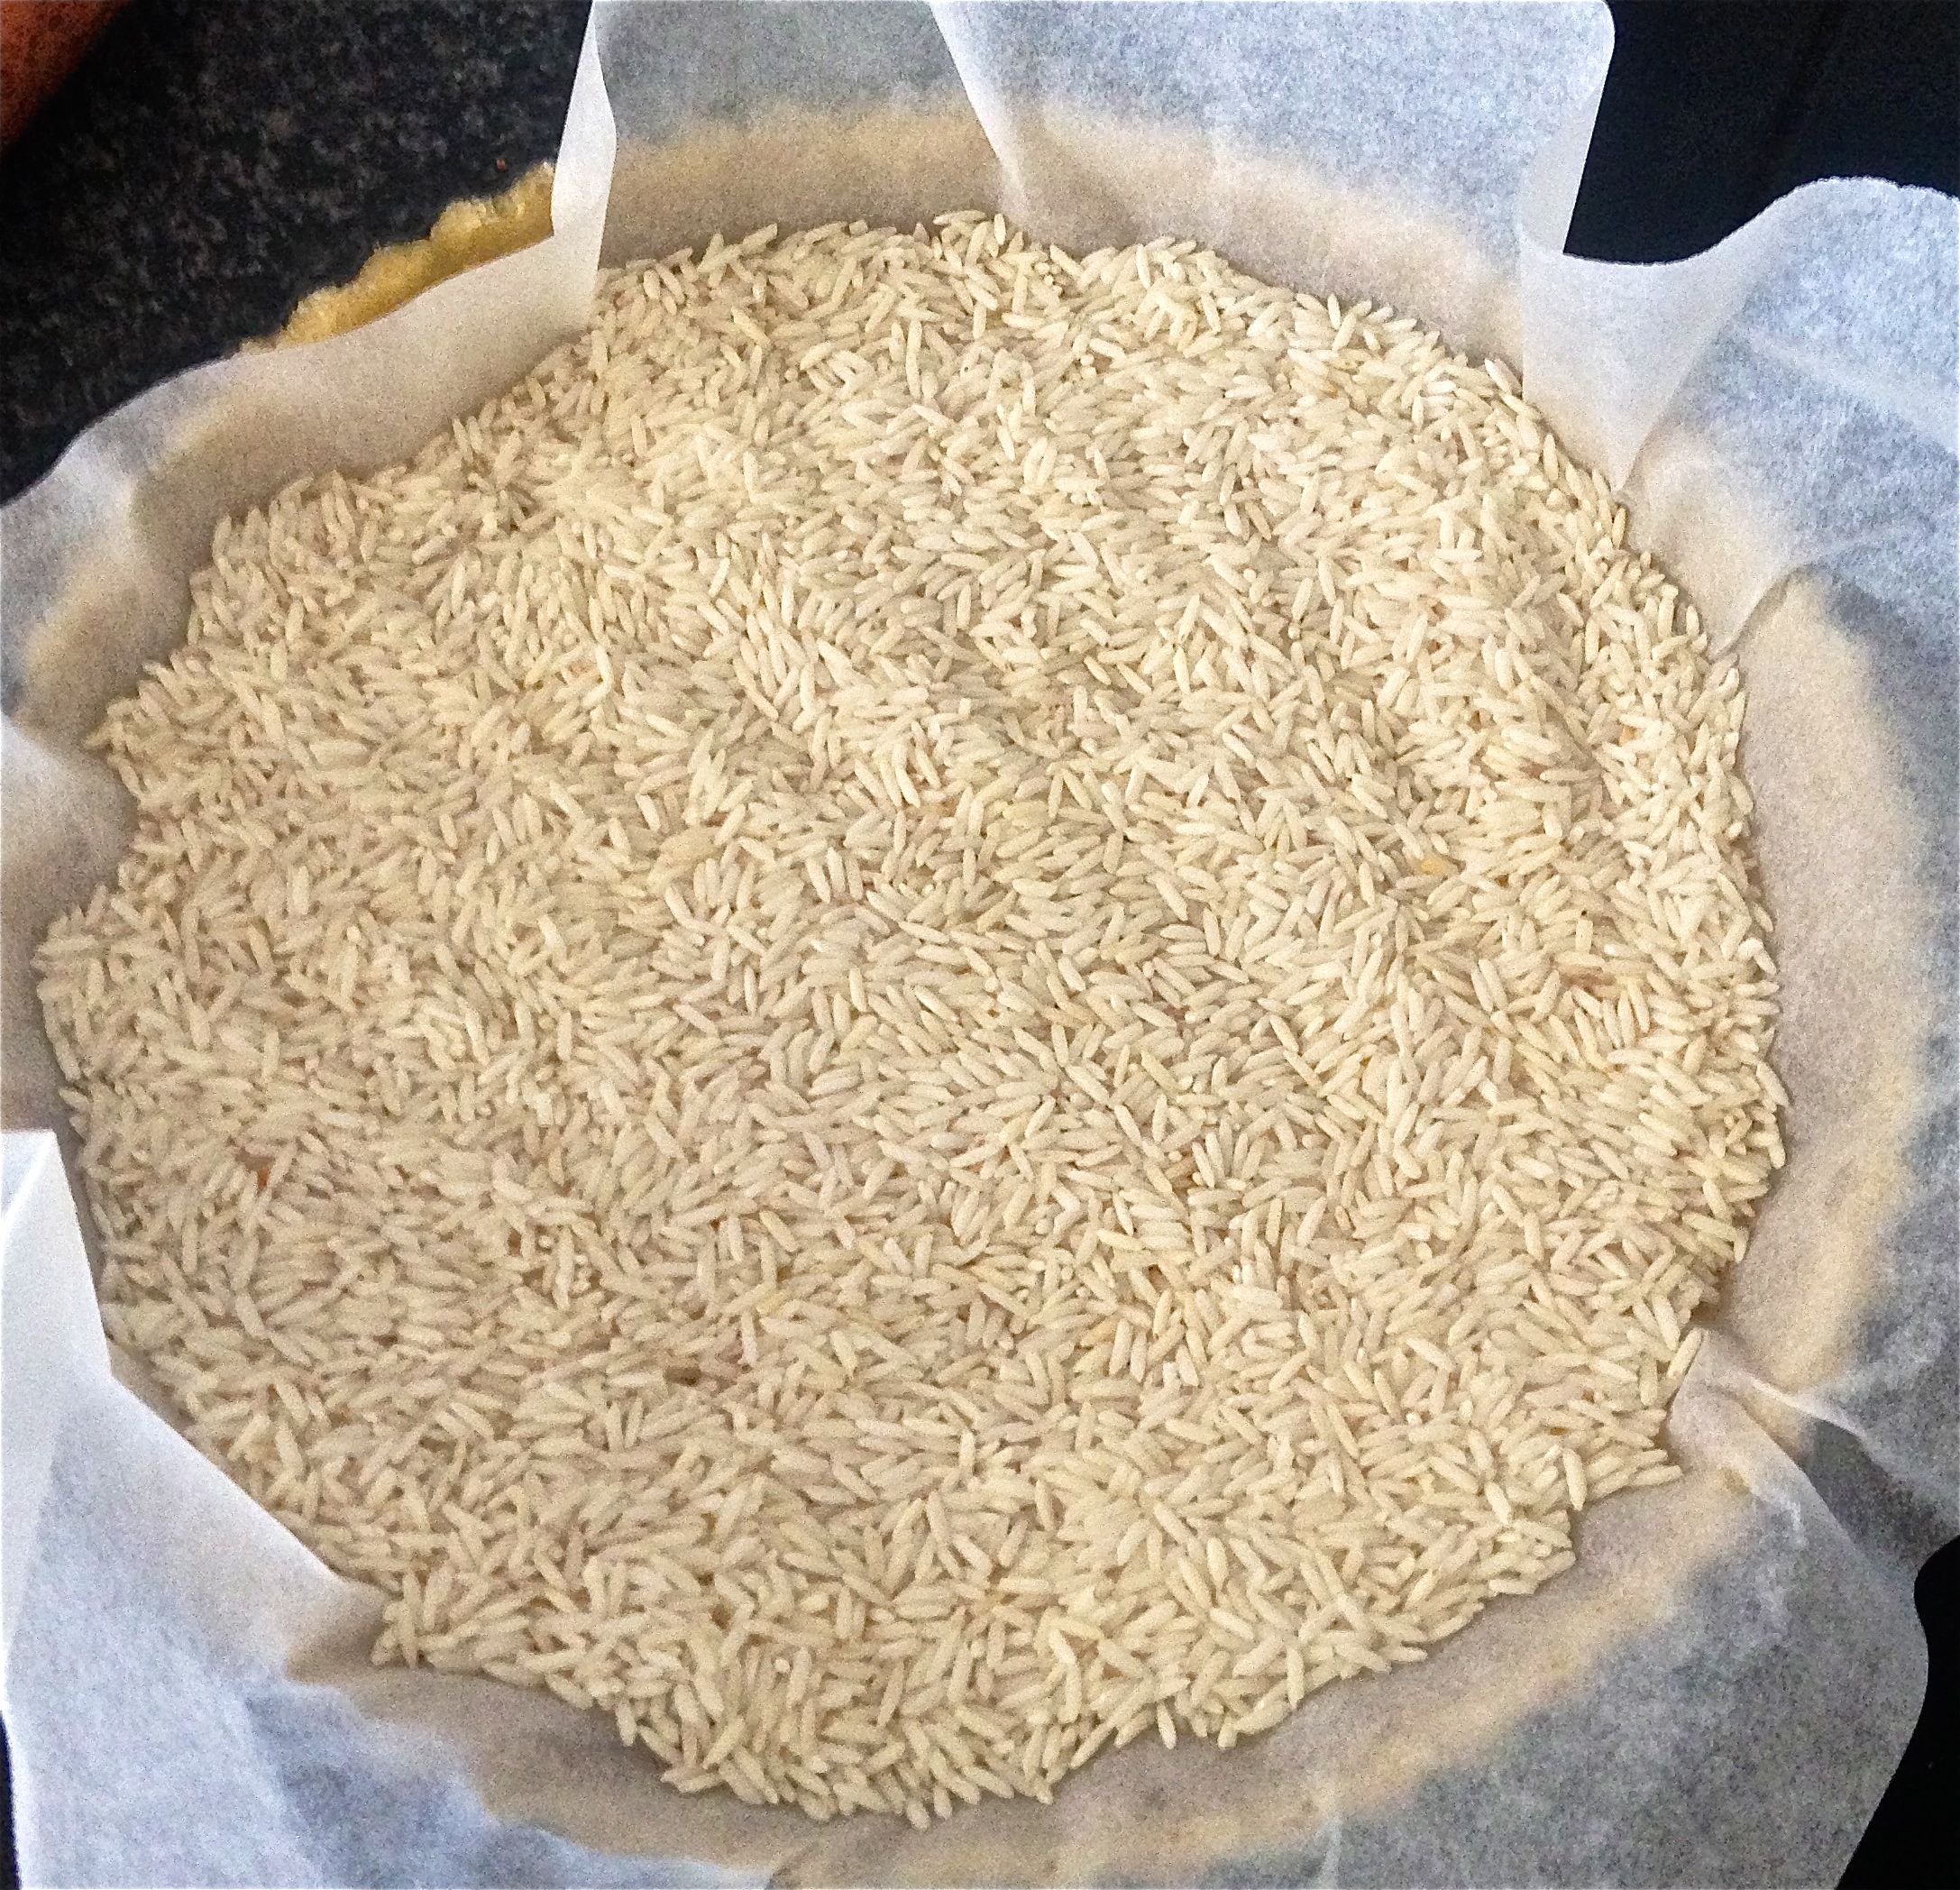
- 100g tapioca pearls
- 110g brown sugar
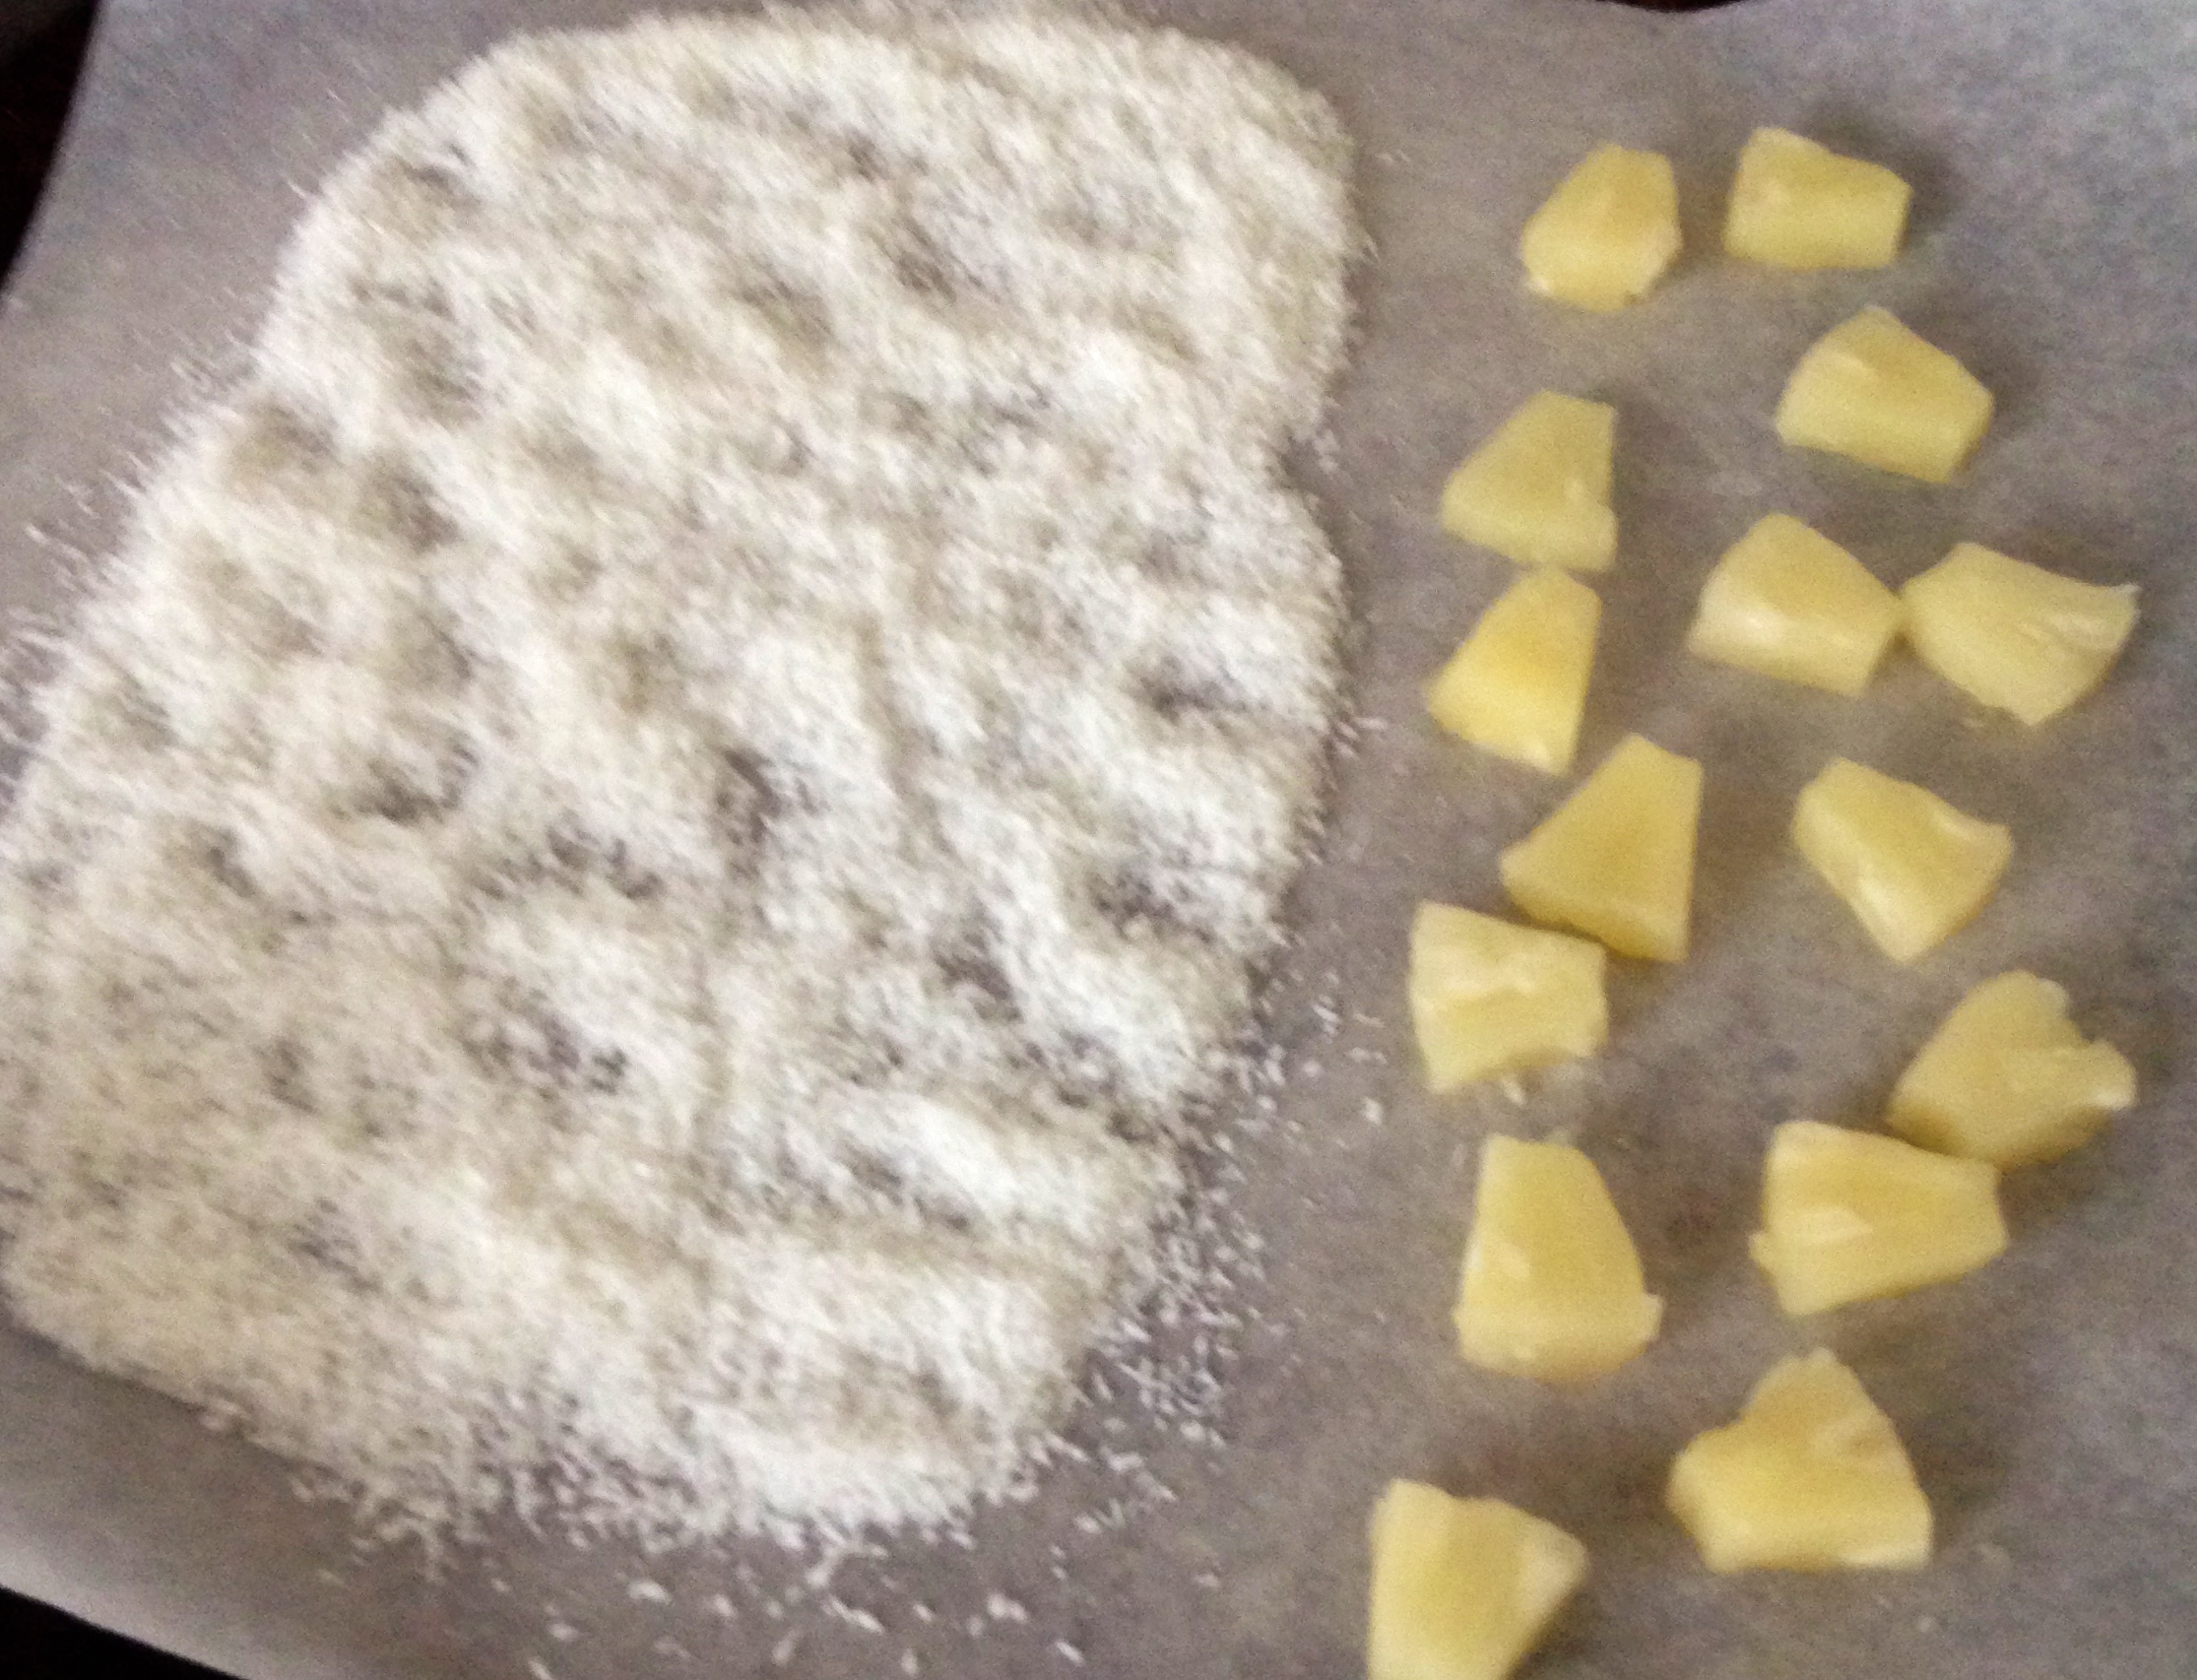
- 300g pineapple
- 1+ ½ tsn ground ginger
- 4 tsn lime juice
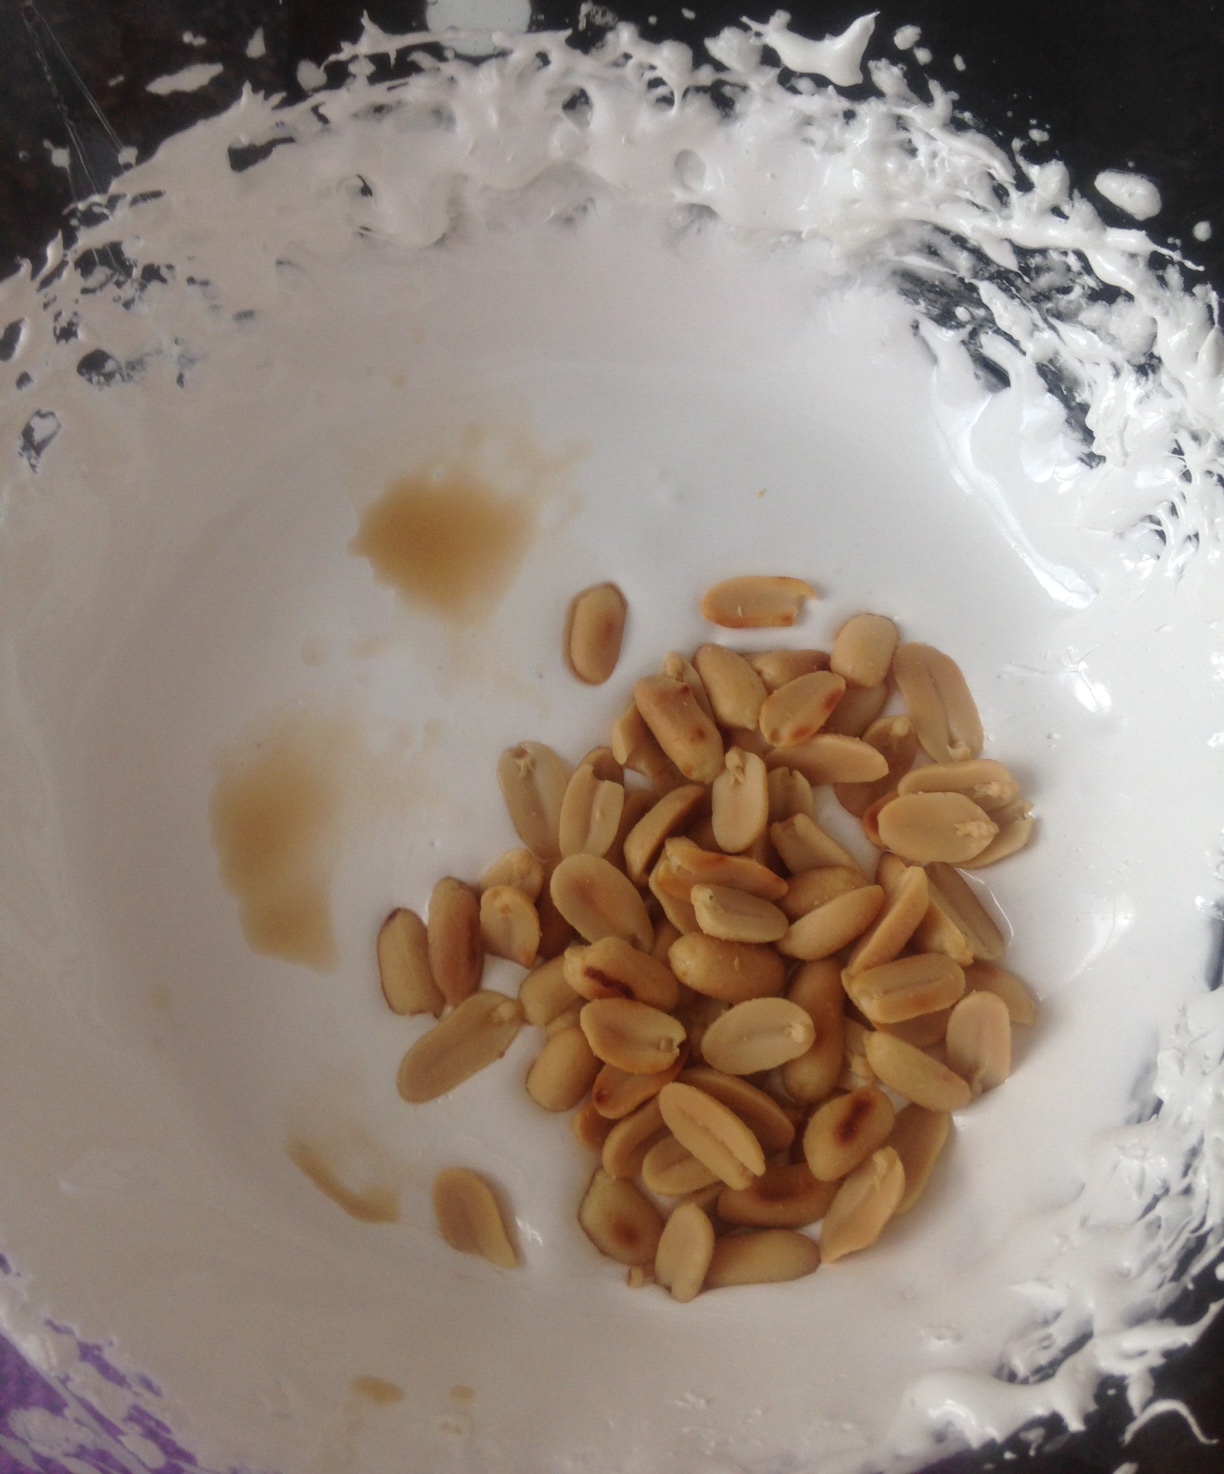
- 30g desiccated/shaved coconut, toasted
Method:
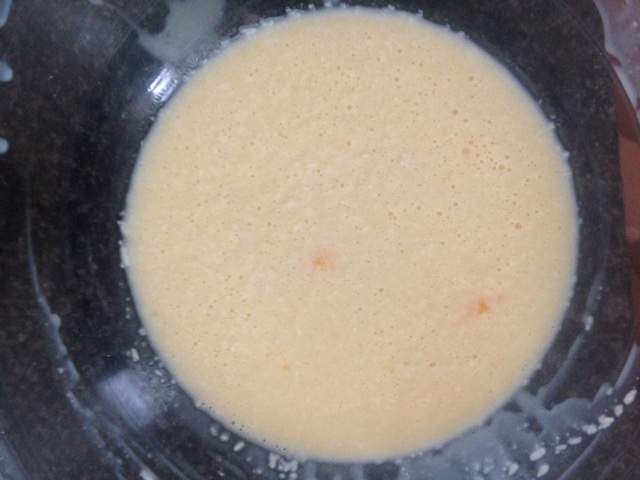
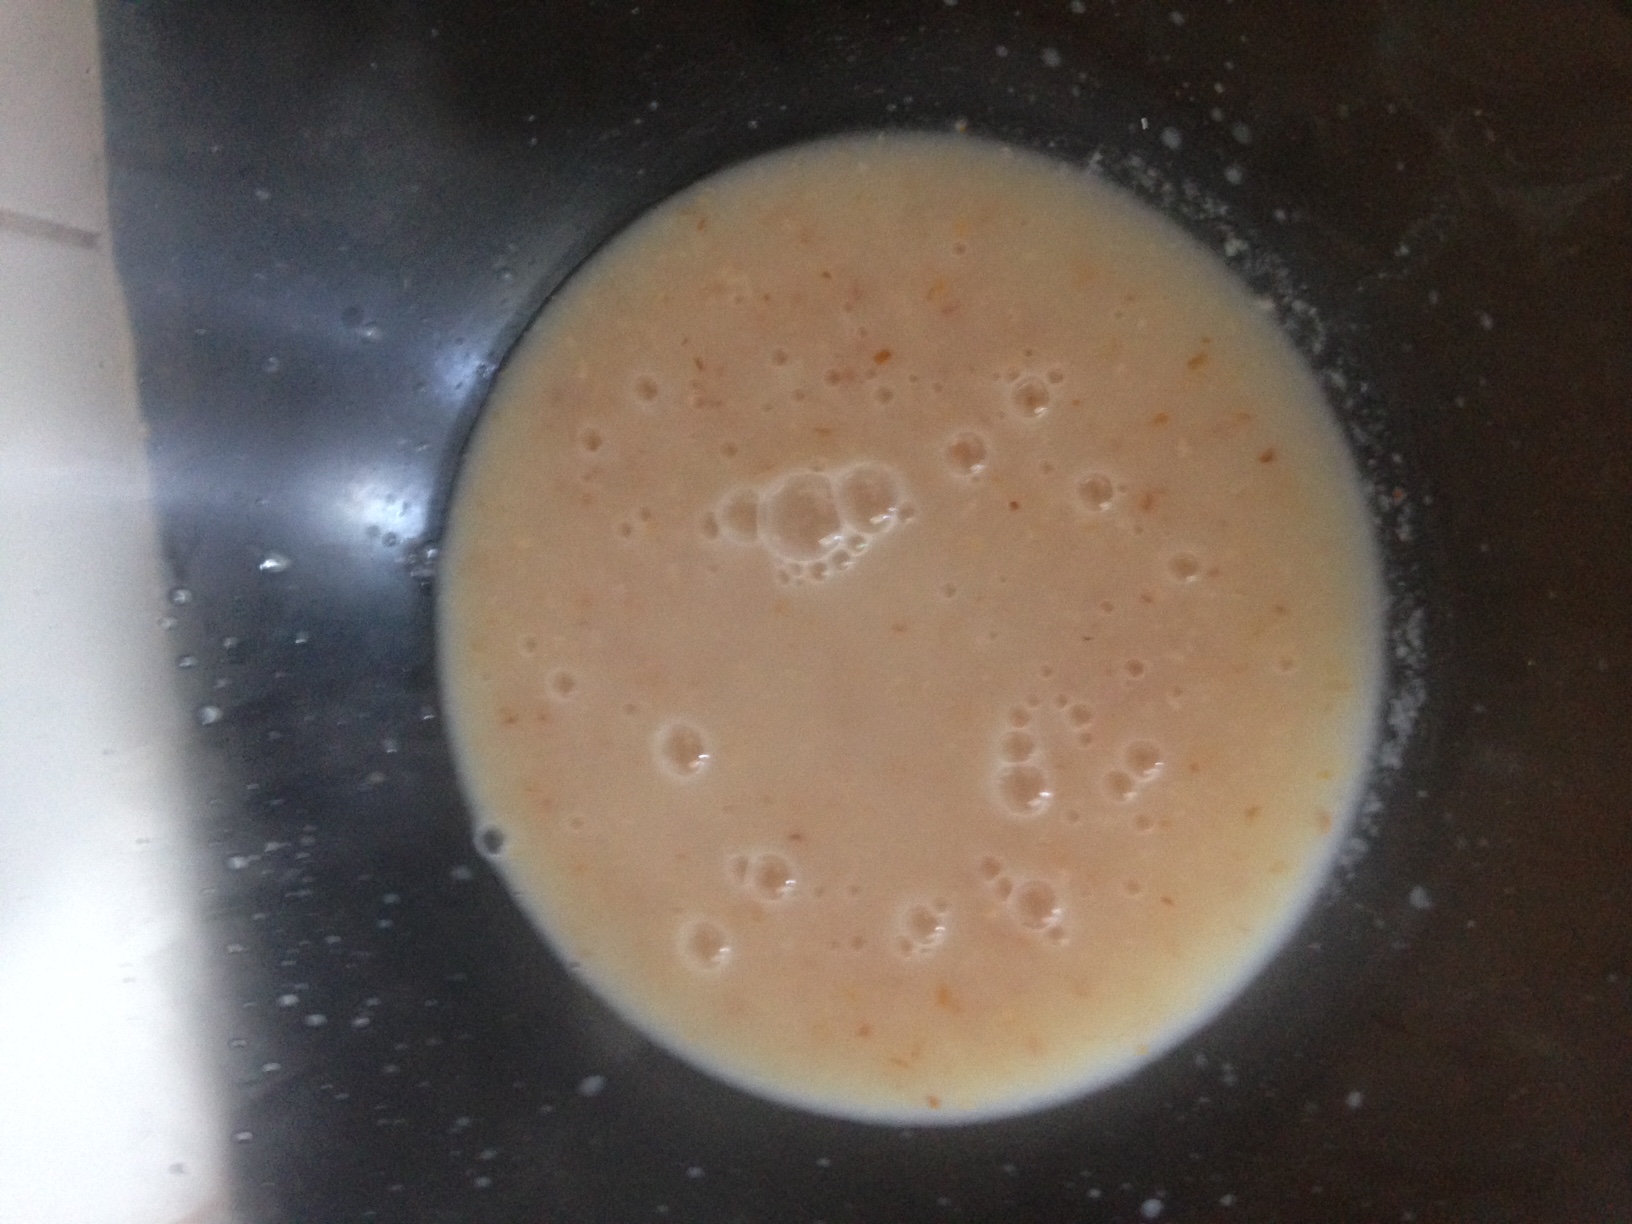
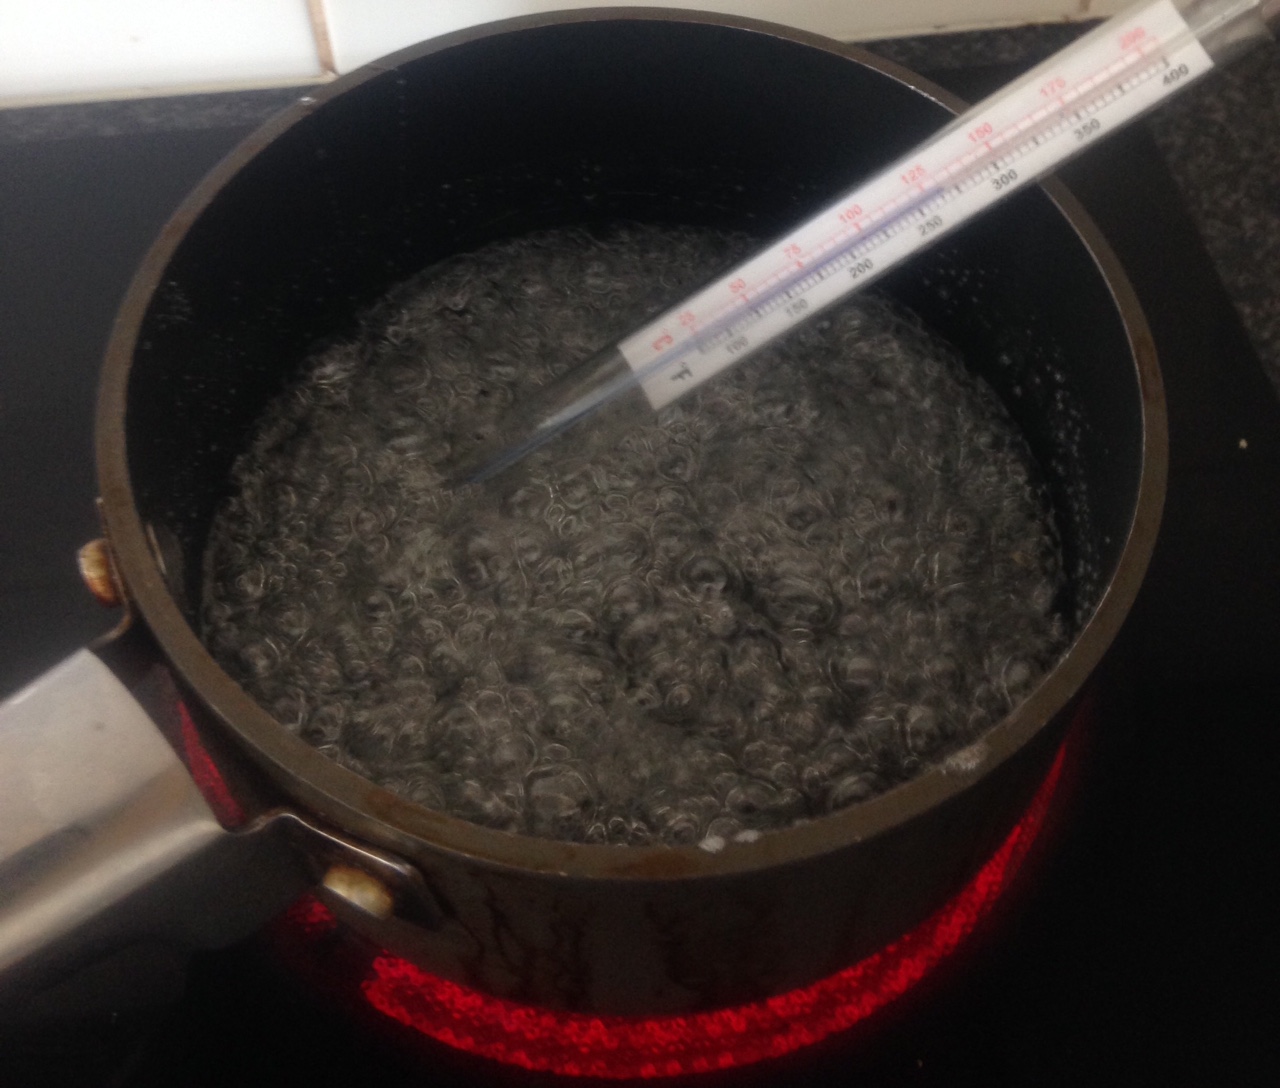
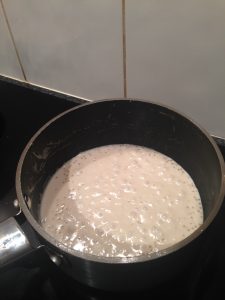
- Place the coconut milk, 200ml coconut cream and white sugar into a saucepan and stir on a high heat until the sugar is dissolved and the mix is boiling.
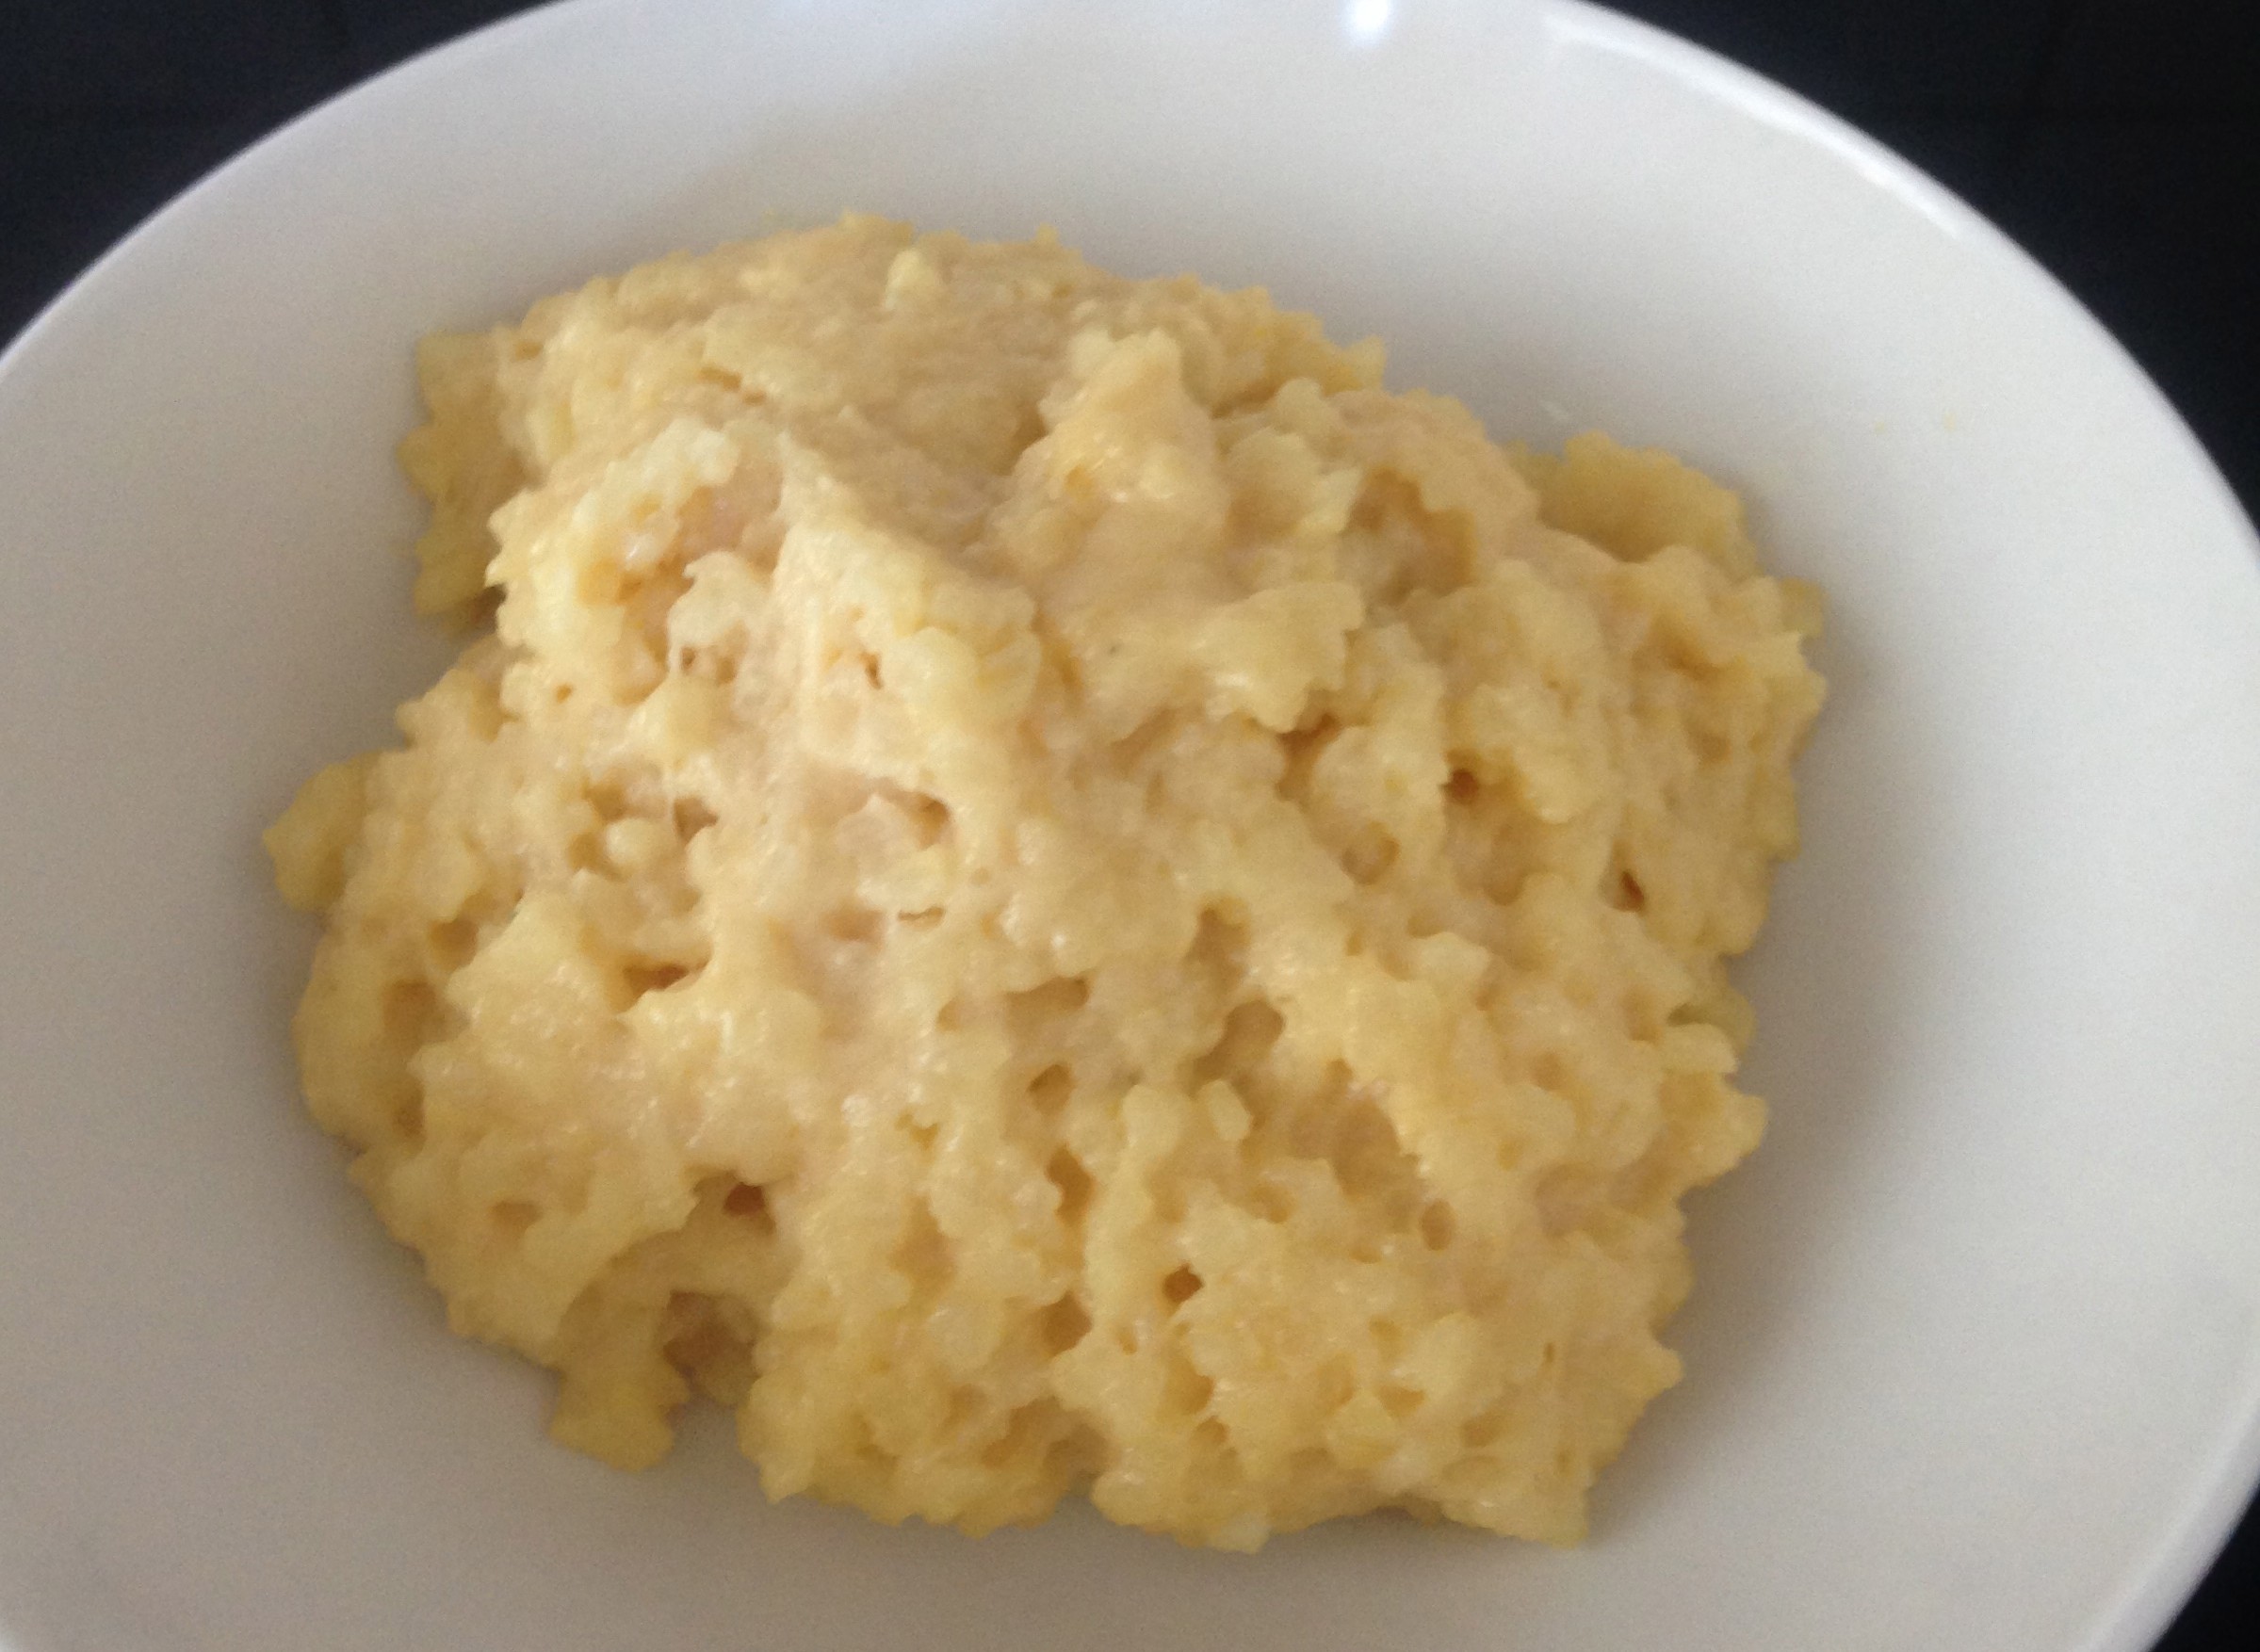
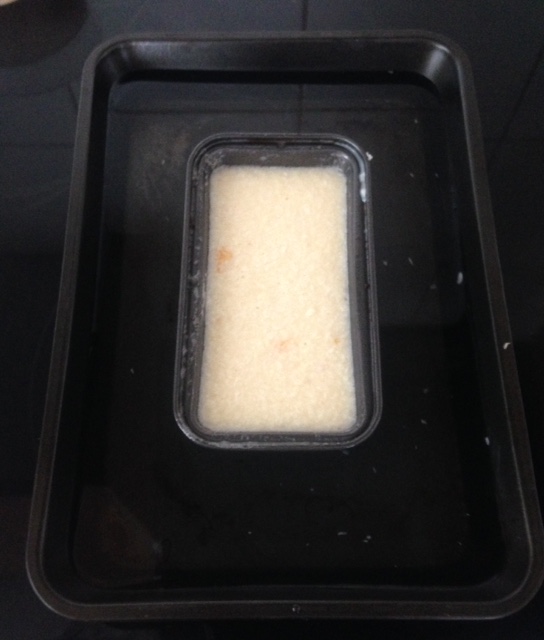
- Add the tapioca and bring the recipe down to a simmer and cook for 25 minutes stirring frequently until mix thickens and the pearls are transparent with a white dot in the center.
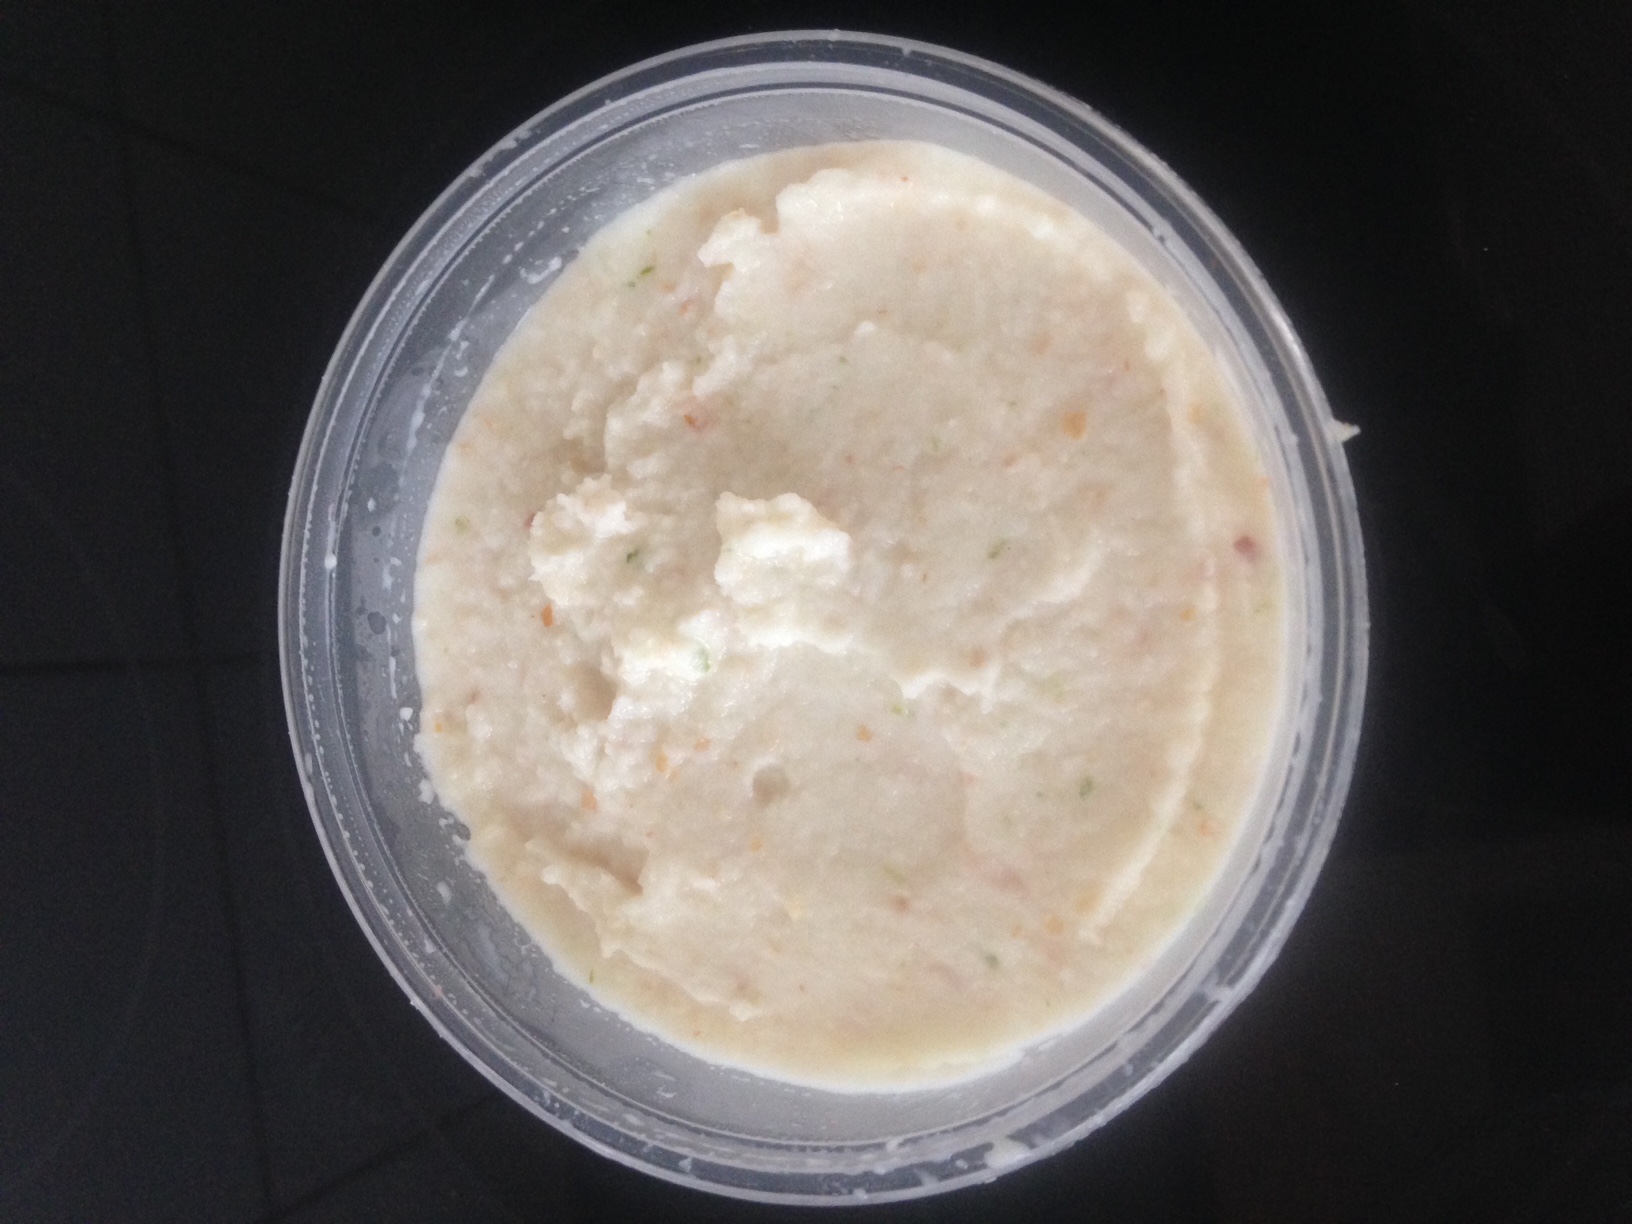
- Pour the mix into a bowl and leave aside to cool.
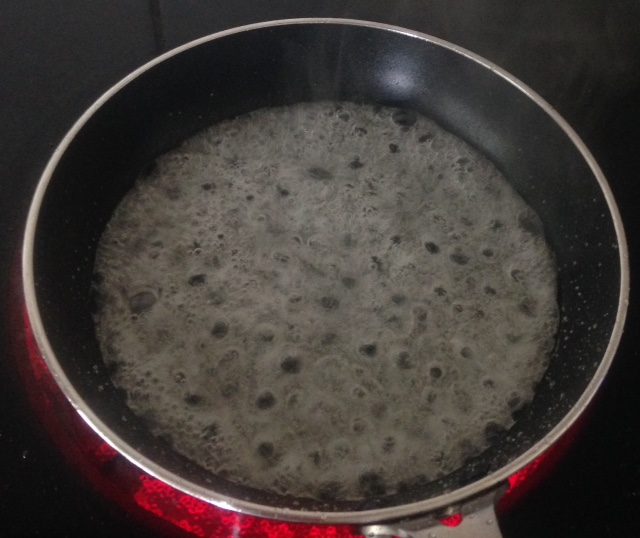
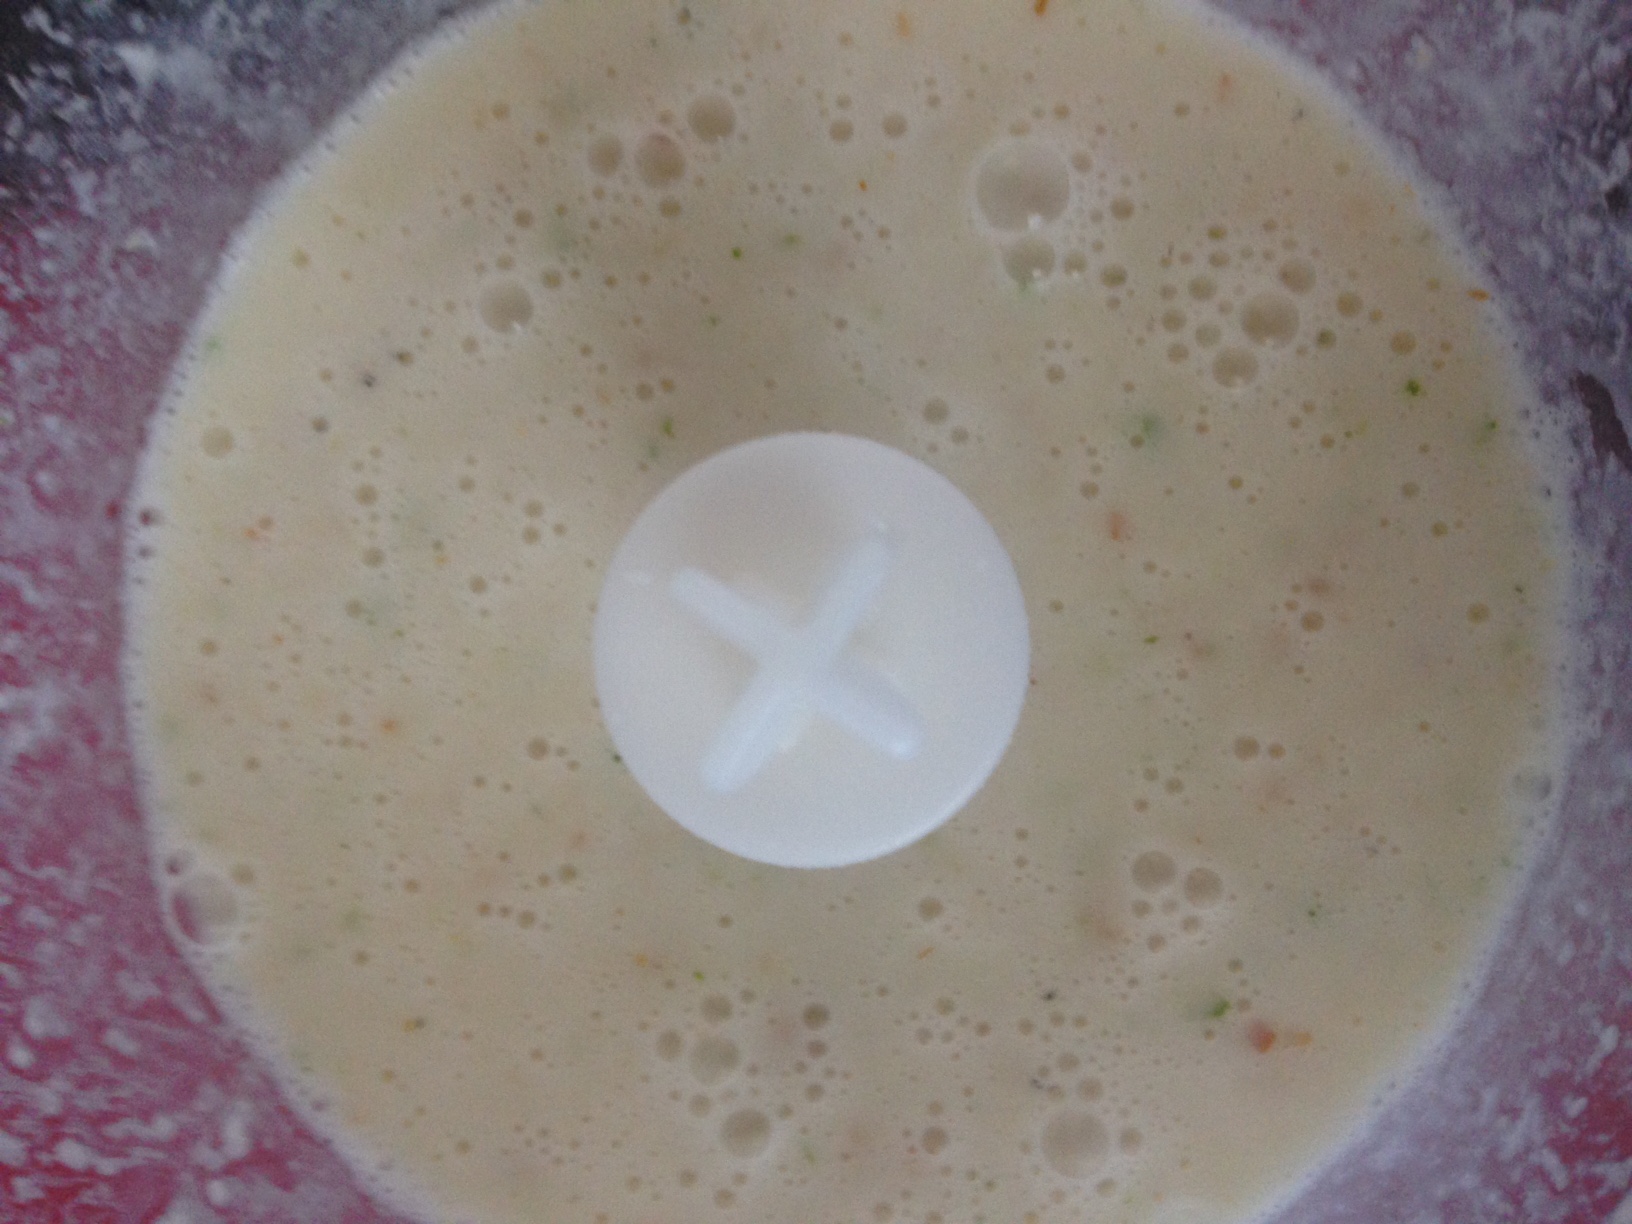
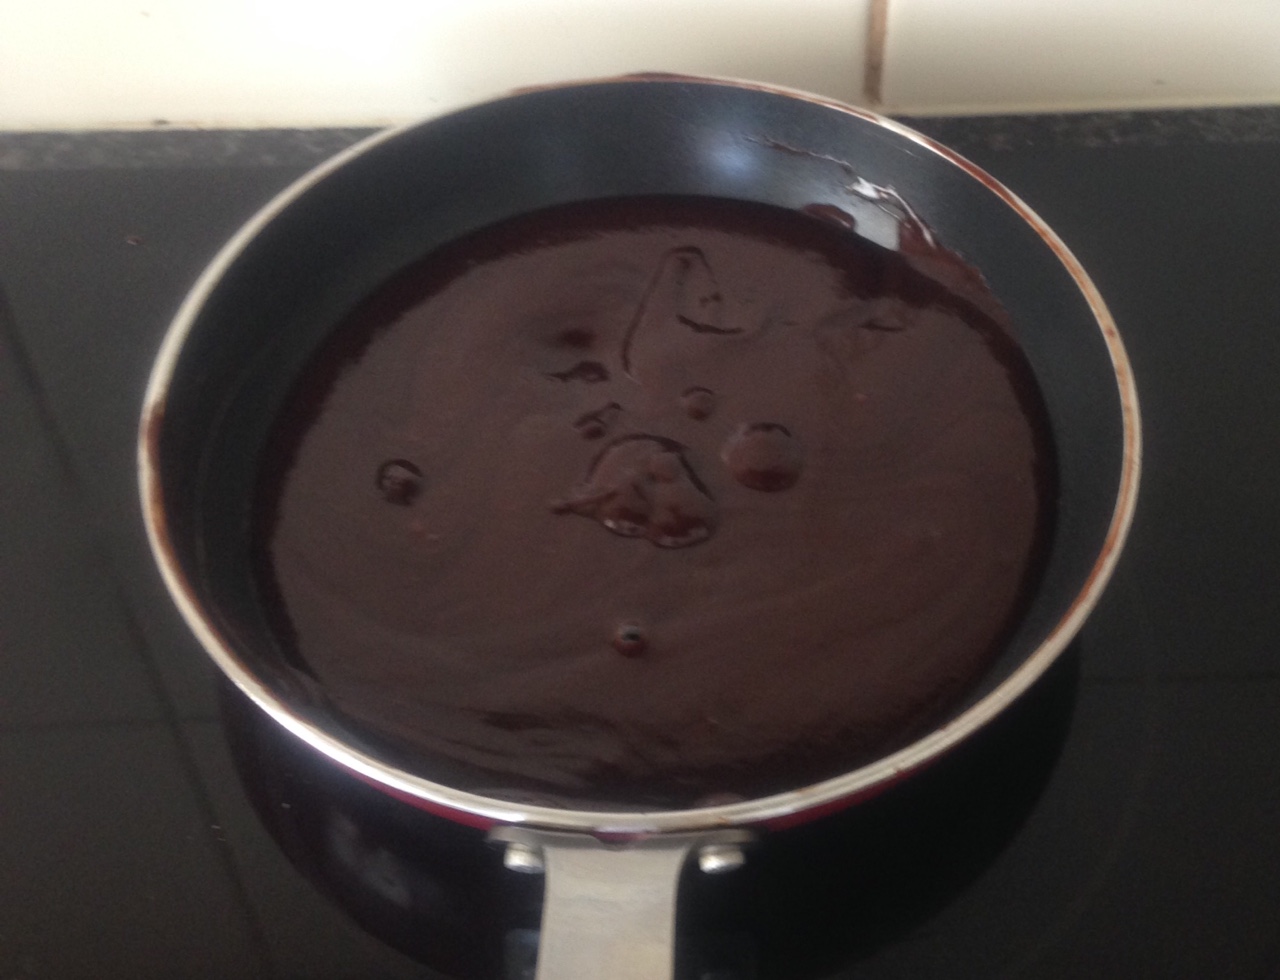
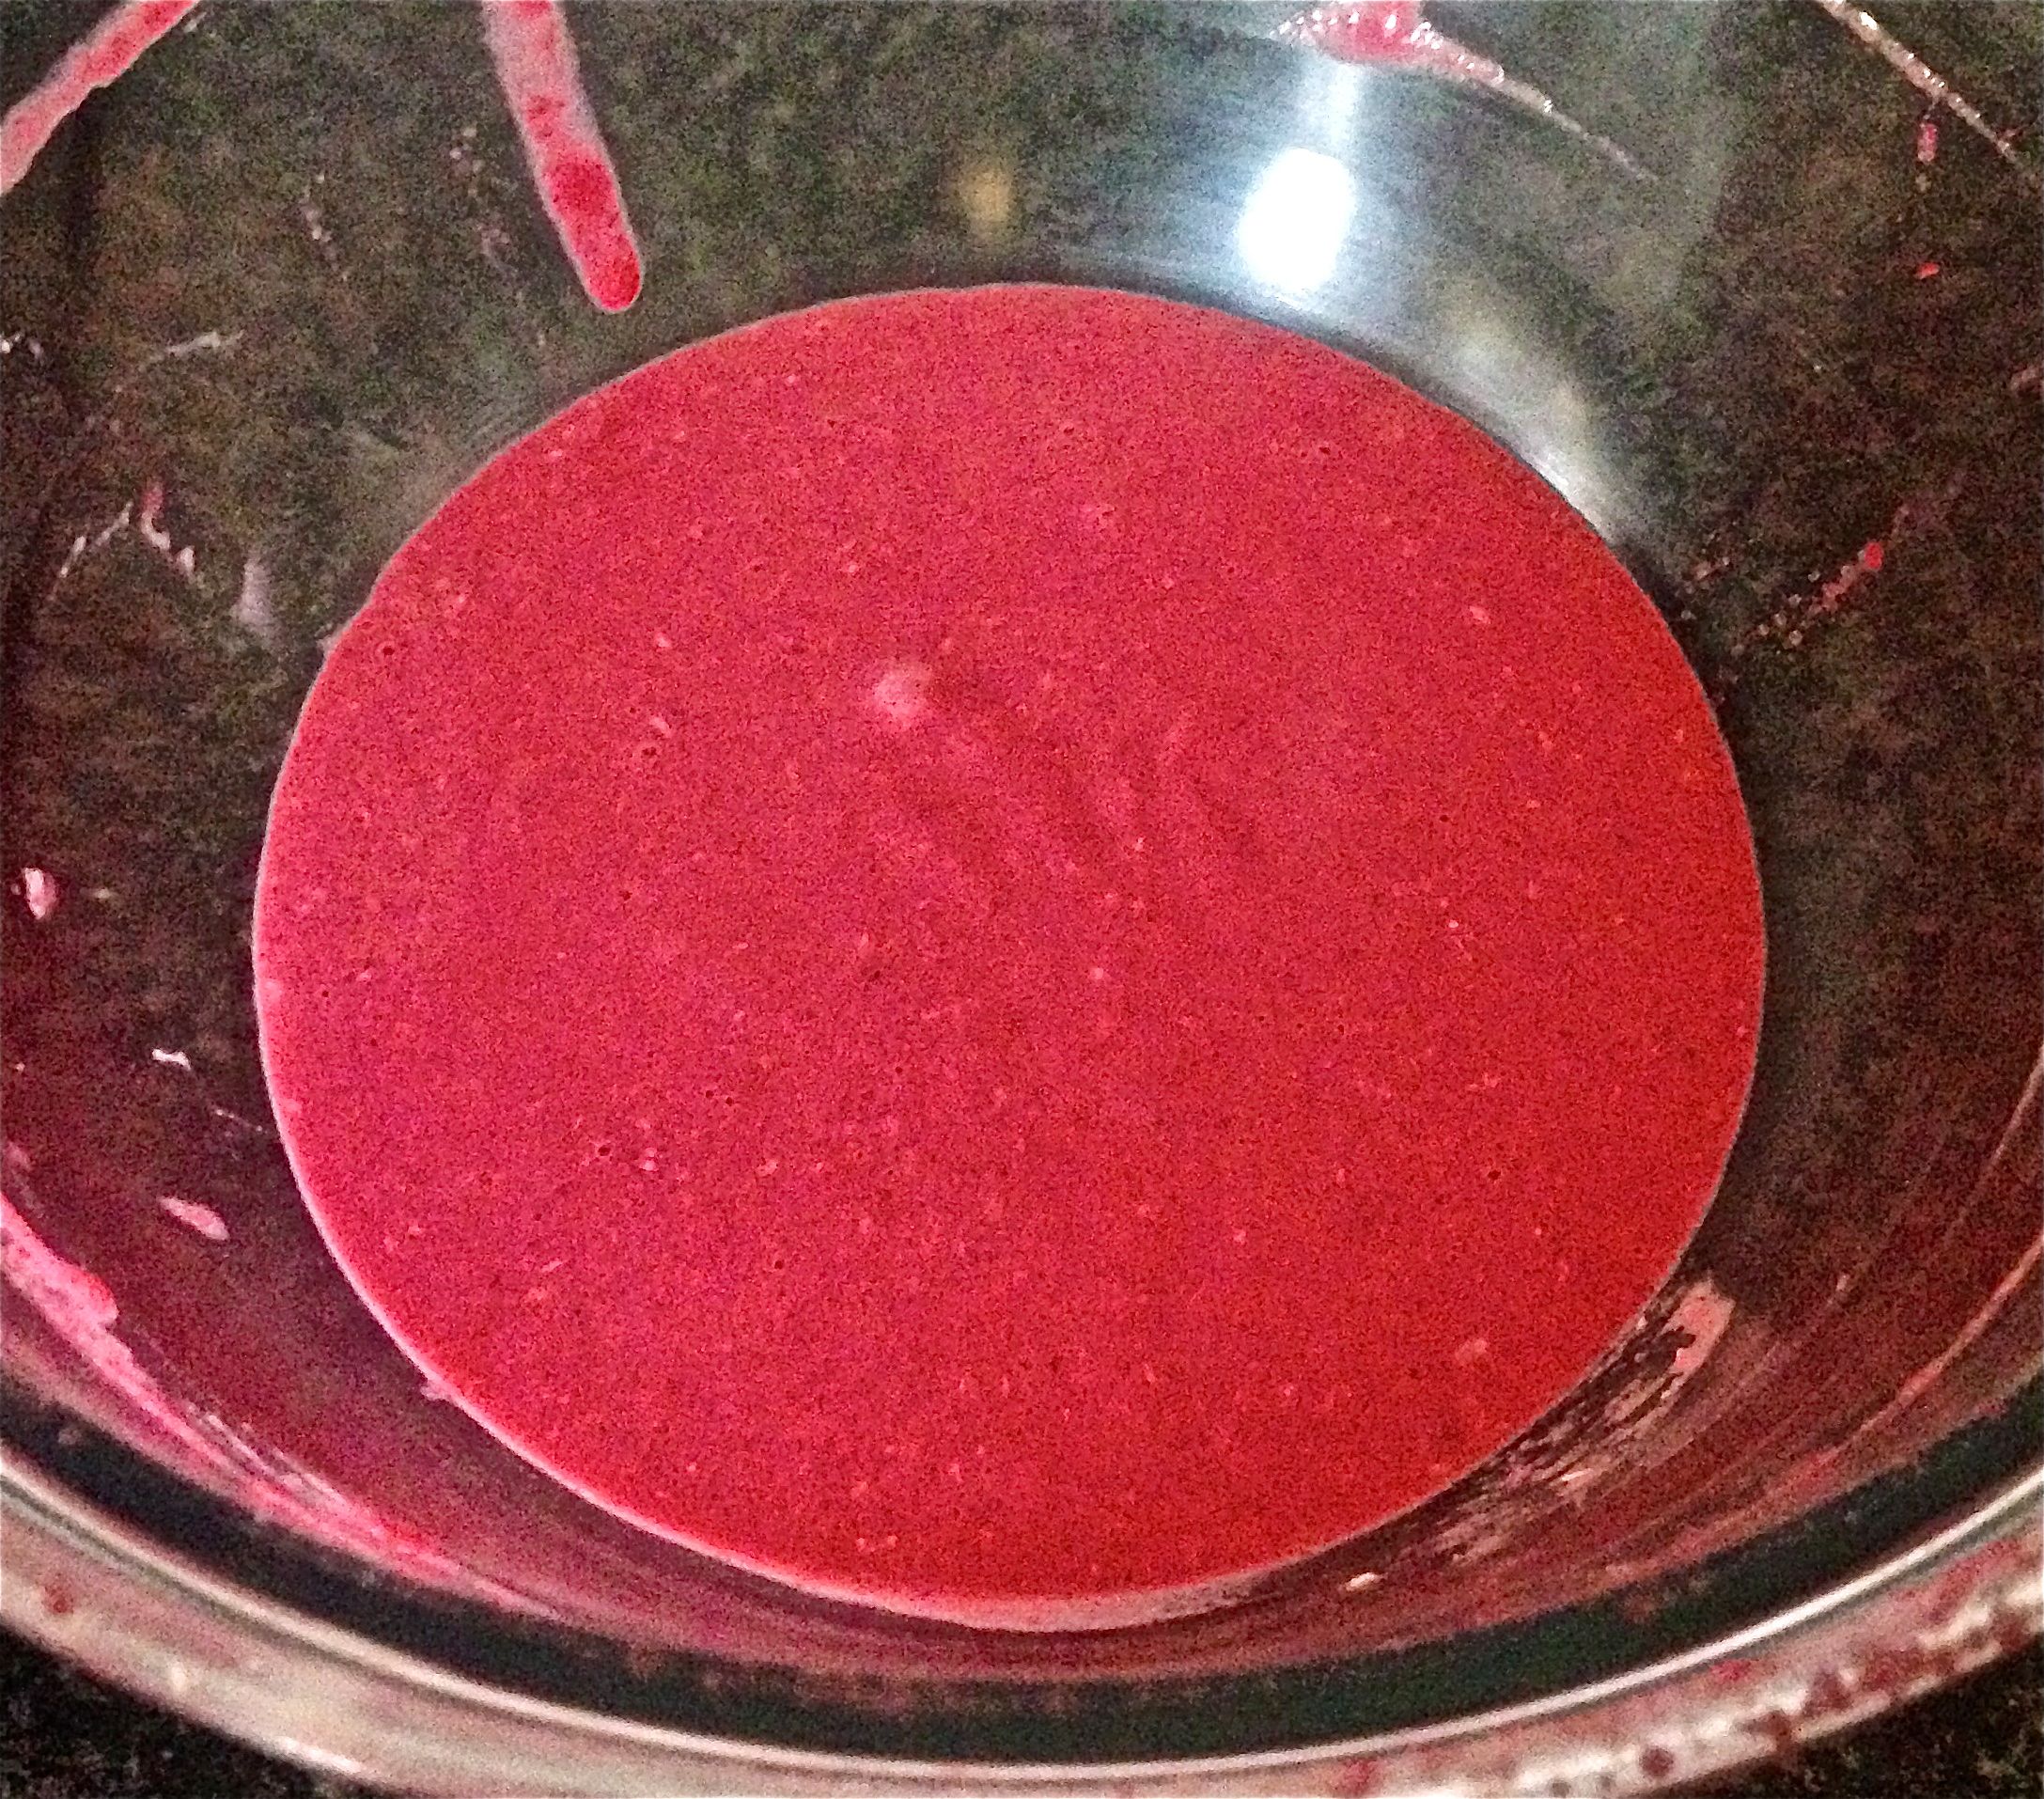
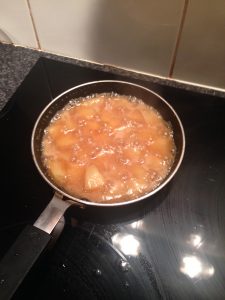
- Meanwhile to make the sauce place the remaining 200ml of the coconut cream and the brown sugar into a saucepan and stir on a high heat until well combine and the sugar is dissolved.
- Add the pieced pineapple, the ground ginger and the lime juice and stir for 3 minutes or until the mix thickens to a caramel consistency.
- Take the saucepan off the heat and leave aside to cool.
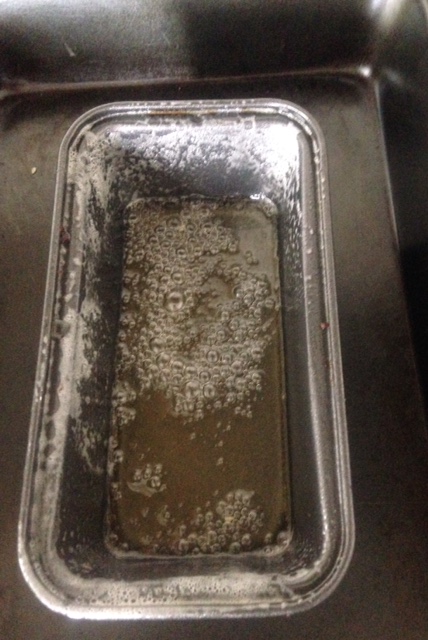
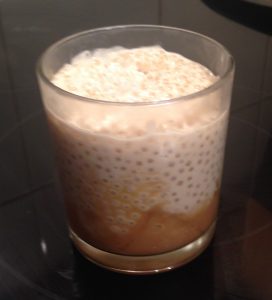
- Spoon half of the sauce and pineapple into the base of 6 cup ramekins.
- Spoon the tapioca mix into the 6 ramekins evenly.
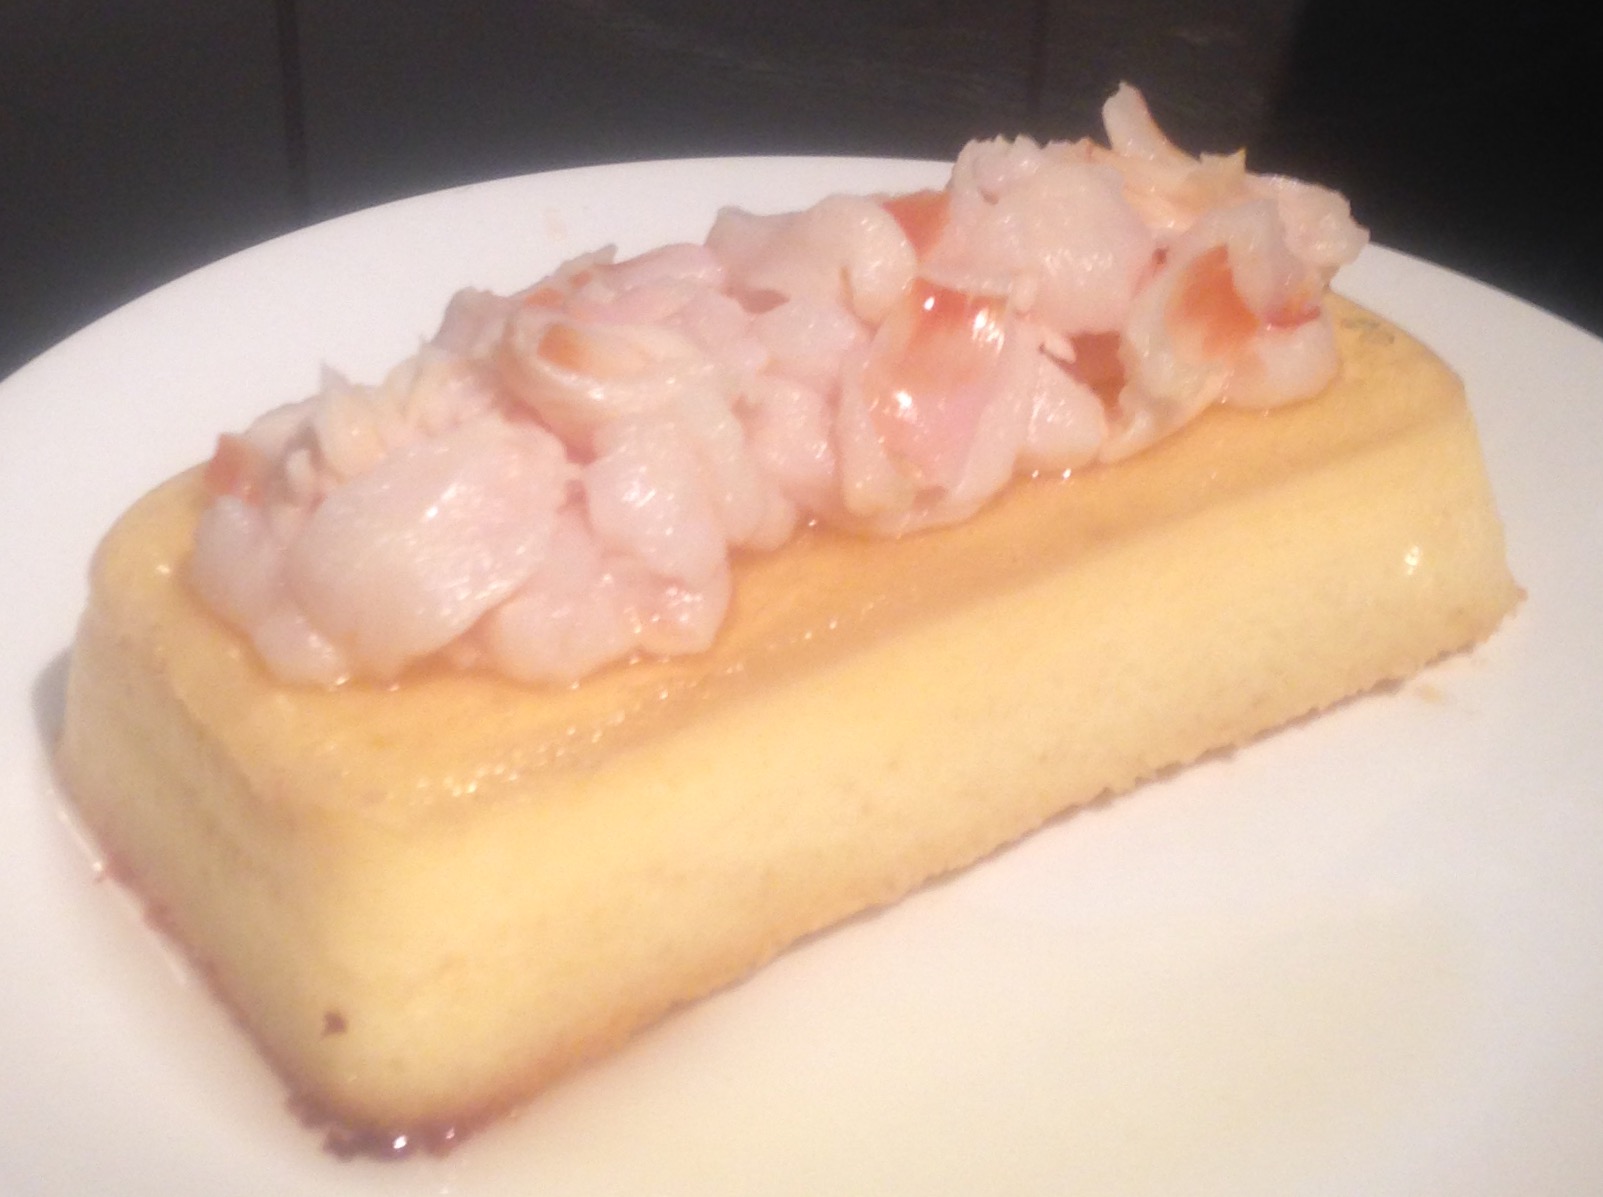
- Top with the remaining sauce and pineapple.
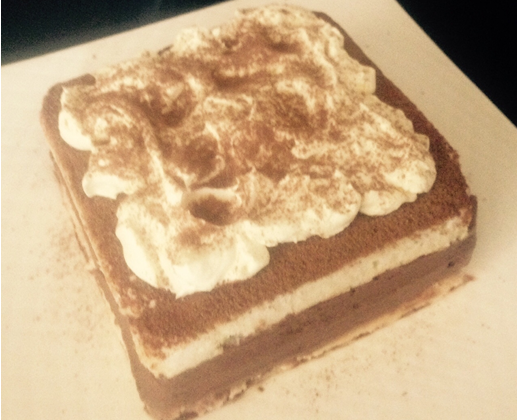
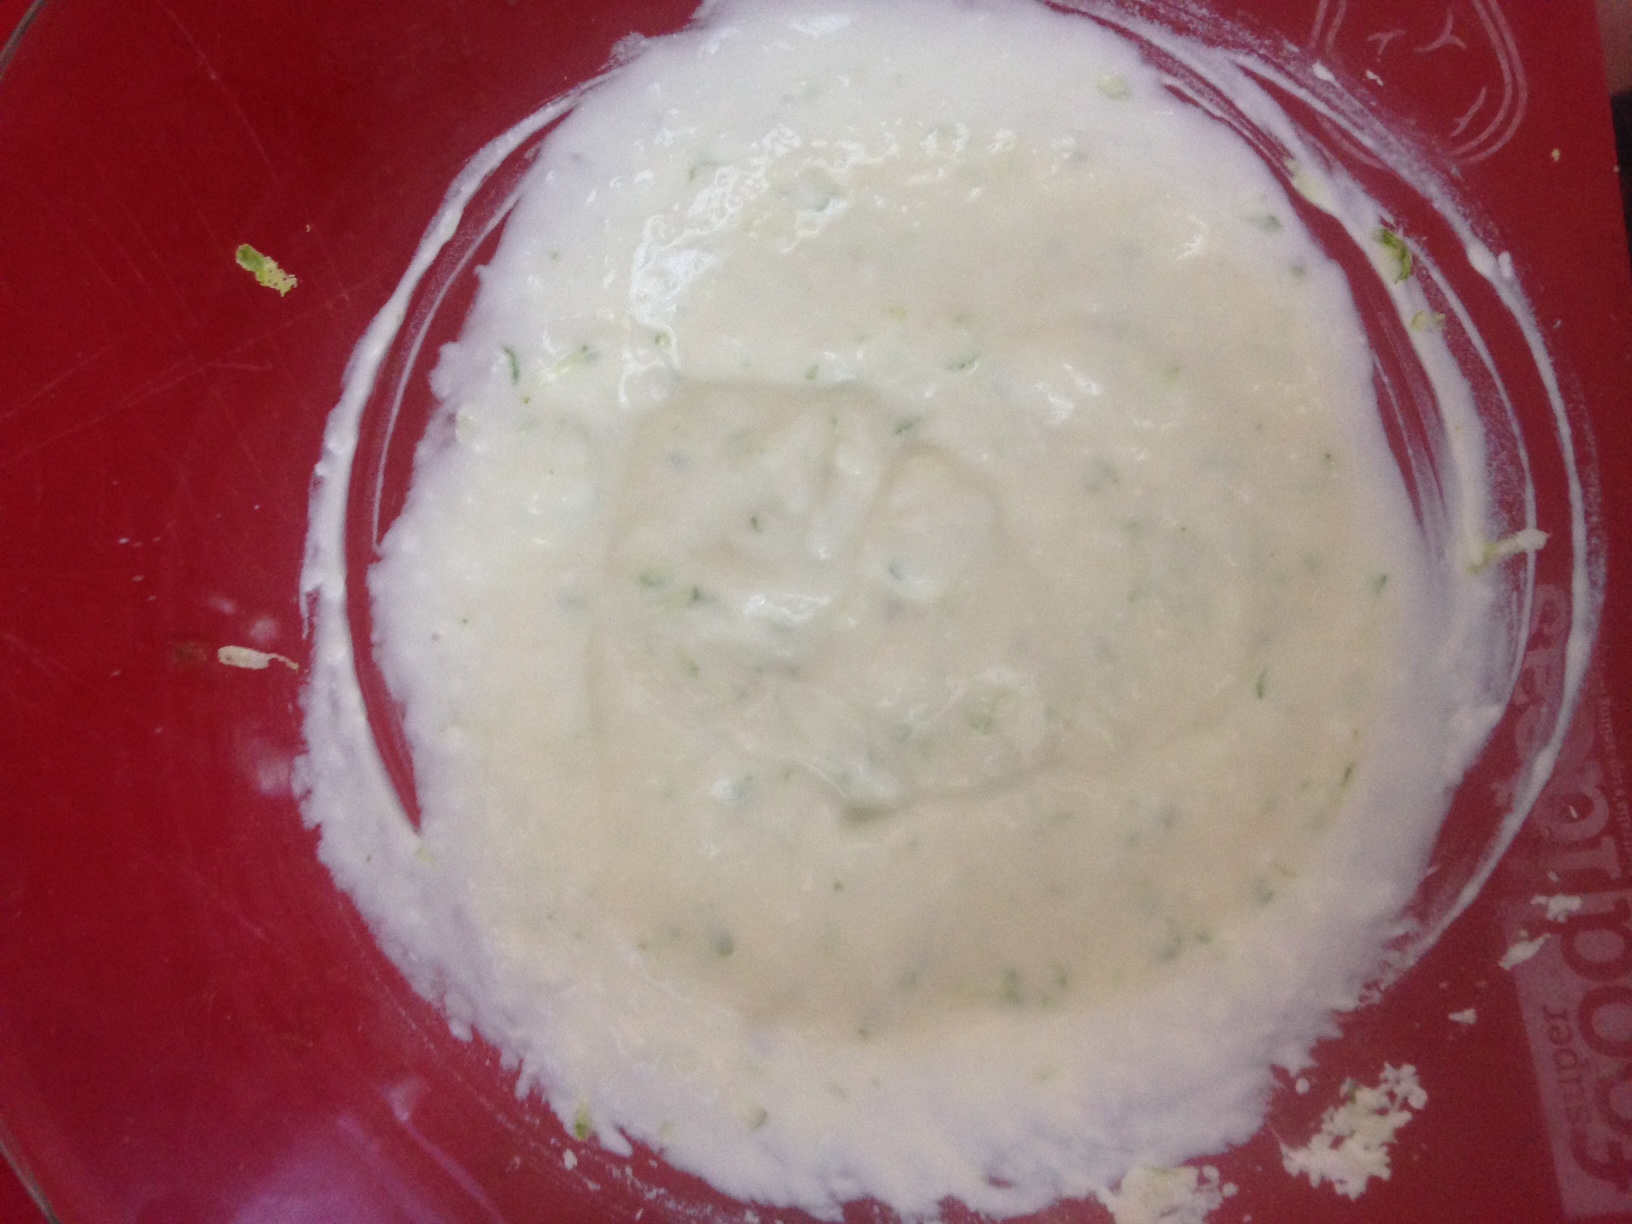
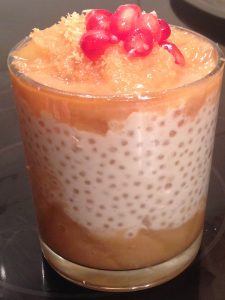
- Sprinkle with the toasted coconut.
- Place in the fridge for 1 hour to set completely.
Notes:
- I have topped with some pomegranate for some extra colour.
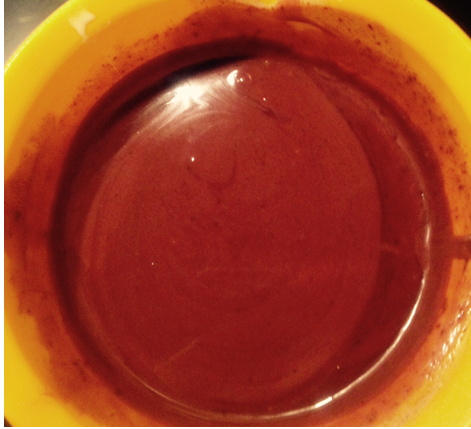
Step 2

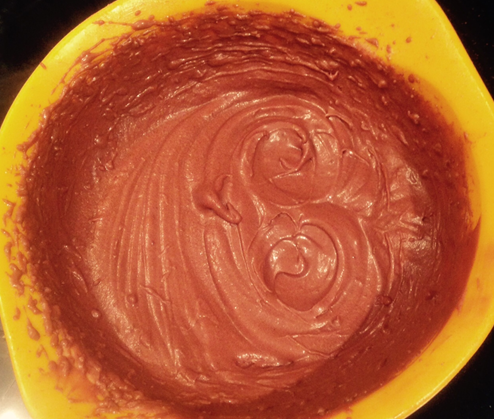
- Step 4
- Step 5
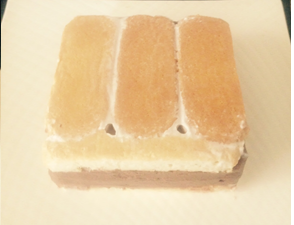
- Step 8
- Step 11
Like this recipe? Subscribe via RSS or email to get my new entries and more scrumptious recipes with reviews.
 Follow