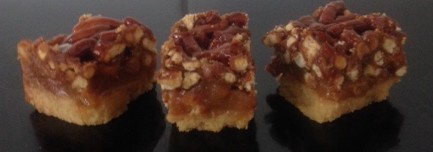
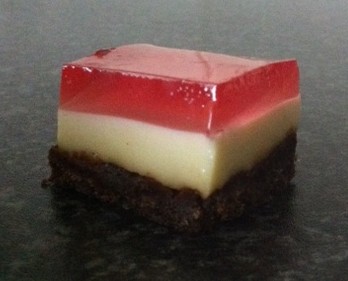
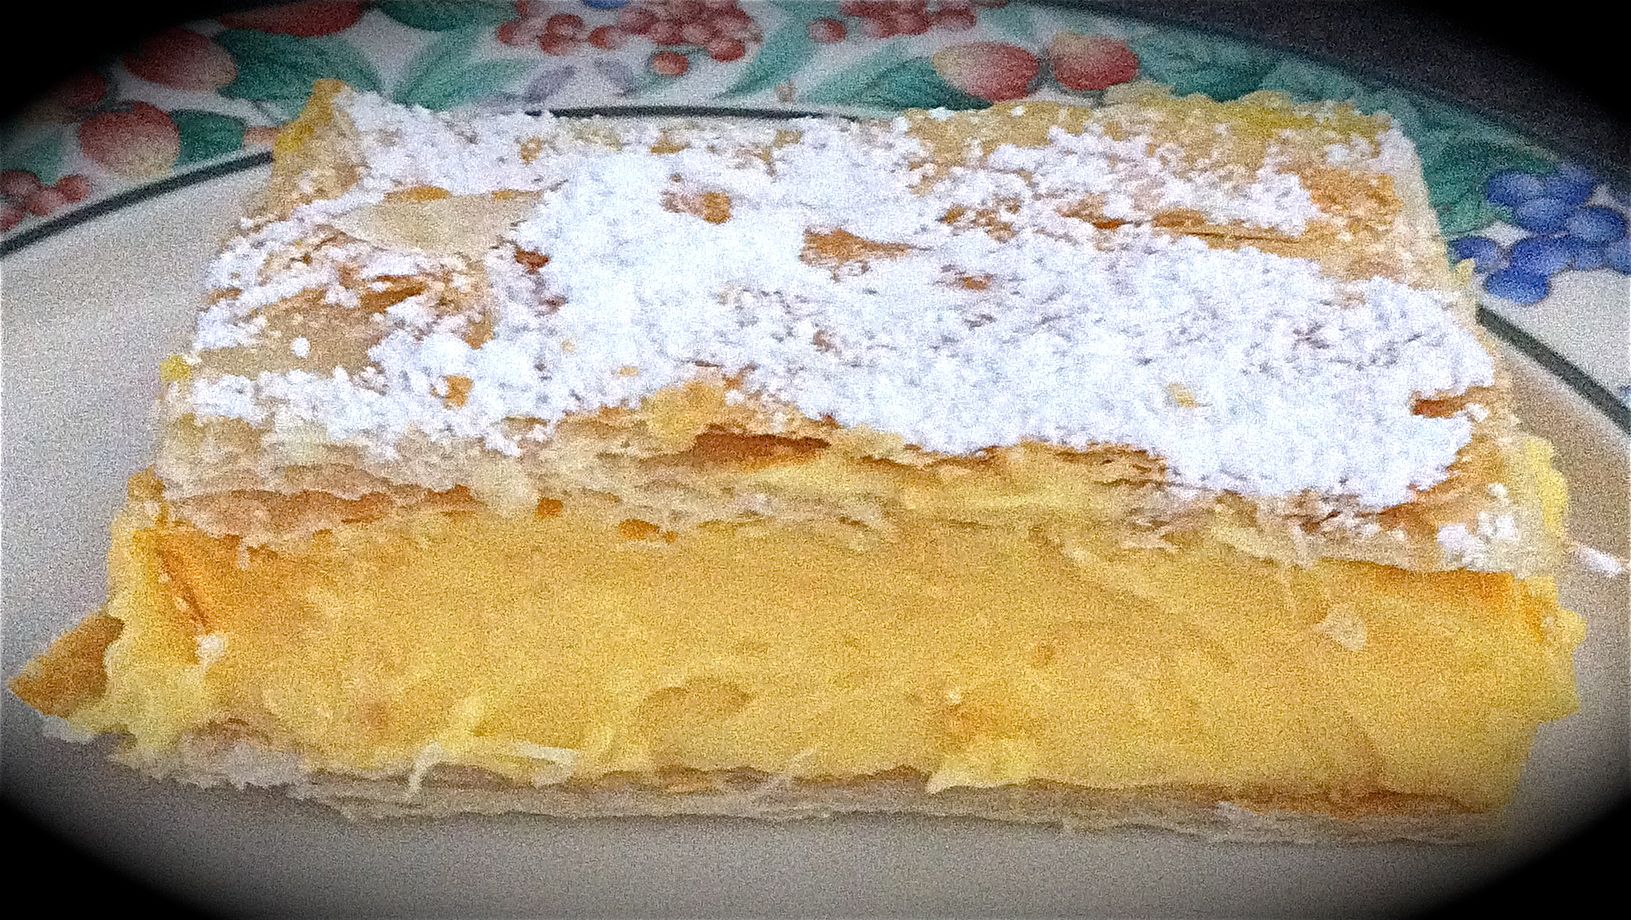
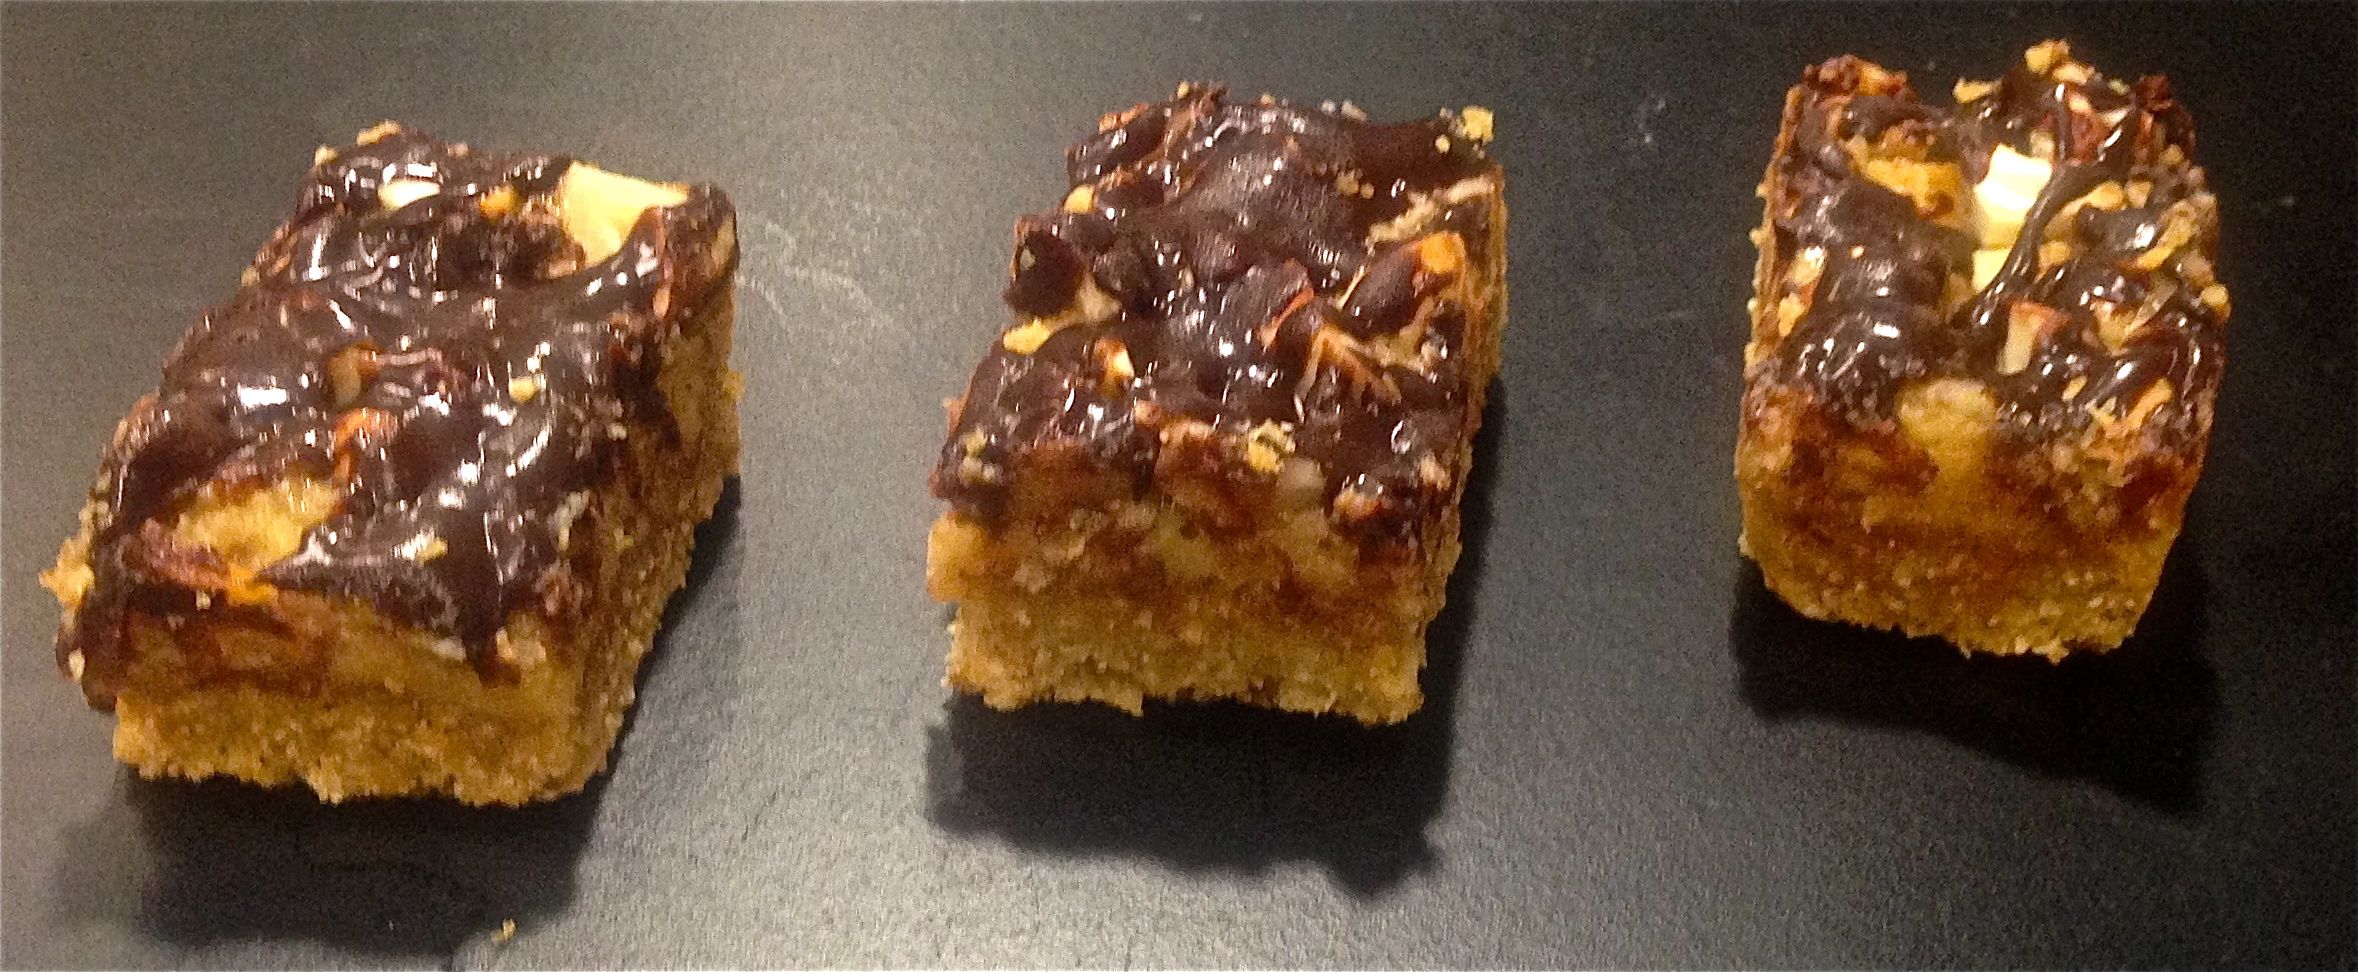
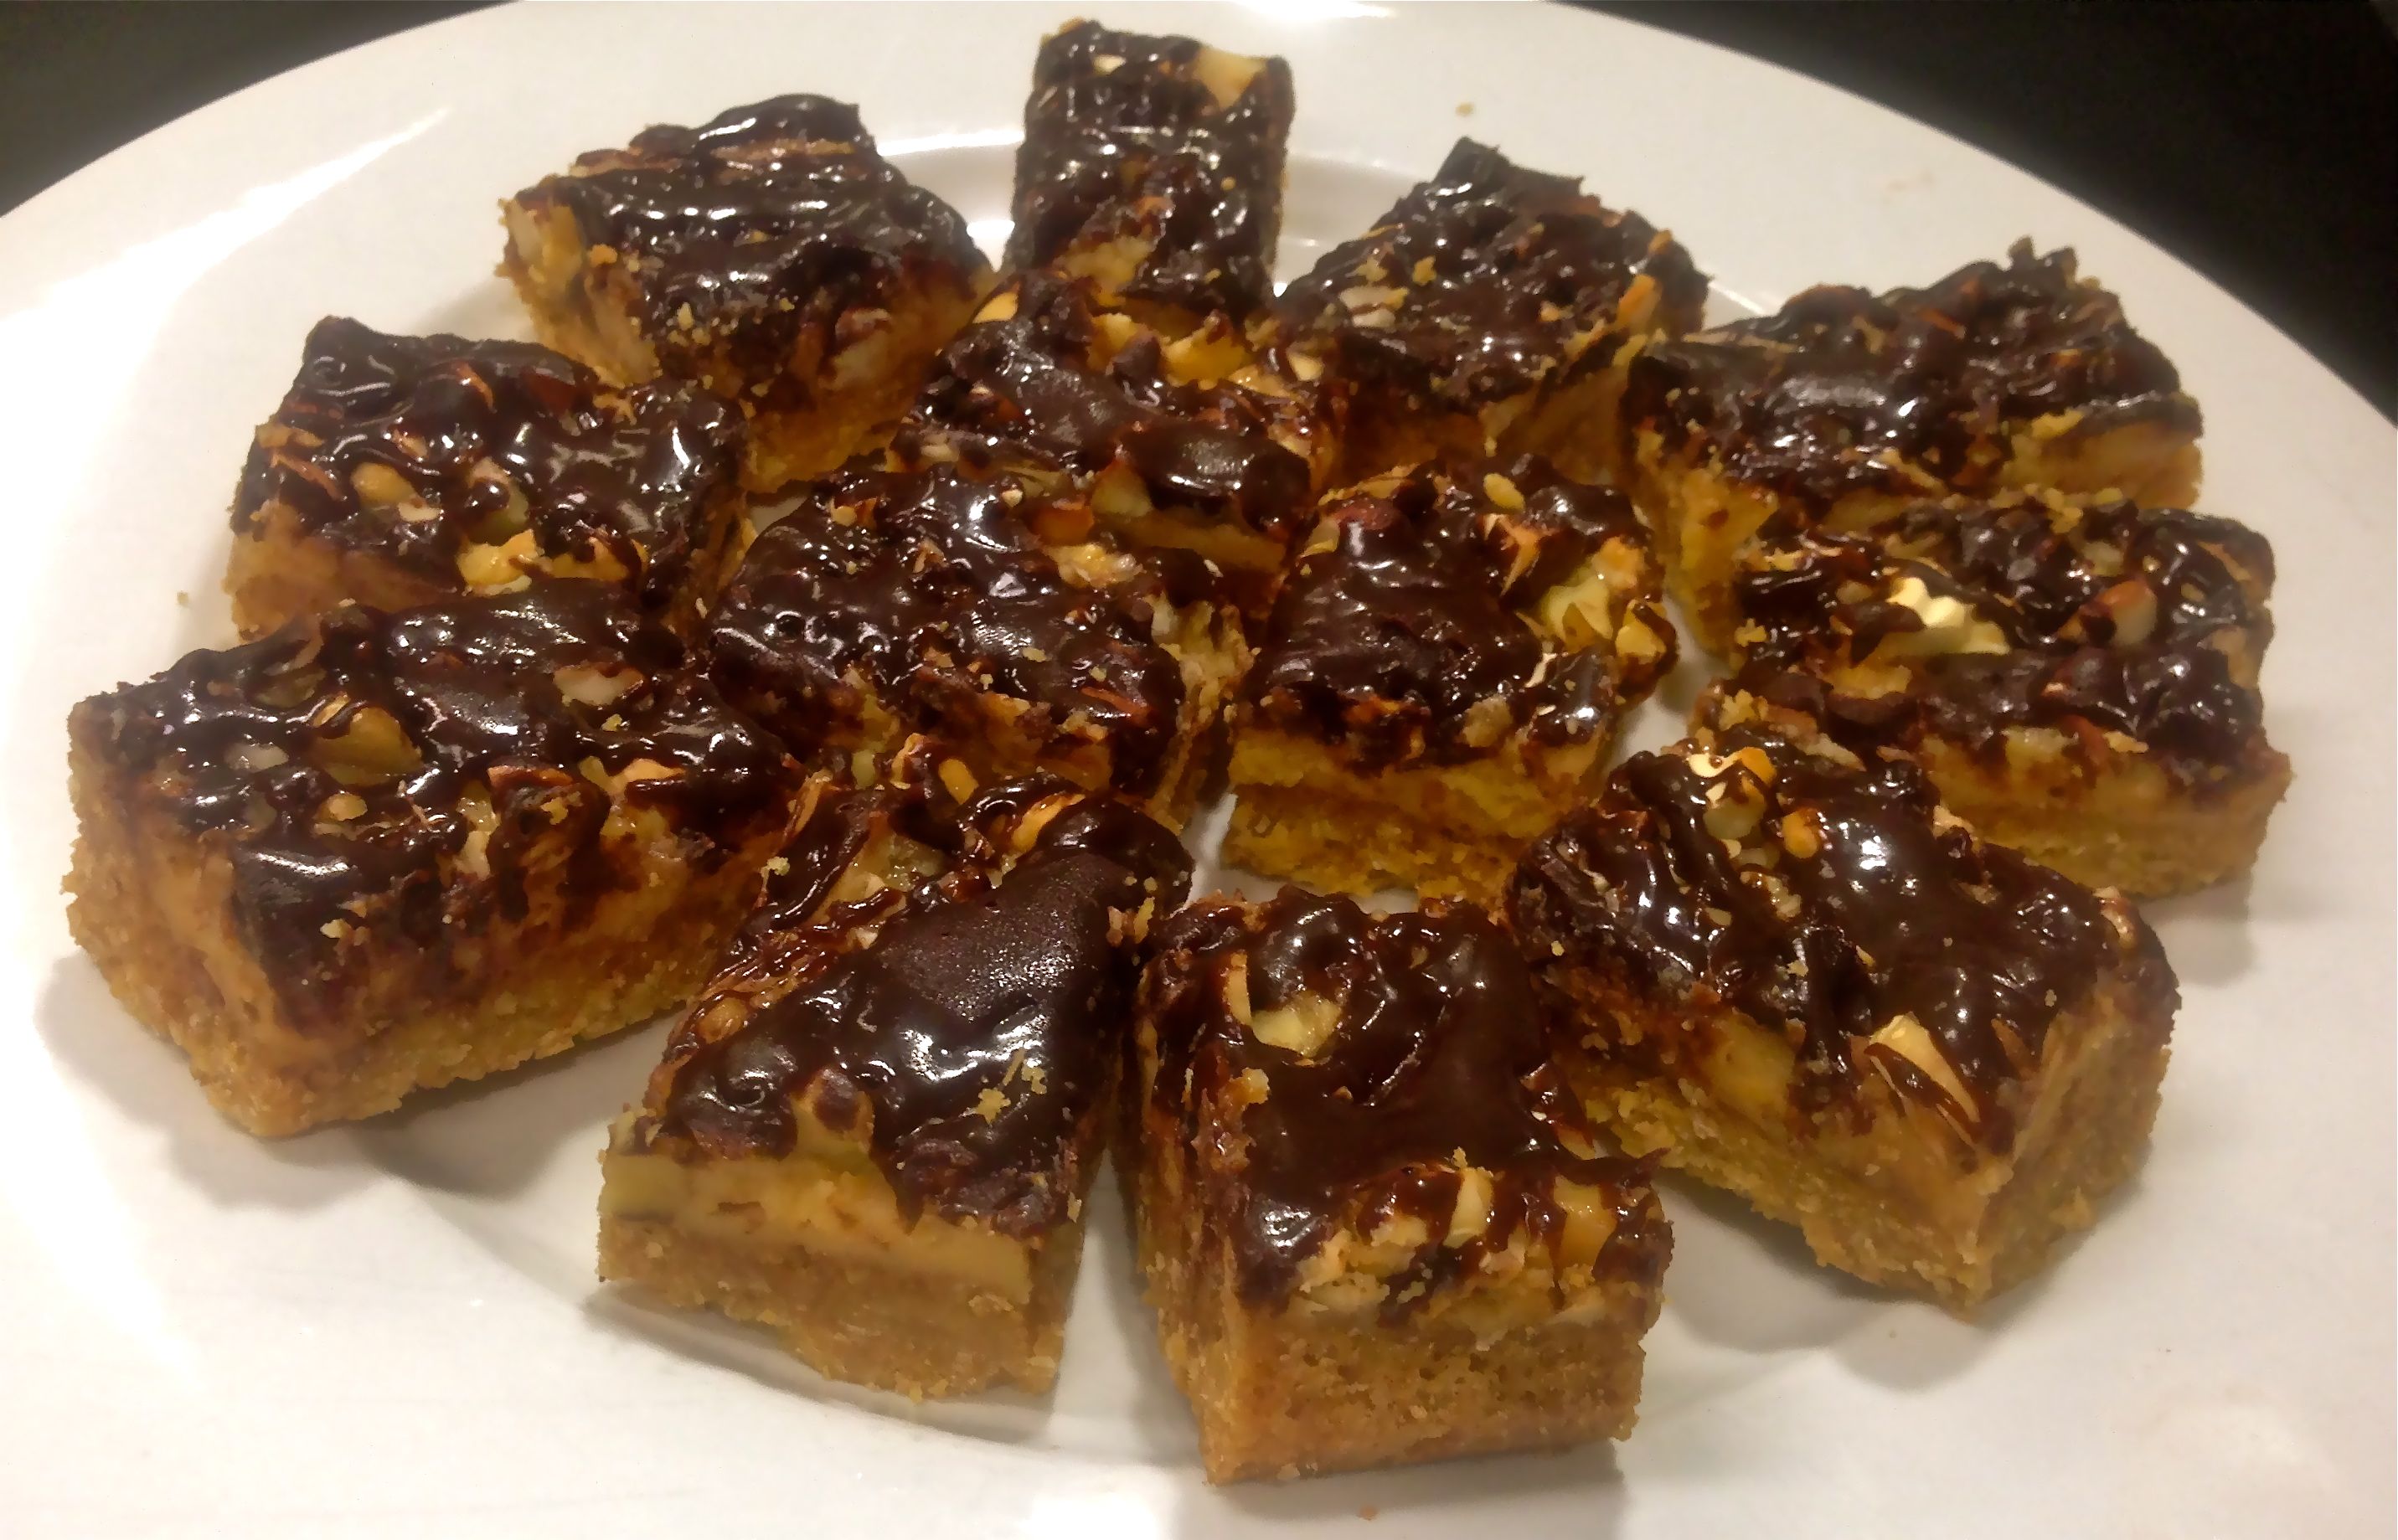
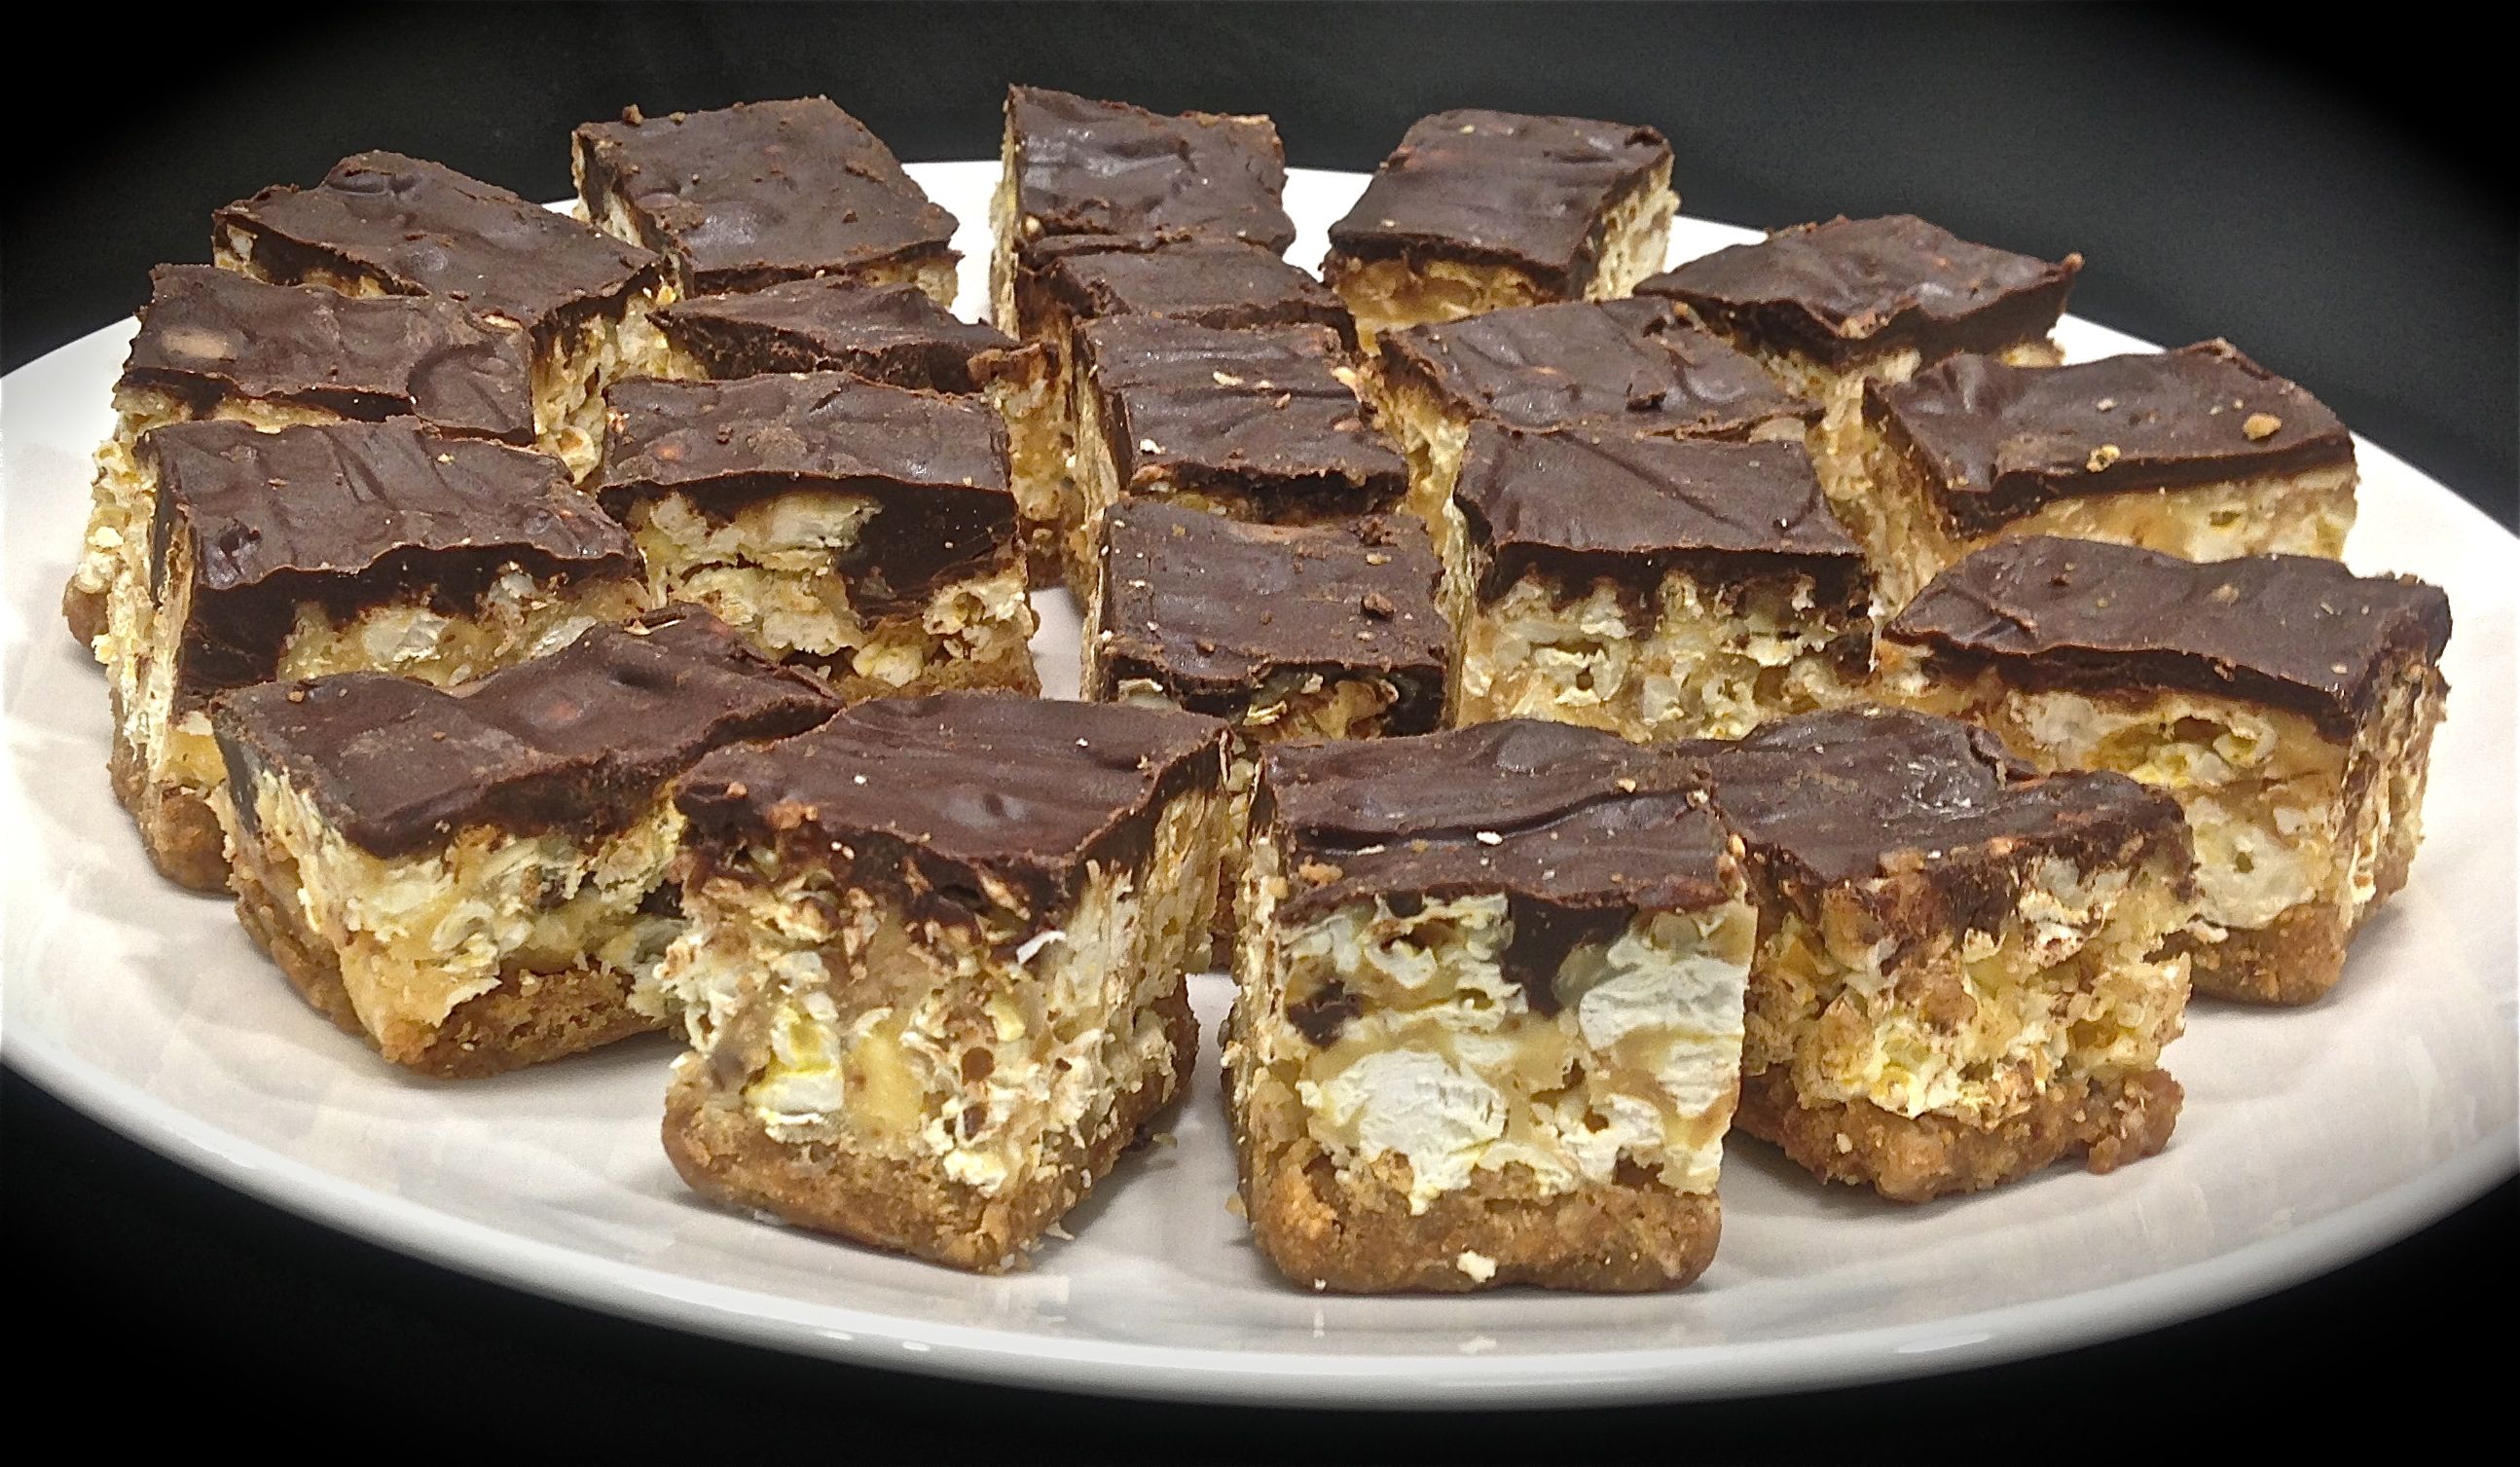
Banana and Bacon Caramel Slice
I have had the flavour pairing of bacon and banana on my radar for quite some time now, however was unsure of how to incorporate these two ingredients into a recipe that would work, have the perfect texture, complement other ingredients and be super tasty.
I’m familiar with baking with bacon and know that it is a massive flavour enhancer (my Chocolate Bacon Cake is amazing).
After a bit of experimenting I ended up very happy with a caramel slice type recipe that incorporated the bacon and banana.
The caramel and bacon work so well together, the bacon is almost like a natural salt, thus making a lovely salted caramel flavour. Additionally banana and caramel are amazing together (hello Banoffee Pie). As banana is quite a soft ingredient and does not hold is shape well (unlike marshmallow) I have opted for banana chips for this recipe. The chips actually provide a lovely complementary crunch to the smooth caramel and fluffy marshmallows.
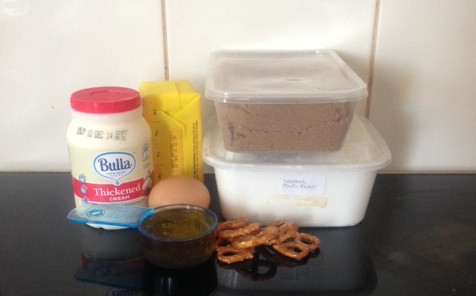
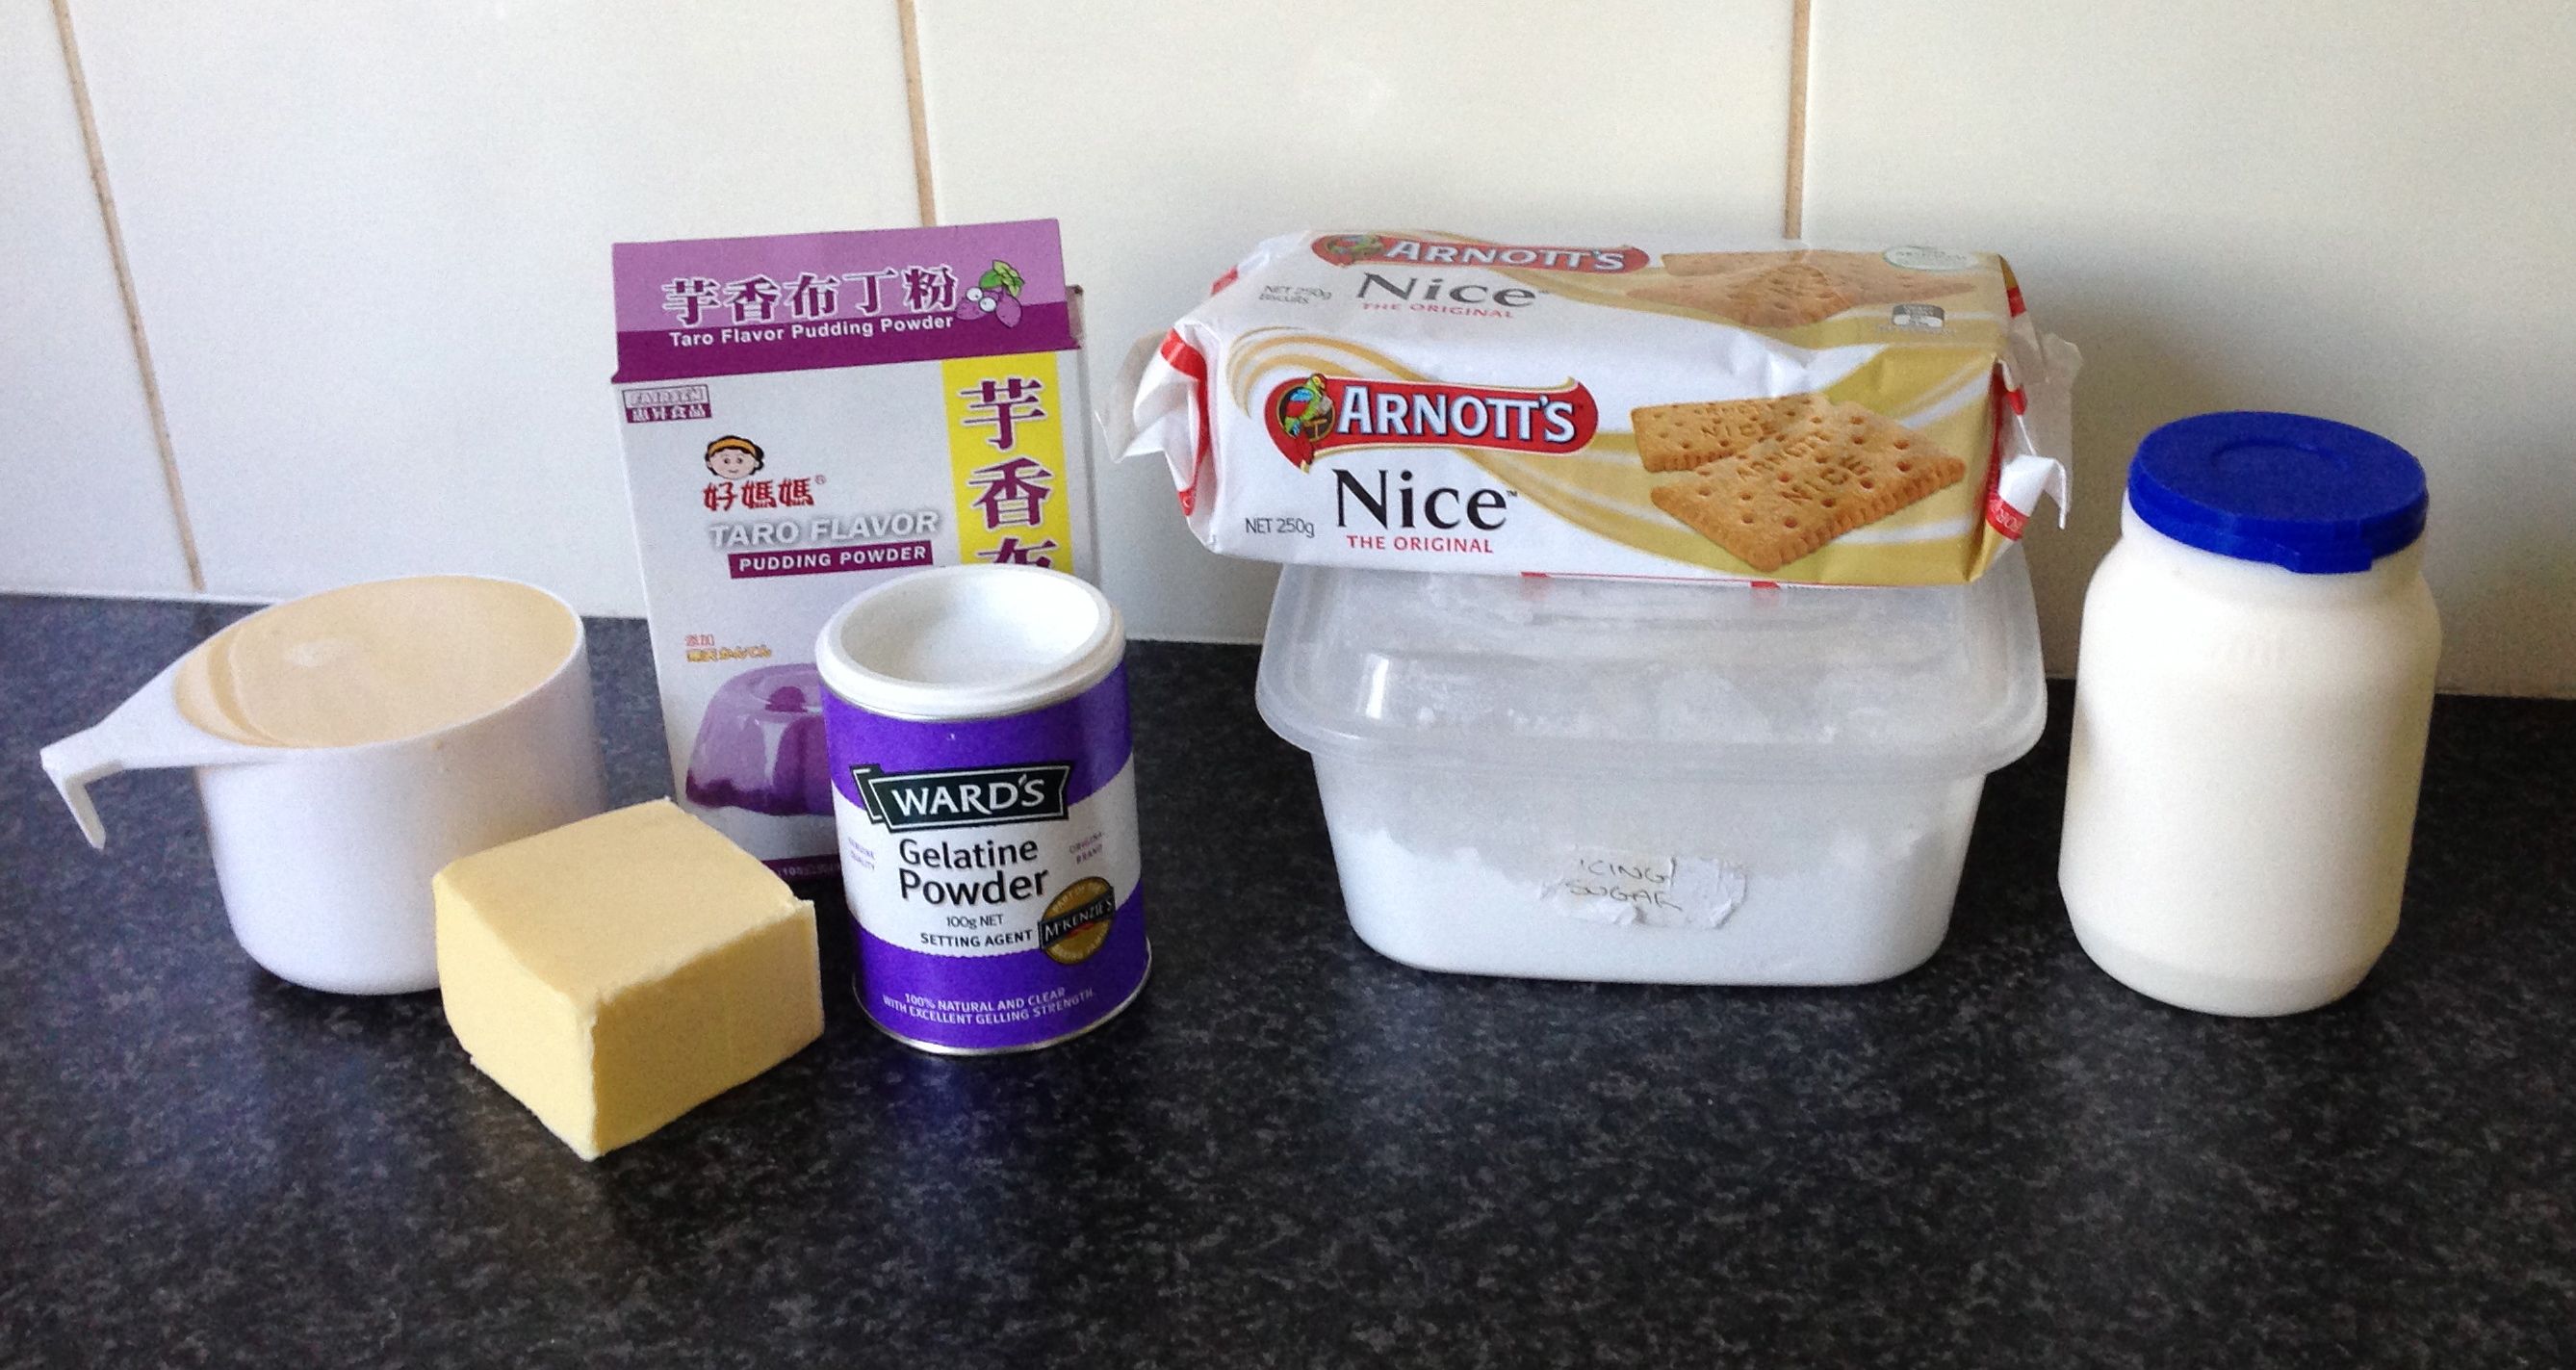
Ingredients:
Biscuit Base:
- 220g diced bacon
- 100g butter
- 90g sugar
- 30g rice flour
- 150 flour
Topping:
- 40g thickened cream
- 260g caramel sweets (lollies)
- 90g marshmallows
- 80g banana chips
Method:
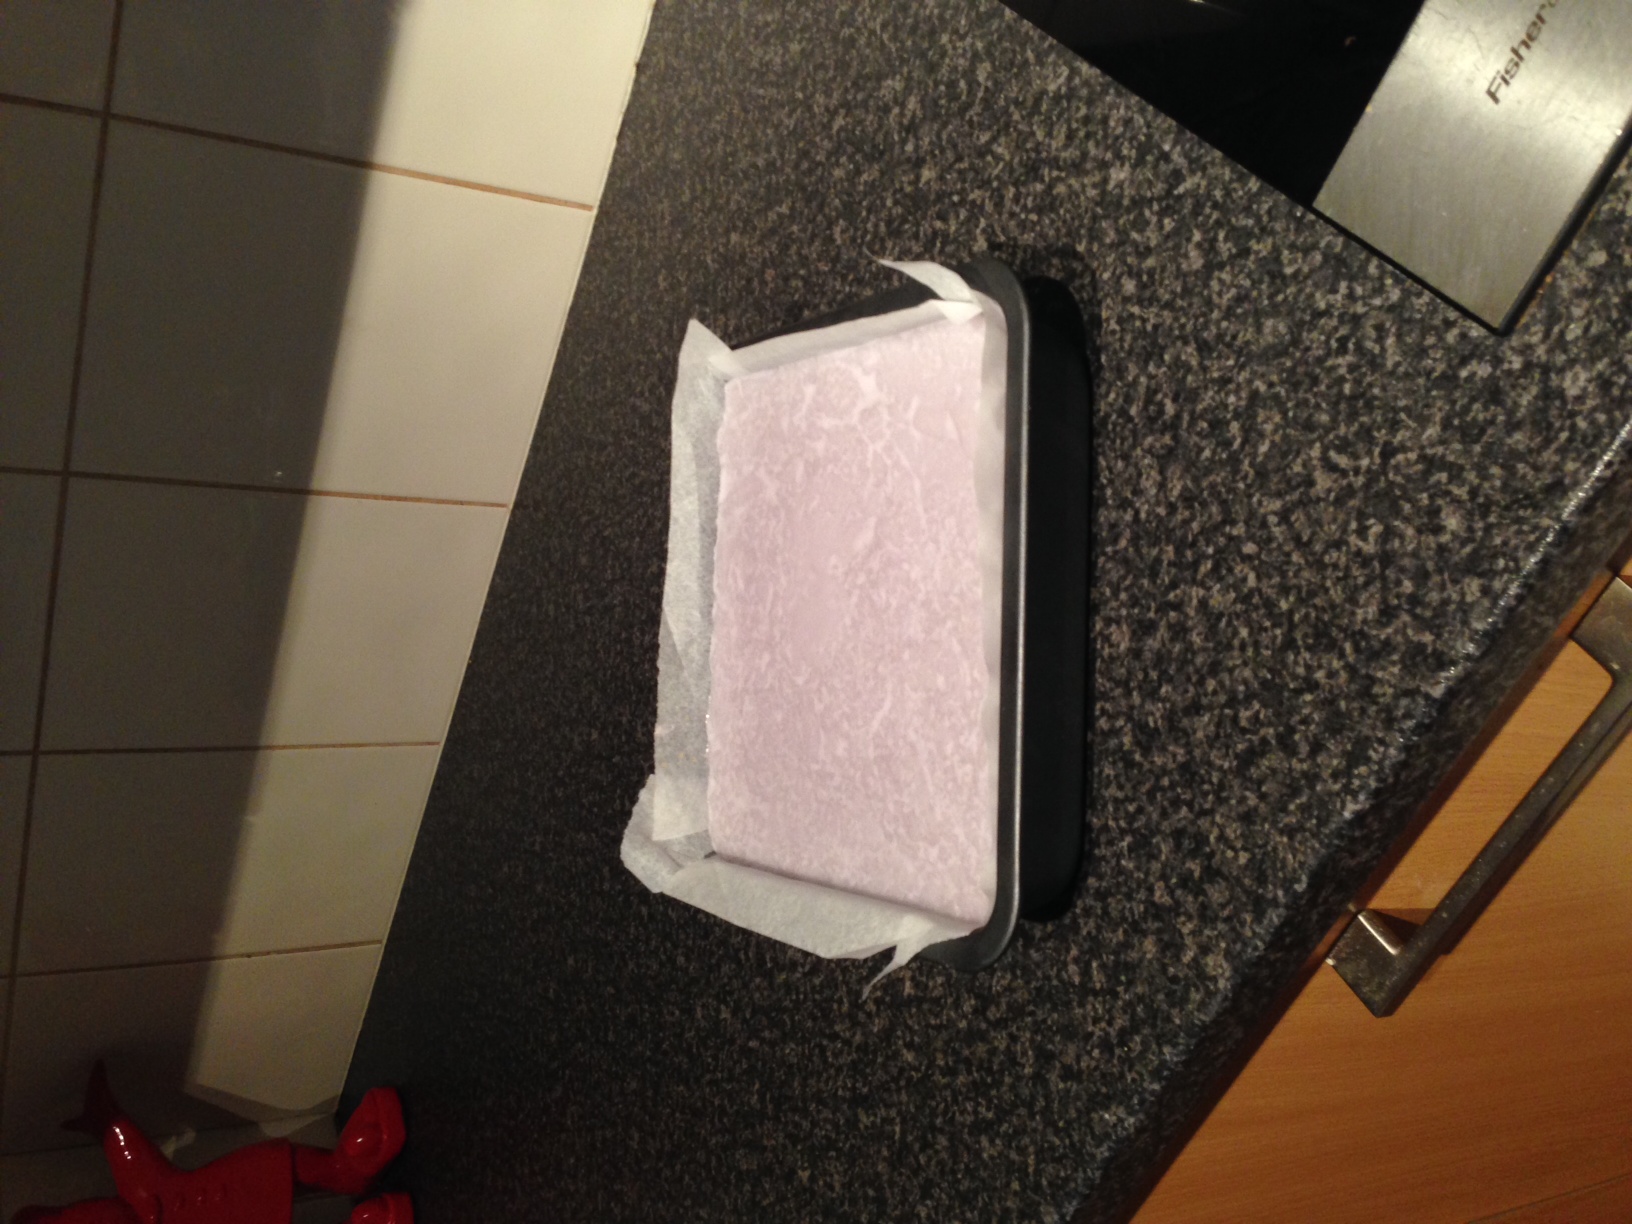
- Pre-heat the oven to 180c degrees and line a 15cm x 15cm square cake tin with baking paper.
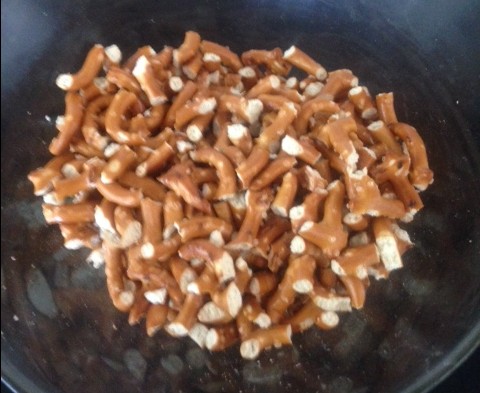
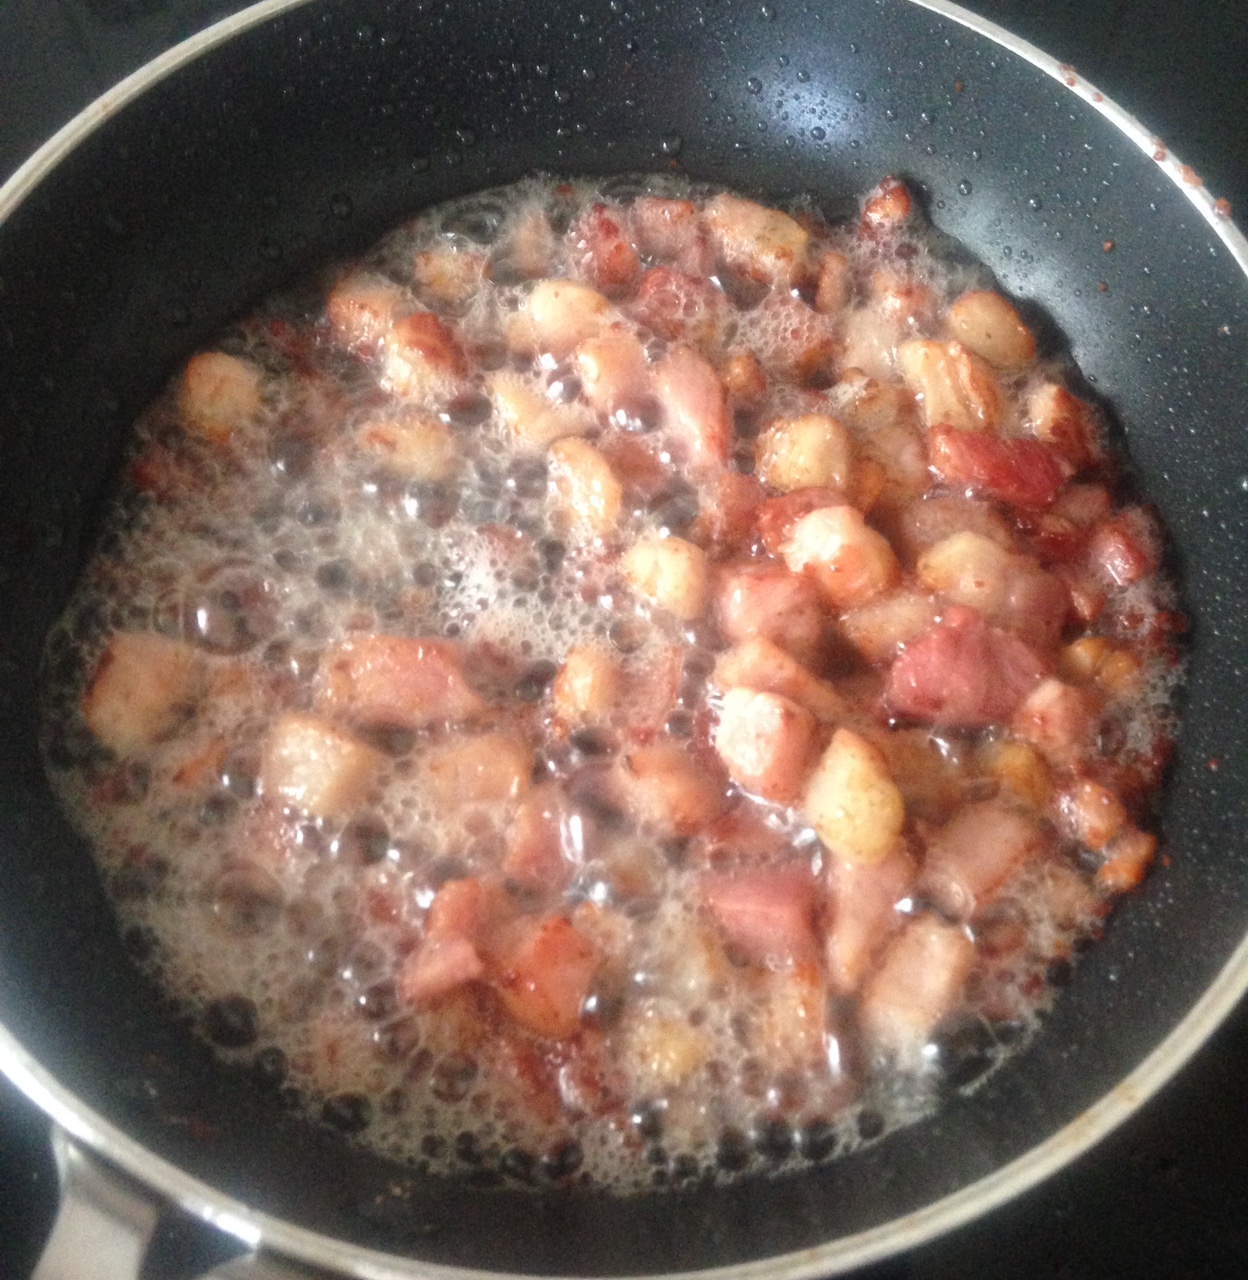
- On a high heat place the bacon pieces in a saucepan and fry until the bacon is brown and bubbling.
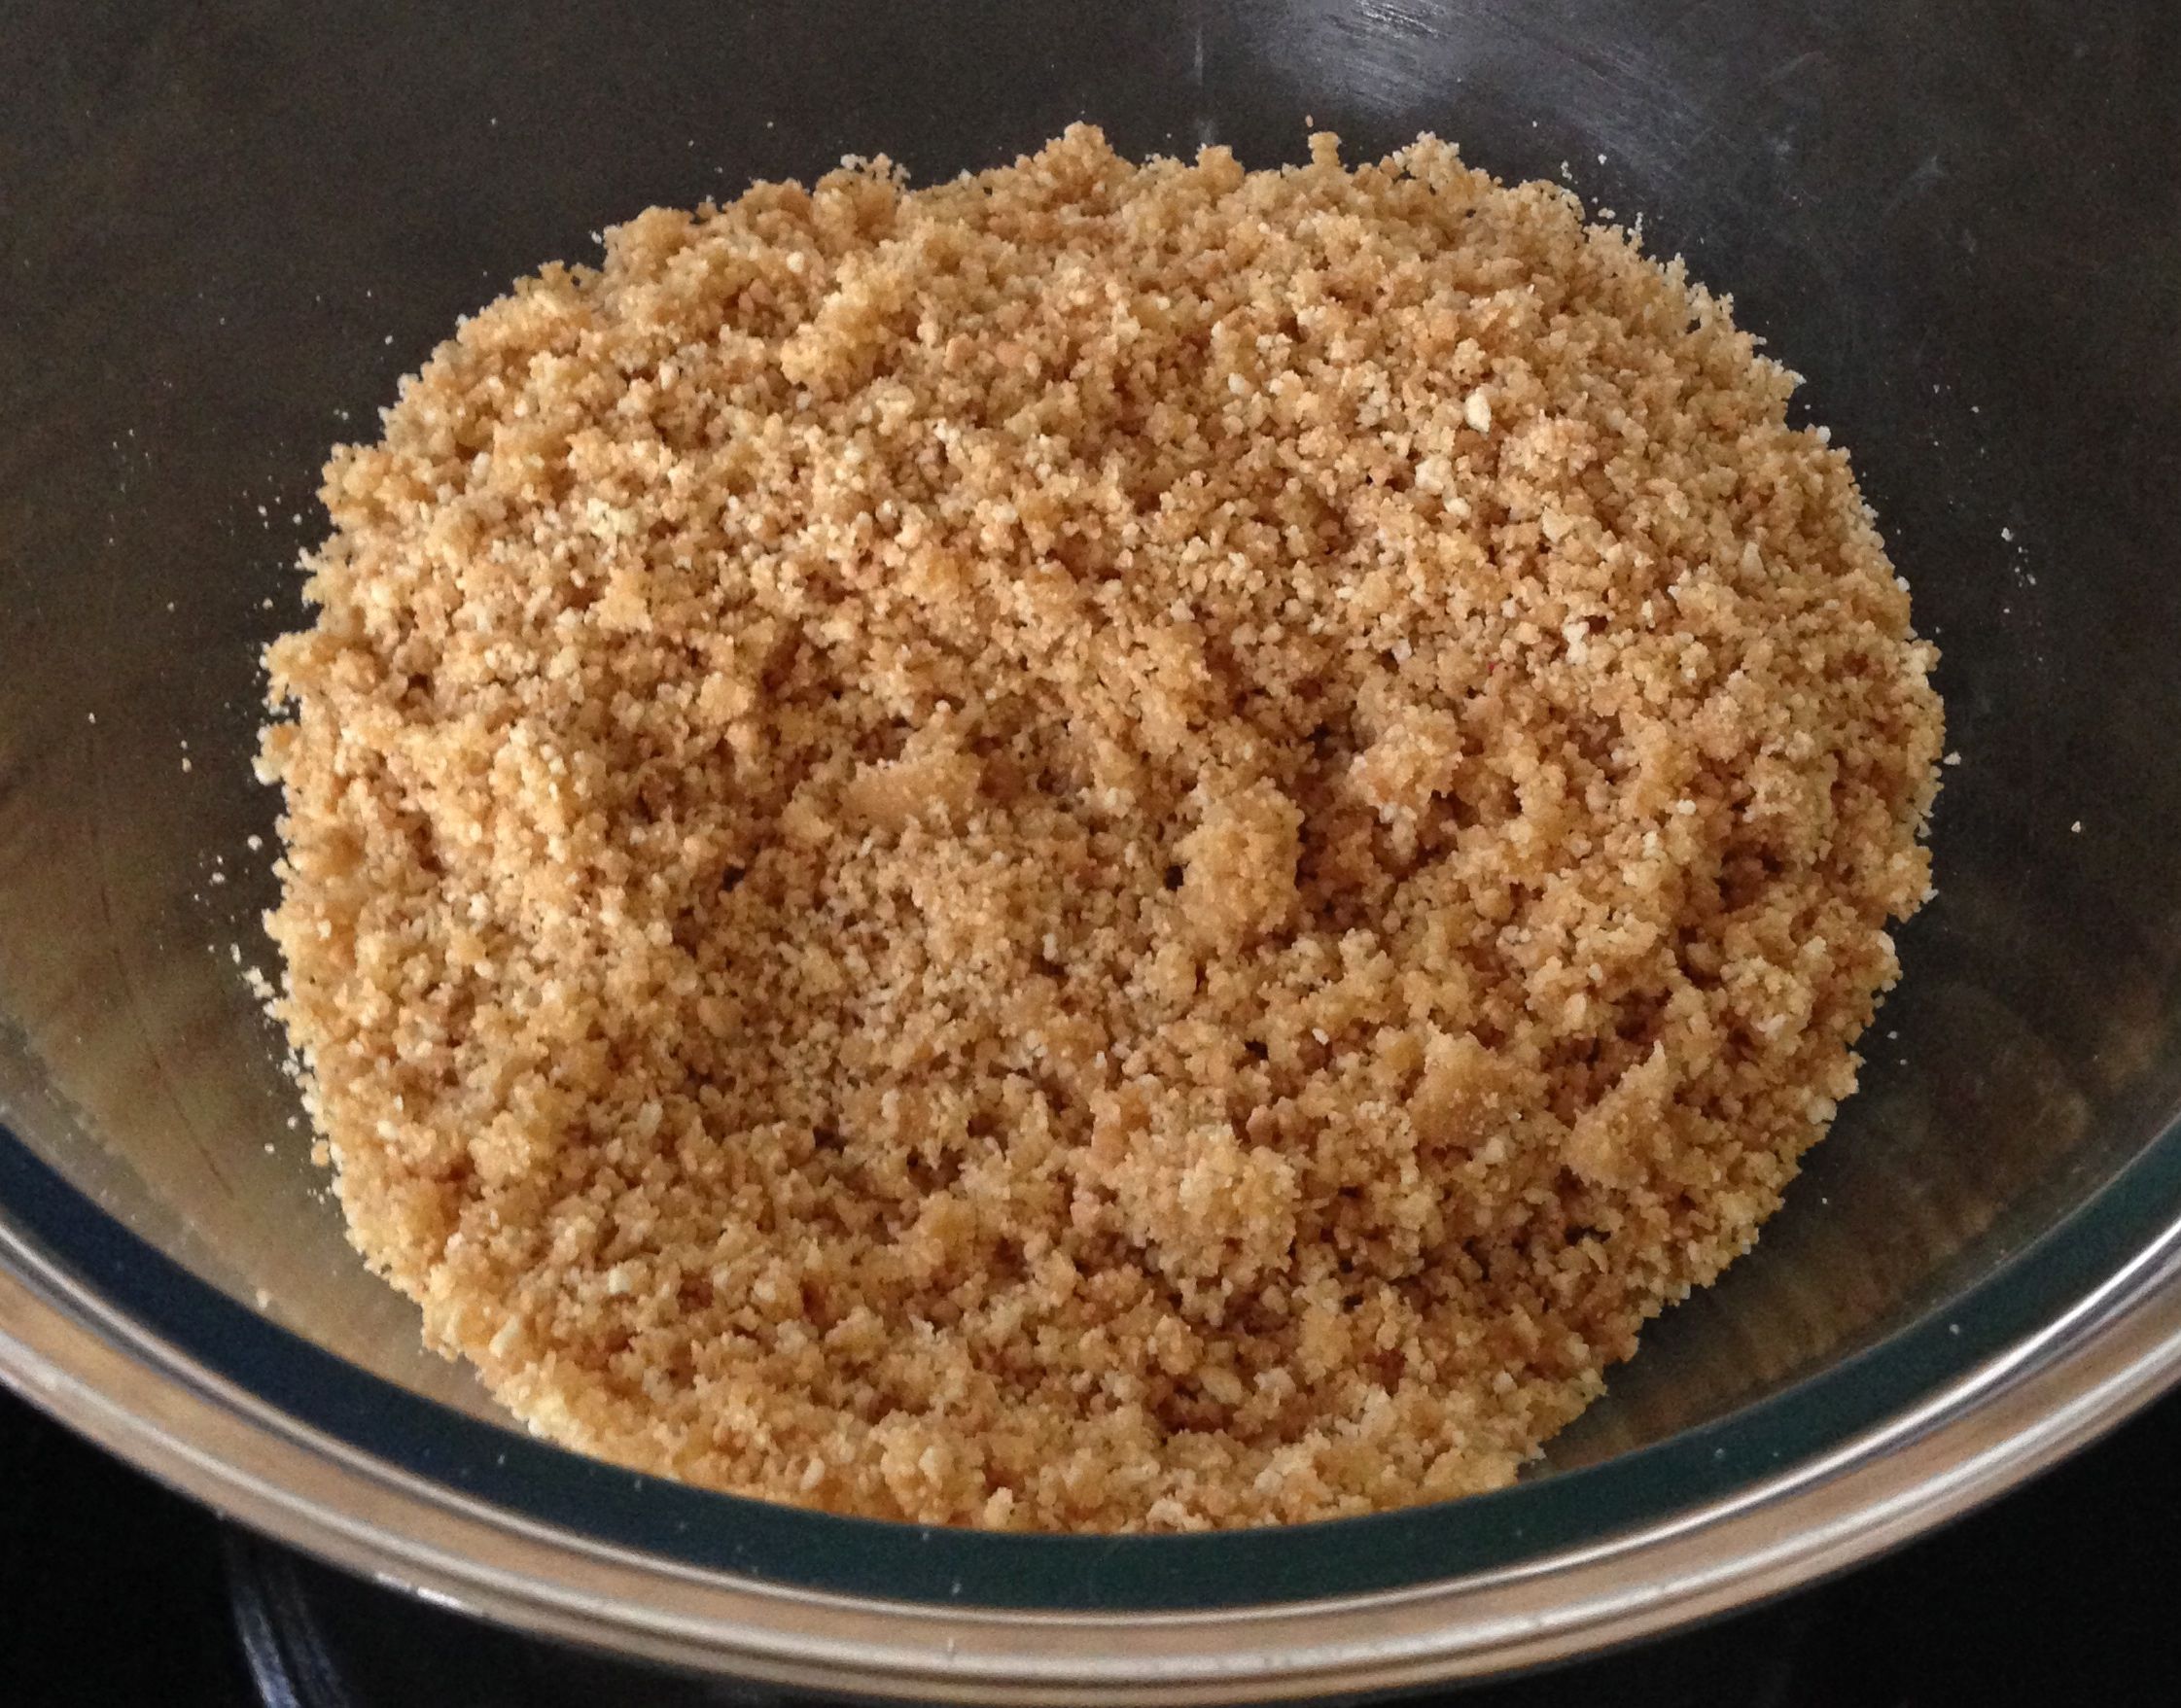
- Place the bacon on paper towel to absorb the oil then place in a food processor (you will have 100g of cooked bacon pieces).
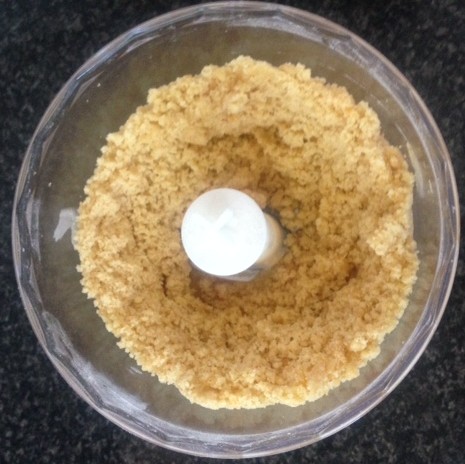
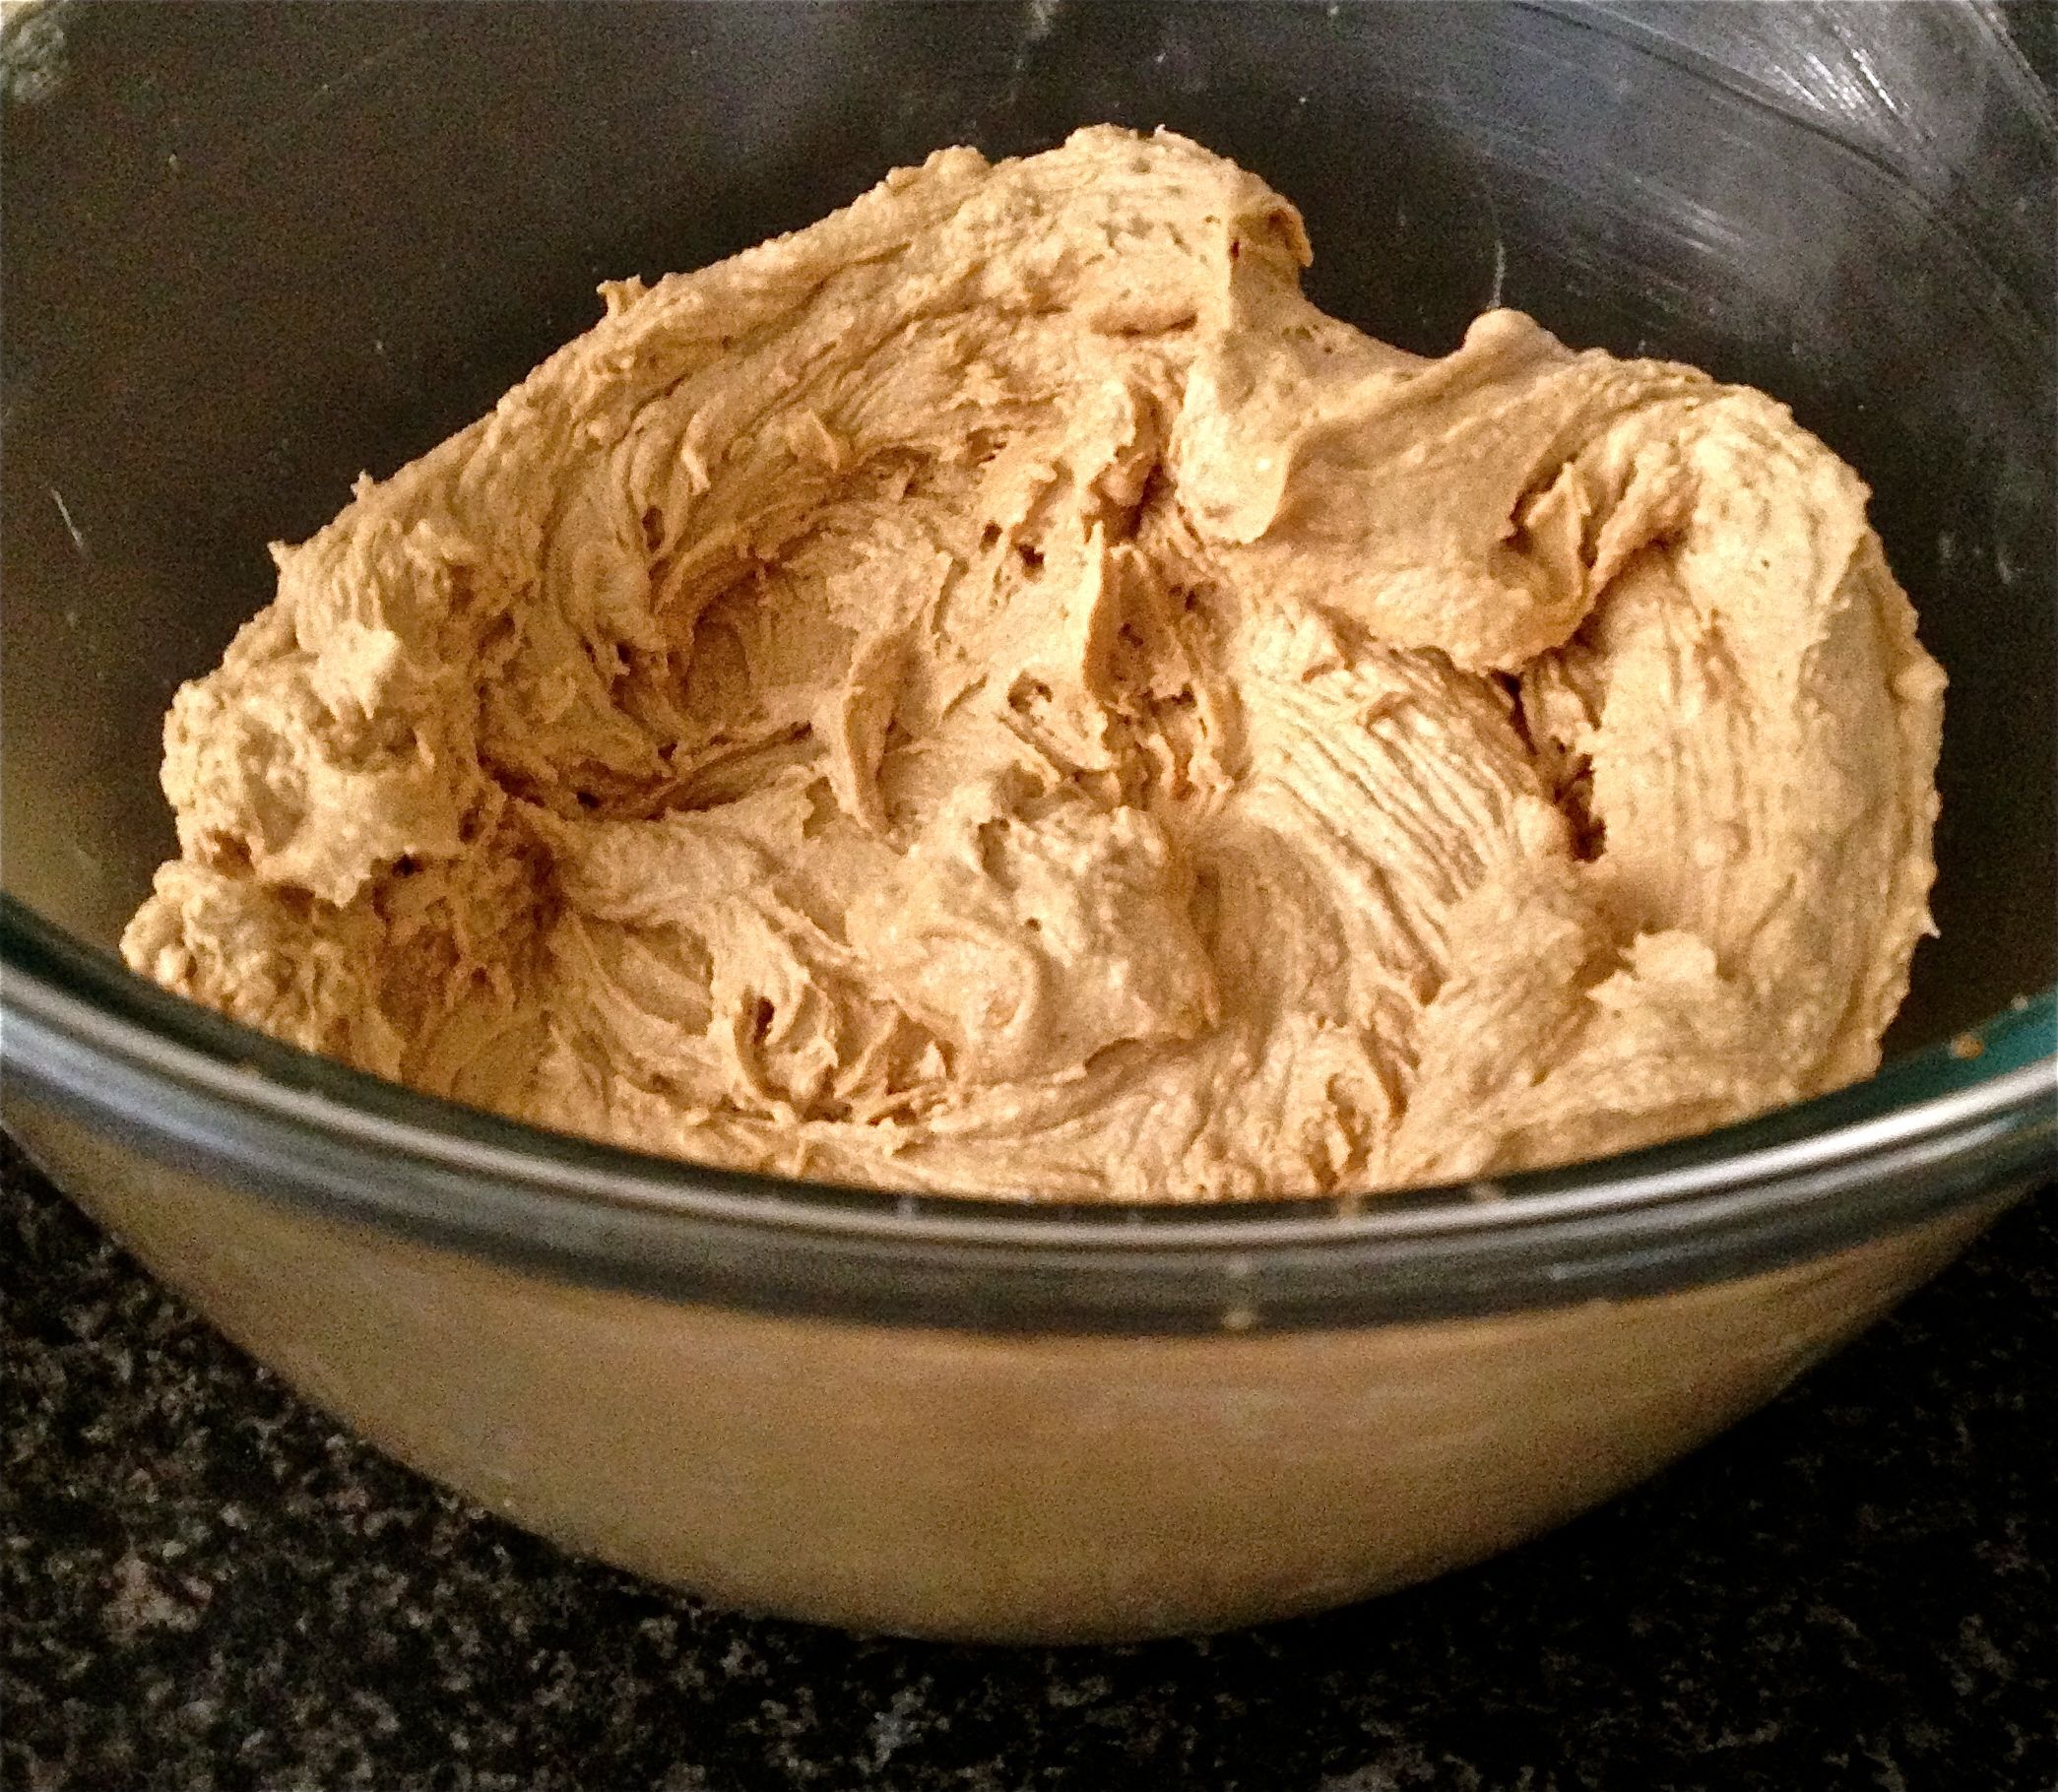
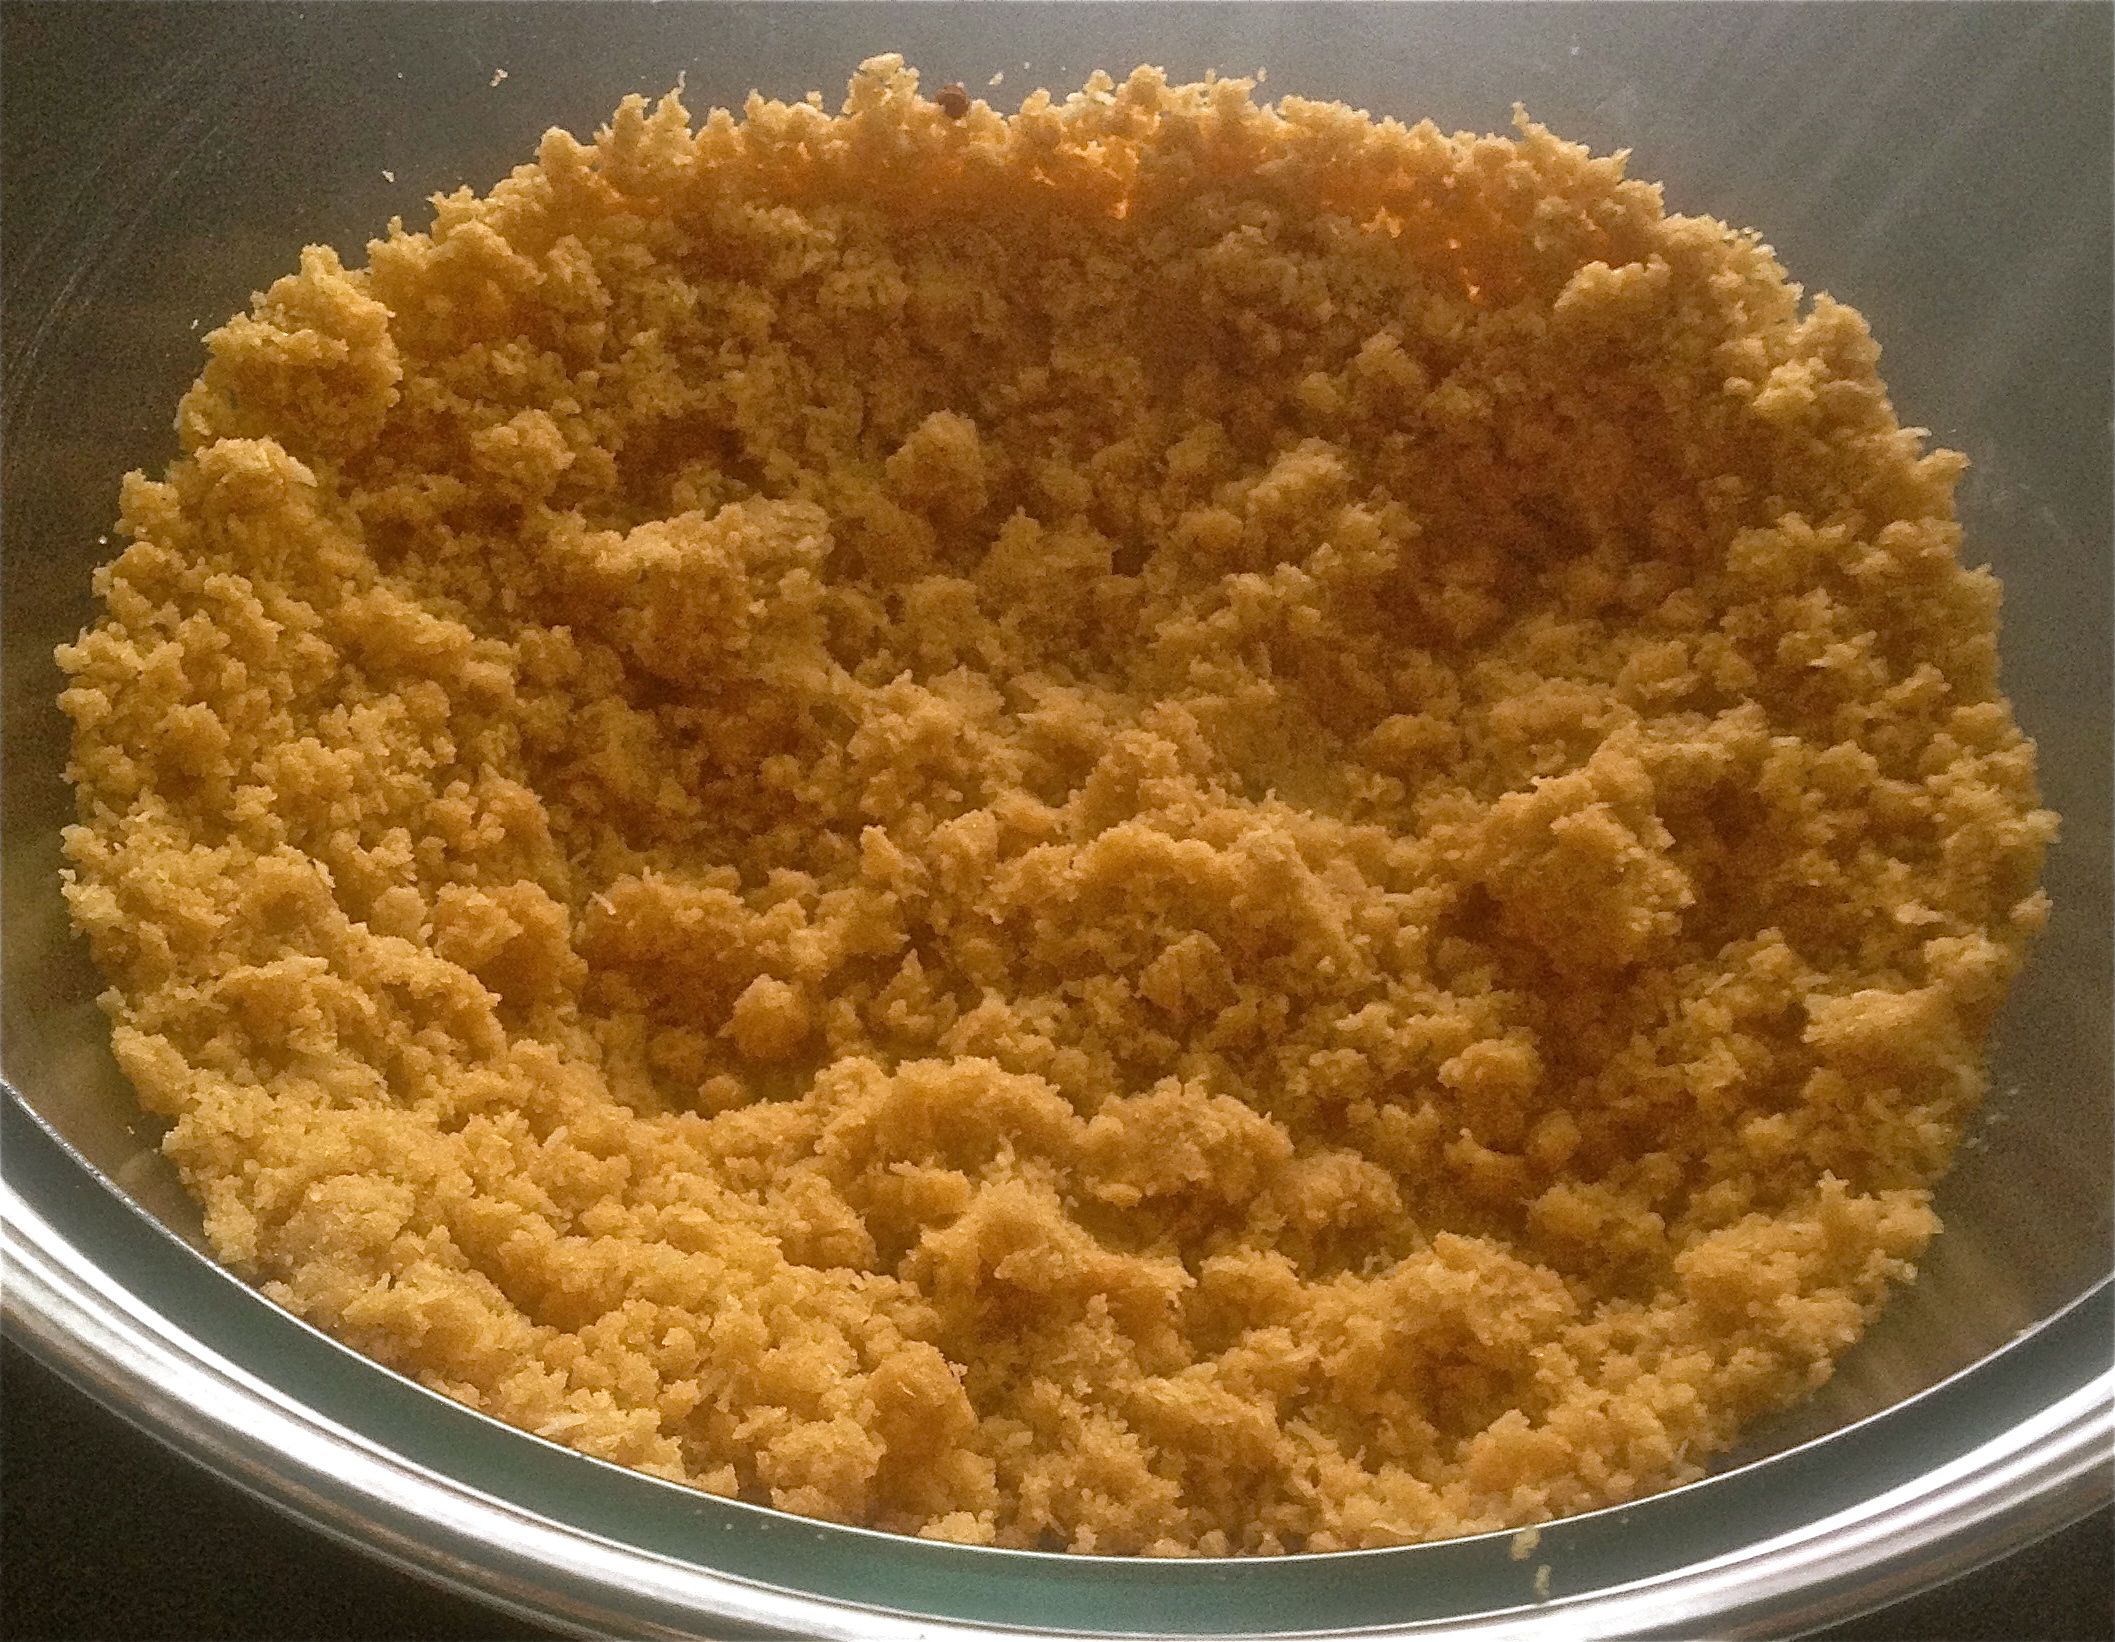
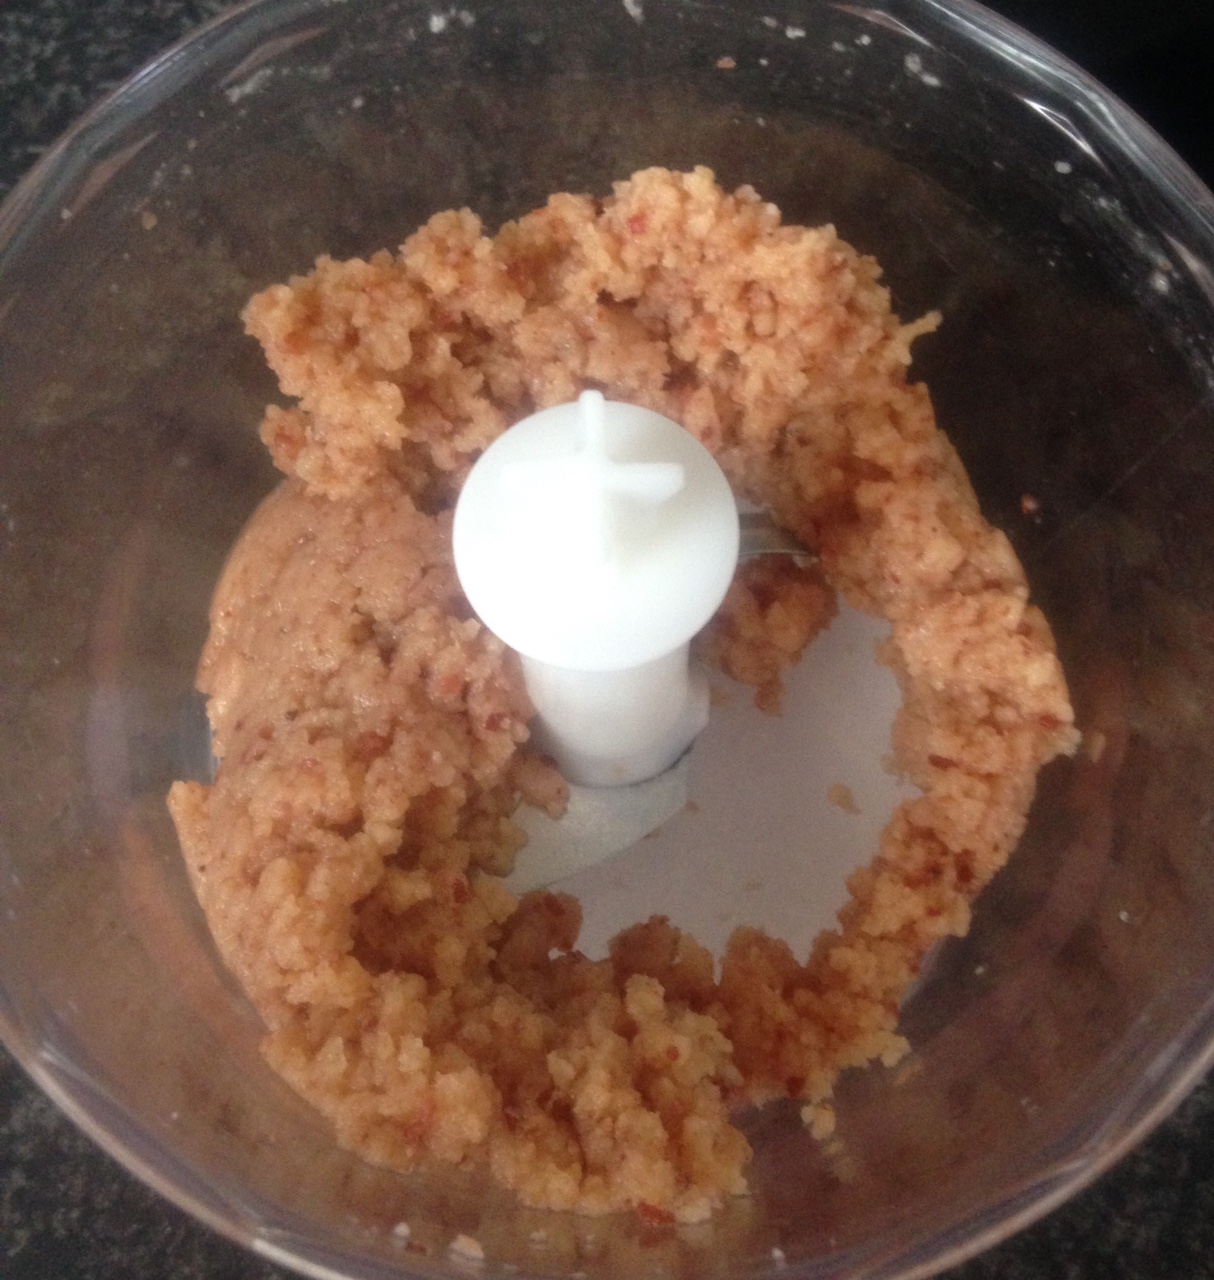
- Place the melted bacon, butter, sugar and flours in the food processor and blitz on high until the bacon is as fine as breadcrumbs.
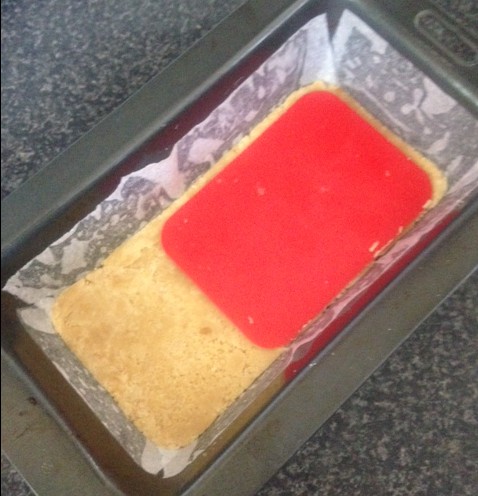
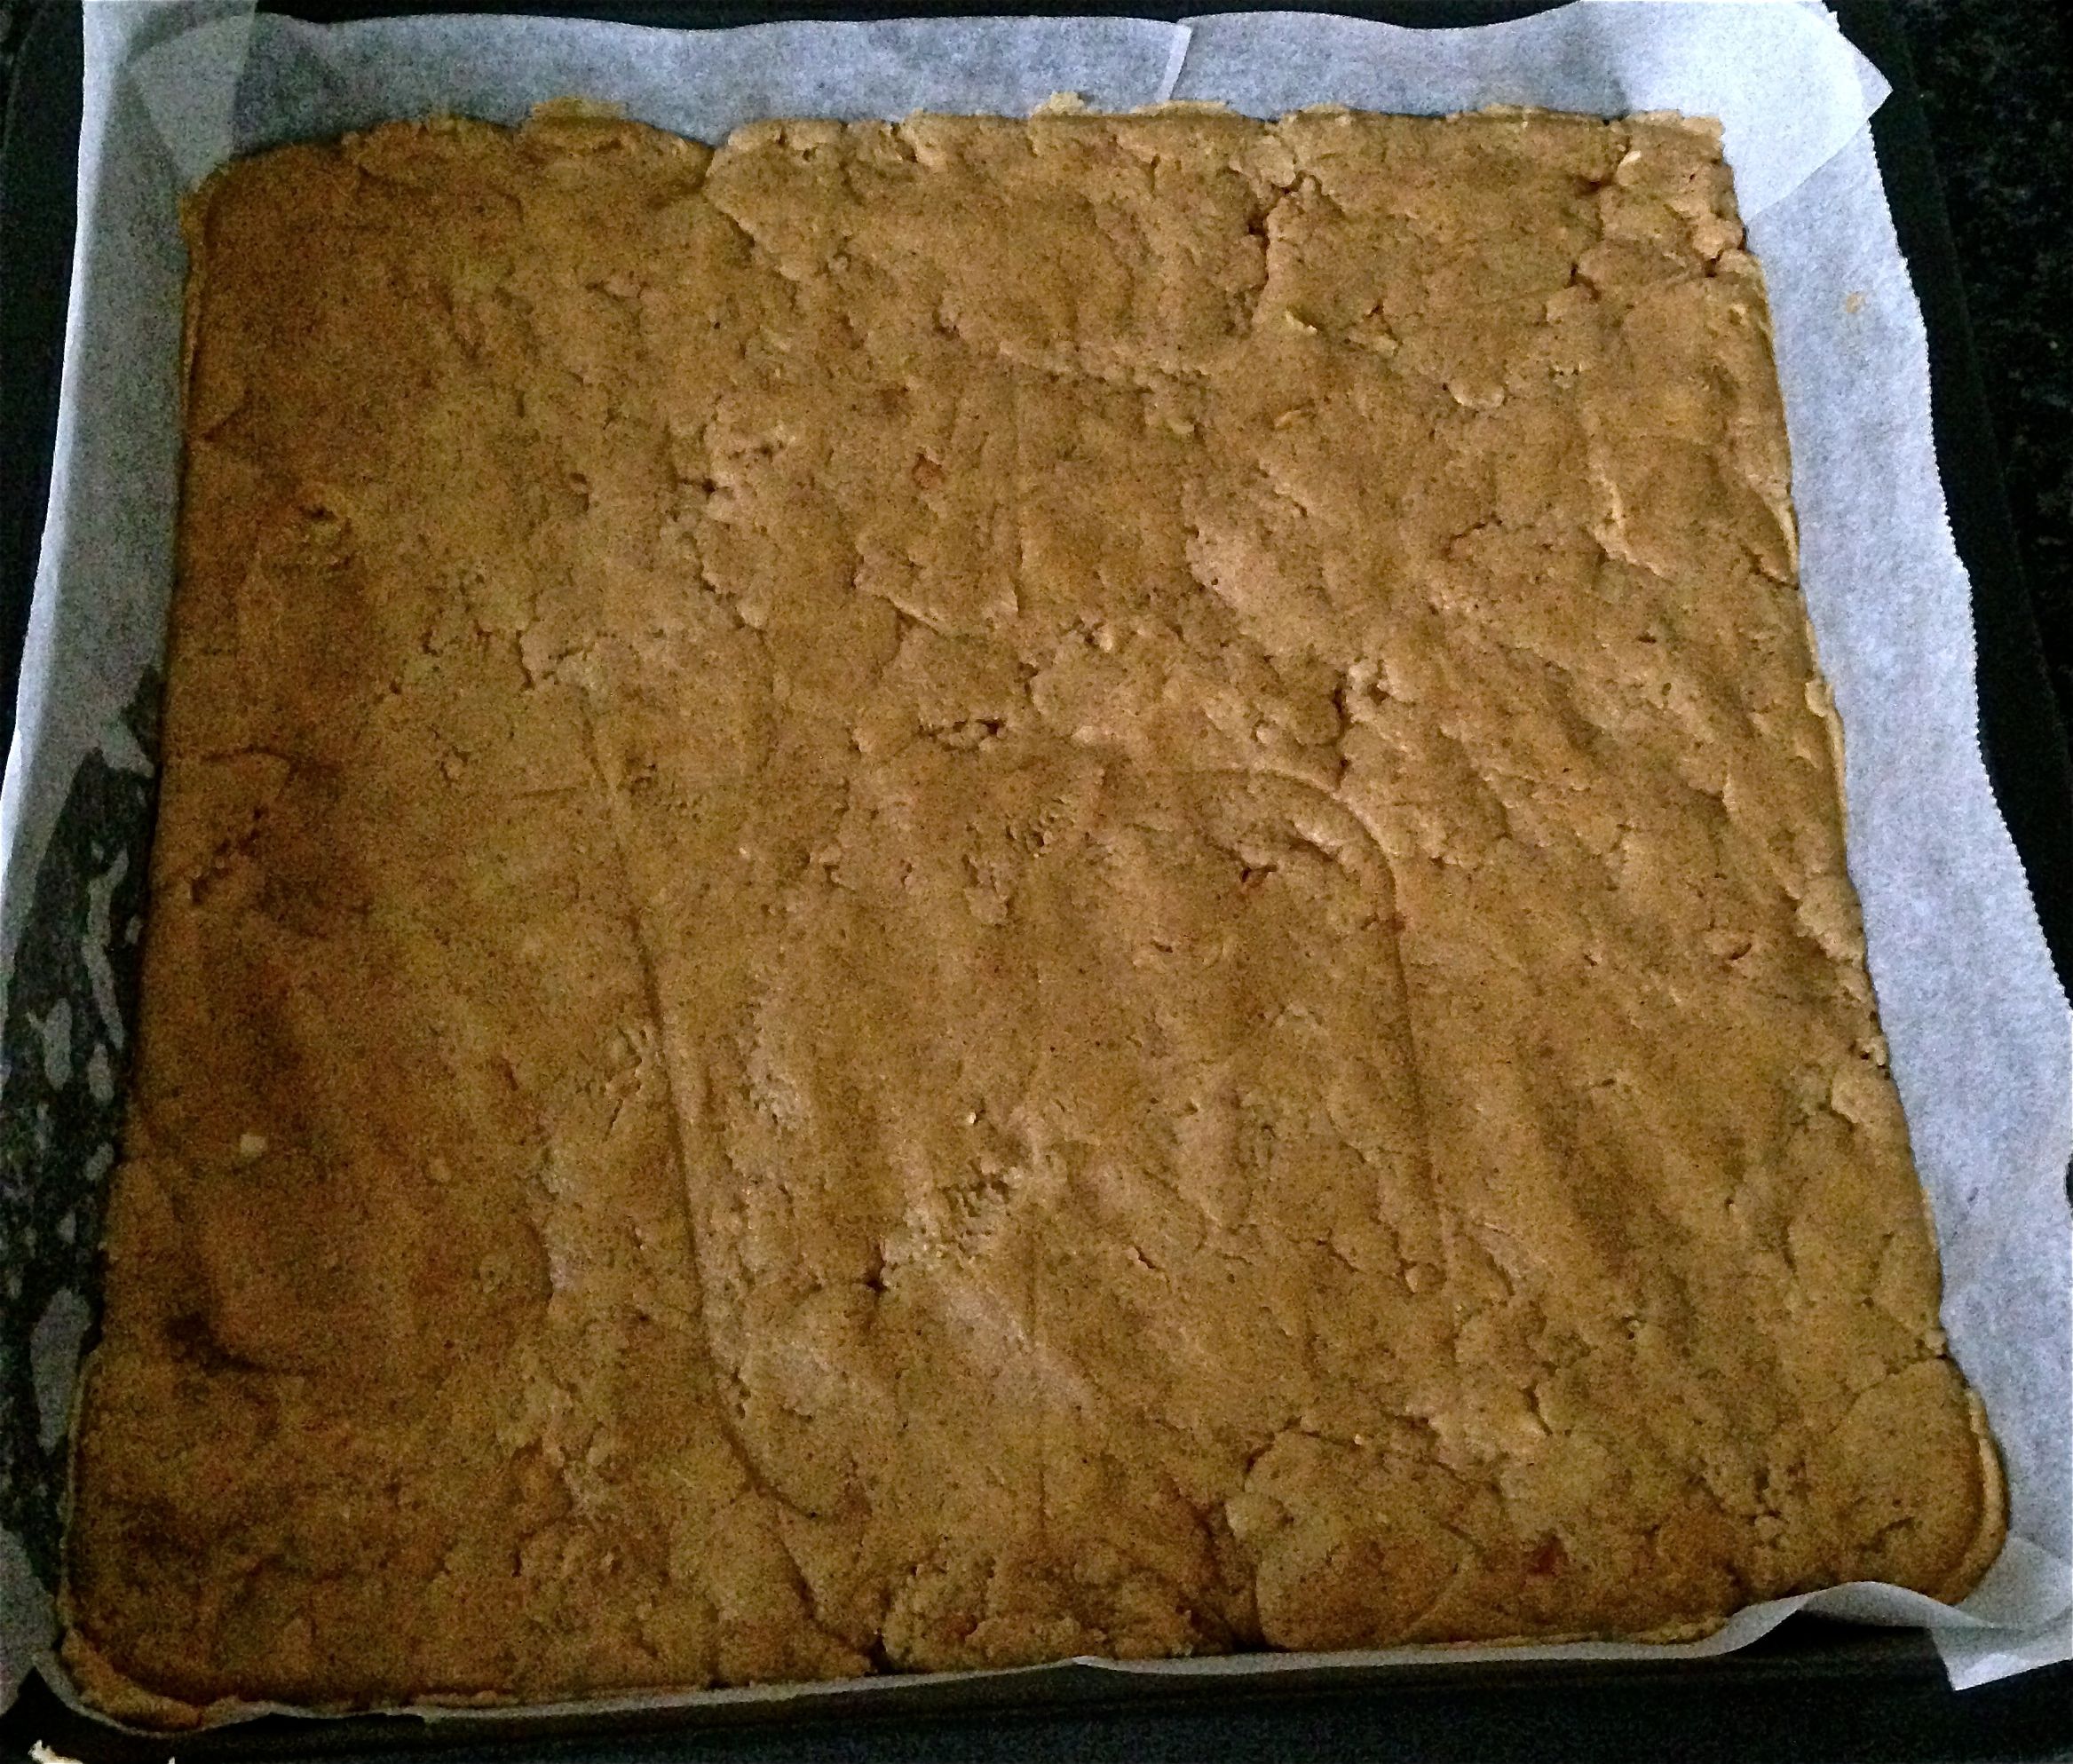
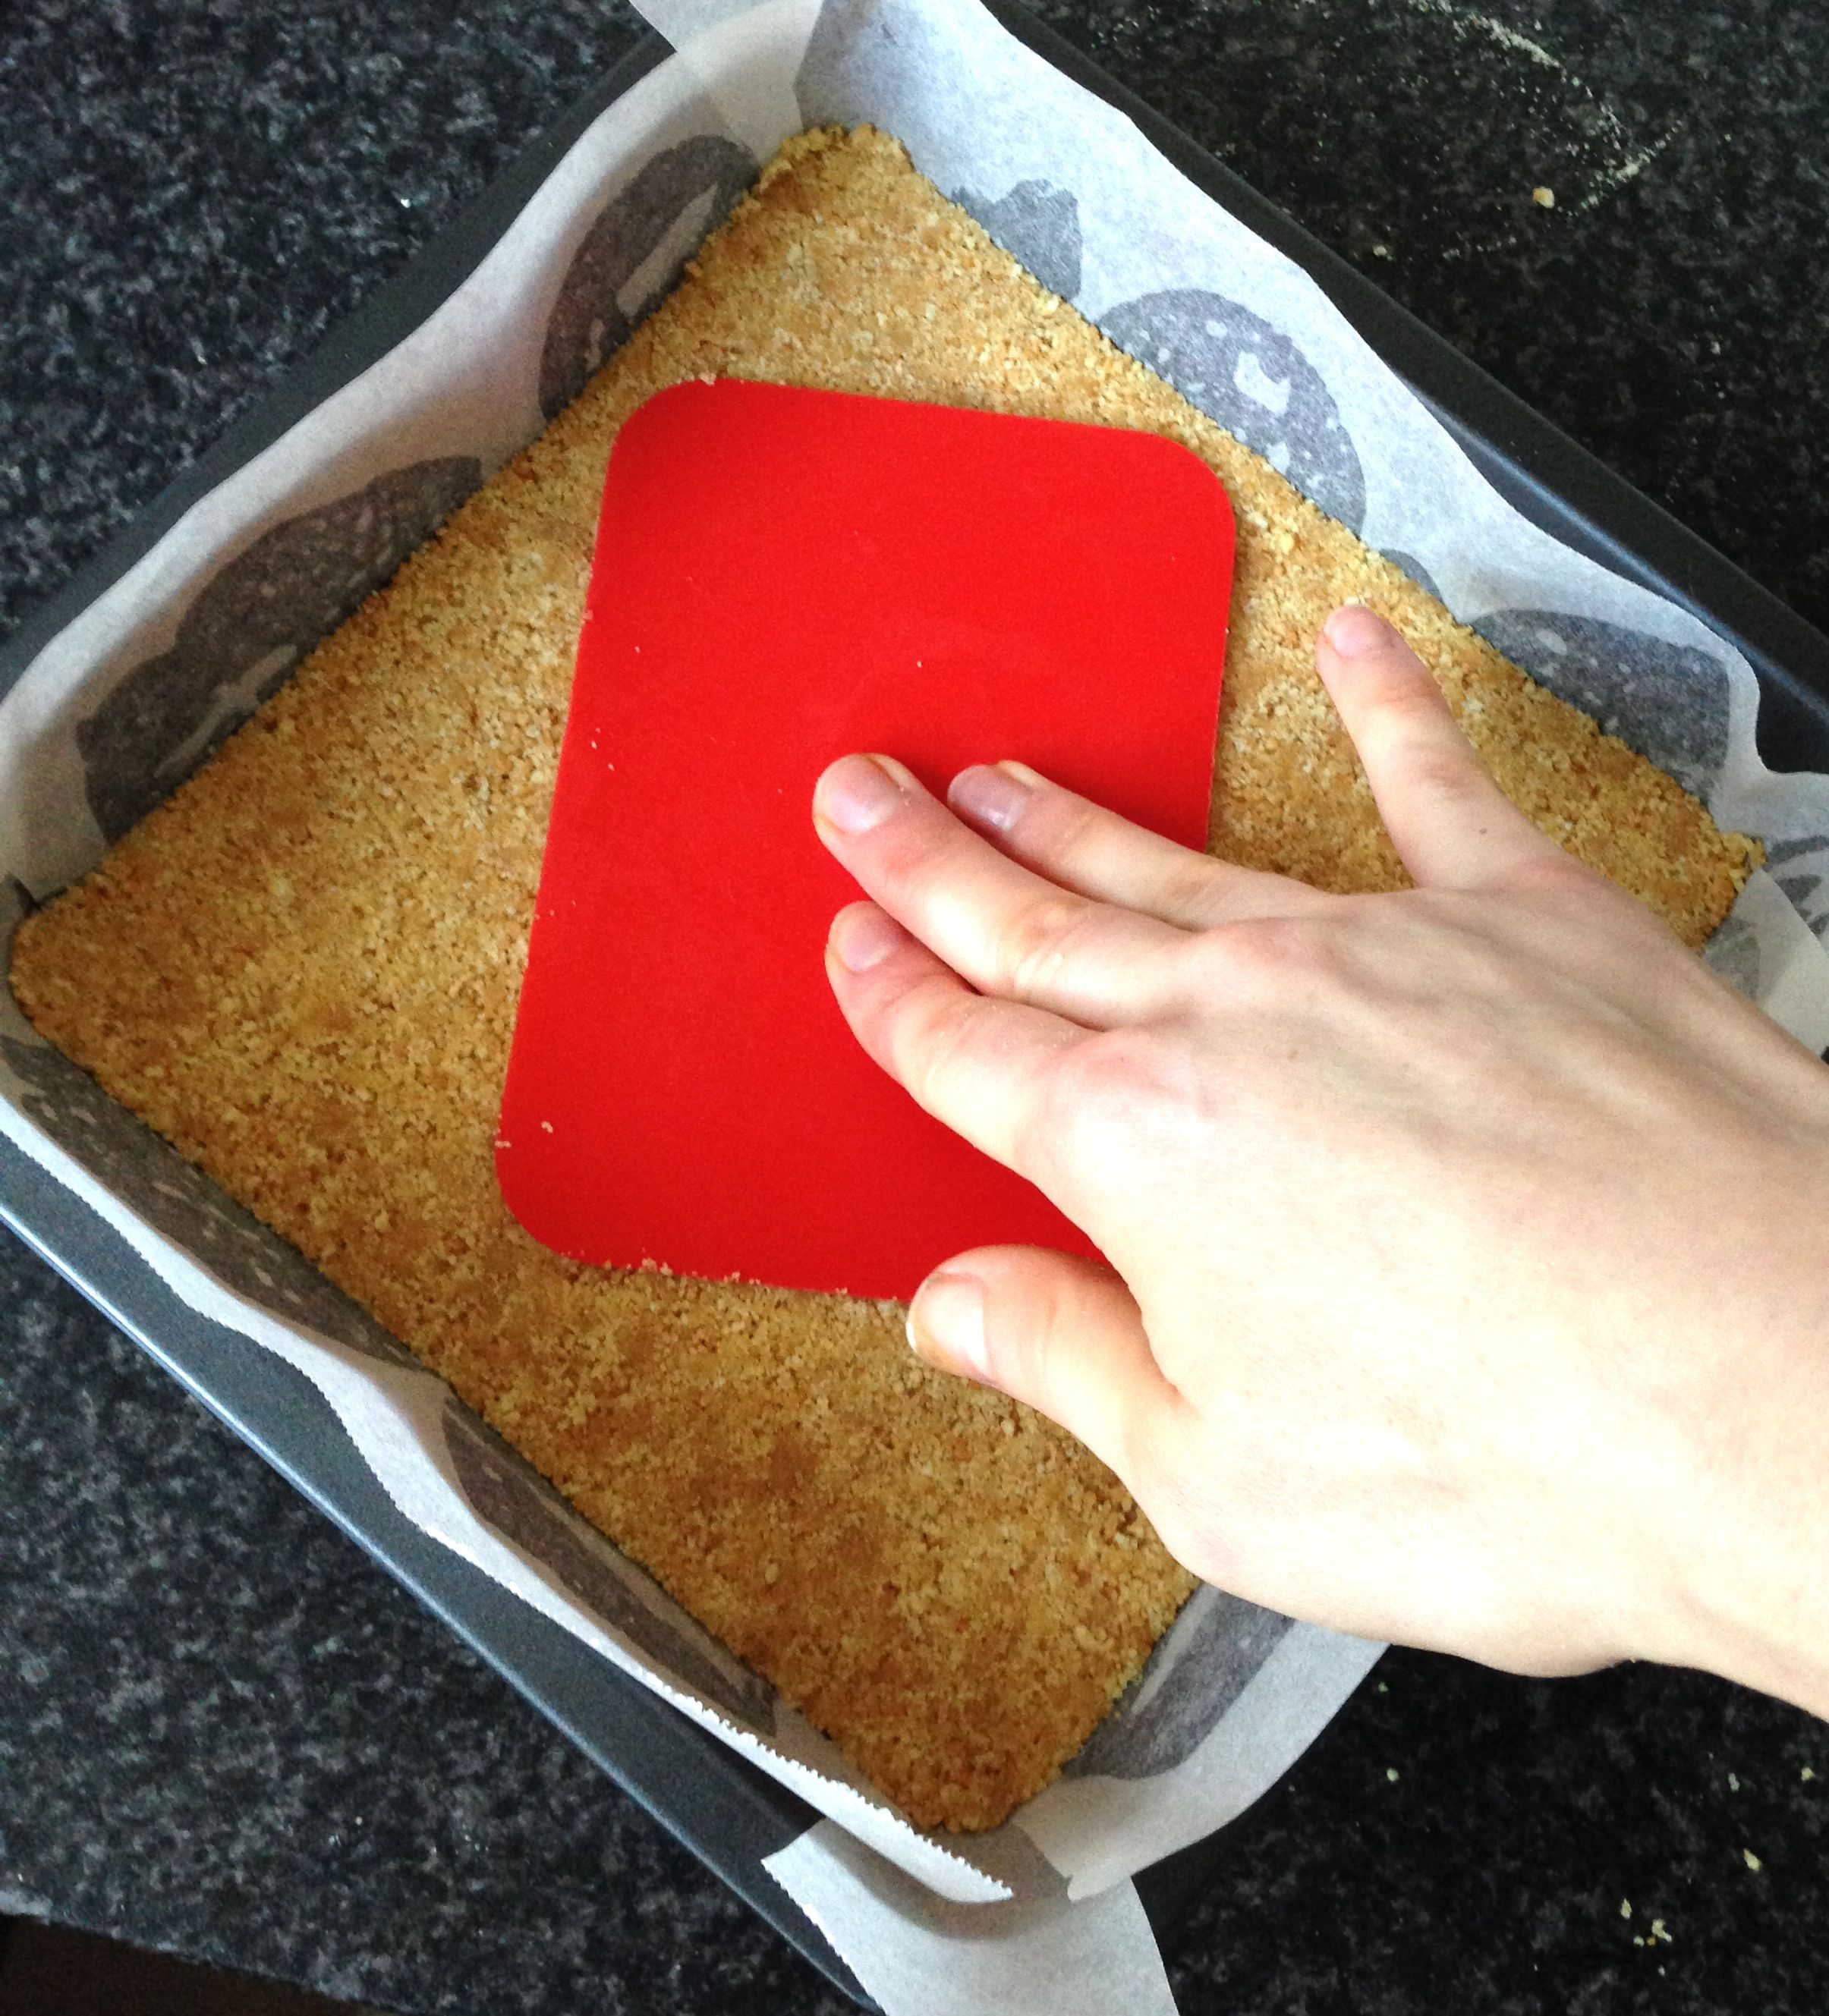
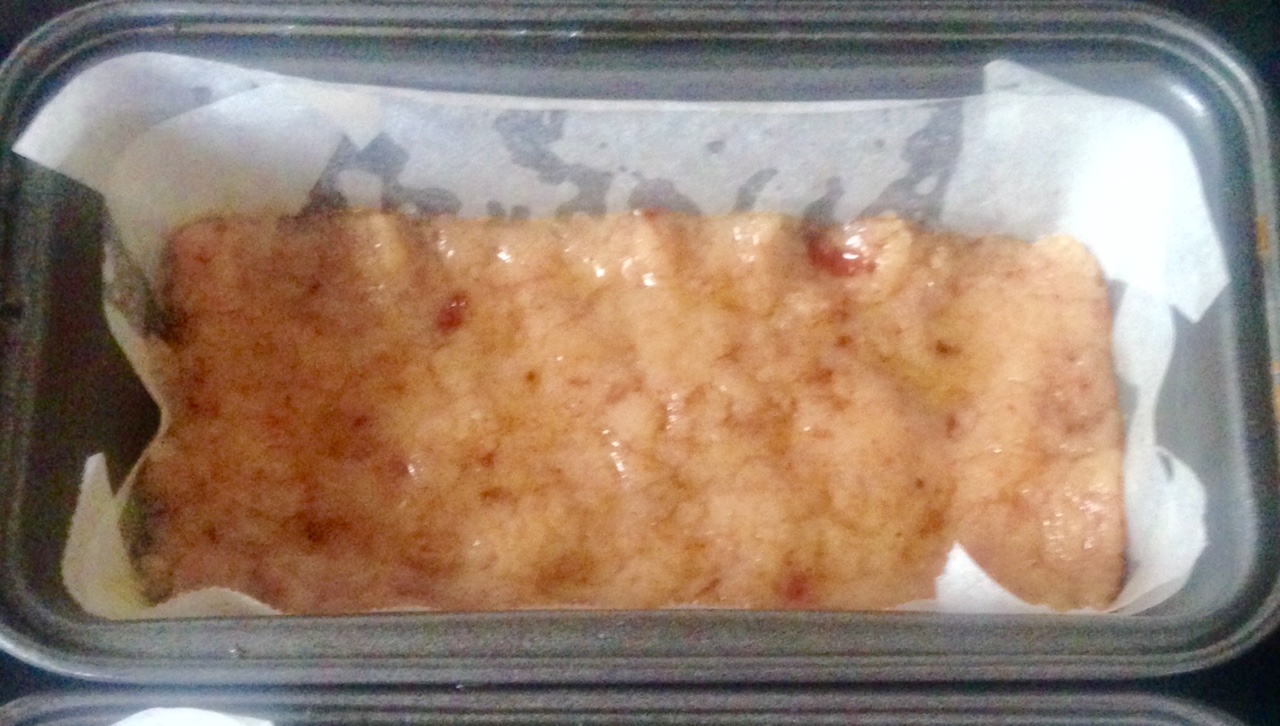
- Pour the mix into the tin, flatten with a spoon and bake in the oven for 30 minutes or until firm to touch.
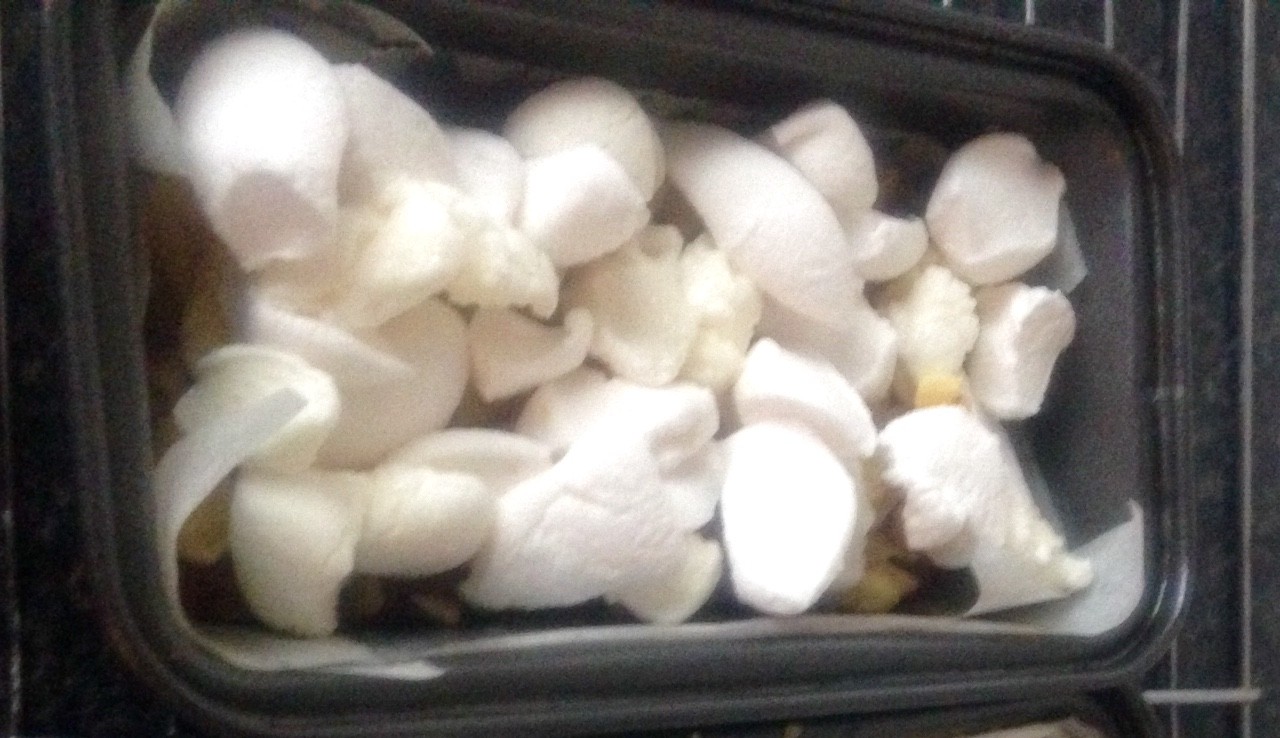
- Cut up the banana chips into small pieces as well as the marshmallows.
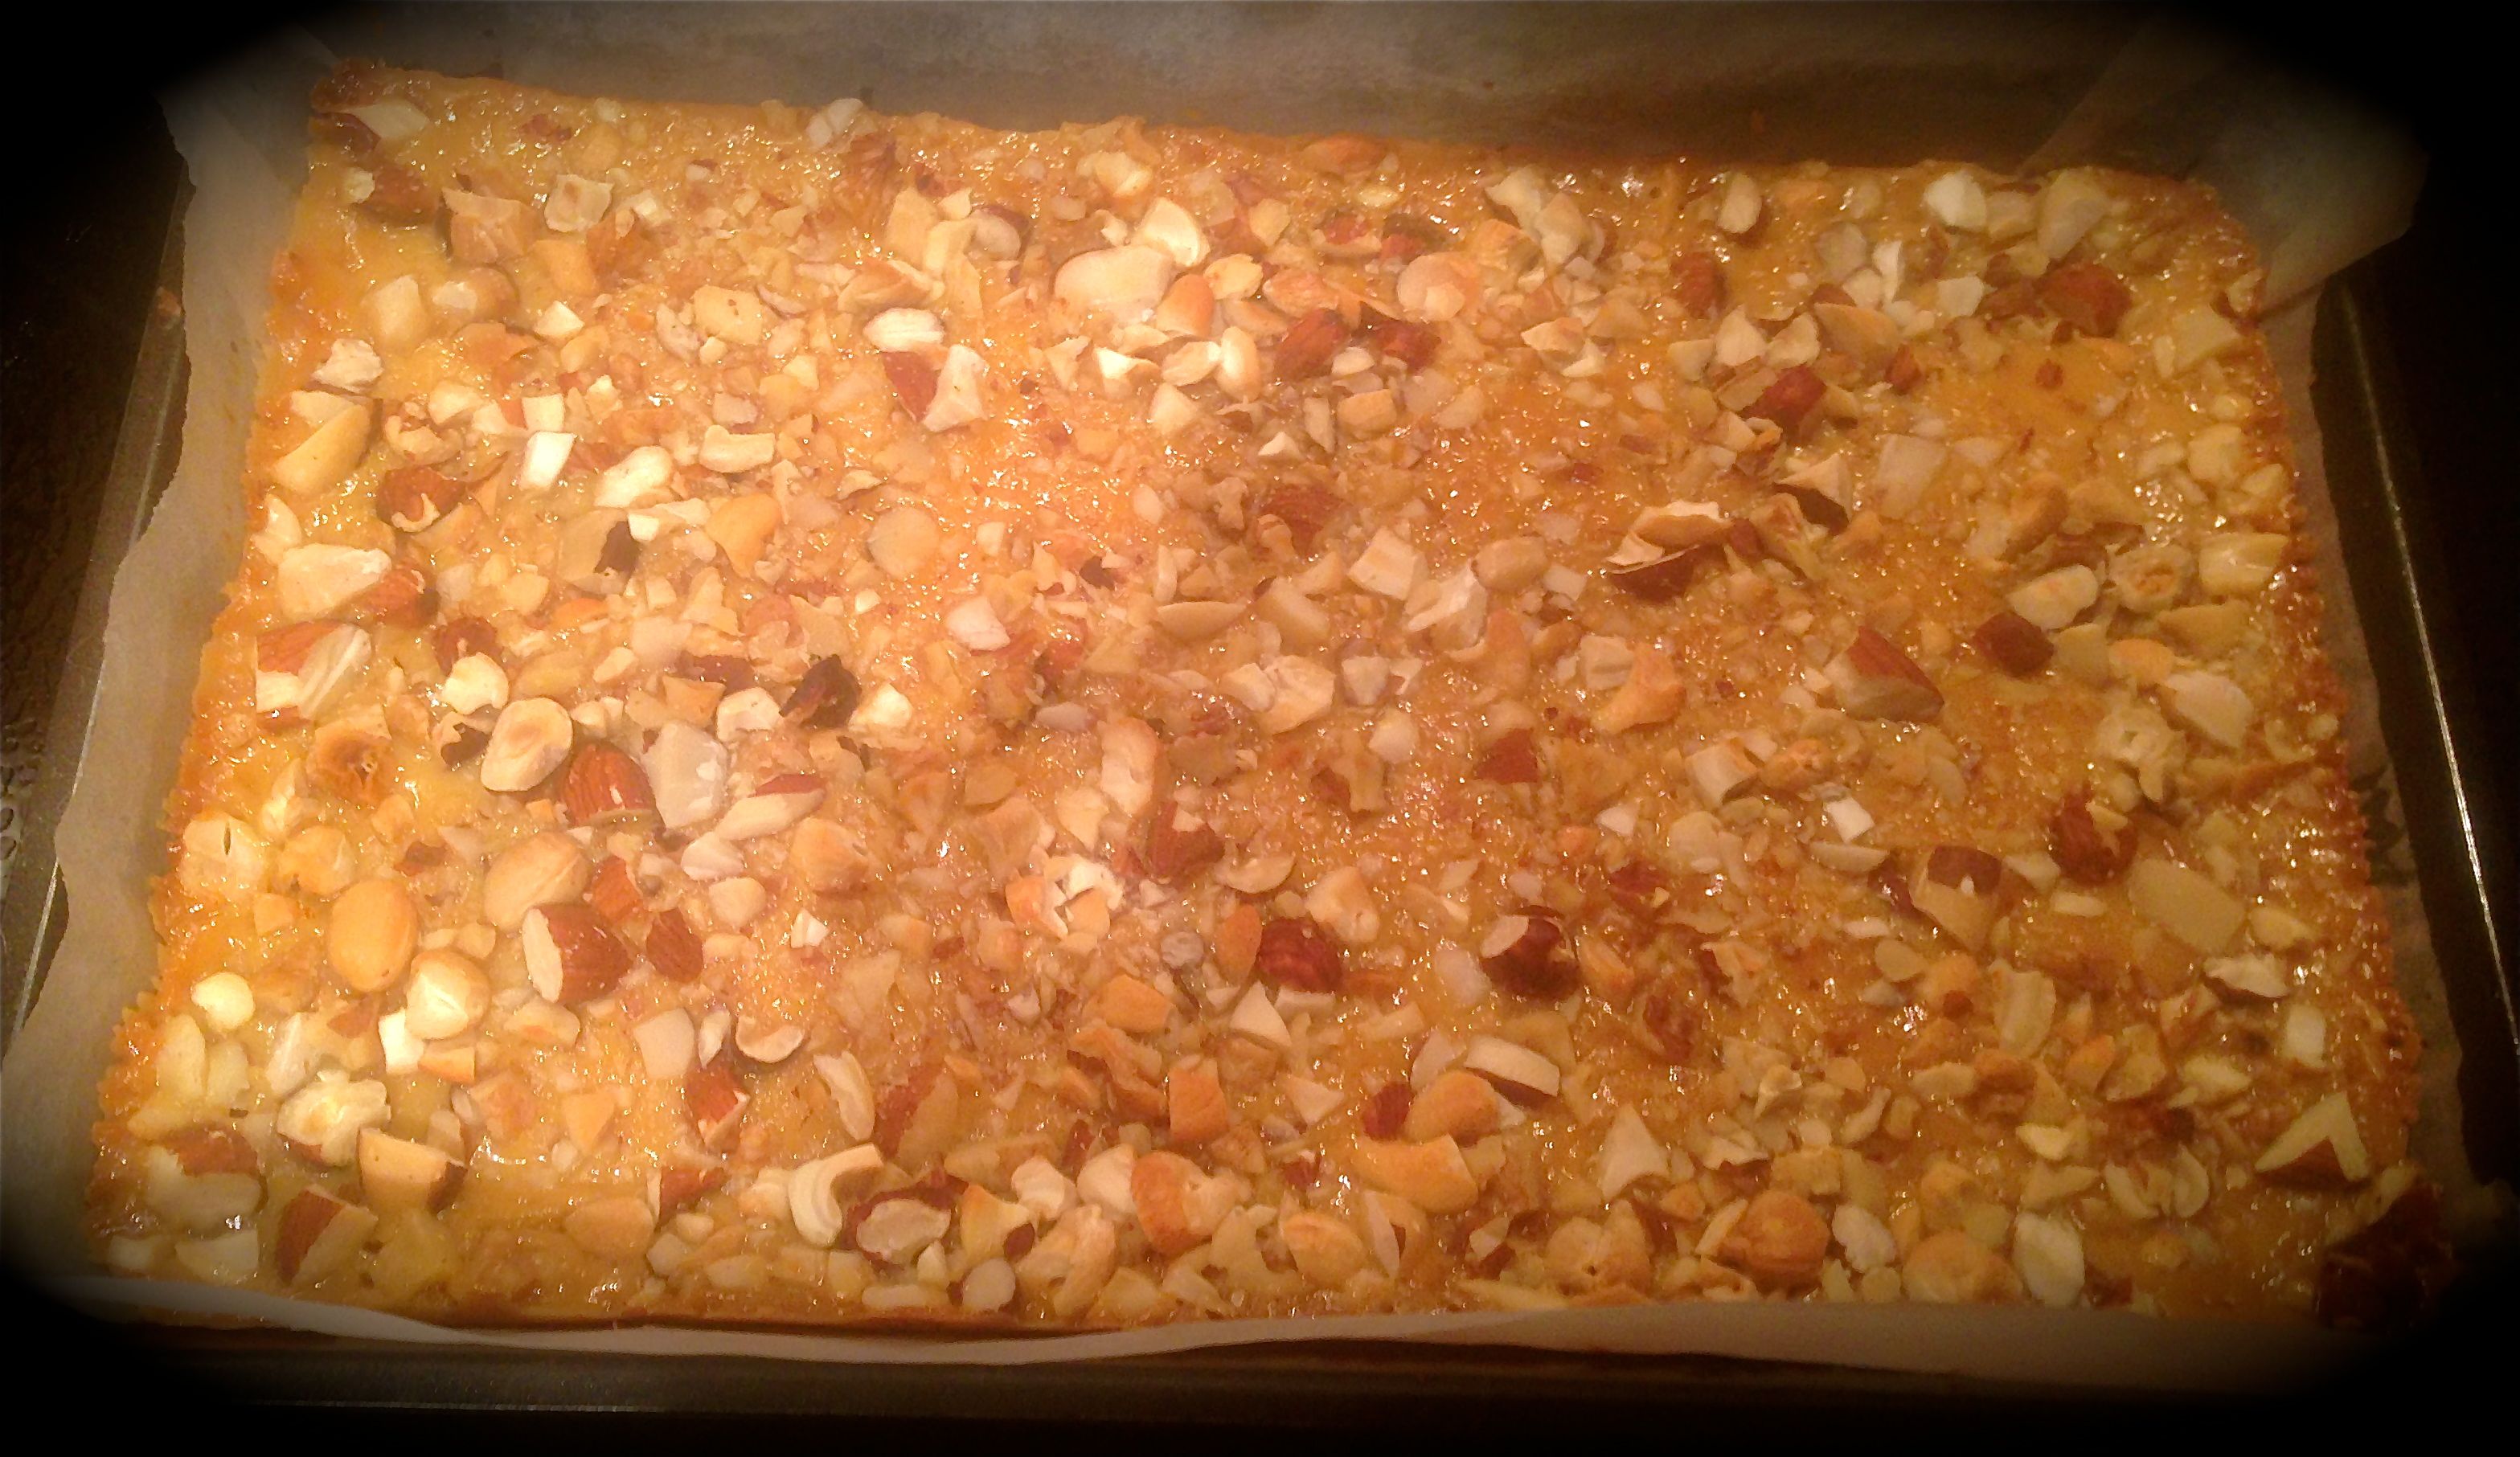
- Scatter the banana and marshmallows over the top of the biscuit base.
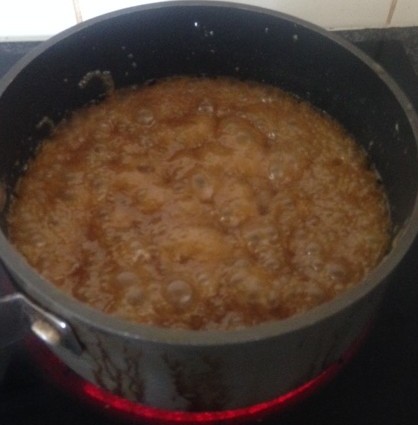
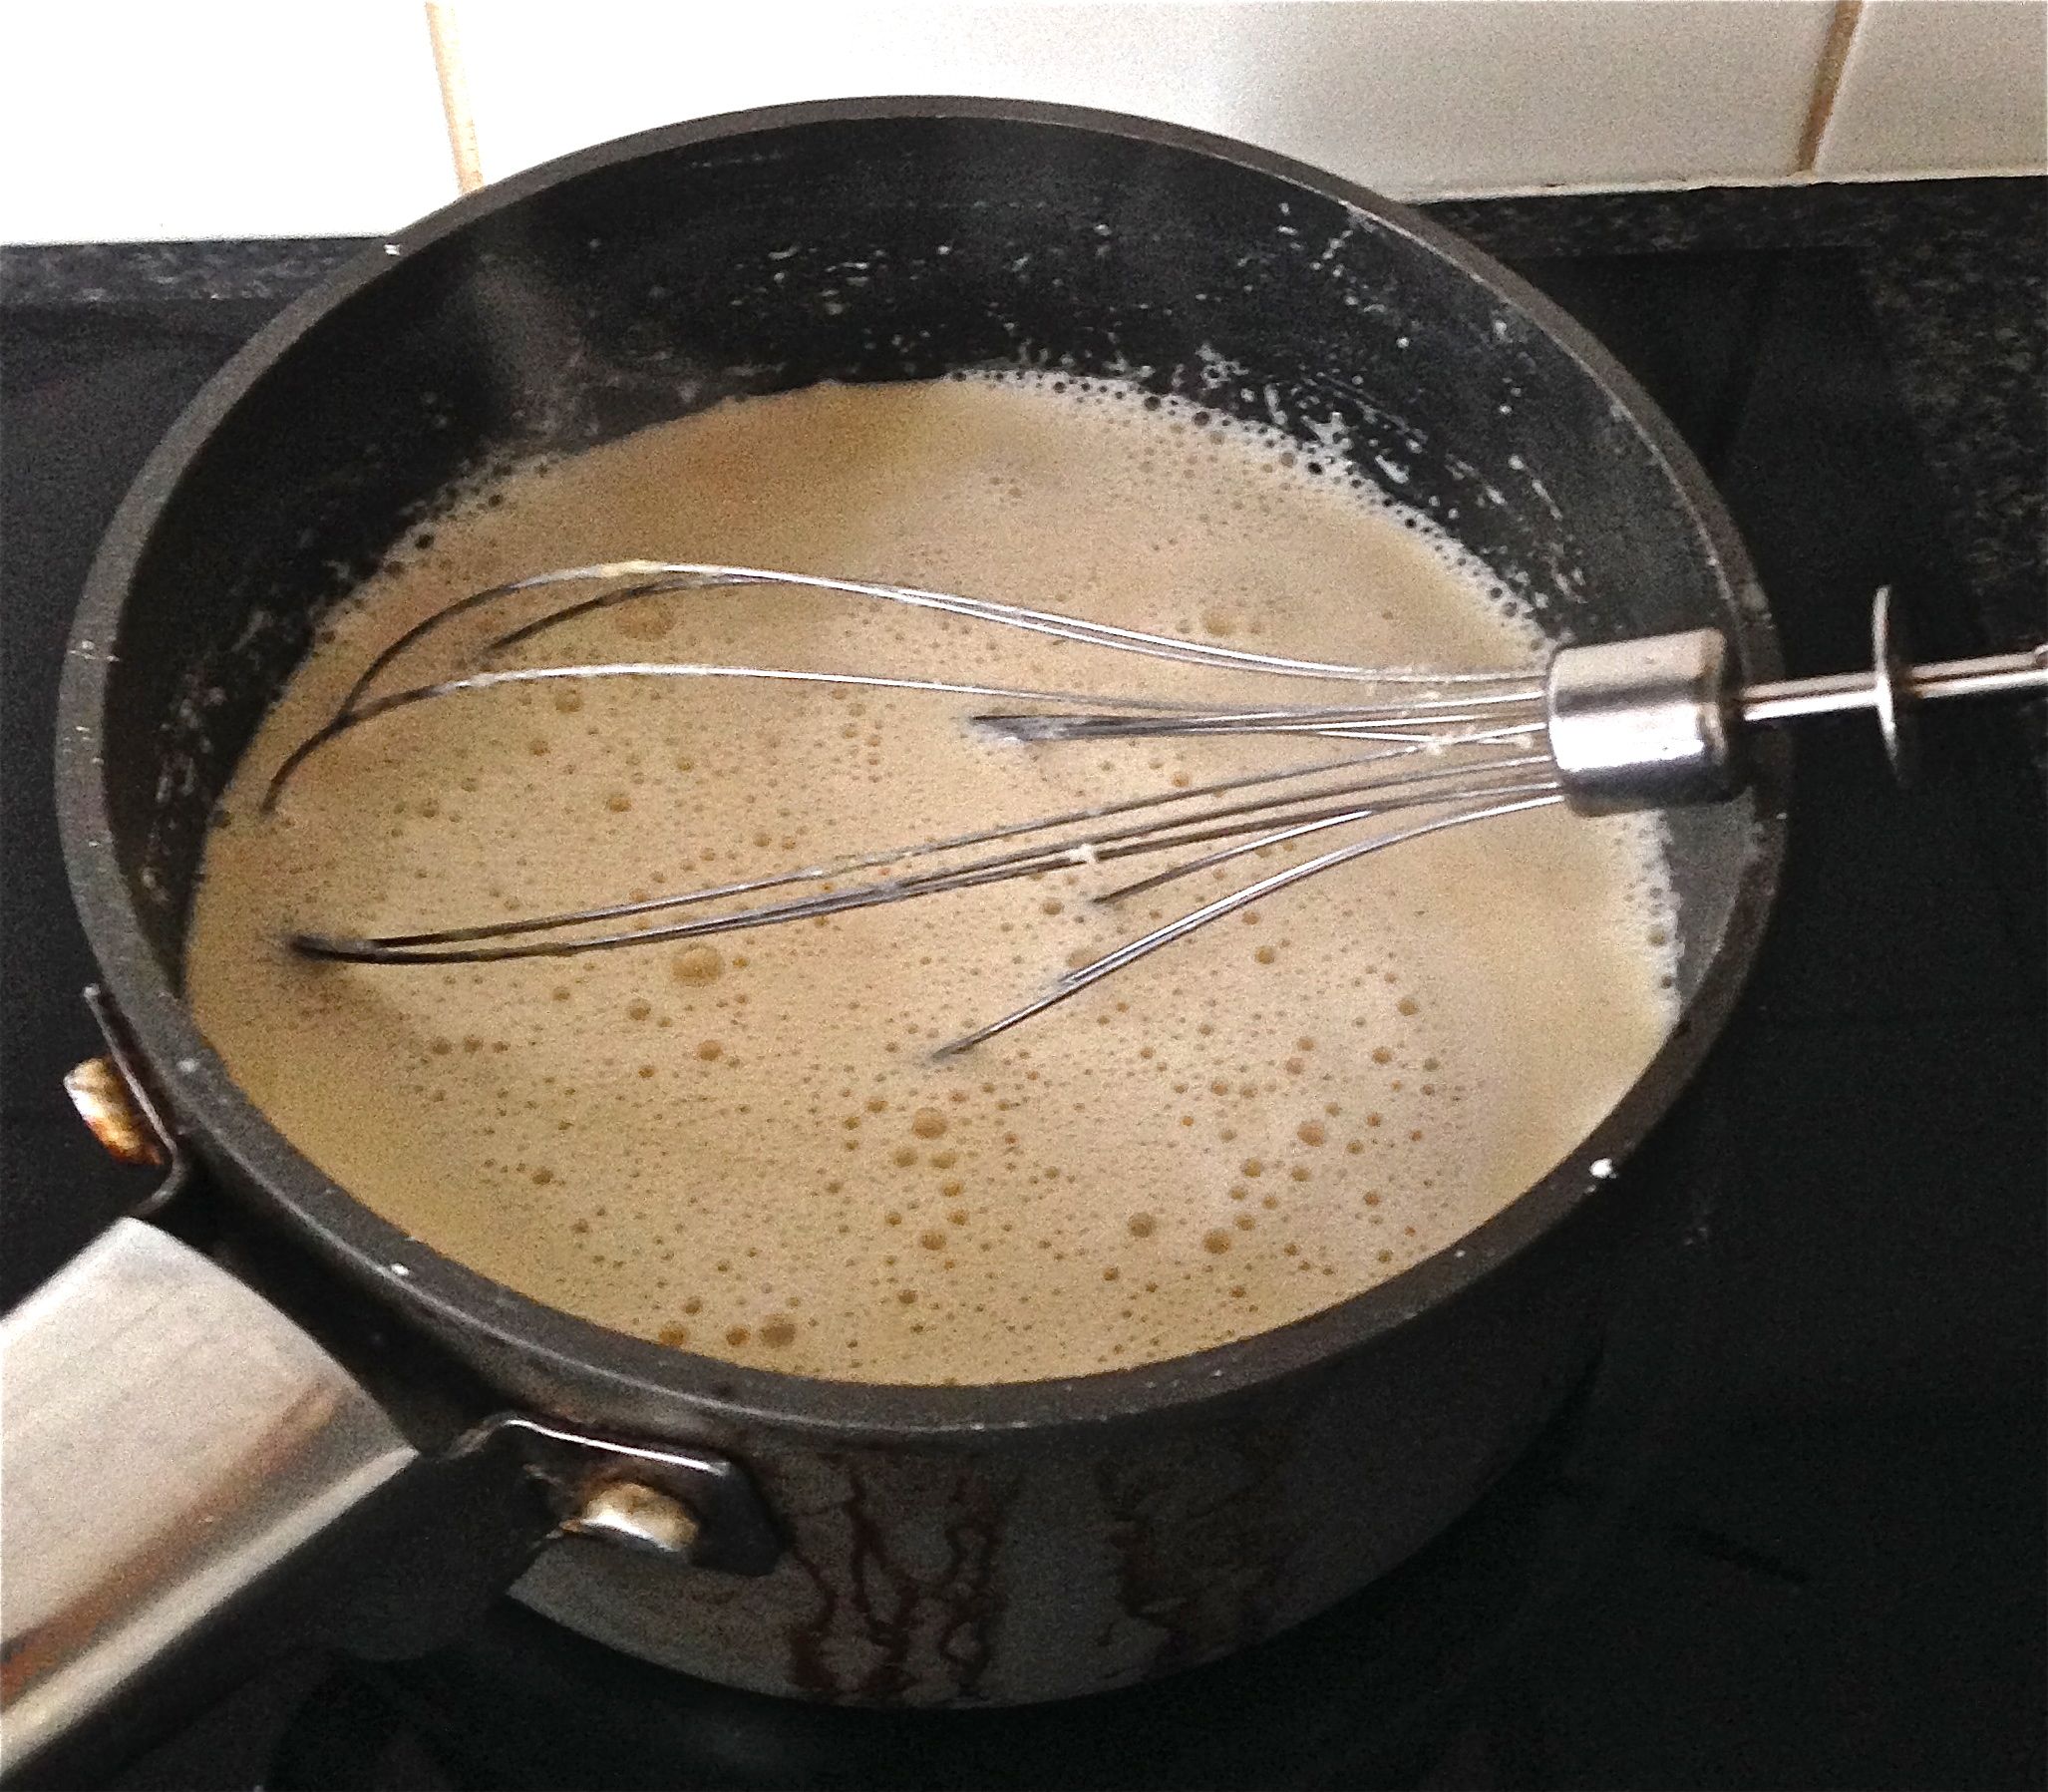
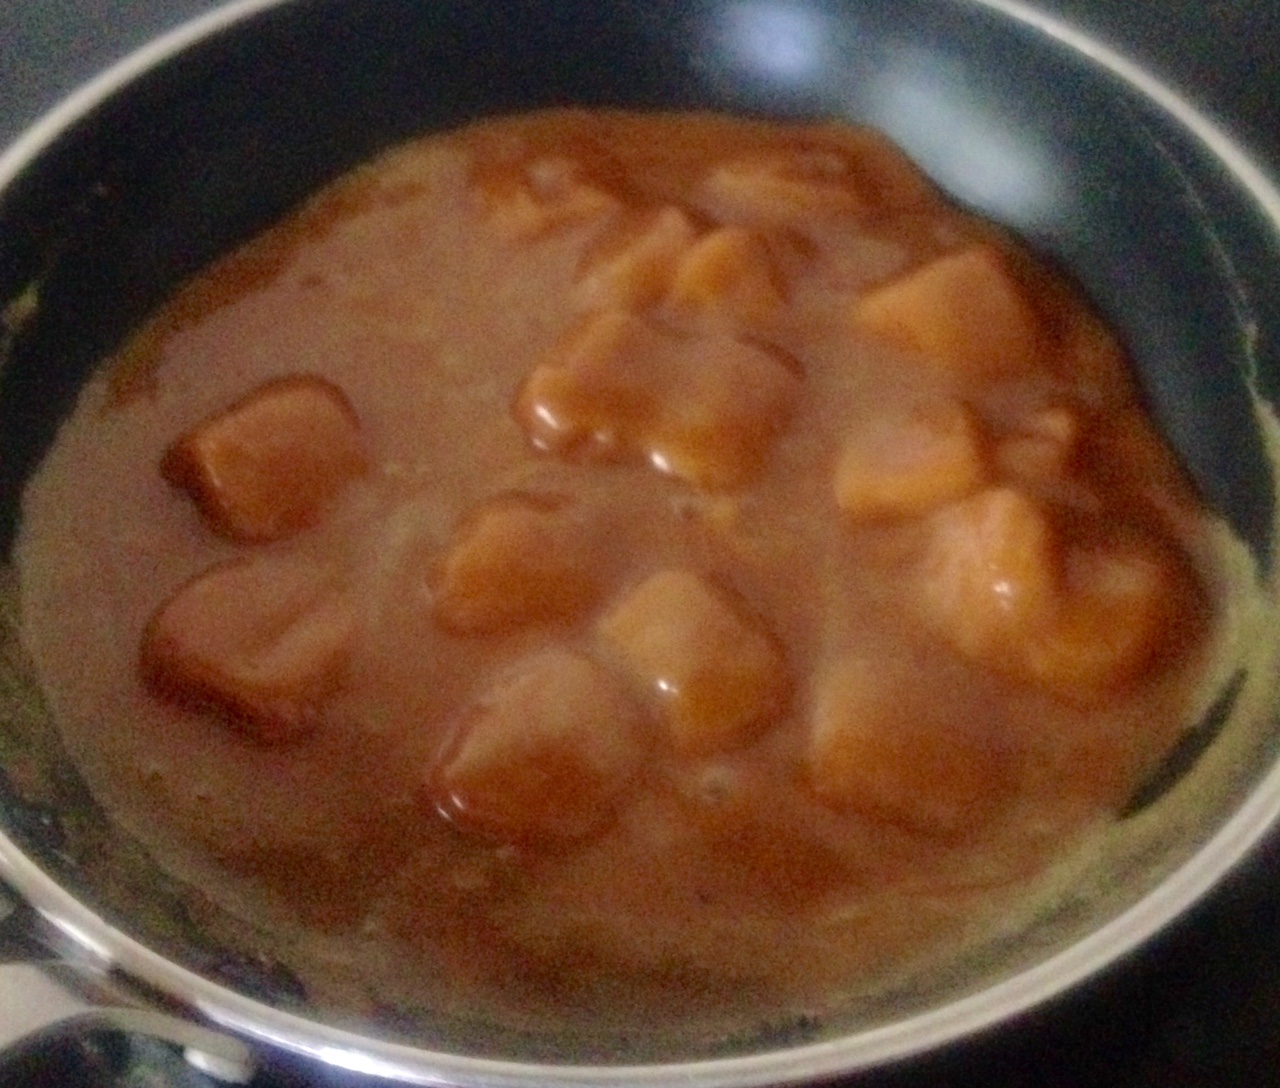
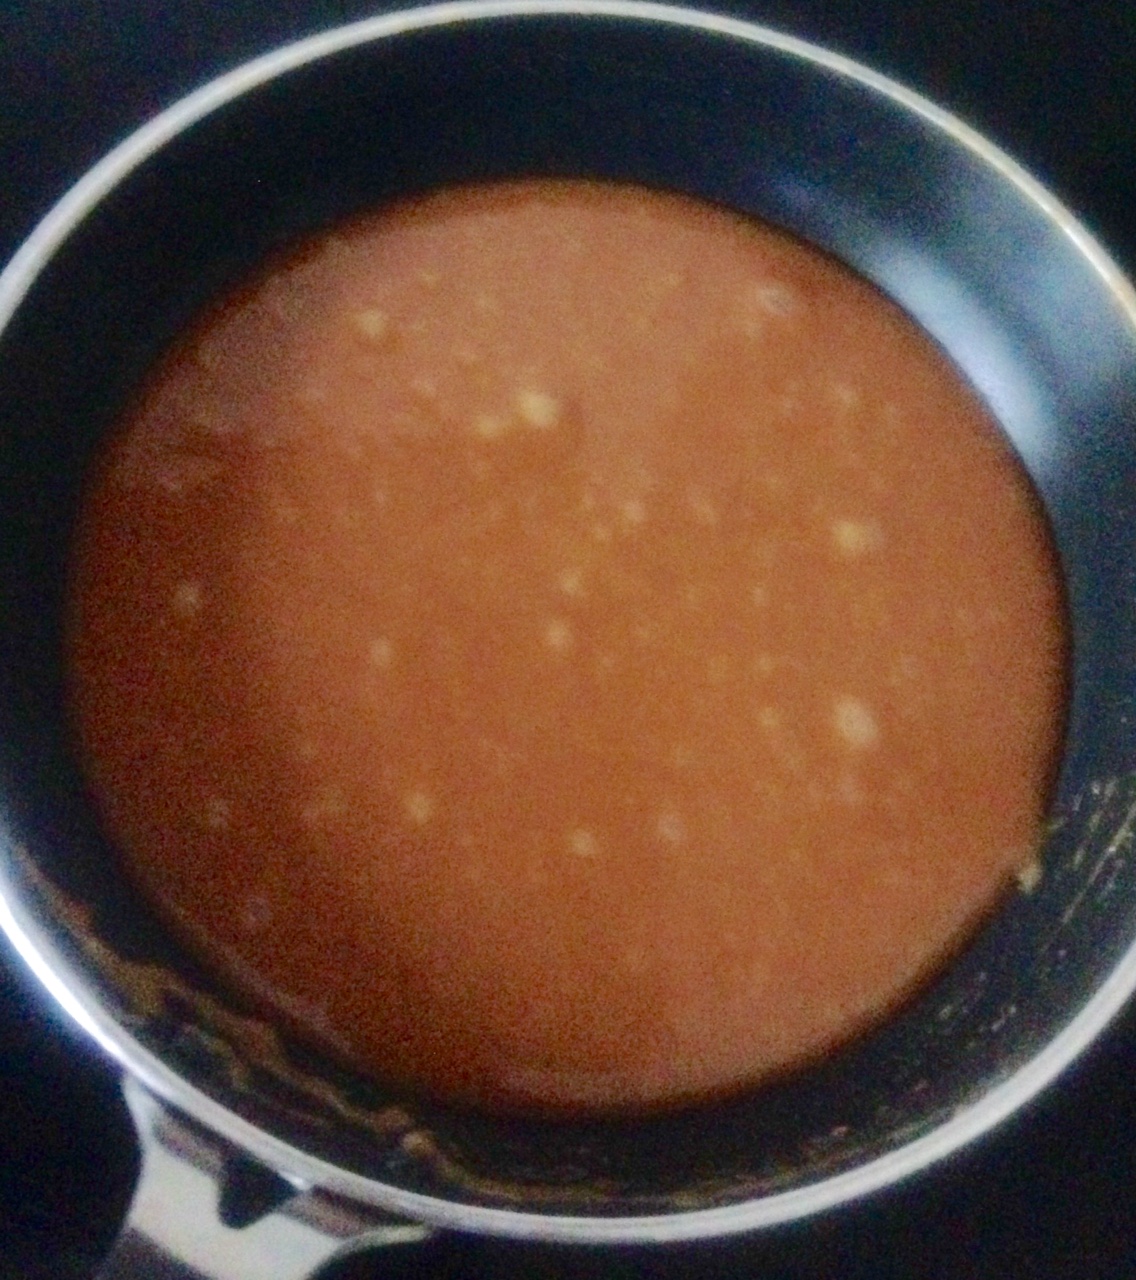
- Place the cream and caramels in a saucepan on a medium heat and stir until the caramel and cream become smooth and melted.
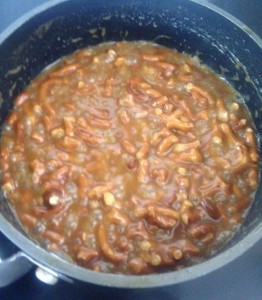
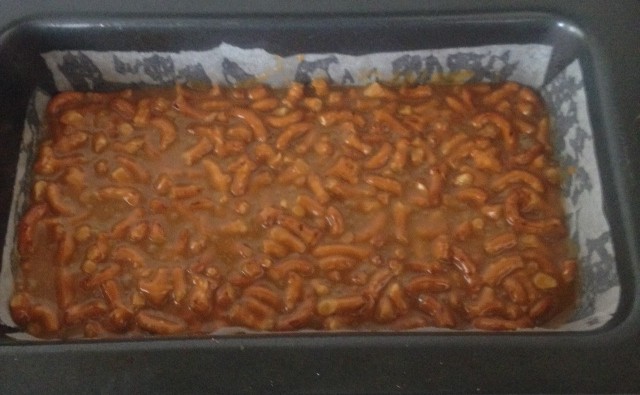
- Pour the warm caramel over the top of the slice.
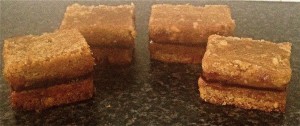
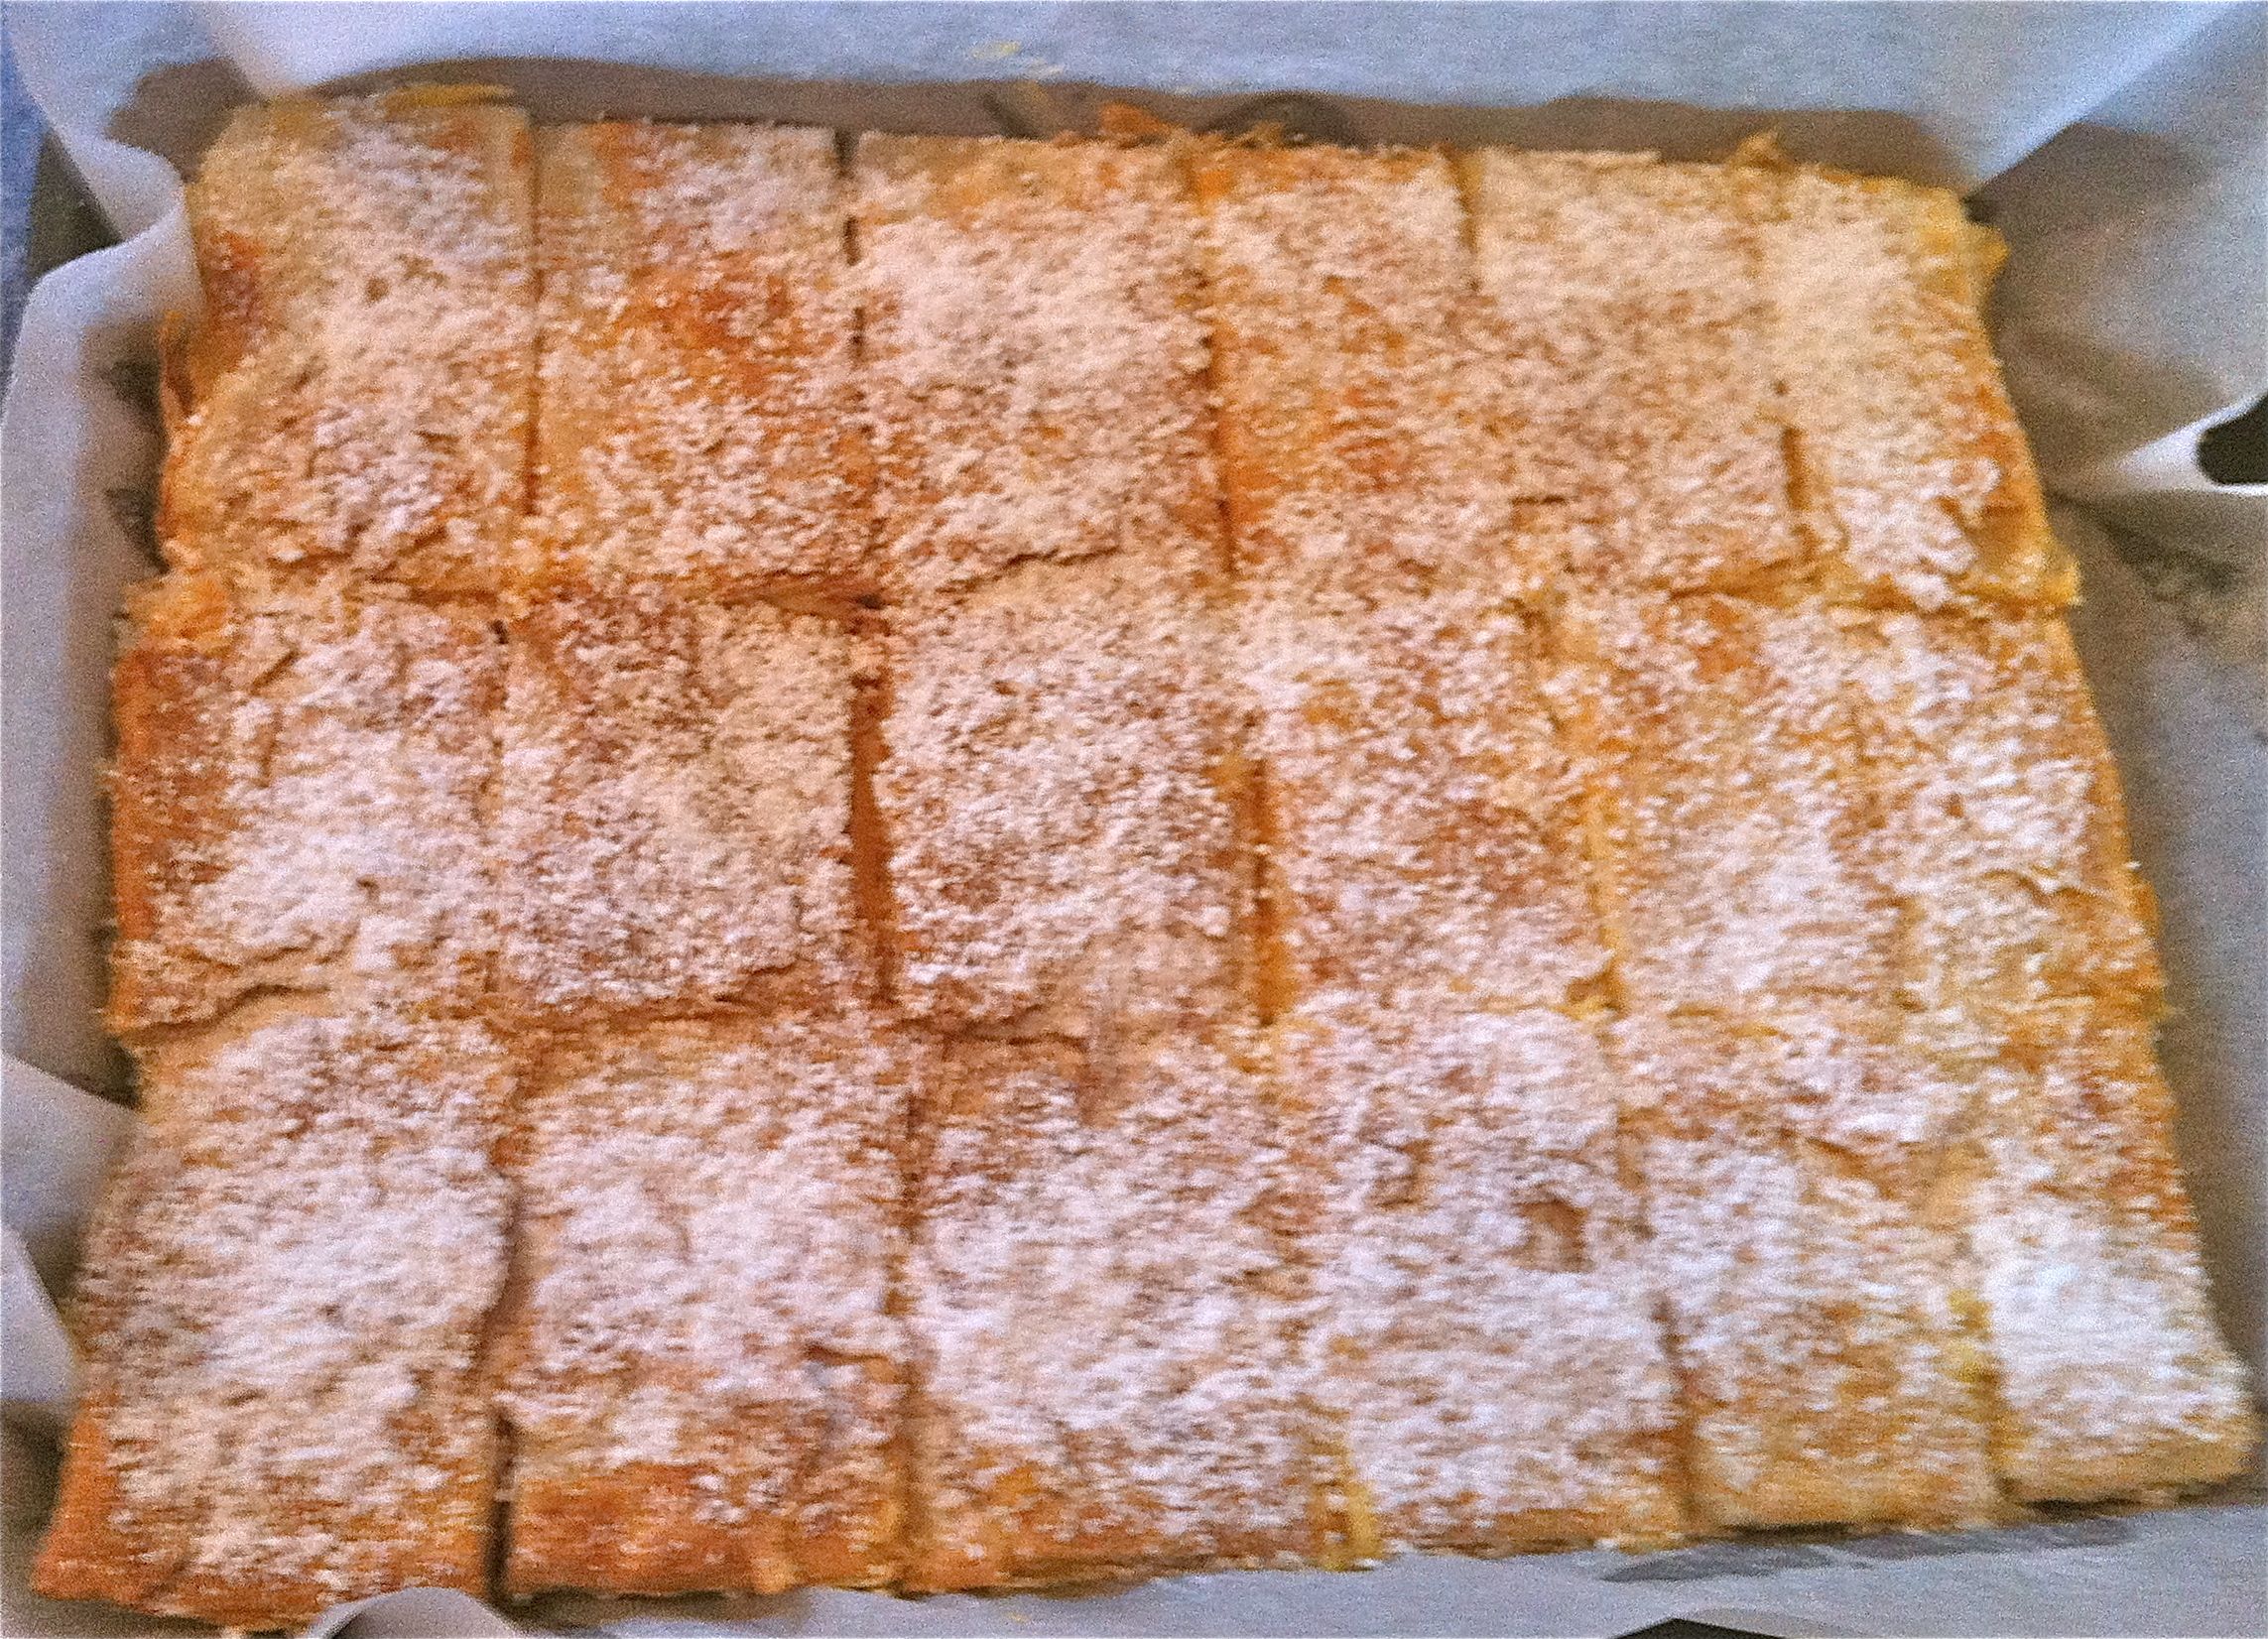
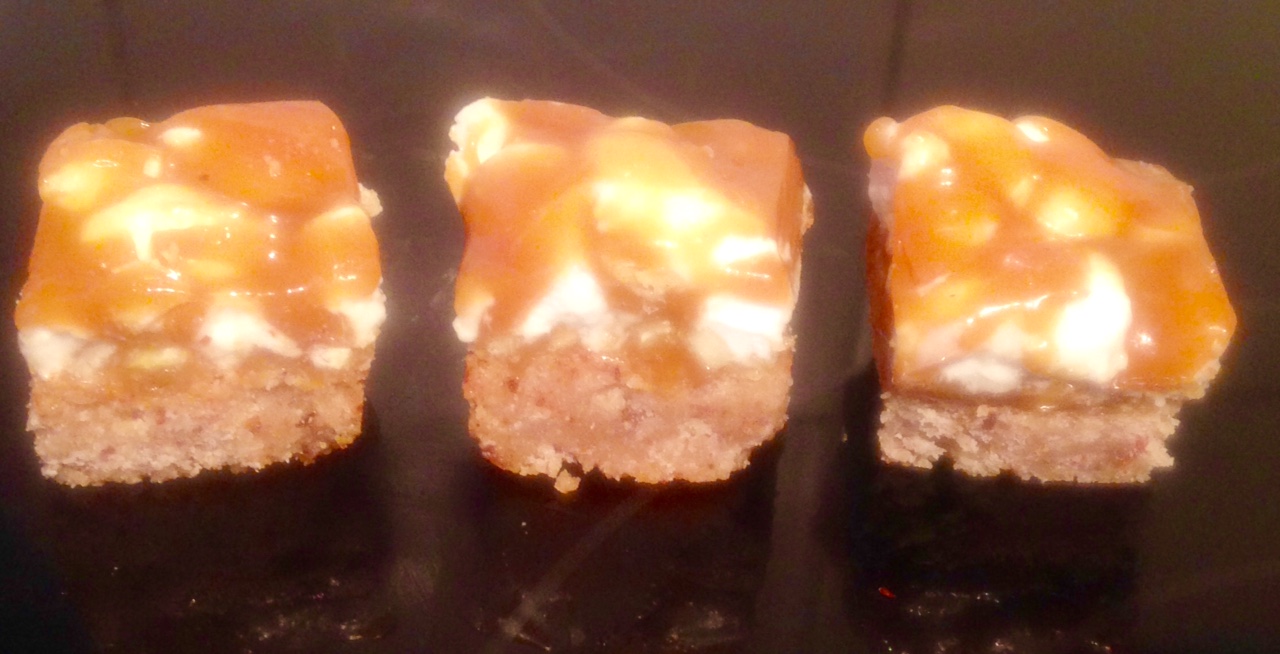
- Allow the caramel to set then cut into square pieces.
Step 2
Step 4
Step 5
Step 7
Step 8
Step 8

Step 9
Like this recipe? Subscribe via RSS or email to get my new entries and more scrumptious recipes with reviews.
 Follow