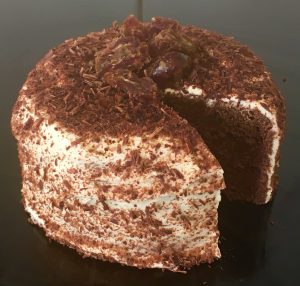
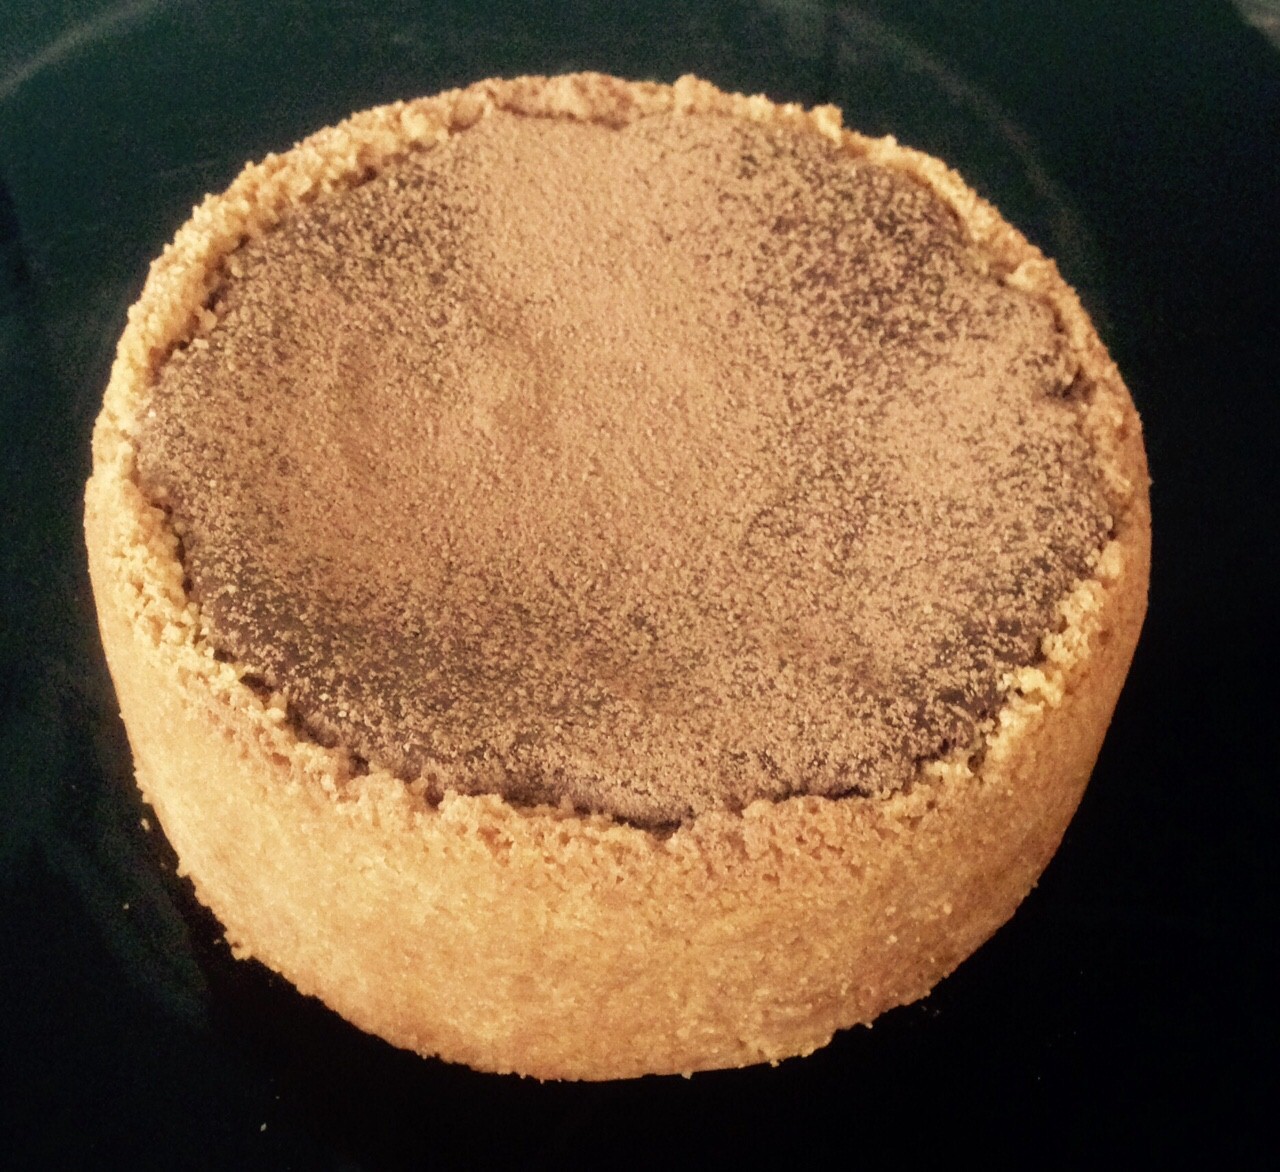
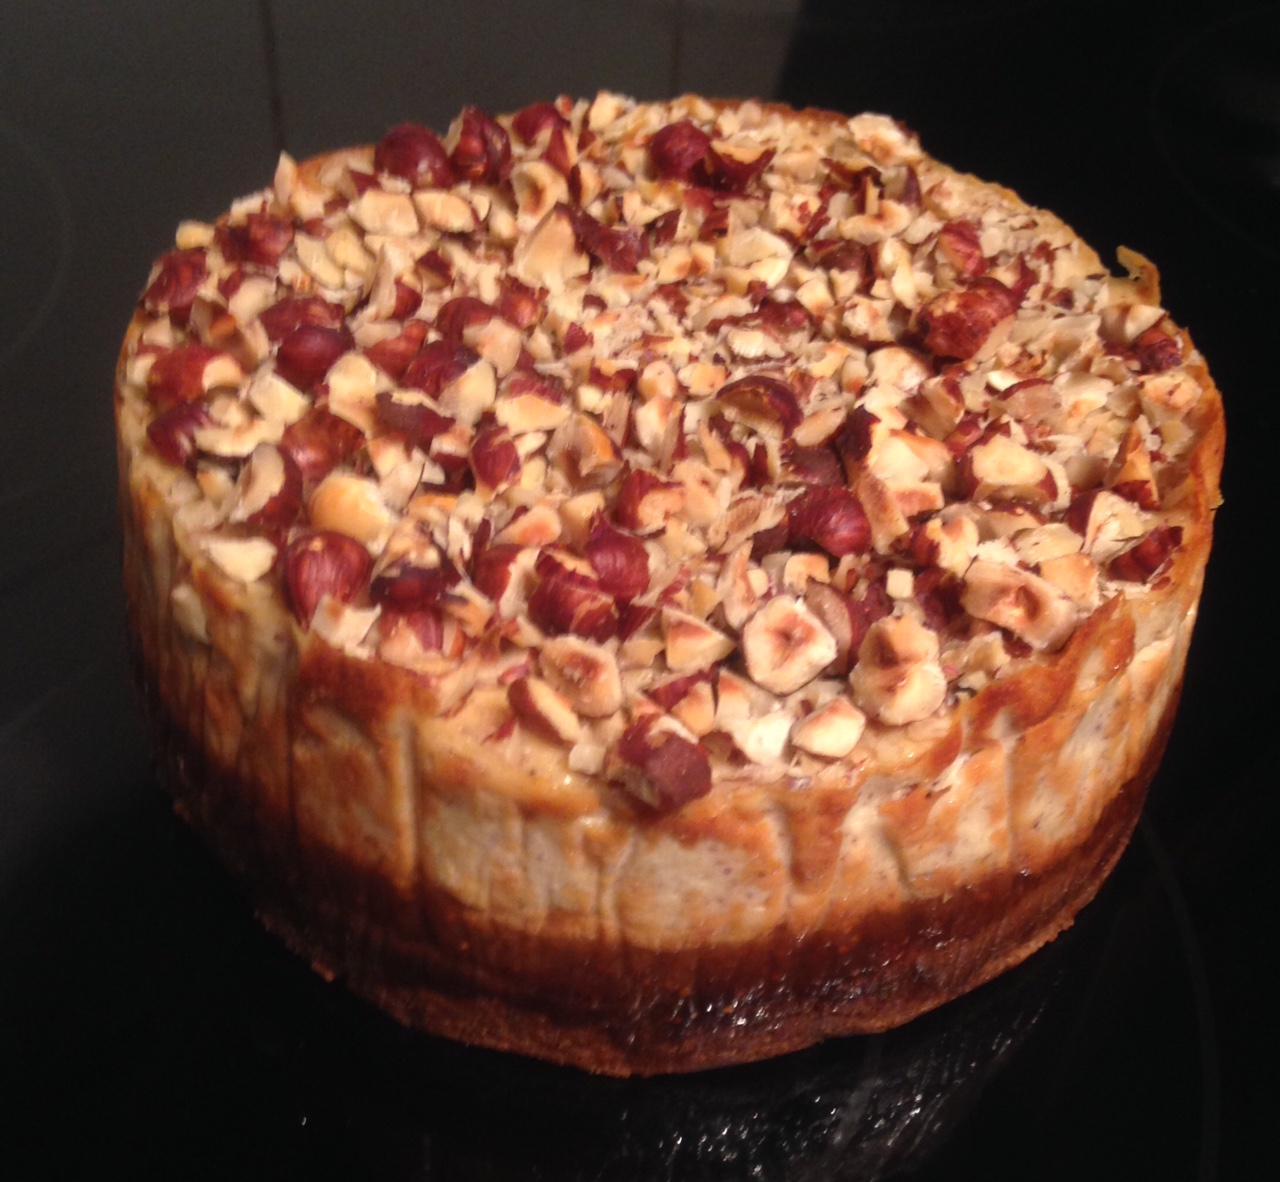
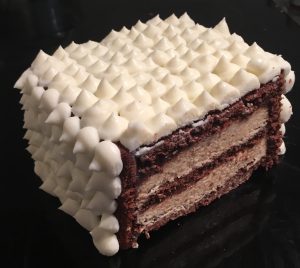
Mocha Layered Date Mousse Cake
What a journey this experimental baking session as been.
Originally I was opting to make a traditional European cake. However, after I was unable to find quite a number of ingredients the recipe called for I was left to get creative with substitute flavour pairings. I soon realized that the ingredients I used to substitute actually have no baring at all of the flavors the cake was supposed to have. Without realizing I opted for coffee, chocolate and dates in which I bake with often as they are such great complementary flavors.
In addition to completely changing the flavors I actually changed some textures as well as I found the traditional recipe too sickly sweet (even for me), also I needed textures that would highlight the flavors and layers. Lastly as I didn’t have the tin that the recipe called for I changed the structure and presentation of the cake.
Sooo….in the end after a bit of trial and error I don’t think I actually kept one original element (85% of the recipe is me making things up as I went along)…but nether less the result was a tasty moreish and unique layered cake that melts in your mouth.
Cake:
- 4 eggs
- 125g sugar
- 30g cocoa powder
- 1/2 tsn espresso coffee granules
- 70g plain flour
Syrup:
- 75g sugar
- 75g water
- 2 tsn expresso coffee granules
Ganache:
- 120ml cream
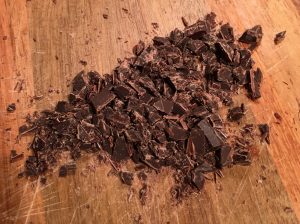
- 140g dark chocolate
Date mousse:
- 190g dried dates
- 15ml rum
- 200ml thickened cream
- 12 glace cherries
Icing:
- 140g cream
- 220g ricotta cheese
- 65g icing sugar
Method:
- Preheat the oven to 180c degrees and line a 30cm x 45cm baking tray with baking paper.
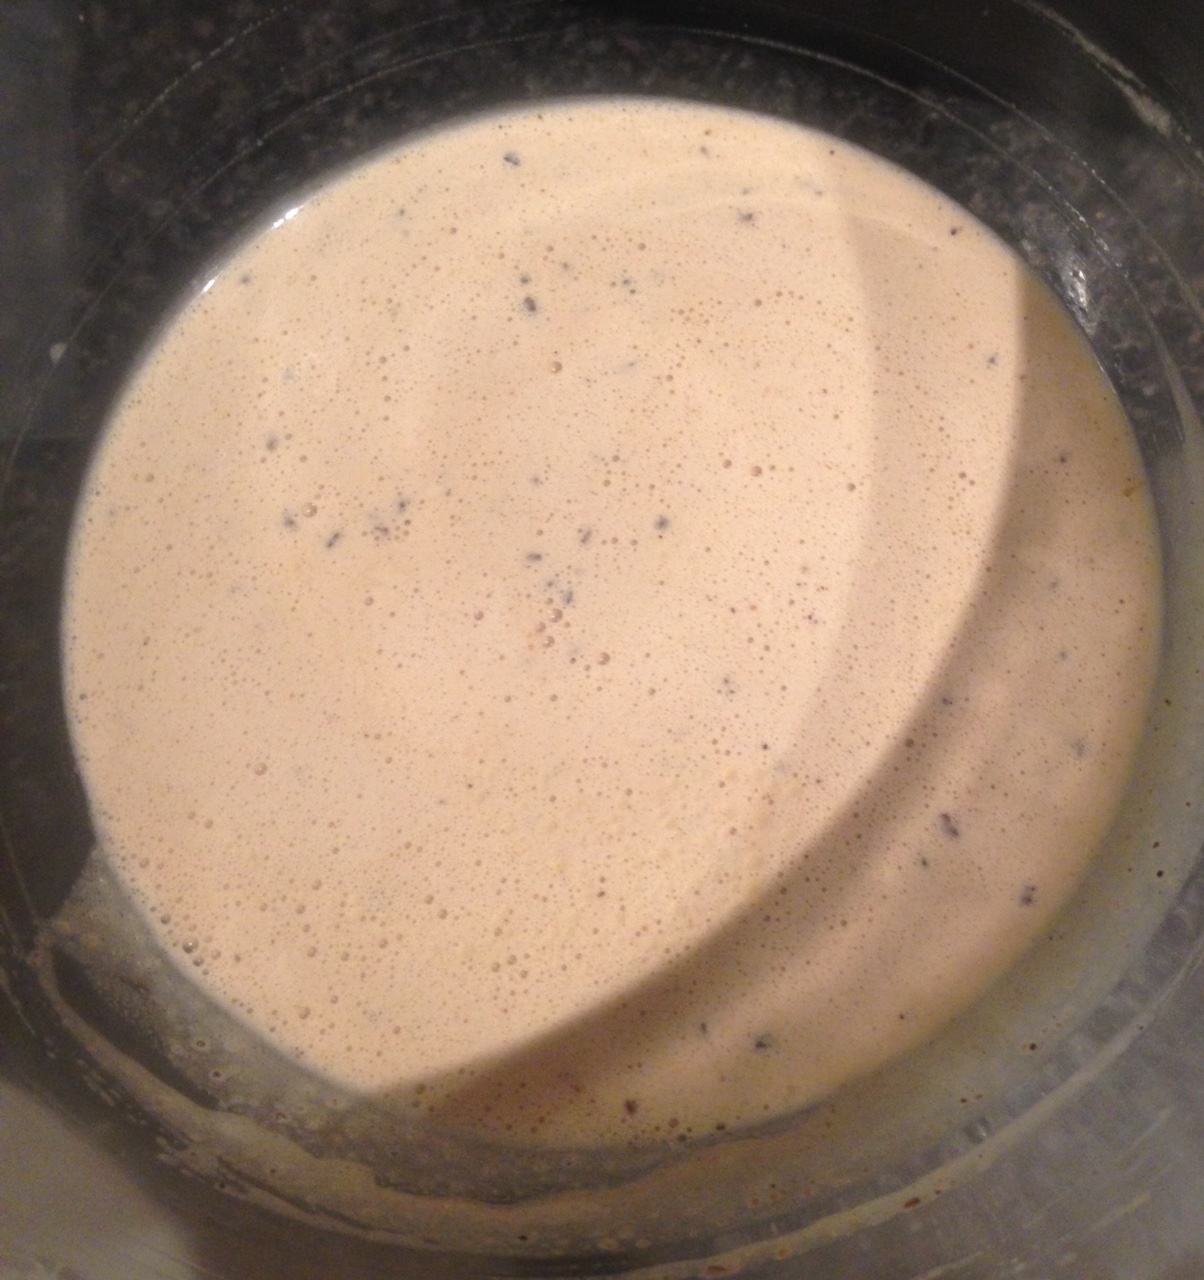
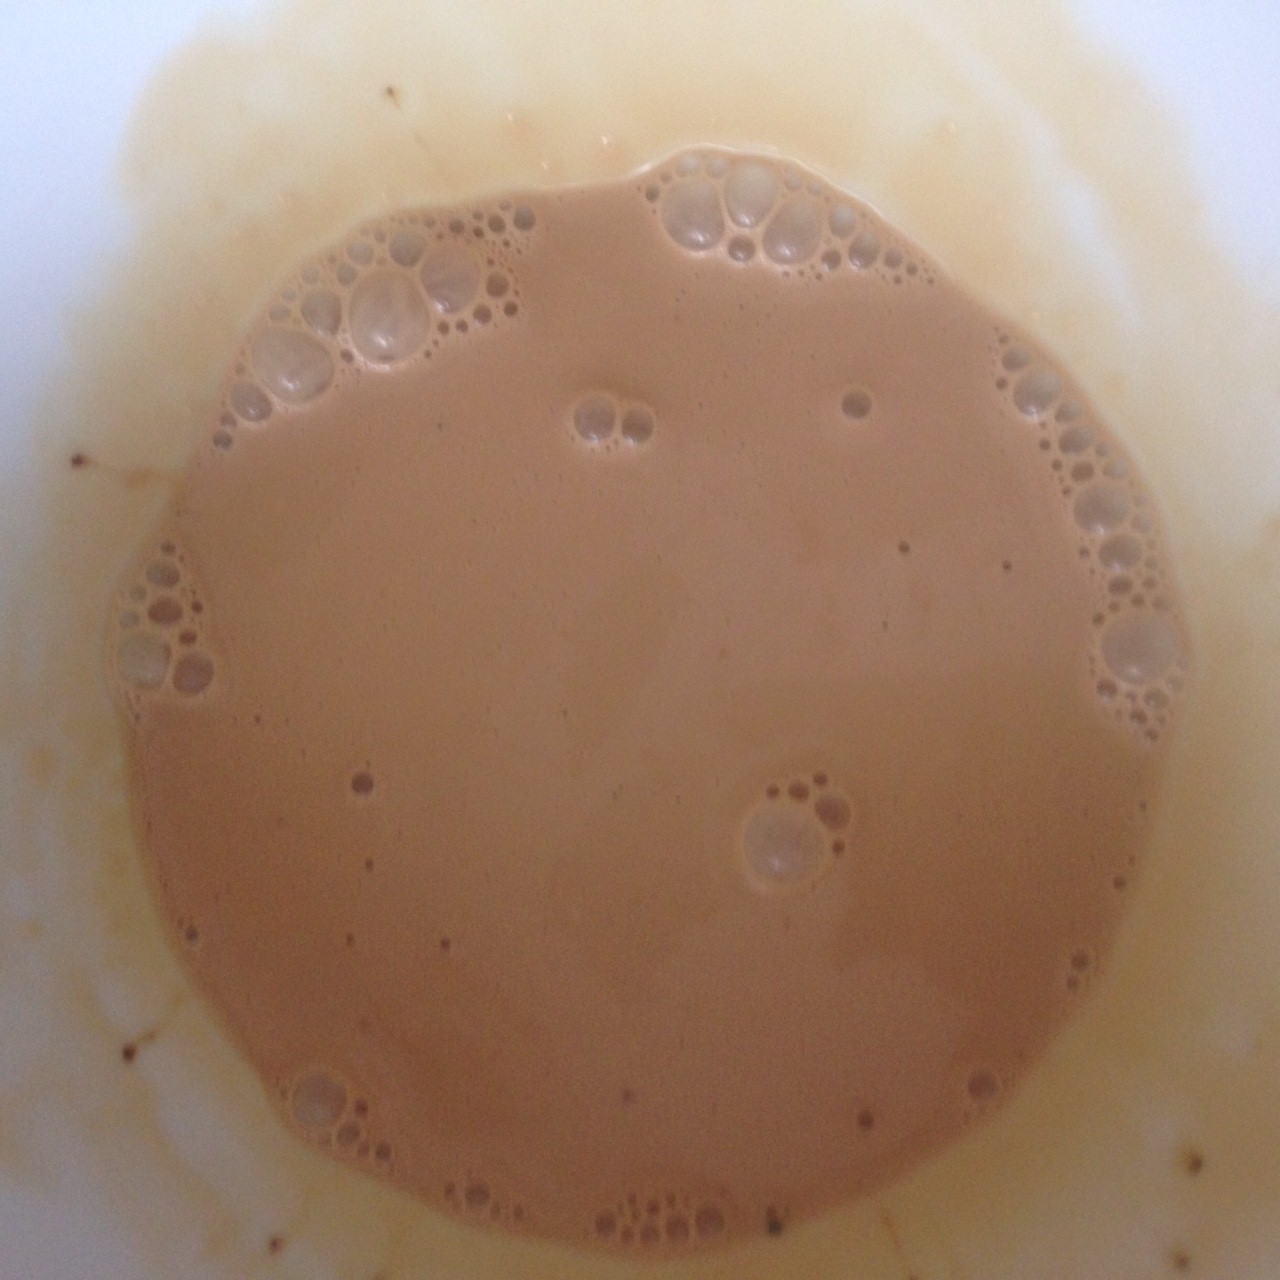
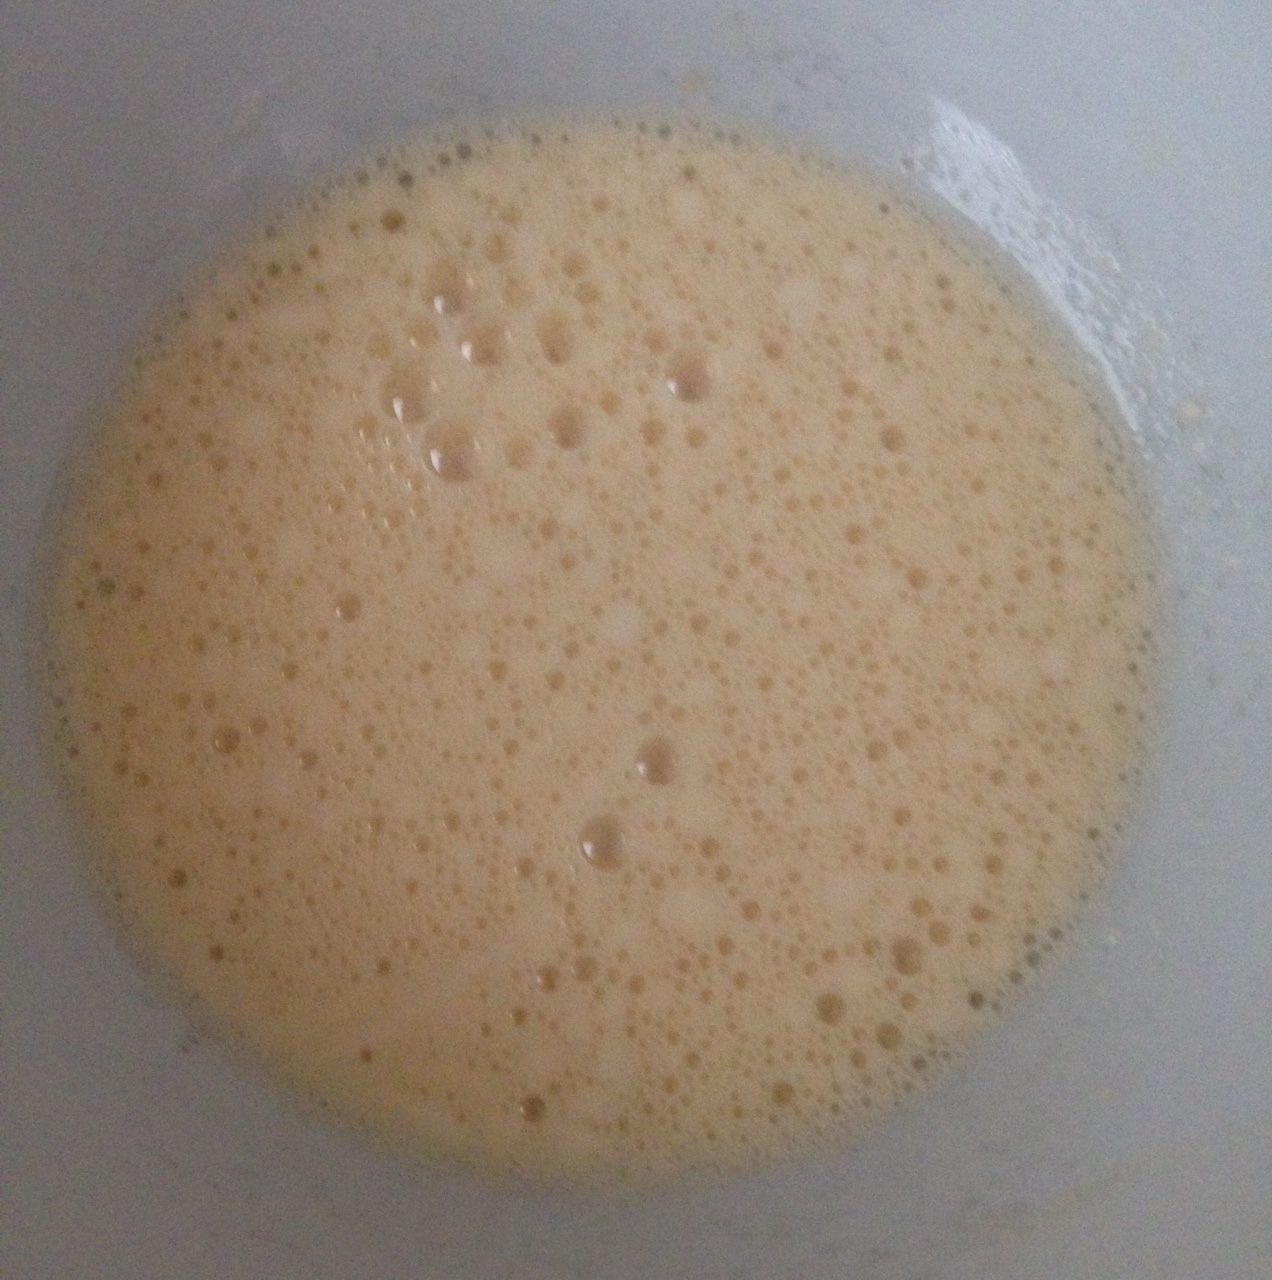
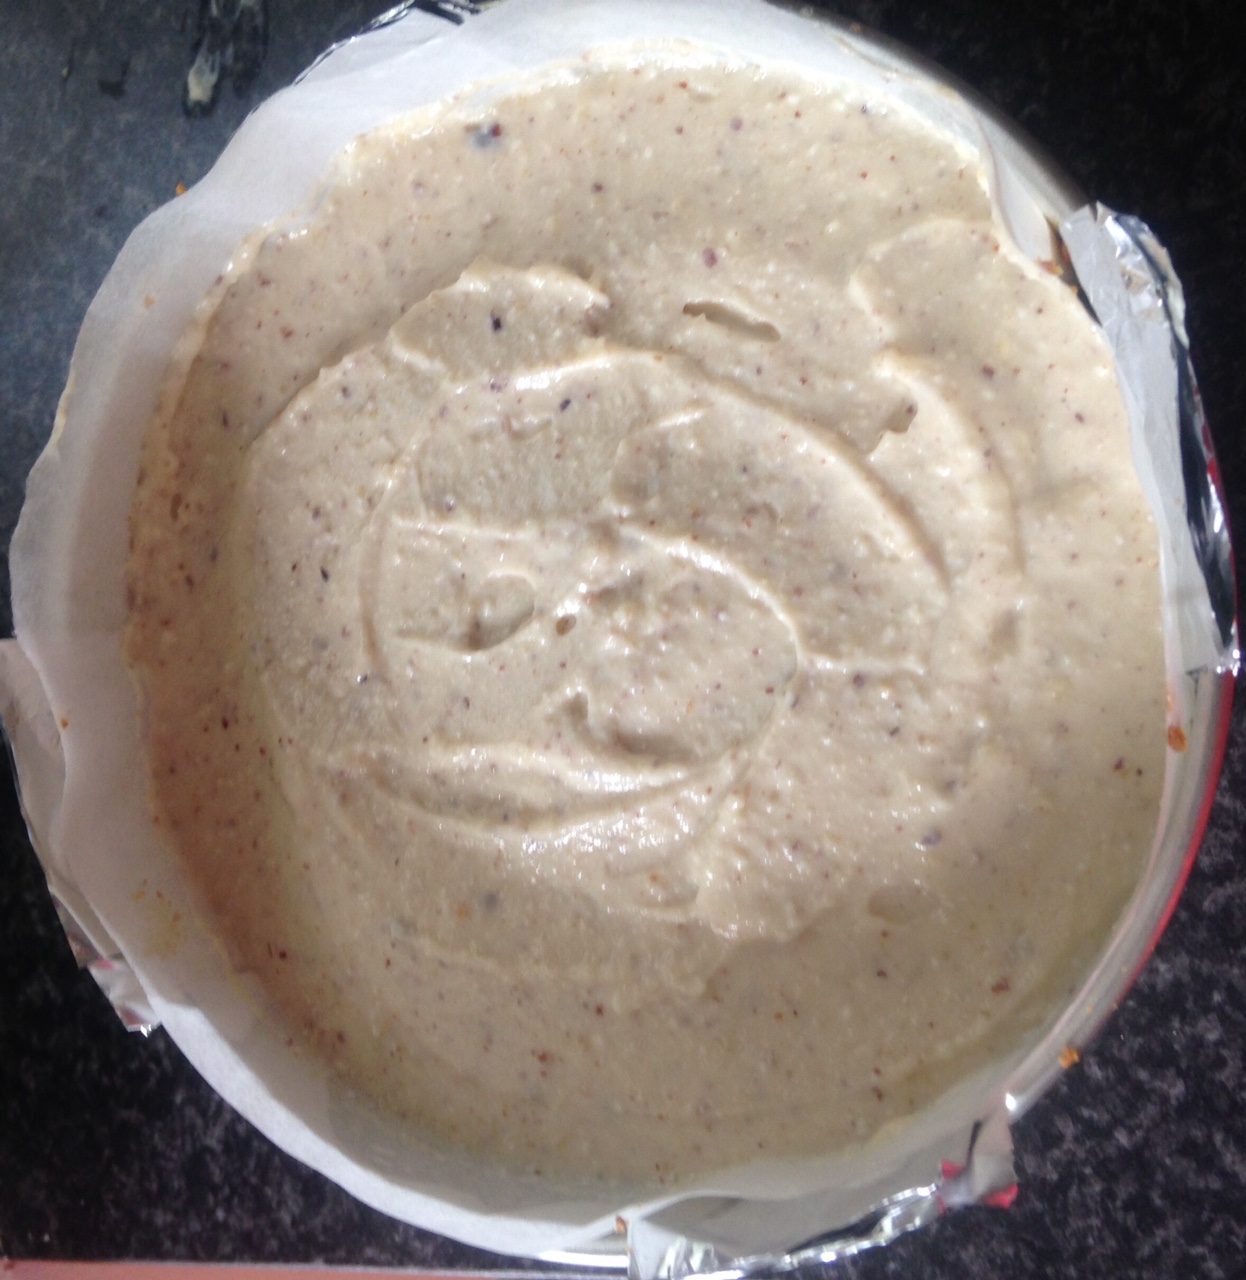
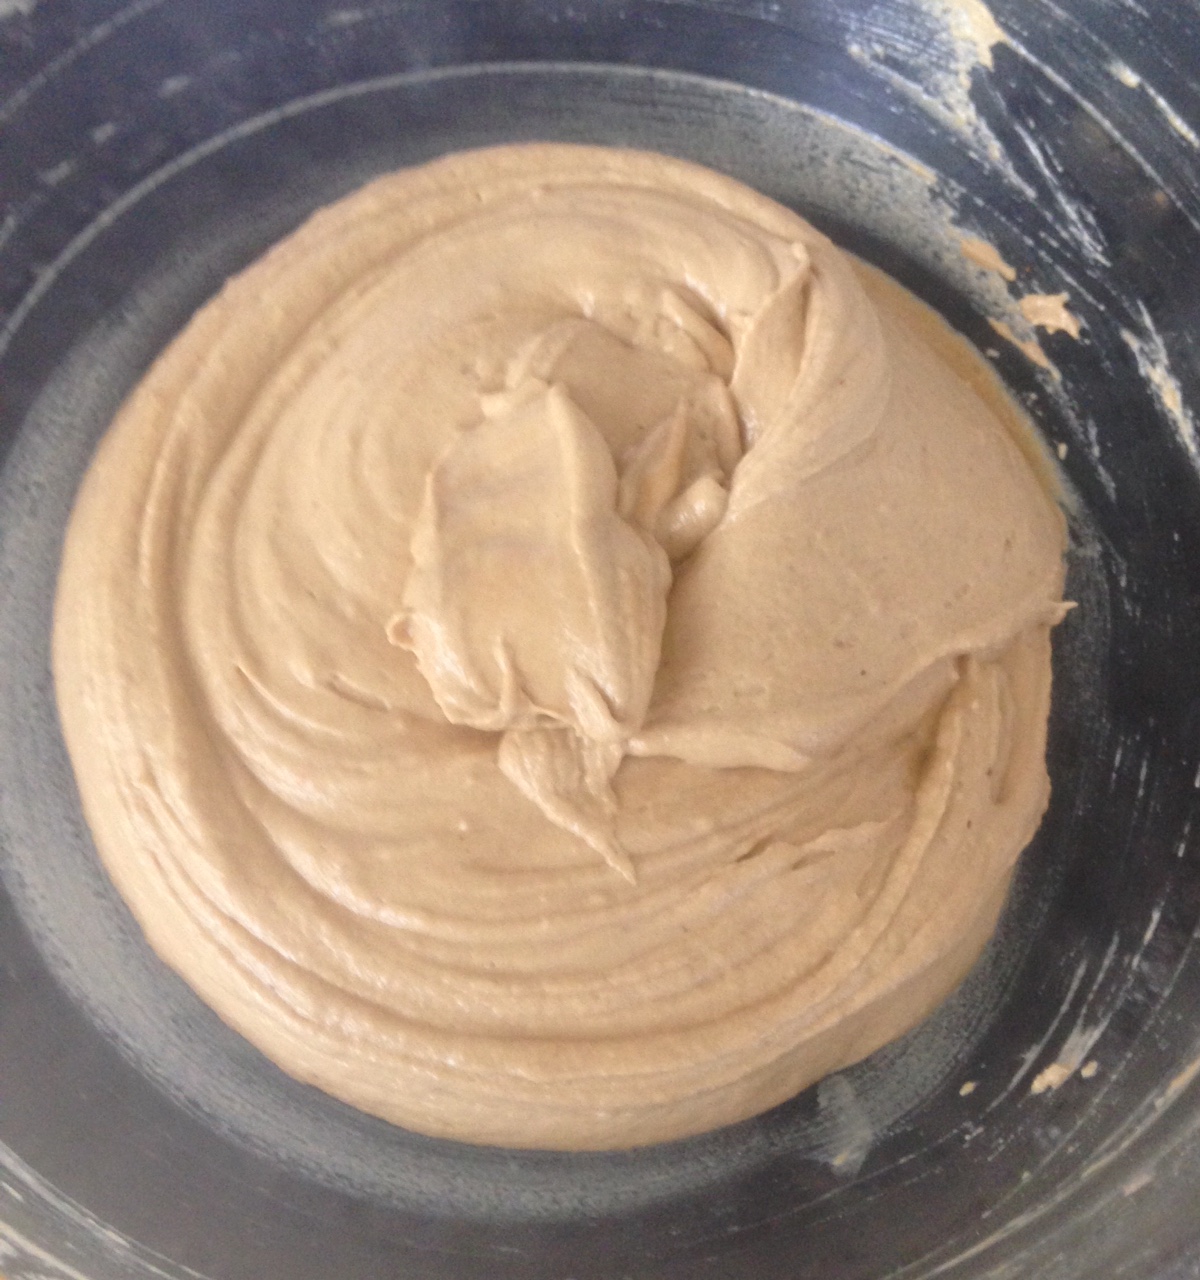
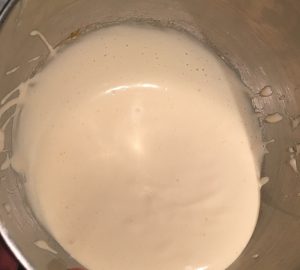
- Using electric beaters whisk the eggs and sugar until doubled in size.
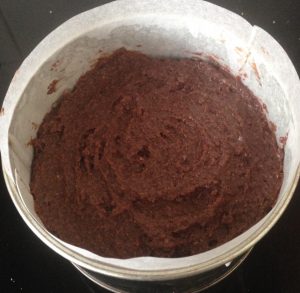
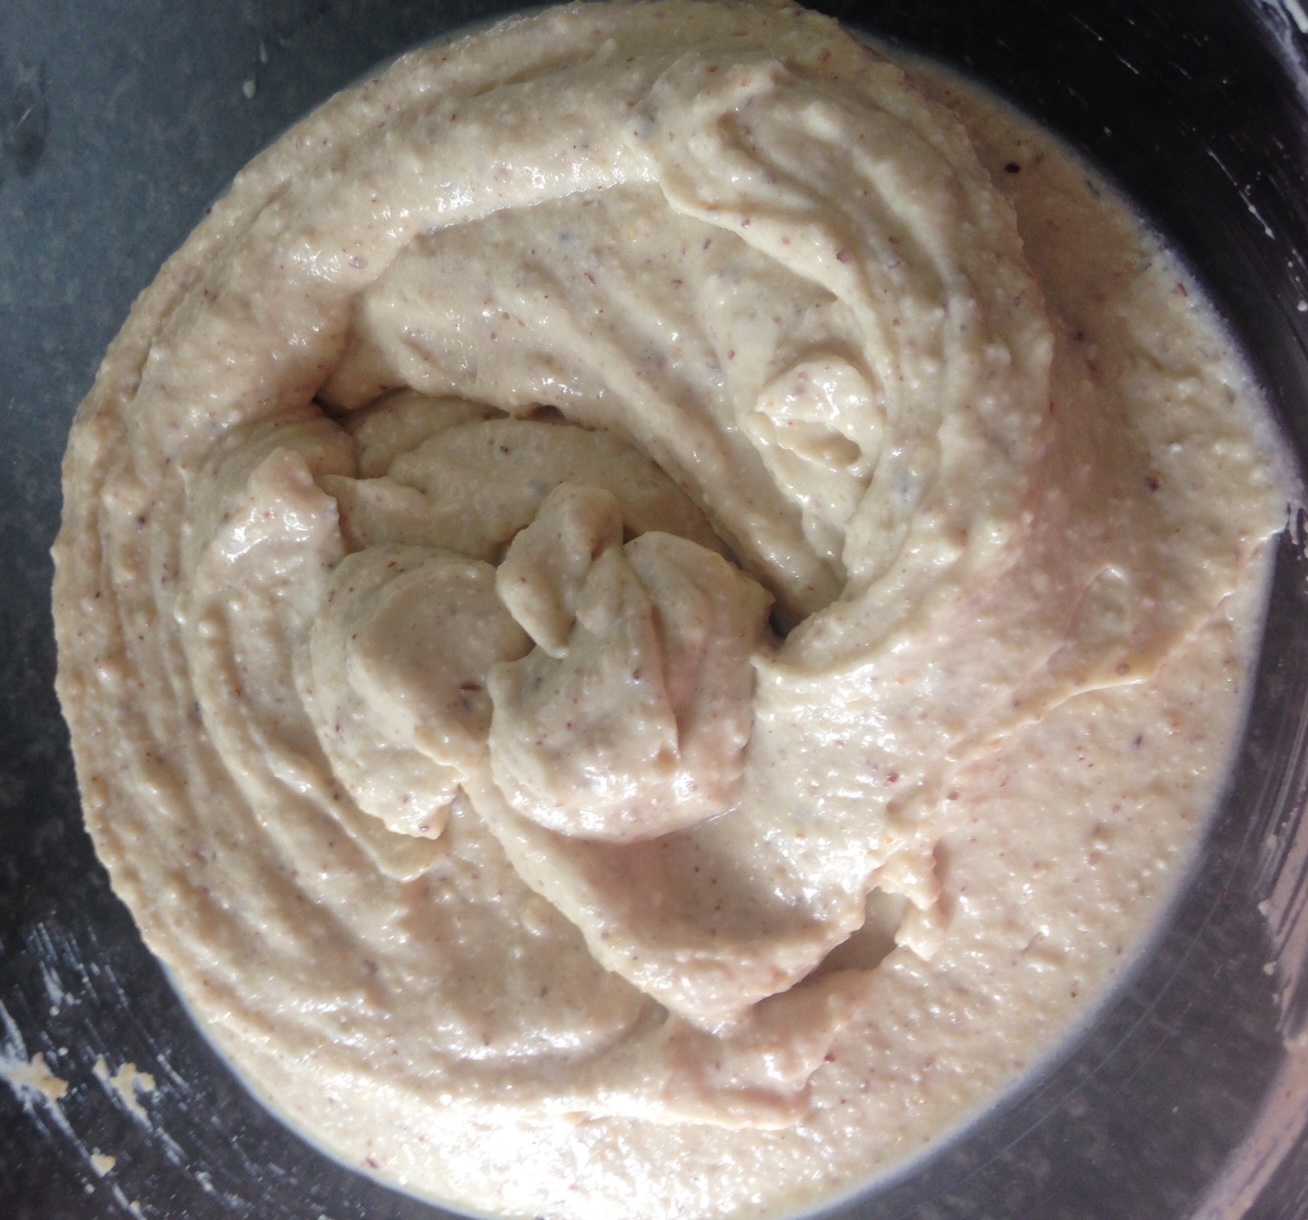
- Sift the cocoa powder, coffee granules and flour into the mix and fold with a spatula until just combine.
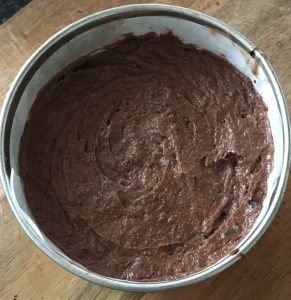
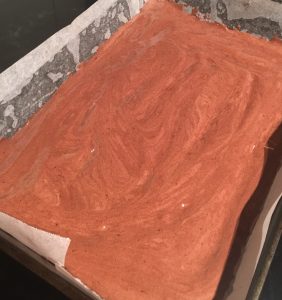
- Spoon into the tray and lightly smooth the surface with the back of a spoon.
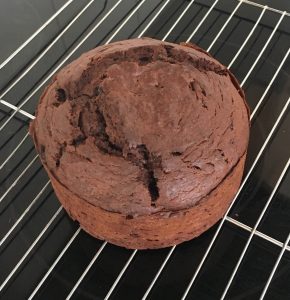
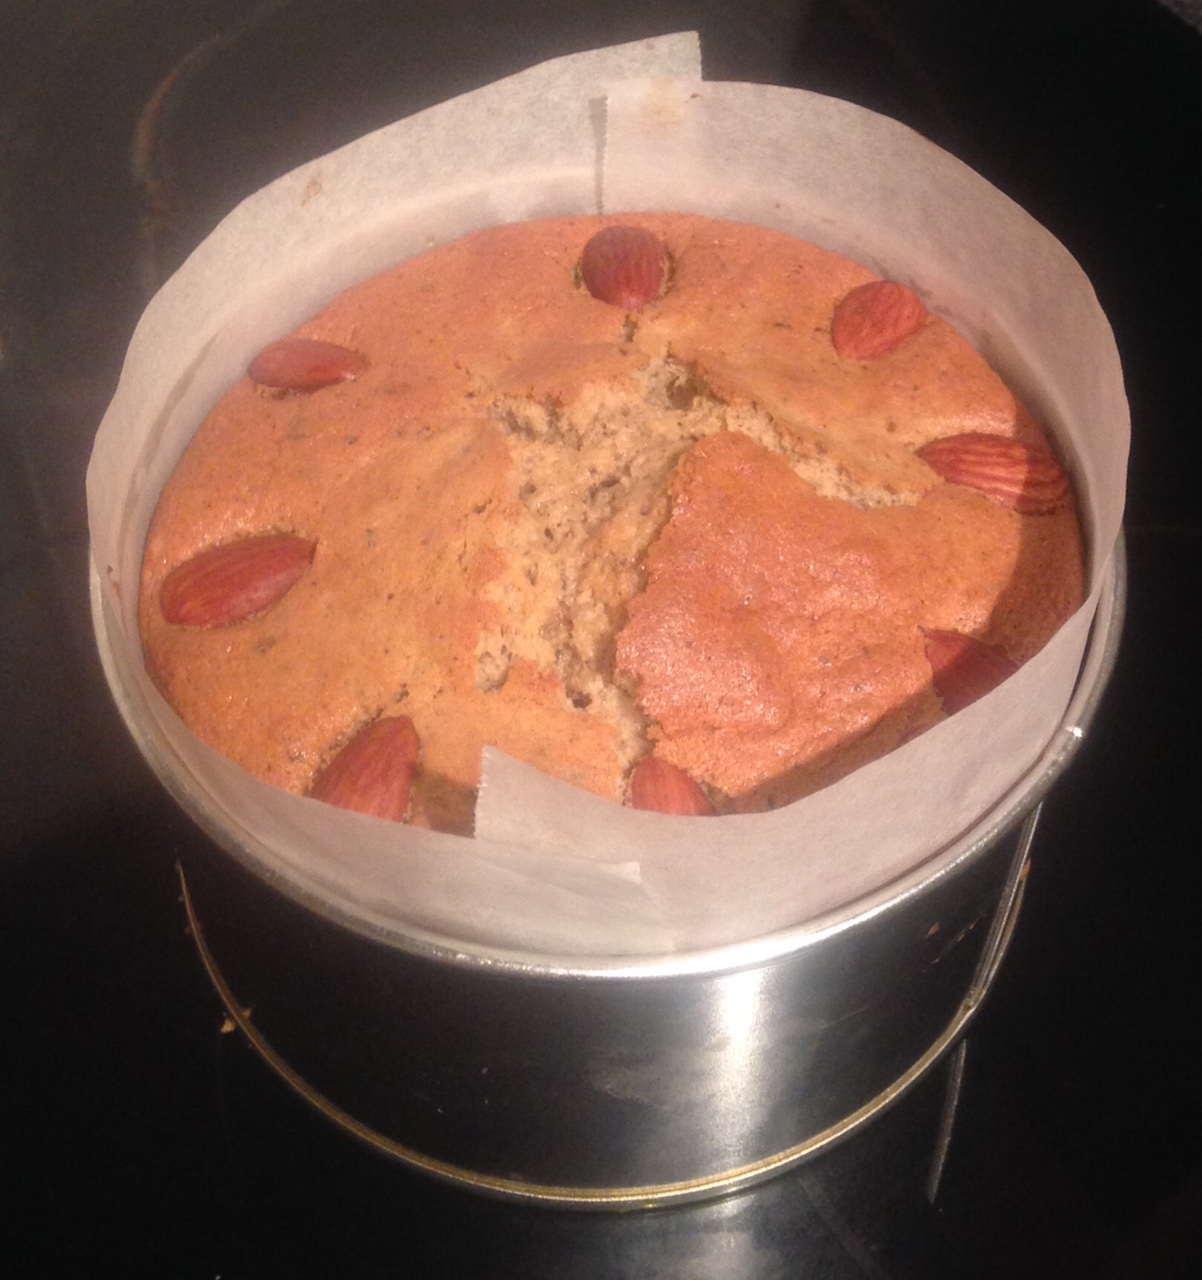
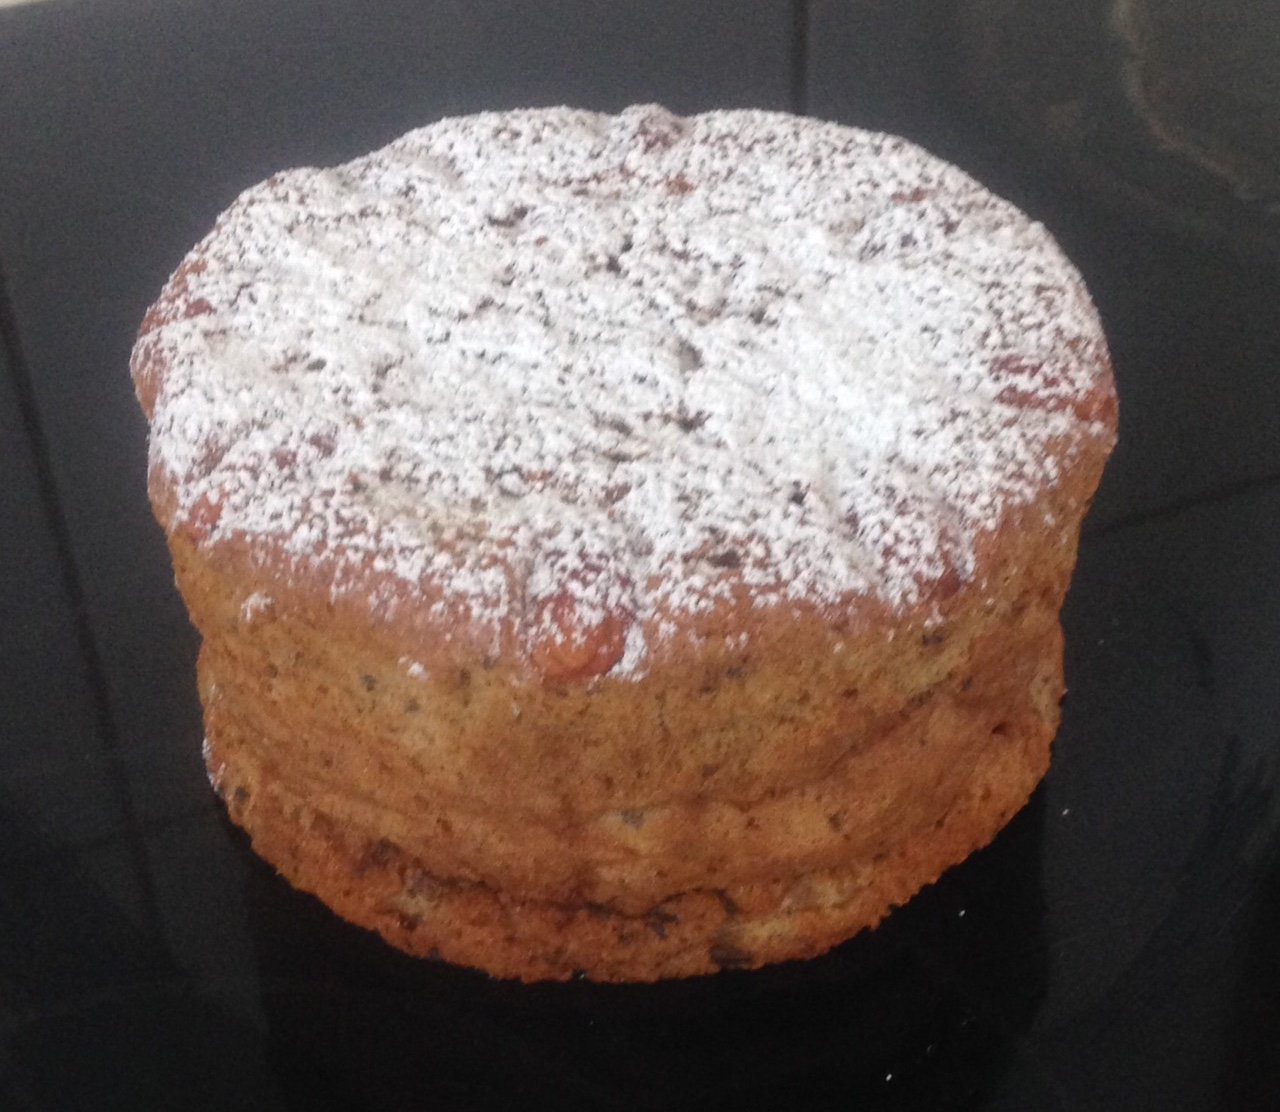
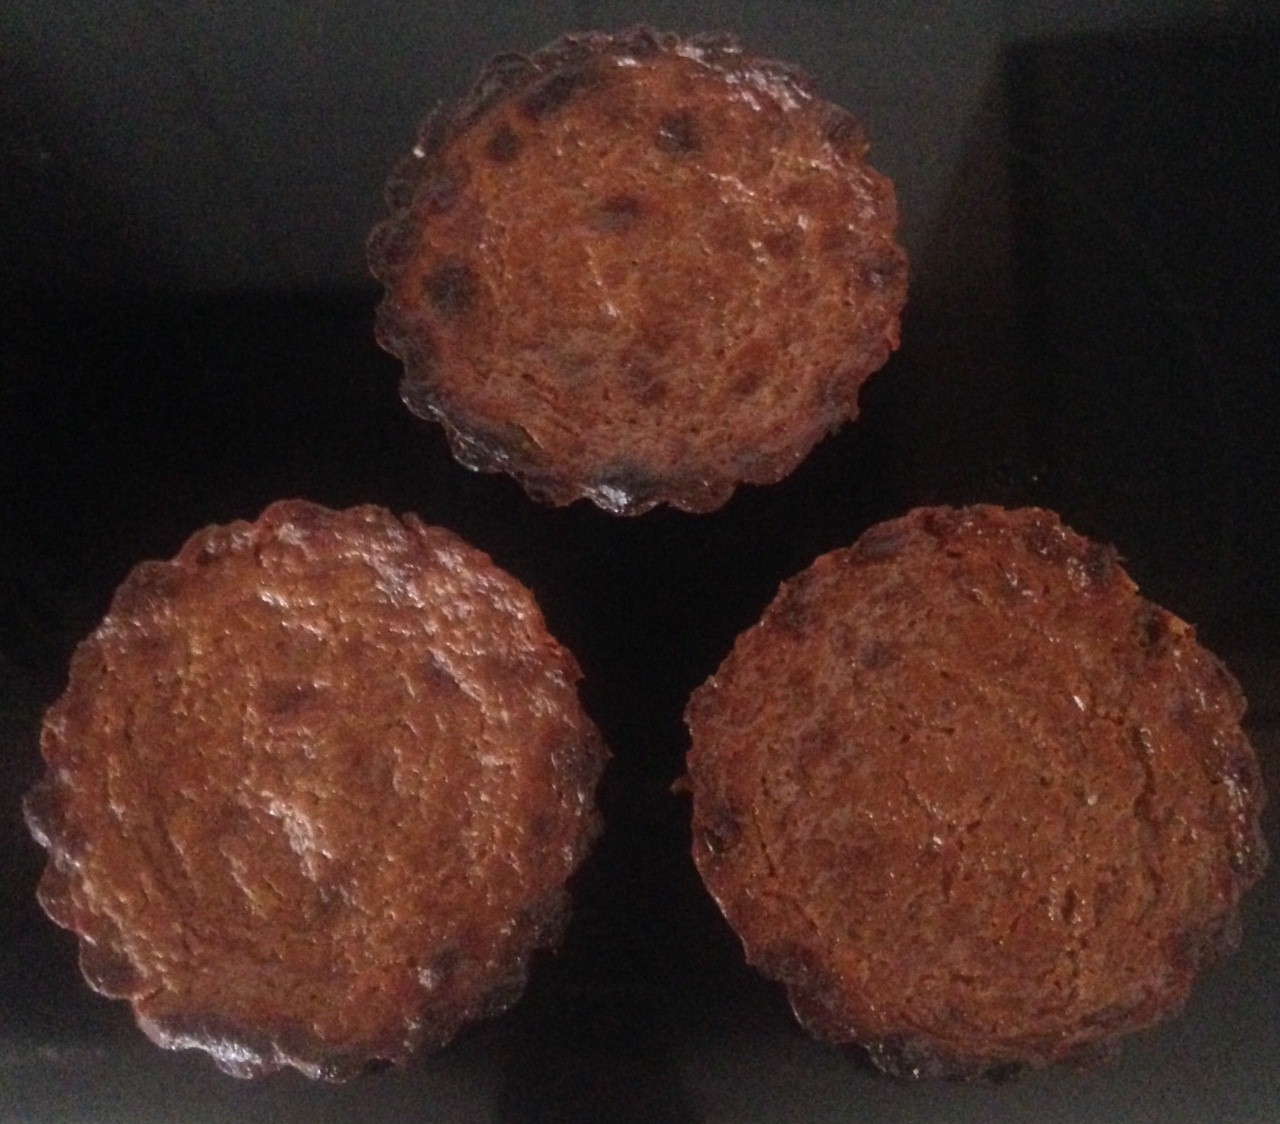
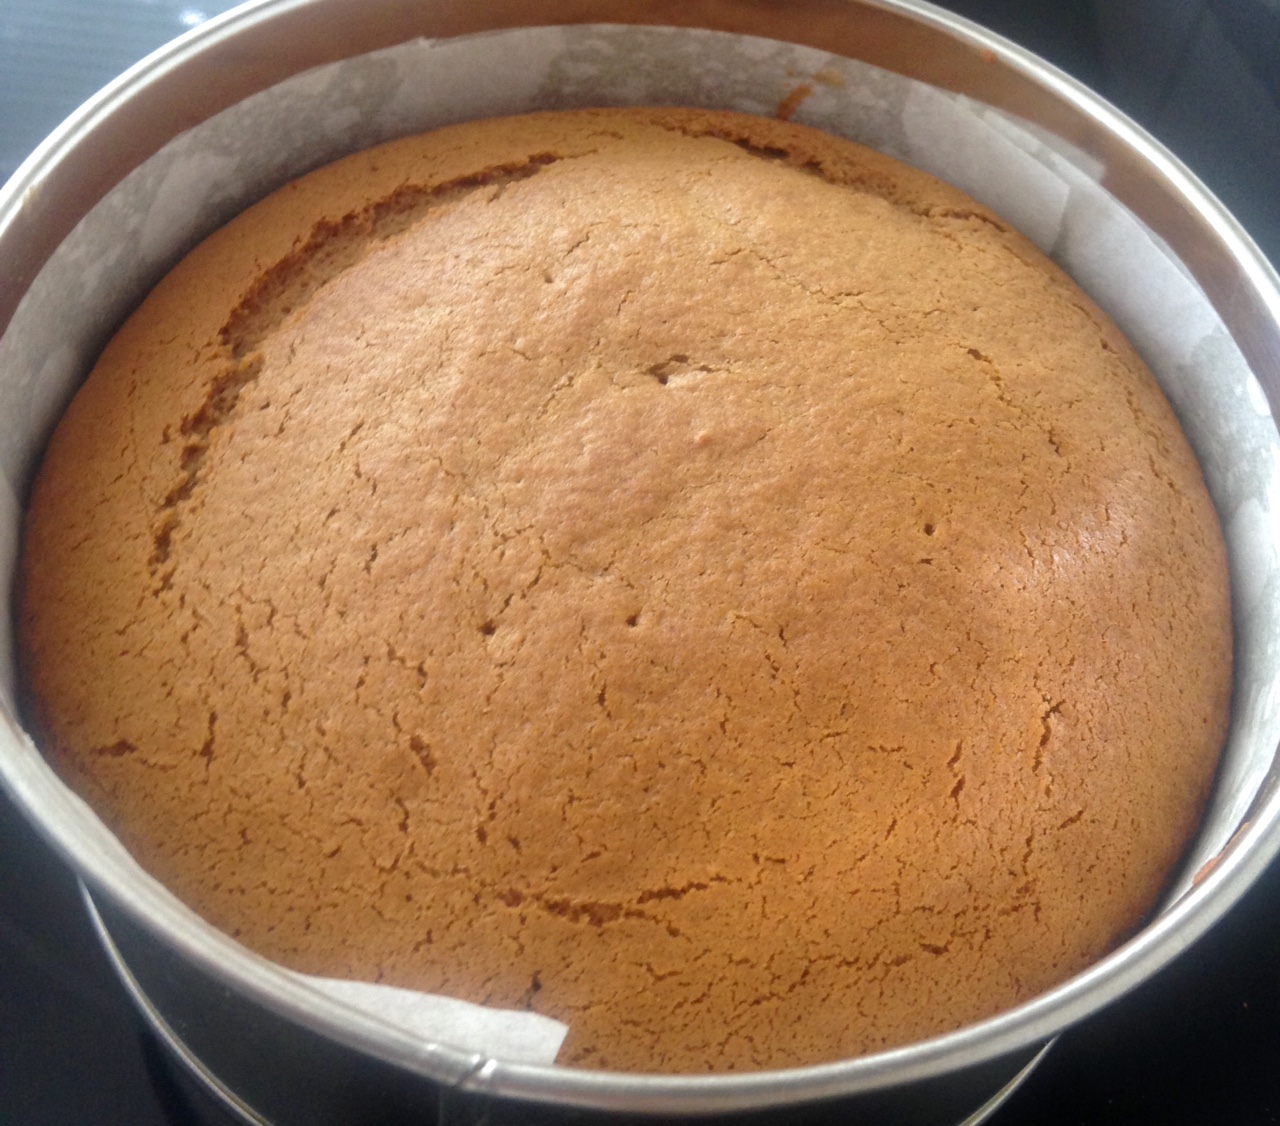
- Bake the cake for 10 minutes or until the cake springs back when you lightly touch the surface with your fingers.
- Leave the cake in the tin for 5 minutes then invert onto a cooling rack. Remove the baking paper.
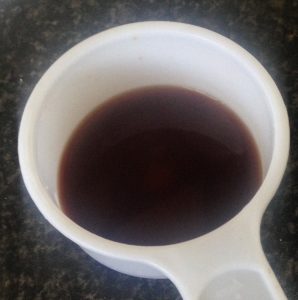
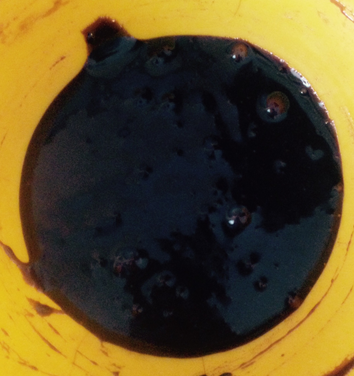
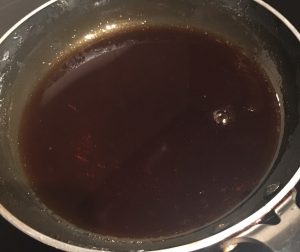
- Meanwhile make the syrup by placing the ingredients into a pan on a medium heat and stir until the sugar is dissolved and the mix resembles a syrup consistency.
- Leave the syrup aside to cool.
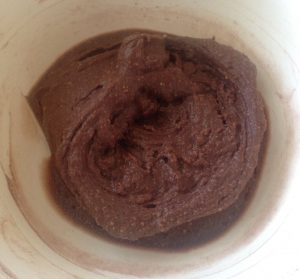
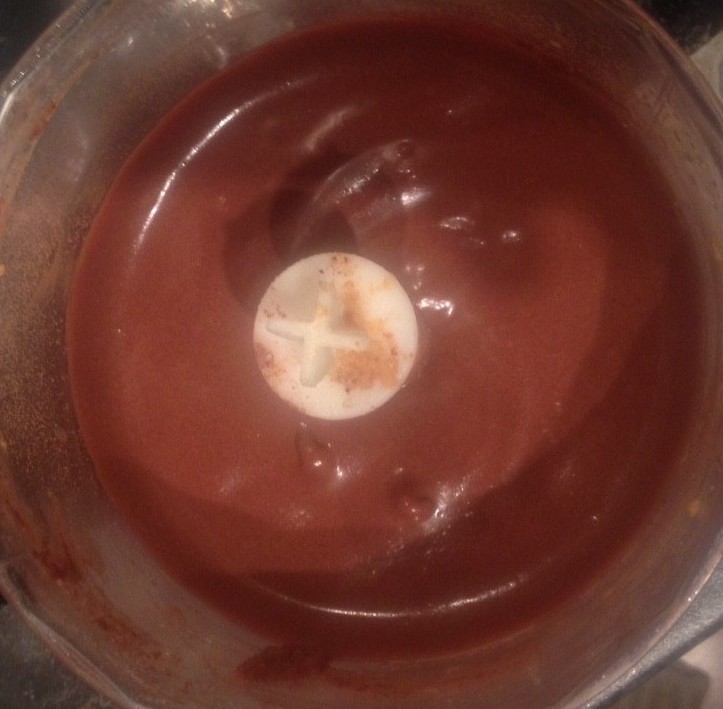
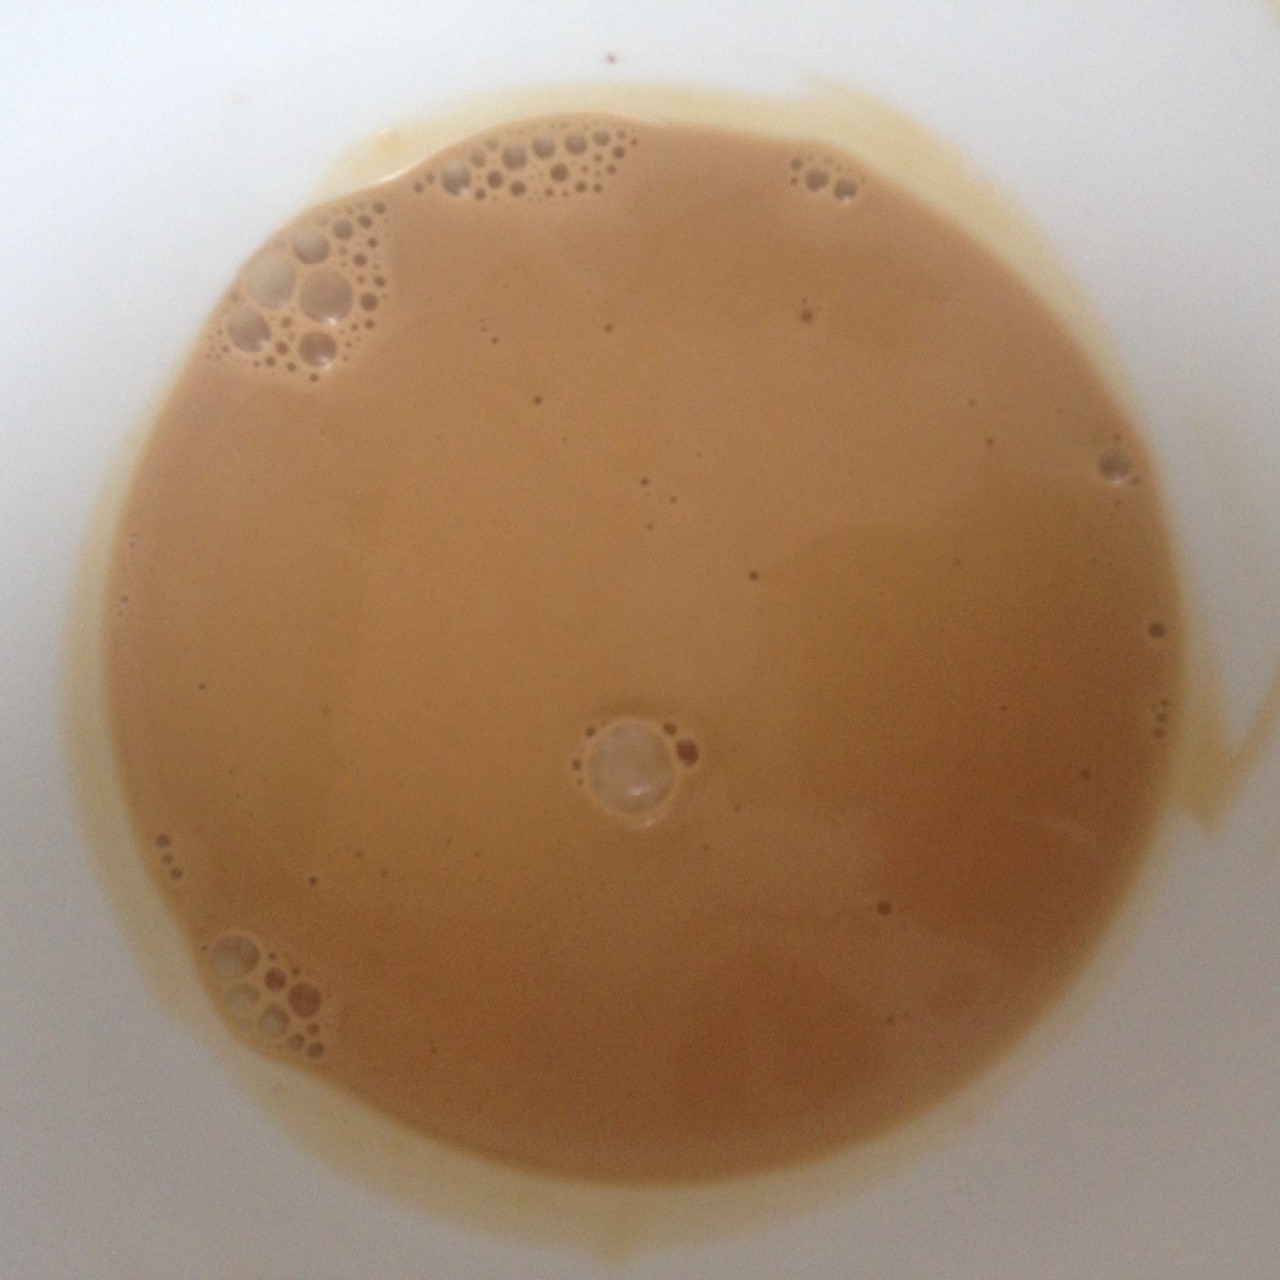
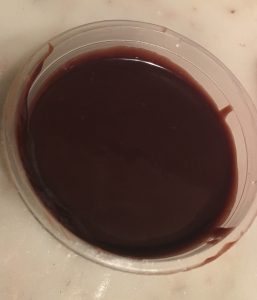
- To make the ganache heat the cream up in a bowl in the microwave until boiling.
- Add the chocolate to the cream, leave for 1 minute before stirring until the mix resembles a silky thick consistency.
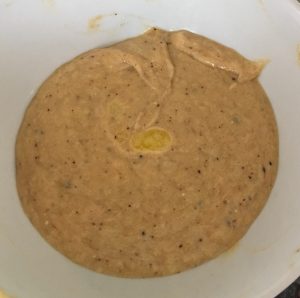
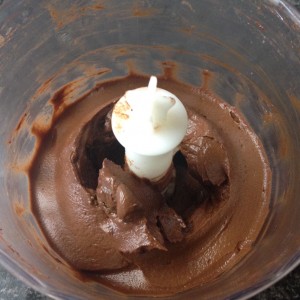
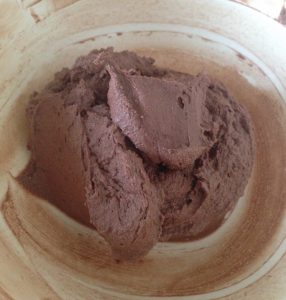
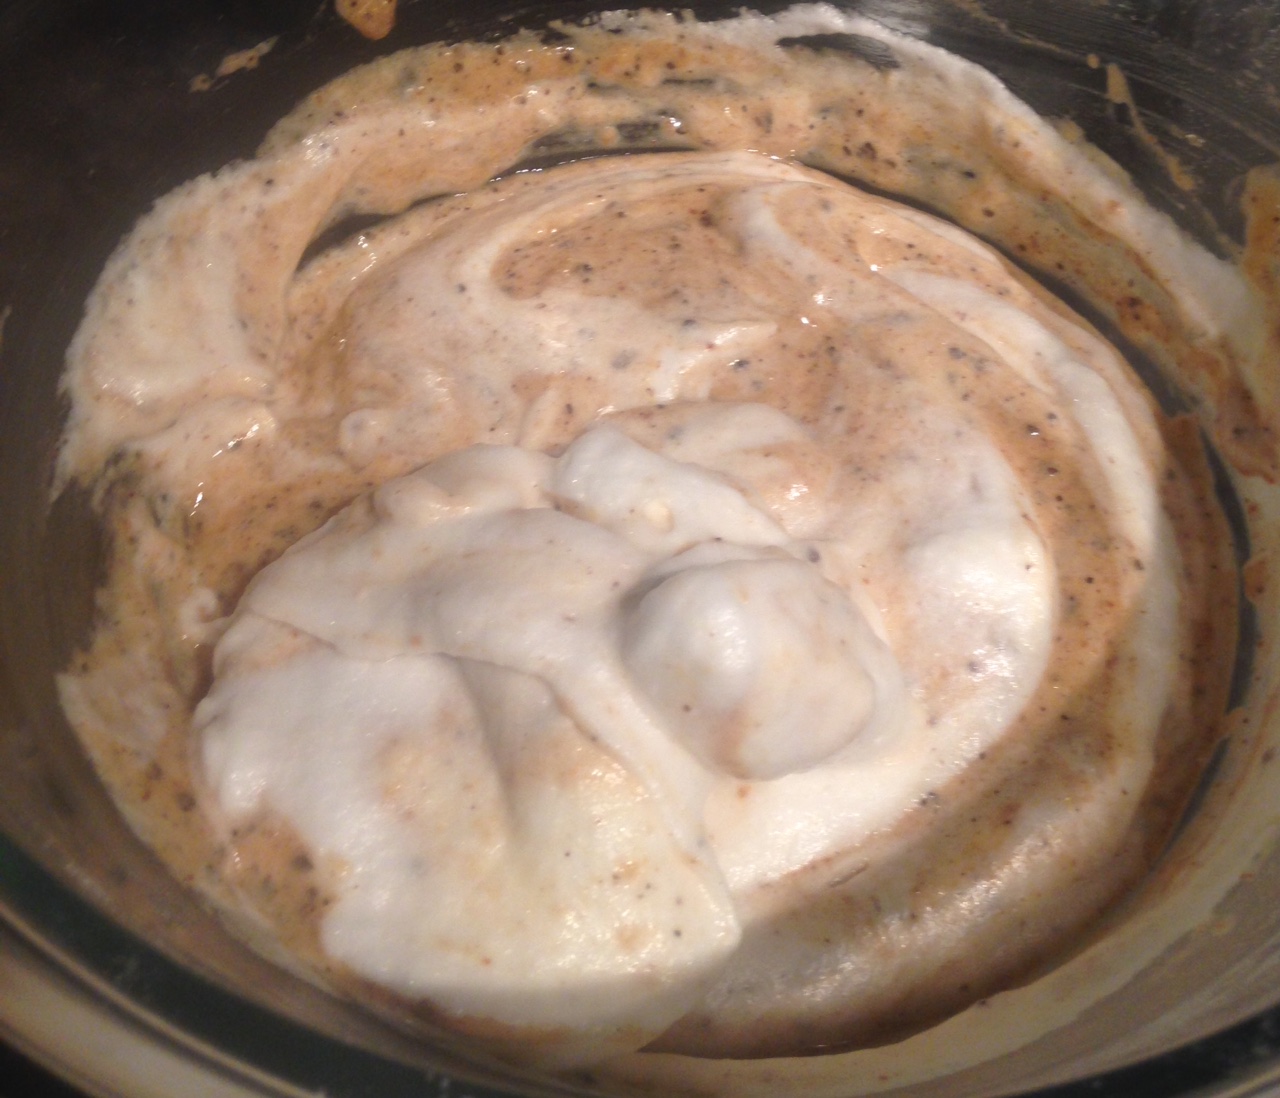
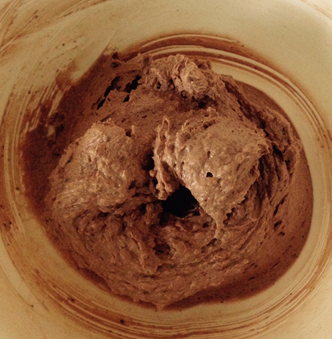
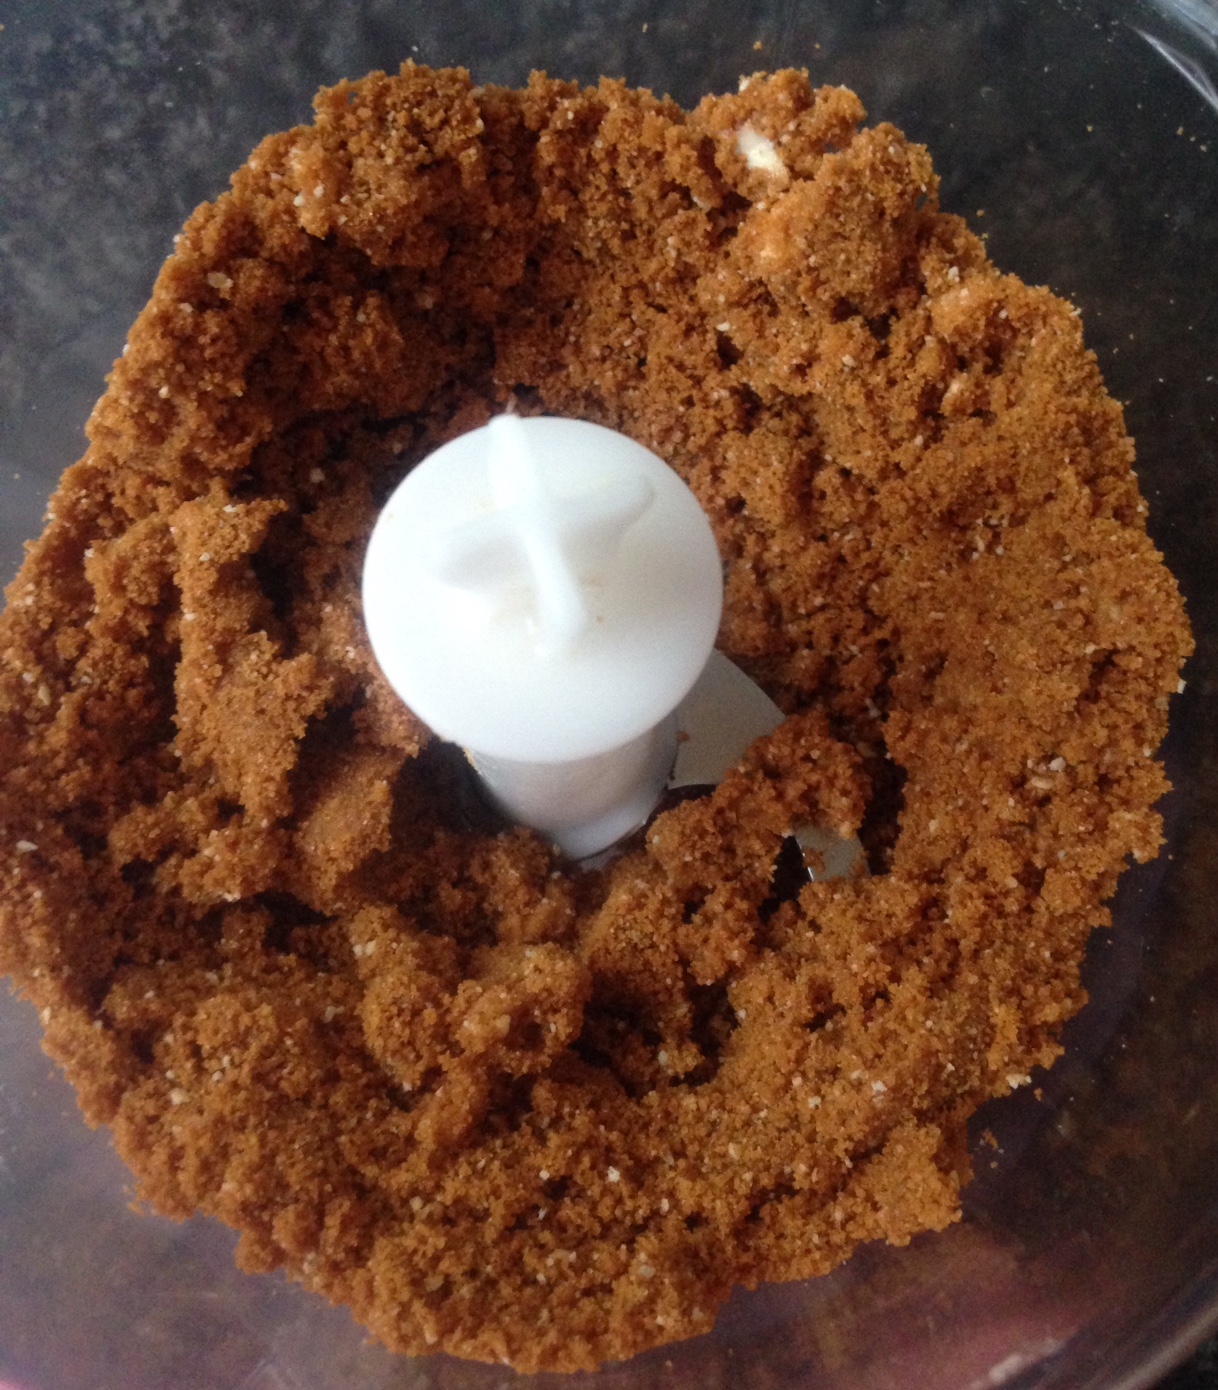
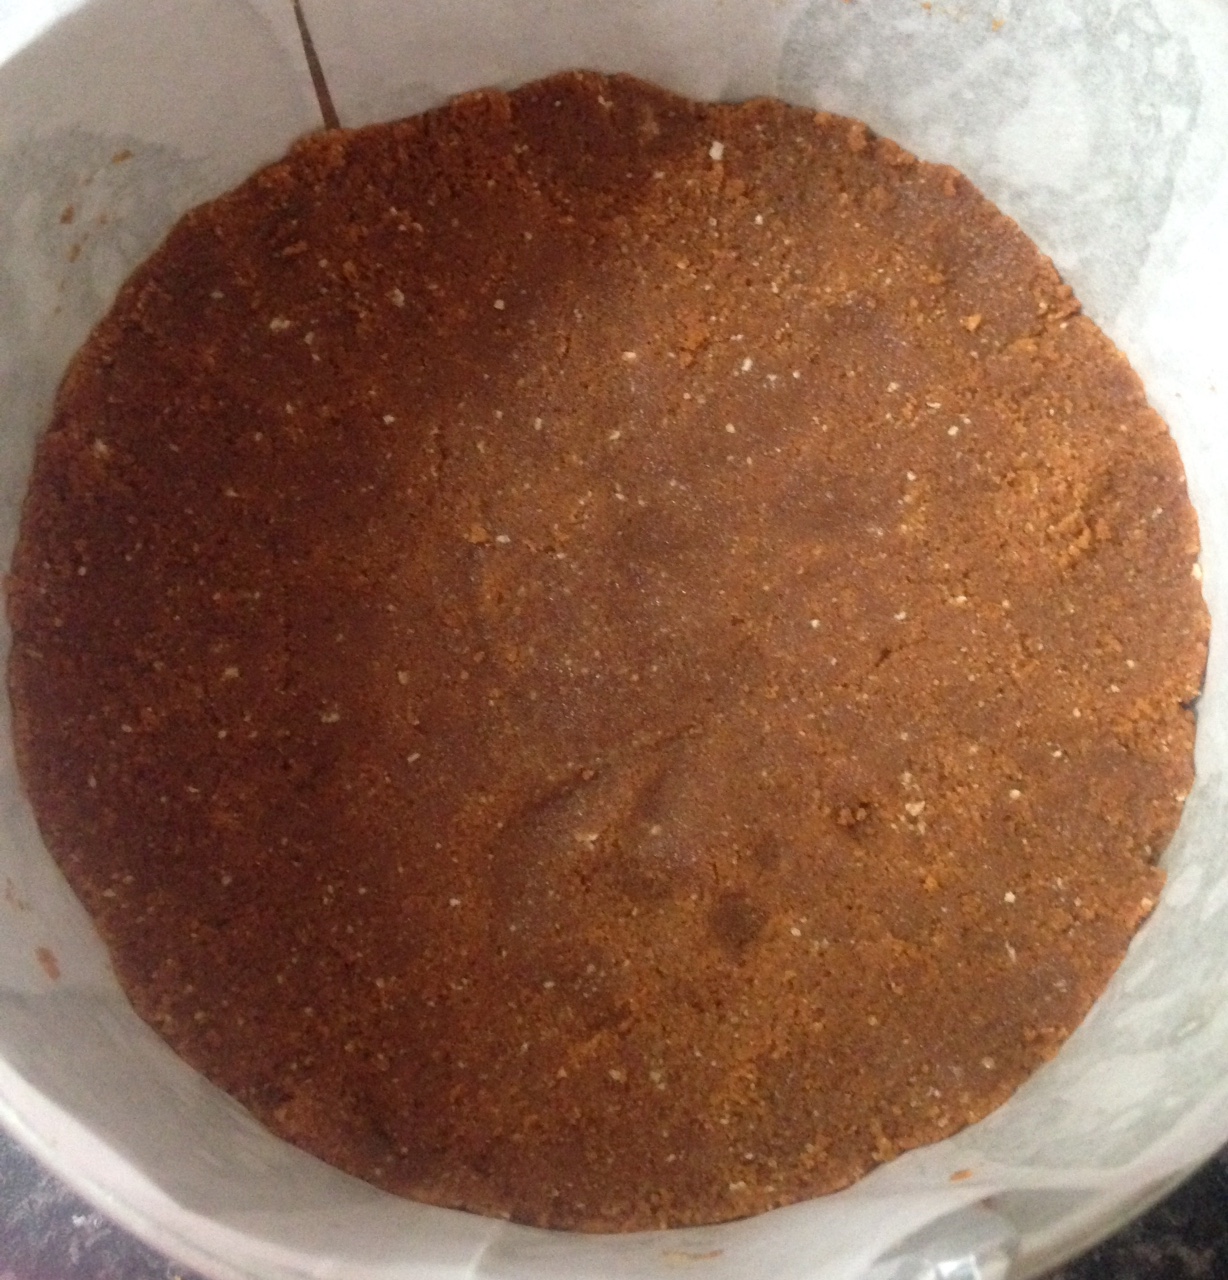
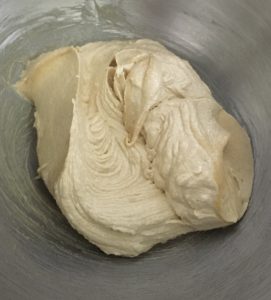
- To make the mousse, place the dates in a food processor with the rum and blitz until the mix is smooth.
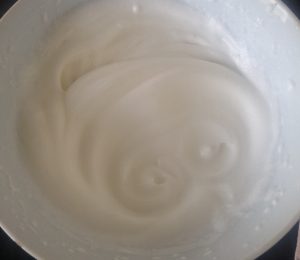
- Add the cream and blitz until the mix is combine well and the cream is whipped to firm peaks, leave aside.
- To assemble the cake spray with oil spray and line a 15cm x 20cm high cake tin with plastic wrap, allowing for overlap.
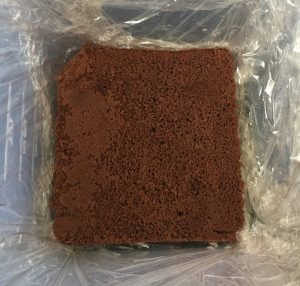
- Cut 3 cake into 3 15cm x 15cm pieces.
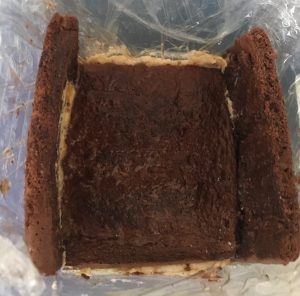
- Place 1 cake layer into the bottom of the tin a using the remaining cake cut 2 more pieces to line 2 opposite sides of the tin moving the bottom layer slightly for a snug fit.
- Using a pastry brush brush the bottom and sides of the cake layers in the tin with 2/3rds of the coffee syrup.
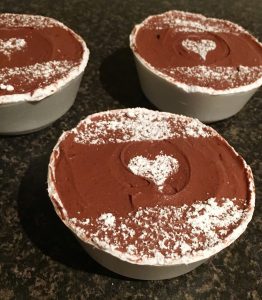
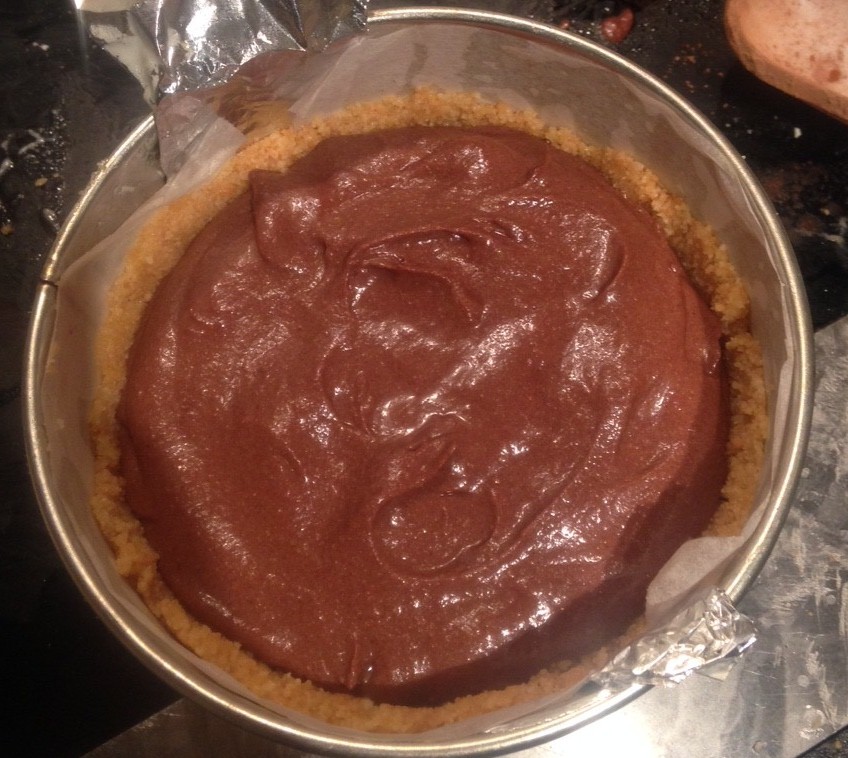
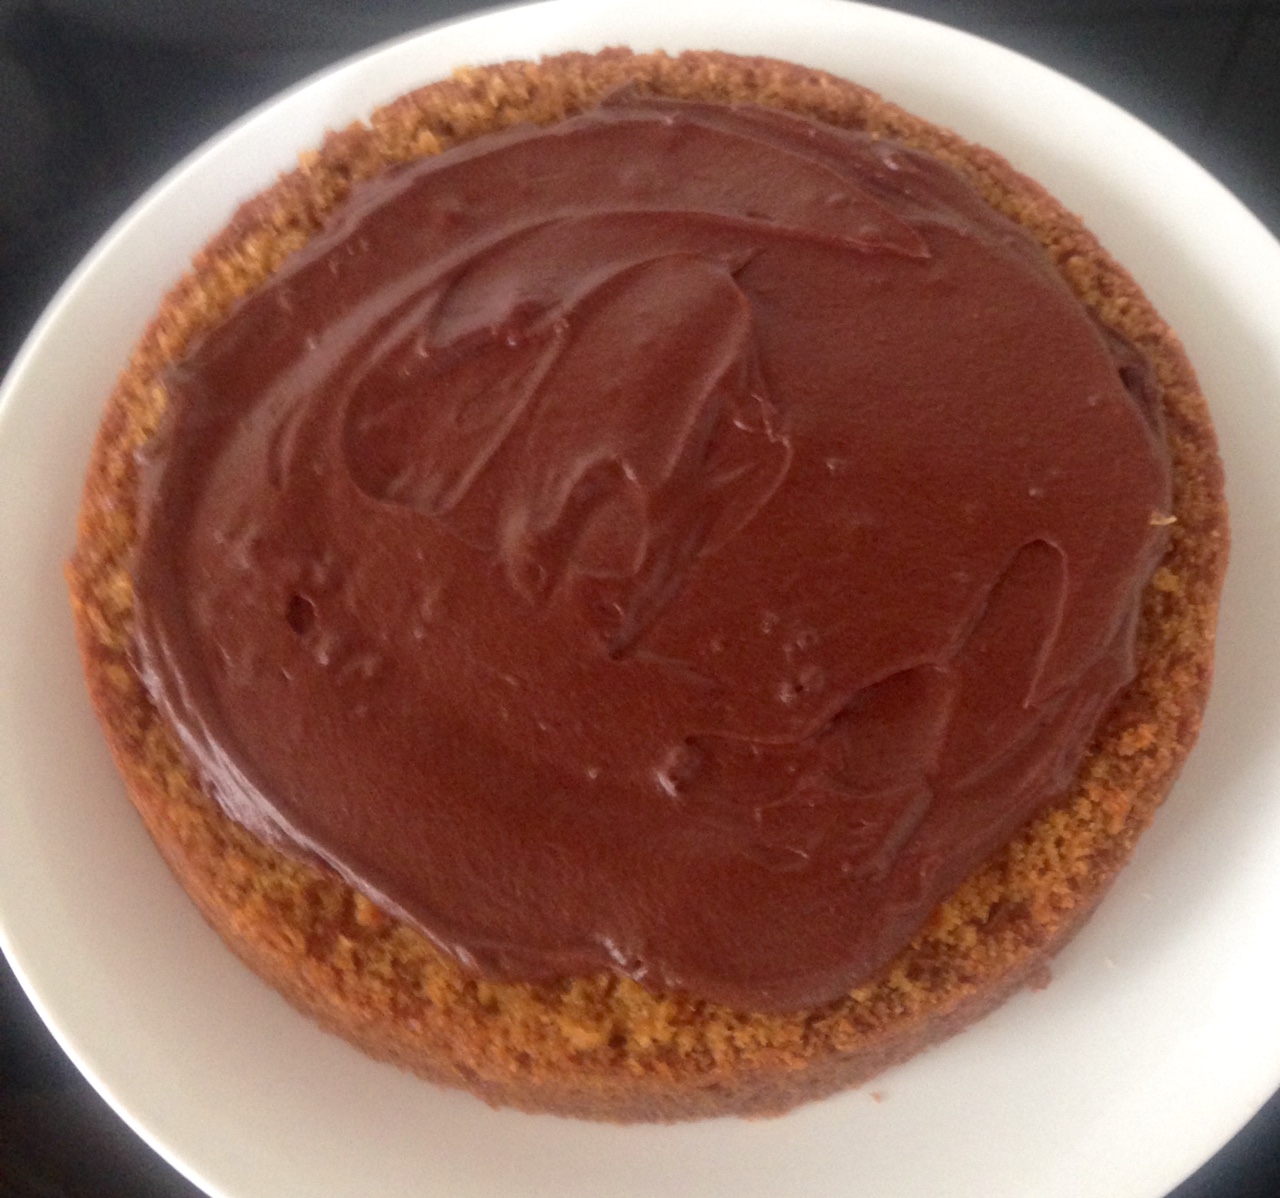
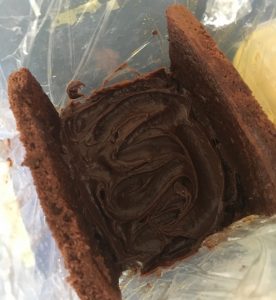
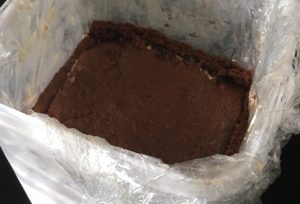
- Spoon half the ganache on top of the bottom cake layer and level out with the back of a spoon.
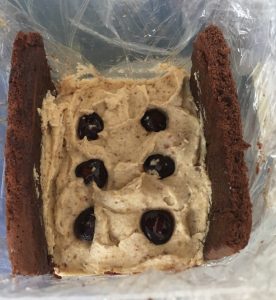
- Spoon half the date mousse over the ganache pop in half of the cherries and smooth with a spoon.
- Add the second cake layer and push down on top of the date mousse until snug.
- Brush the remaining syrup onto the cake layer.
- Repeat ganache layer with the remaining mix as well as the date mousse and cherries with the remaining mix.
- Top the cake with the 3rd cake and push down until snug, place the cake in the freezer to firm.
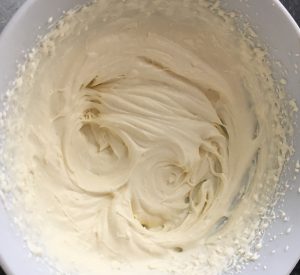
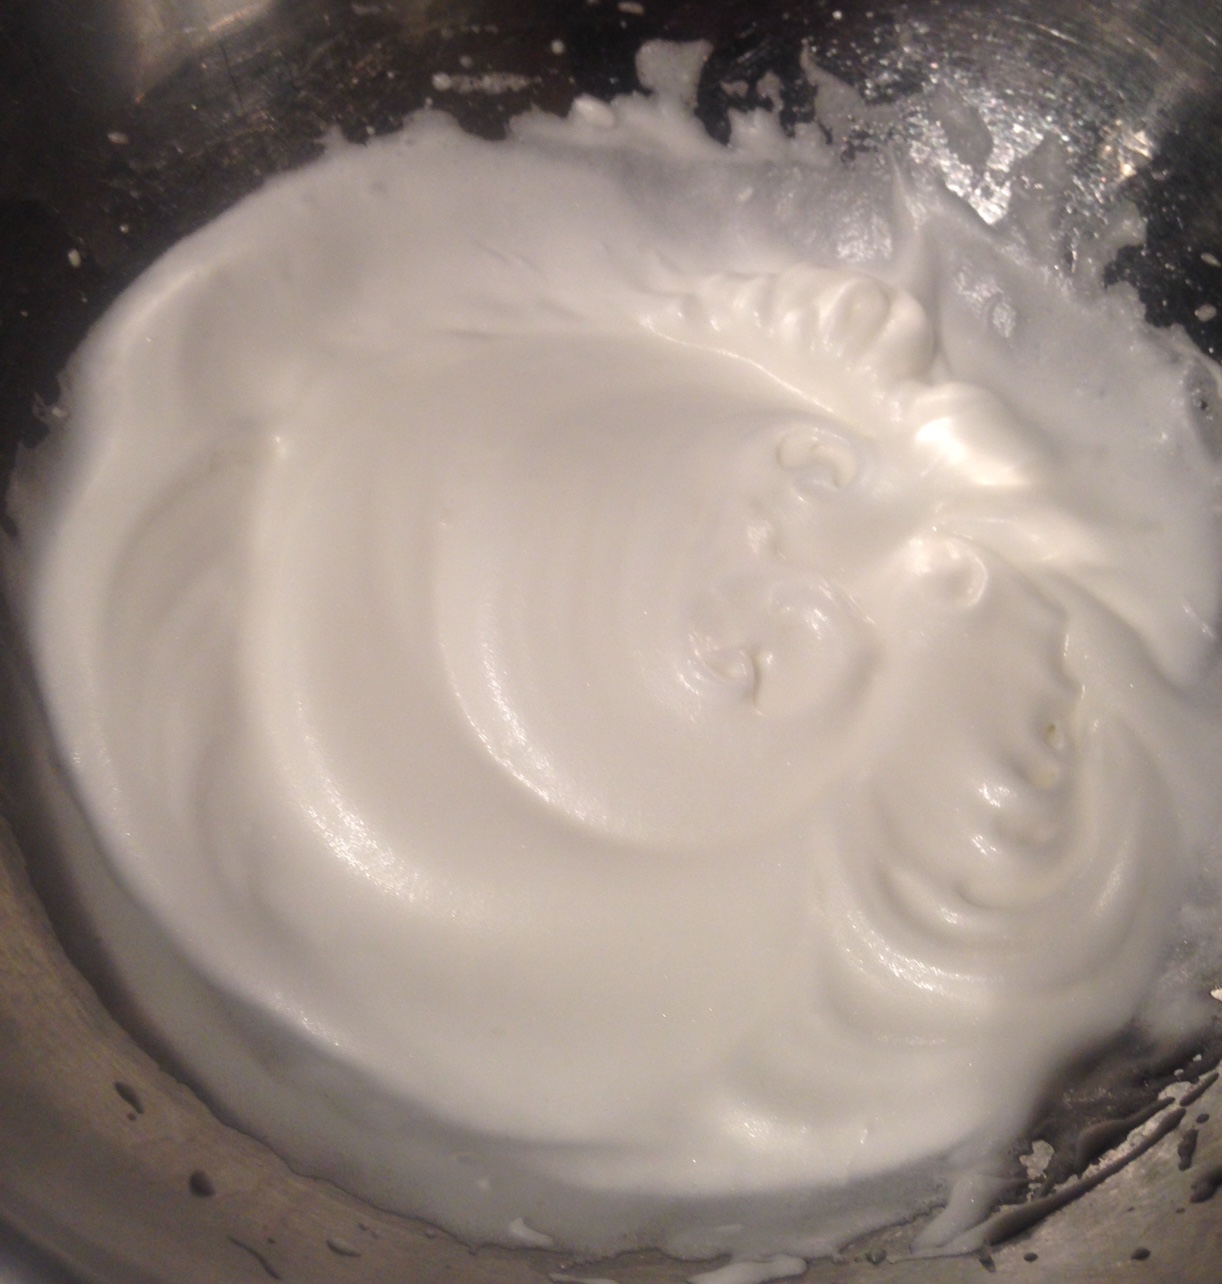
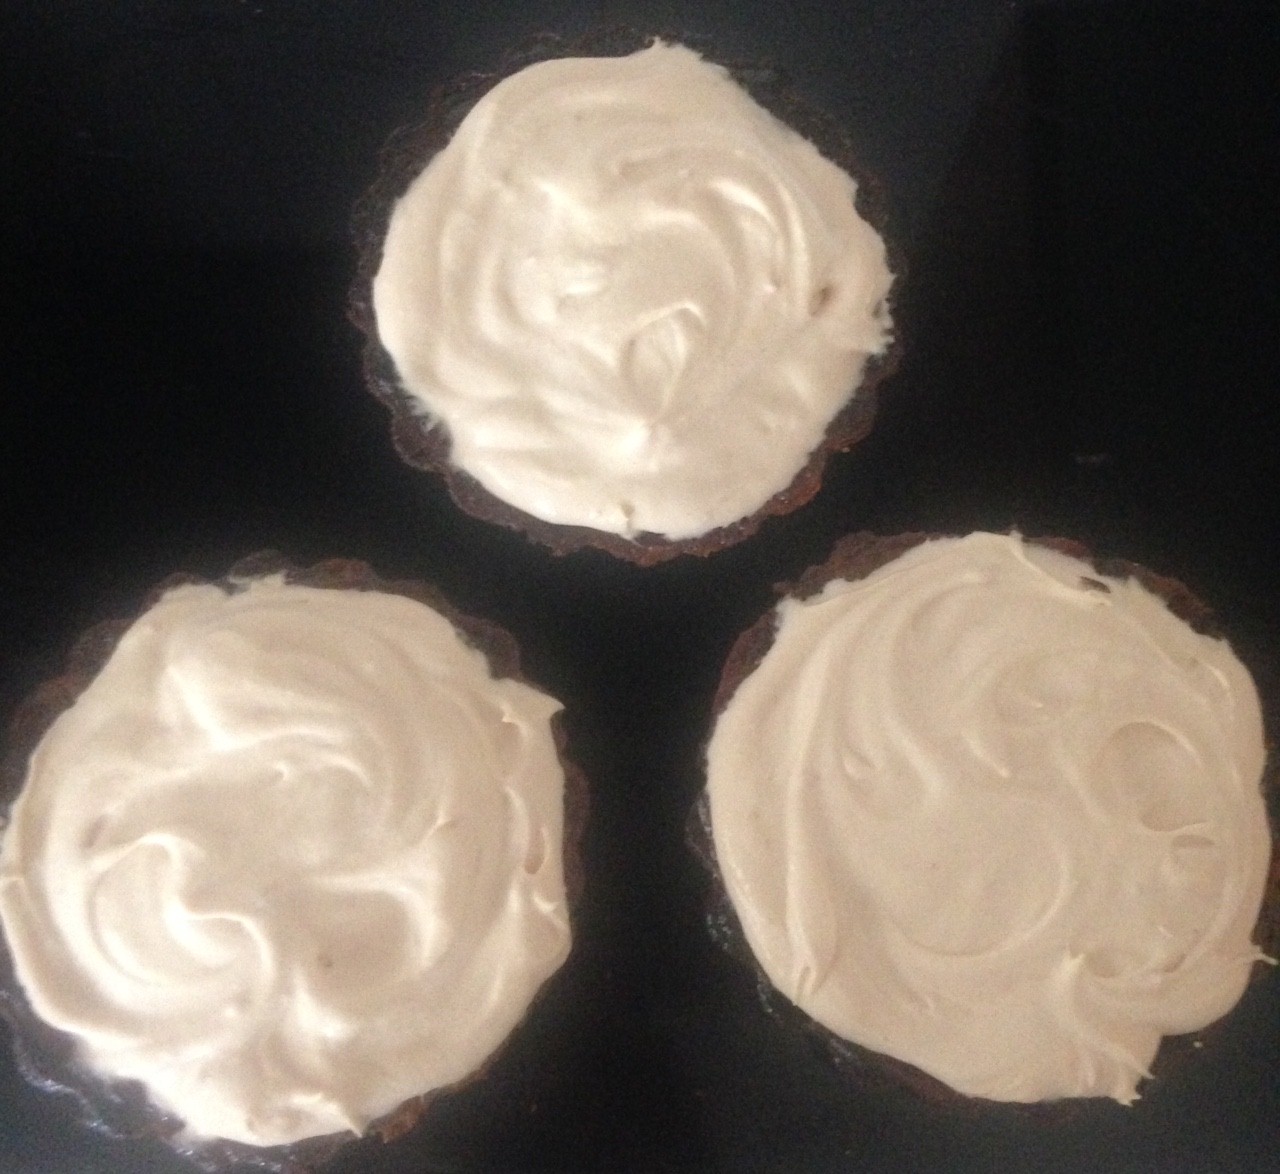
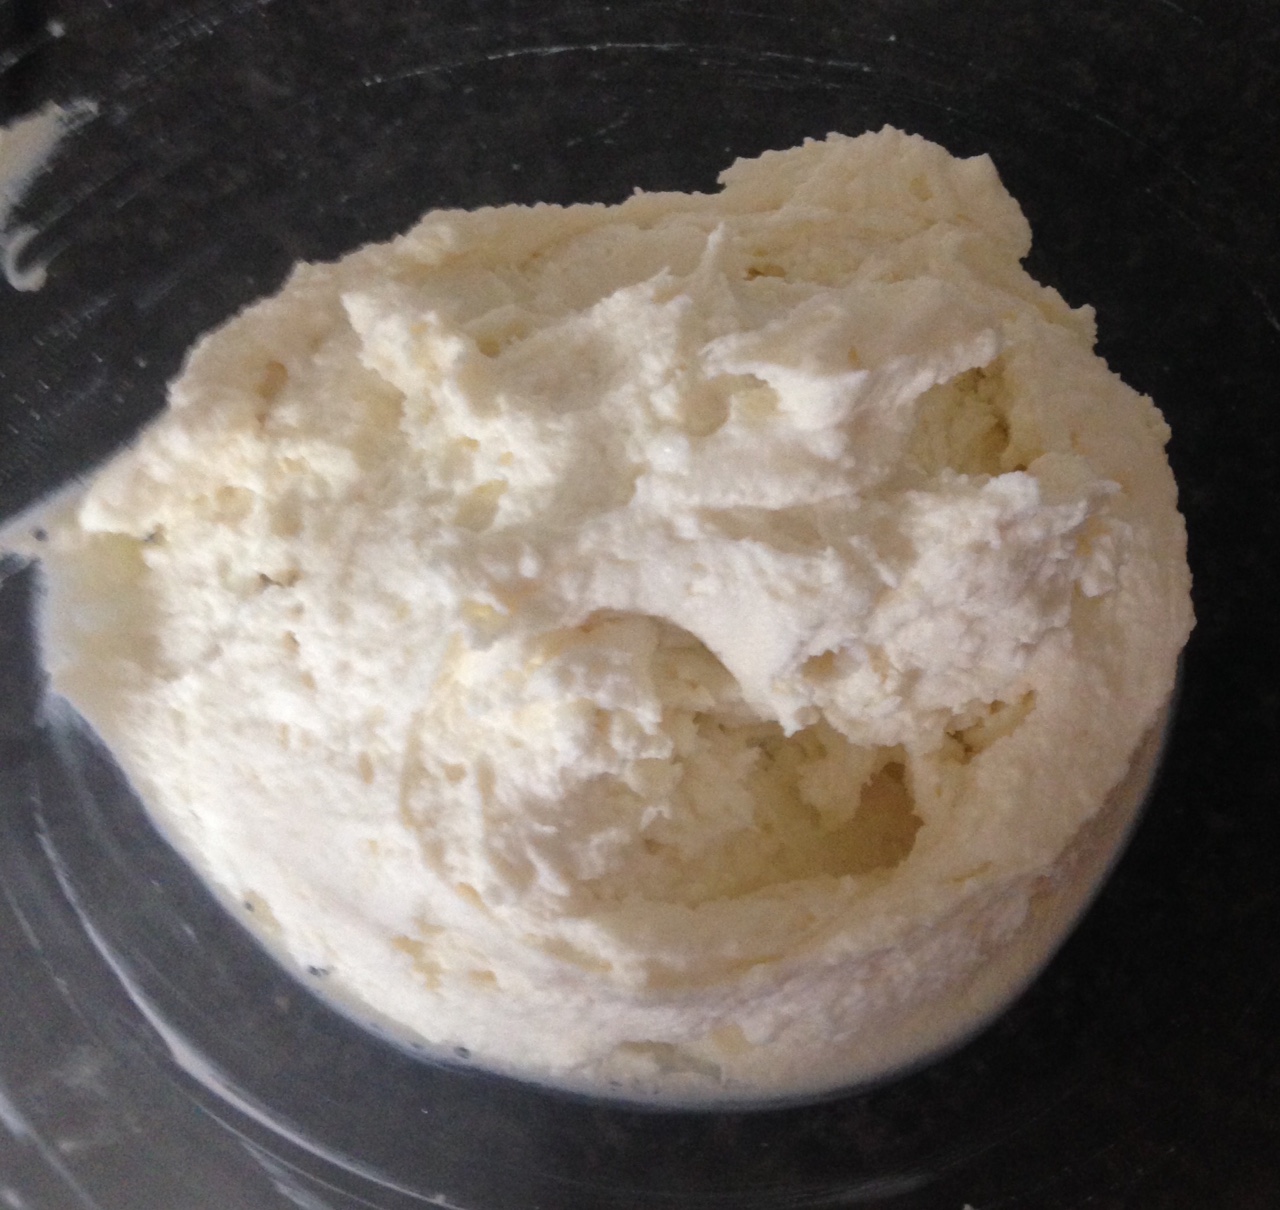
- Meanwhile make the icing by placing the ingredients into a bowl and using an electric beater whip until firm peaks form.
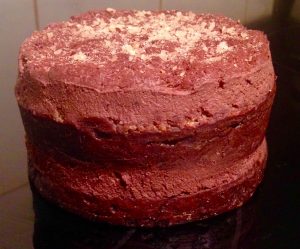
- Pull up the plastic wrap to remove the cake from the tin and invert onto a plate, remove the wrap.
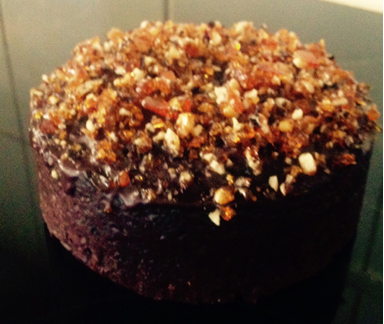
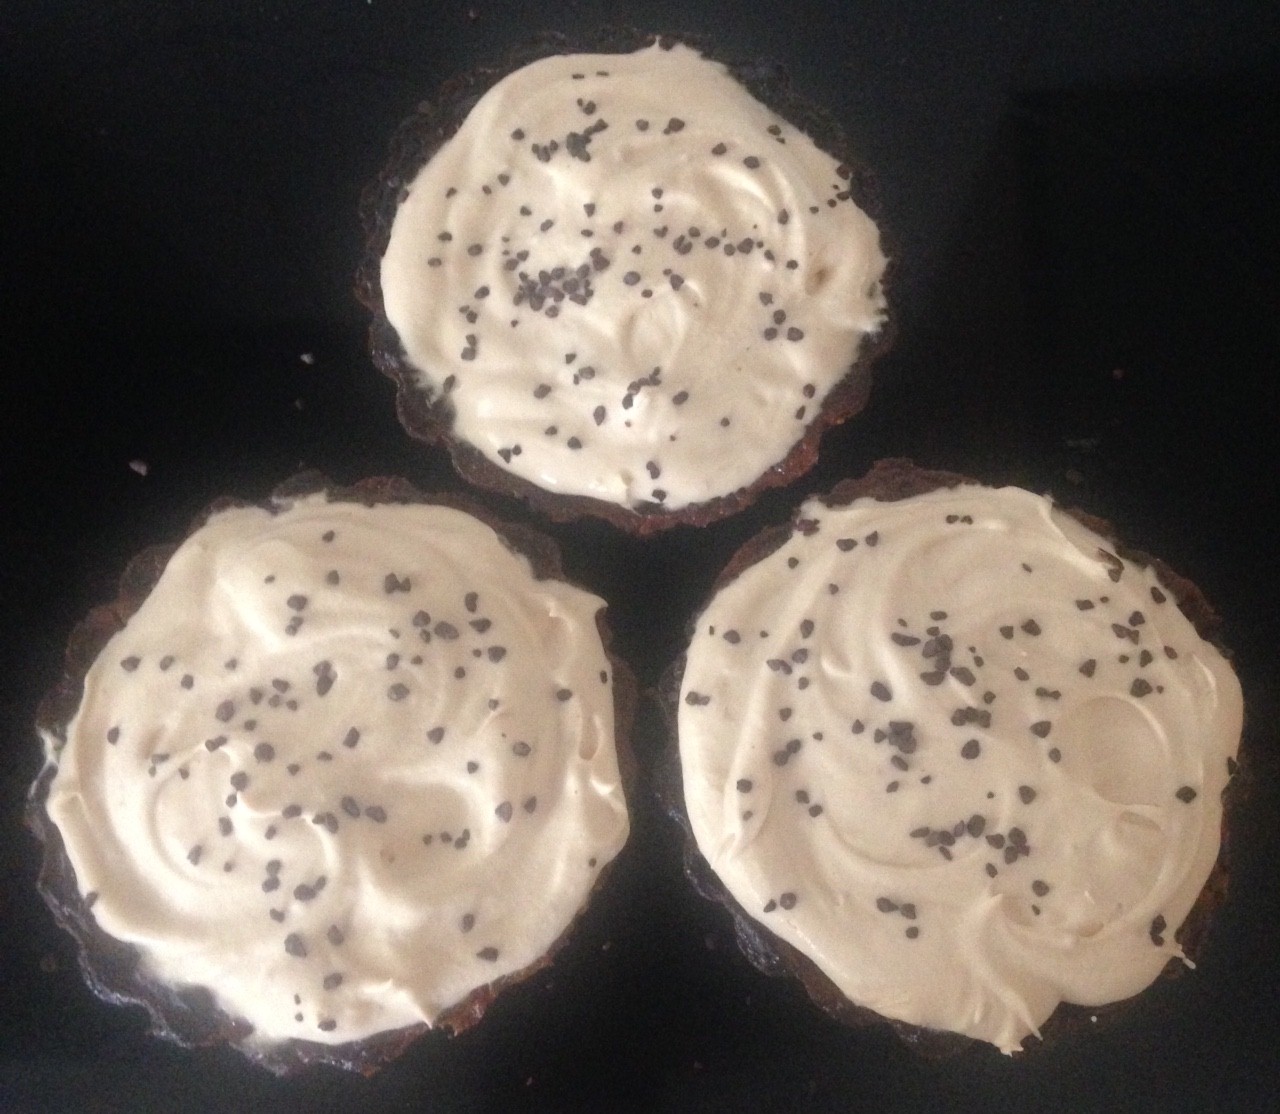
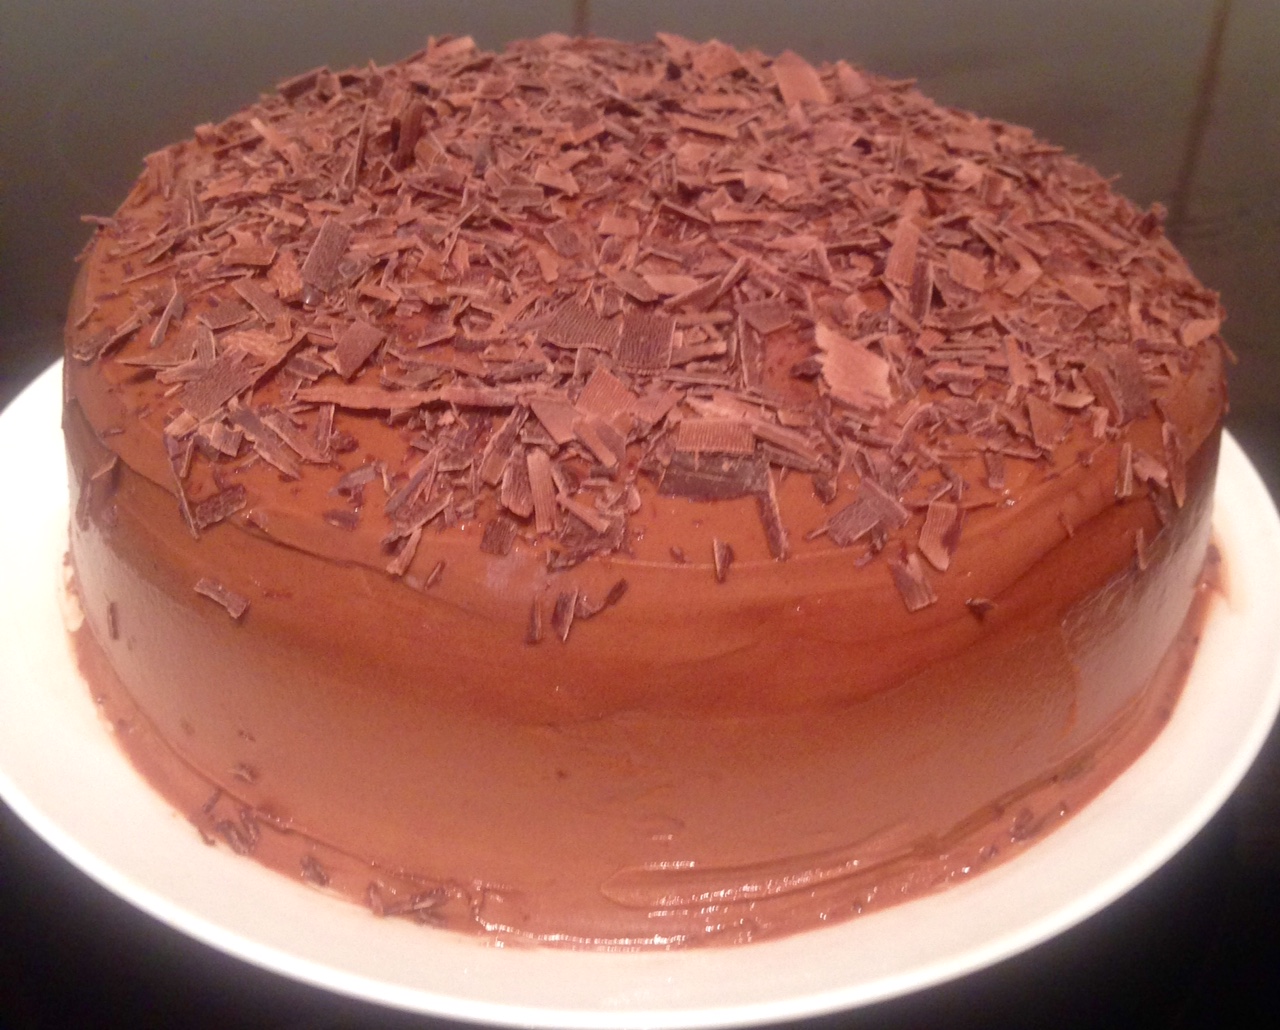
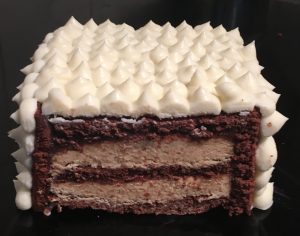
- Place the icing into a piping bag with a circle nozzle and pipe 5cm dots with peaks onto the top and cake sides of the cake.
- Place in the fridge for 2 hours to set.
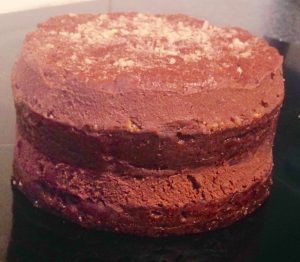
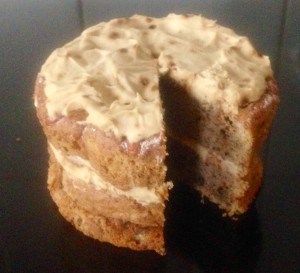
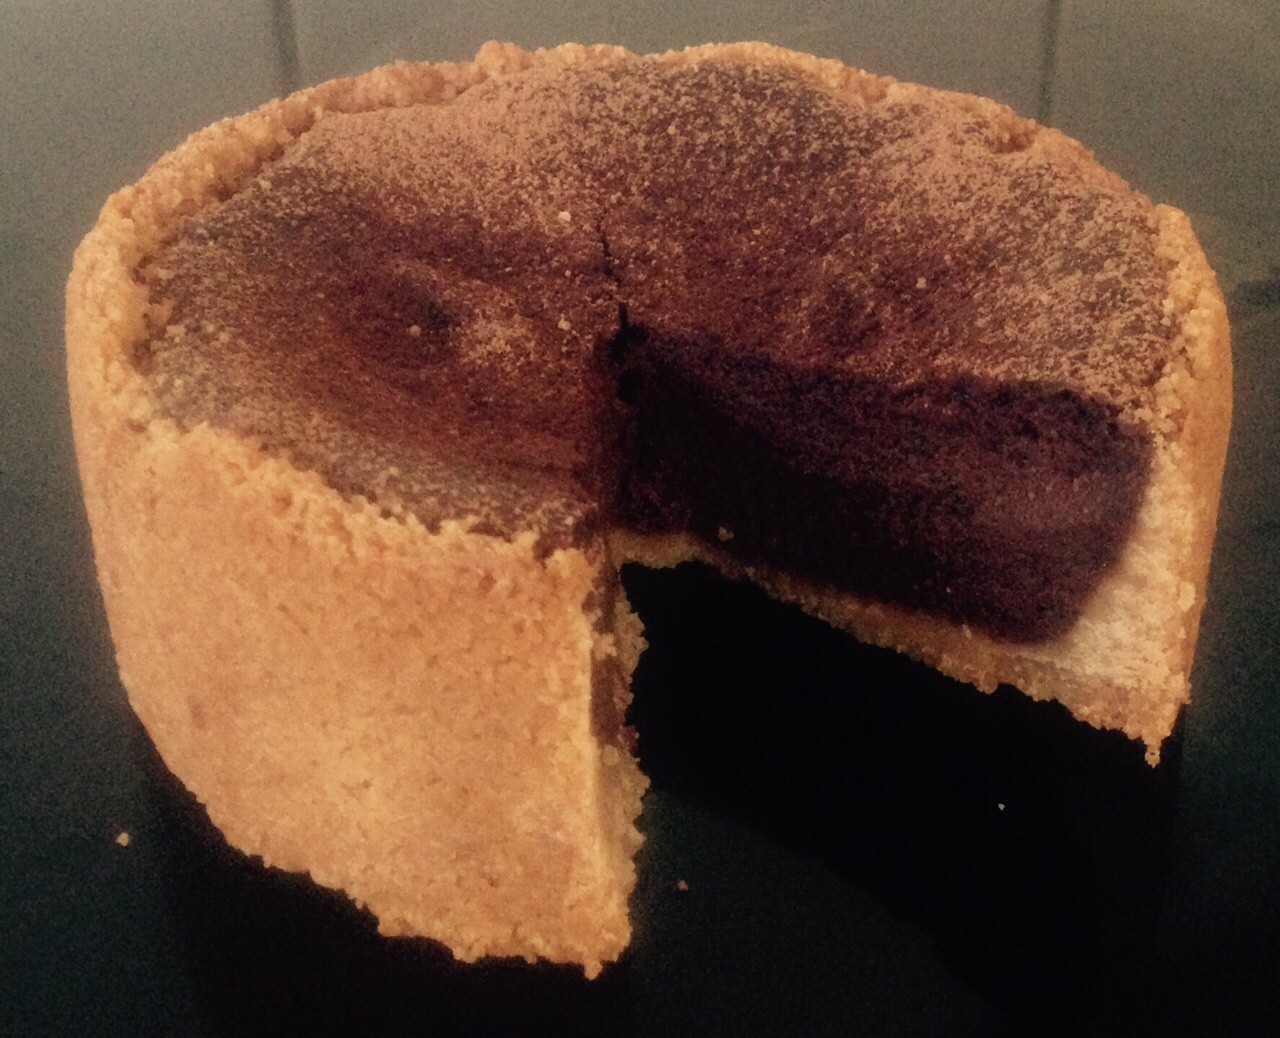
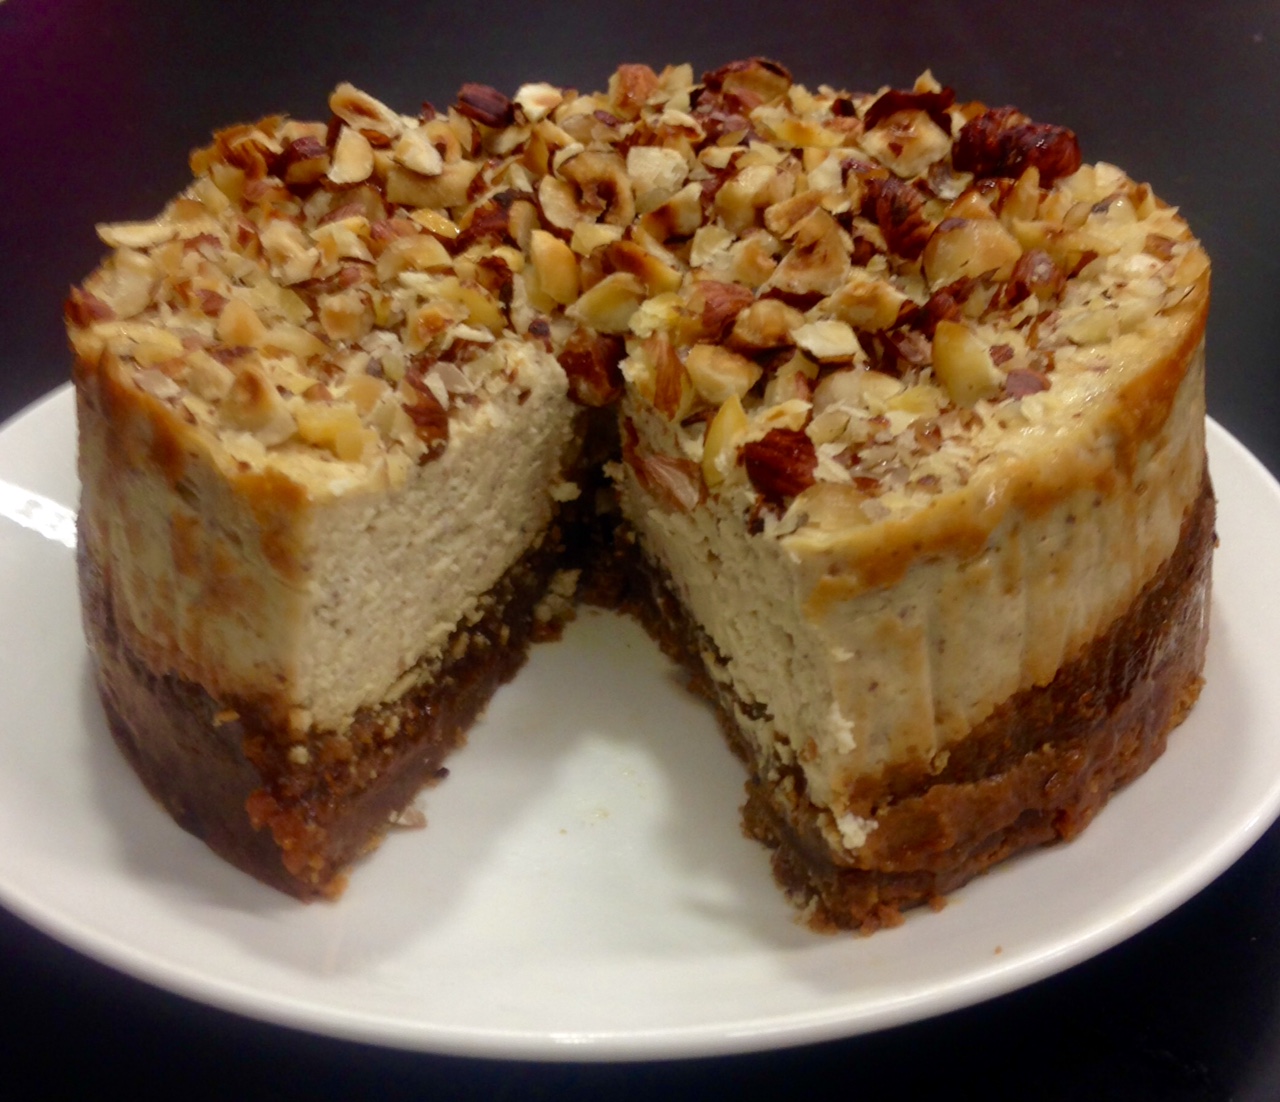
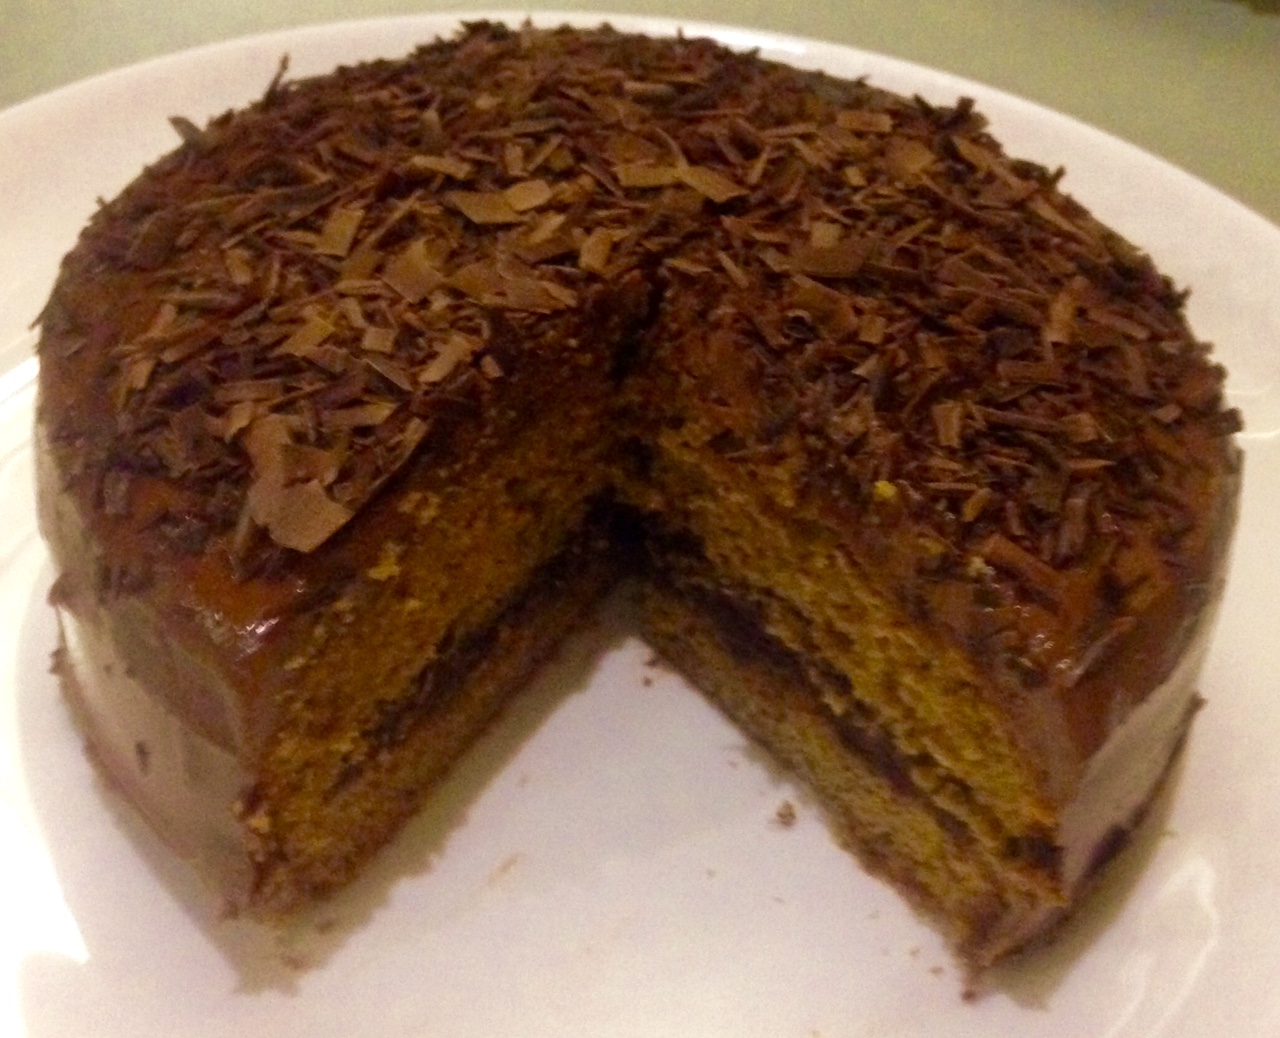
- Serve by slicing across the side with no cake to show the beautiful mousse cake and chocolate layers inside.
- Step 2
Step 4
Step 8
- Step 10
- Step 15
- Step 17
- Step 18
- Step 20
- Step 22
- Step 23
Like this recipe? Please subscribe via RSS or email to get my new entries and more scrumptious recipes with reviews.
 Follow