So my all-time favourite dessert in the world is Tiramisu. Coffee, chocolate and Marsala is there a better flavour combo in the world? (I don’t think so)!
This got me thinking about other desserts that hold similar flavours, where I was led to the Devil’s Food Cake. This cake has many variations, some with red food colouring, some with beetroots for the colour, some with coffee, some with chocolate, and some with only cocoa powder for the taste.
After assessing variations I decided on my ingredients mix that would provide the most rich (but not too sweet) result with a lovely dense texture.
To do this I have elected for coca powder and only used chocolate in the icing. I have a good amount of coffee, which complements and amplifies the chocolate taste. Also I have used sour cream for the icing to pull back the sweetness again (as the icing is mostly chocolate).

Devil’s Food Cake
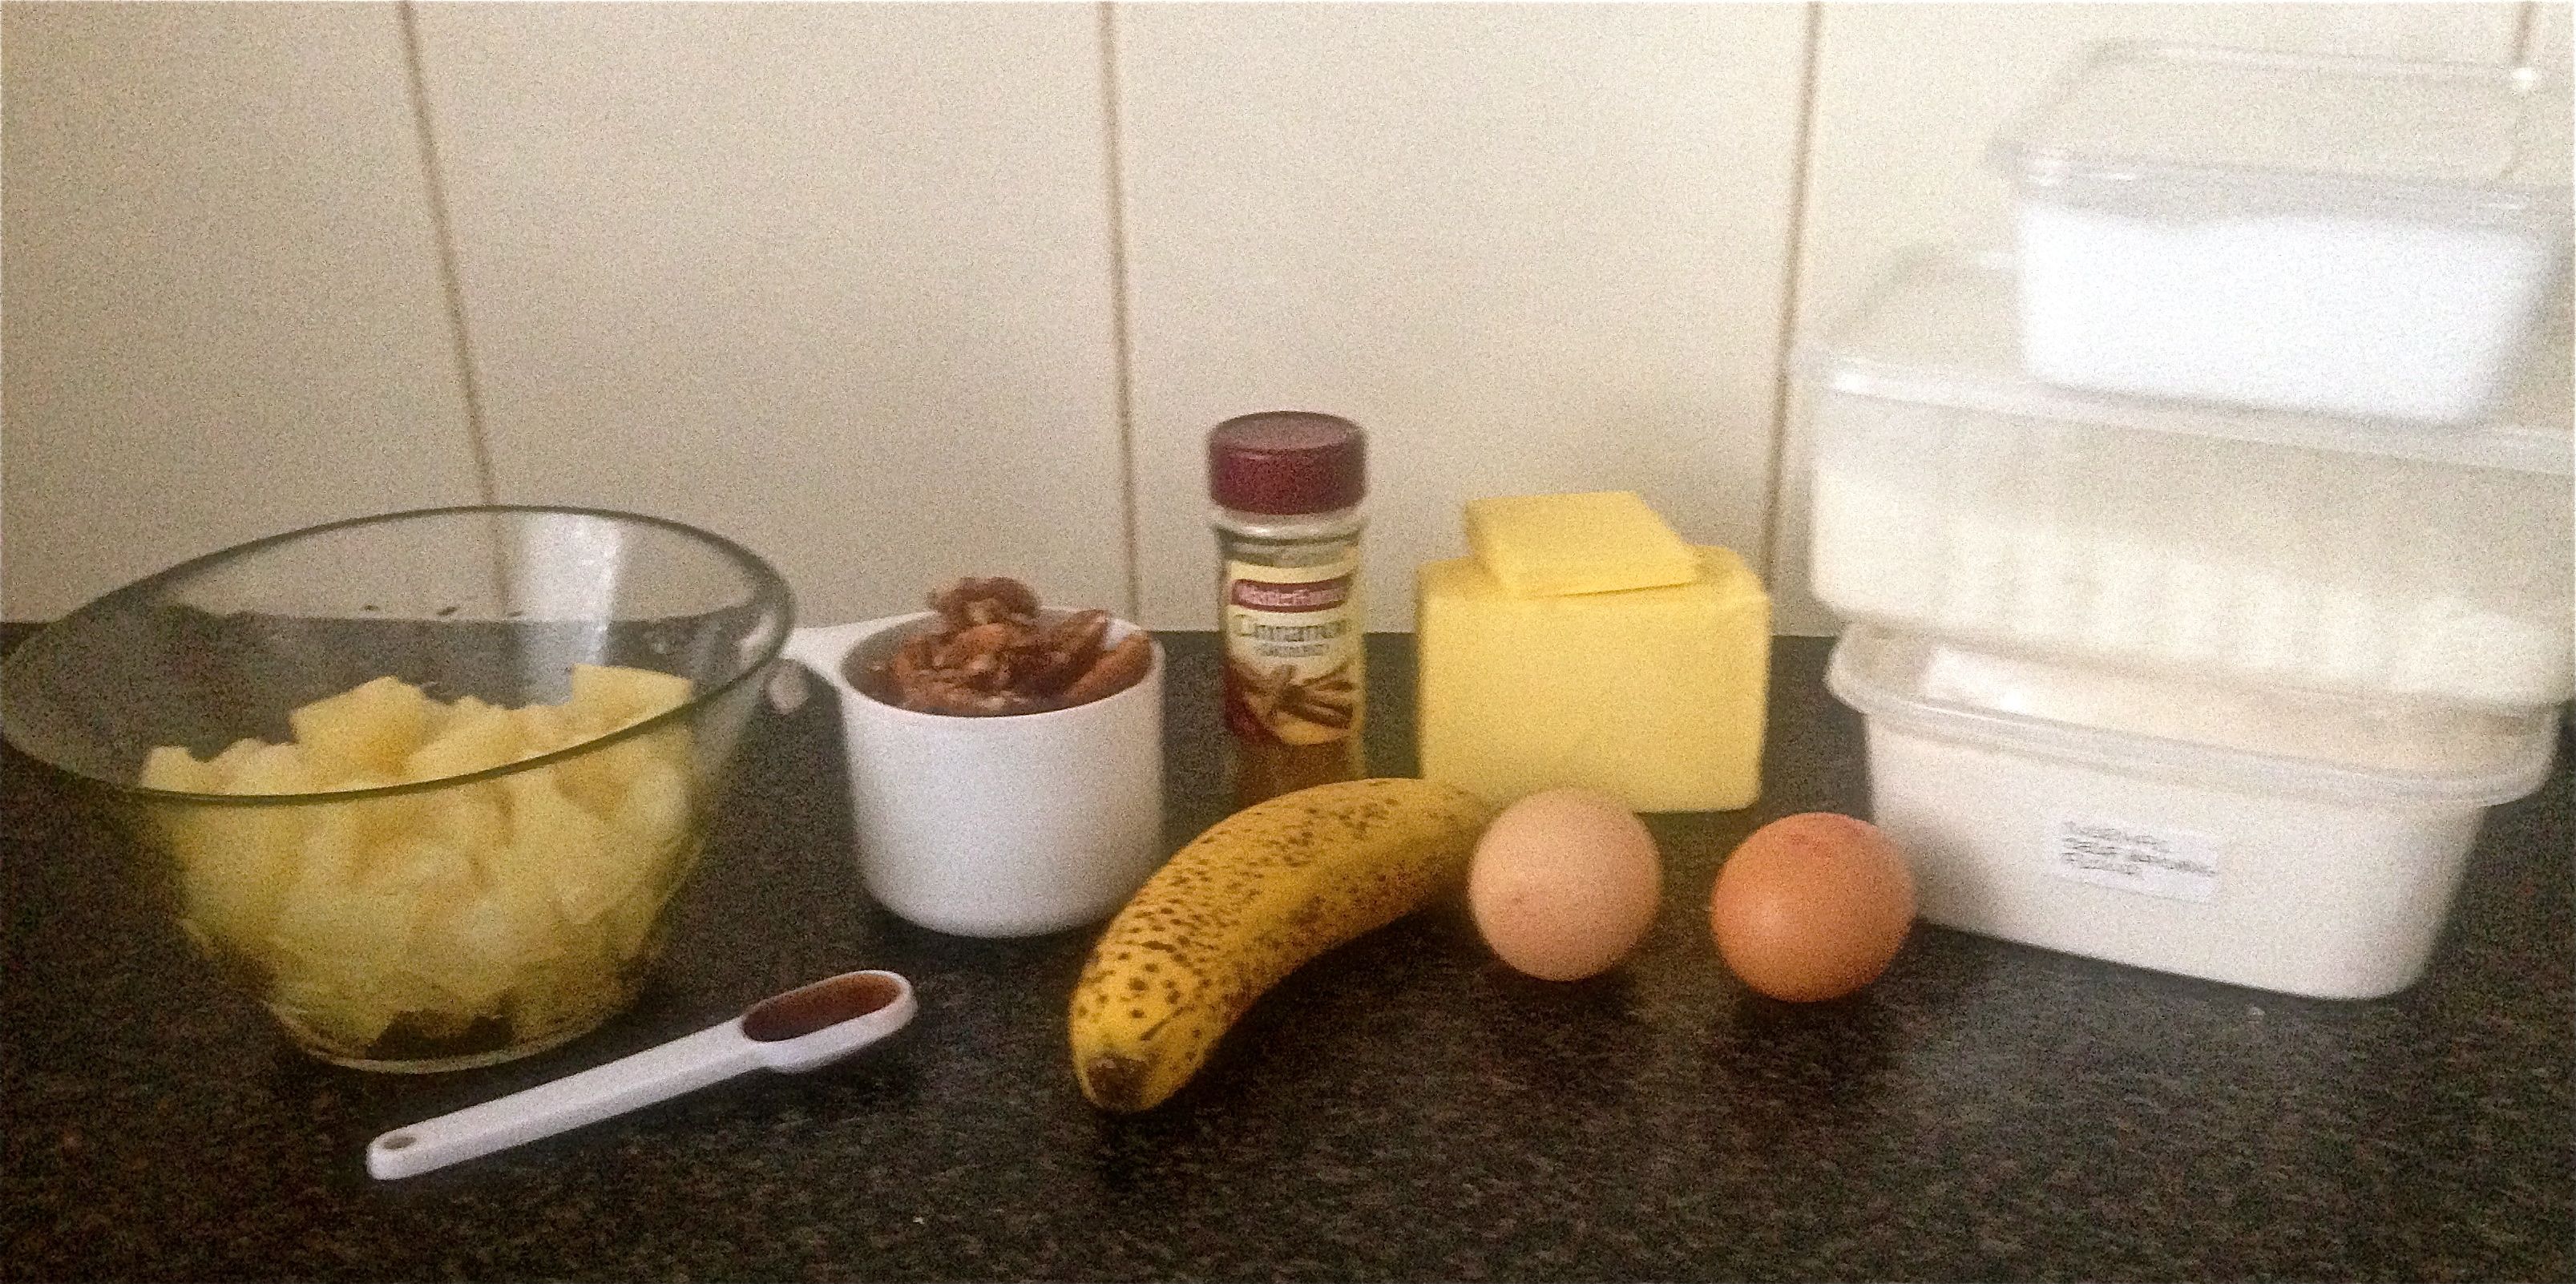
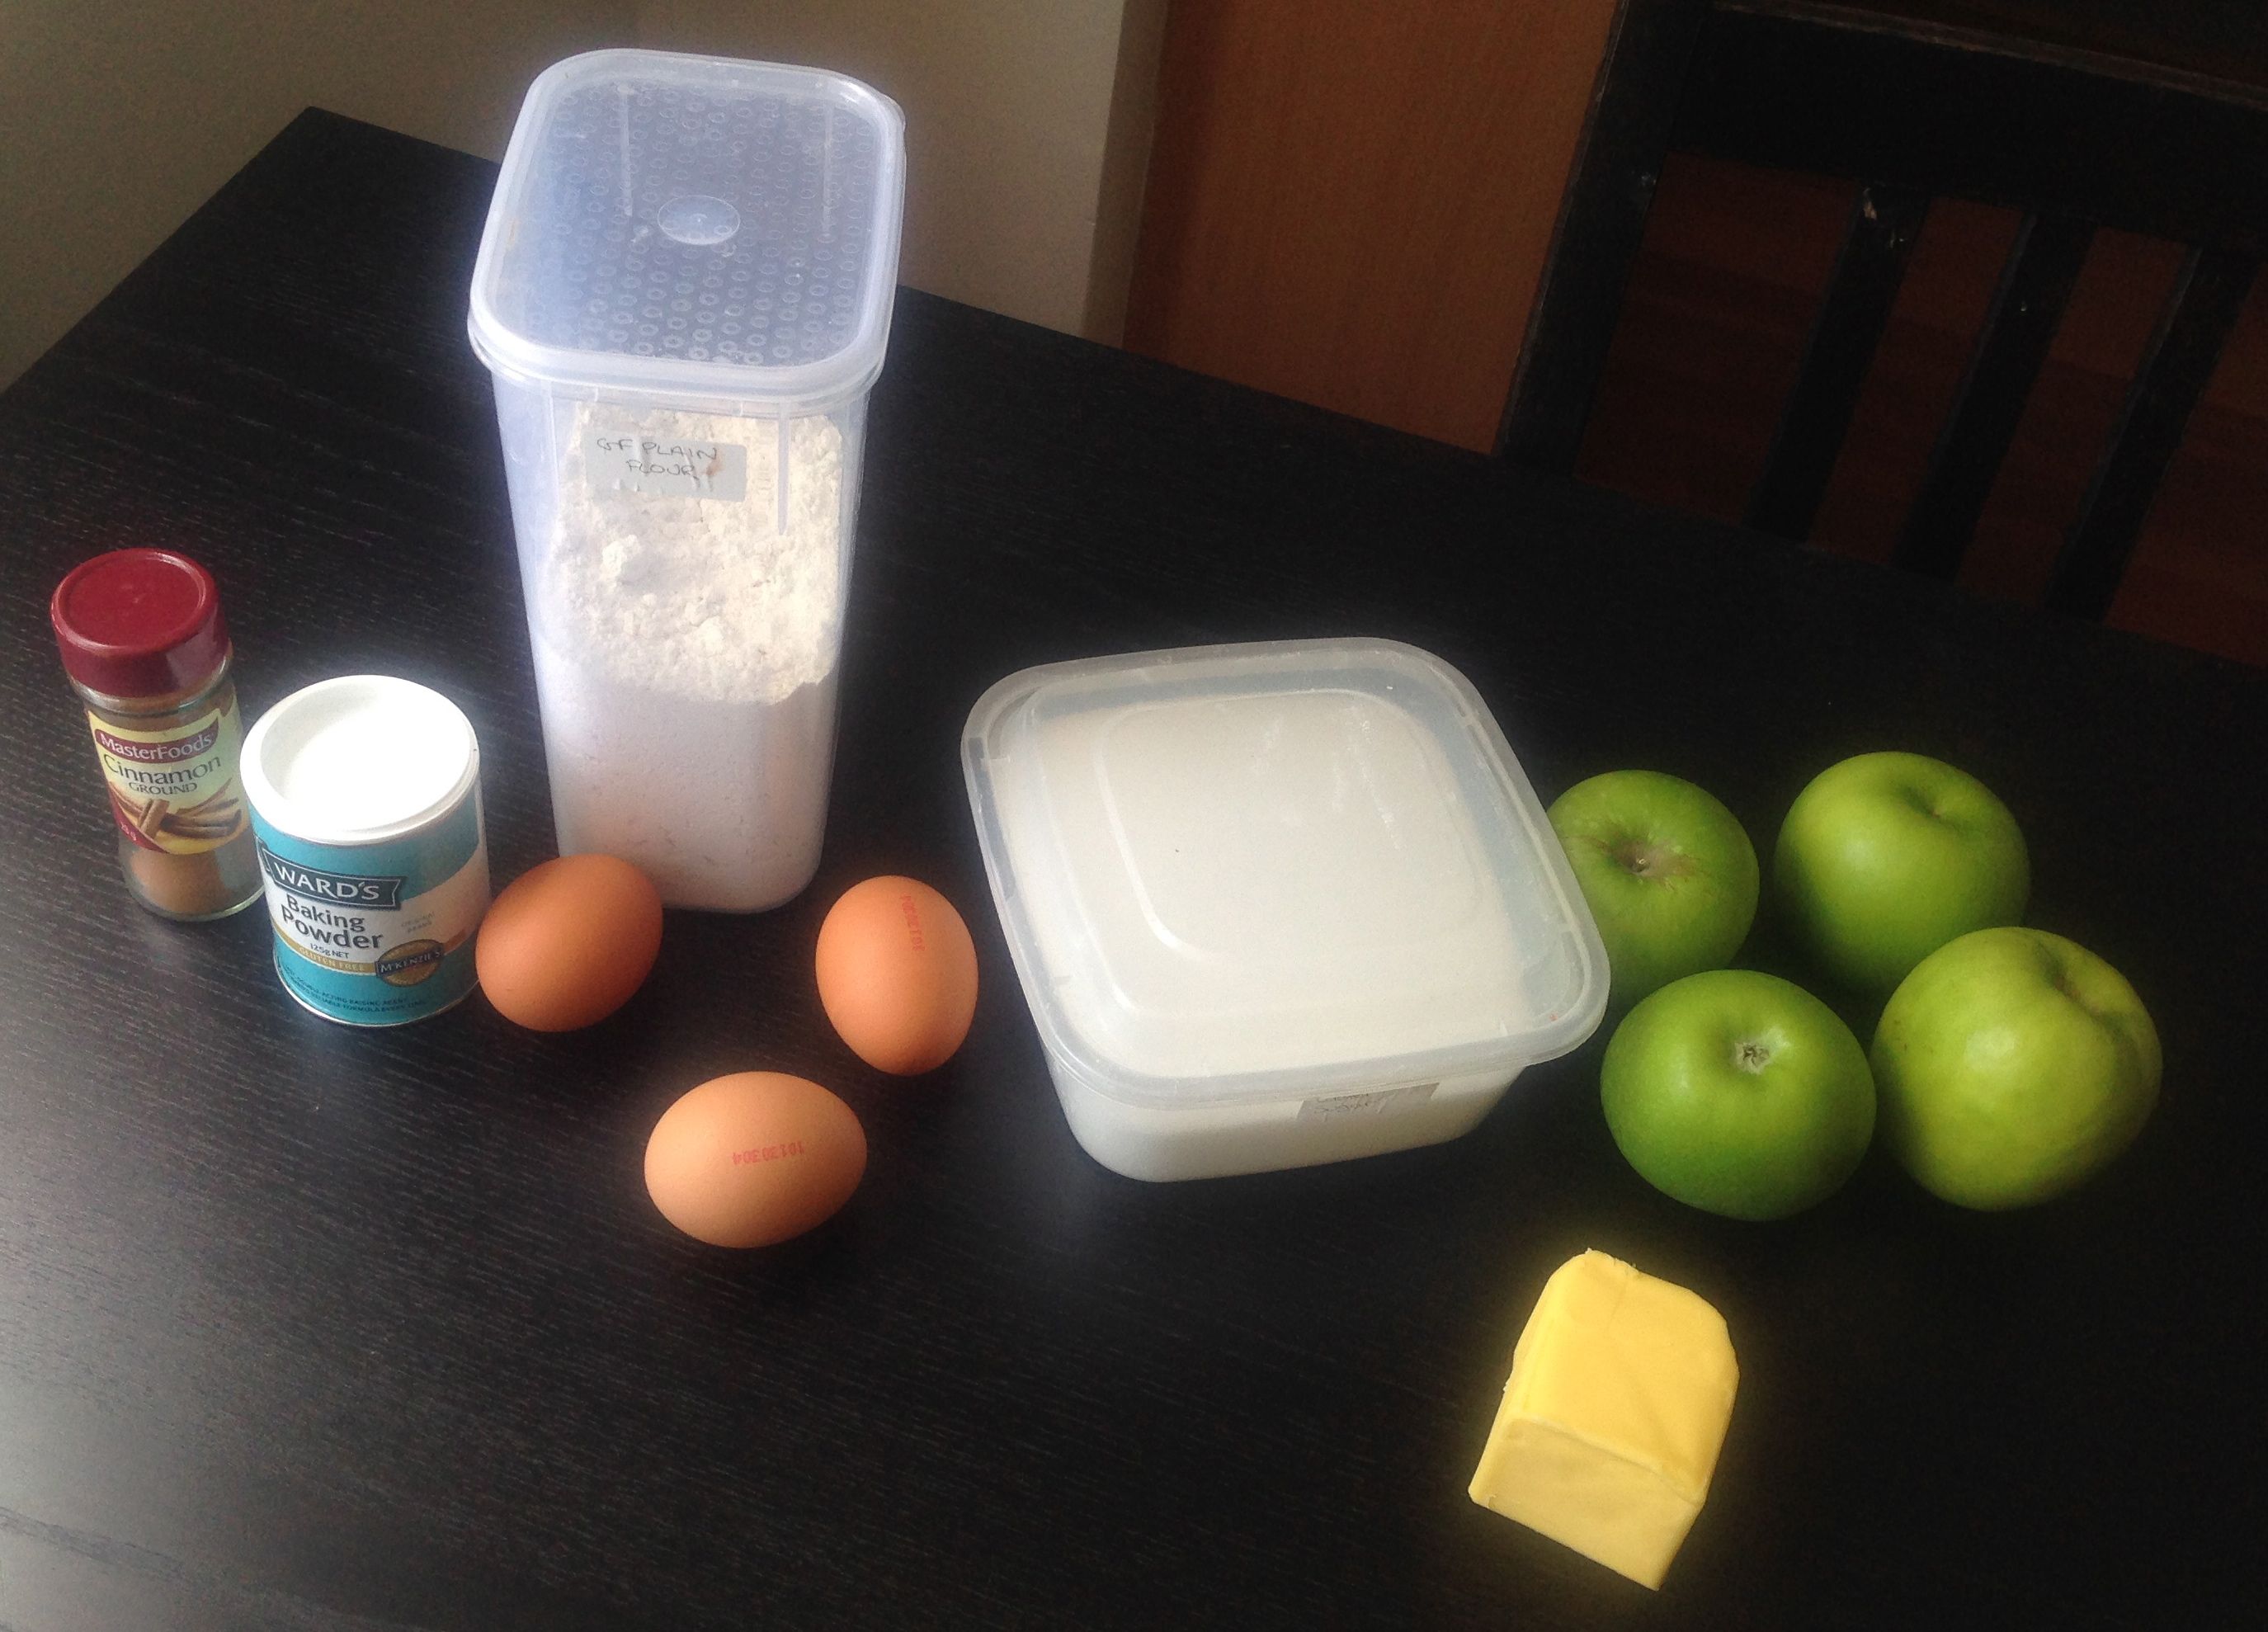
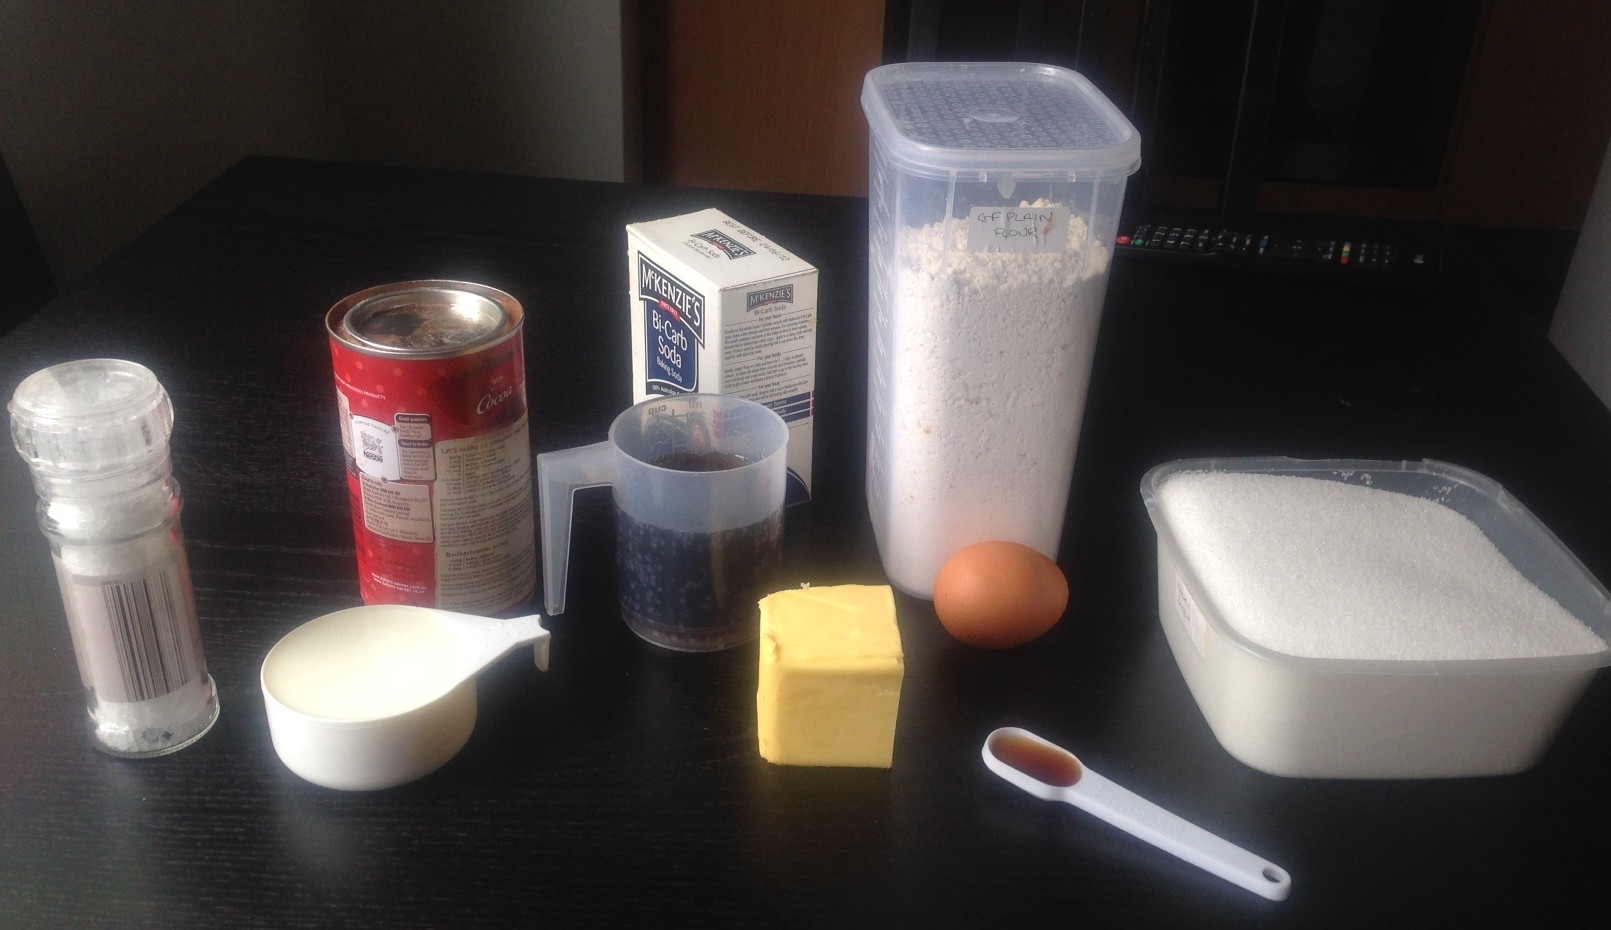
Ingredients
- 180g butter
- 1 1/2 cups caster sugar
- 2 tsn vanilla essence
- 3 eggs
- 1 1/3 cups self-raising flour
- 1/2 cup plain flour
- 2/3 cup cocoa powder
- 1/2 tsn bicarbonate of soda
- 4 tsn (5 if you are a coffee fan) instant espresso coffee powder
- 5 drops red food colouring
- 1/3 cup water
- 1/3 cup milk
Chocolate ganache
- 300g dark chocolate
- 3/4 cup sour cream
Method:
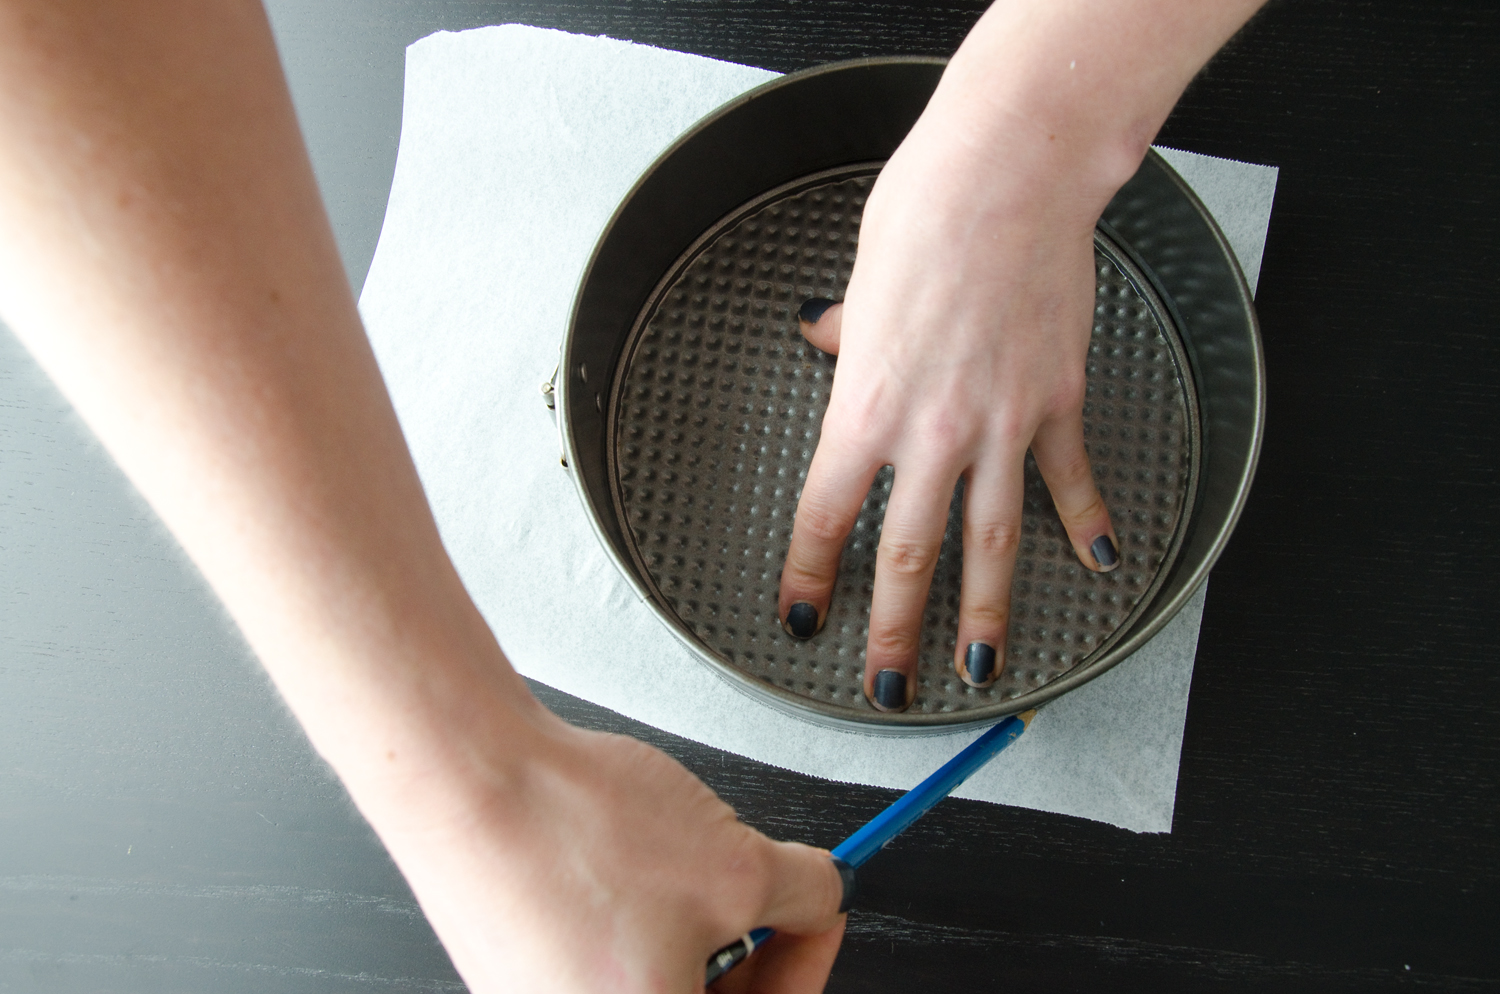
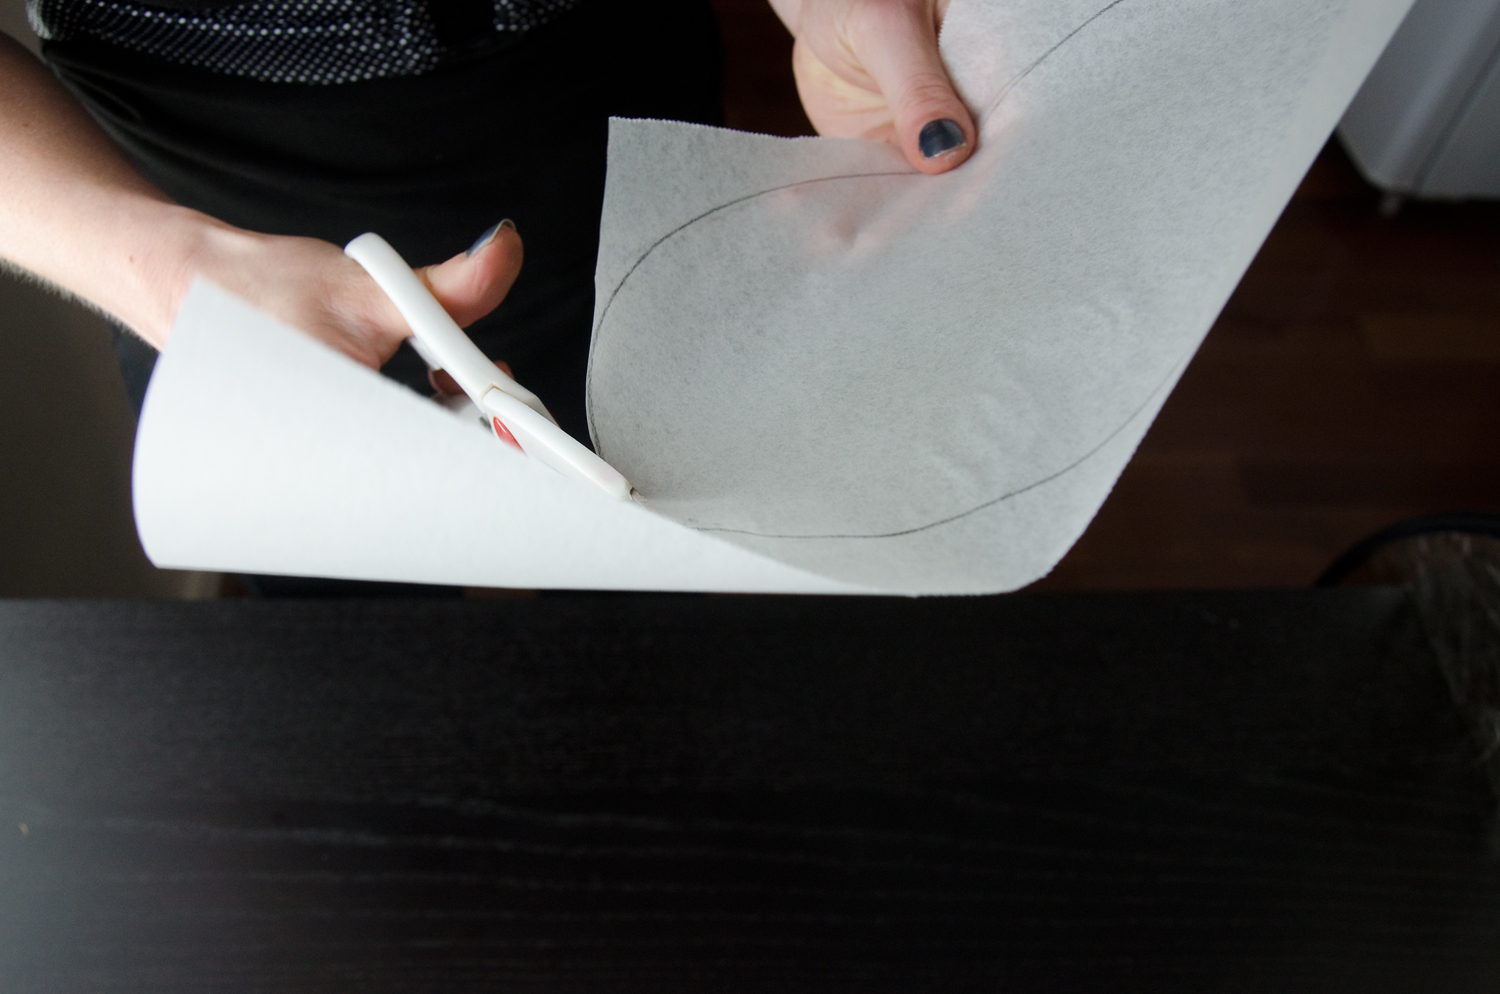
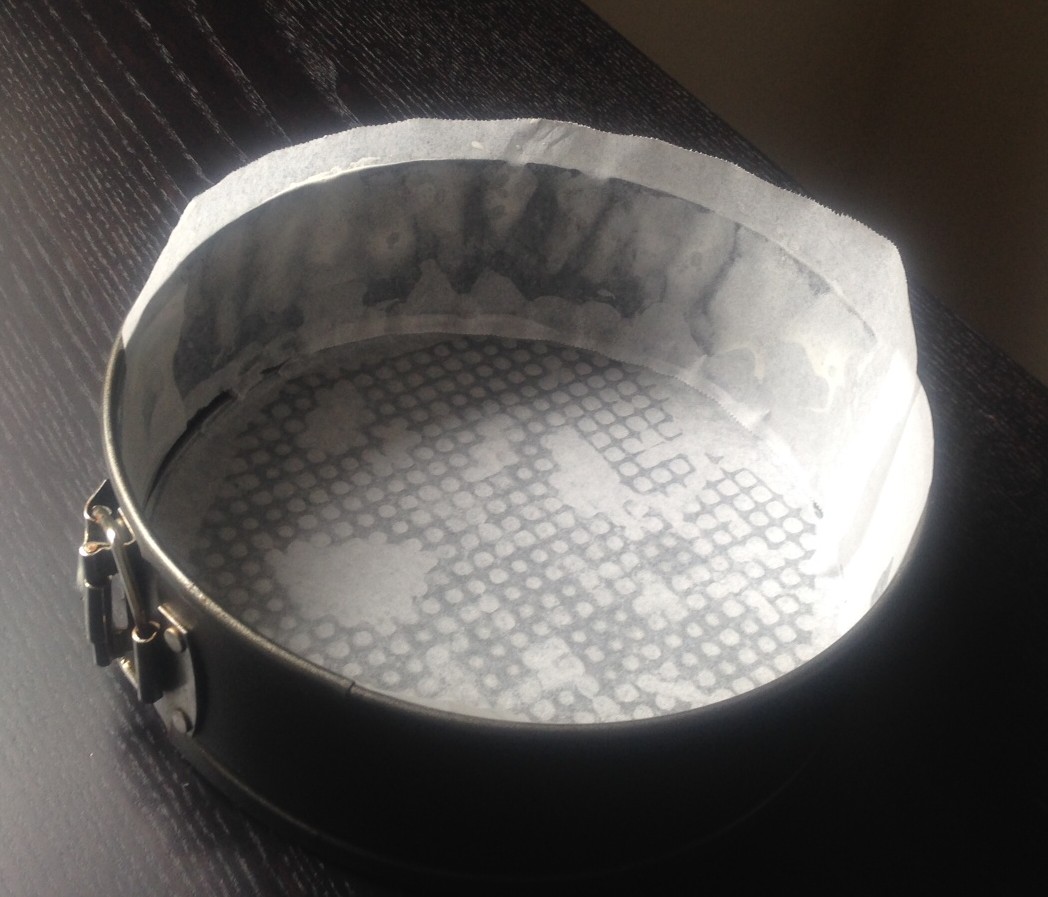
- Preheat the oven to 180c and line a 23cm round cake tin with baking paper.
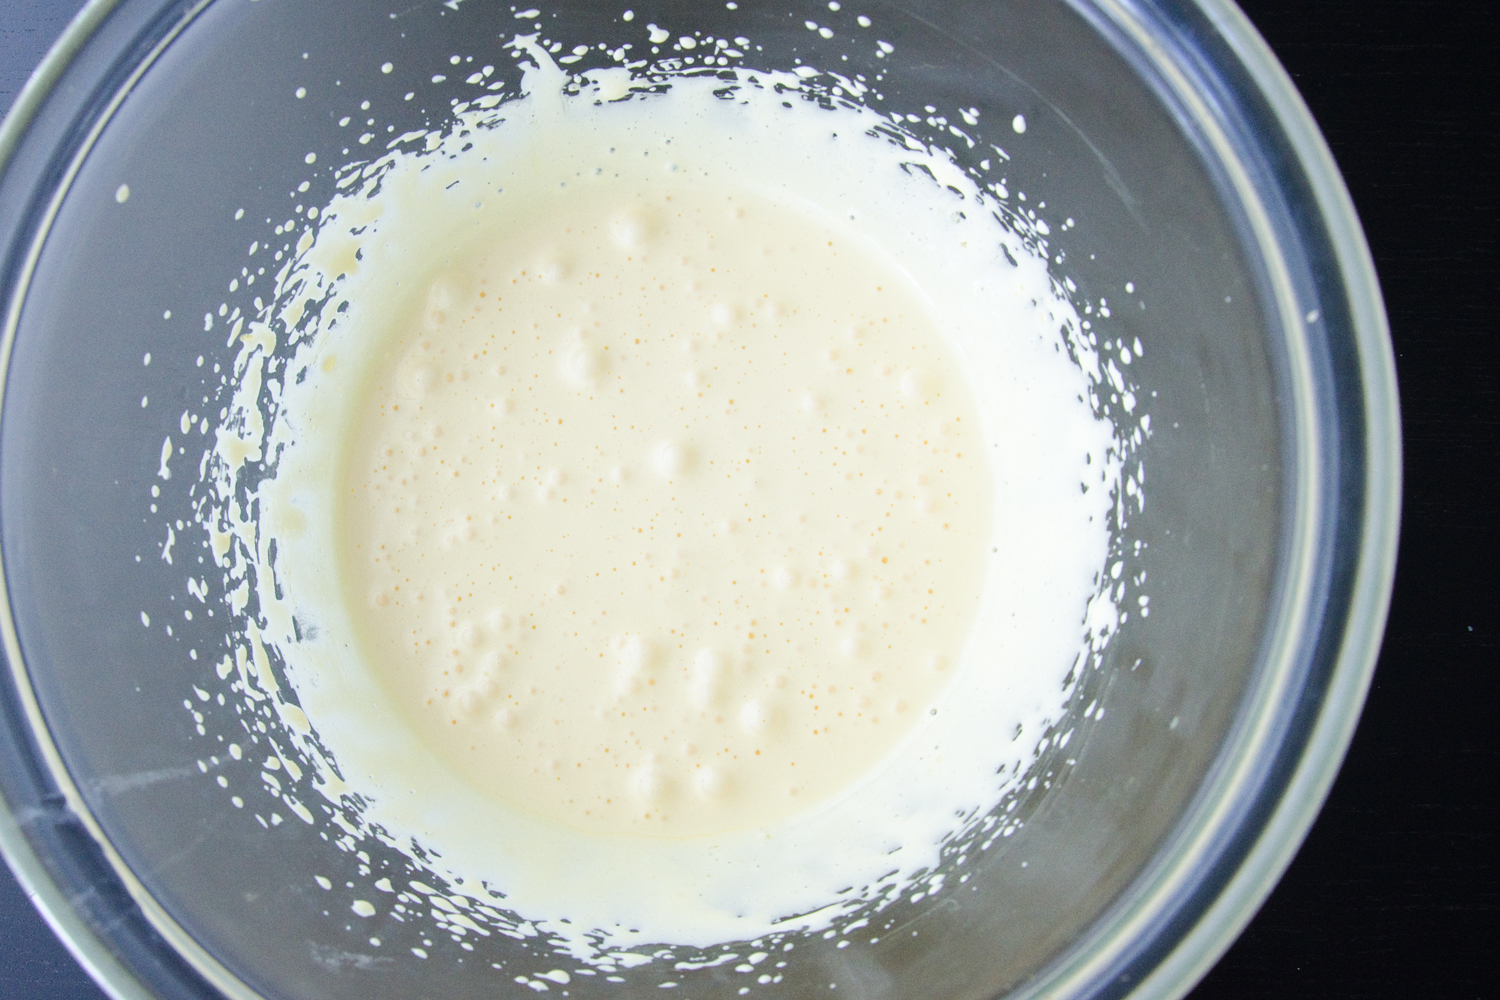
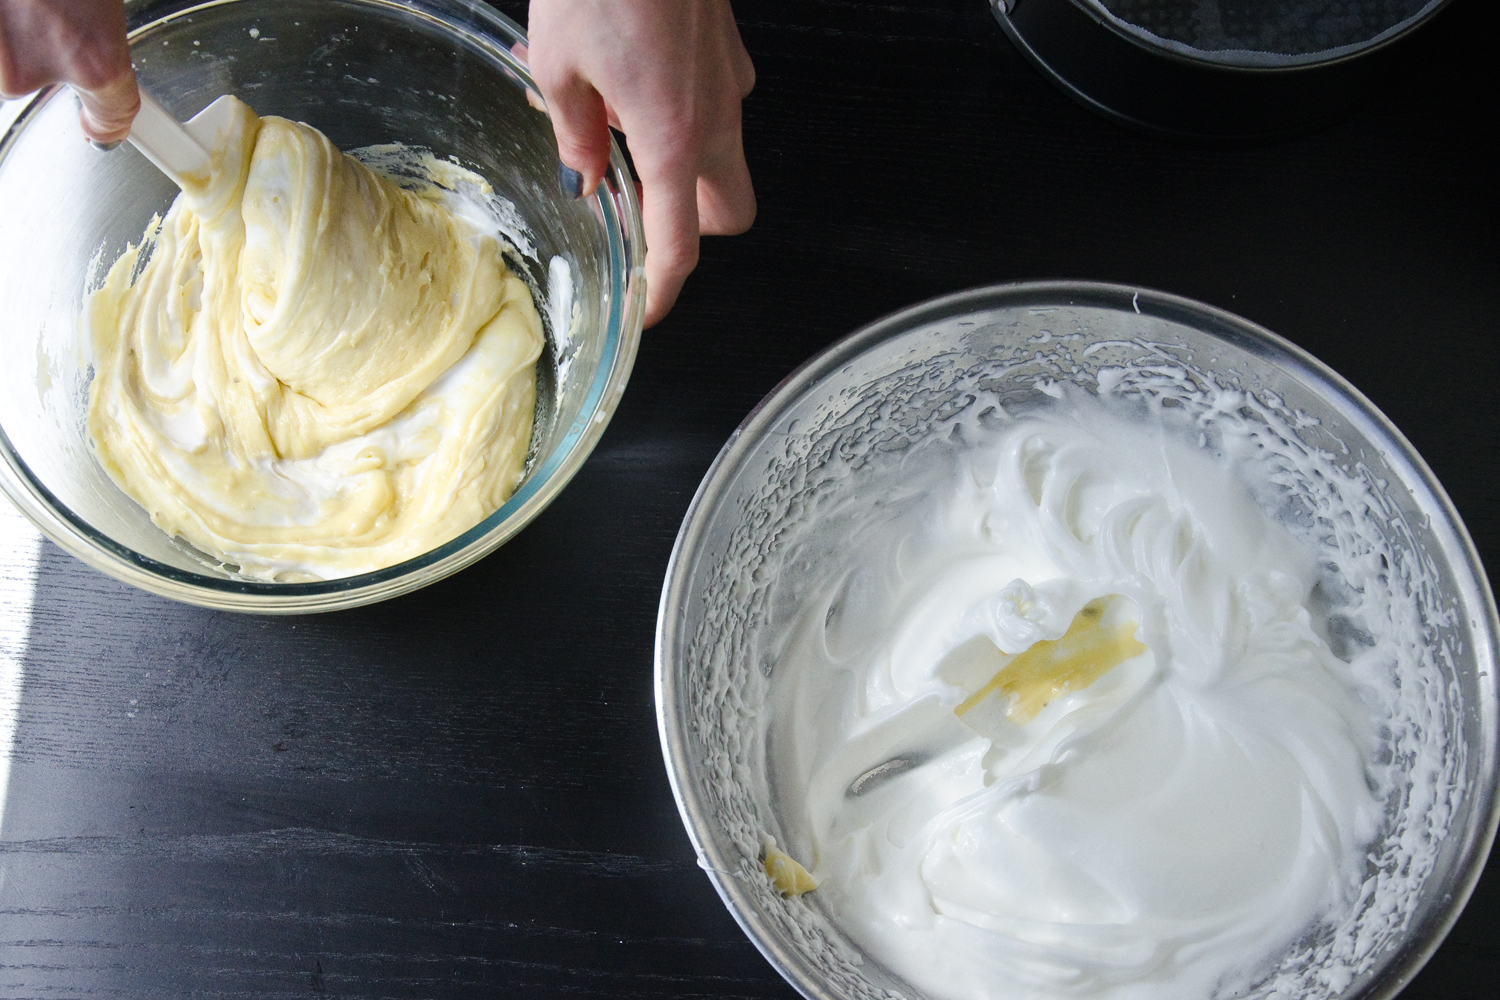
- Using electric beaters beat the butter, sugar and essence for 5 mins or until it is light and fluffy.
- Add in the eggs one at a time and ensure you beat thoroughly between each addition.
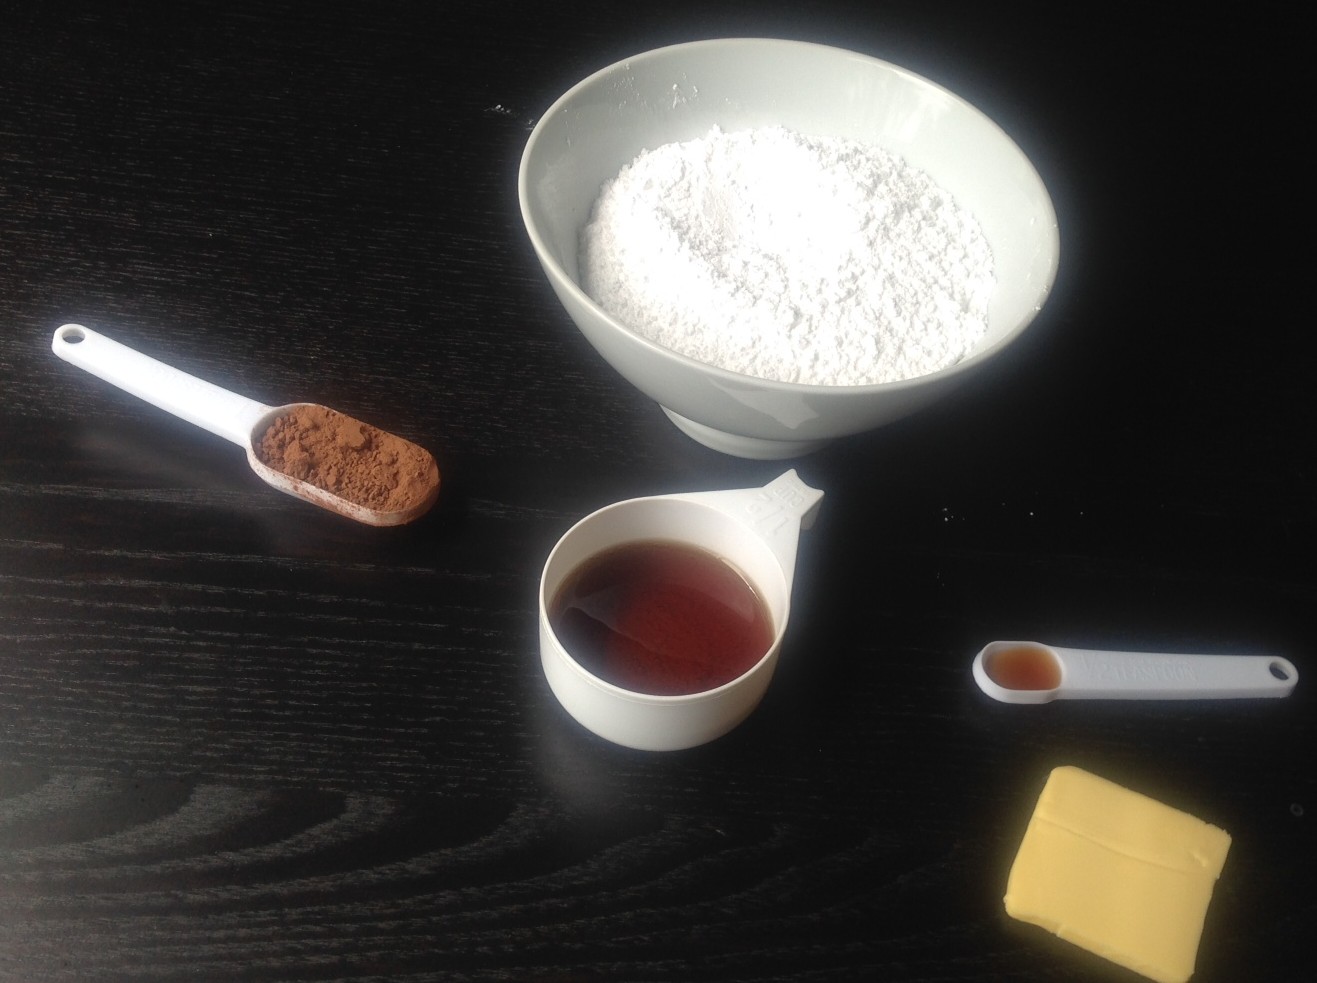
- Sift in the flours, cocoa powder and bicarbonate of soda into the sugar mix, stir.
- Add 3 tsn of the coffee powder to the water, stir.
- Add remaining tsn of coffee powder to the mix as well as the food colouring, water mix and milk.
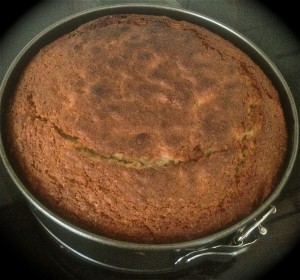
- Pour mixture into prepared pan and bake for 1 hour and 15 minutes or until a skewer inserted in the center comes out clean.
- Once cooked leave the cake in the tin for 5 mins, then place onto a cooling rack to cool.
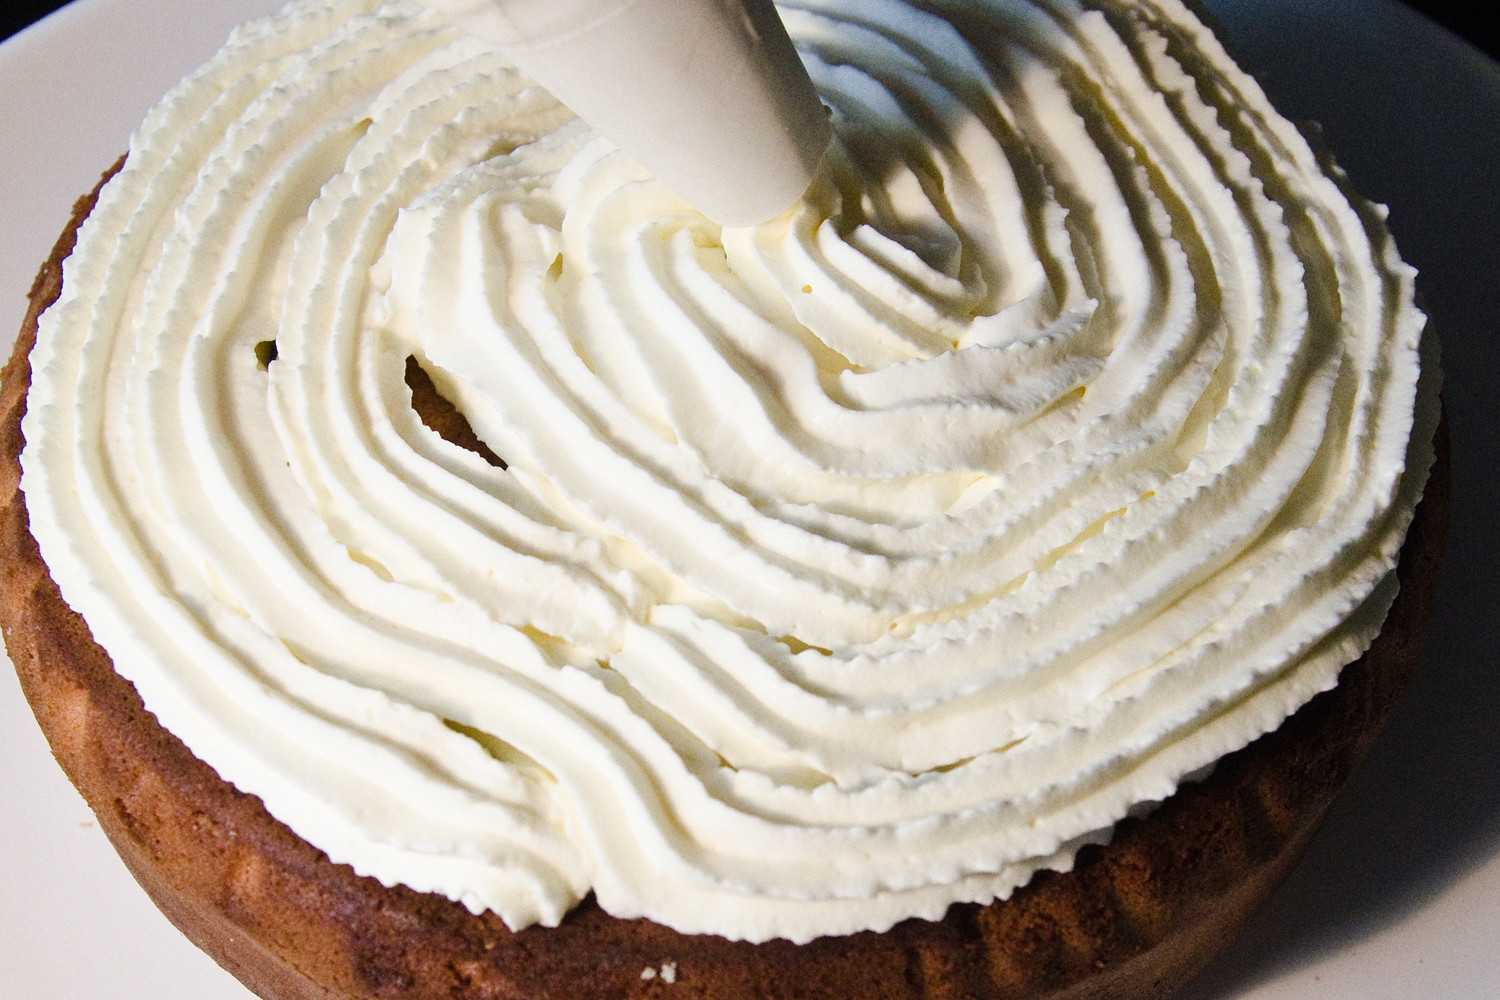
- To make the chocolate ganache place the chocolate in a microwave-safe bowl. Microwave on medium (50%) for 1 minute, and then stir every 30 secs with a spoon until just melted. Following stir in sour cream.
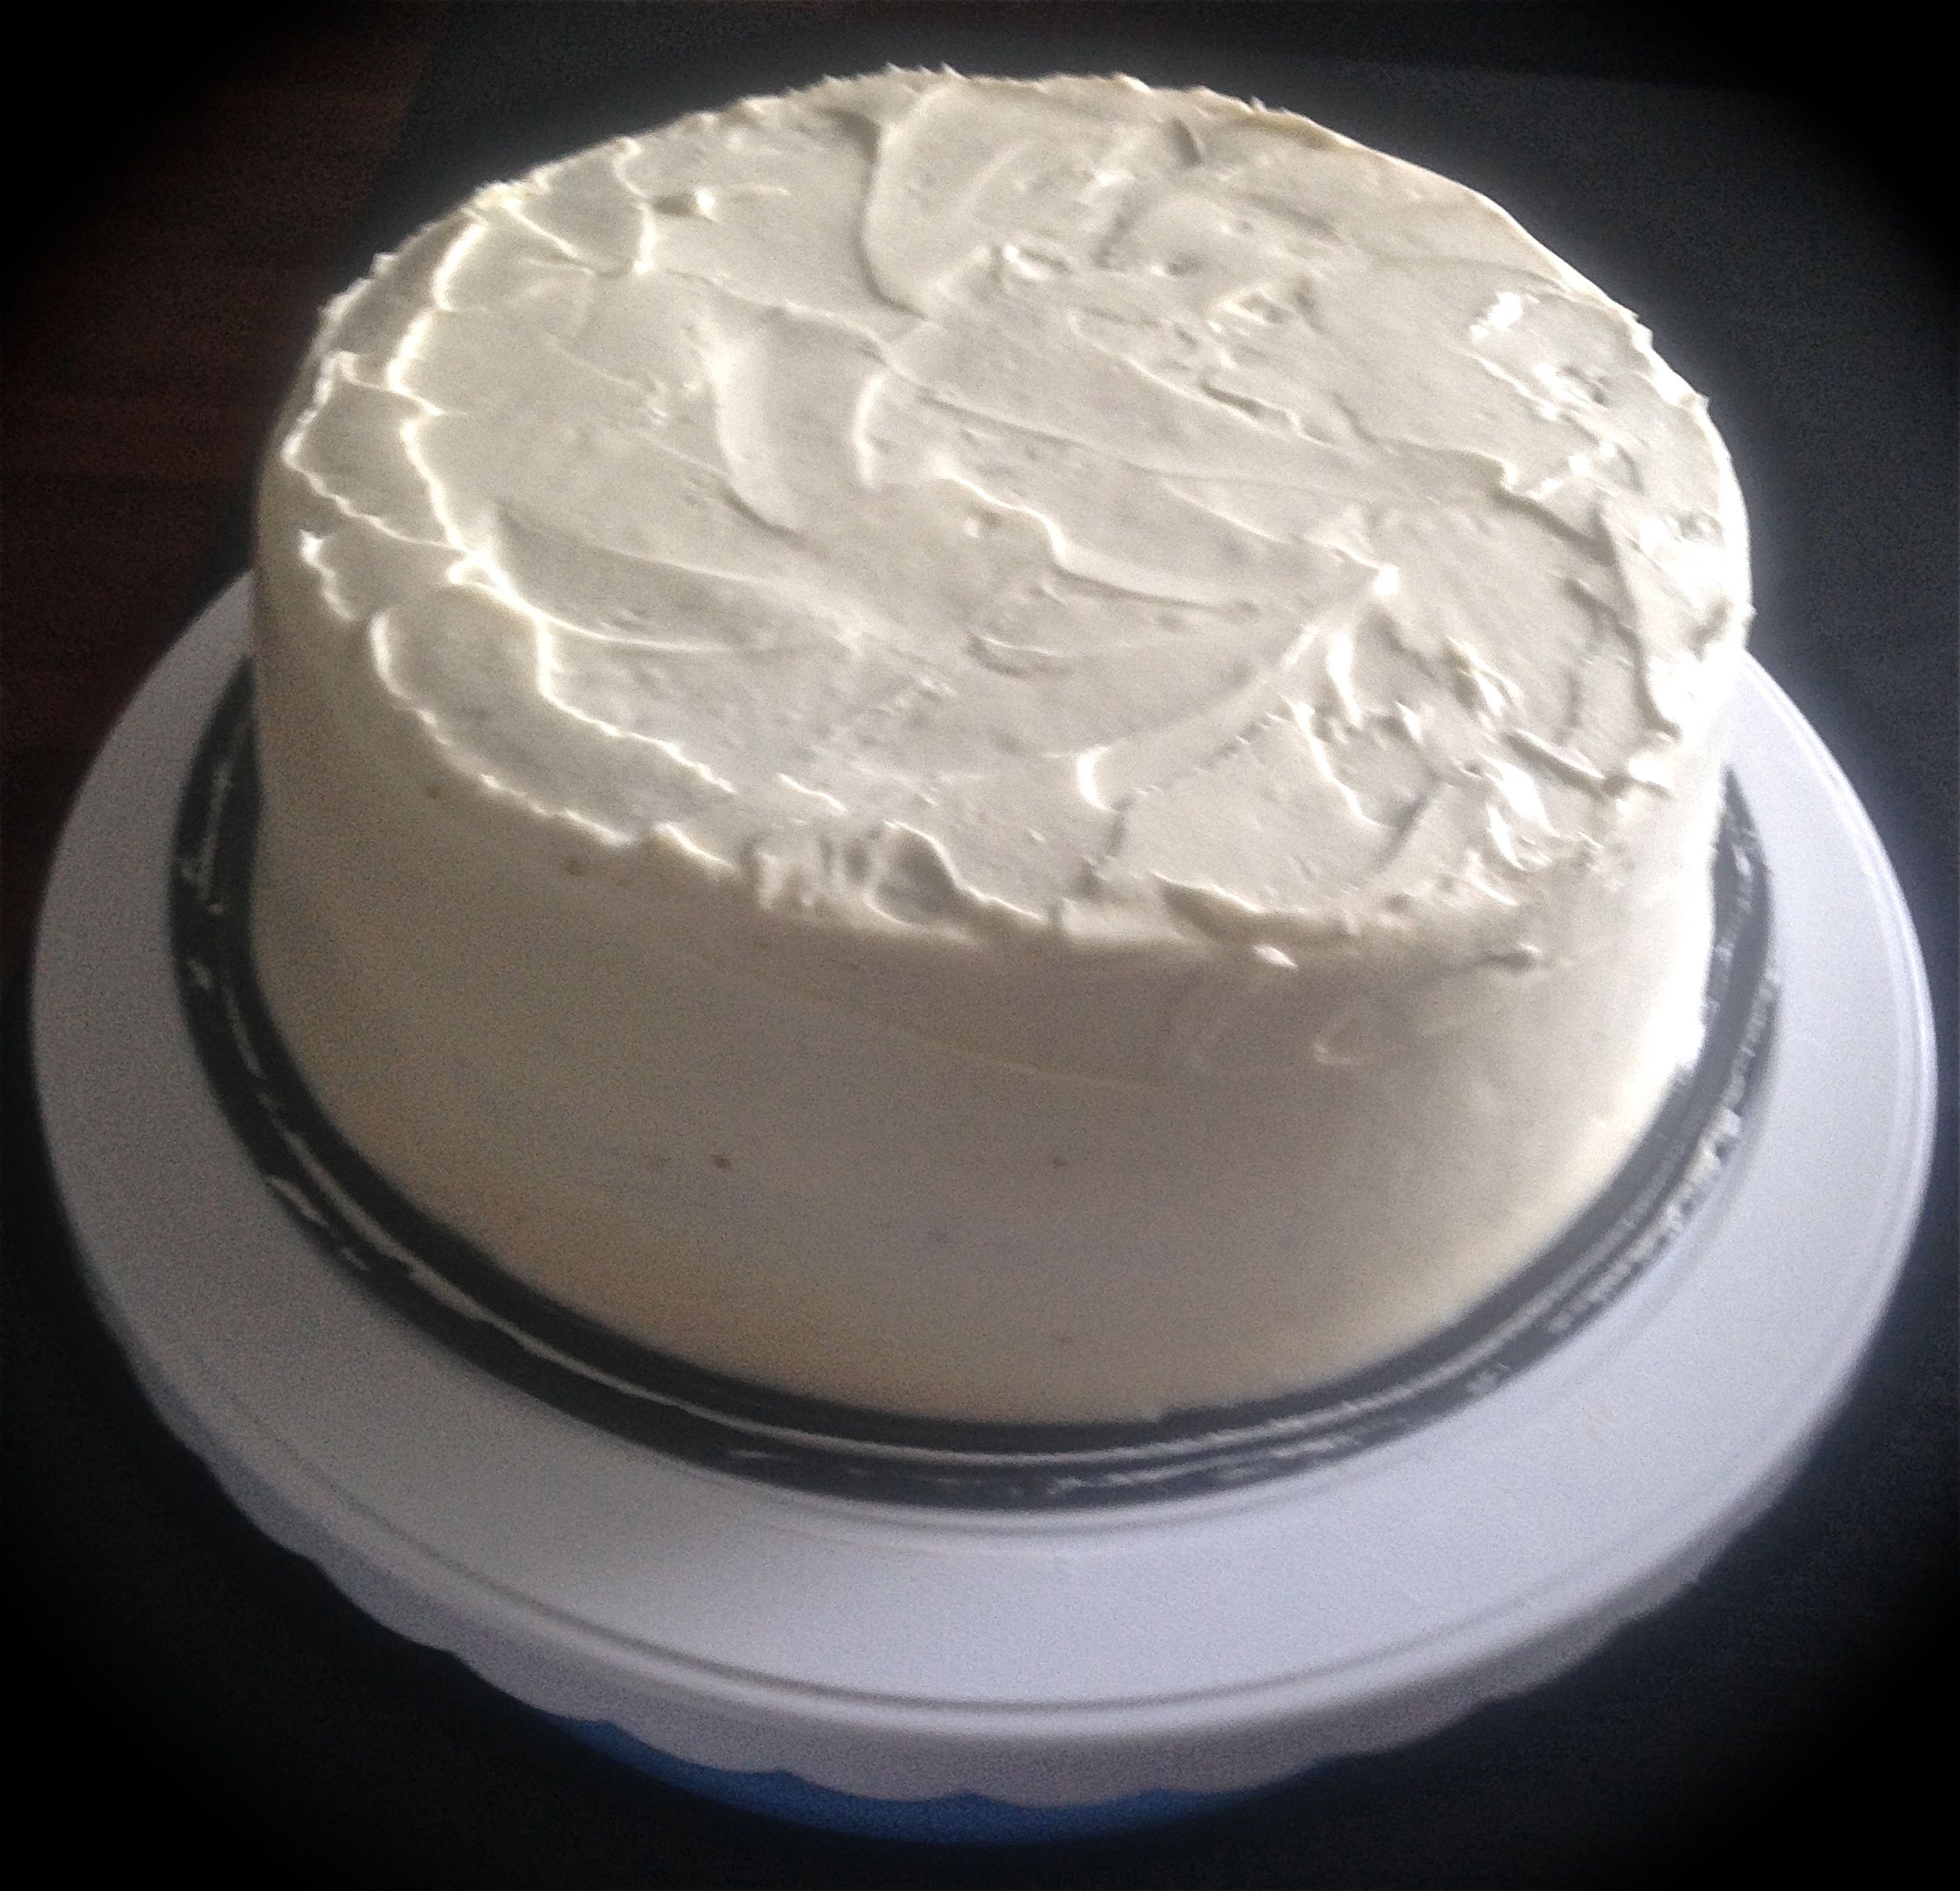
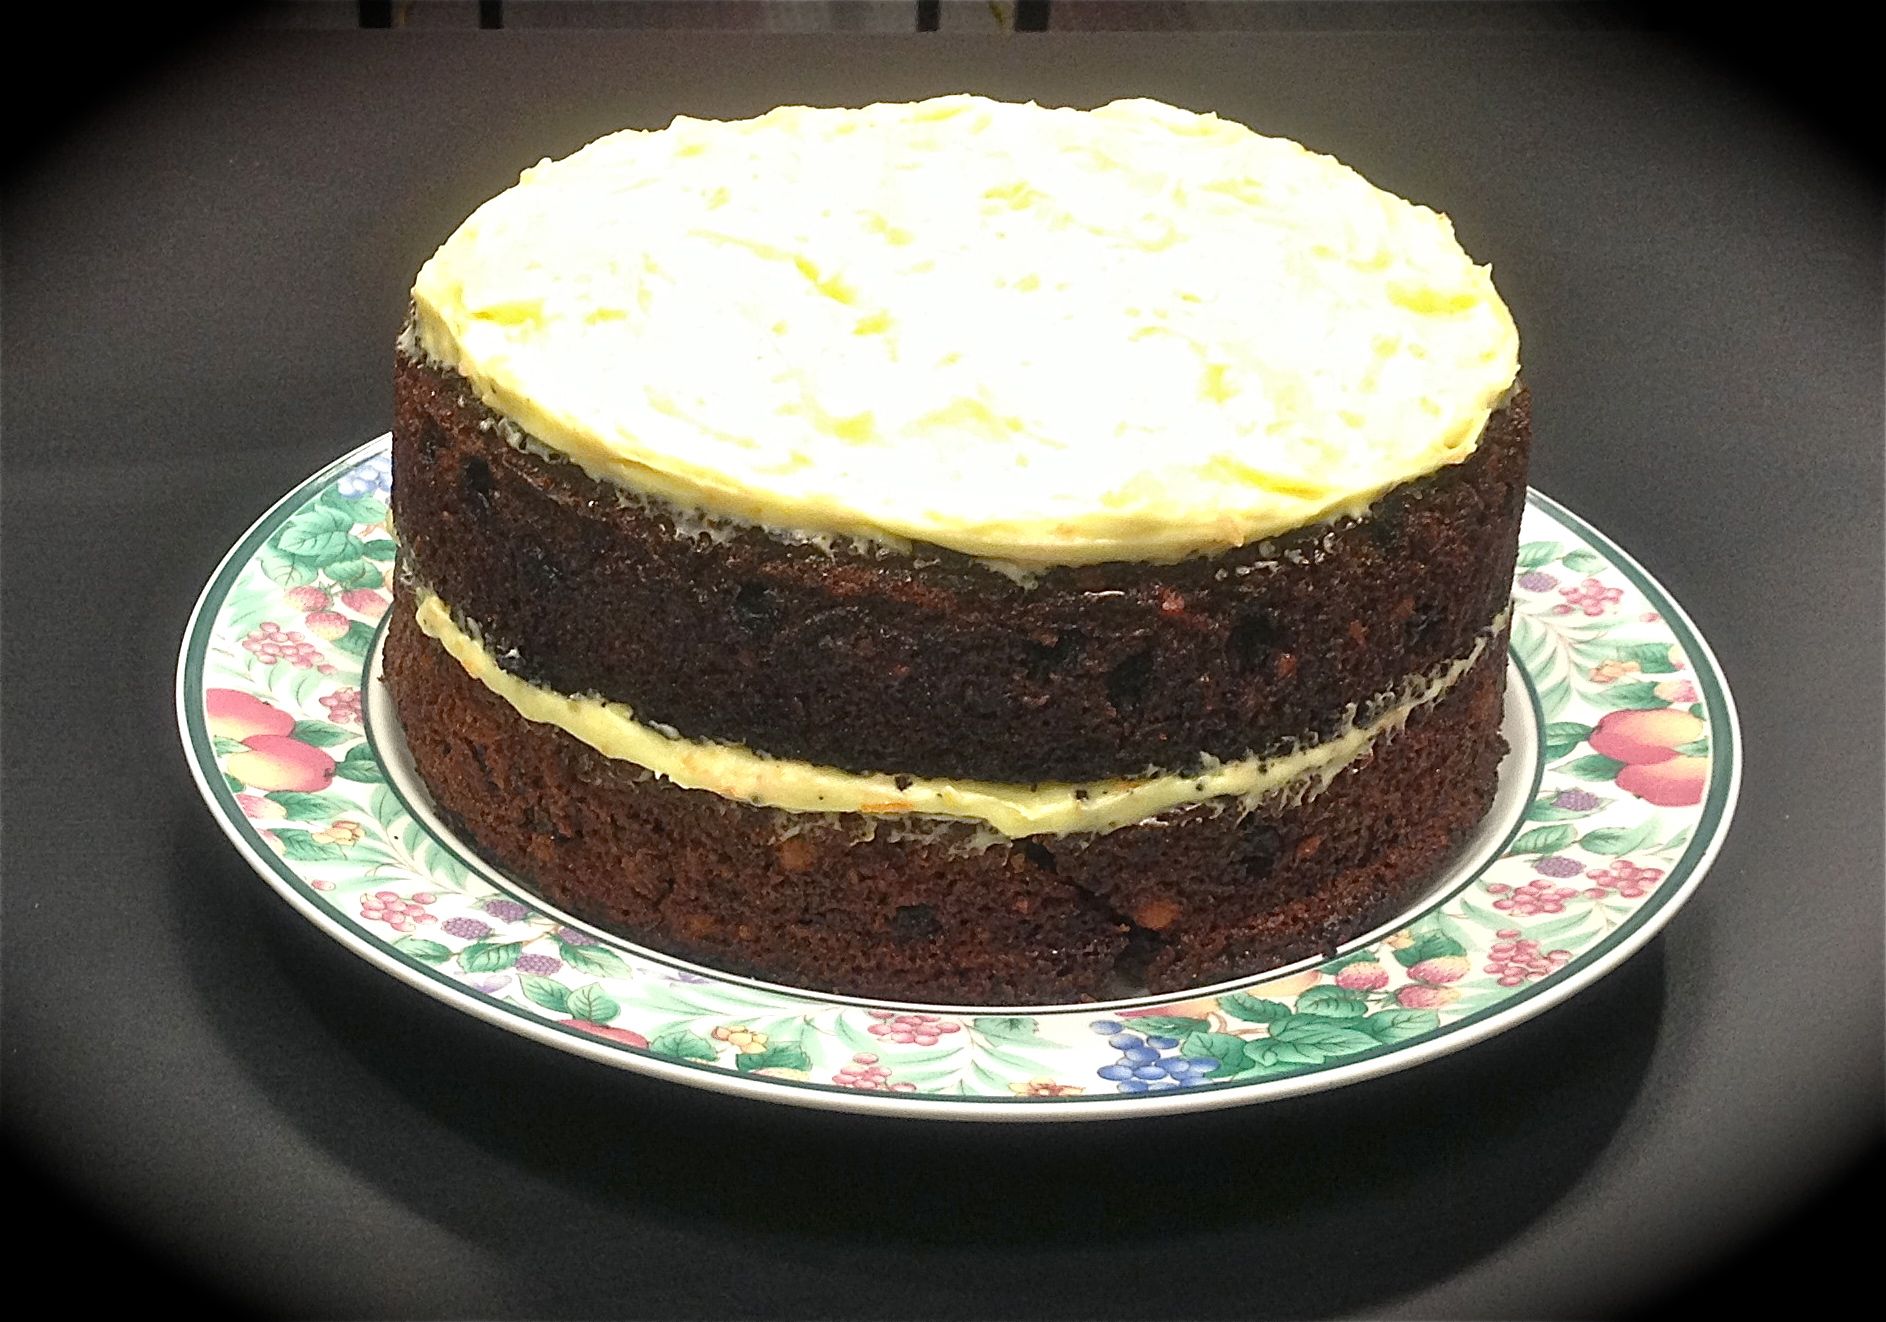
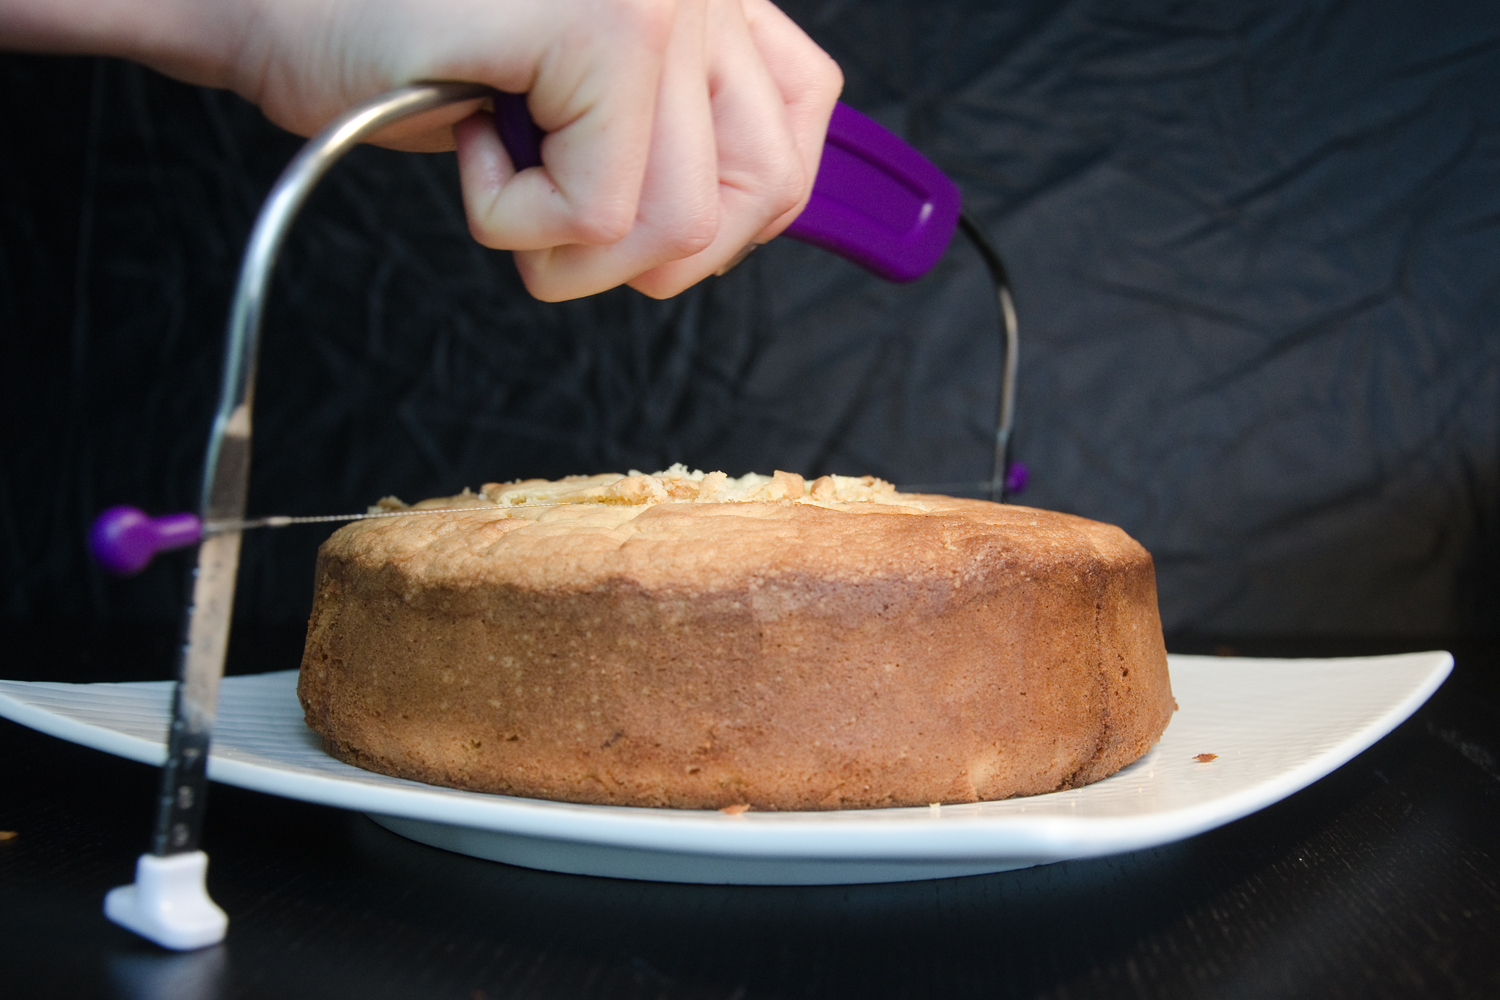
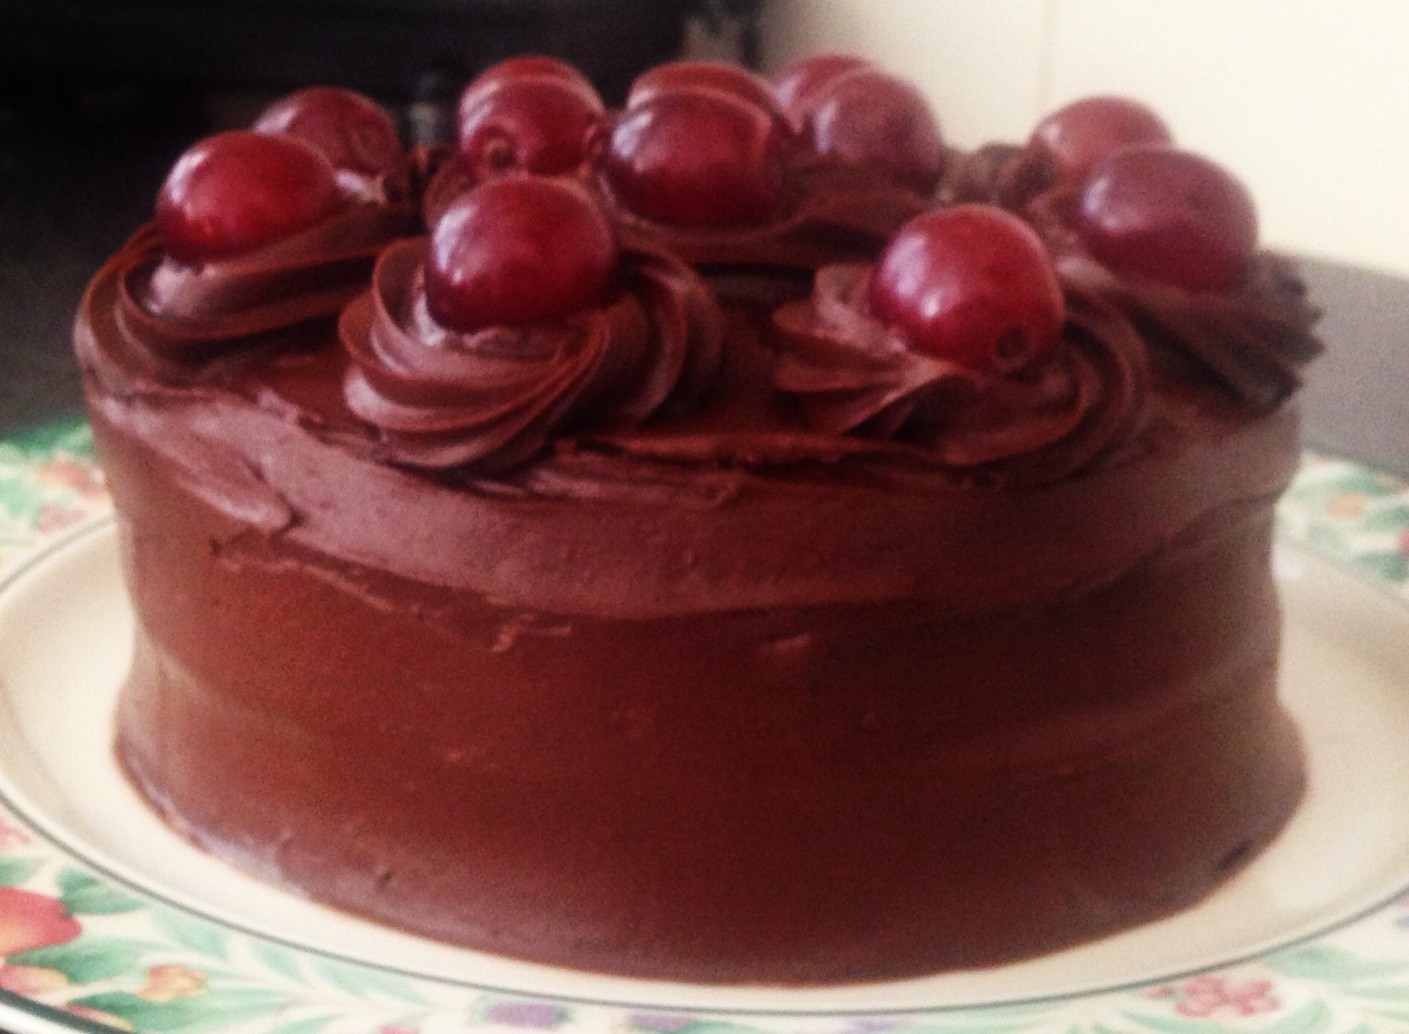
- Cut cake into 3 layers. Spread the ganache on top of the 3 layers as well as the side of the cake.
Notes:
-
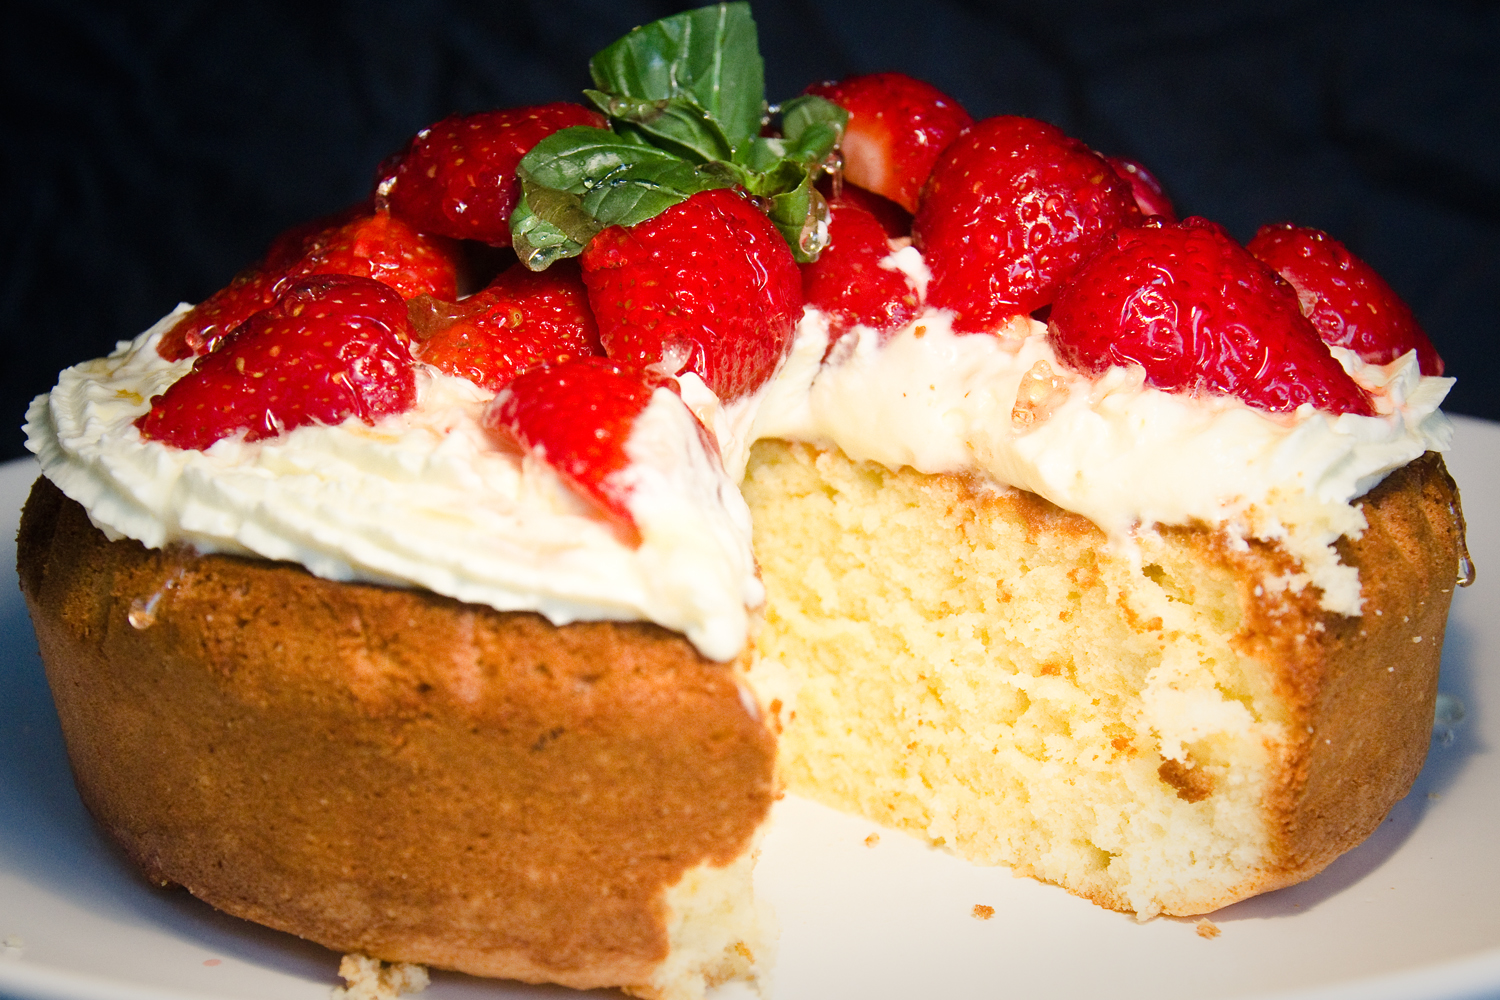
This cake is super rich with flavour, however I have deliberately have not had it super sweet. The sugar level is lower than most devils food cakes and there is no chocolate in the actual cake only cocoa powder. Additionally instead of cream I have used sour cream again to slightly off set the ganache sweetness. Though I LOVE sweet but I think this cake the flavour needs to dominate. Though it is still very much sweet blisss…
-
If you don’t like coffee you can omit the coffee powder, however it more enhances the chocolate taste not so much had its own flavour. This will then just be a red velvet cake.
- I added an extra 2 steps to this for decoration. I placed kit kats around the cake which held in place thanks to the ganache. Then I placed M&Ms on top.
- Deciding against the coffee and red food colouring would mean this is just a dense chocolate cake.
Like this recipe? Subscribe via RSS or email to get my new entries and more scrumptious recipes with reviews.
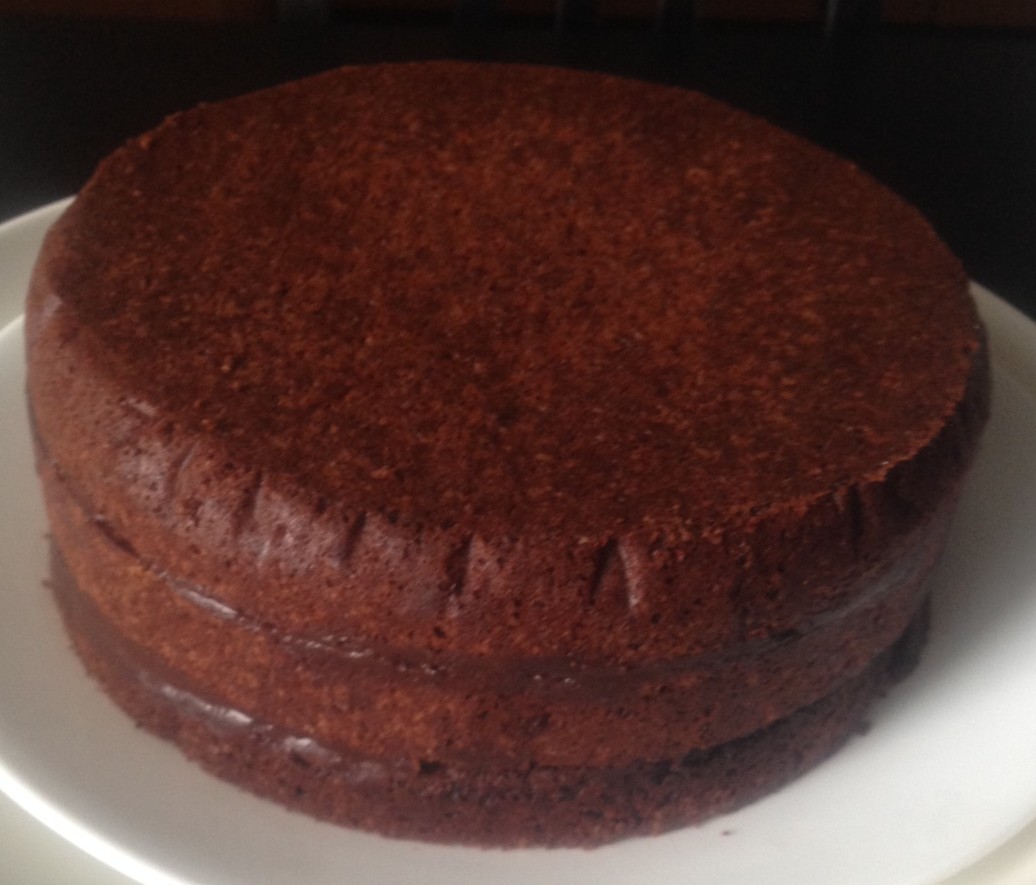
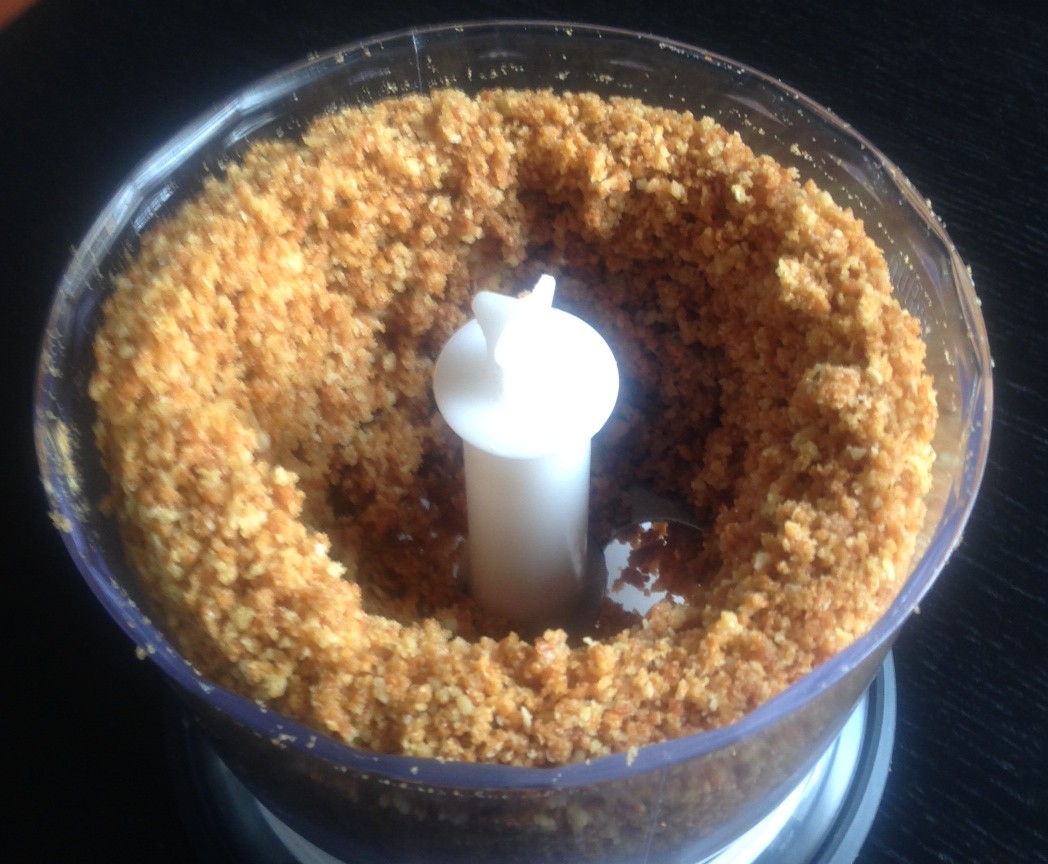
Step 10
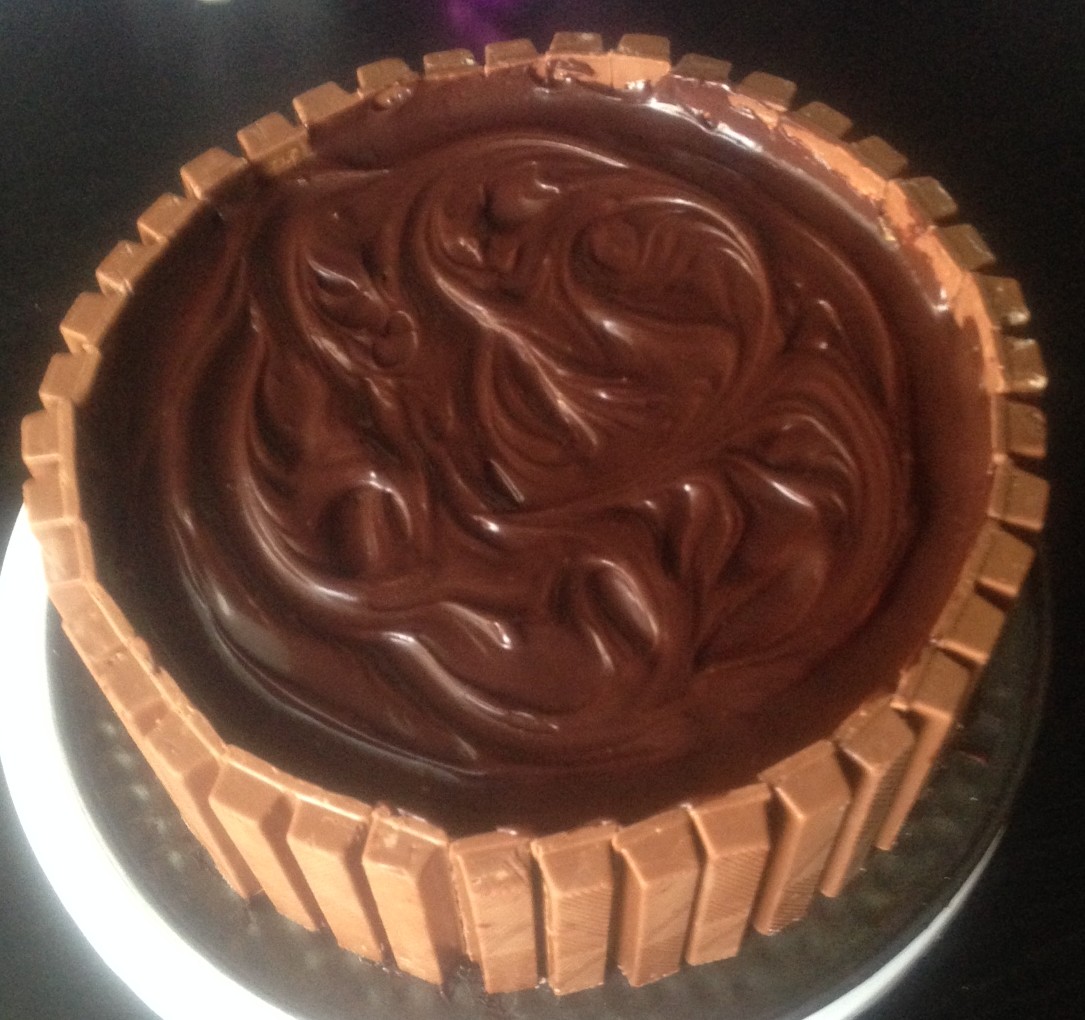
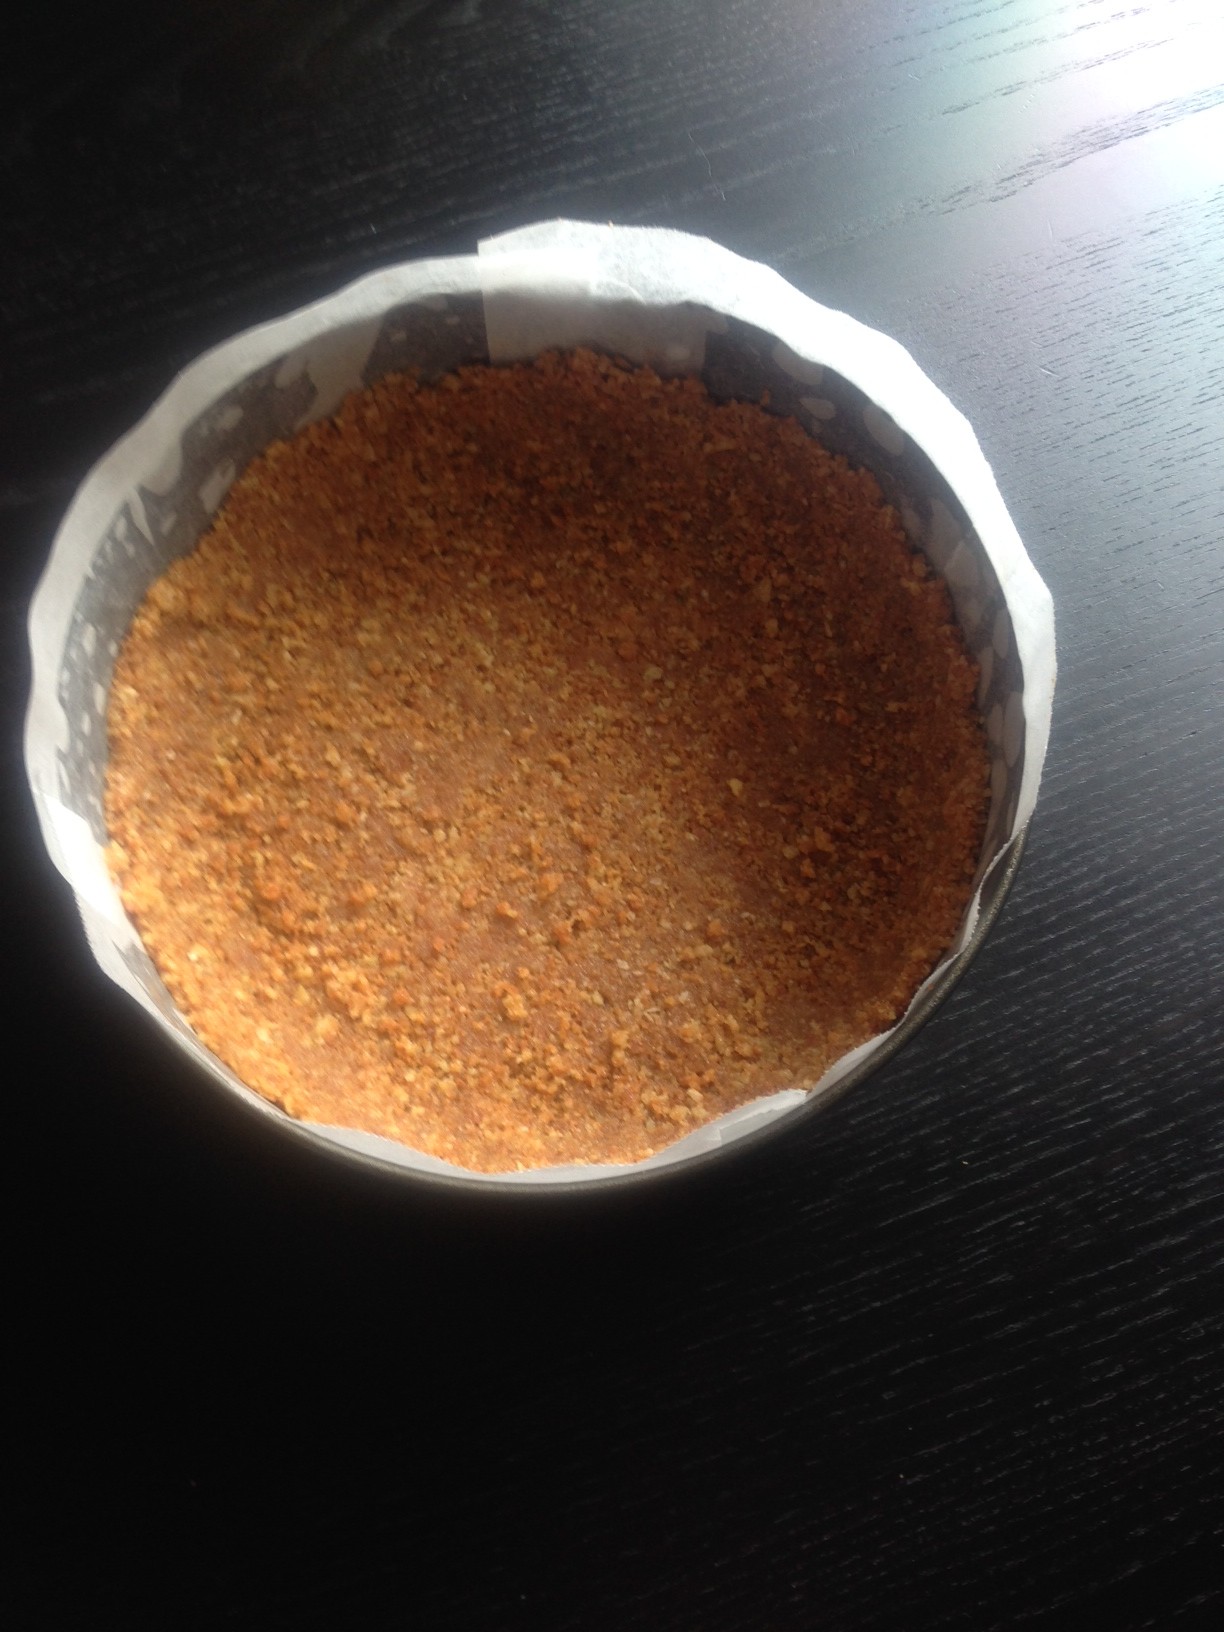
My additional step 11 (see notes)
 Follow