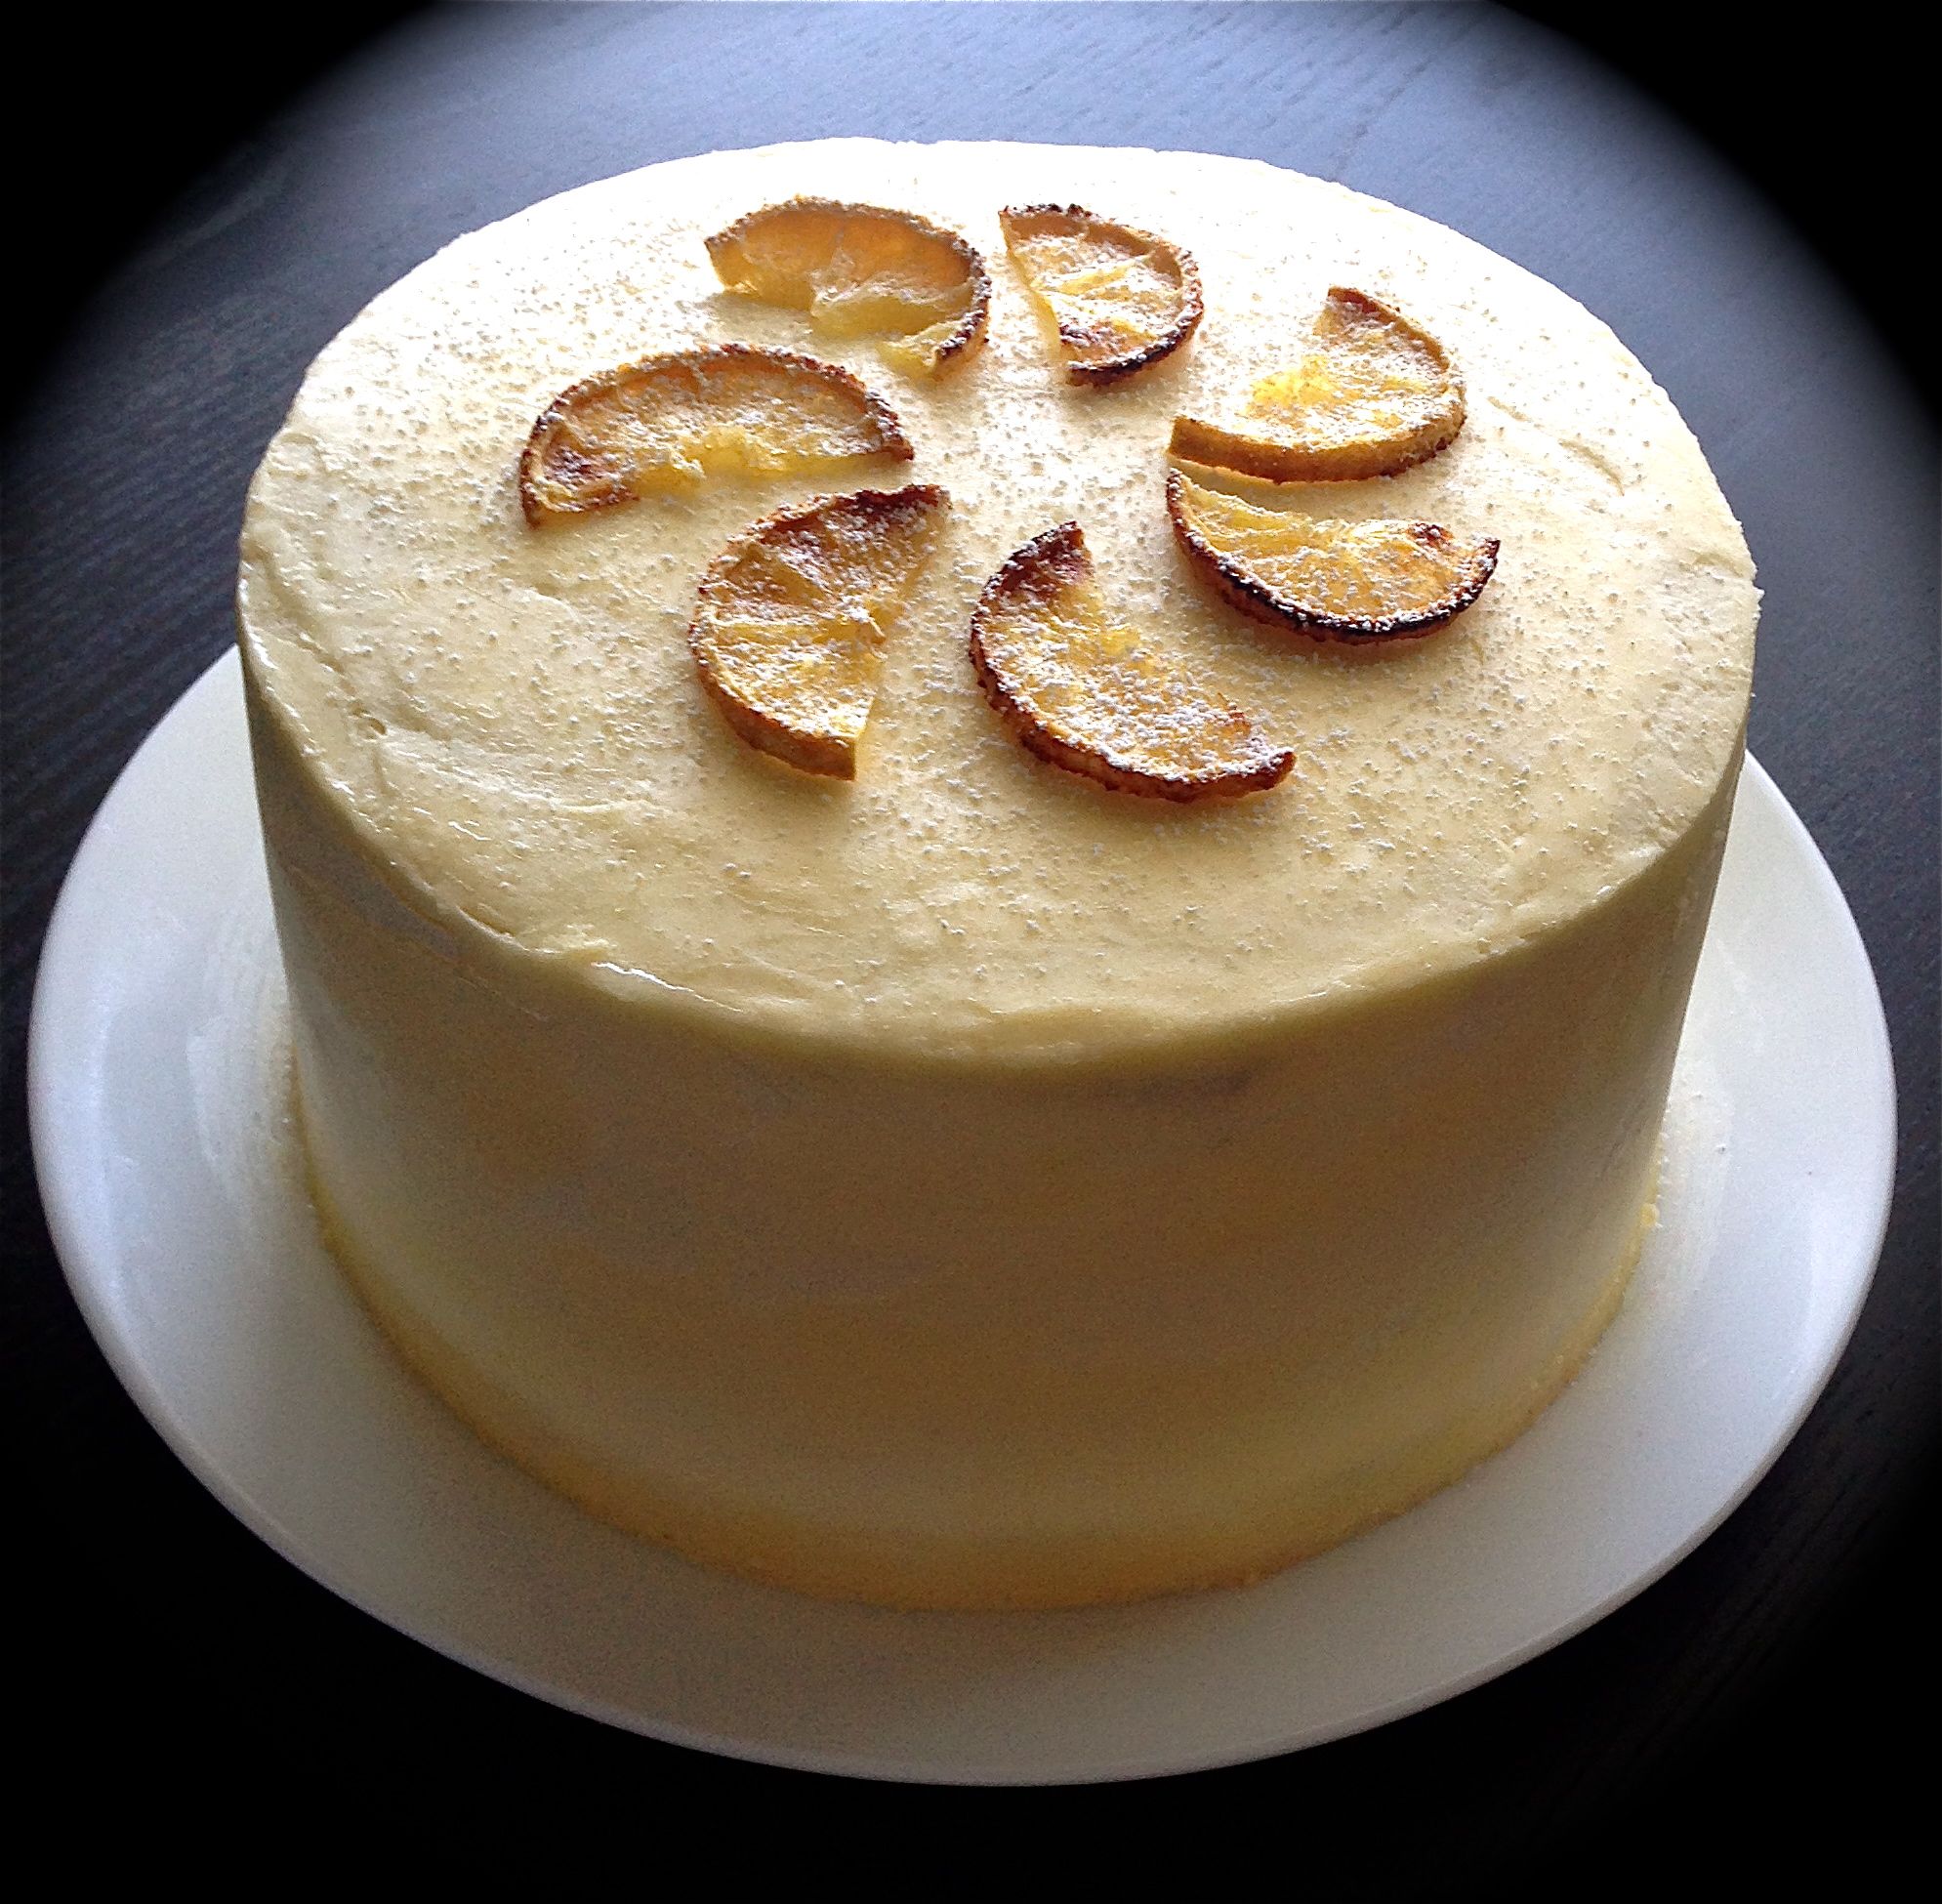
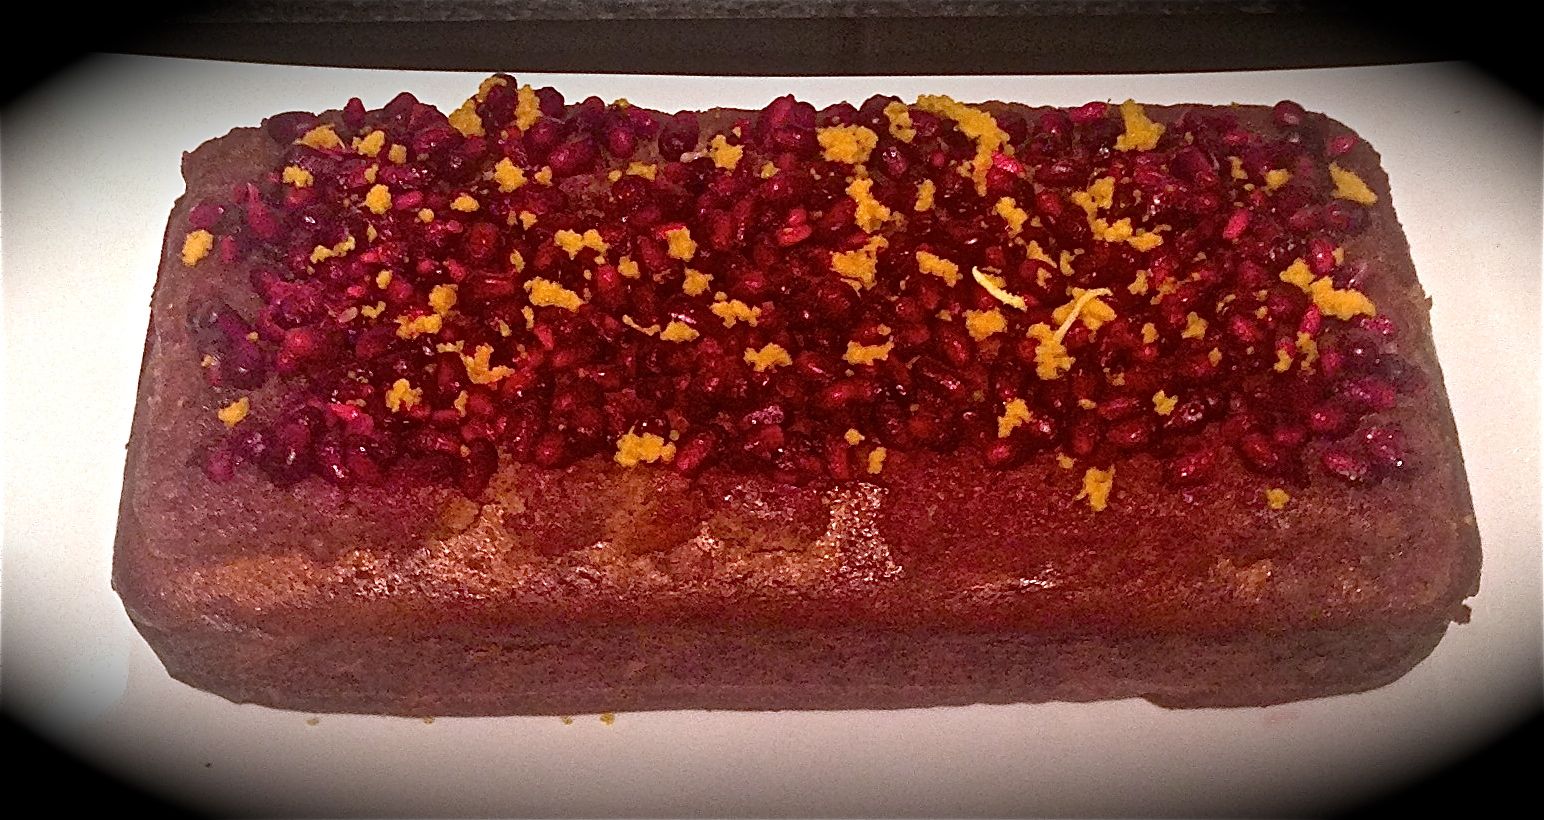
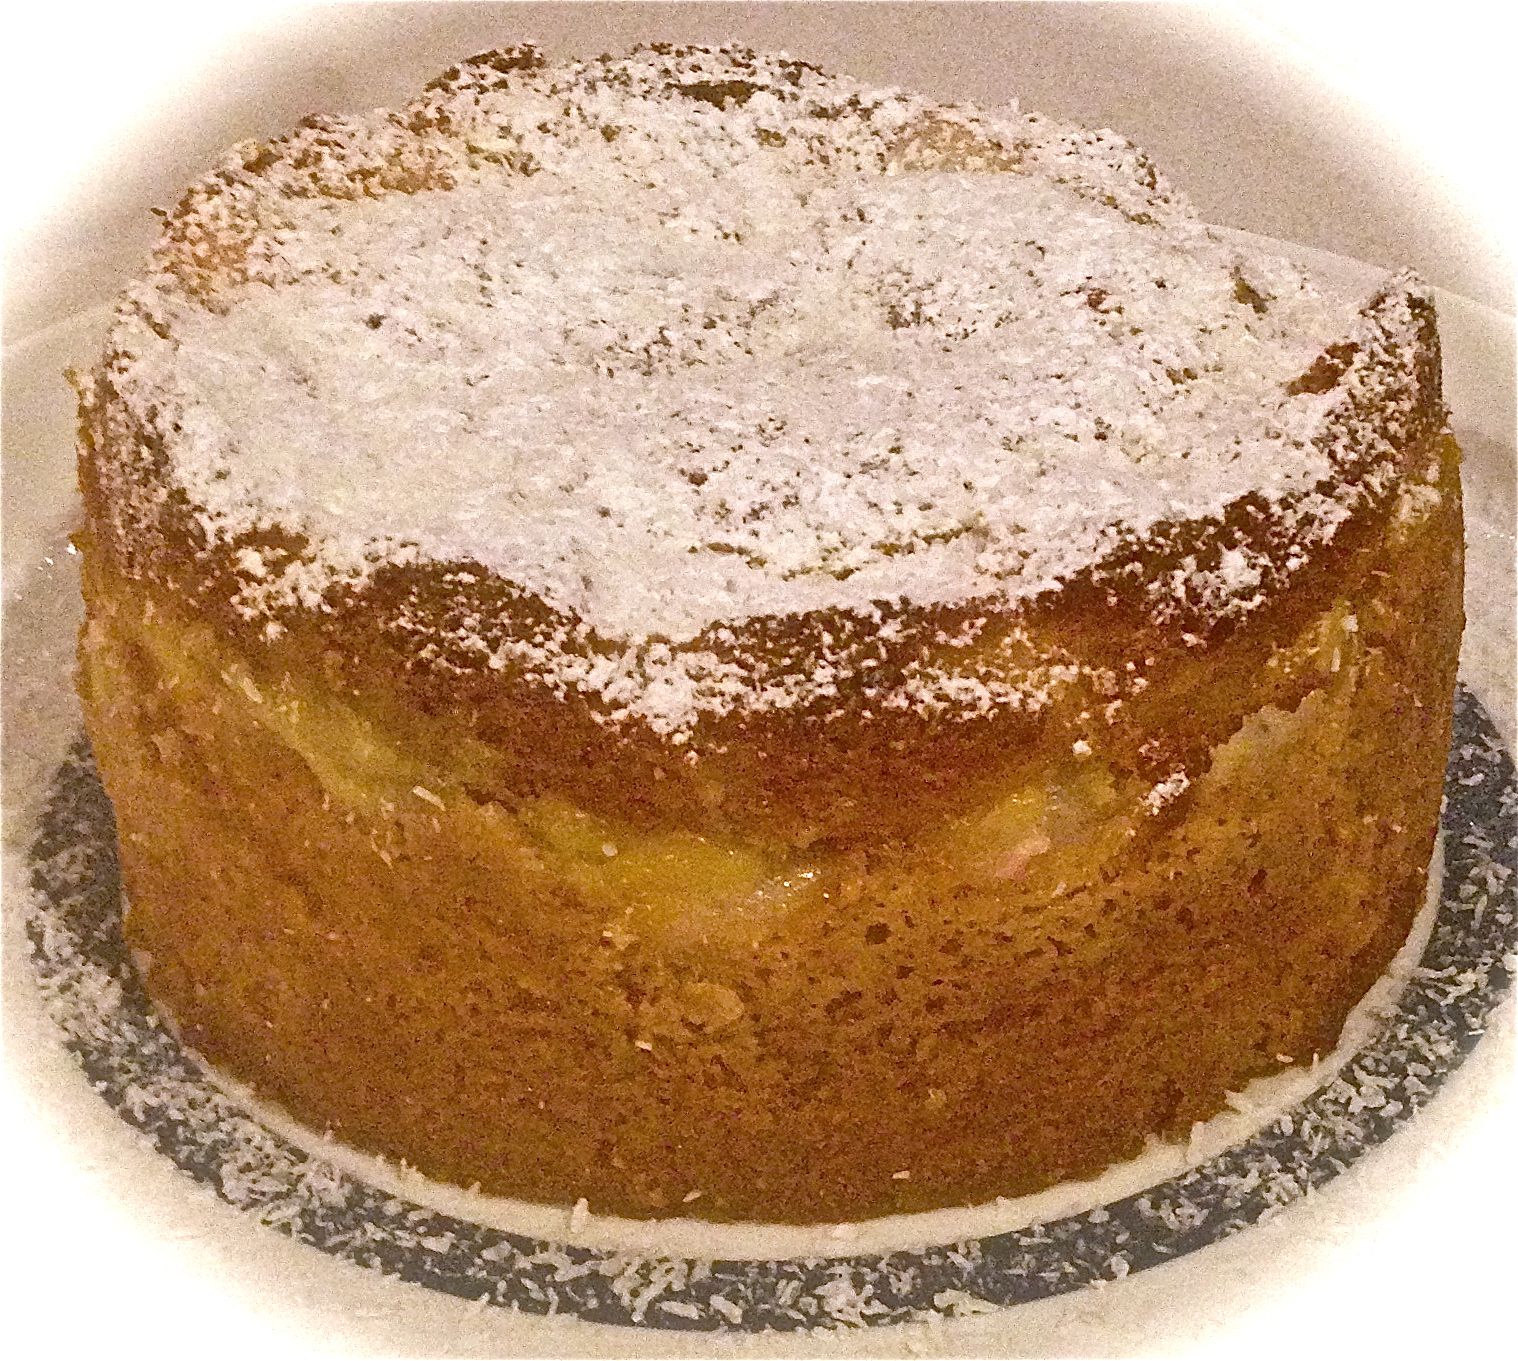
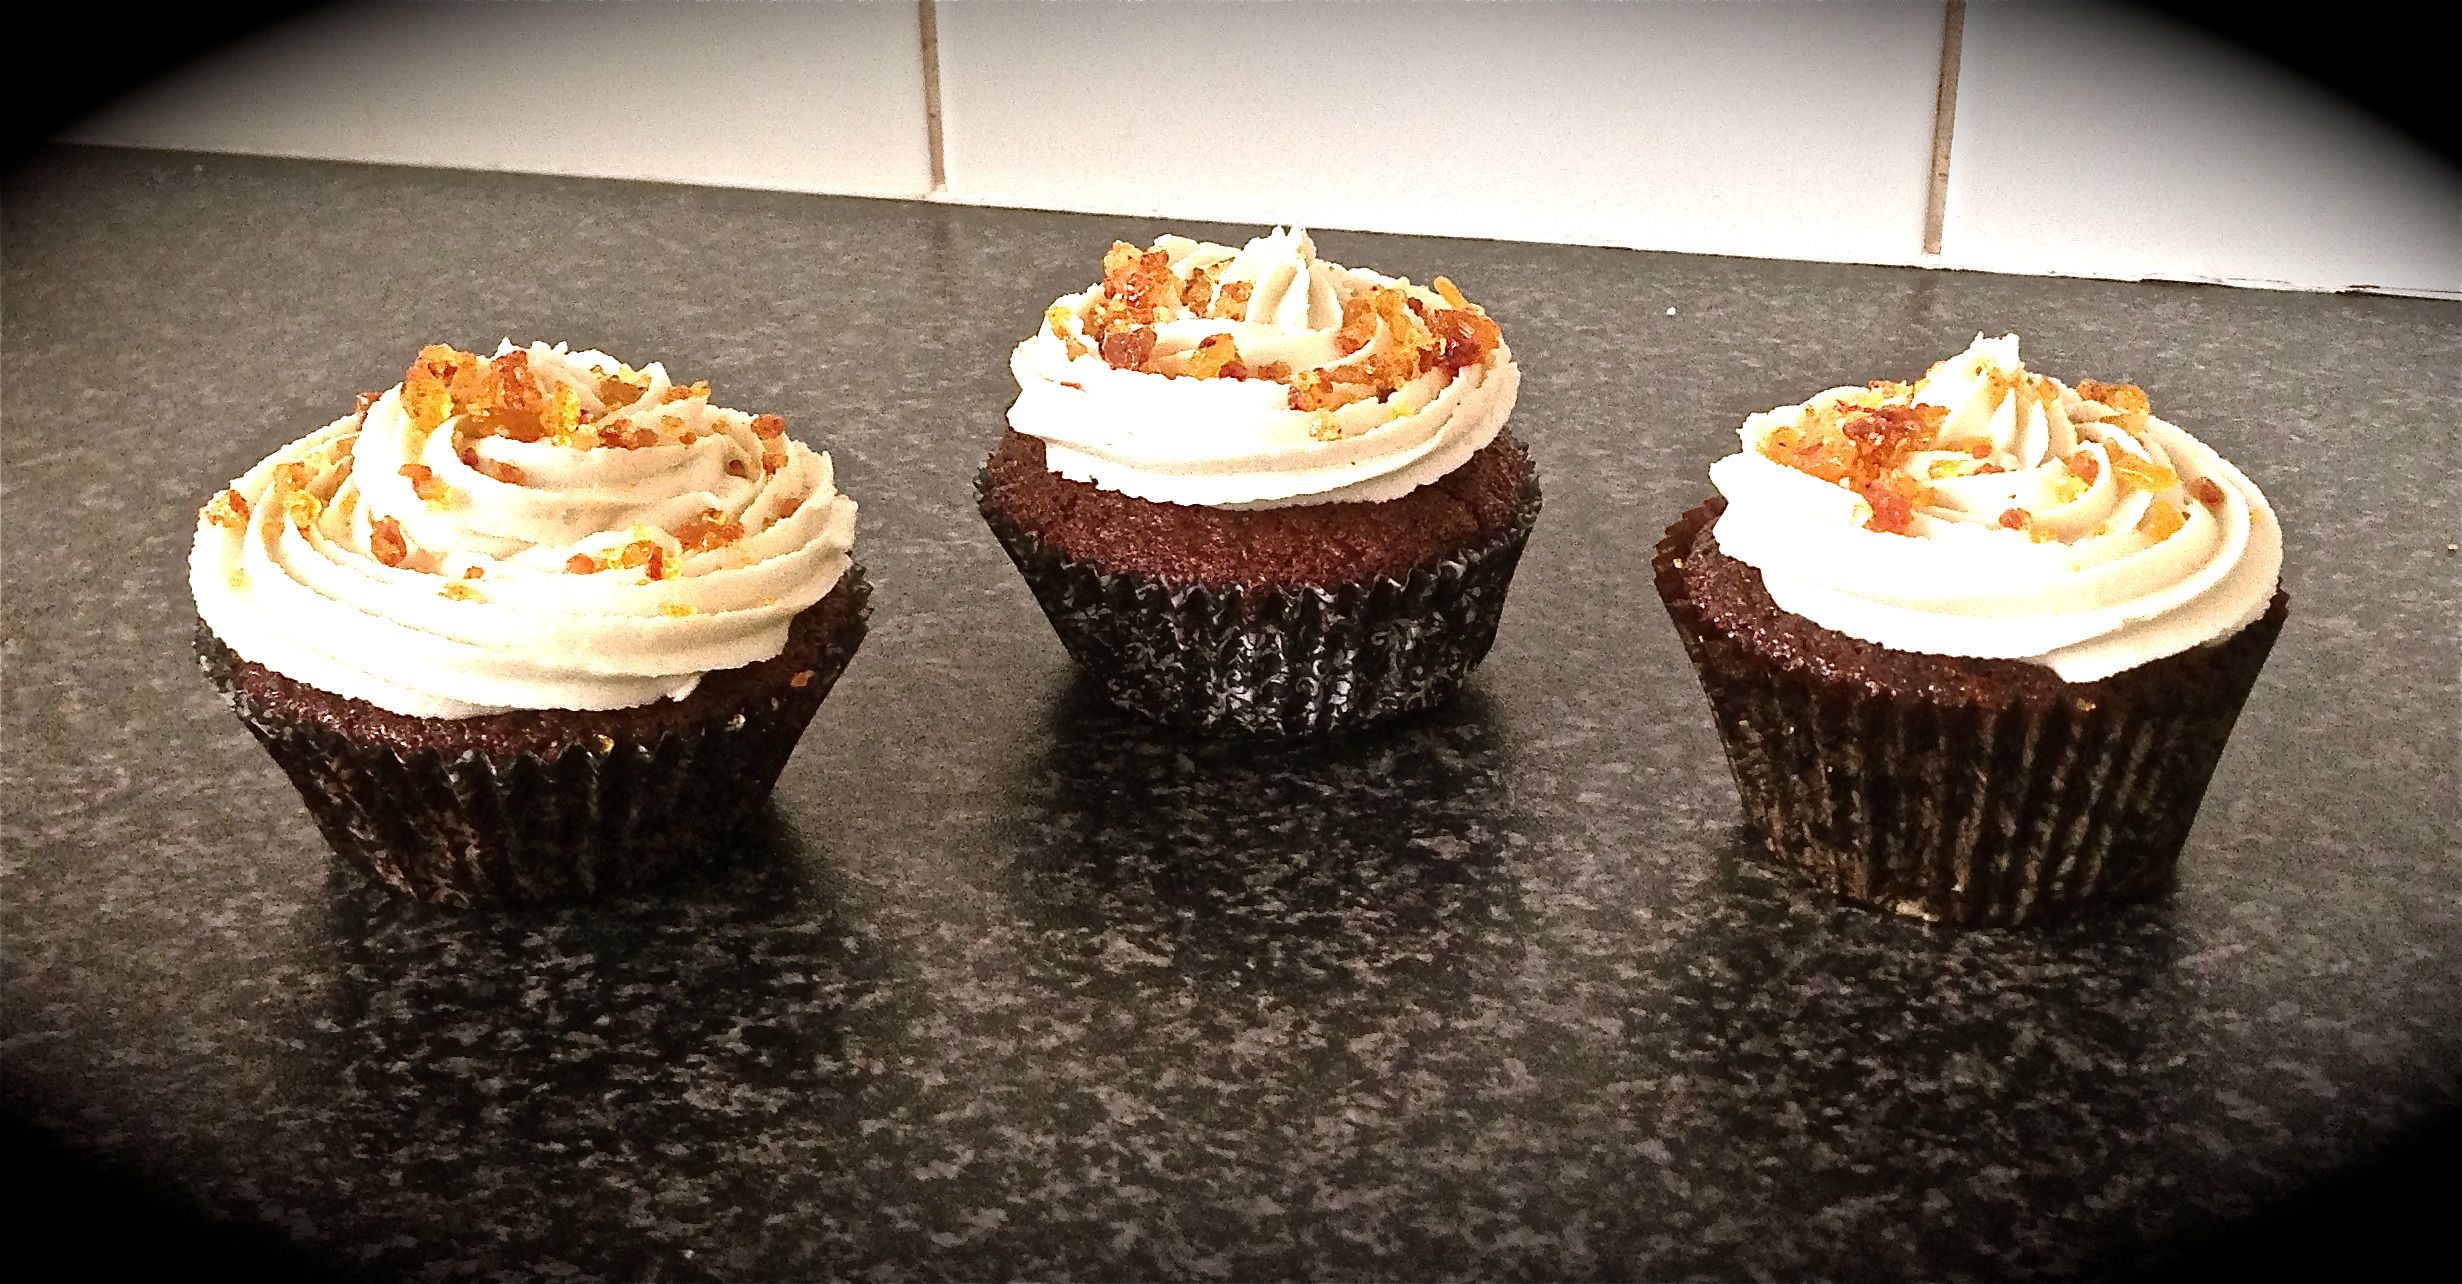
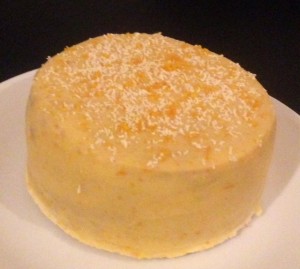
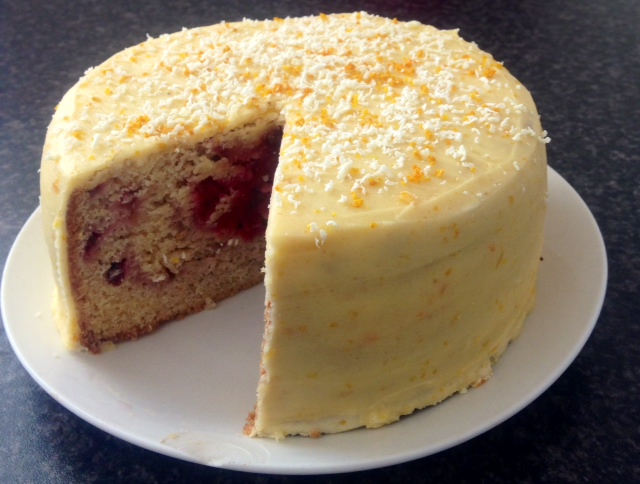
Rhubarb Orange and Ginger Cake
I had a rhubarb and apple crumble the other day and this got me thinking that I have never baked before with rhubarb which is such a shame as its such an amazing tasting and interesting little…vegetable? It doesn’t have seeds or pips so I take it its one of the unique vegetables disguised as a fruit with its sweet and soft flavour…
After a bit of taste testing I ended up deciding that orange and ginger was the best combo to complement the robust rhubarb taste, while still ensuring the focus was on rhubarb.
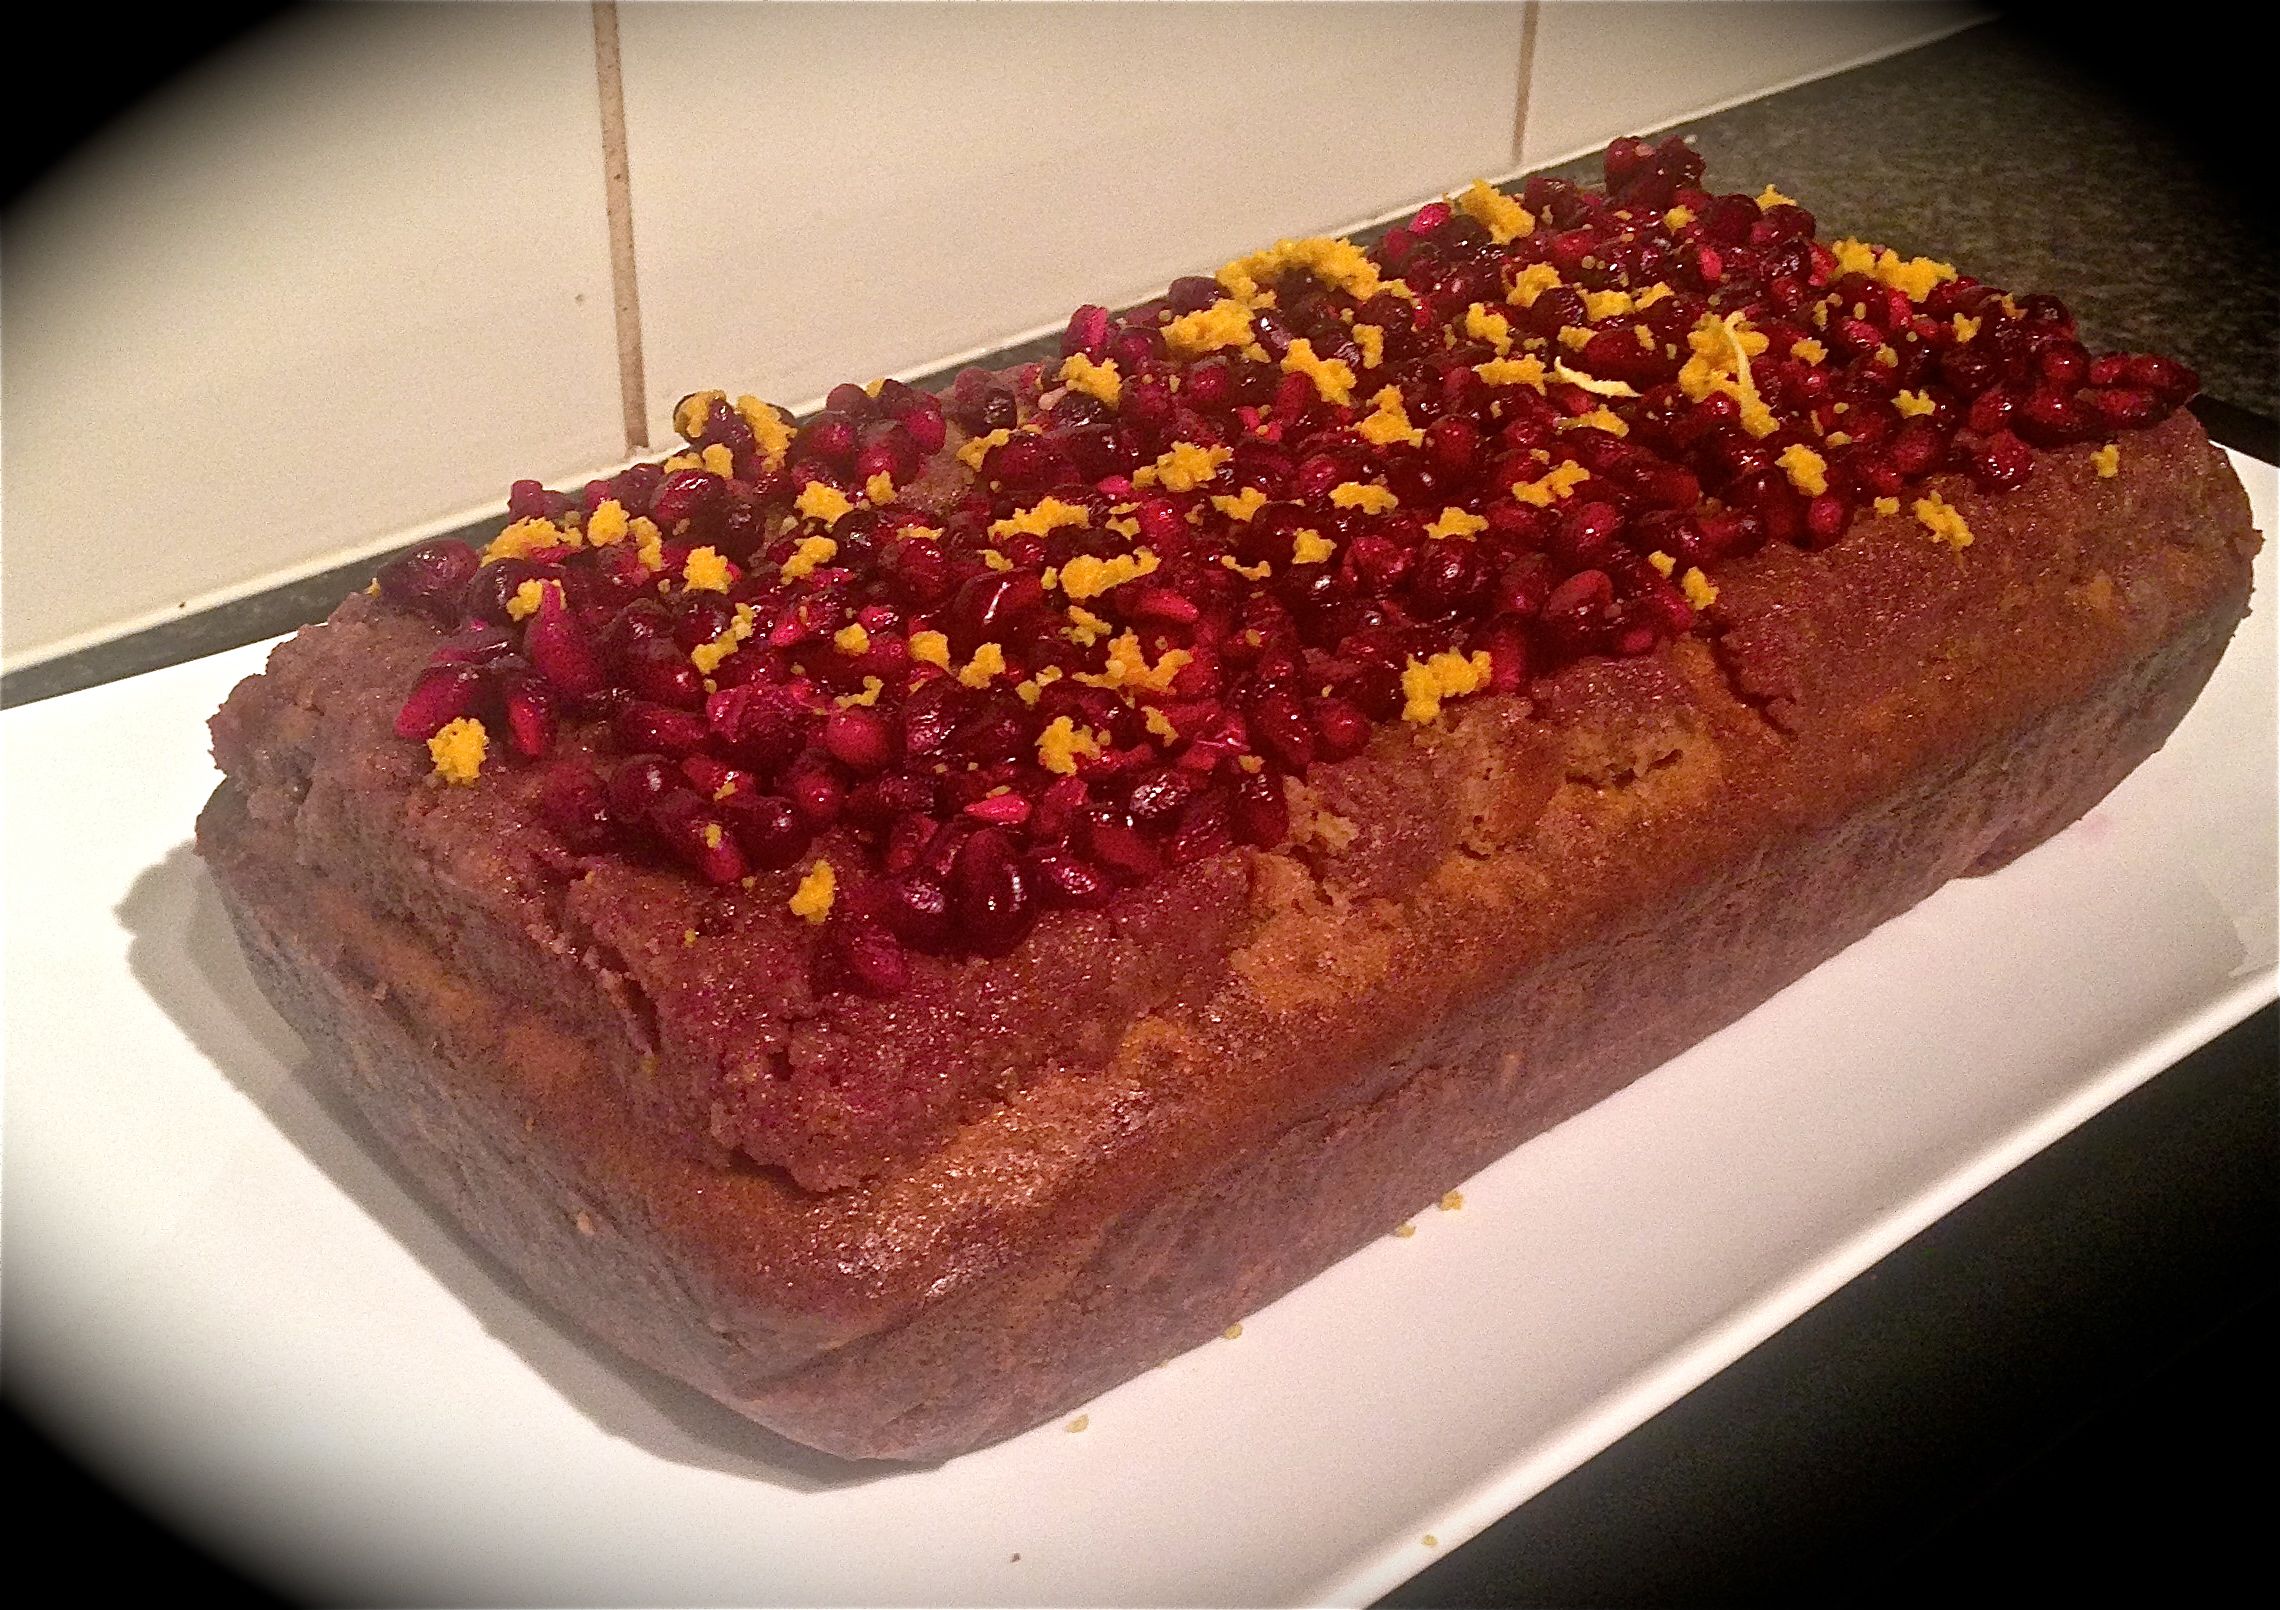
The outcome = my Rhubarb Orange and Ginger cake.
This cake definitely stars the Rhubarb where the orange and the ginger provide a refreshing and gentle delectable taste.
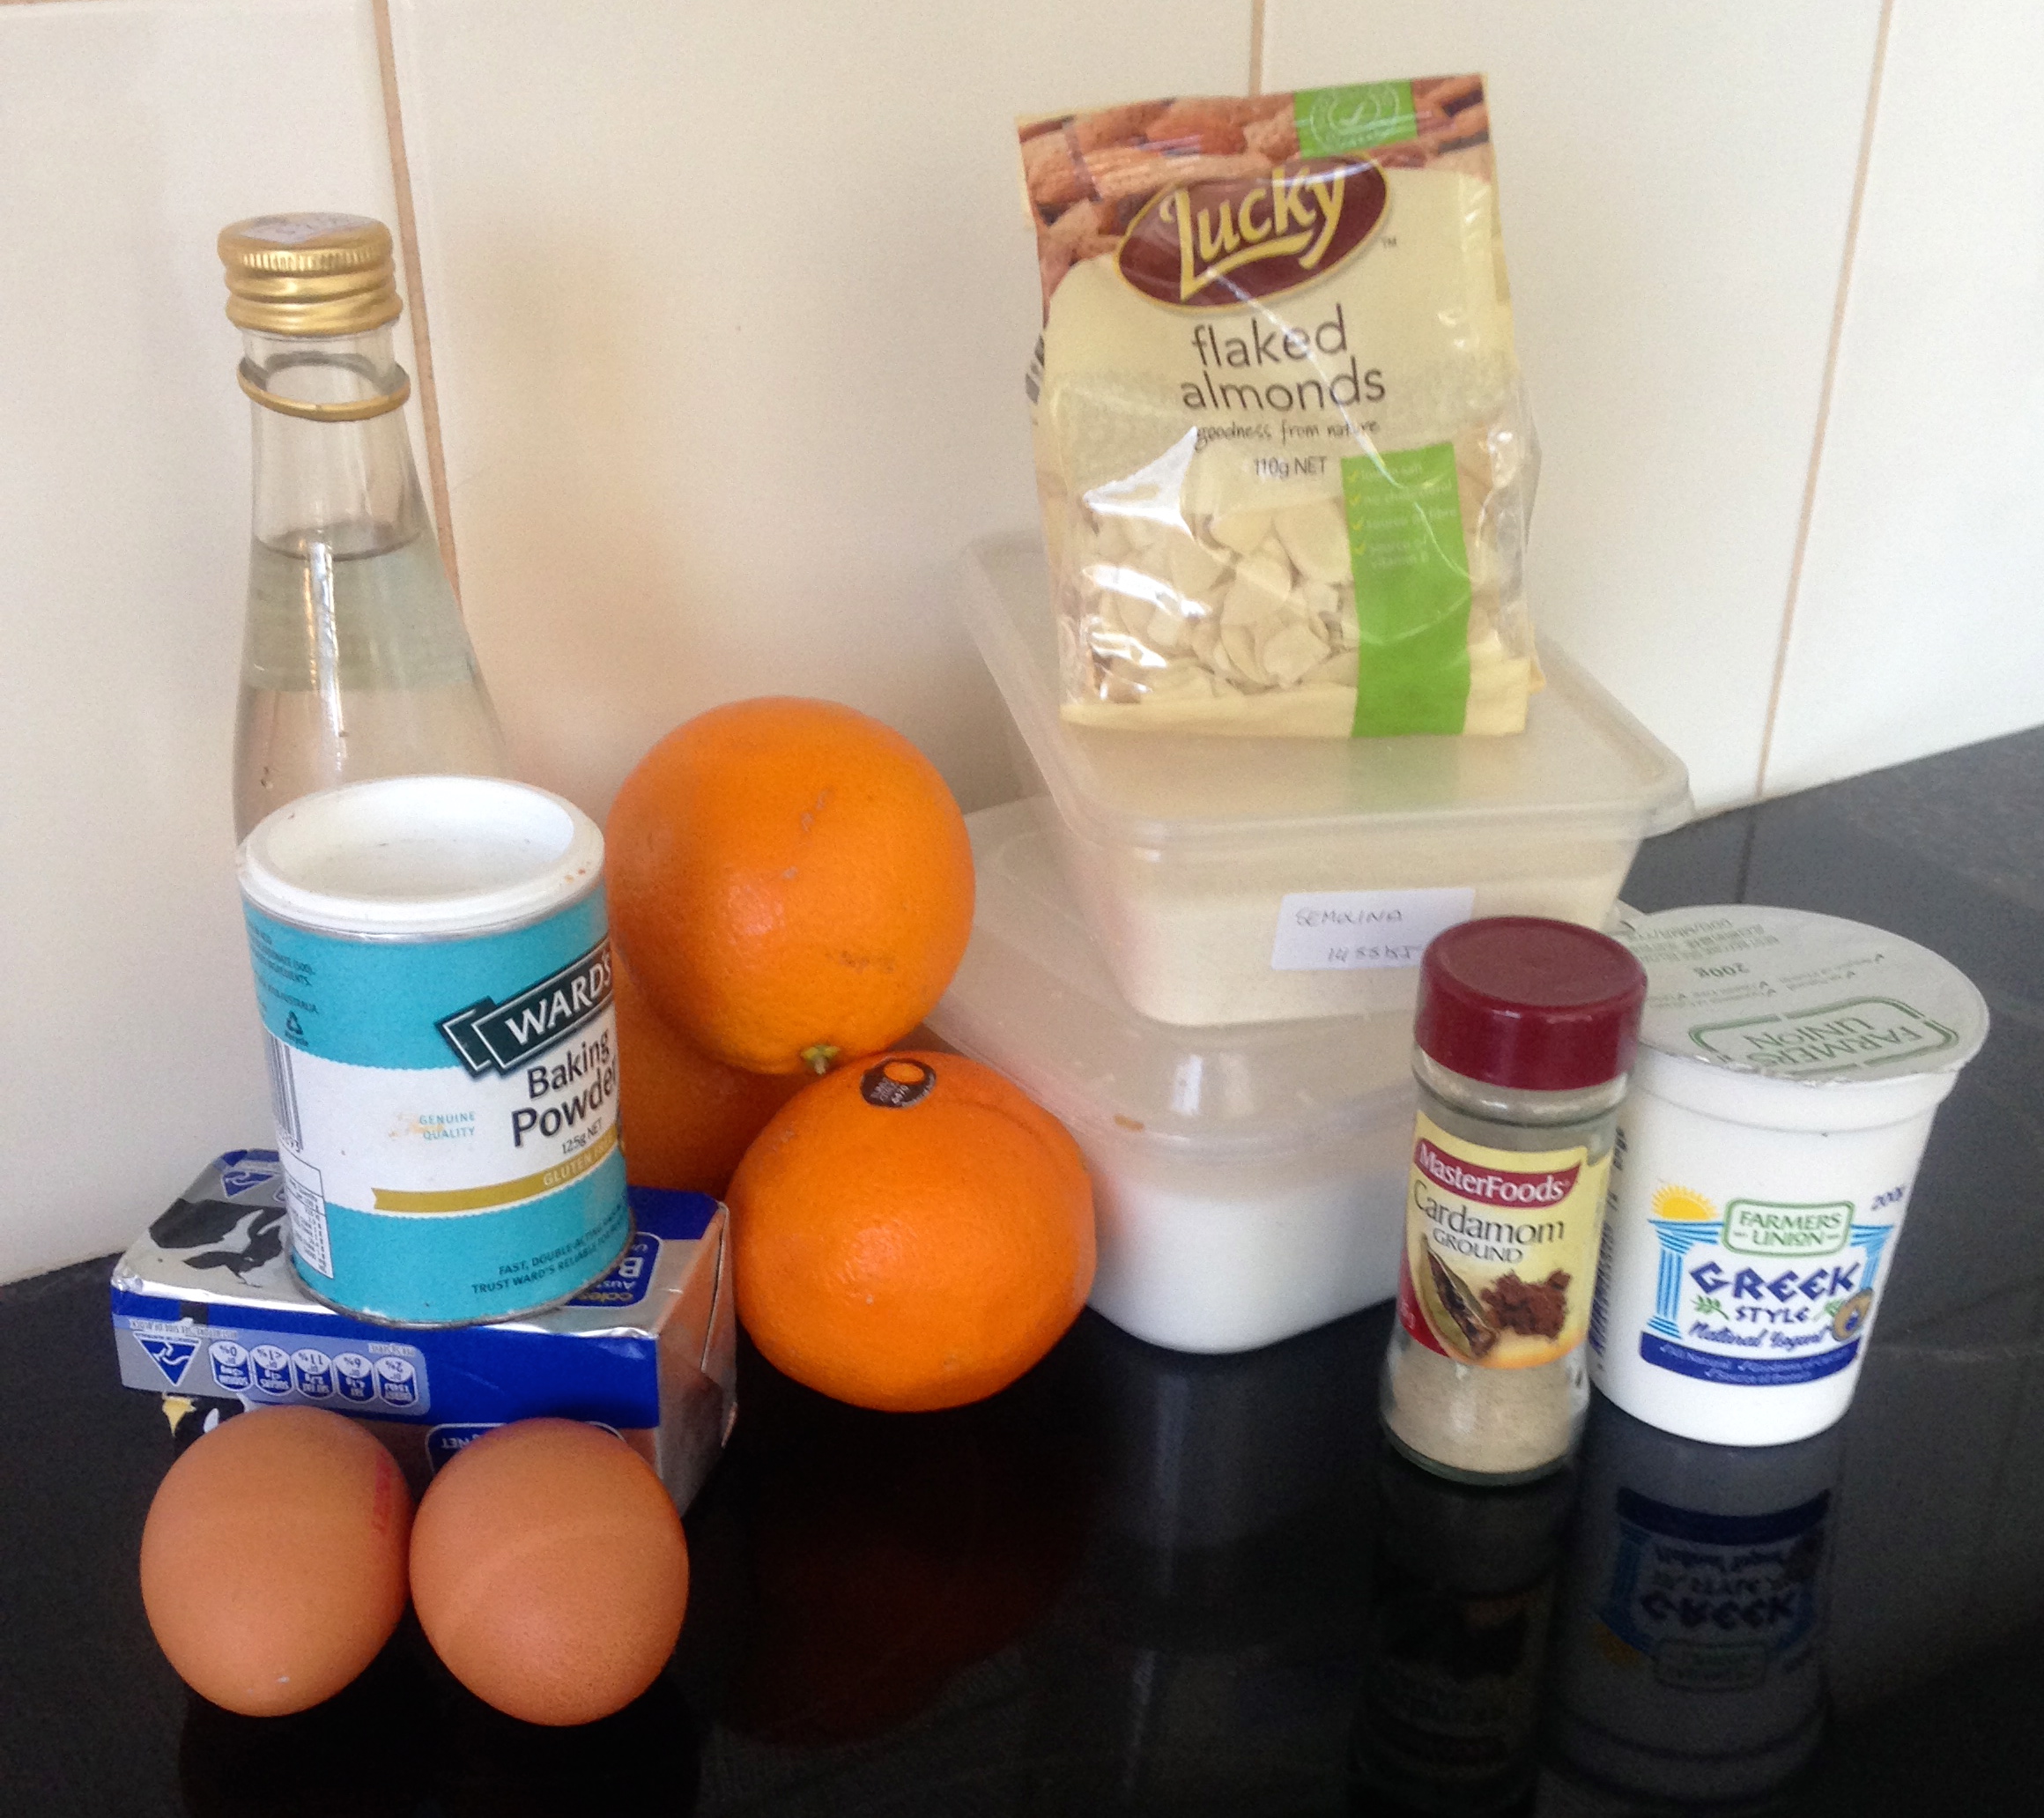
Ingredients:
Batter:
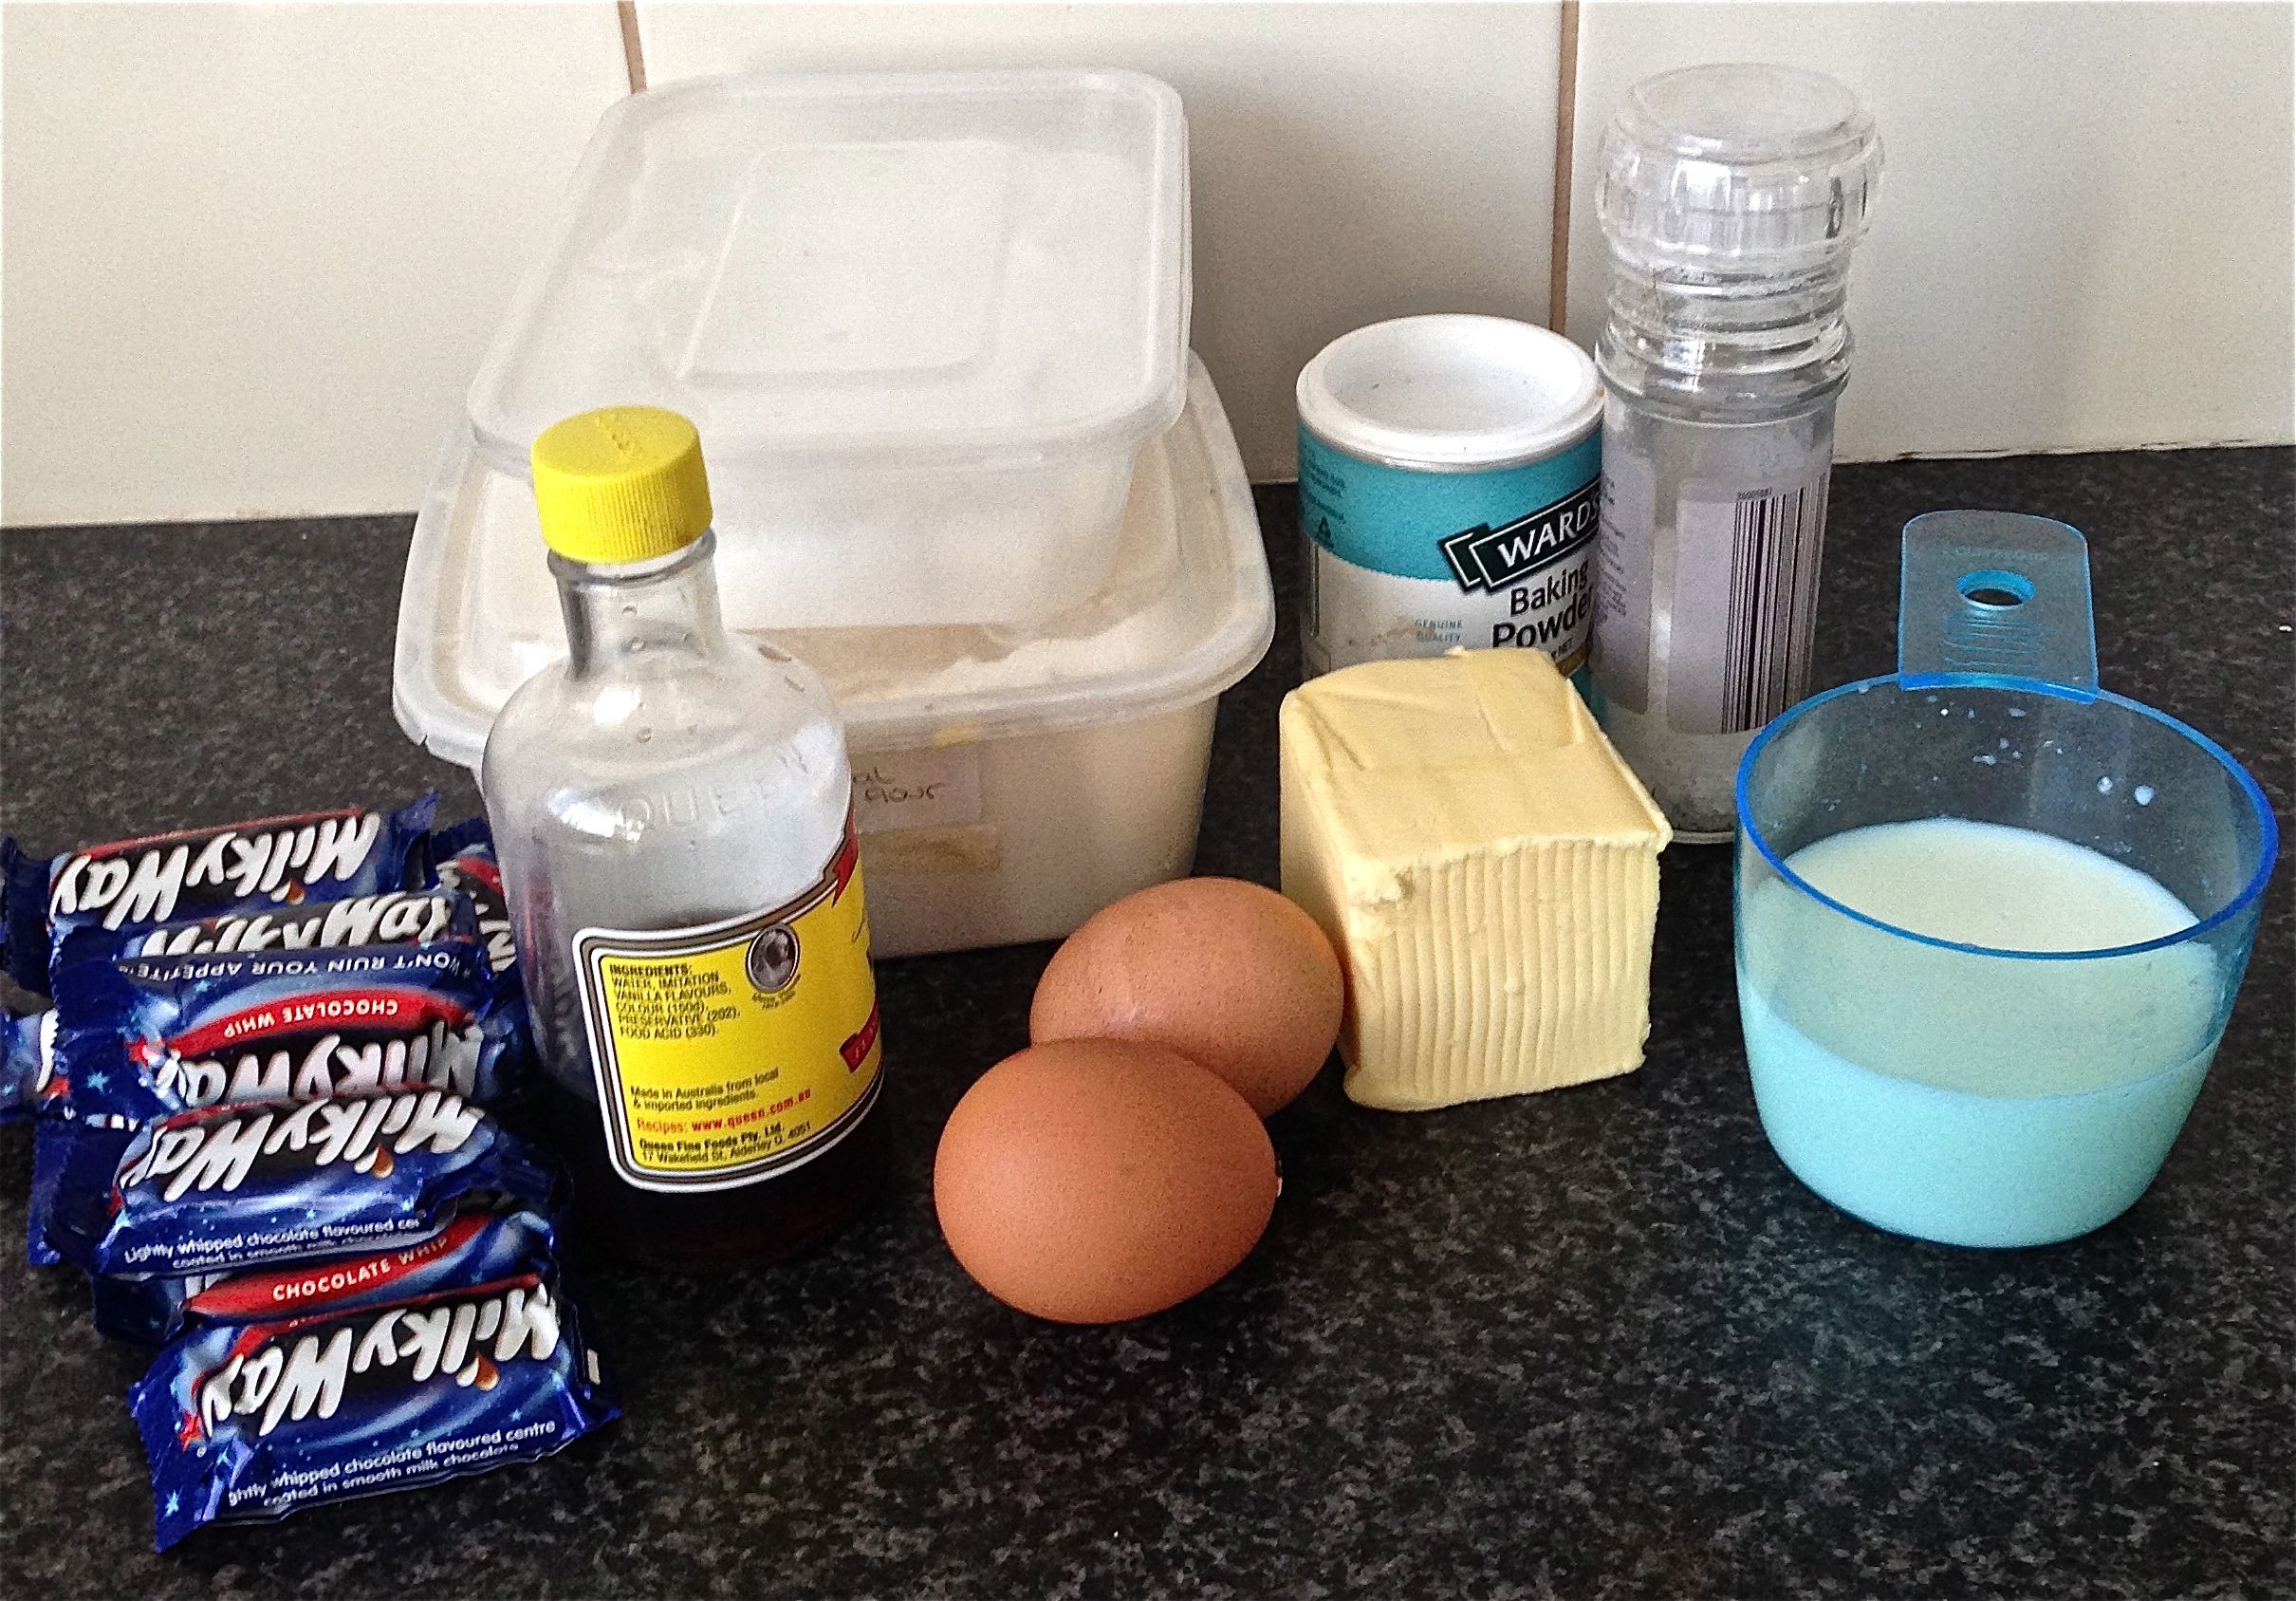
- 300g rhubarb
- 1 cup sugar
- 3 tsn vanilla essence
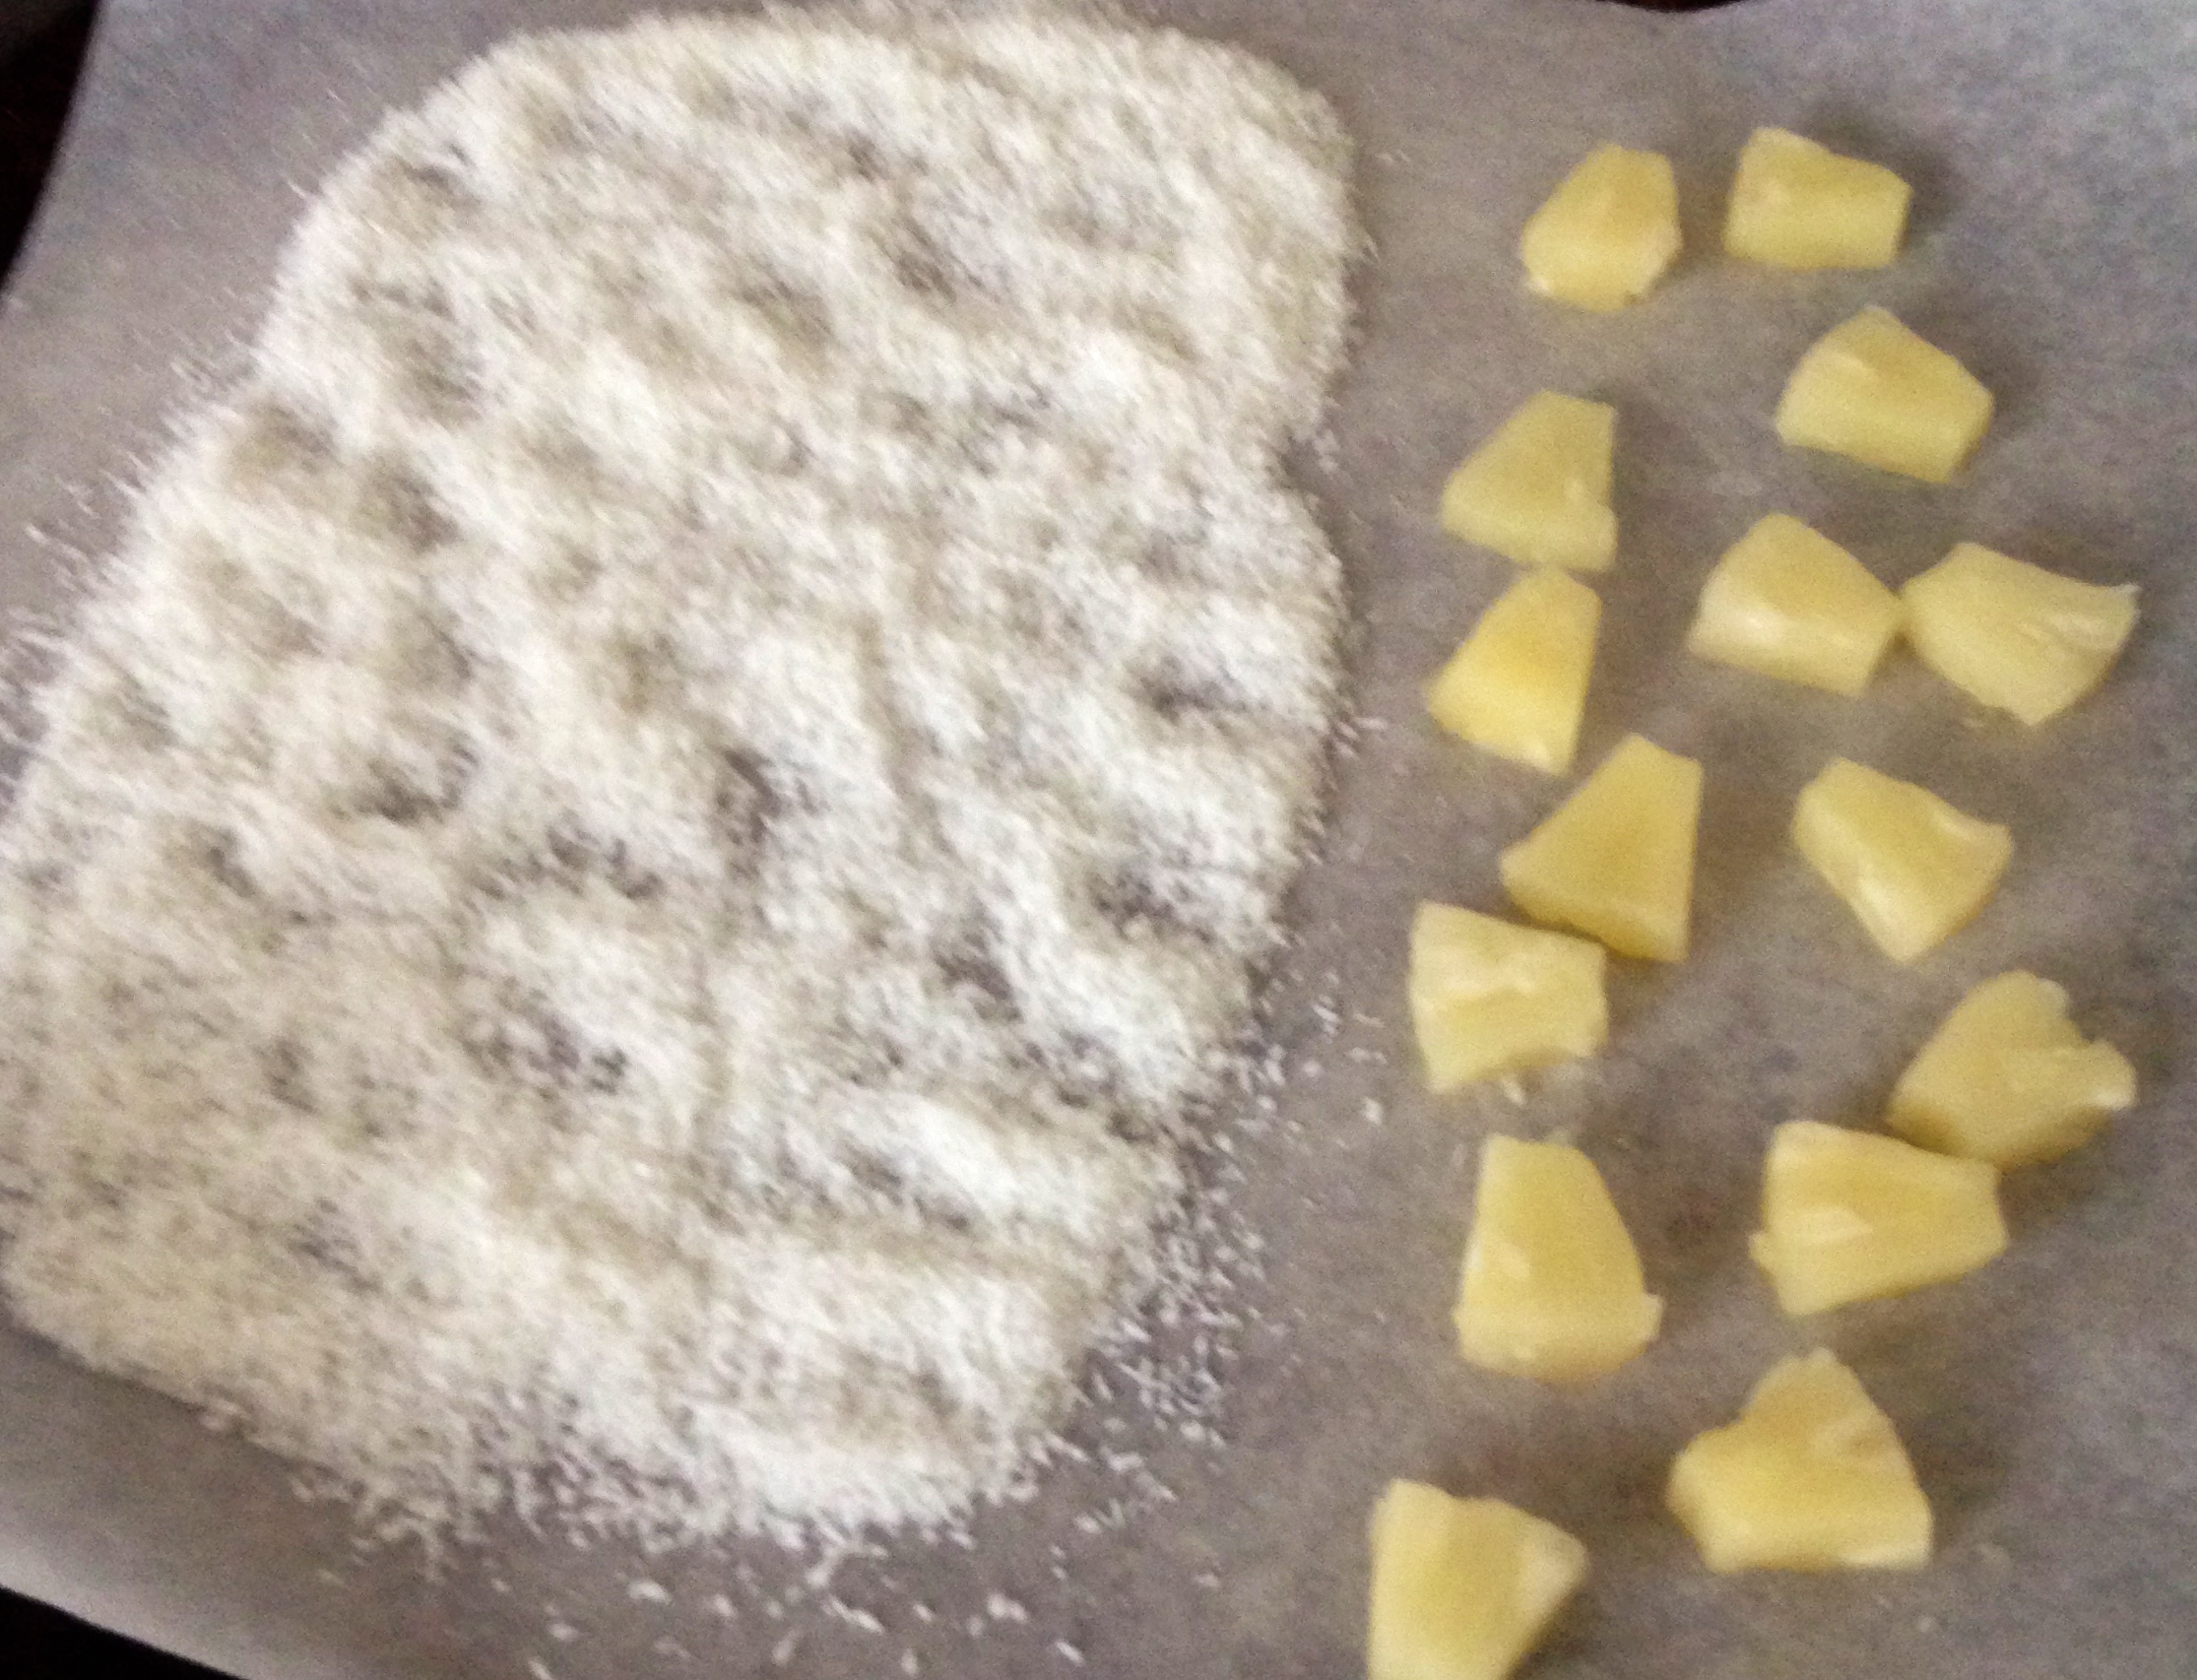
- 125g butter
- 2 eggs
- 1 + ½ cup self raising flour
- ¼ cup buttermilk
- 1 tsn baking powder
- 1 + 1/2 tsn ground ginger
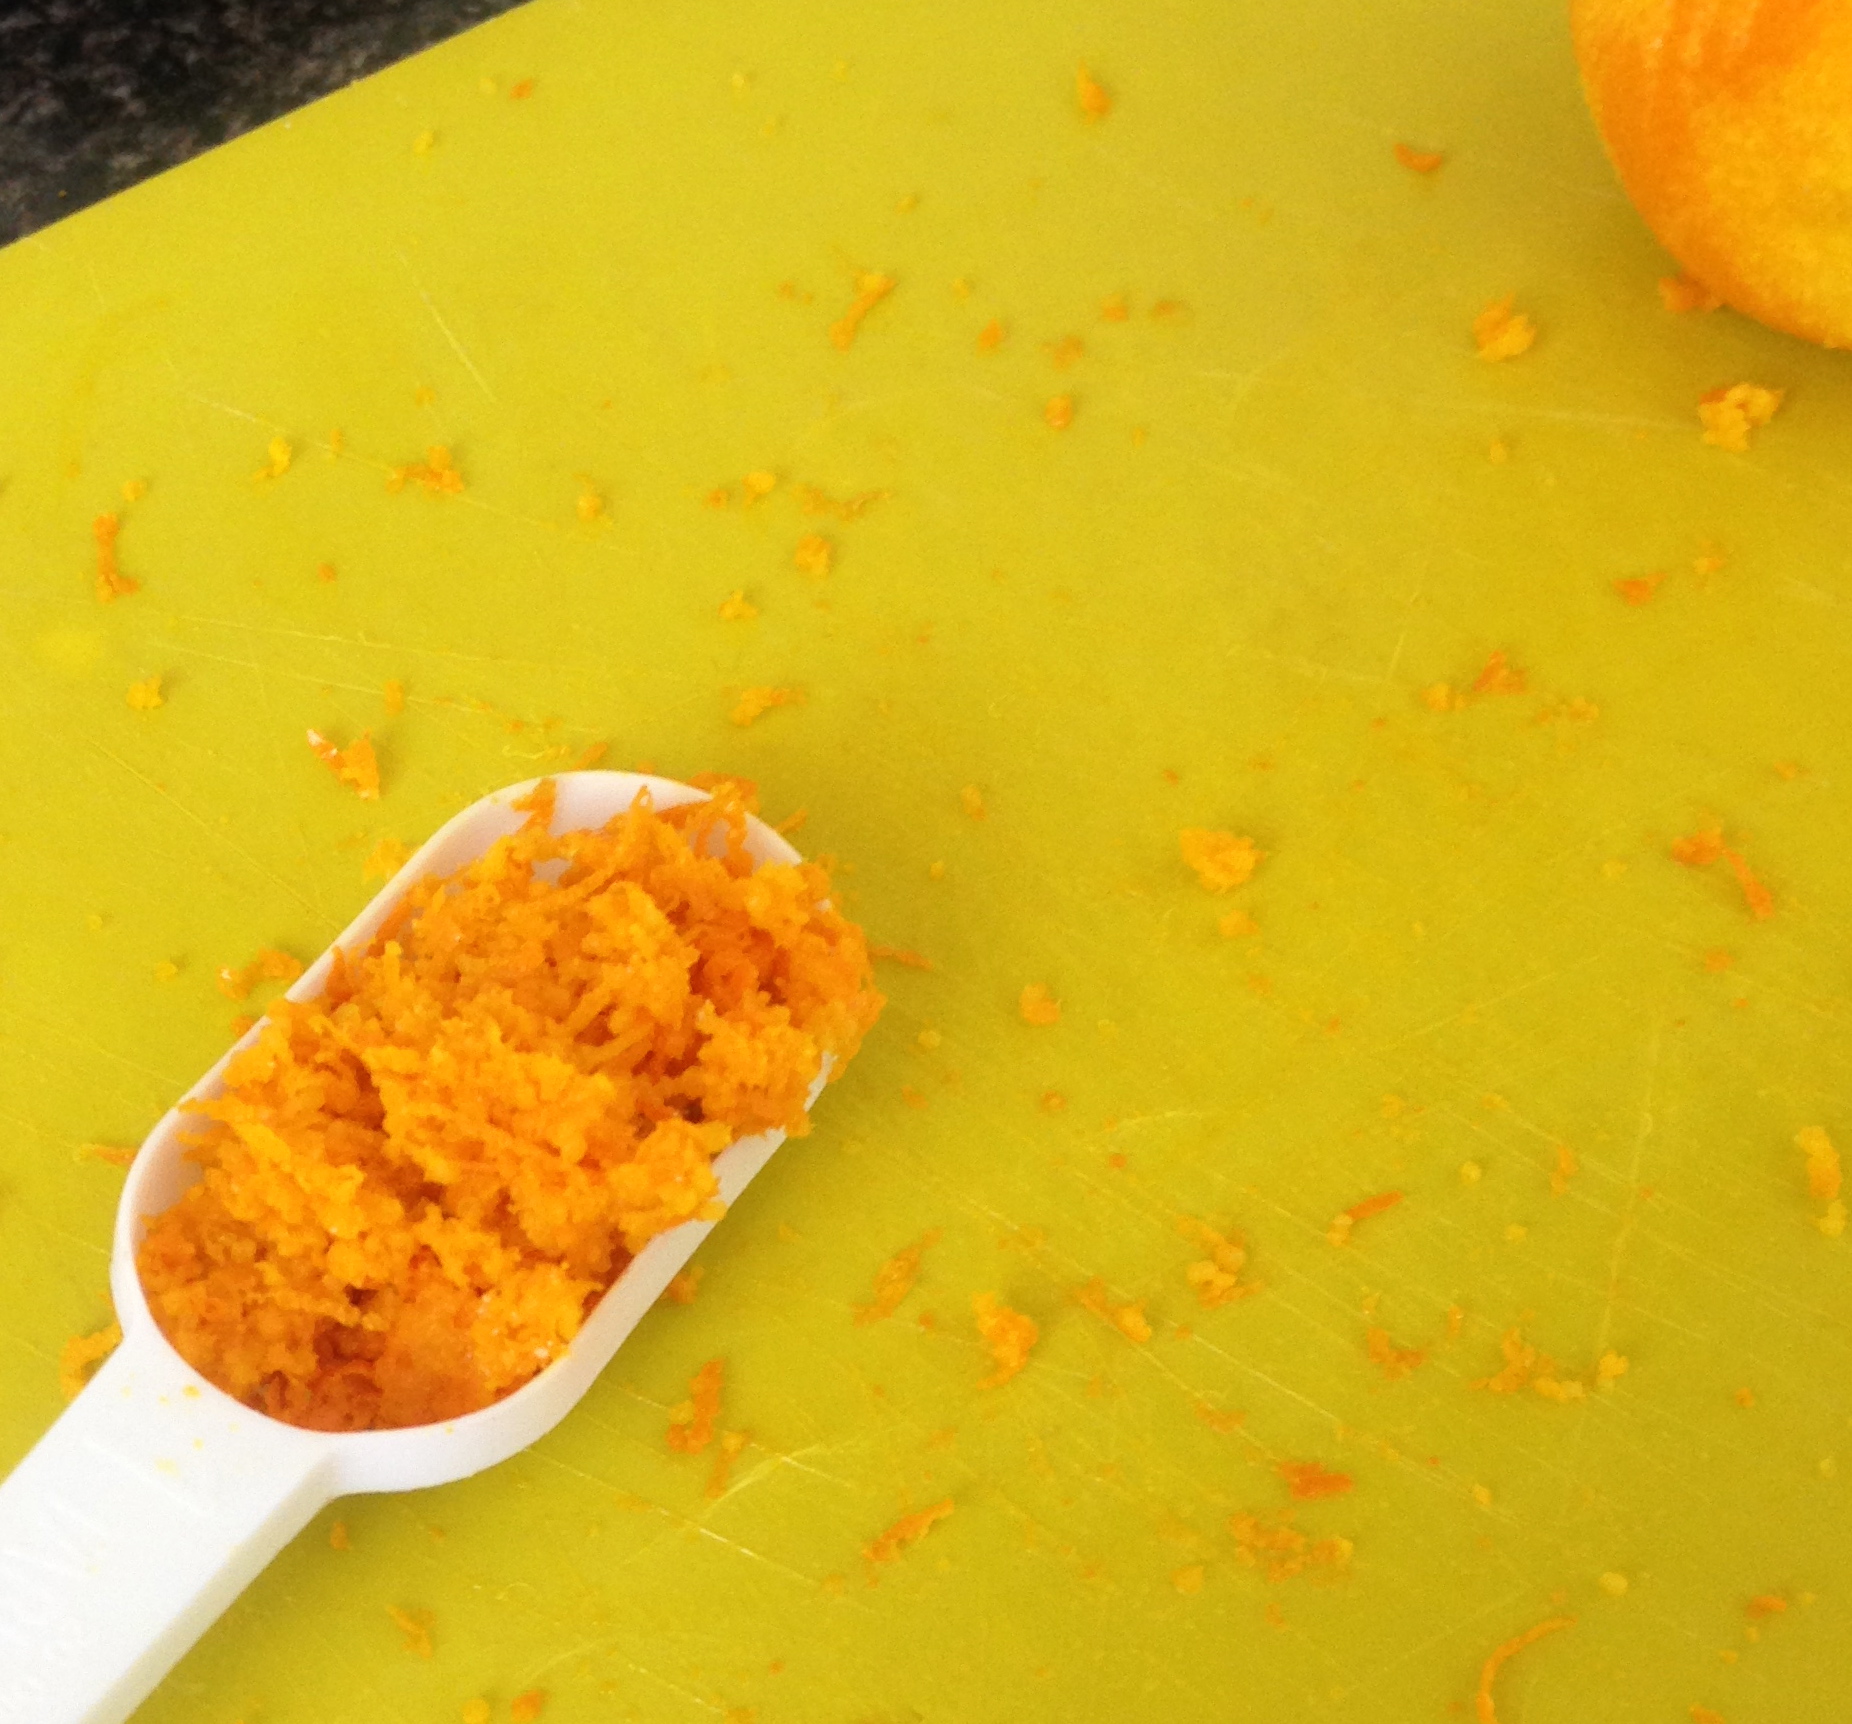
- 2 tsn orange zest
Icing:
- 90g butter
- 1 tsn vanilla
- 1 cup icing sugar
- 1 tsn ground ginger
- 2 tsn orange zest
- 2 tsn milk
Method:
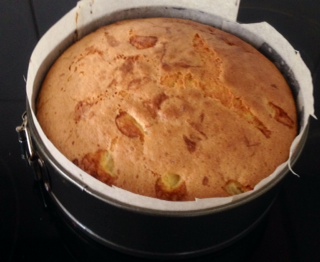
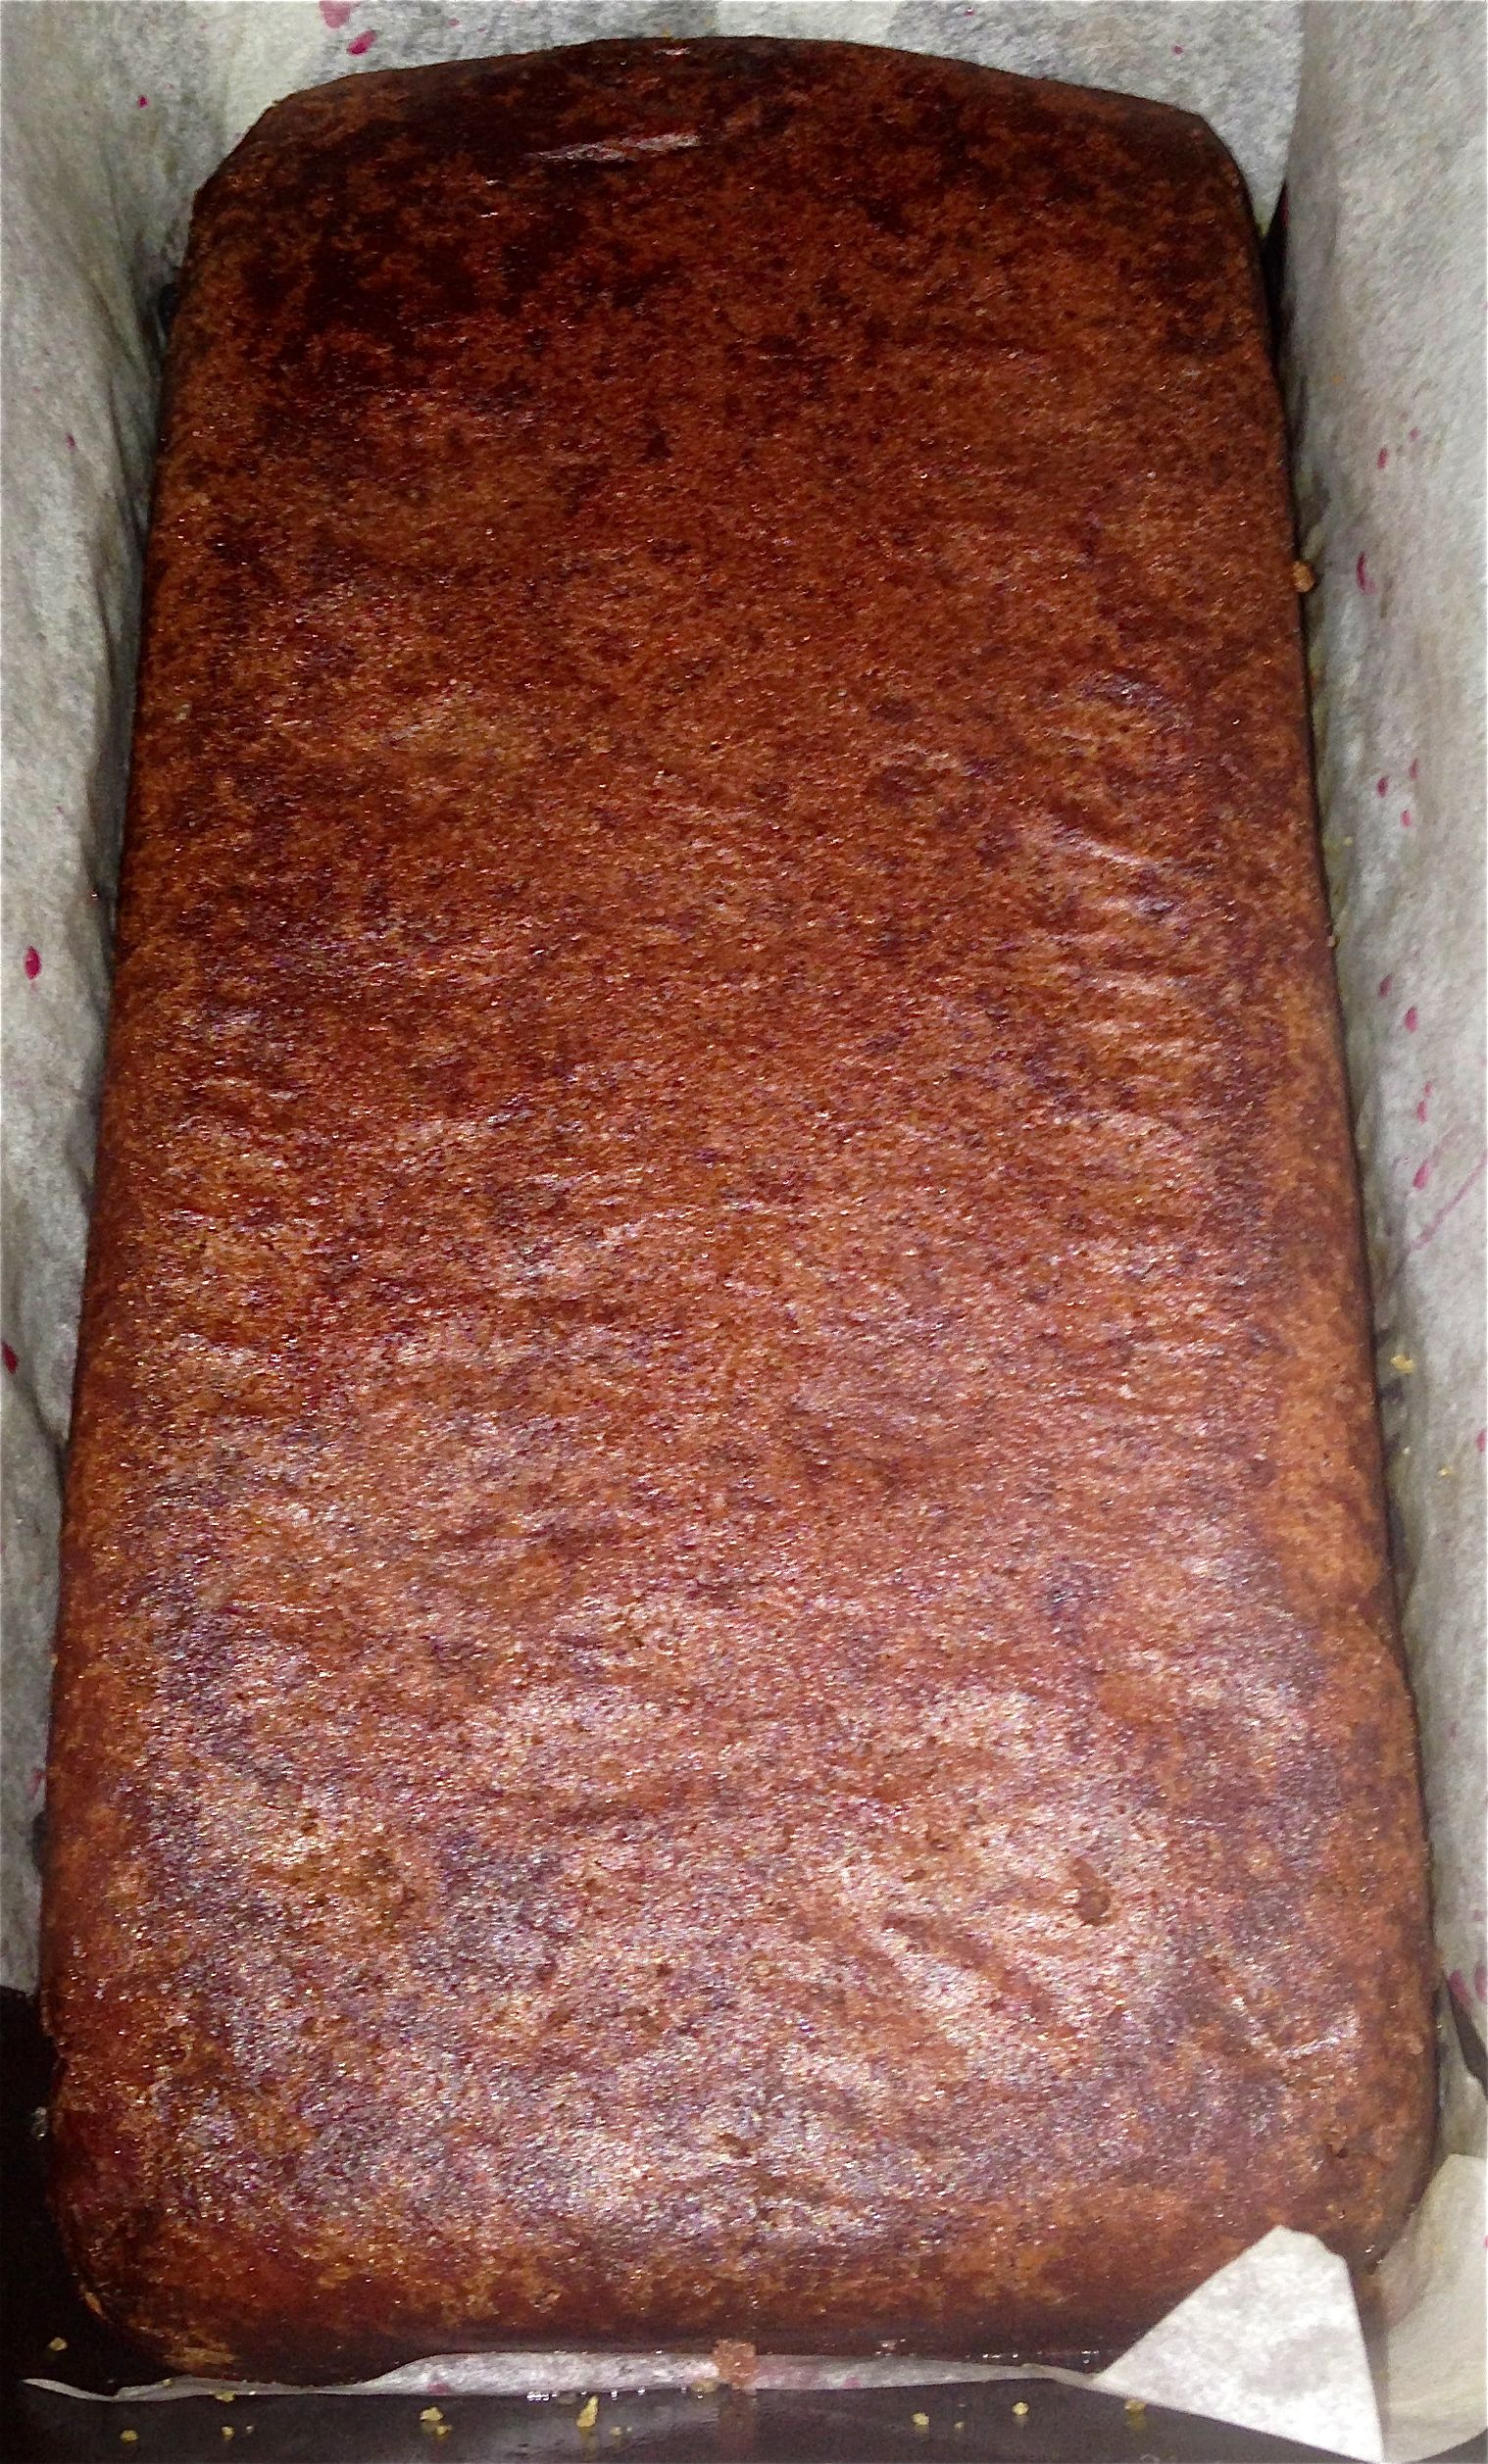
- Preheat the oven to 160c and line a 23cm-baking tray with baking paper.
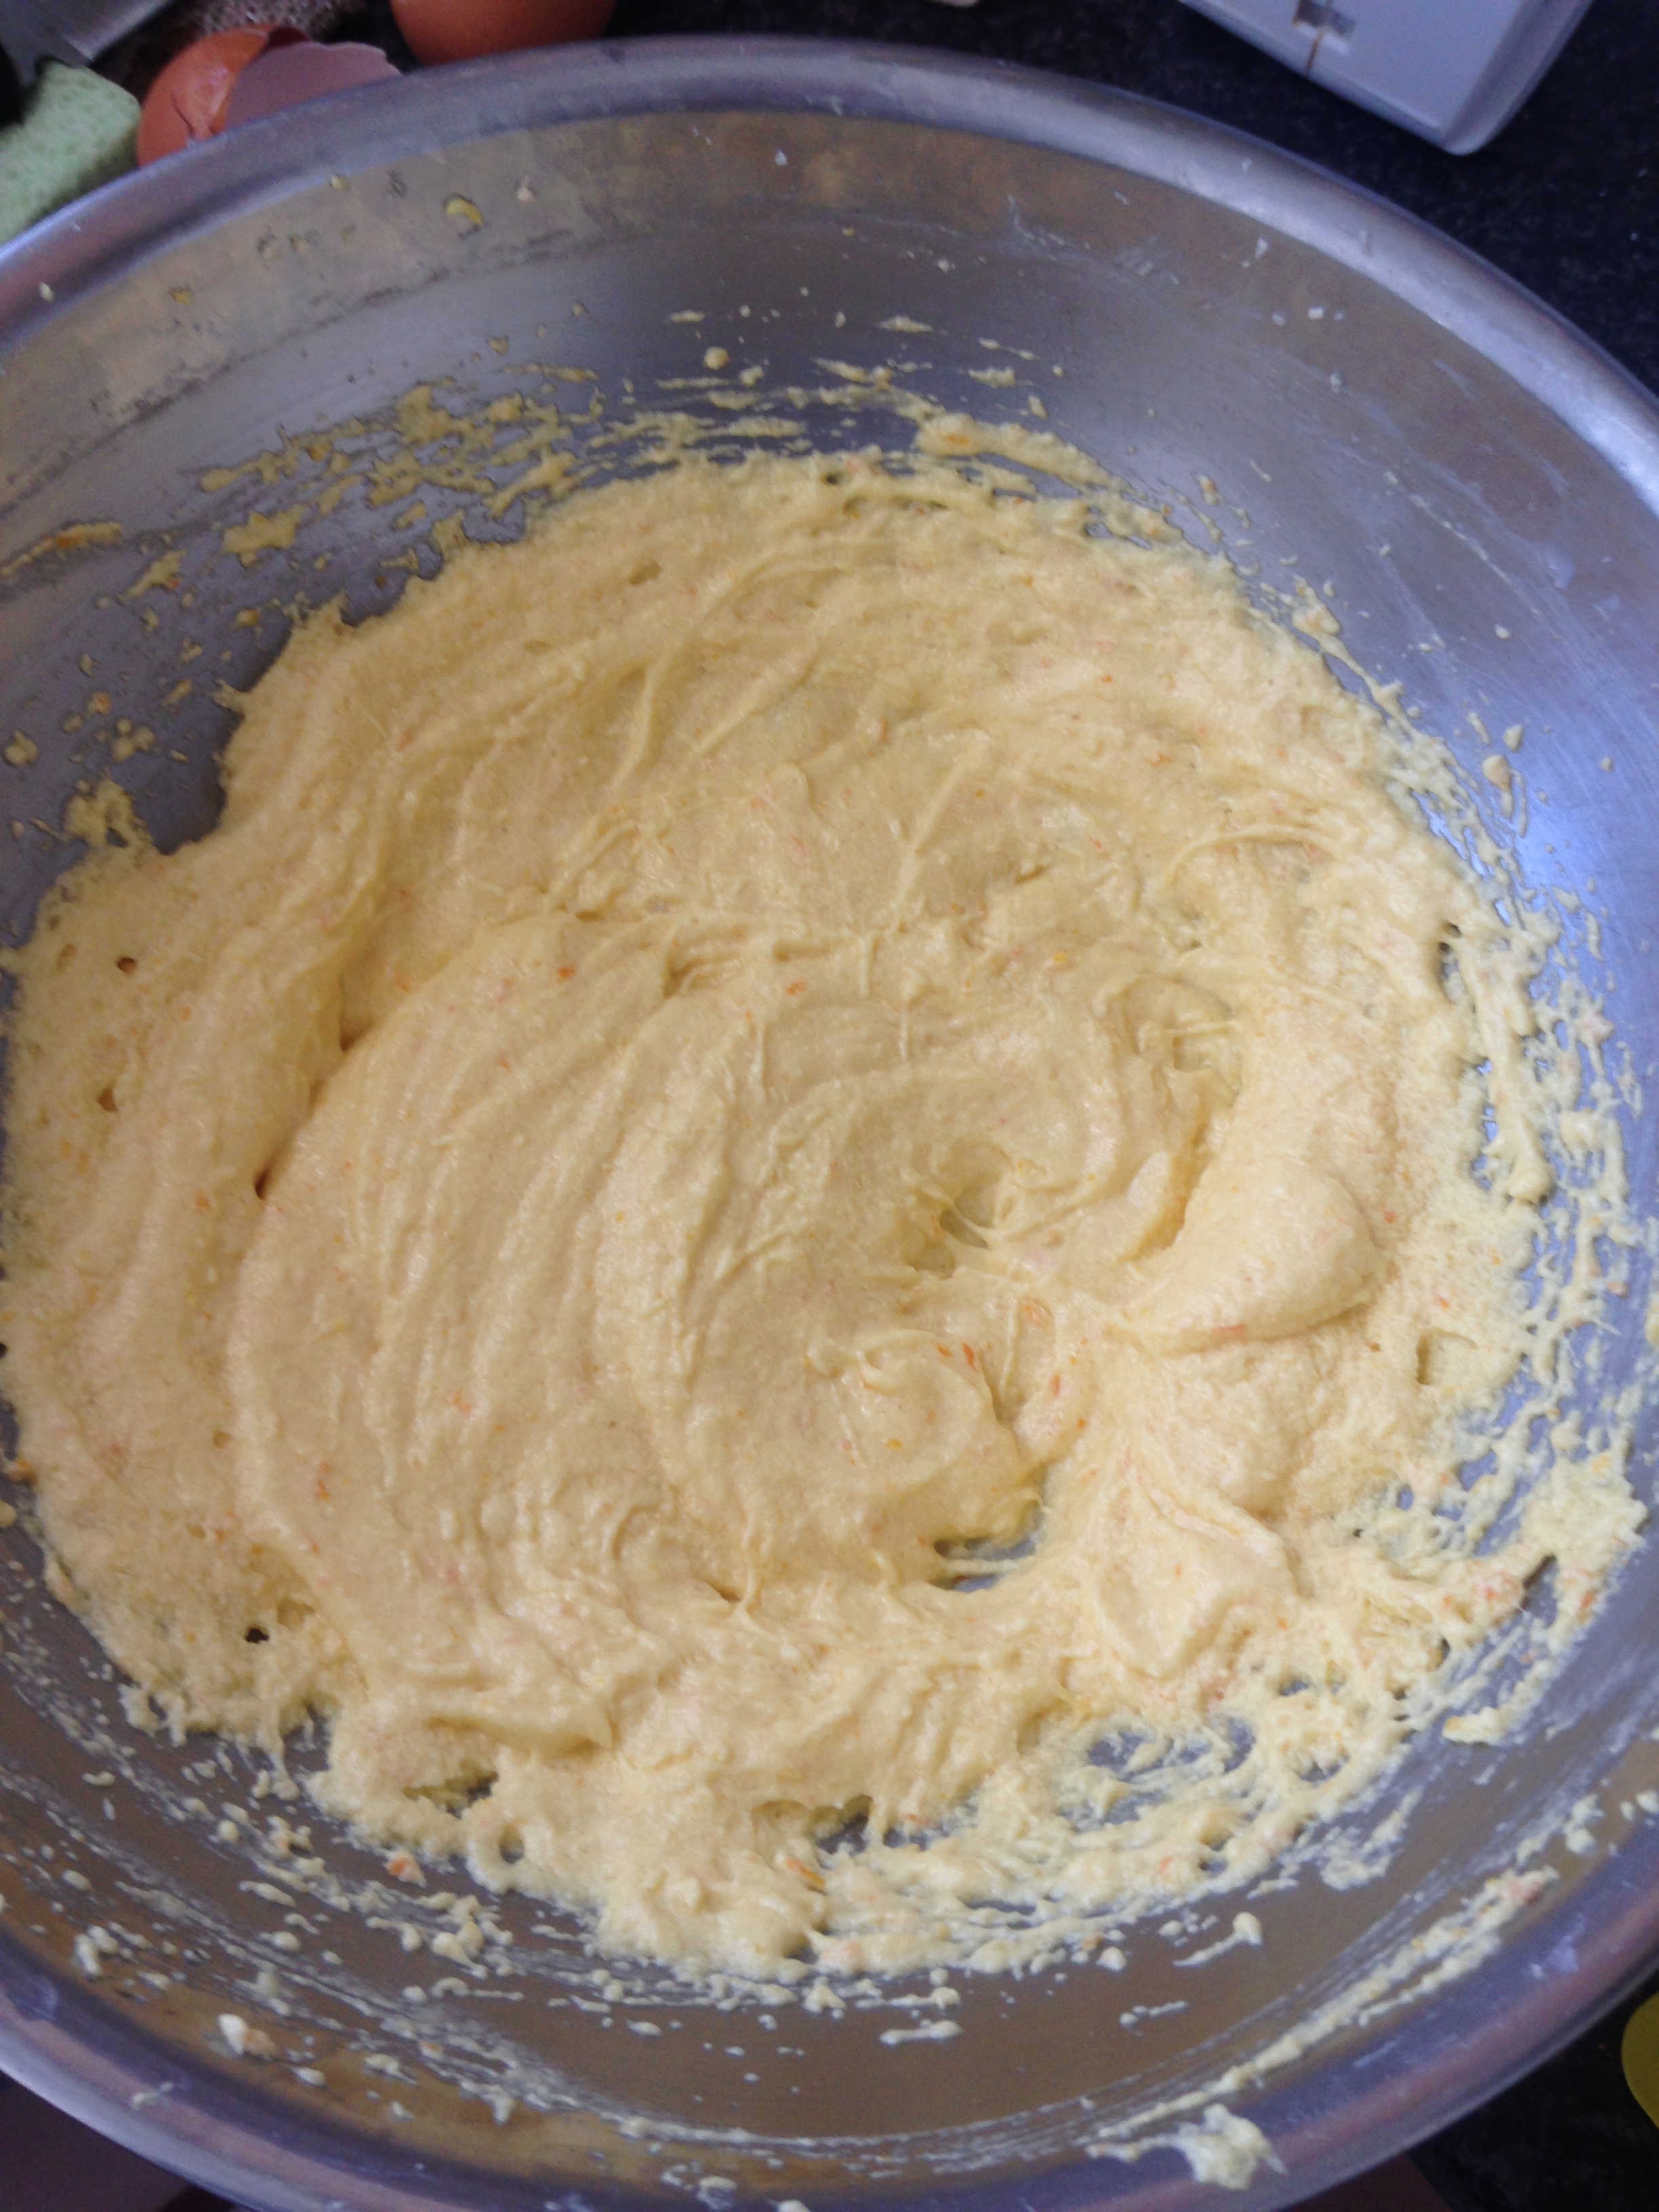
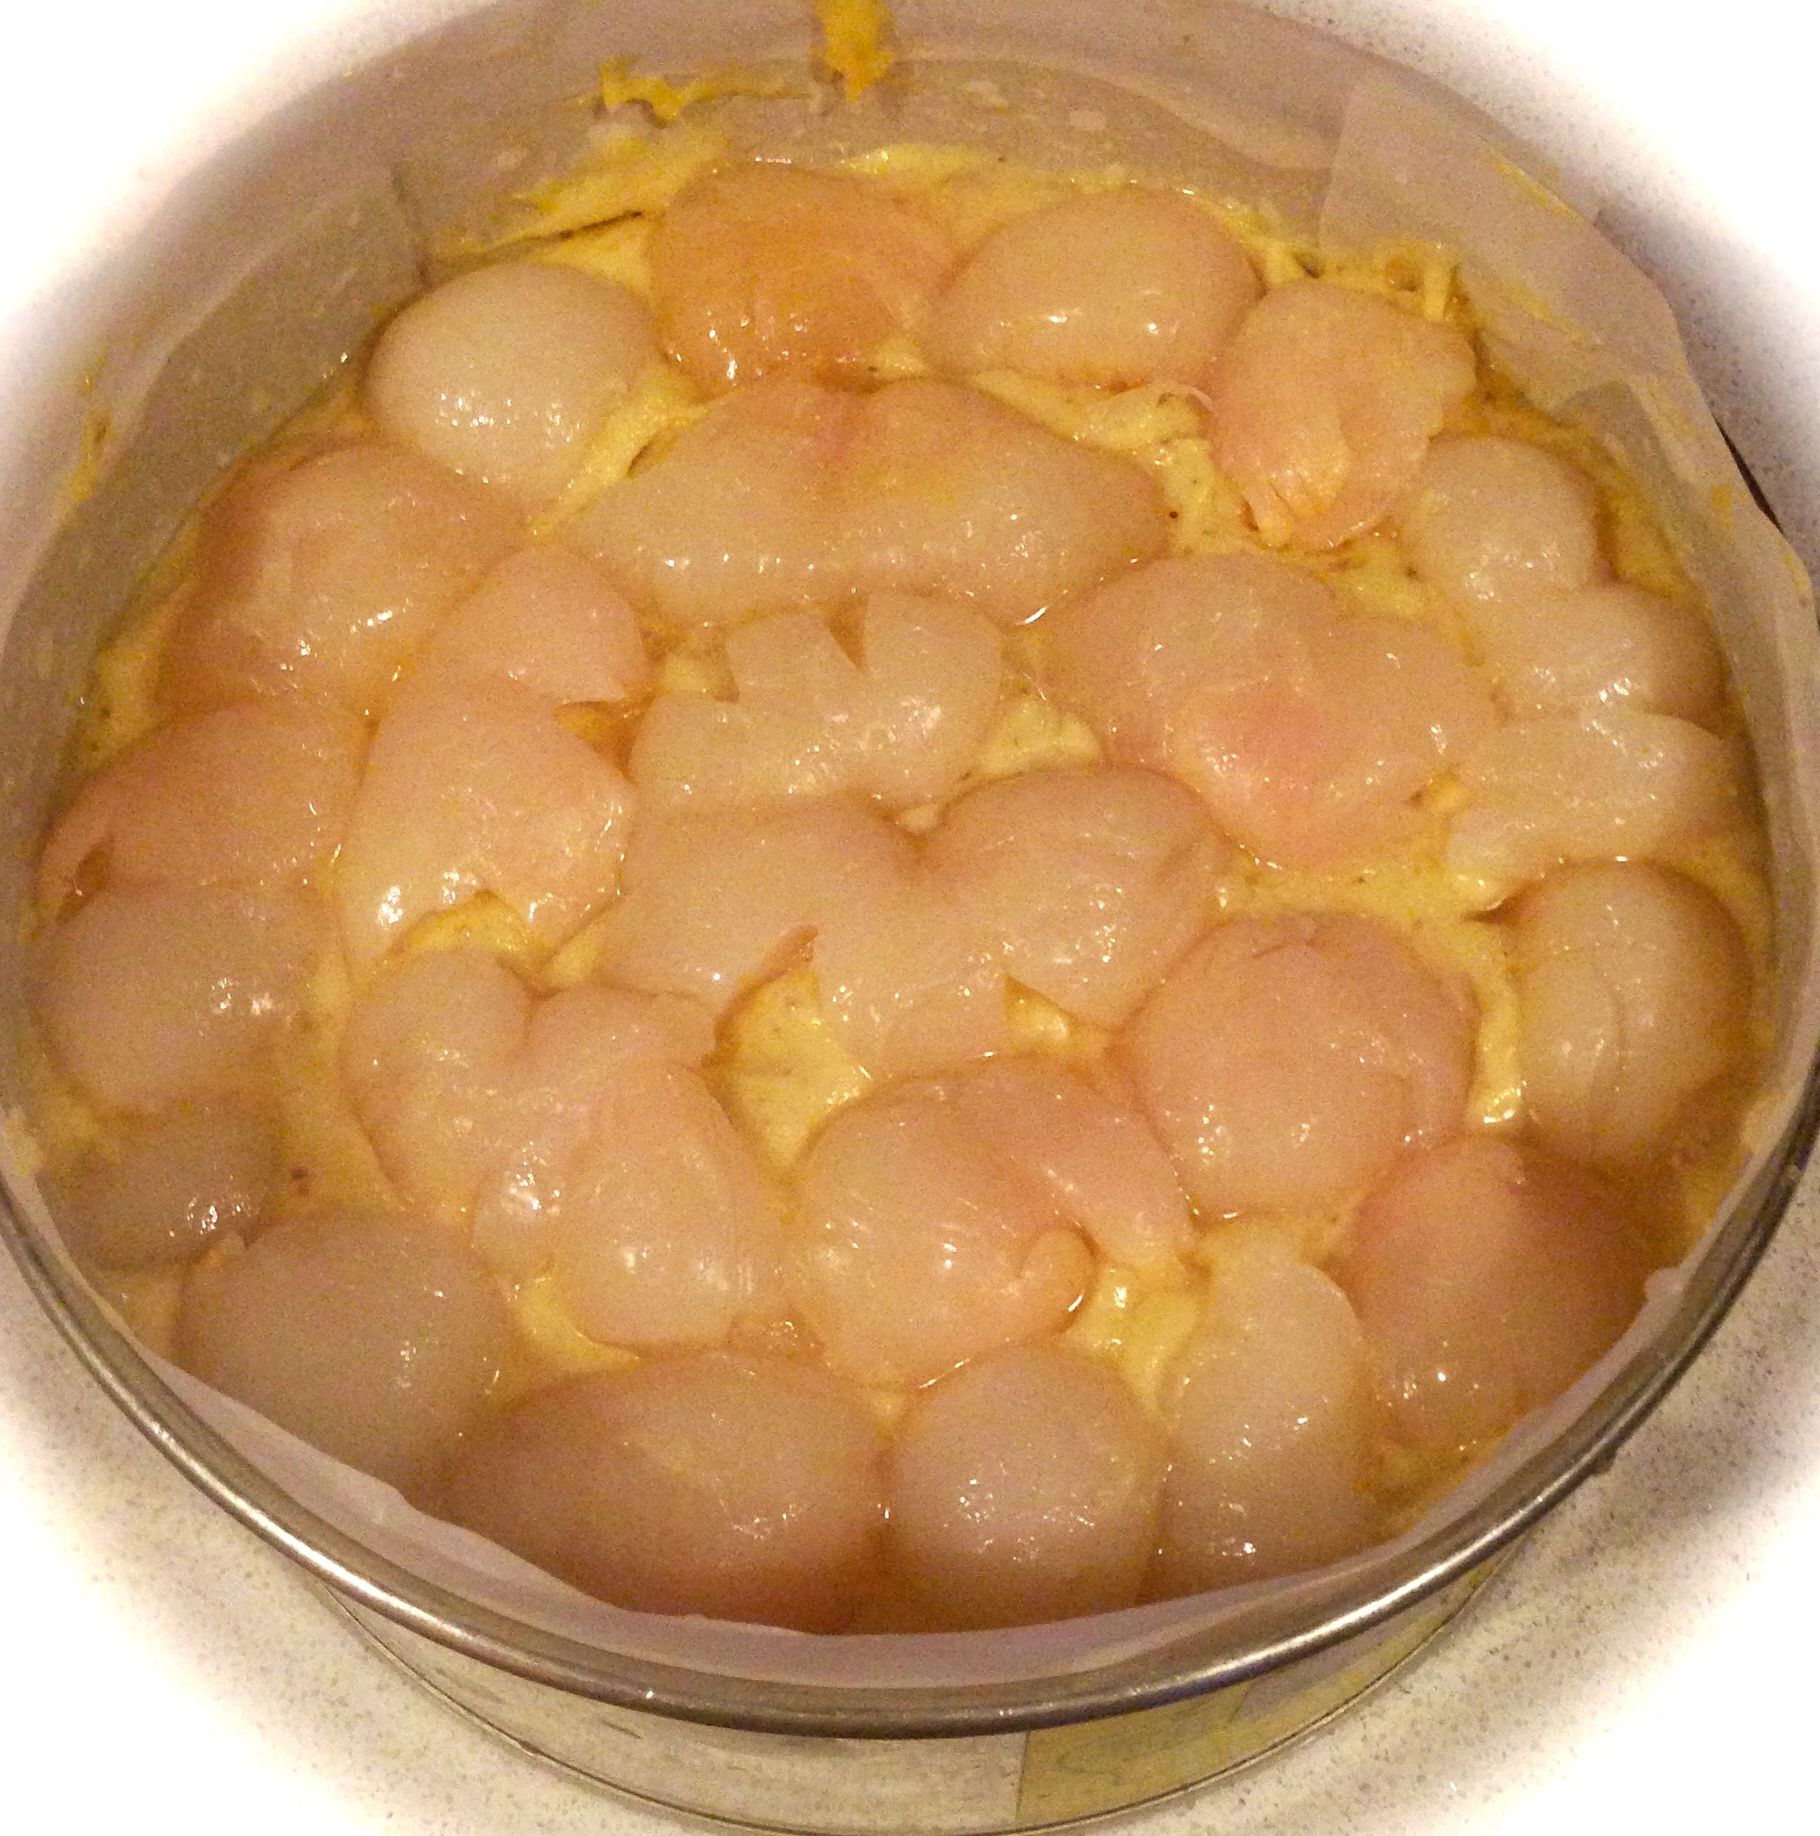
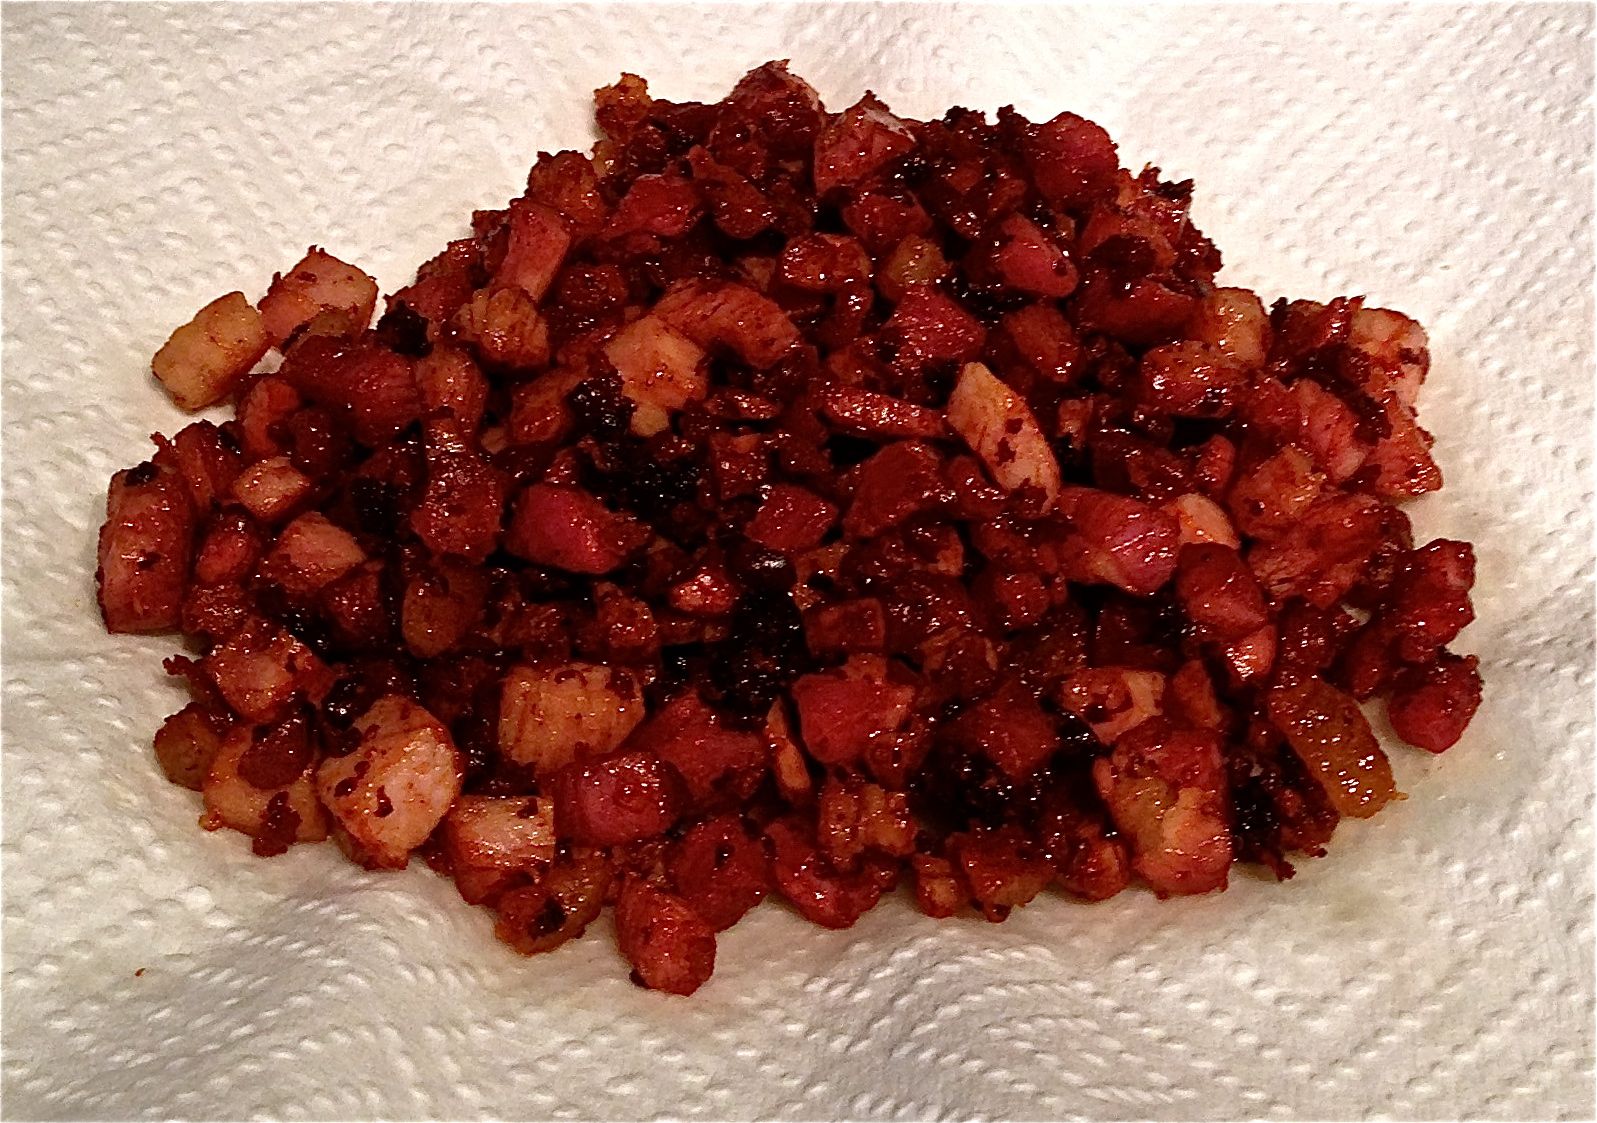
- Cut the rhubarb into 2cm pieces and place in a saucepan with ¼ of the sugar and 2 tsn’s of the vanilla essence. On a medium heat stir for 10 minutes or until the rhubarb is soft and smooth.
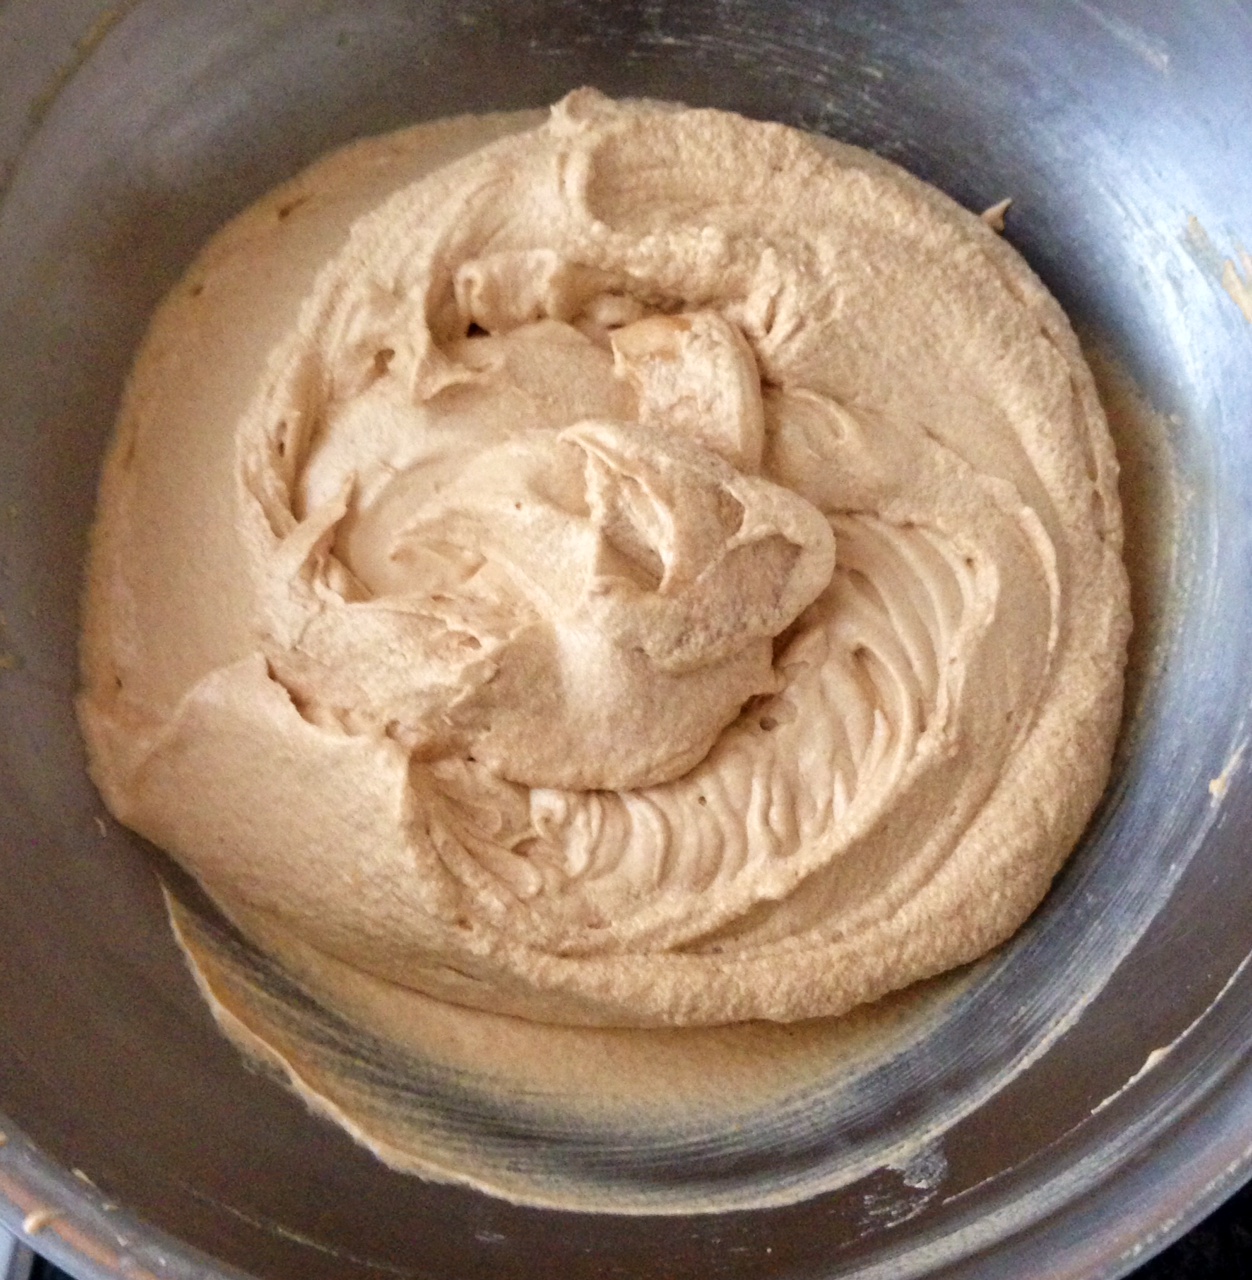
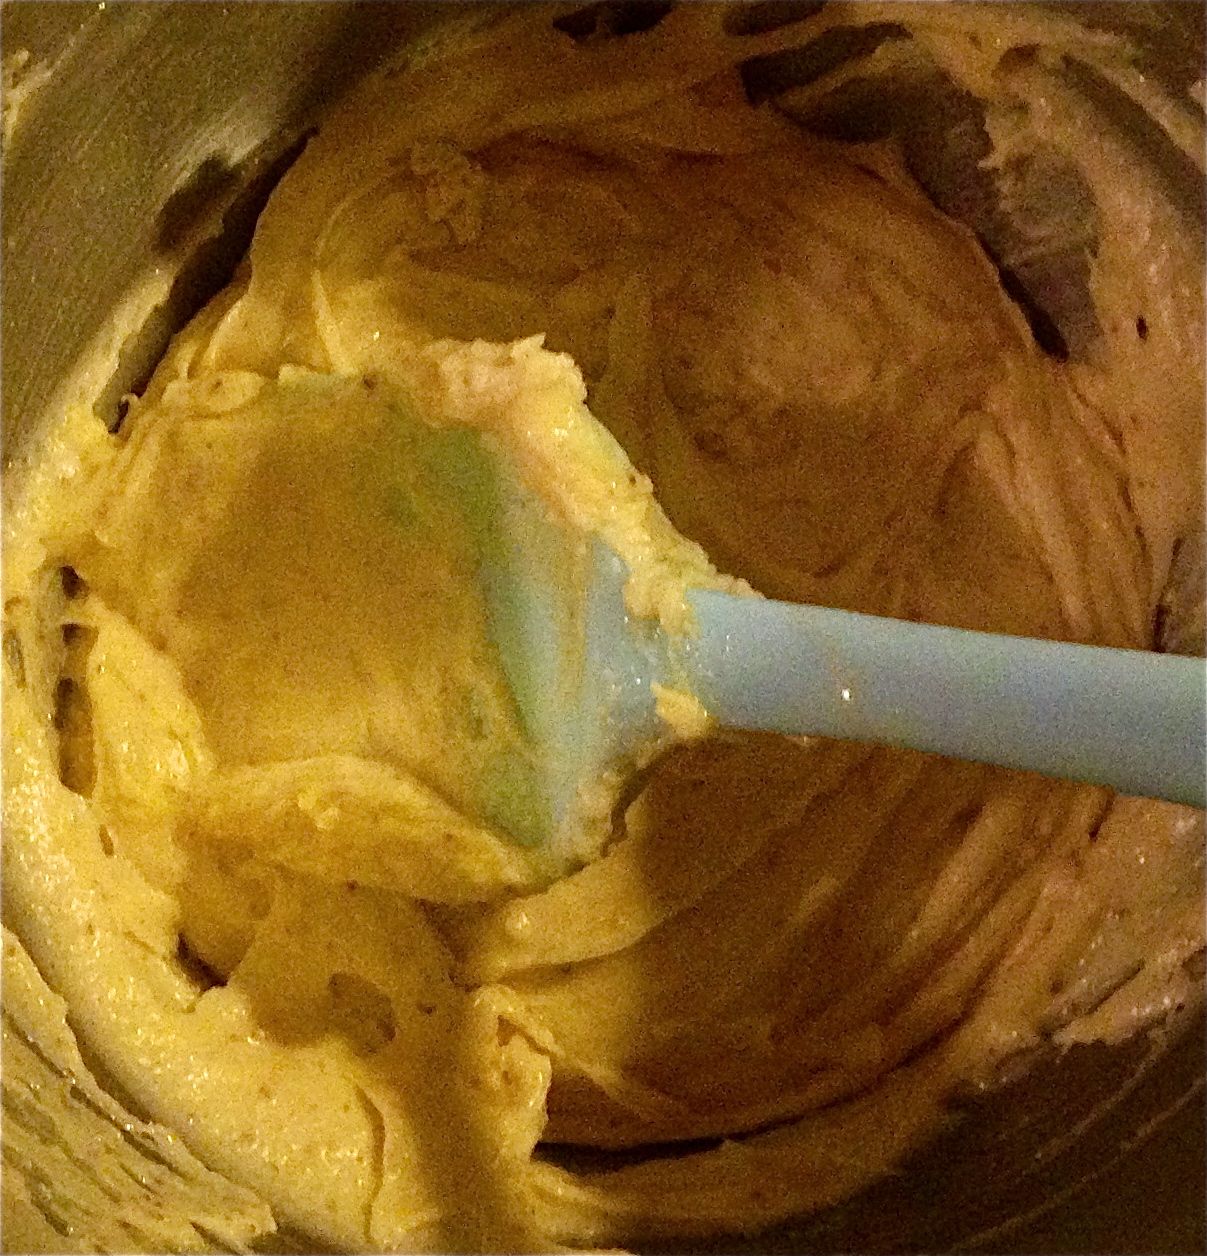
- With electric mixer beat the butter, zest, and ground ginger, remaining vanilla essence and remaining sugar for 7 minutes until the mix is light and fluffy.
- Add eggs, beating in between each addition.
- Add the milk and flour and fold gently.
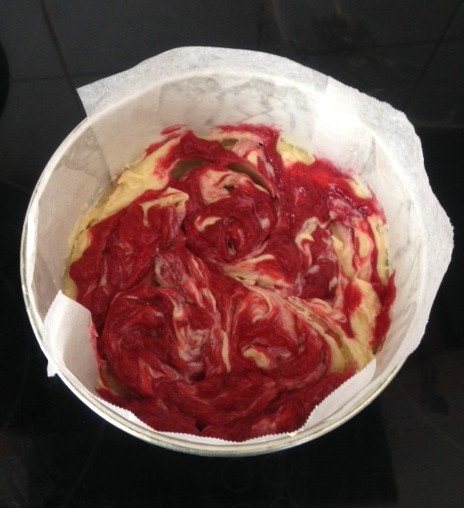
- Using a spatula carefully fold in the rhubarb mix until only just combined where ripples of rhubarb have occurred.
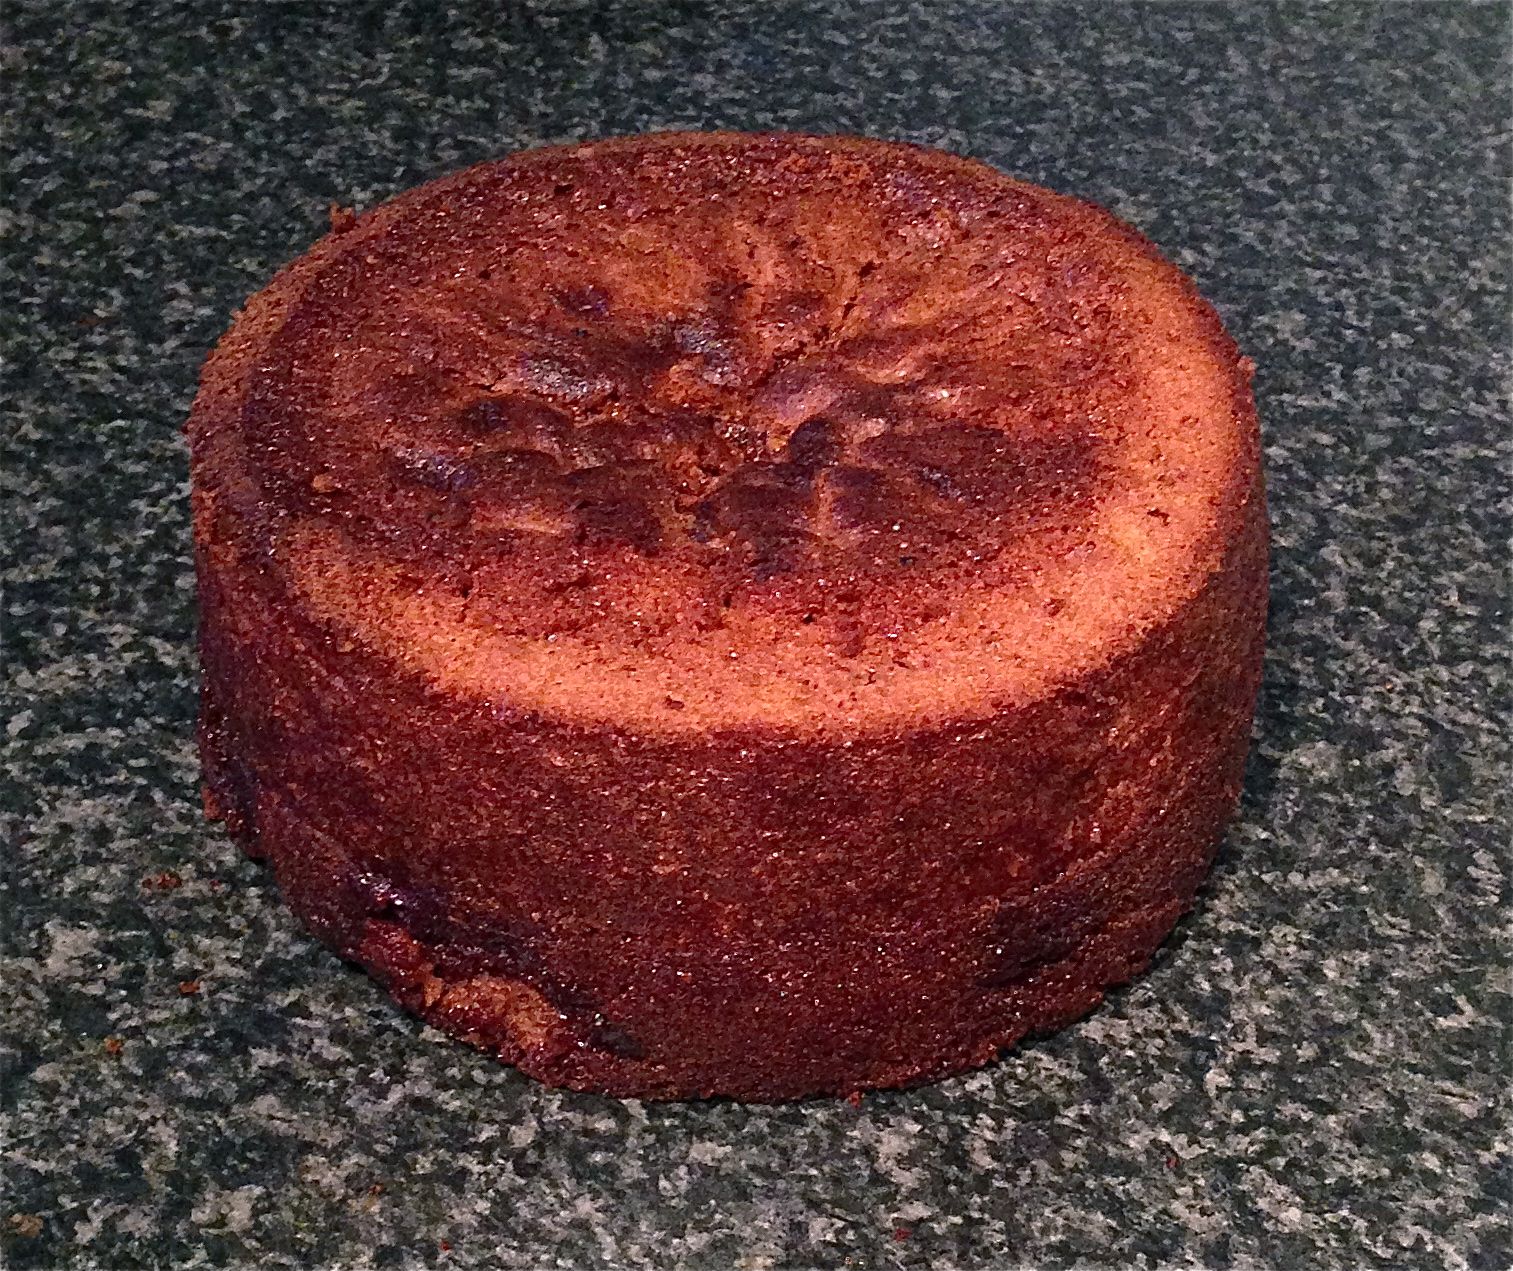
- Carefully spoon mix into the baking tin and bake for 55 minutes of until a skew inserted in the center comes out clean.
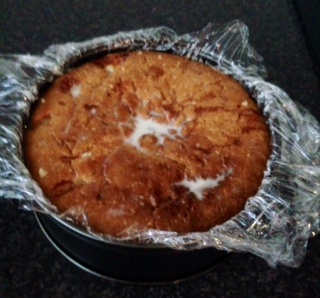
- Place on a cooling rack to cool.
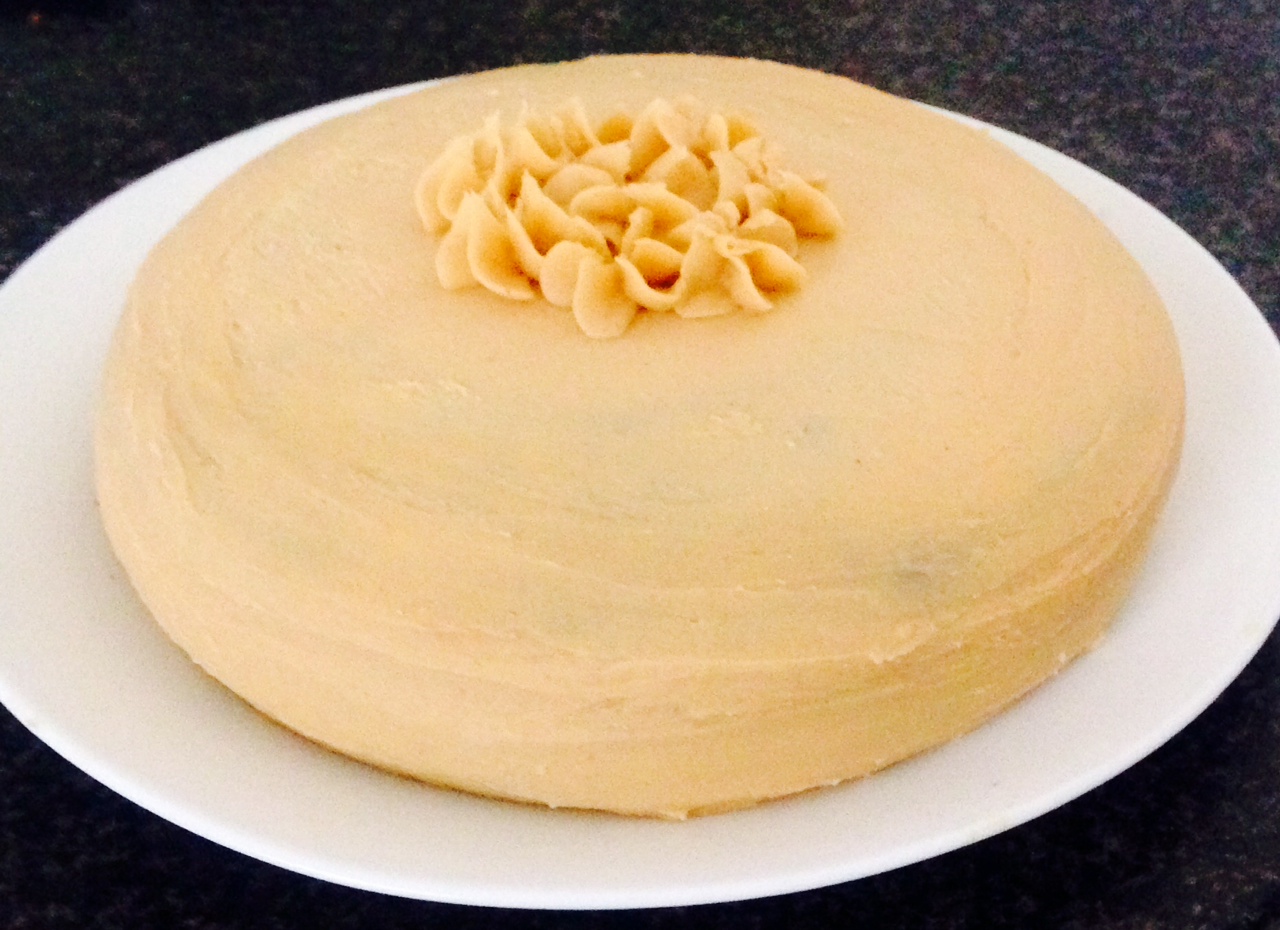
- To make the icing combine all ingredients together and beat with electric beaters for 10 minutes until light and fluffy.
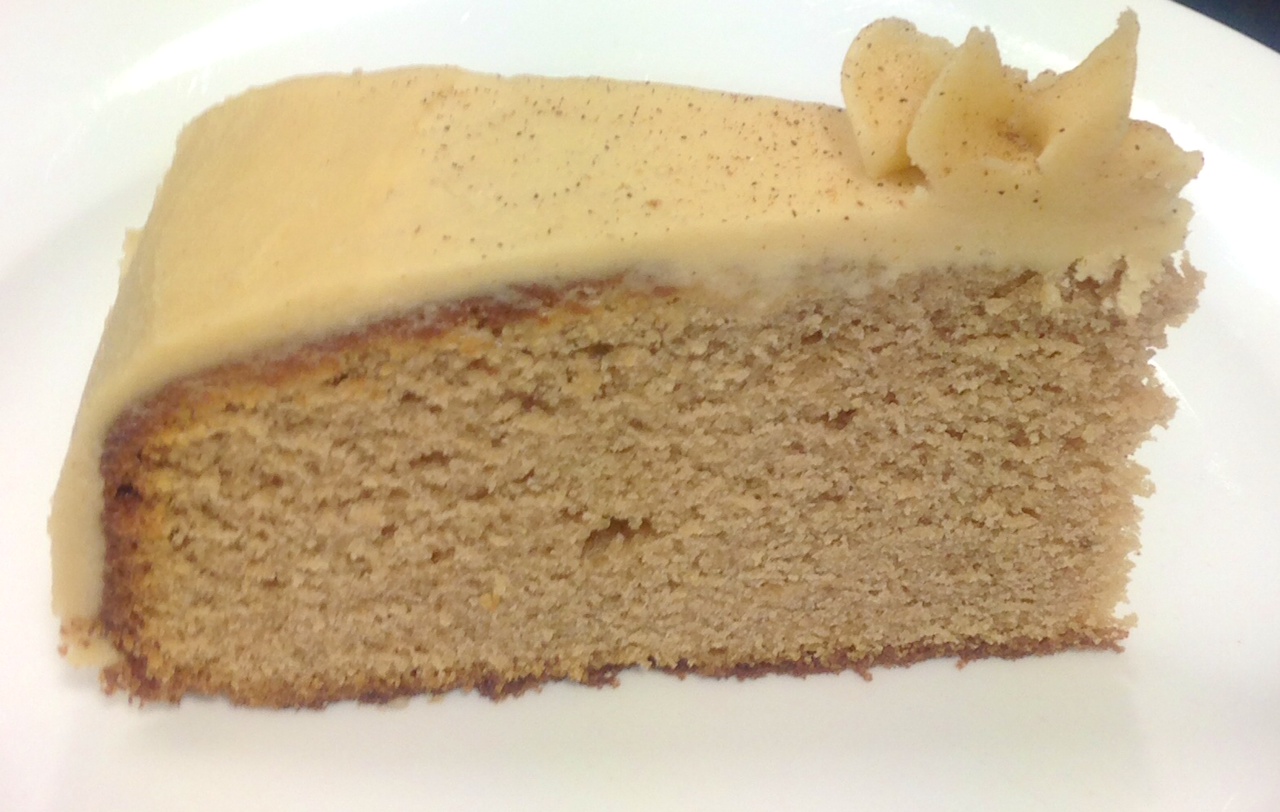
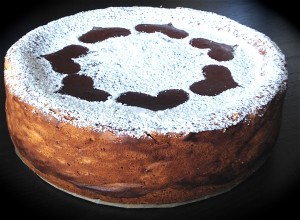
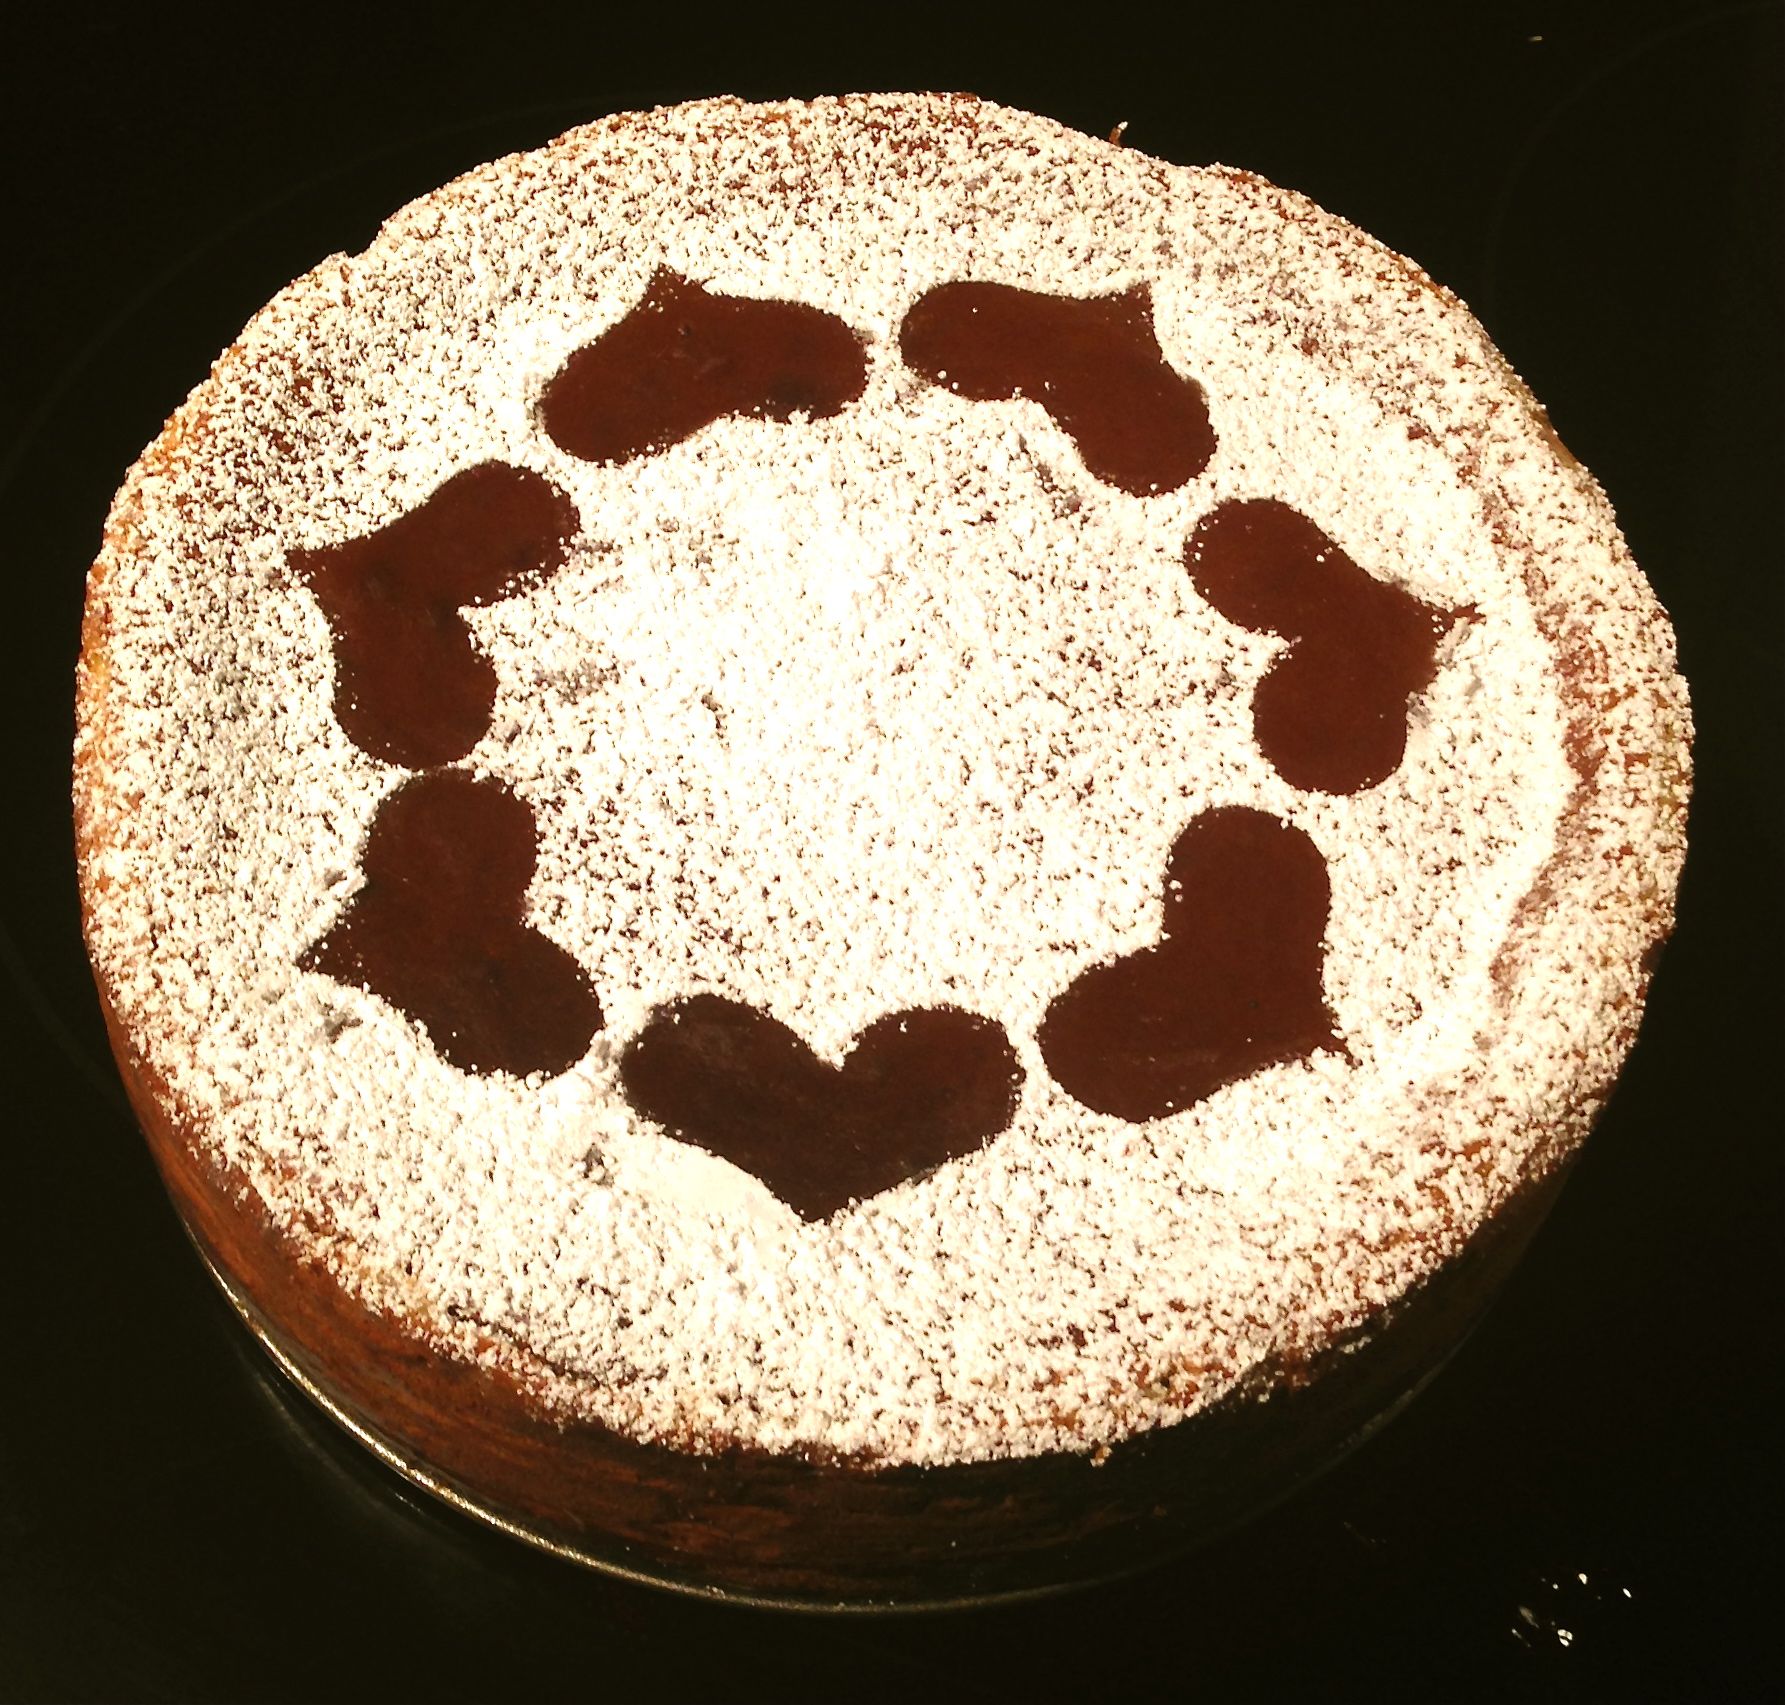
- On a cooled cake spread the icing all over, serve.
Notes:
- You can always use milk instead of buttermilk but the cake wont be as dense.
- I have decorated with some grated white chocolate and left over orange zest.
- You will need 1 large orange for the zest required for this cake.

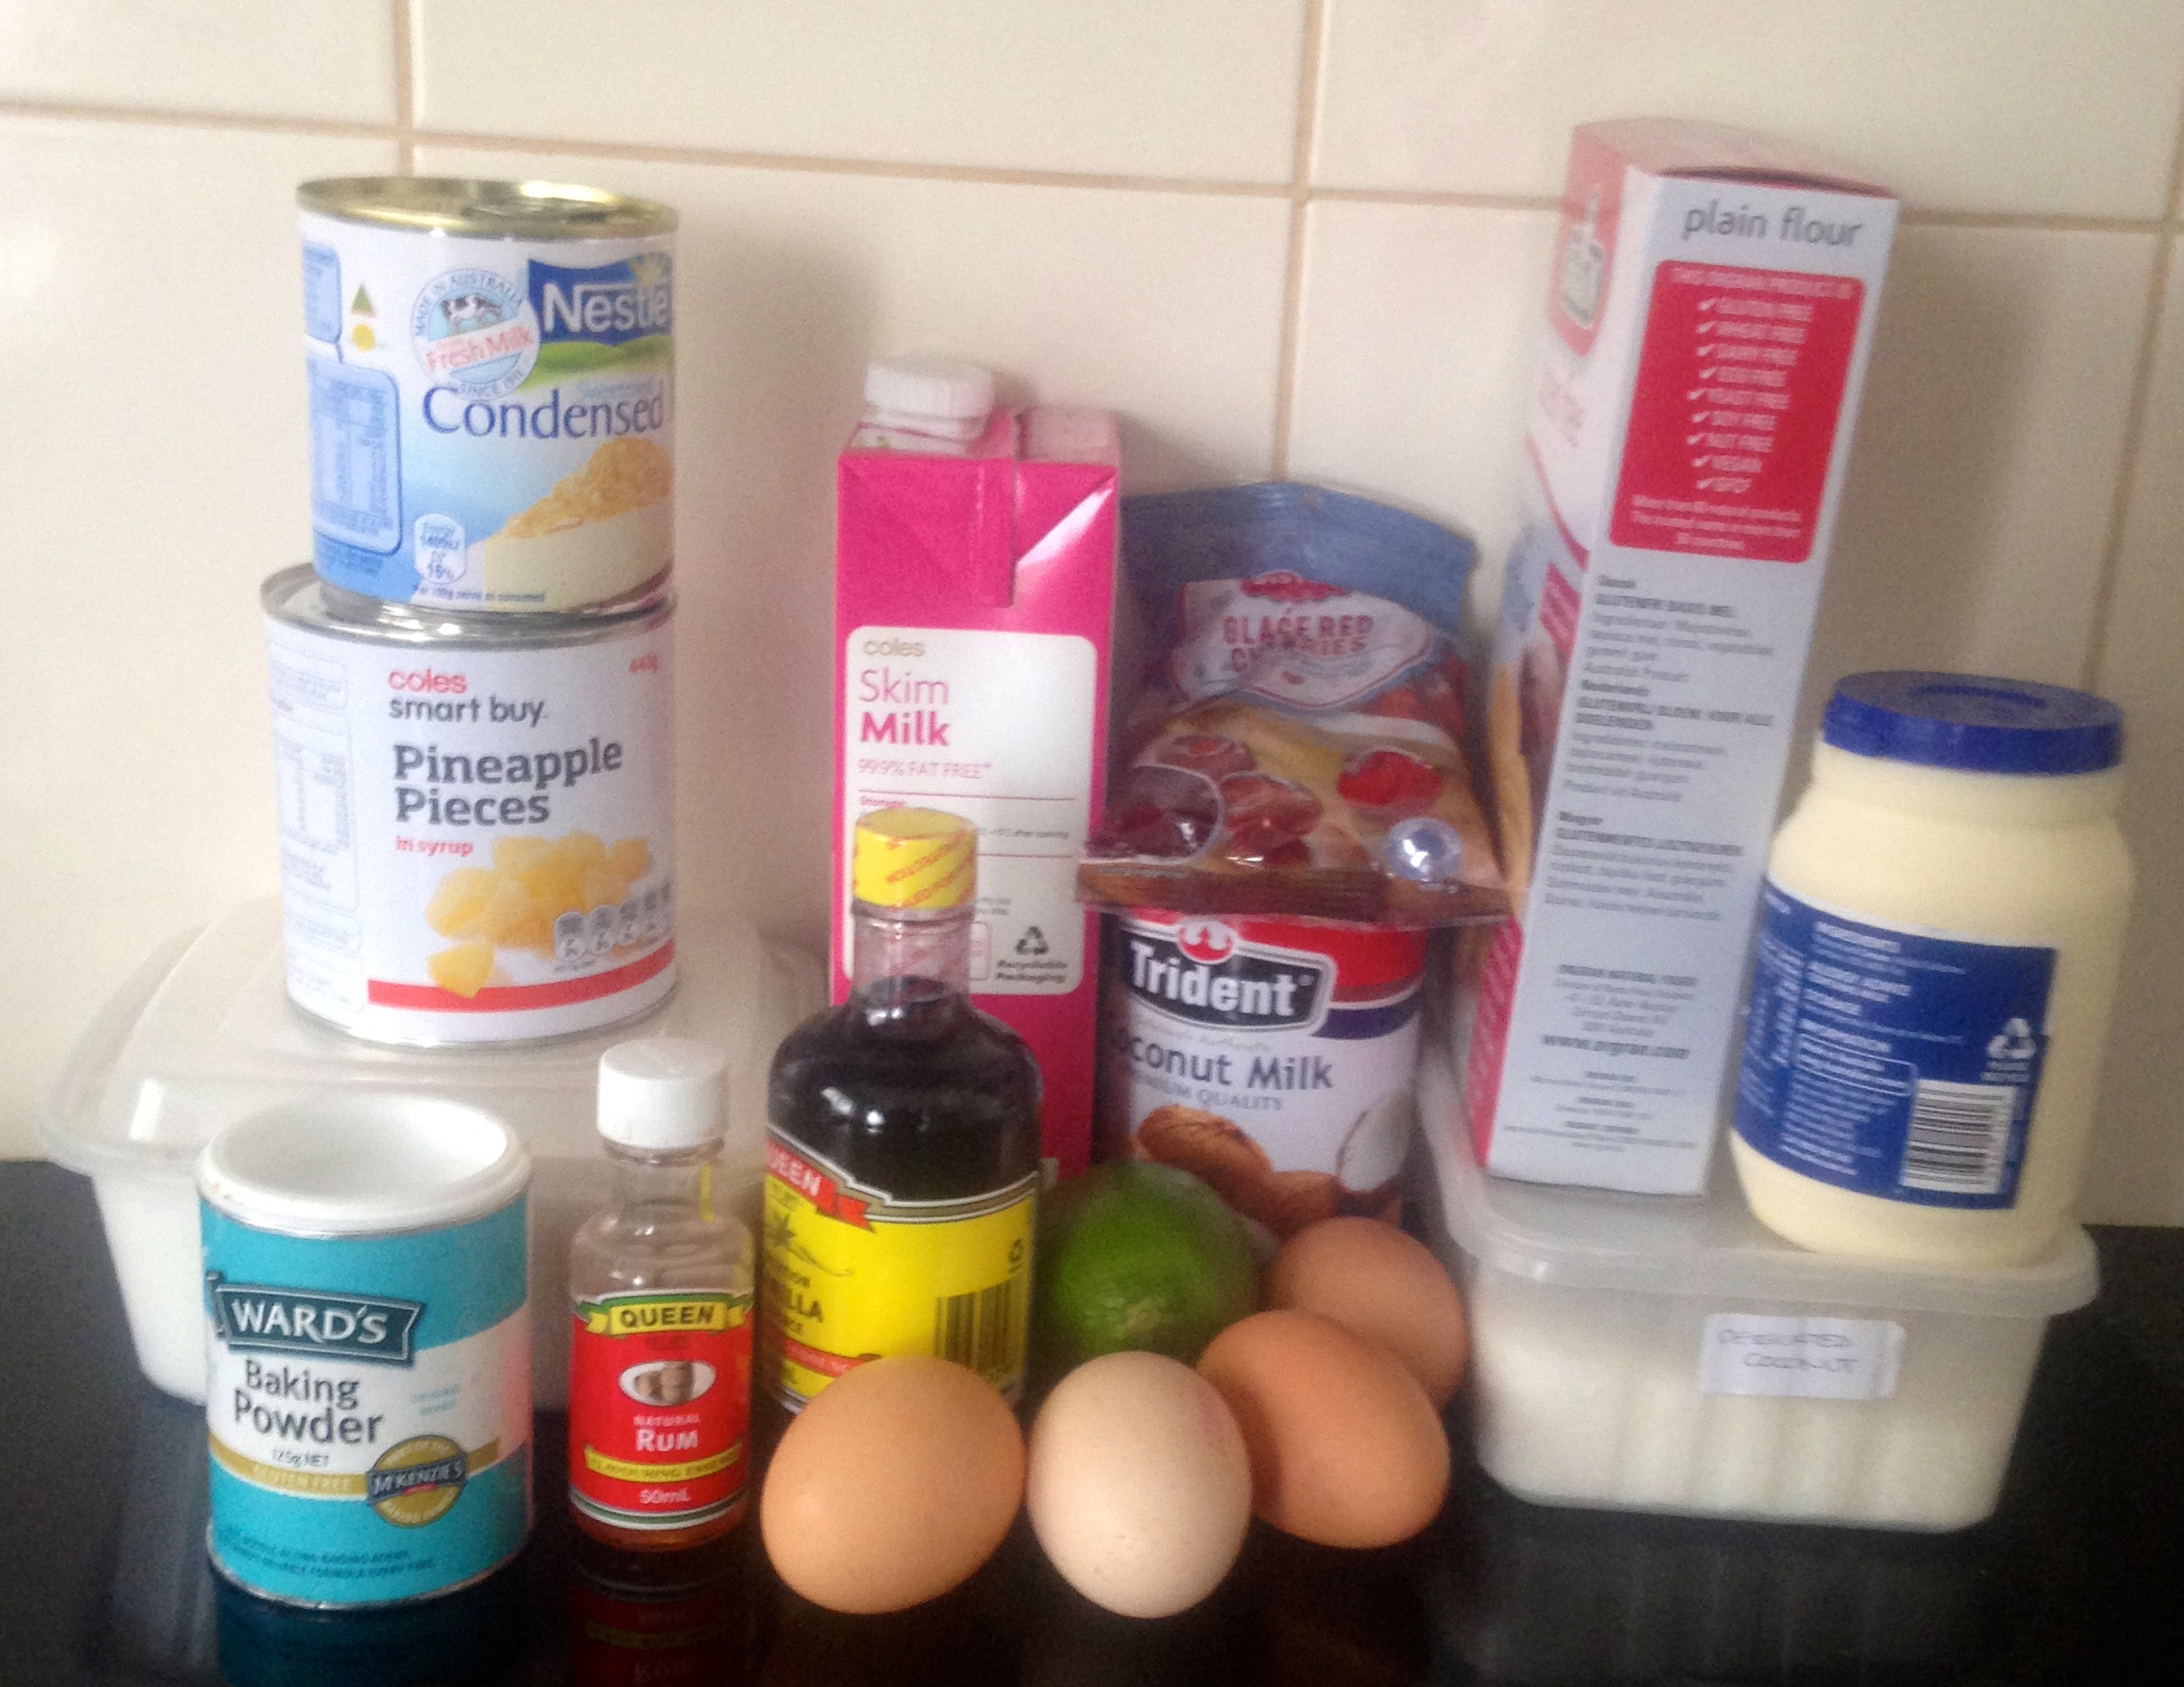
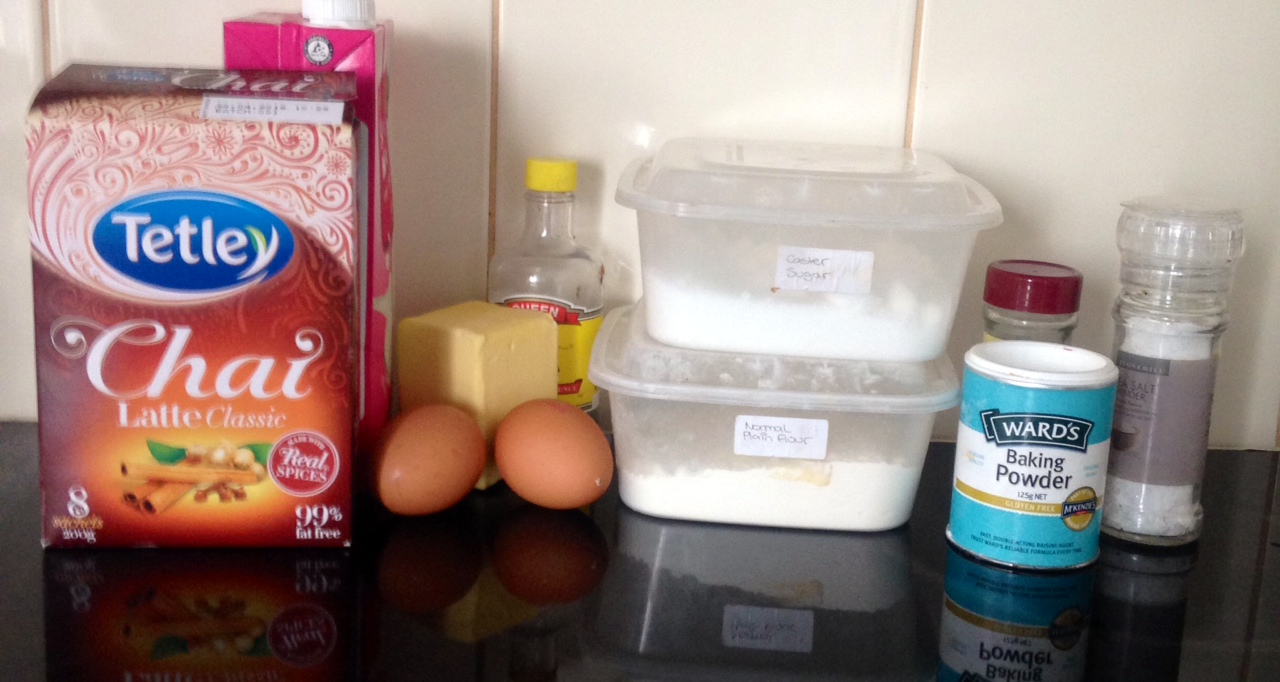
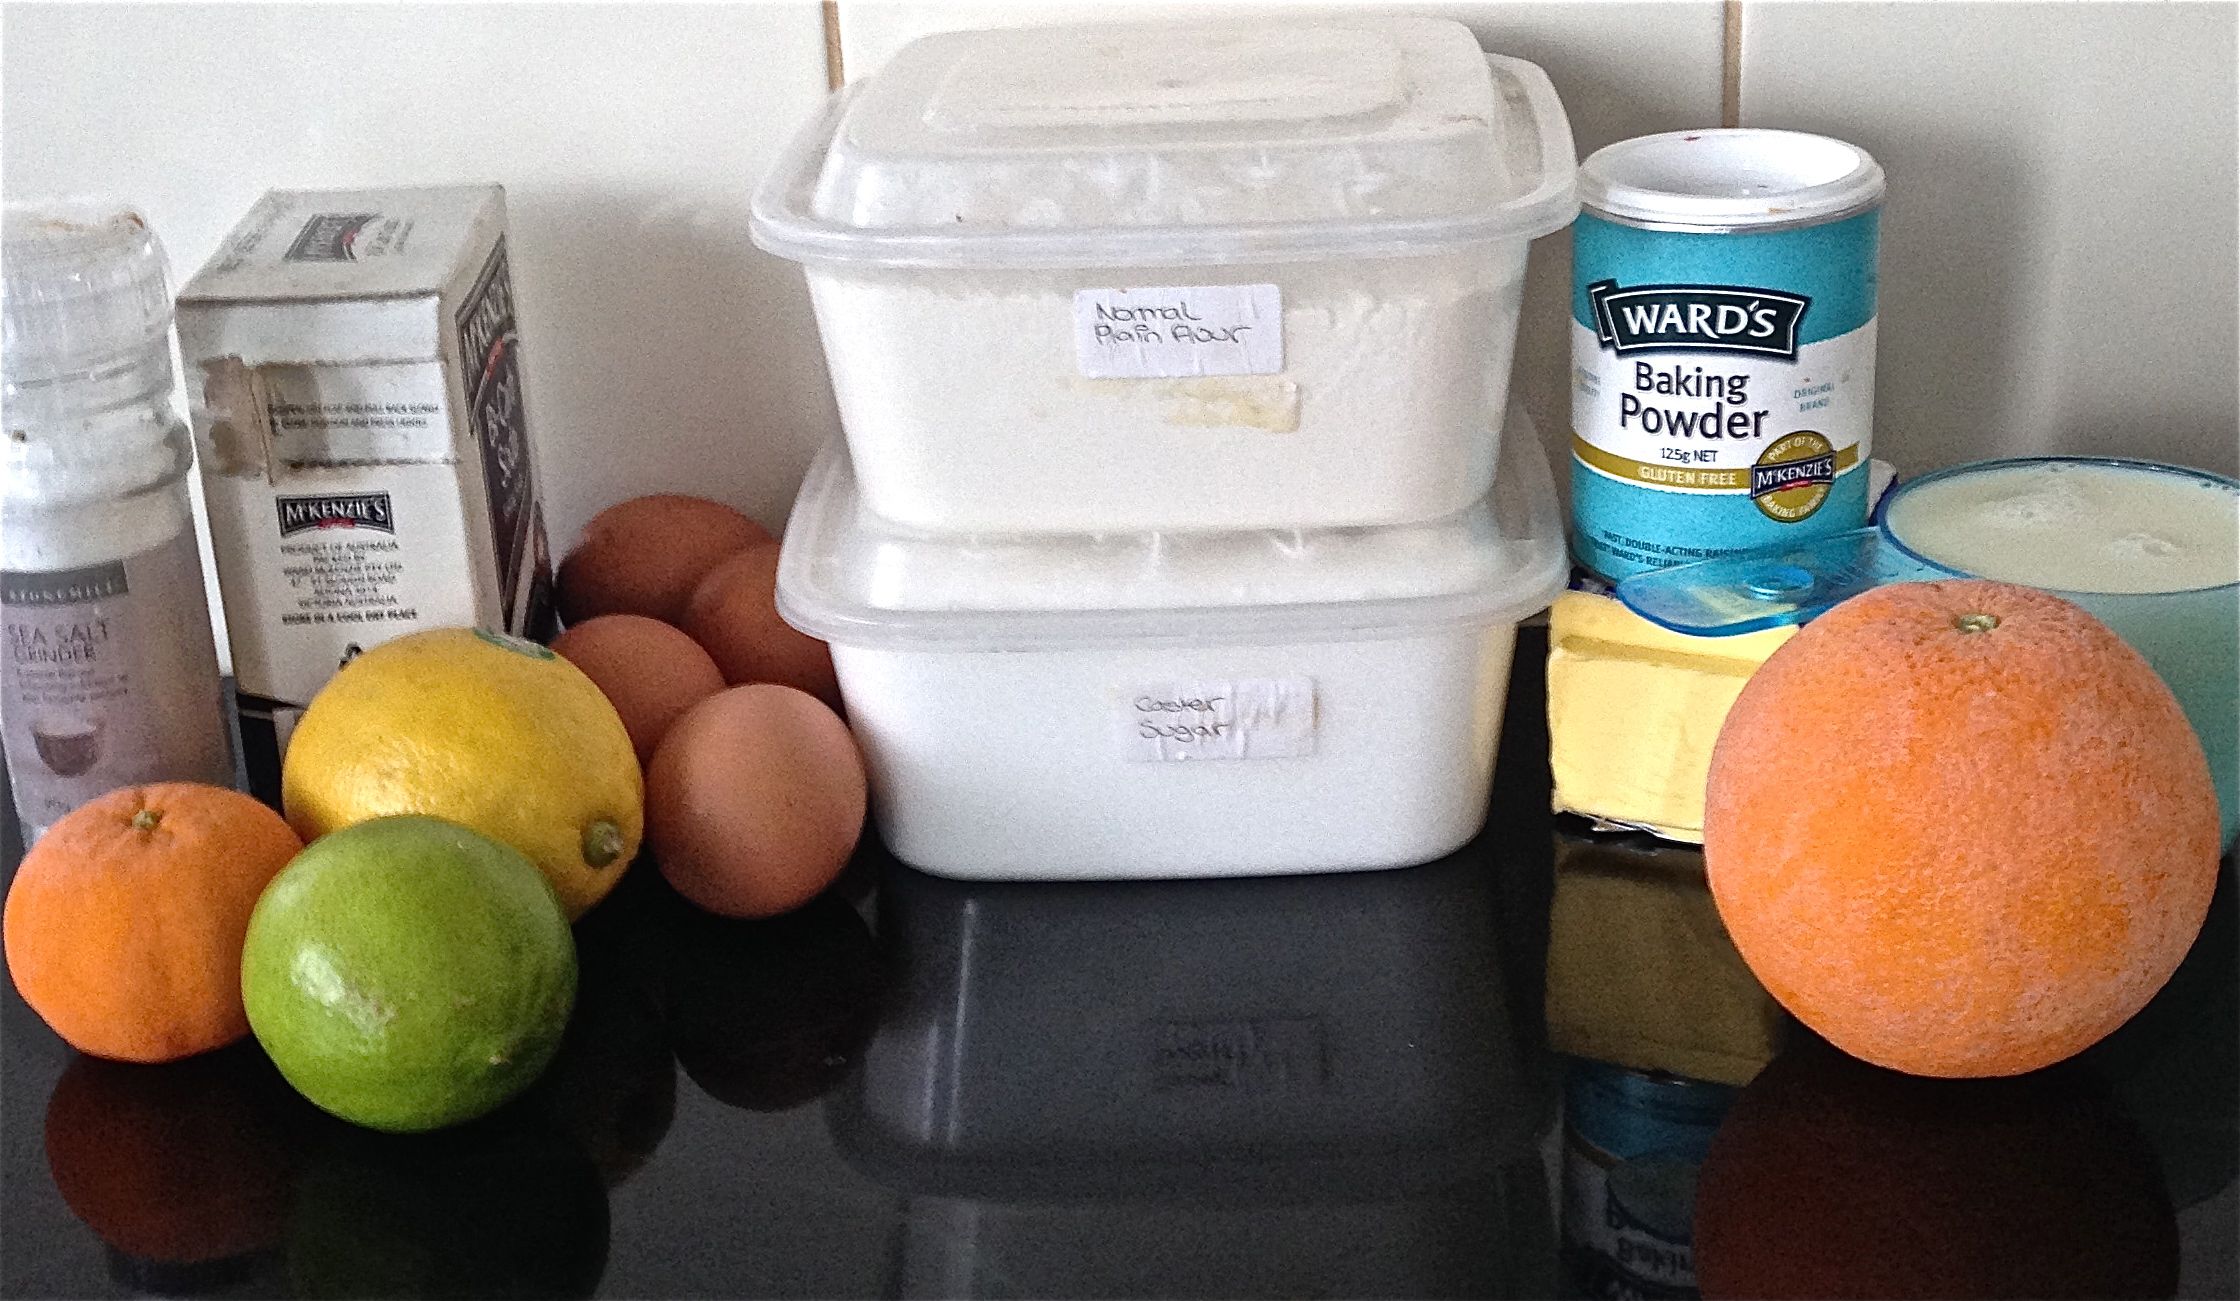
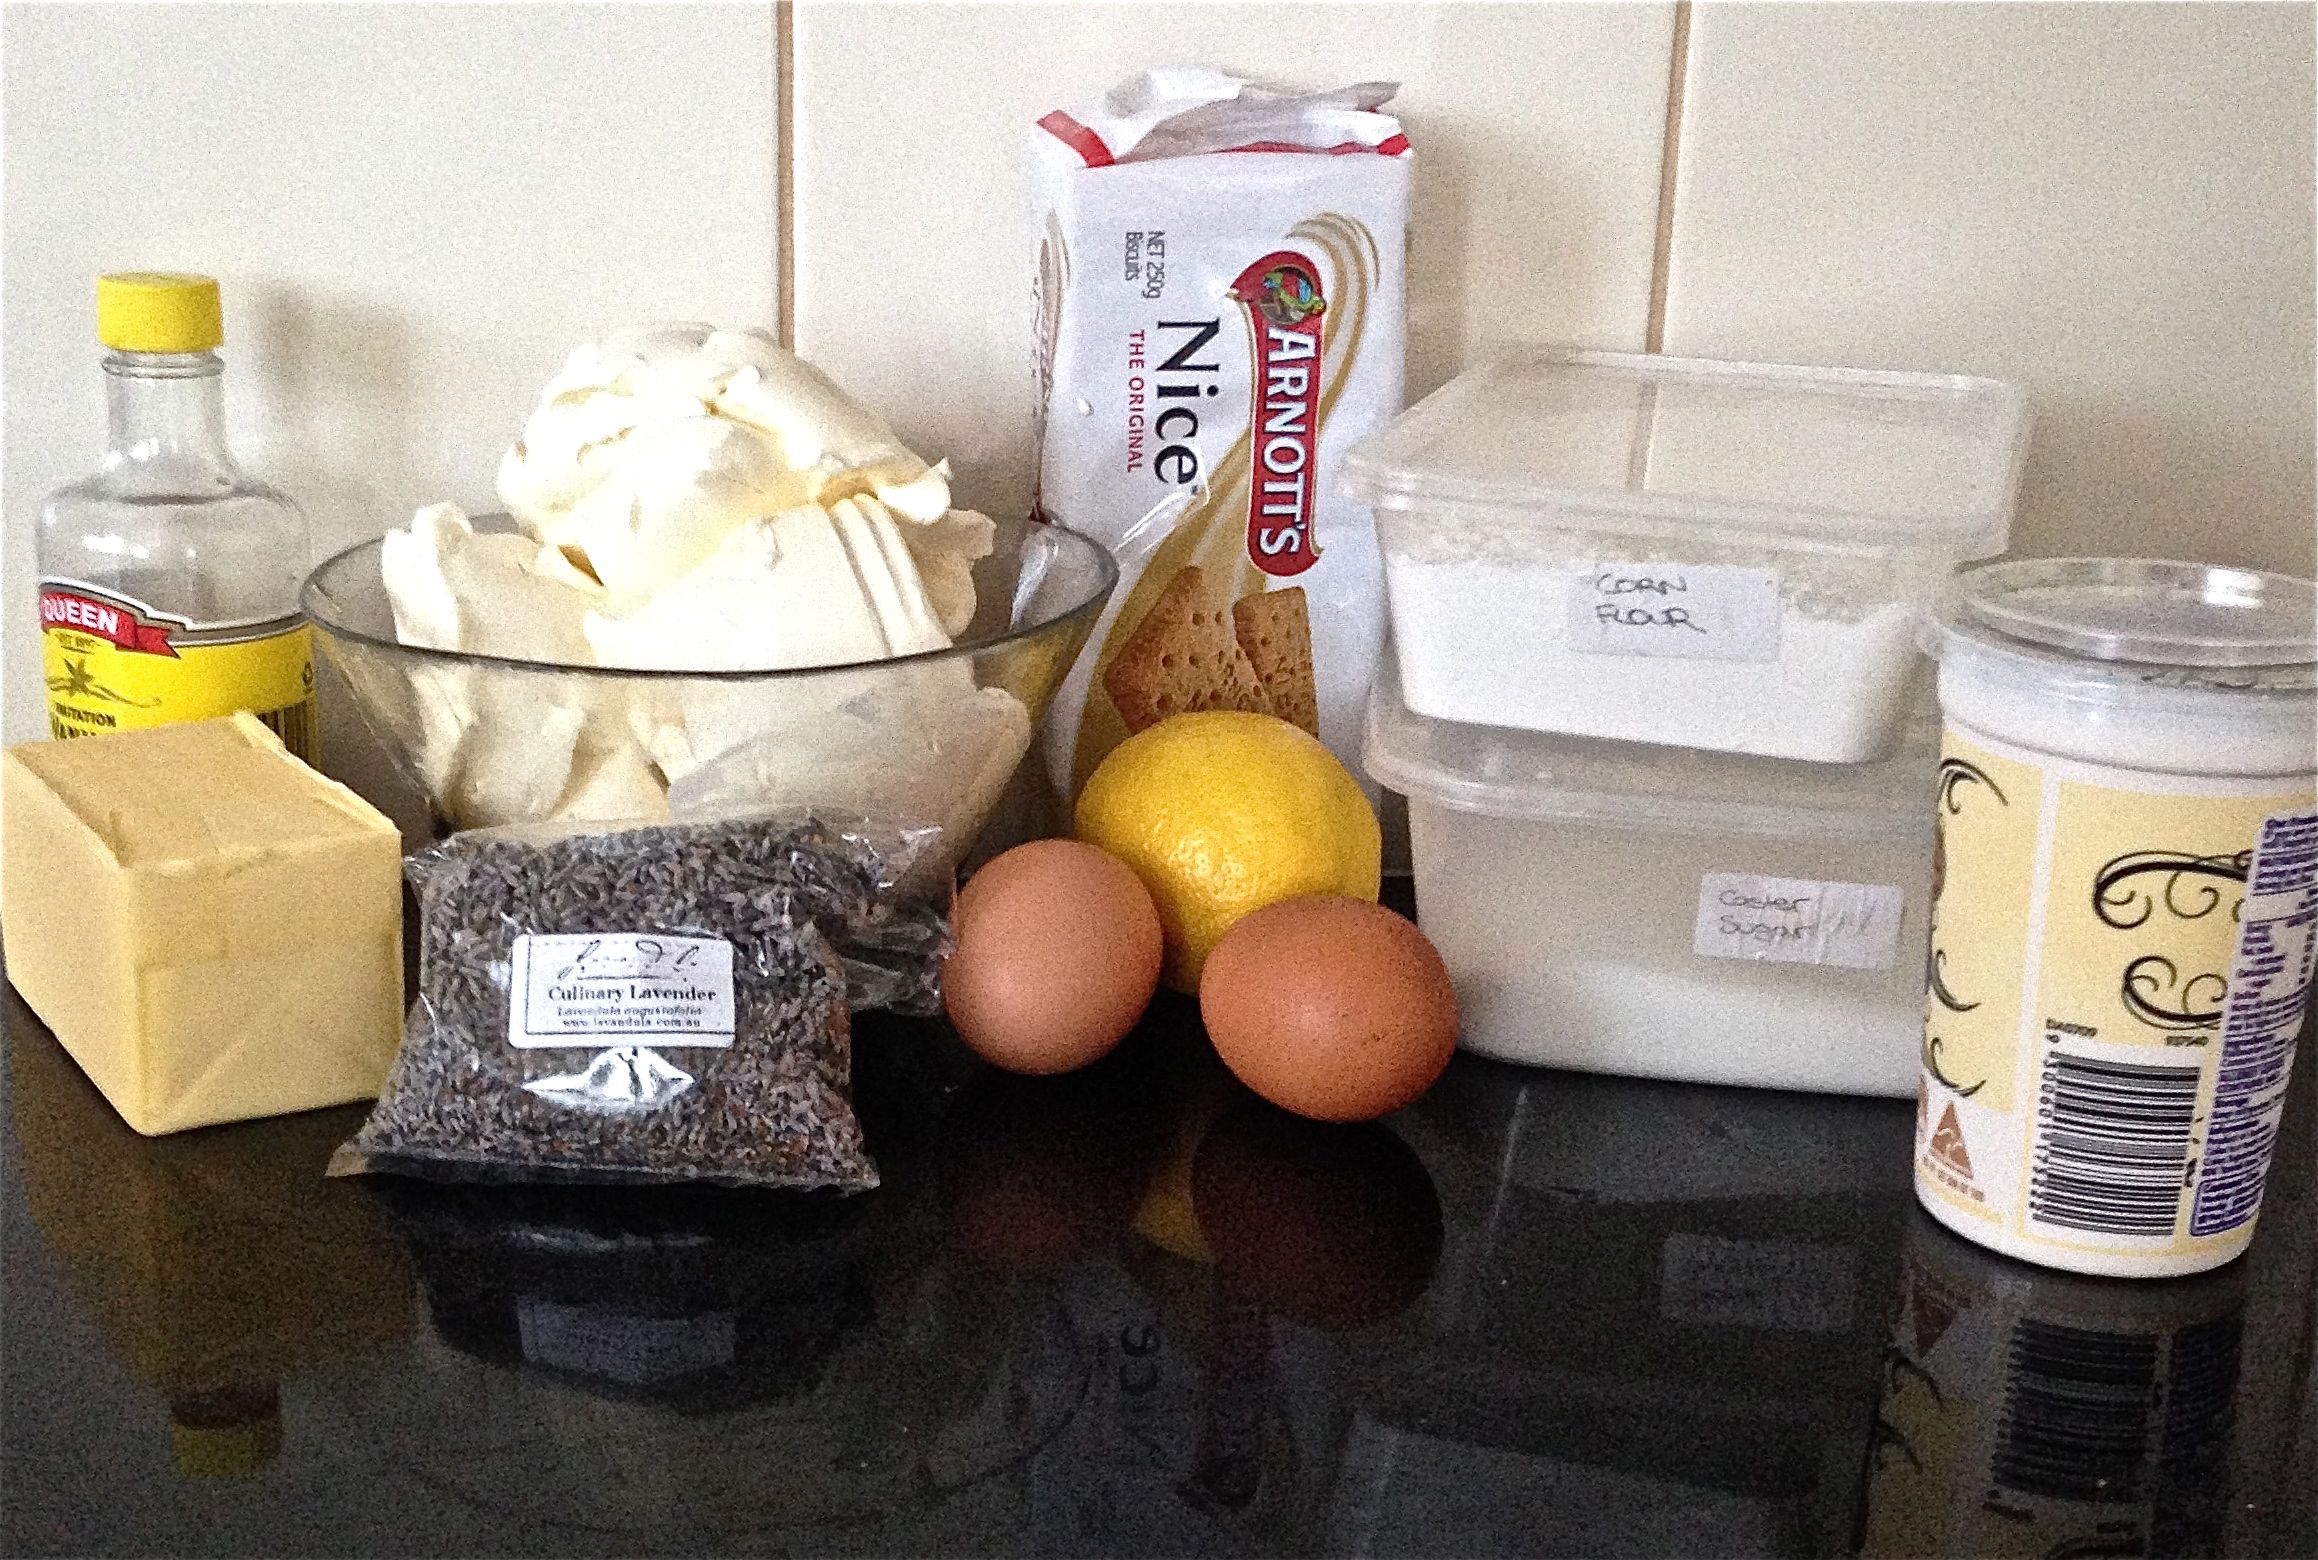
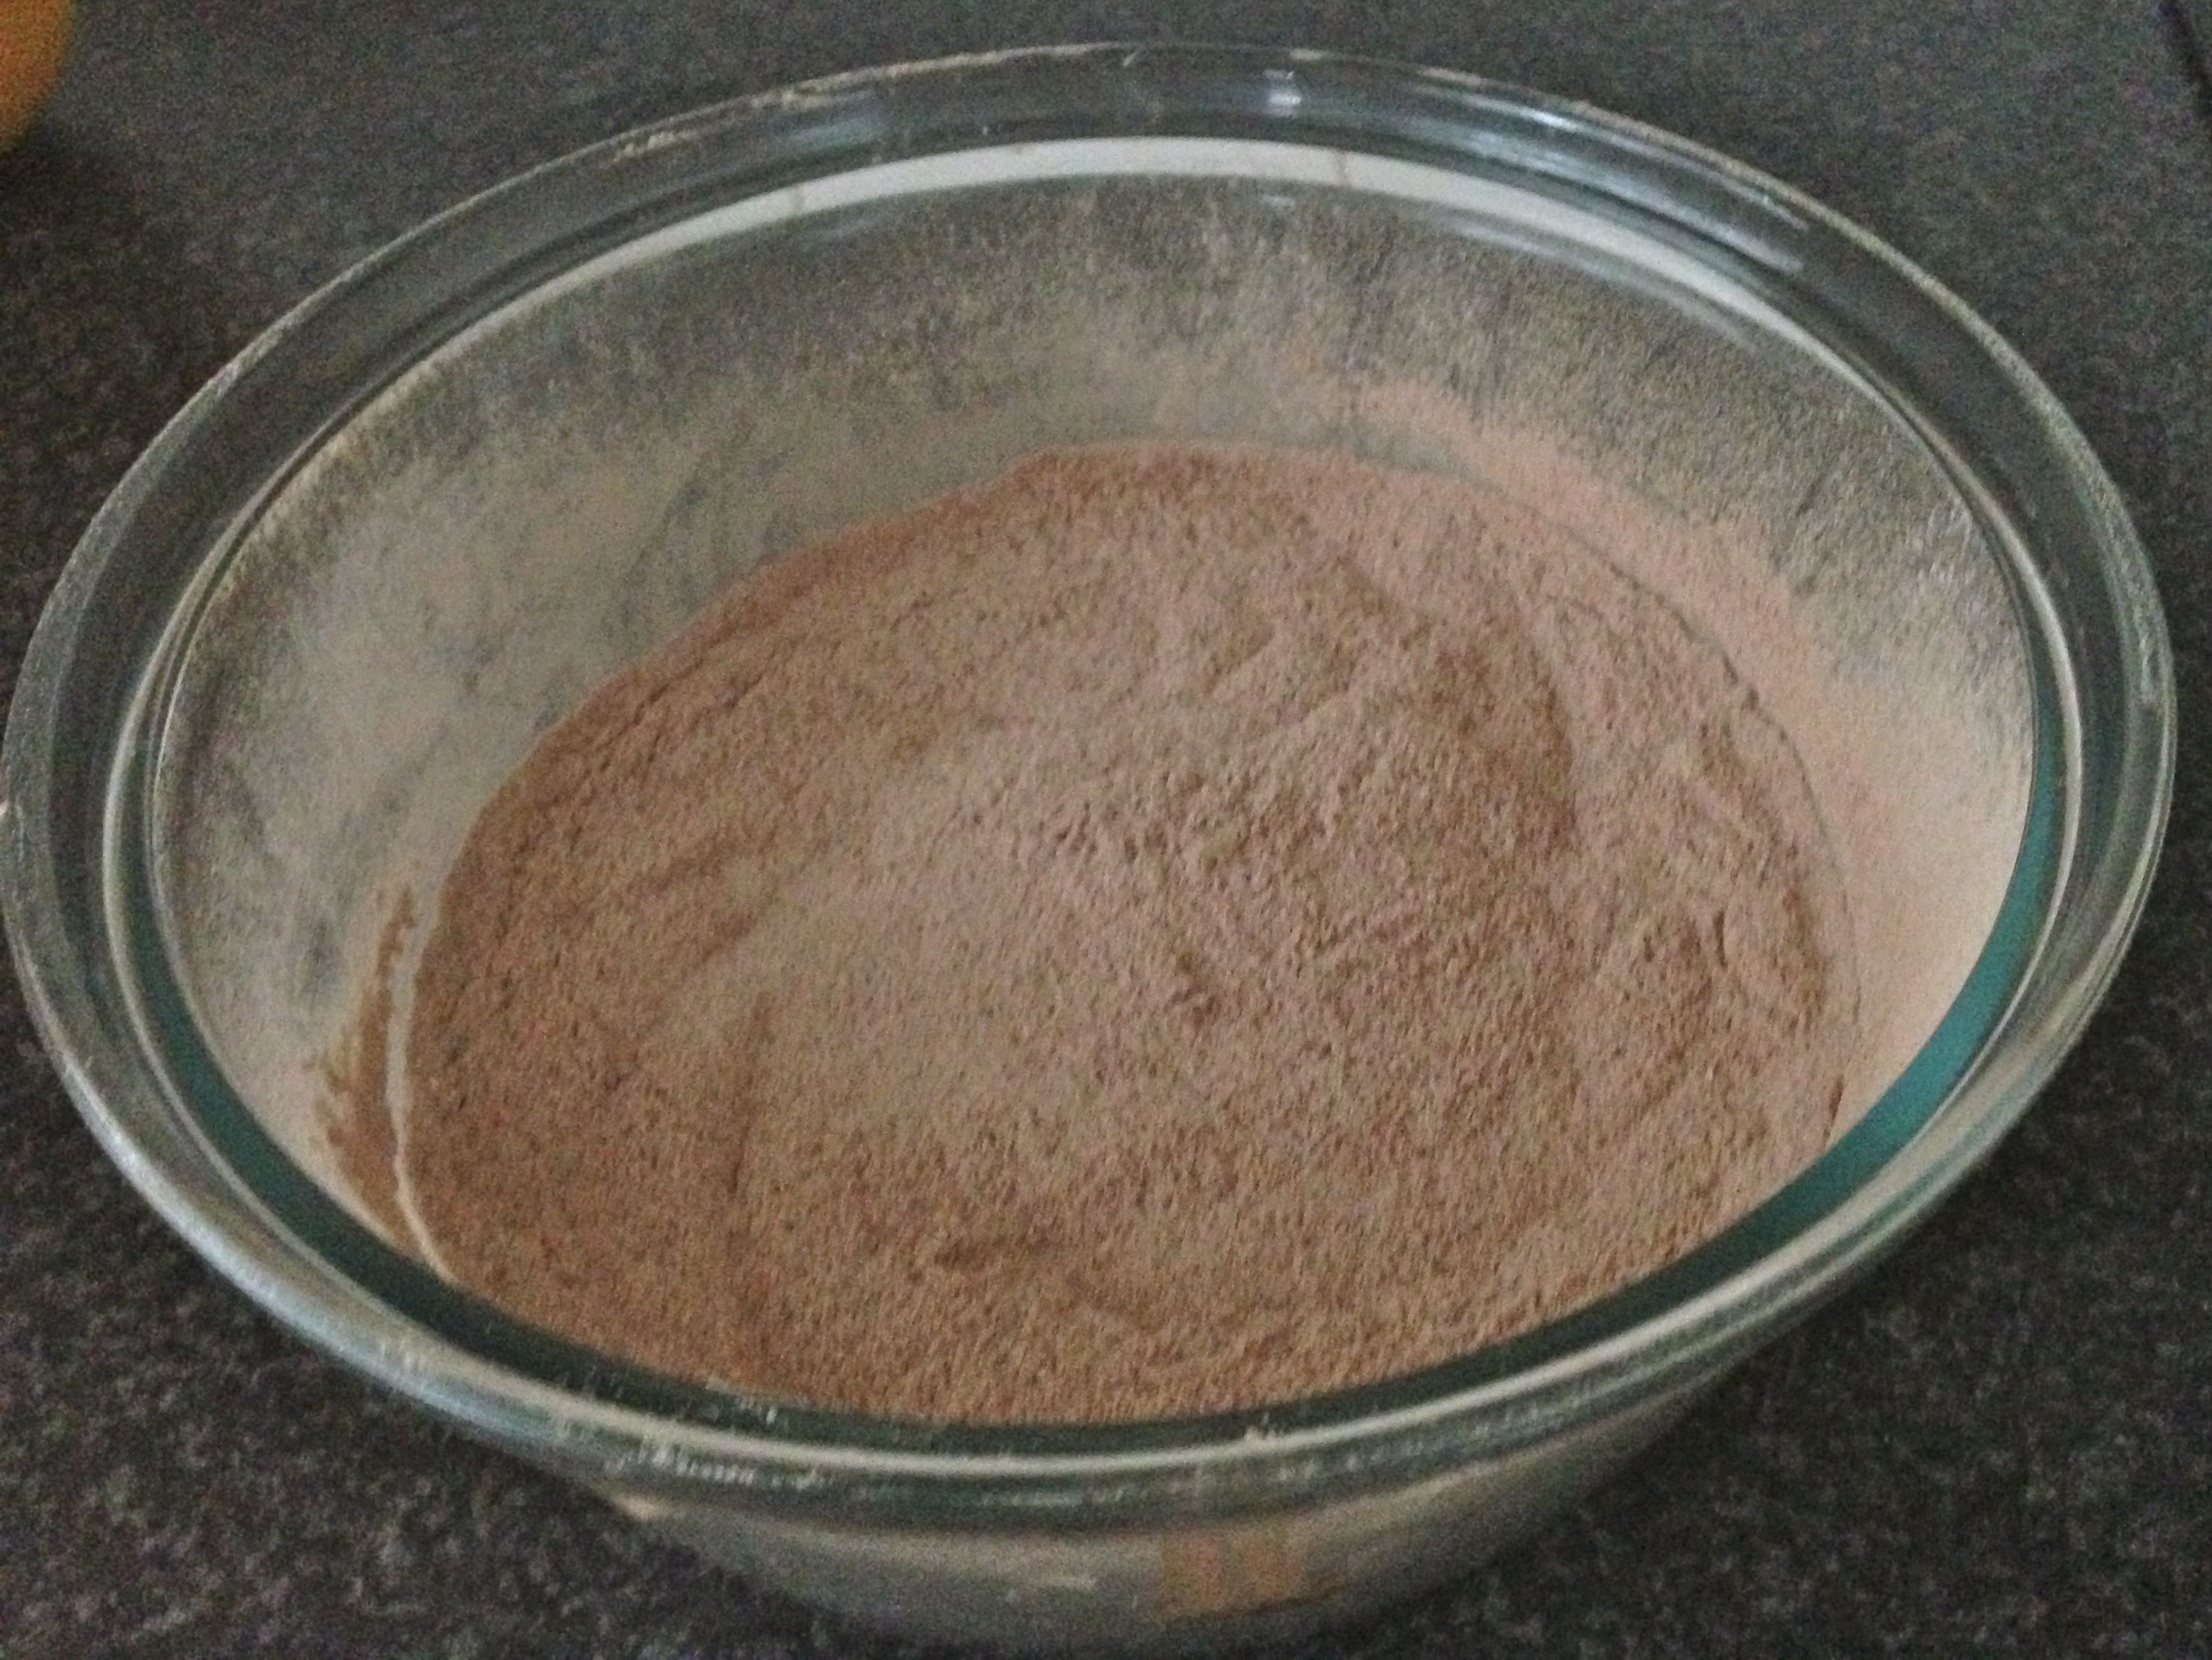
Ingredients

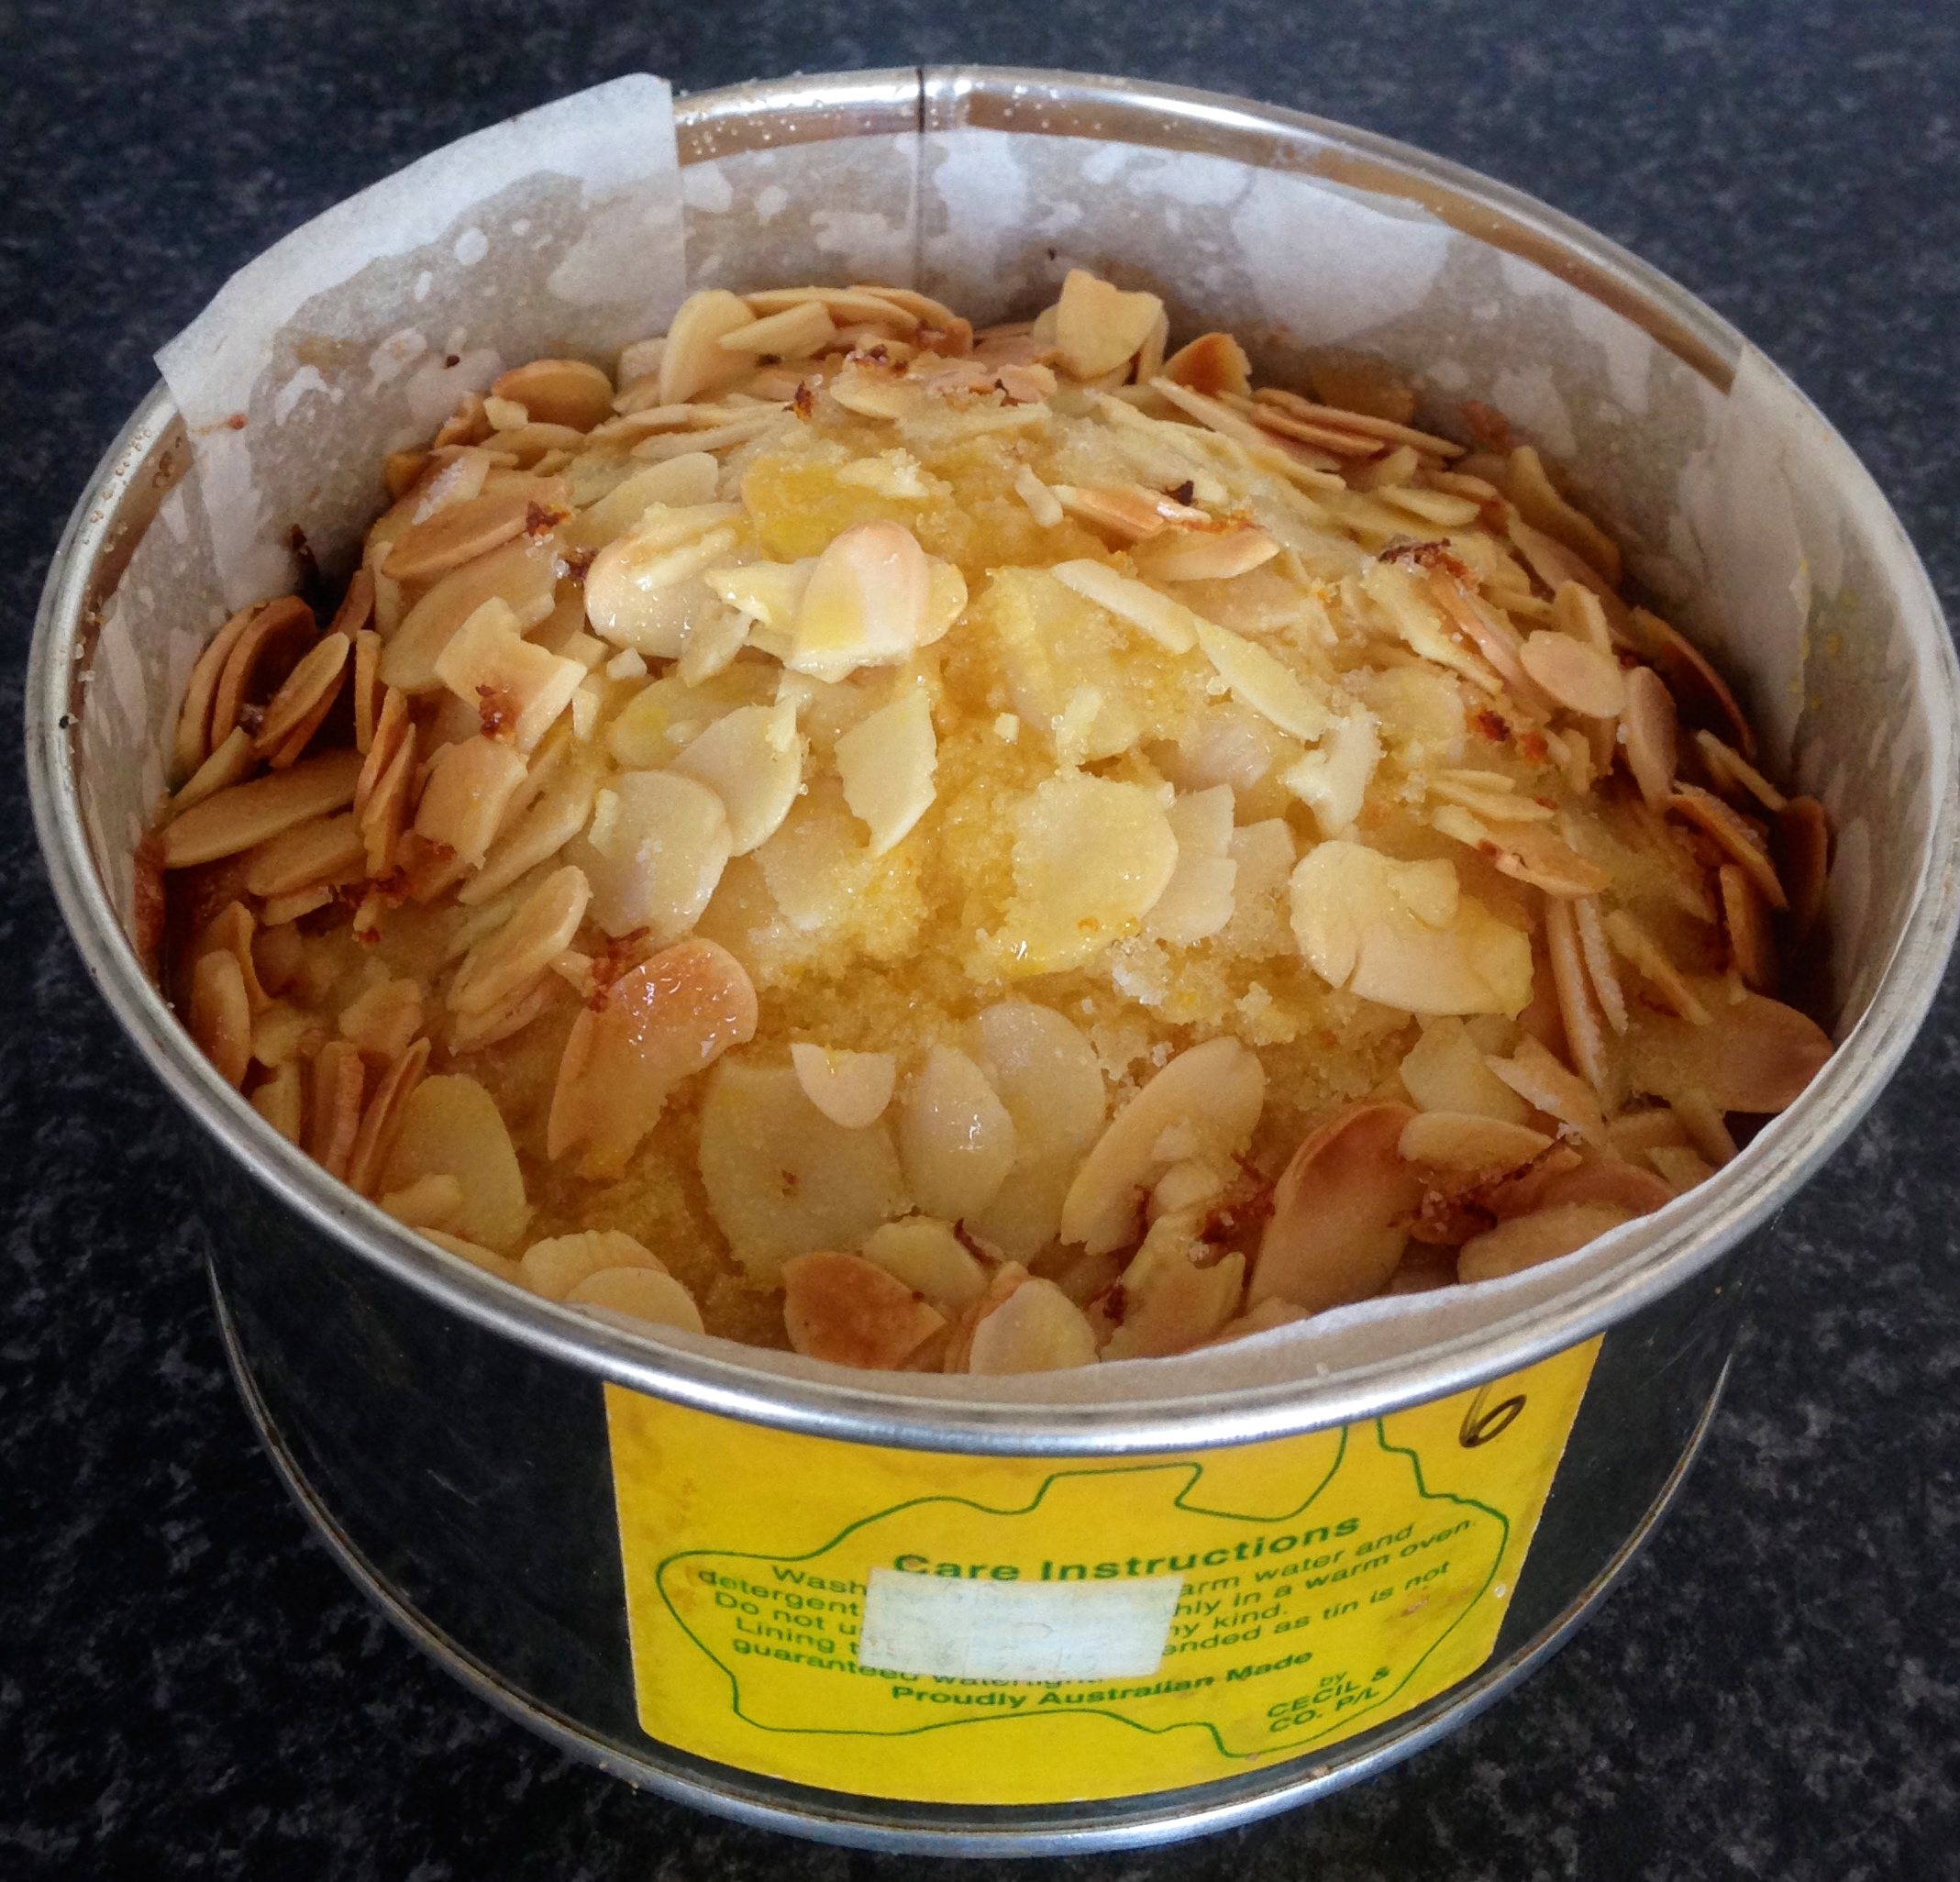
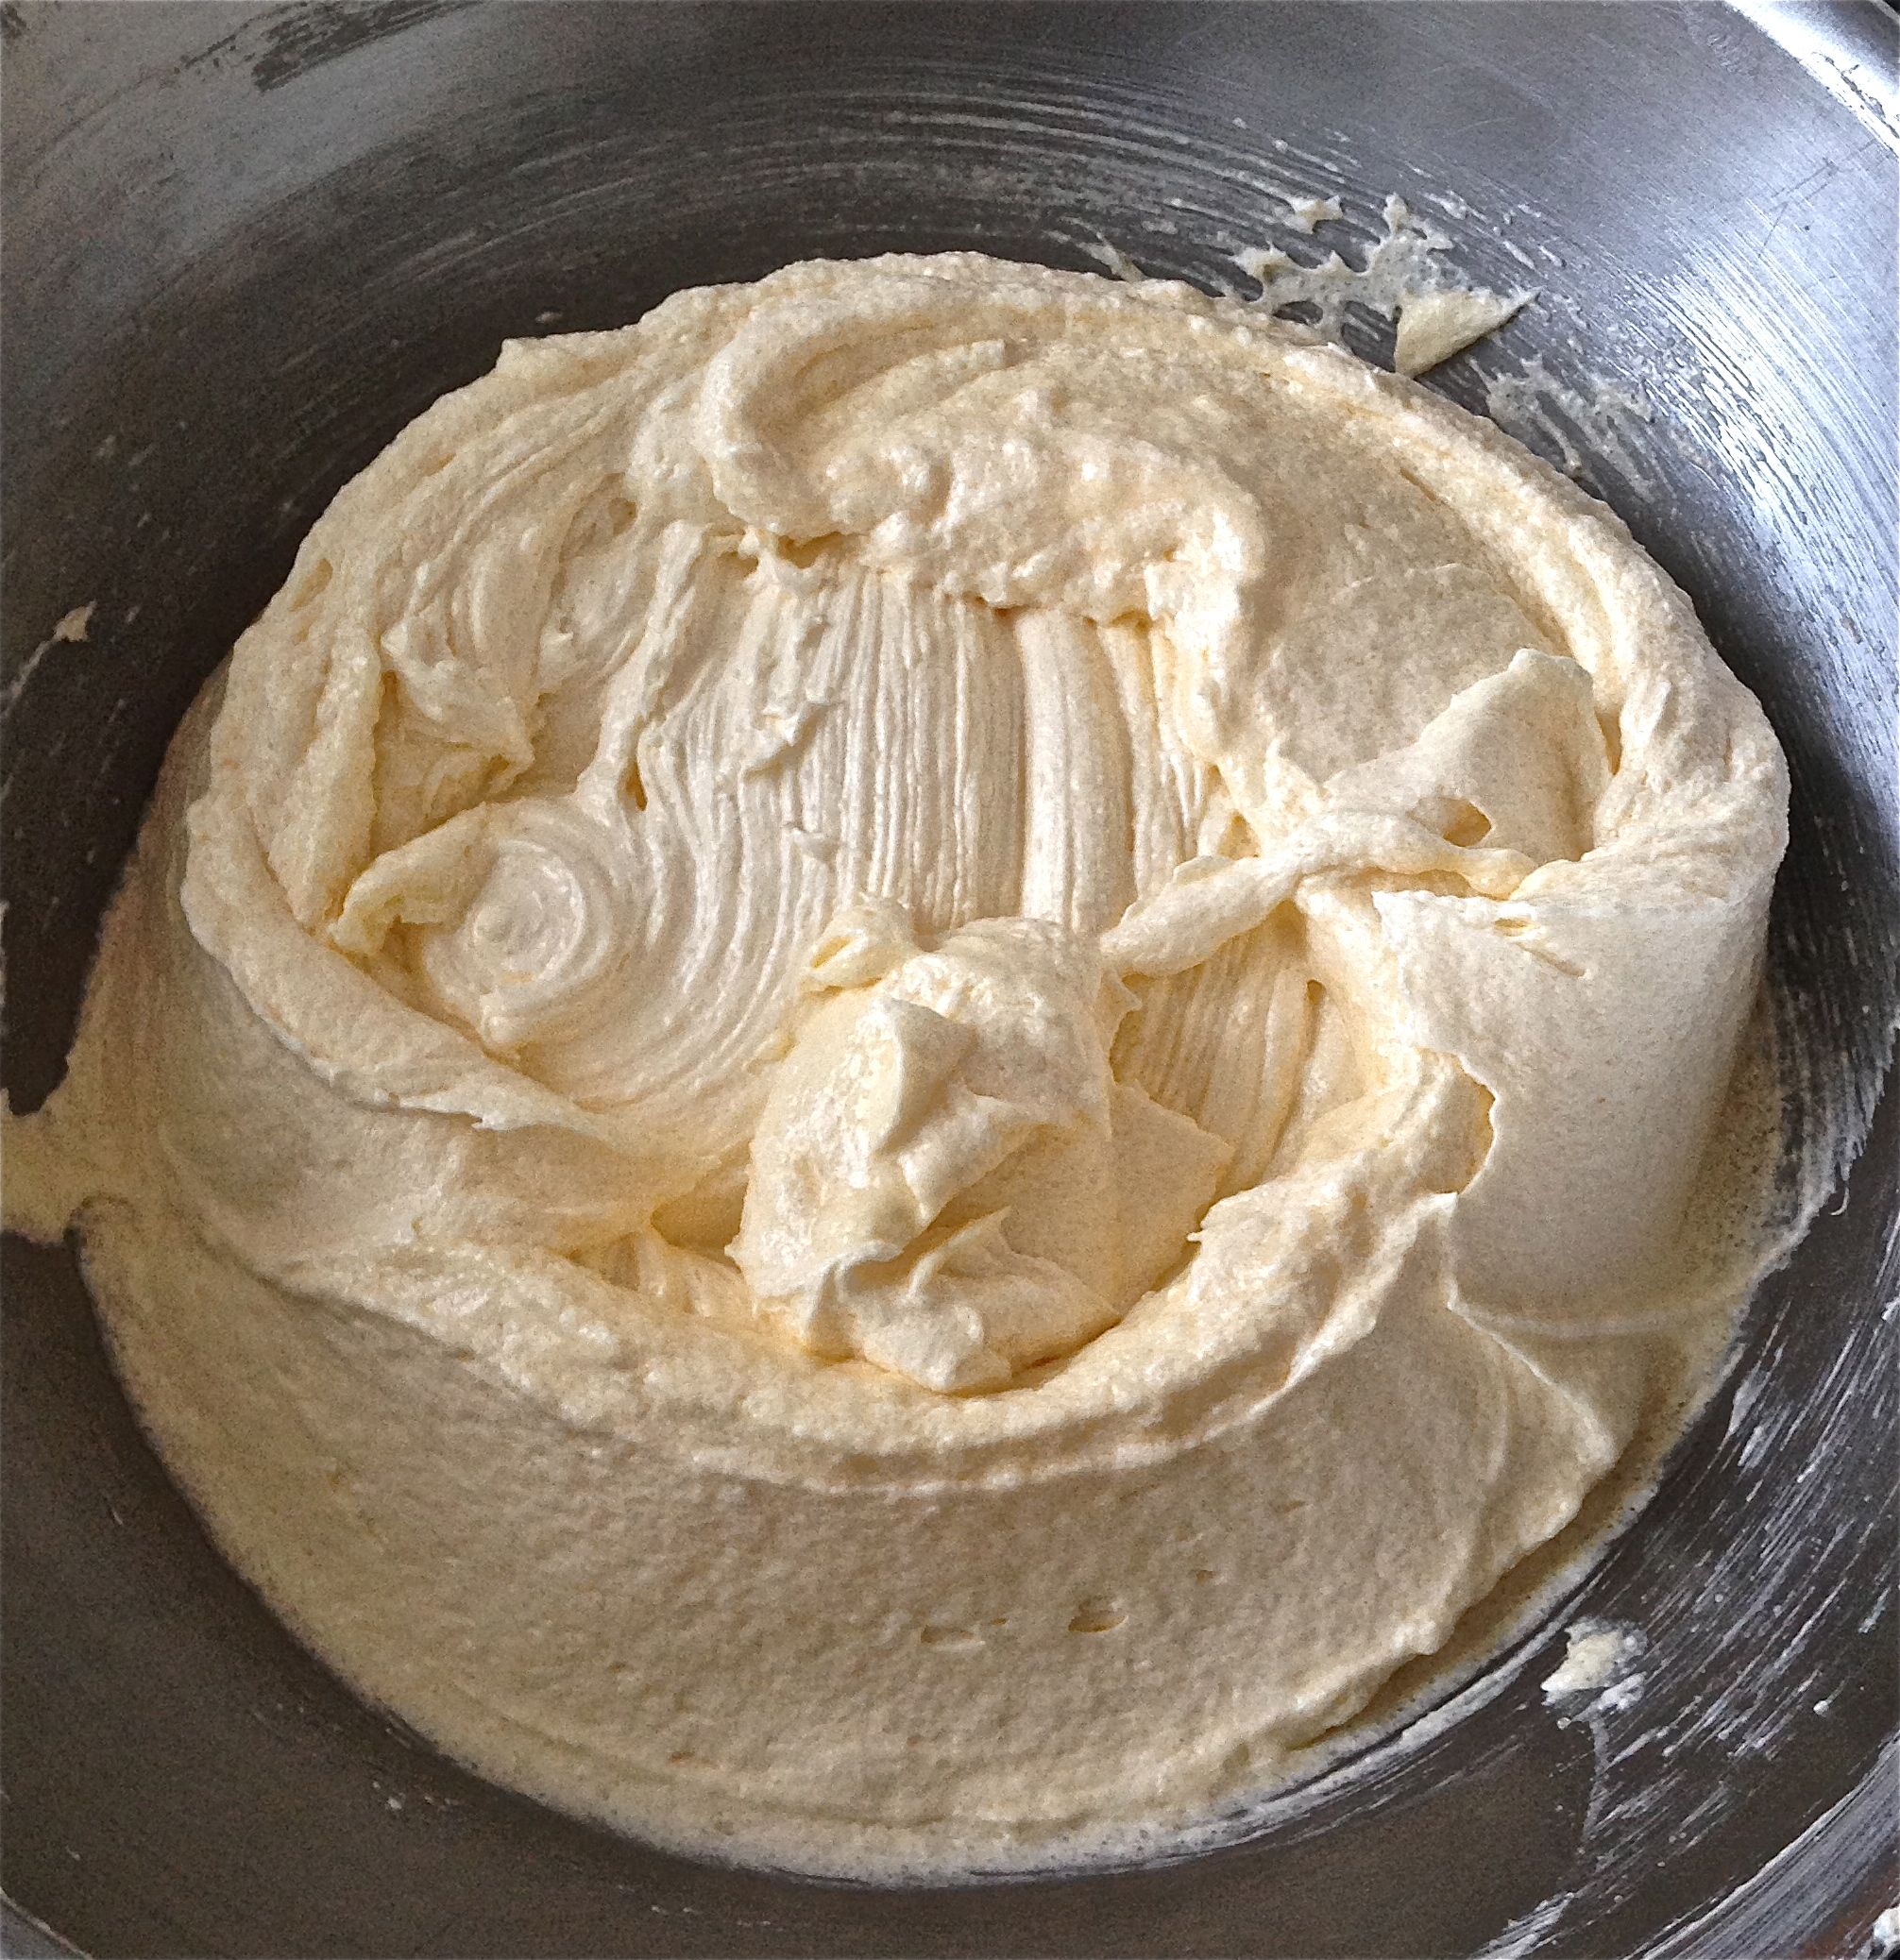
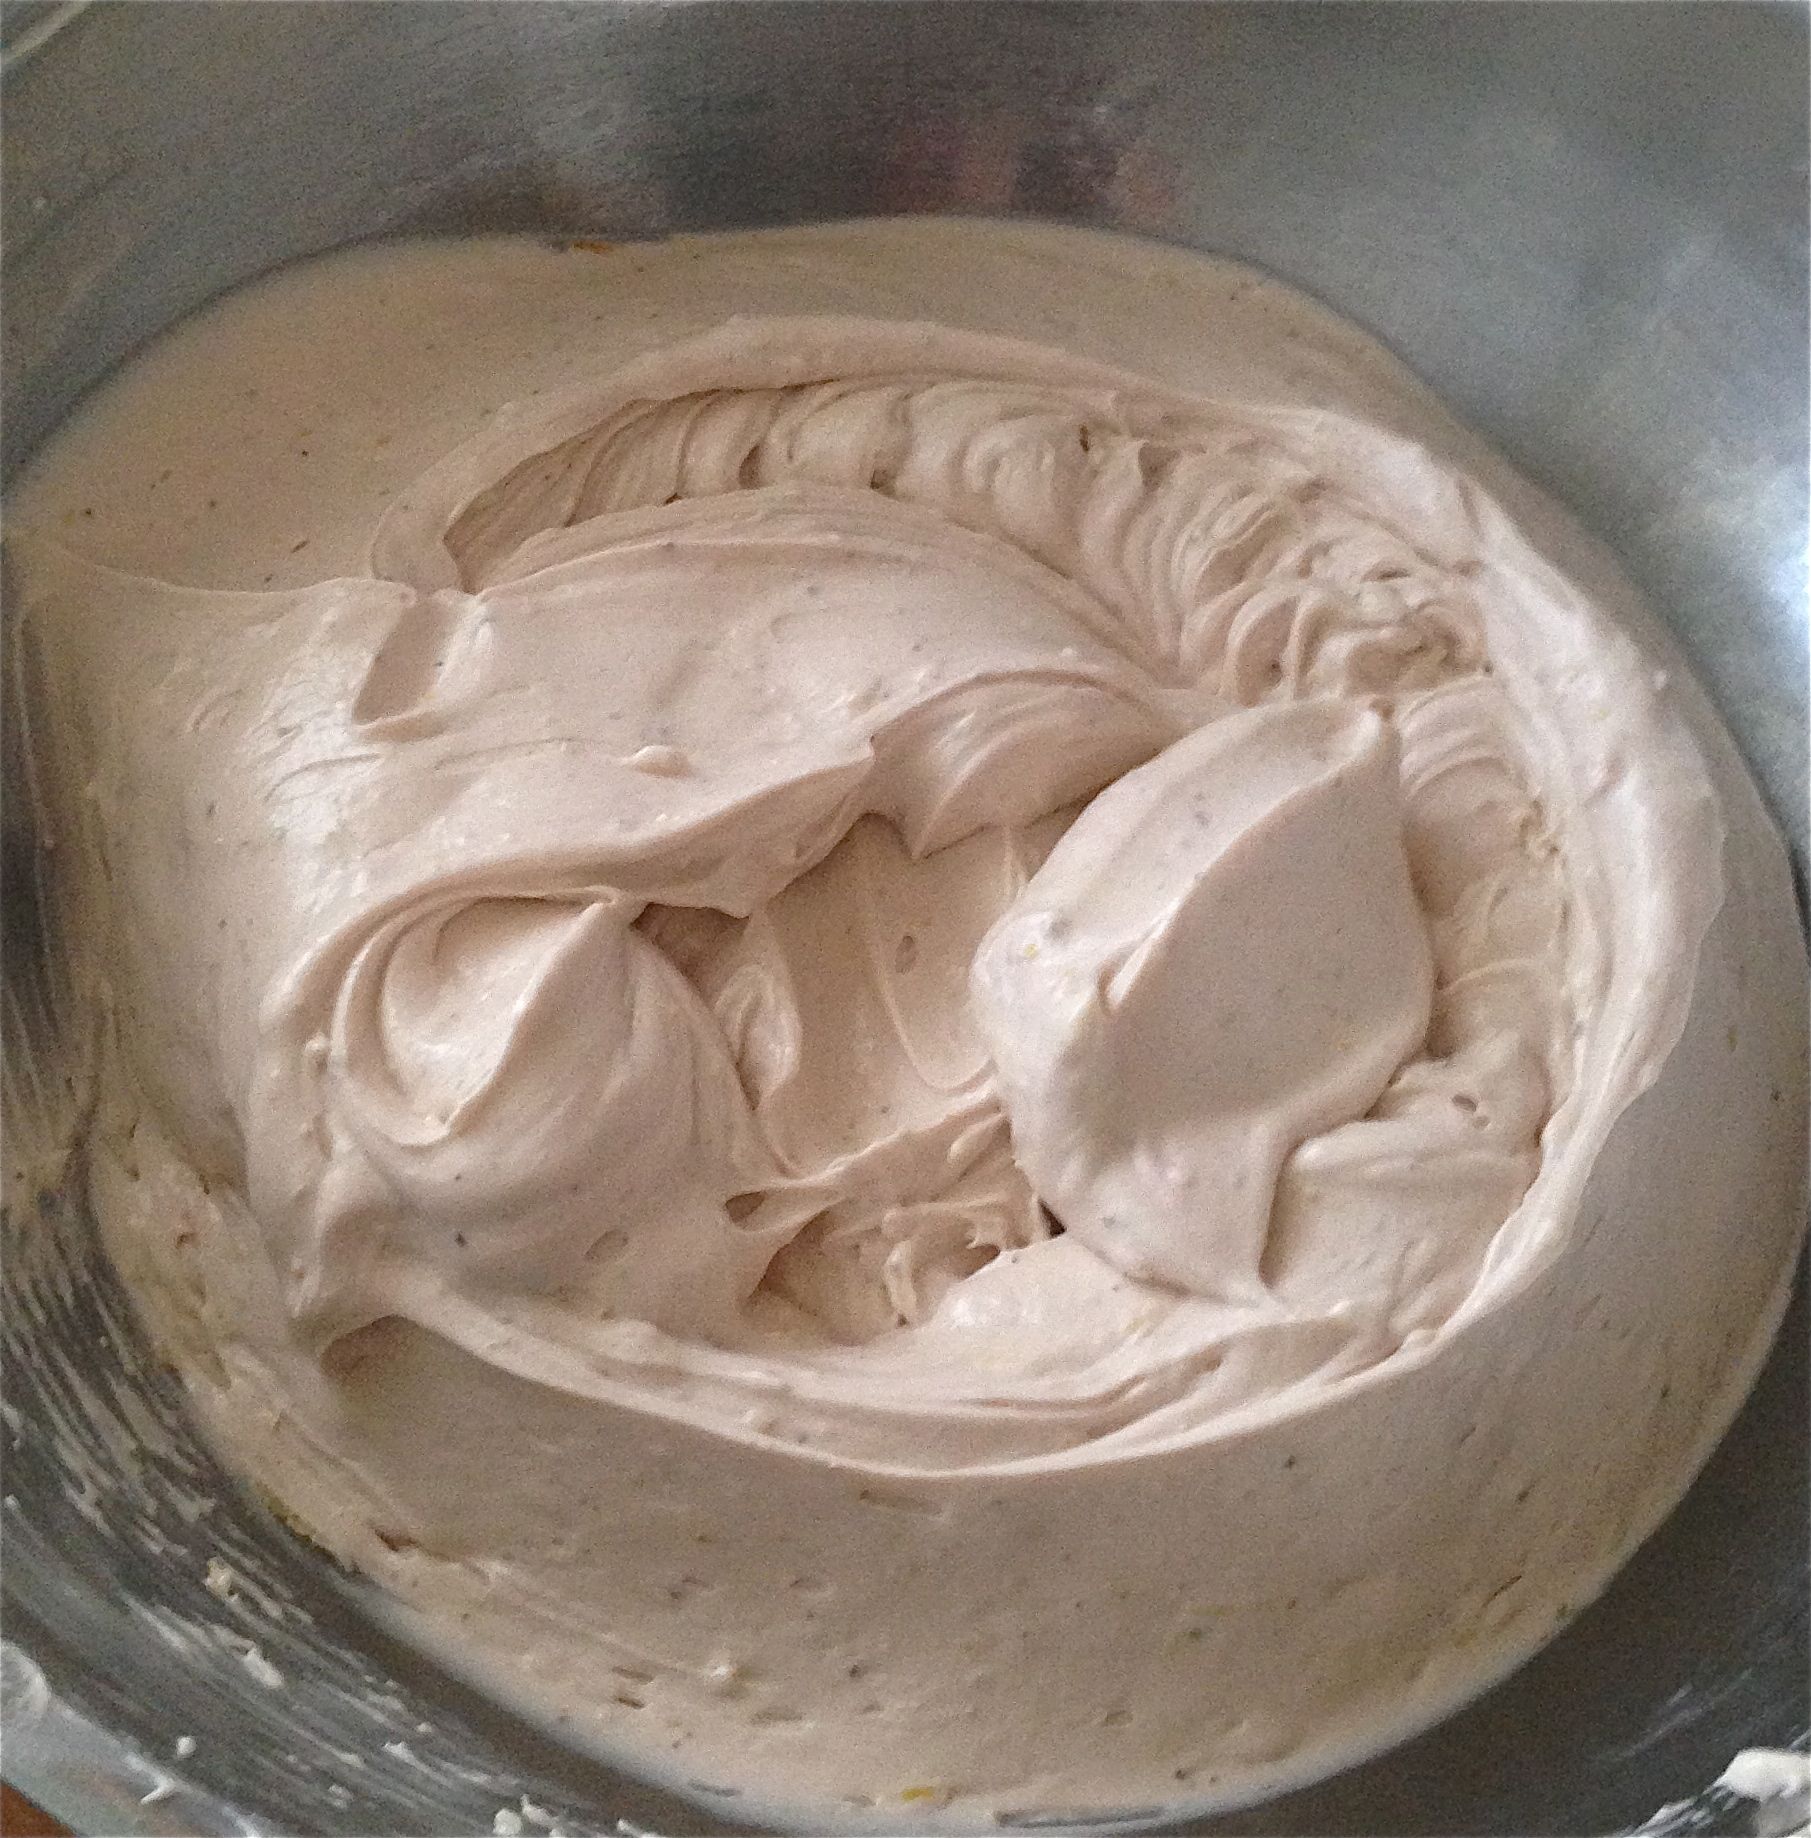
Step 2
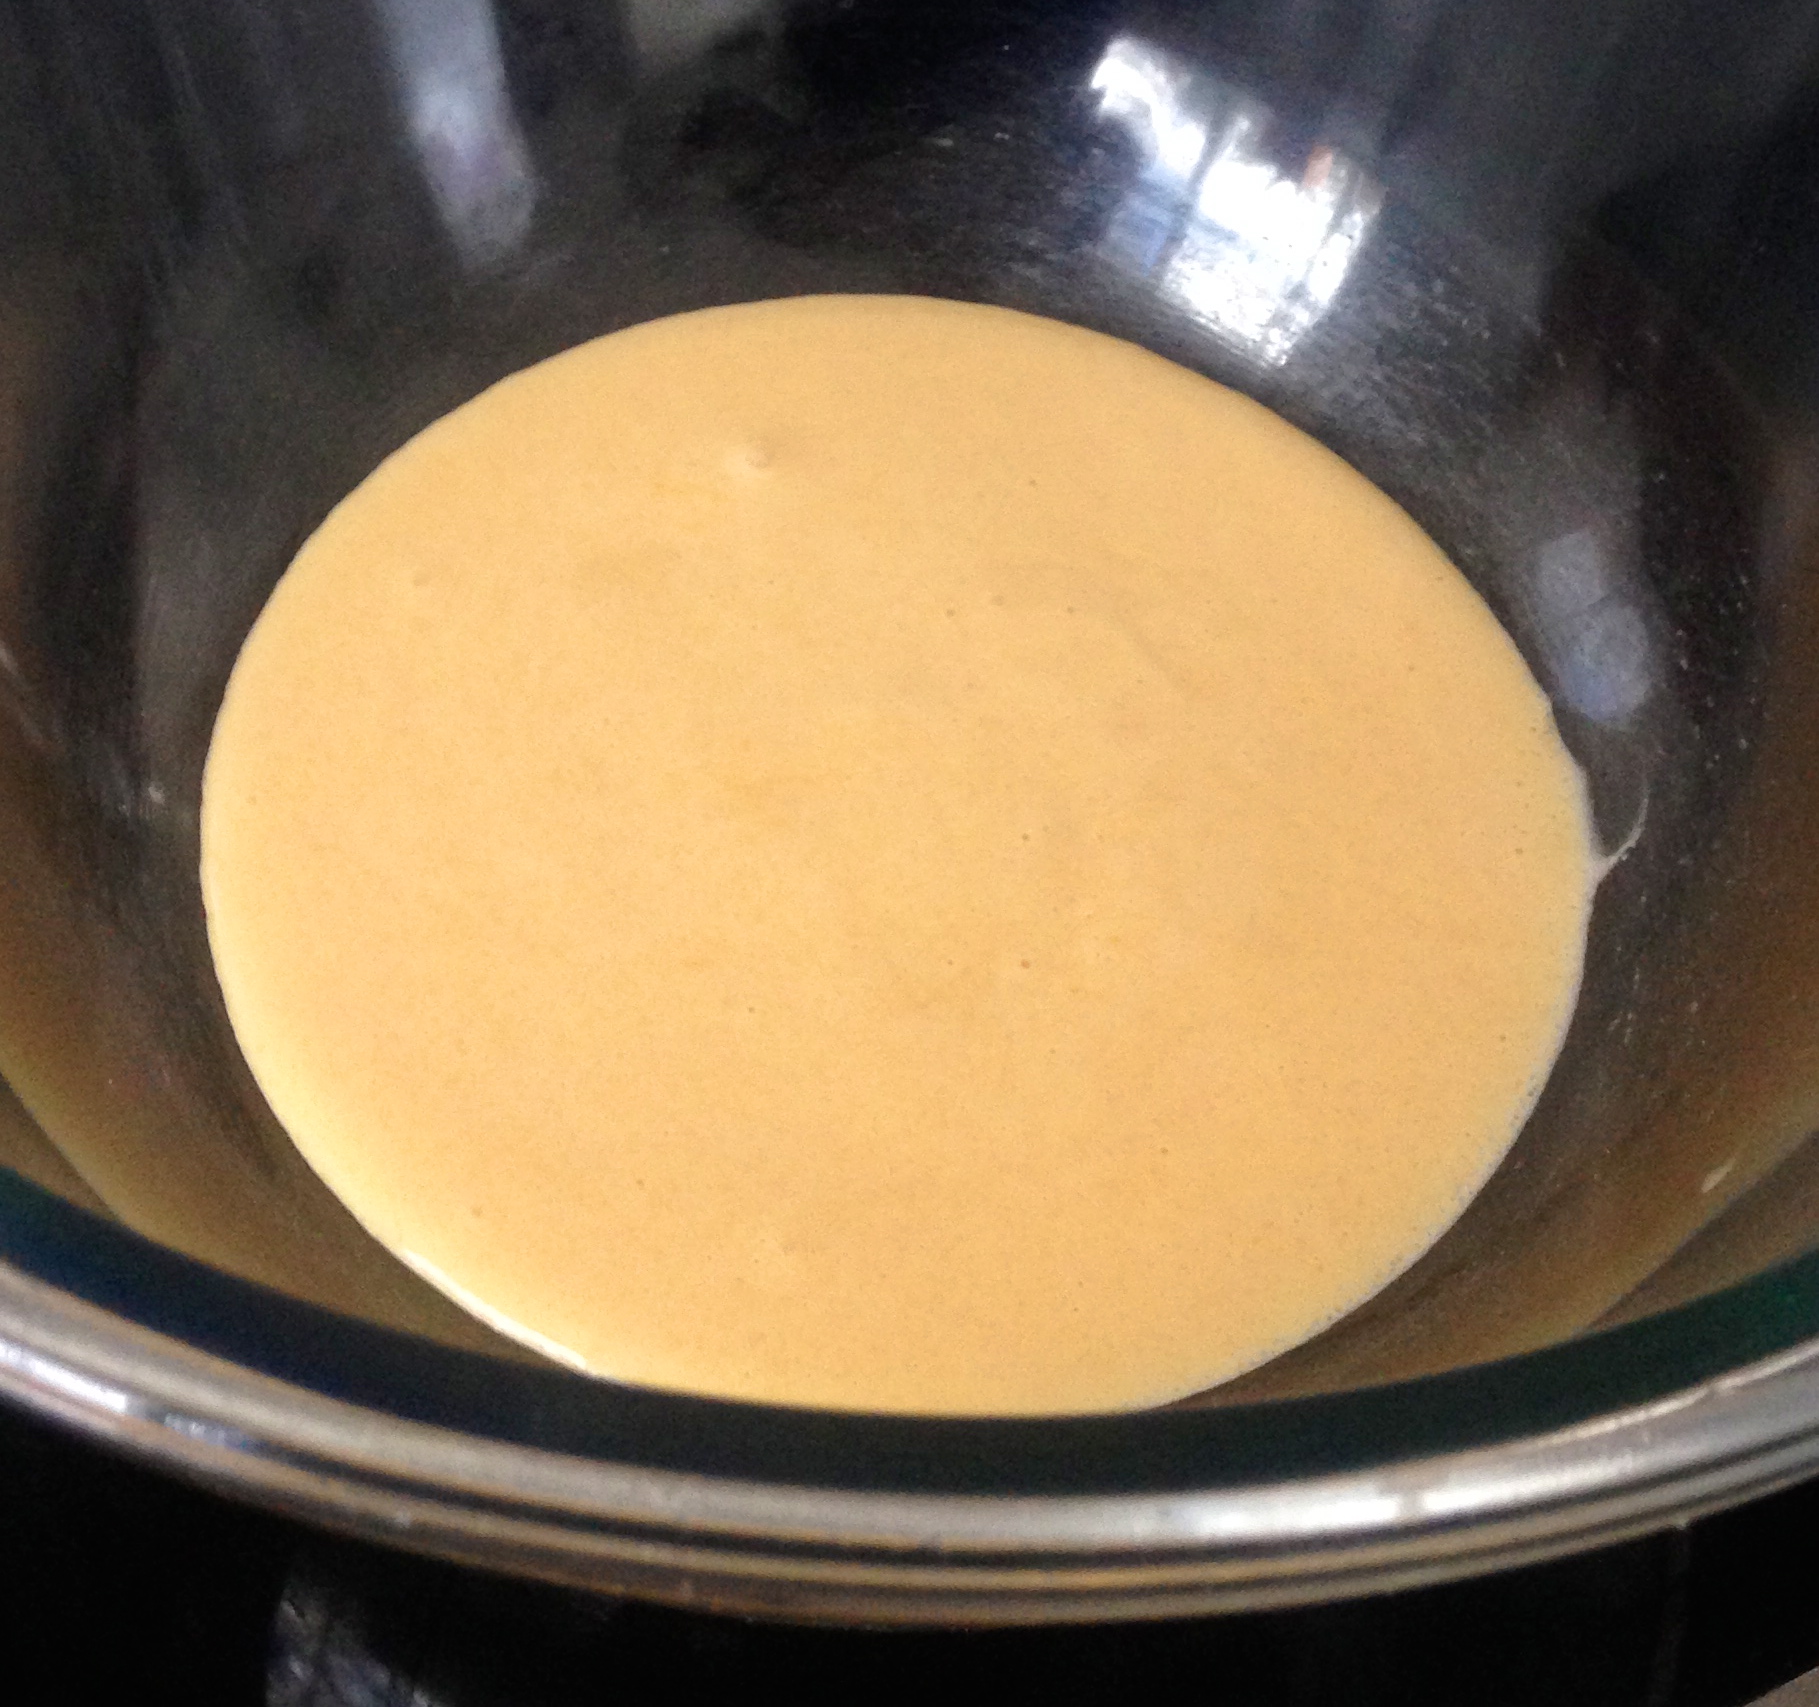
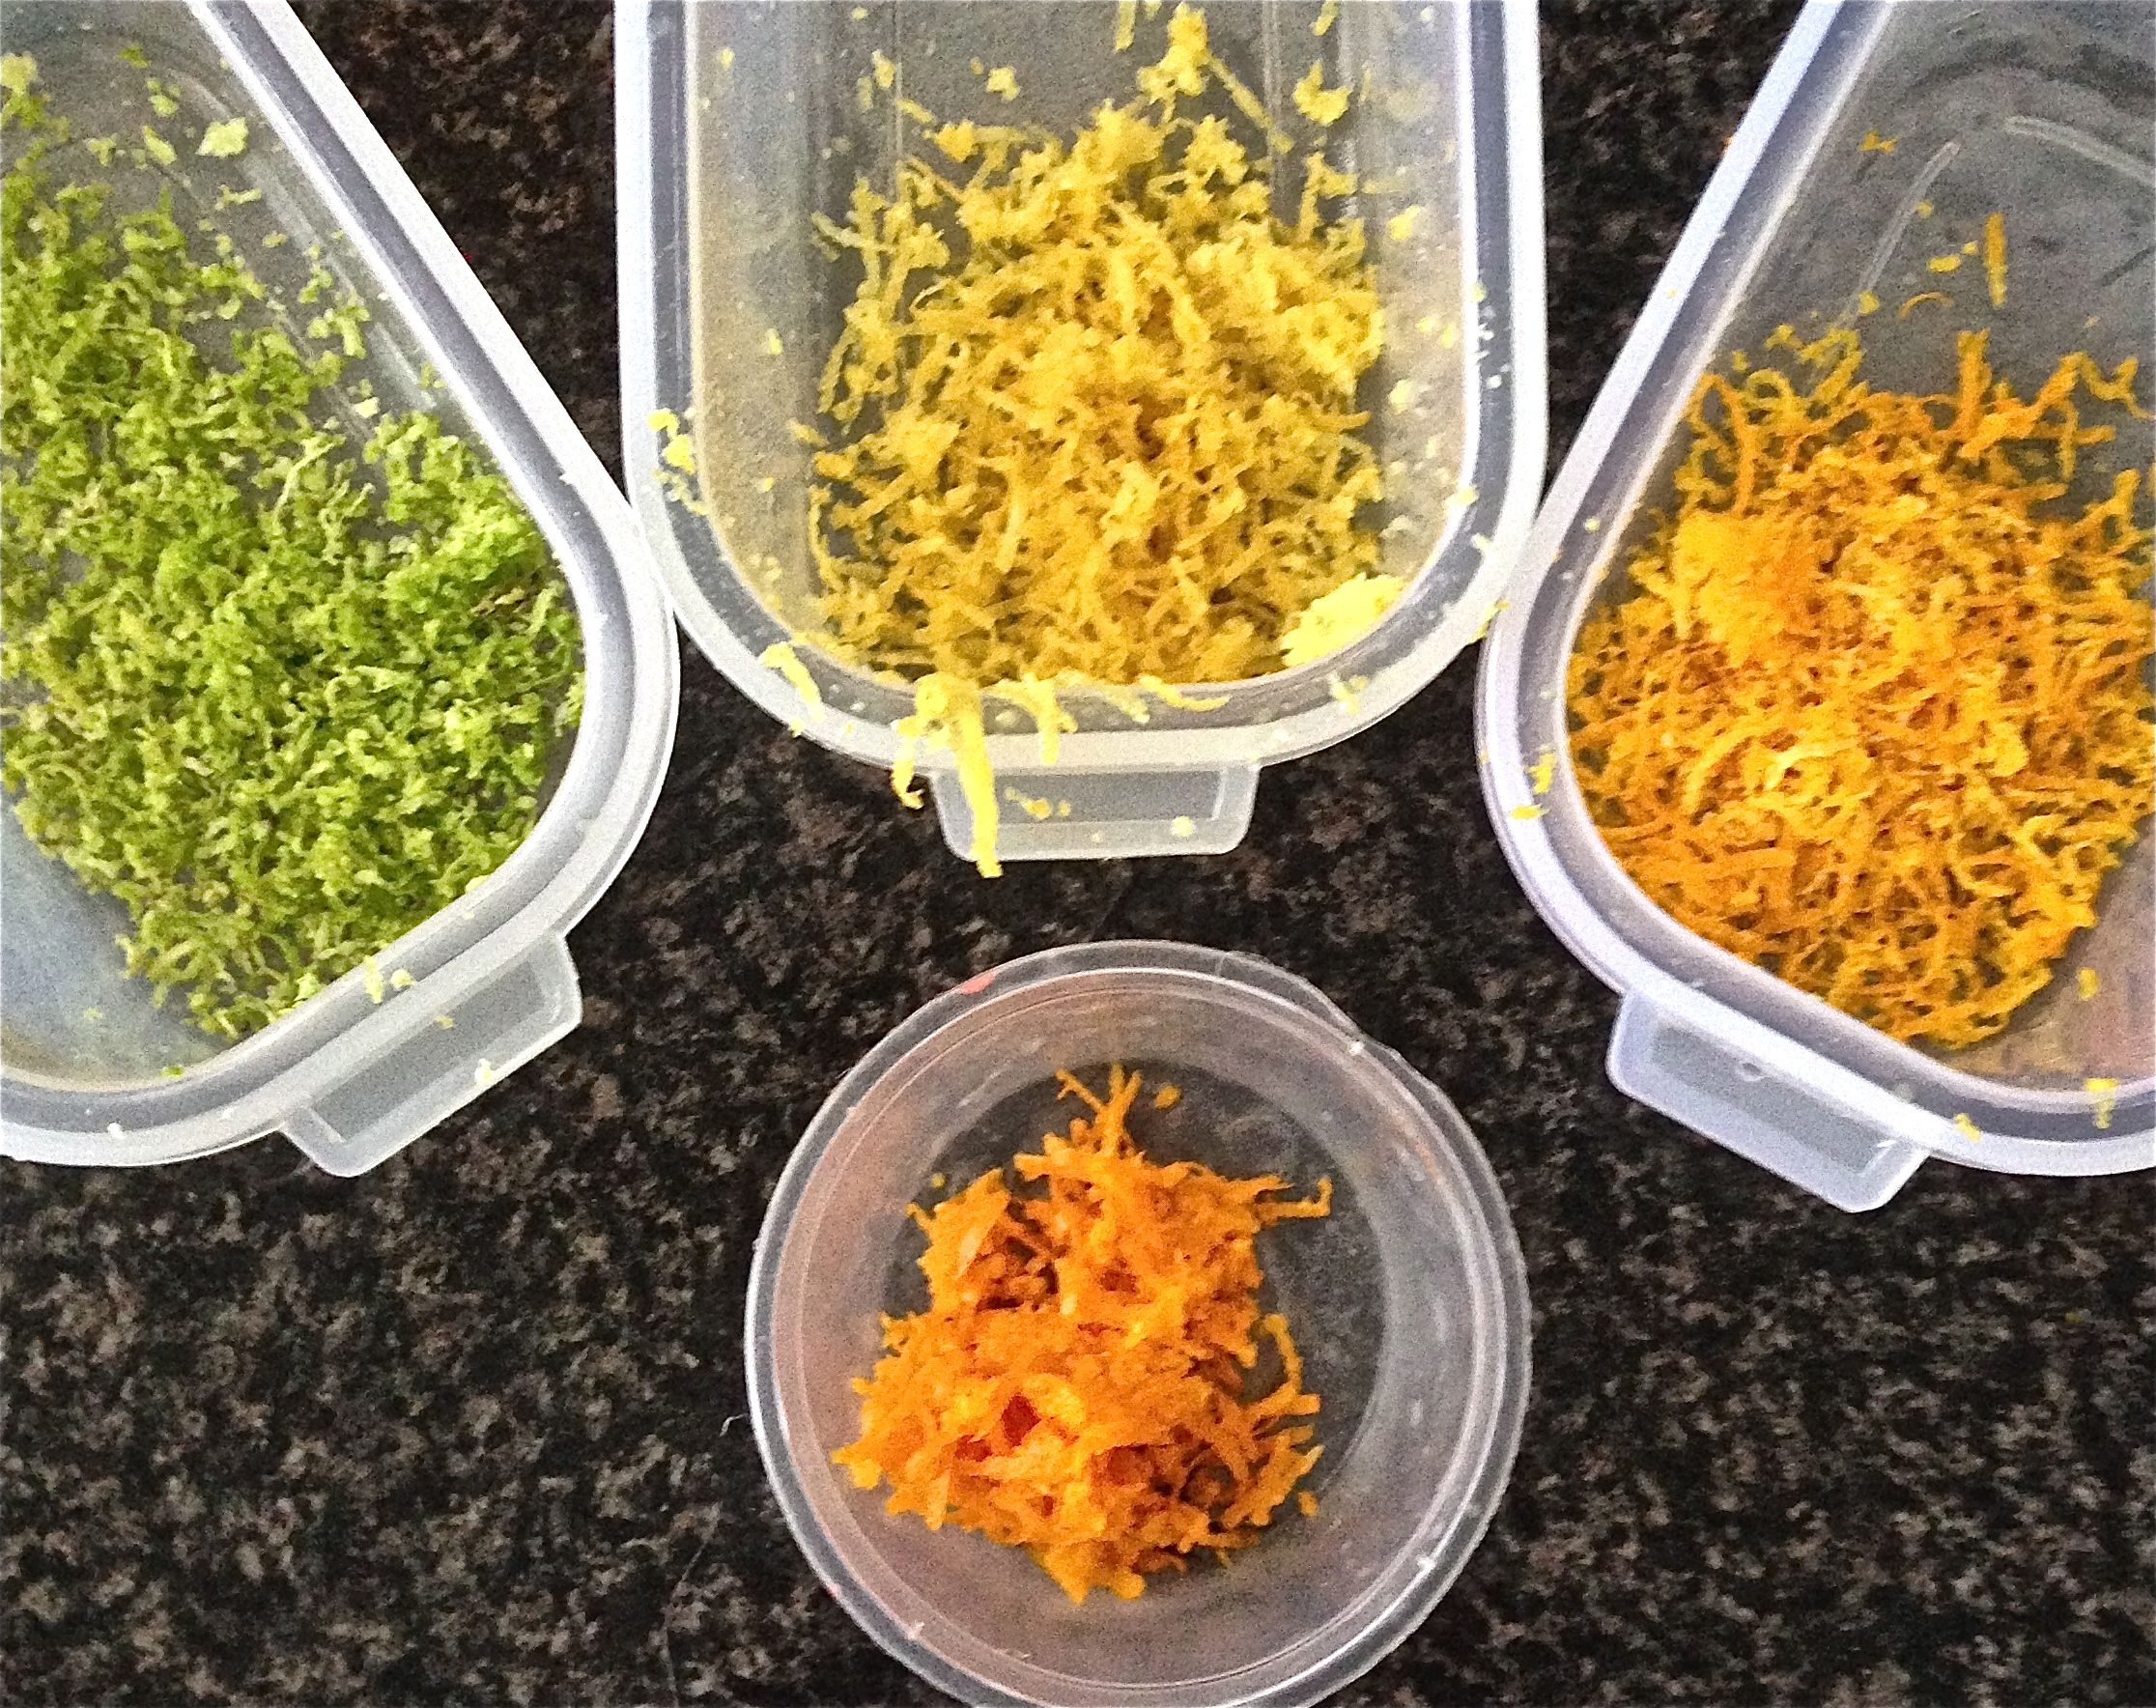
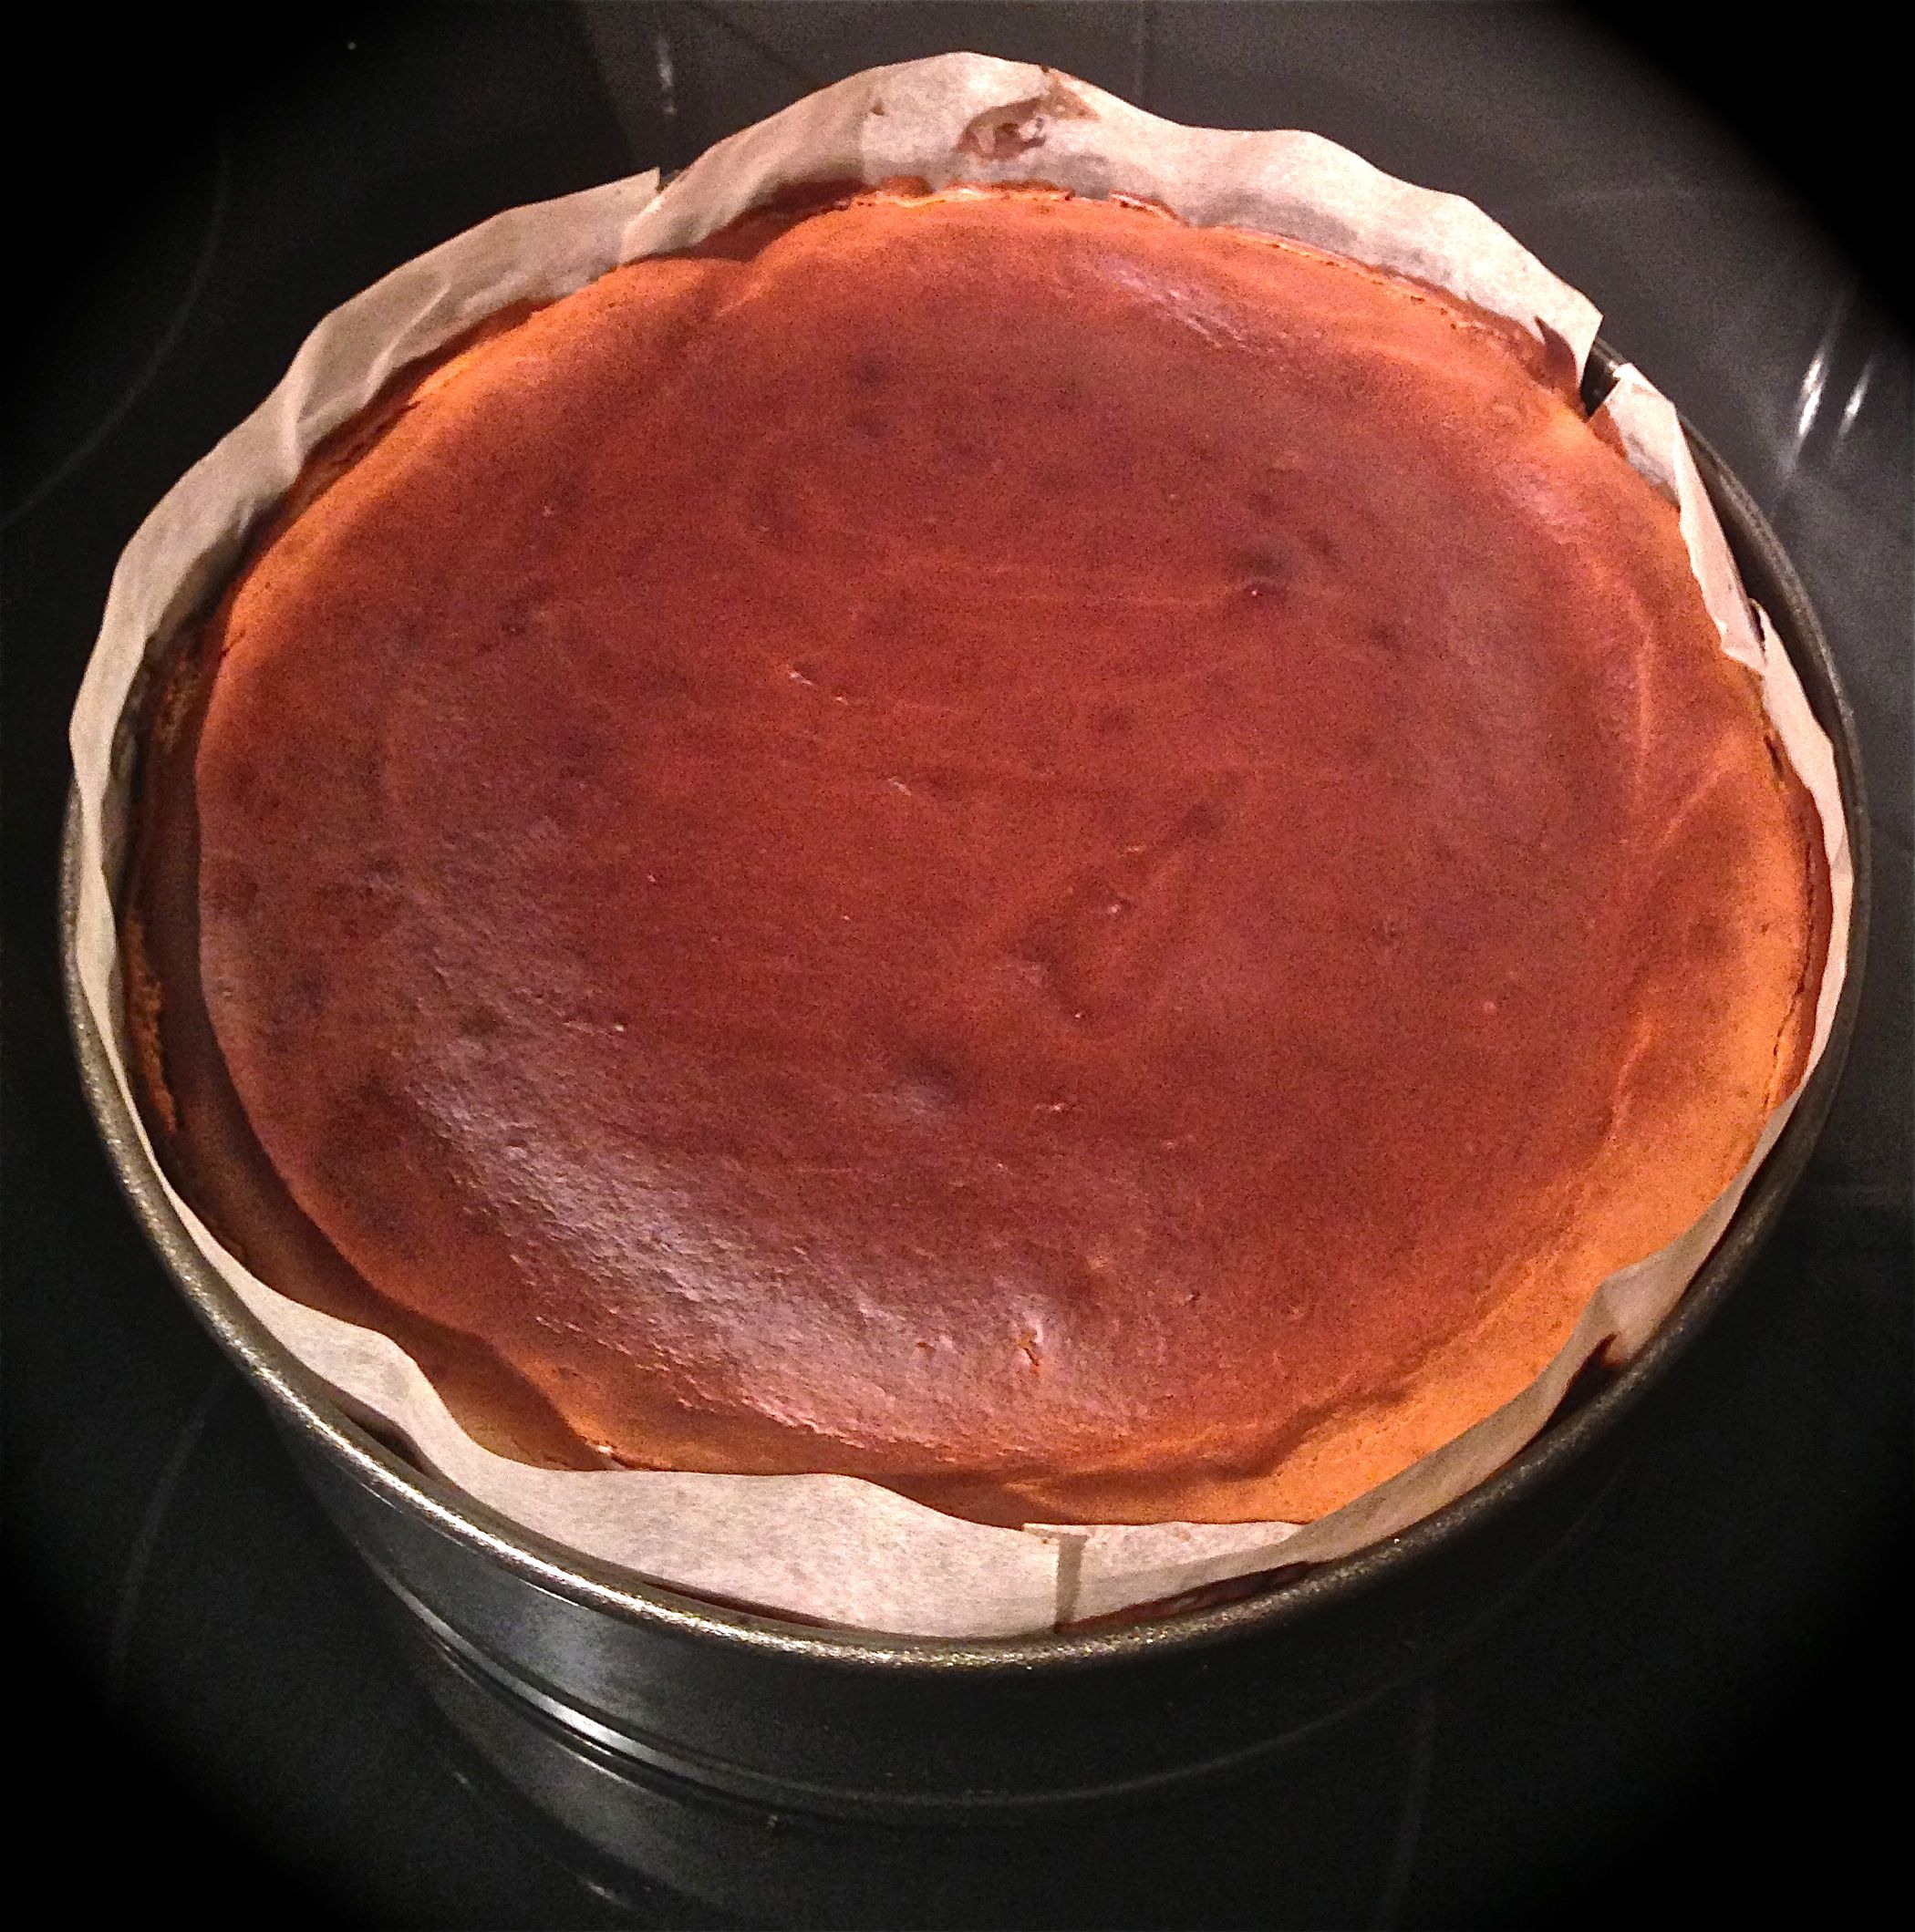
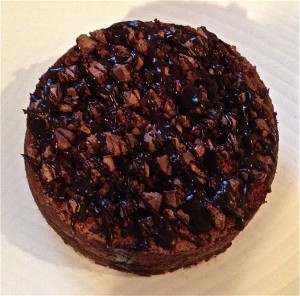
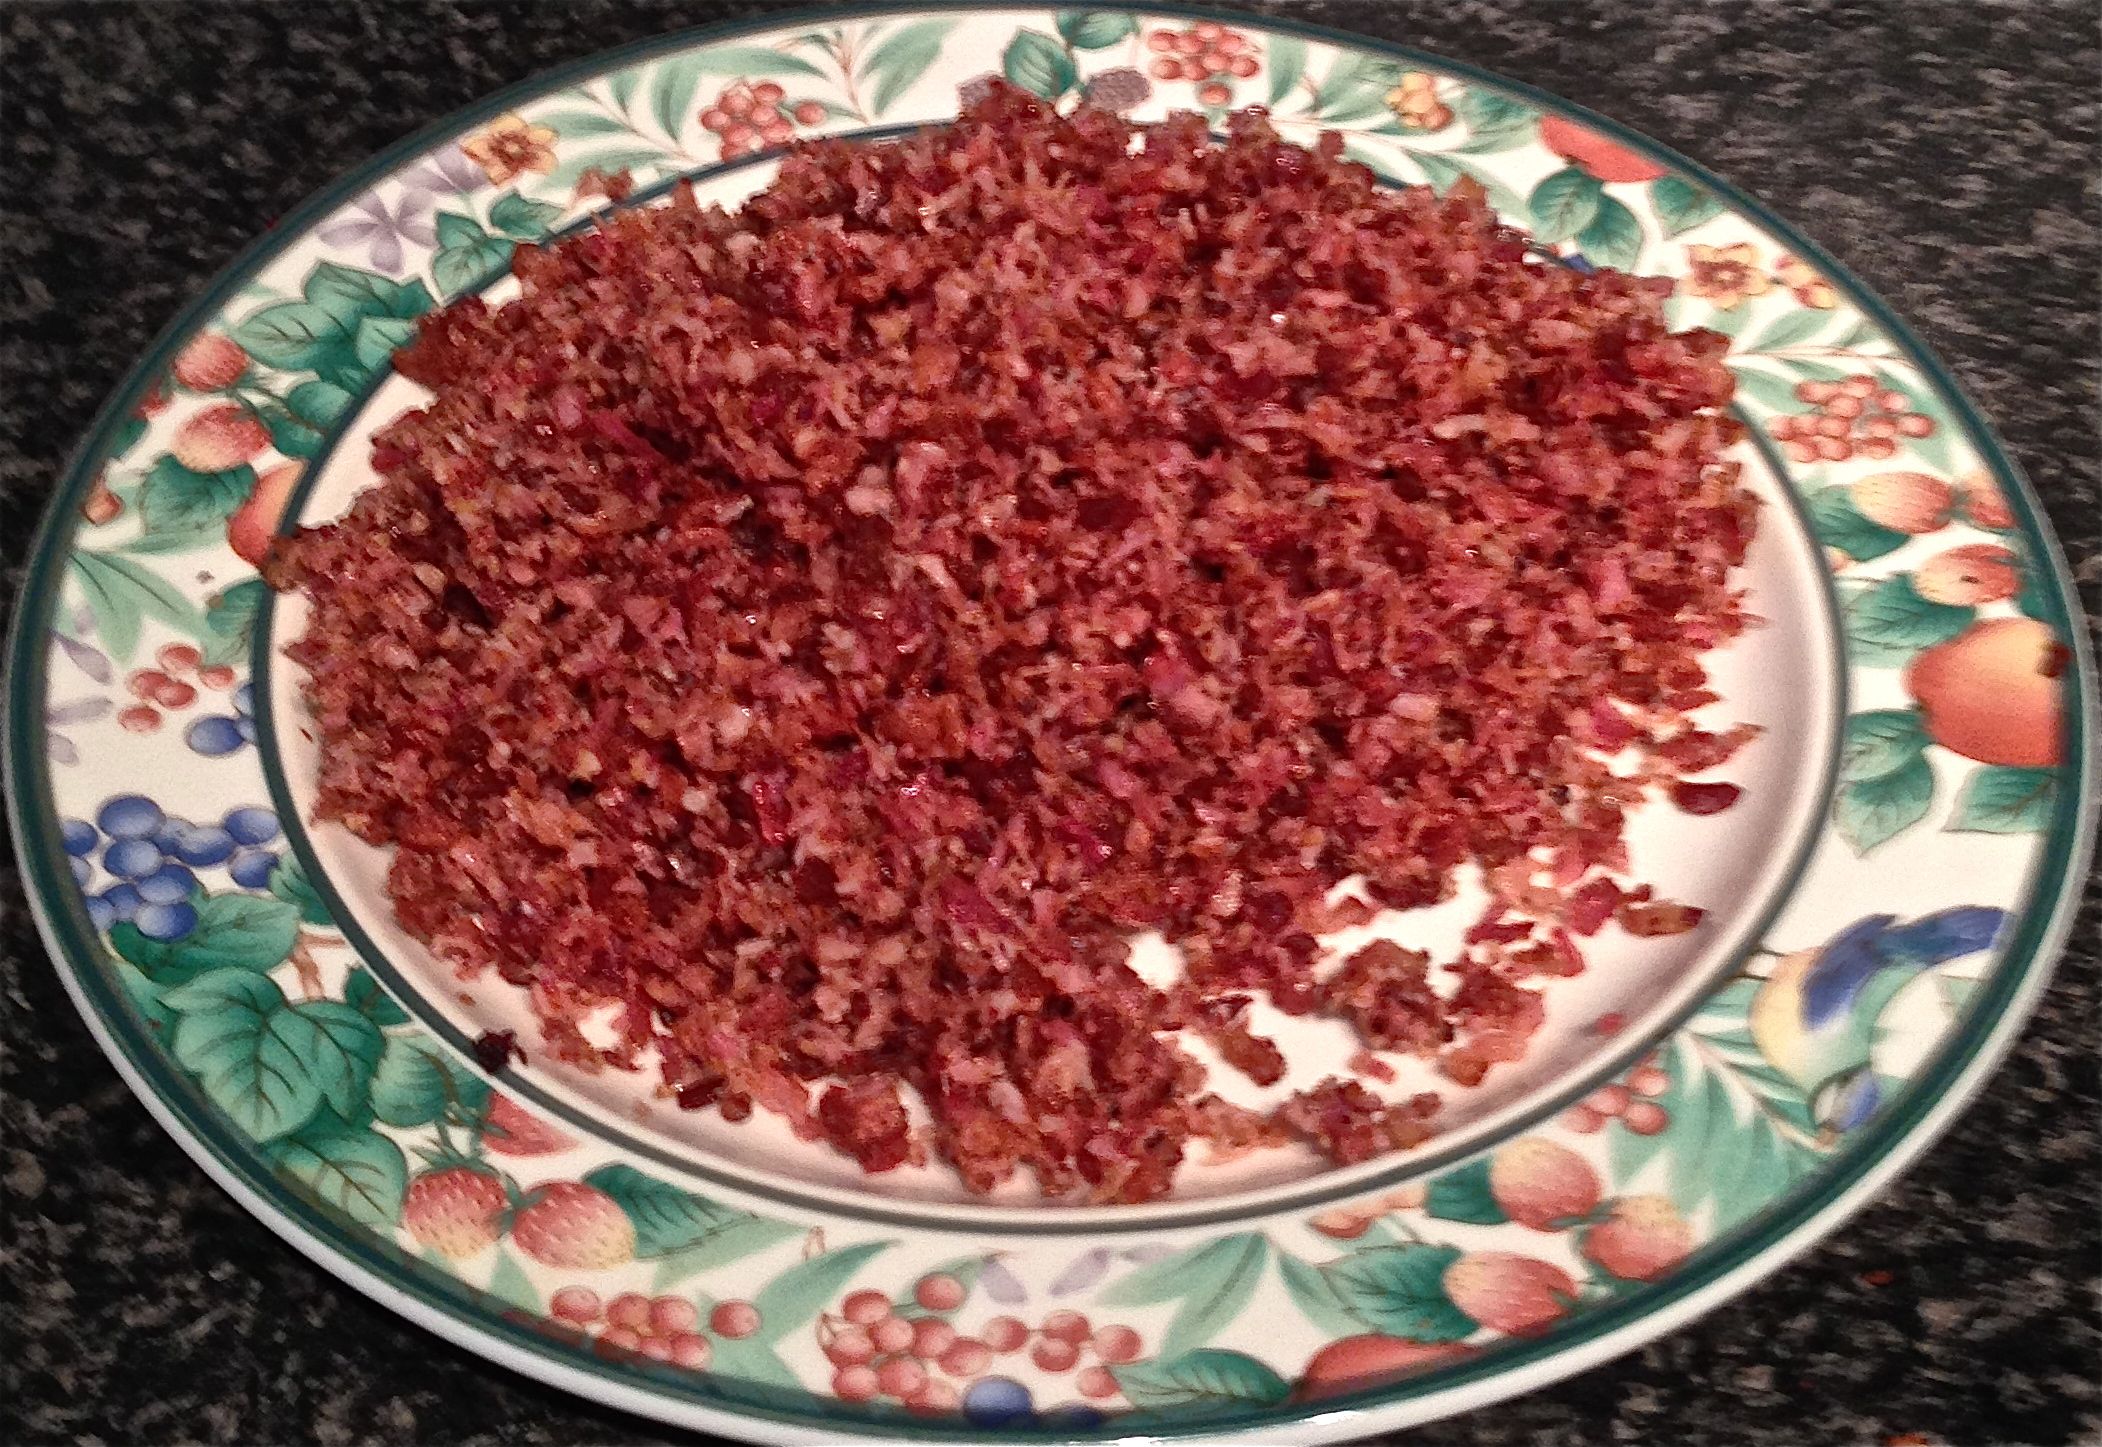
Step 7
Like this recipe? Subscribe via RSS or email to get my new entries and more scrumptious recipes with reviews.
 Follow