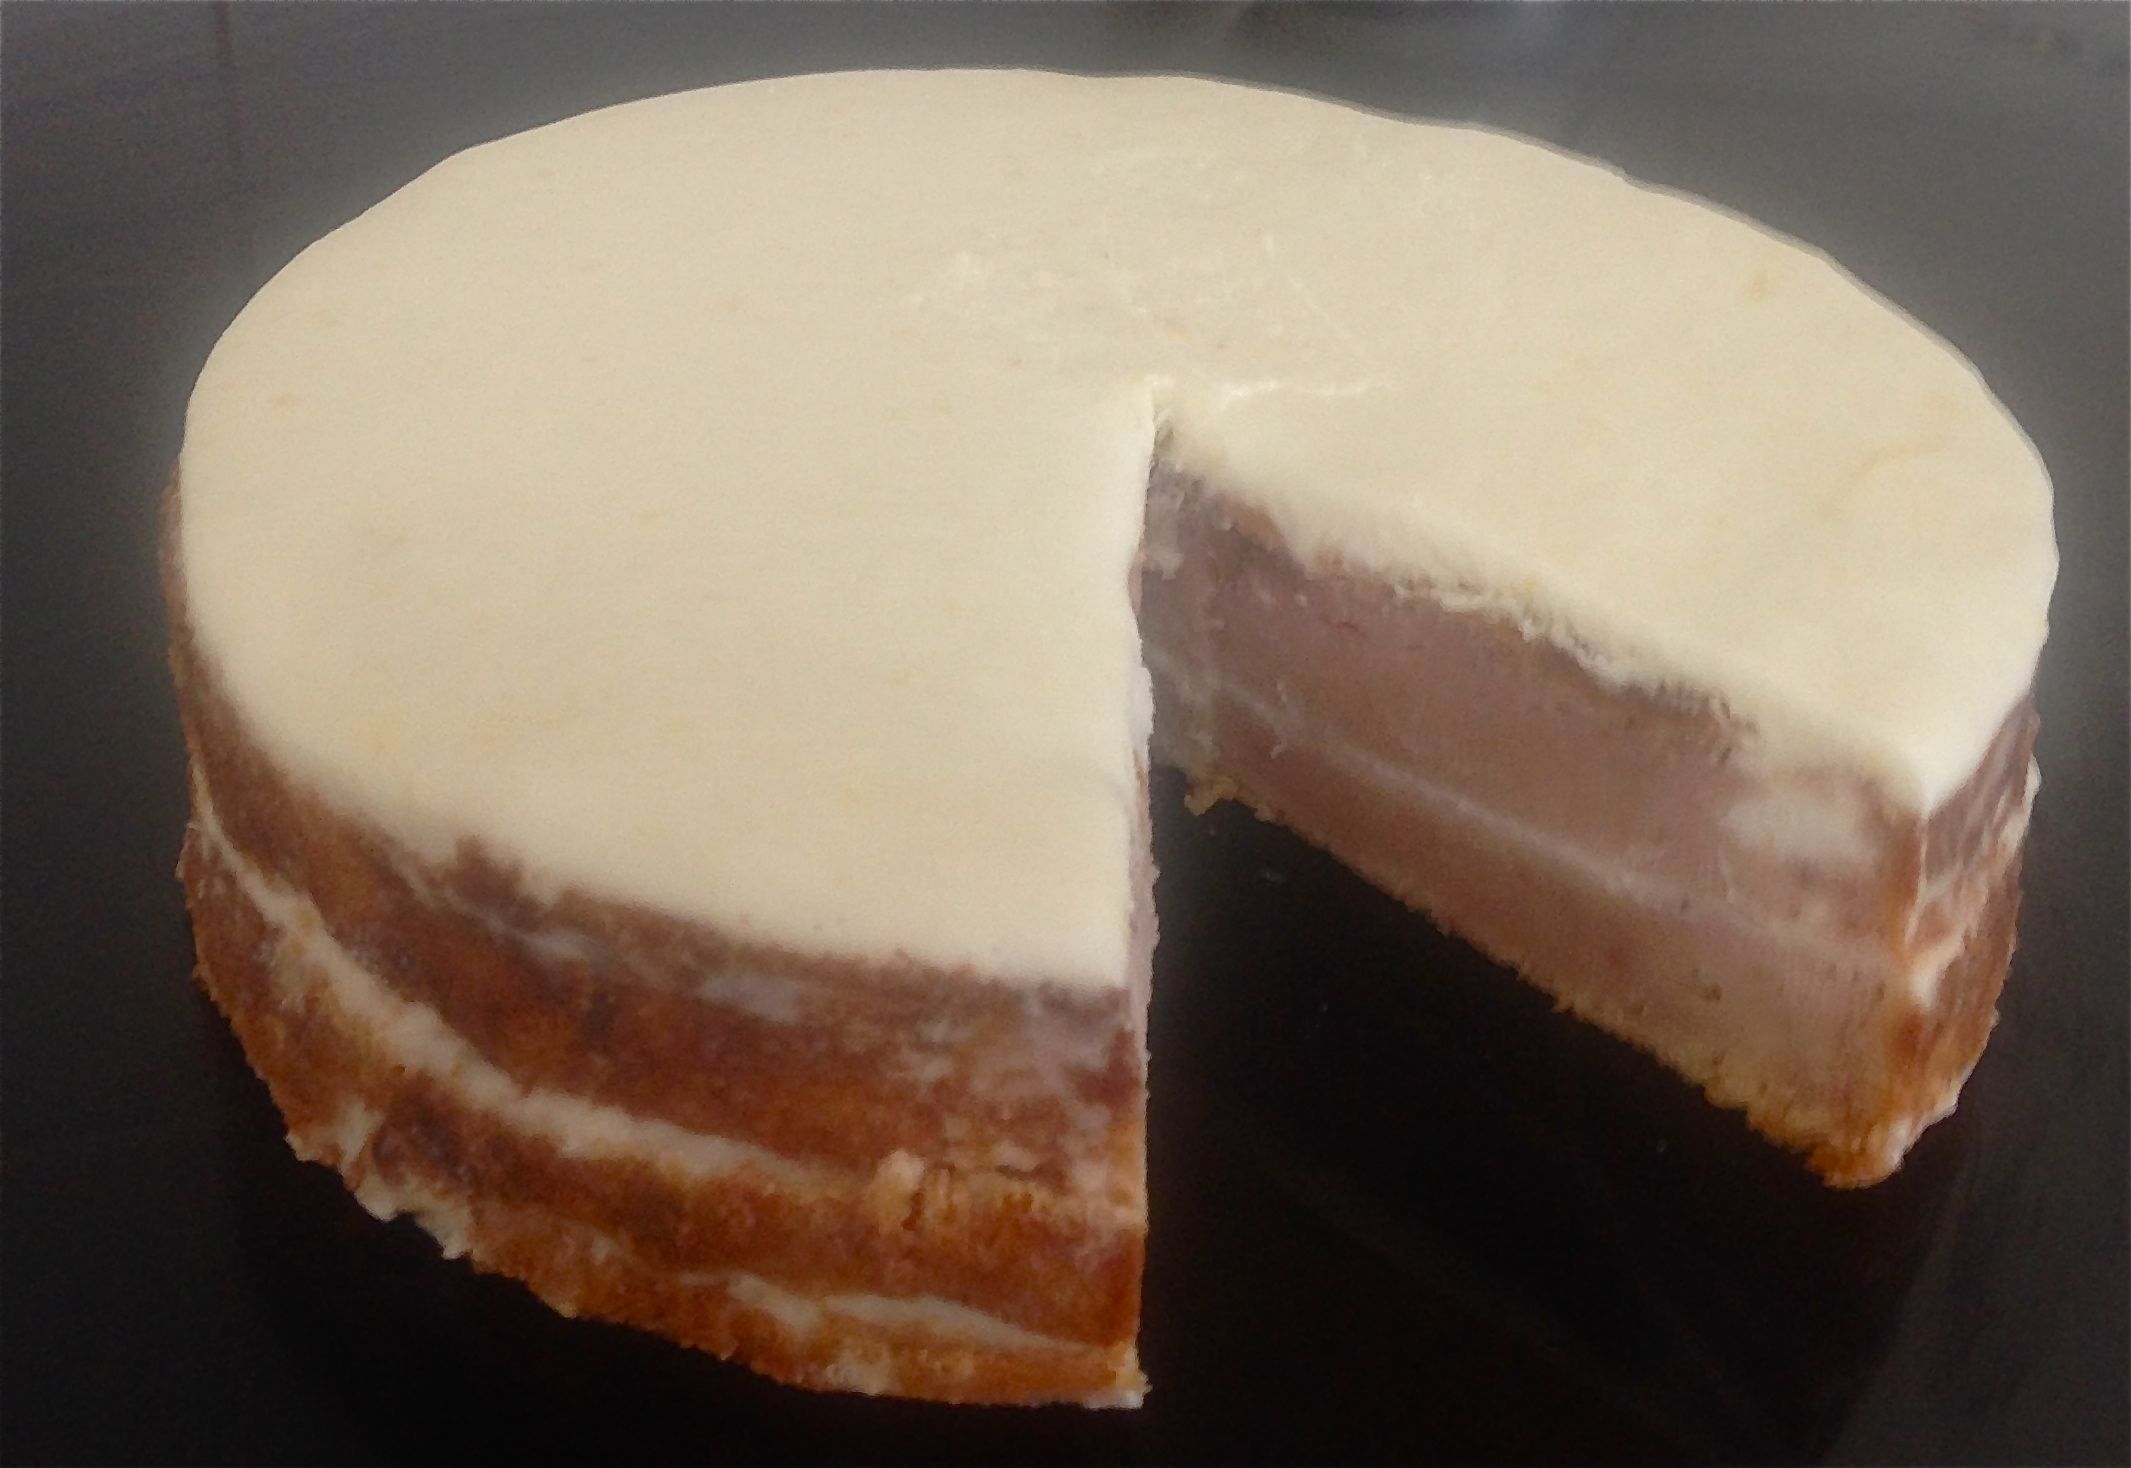
Bubblegum Cheesecake

As you will be well aware by now I am always asking people and on the lookout for baking flavor ideas.
I had a friend recently suggest to me bubblegum flavored cheesecake. Interesting…this could turn out to be amazing or so so wrong. Now it did actually take me two attempts to get this cake right, however the reason I even bothered a second attempt was due to the fillings taste sensation. I felt attempt one could have had a firmer filling so I re-did the cake with a much more satisfactory outcome.
After a solid taste testing session the consensus was that this cheesecake is a big winner.
Now, I must say, I’m not a massive fan of cheesecake but this one (a) is not sickly sweet (even with the white chocolate topping), (b) has a perfect consistency and (c) actually taste exactly like I remember bubblegum tasting as a kid!
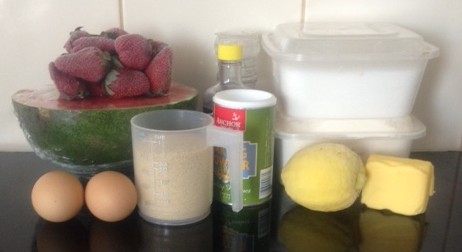
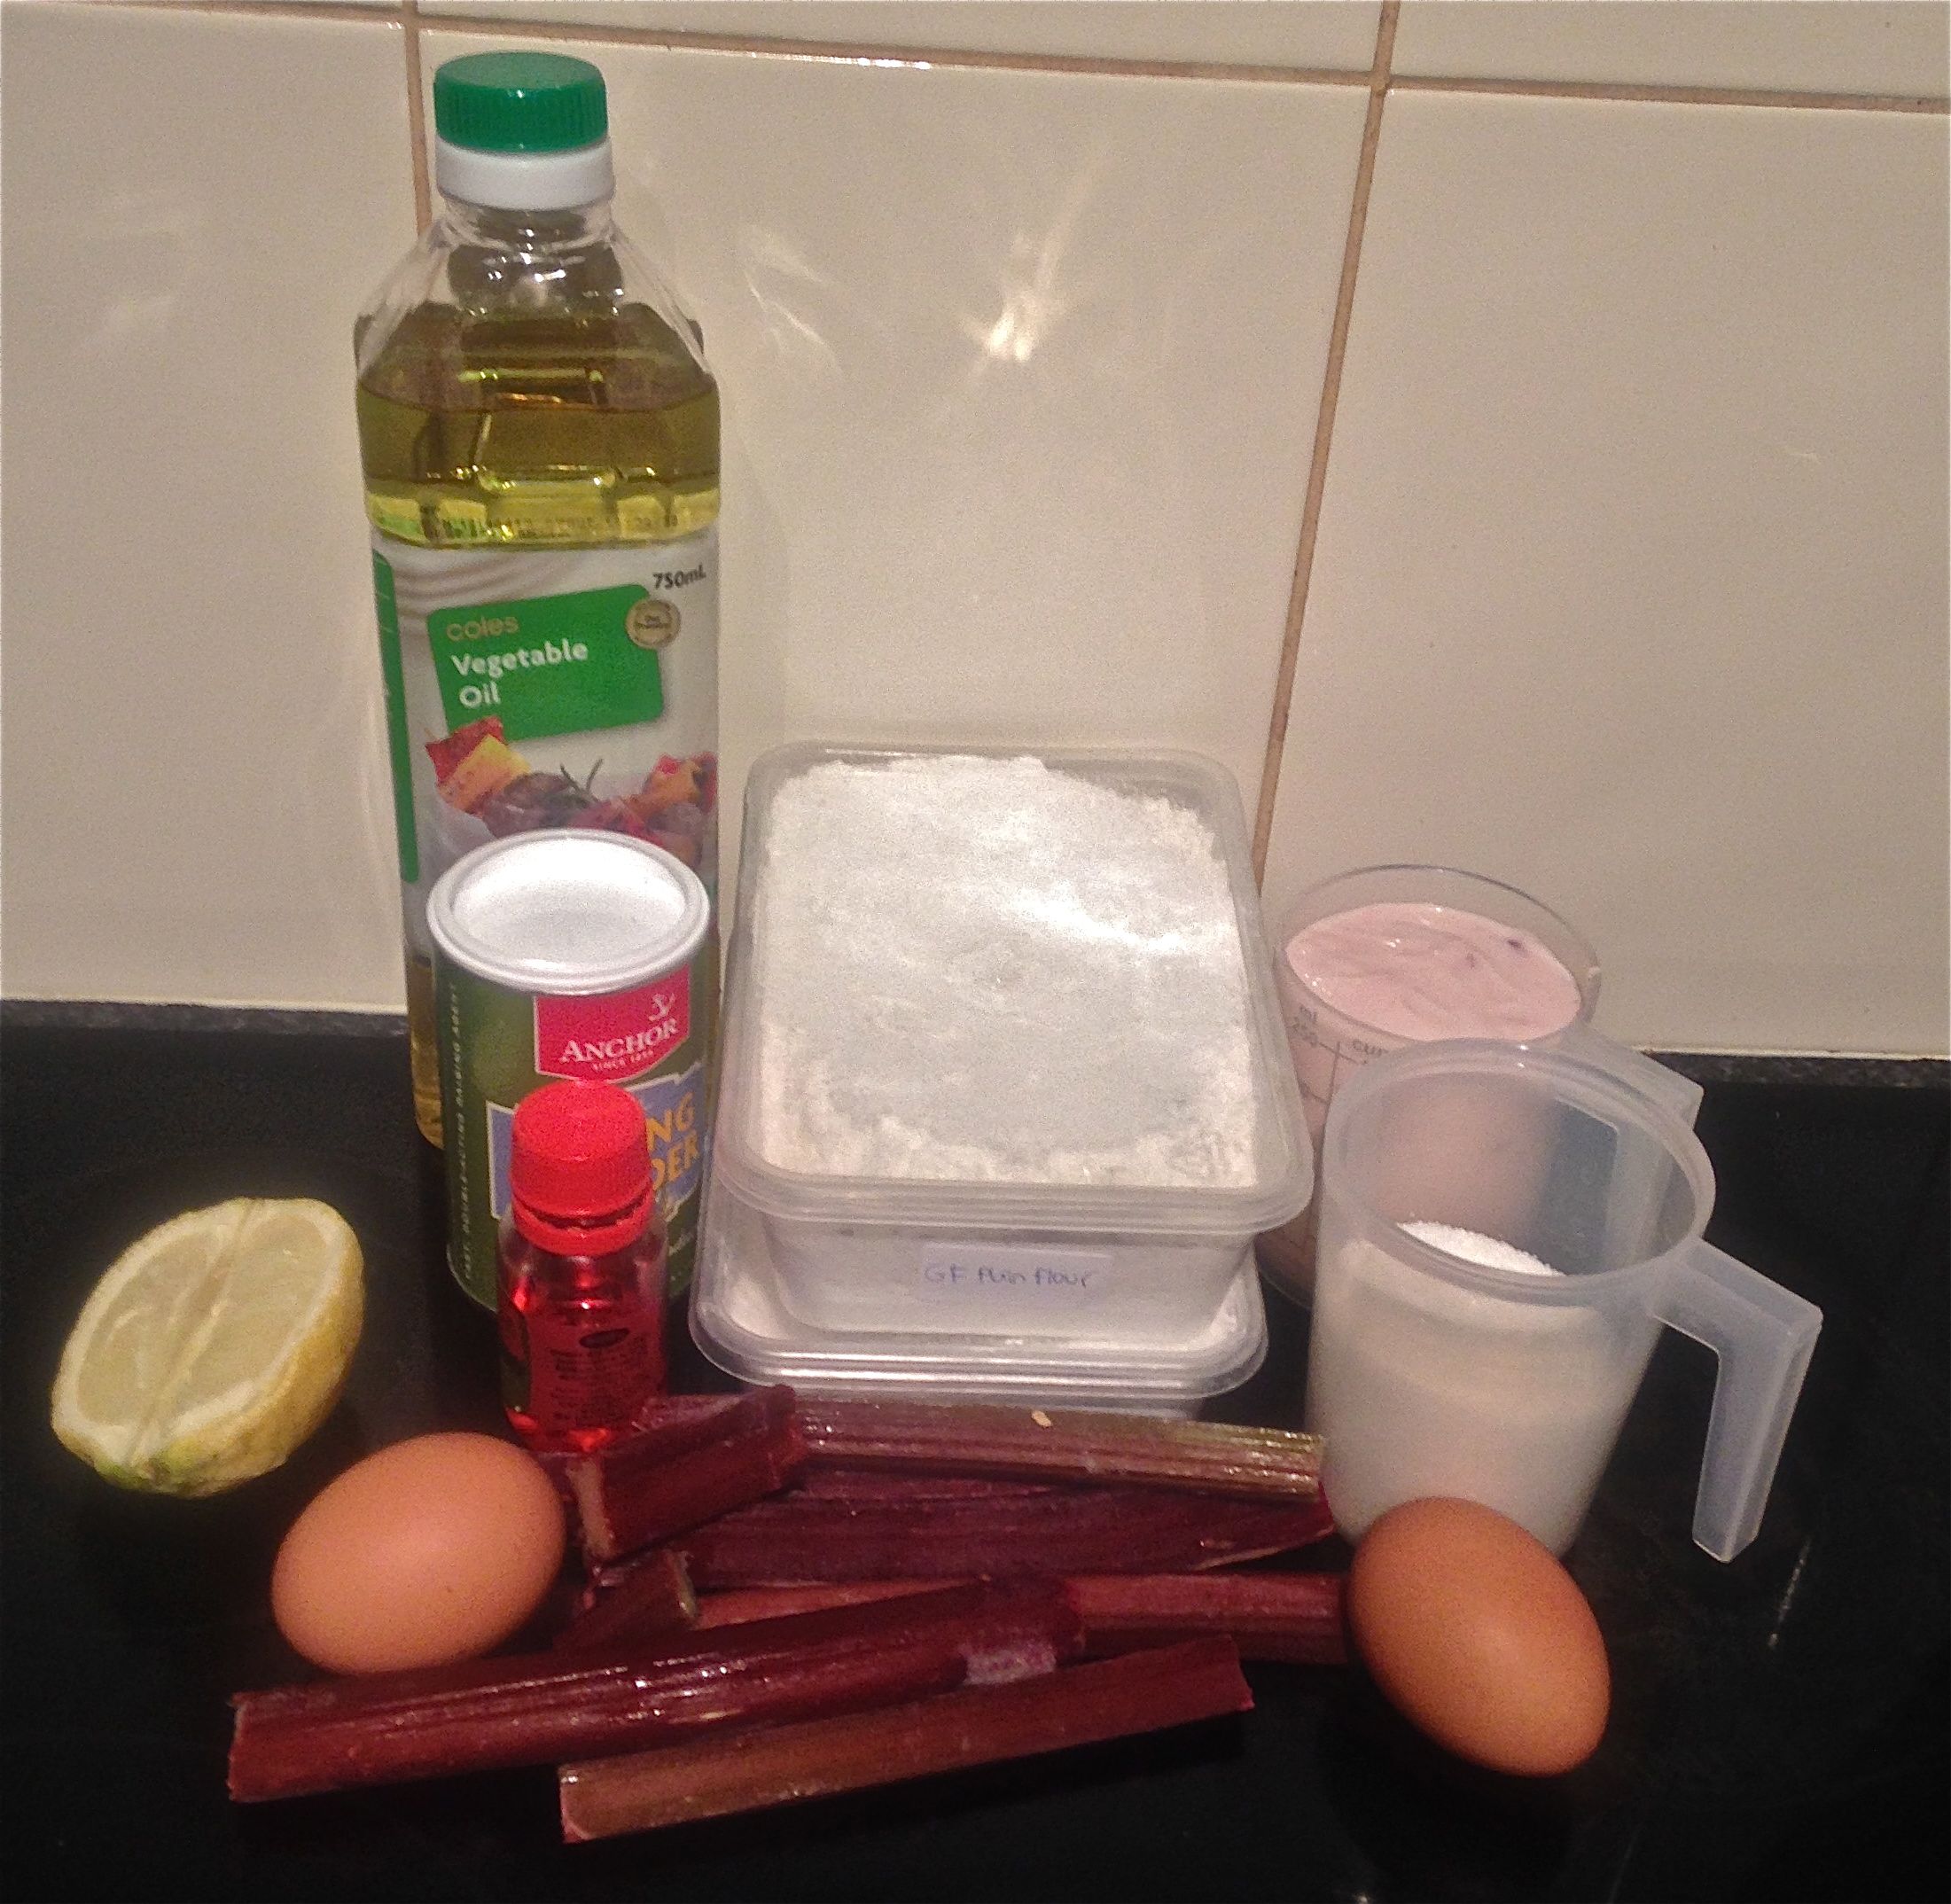
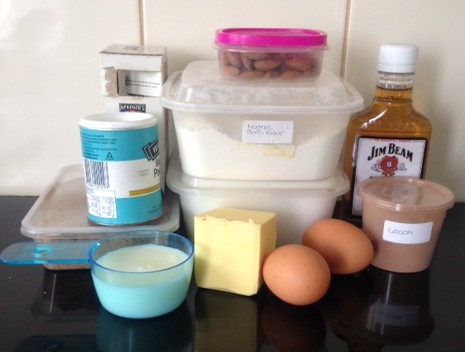
Ingredients:
Base:
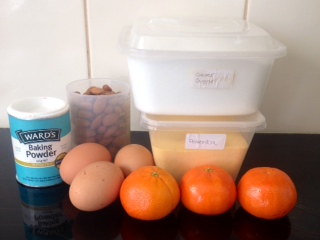
- 375g butternut snap biscuits
- 100g butter
Filling:
- 120g bubblegum flavored jelly crystals
- 500g cream cheese
- 175ml thickened cream
- 100g sugar
Topping:
- 150g white chocolate
- 70ml thickened cream
Method:
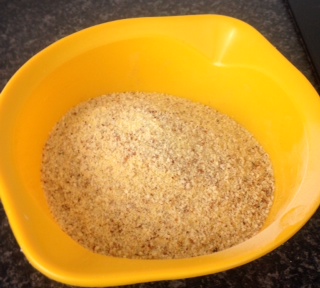
- Place the biscuits in a food processor and blitz until they resemble fine breadcrumbs.
- Place crumbs in a bowl with melted butter and mix until well combine.
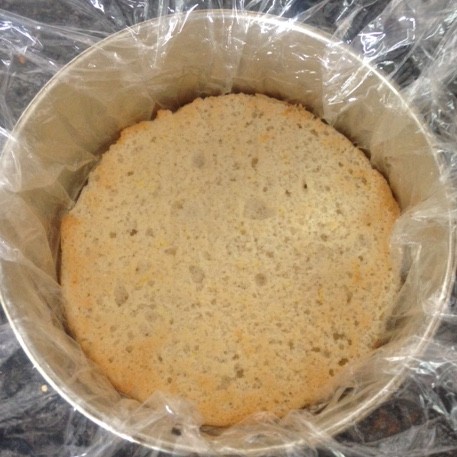
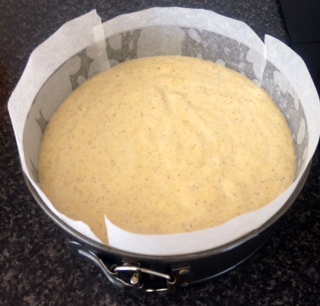
- Spoon the mix into a 23cm spring form cake tin, covering both the base and sides of the tin.
- Once the biscuit base is complete place in the fridge for later.
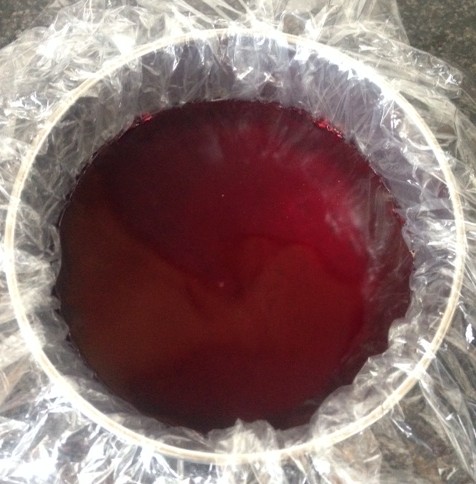
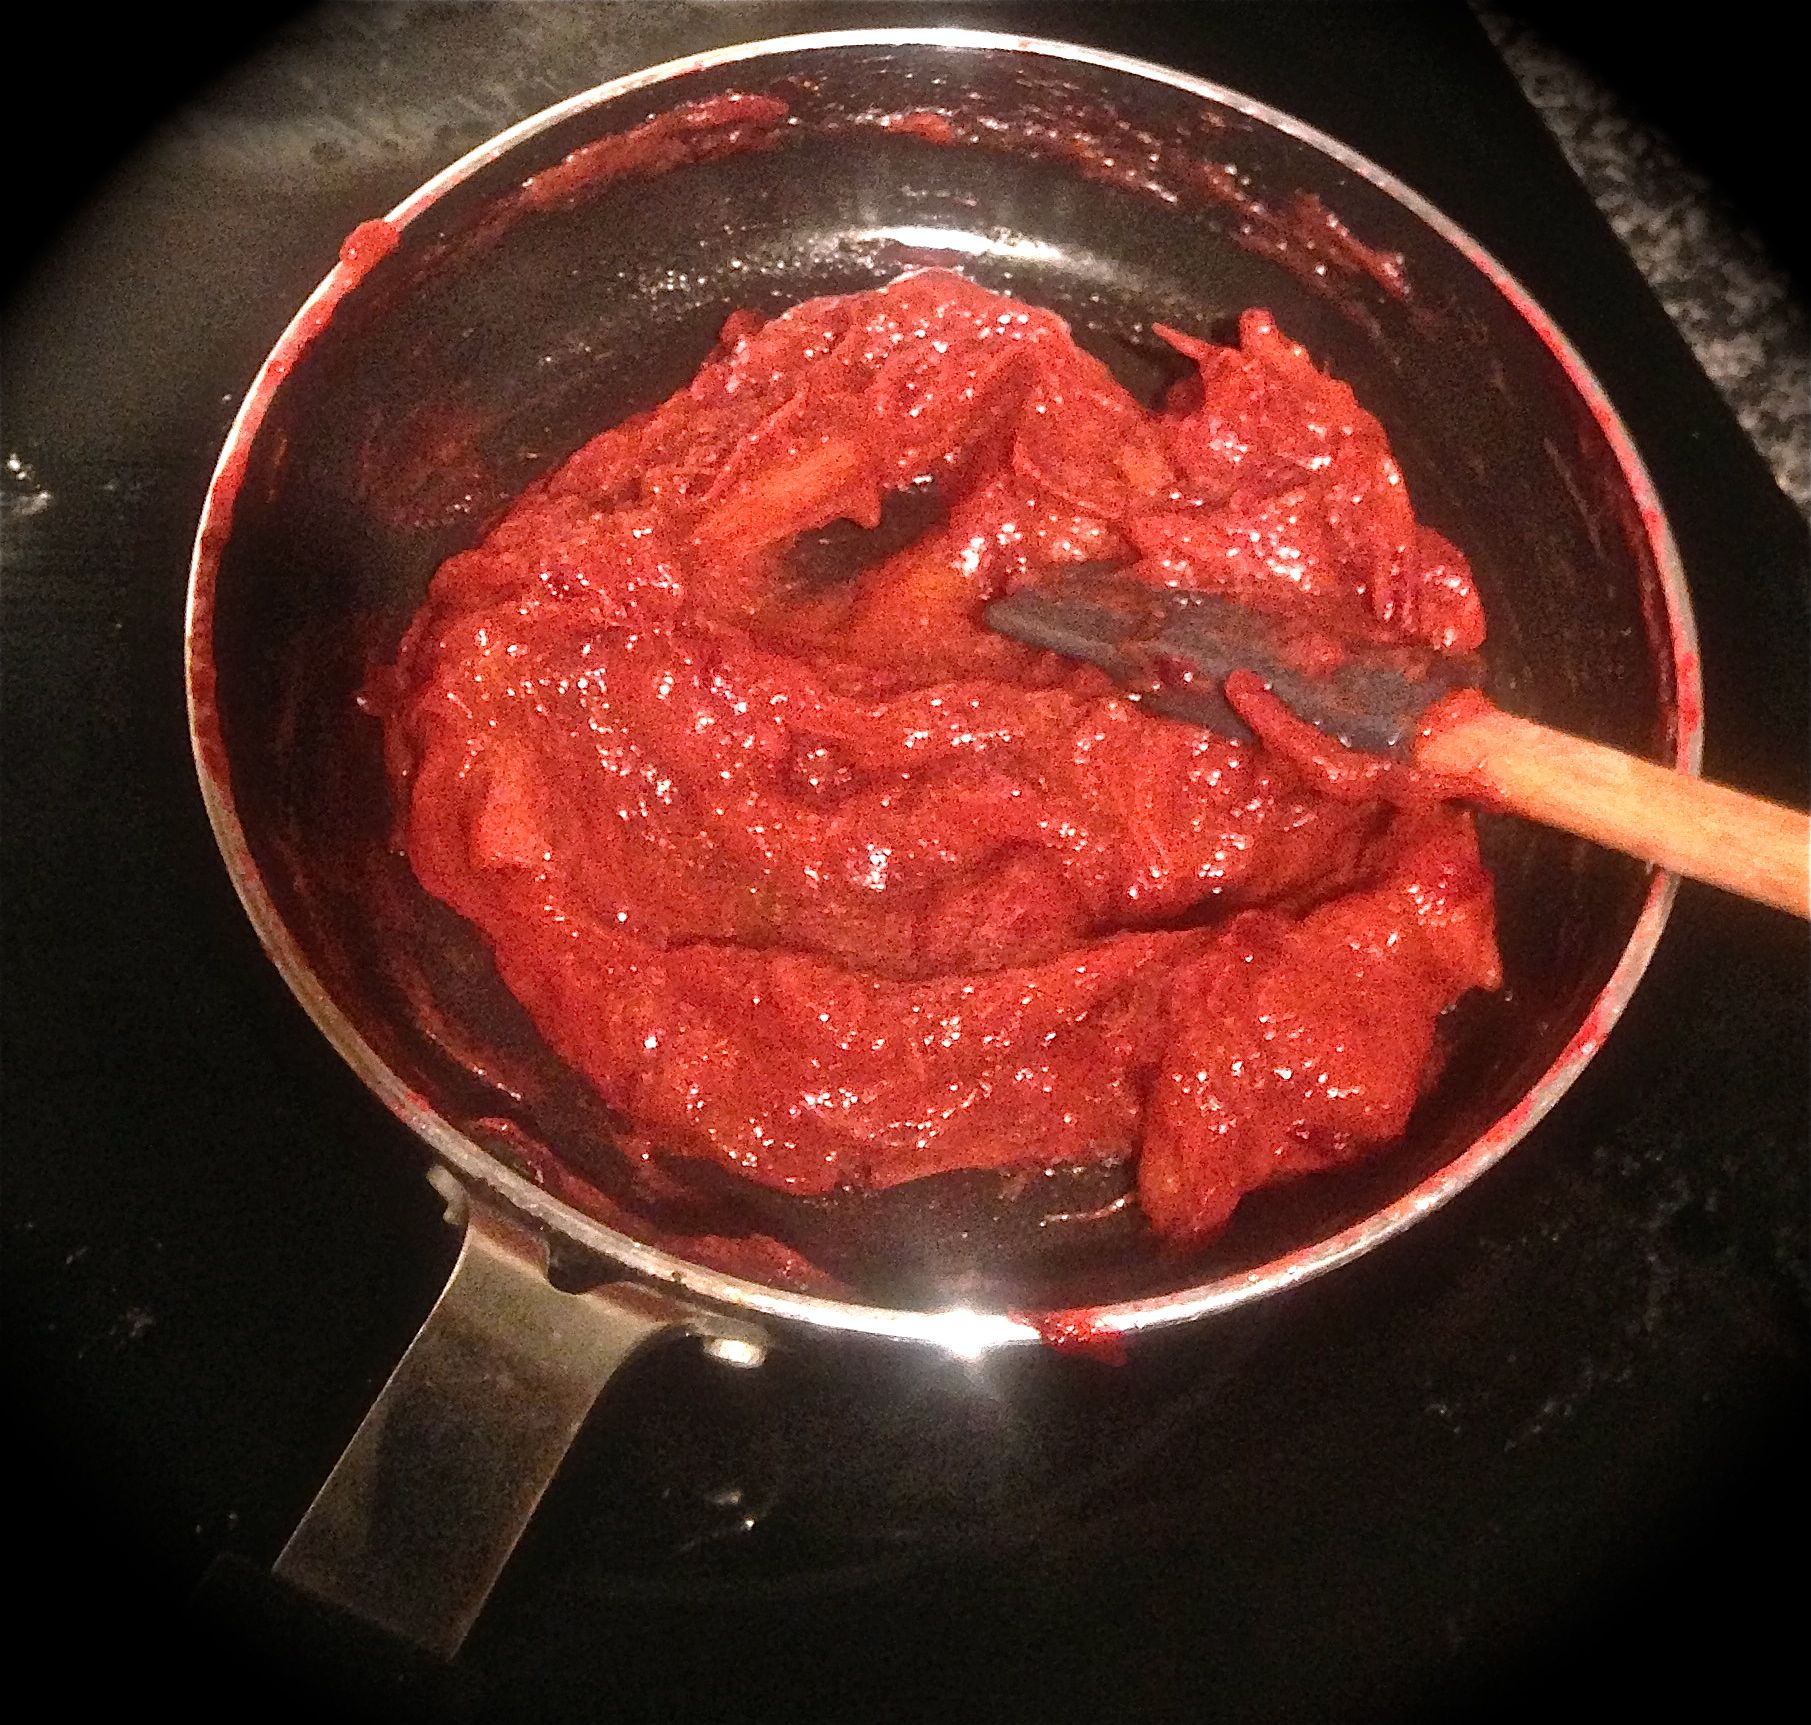
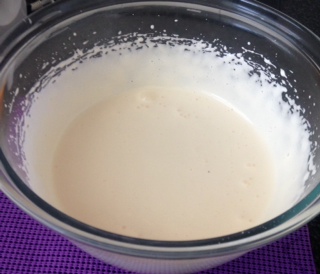
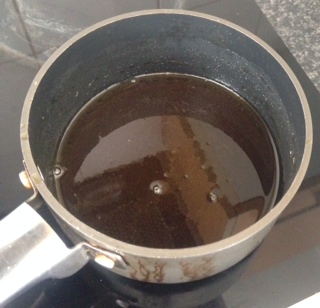
- Boil 60ml of water and add 55g of the jelly crystals. Stir until well combine.
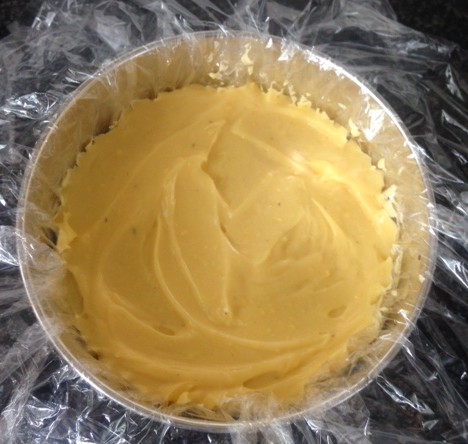
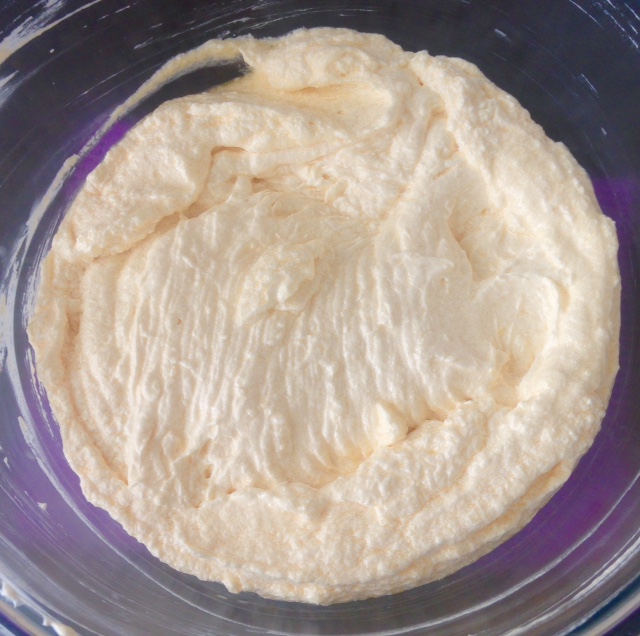
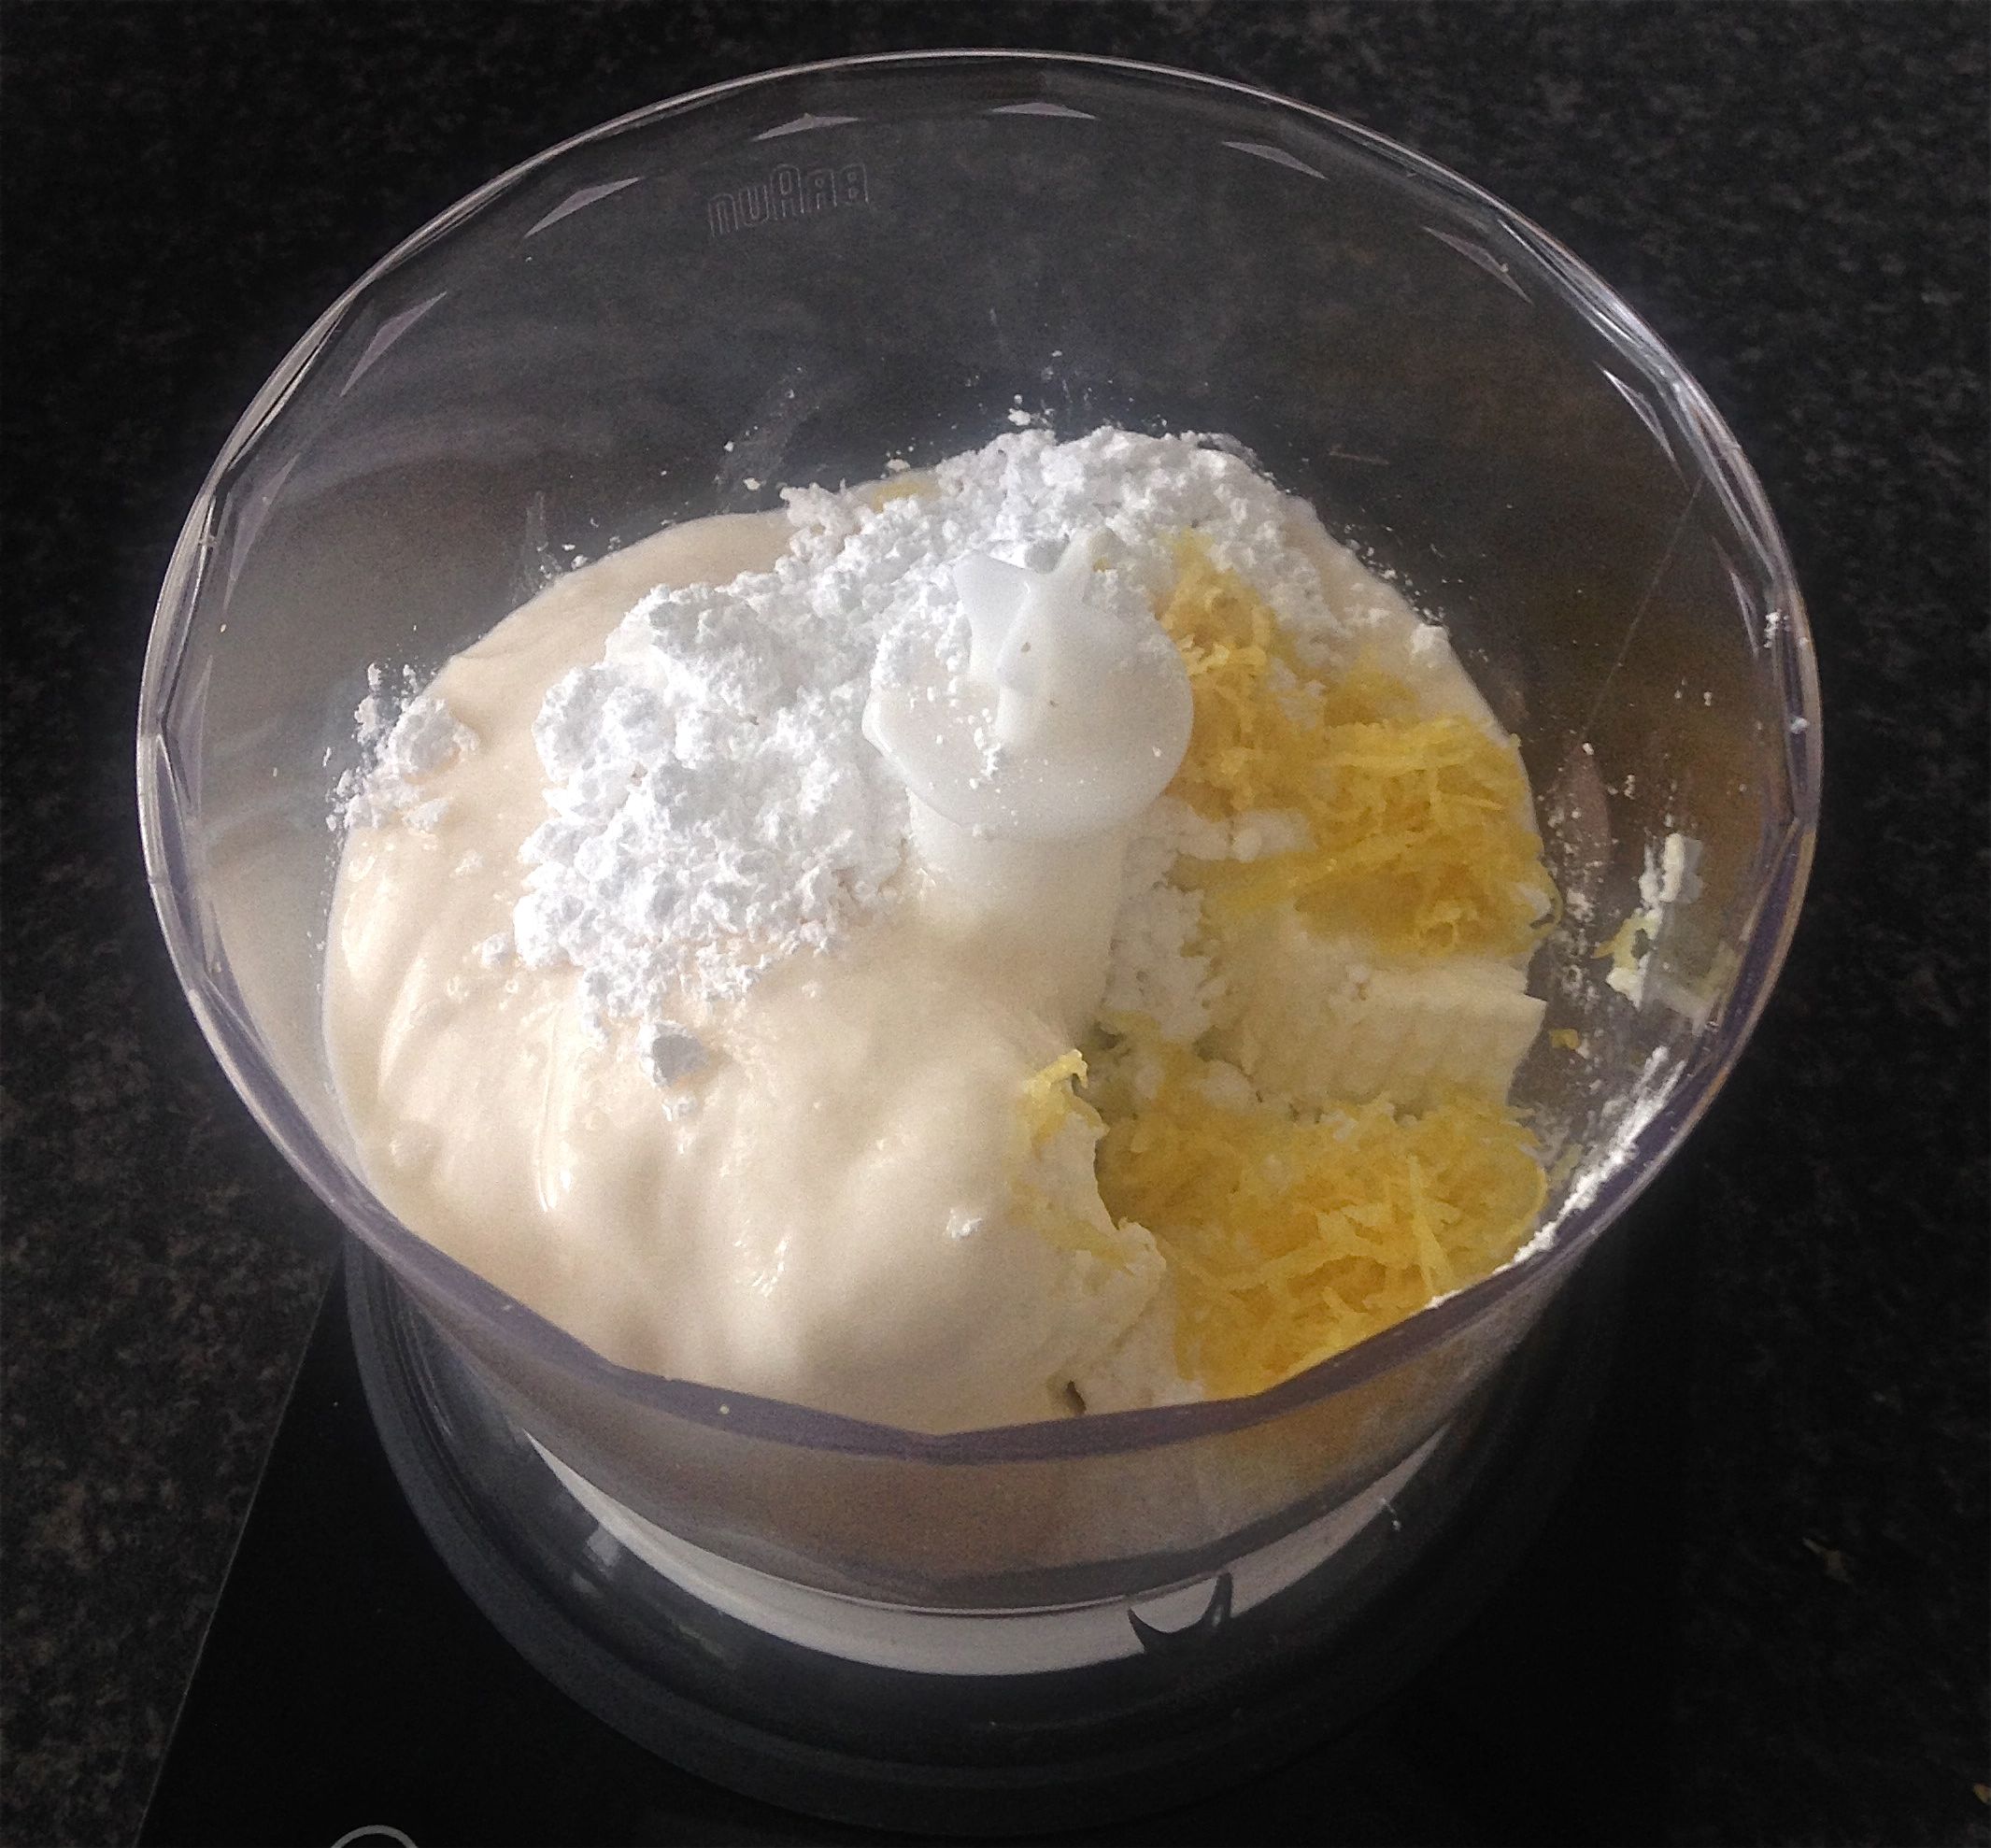
- Using electric beaters beat the cheese, cream, sugar and 65g of the jelly crystals until combine.
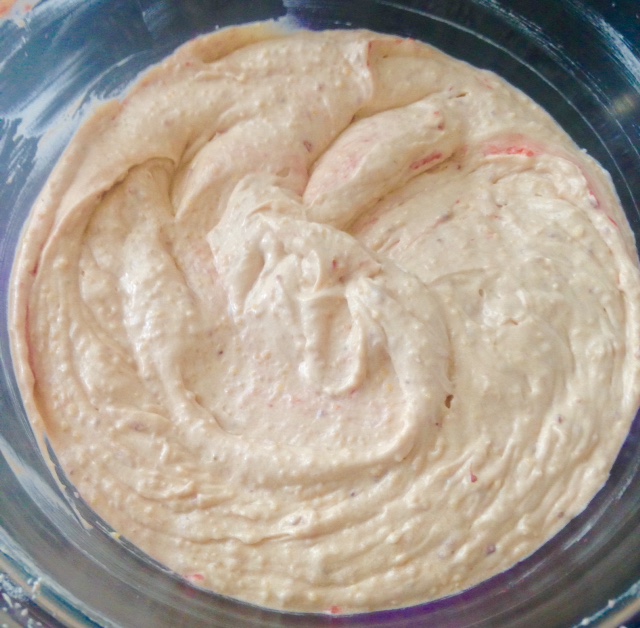
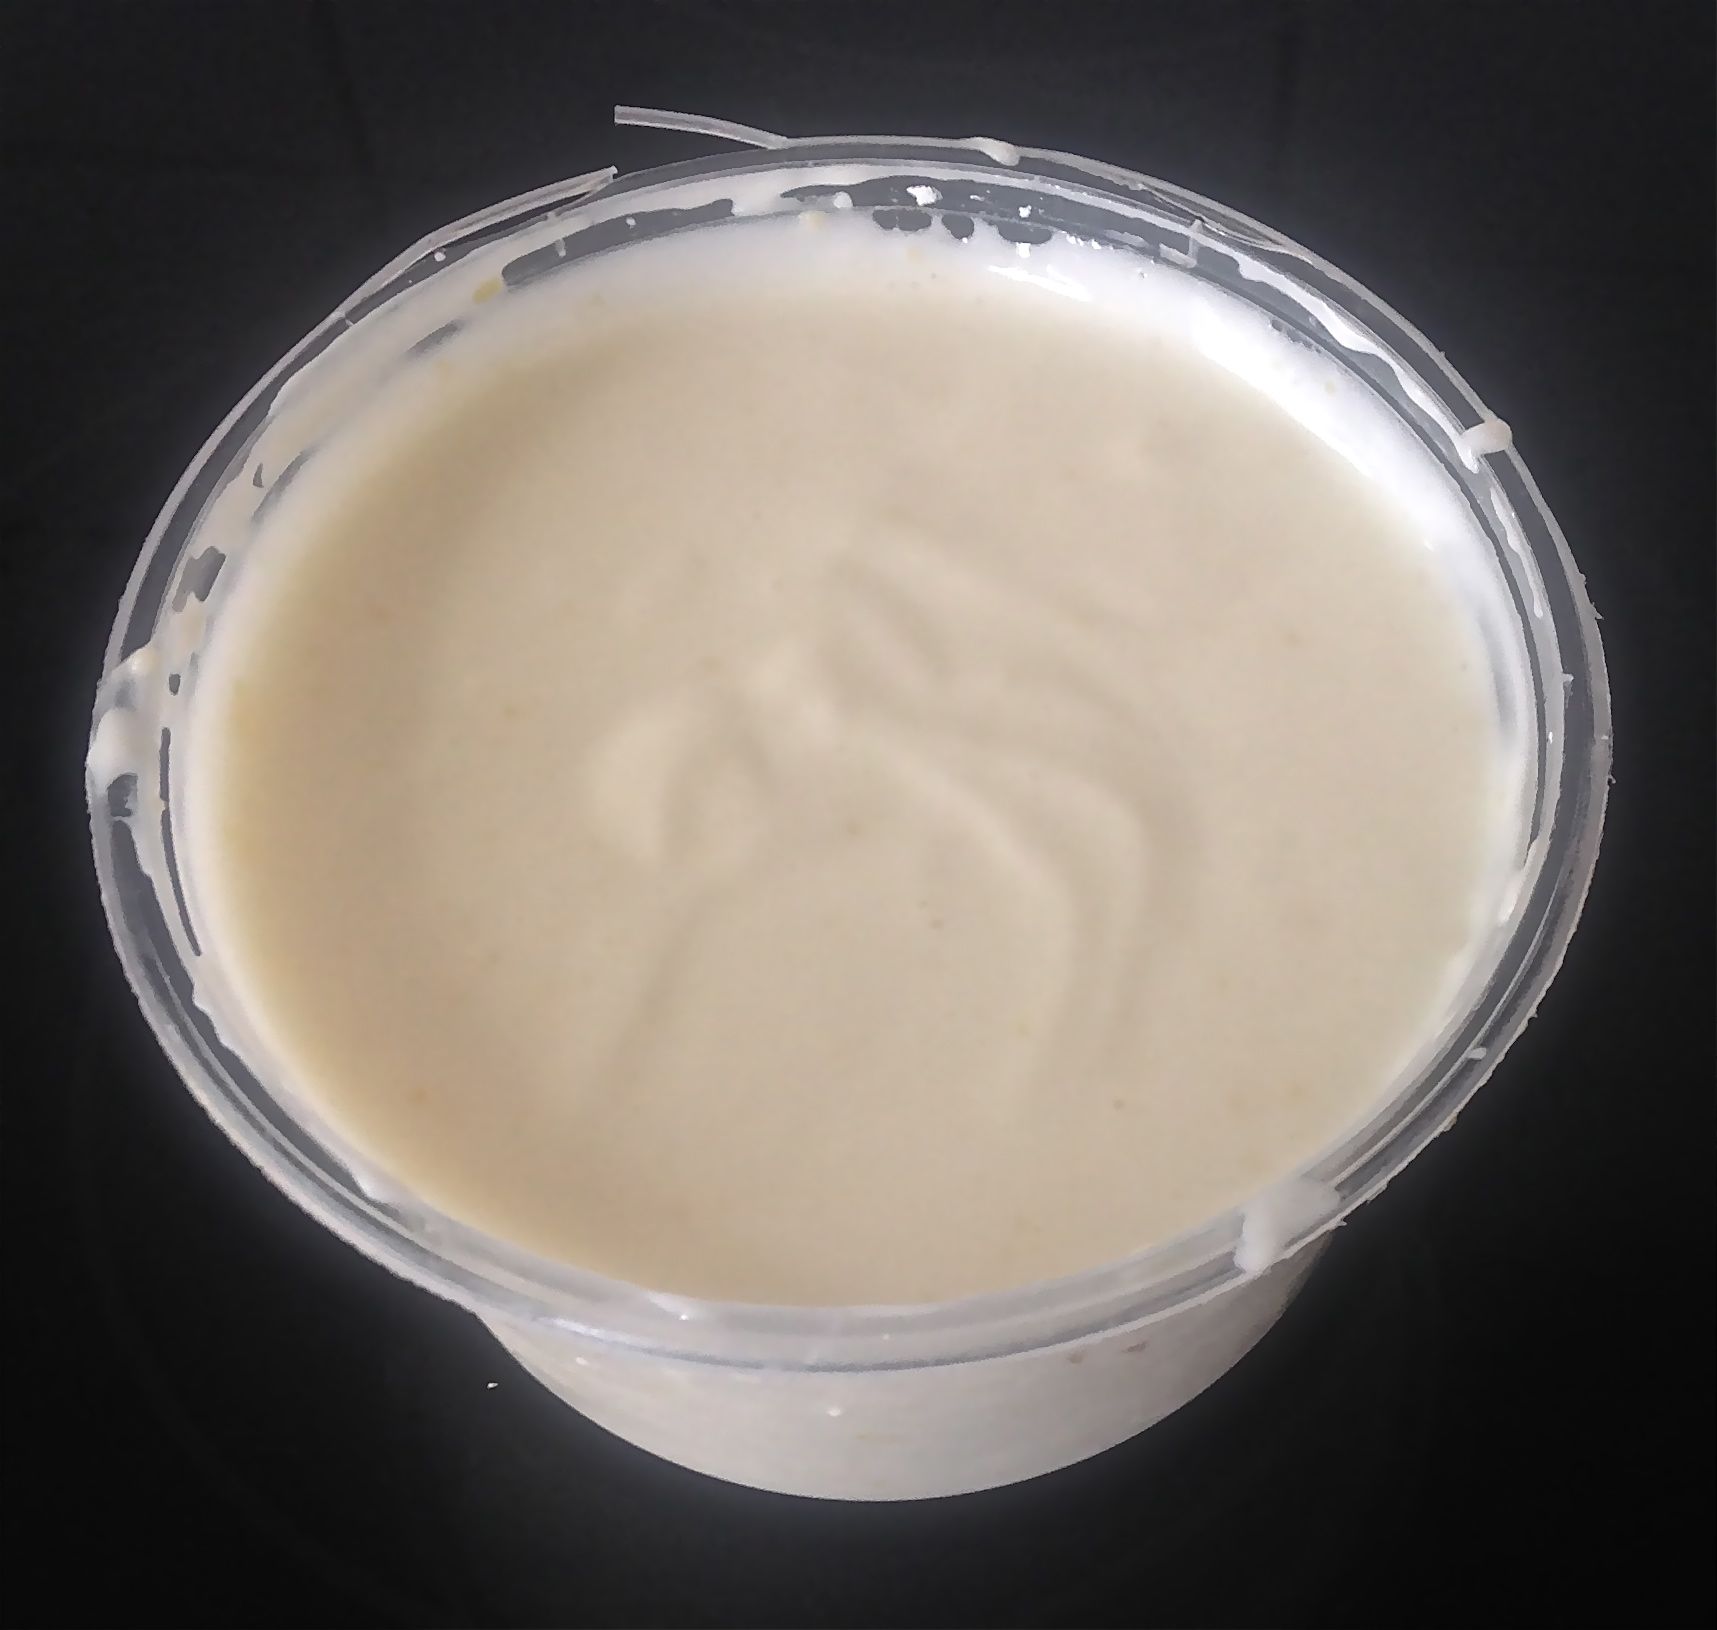
- Add the just cooled jelly water mix to the cheese mix and beat until just combine with no lumps.
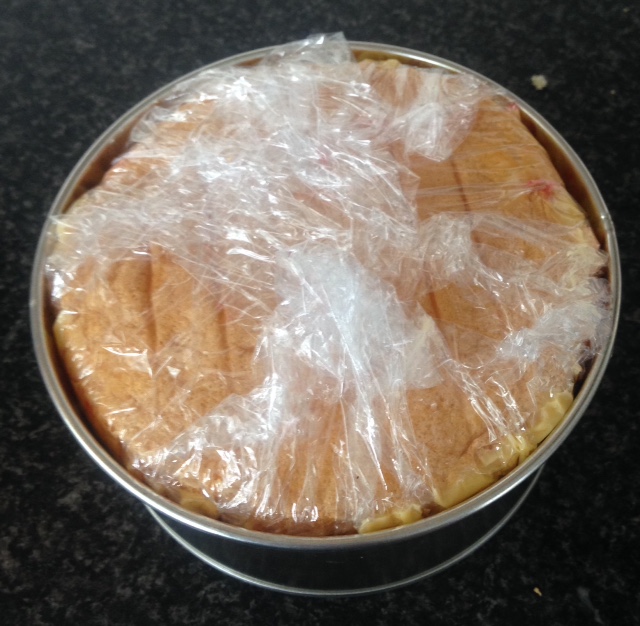
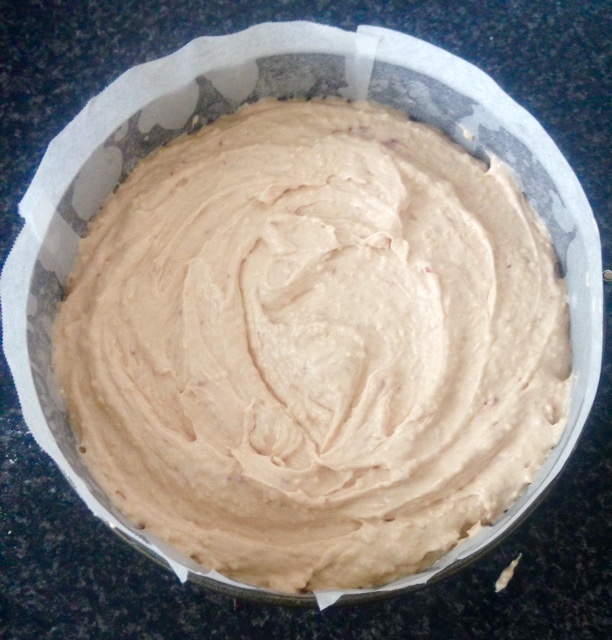
- Pour the cheese mix into the prepared biscuit base and leave in the fridge for 3 hours to set.
- To make the topping place the 70ml of cream in a bowl in the microwave and heat until the cream boils.
- Add the white chocolate to the cream, wait a minute, then stir until the mix is well combine. Place the chocolate mix aside until cooled.
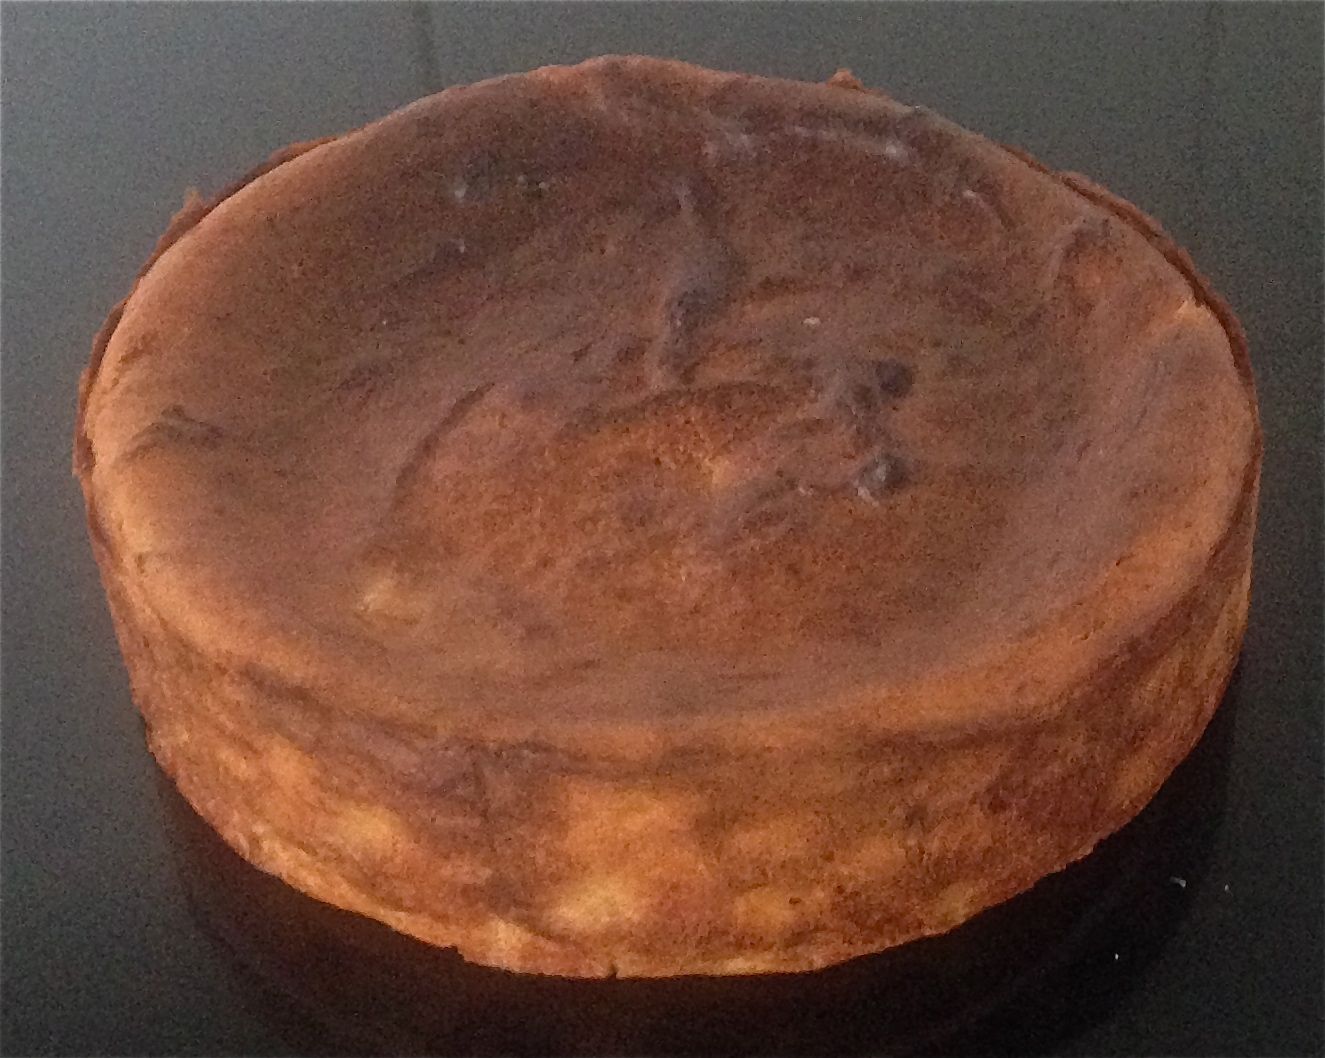
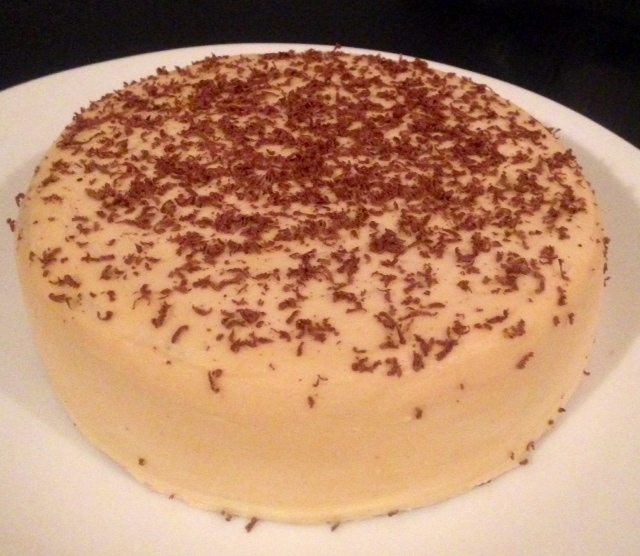
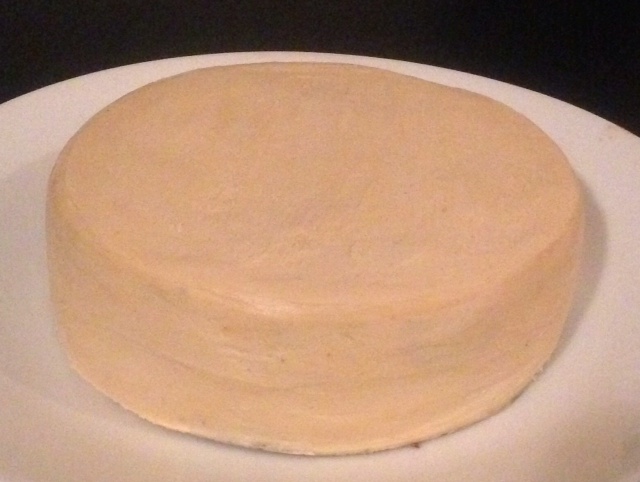
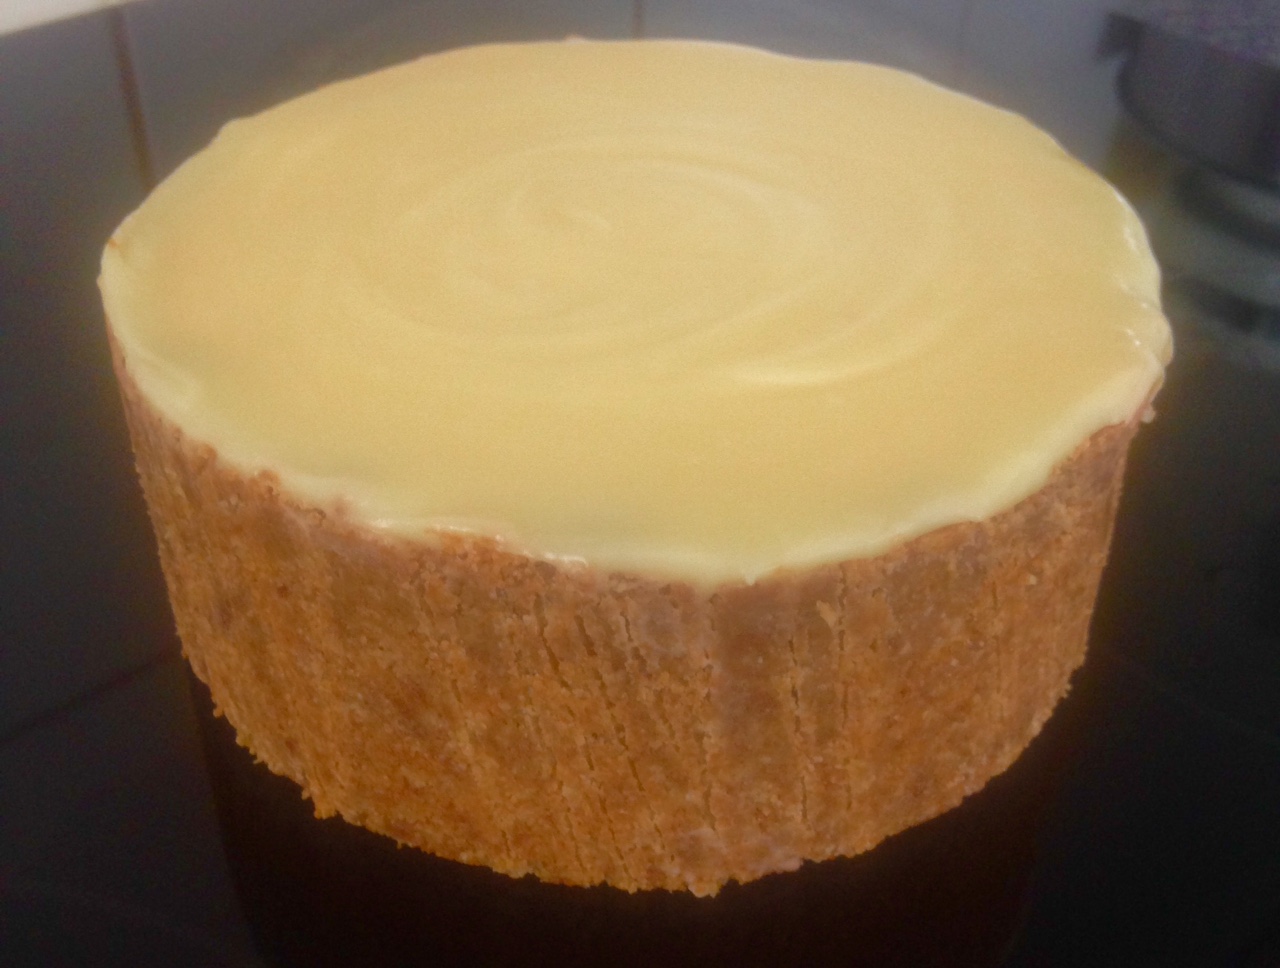
- Pour the chocolate mix over the cheesecake and place back in the fridge for 2 hours+ to set.
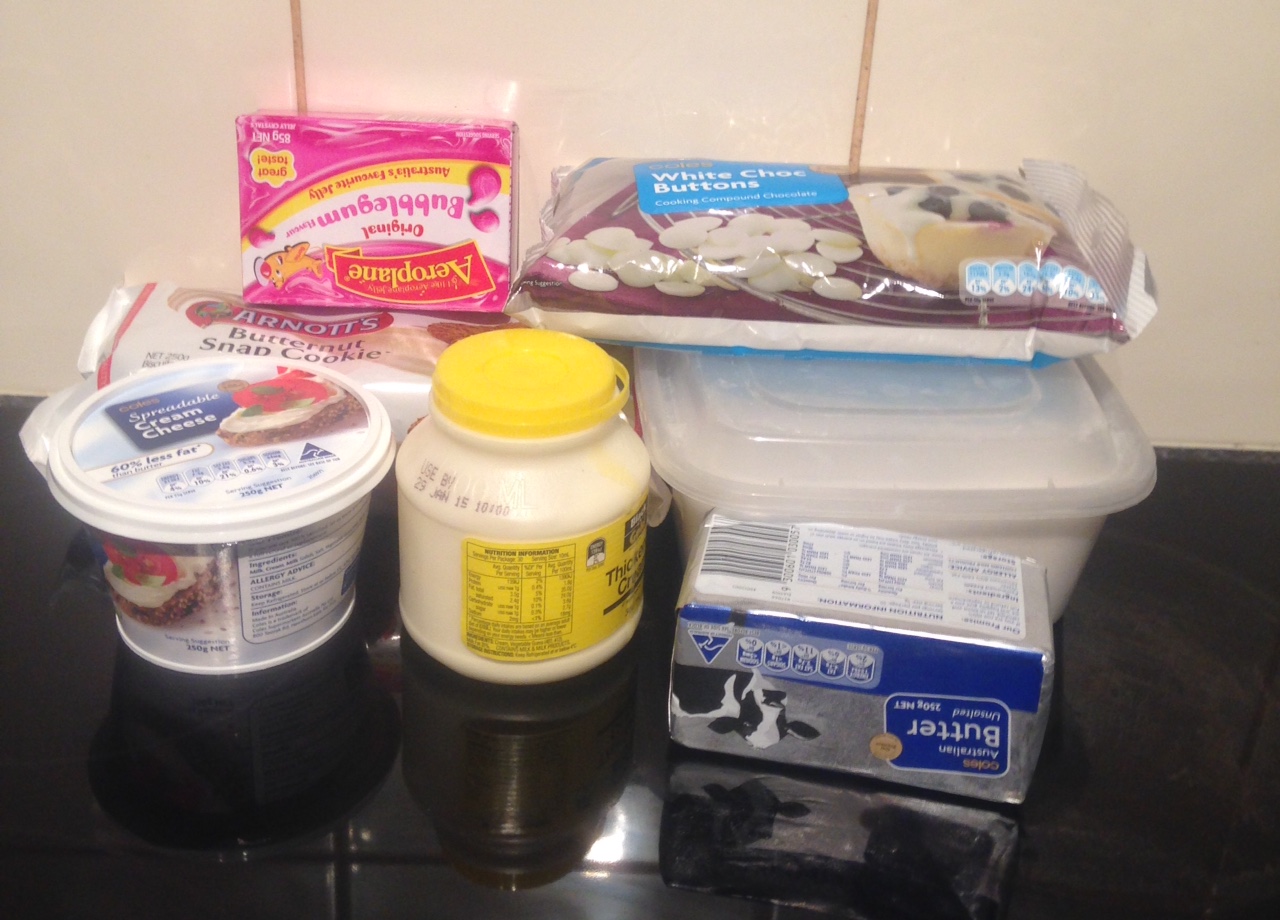
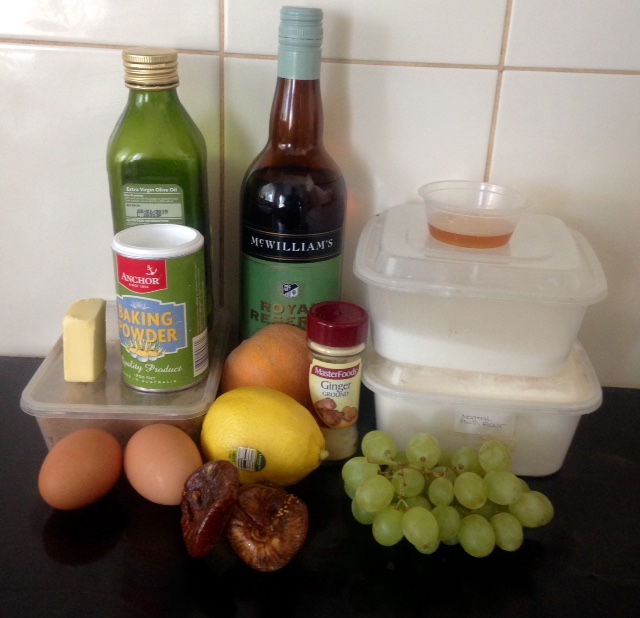
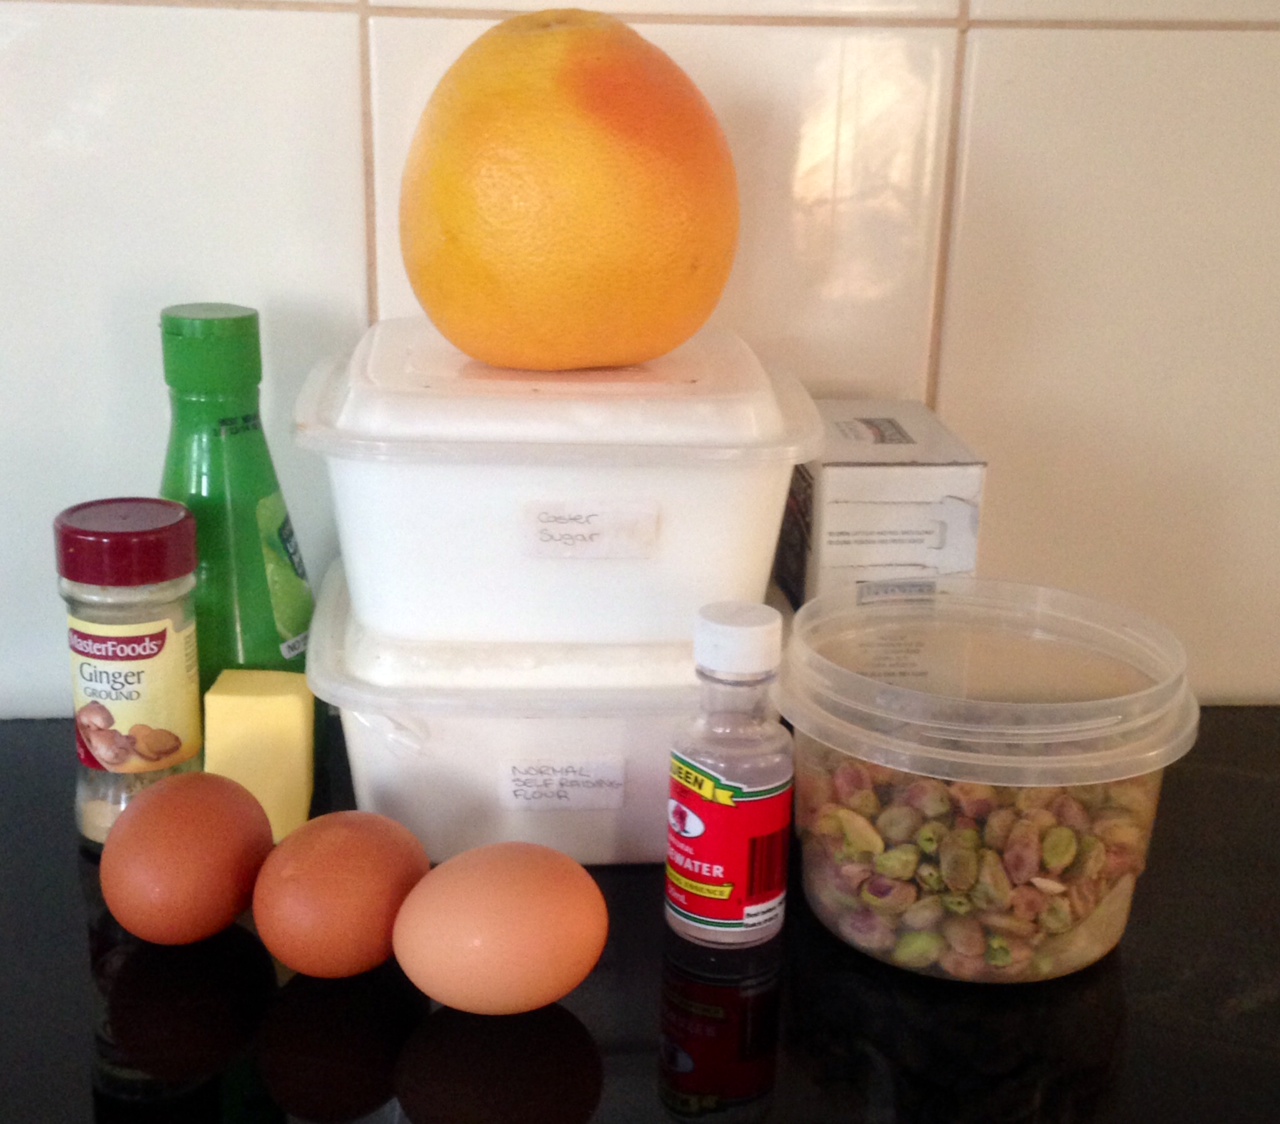
Ingredients
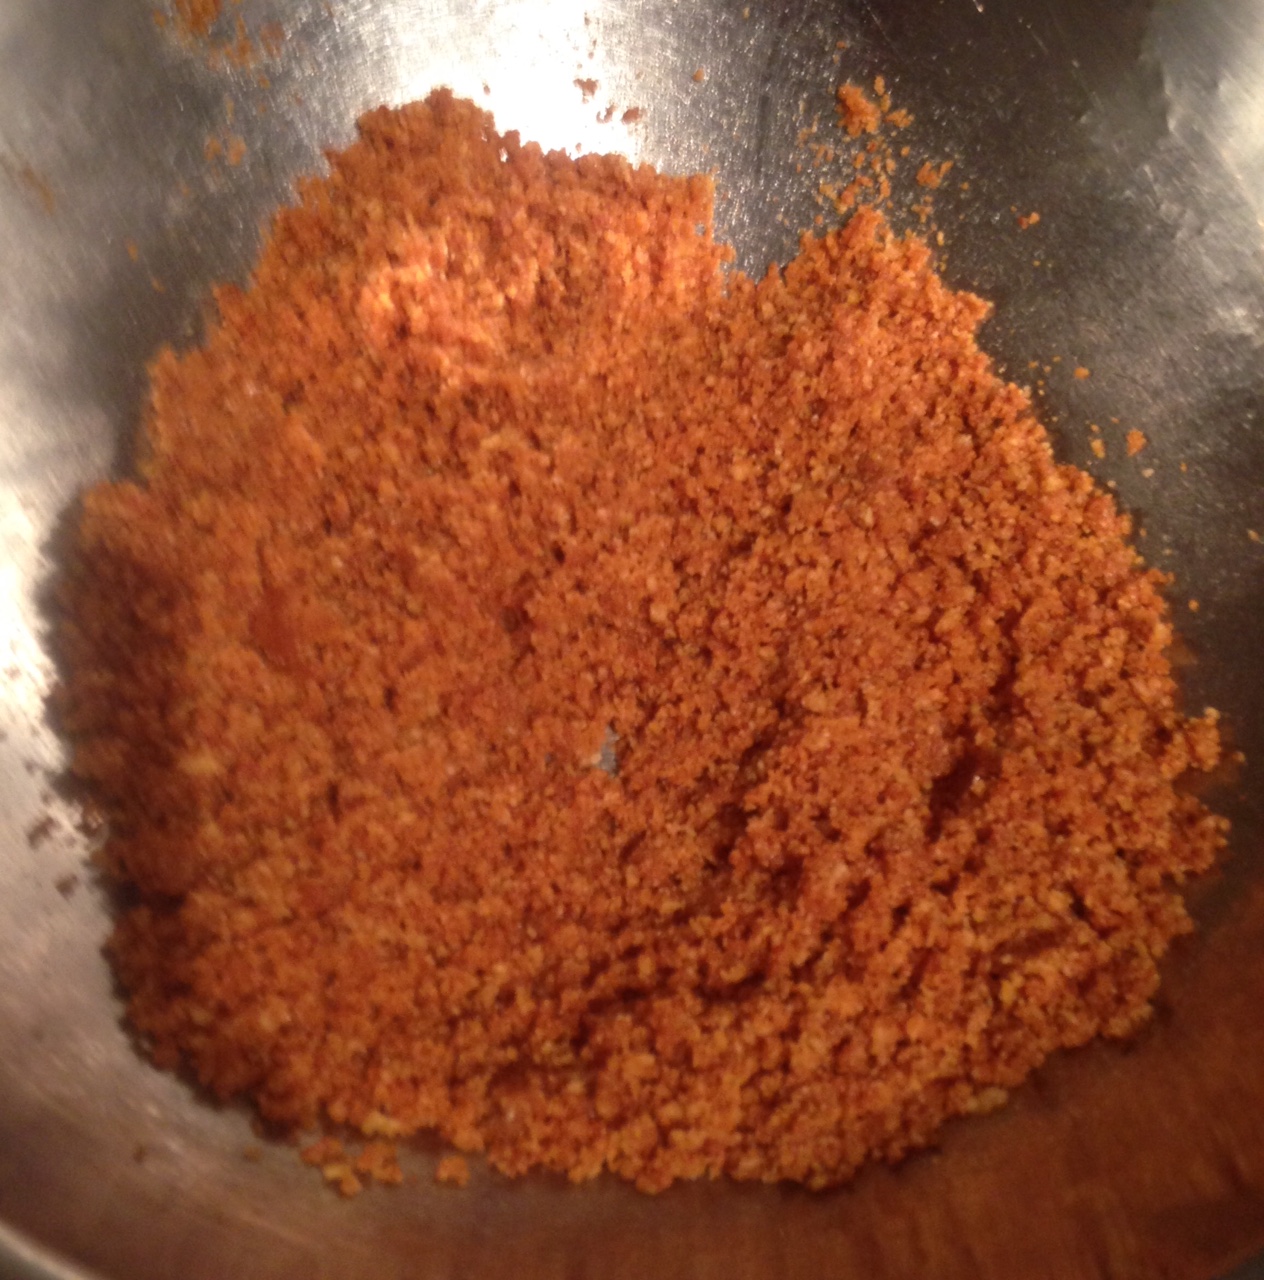

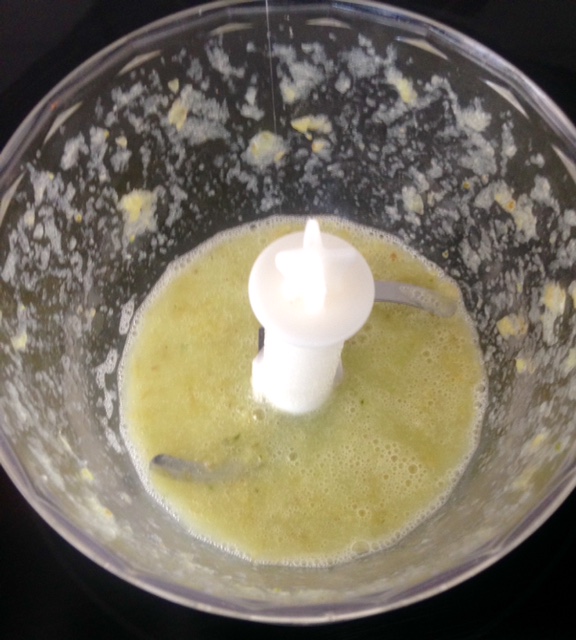
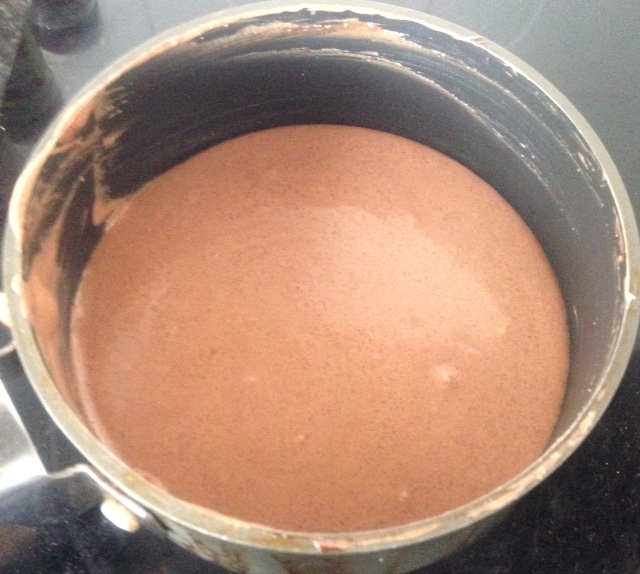
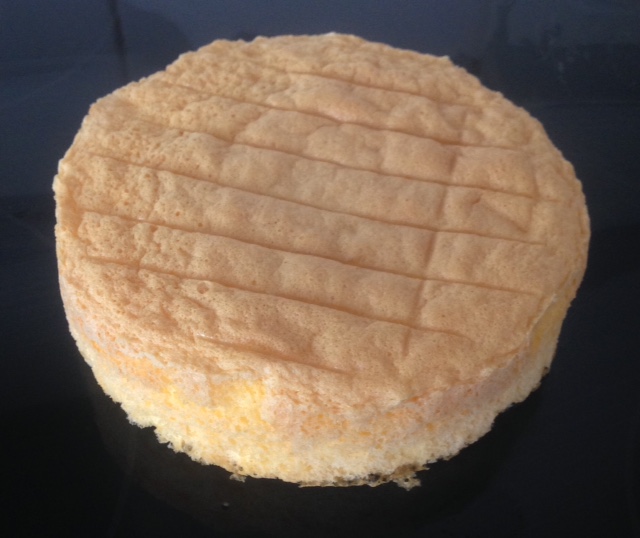
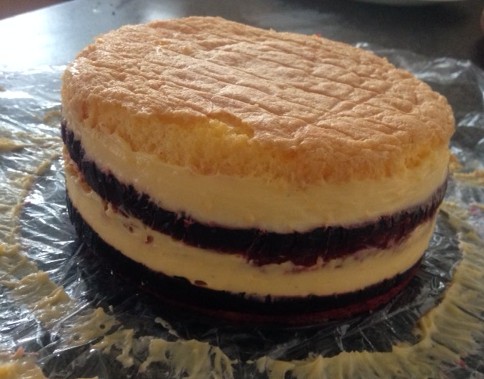
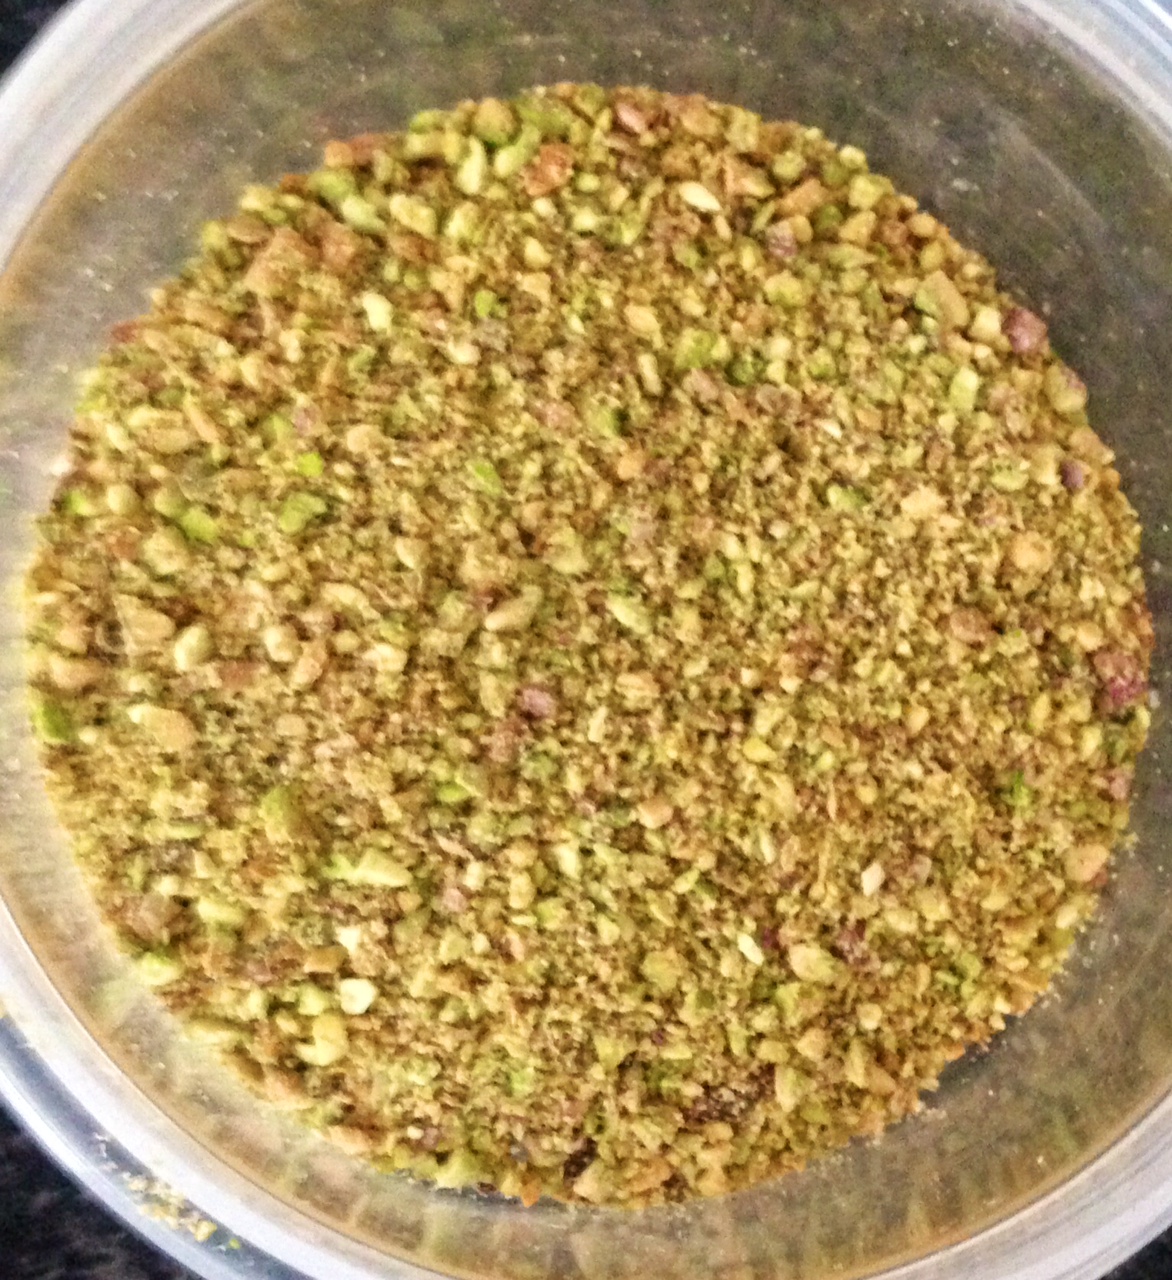
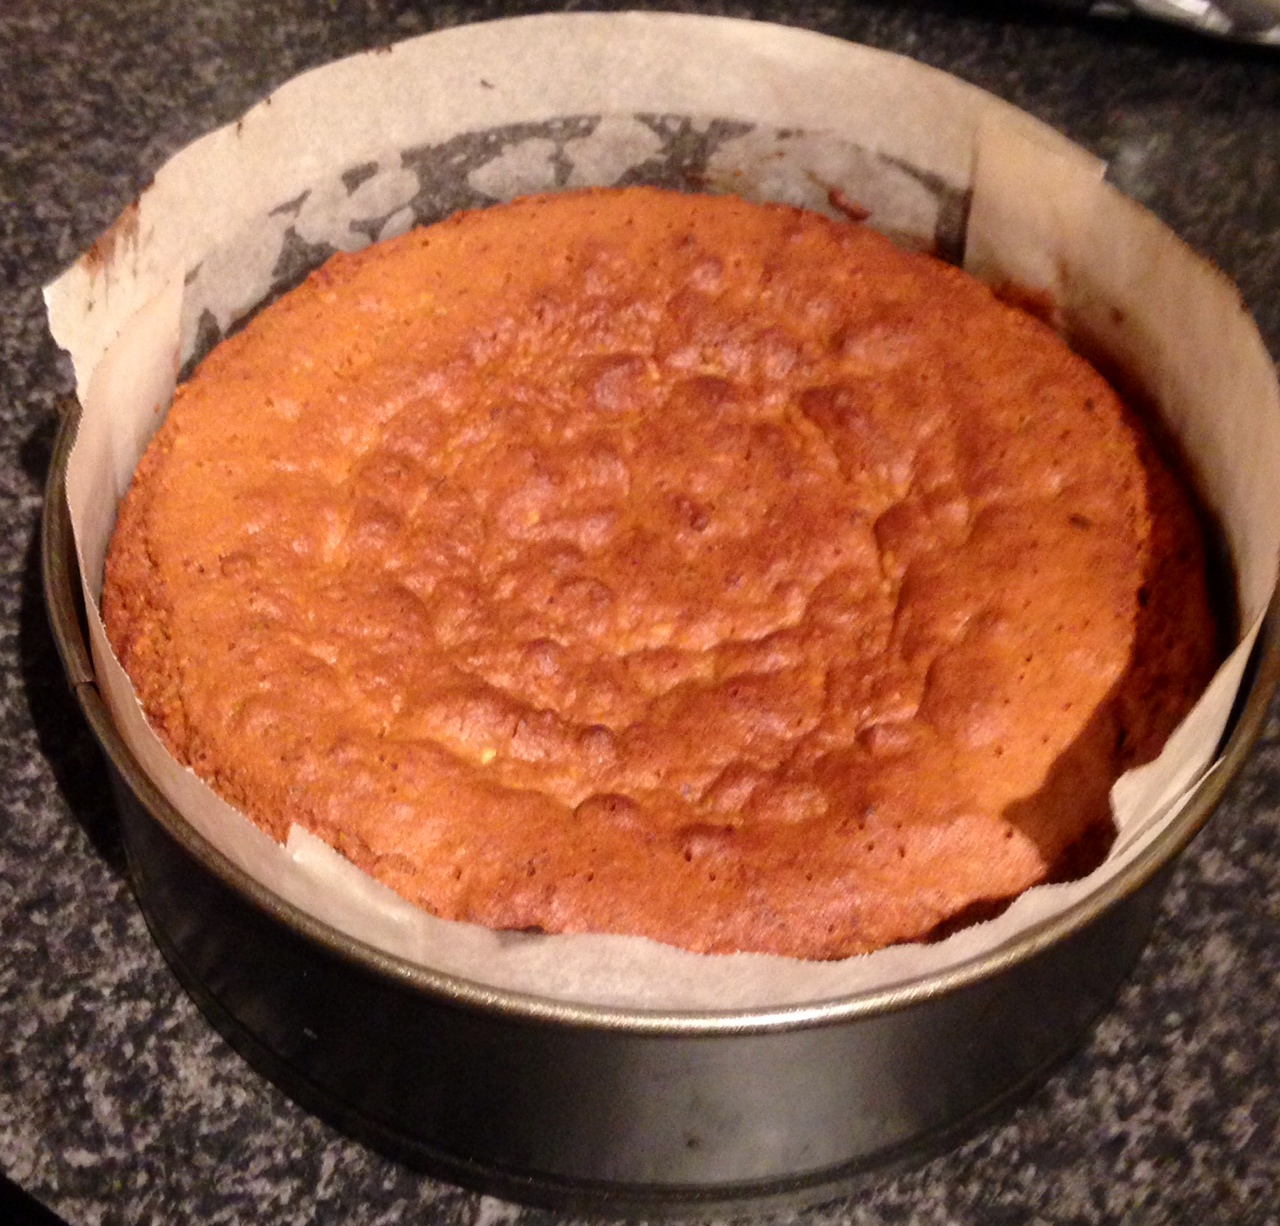
Step 1
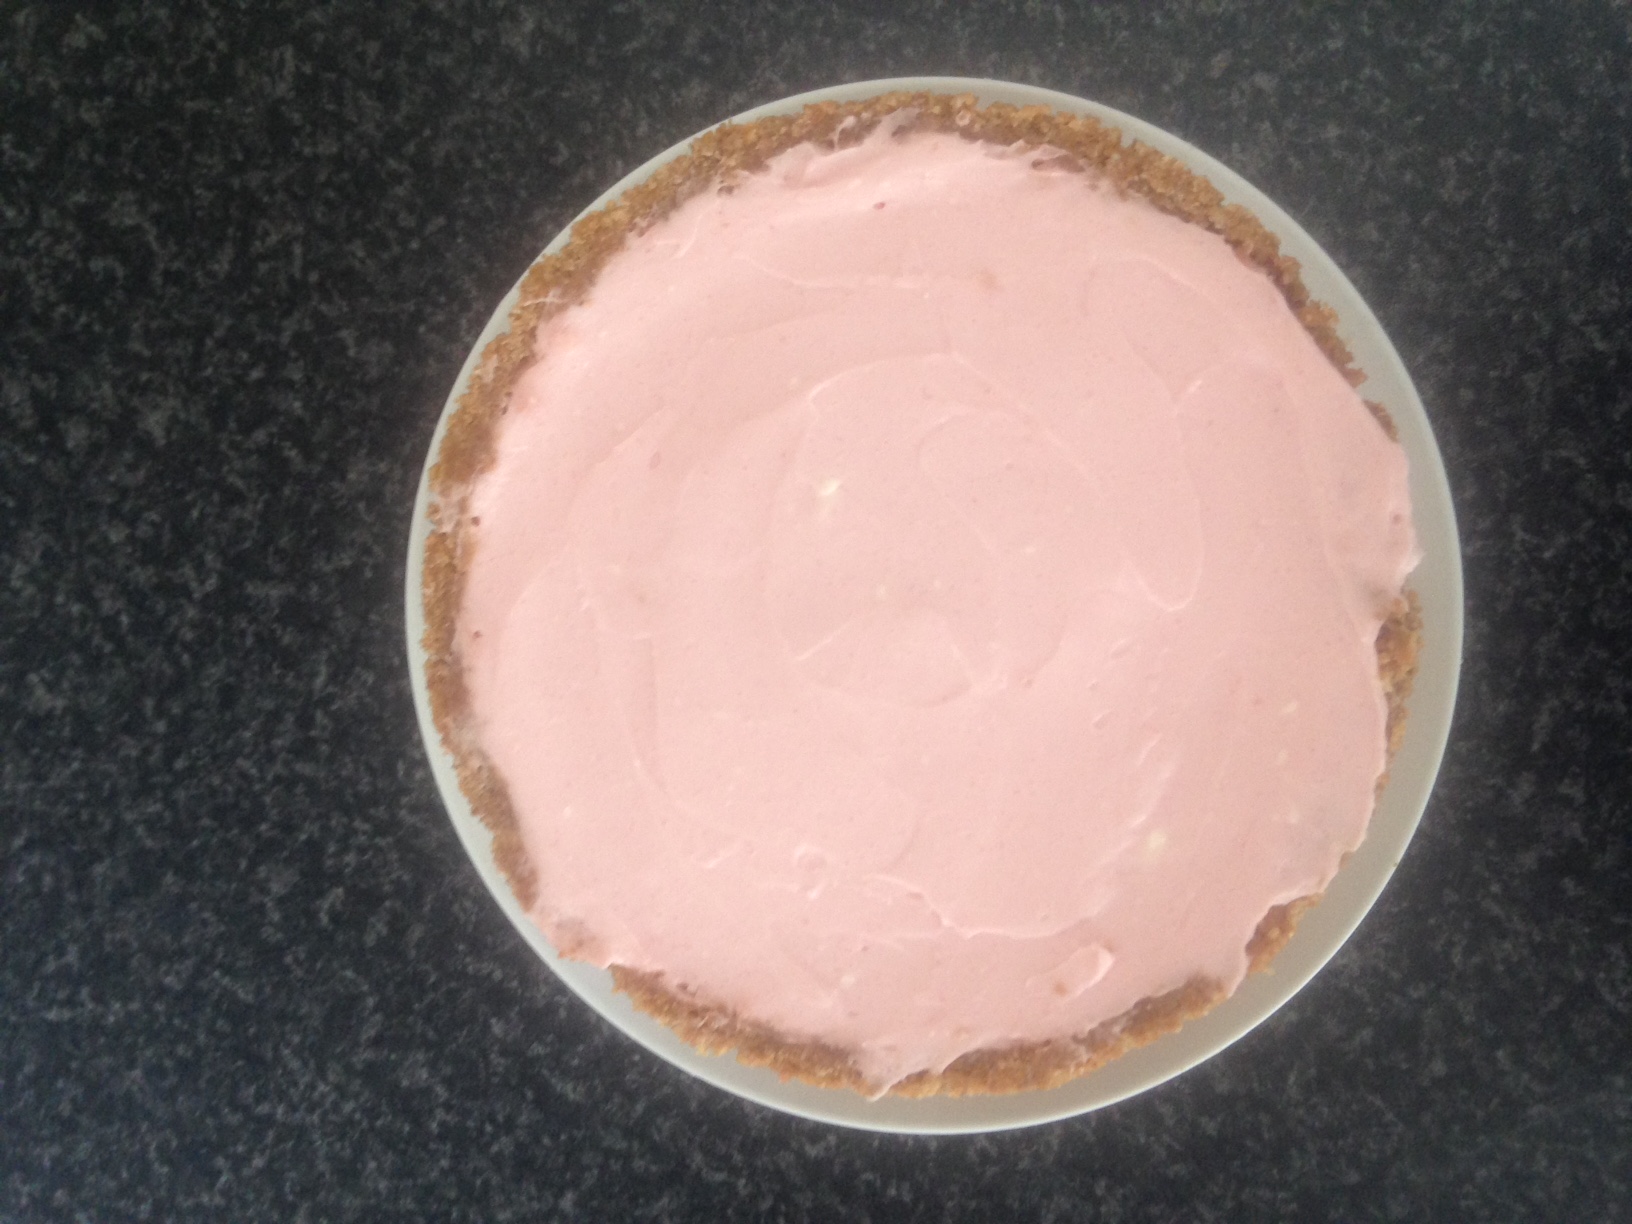
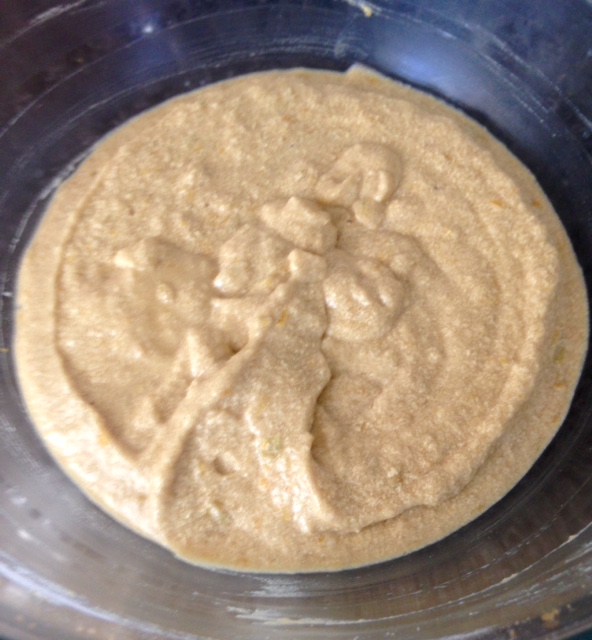
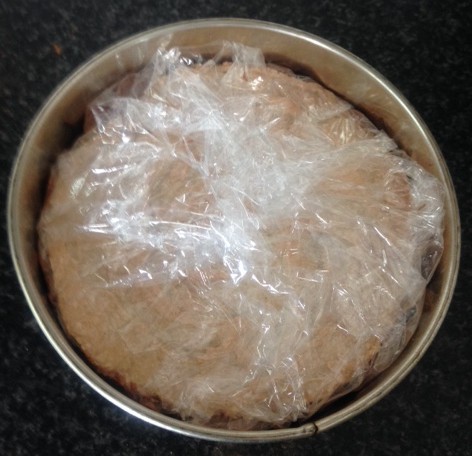
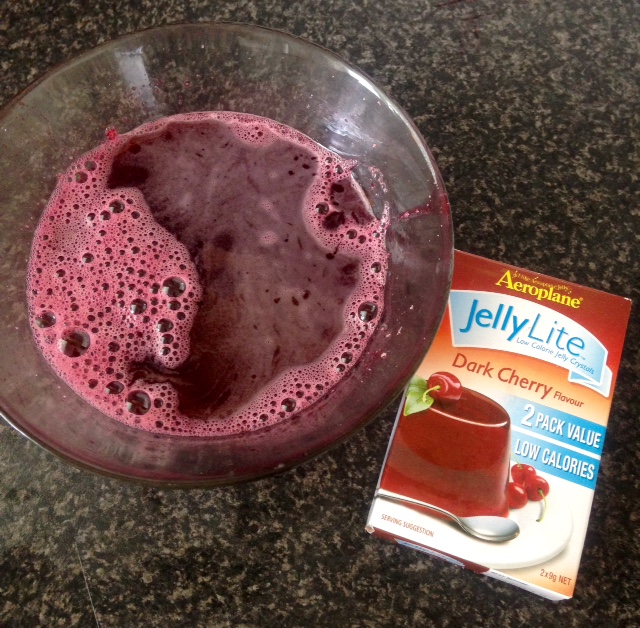
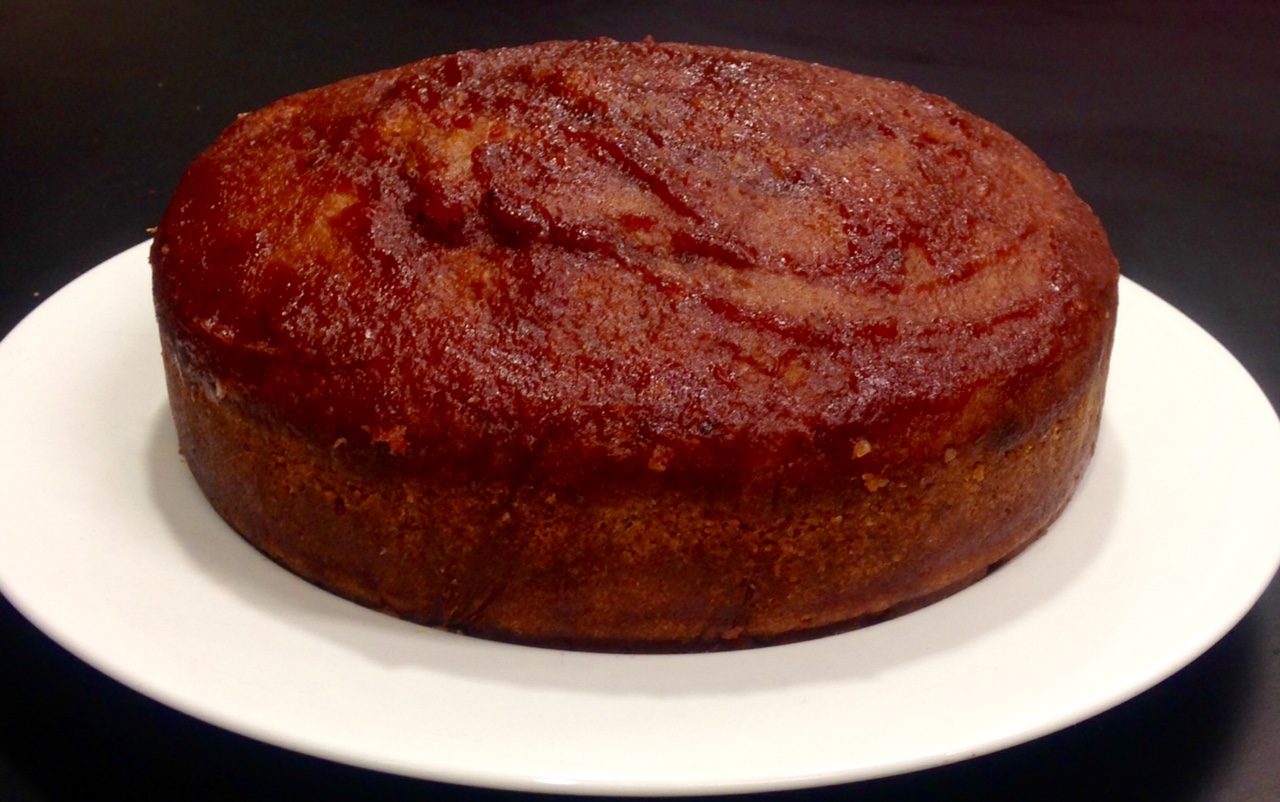
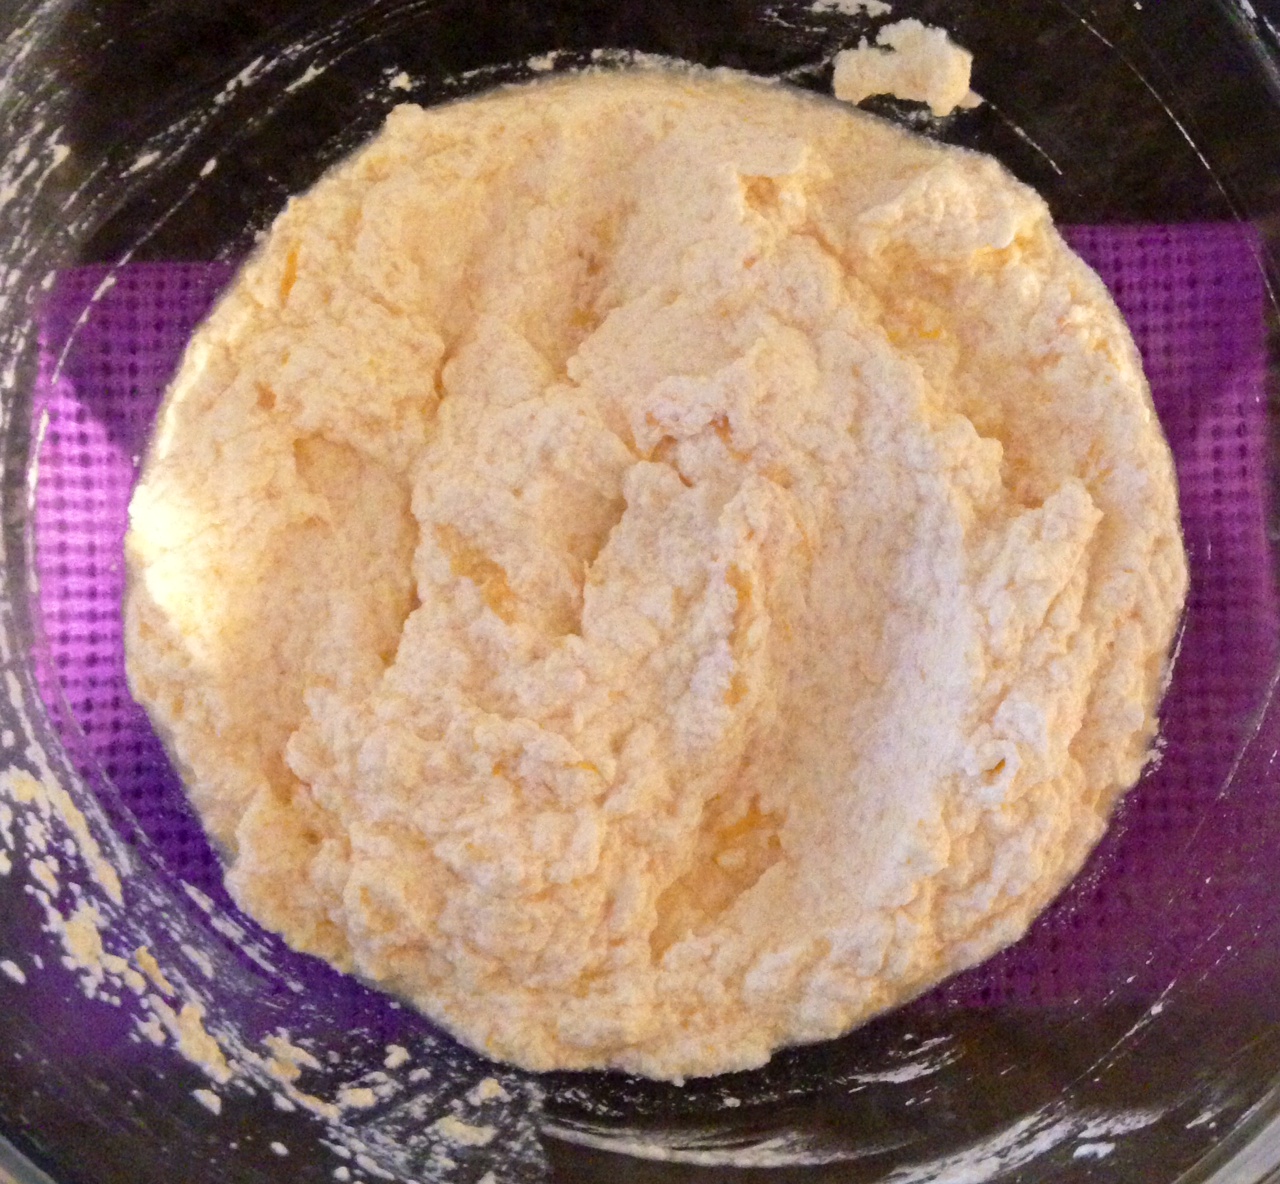
Step 8
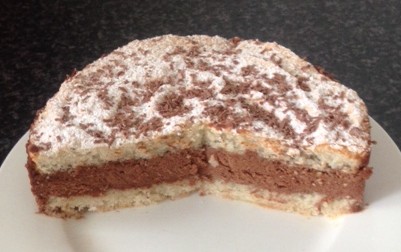
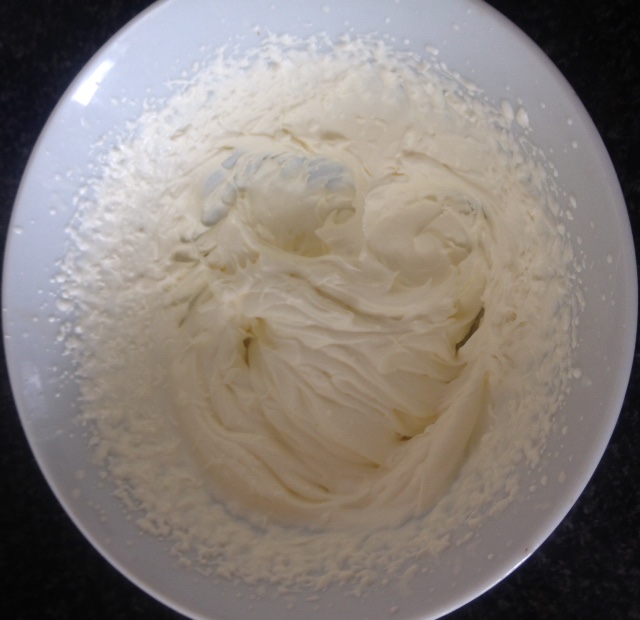
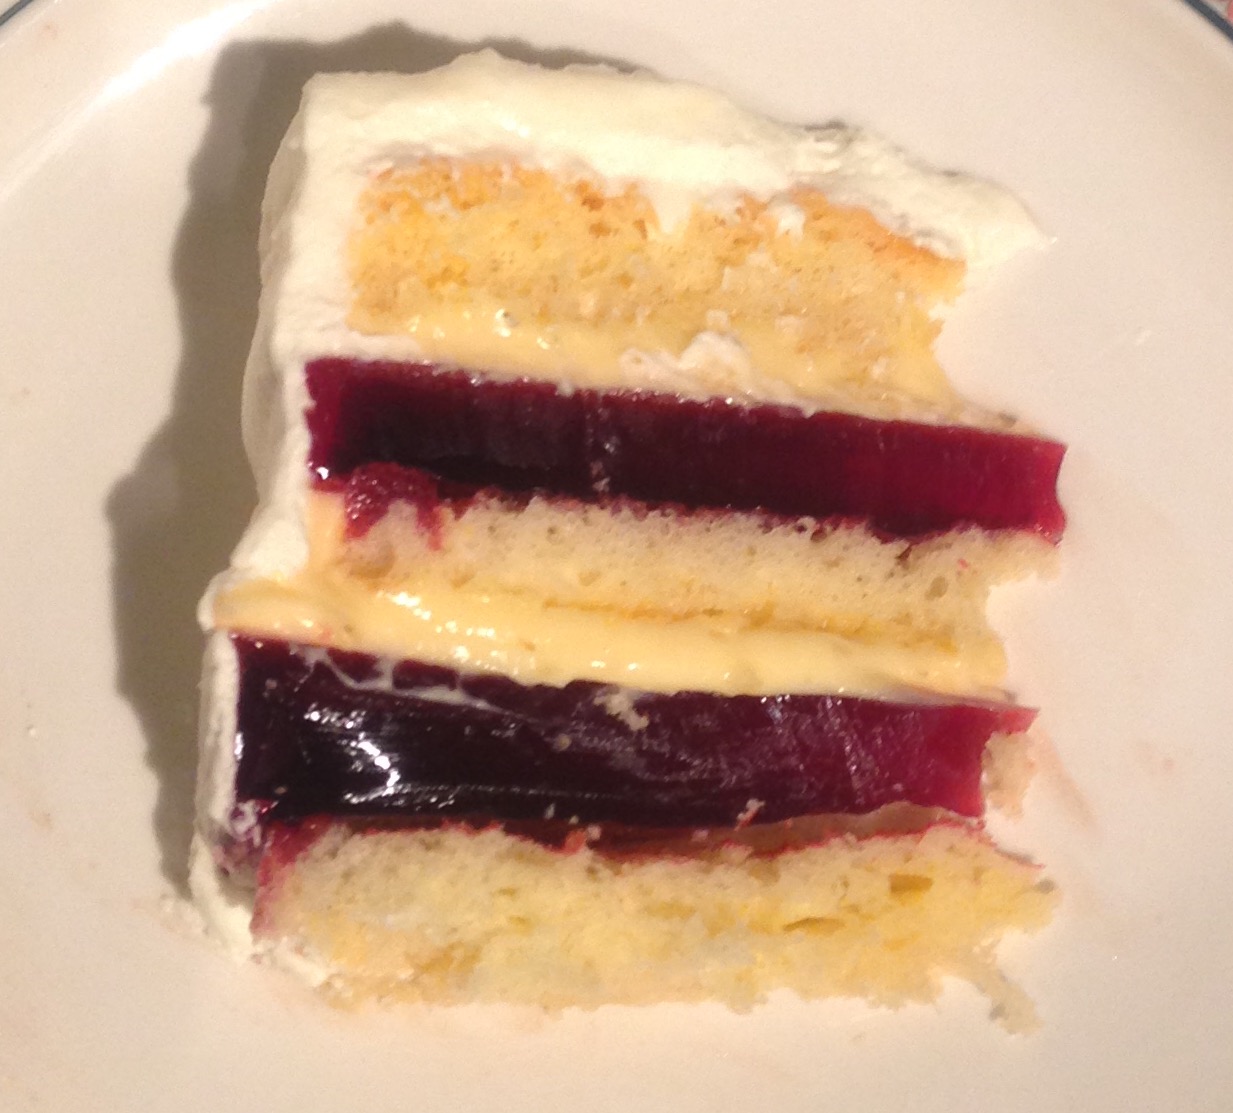
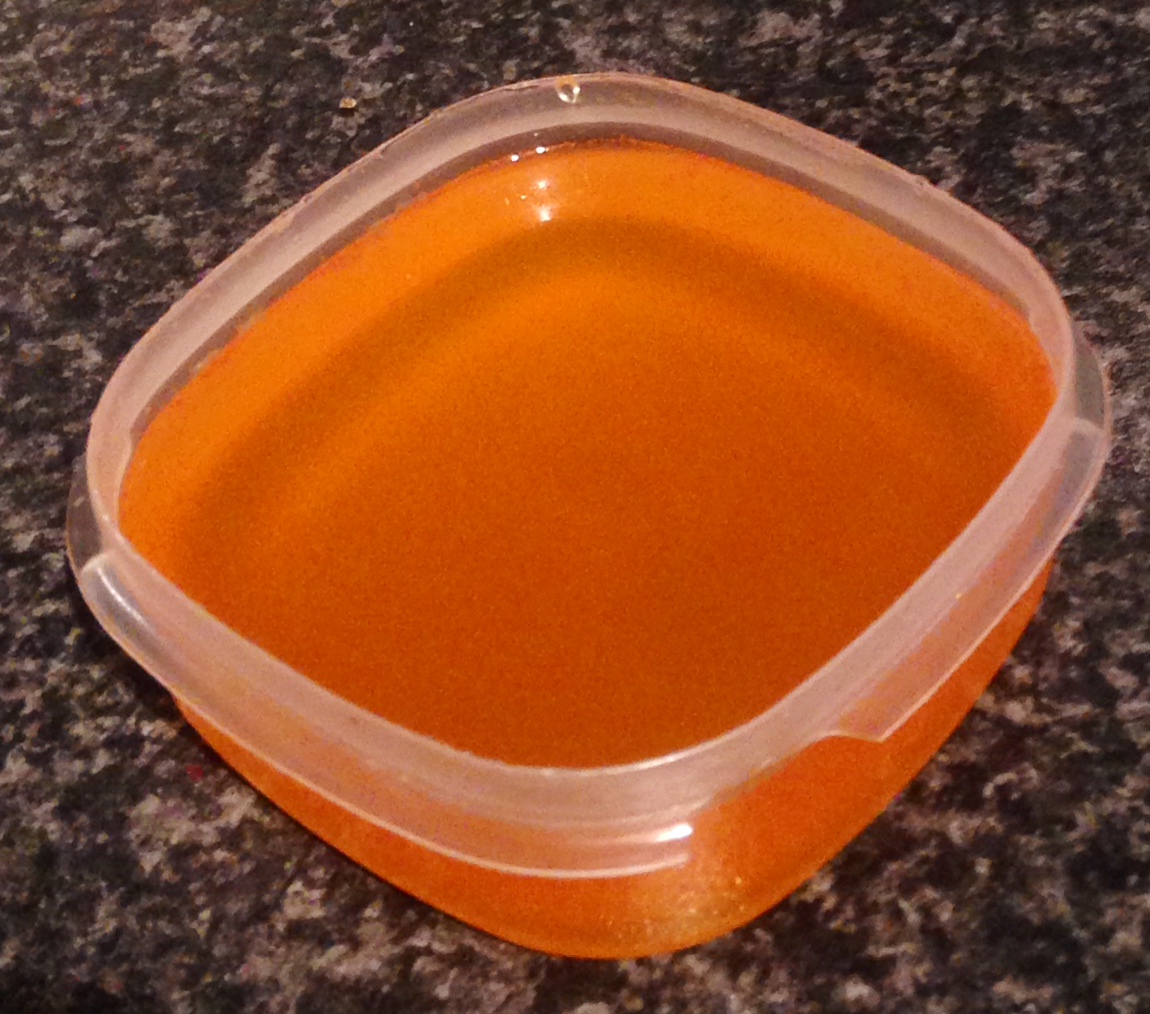
Step 11
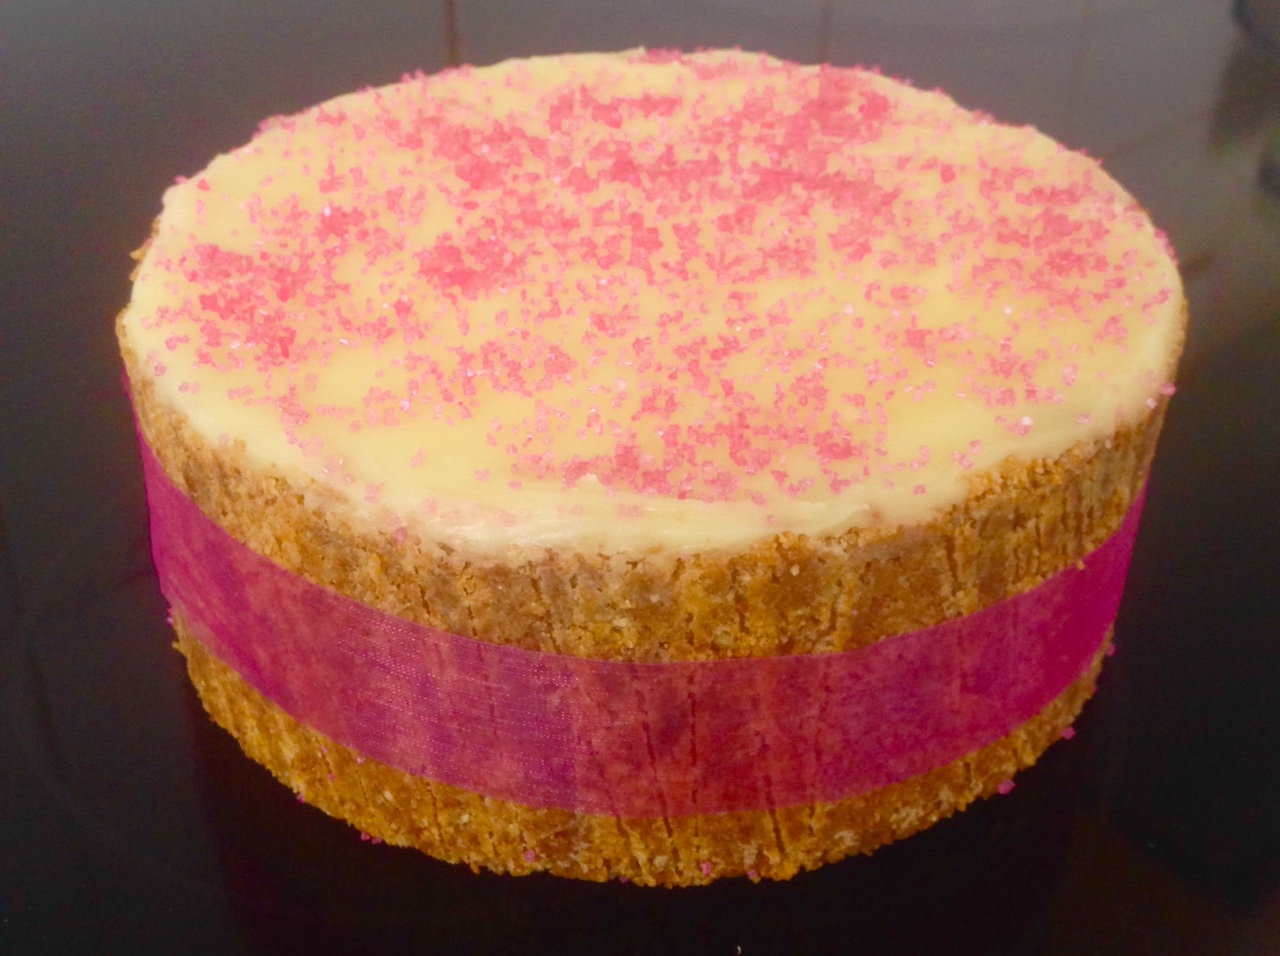
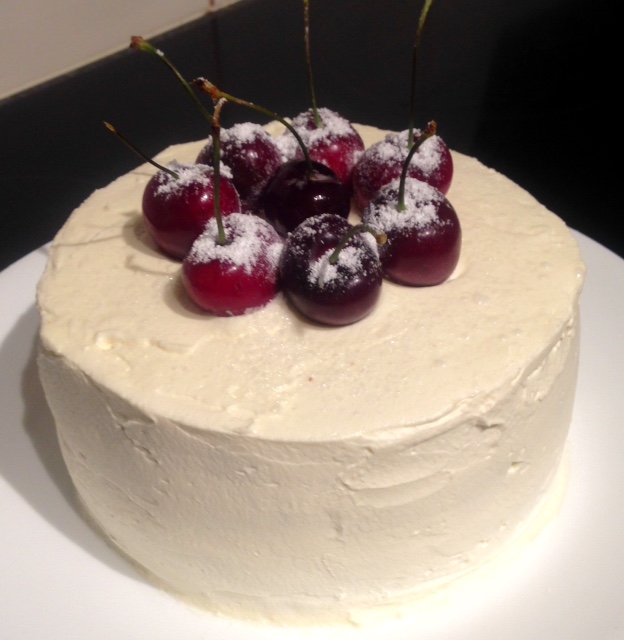
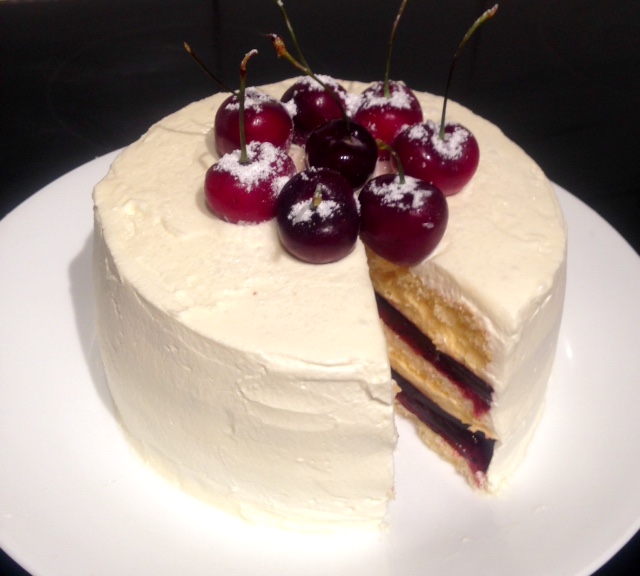
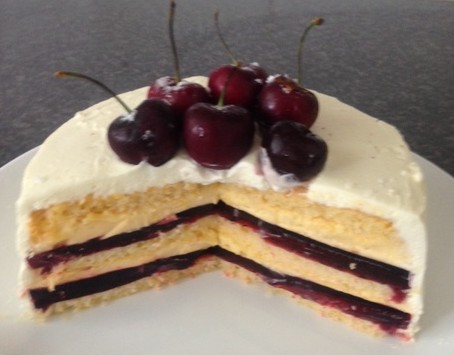
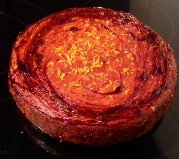
Decorate!
Like this recipe? Subscribe via RSS or email to get my new entries and more scrumptious recipes with reviews.
 Follow