Baked Ice-Cream Cake

For ages I have been meaning to make a cake that is the simplest to make imaginable. A cake that is fool proof and has only a few steps so my ‘not so savvy’ baker friends can produce a successful creation.
Now I have baked with many liquid ingredients over the years, soda, yoghurt, cordial, alcohol you name it so it’s no surprise that I have gone down the melted ice-cream avenue for this recipe.
However this is not as silly as it sounds. Ice-cream is made of cream/milk, eggs, sugar (sometimes vanilla and salt). Looking at these ingredients these are all core ingredients in a cake batter where all that is missing is the flour….So if I melt my favorite ice-cream and mix it with flour I could produce the most simplest, fool proof, amazing tasting, flavor adaptable (use which ever ice-cream you desire) 5 minute cake.
Hello success!
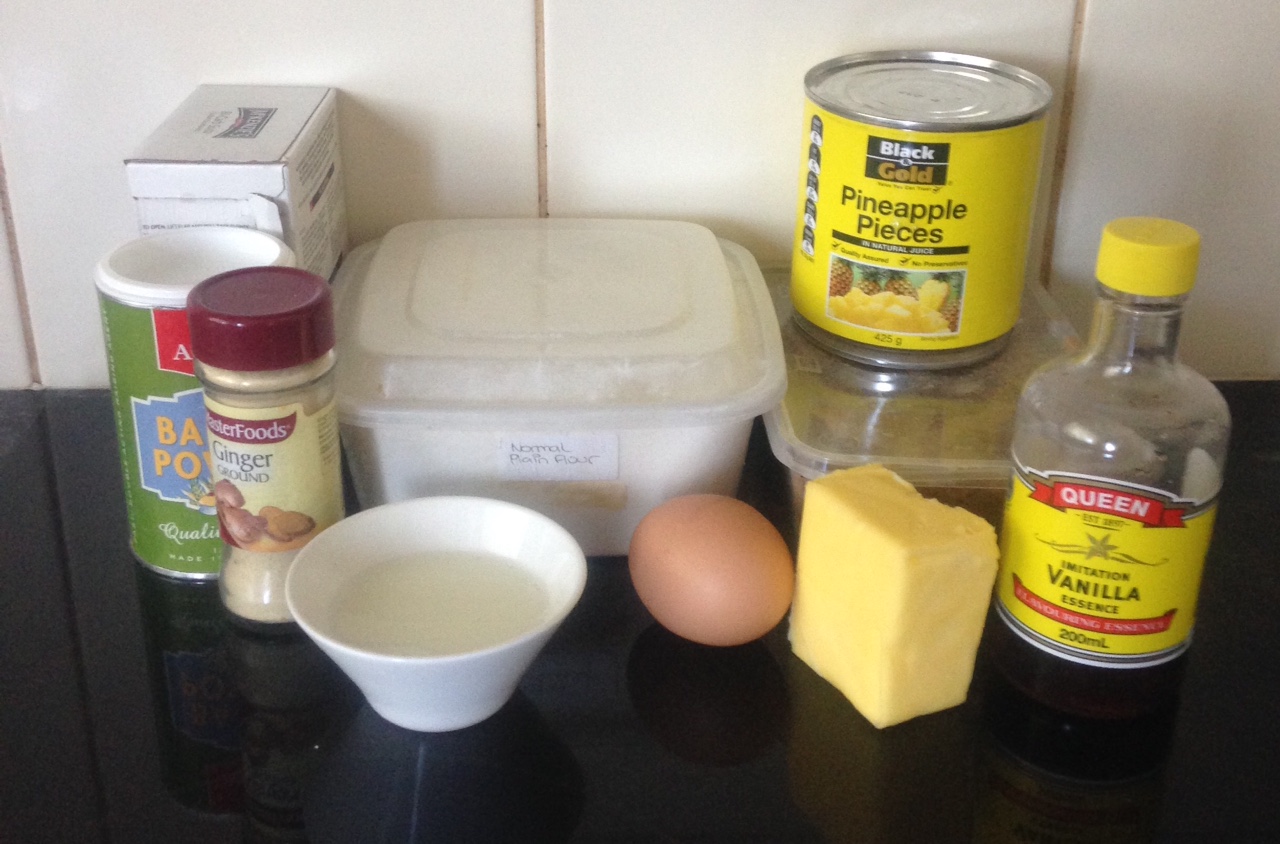
Ingredients:
Cake:
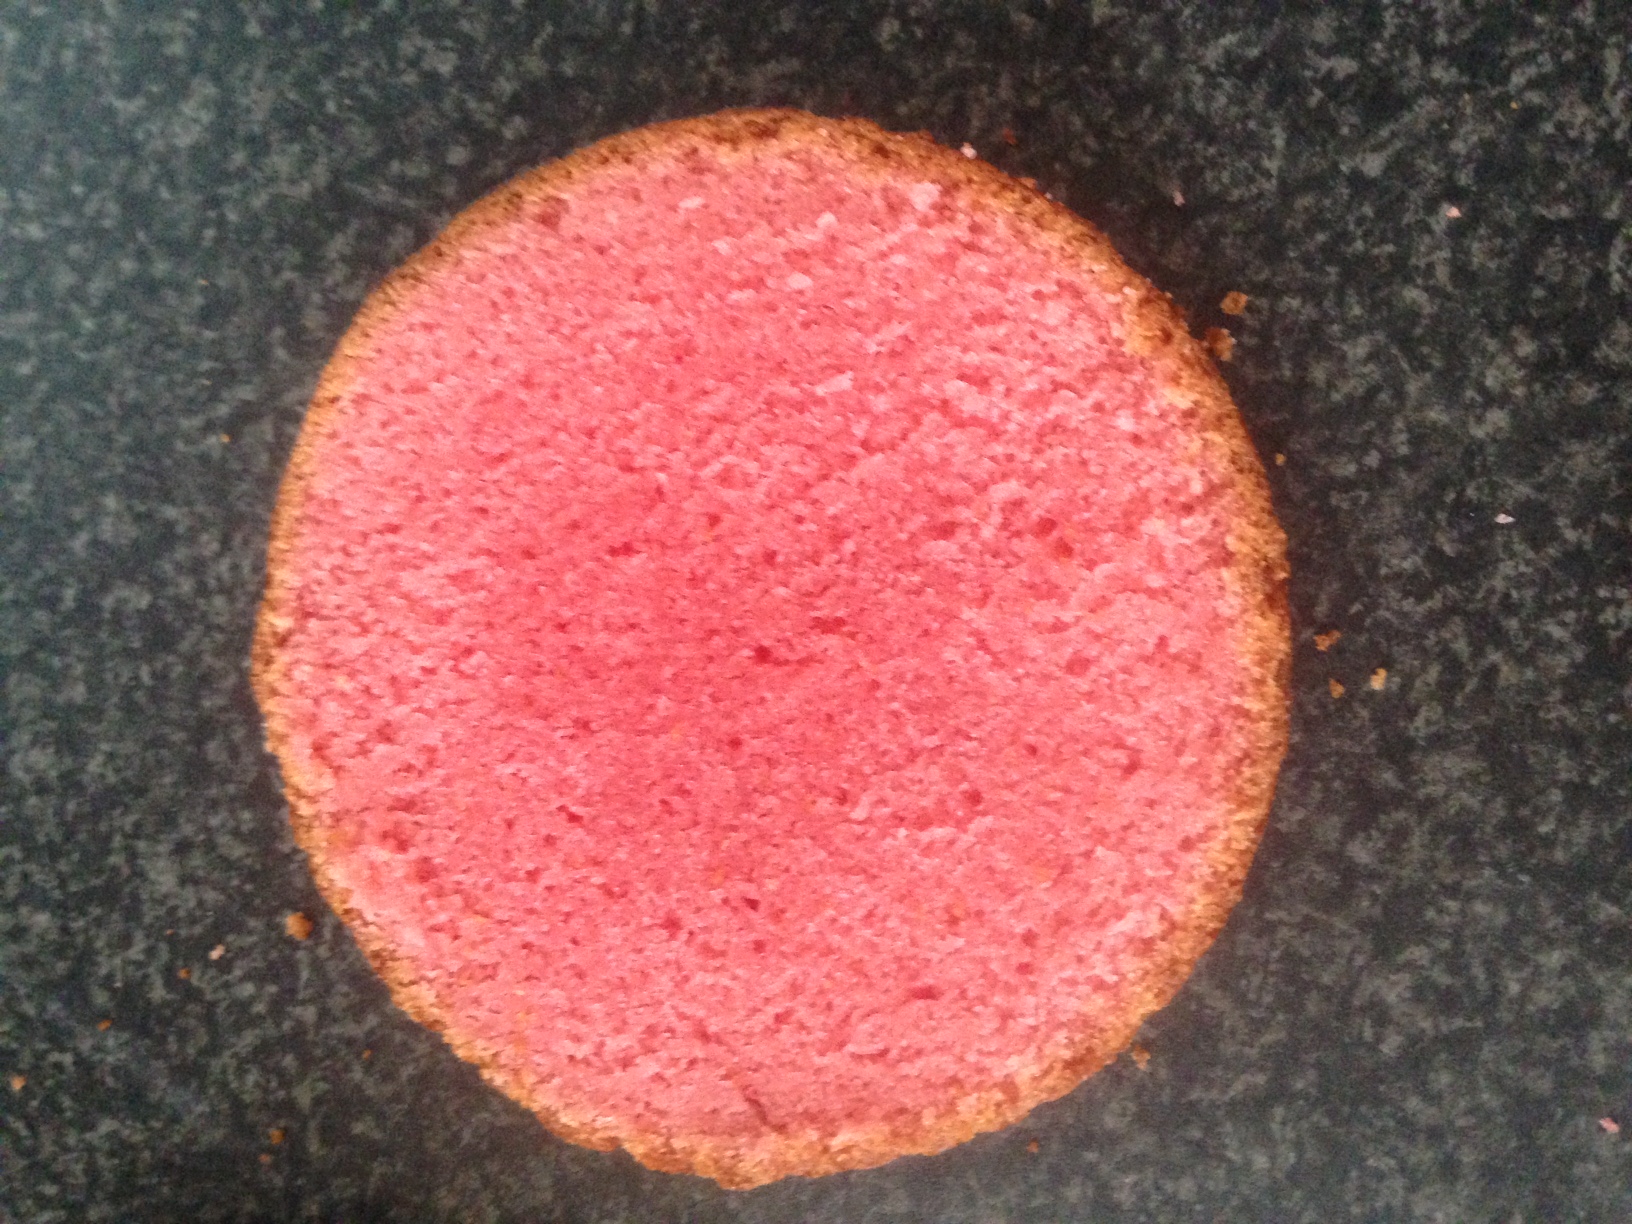
- 500g ice-cream (I used Salted Caramel Popcorn flavour)
- 225g flour
Icing:
- 330g ice-cream
- 160g butter
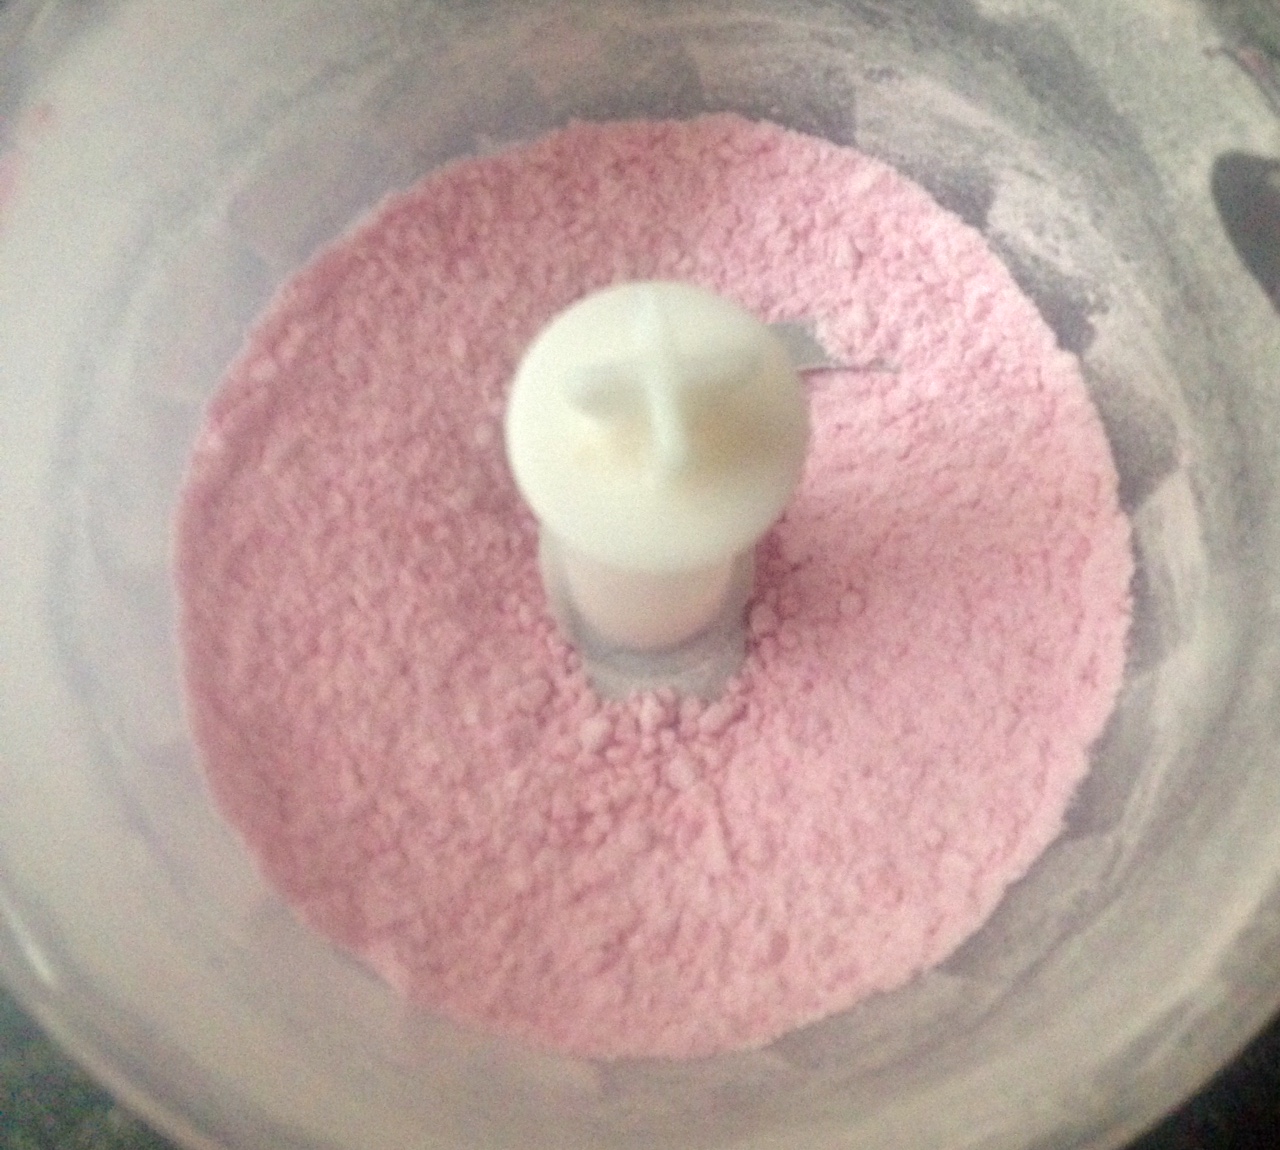
- 180g icing sugar
Method:
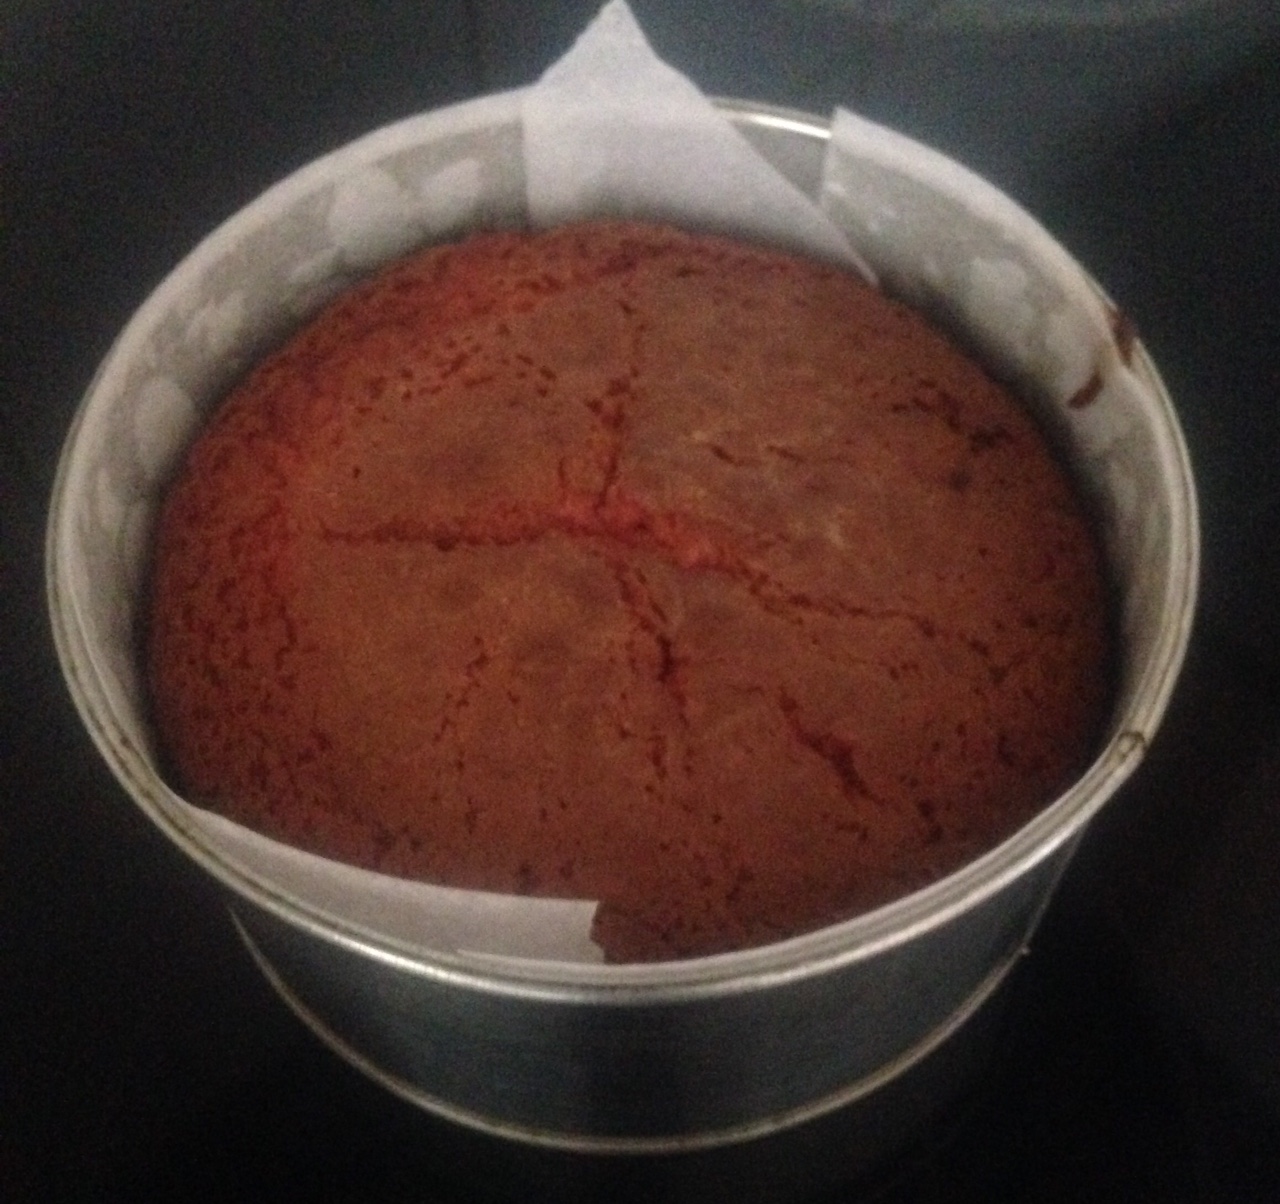
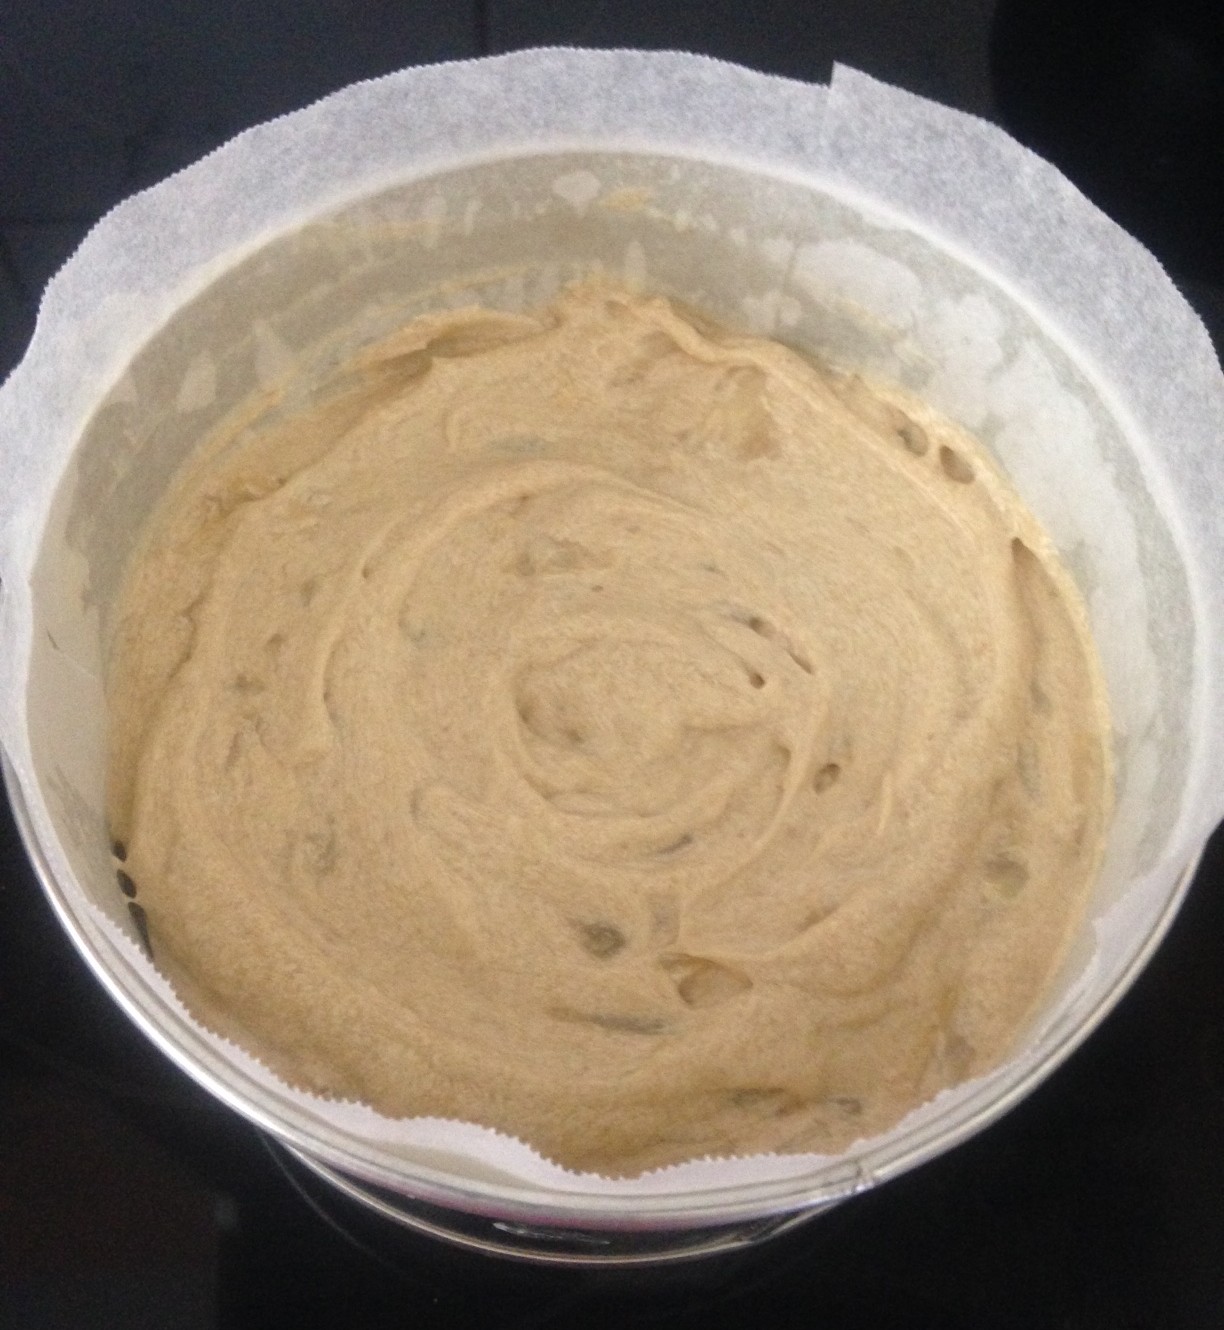
- Pre-heat the oven to 180c degrees and line a 25cm cake tin with baking paper.
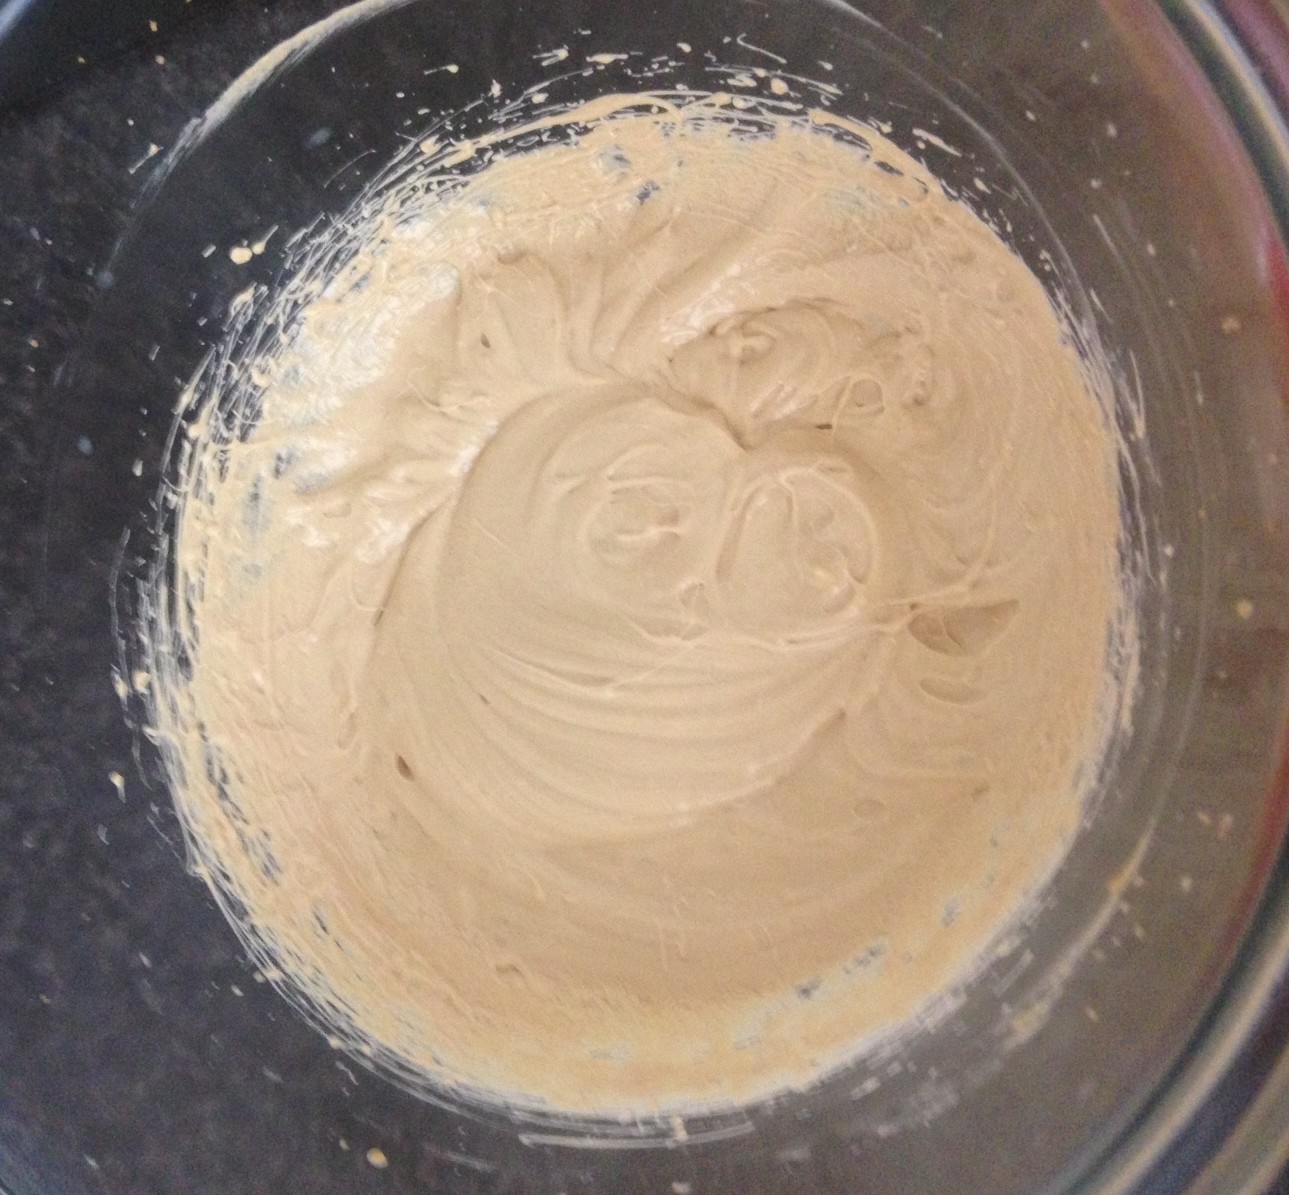
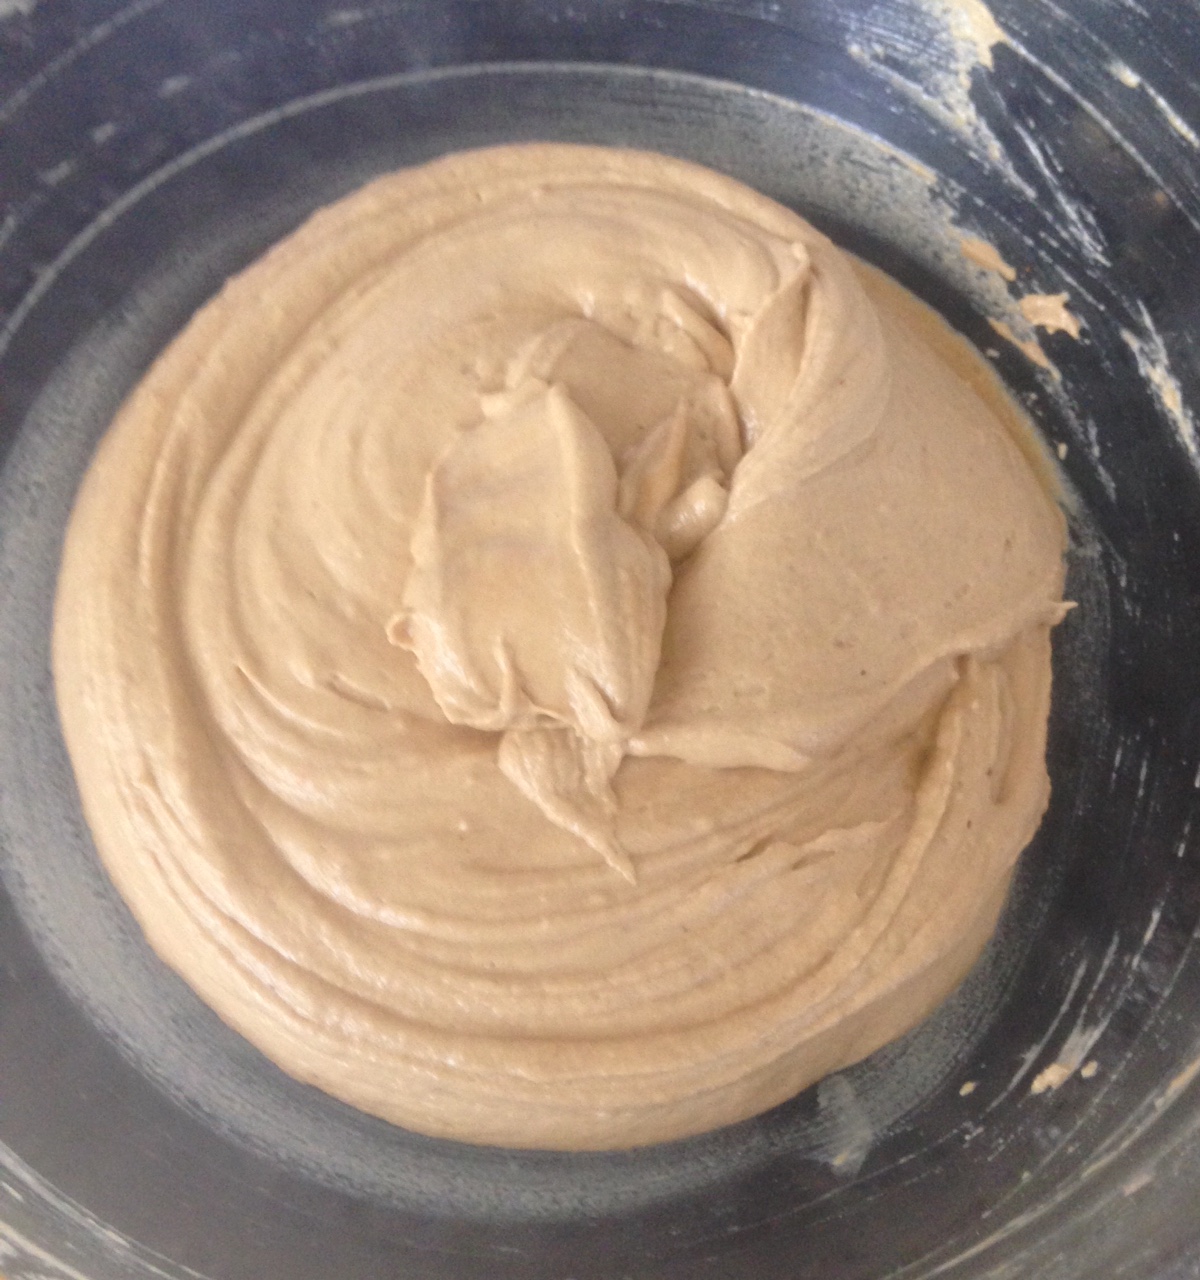
- Place the ice-cream in a bowl and leave to melt completely.
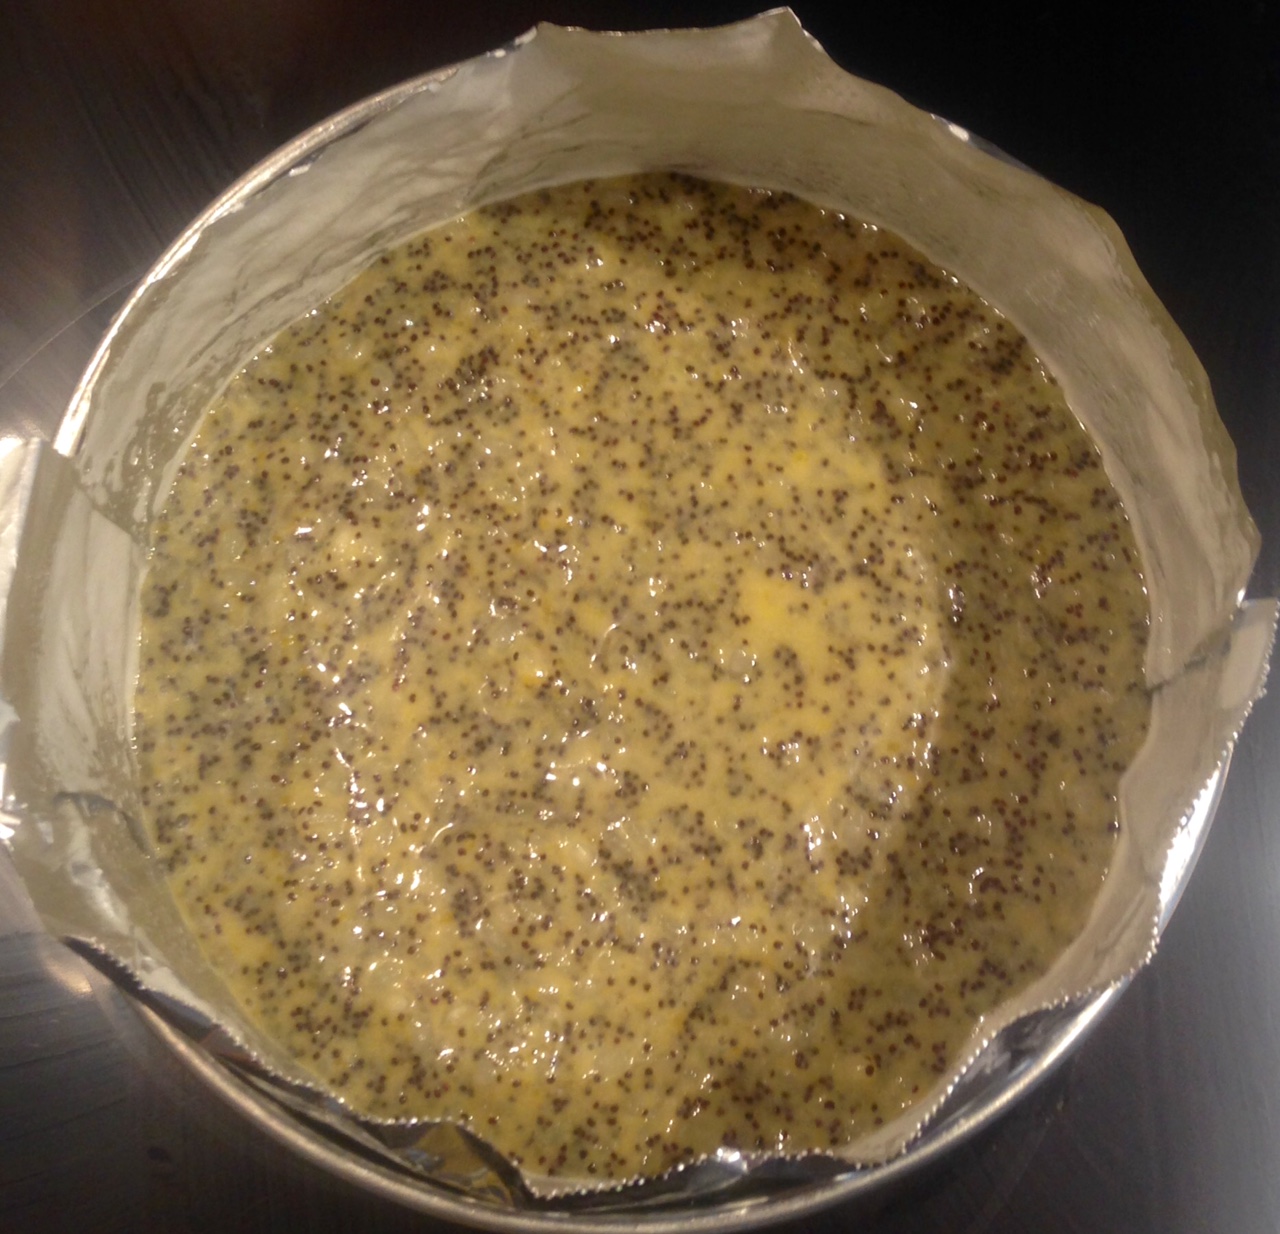
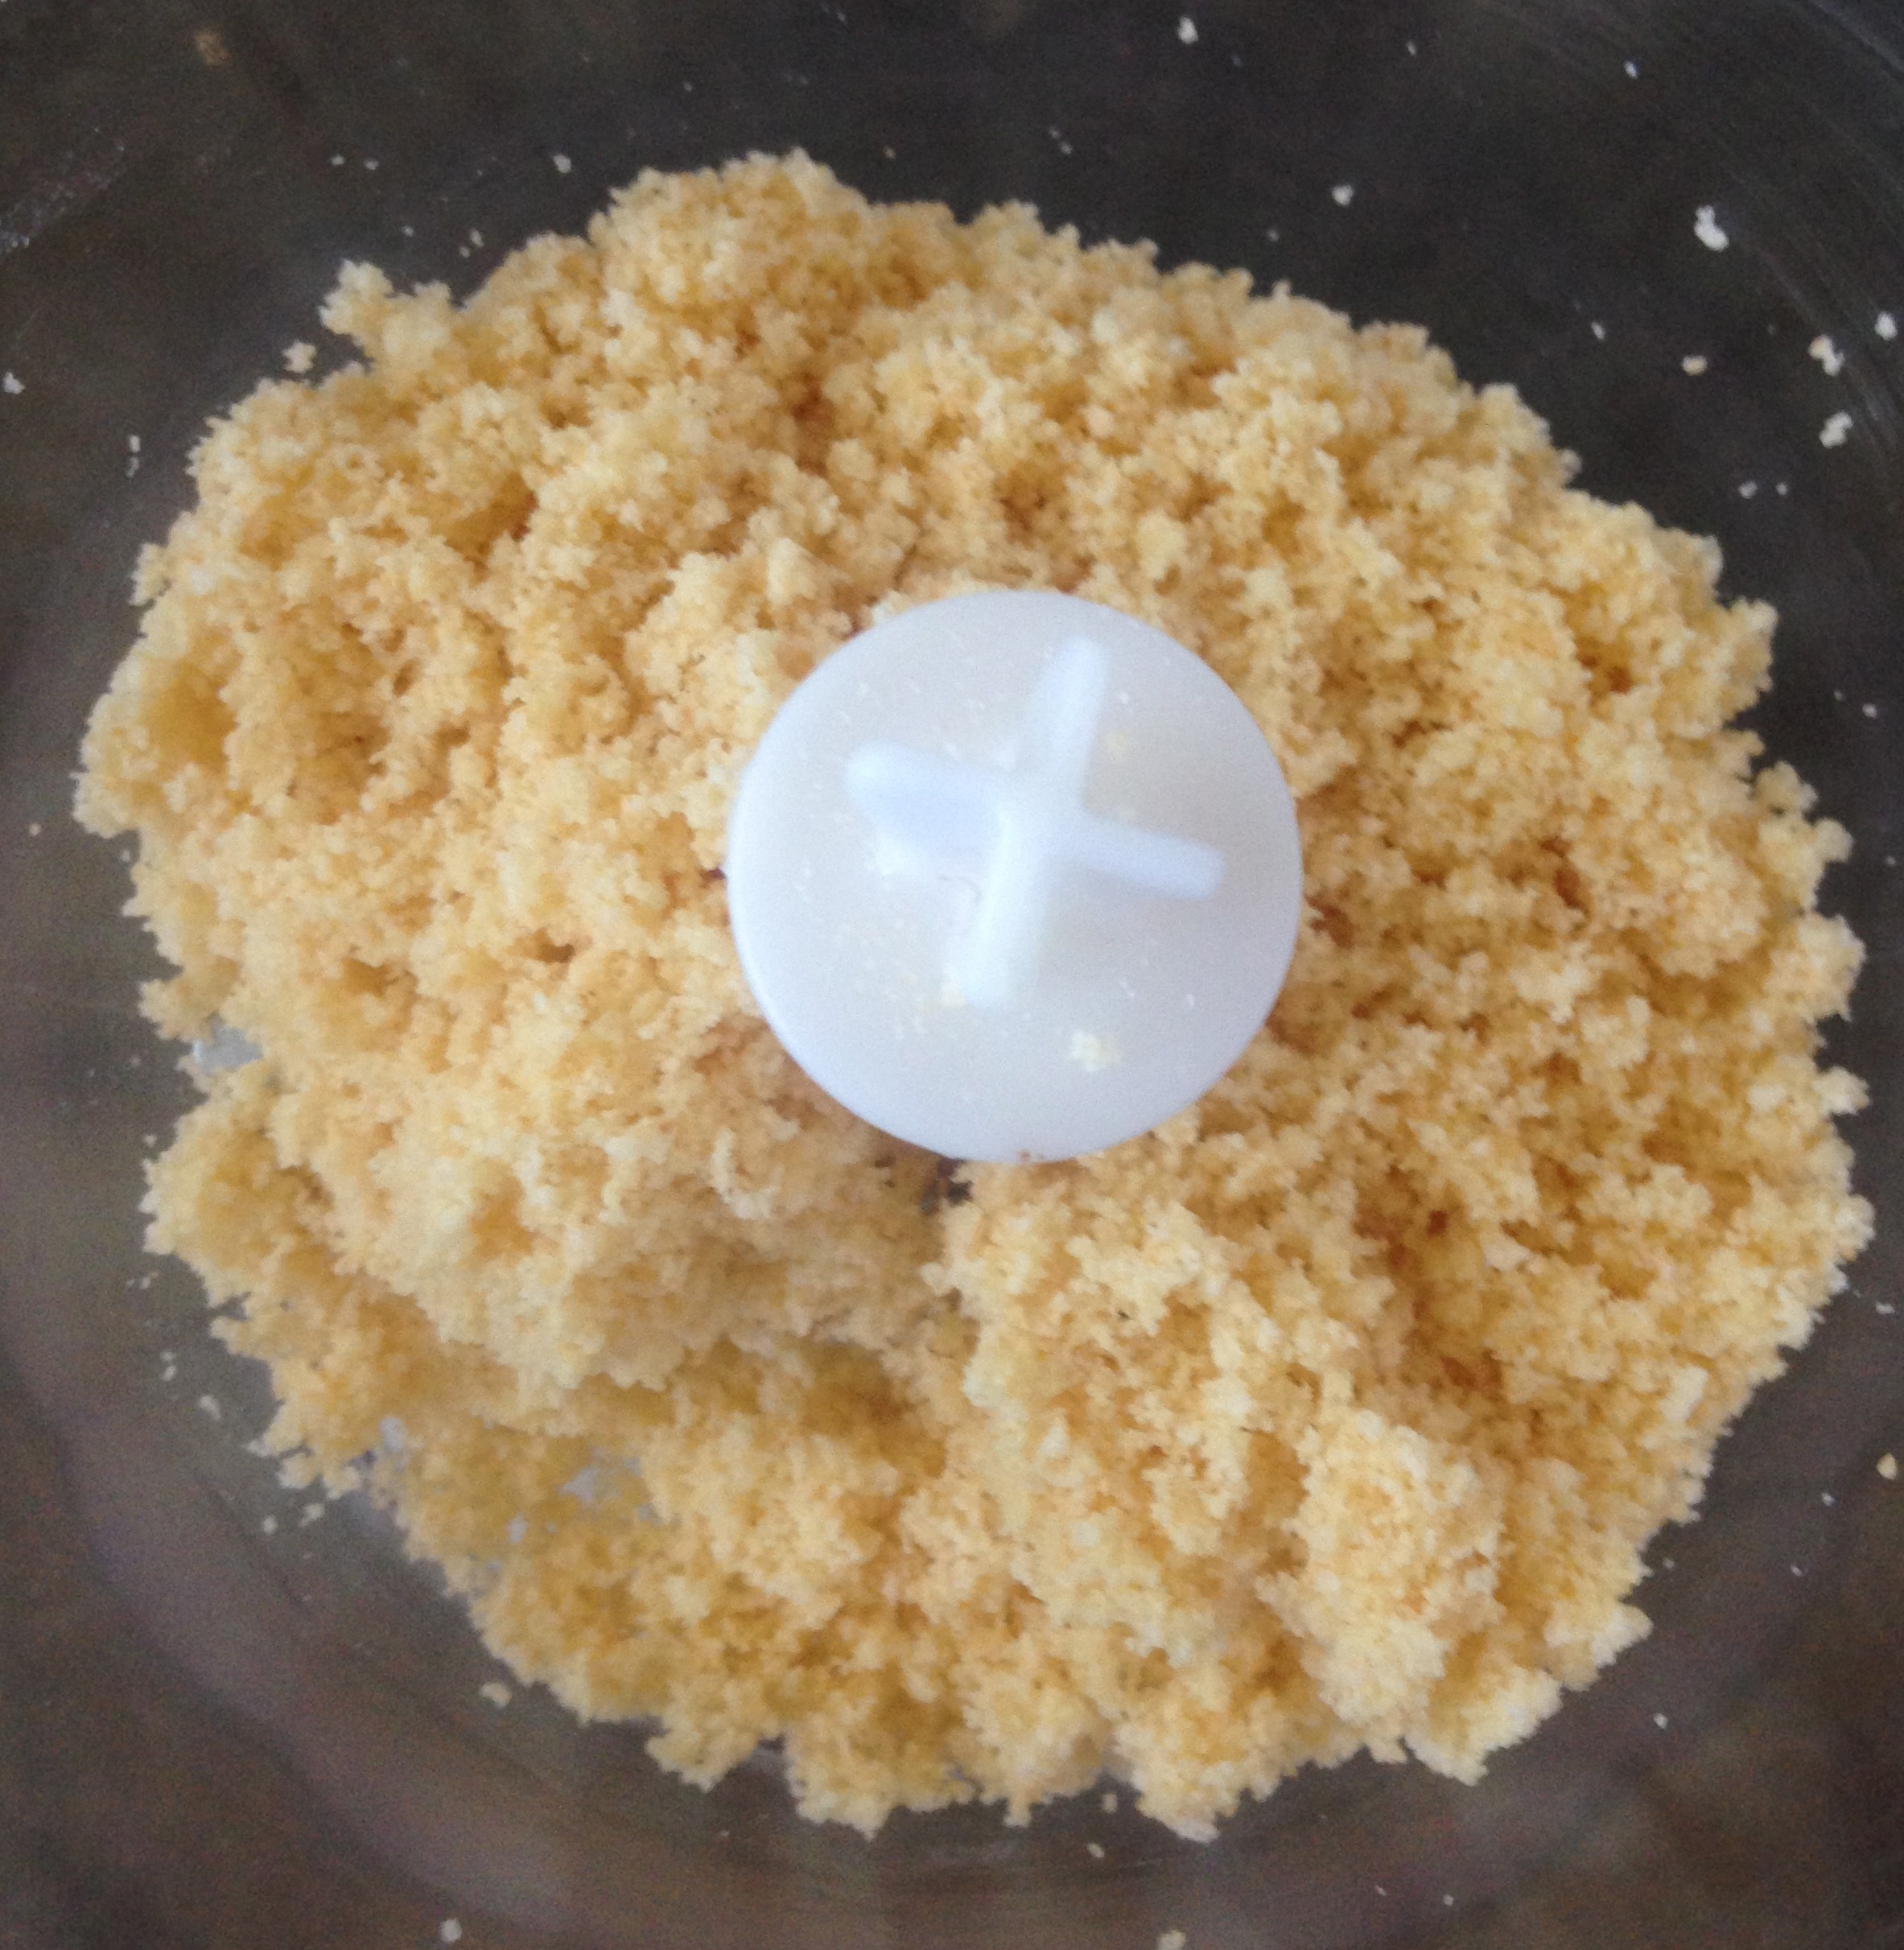
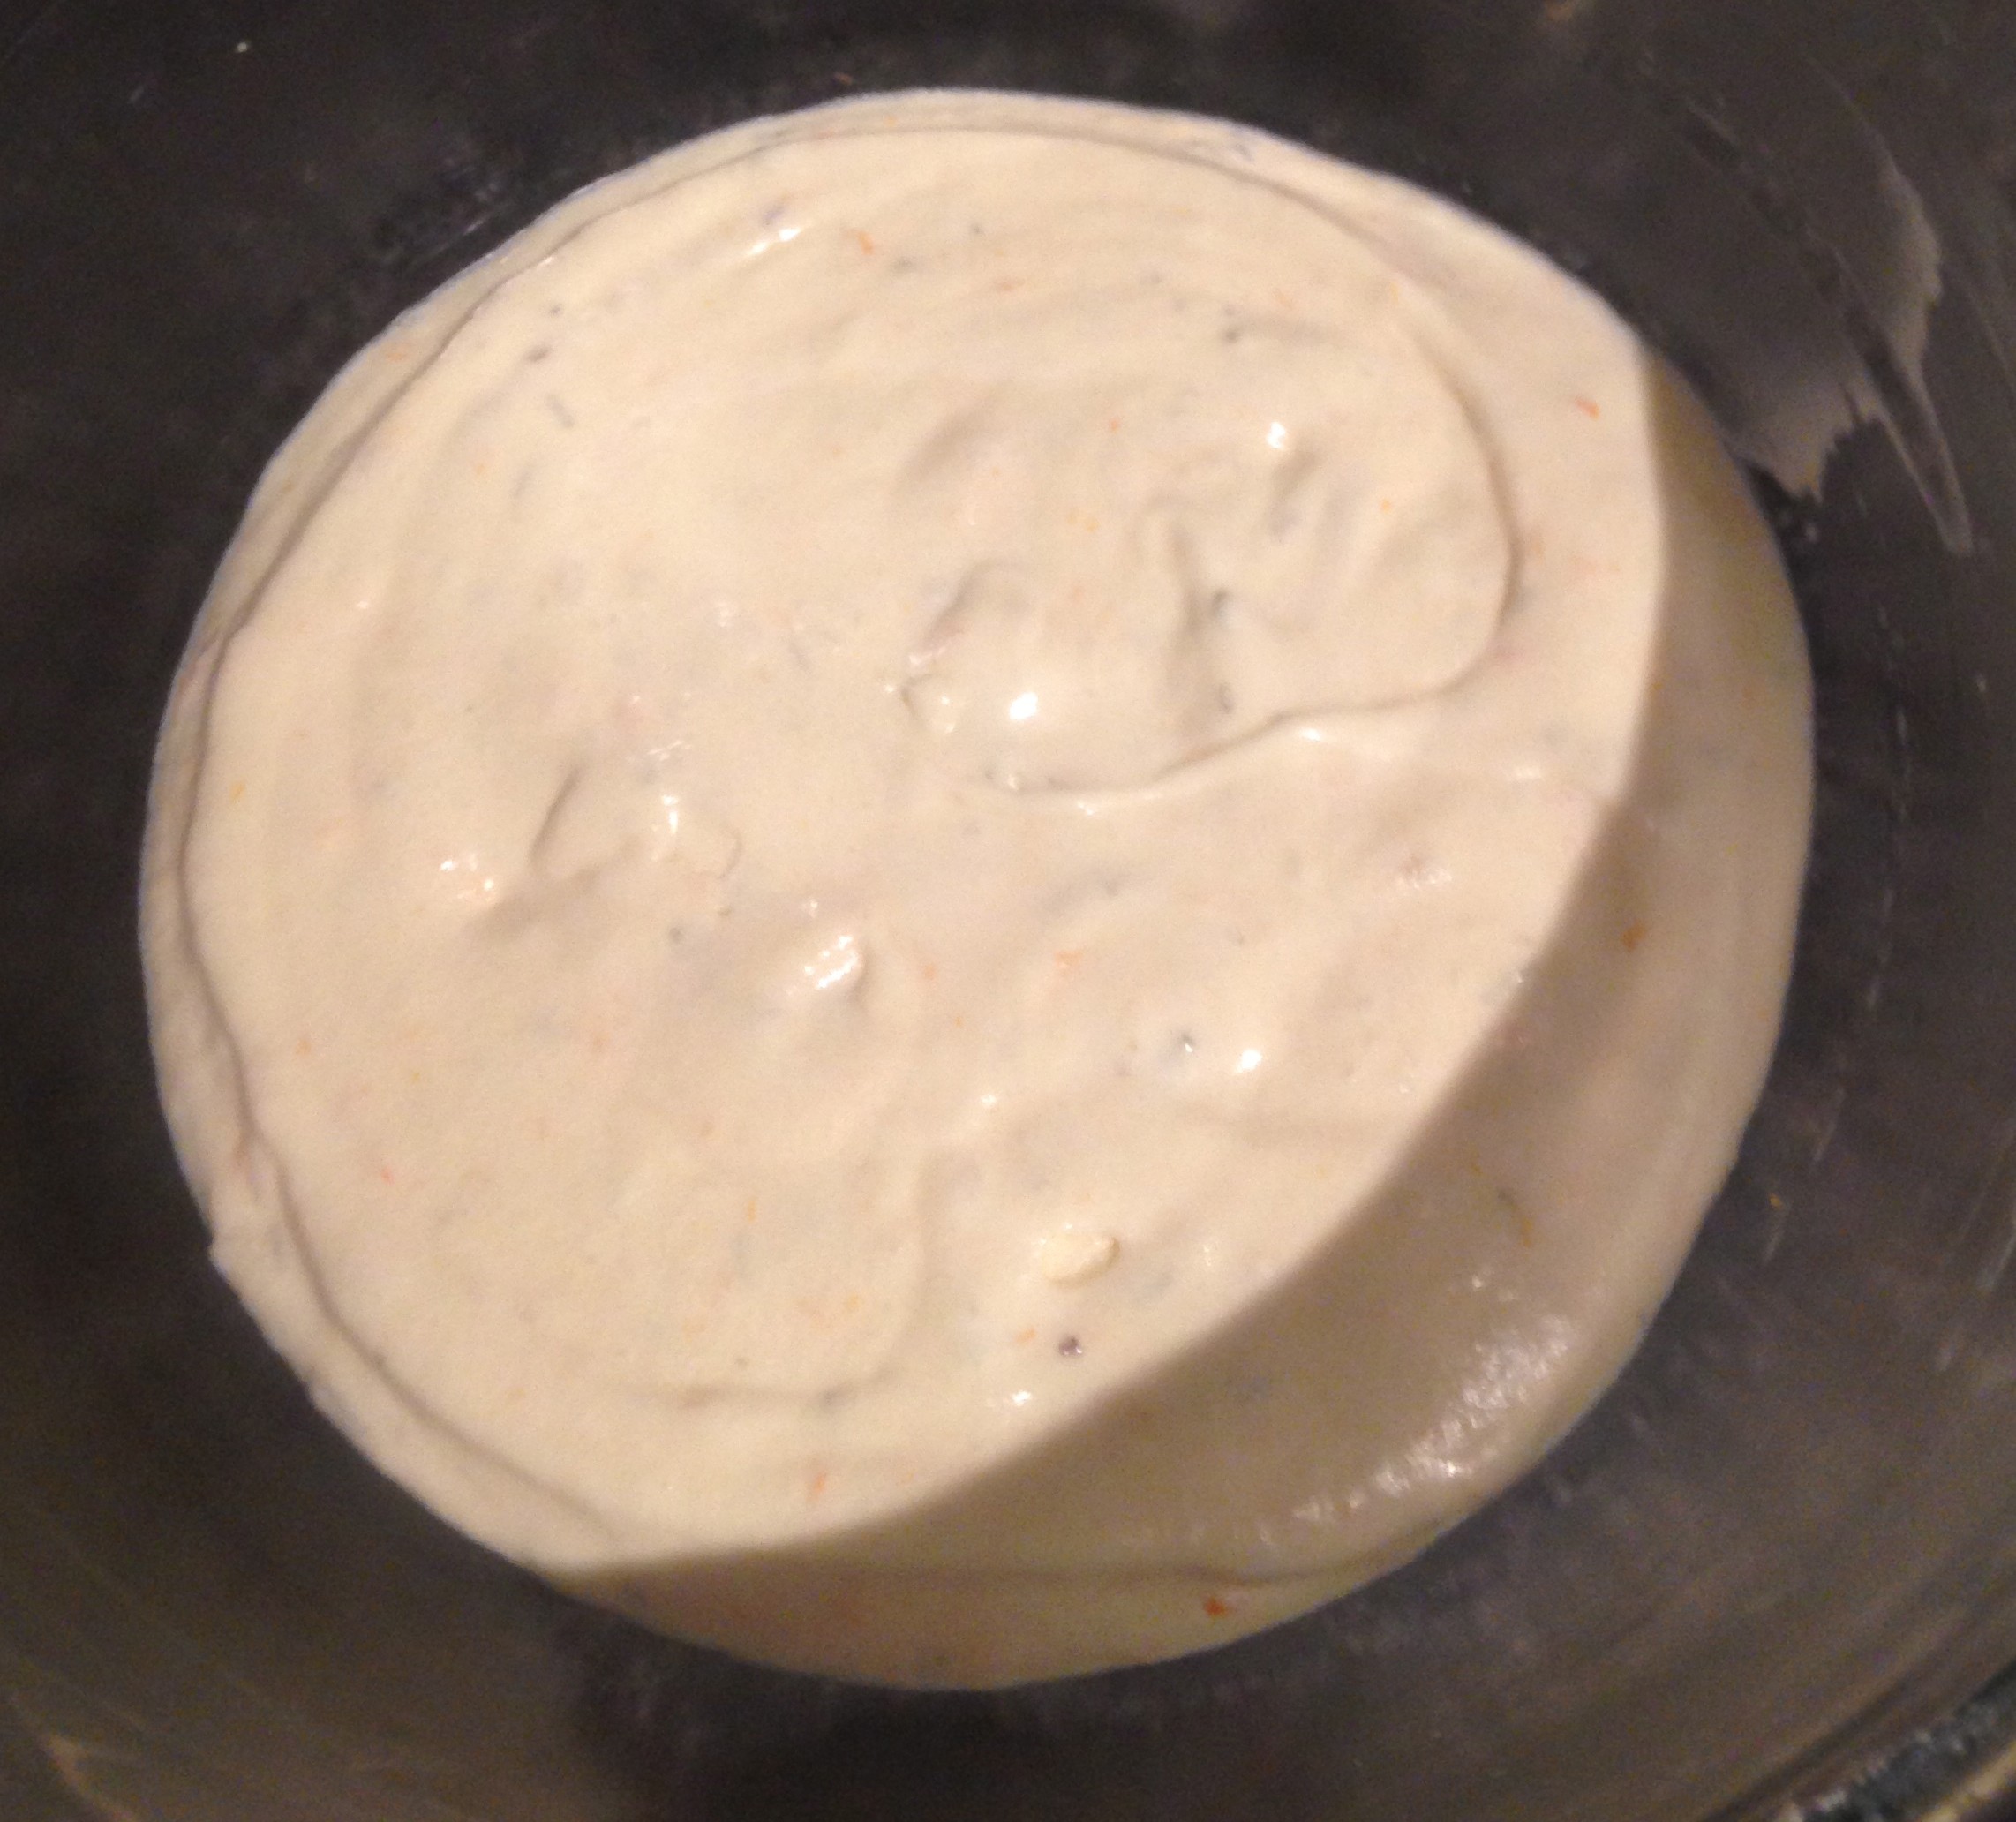
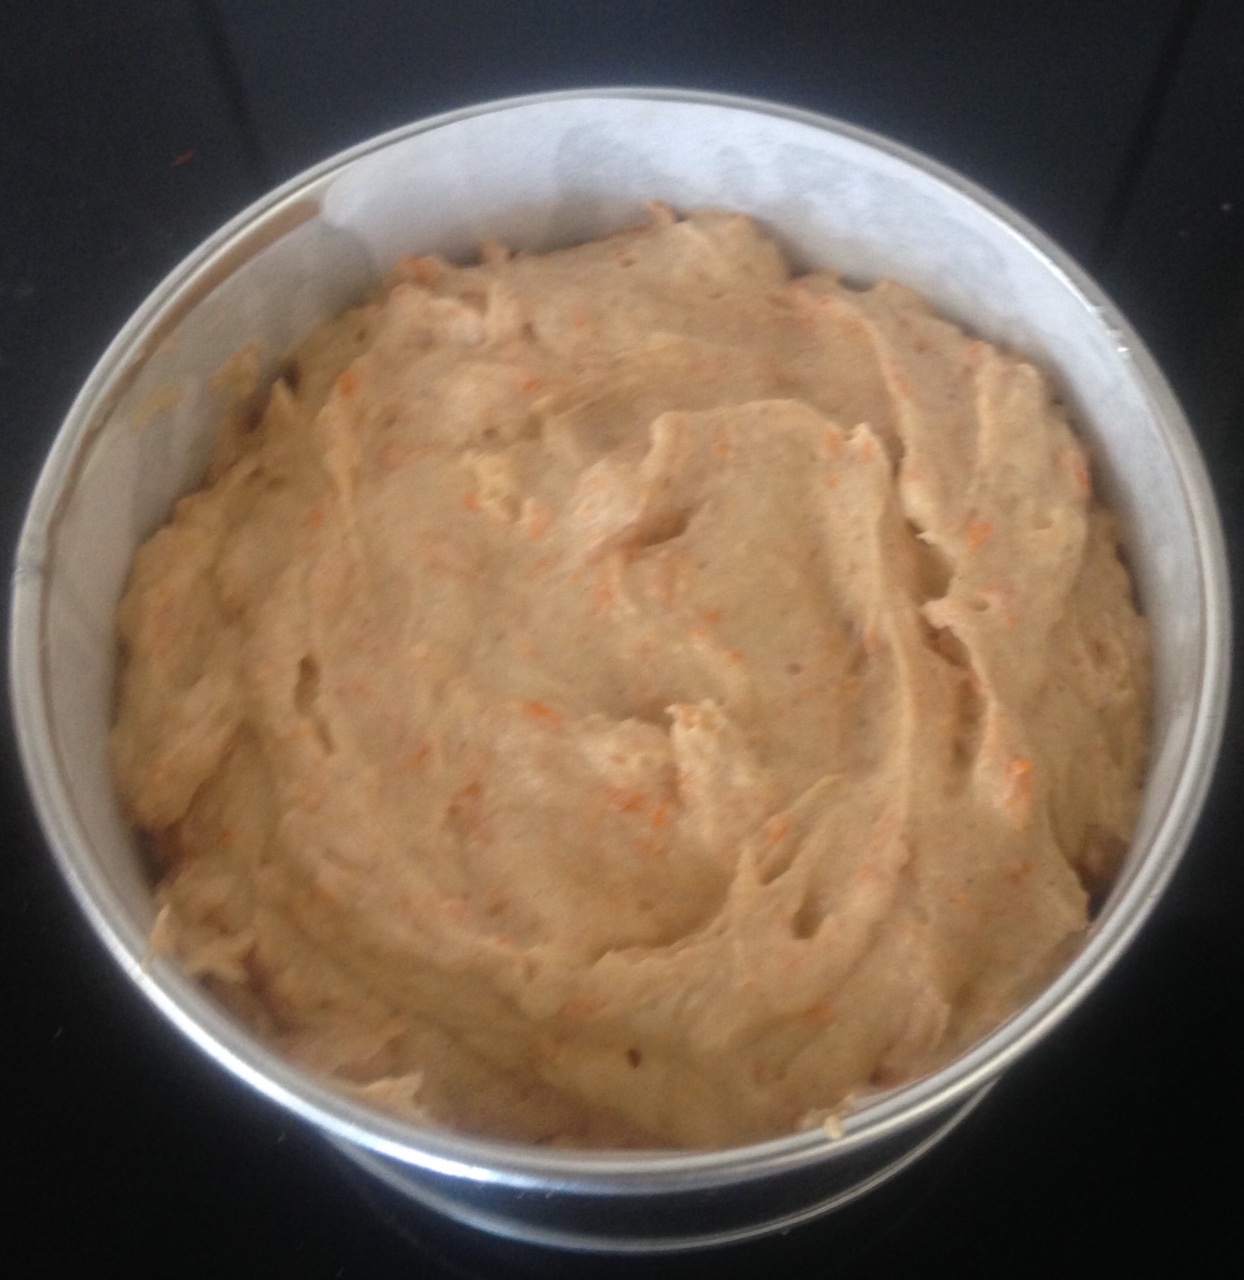
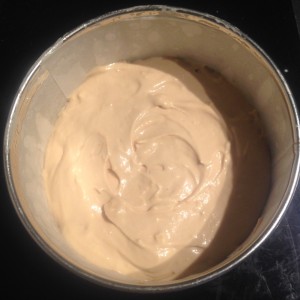
- Add the flour to the melted ice-cream and with a hand whisk stir until well combined.
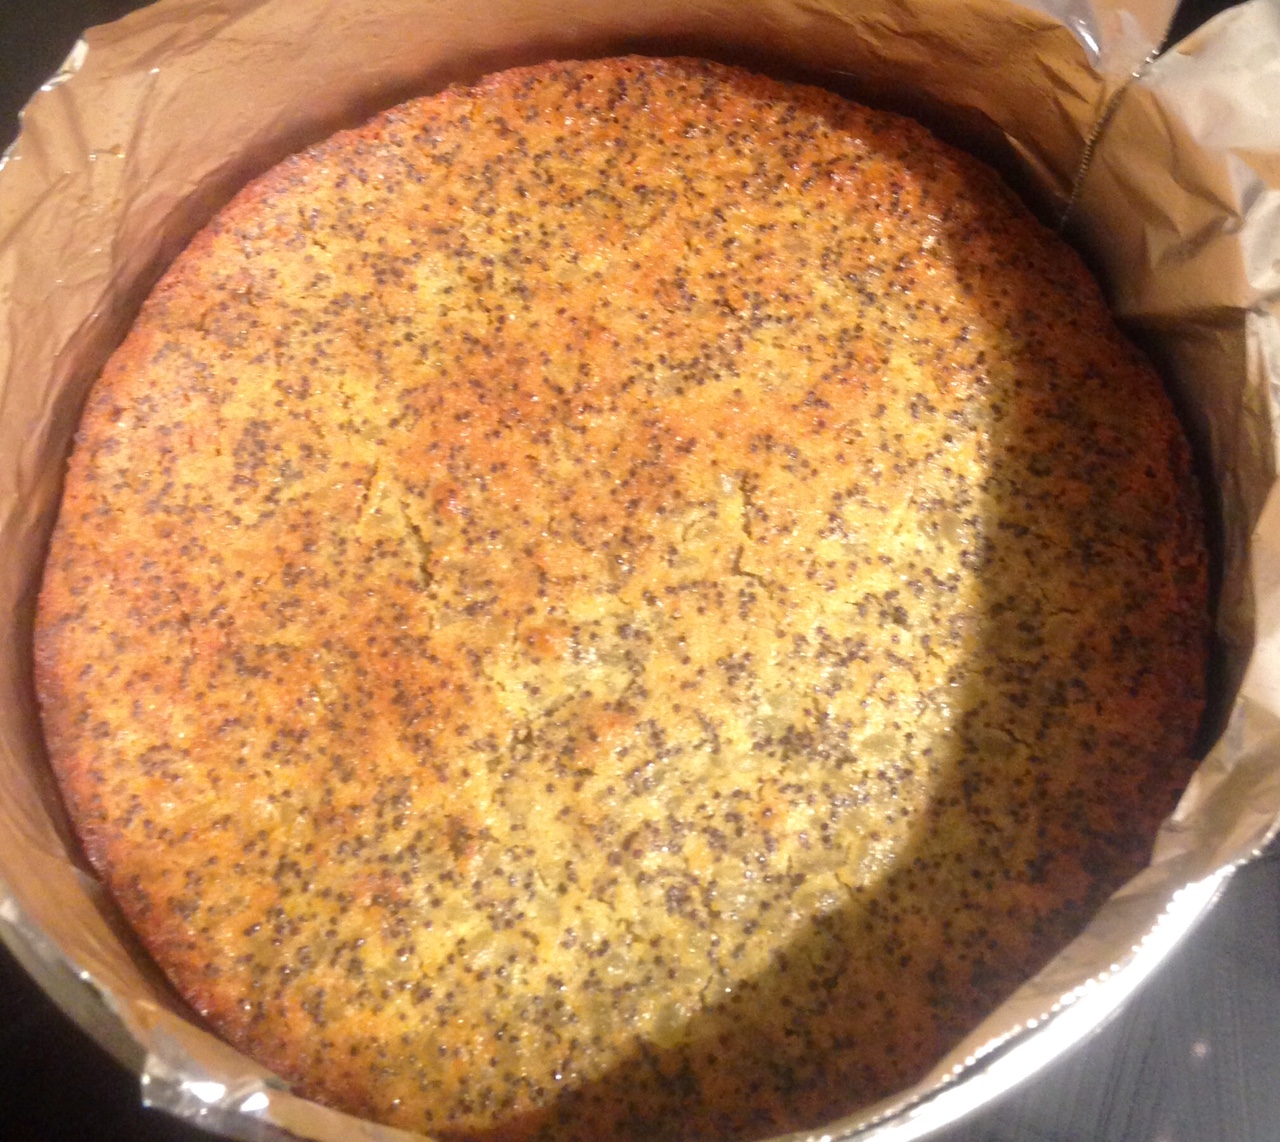
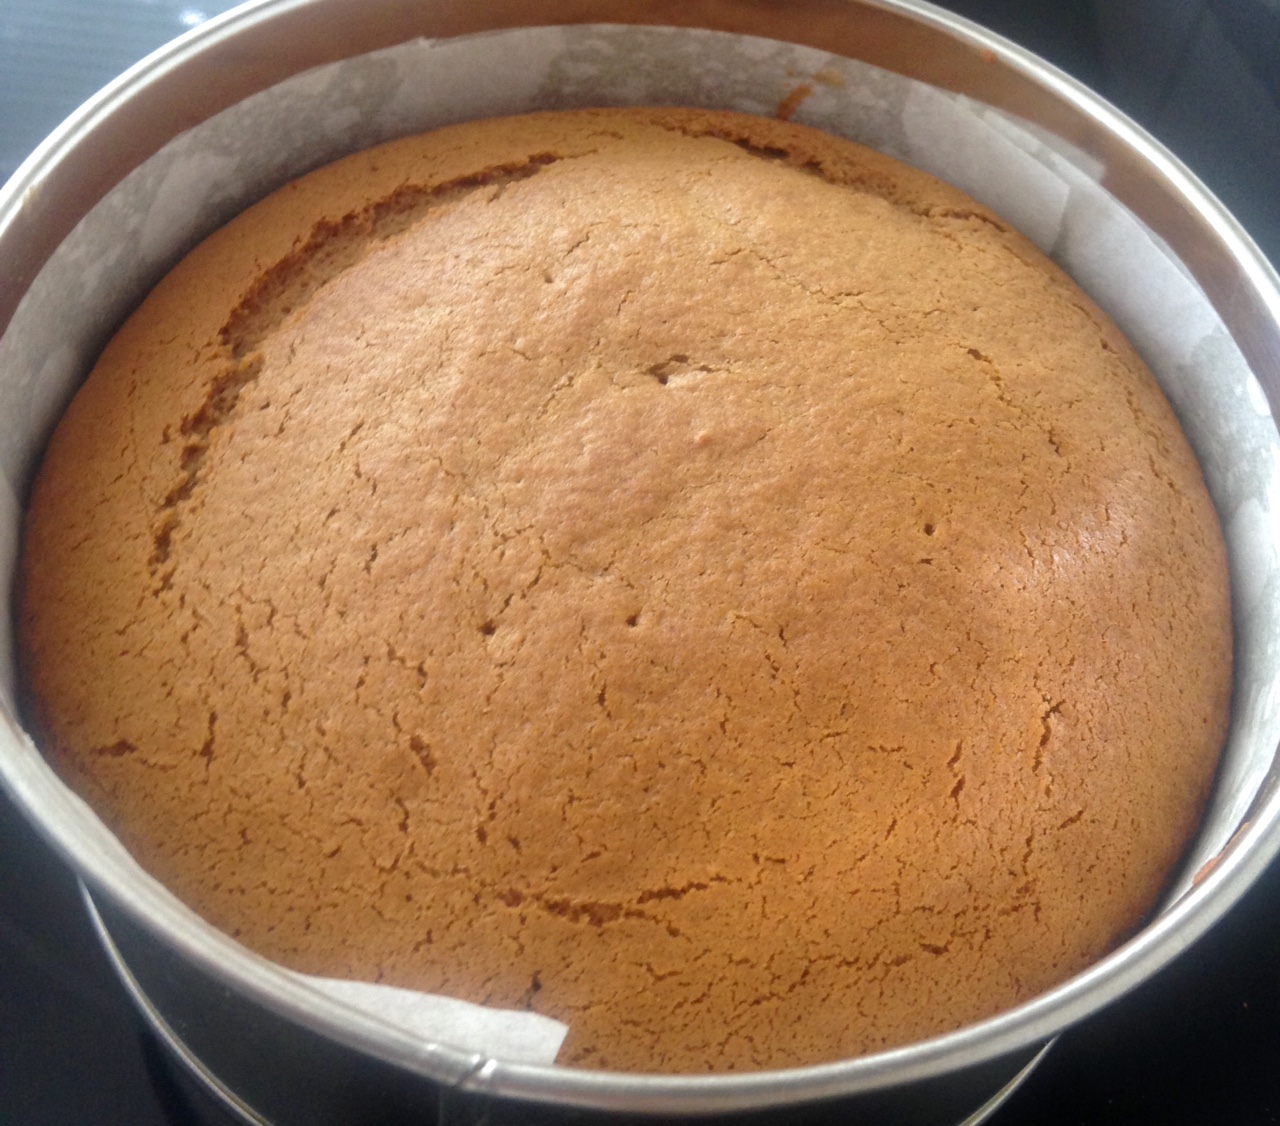
- Pour the mix into the cake tin and bake for 35 minutes or until a skewer inserted in the center comes out clean.
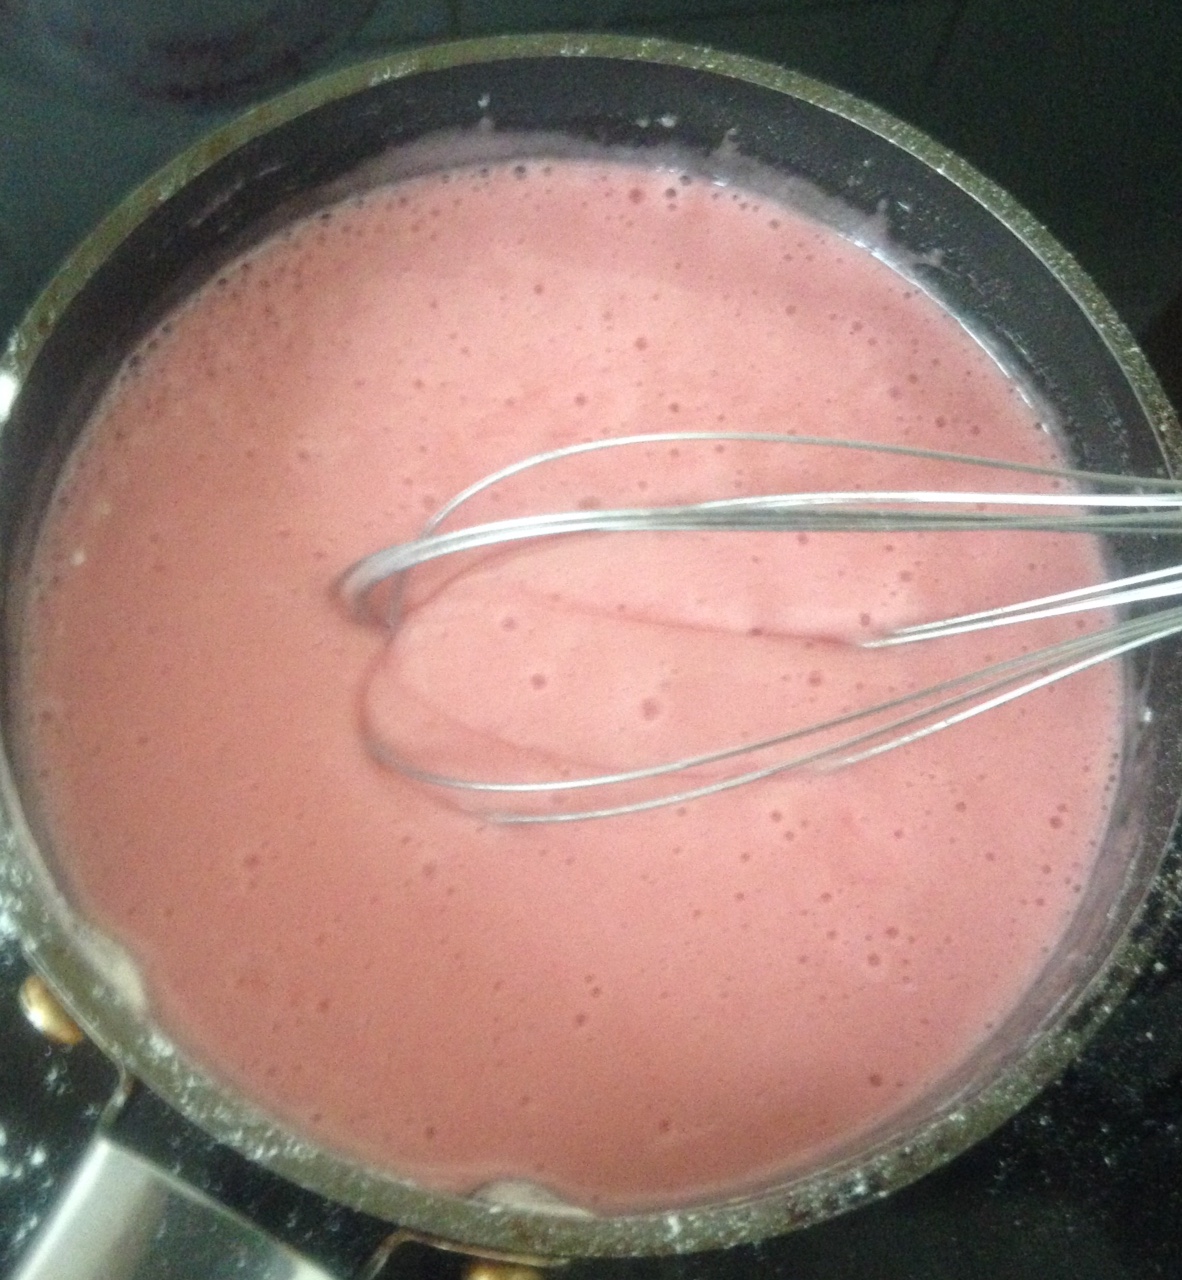
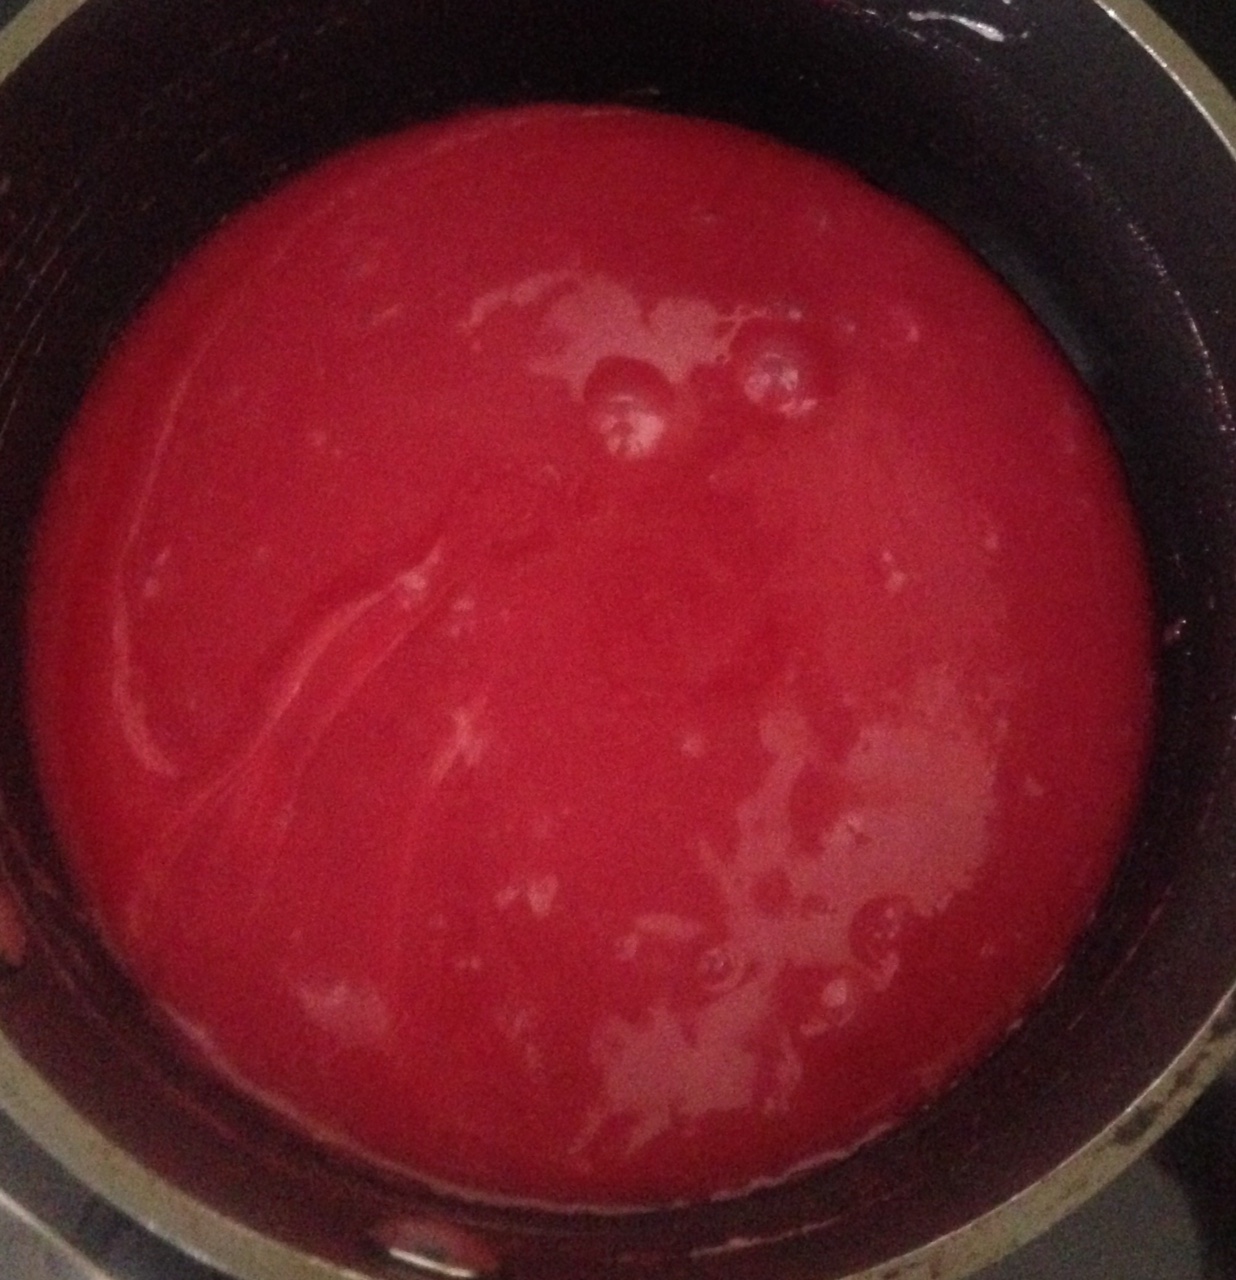
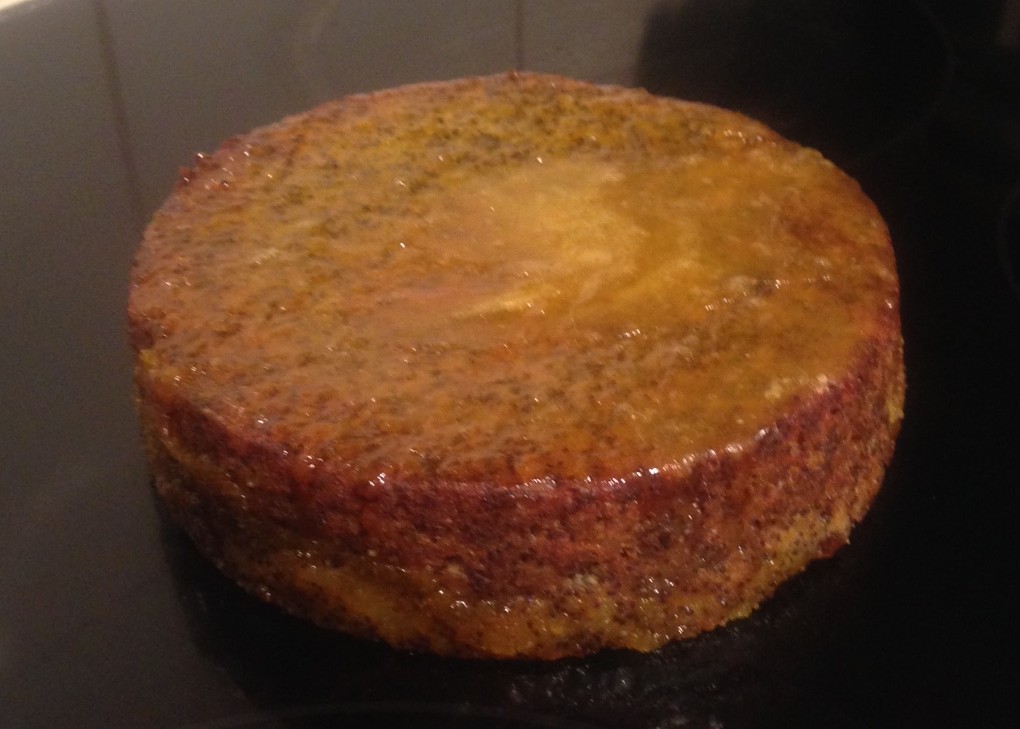
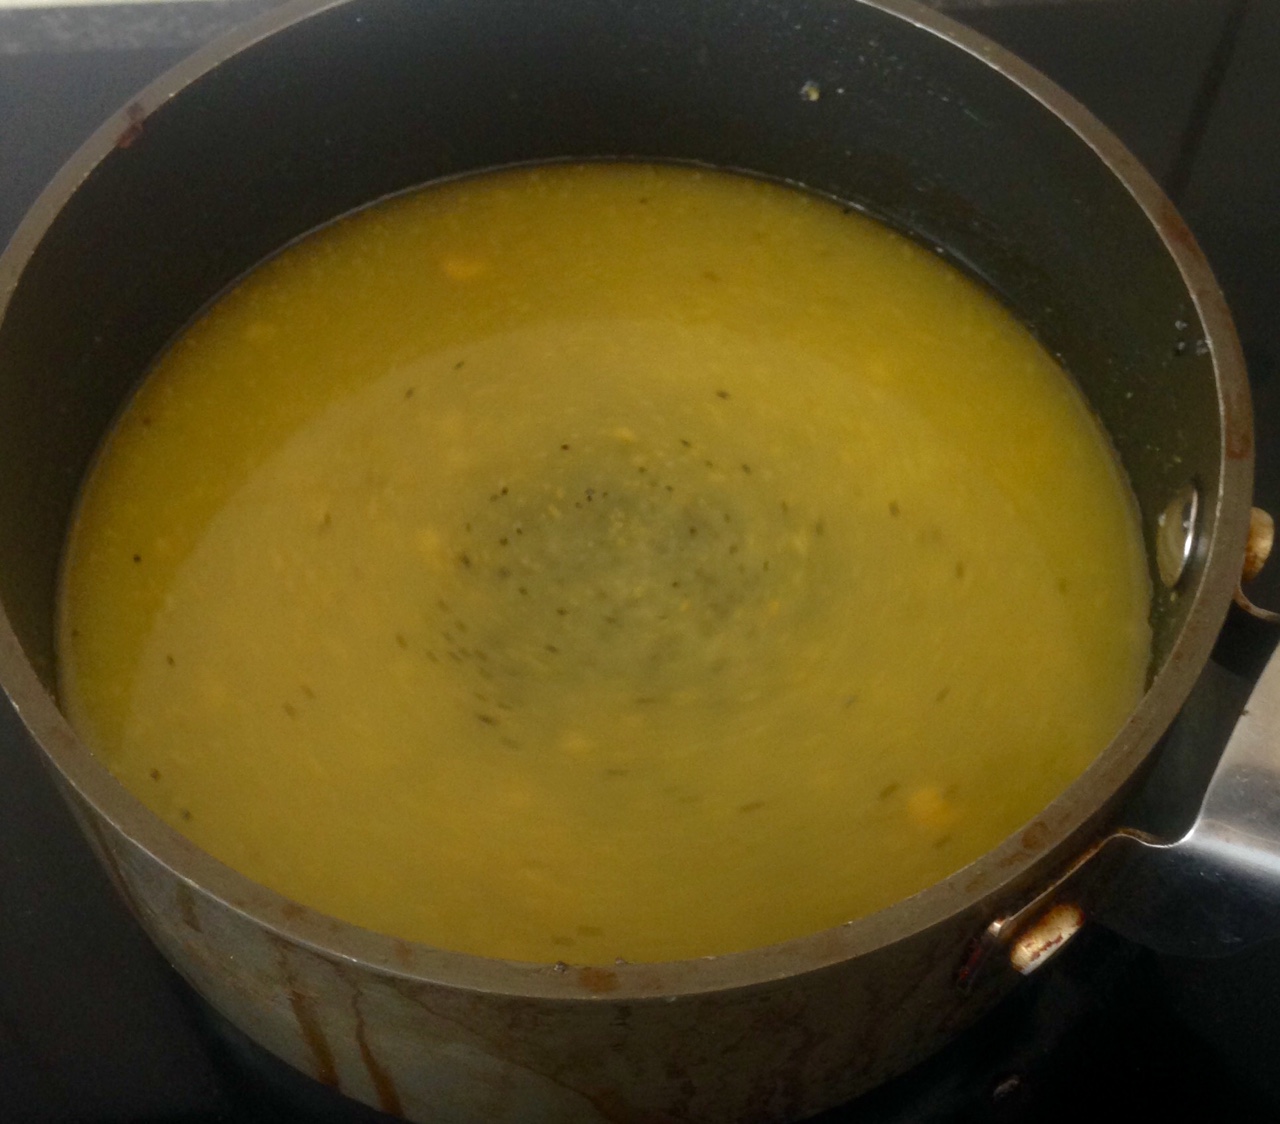
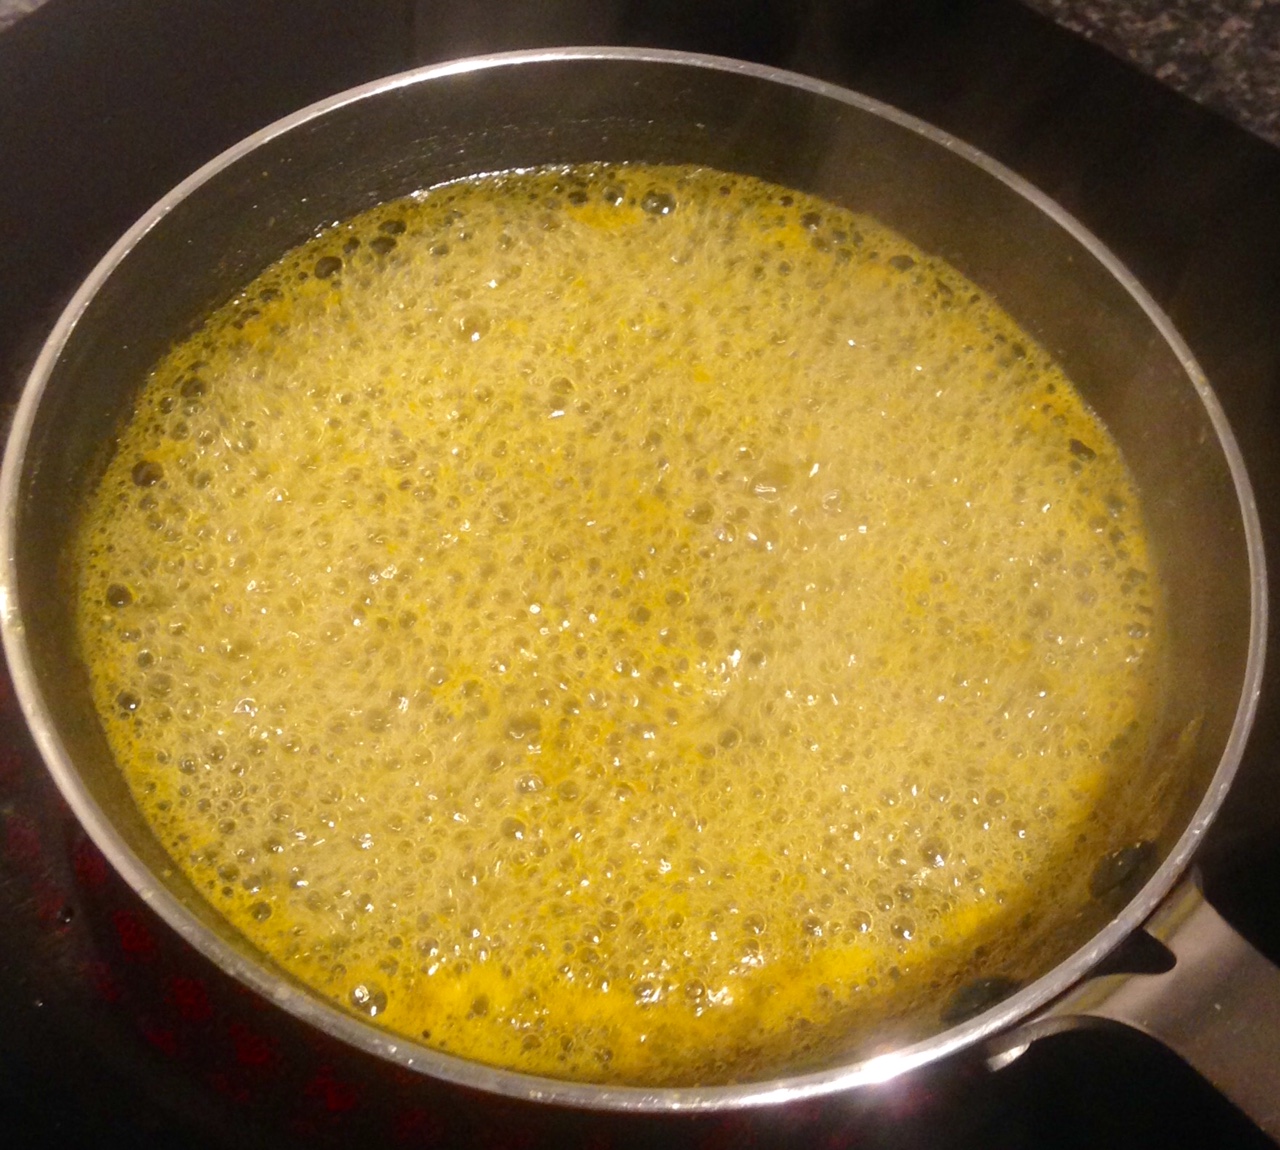
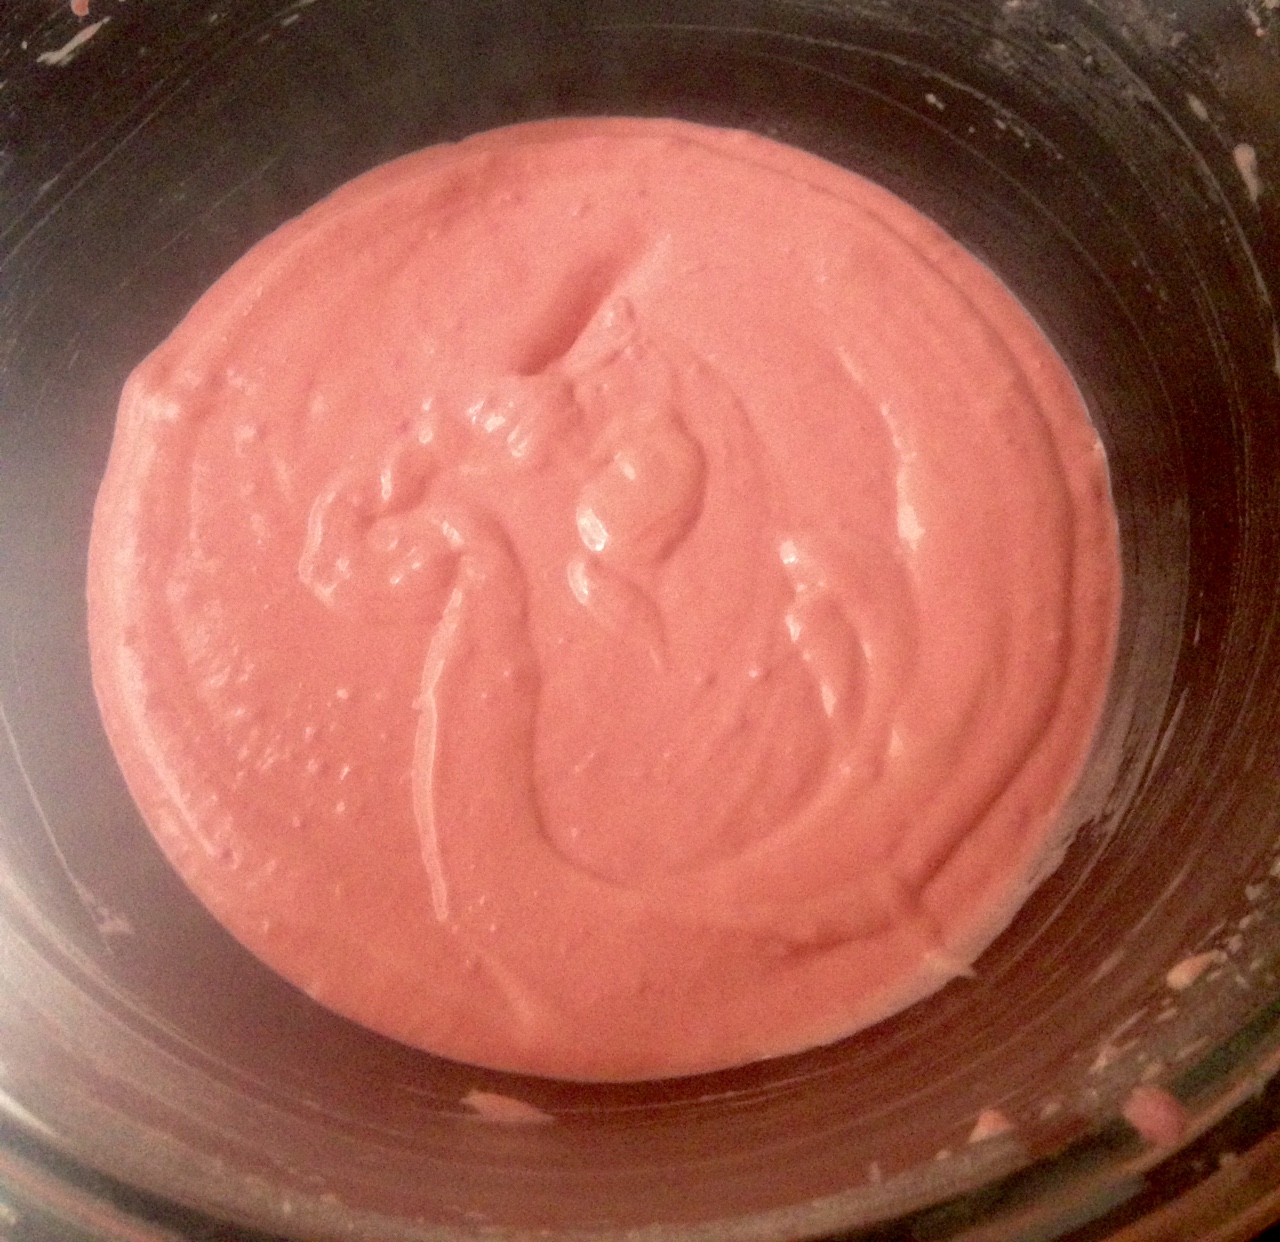
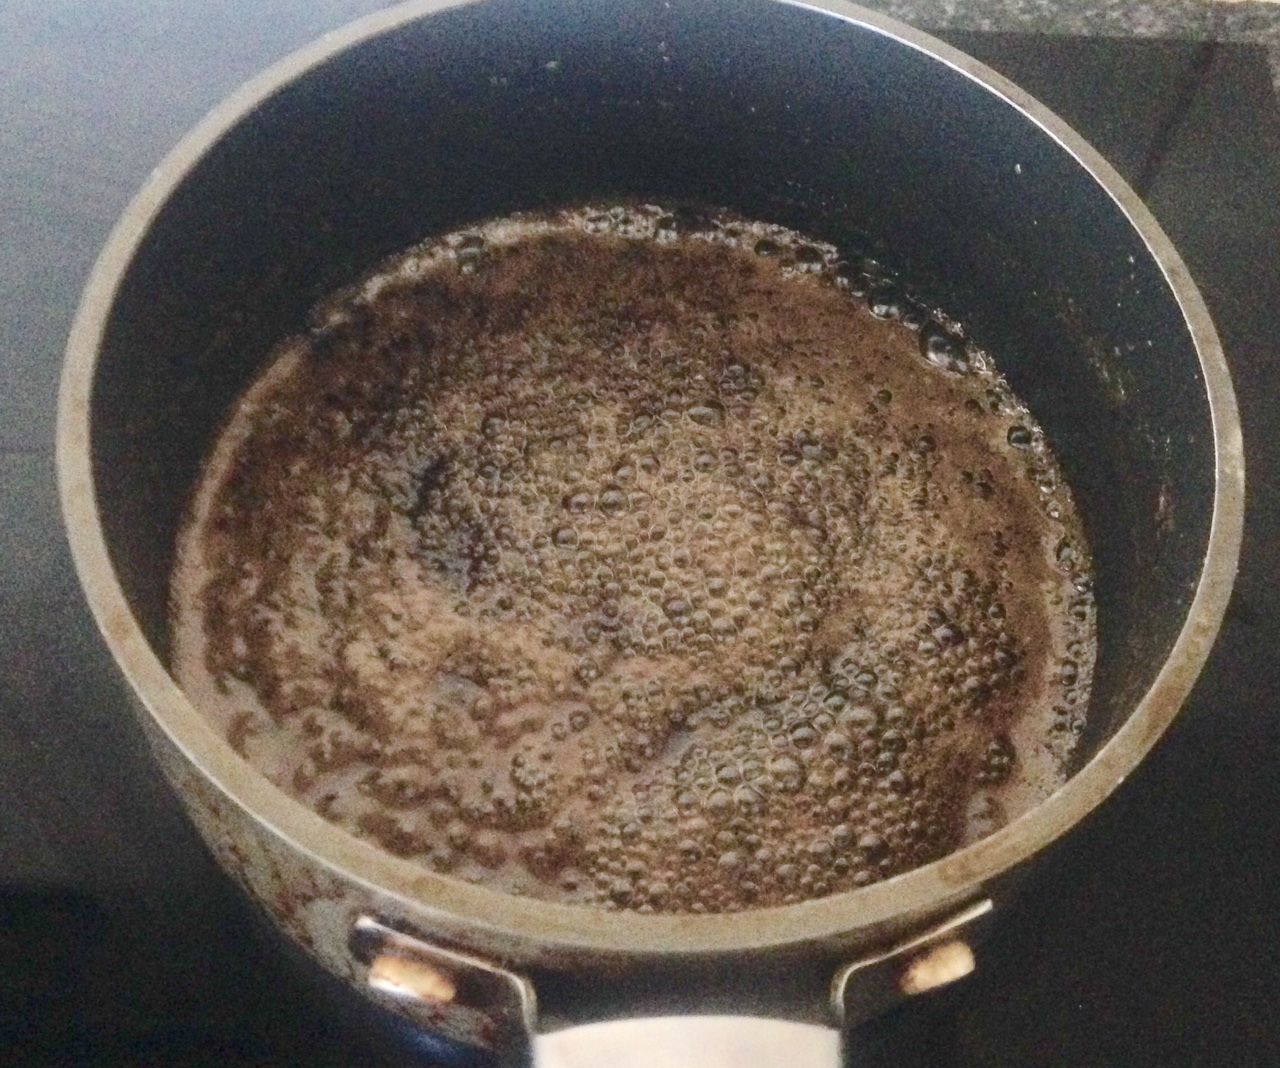
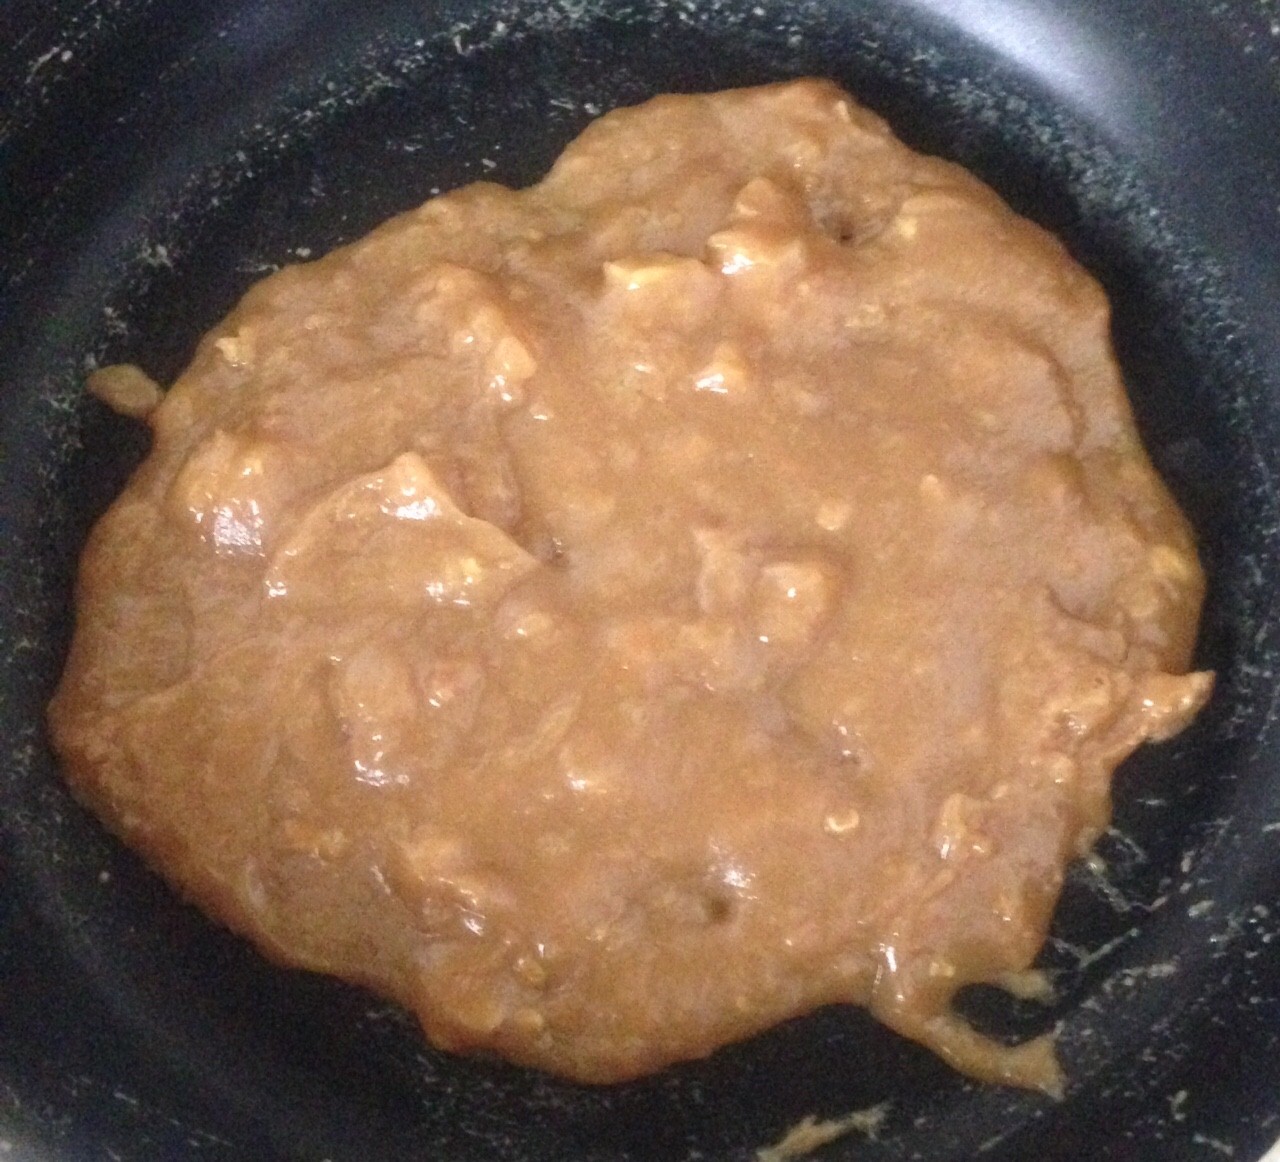
- Meanwhile to make the icing place the ice-cream in a saucepan on the stove on a high heat.
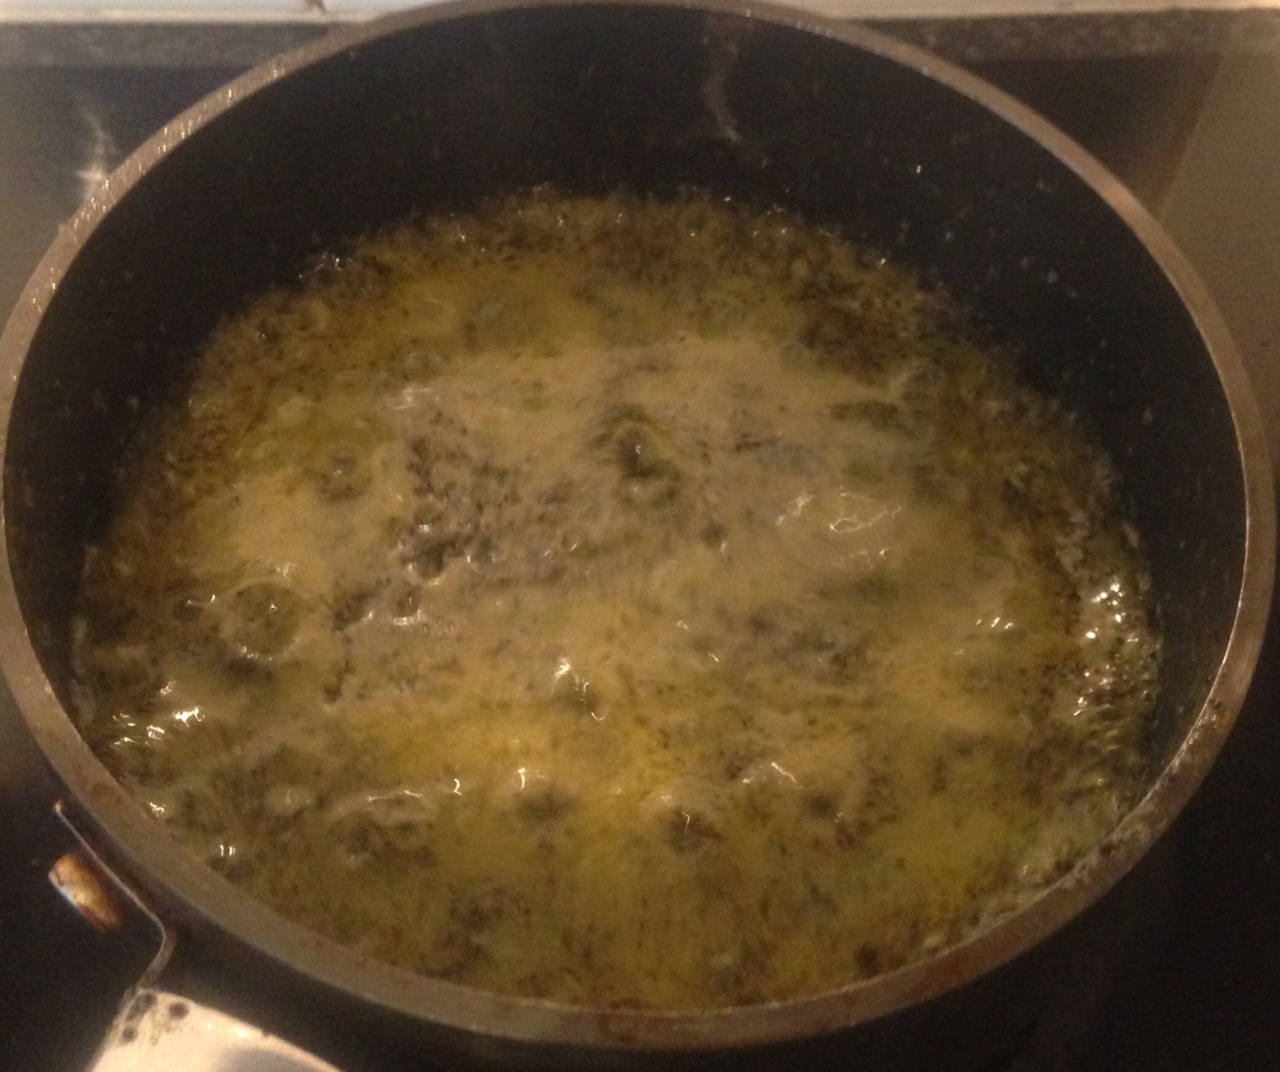
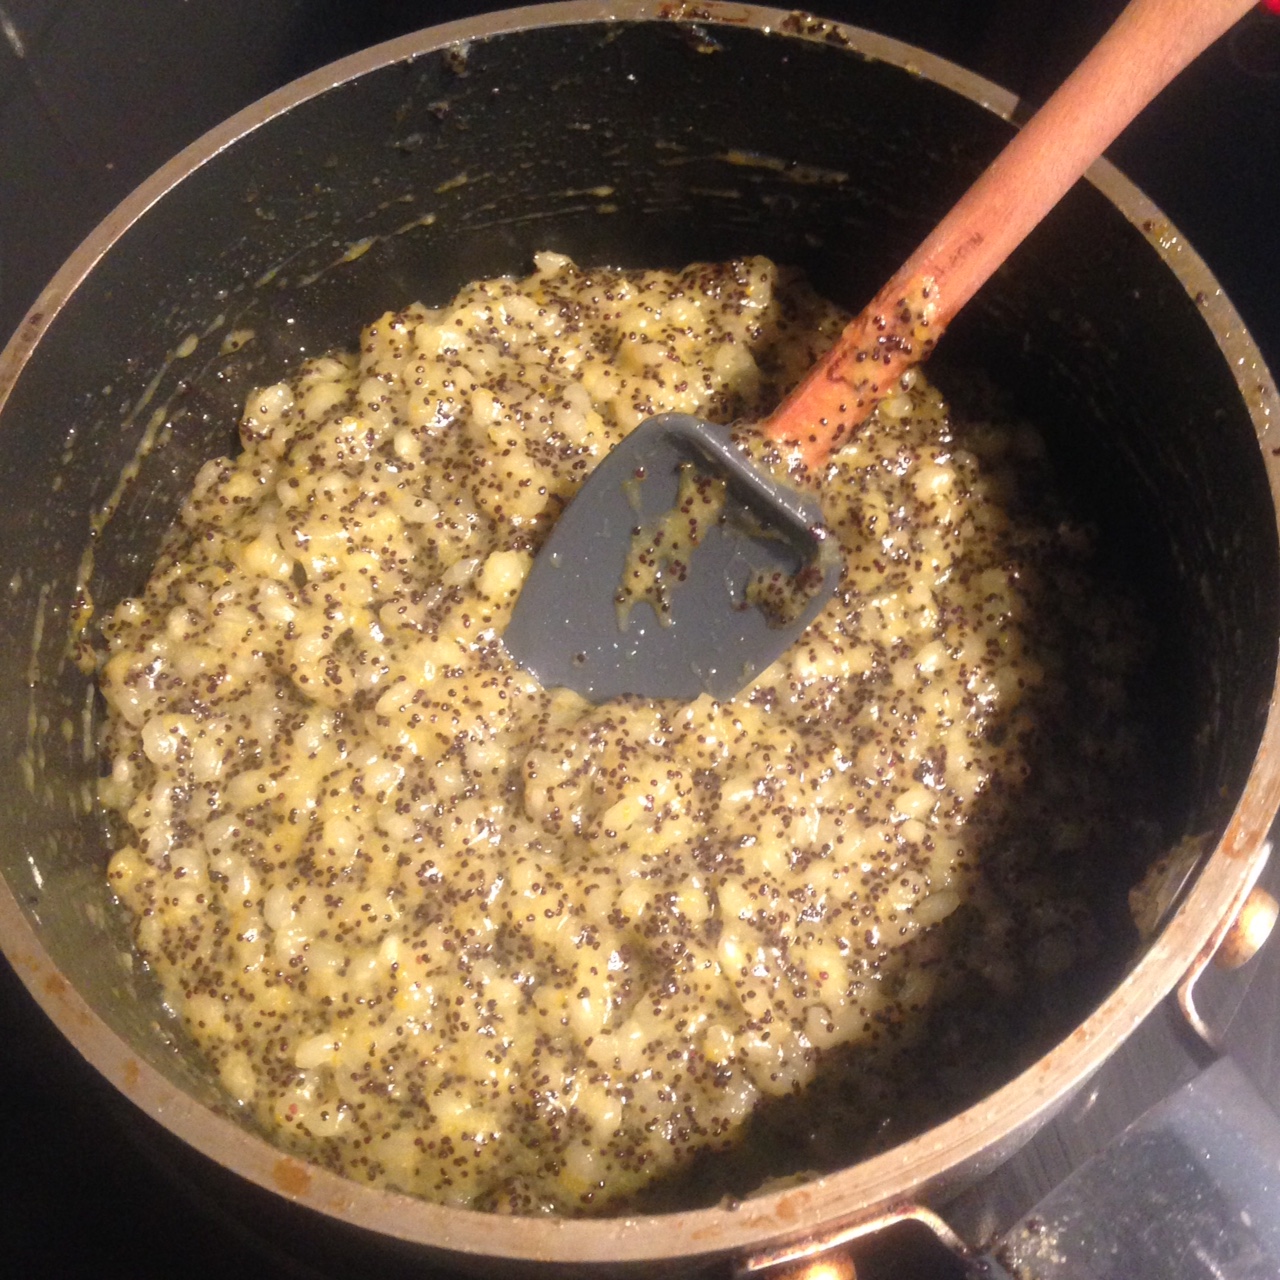
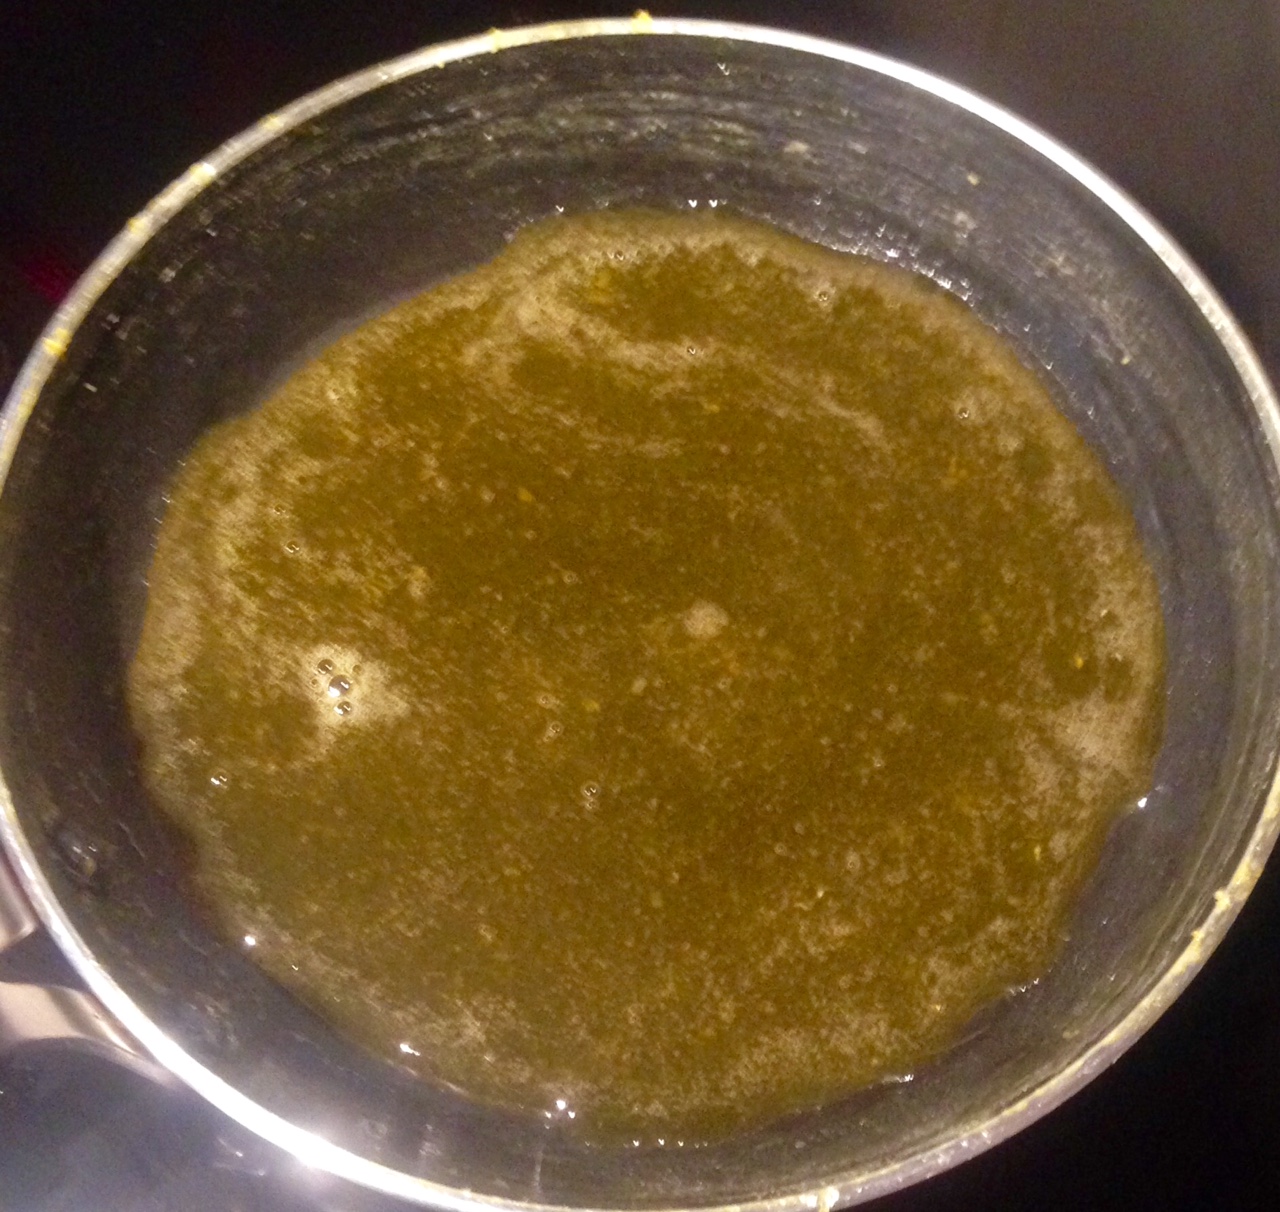
- Stir for 5 minutes until the mix becomes a thick caramel, set aside.
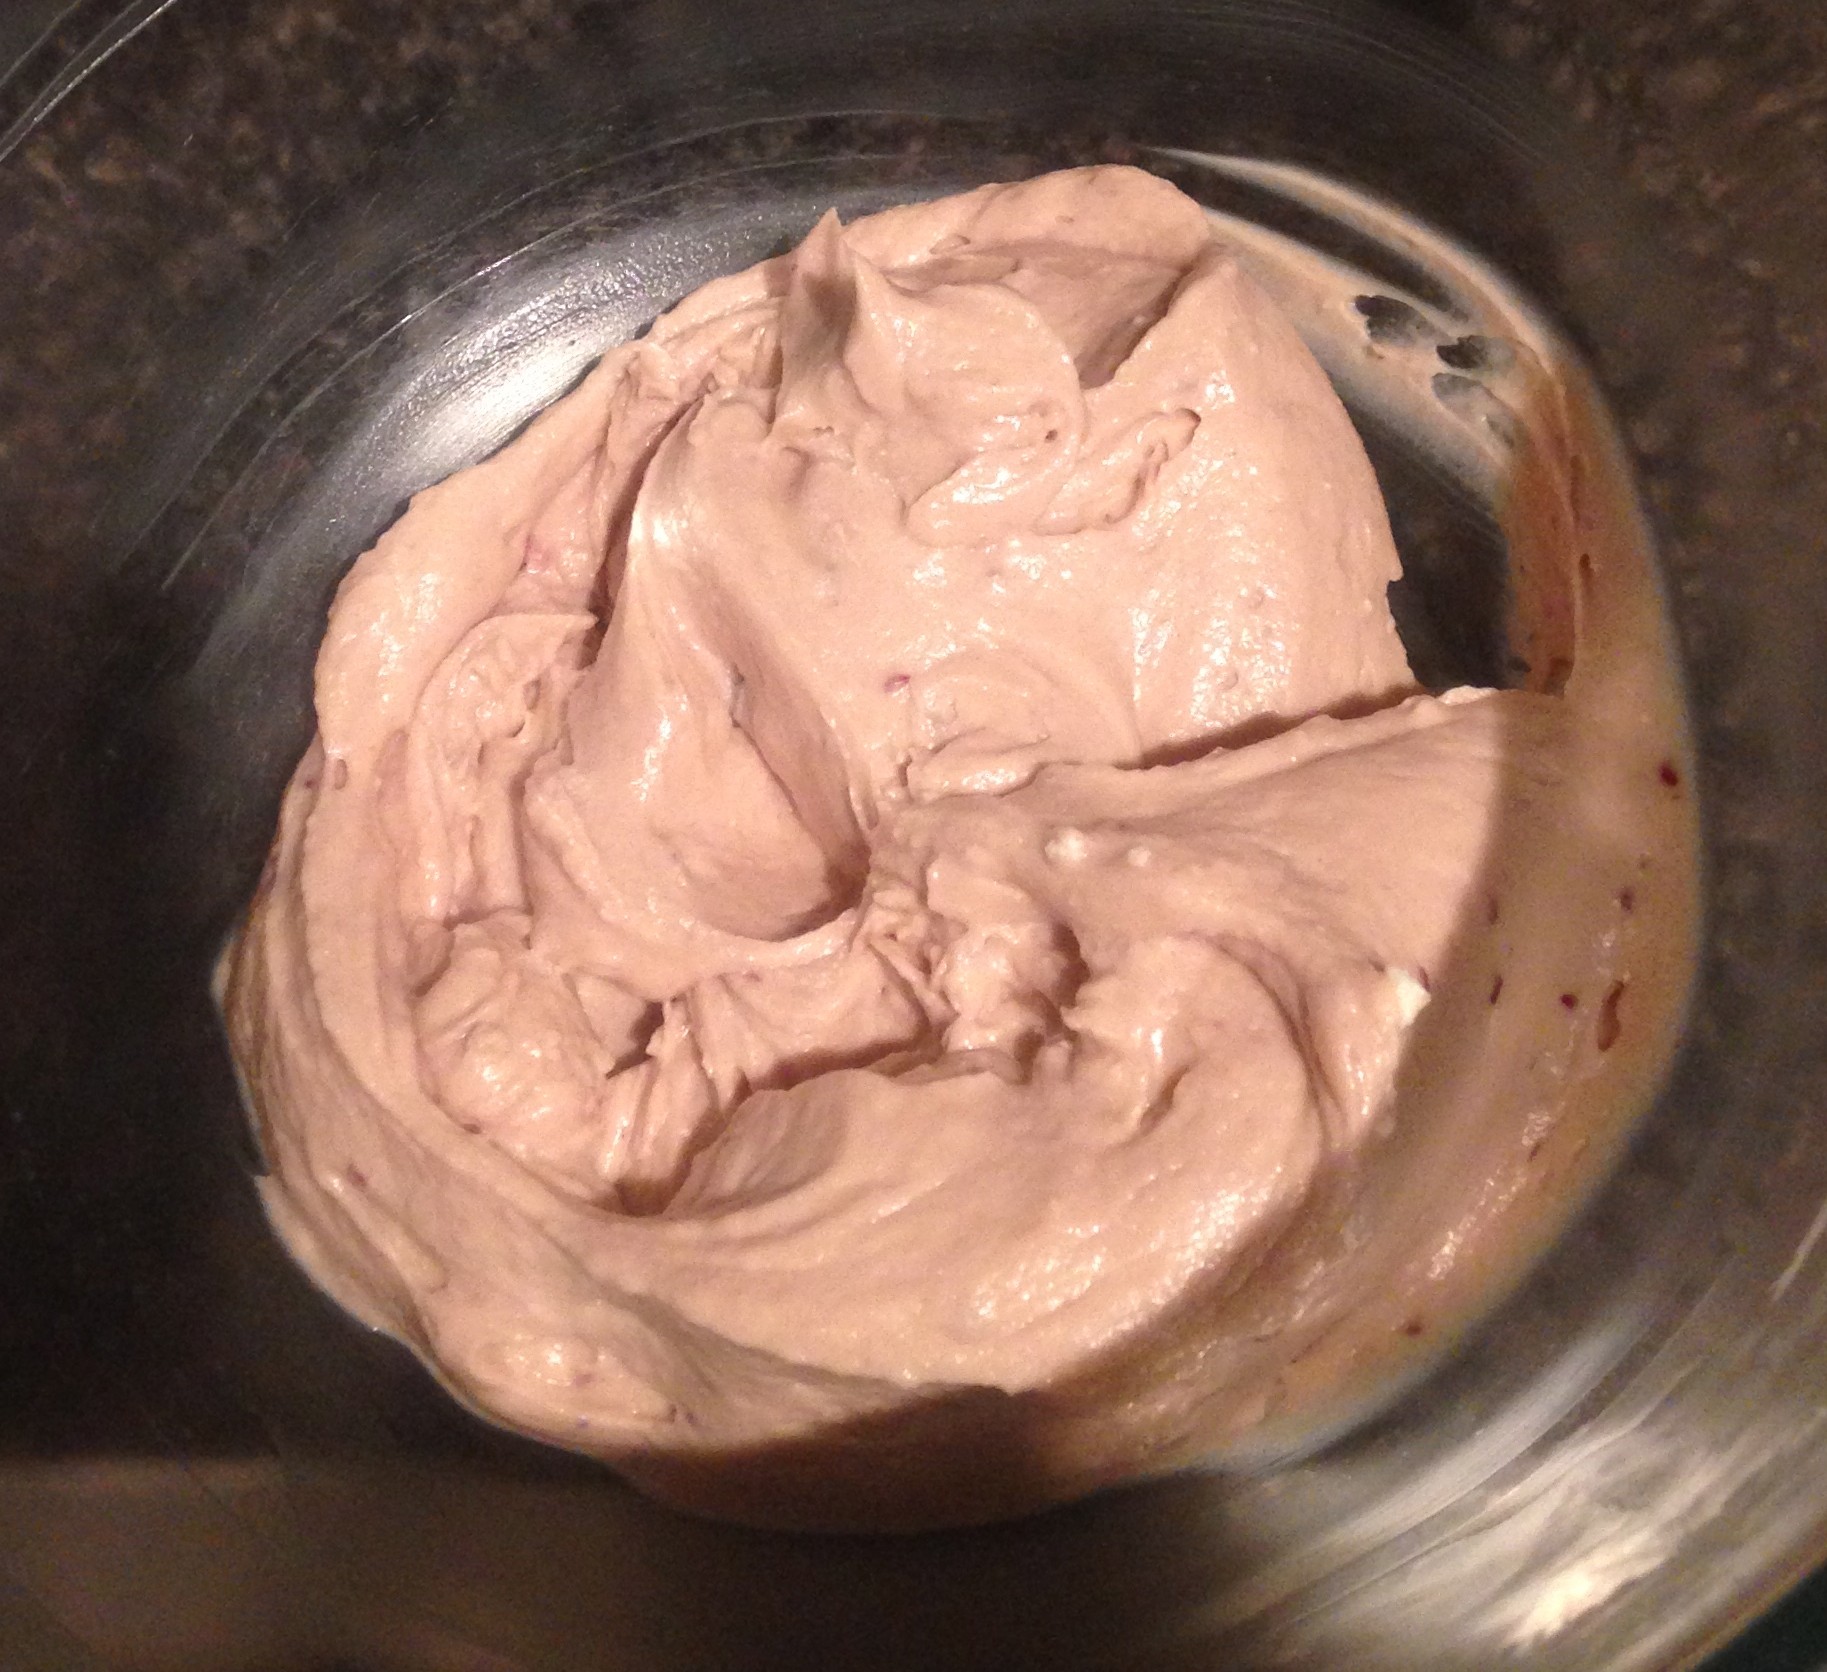
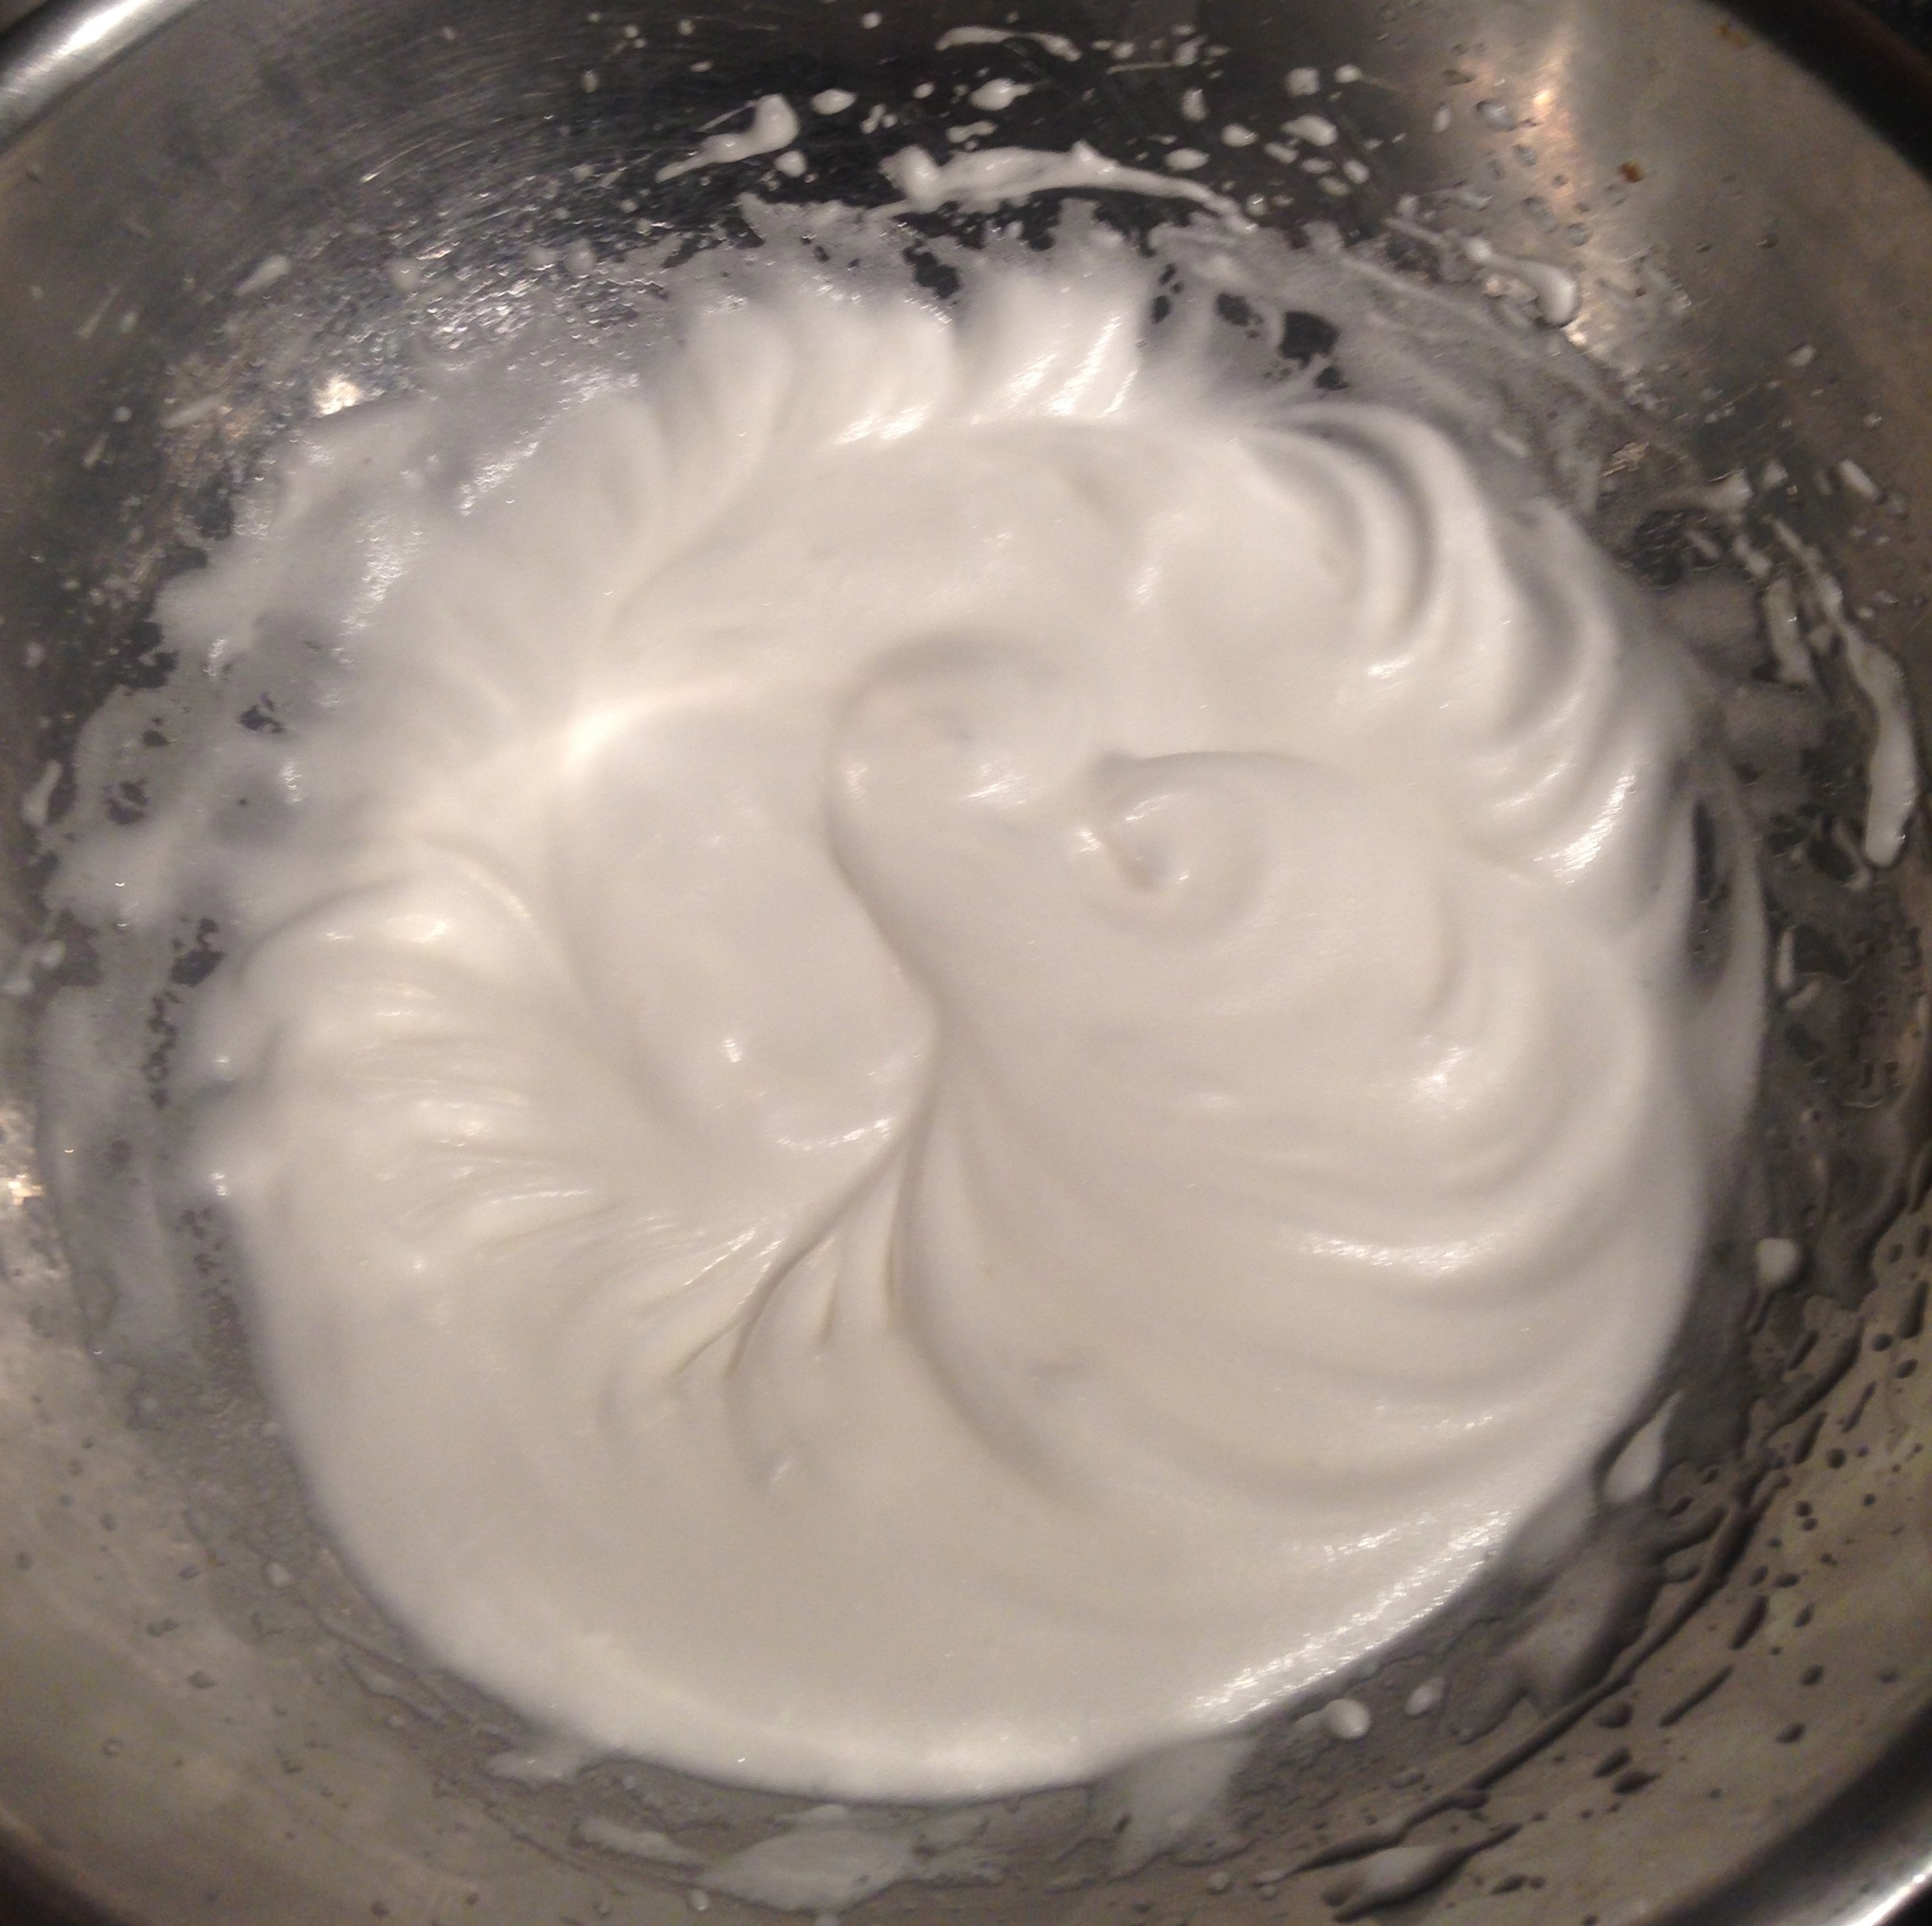
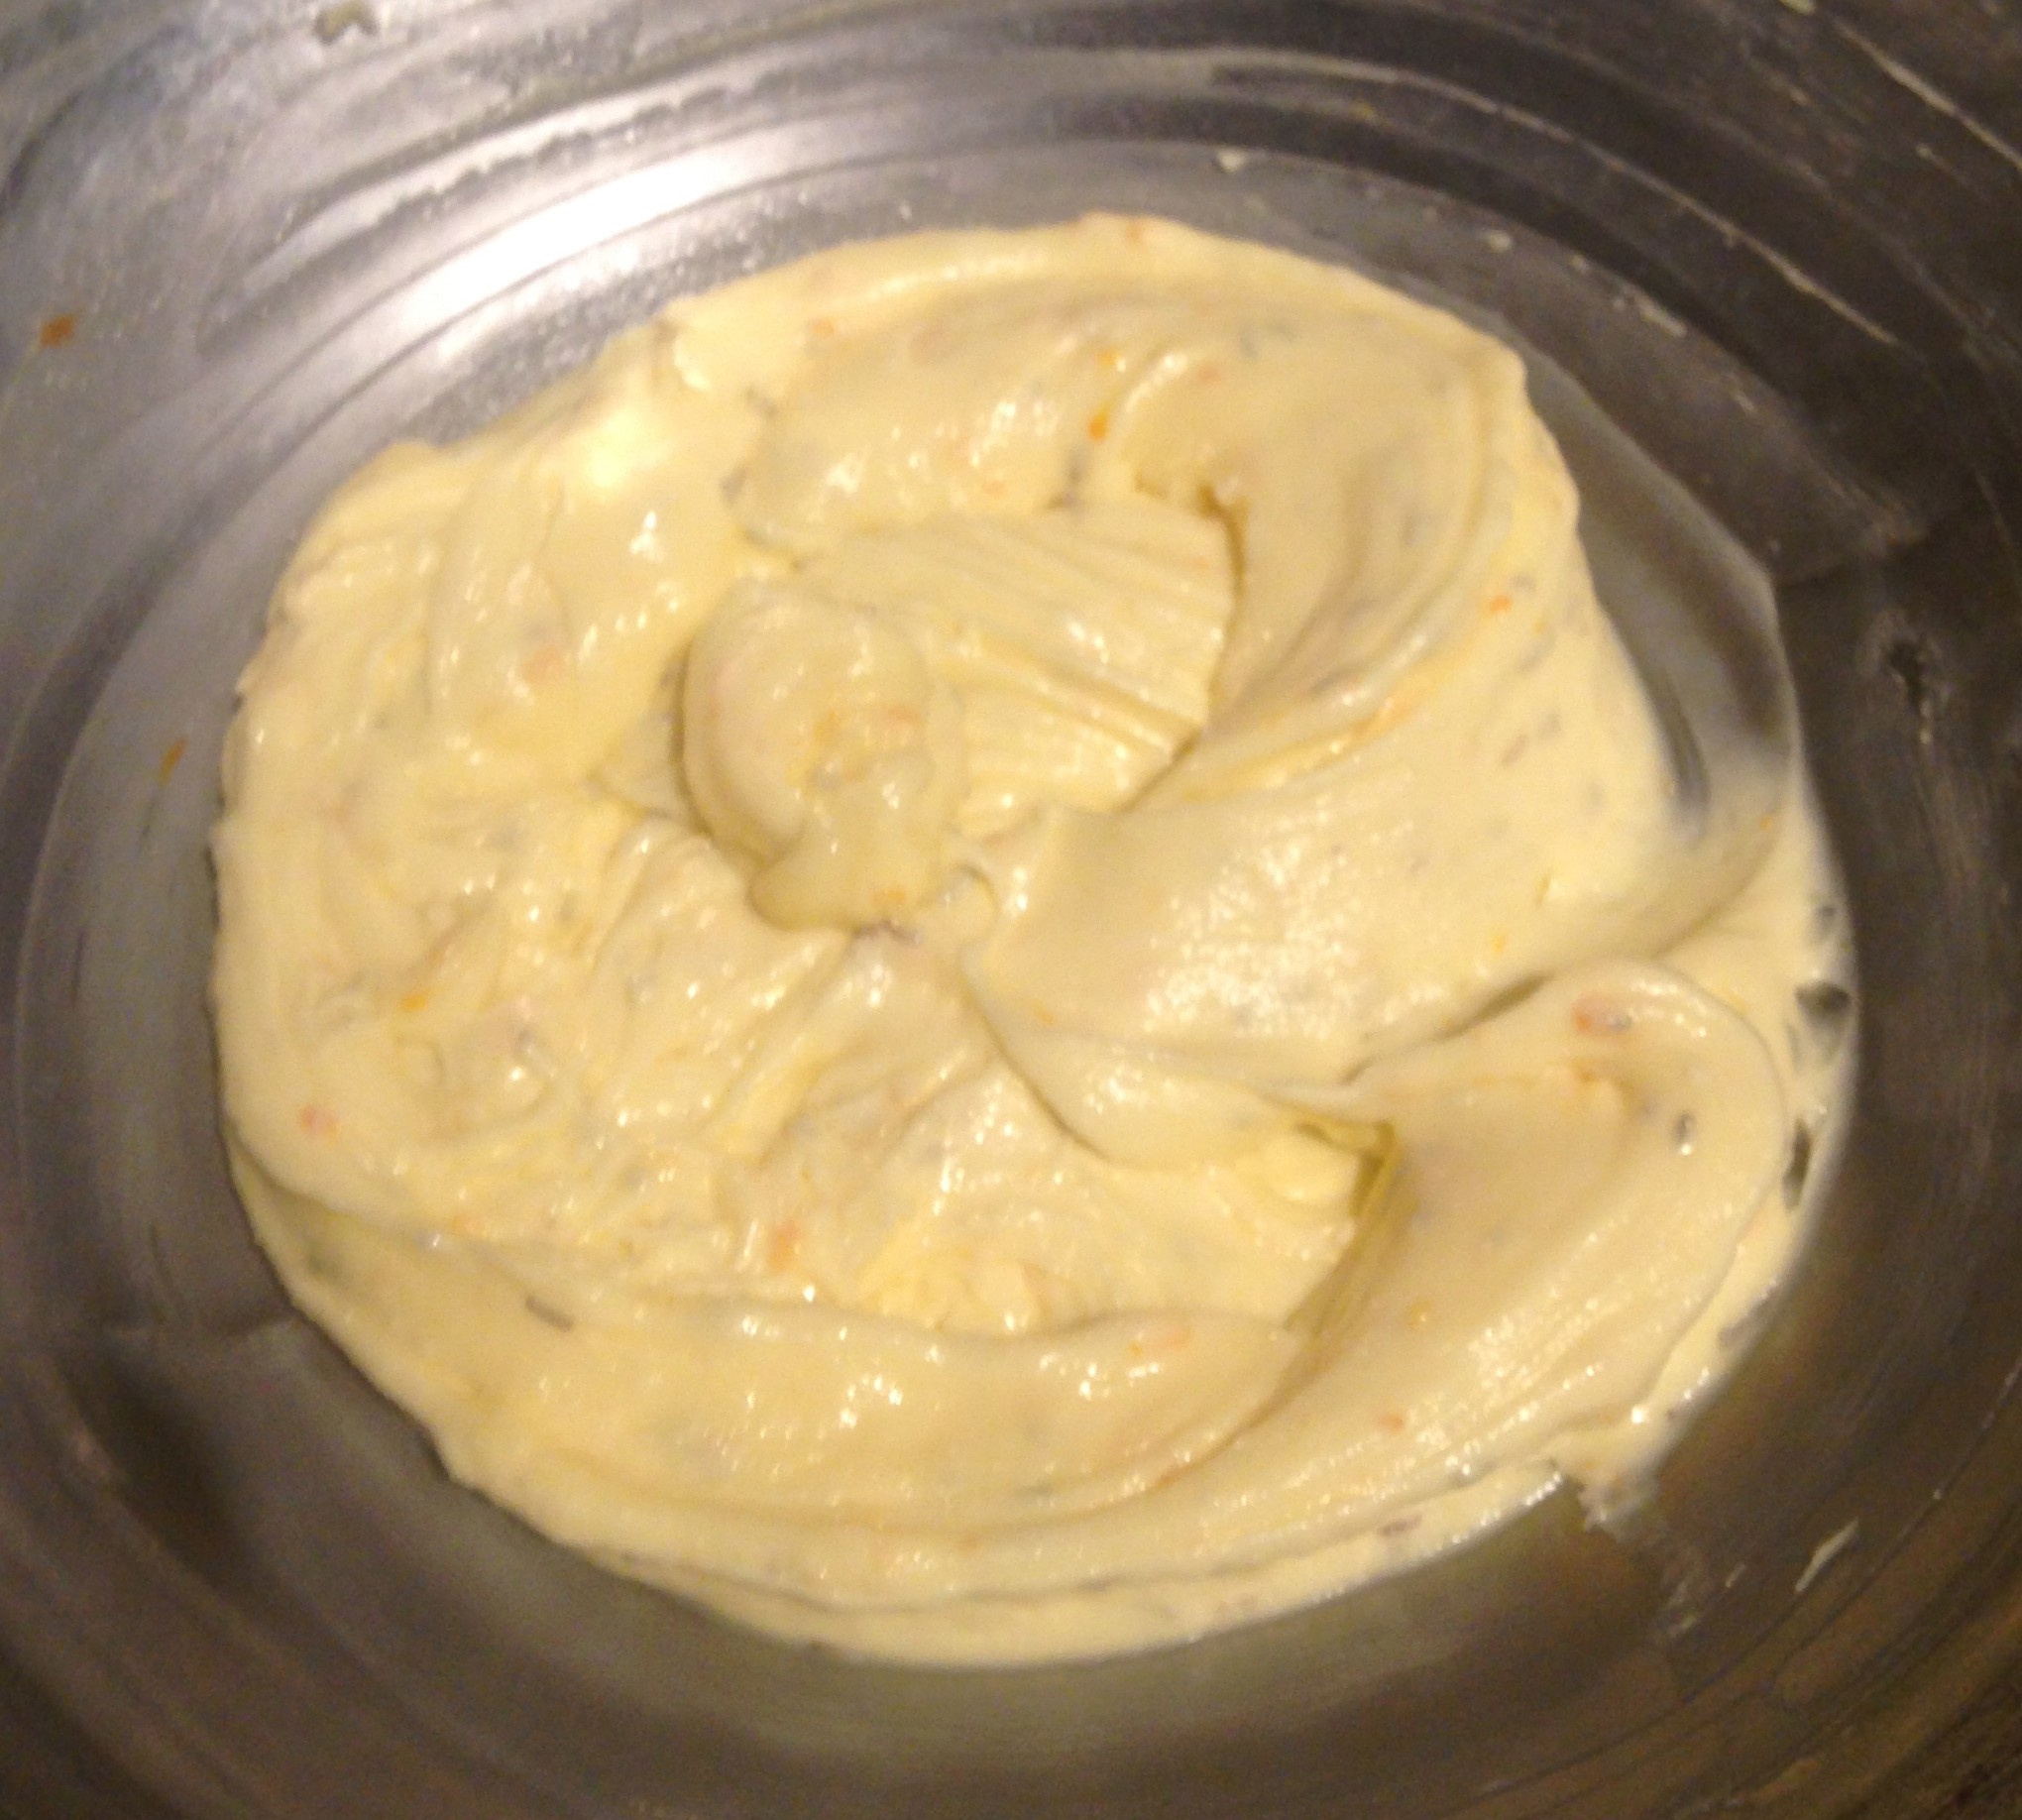
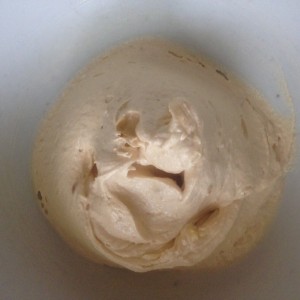
- Beat the butter and icing sugar for 2 minutes until light and fluffy.
- Add the cooled caramel and using the electric beaters again beat until well combine and fluffy.
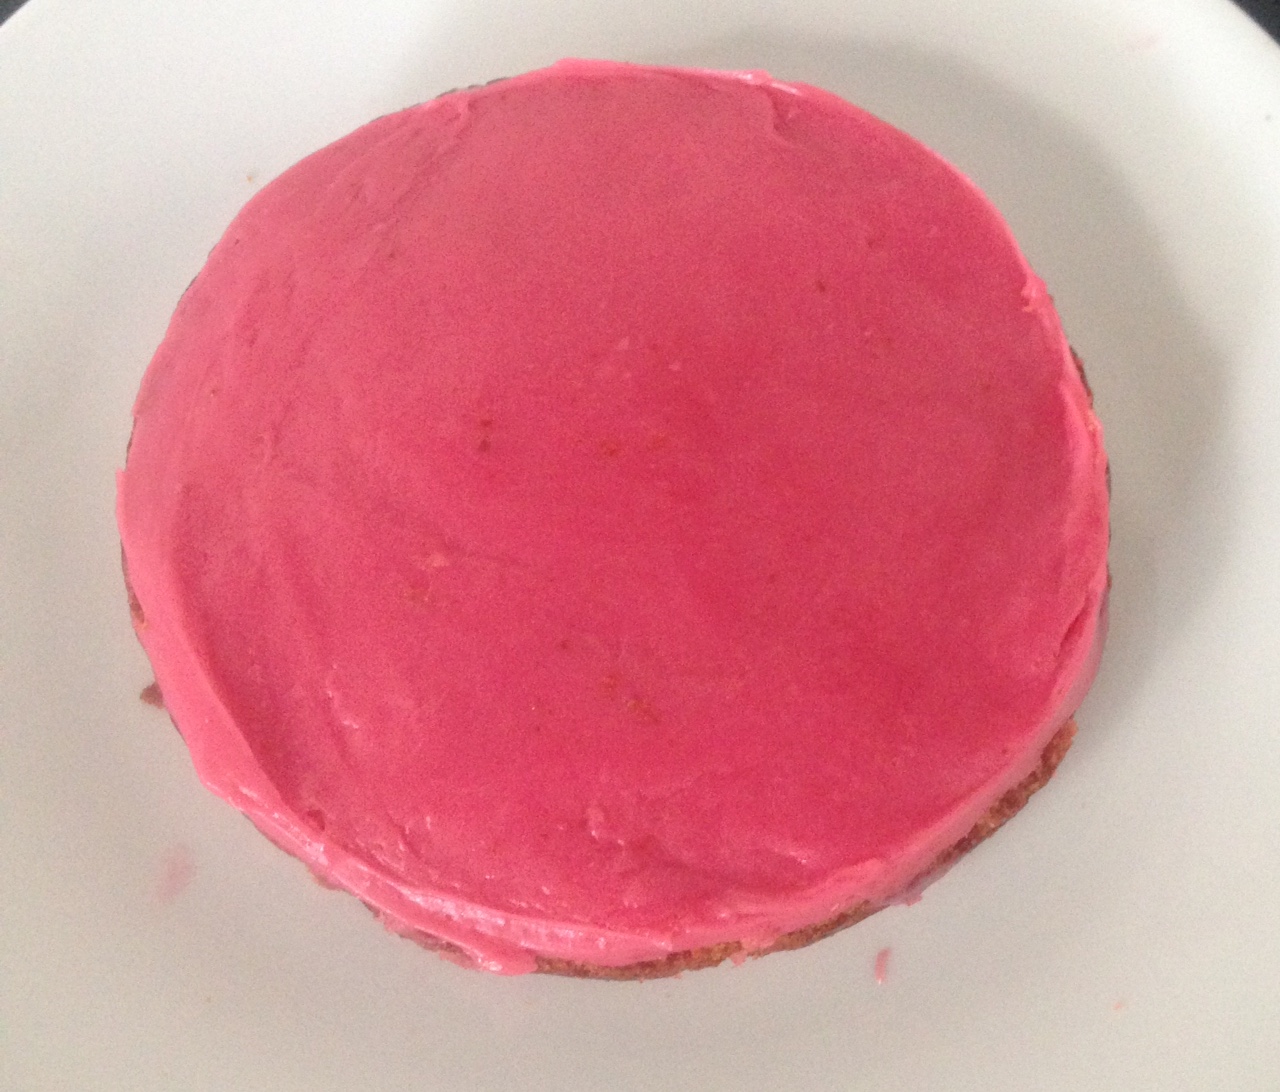
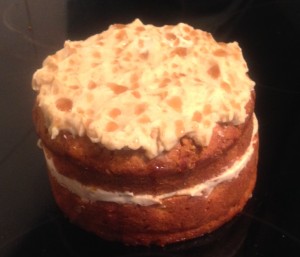
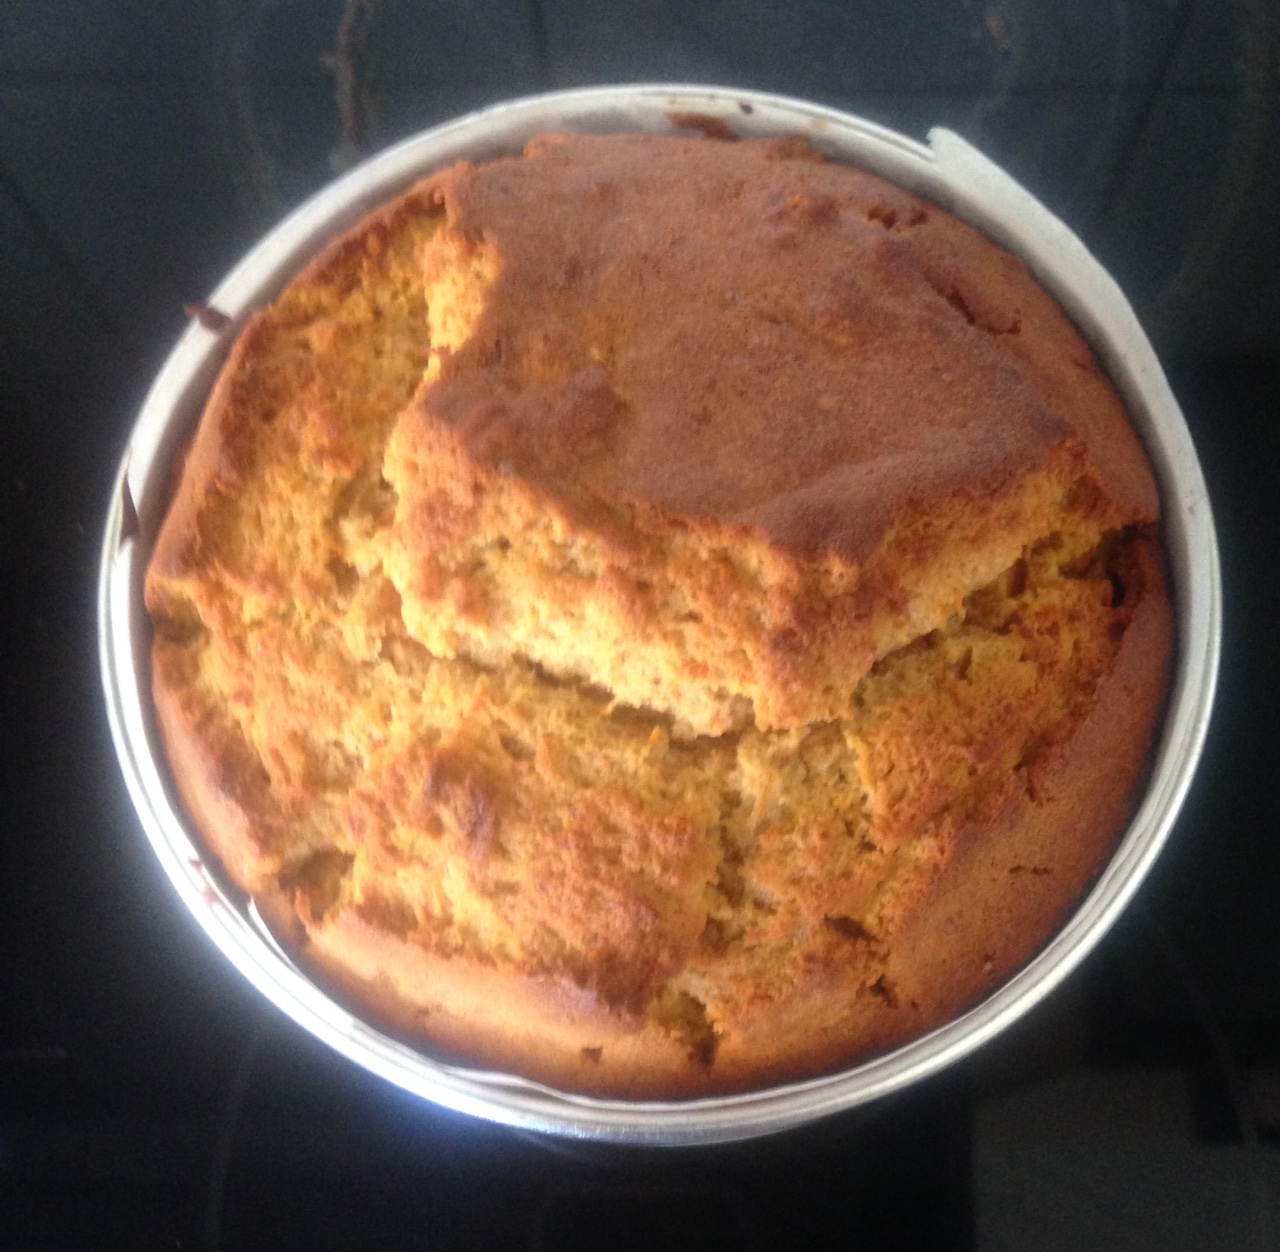
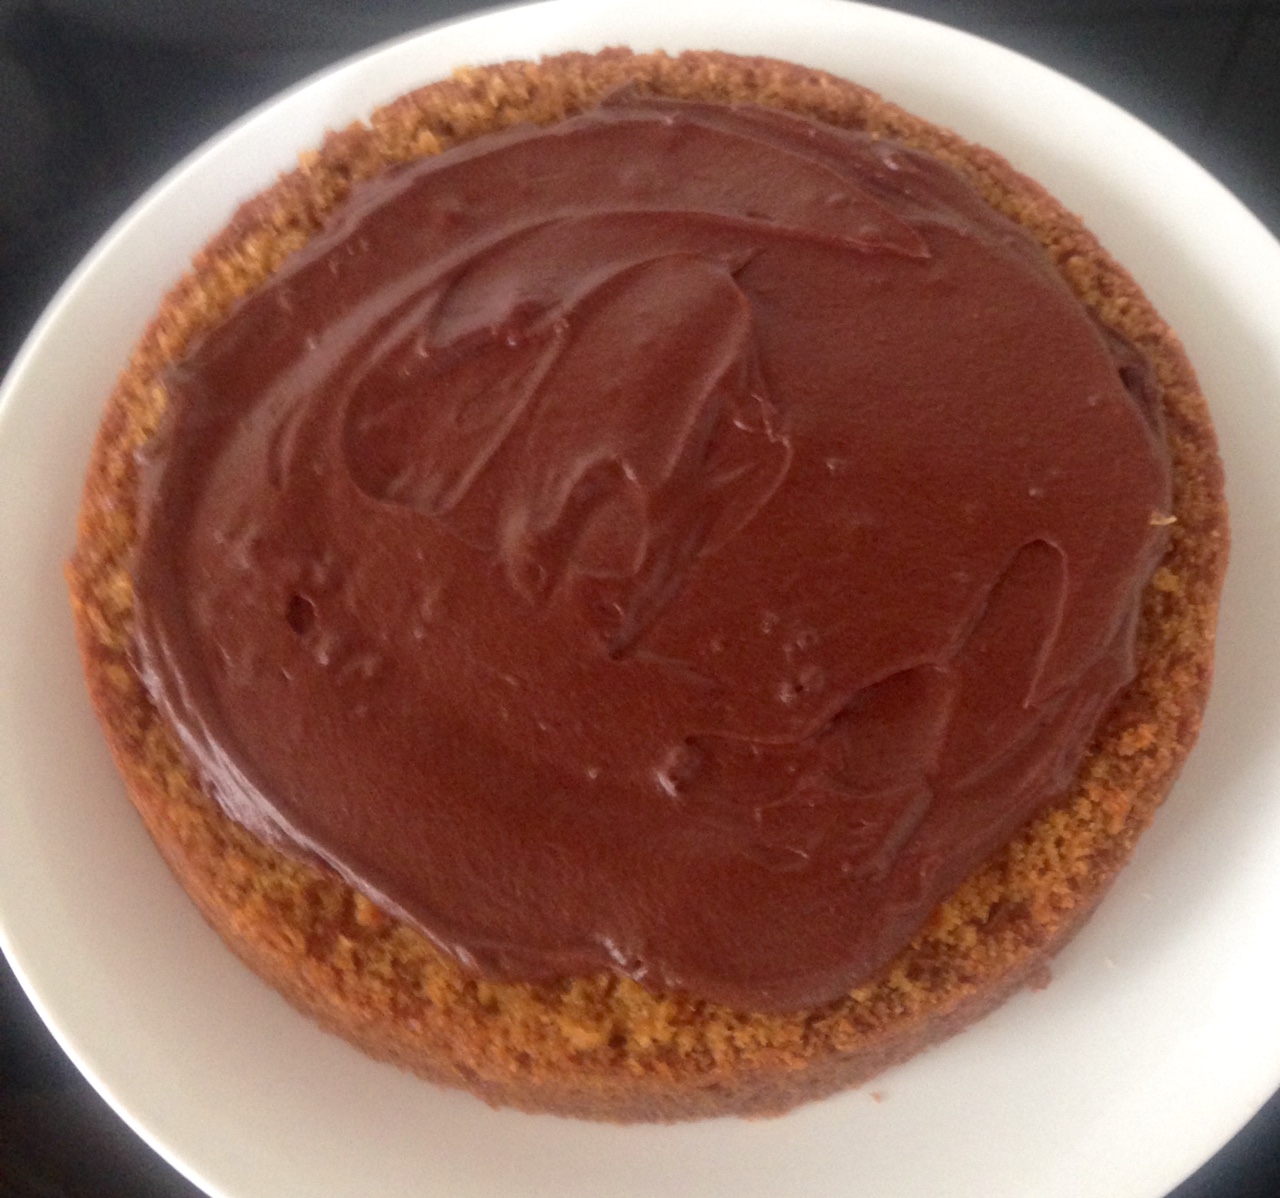
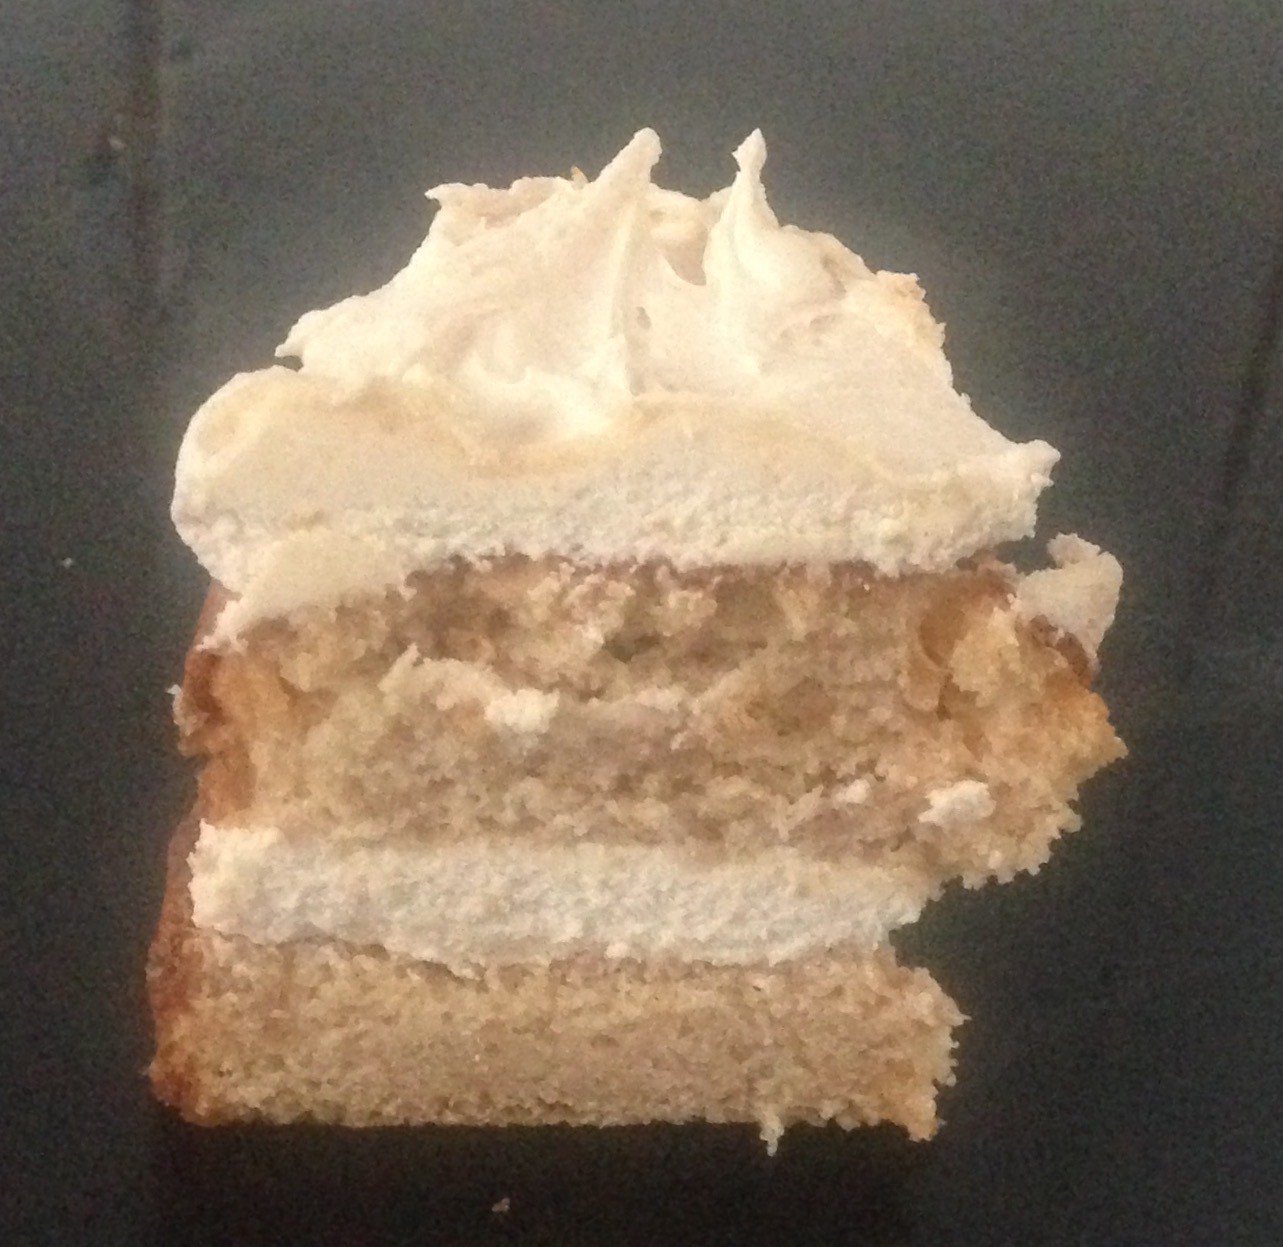
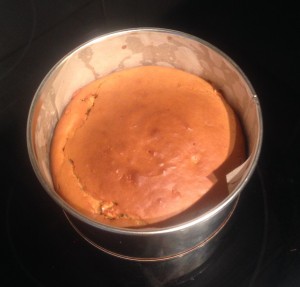
- Once the cake is cooked leave in the tin for 5 minutes then on a cooling rack.
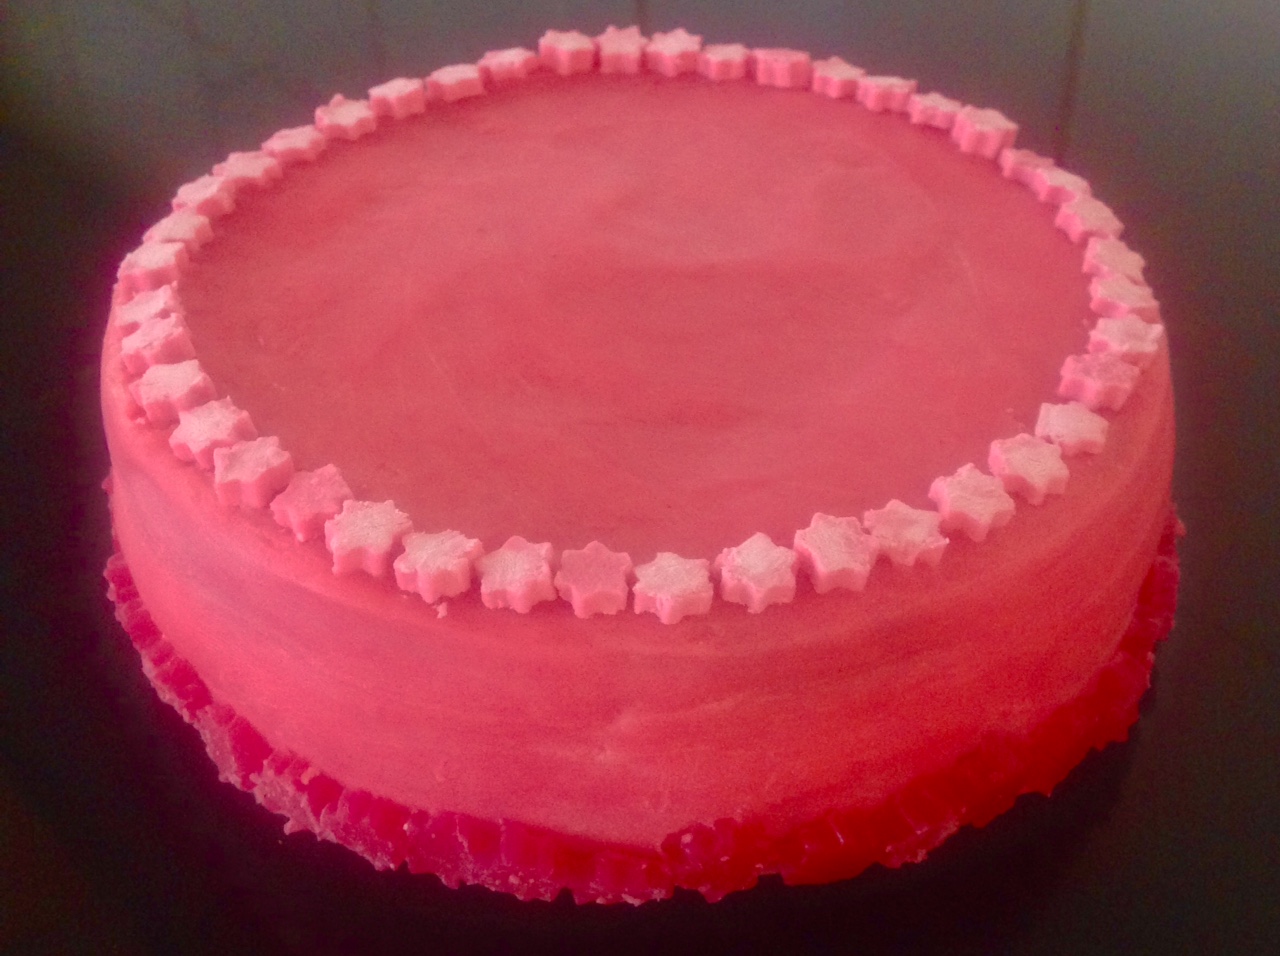
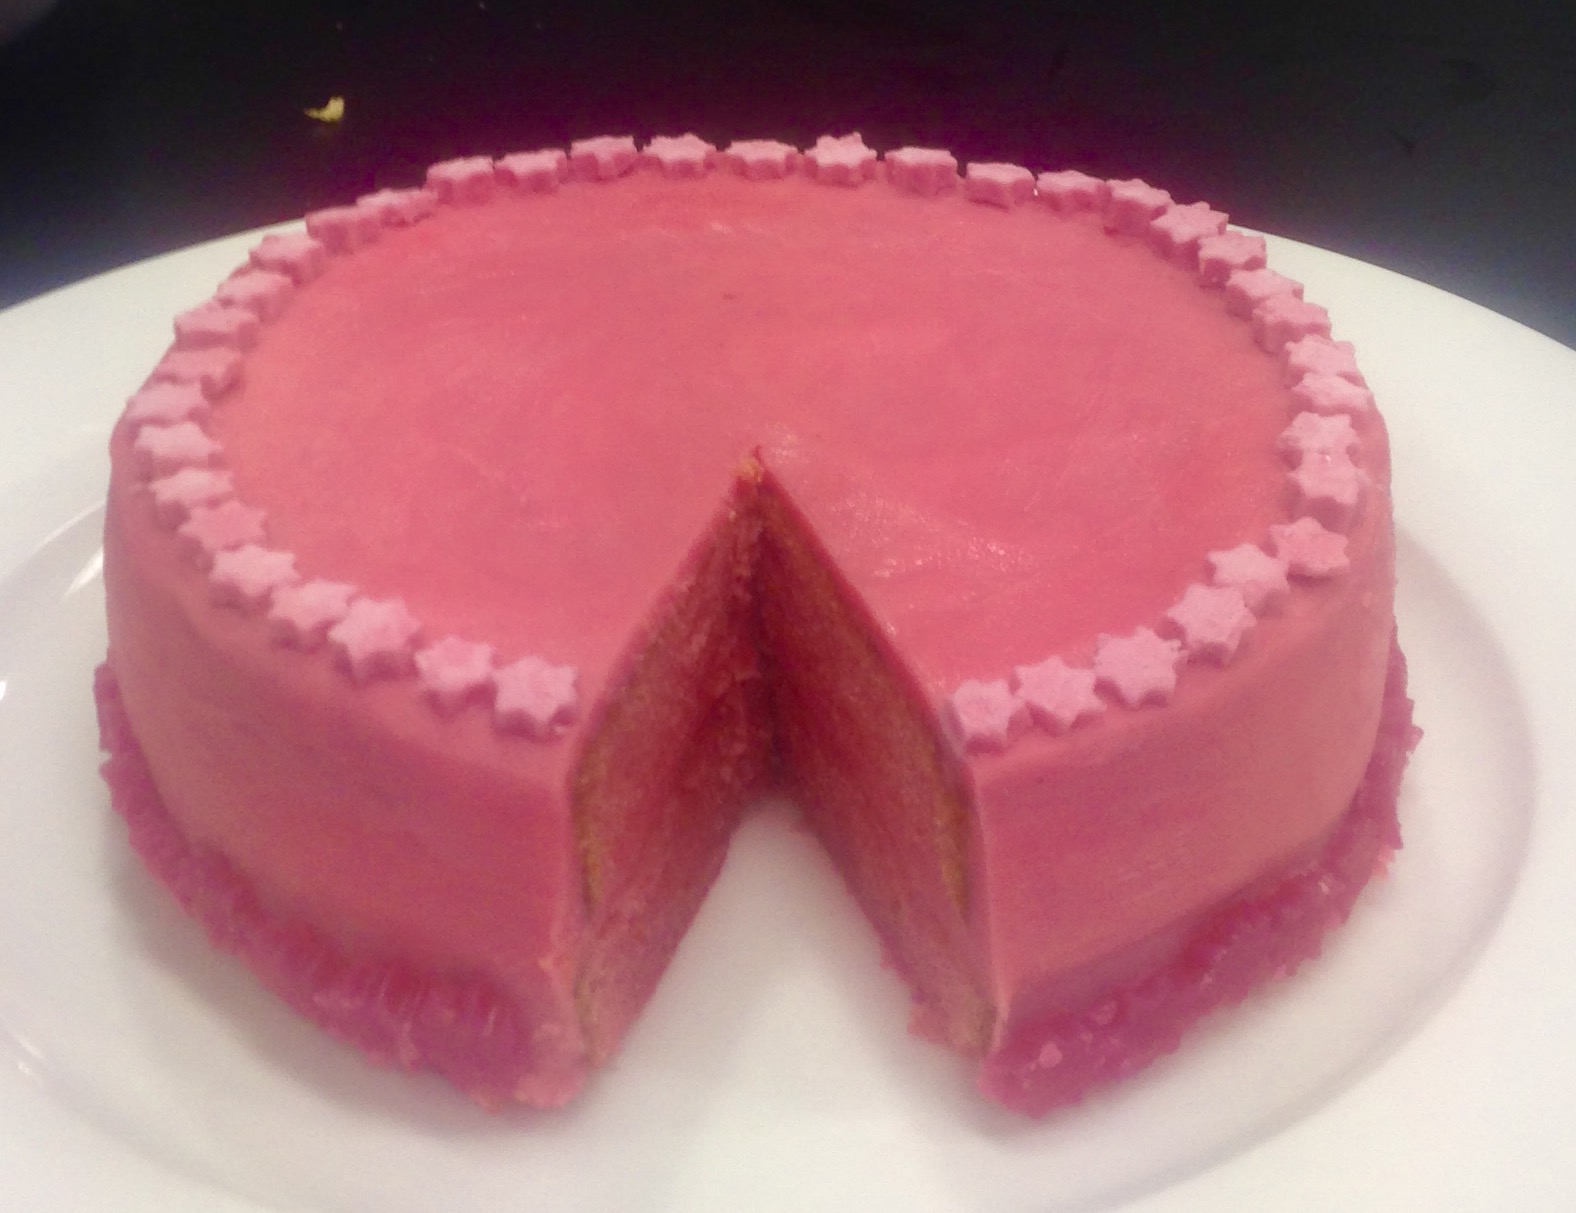
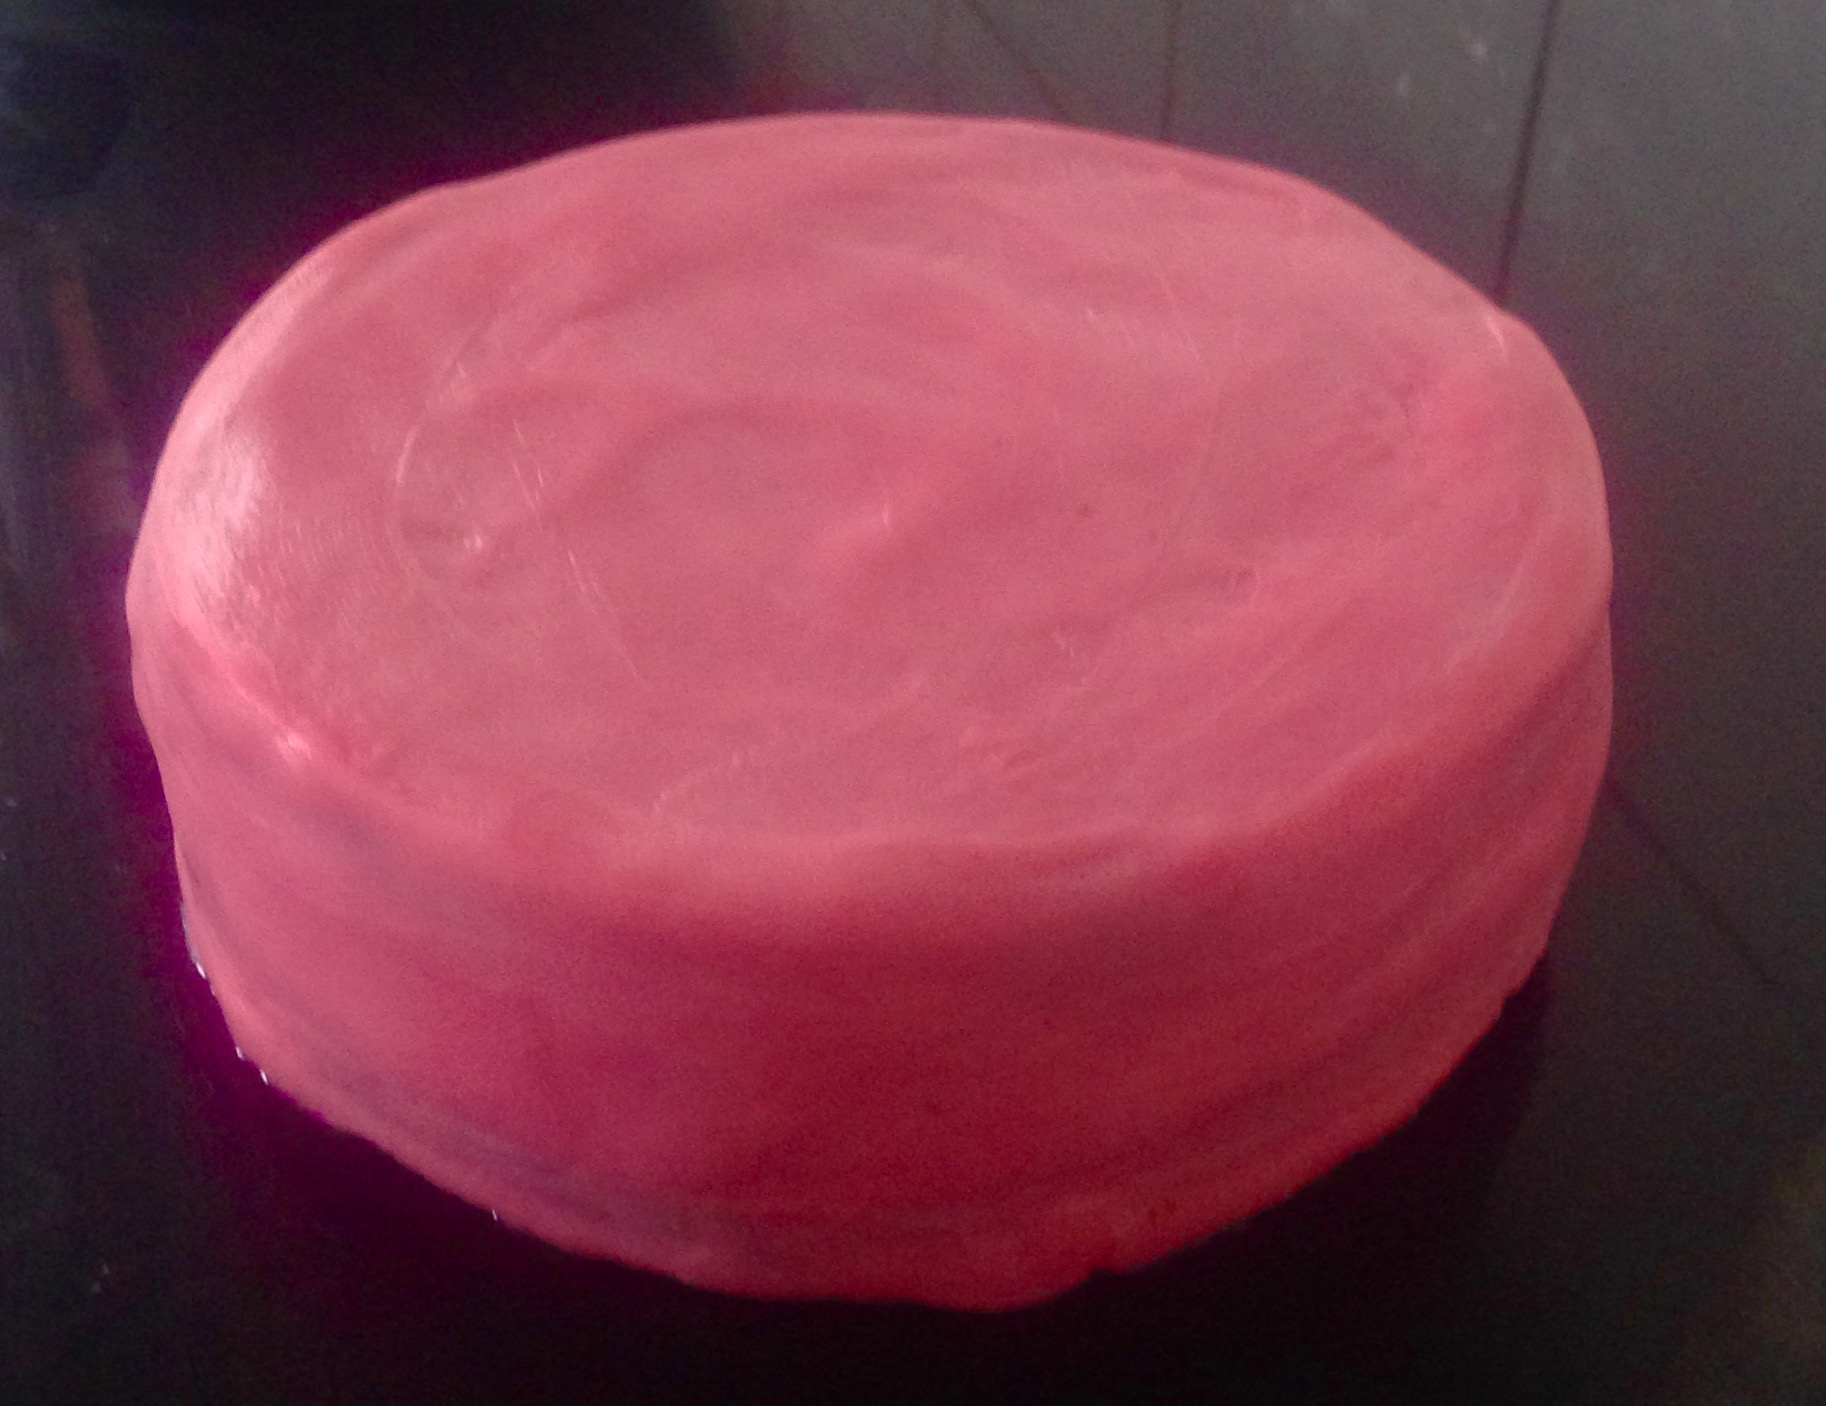
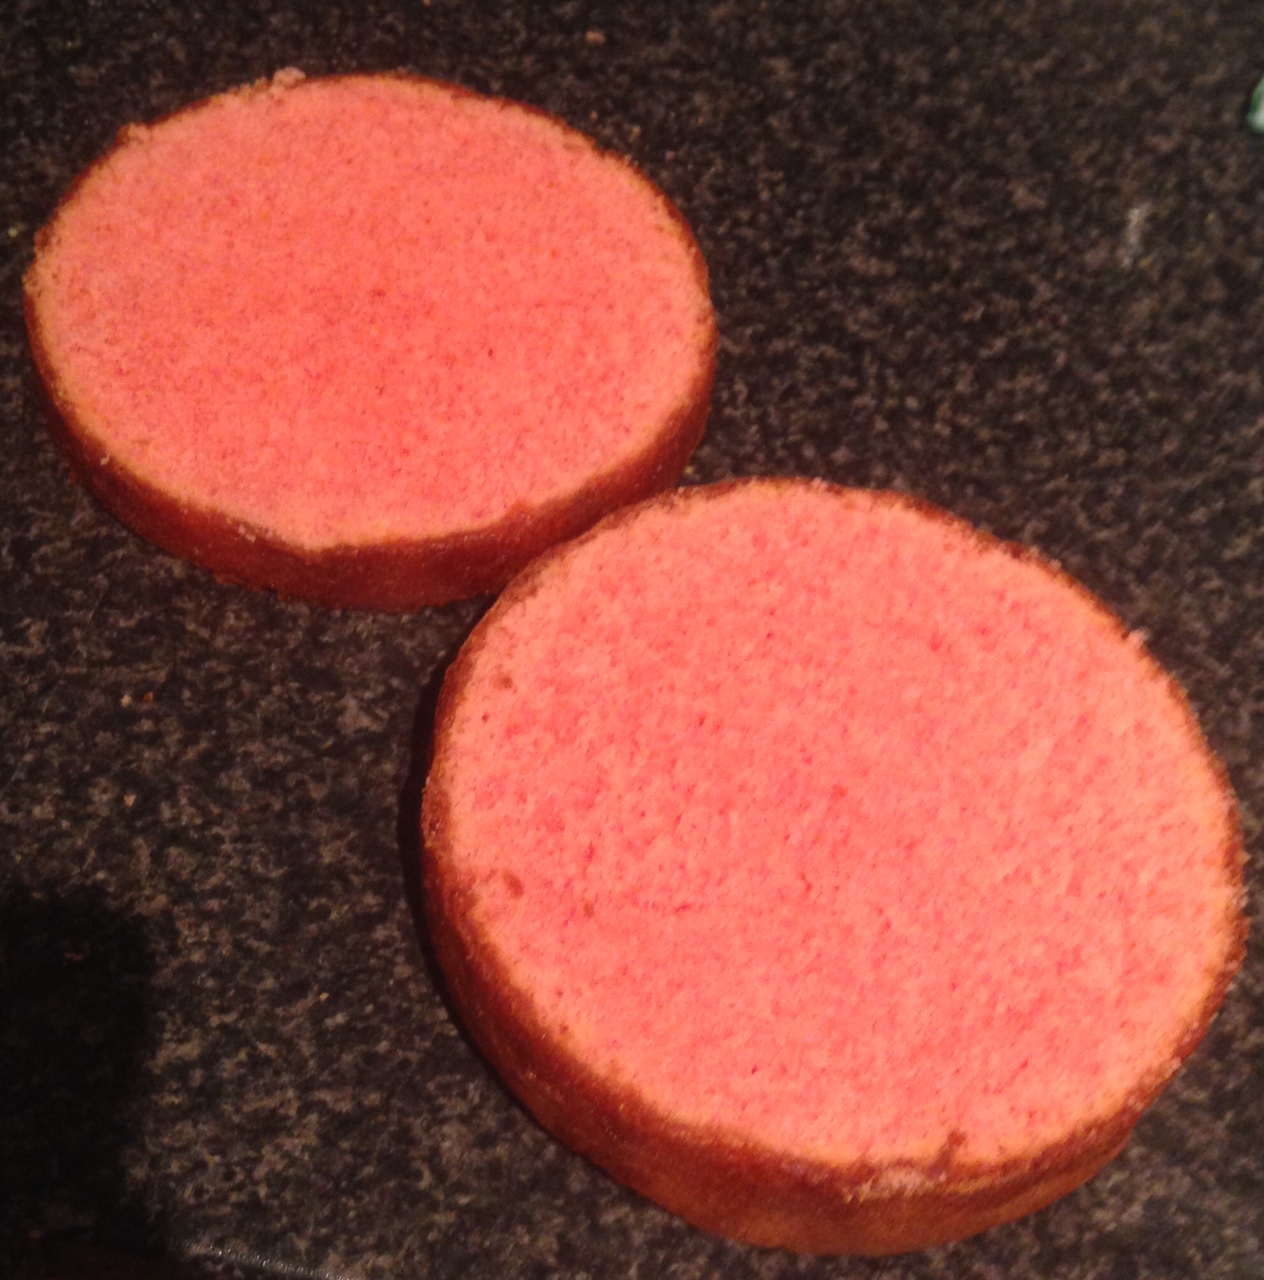
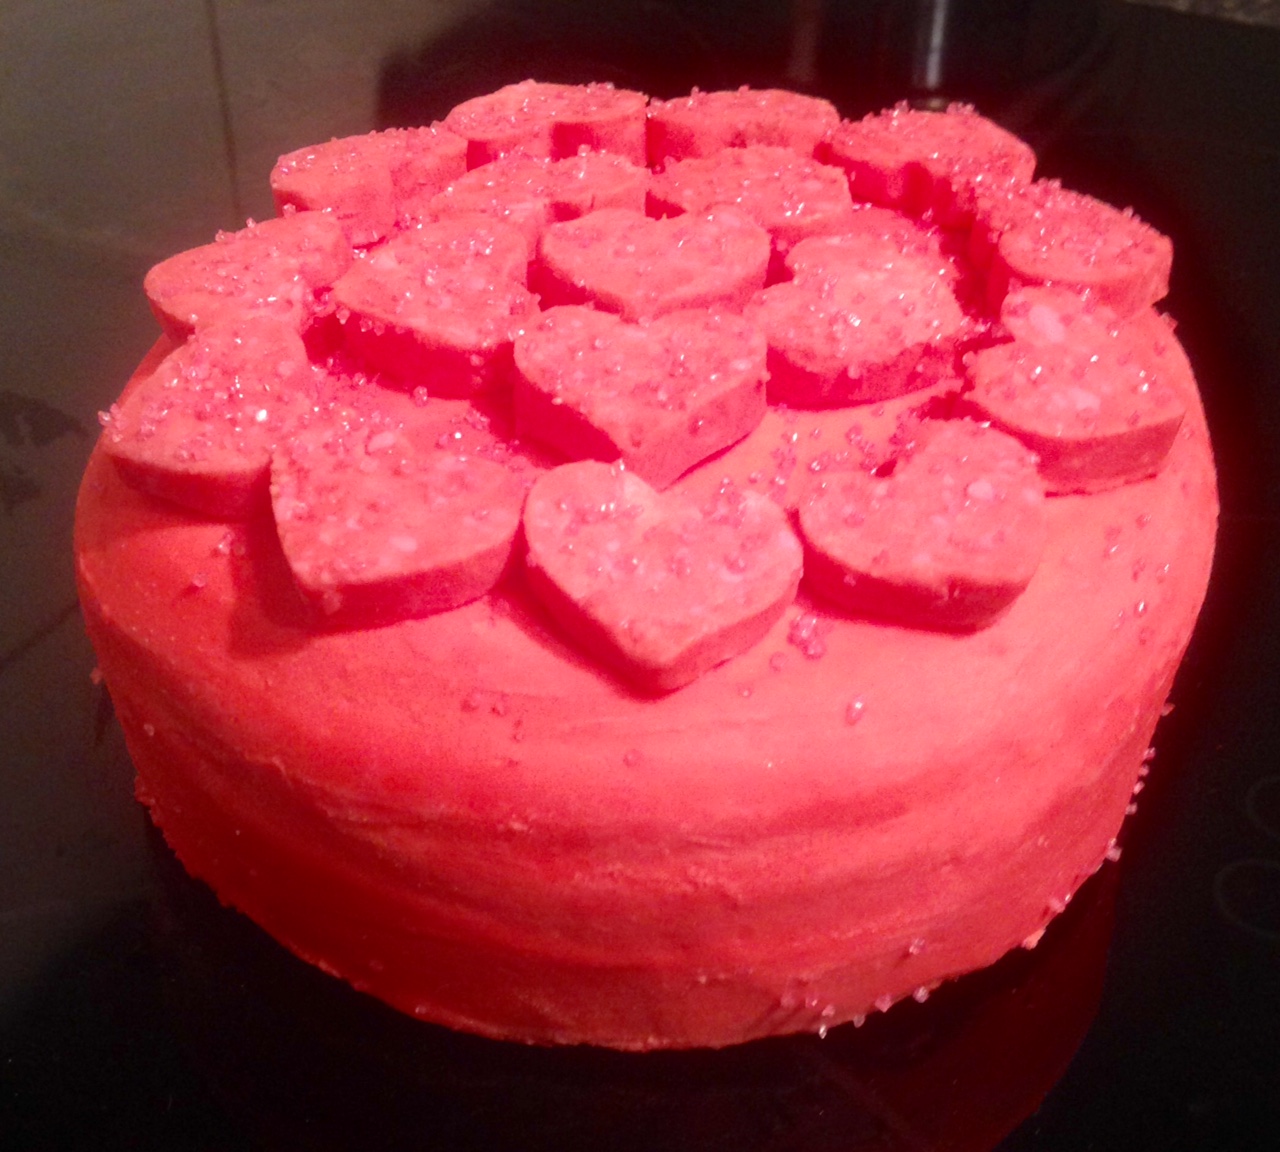
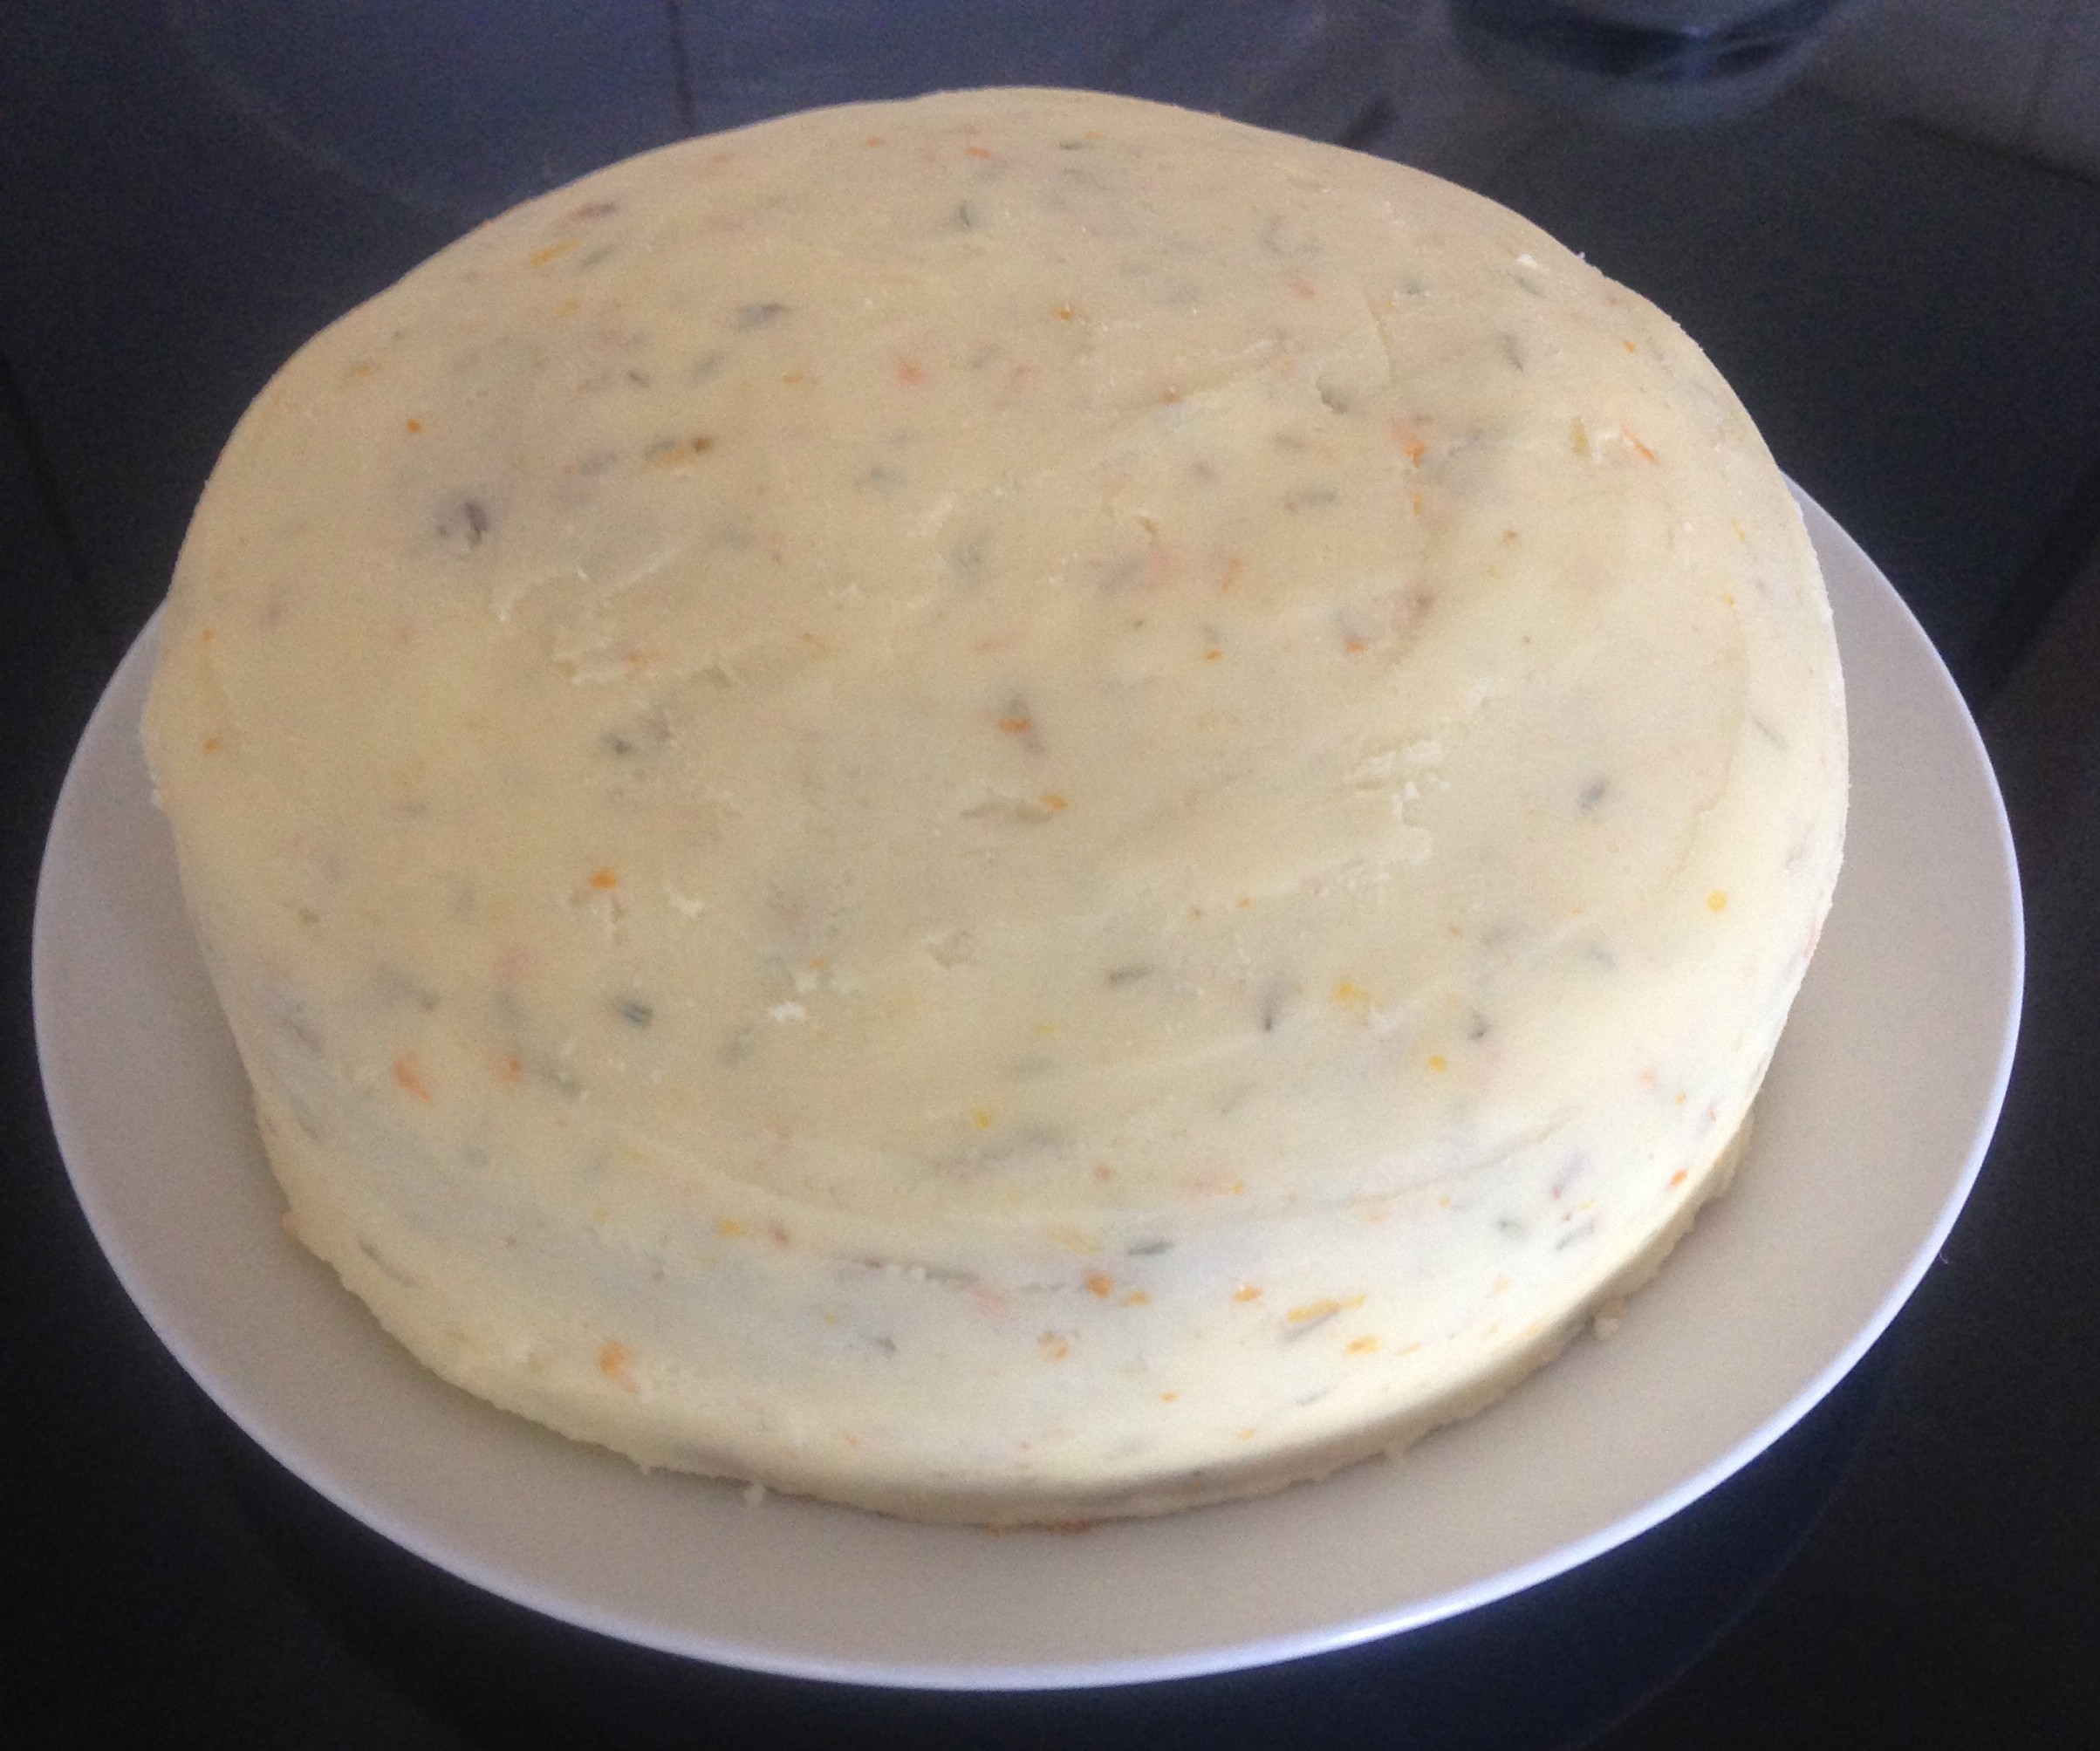
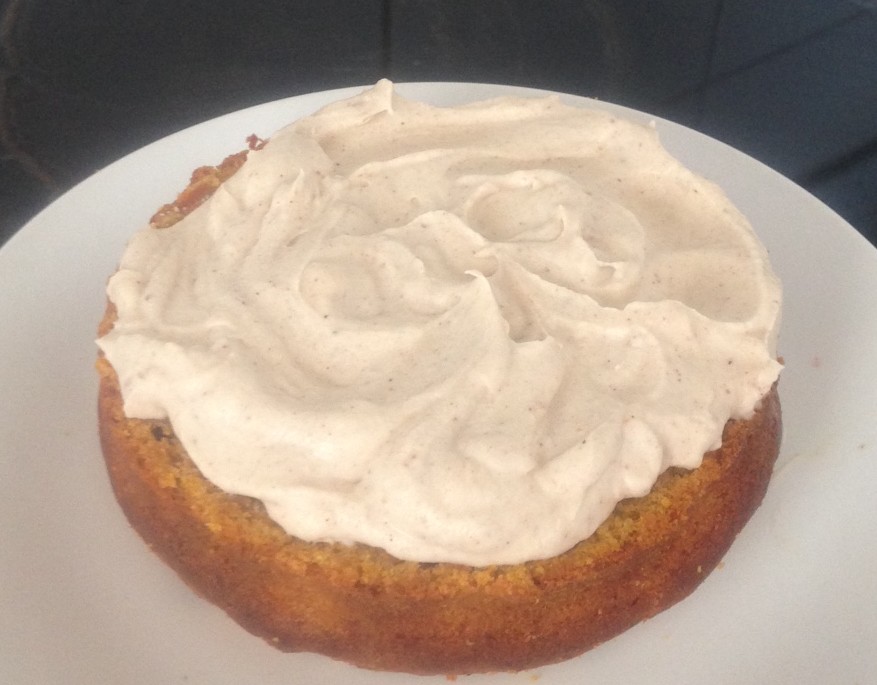
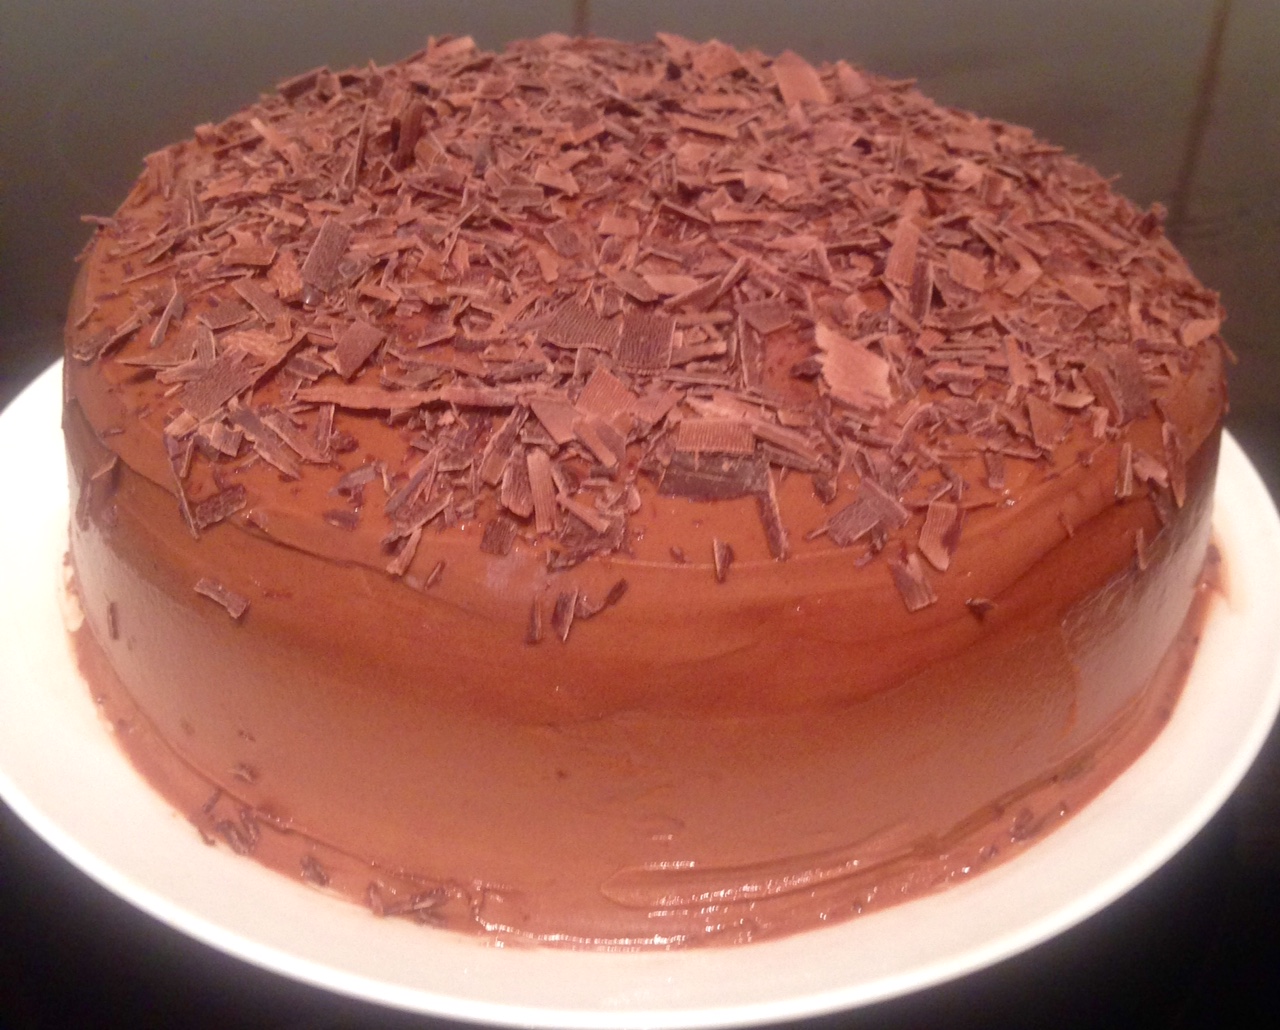
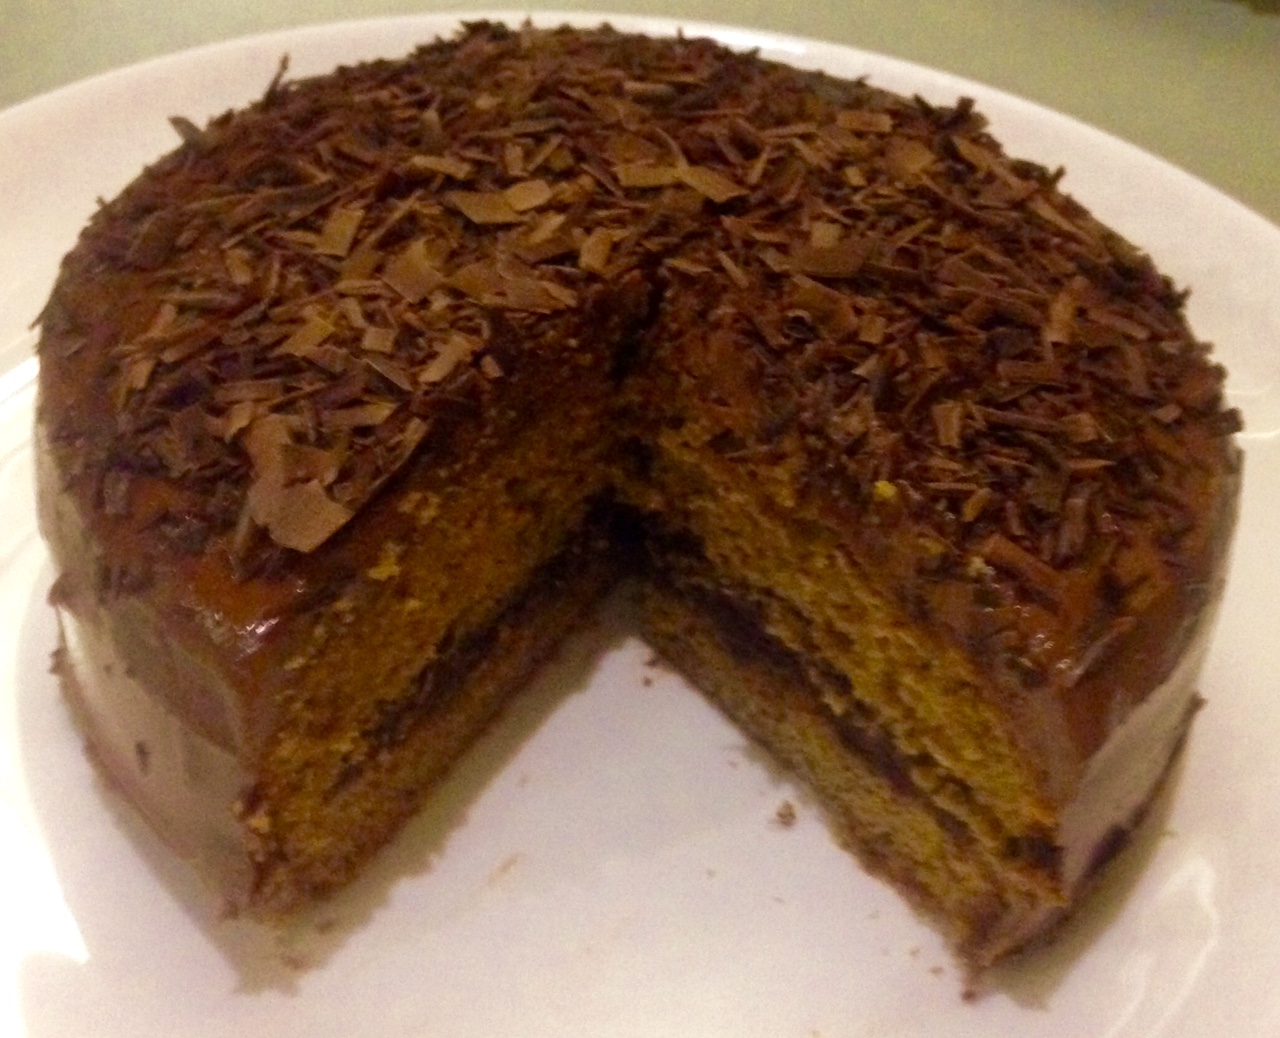
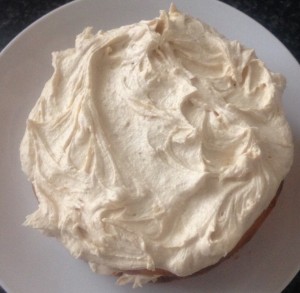
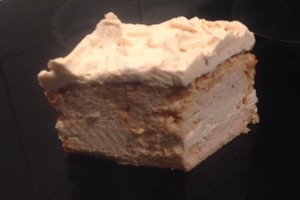
- Once the cake is cooled cut in half horizontally and top each cake layer with the icing.
- Place one layer on top of the other and enjoy.
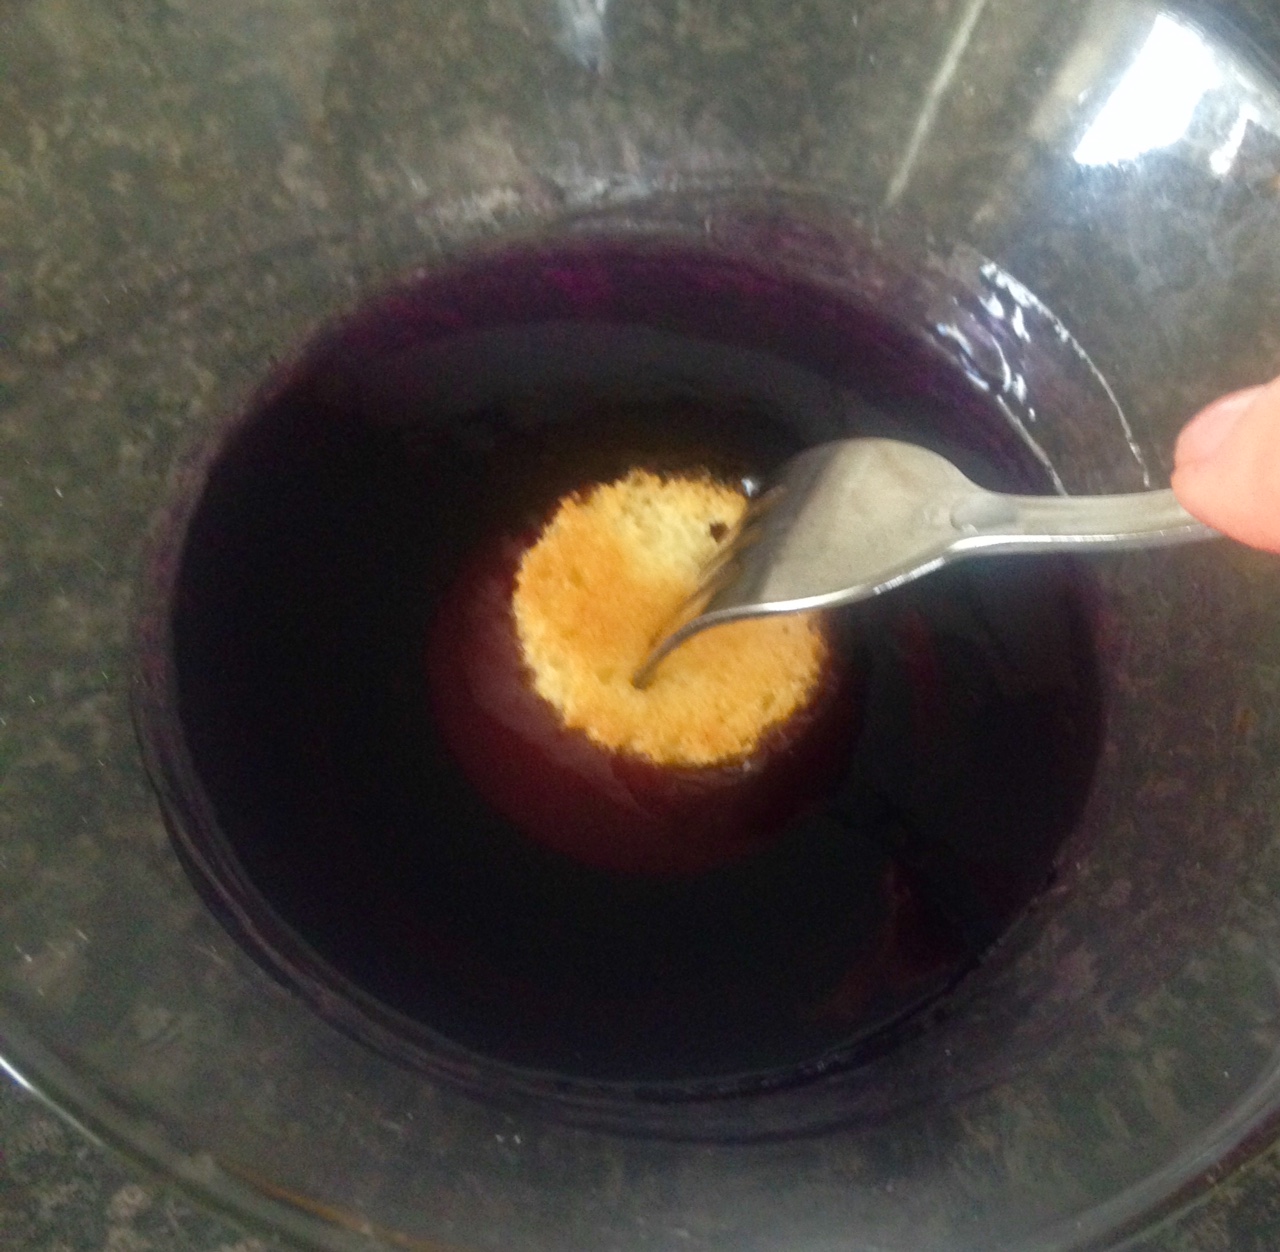
- Step 4

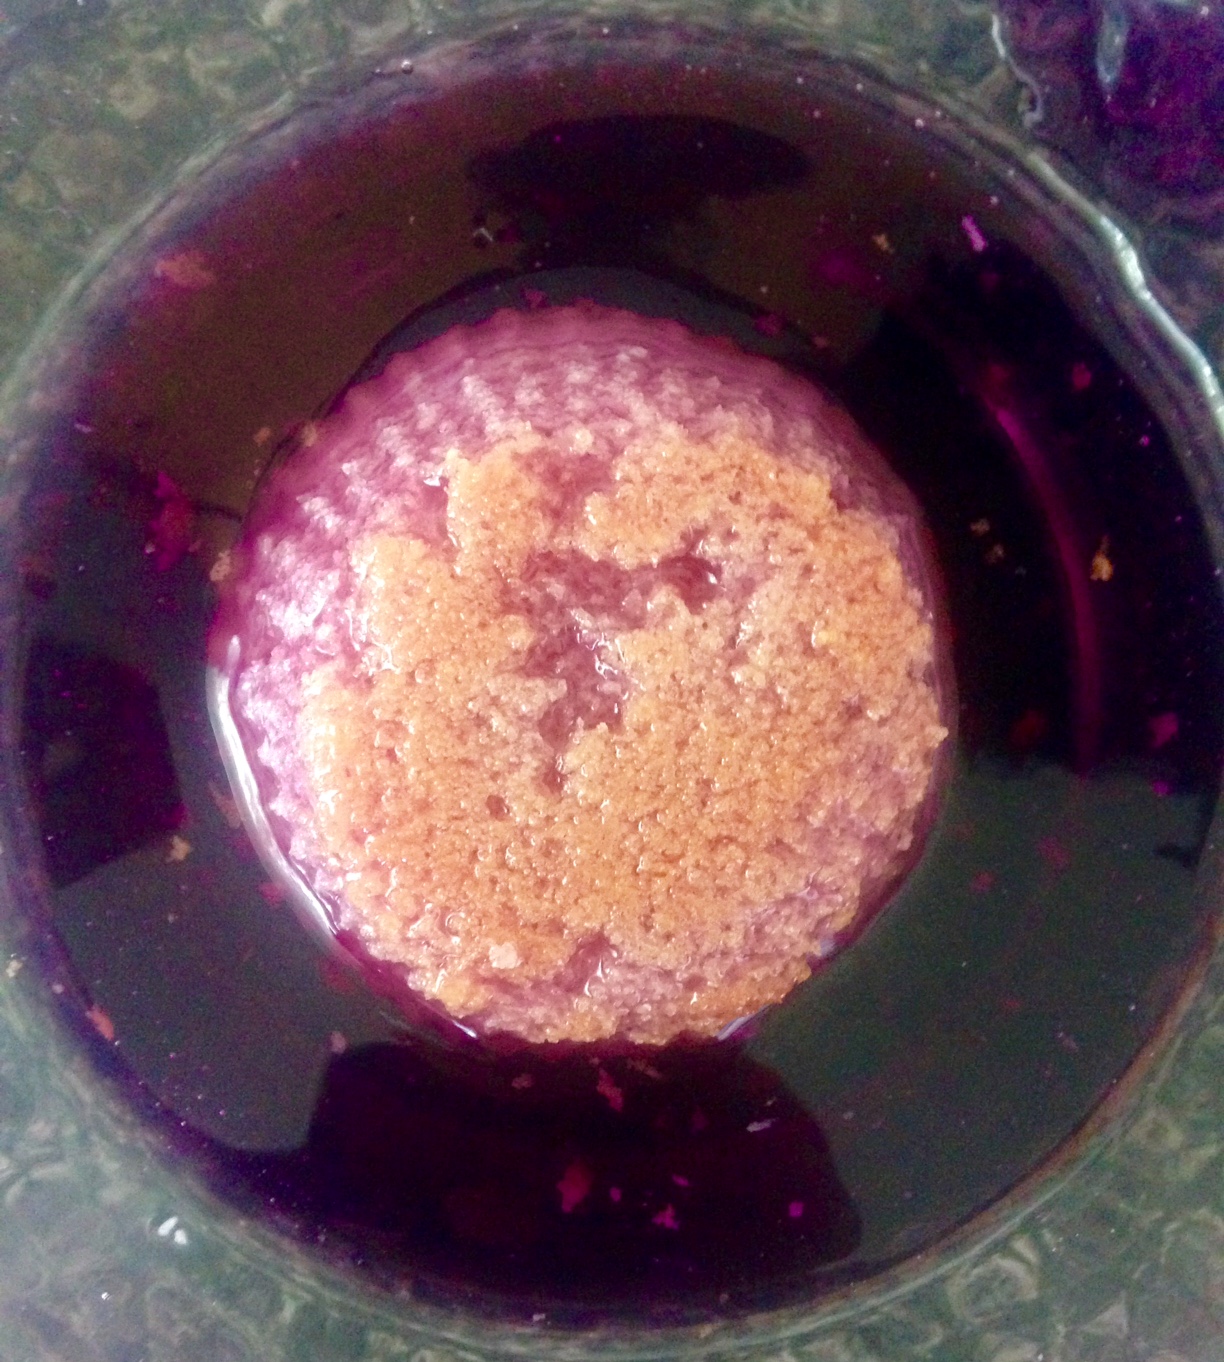
Step 5
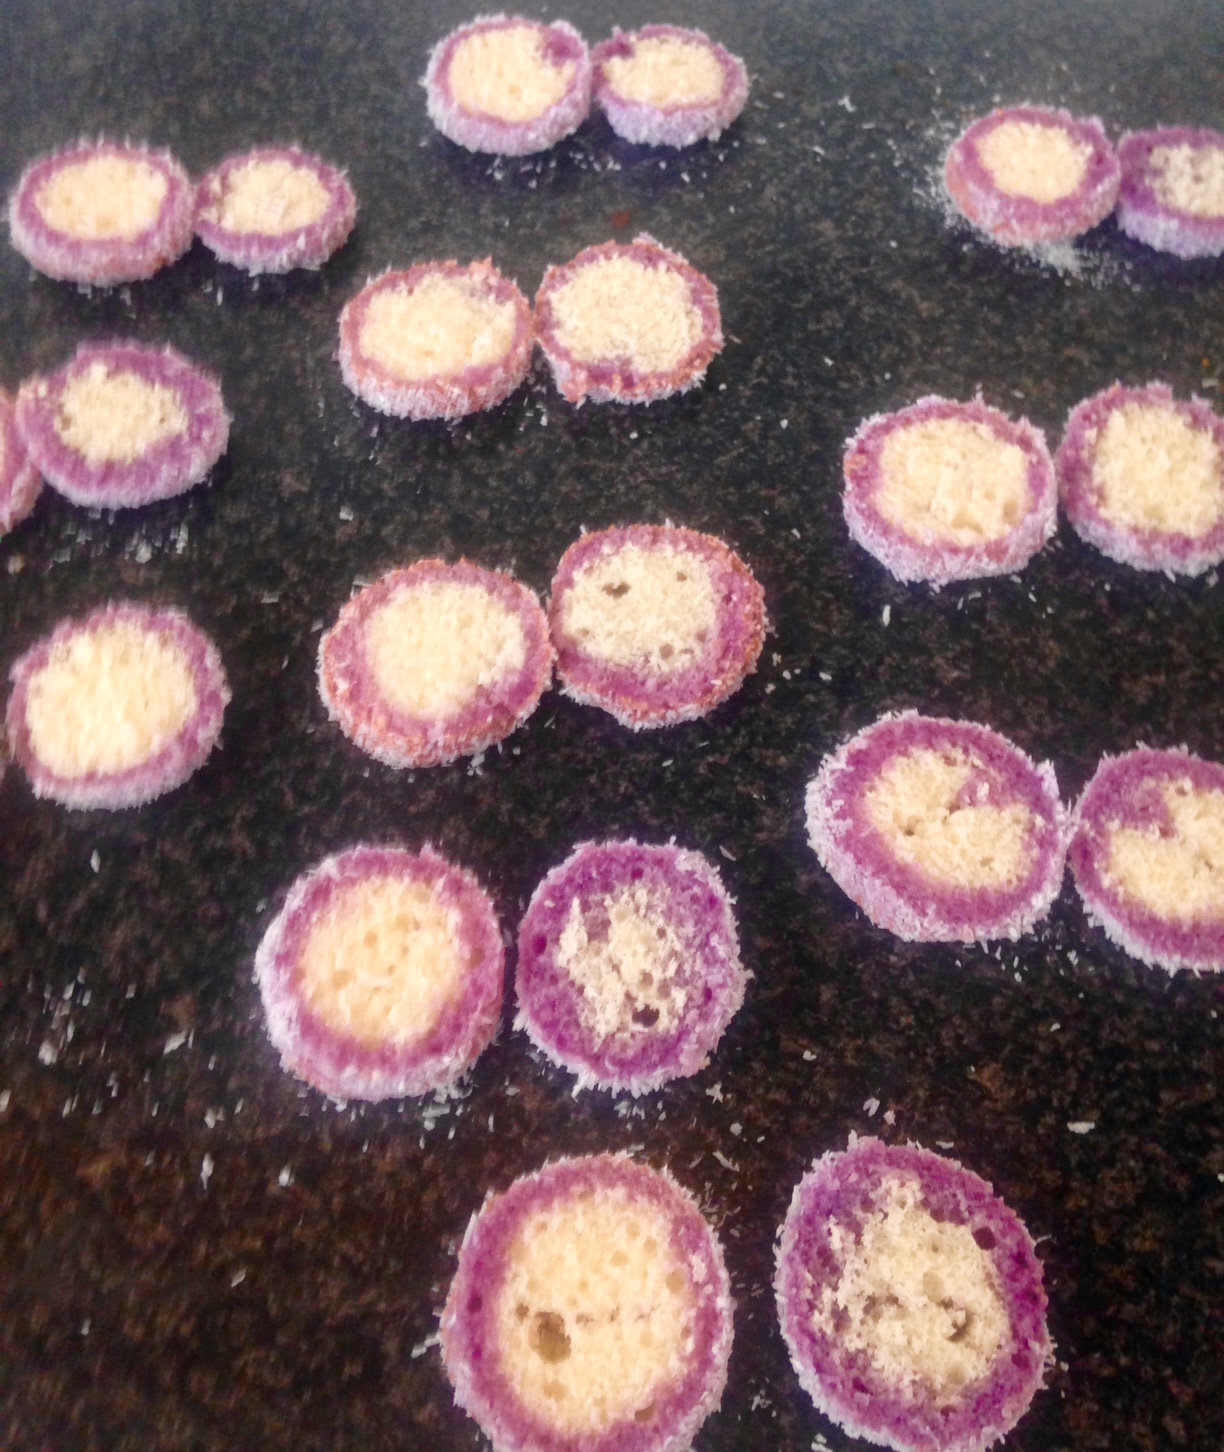
- Step 9

- Step 7
- Step 10


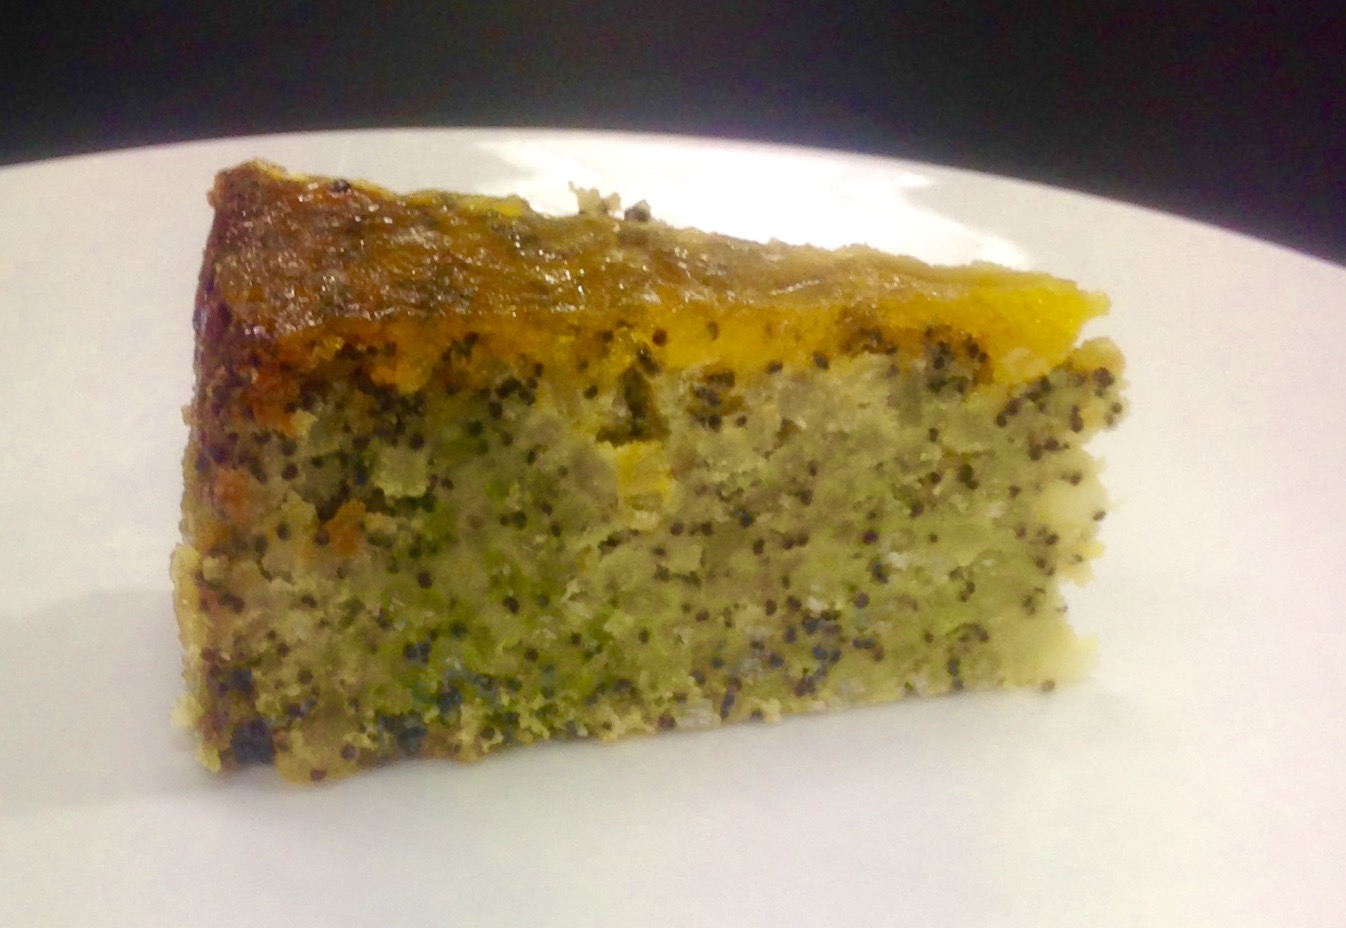
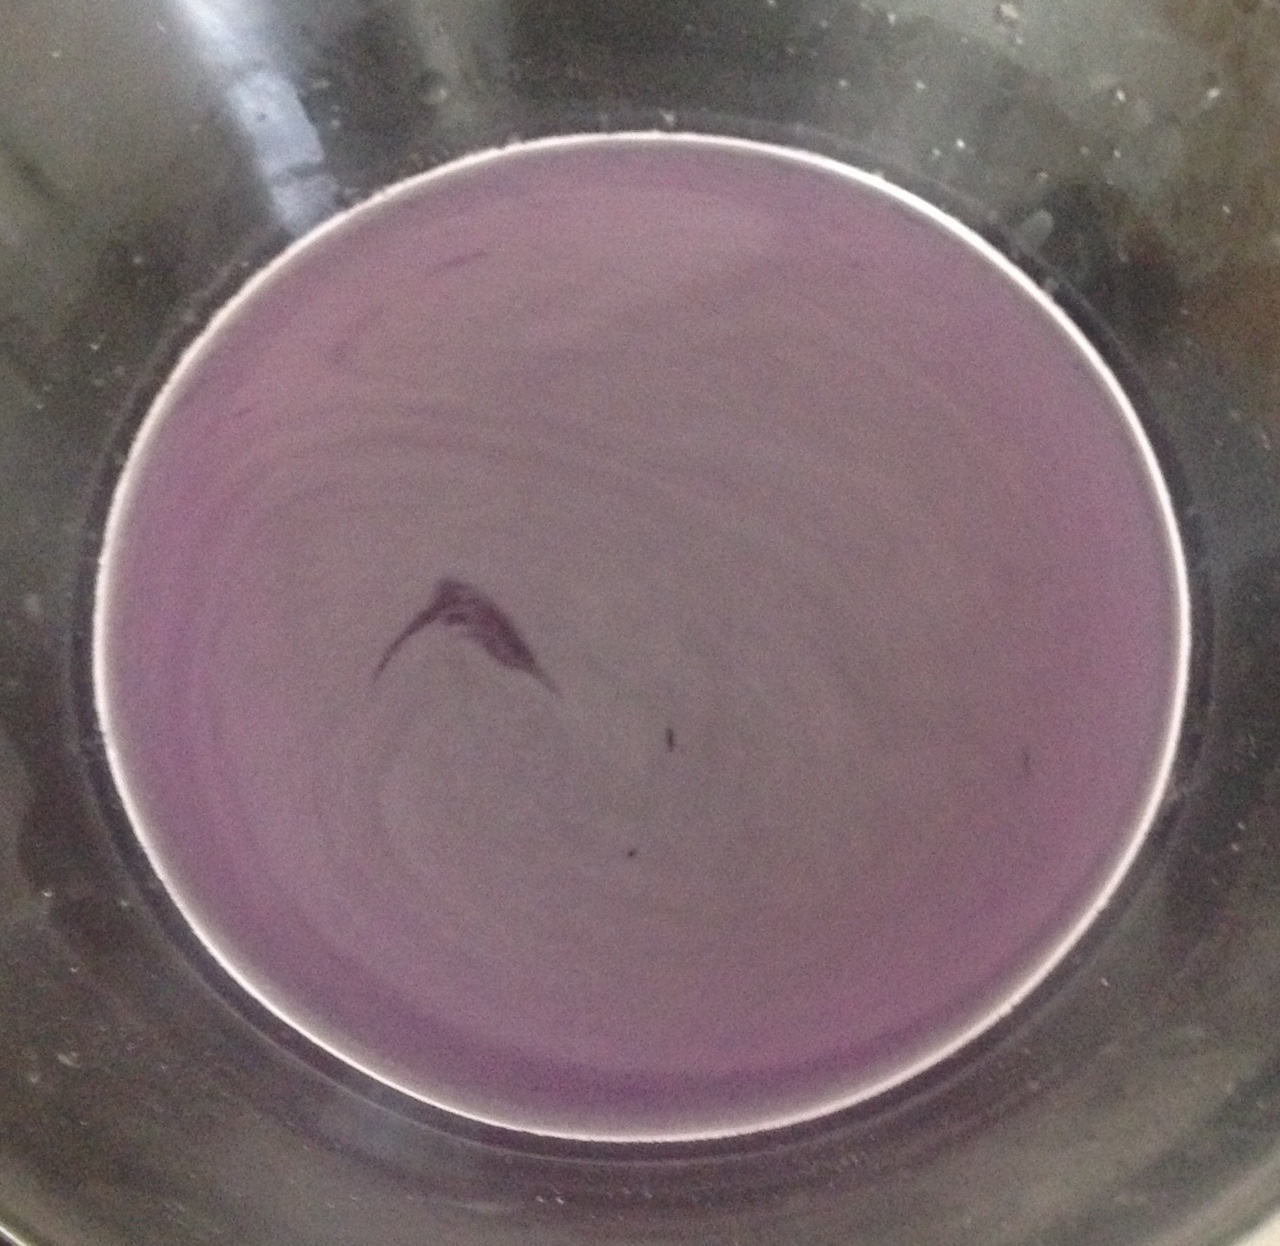
- Cordial Cake recipe

Like this recipe? Subscribe via RSS or email to get my new entries and more scrumptious recipes with reviews.
 Follow