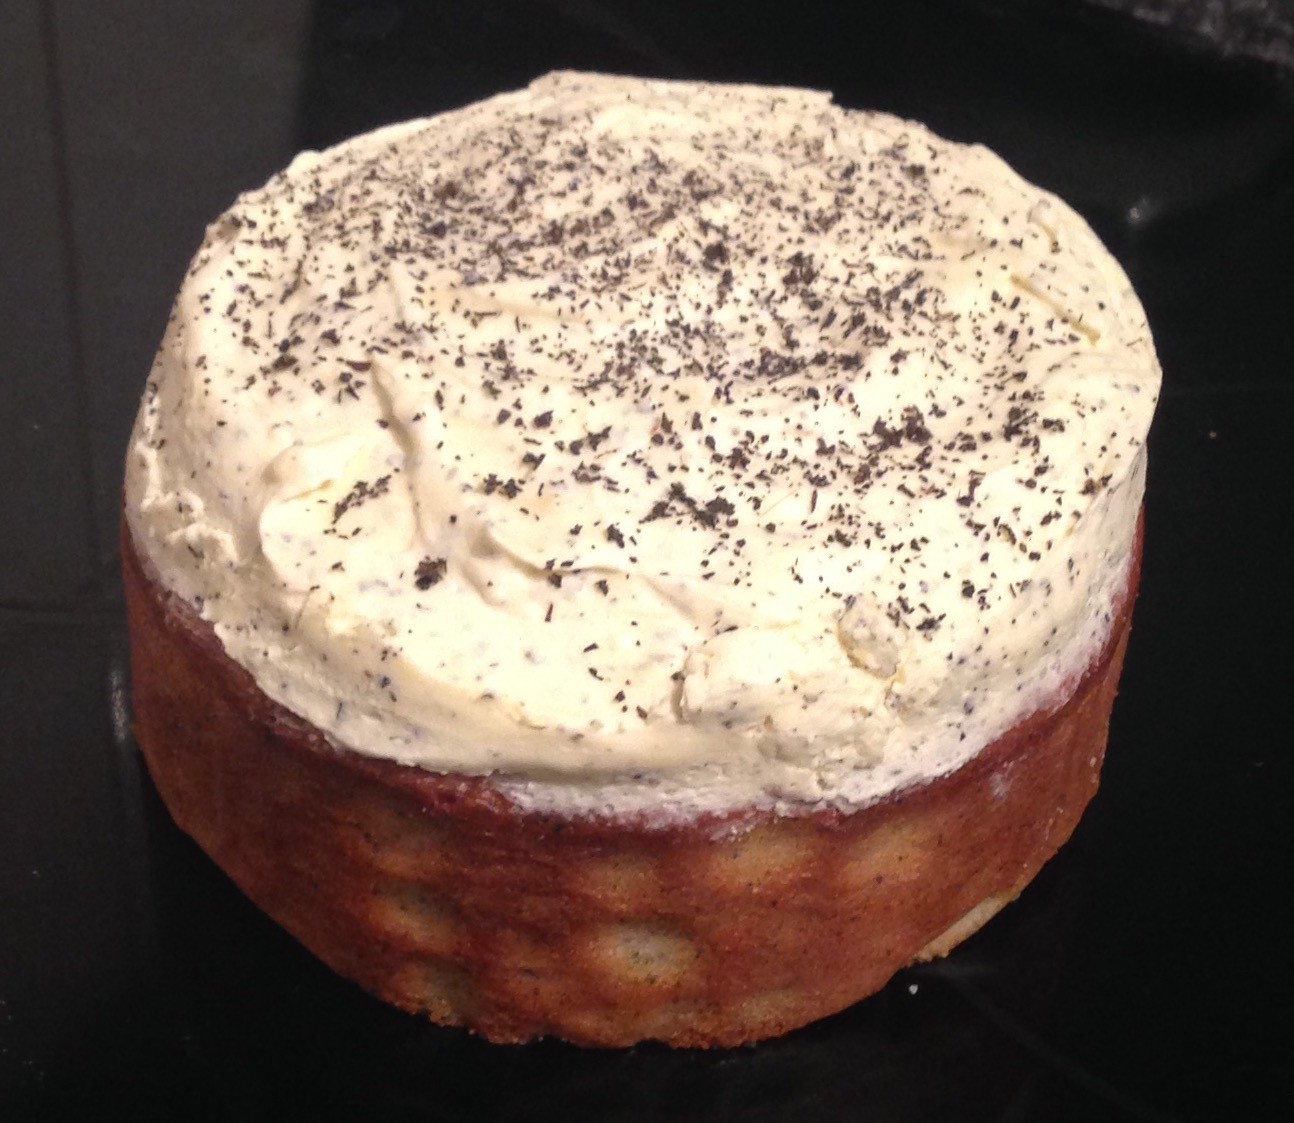
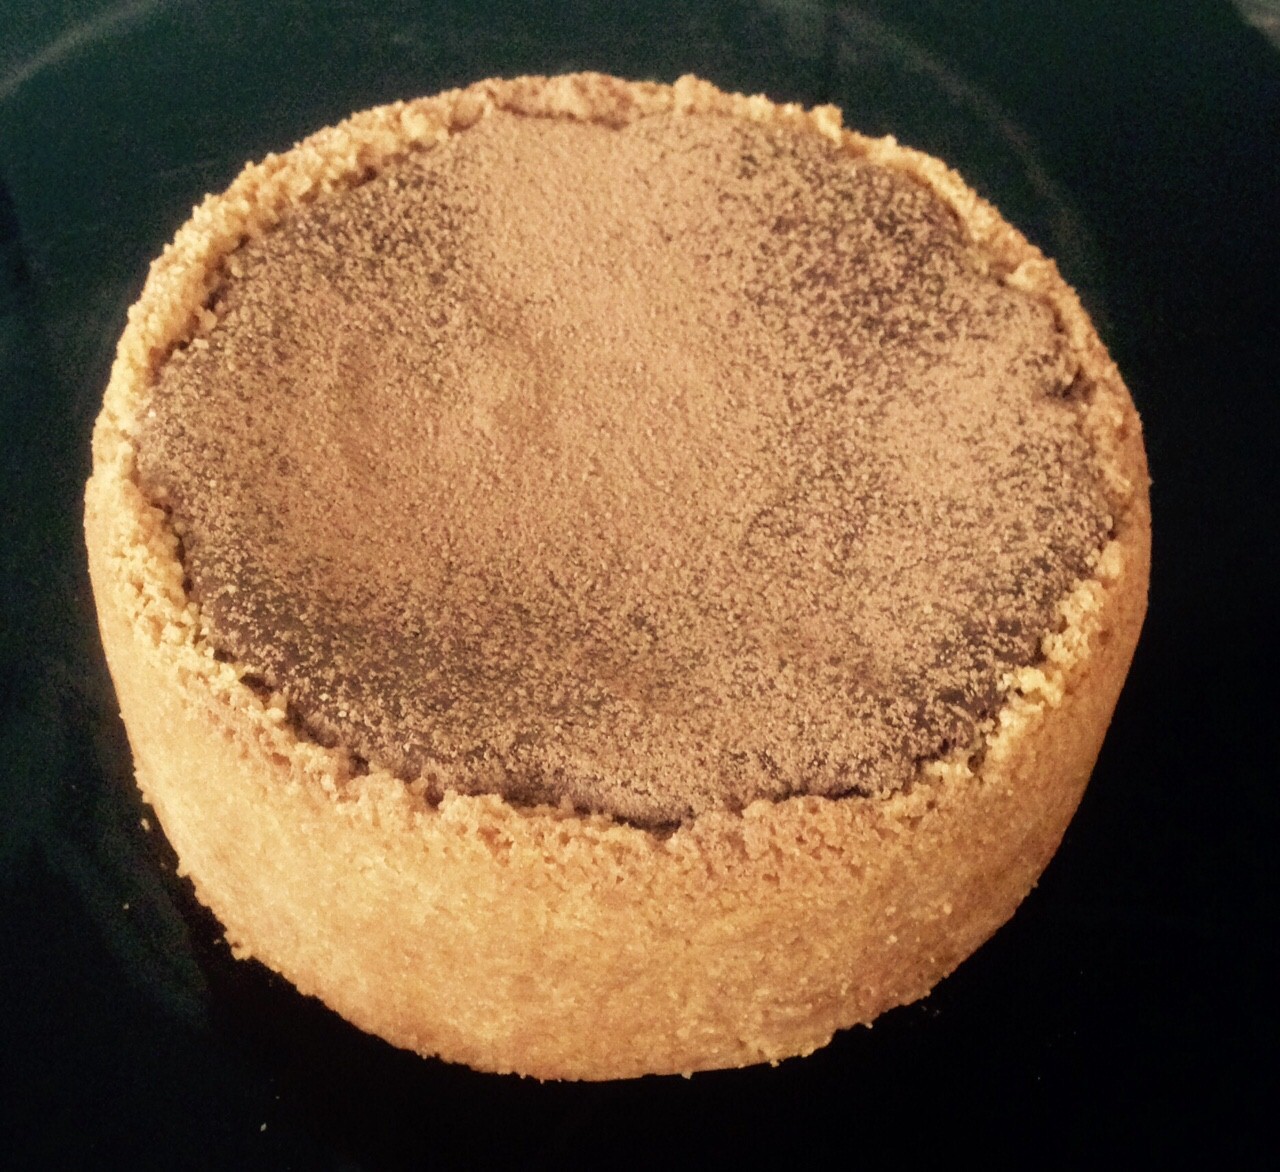
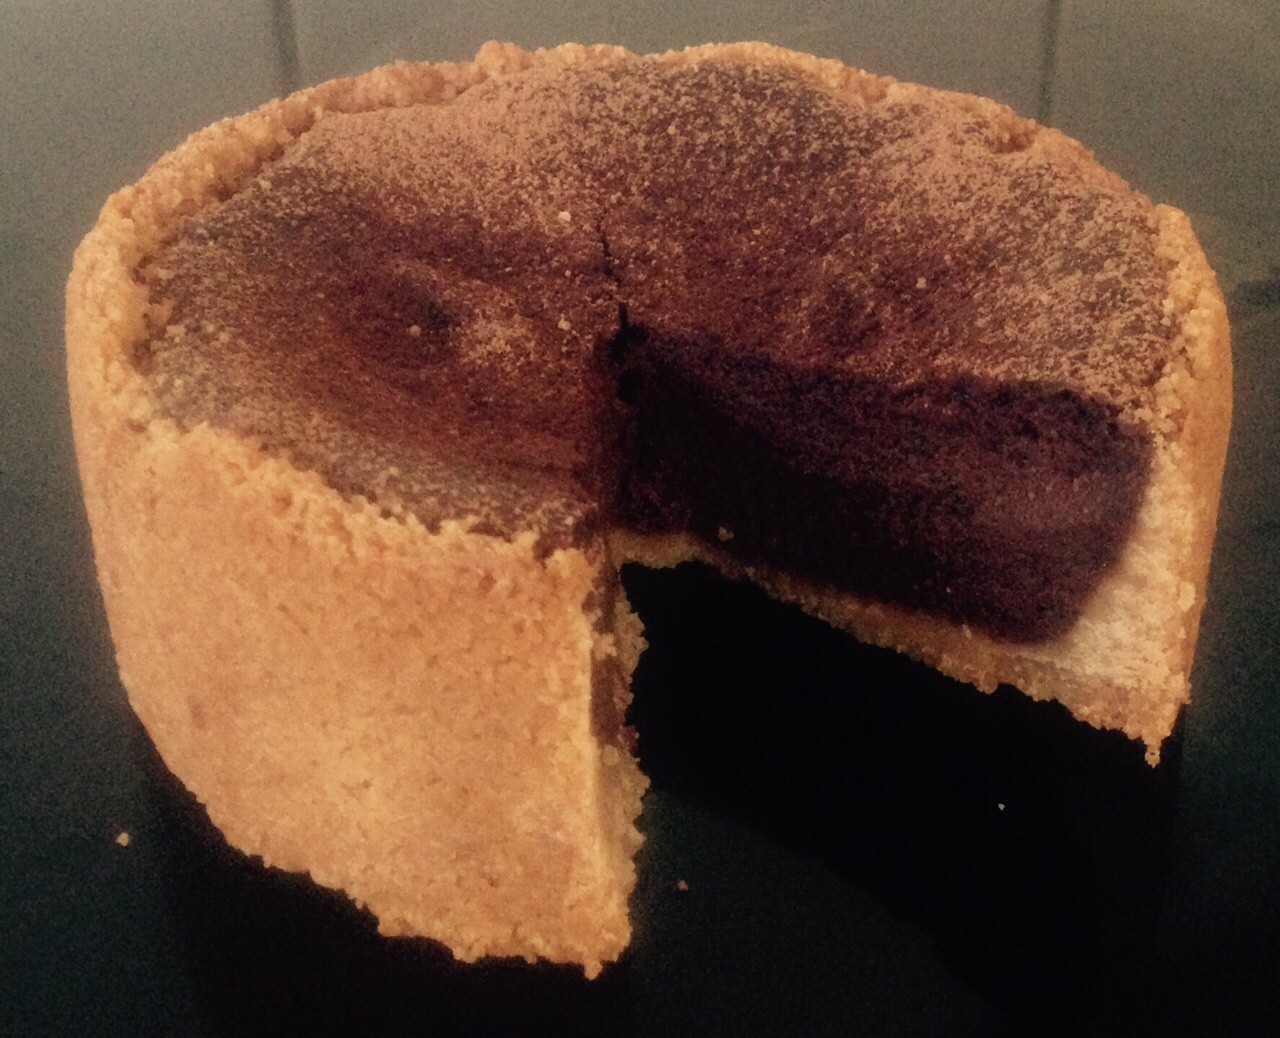
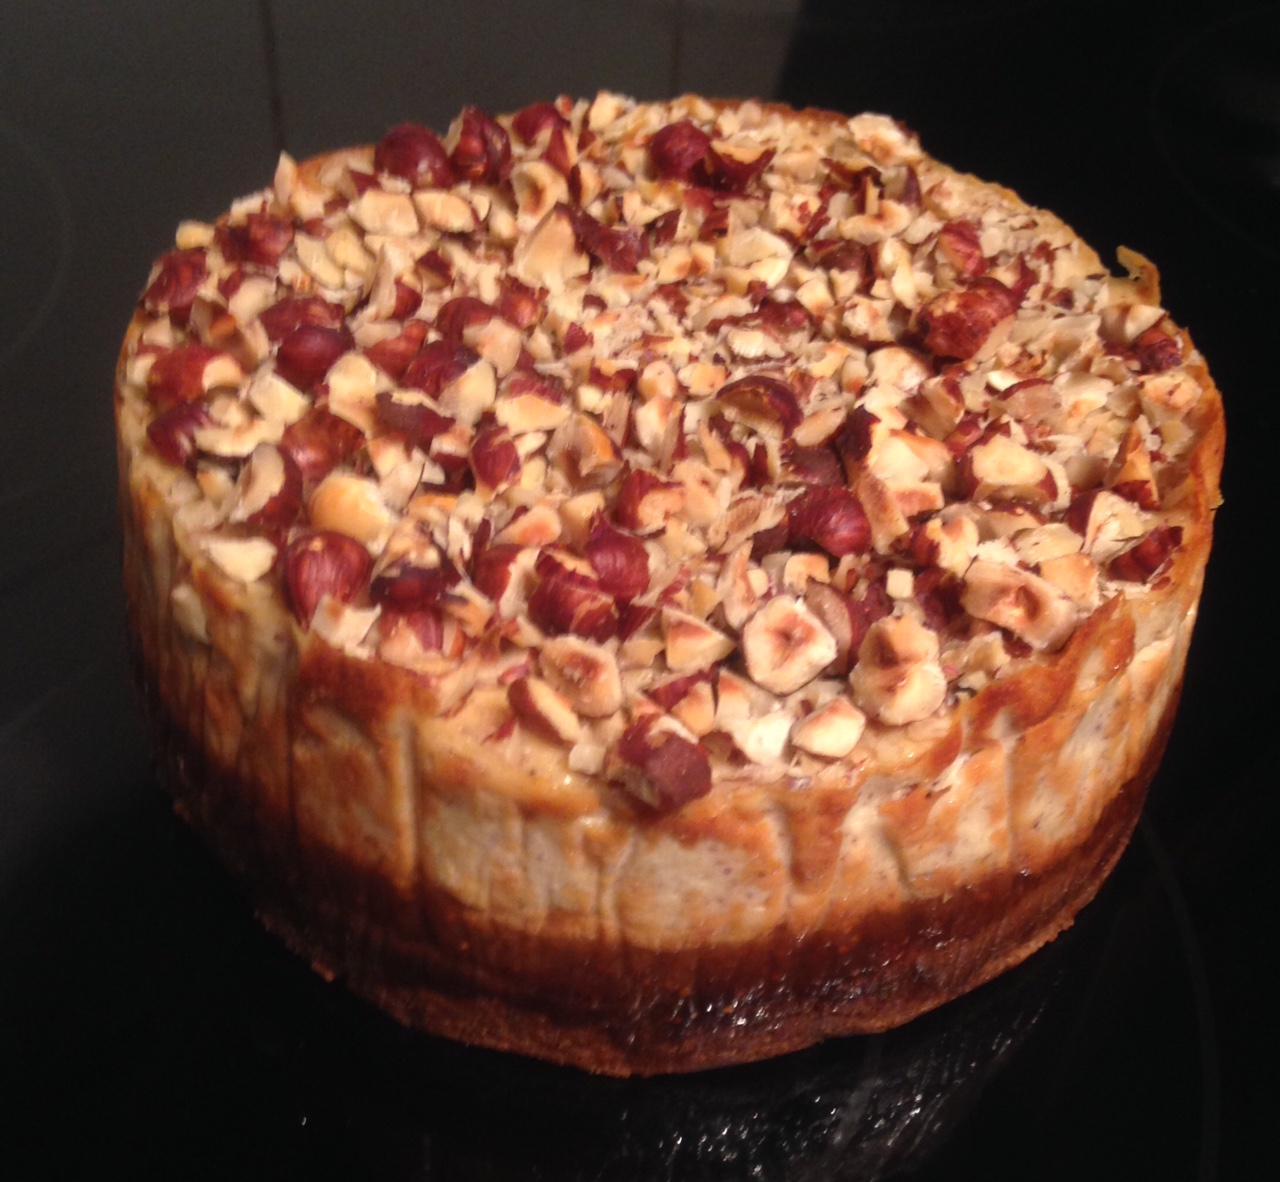
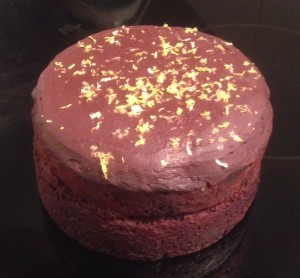
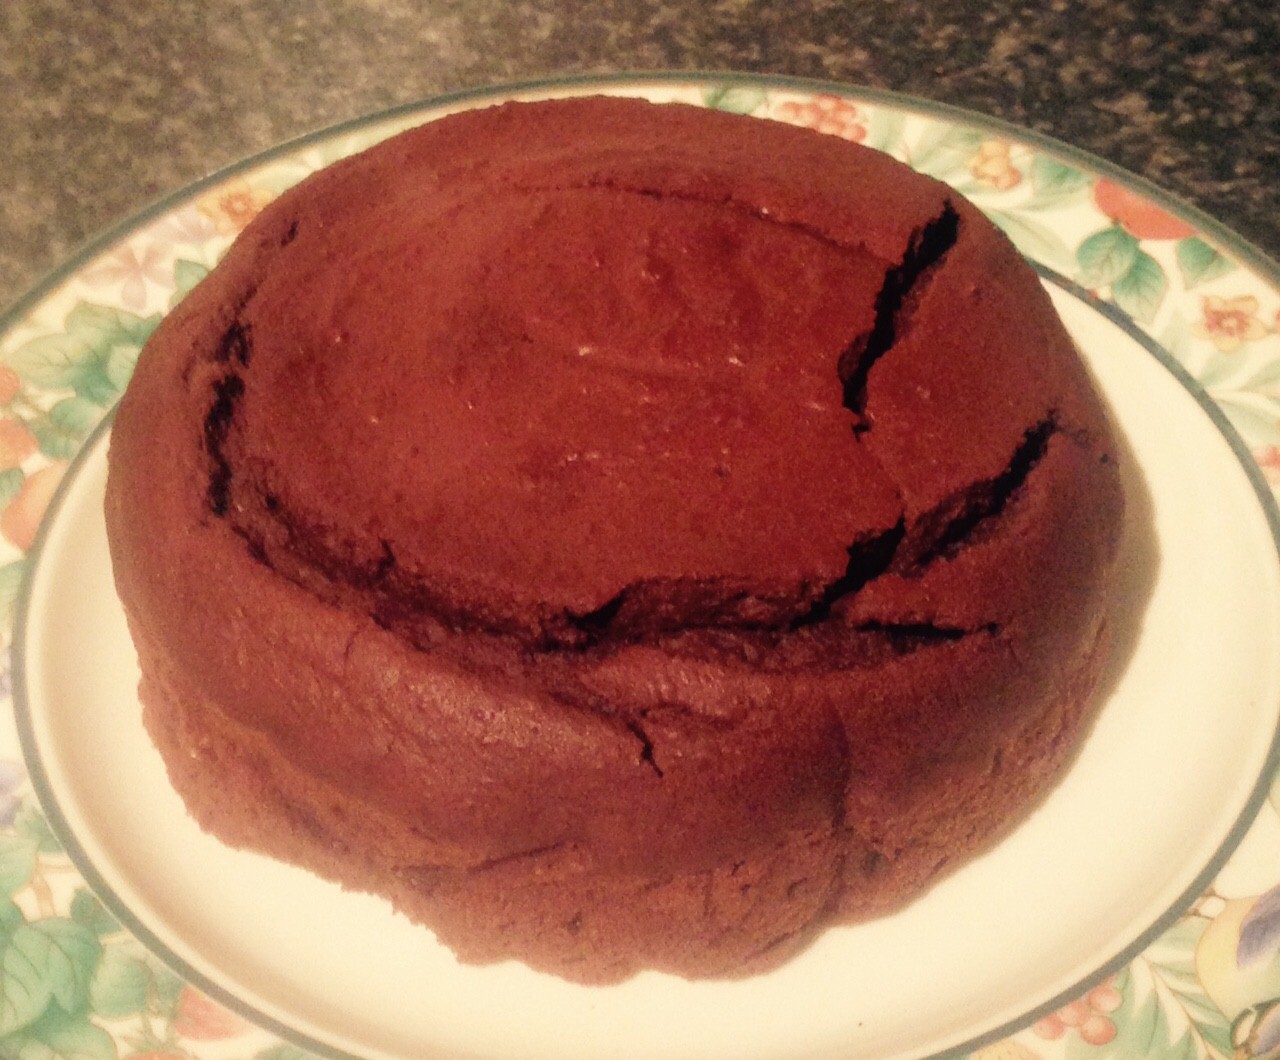
Yoghurt Chickpea Chocolate Cake
Although my cakes are not usually focused on ‘healthy’ sugar free or butter free I do make an effort to try and incorporate the more healthy versions of ingredients where I can as long as it does not jeopardize the flavour profiles.
This cake does exactly that, there is sugar and butter, however I have incorporated chickpeas, yoghurt and spices to enhance and replace extra carbs and additional fat.
People will never know that chickpeas are the base of this recipe and will be increasing their protein and low GI intake!
Ingredients:
Cake:
- 200g dark chocolate
- 2 tsn instant coffee granules
- 2 tbsn boiling water
- 80ml butter
- 400g drained chickpeas
- ½ tsn ground ginger
- 120g brown sugar
- 1 tsn vanilla essence
- 4 eggs
- 220ml flour
- 1 tsn baking powder
- 60g cocoa powder
- 125ml vanilla yoghurt
Ganache:
- 200g dark chocolate
- 125ml vanilla yoghurt
Method:
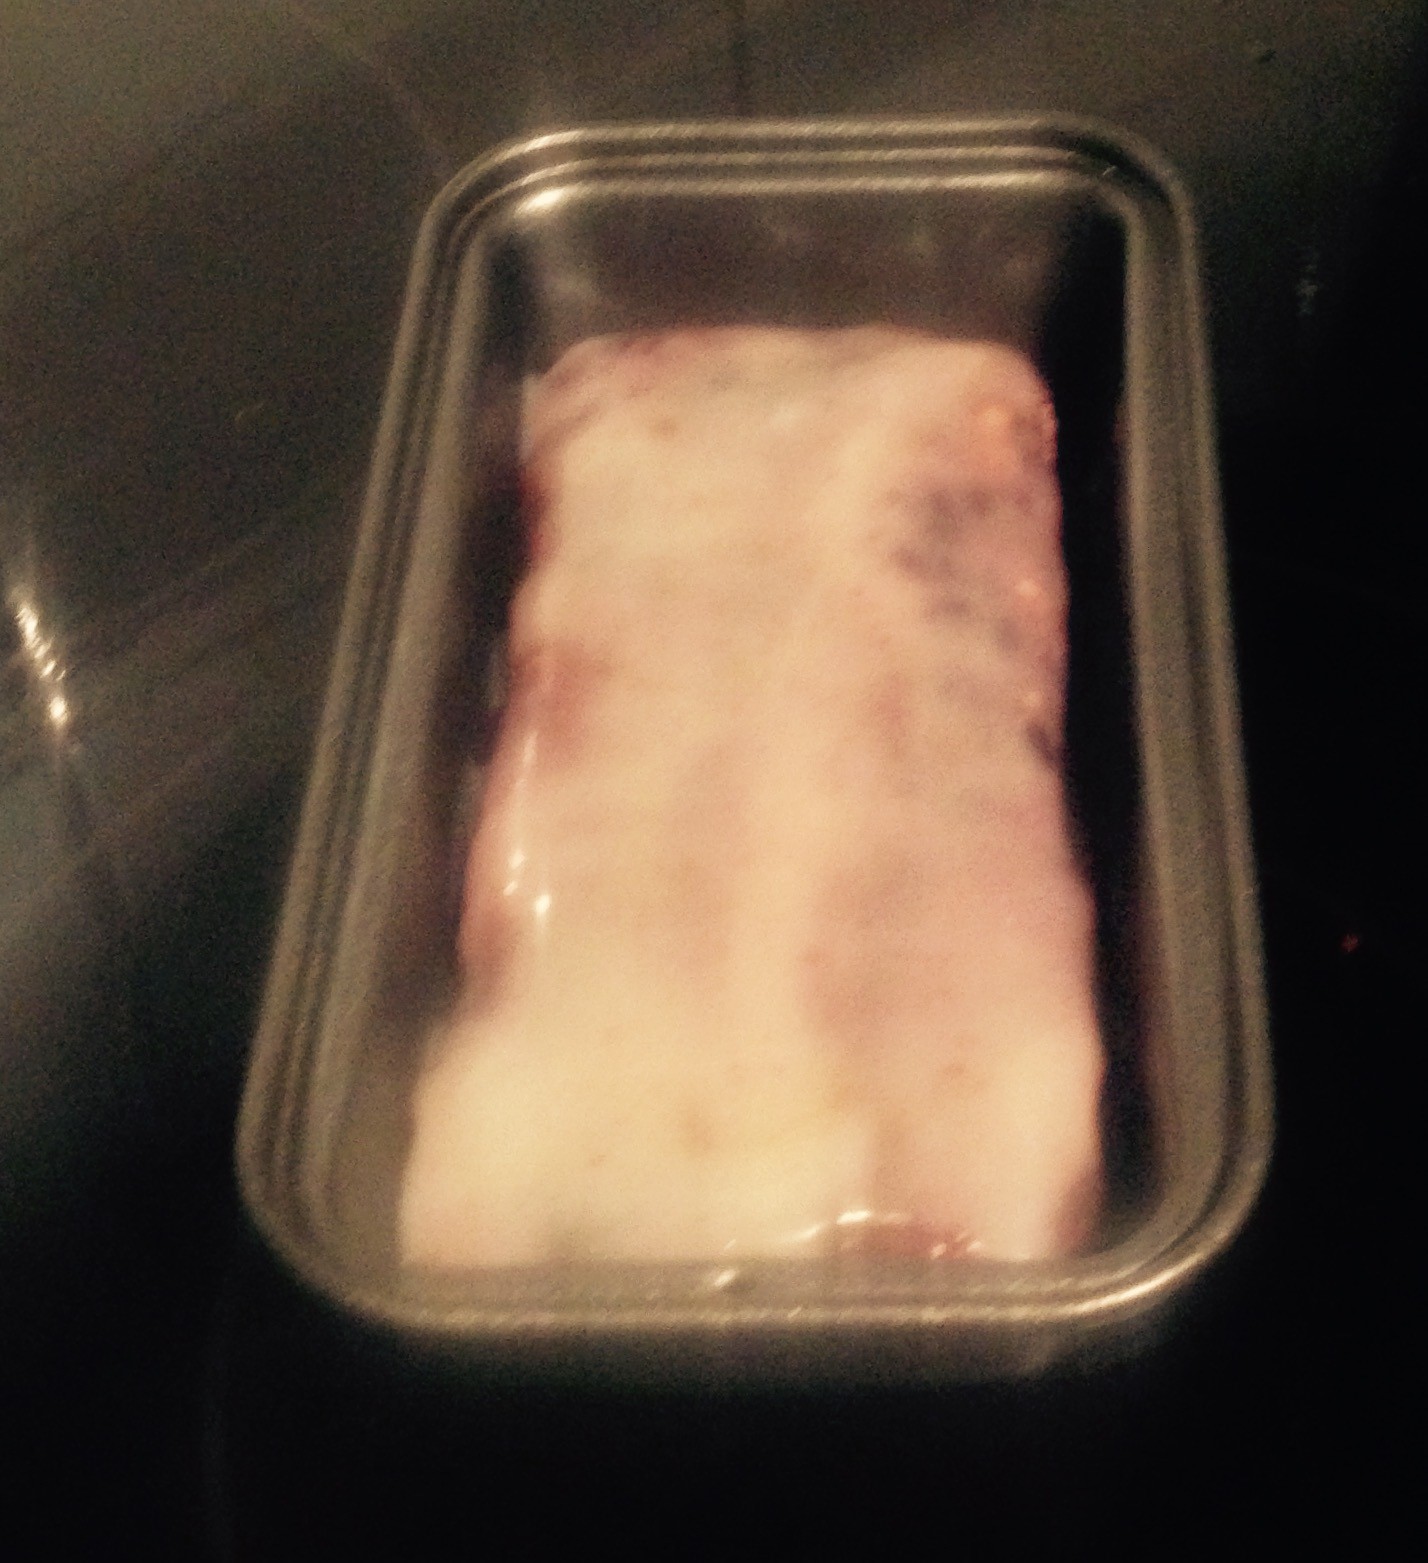
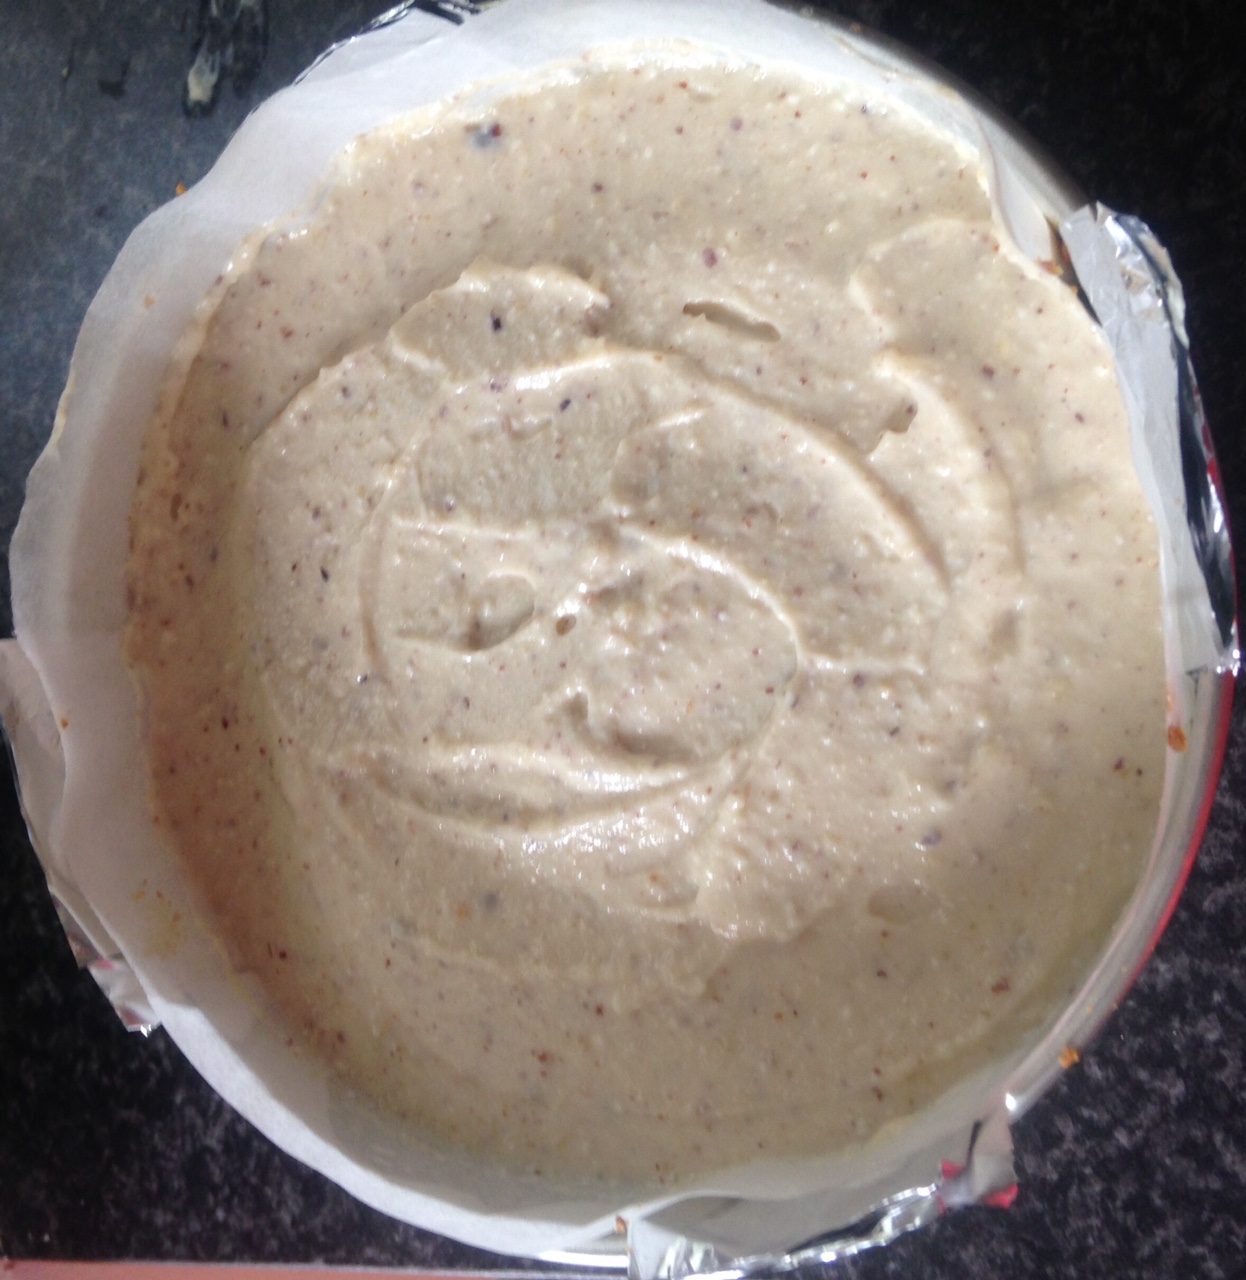
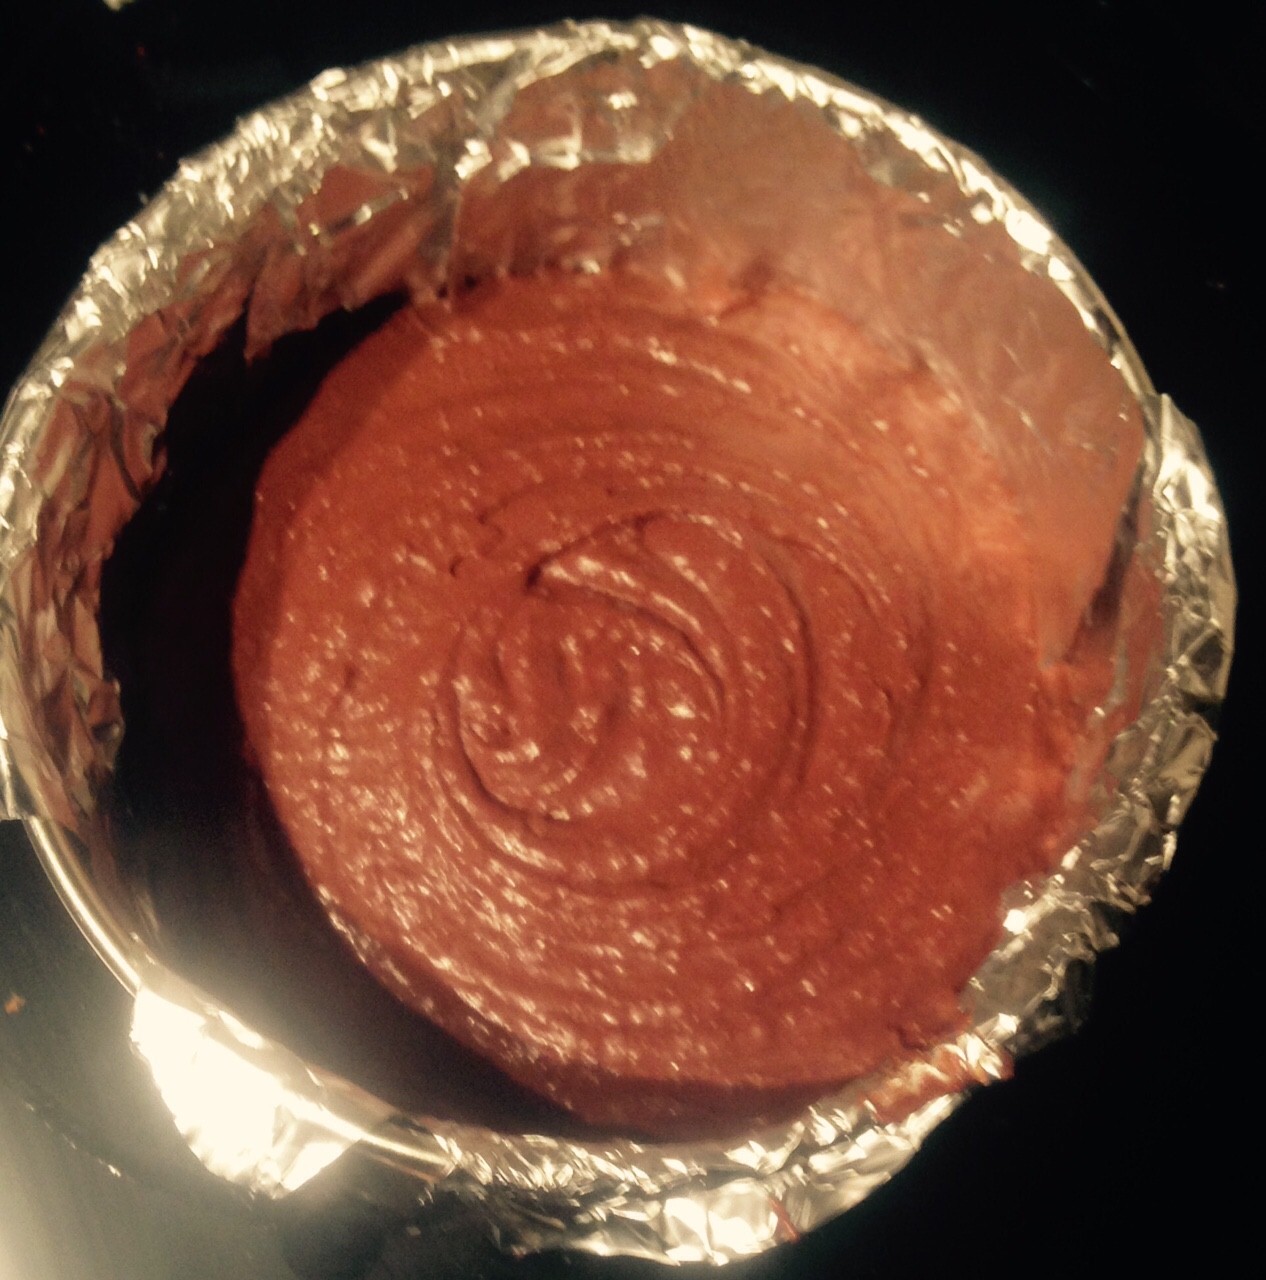
- Pre-heat the oven to 180c degrees and line a 30cm cake tin with baking paper.
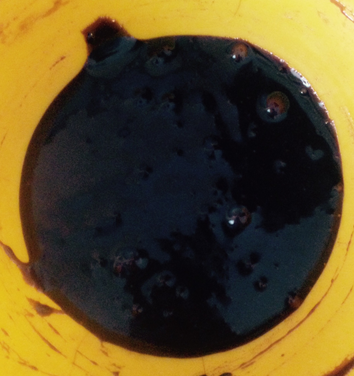
- Place the coffee in the water and stir until combine.
- Place the coffee mix and chocolate into a bowl over simmering water and stir until melted and well combine.
- Take off the heat and leave aside to cool slightly and stir until the butter is smooth and glossy.
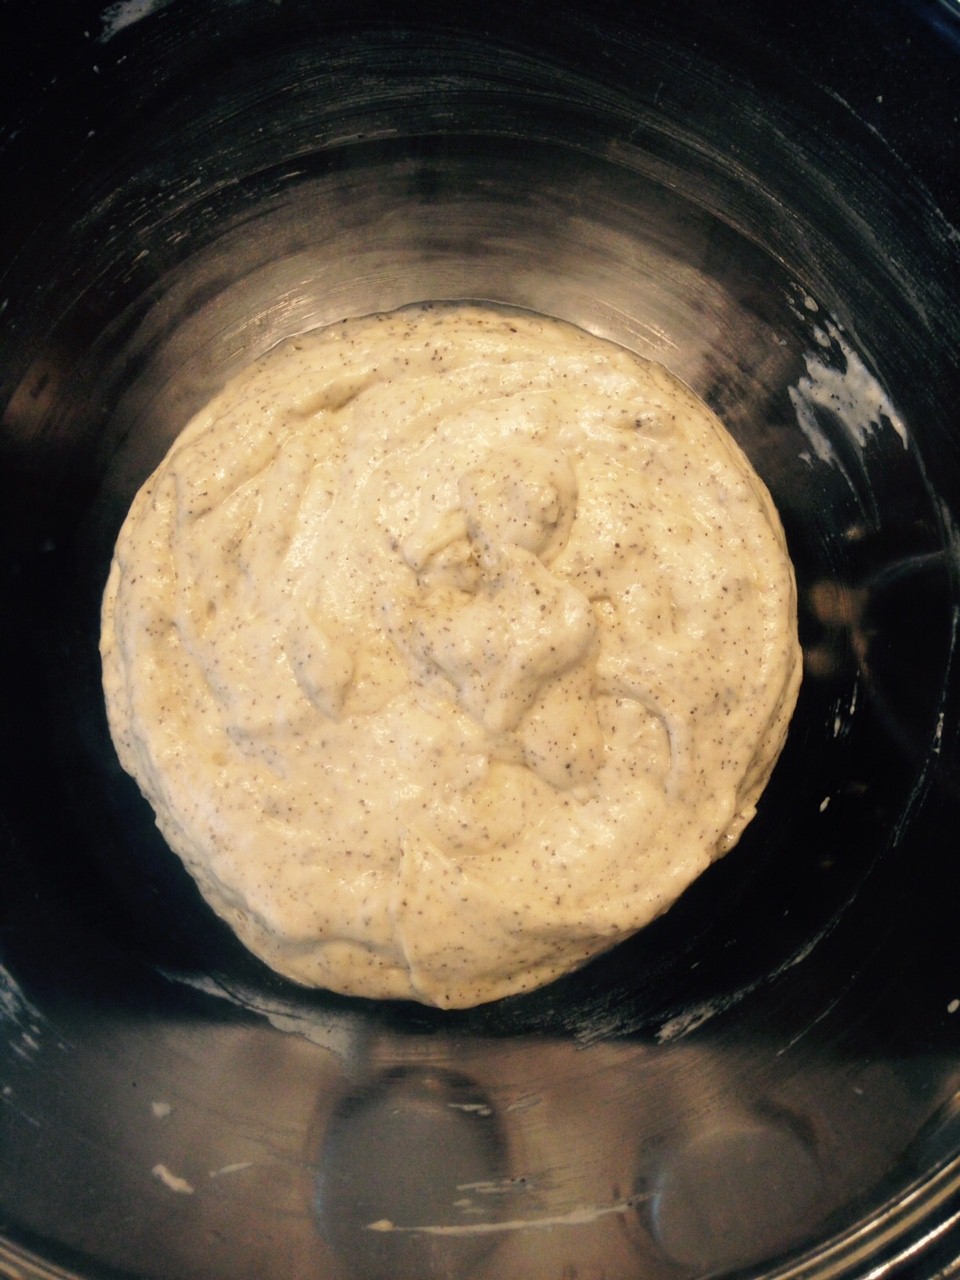
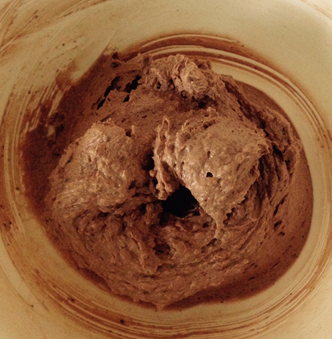
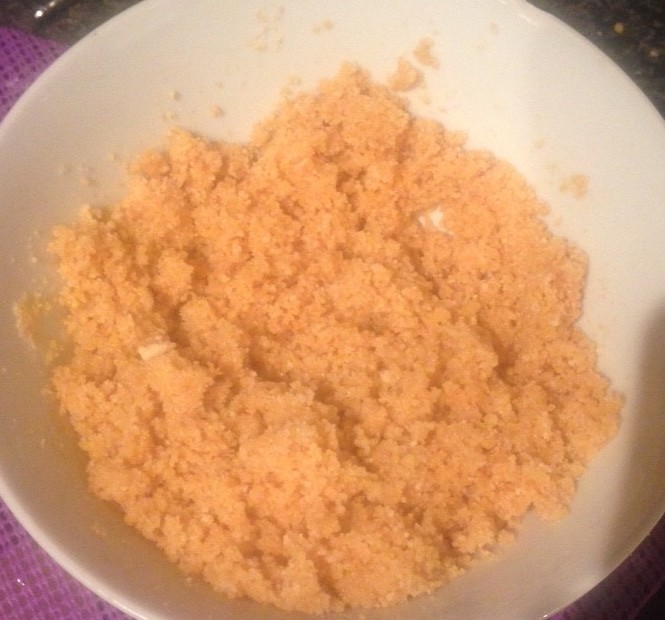
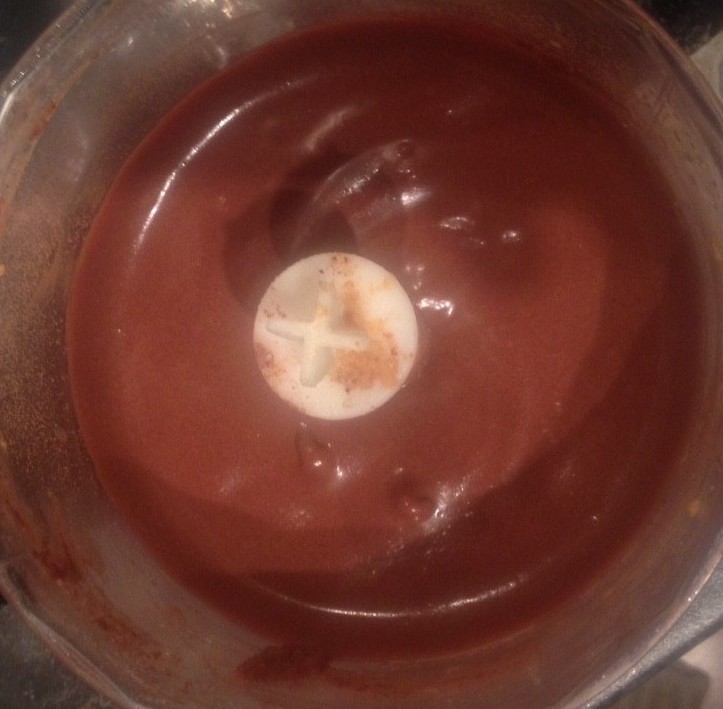
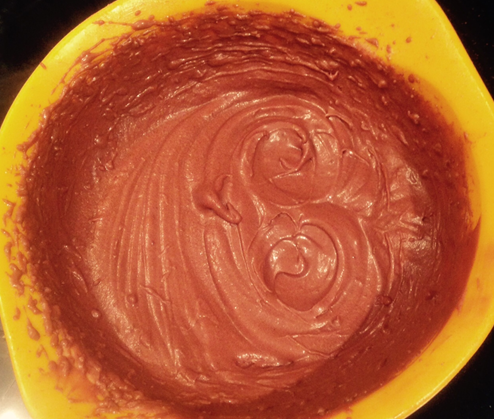
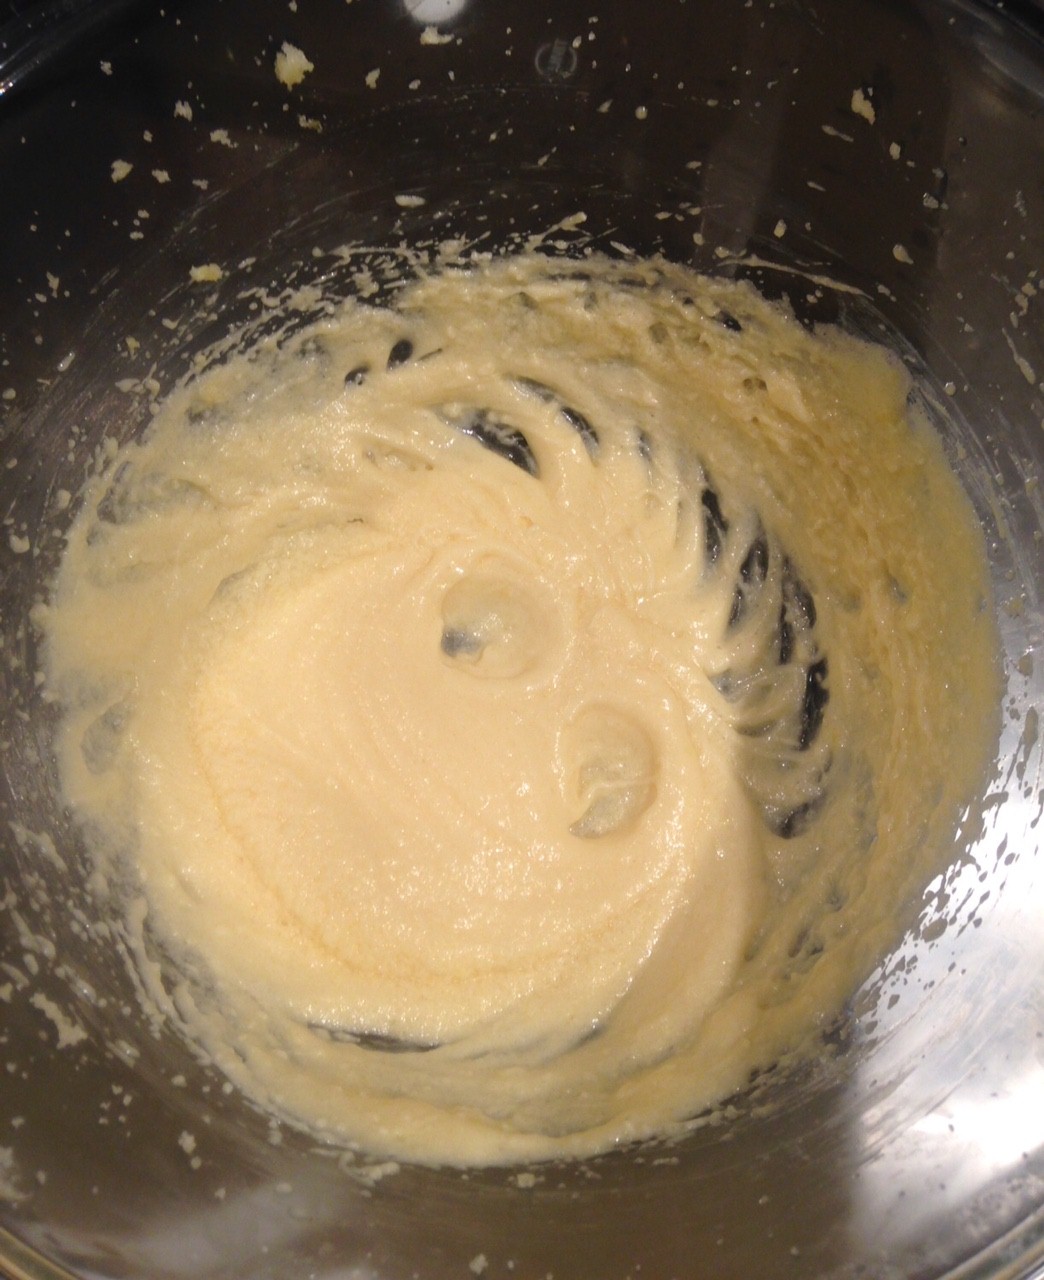
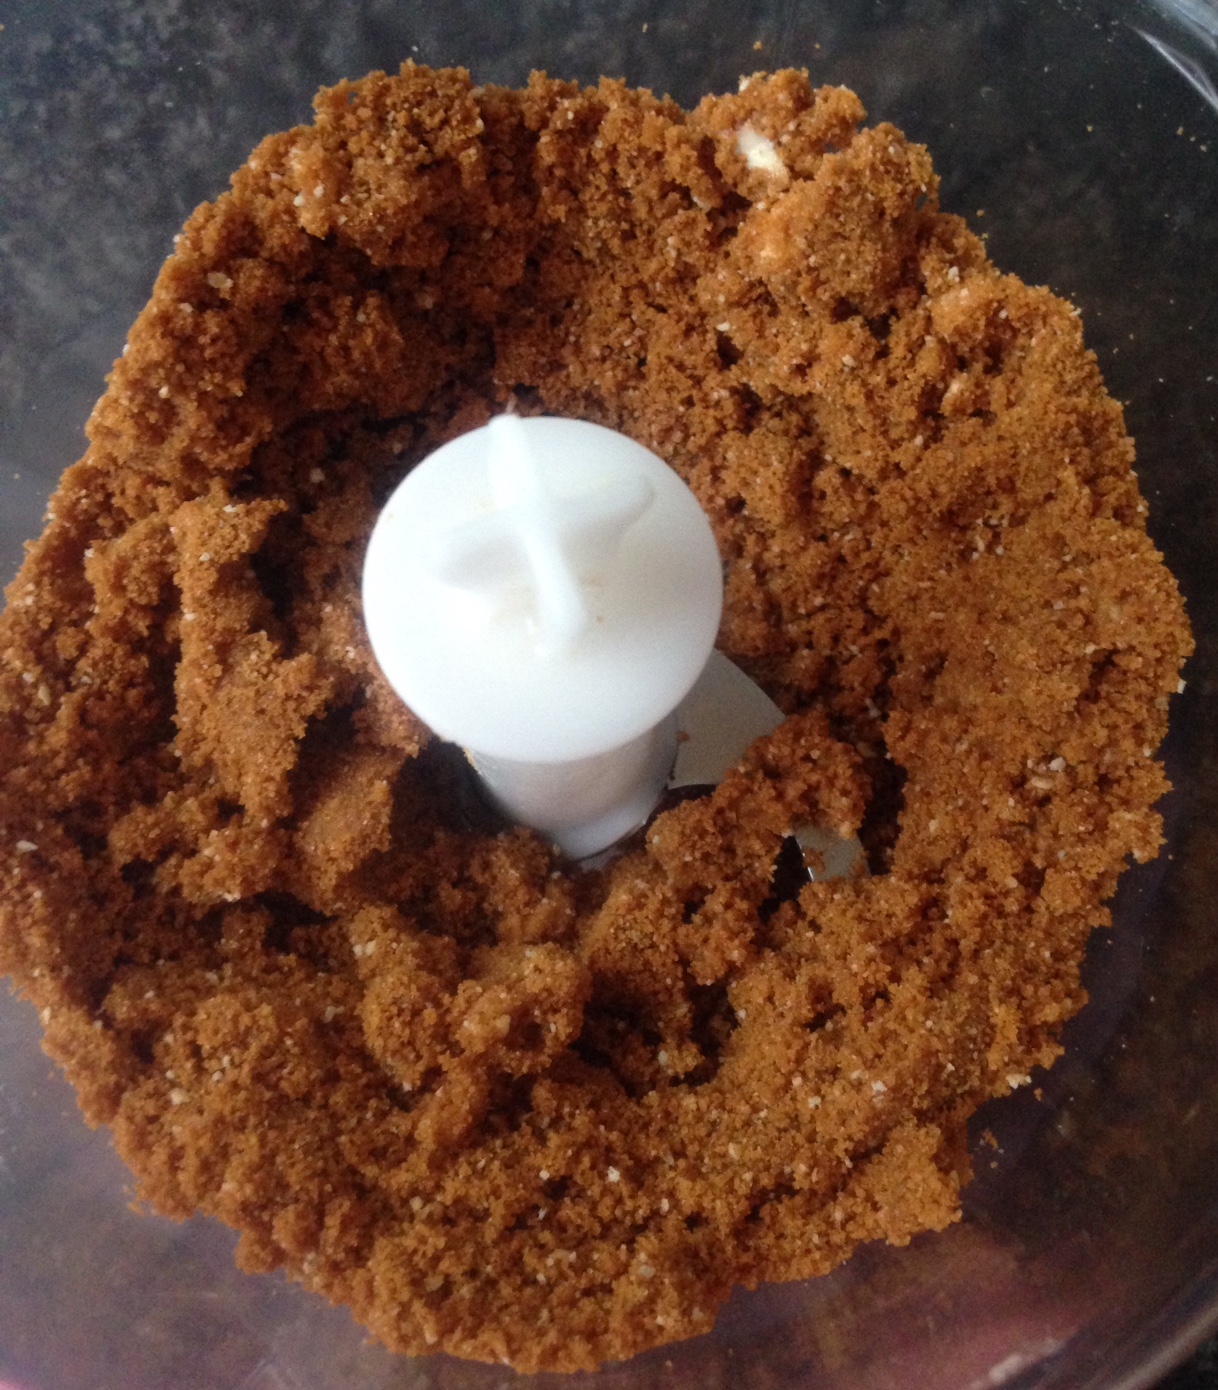
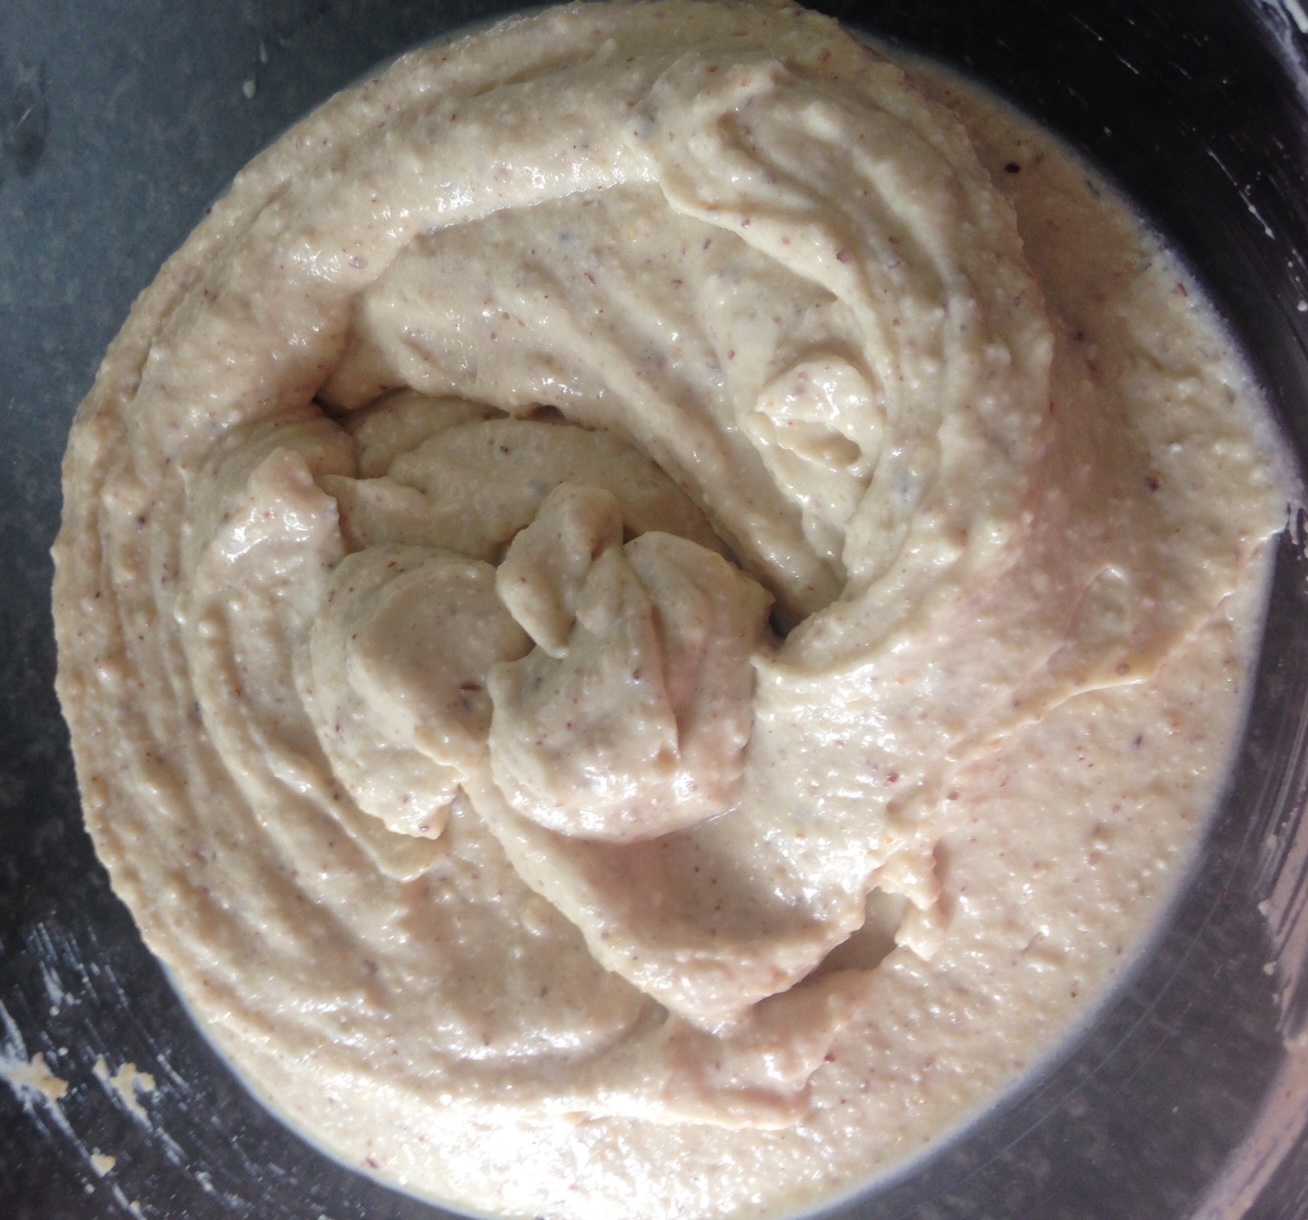
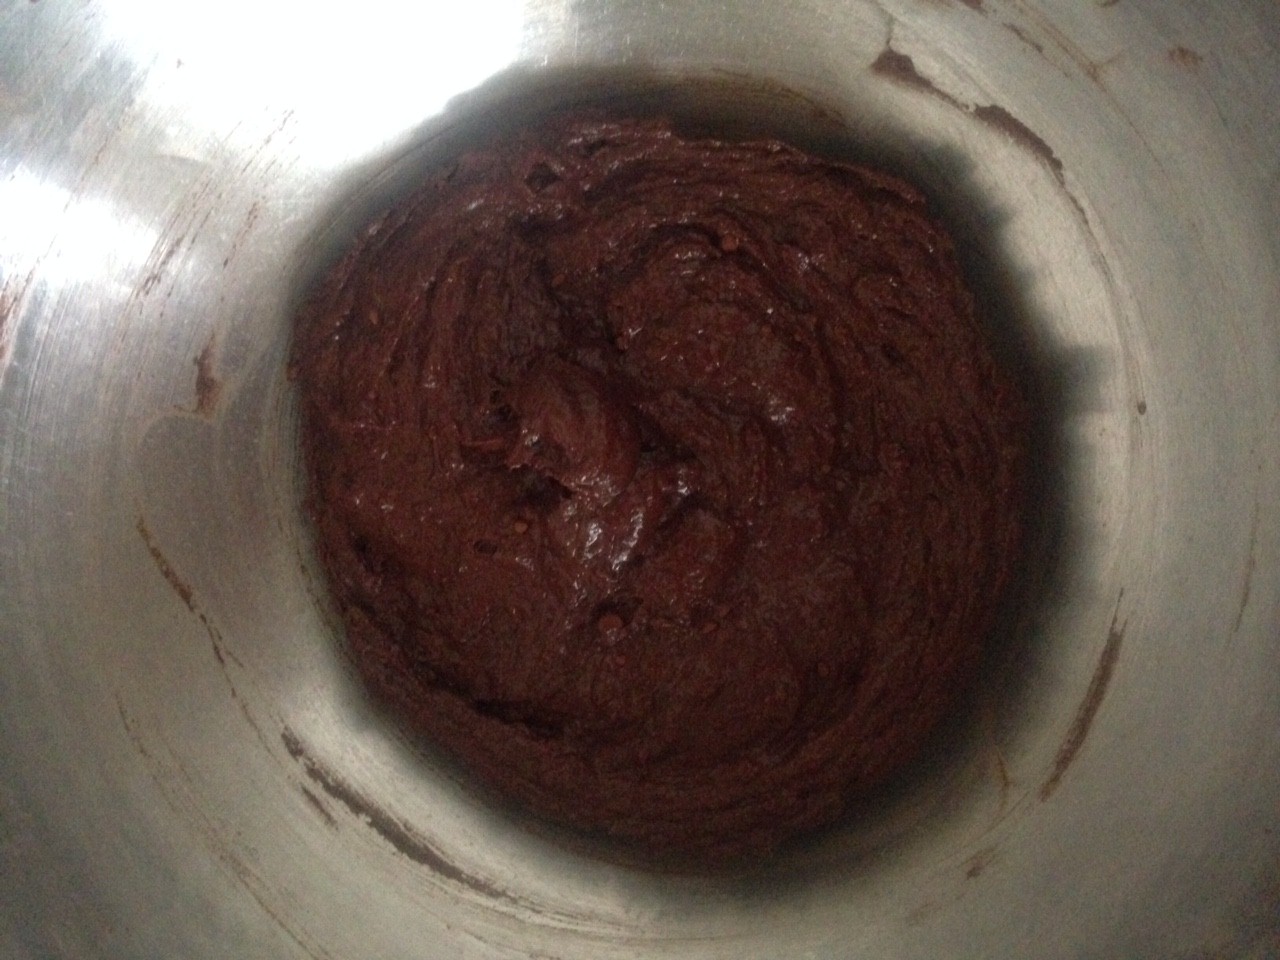
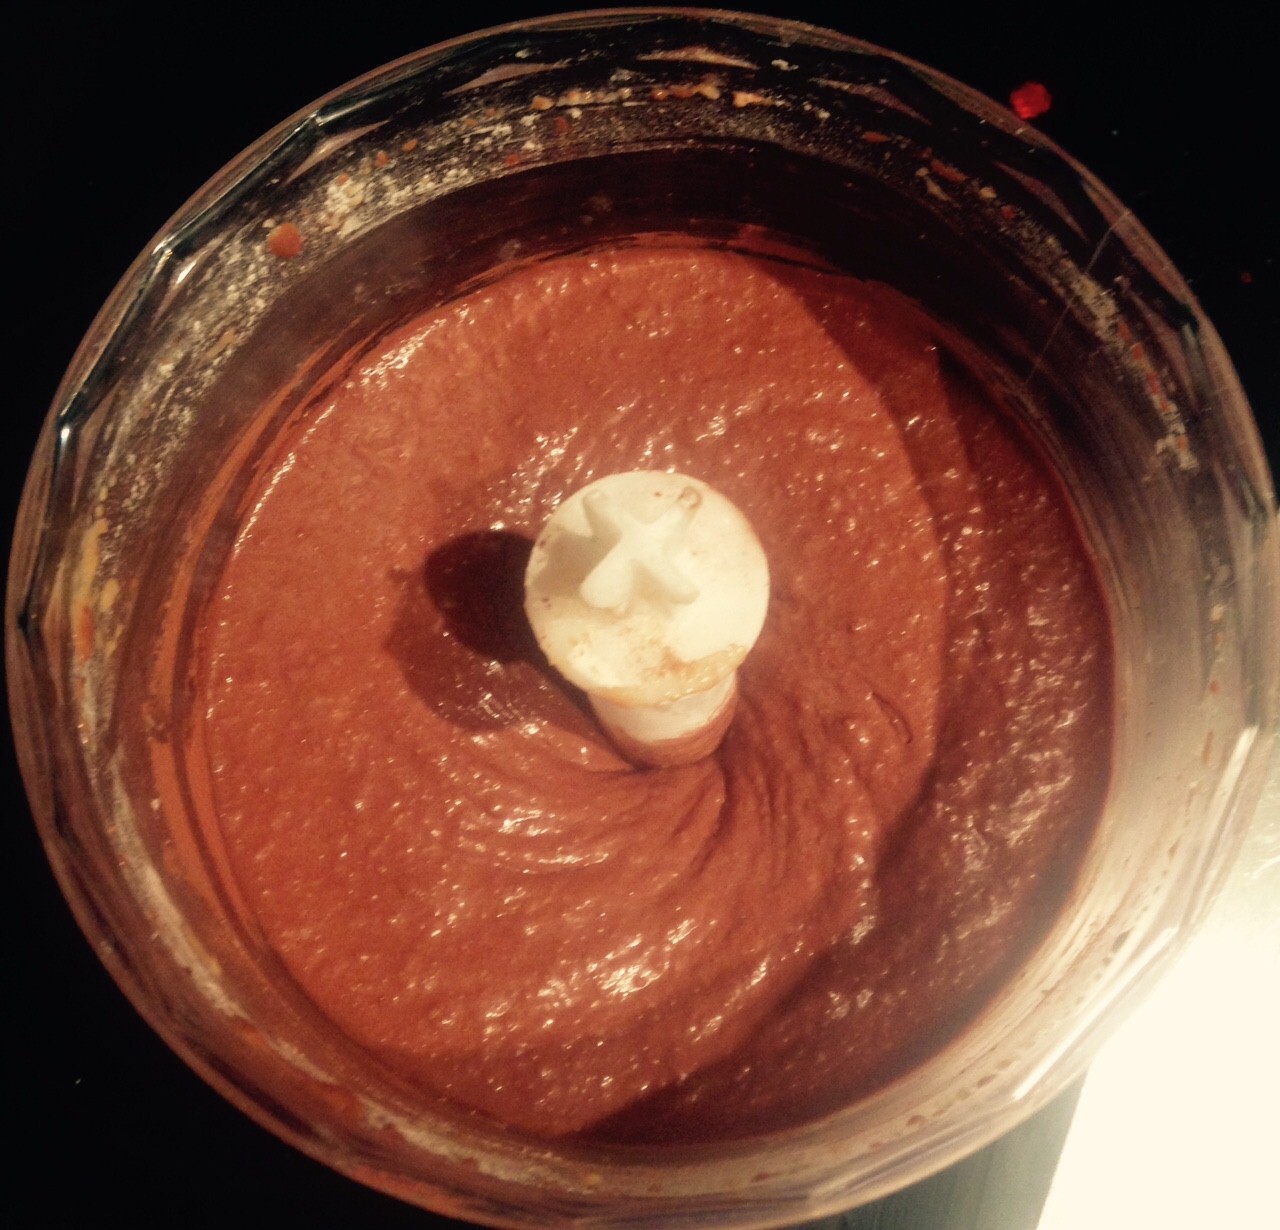
- Place the chickpeas, ginger, sugar, vanilla, eggs, flour, powder, cocoa and yoghurt into the food processor and blitz until smooth. Add the chocolate mix and blitz until well combine.
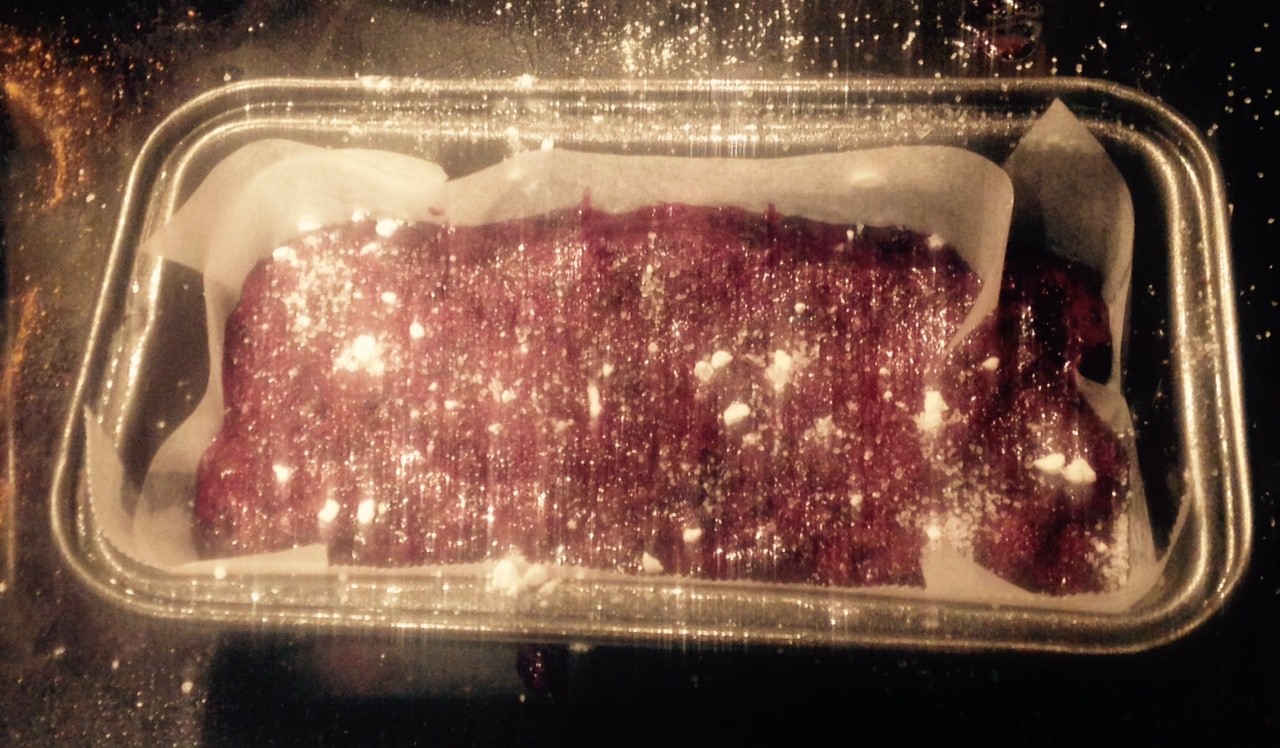
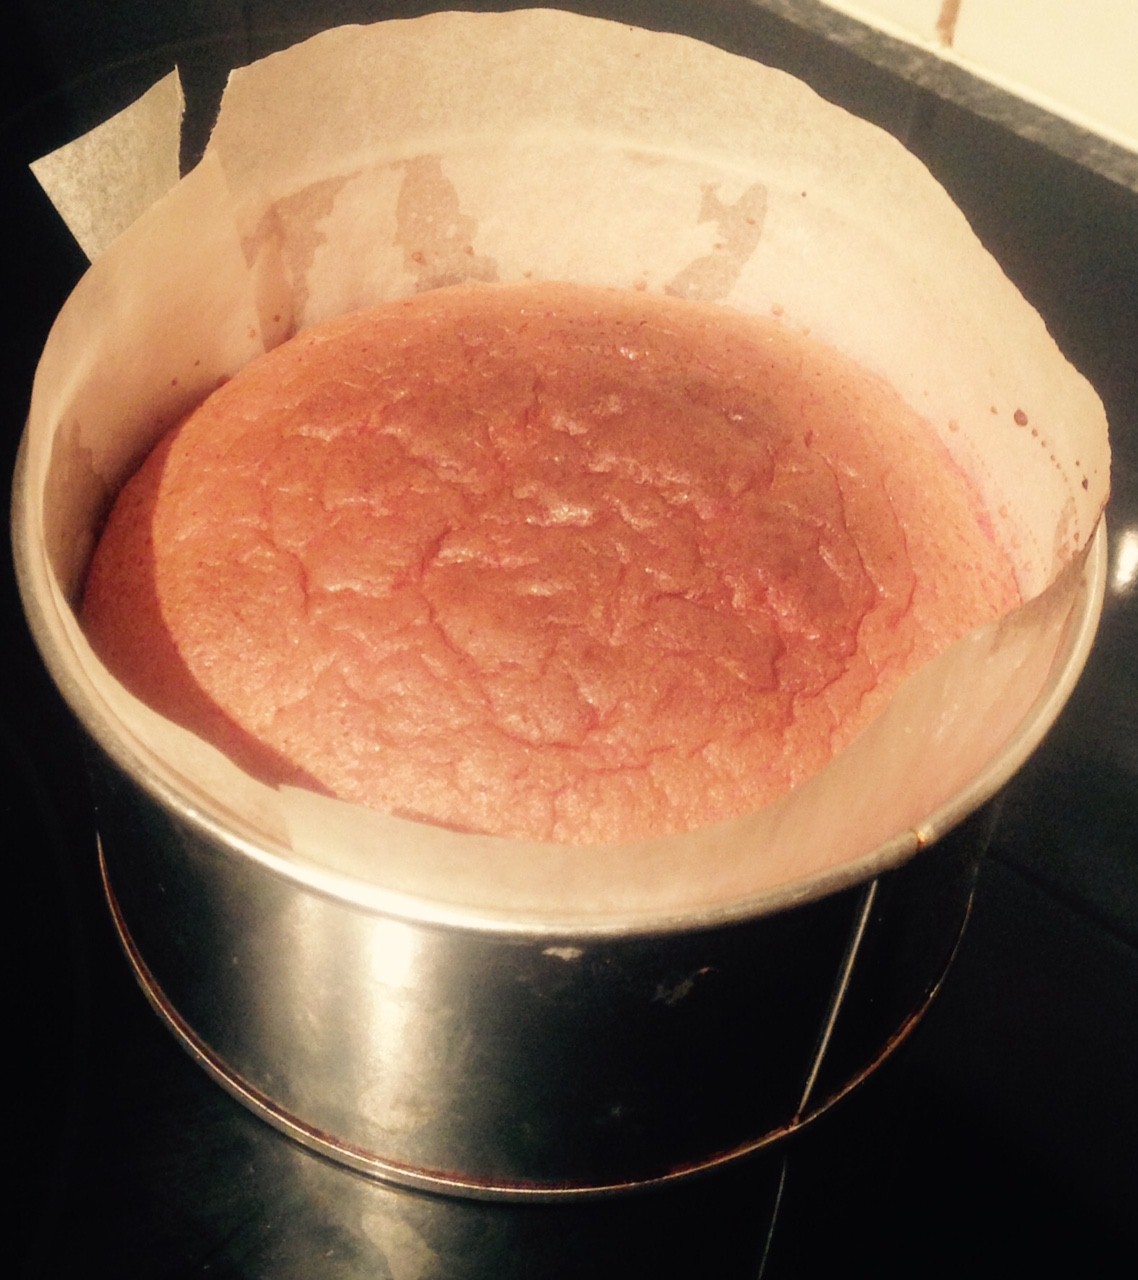
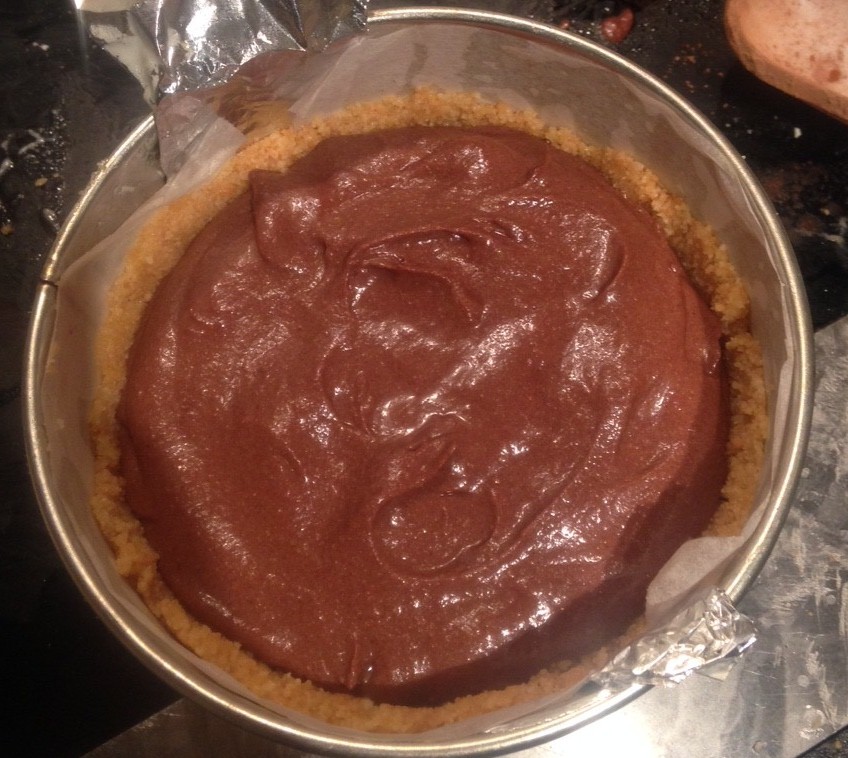
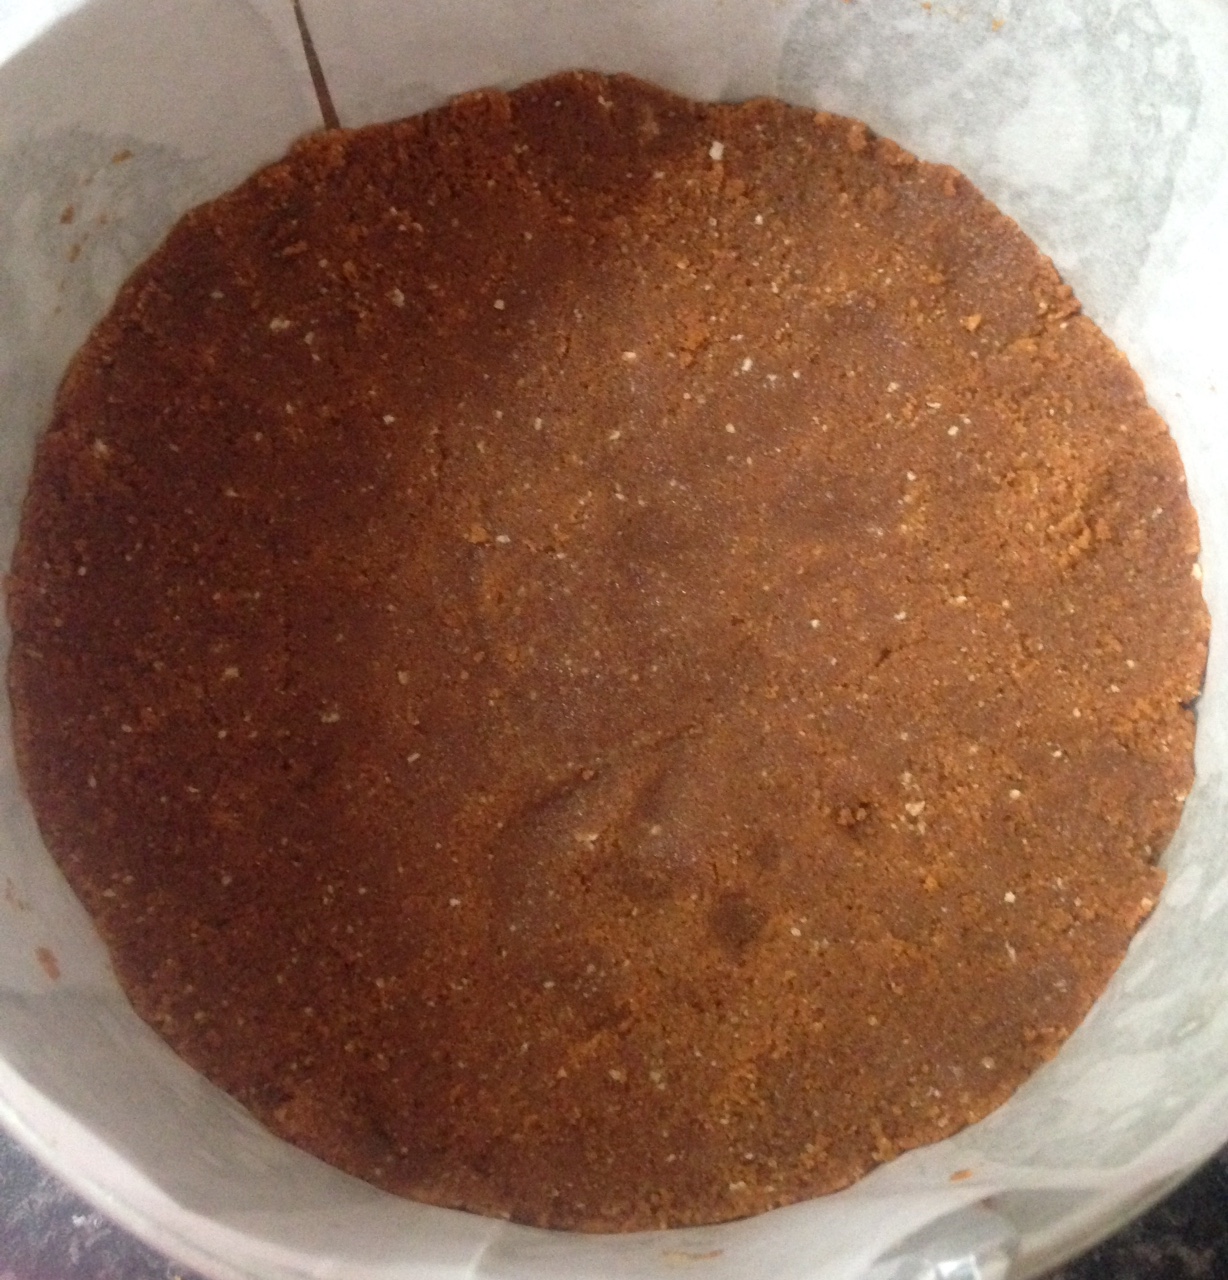
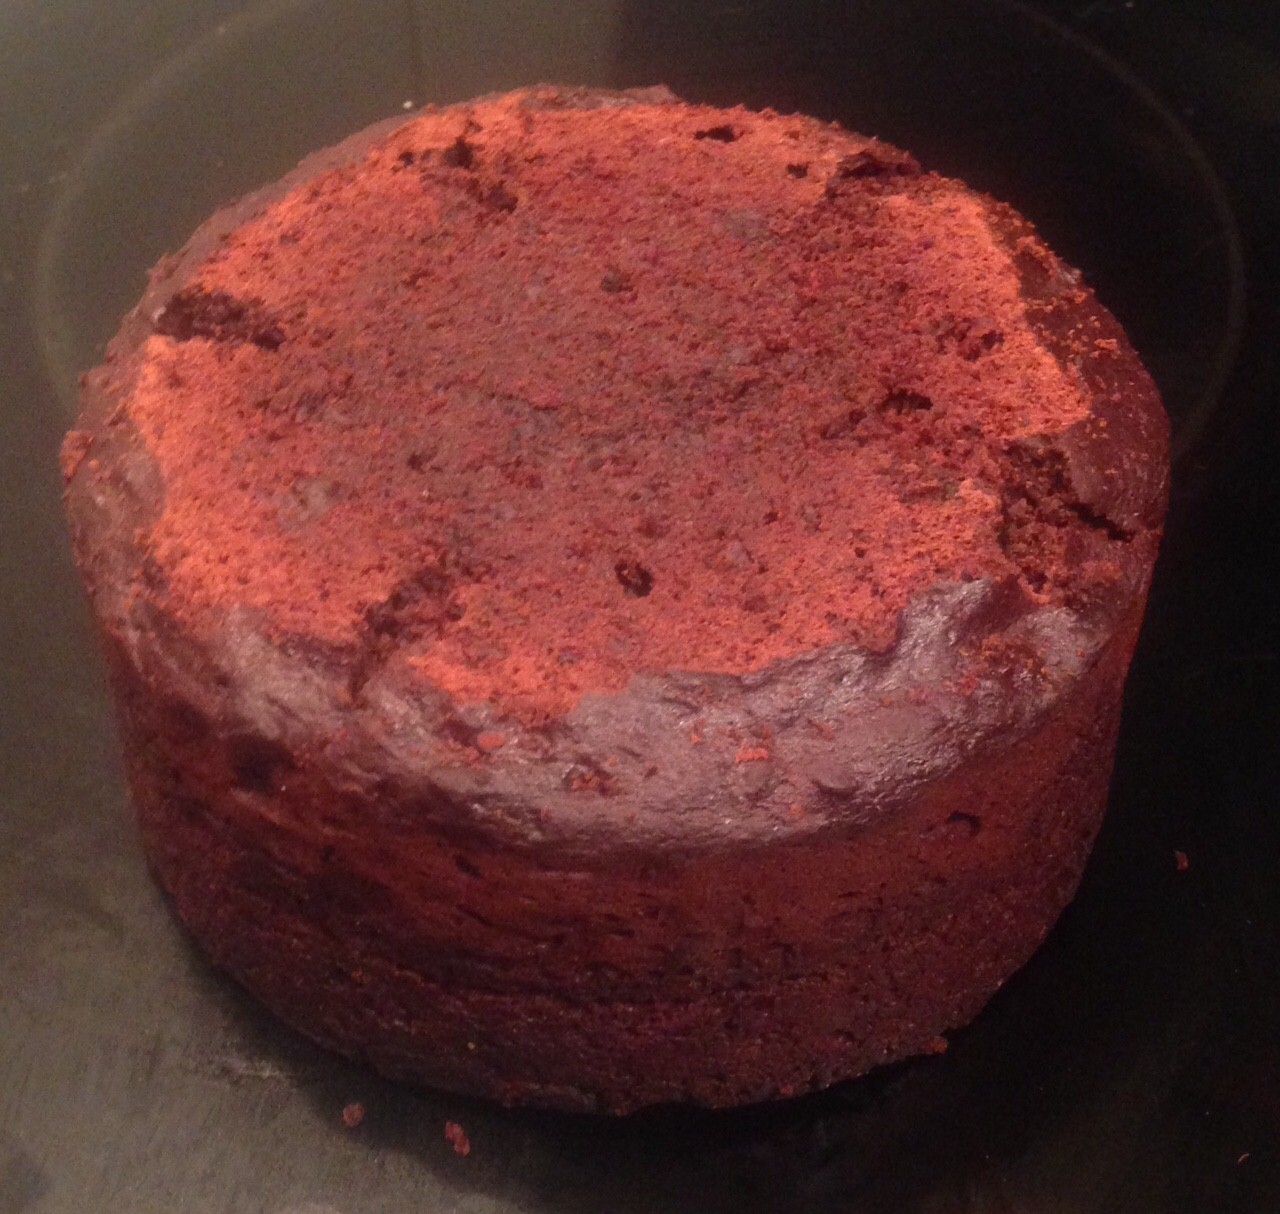
- Pour the mix into the cake tin and bake for 30 minutes or until a skewer inserted into the middle comes out clean.
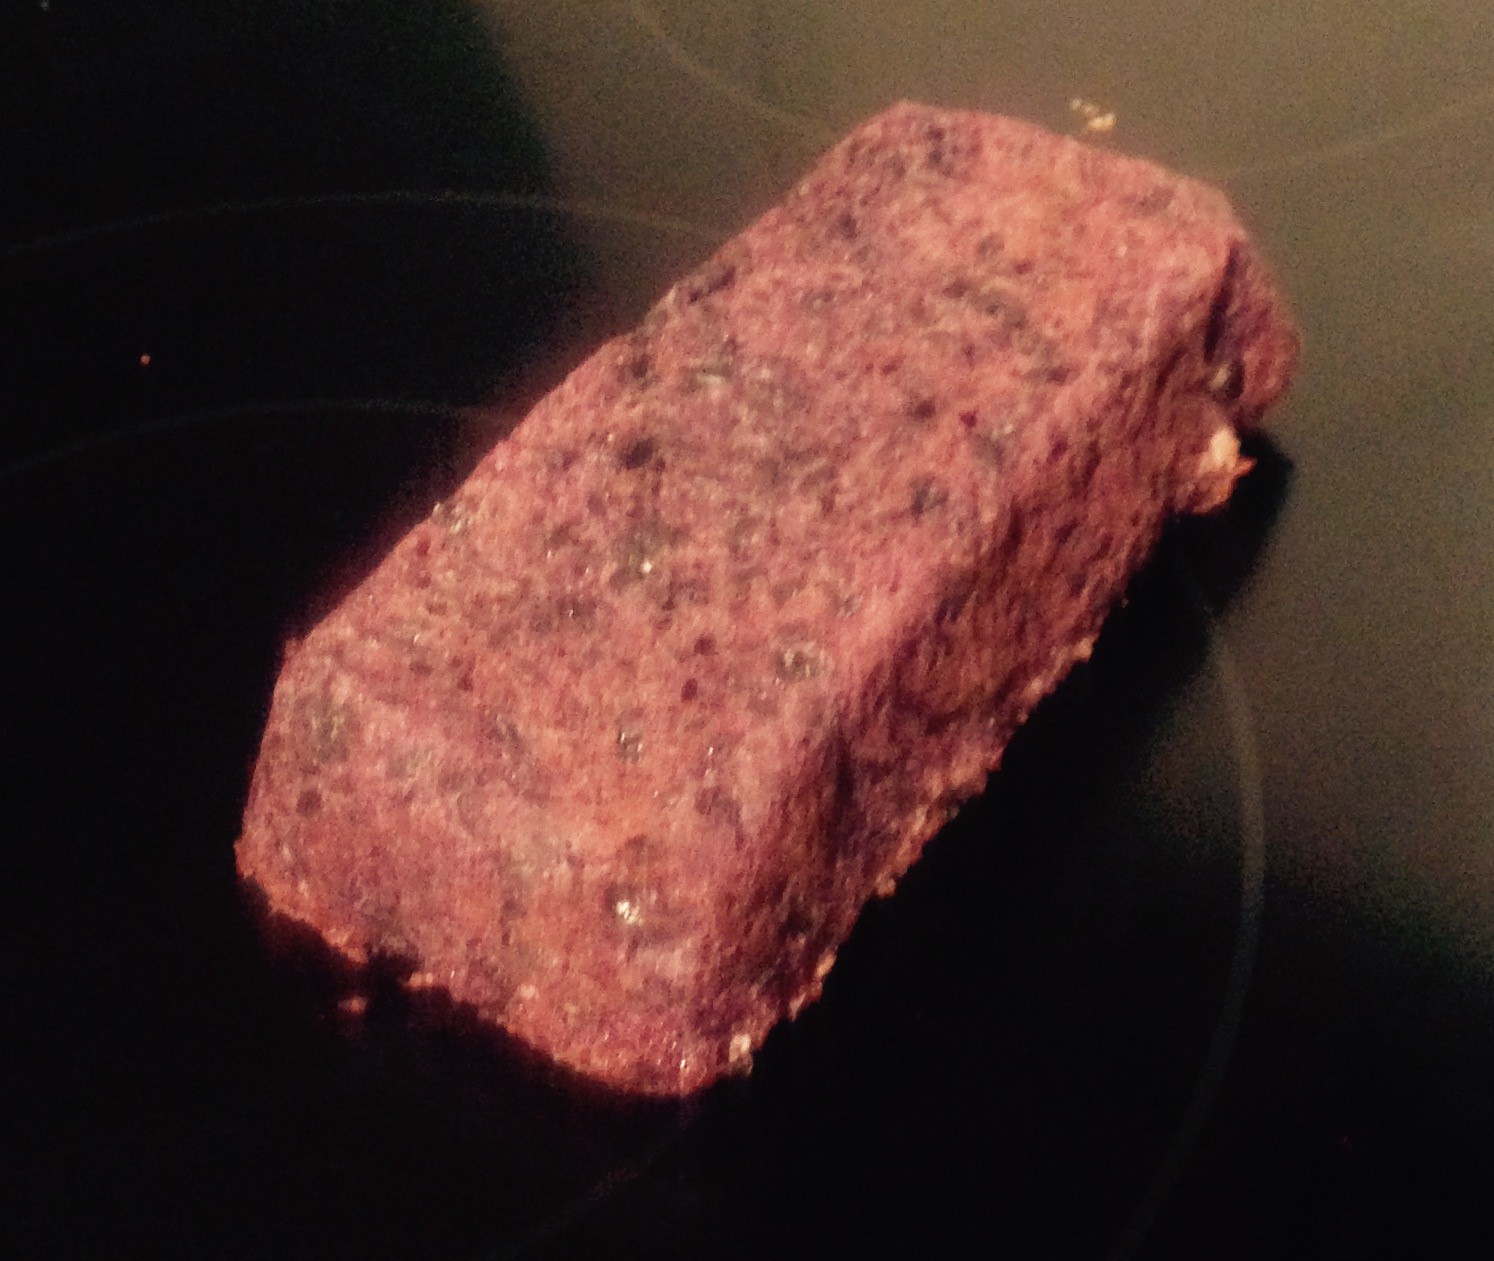
- Place on a cooling rack until cold.
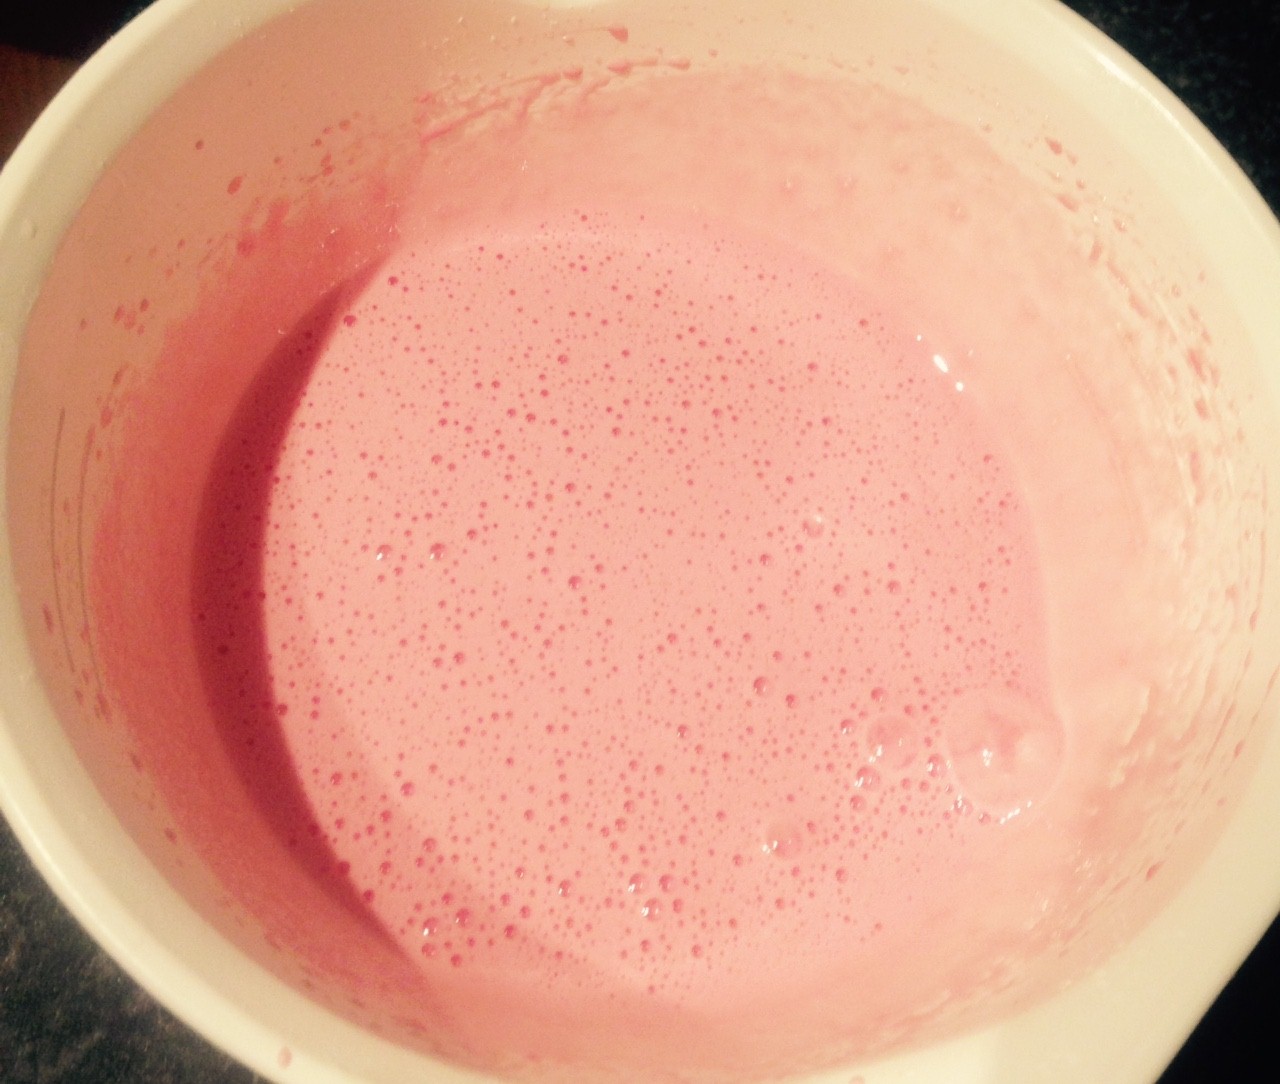
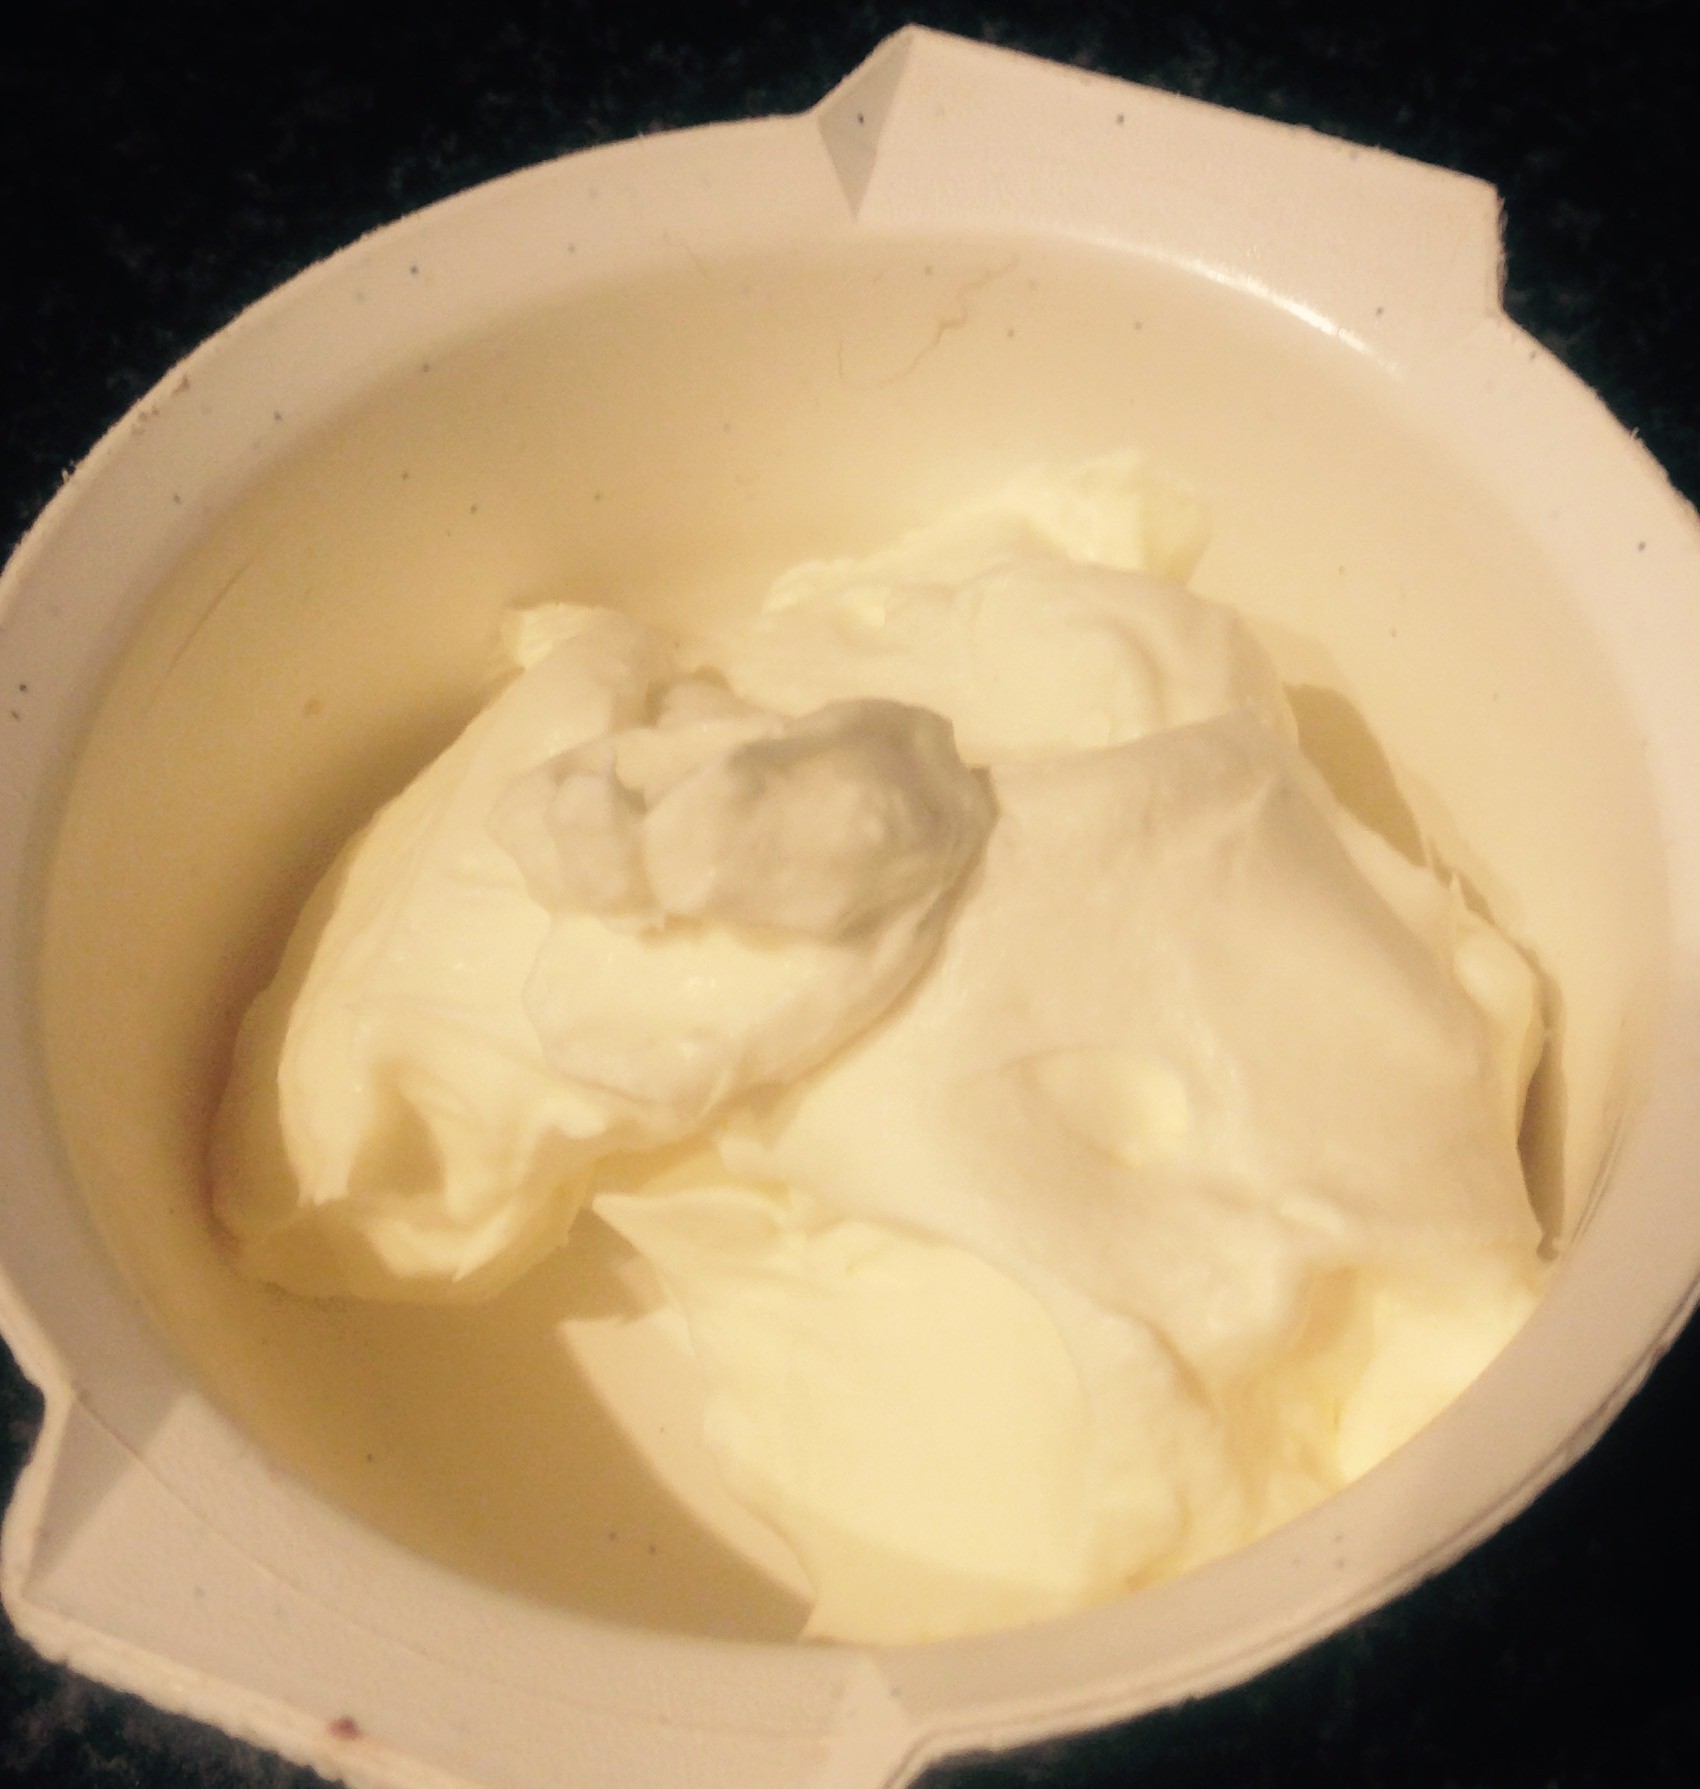
- To make the ganache place the chocolate on a sauncepan on a low heat and stir until melted.
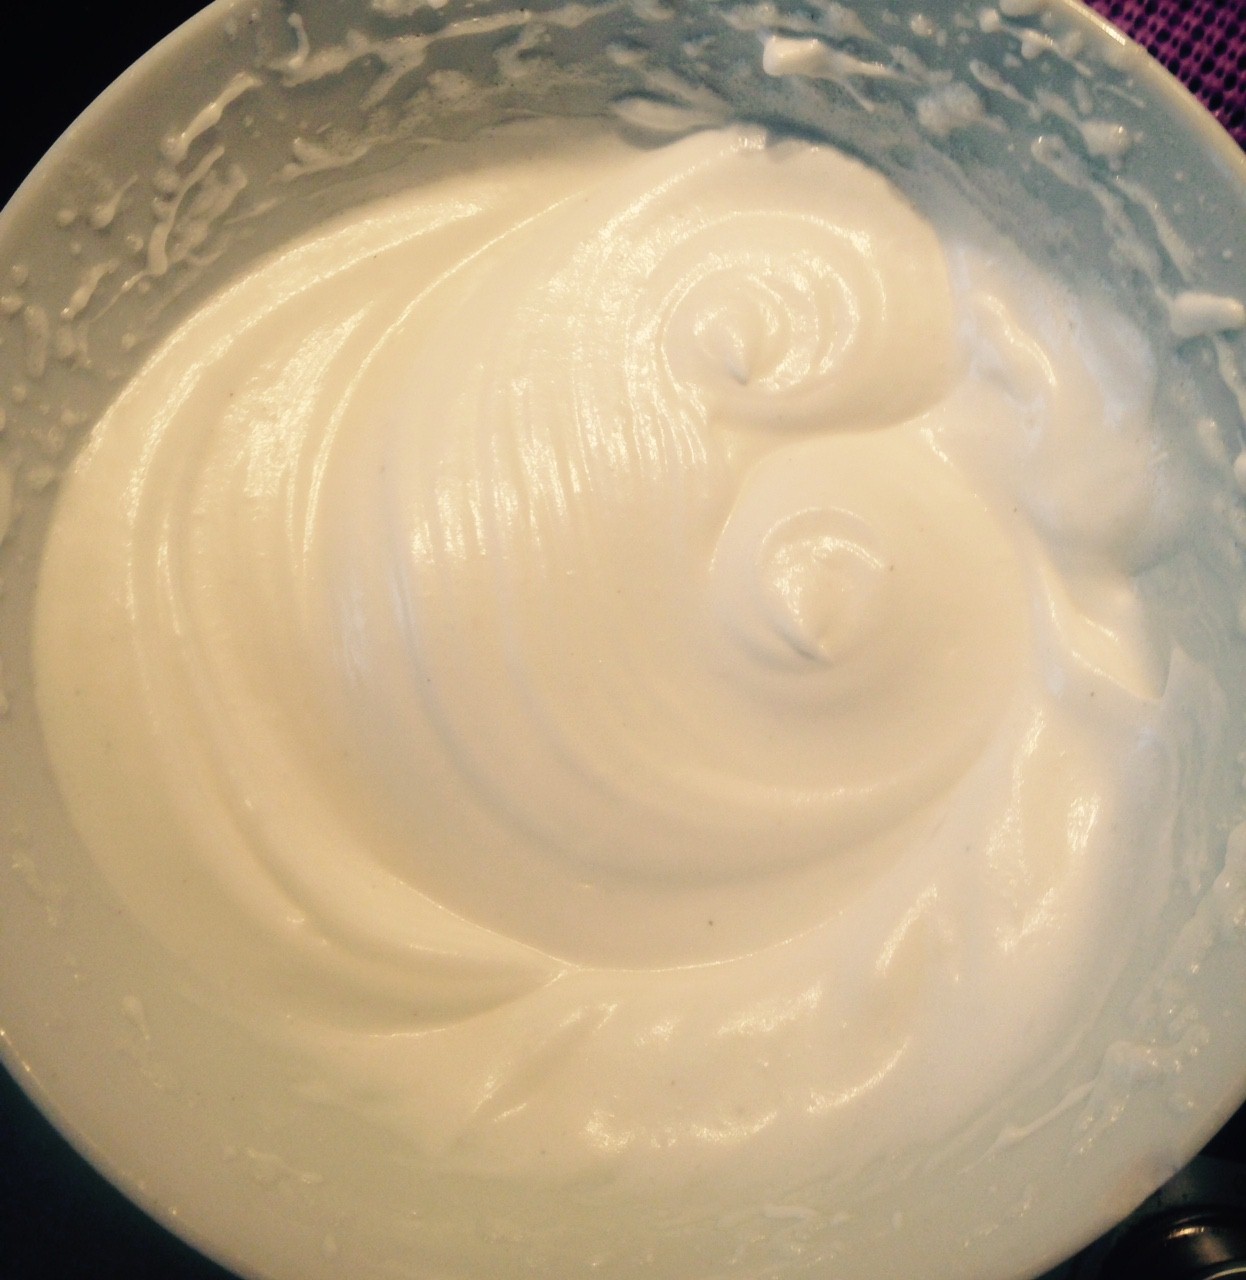
- Take off the heat and add the yoghurt until combine and glossy. Place aside until cooled.
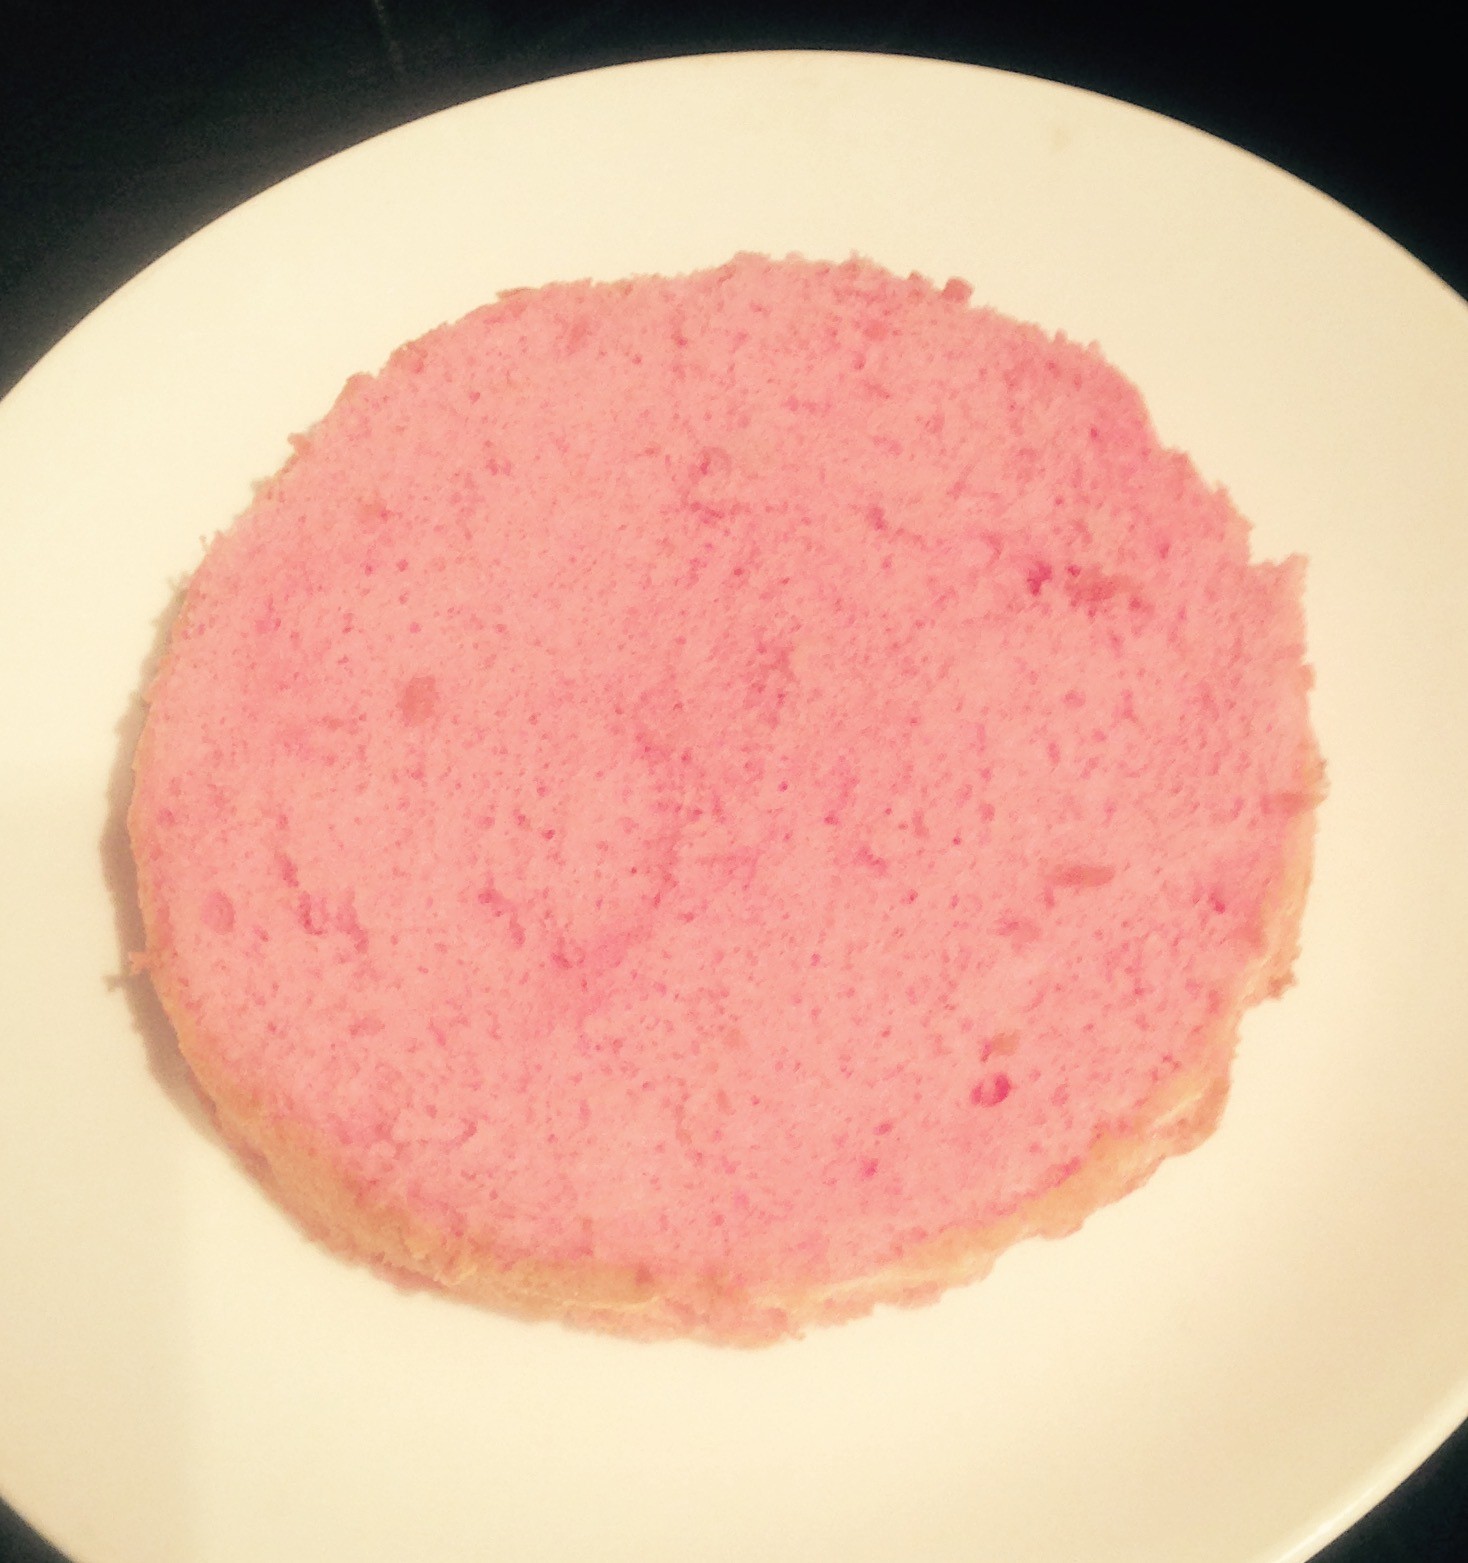
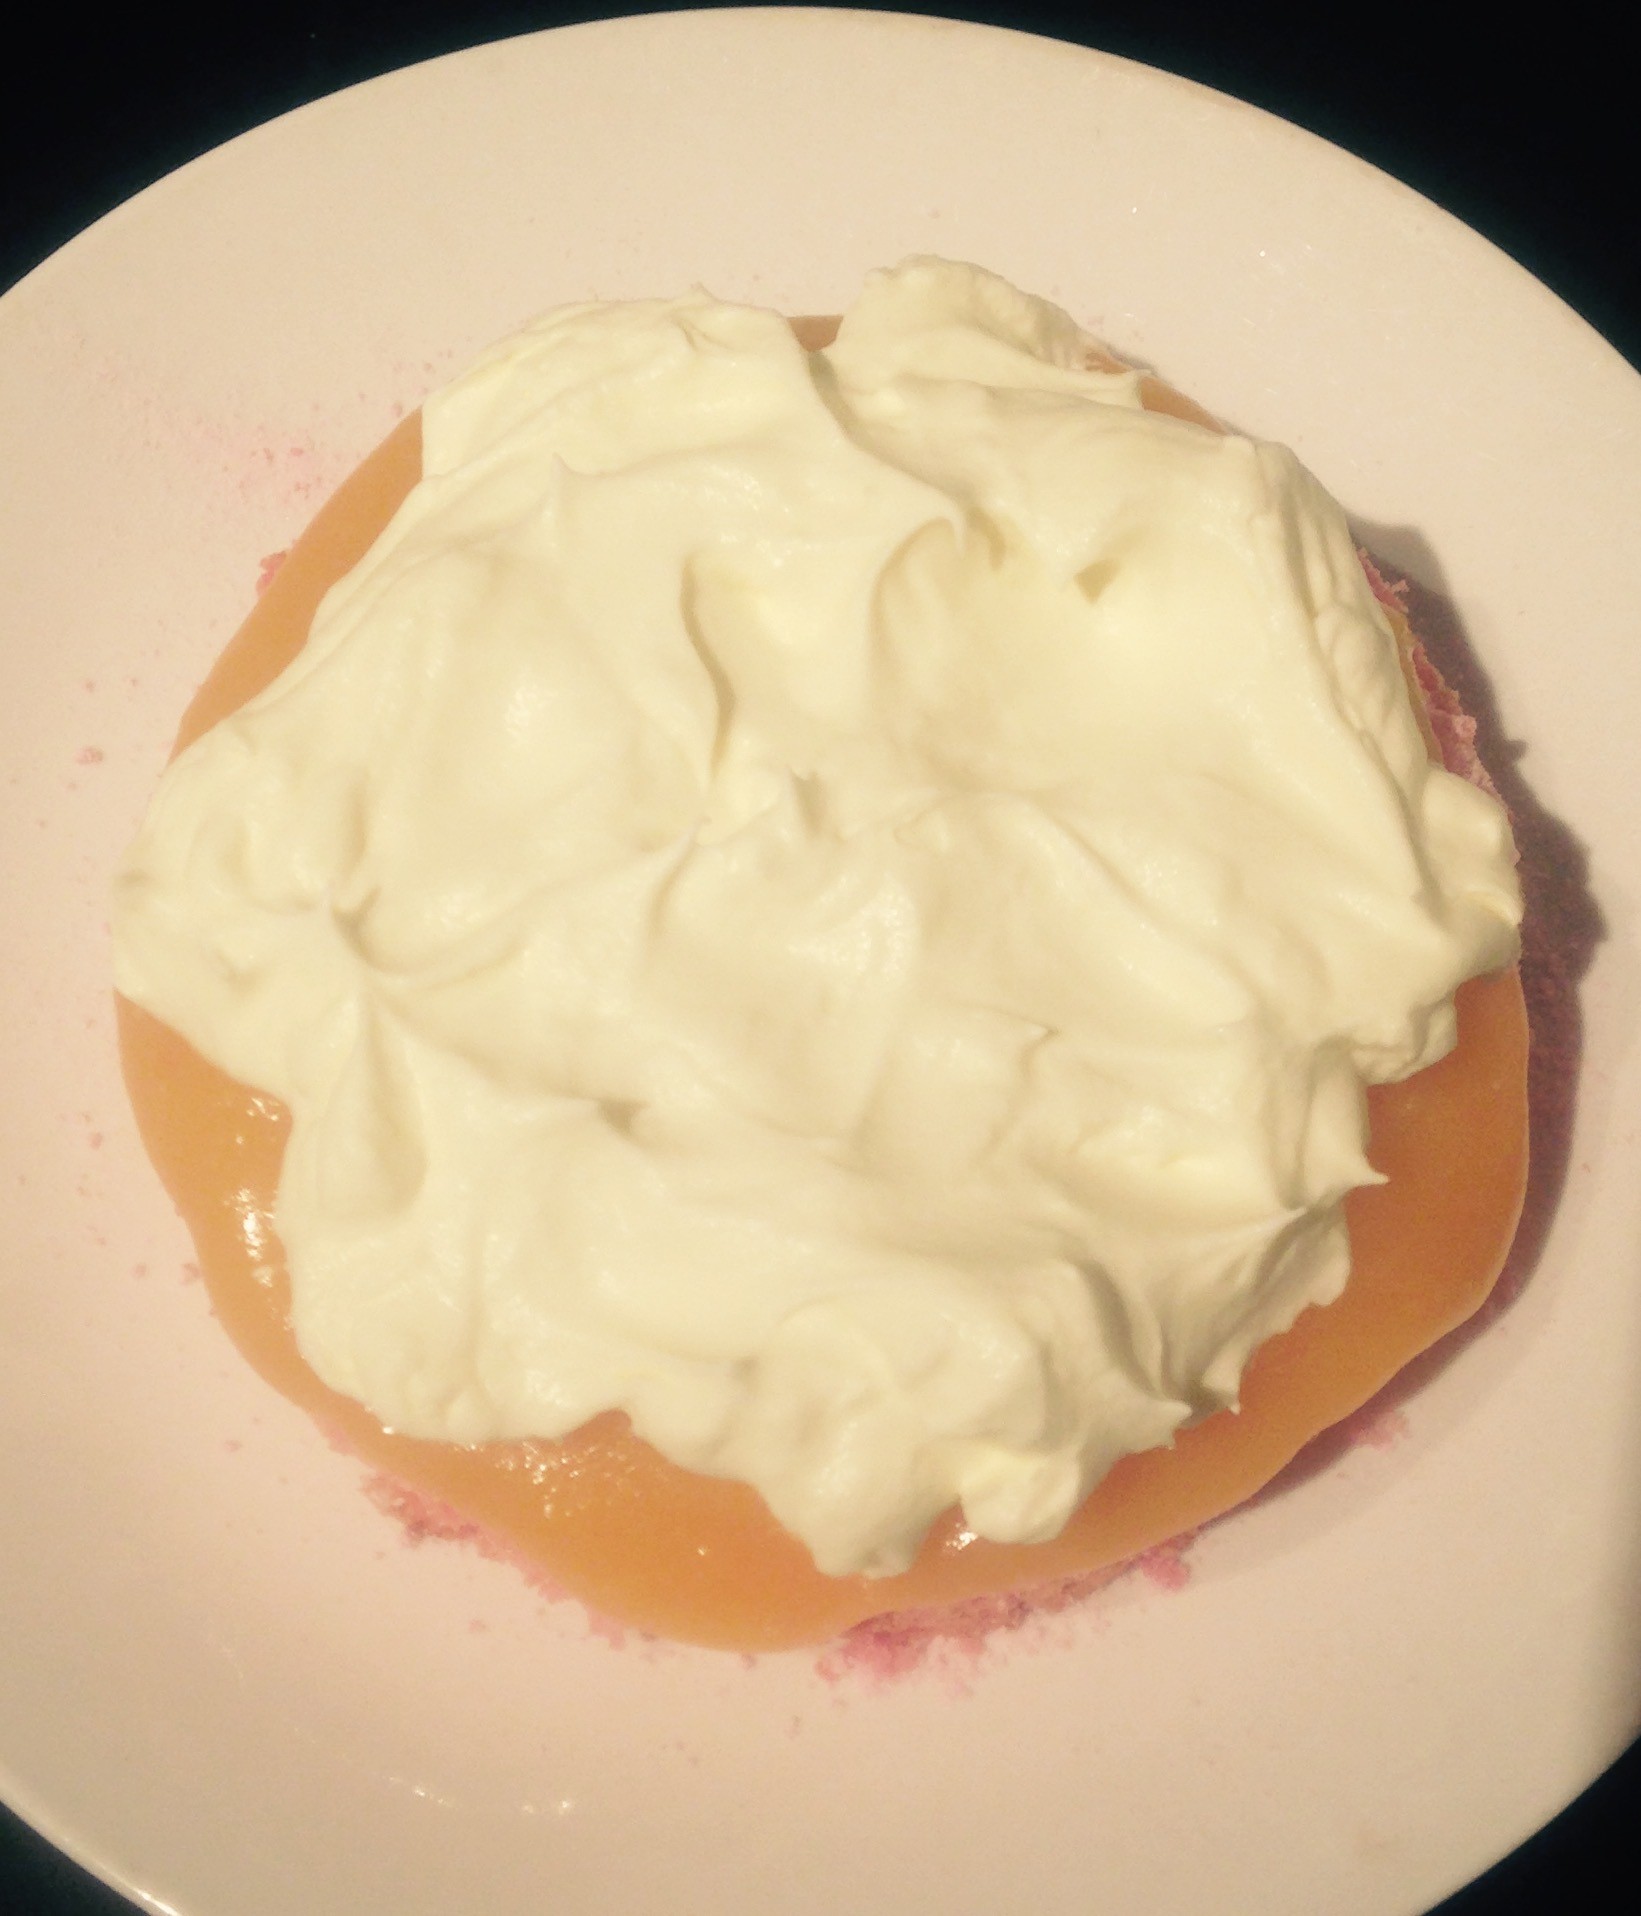
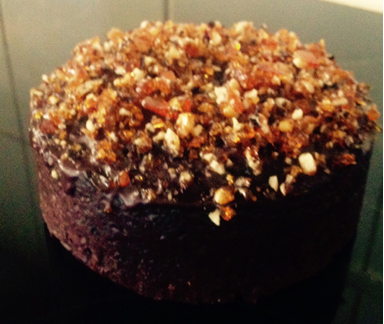
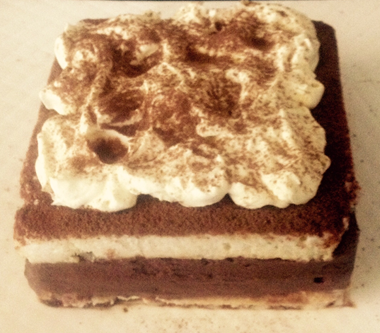
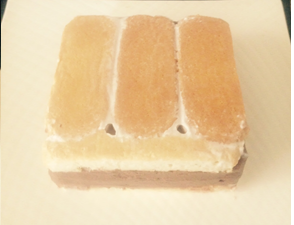
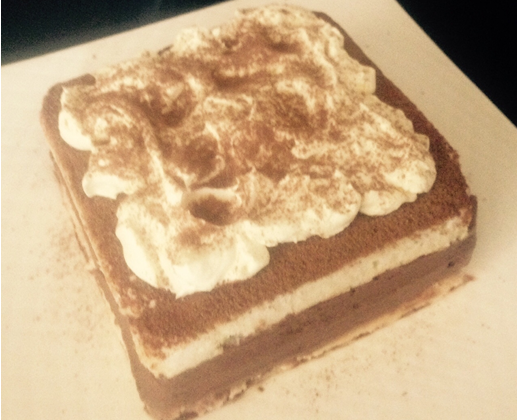
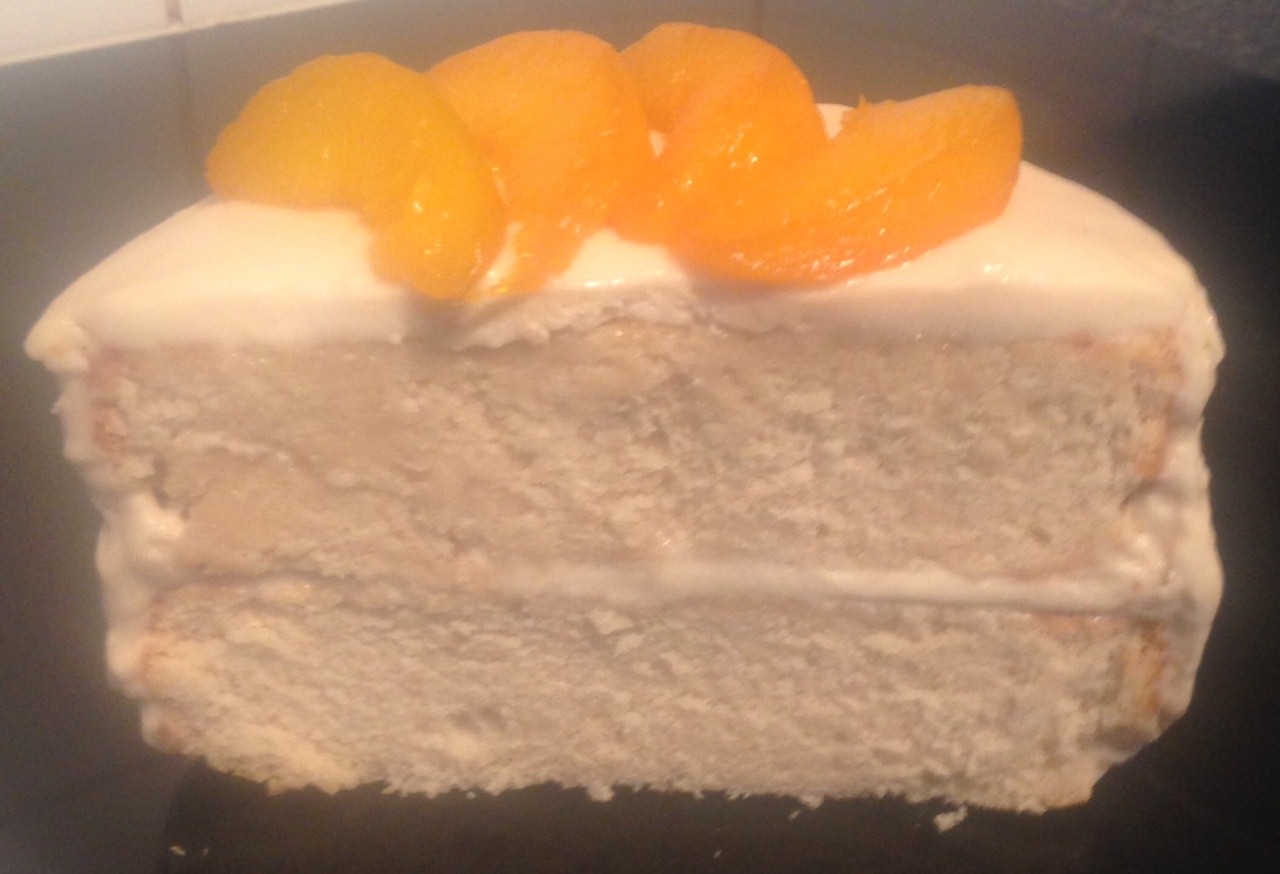
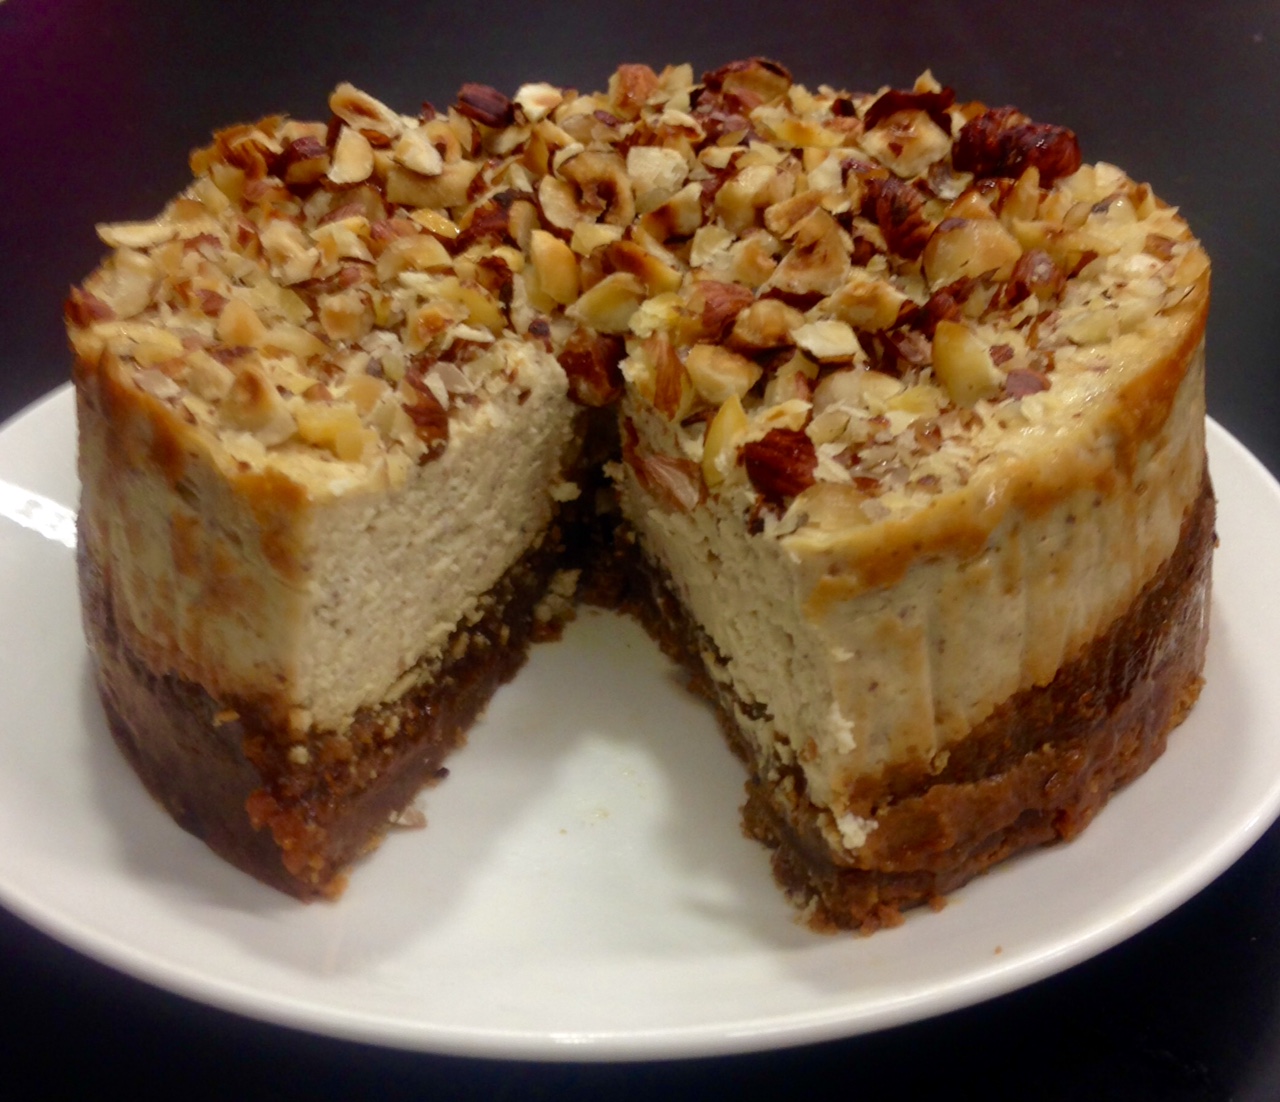
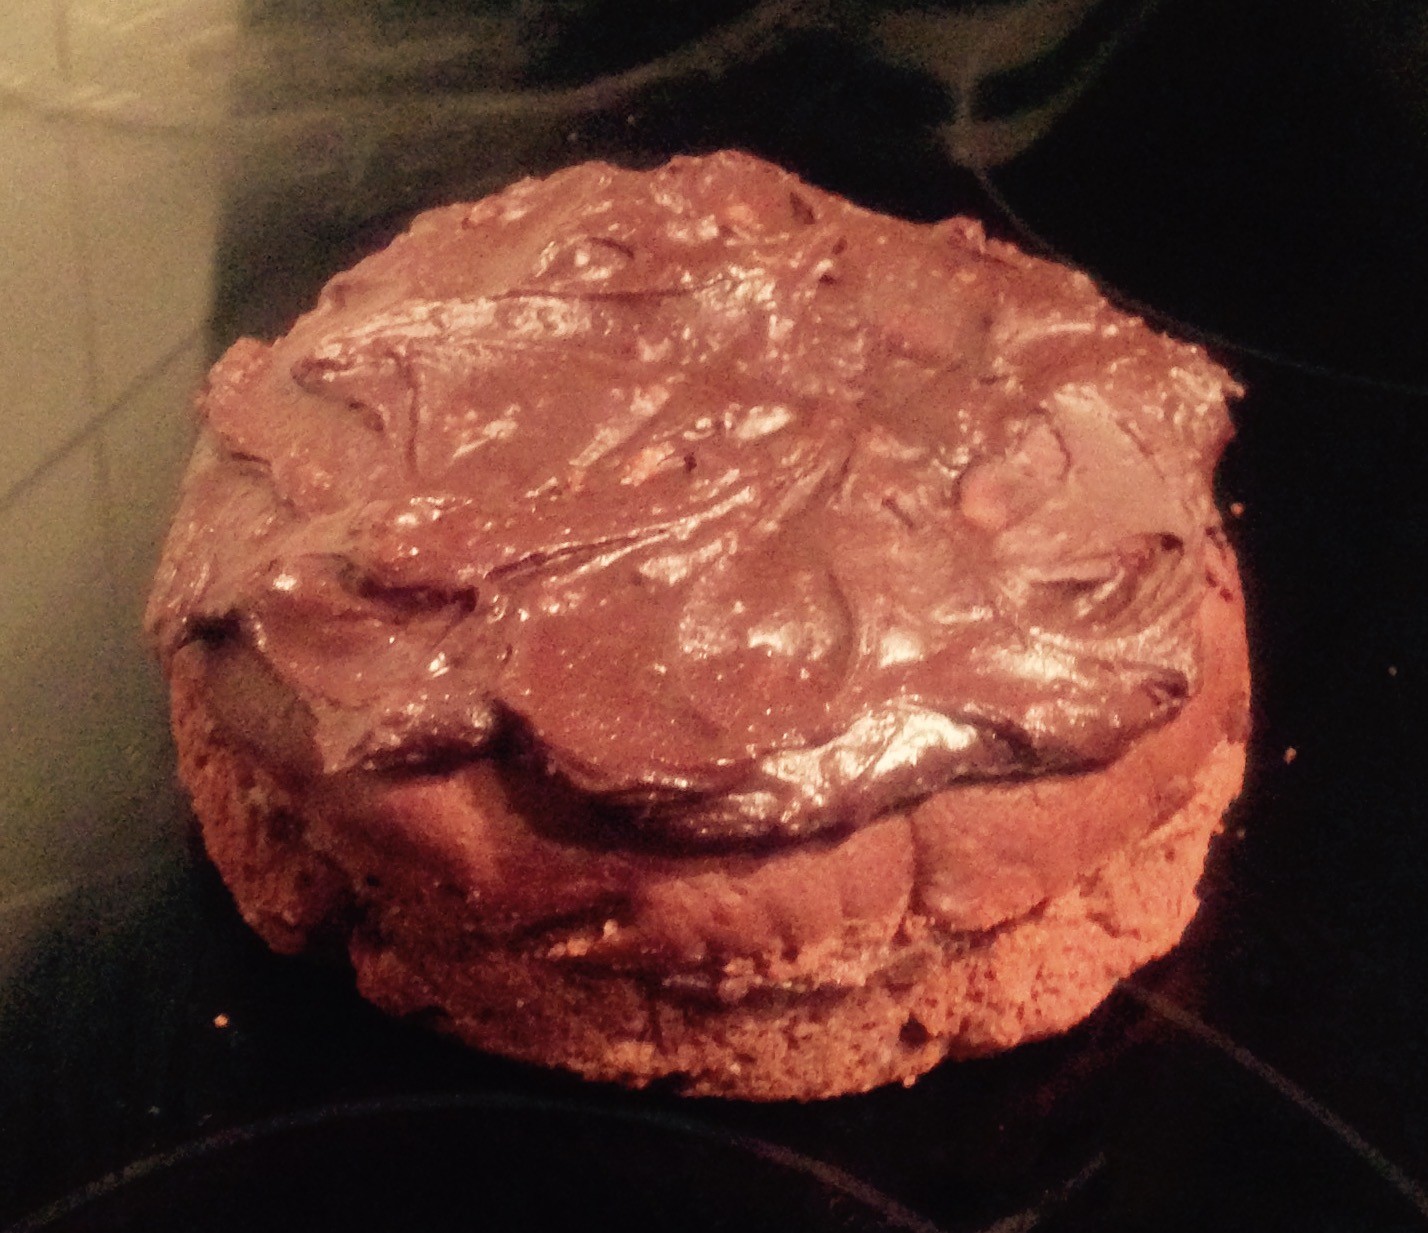
- Cut the cold cake in half and spread half the ganache on the bottom layer. Place the top layer on the ganache and top the cake with the remaining ganache.
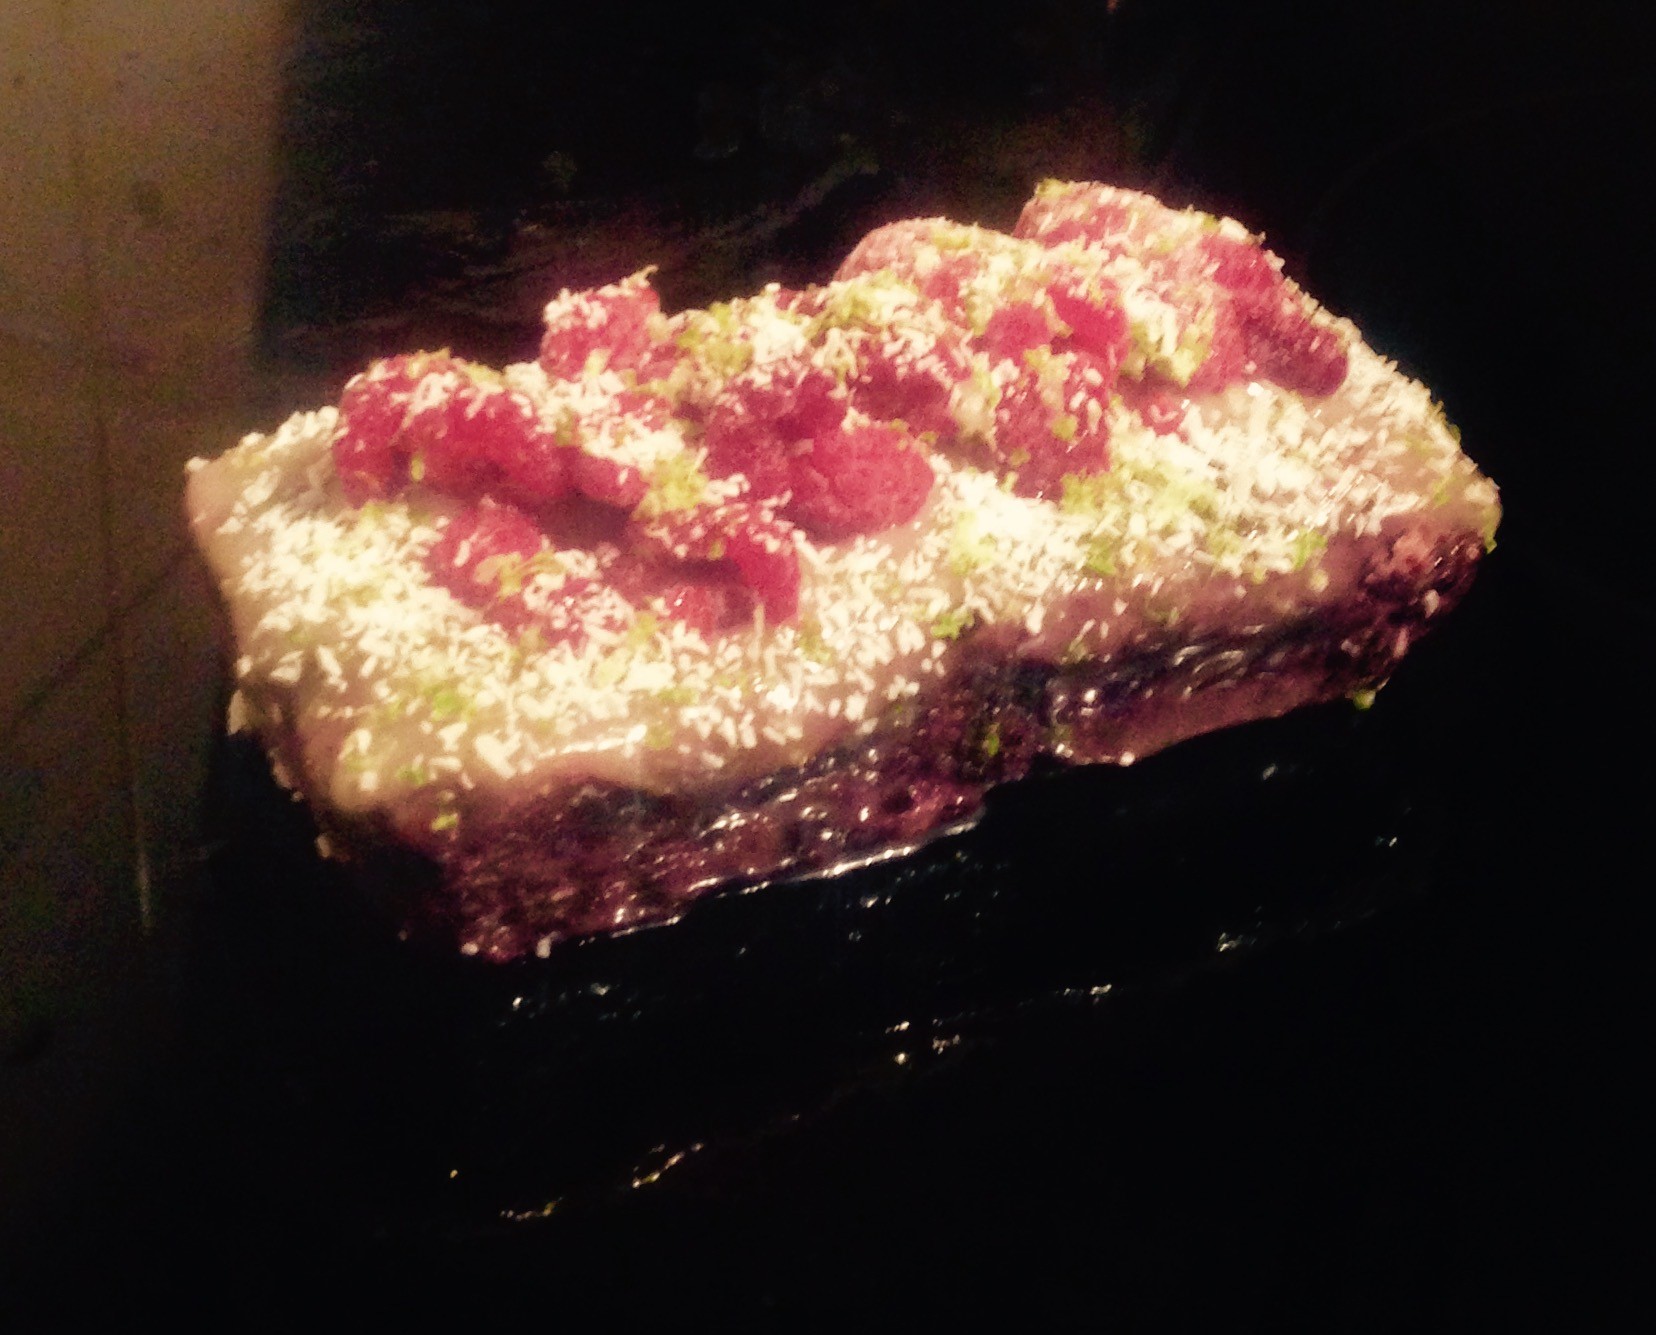
- Serve with ice-ream or double cream and enjoy.
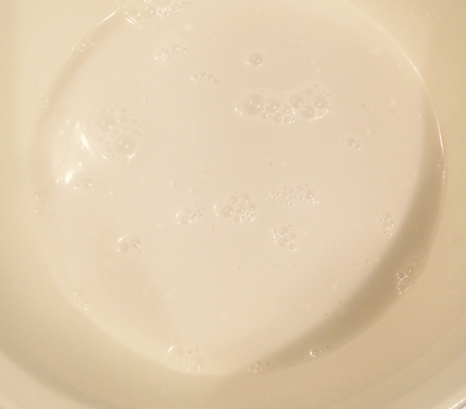
Step 4
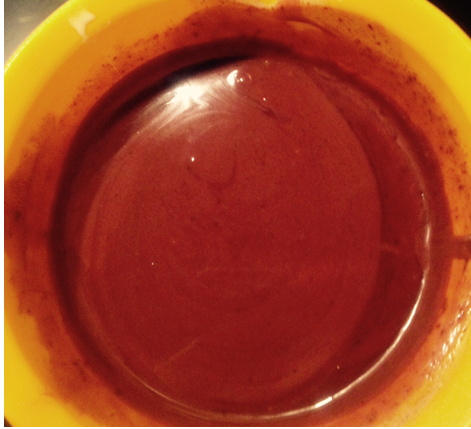
Step 6
Step 7
Like this recipe? Subscribe via RSS or email to get my new entries and more scrumptious recipes with reviews.
 Follow