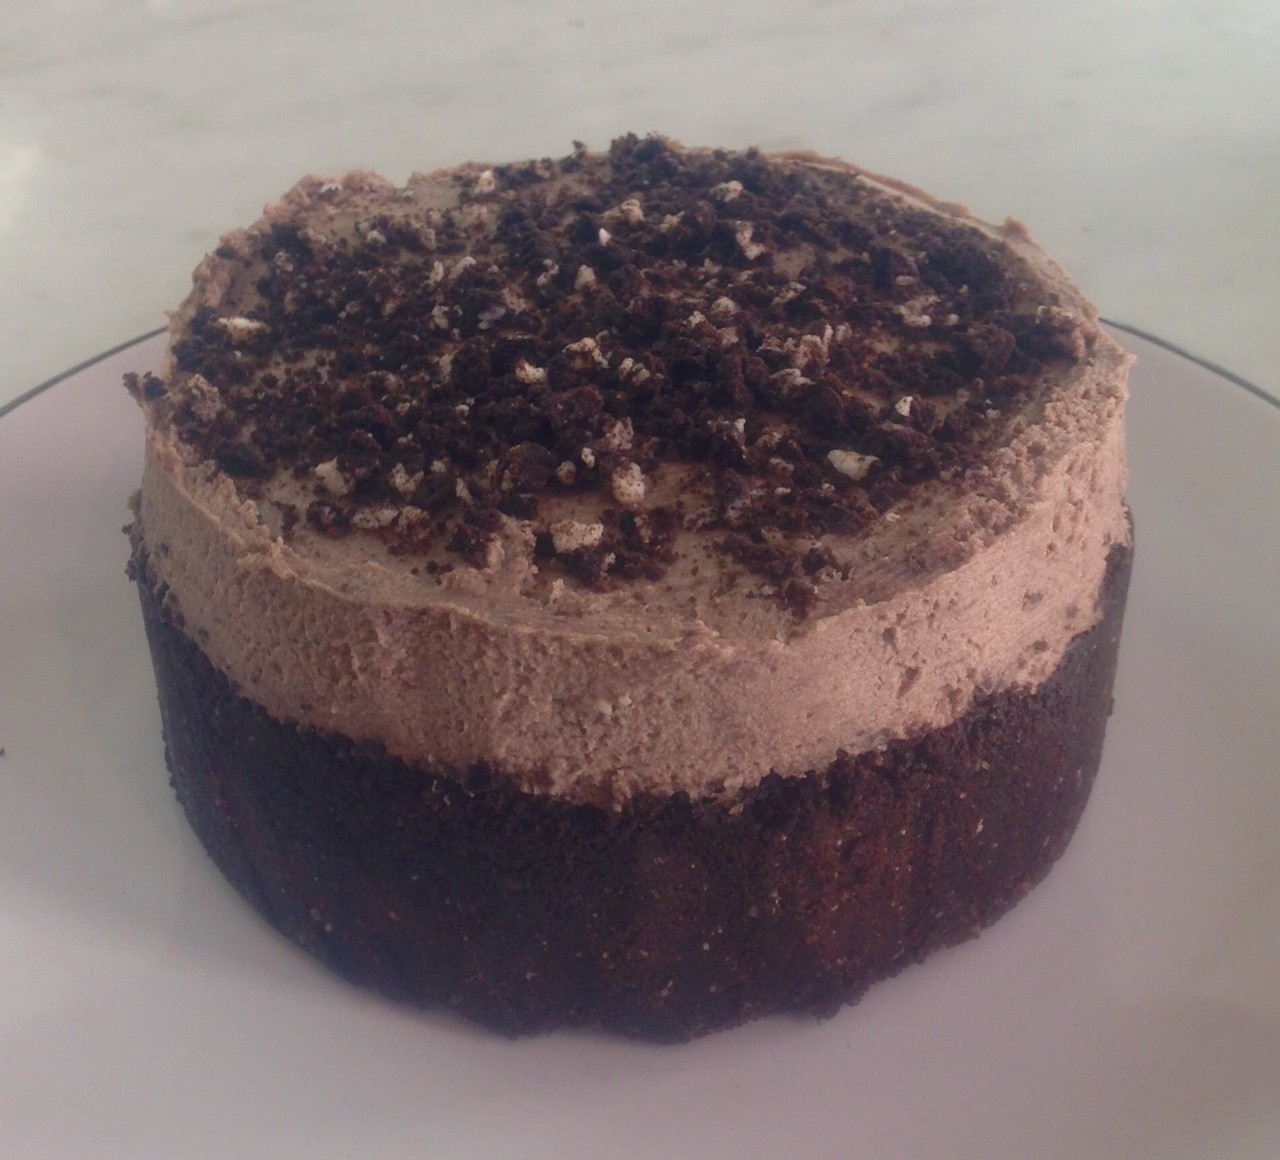
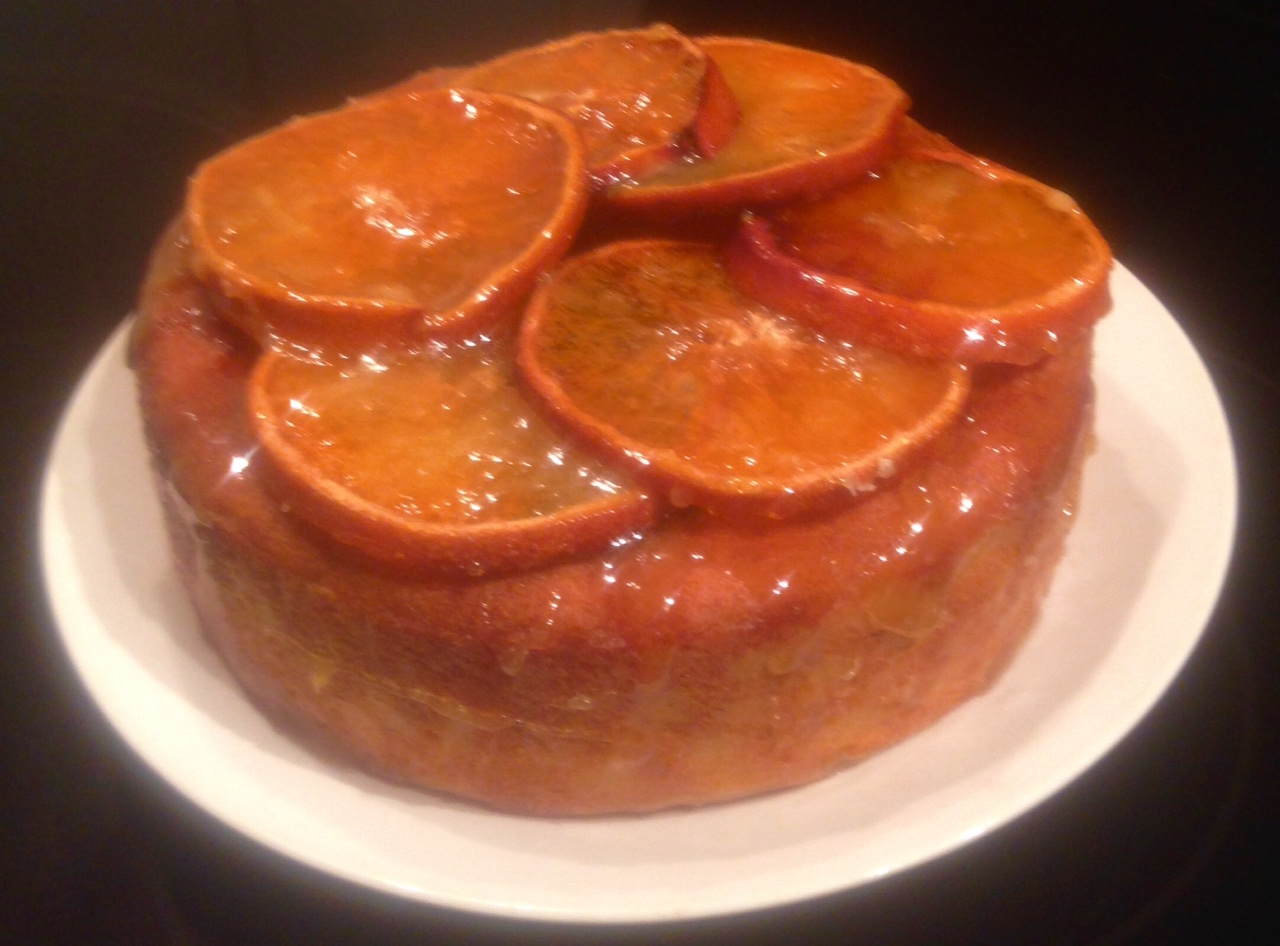
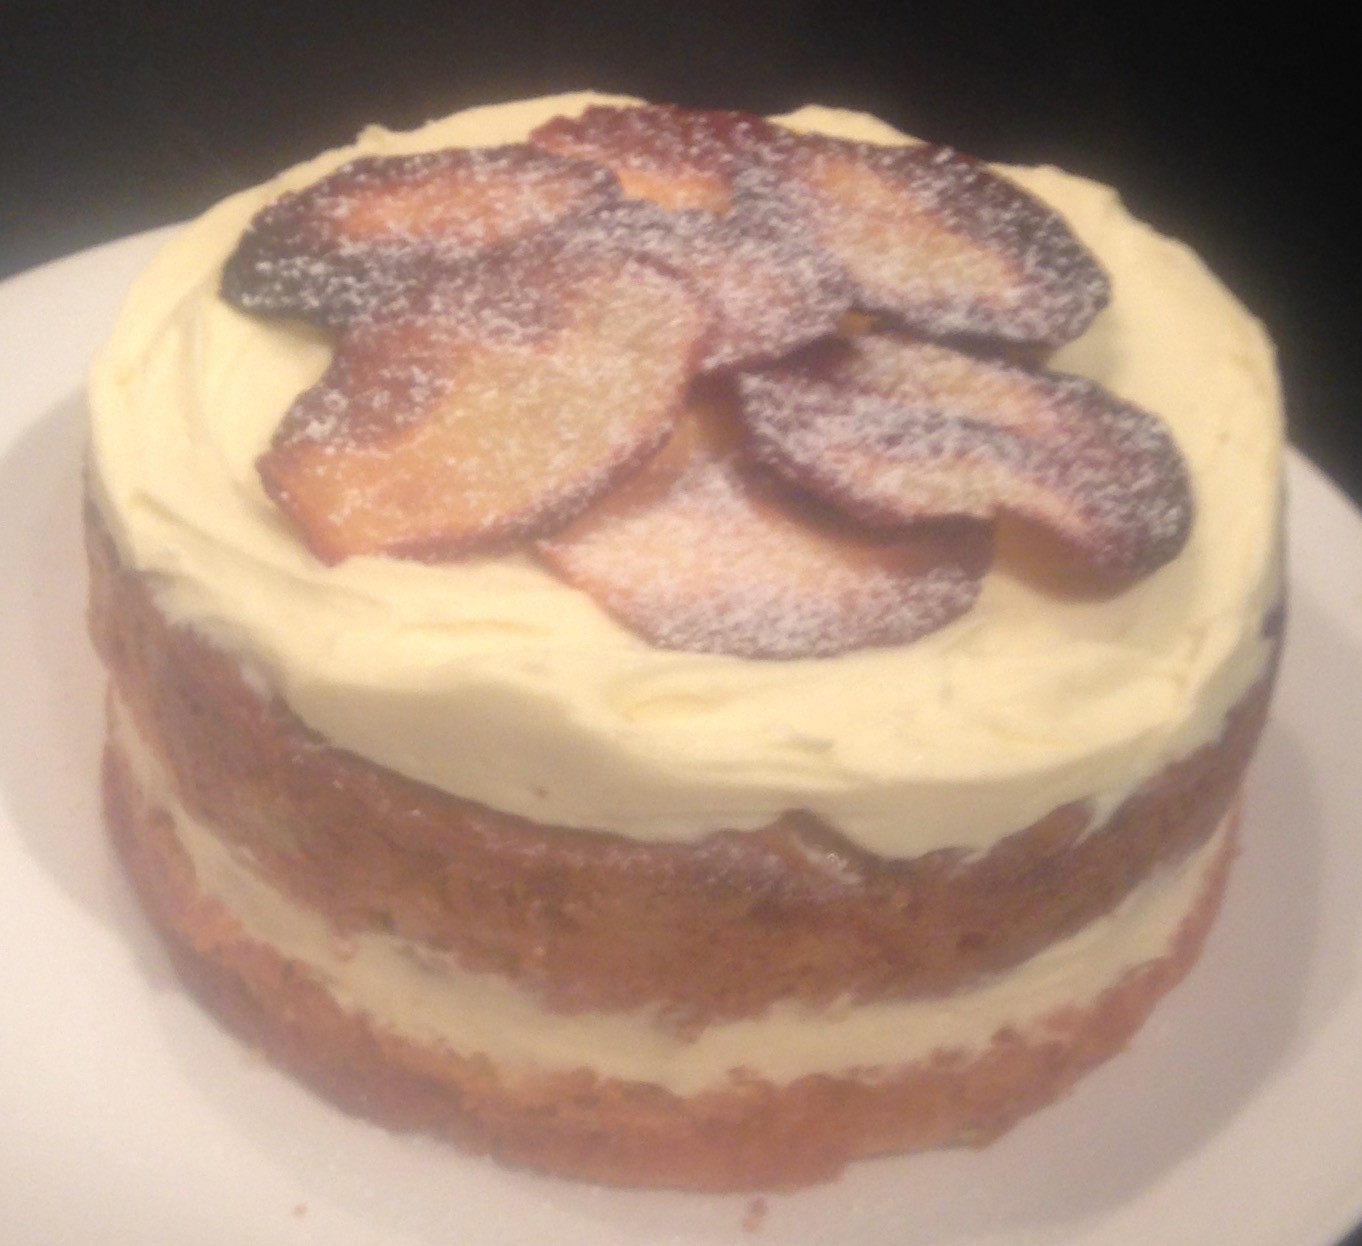
Frozen Ginger Gin and Citrus Cake
For a while now I have been experimenting with a flavor fusion in which I know absolutely works but just can’t seem to make a recipe that is super amazing. Nice and tasty yes but nothing special enough to make it to my blog.
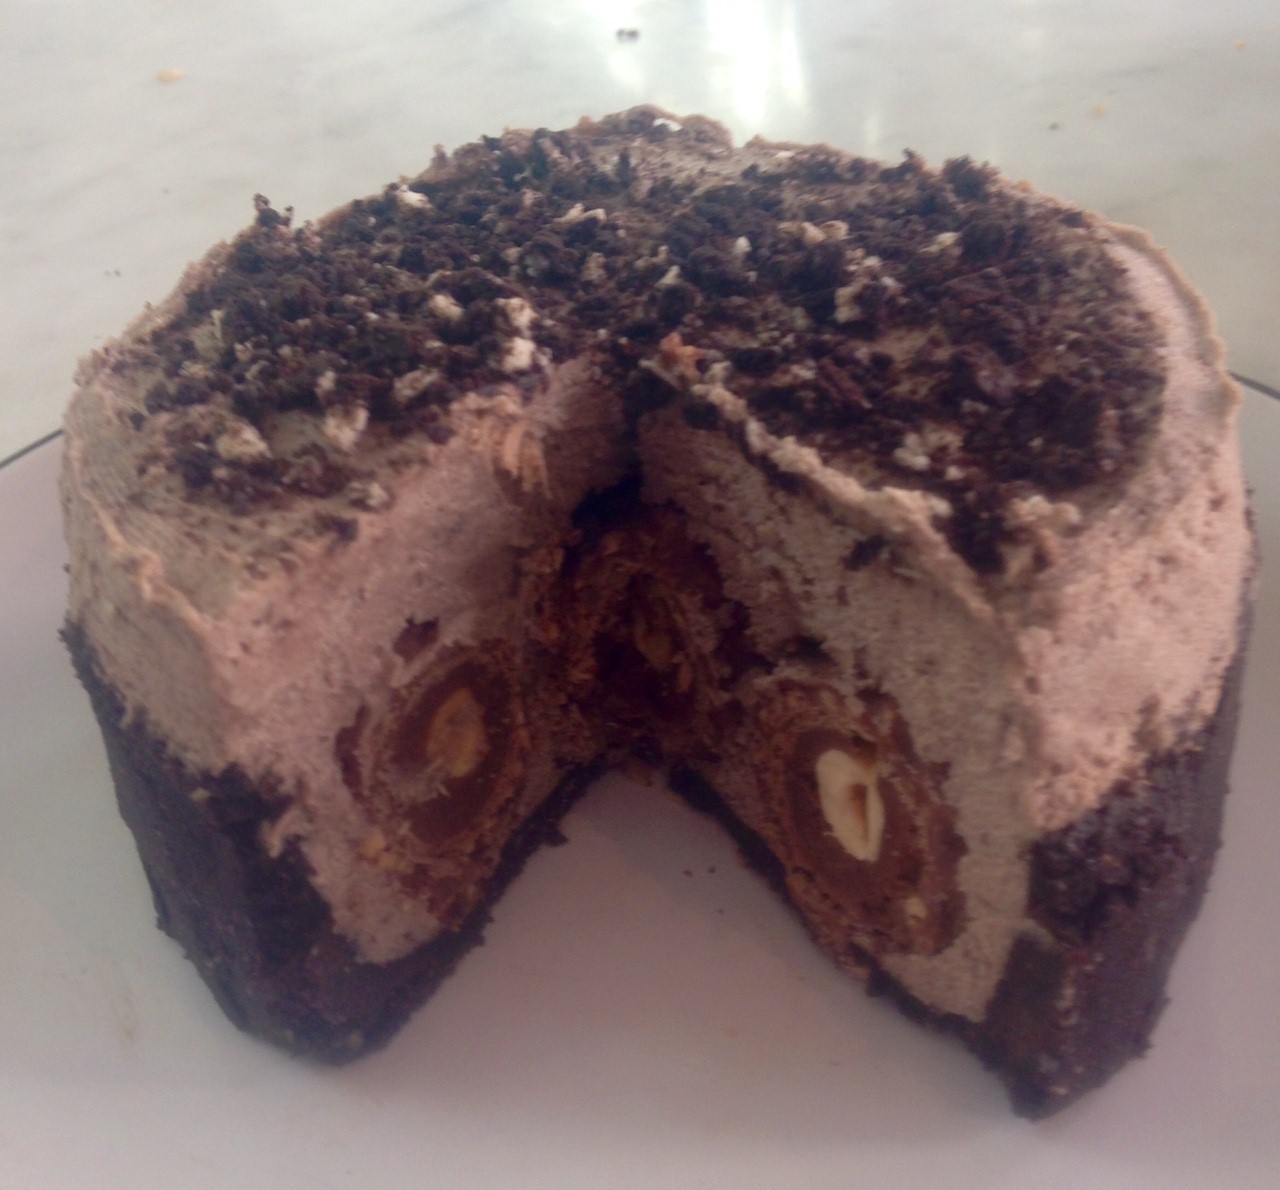
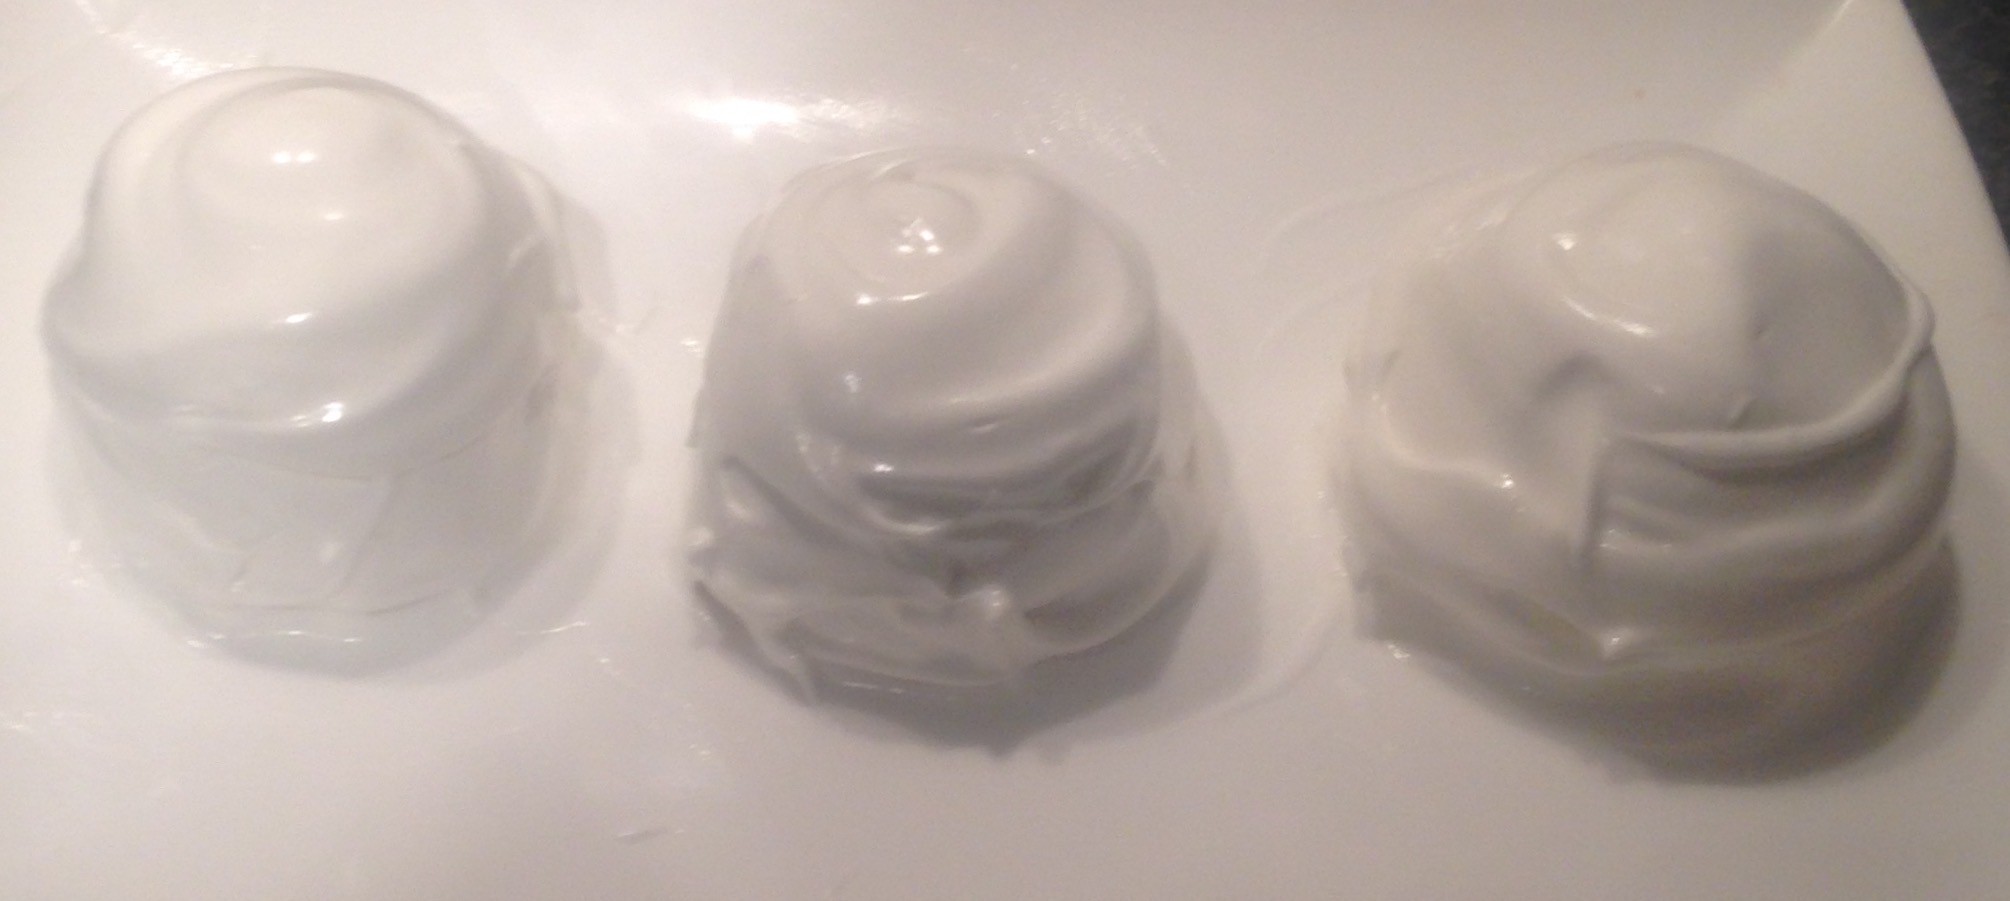
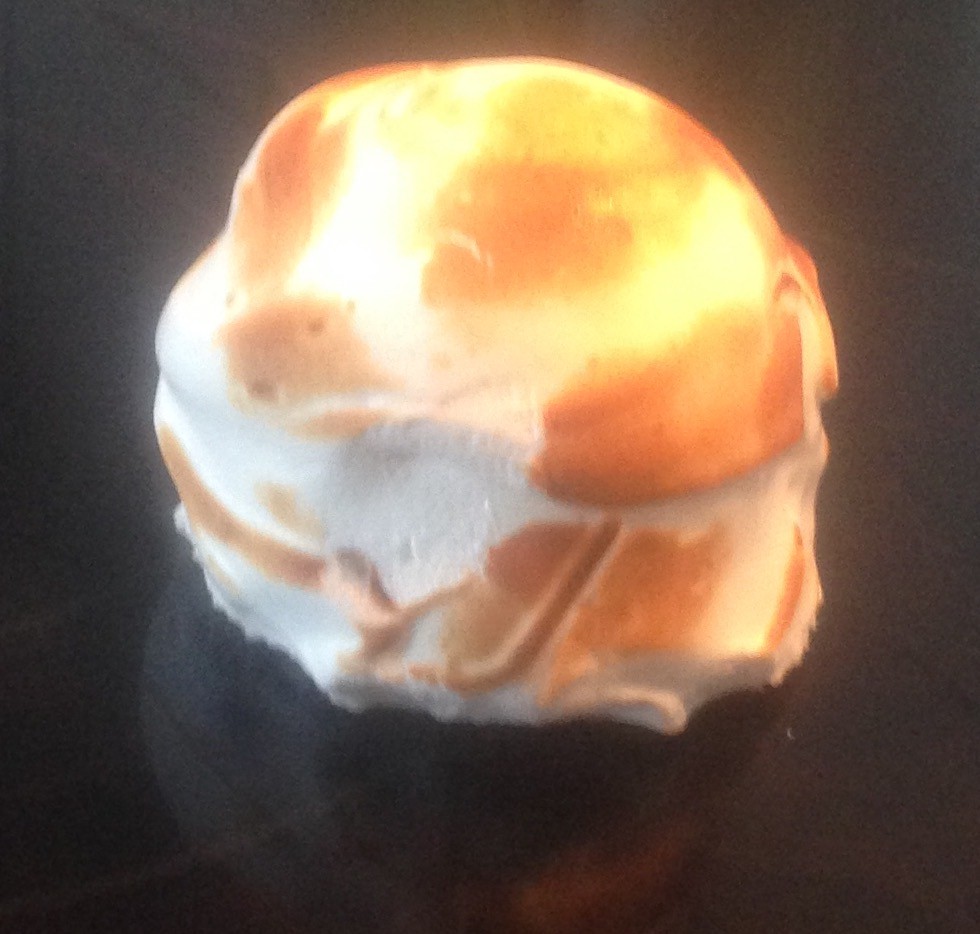
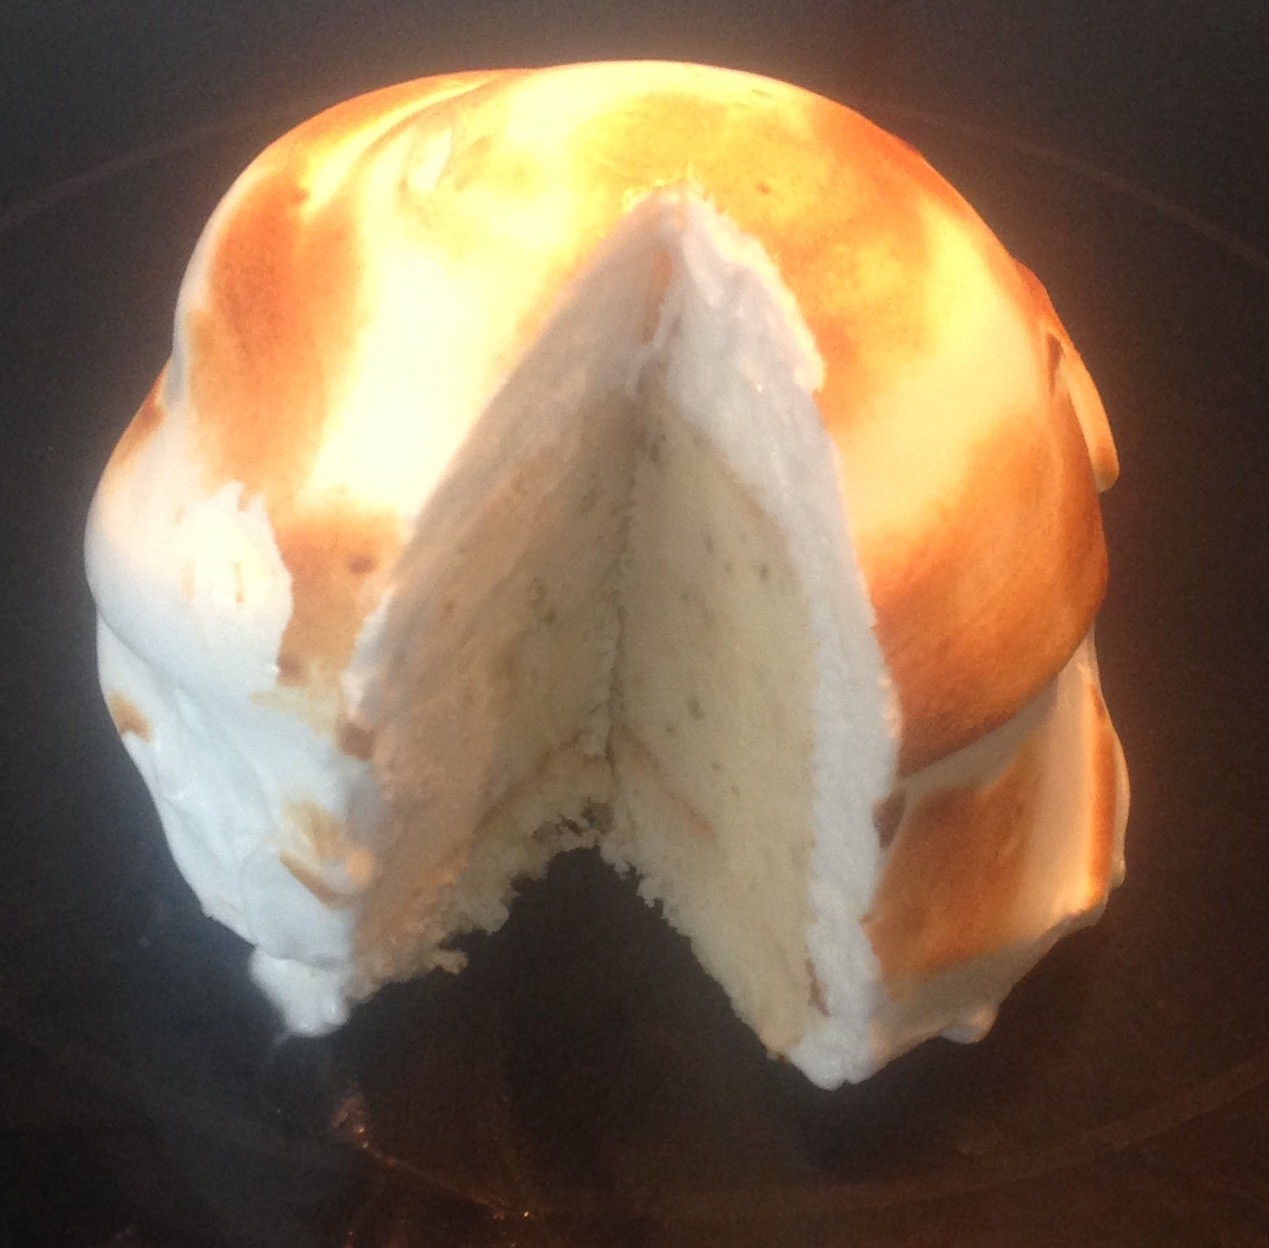
Finally, after a failed ice-cream meringue cake that had an ever-so-tasty ice-cream filling I reworked the recipe to change the meringue into a sponge and the outcome was exactly what I was looking for.
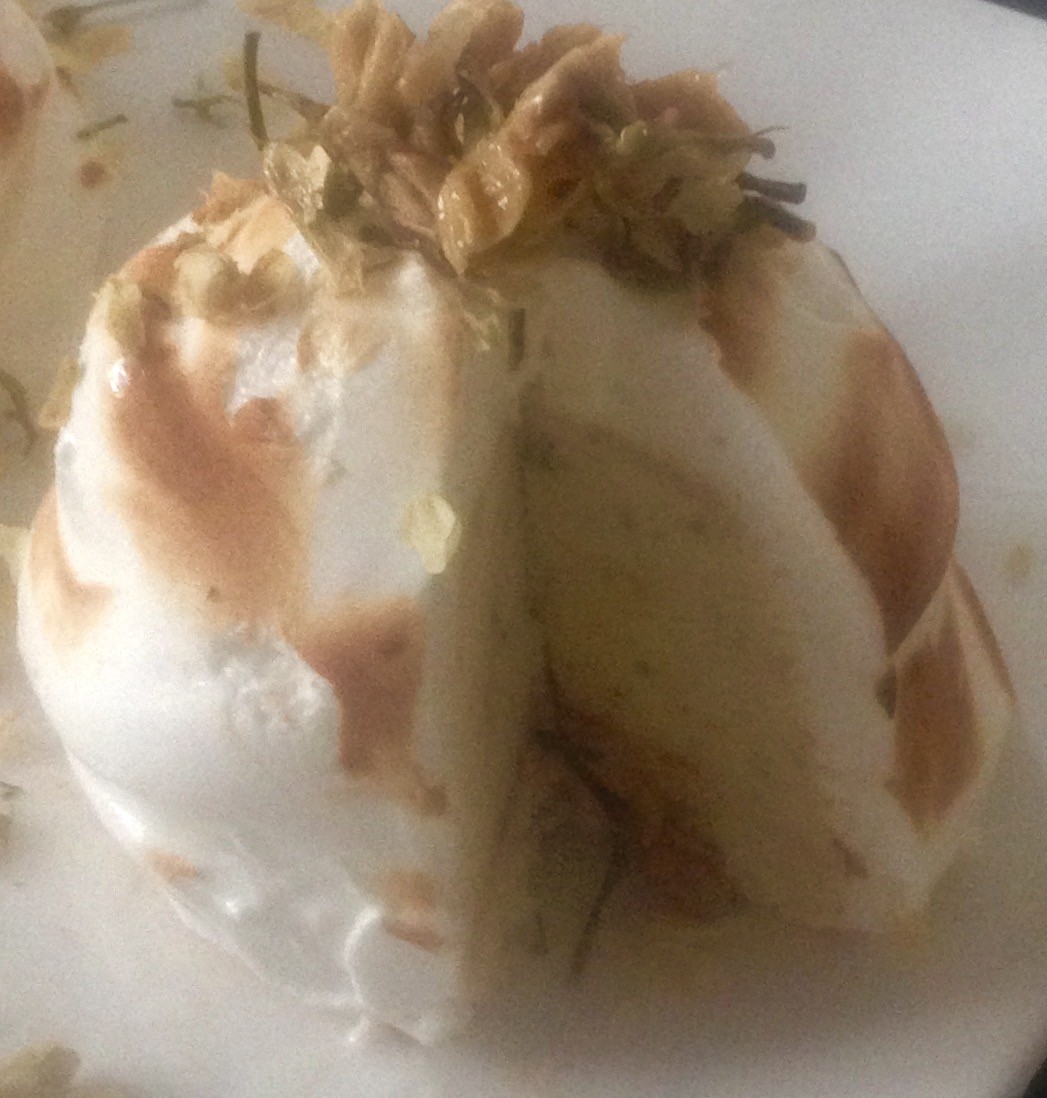
A deliciously fluffy sponge structure and a tasty textured ice-cream filling.
If you’re a fan of gin and ginger cocktails you are going to love this recipe.
Ingredients:
Cake:
- 4 eggs
- 140g sugar
- 120g flour
- 2 tsn ground ginger
- 2 tsn lime zest
- 45ml gin
Filling:
- 1kg vanilla ice-cream
- 1 tbsn lemon zest
- 1 tbsn lime zest
- 1 tbsn ground ginger
- 80ml gin
- 30g almond meal
- 40g icing sugar
Extra:
- 10g icing sugar
- 1 tsn ground ginger
- 1 tsn lime zest
- 20g glace ginger (optional)
Method:
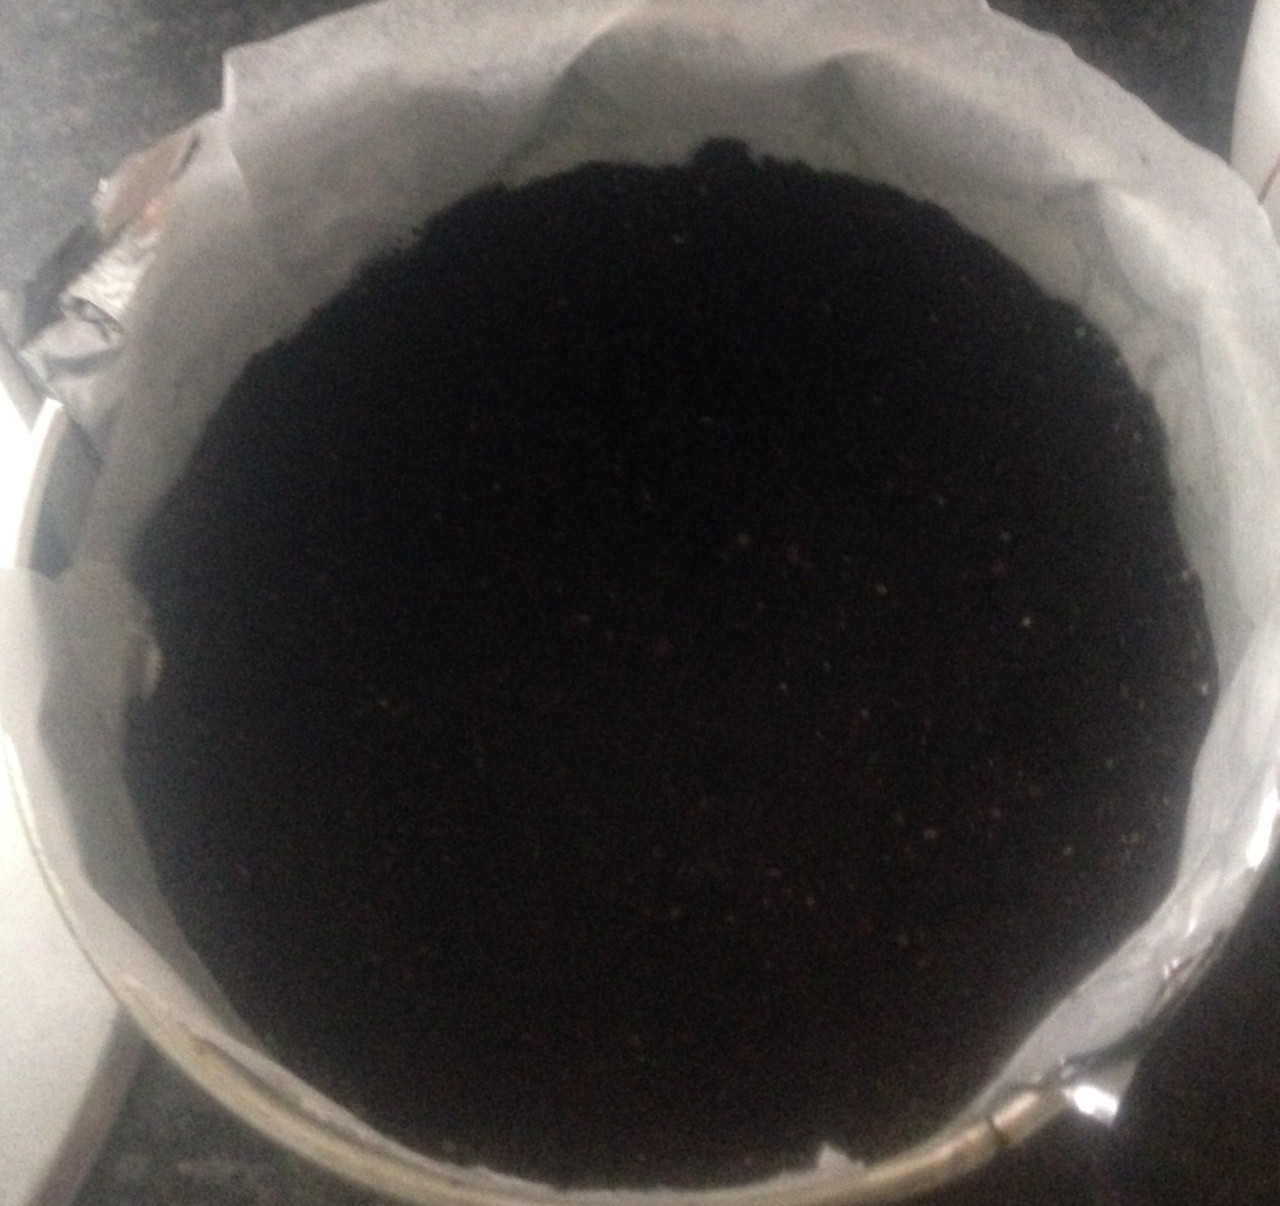
- Preheat the oven to 180c degrees and line a 20cm x 40cm cake tin with baking paper.
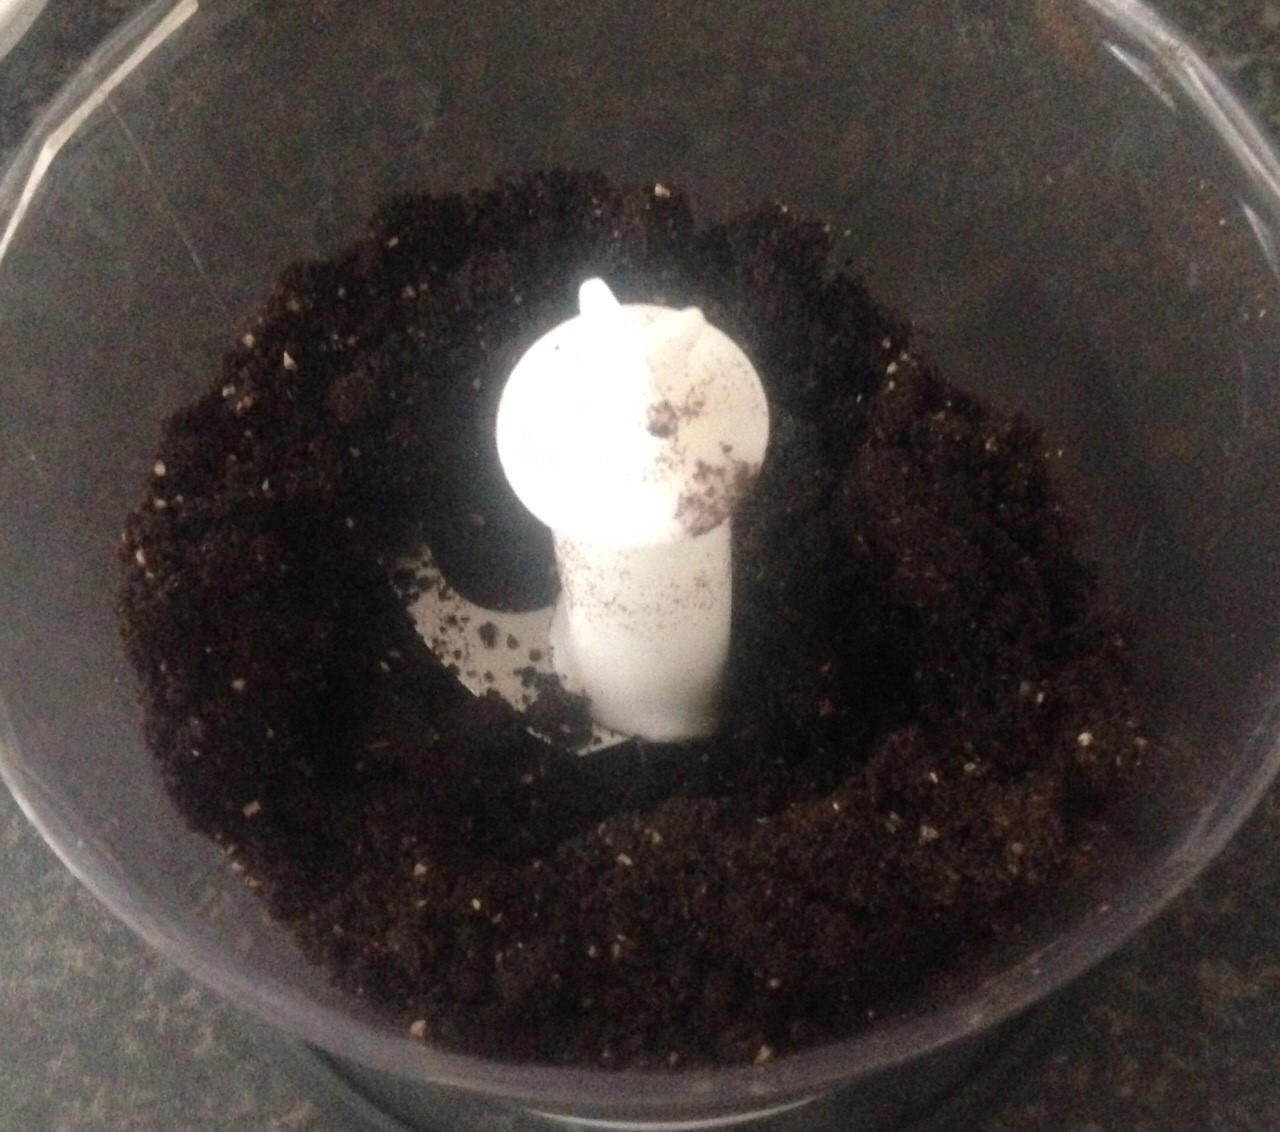
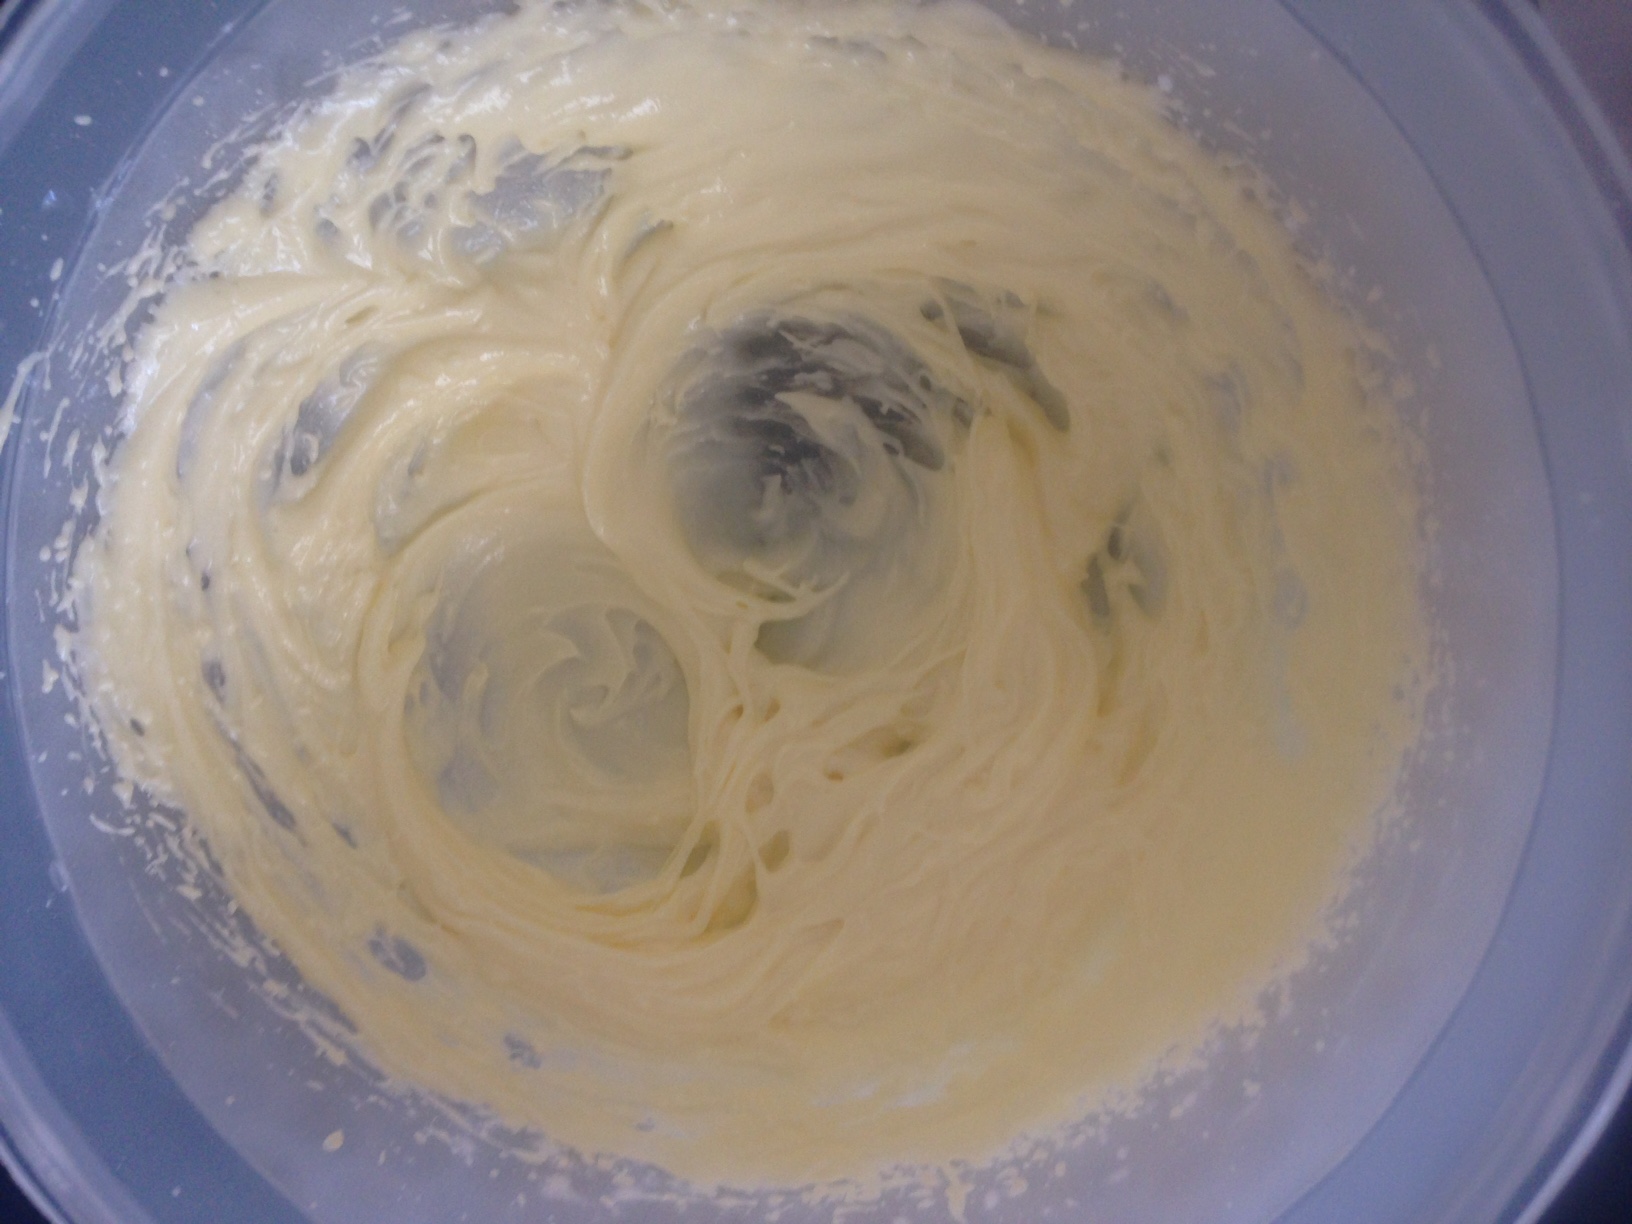
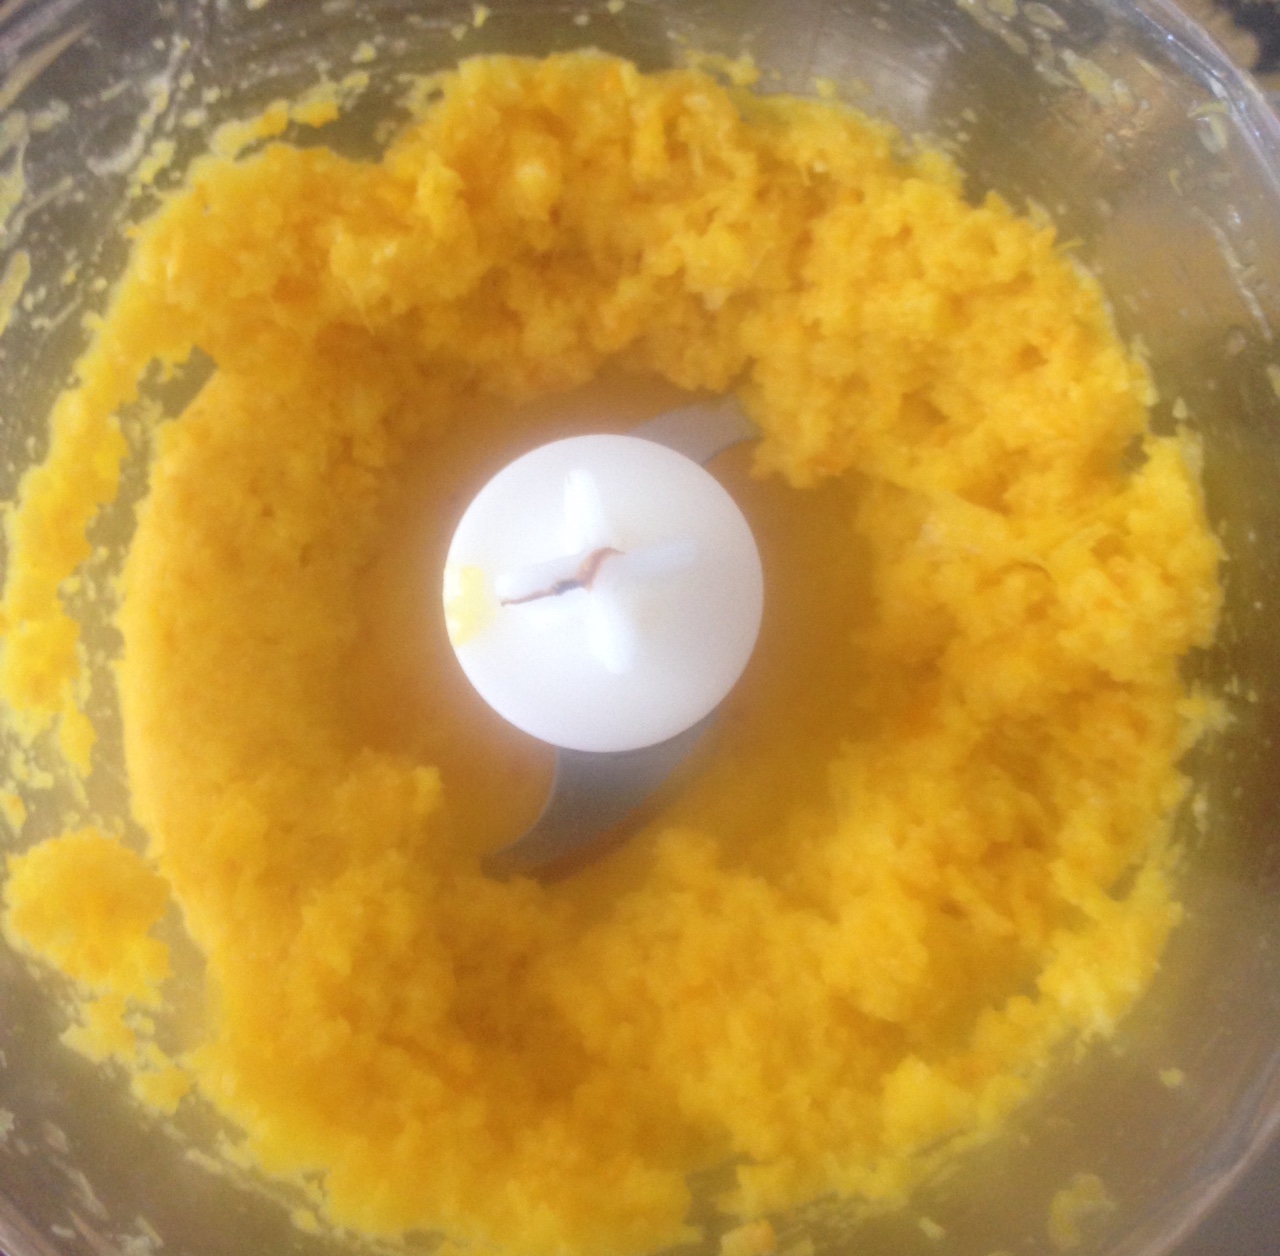
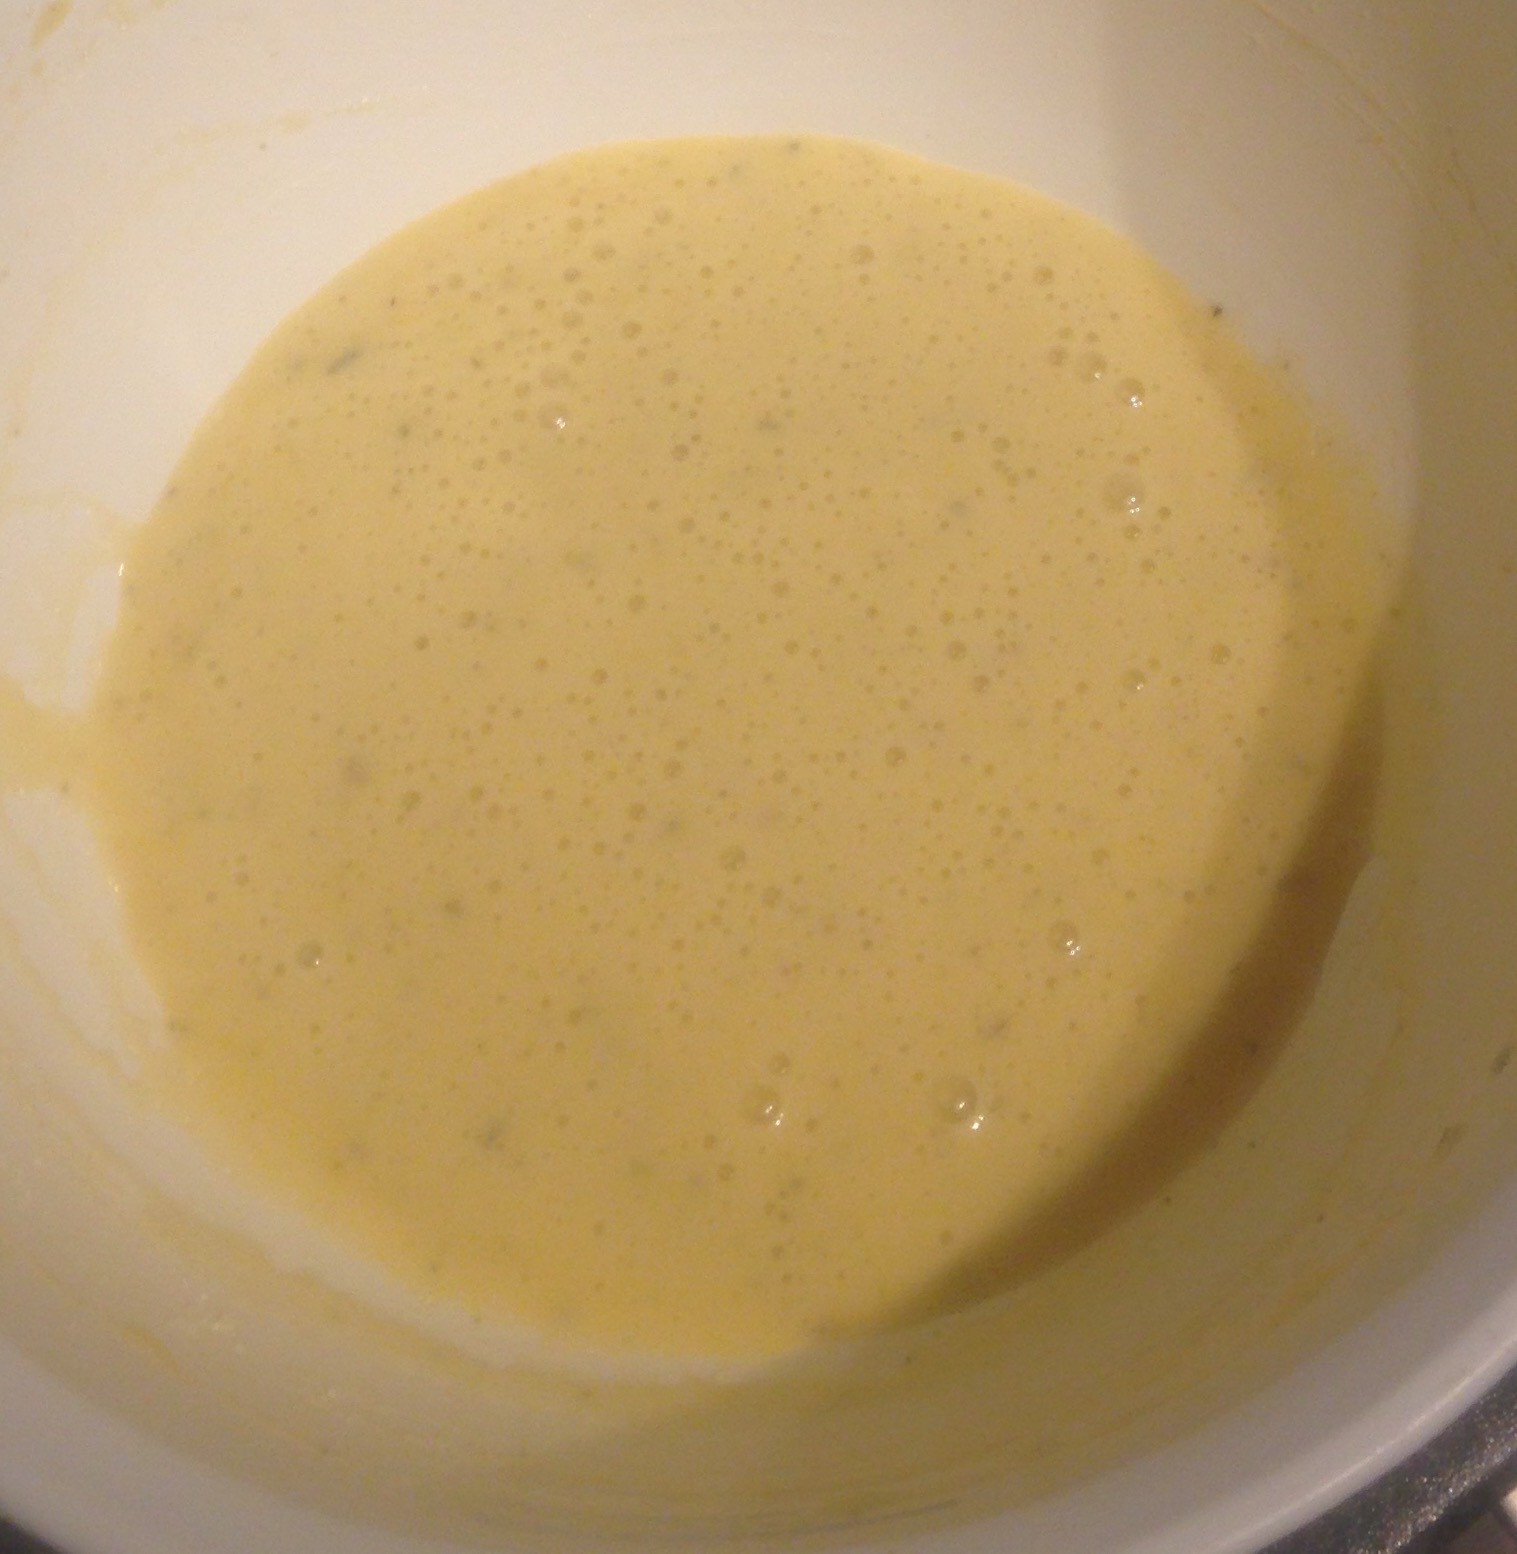
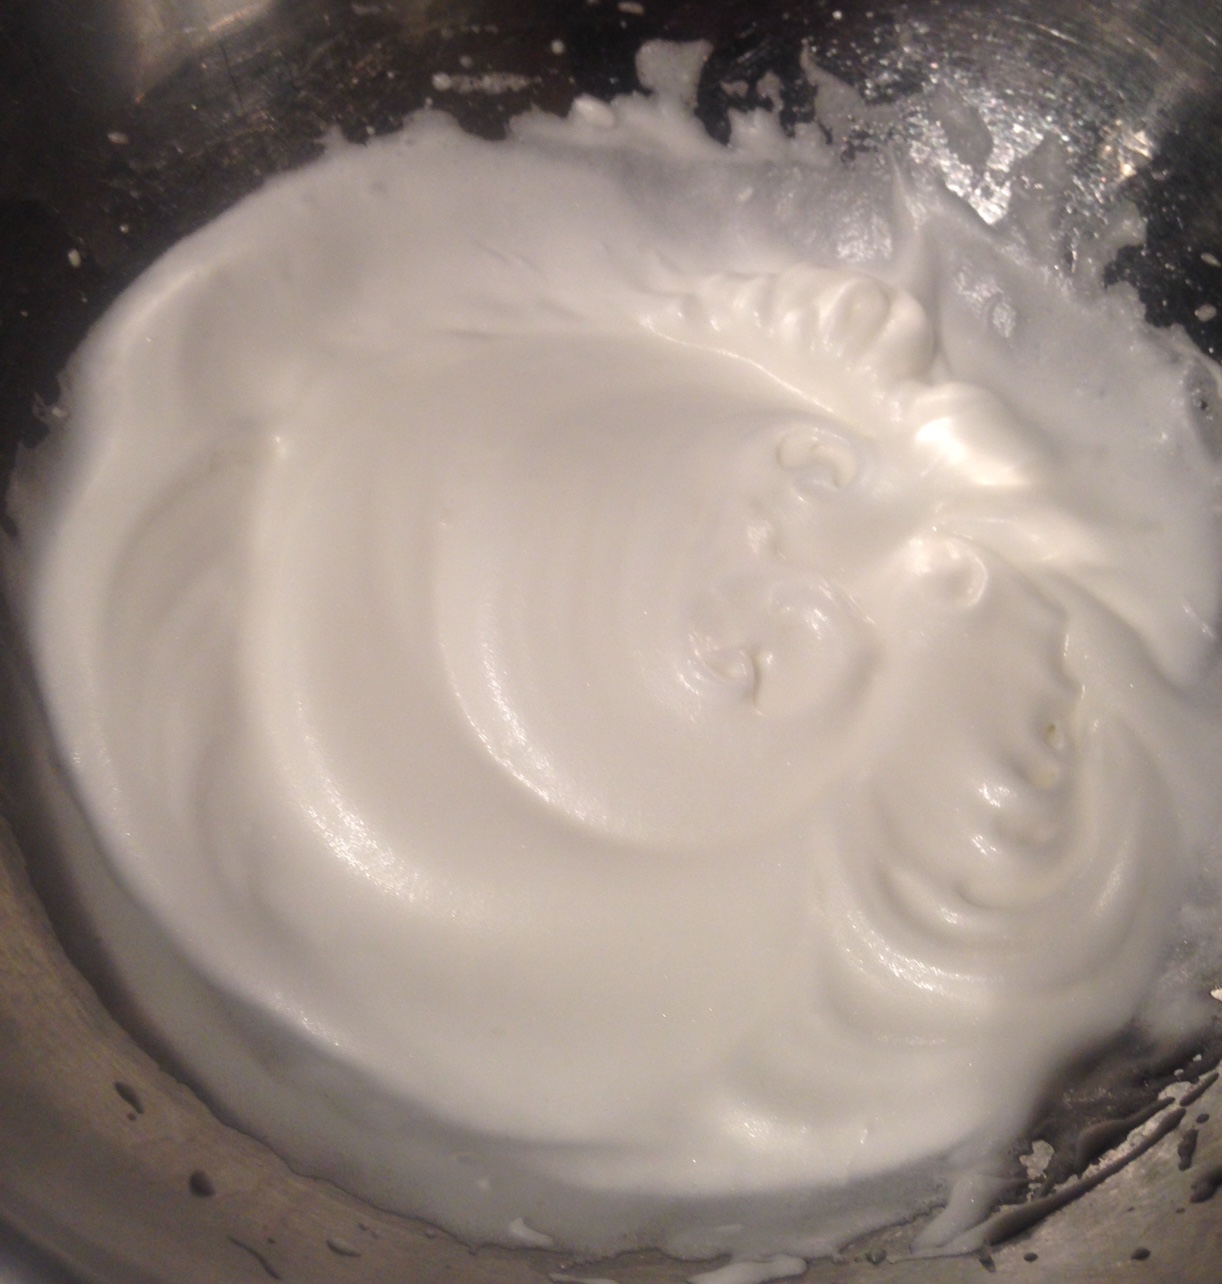
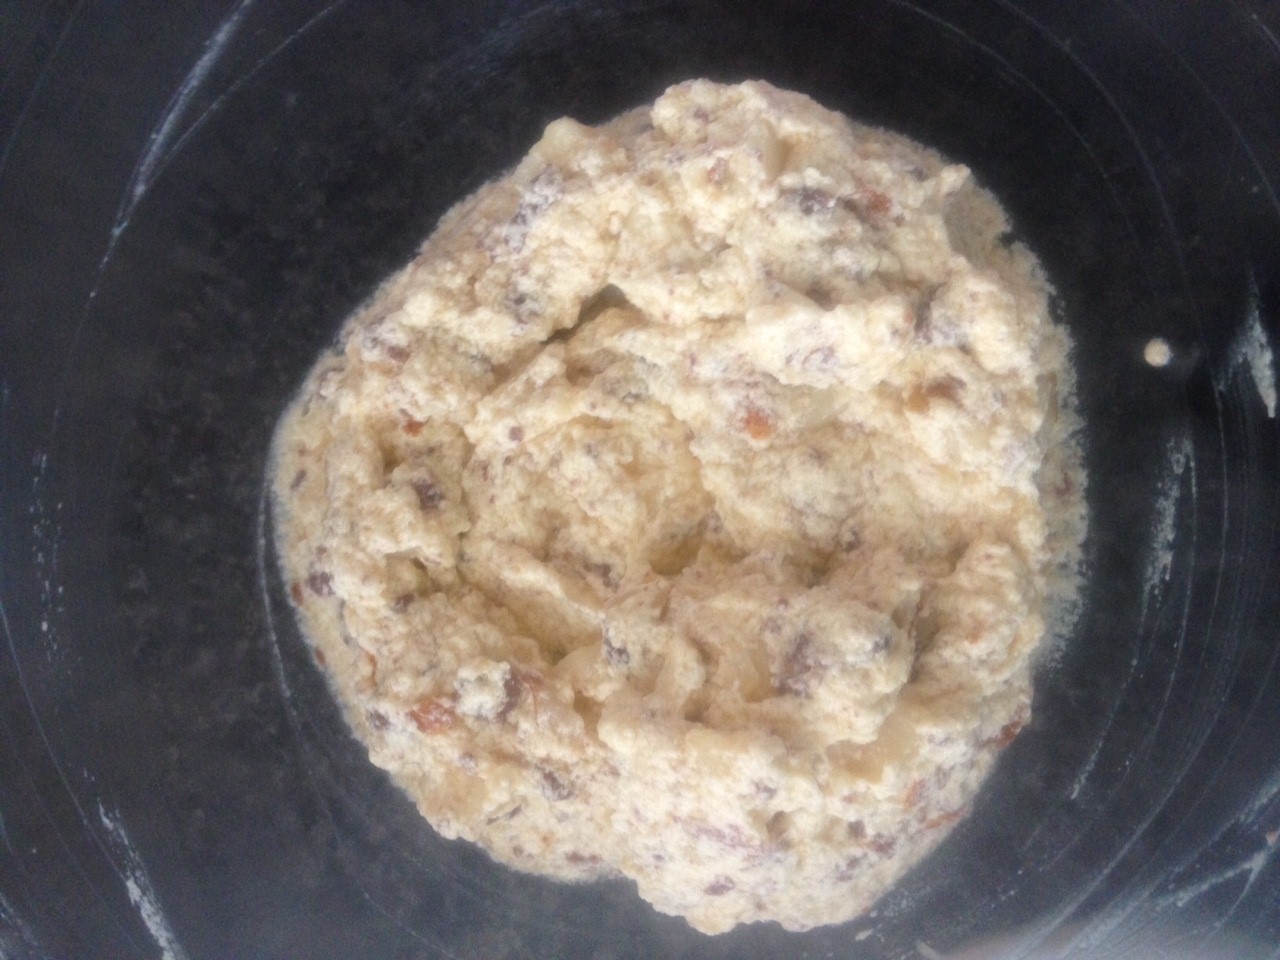
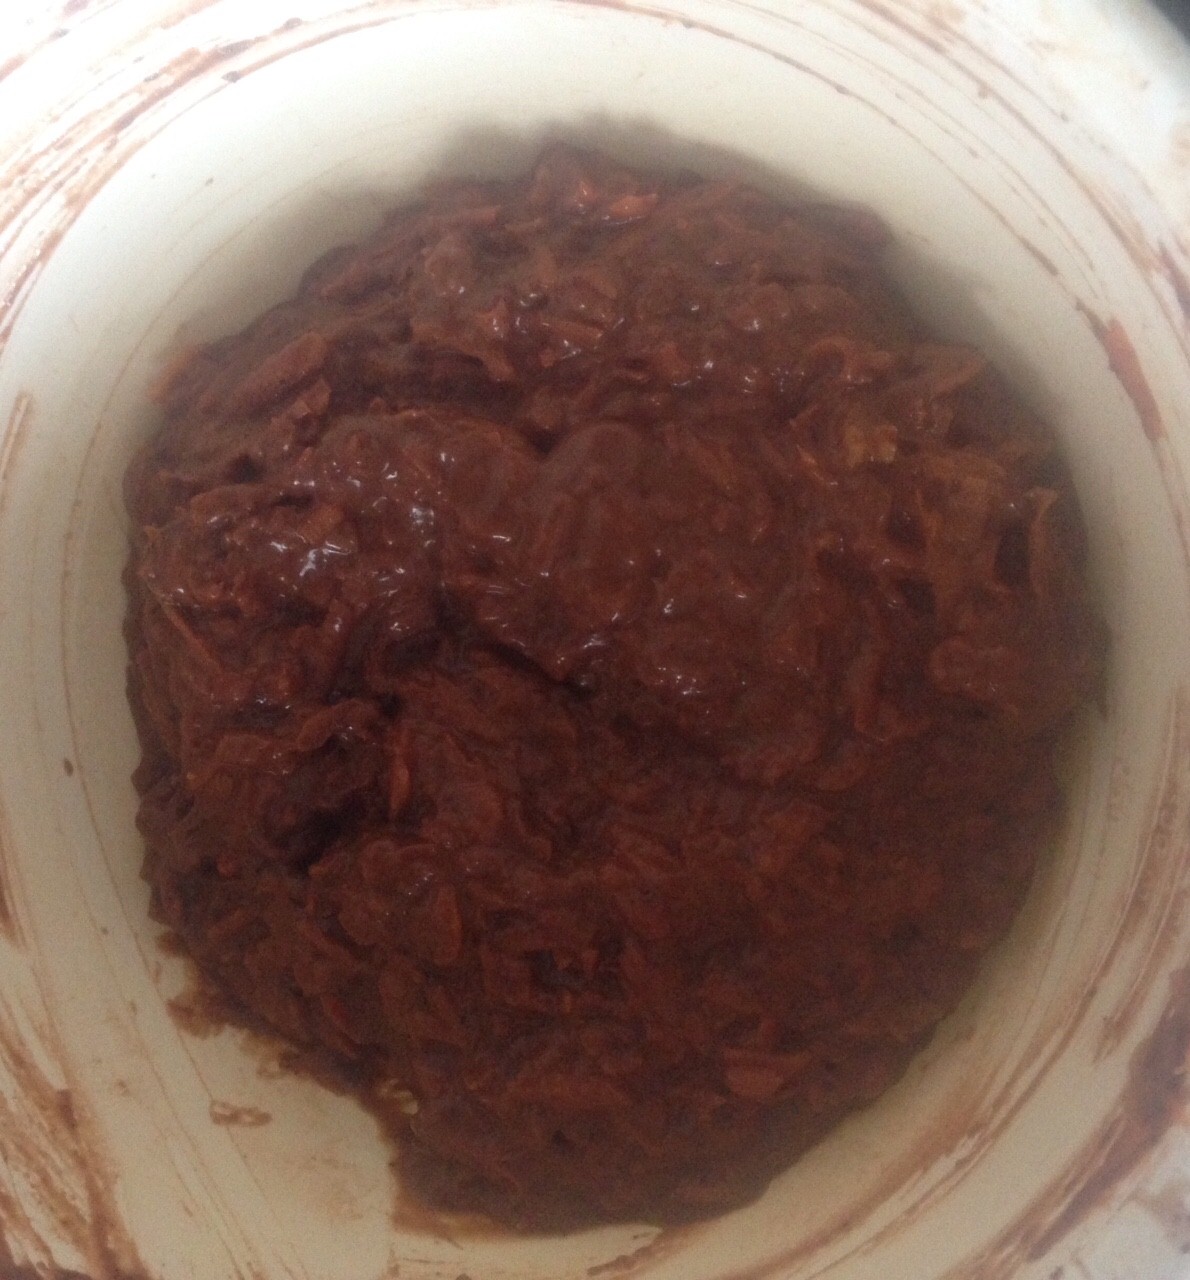
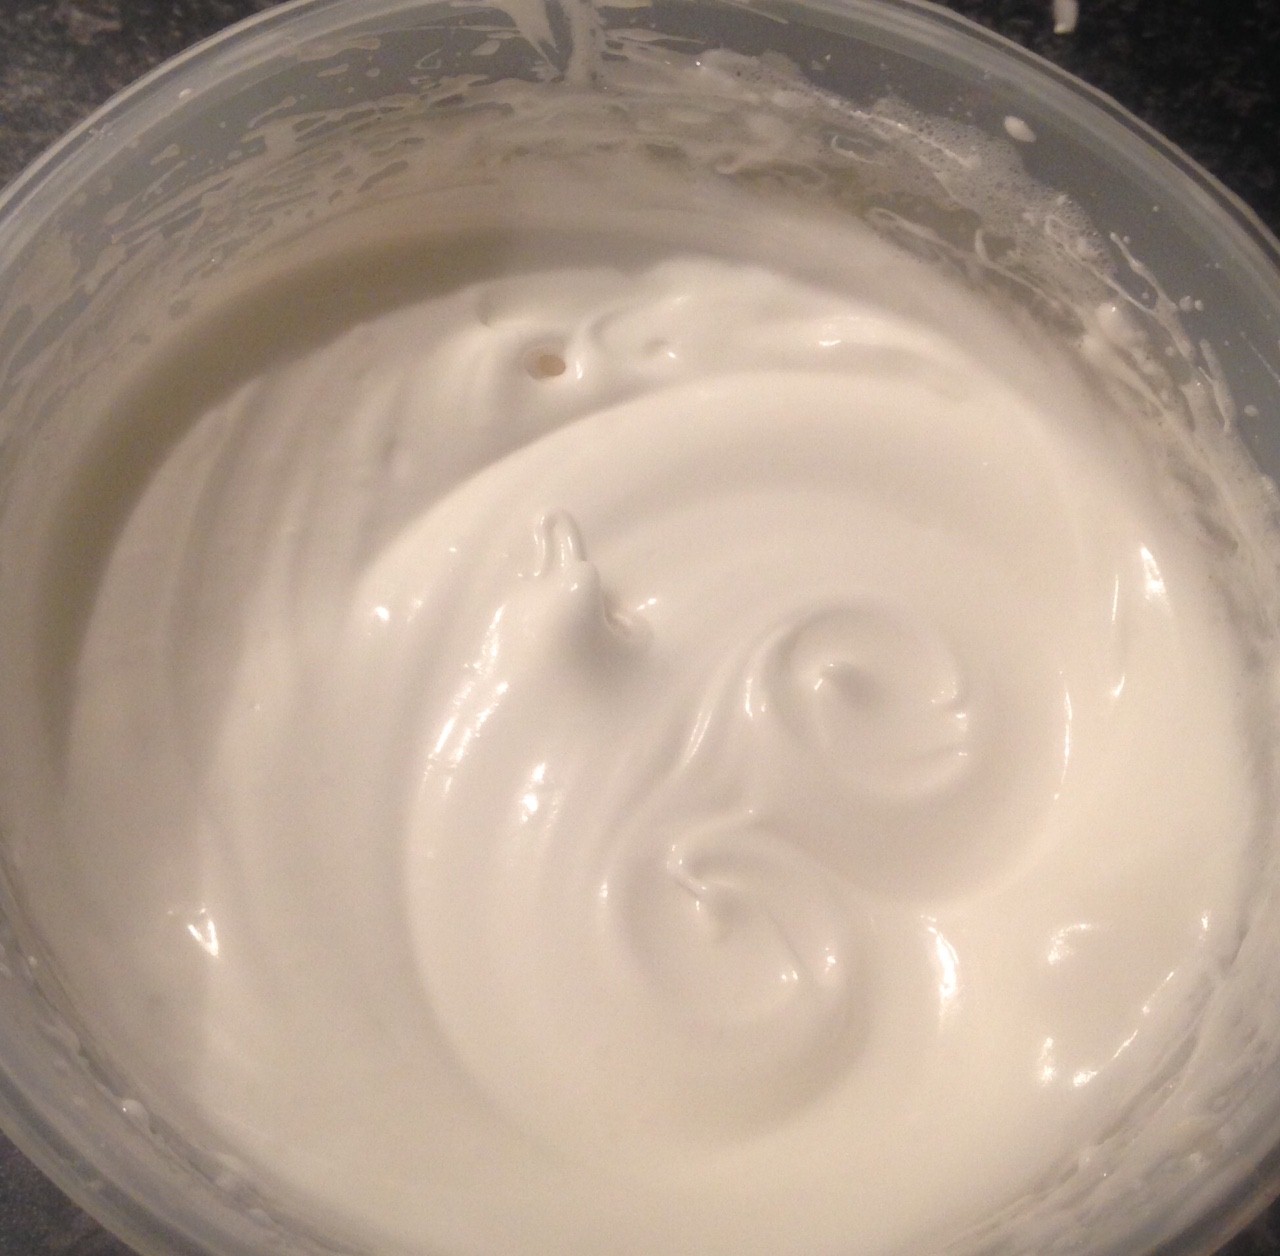
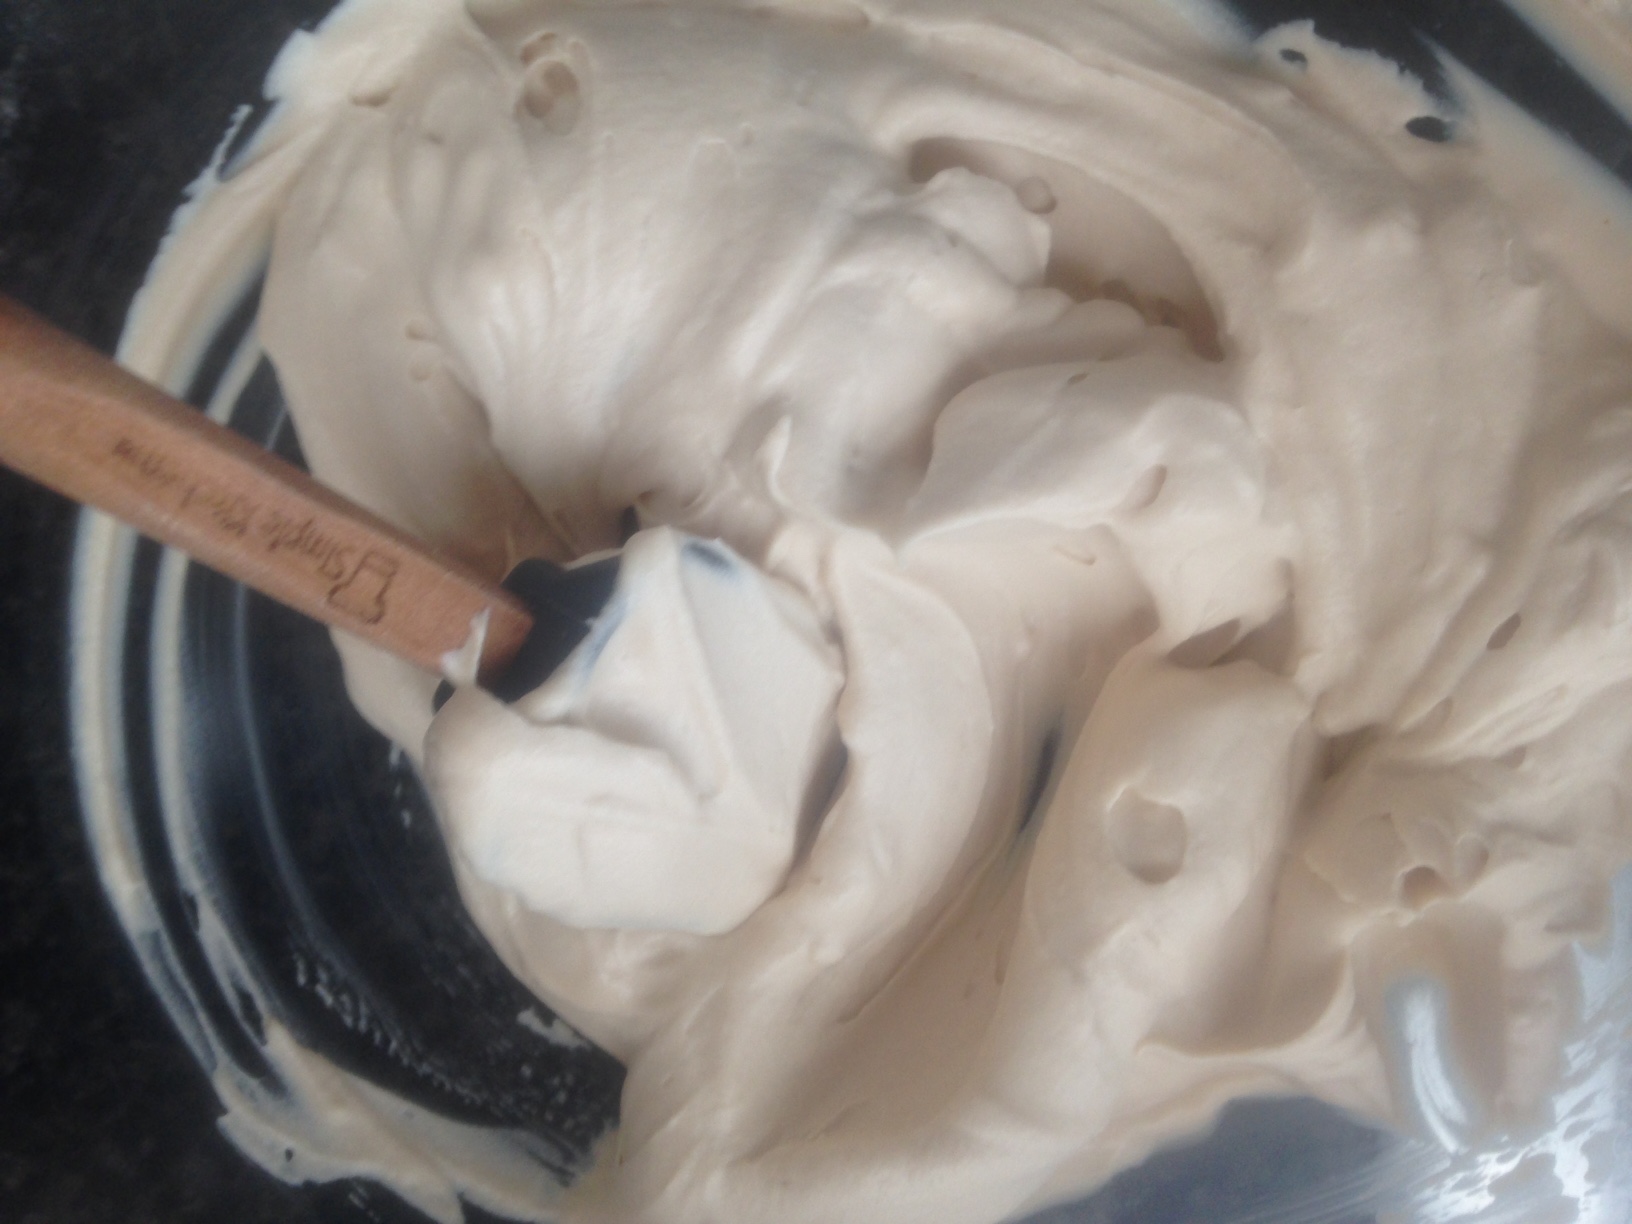
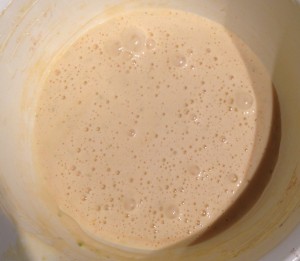
- Place all the sponge ingredients in a bowl and using electric beaters whisk on a slow speed for 60 seconds.
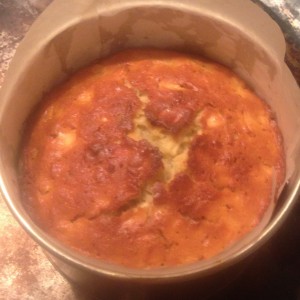
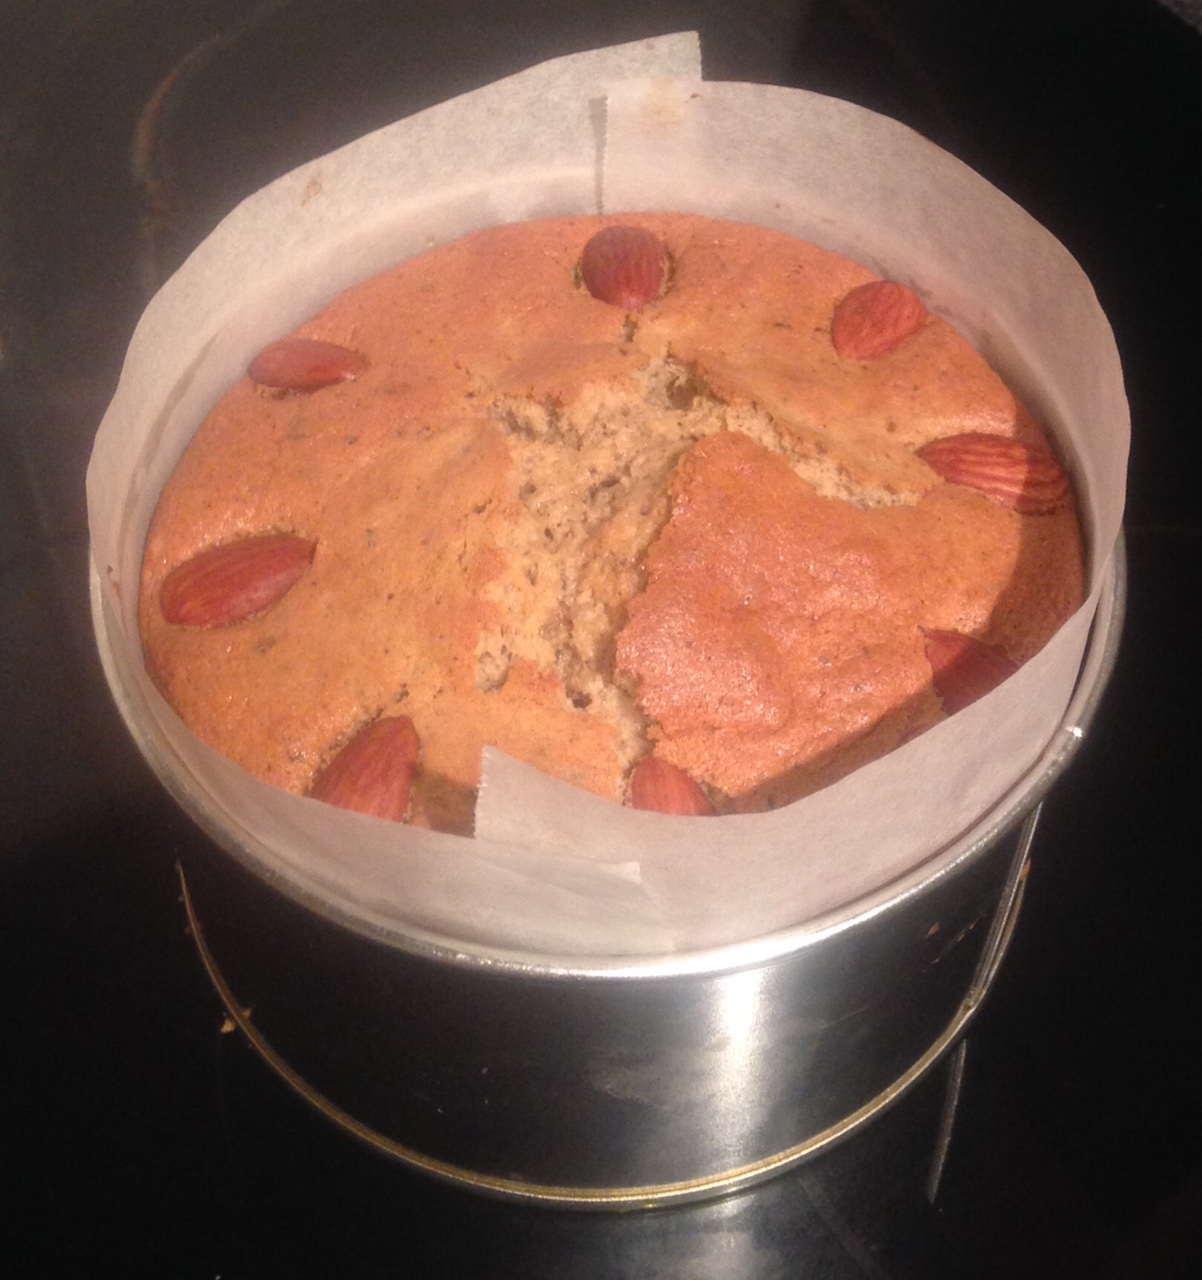
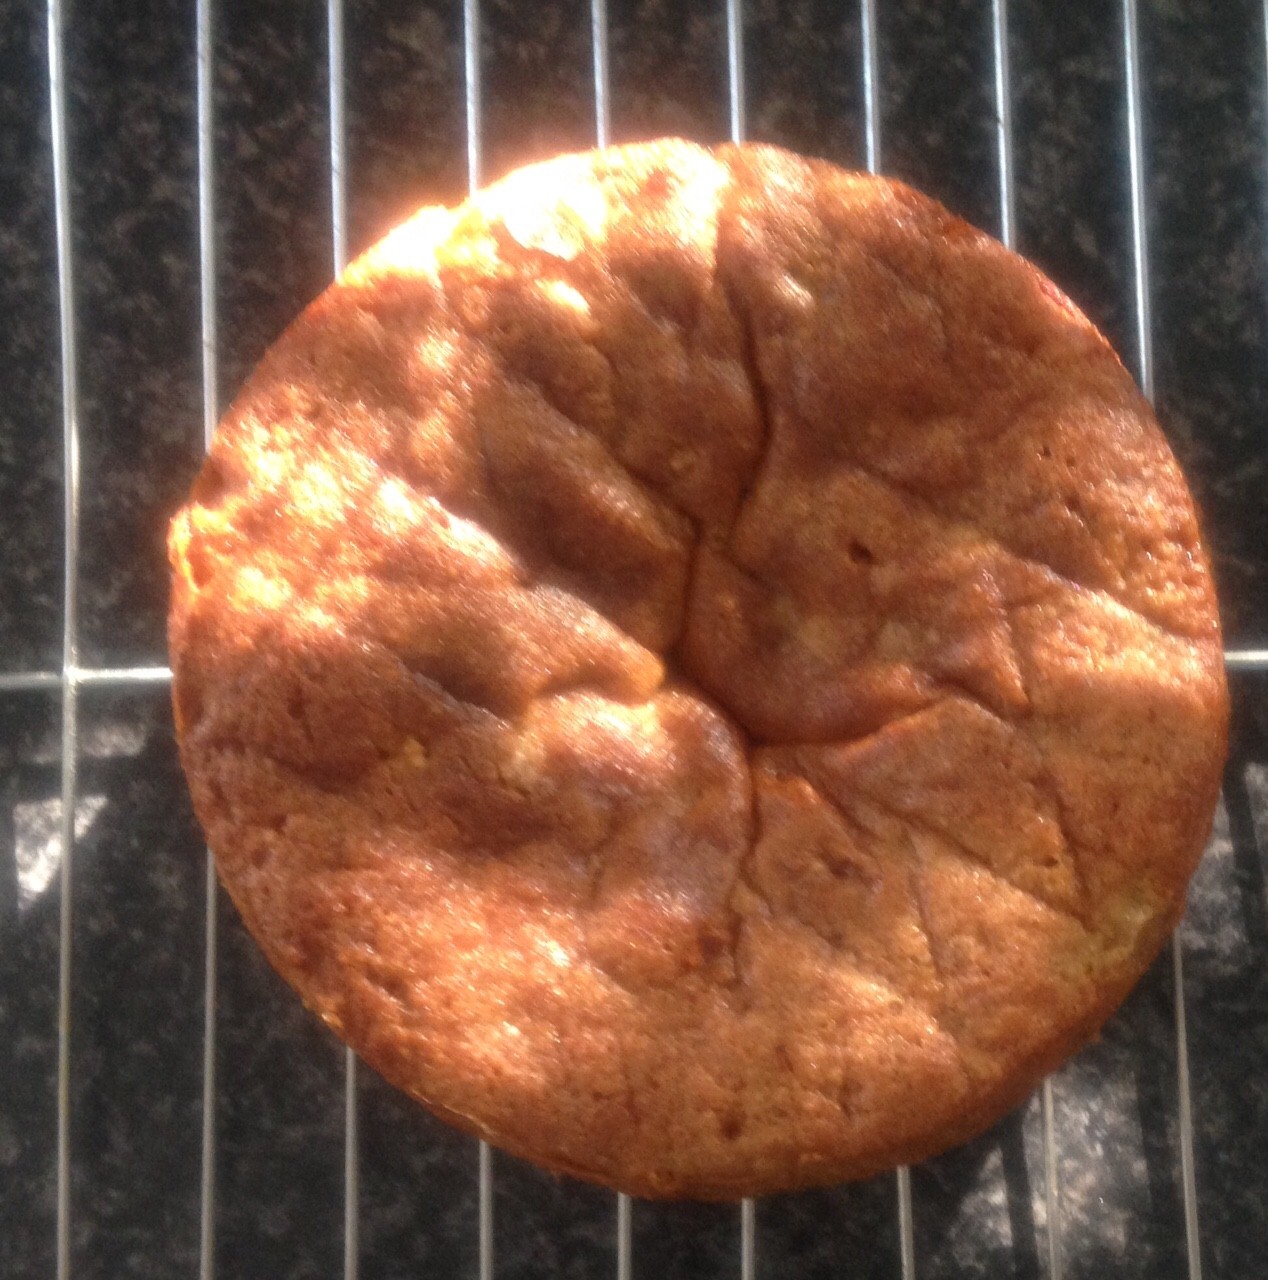
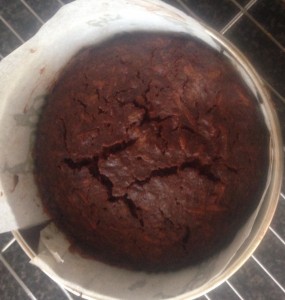
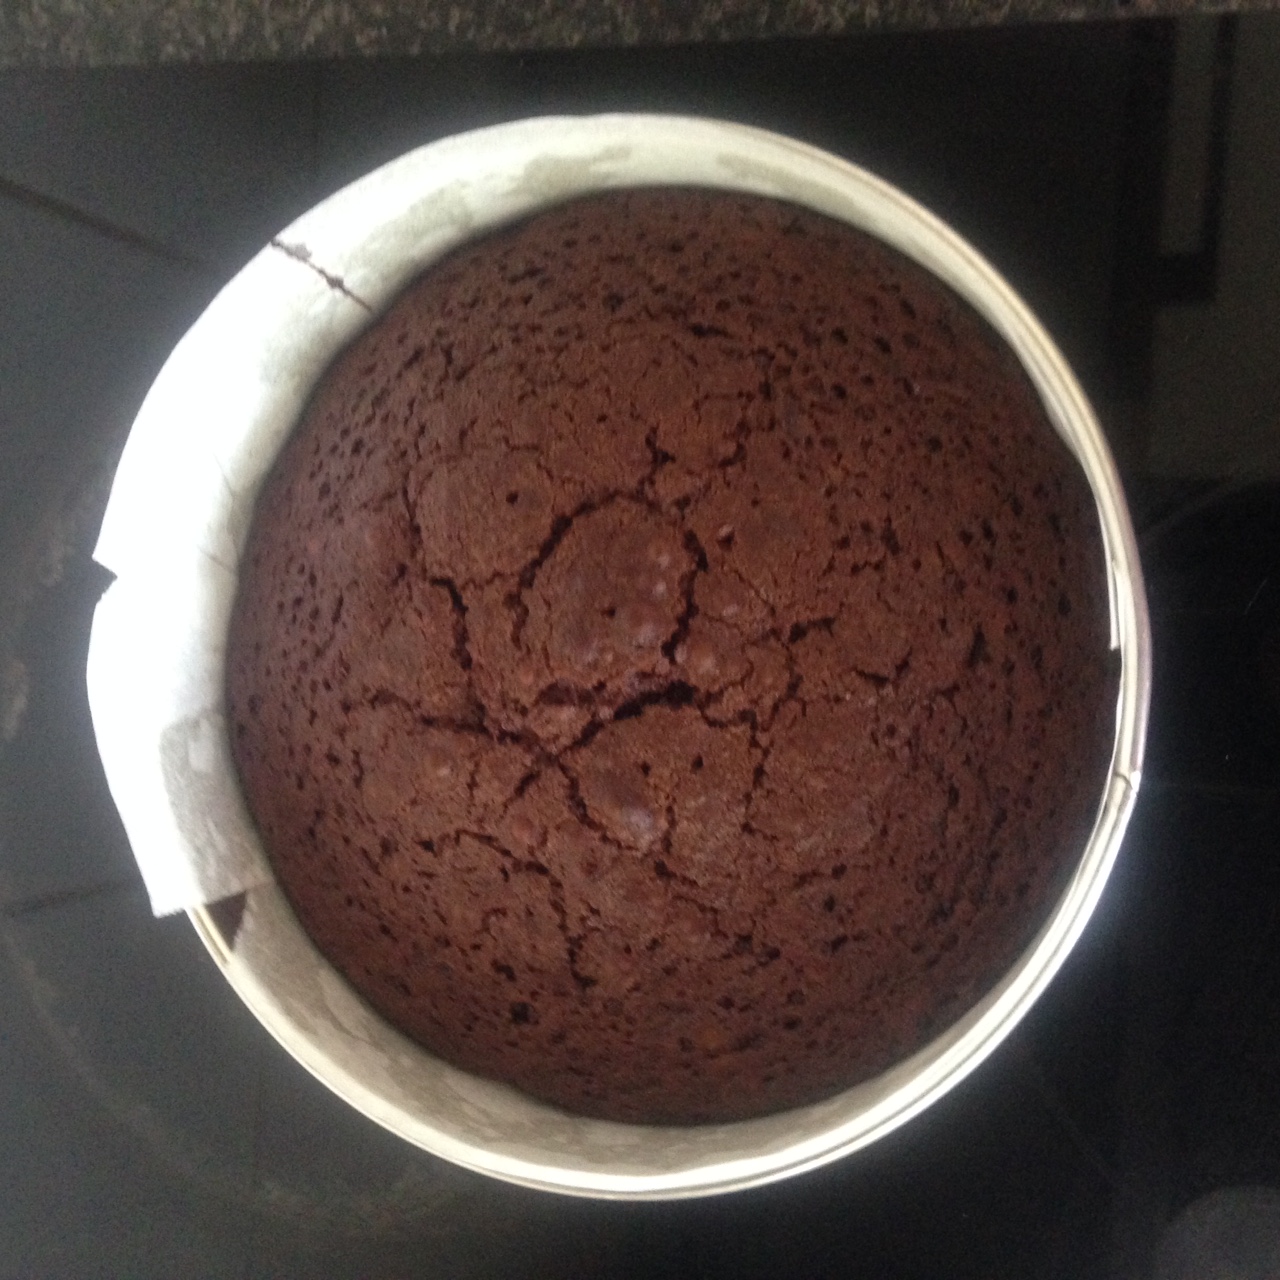
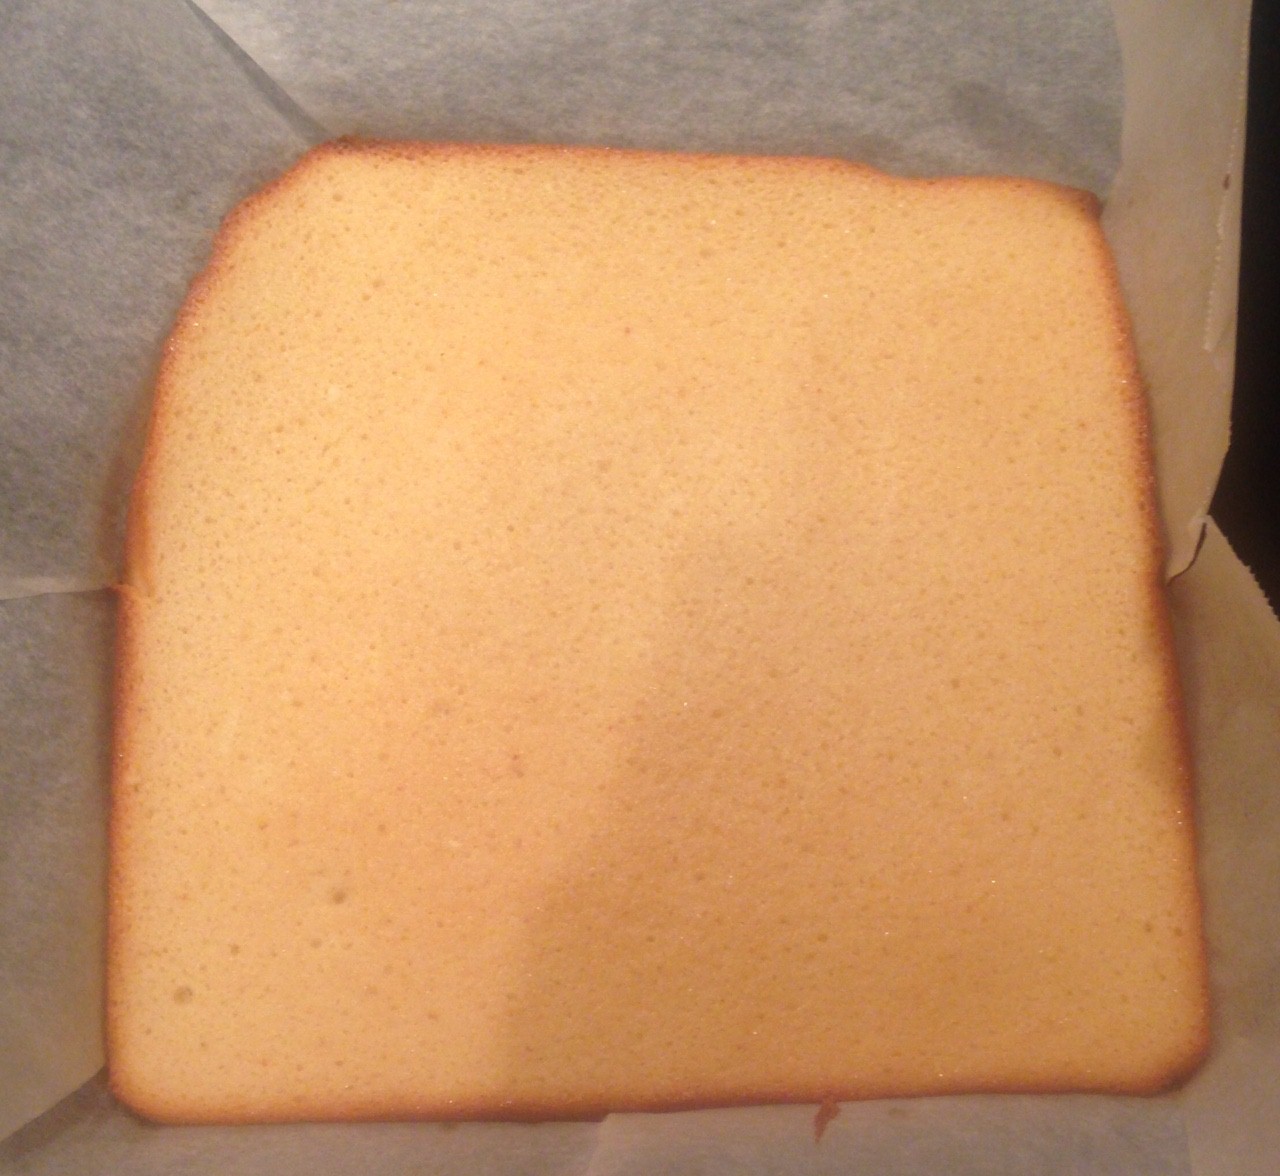
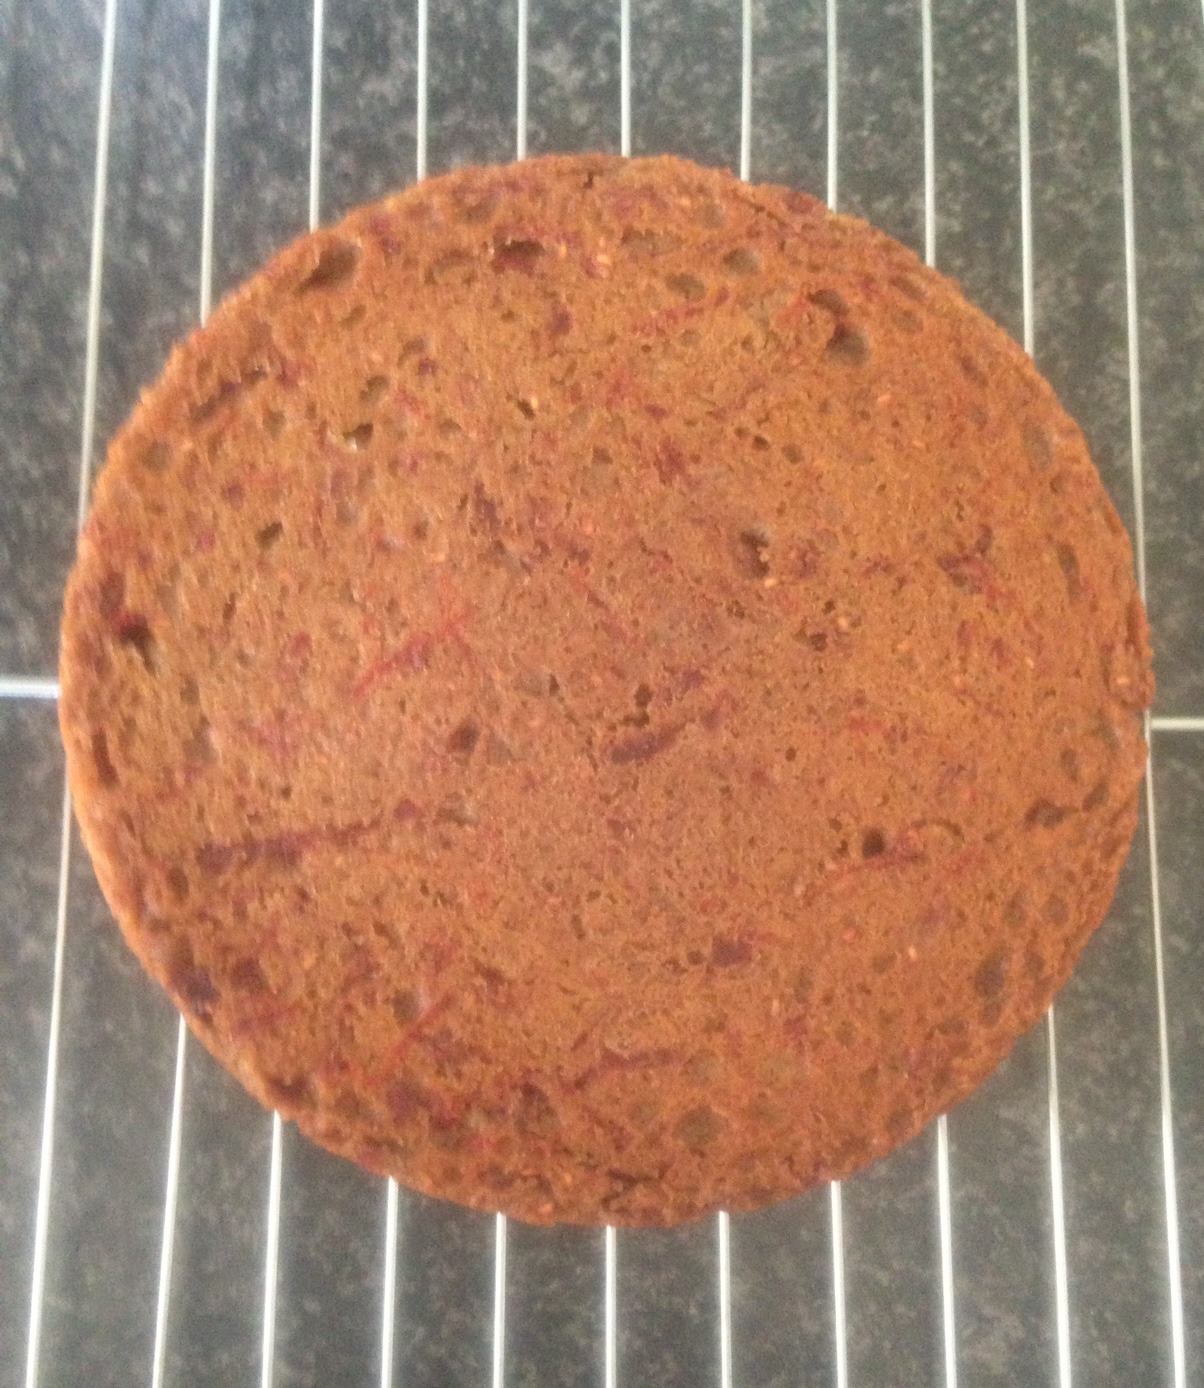
- Pour the mix into the cake tin and bake in the oven for 10 minutes.
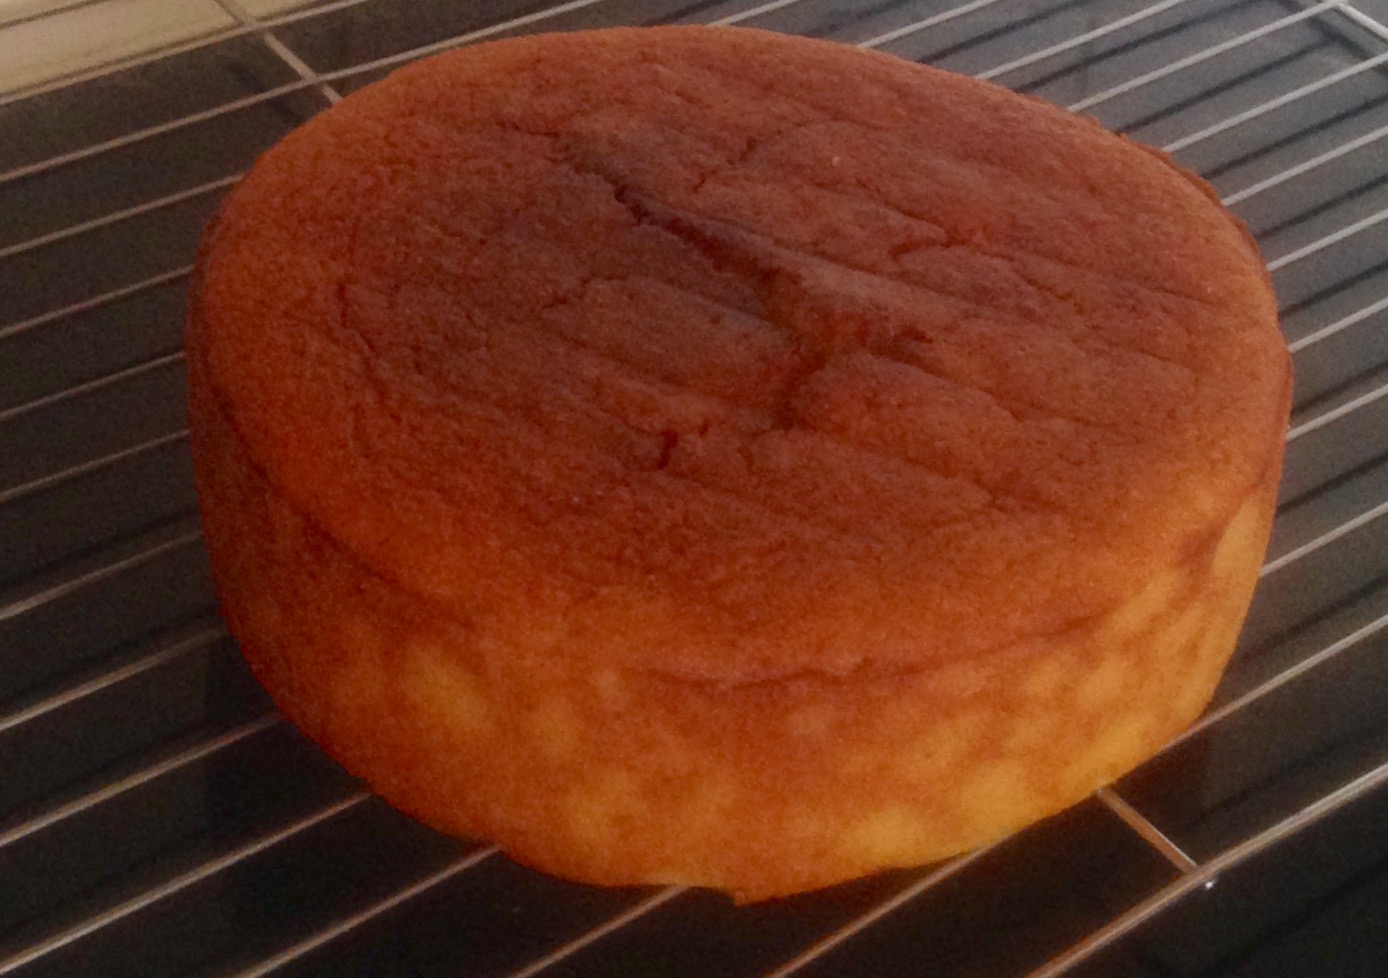
- Invert tray onto a cooling rack and leave for 10 minutes.
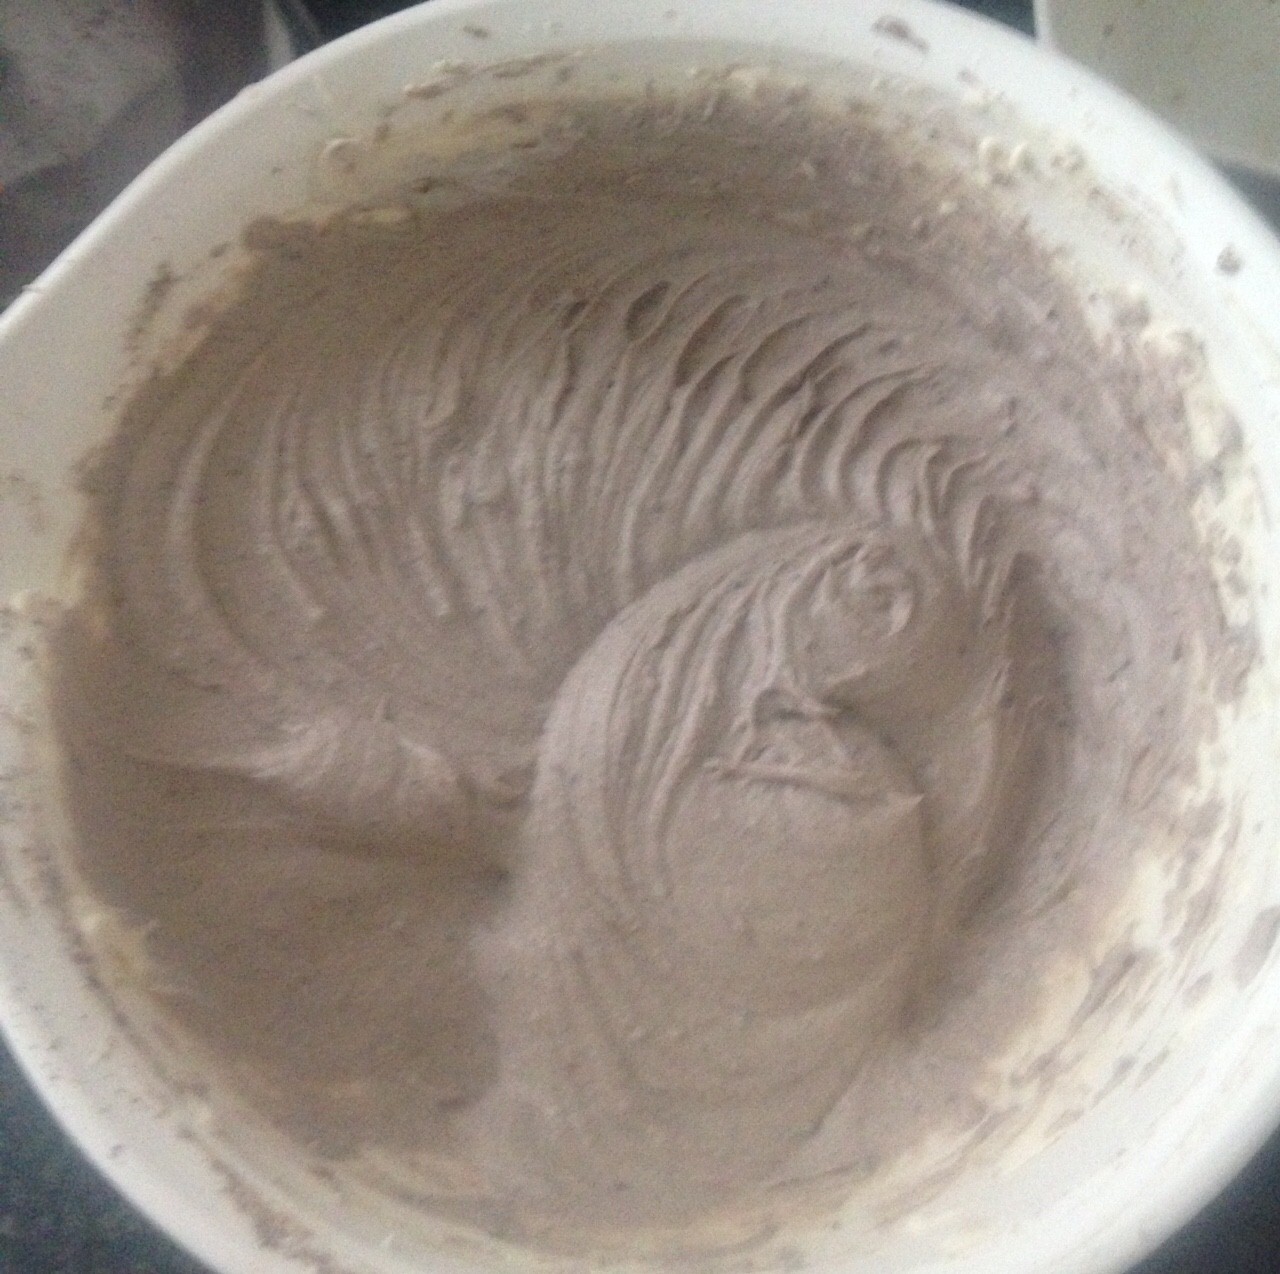
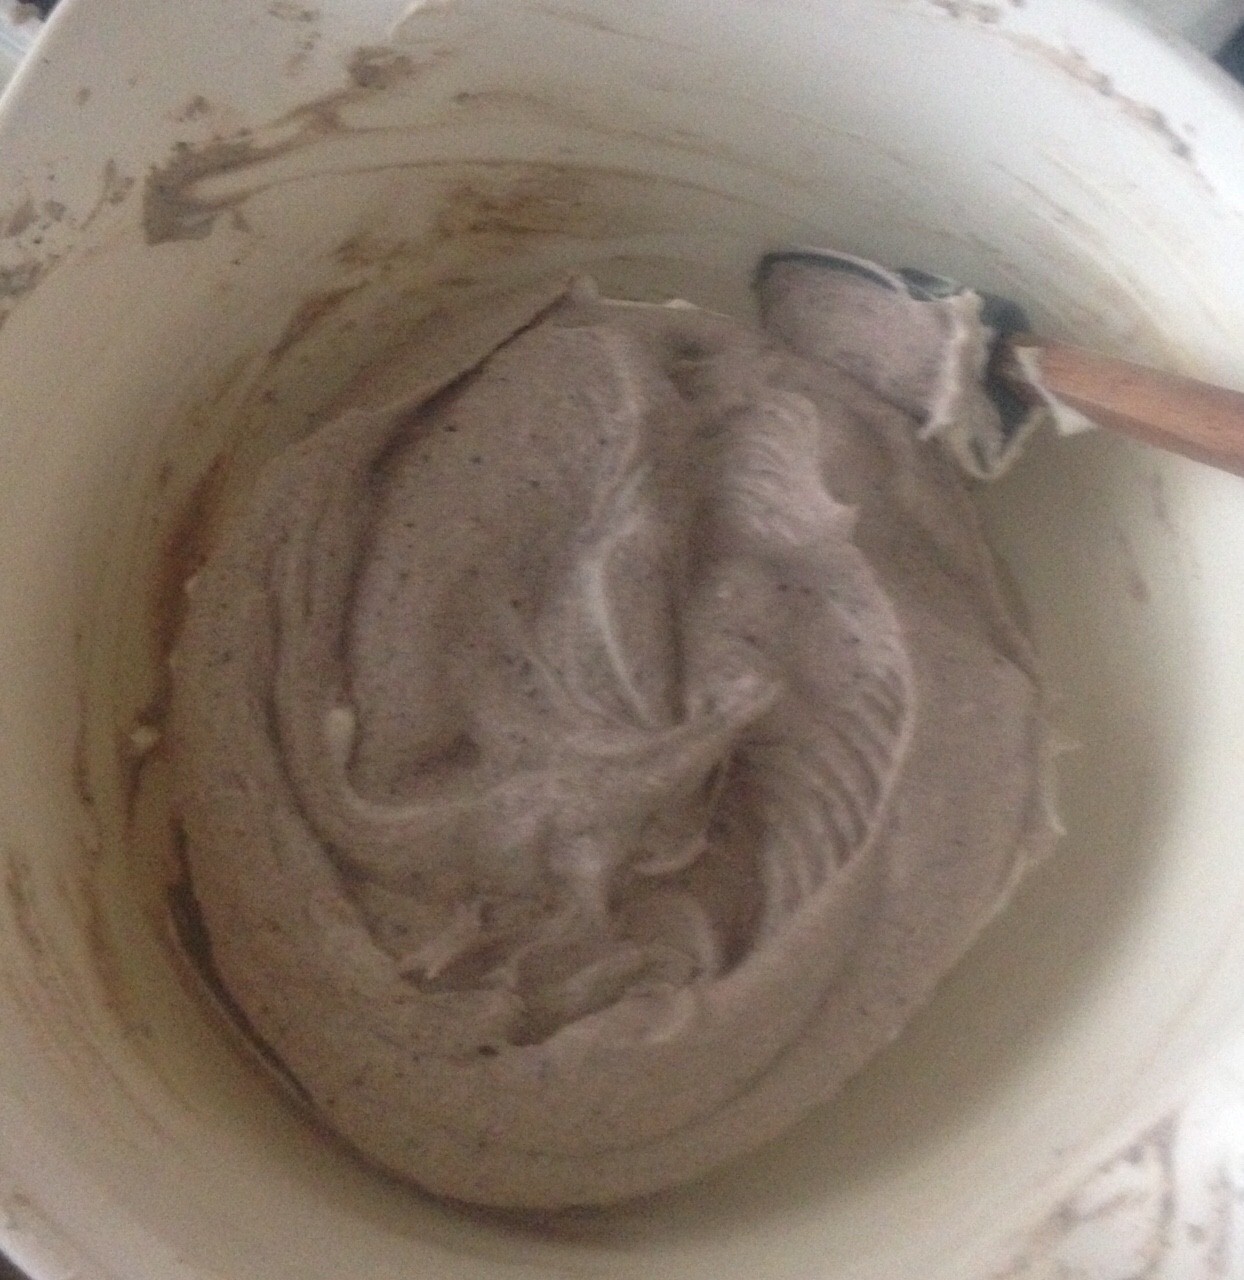
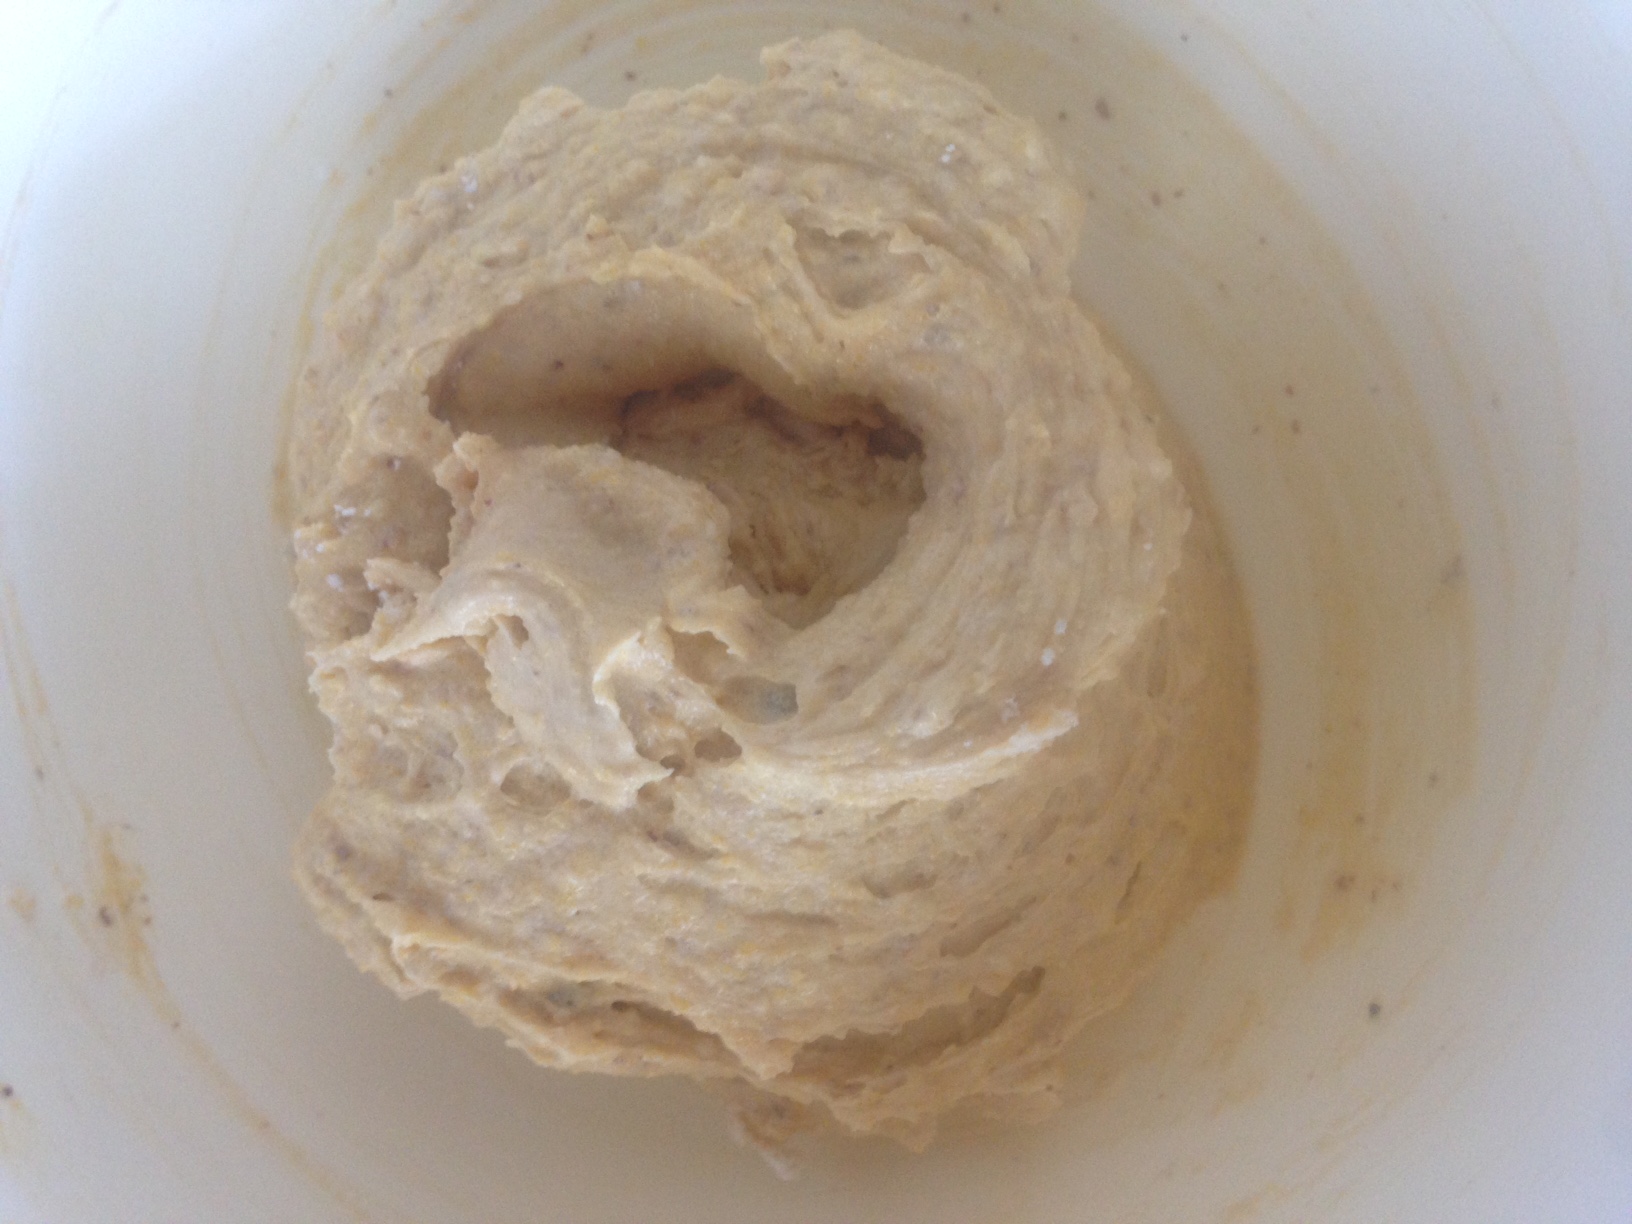
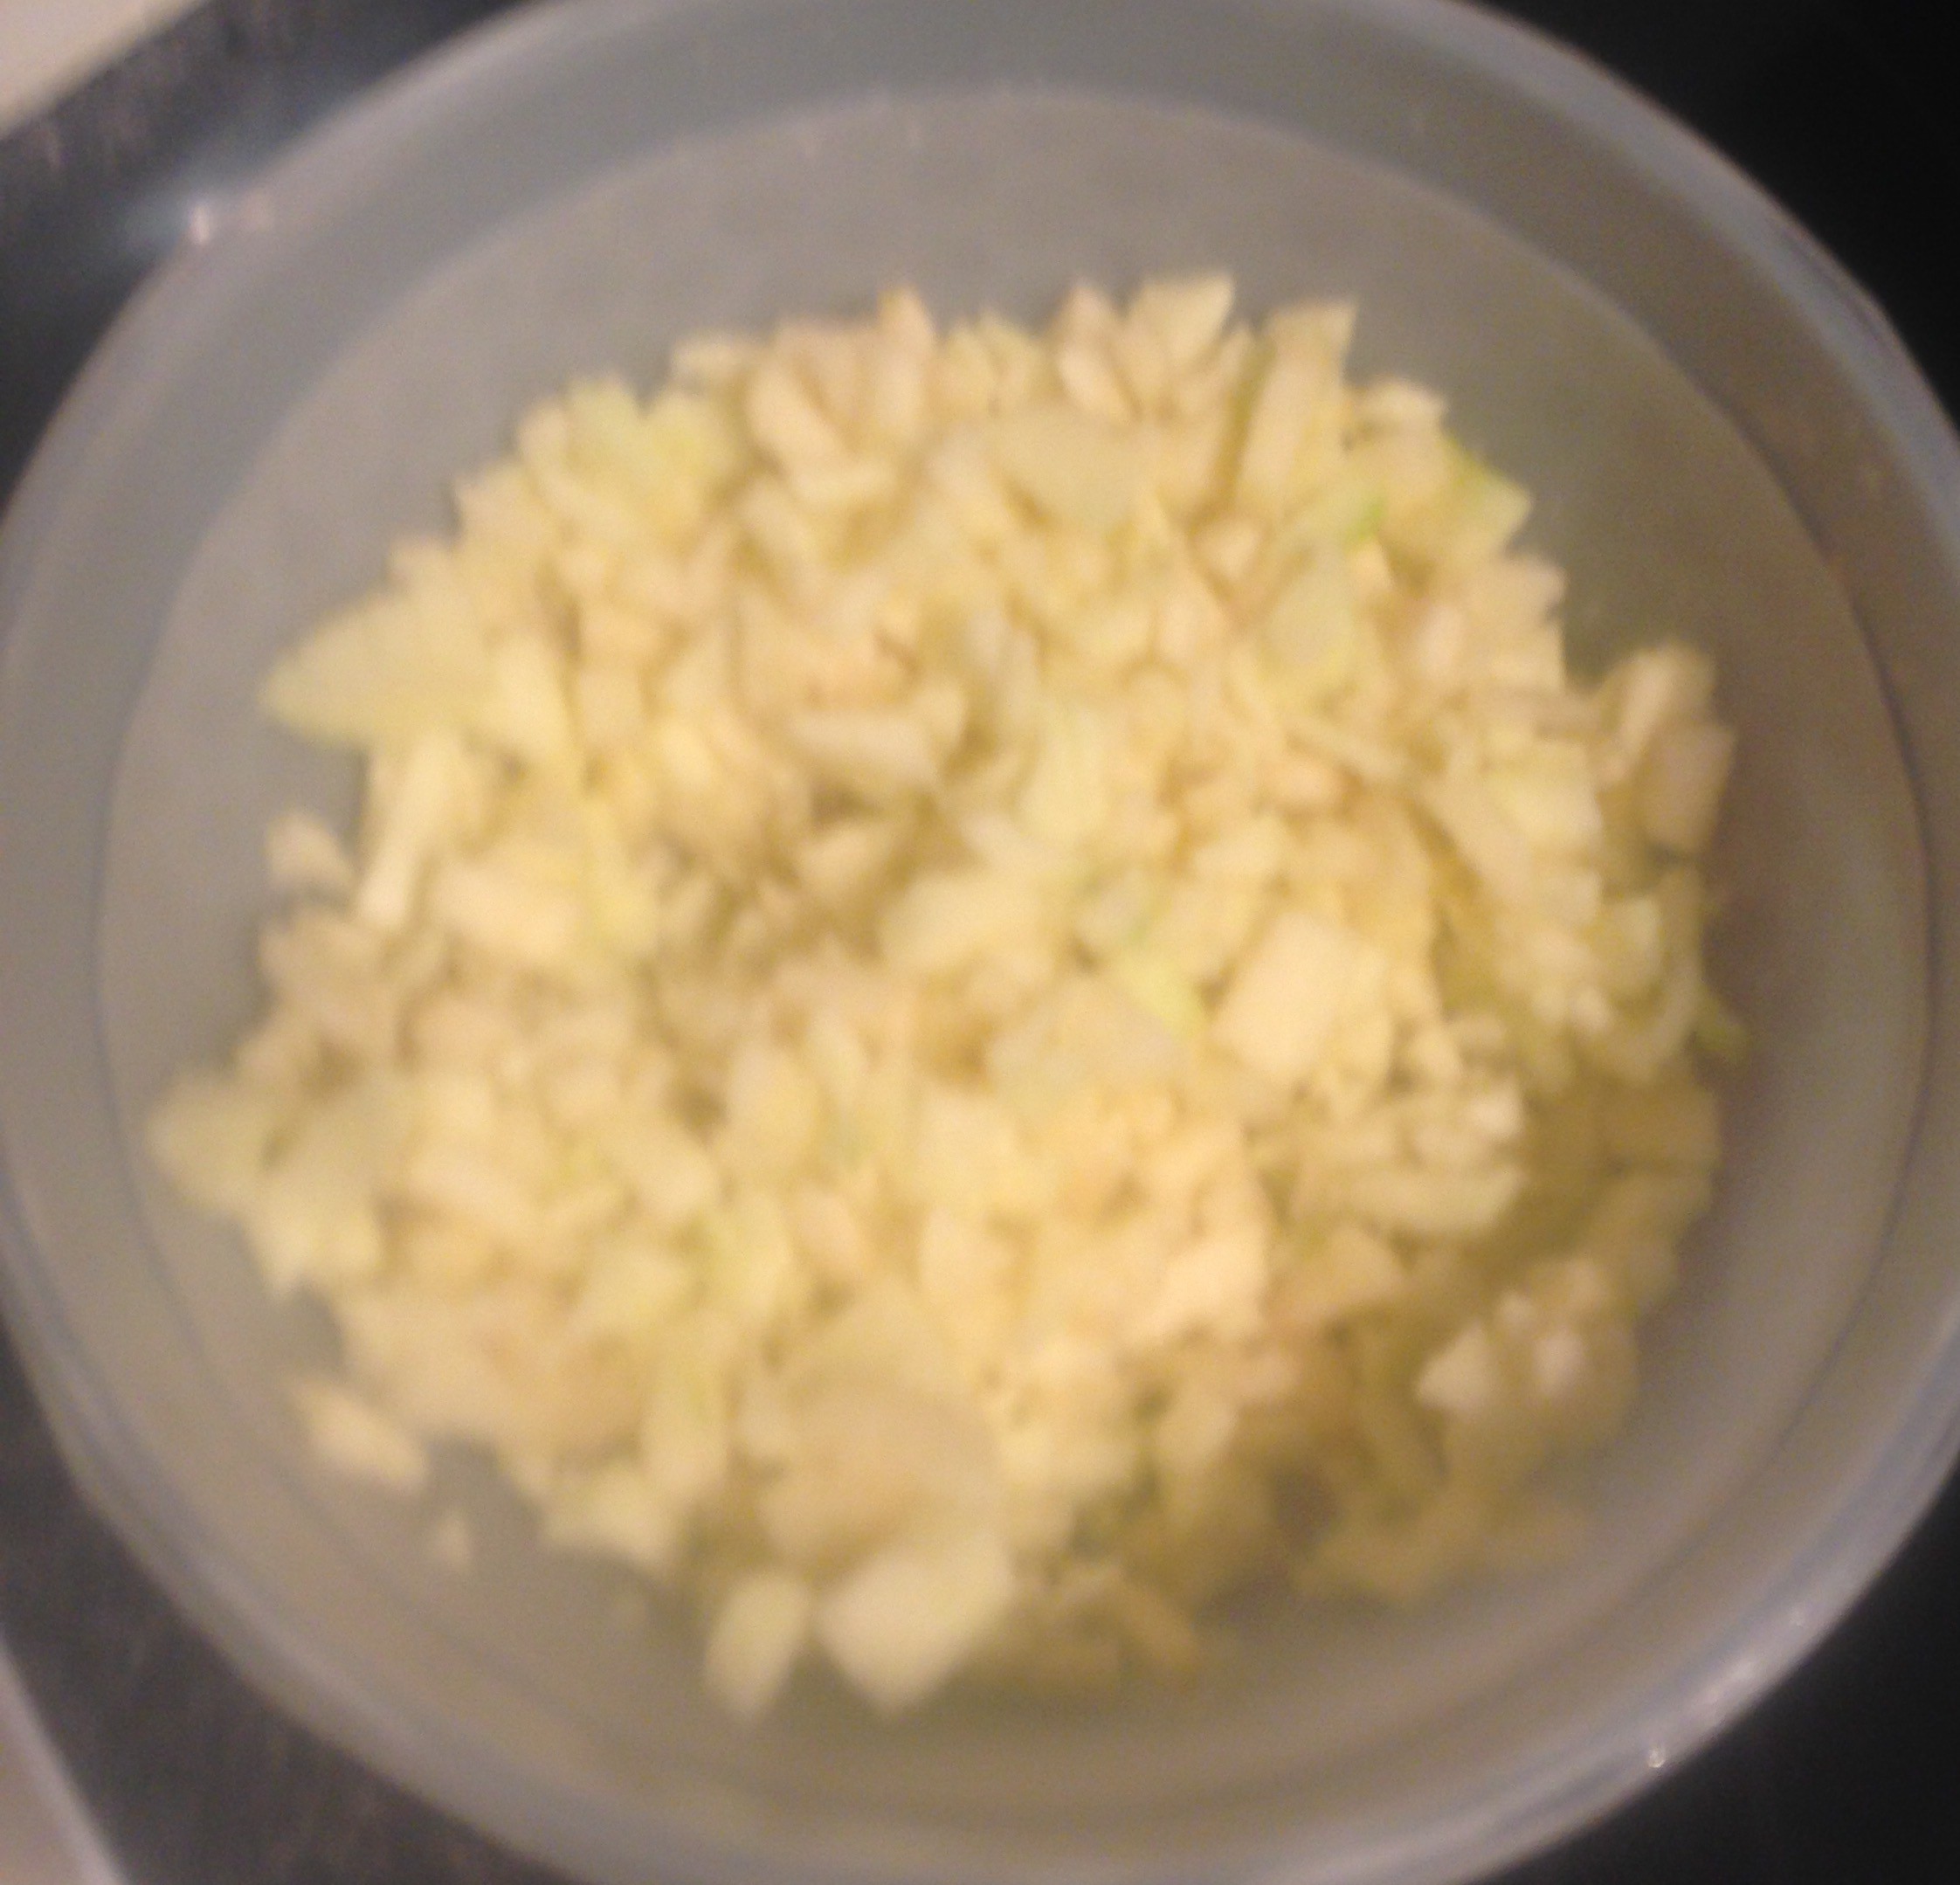
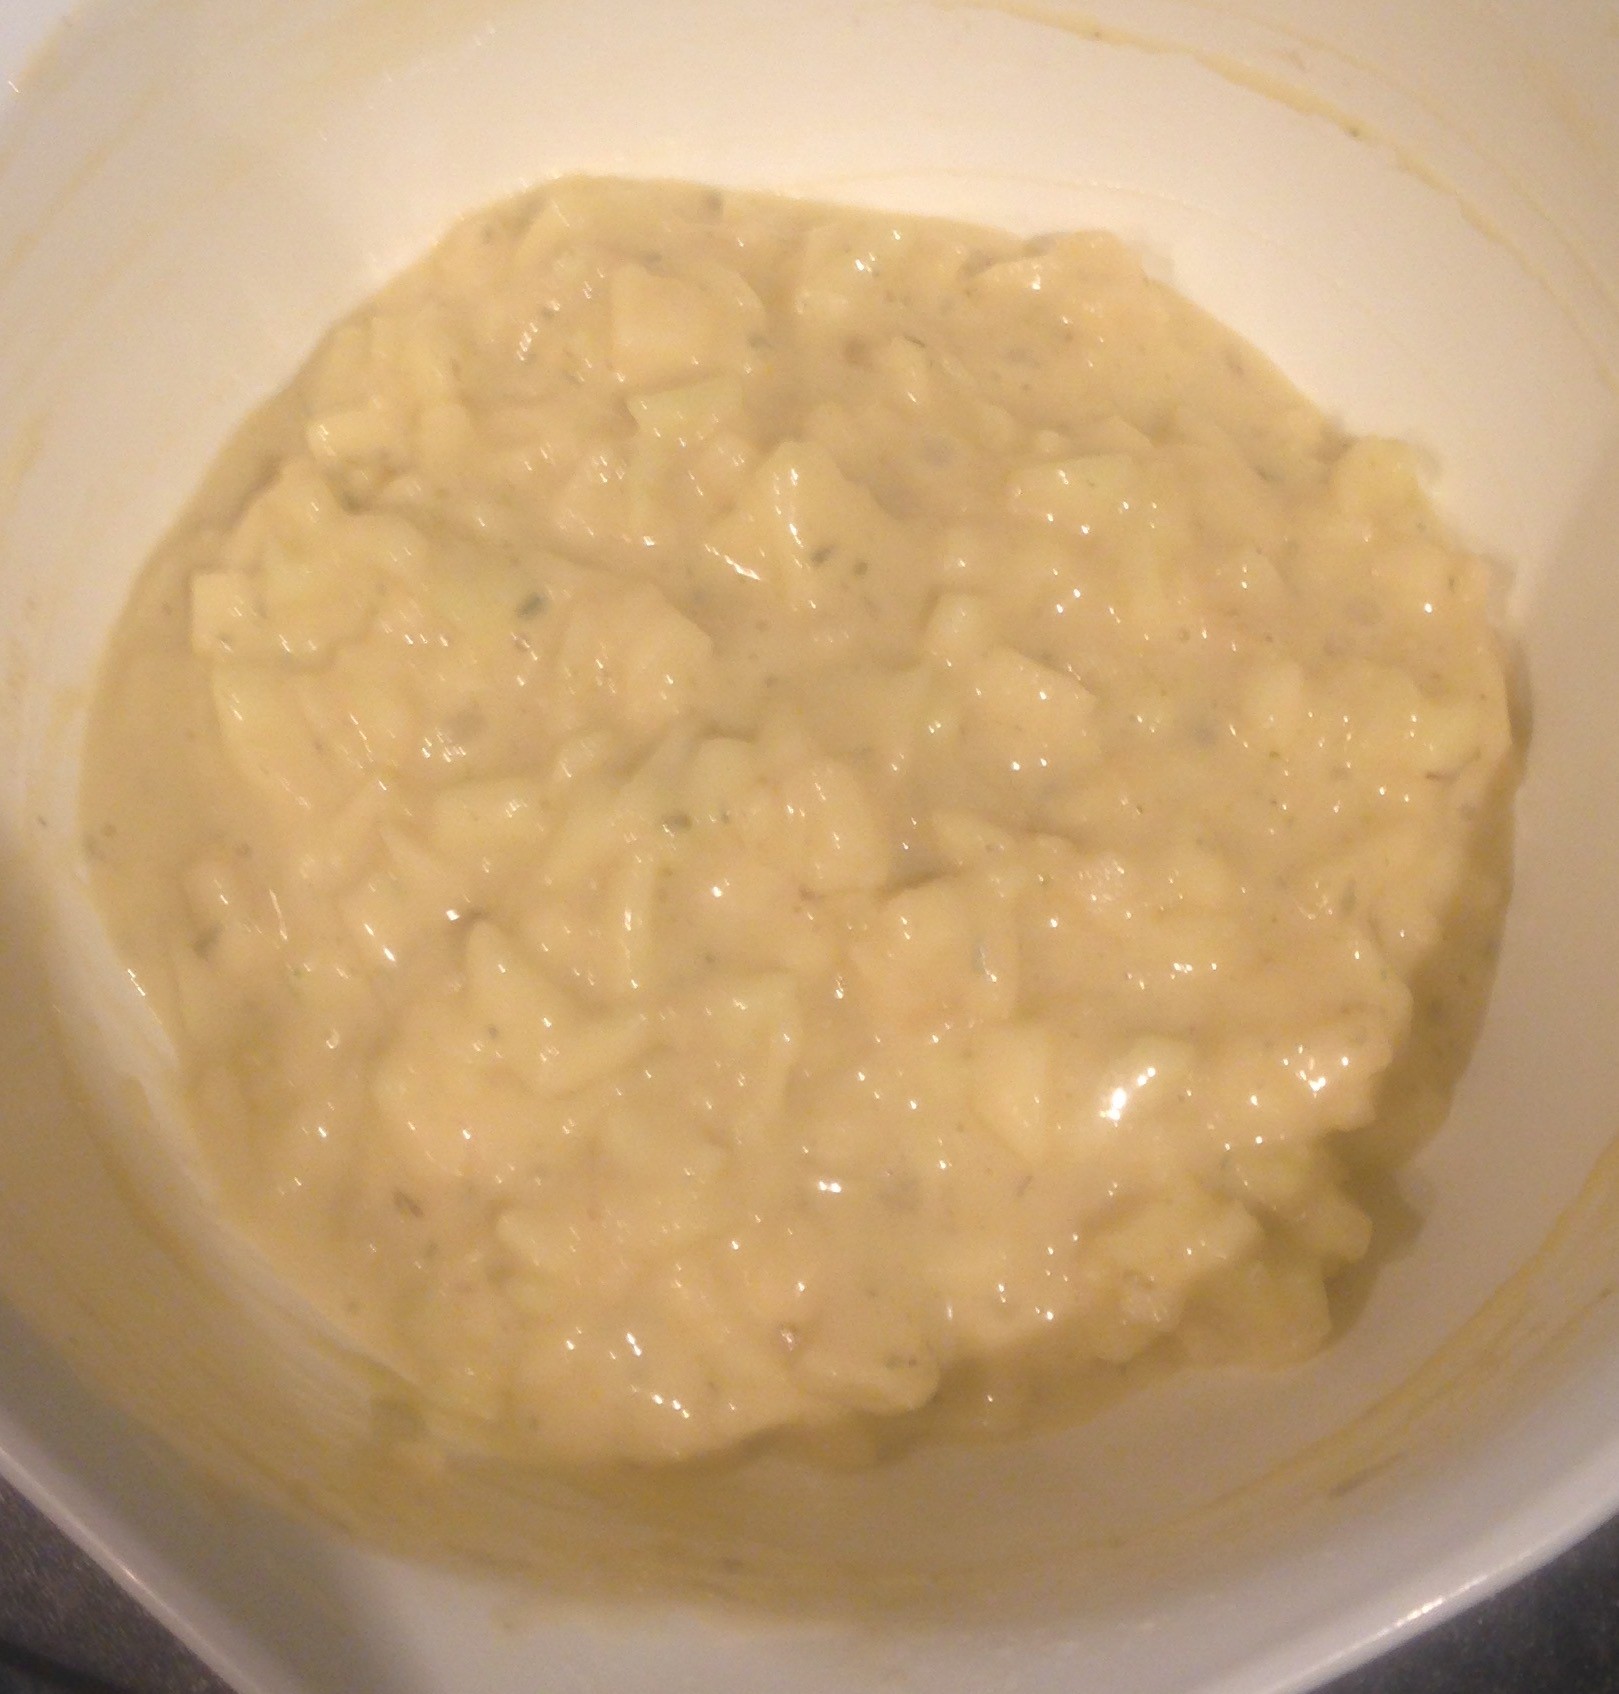
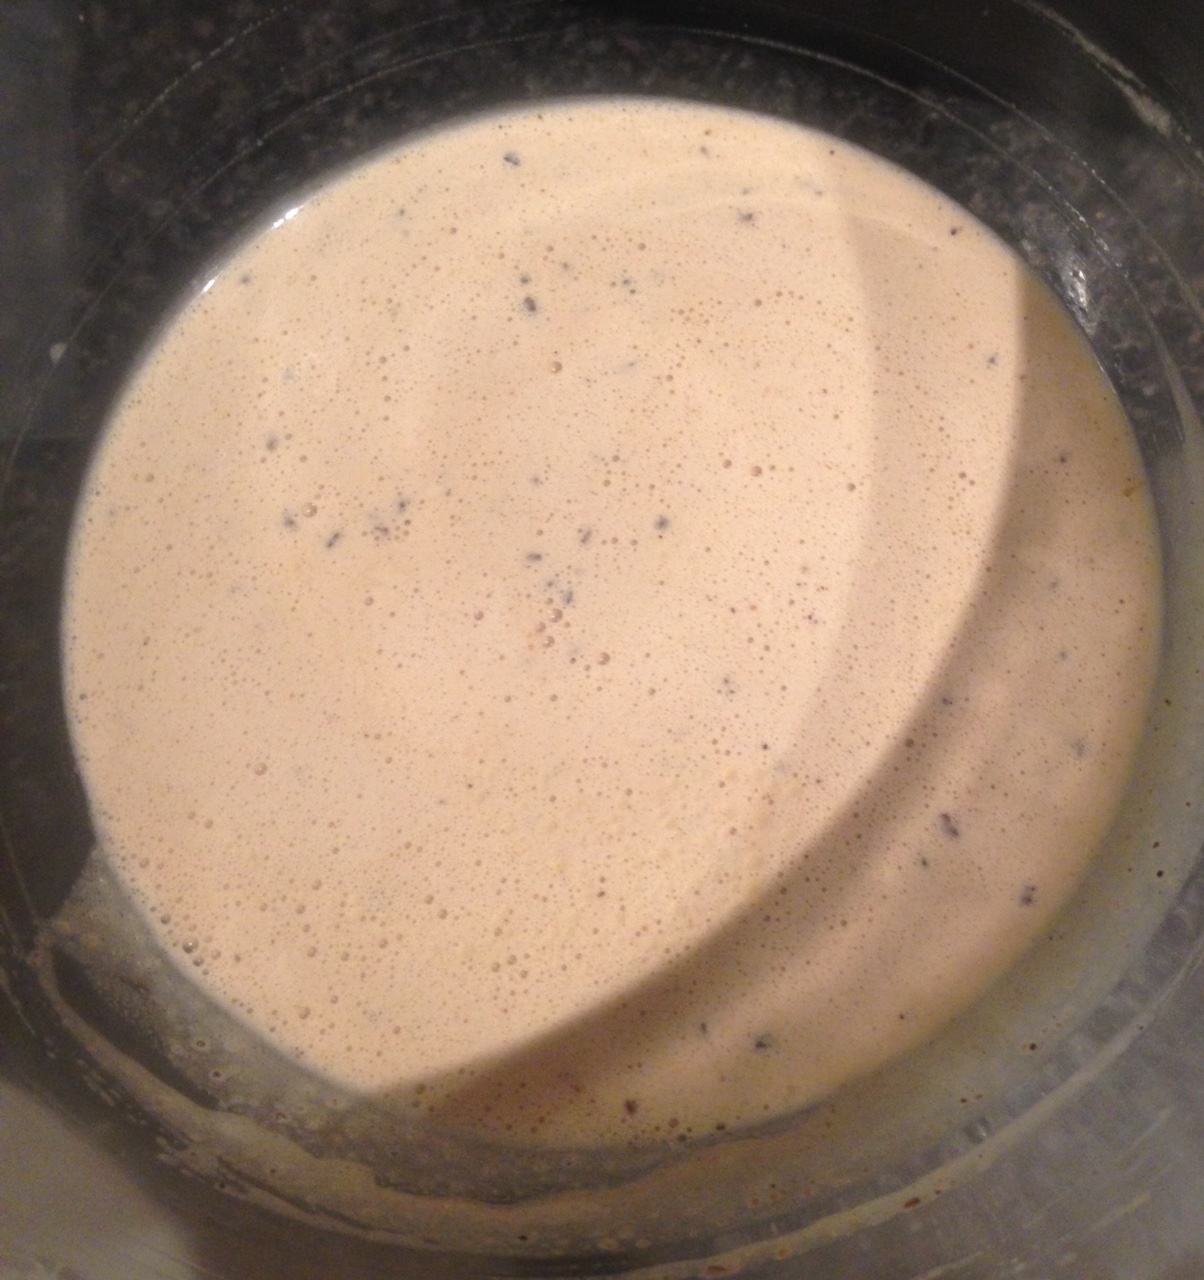
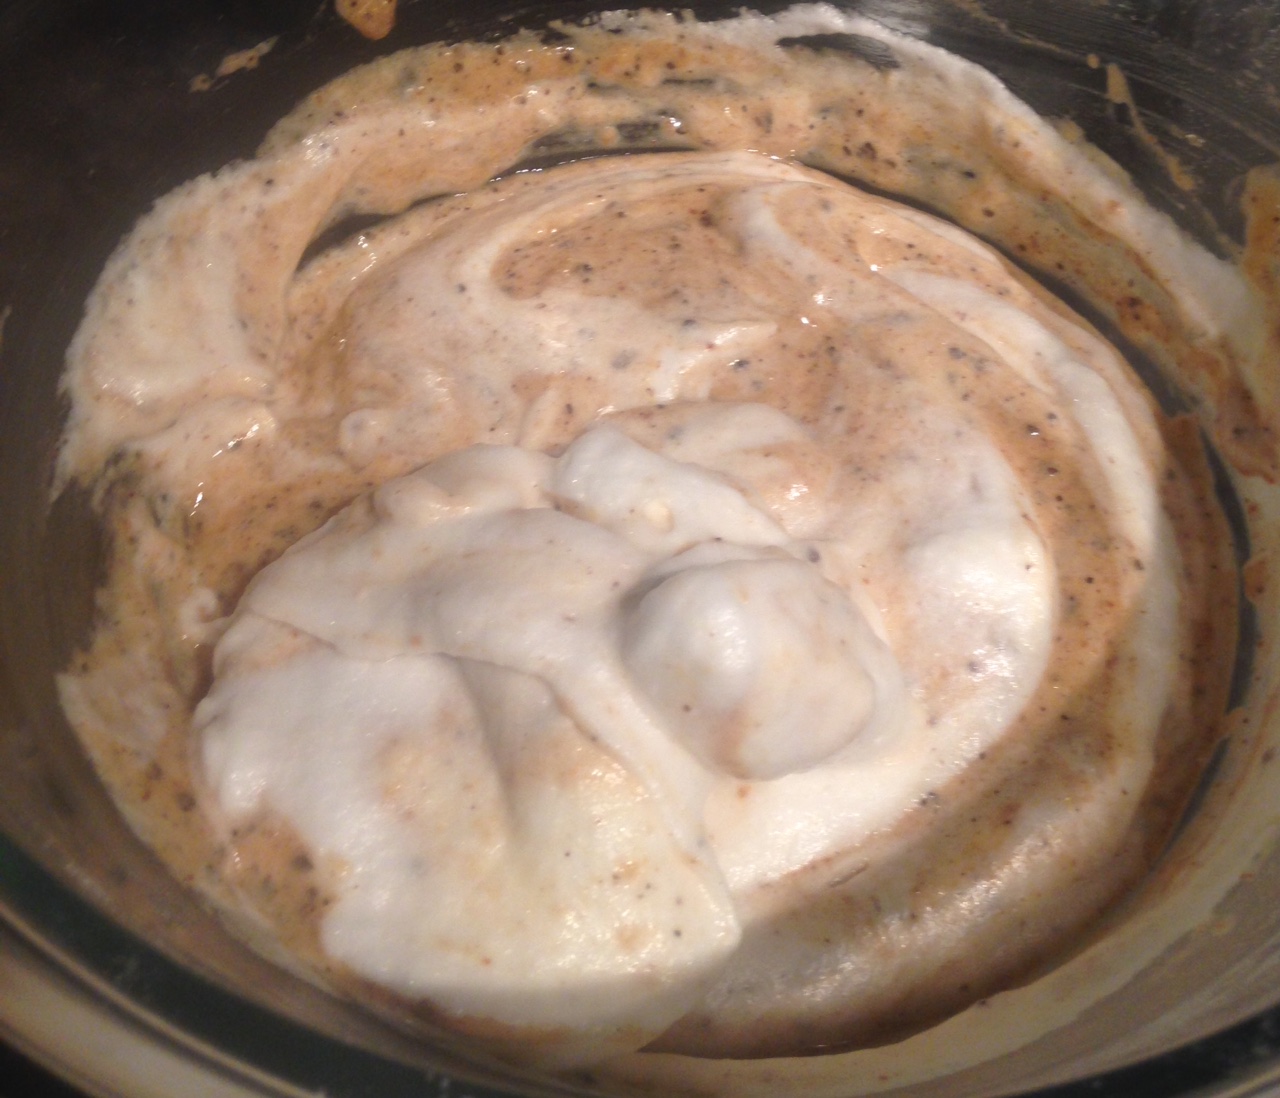
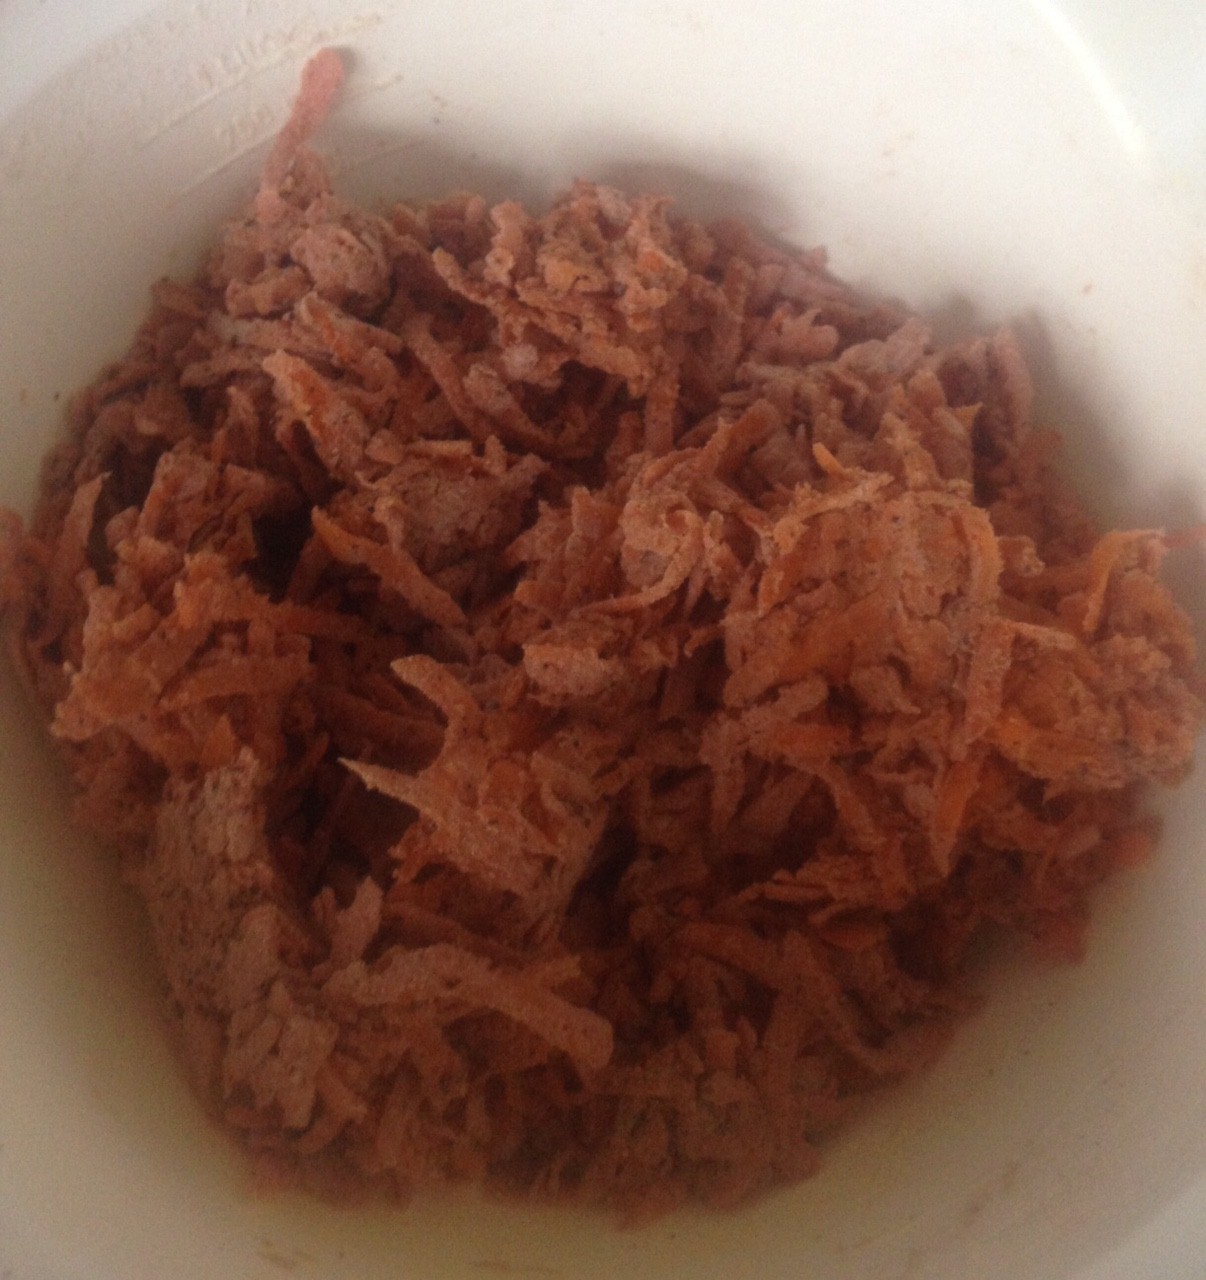
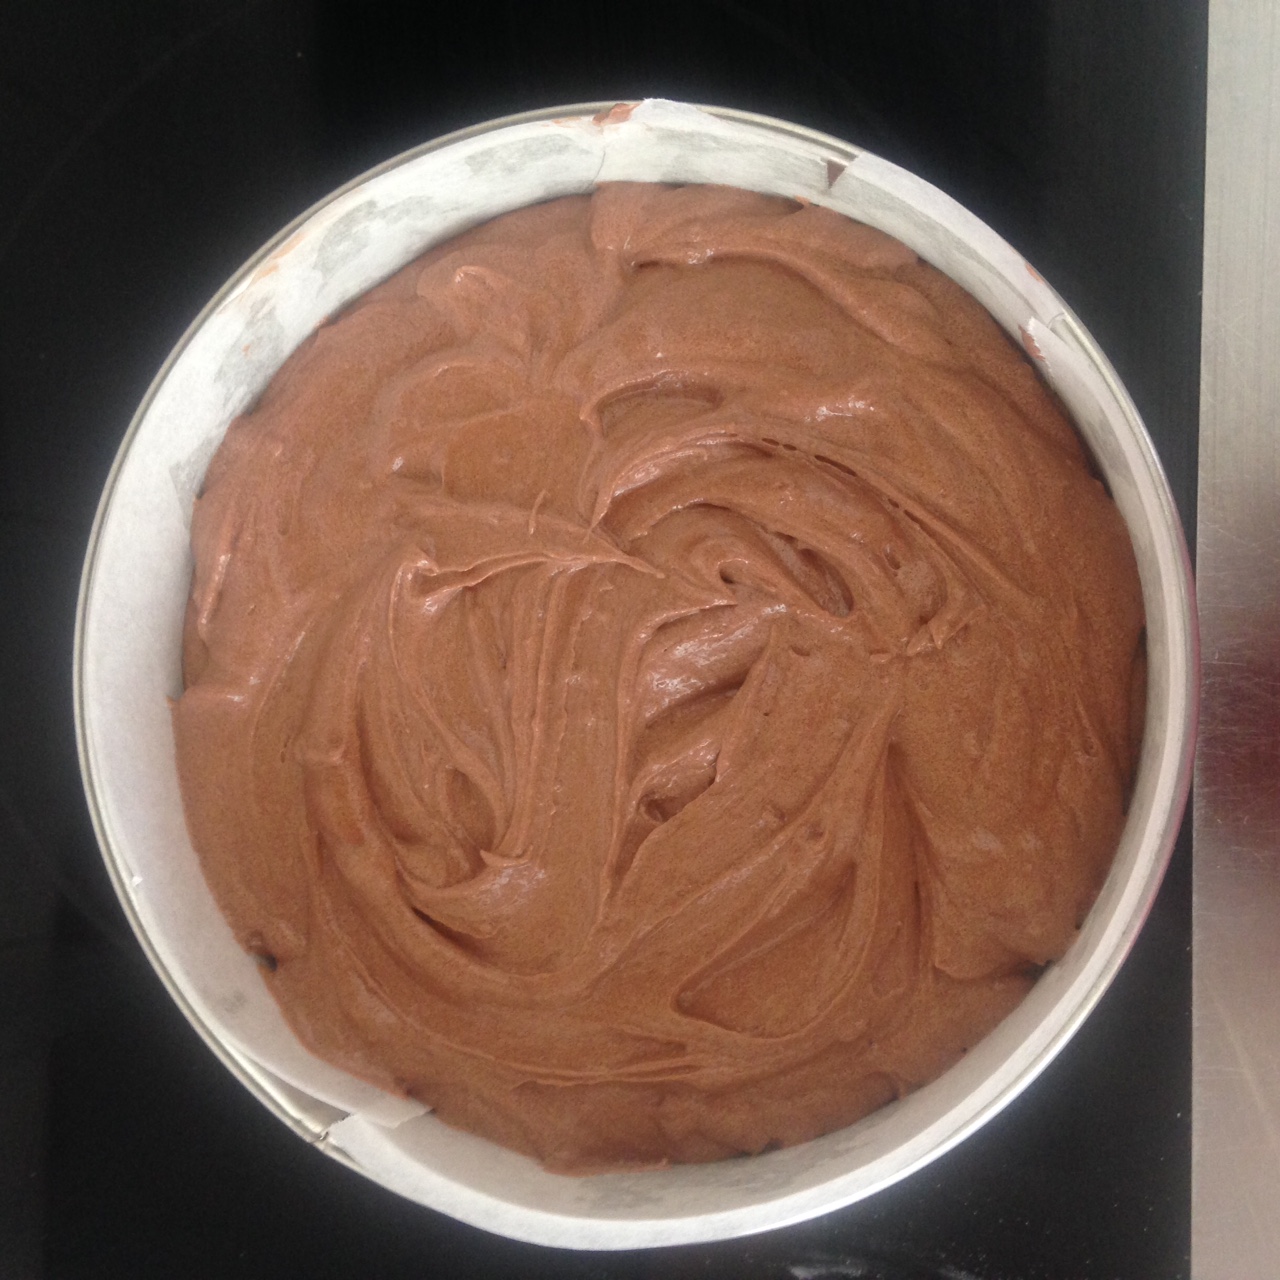
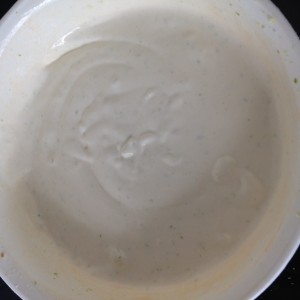
- Meanwhile, to make the ice-cream filling place the ice-cream into a bowl and place in the microwave on medium for 30 seconds.
- Add the zest, ginger, gin, almond meal and icing sugar and using a hand whisk beat until well combined.
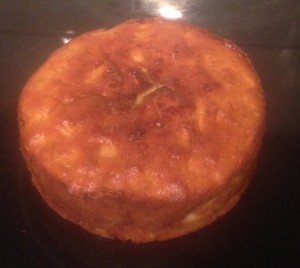
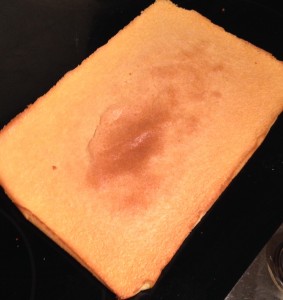
- Peel the baking paper off the cooled sponge cake.
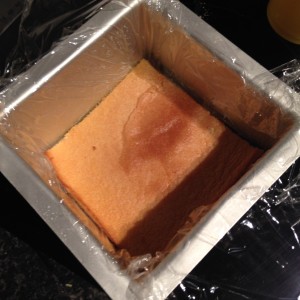
- Line a 20cm x 20cm cake tin with 2 layers of plastic wrap, keeping it in place with oil spray.
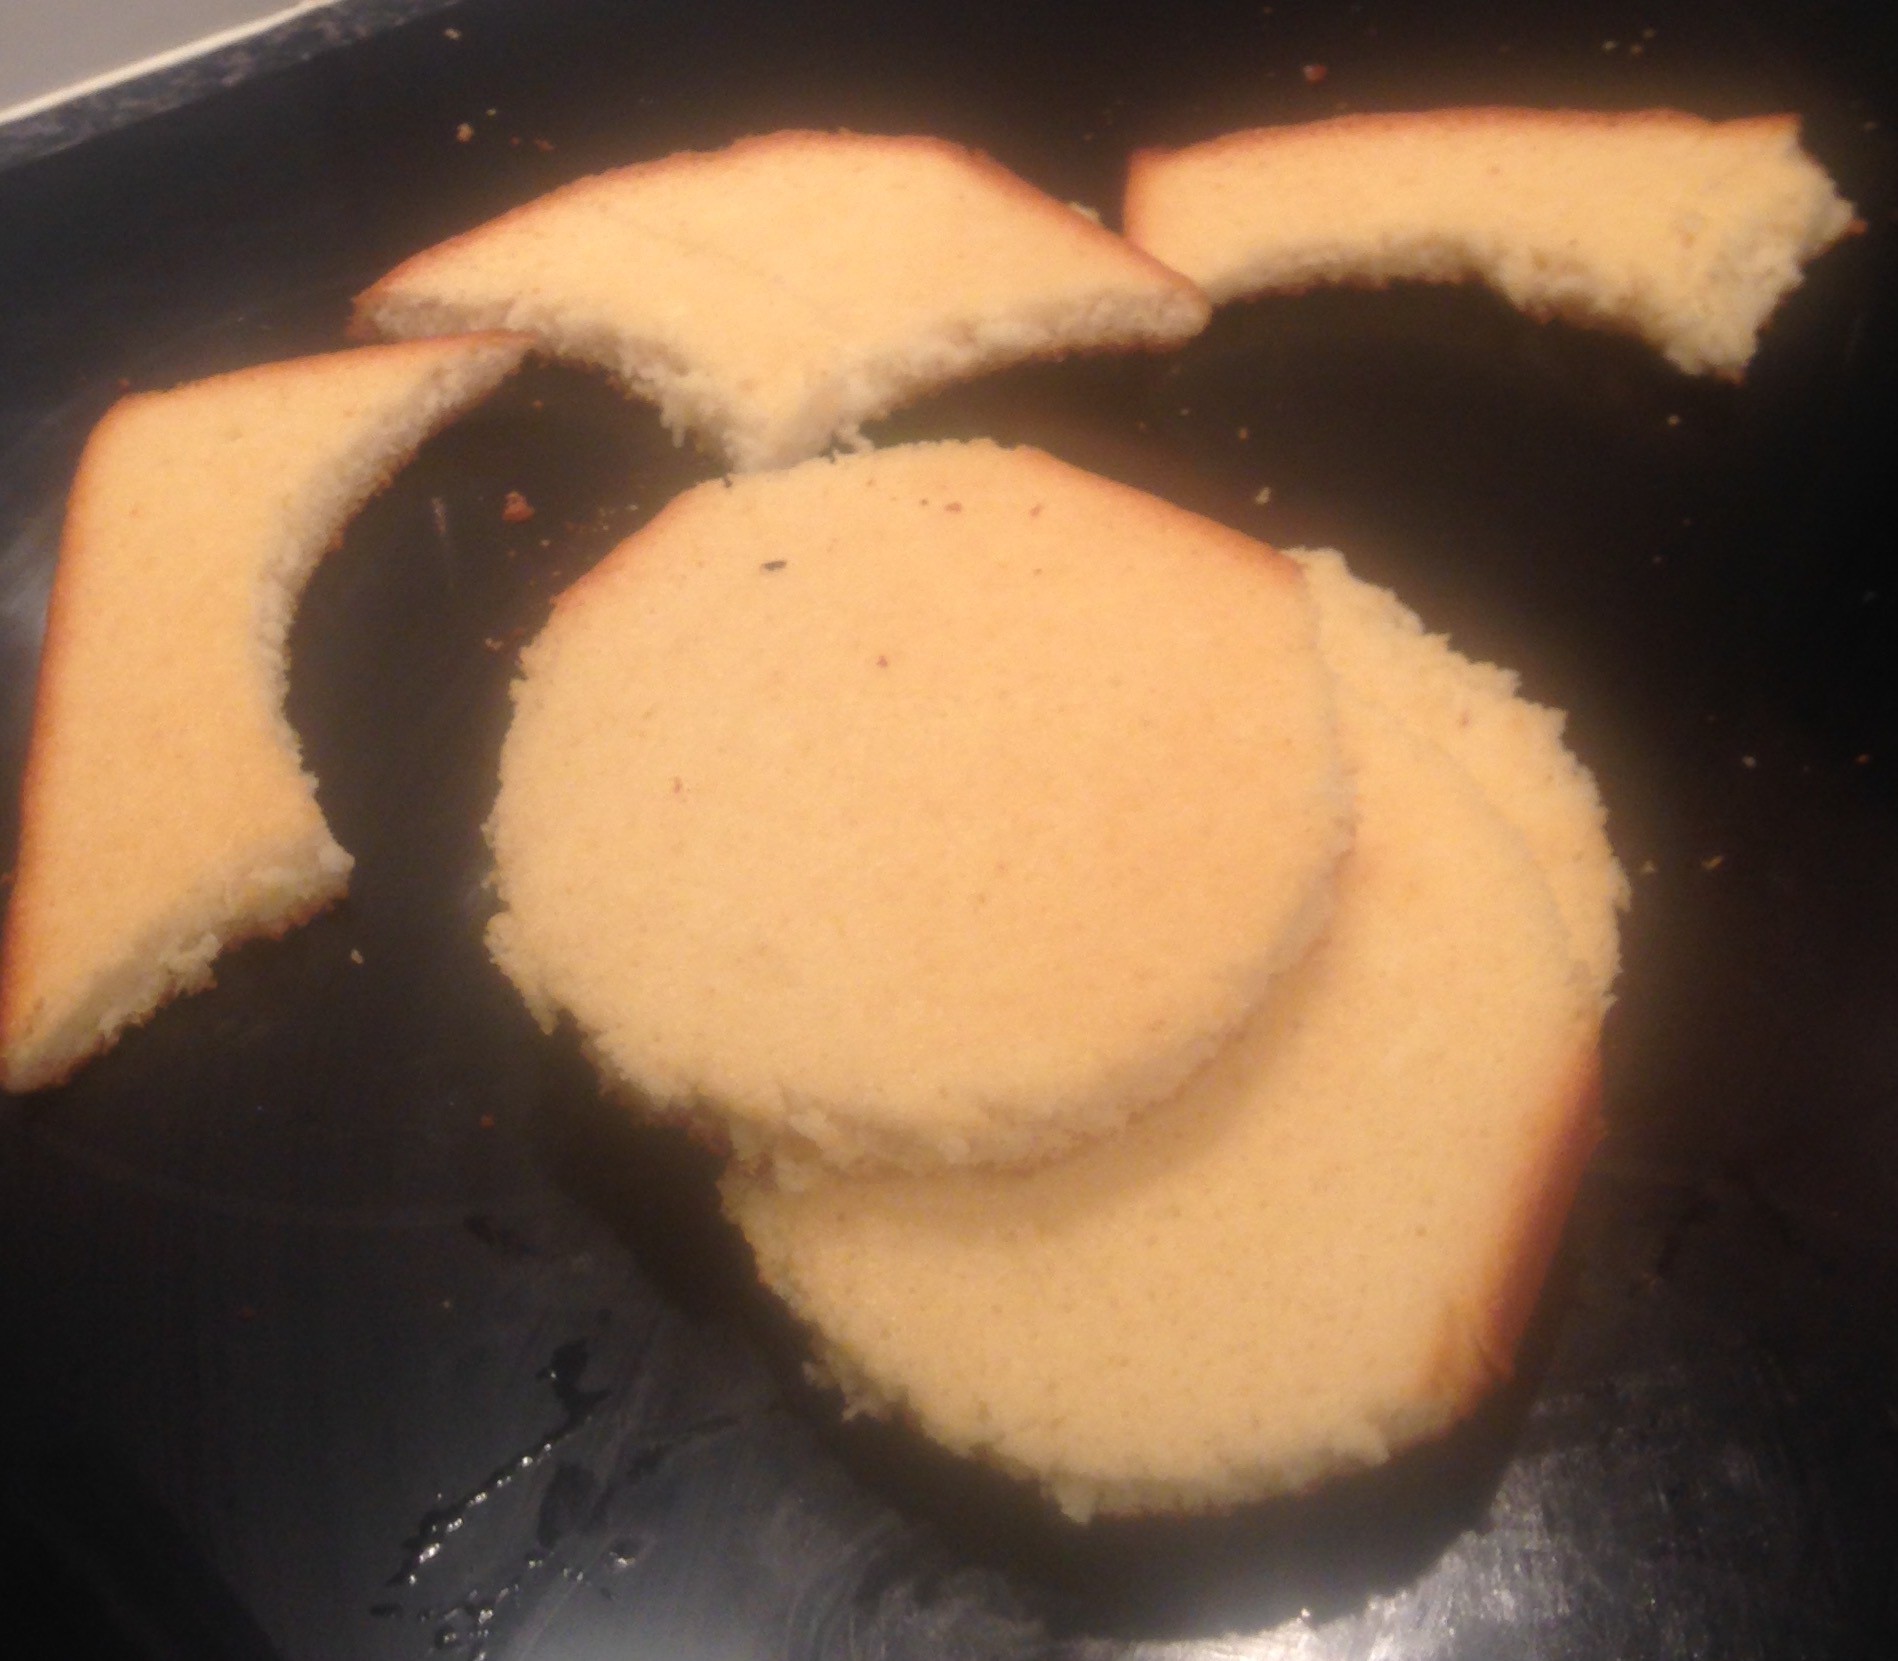
- Cut the sponge in half to make 2 x 20x20cm sponge pieces.
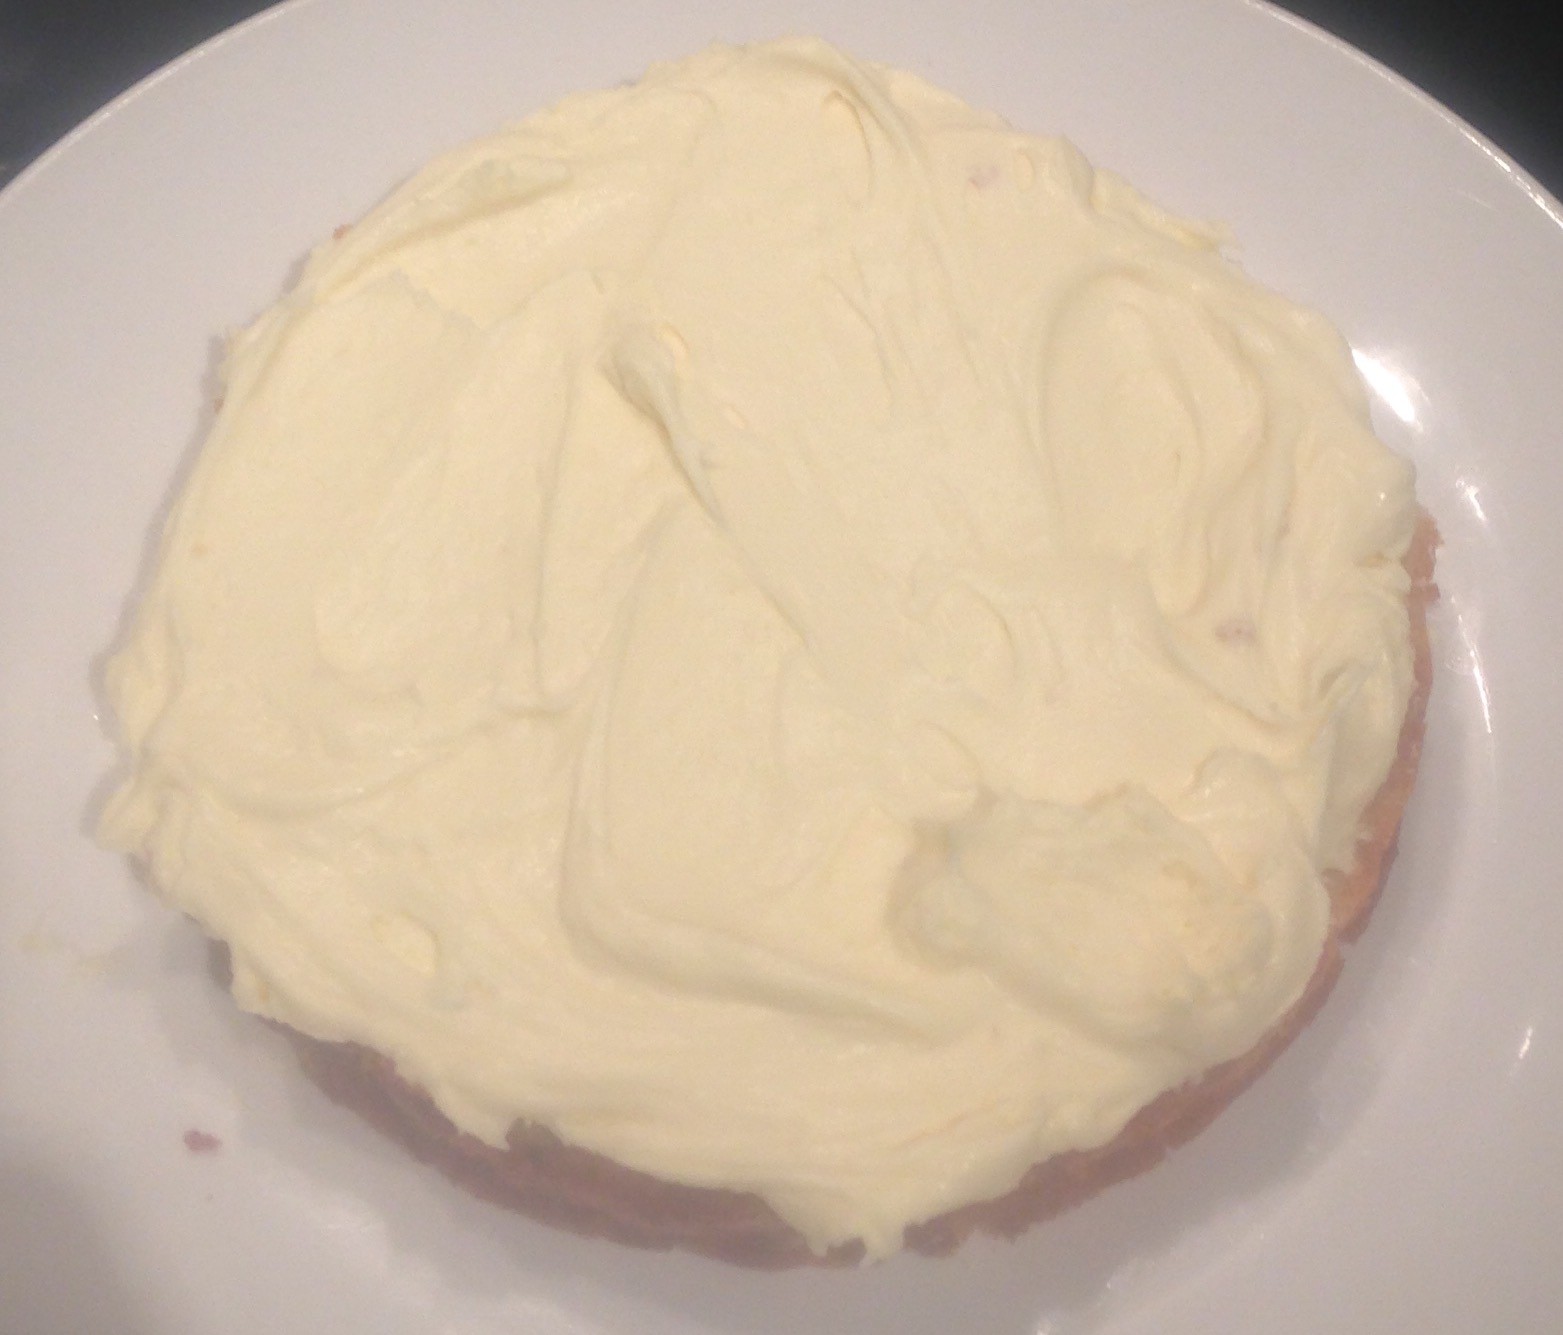
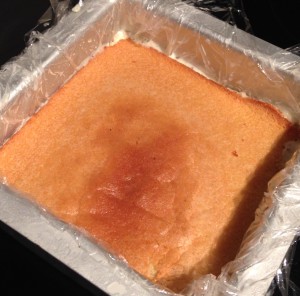
- Place one piece in the base of the tin, cutting slightly to fit if need be.
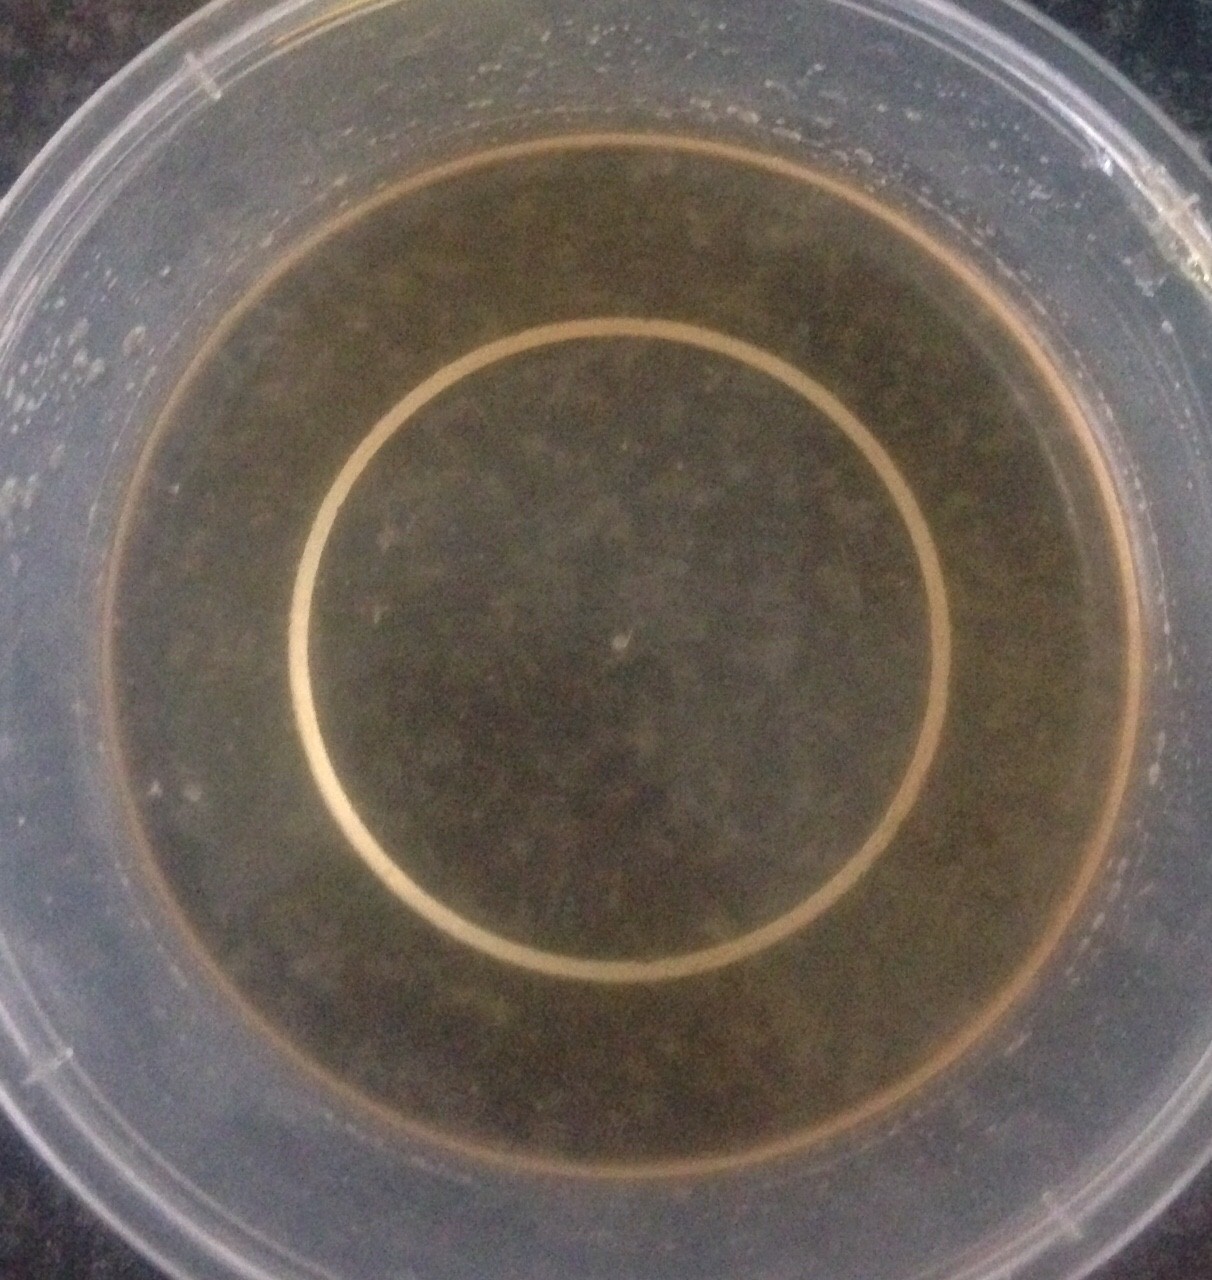
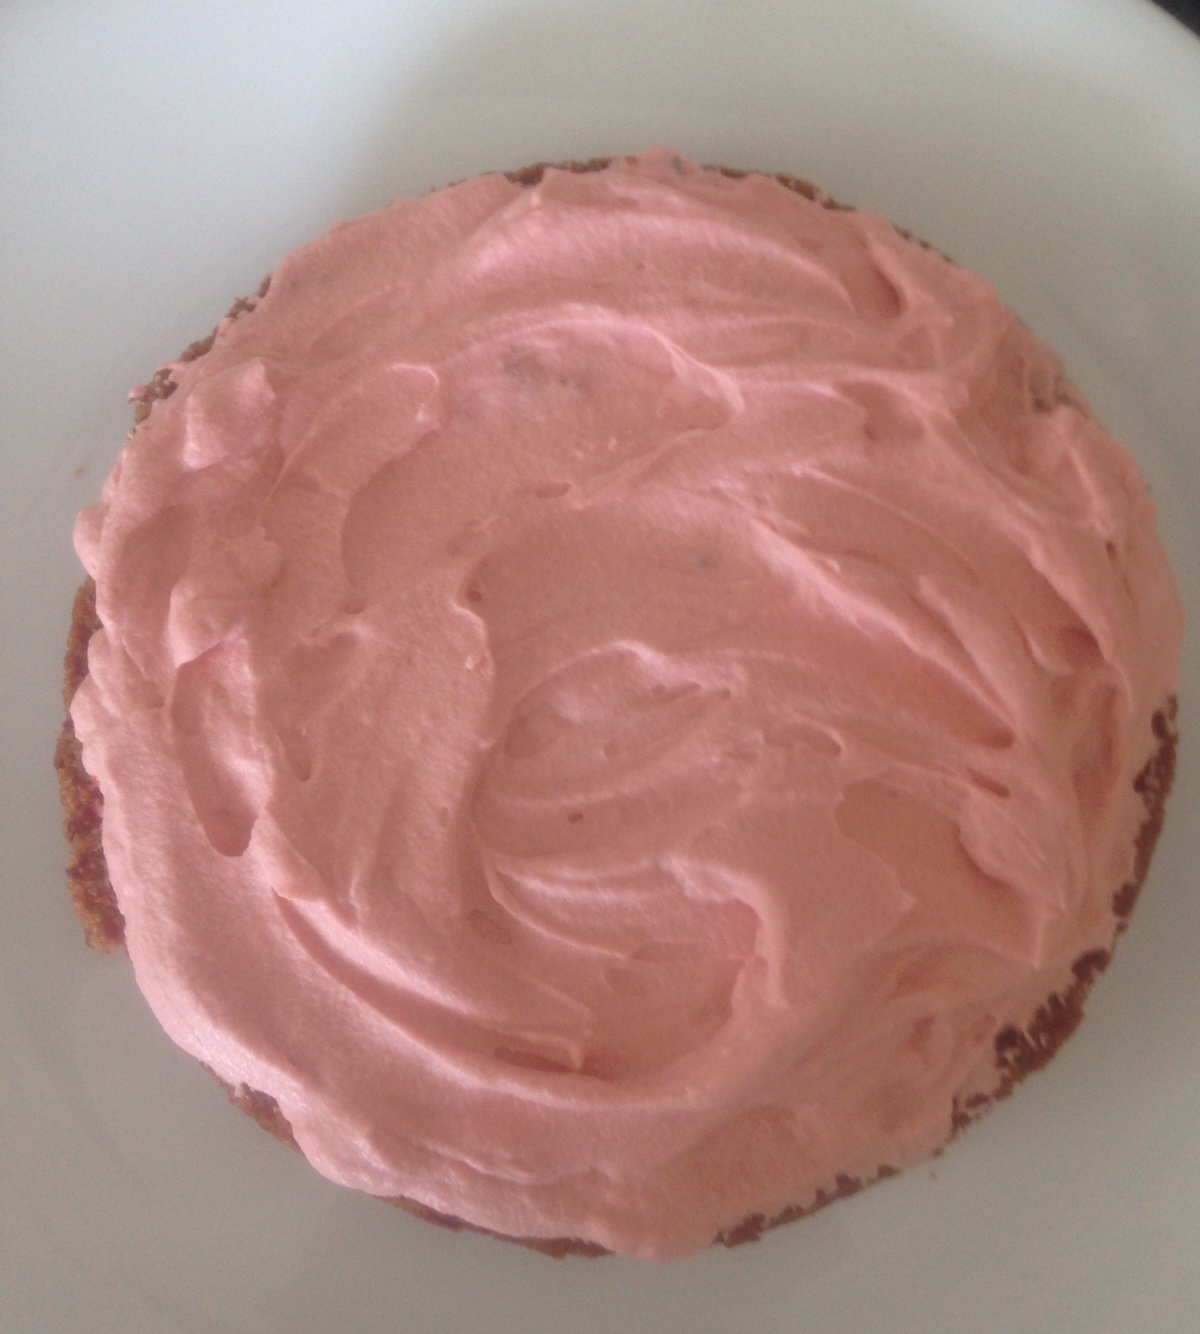
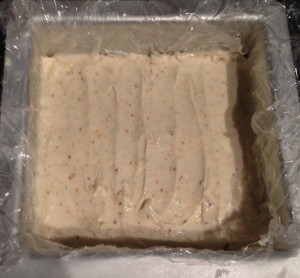
- Pour the ice-cream mix into the tin on top of the base until almost to the top.
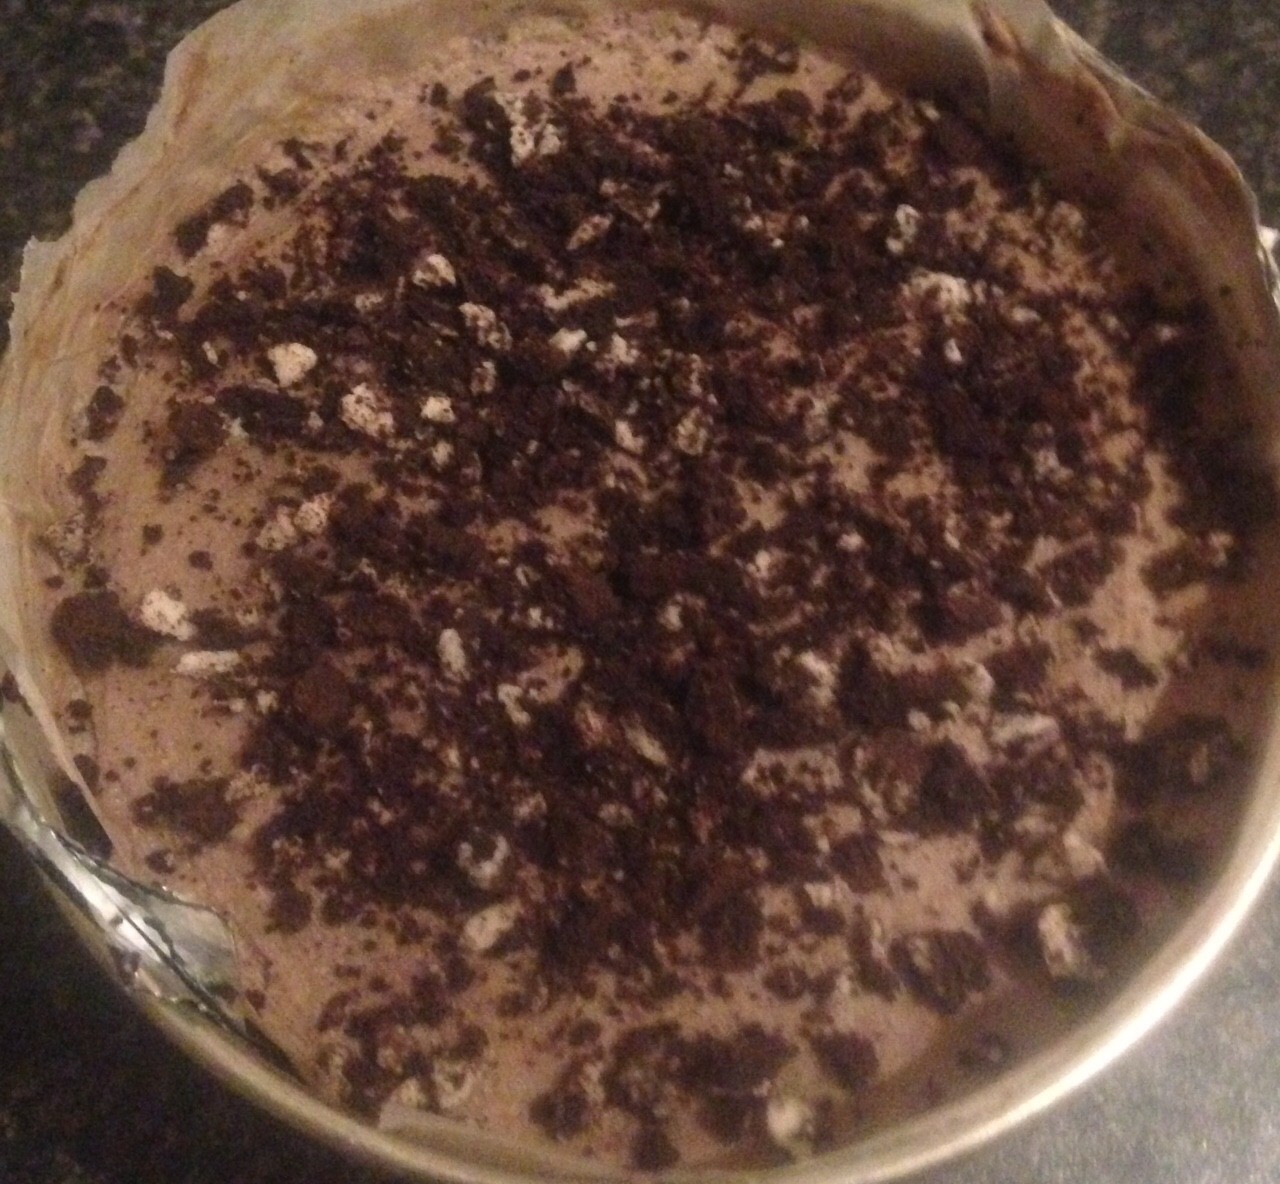
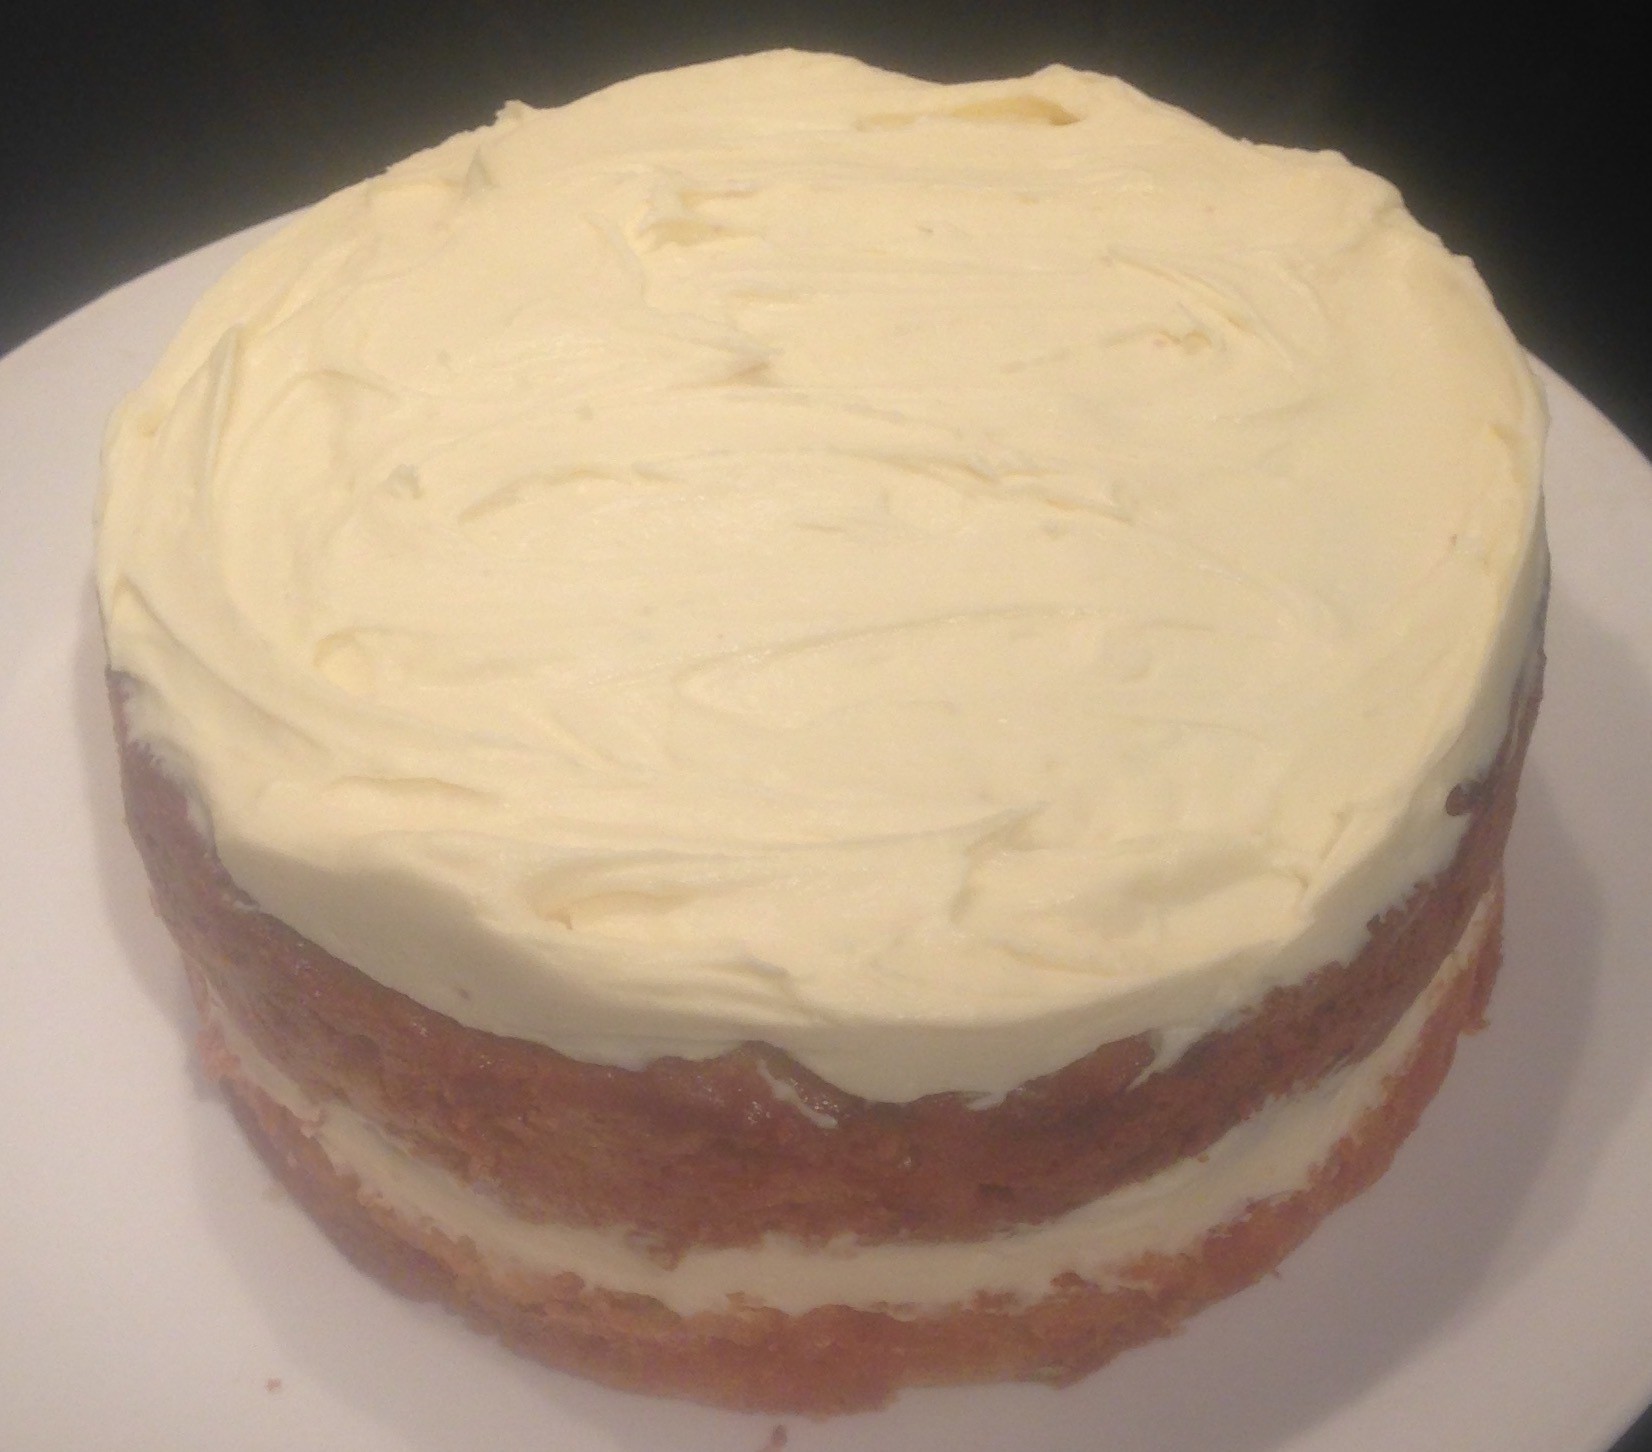
- Add the second cake piece to the top of the tin, push down slightly and place the tin in the freezer overnight to completely set.
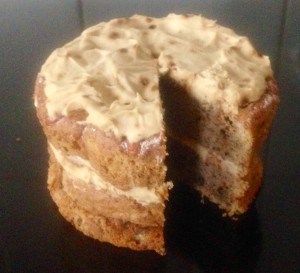
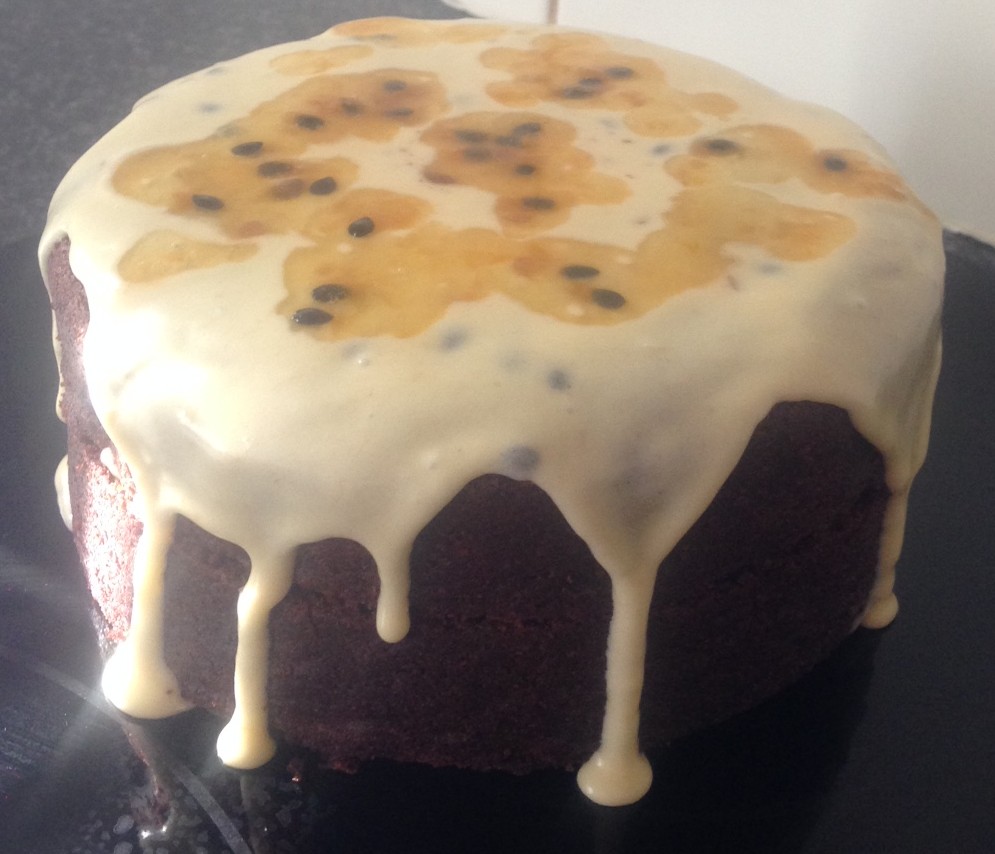
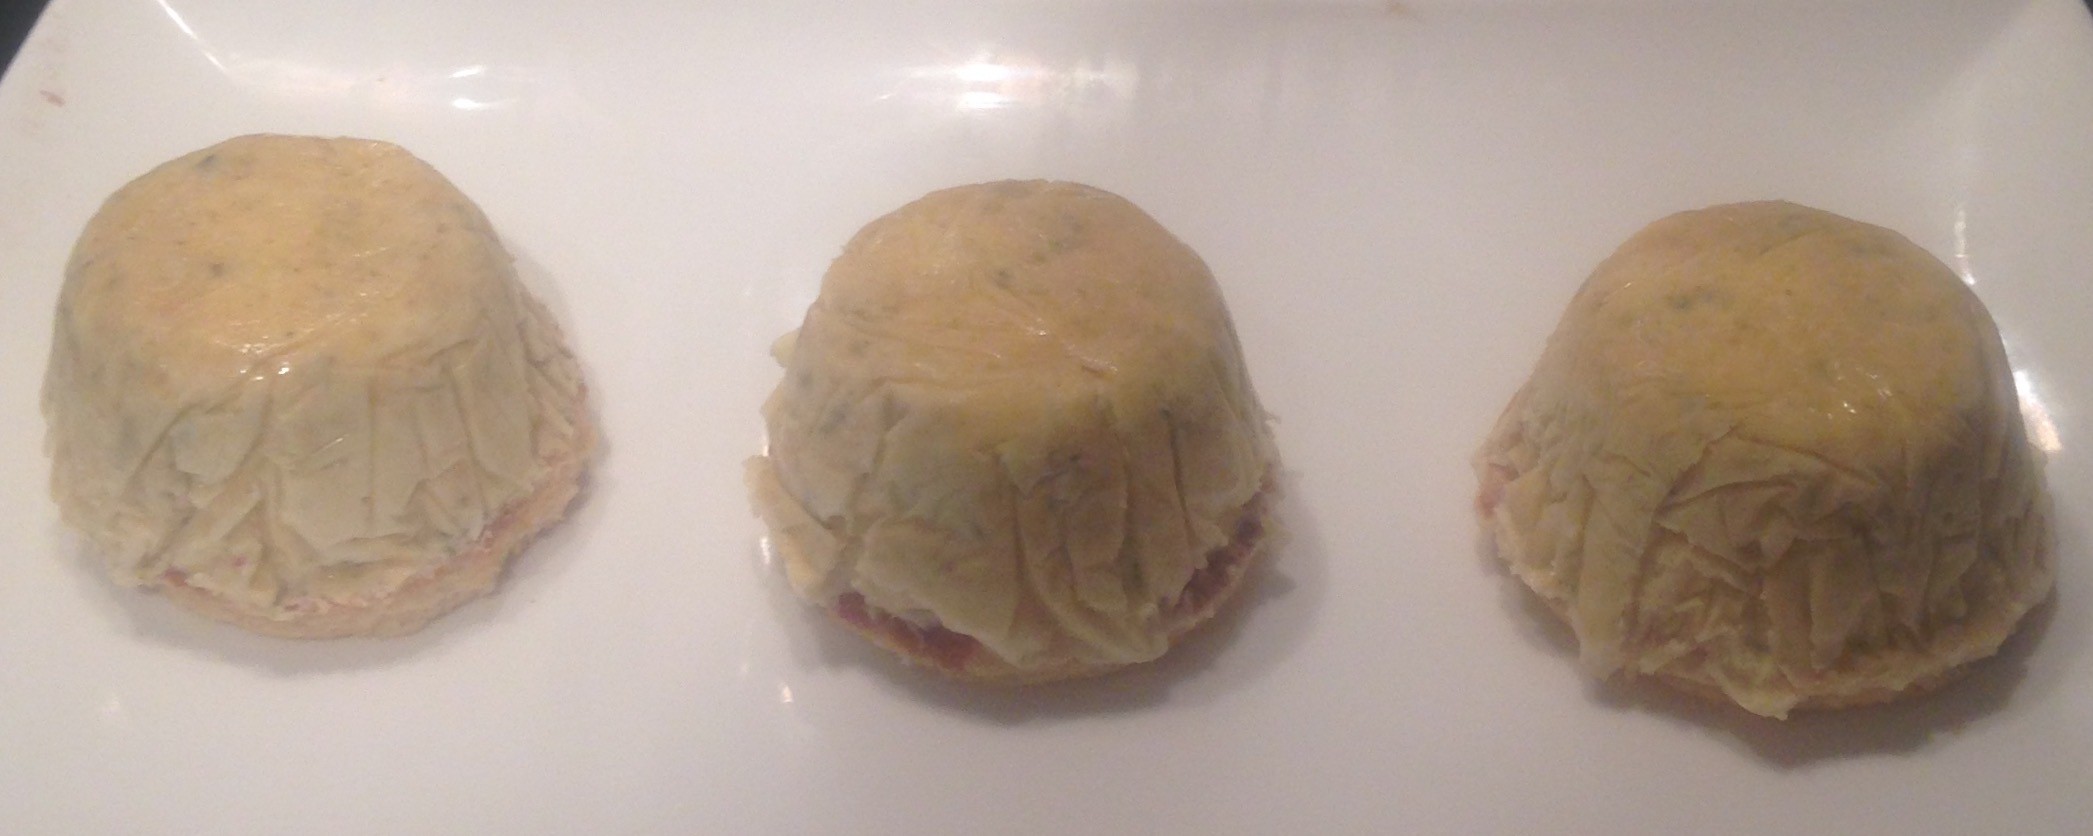
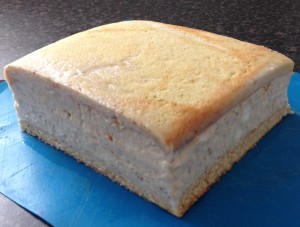
- To serve, place the bottom of the tin into hot water for 5 seconds, and pull the plastic wrap until the cake is out.
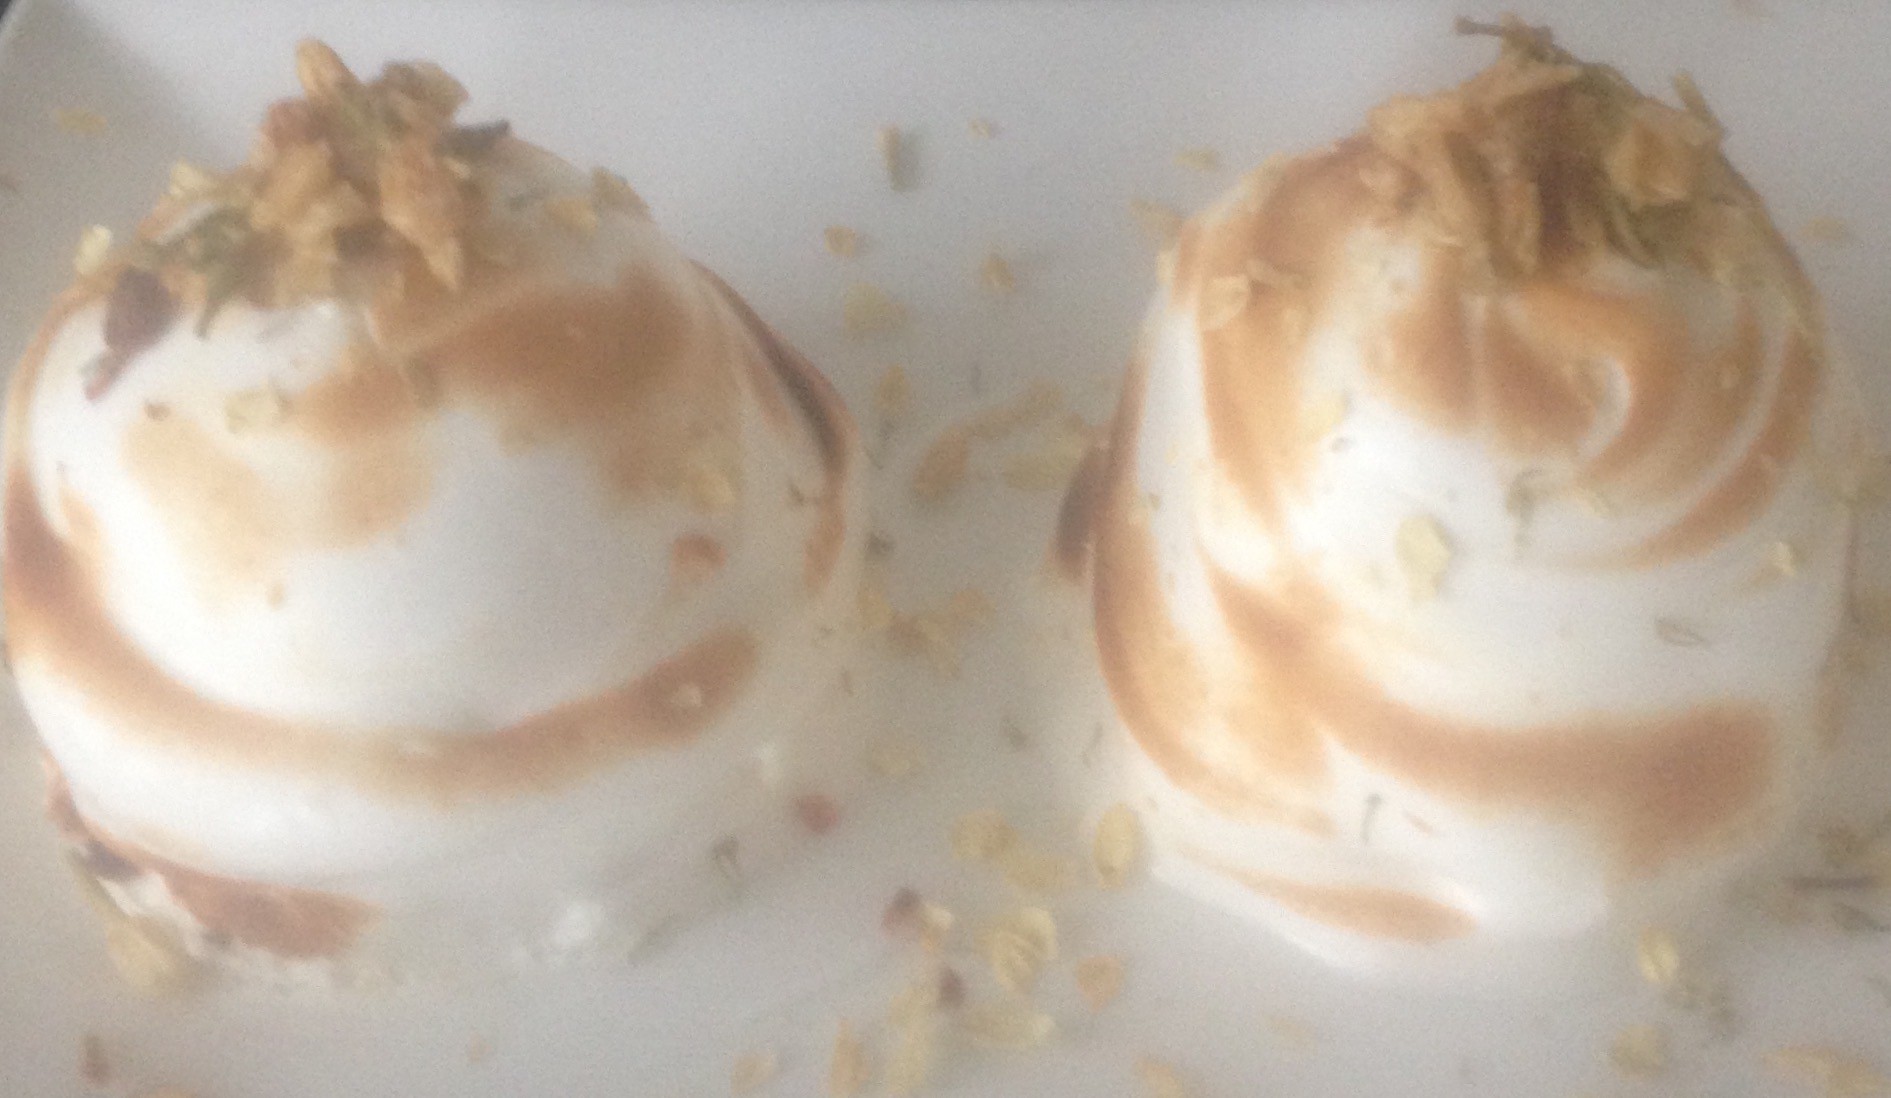
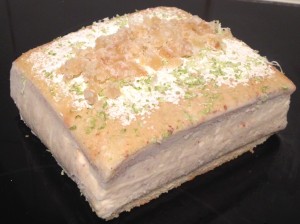
- Invert the cake onto a plate and remove the plastic wrap.
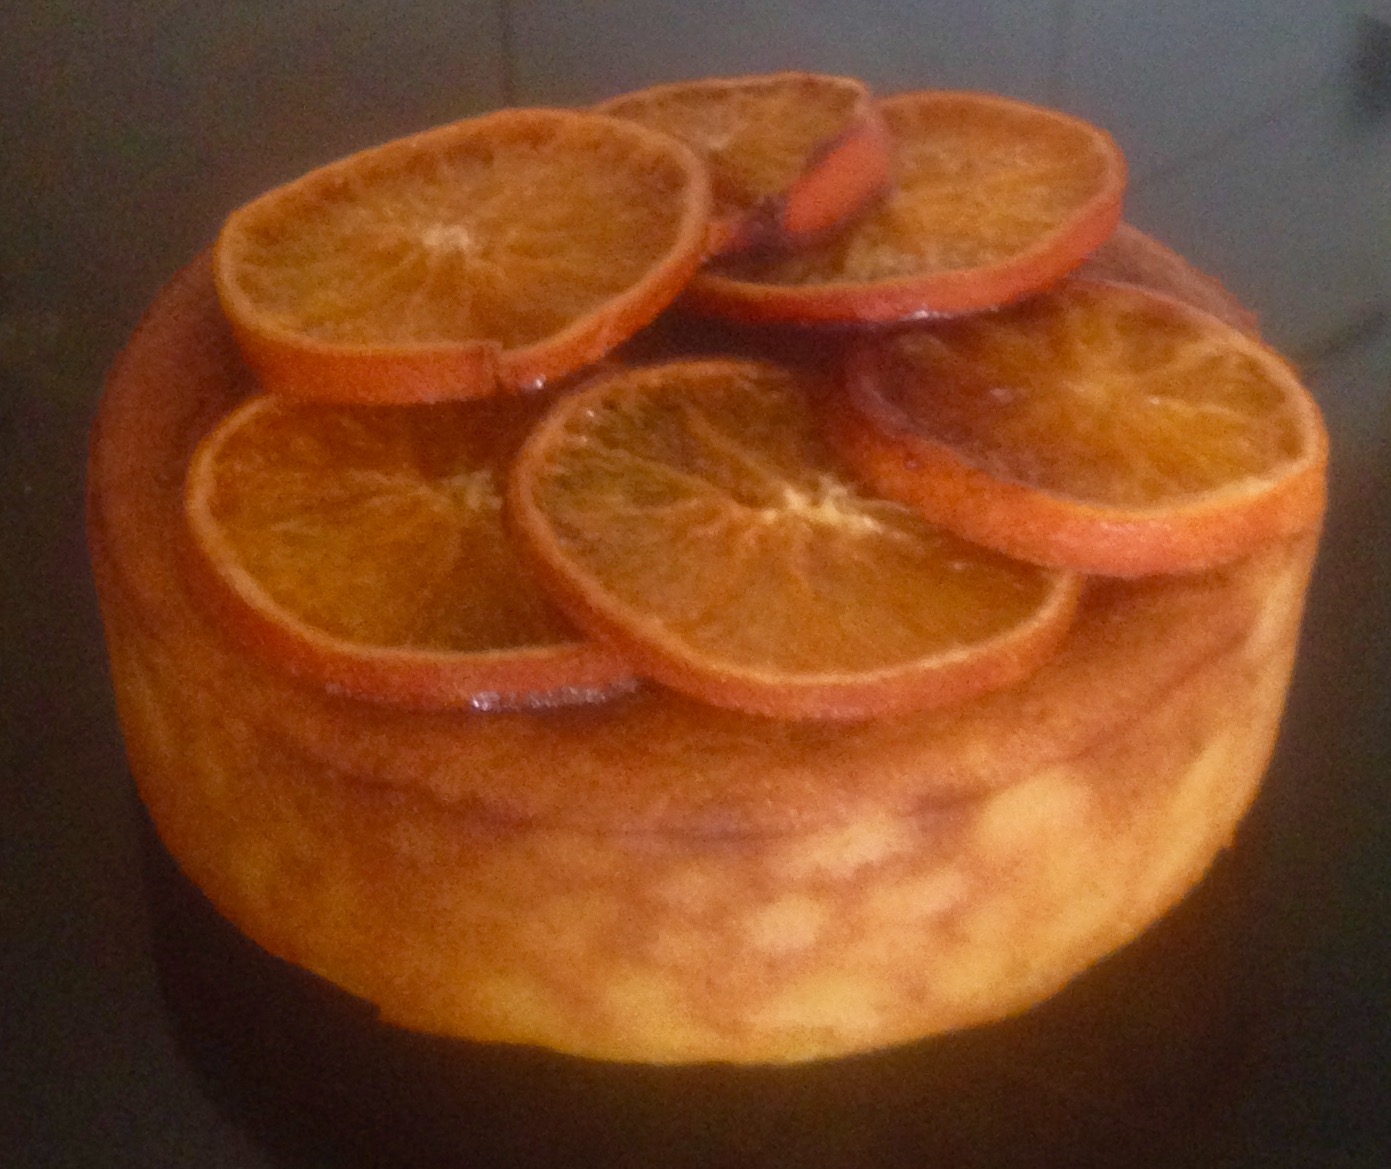
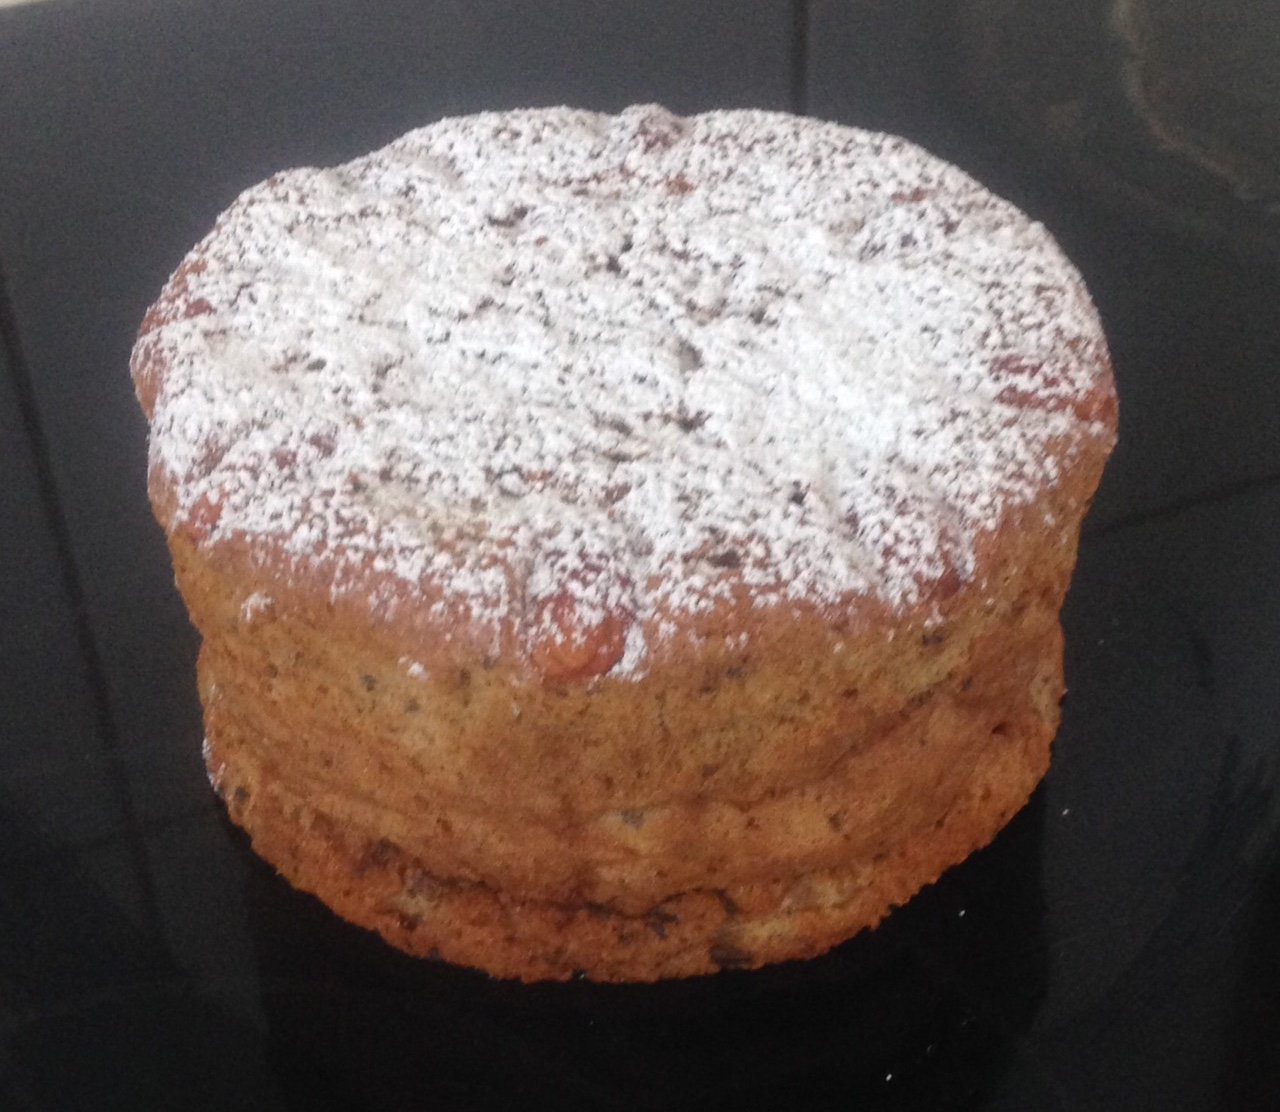
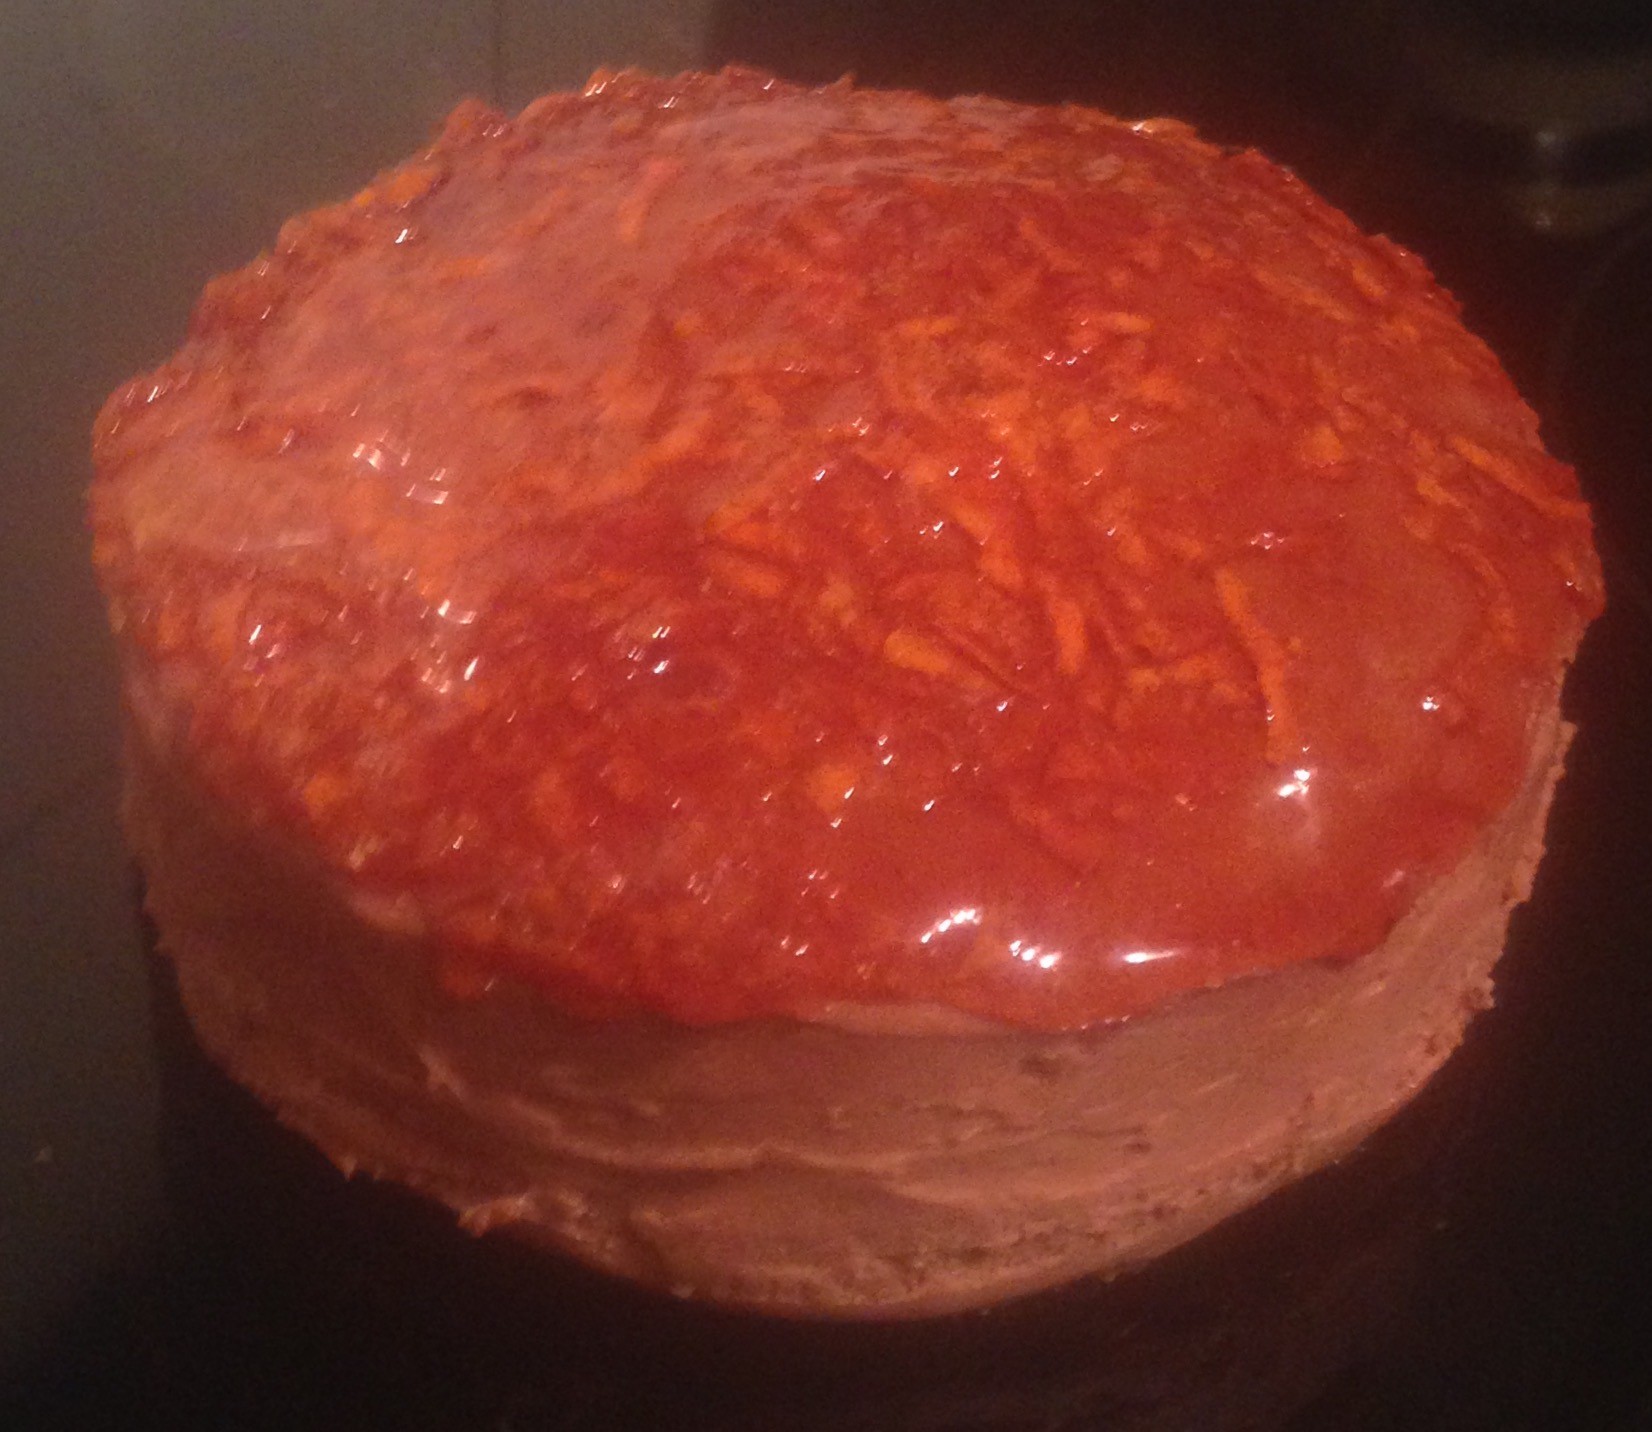
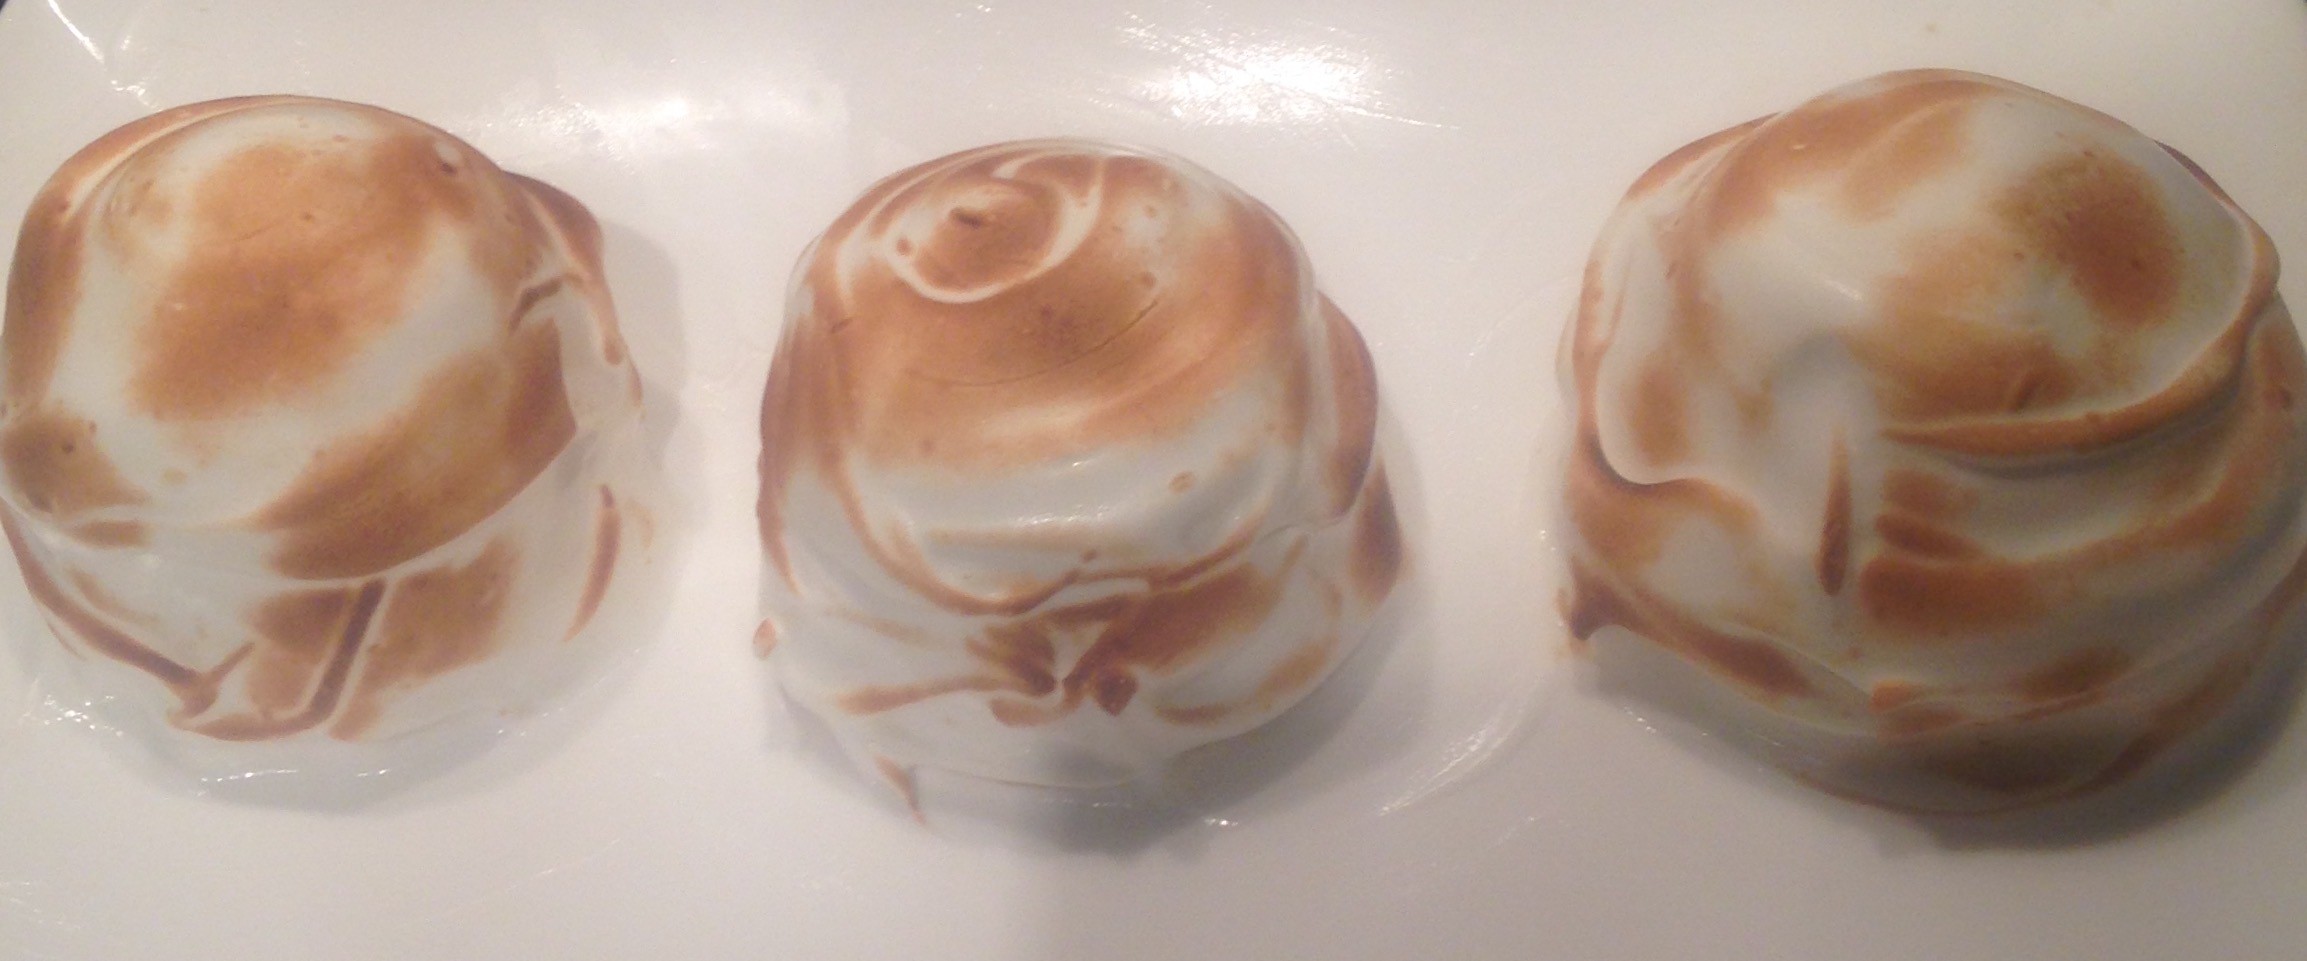
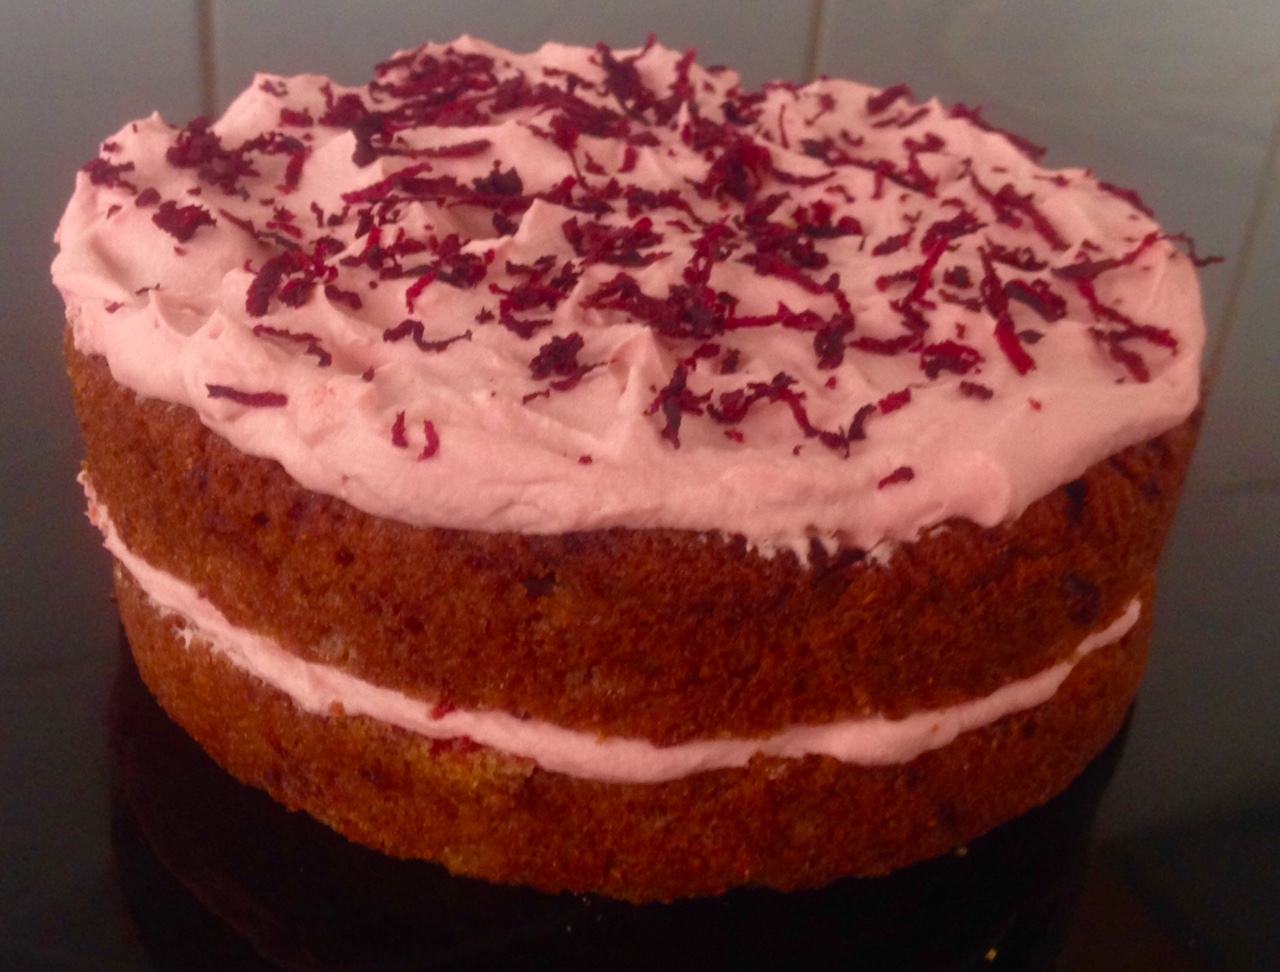
- To decorate I sieved the icing sugar and ginger over the top of the cake. Sprinkled the zest of the top and scattered the glace ginger.
Step 2
Step 5
Step 7
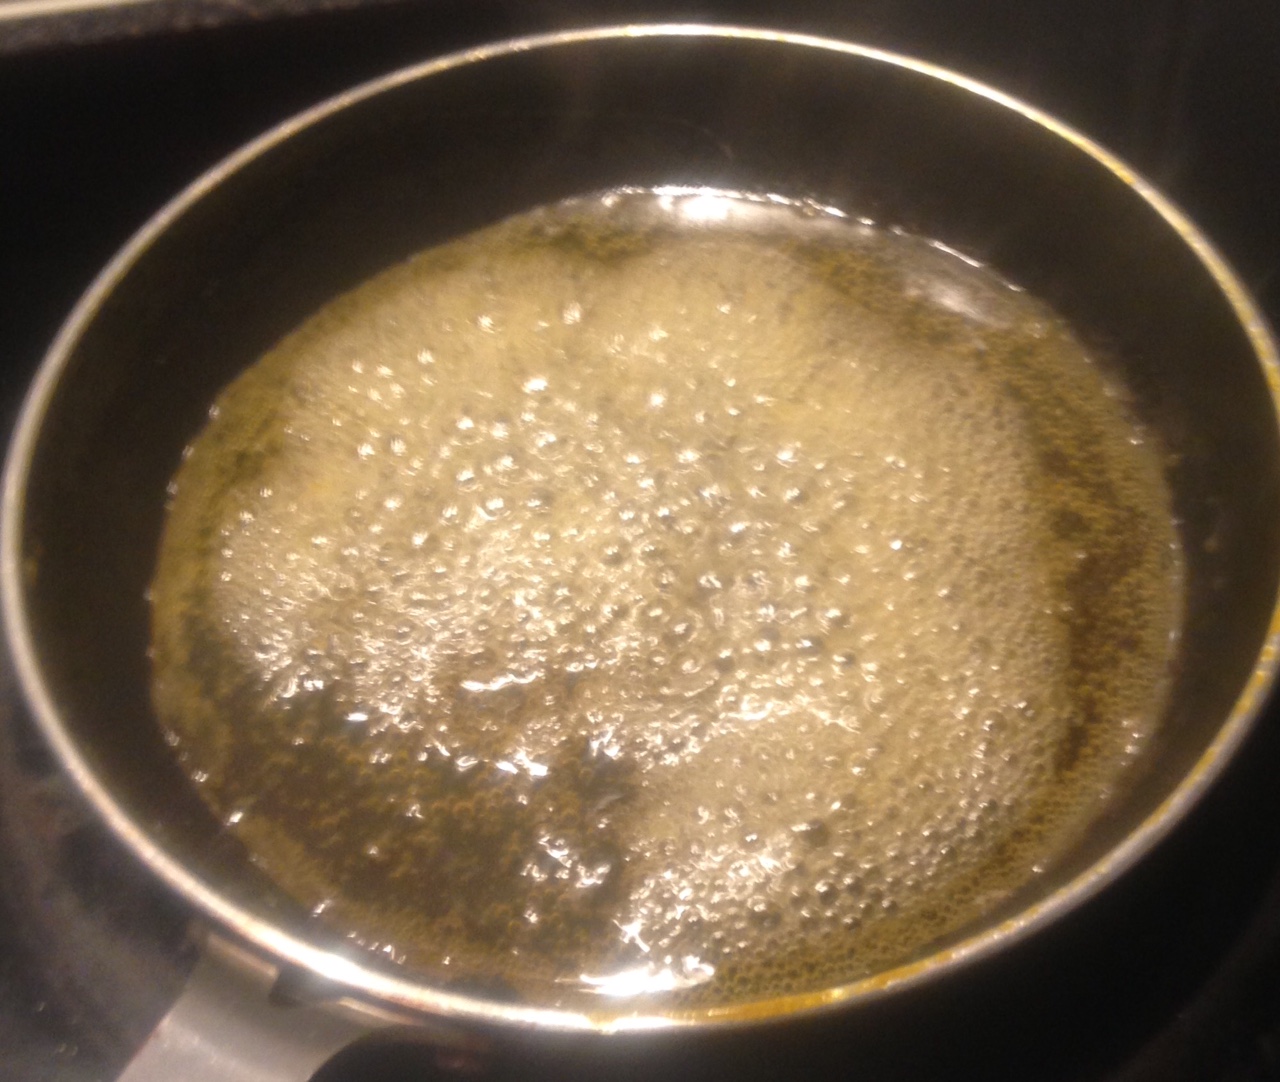
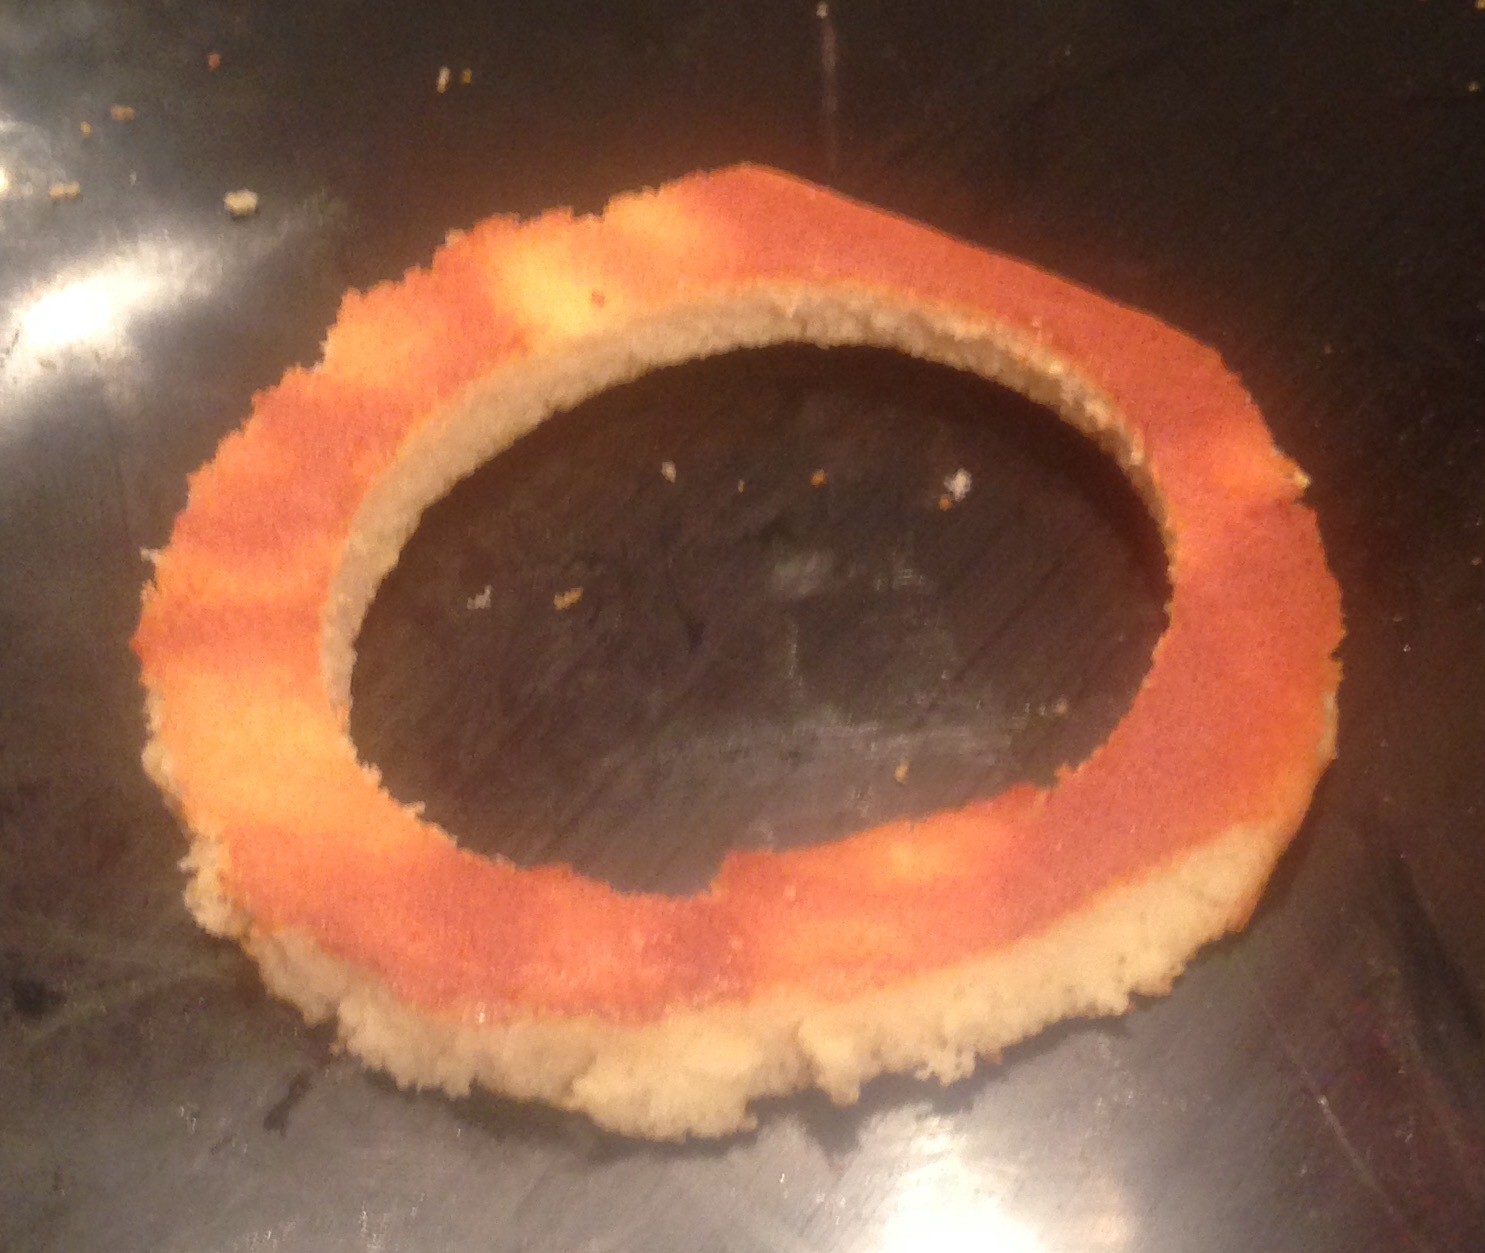
Step 10
Step 11
Step 12
Step 14

Step 15
Like this recipe? Subscribe via RSS or email to get my new entries and more scrumptious recipes with reviews.
 Follow