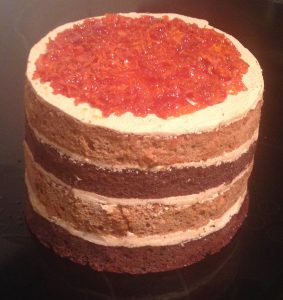
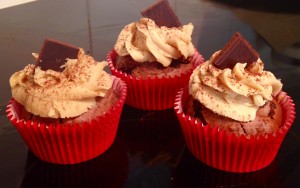
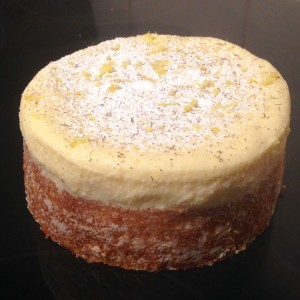
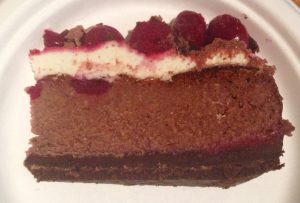
Black Forest Ricotta Cheesecake
For a while I have been wanting to make a cheesecake with low fat ricotta instead of the rich and weighty creamcheese cheesecakes traditionally have. I wanted to make this cheesecake ‘melt in your mouth’, which I felt the ricotta could deliver on.
My flavor inspiration for this cake came from originally thinking of making a dark chocolate cheesecake and then adding in some cherries (berries and cheesecake go together like magic).
This though was still a little boring, where I needed a twist, therefore I decided to add the extra elements required to turn this into a ricotta cheesecake black forest cake.
The cherries, chocolate, kirsch and cream would enhance the flavor profiles in the cake and add depth to the creamy ricotta.
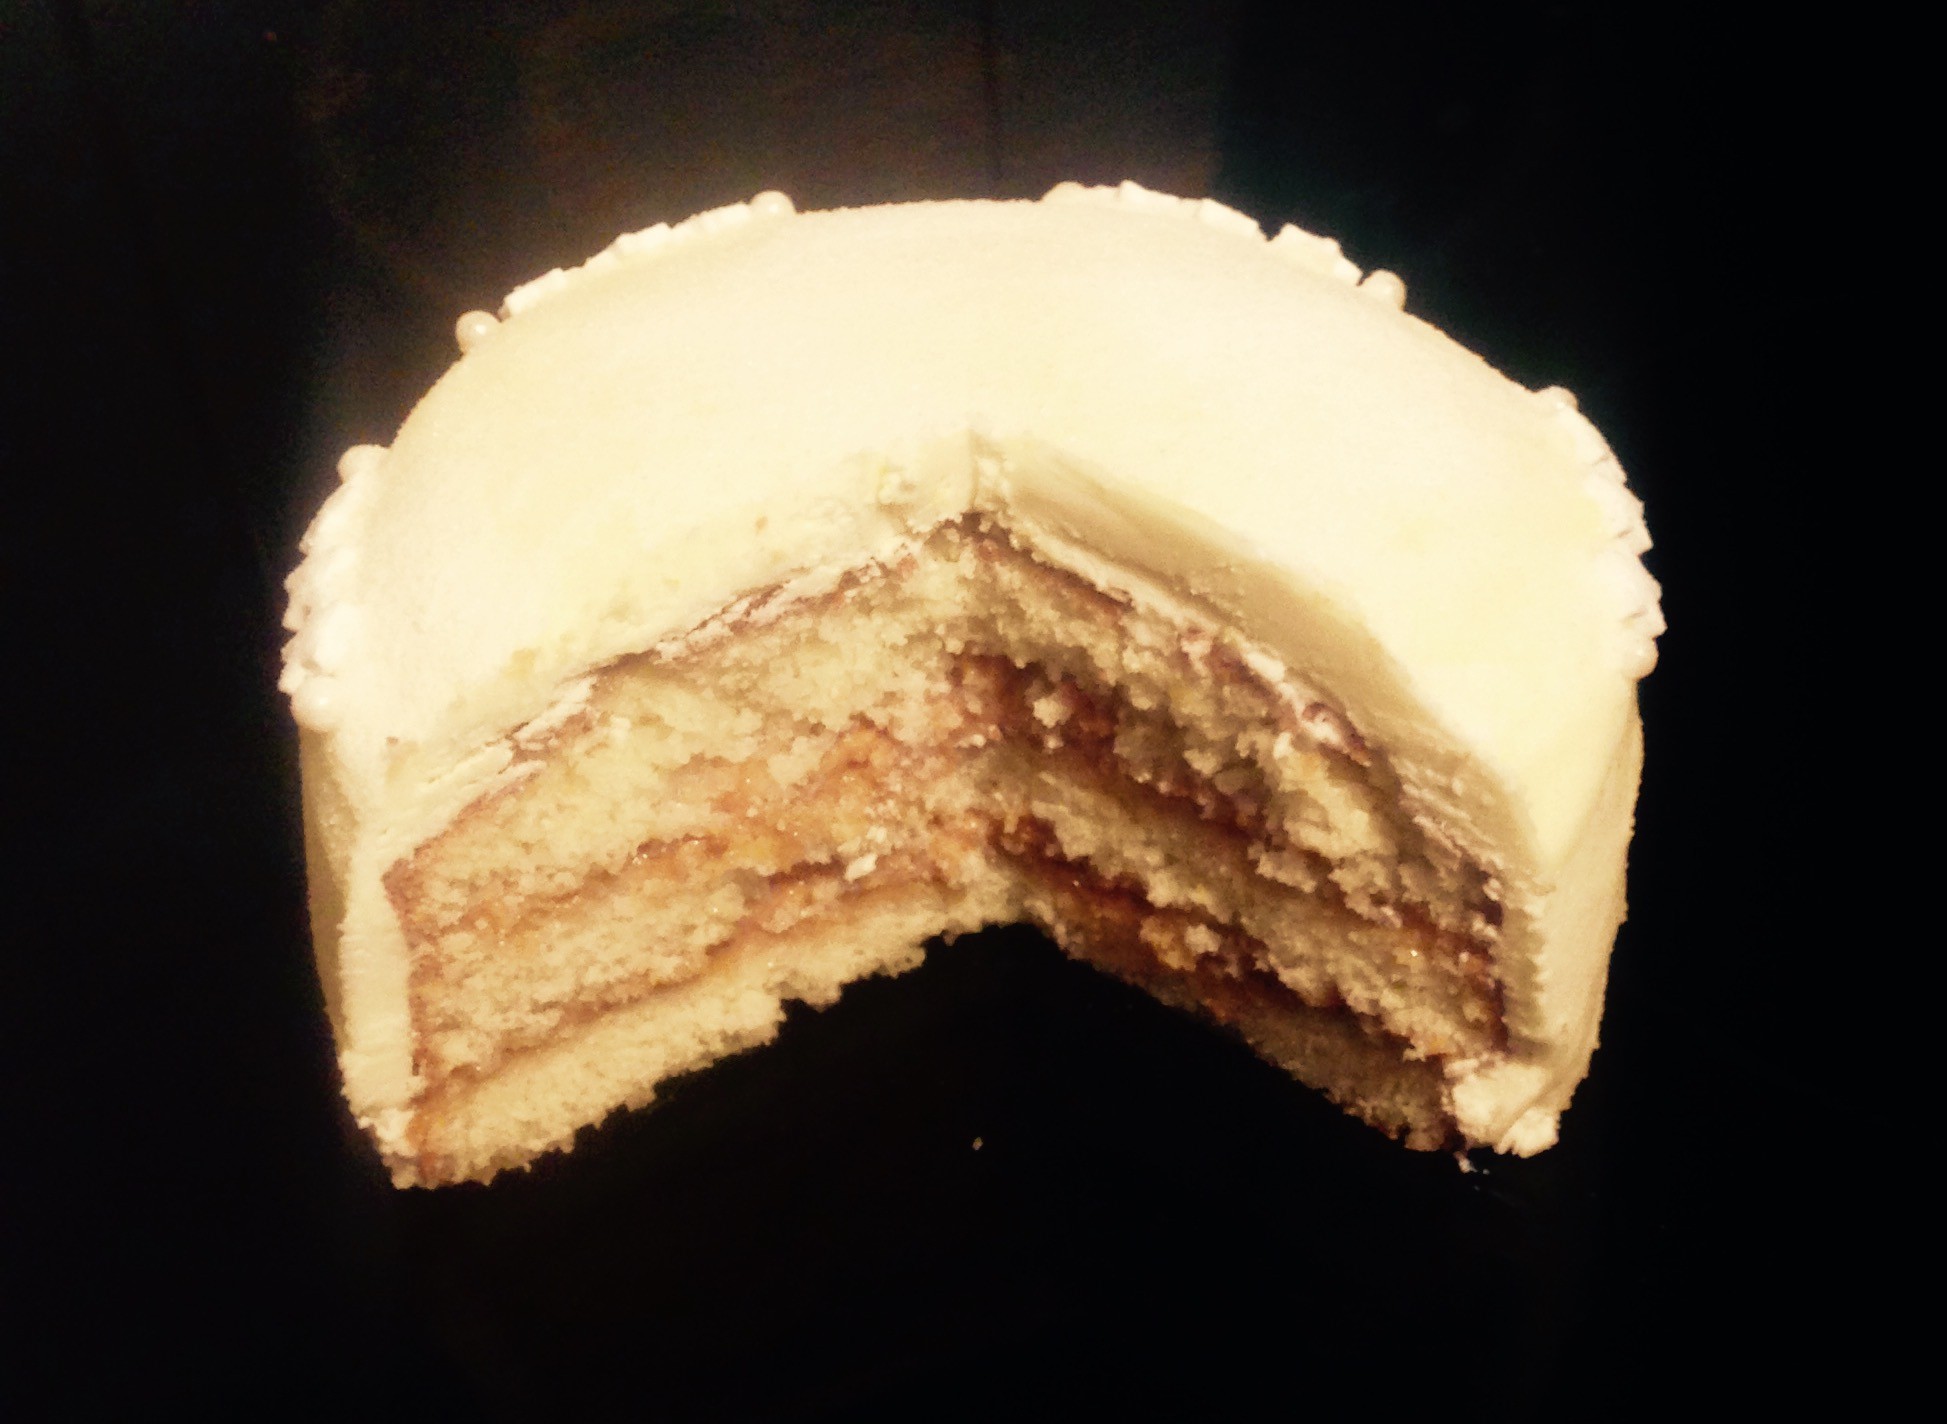
I opted to water bath cook the cake to make the ricotta smooth but sturdy and added layers of the cherries in varying forms to allow for cherry hits throughout.
After eating this cake I doubt I would ever make a normal black forest cake other this recipe again!
Ingredients:
- 200g chocolate ripple biscuit
- 40g cocoa powder
- 80g butter
- 670g jar of Morello cherries (you need 450g of the cherries and 100ml of juice)
- 5g flour
- 70g kirsch
- 400g ricotta
- 100g sour cream
- 90g sugar, plus 1 tbsn extra
- 3 eggs
- 1 tsn cherry essence
- 230g dark chocolate
- 230g cream, plus 20ml extra
- 1 tbsn icing sugar
Method:
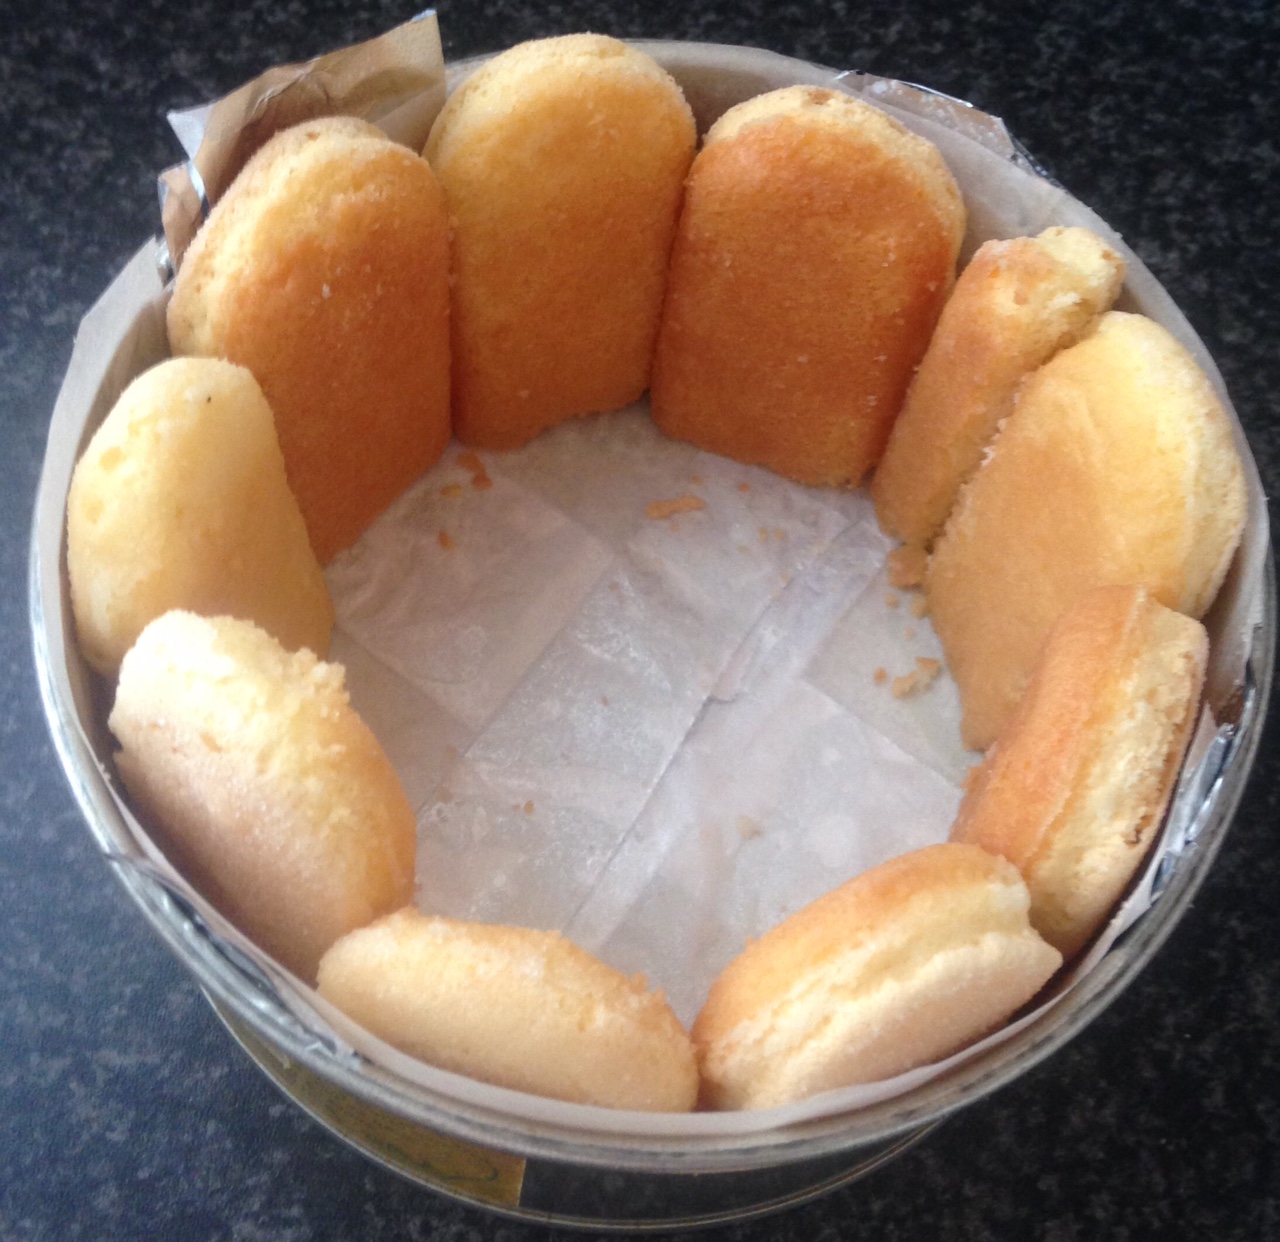
- Pre-heat the oven to 170c degrees and line a 25cm spring form cake tin with baking paper.
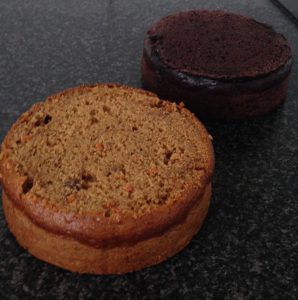
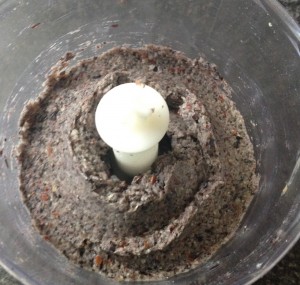
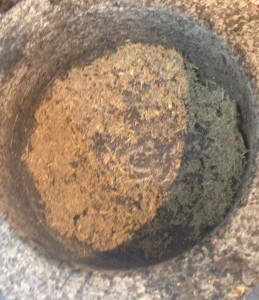
- Place the biscuits into a food processor and blitz until they resemble breadcrumbs.
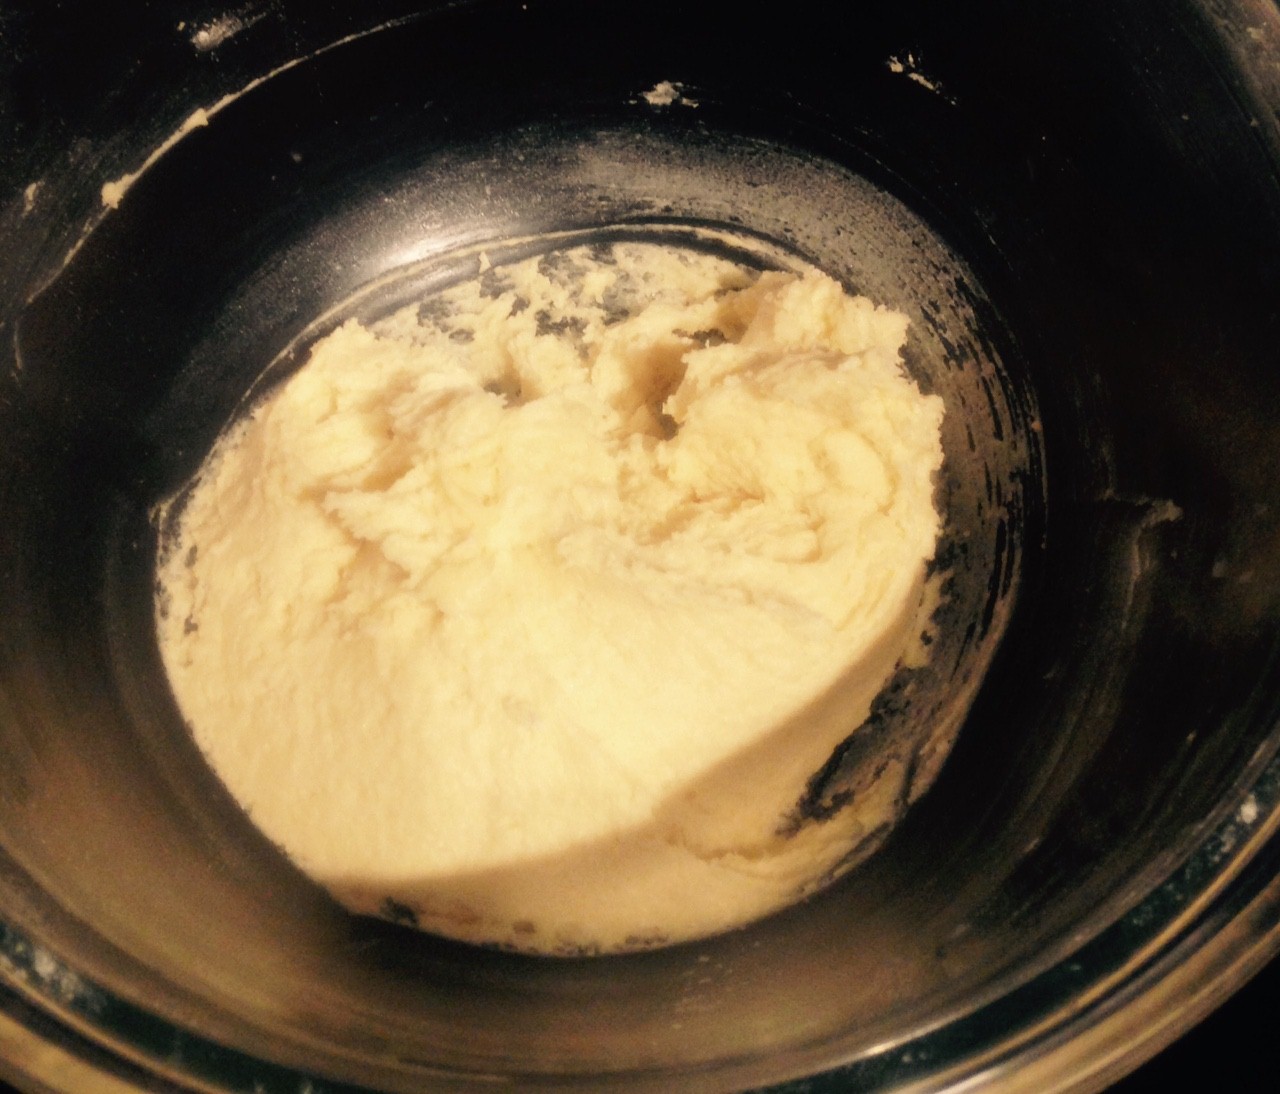
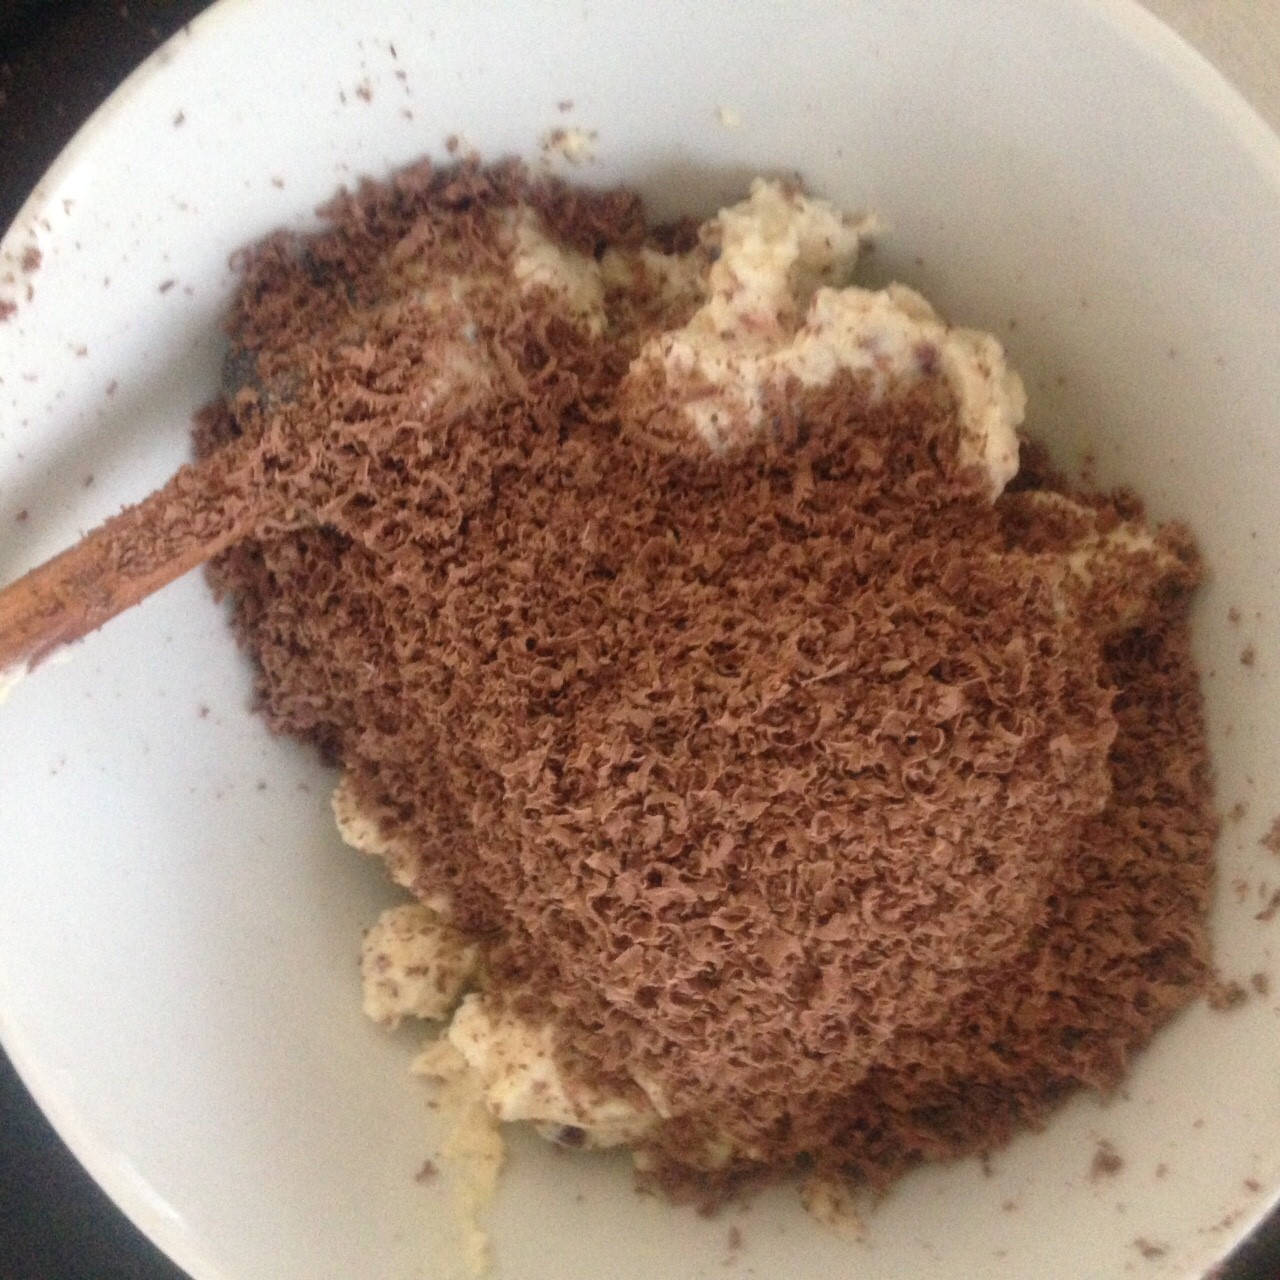
- Add the cocoa and melted butter, stir until well combined and place in the fridge to set.
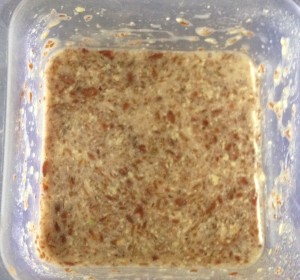
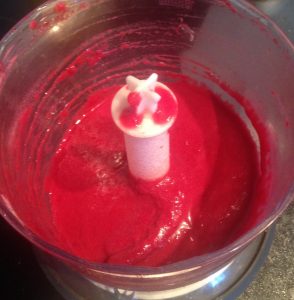
- Place 200g cherries in the food processor with flour and blitz.
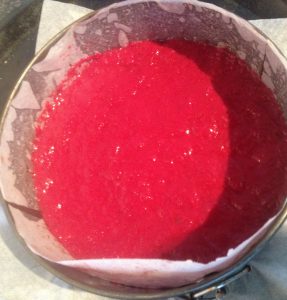
- Spread the cherry mix over the biscuit base and place in the freezer.
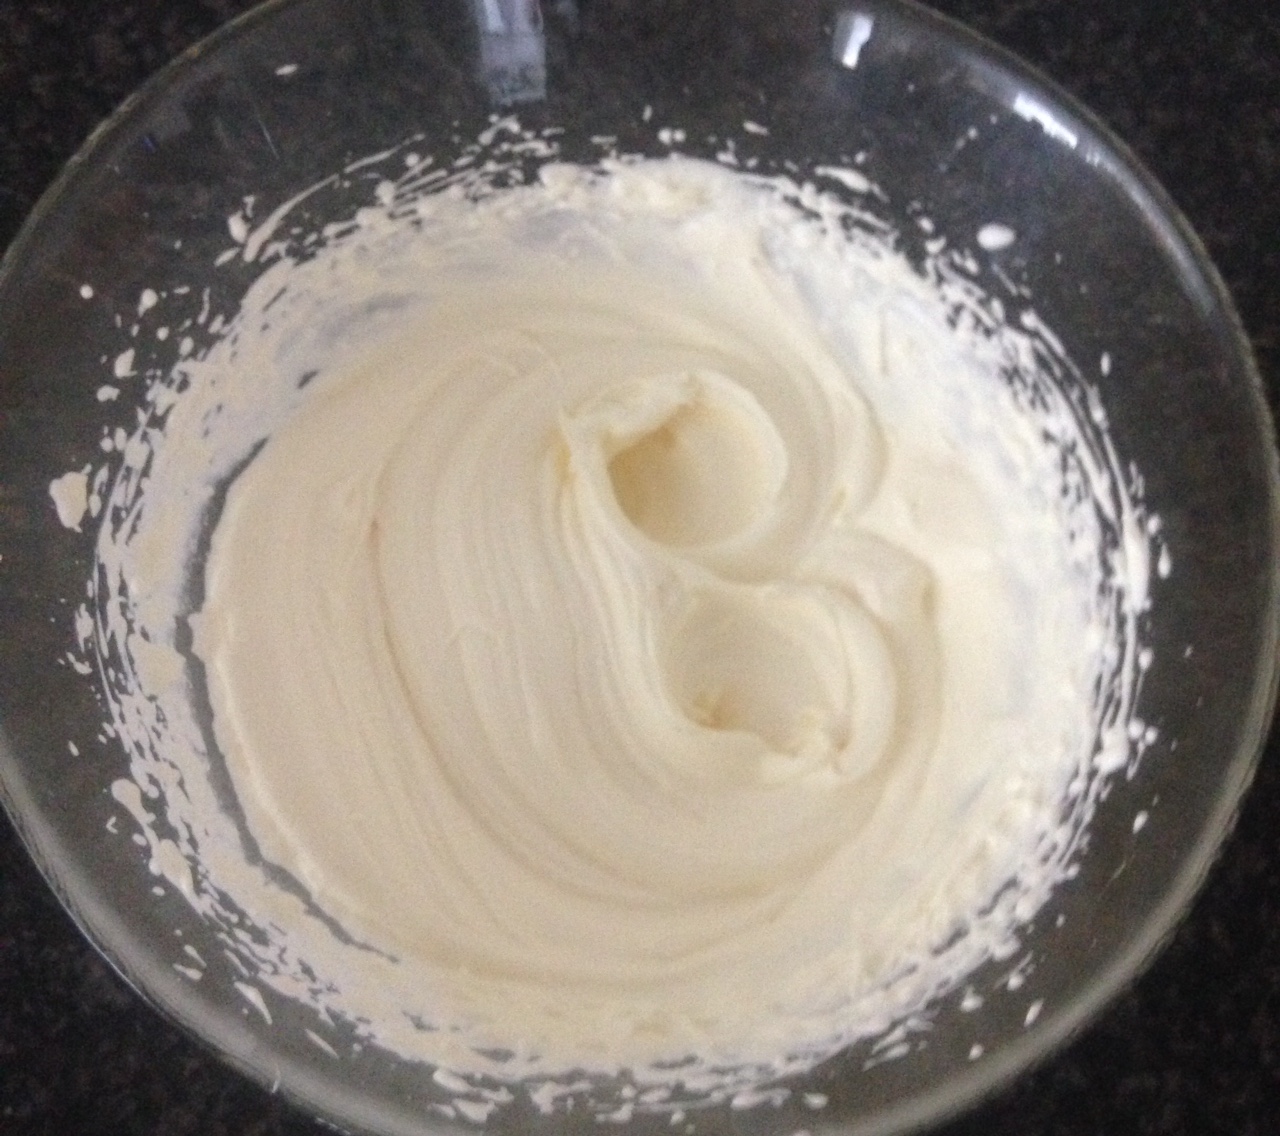
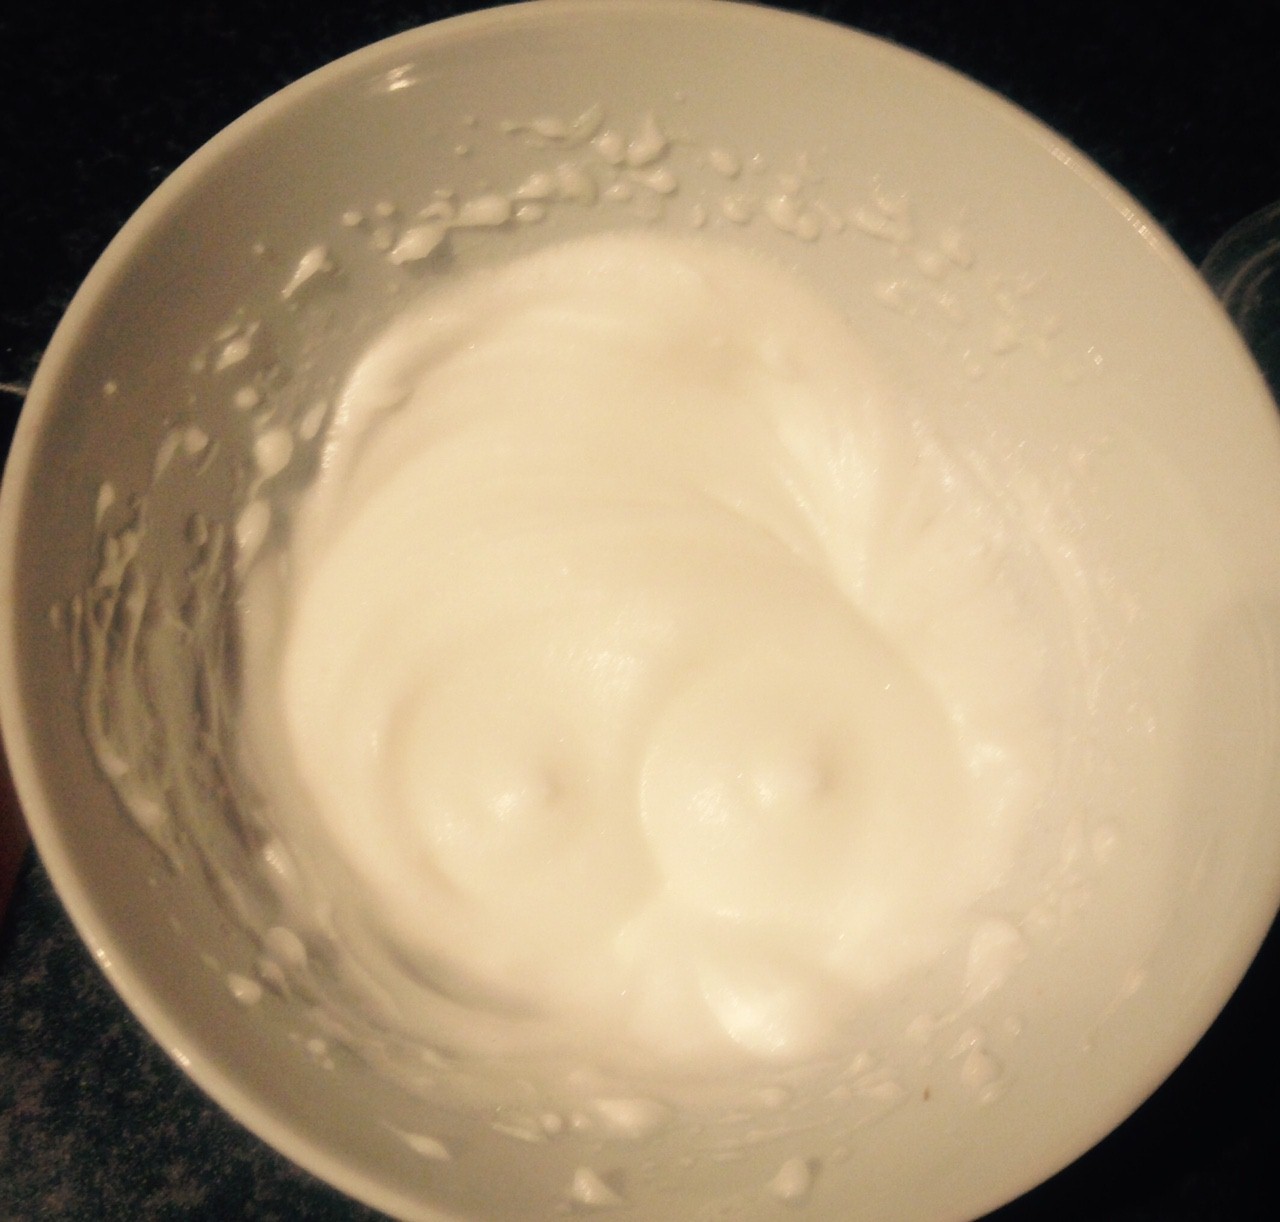
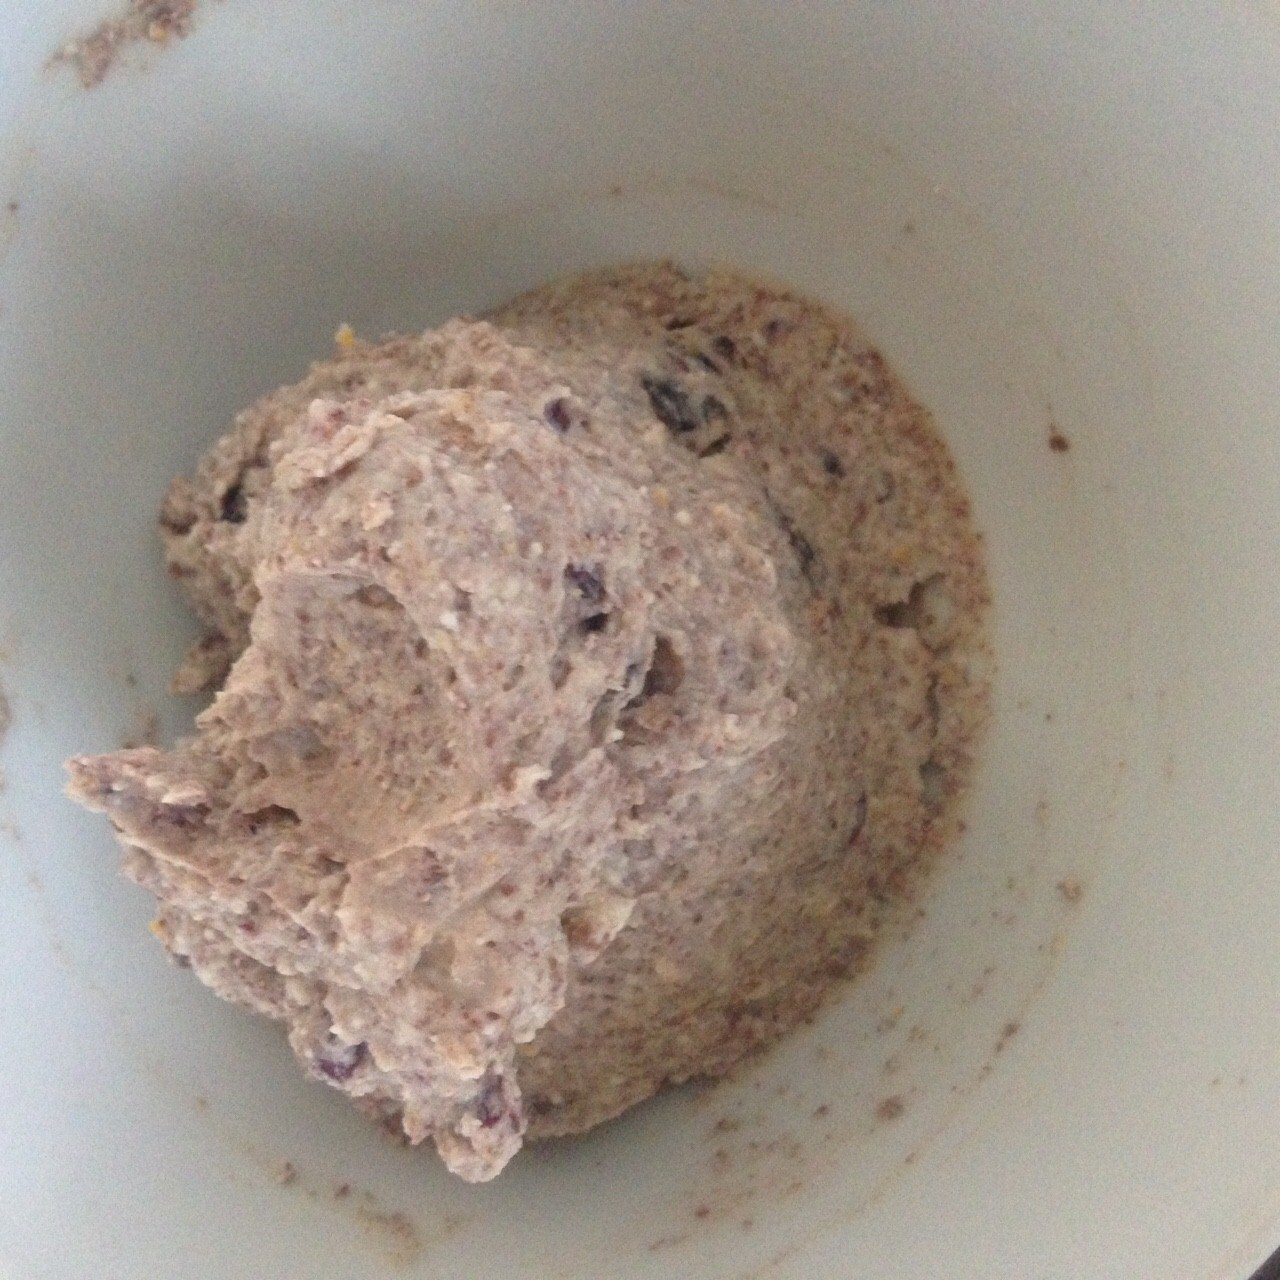
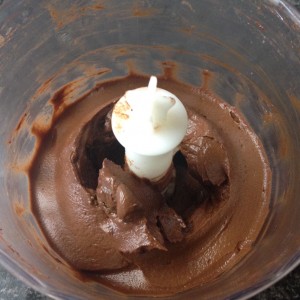
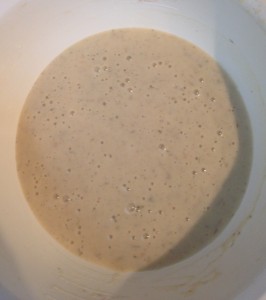
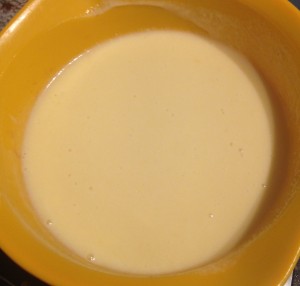
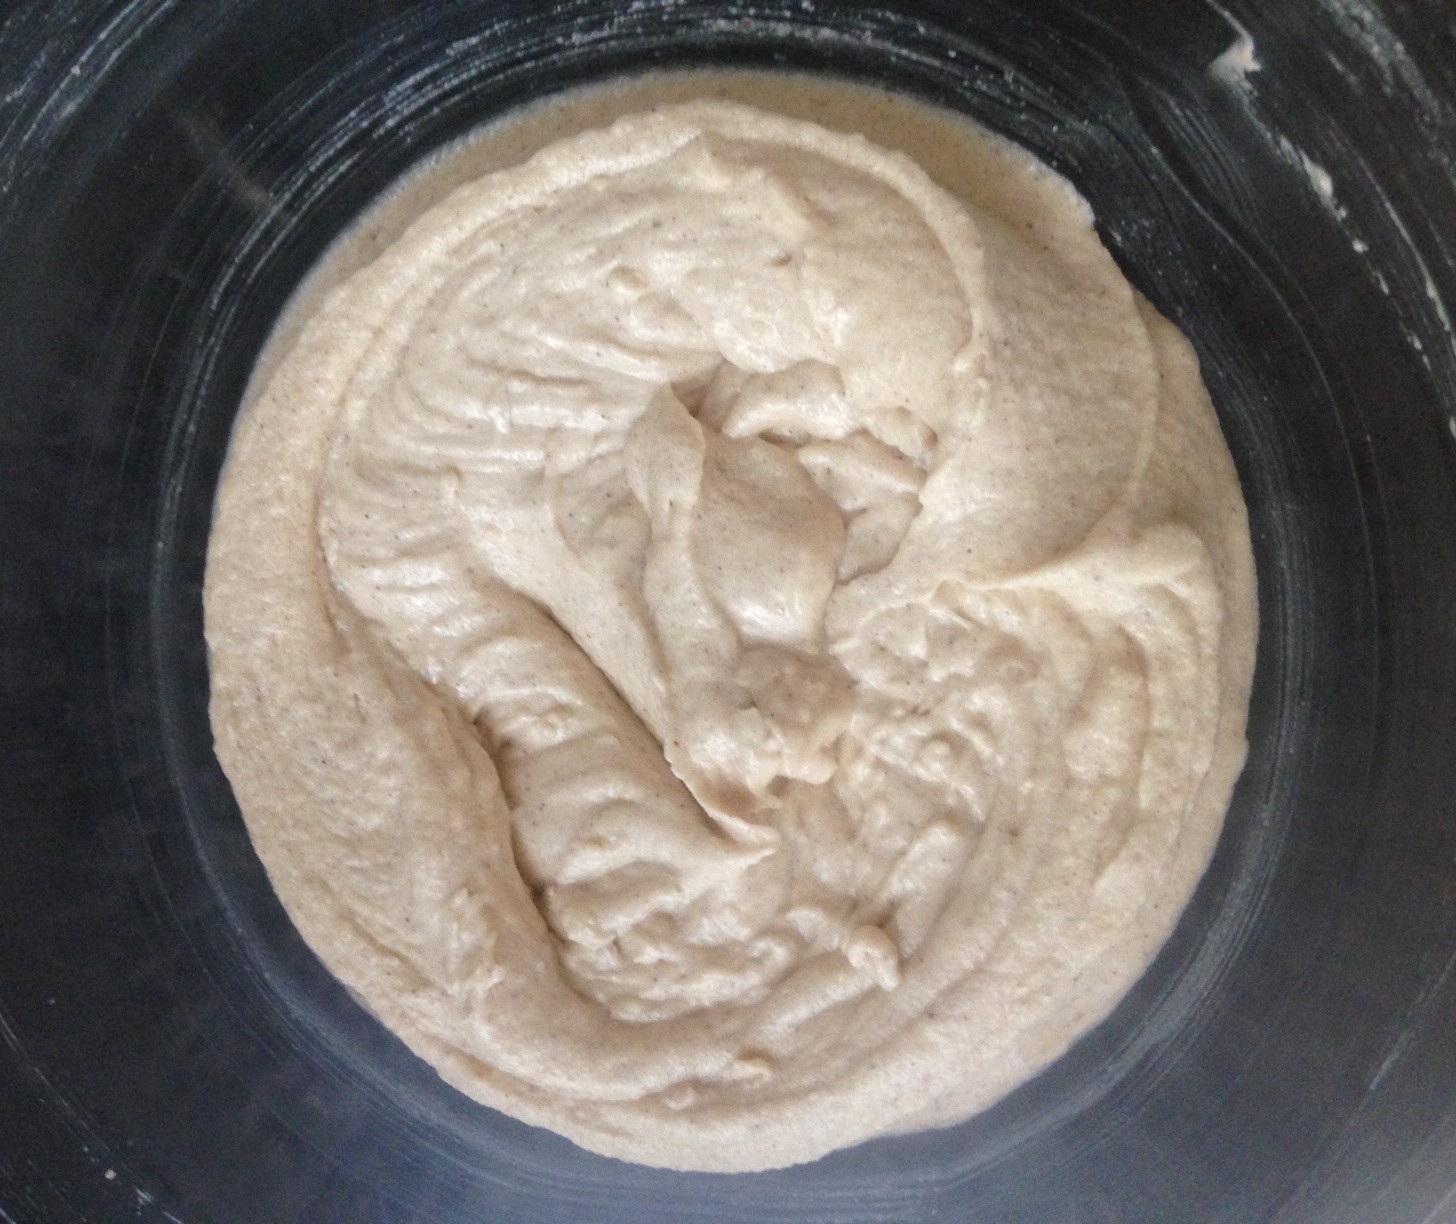
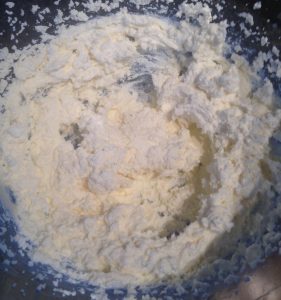
- Meanwhile, using electric beaters whisk the ricotta in a bowl until smooth.
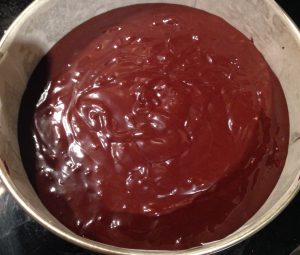
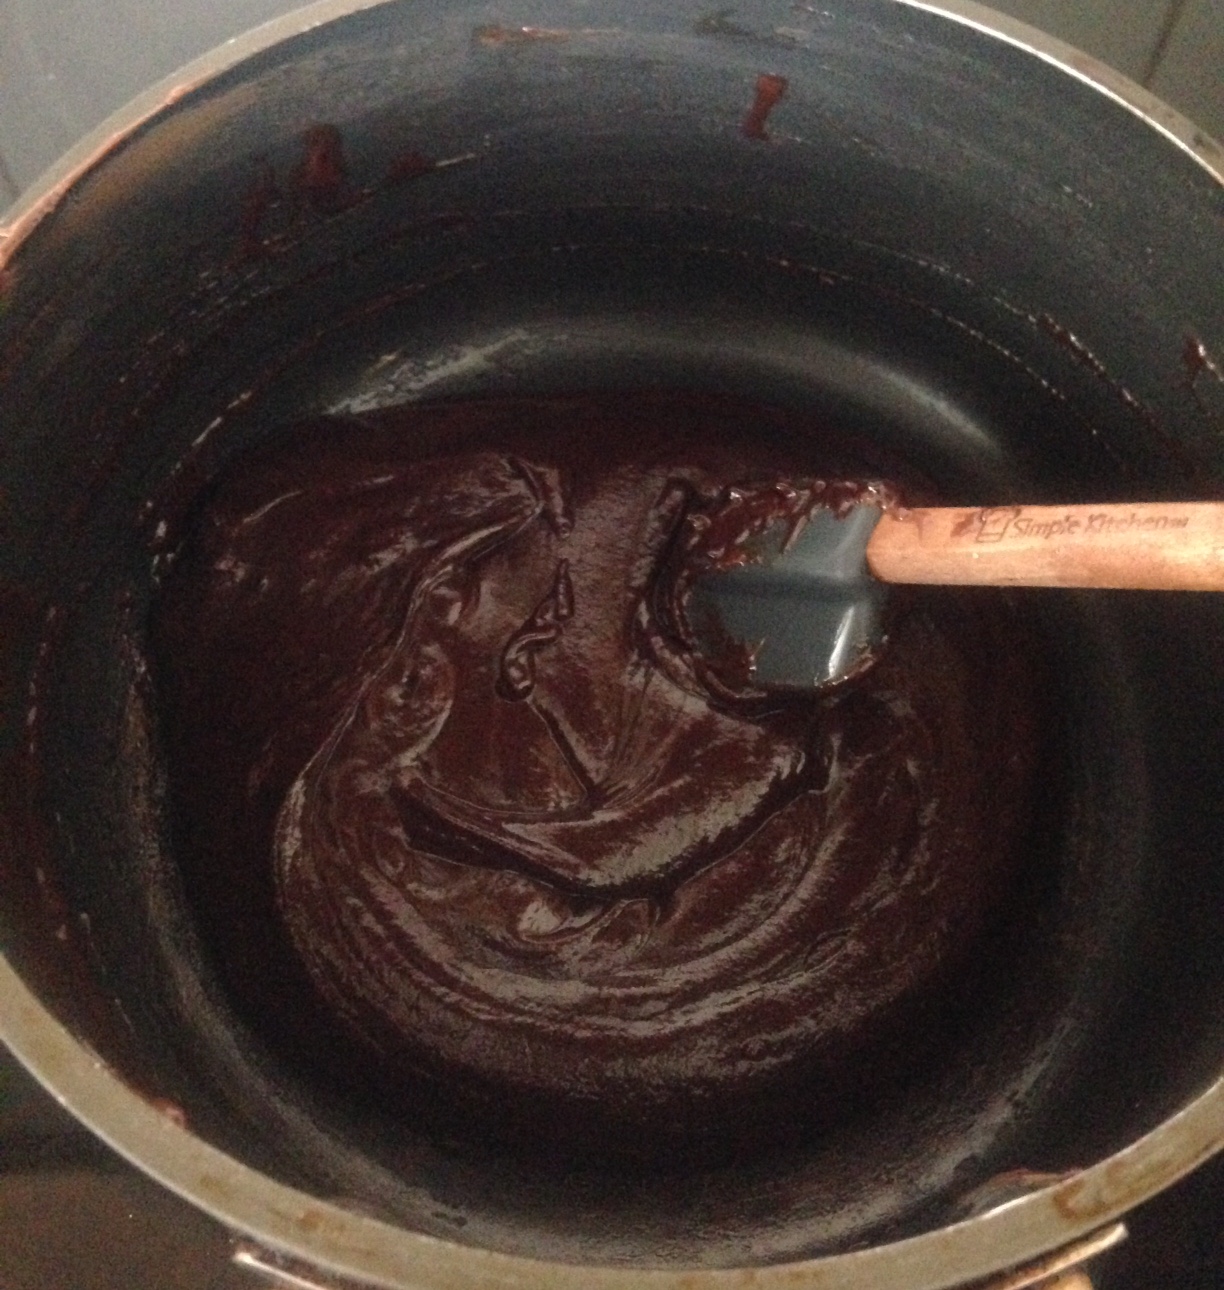
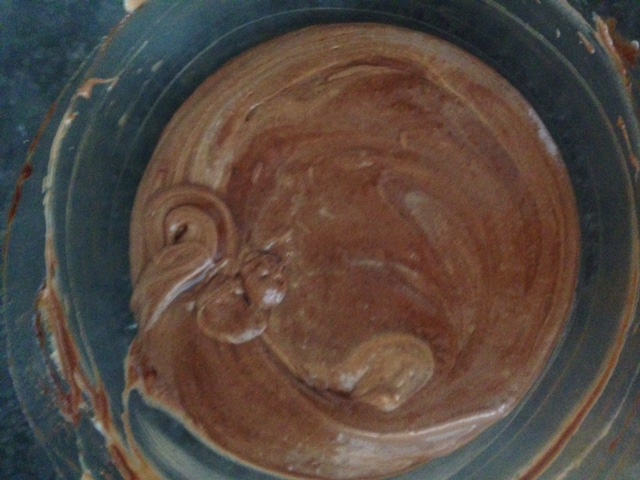
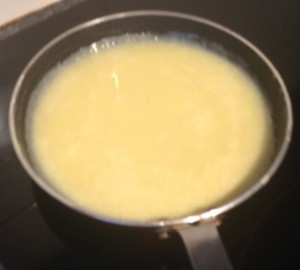
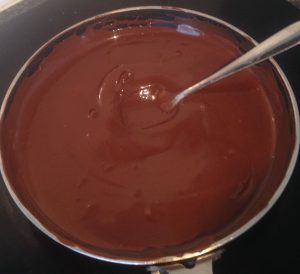
- Place 200g chocolate in a bowl and microwave on medium in 30 second blasts. Stir between each burst until melted and silky smooth. Leave aside for 5 minutes to cool.
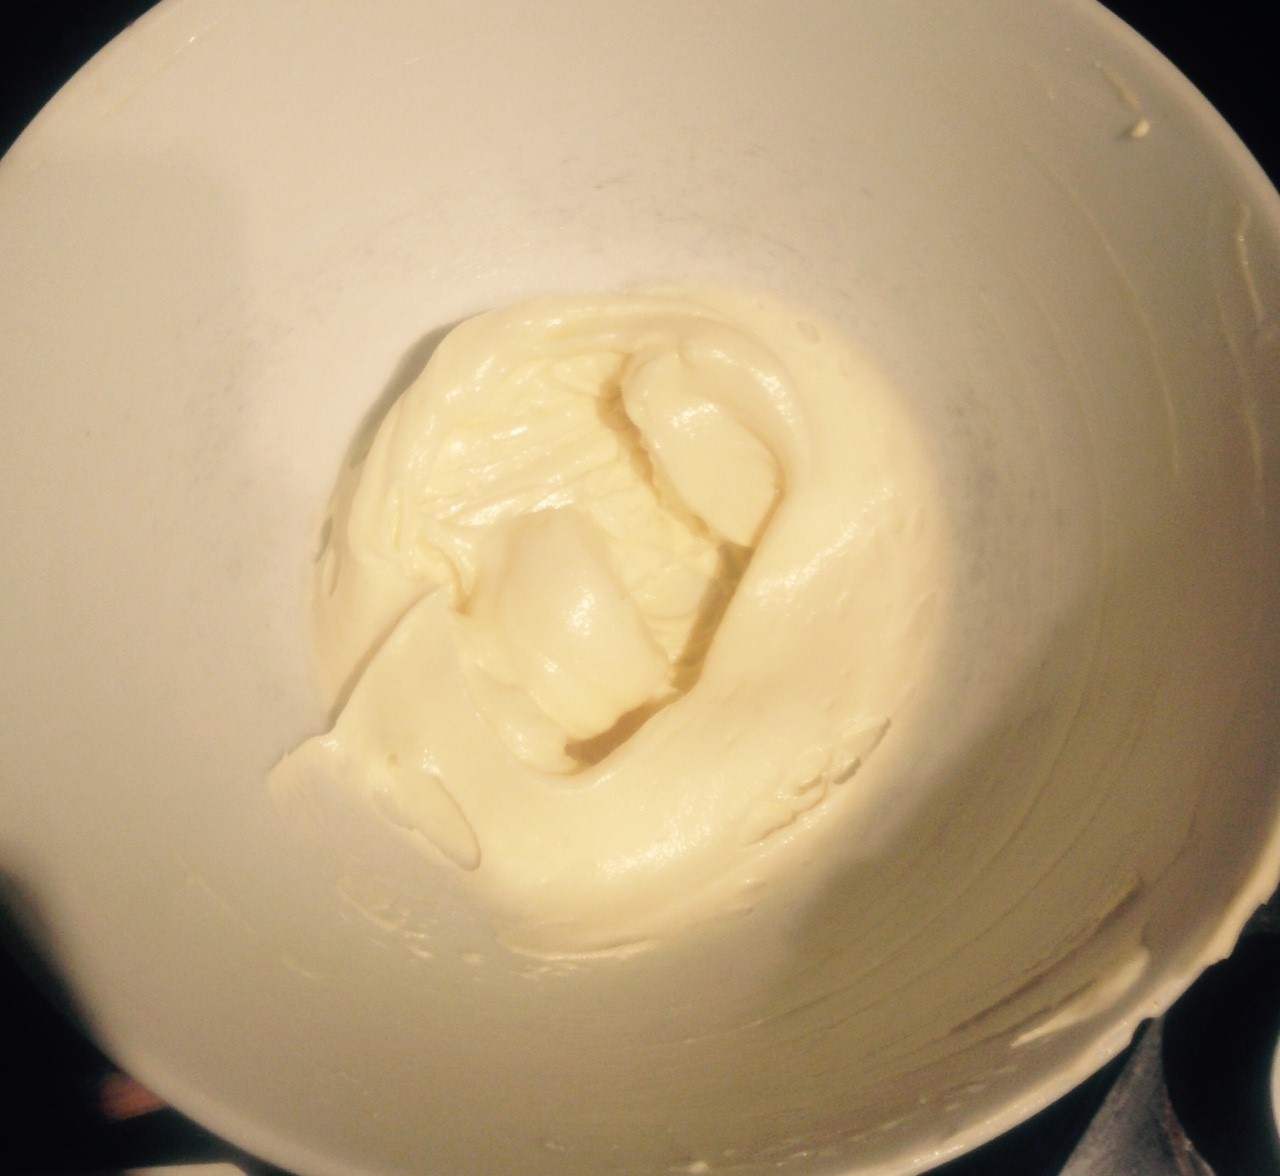
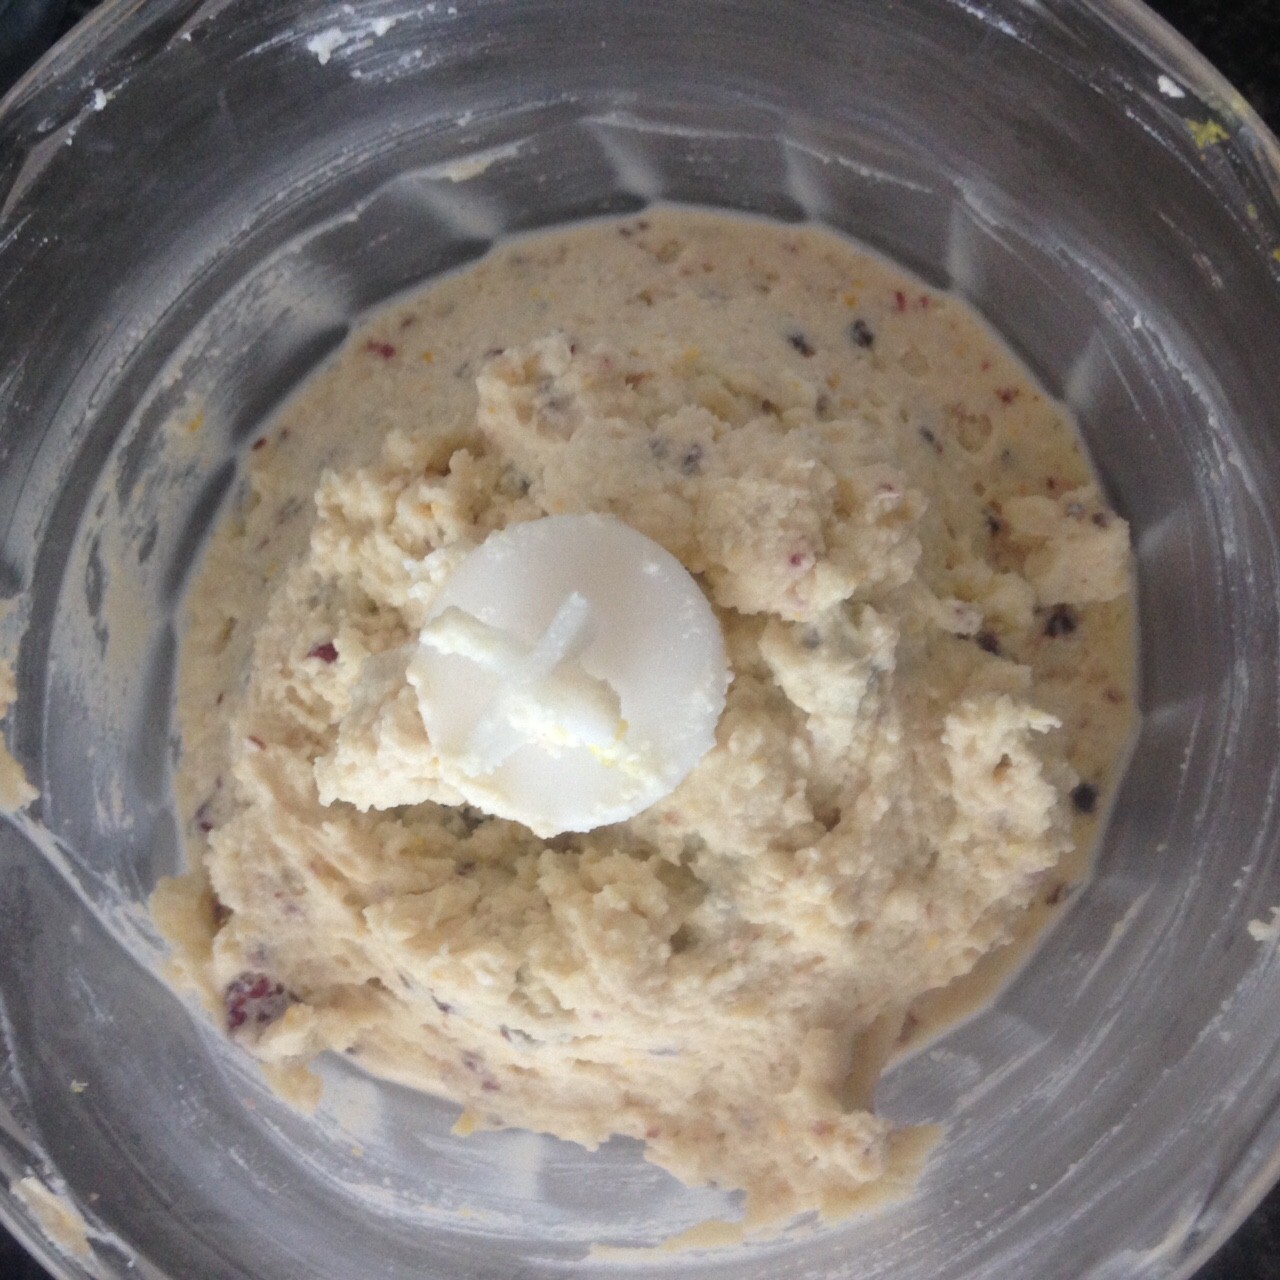
- Add the sour cream and sugar to the ricotta mix and whisk until well combined.
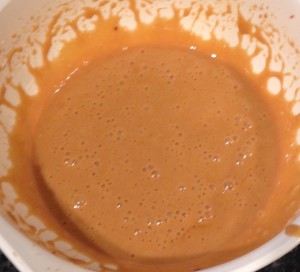
- Add 2 eggs and 1 egg yolk and whisk until well combined.
- Add the cherry essence as well as the cooled chocolate and whisk until well combined.
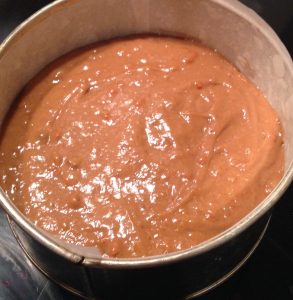
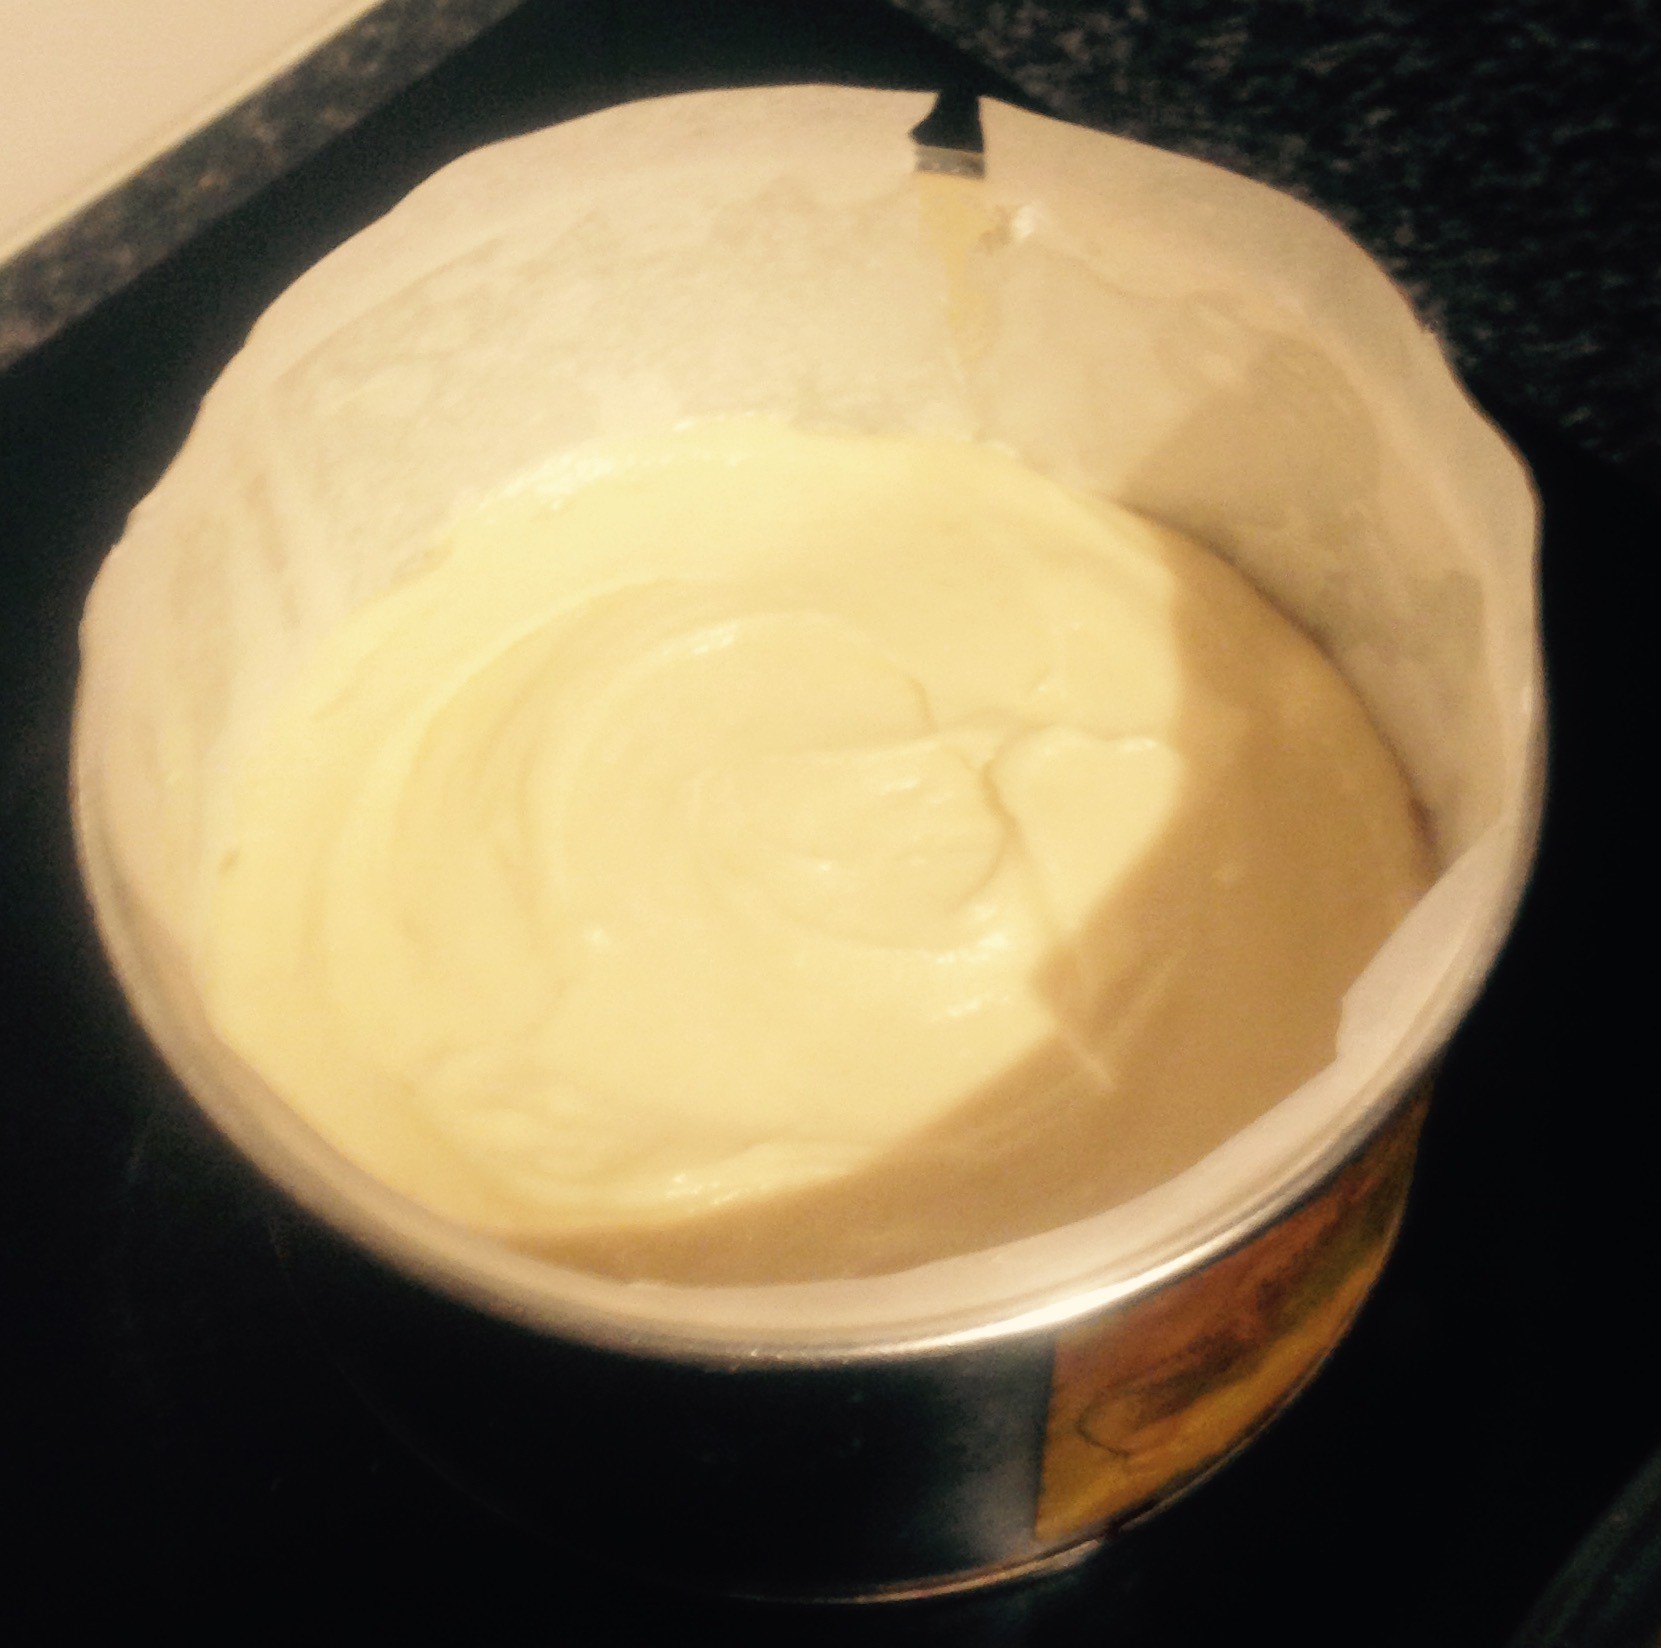
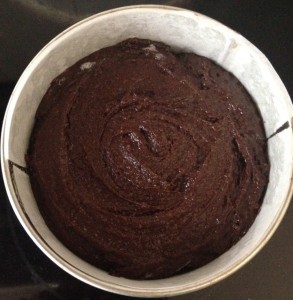
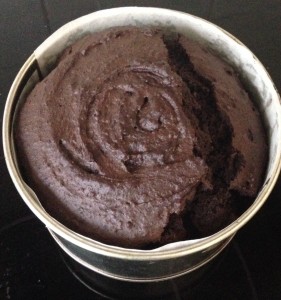
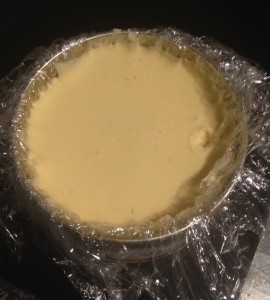
- Pour the mix into the cake tin on top of the cherry mix and flatter with the back of a spoon.
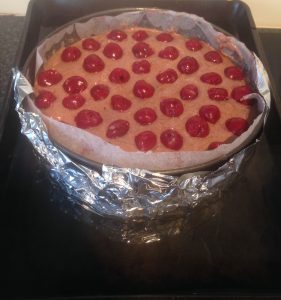
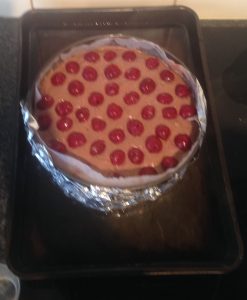
- Place 125g of the cherries on top of the ricotta mix to cover the top of the cake.
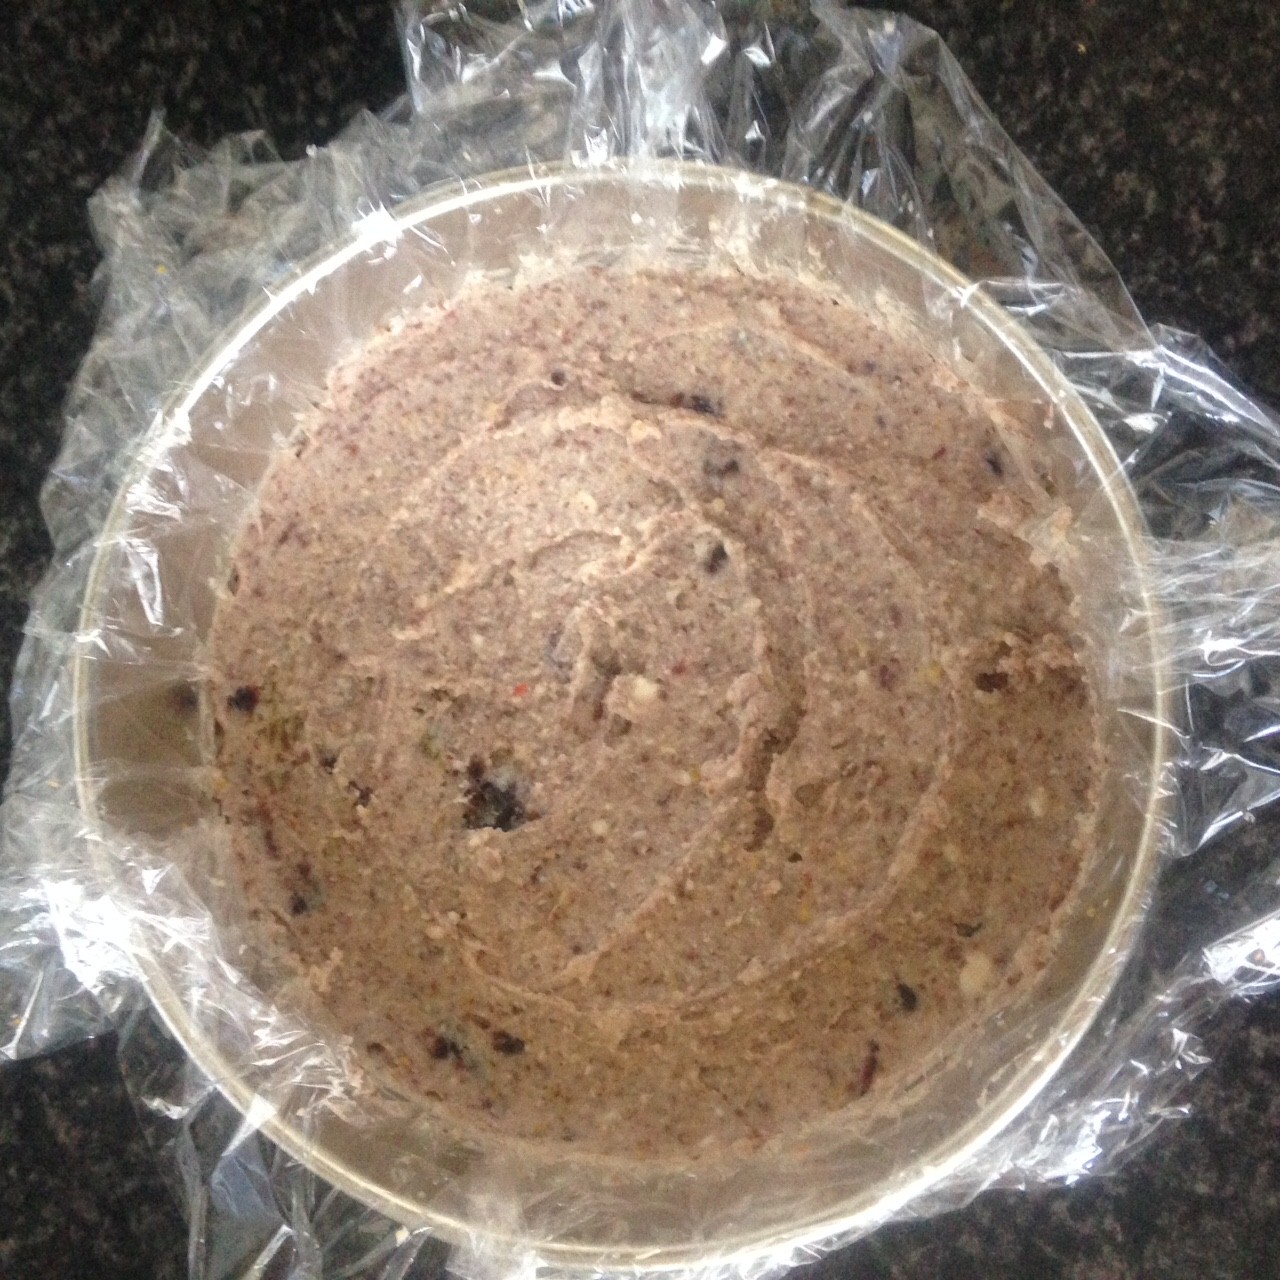
- Wrap 2 layers of aluminum foil over the bottom and sides of the tin.
- Place the cake tin into a large roasting pan and fill the sides with water until half way up the cake tin.
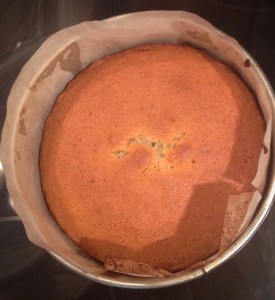
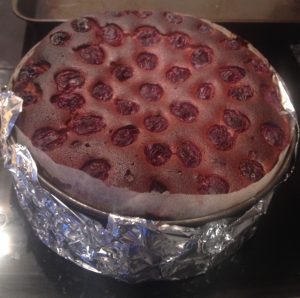
- Place the cake in the oven for 90 minutes or until a skewer inserted in the middle comes out clean.
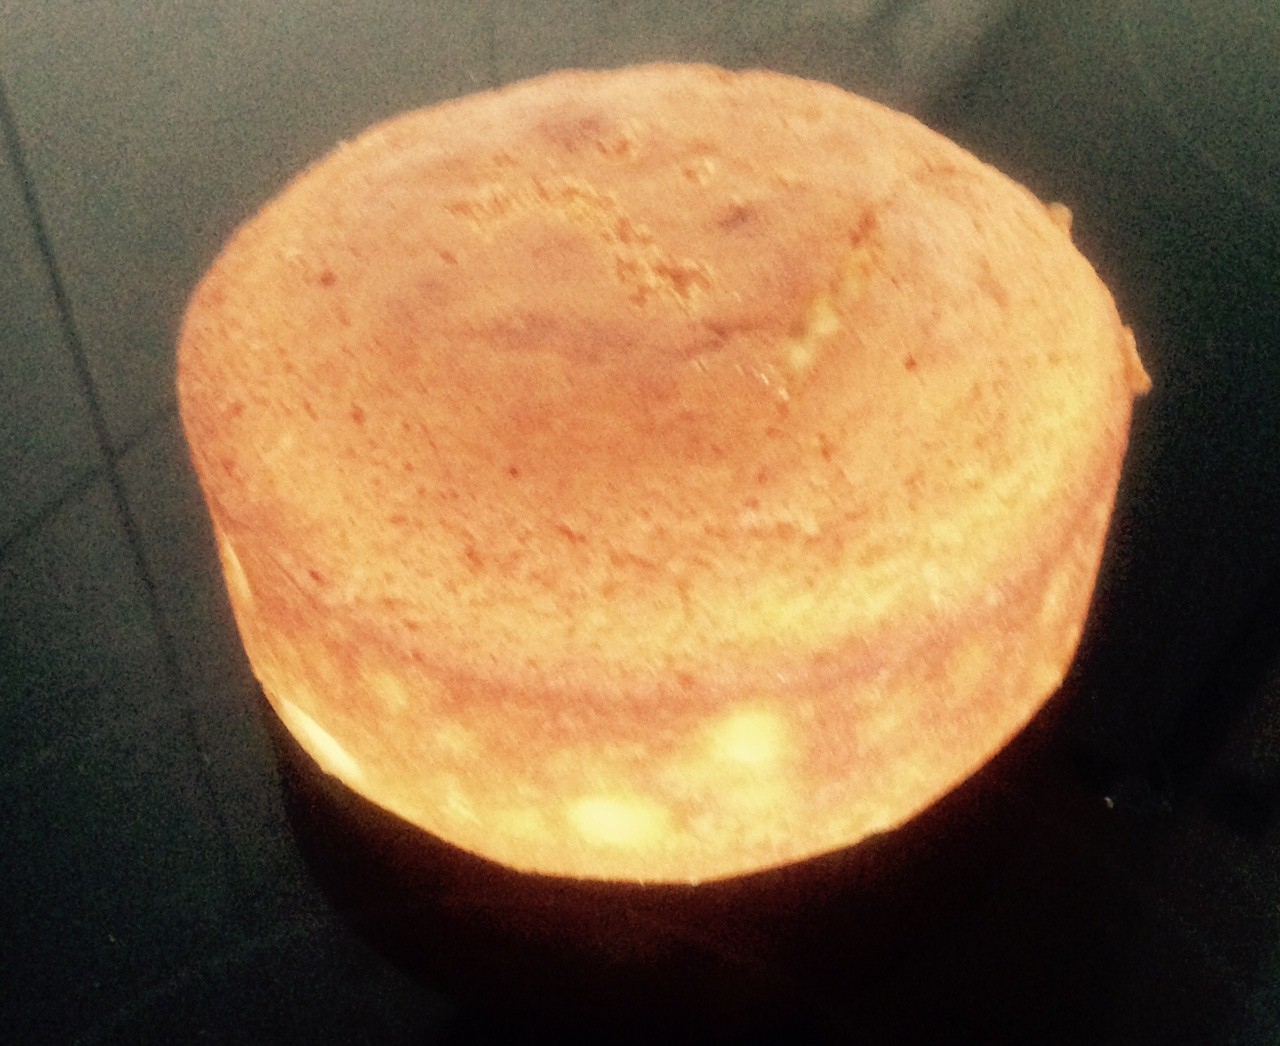
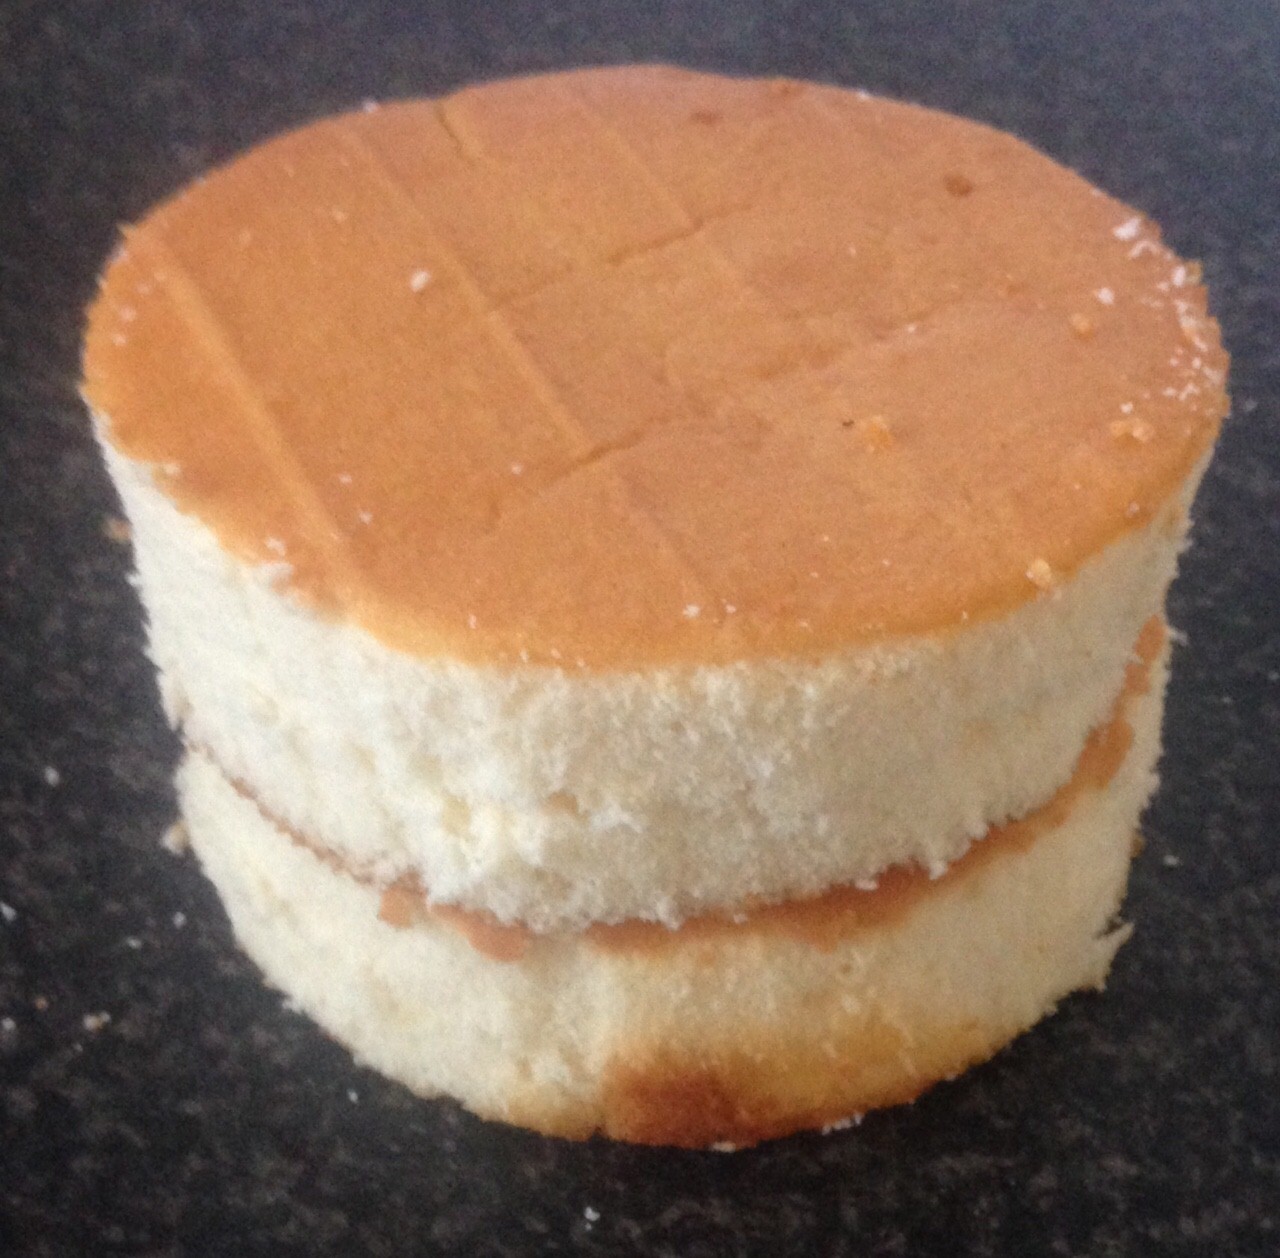
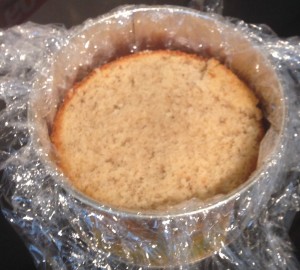
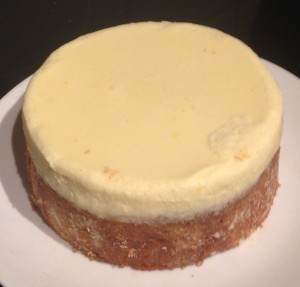
- Allow the cake to cool then release the tin and place the cake in the fridge for 2 hours to fully set.
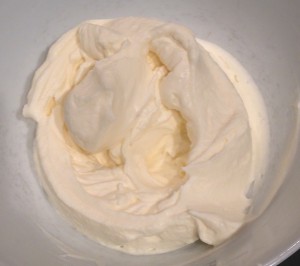
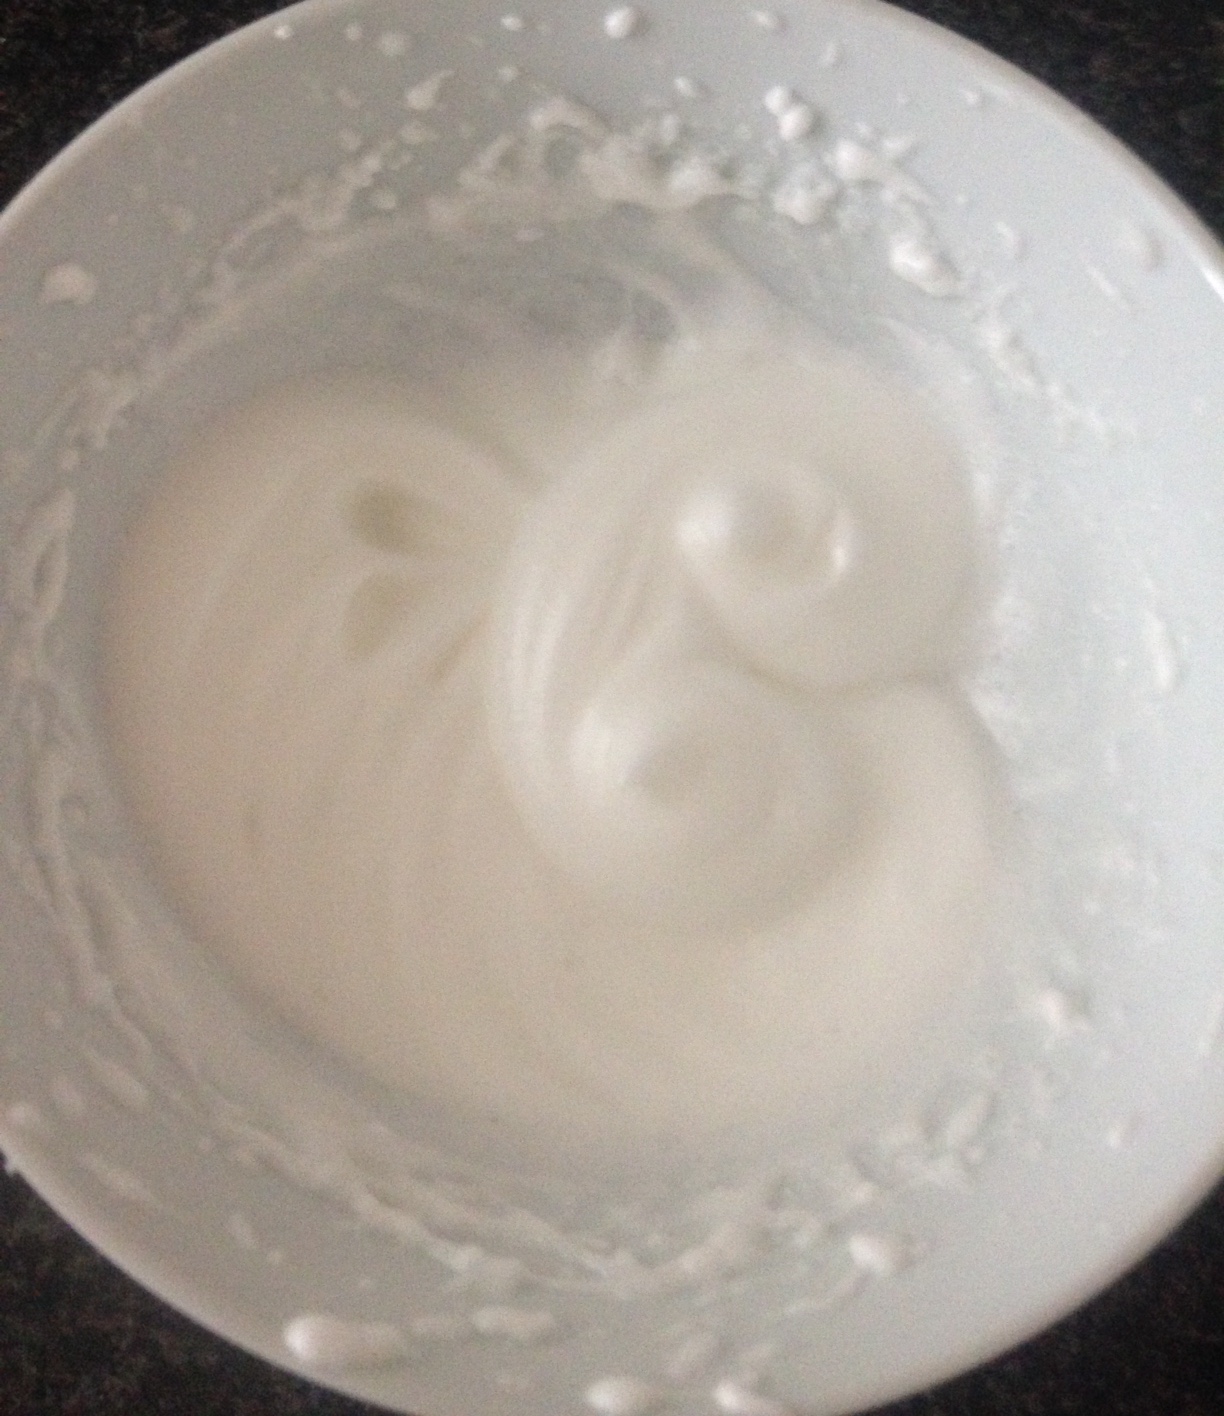
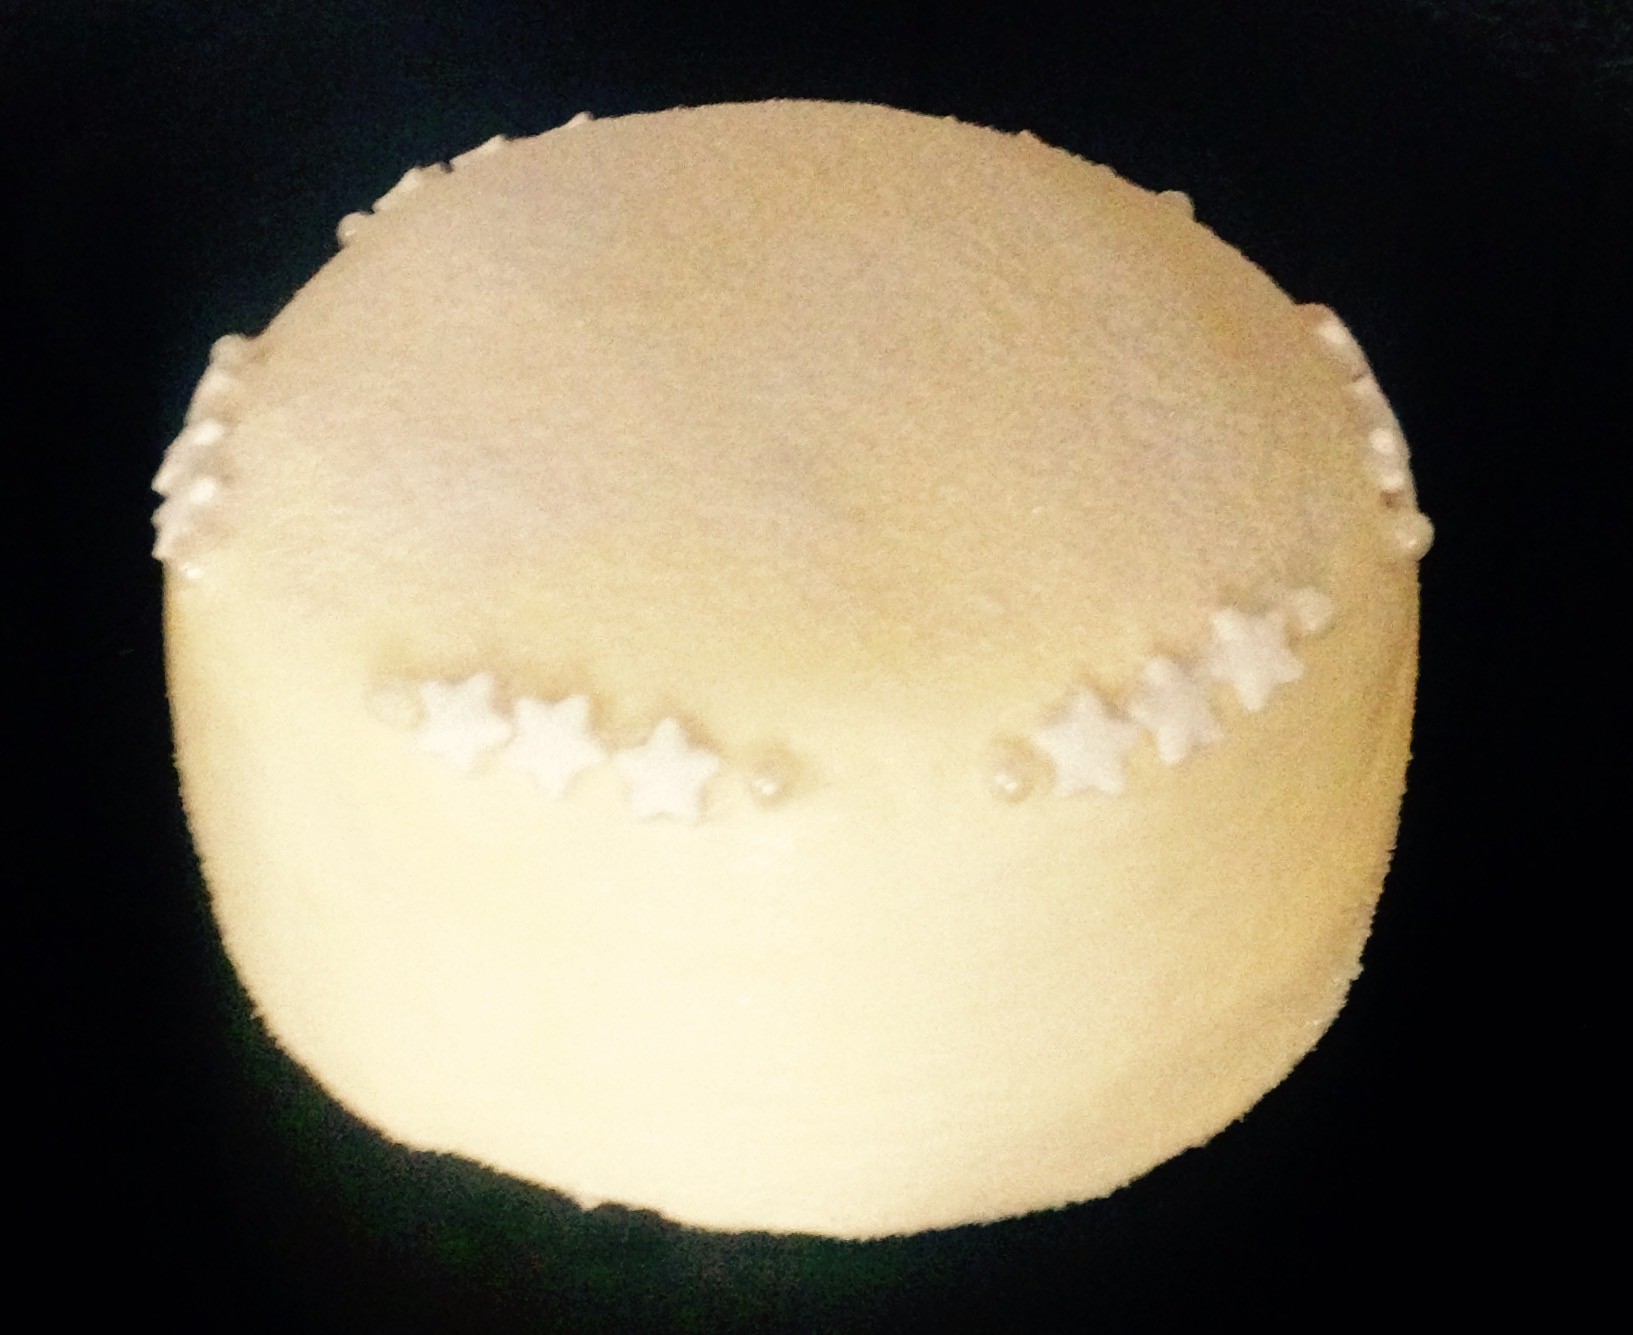
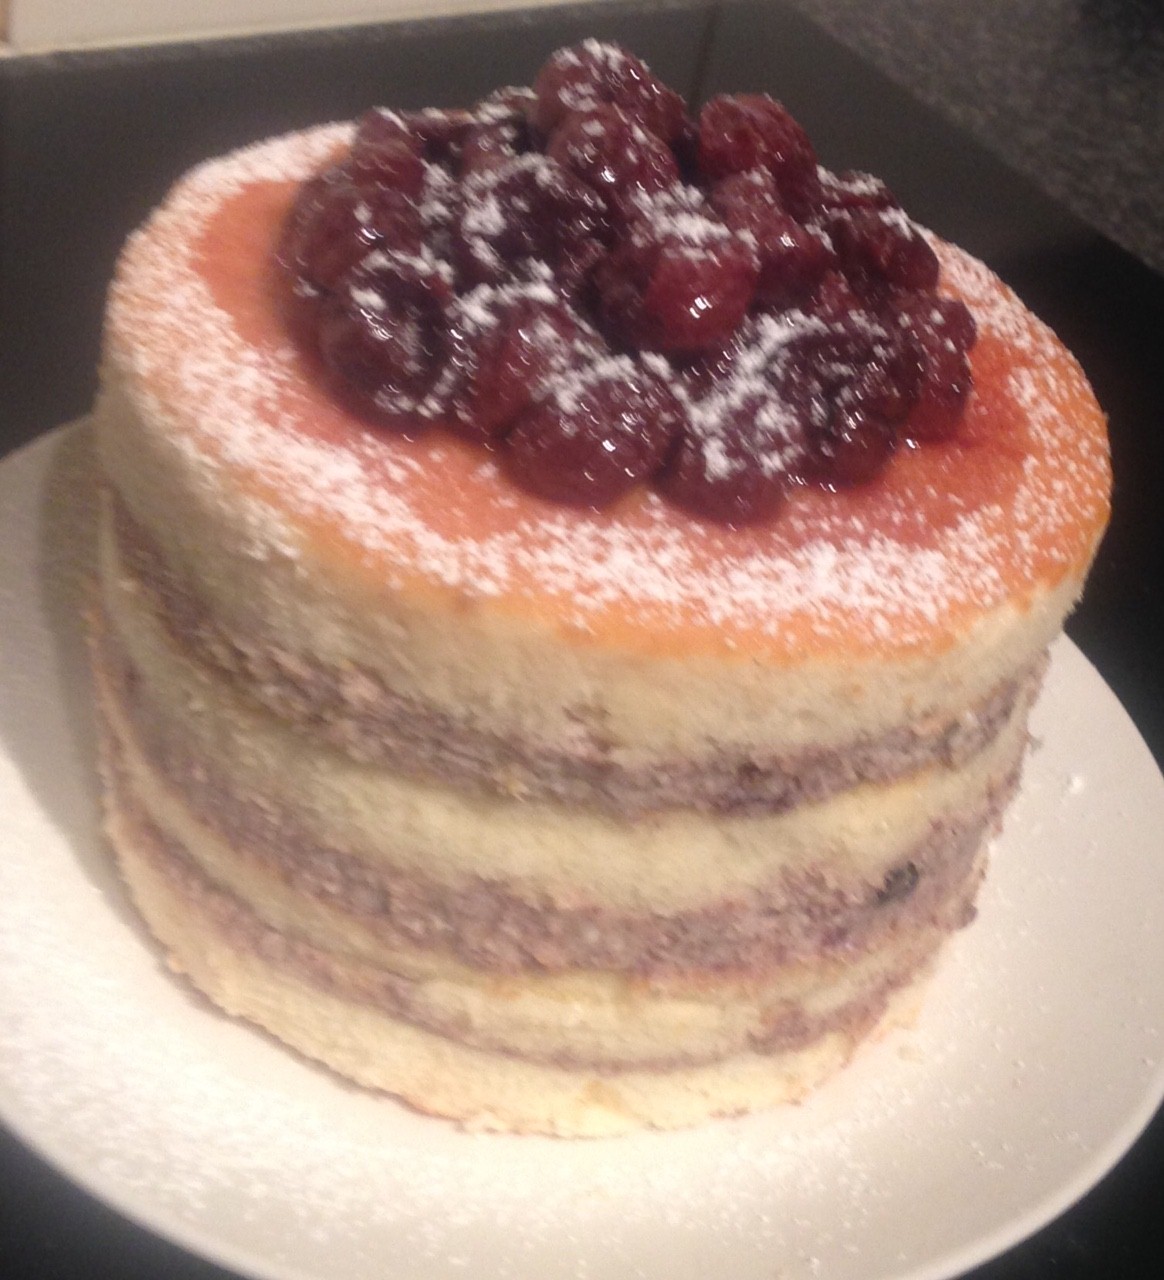
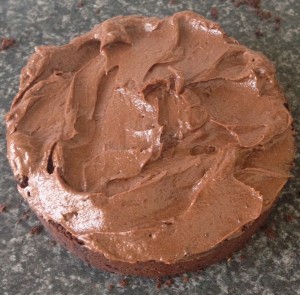
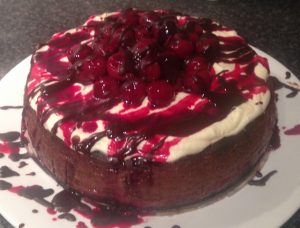
- Whip 230ml cream, 20ml kirsch and 1 tbsn of icing sugar with electric beaters until peaks form.
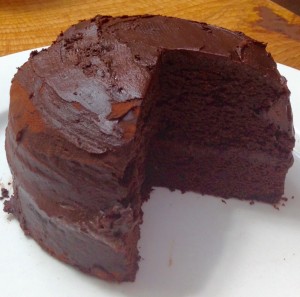
- Spread the cream over the cake and top with the remaining 125g more of the cherries.
- Place 100ml of the cherry juice into a saucepan with 1 tbsn of extra sugar and on a medium heat allow to reduce to ¼ of the volume. Allow to cool.
- Pour the reduction over the cake.
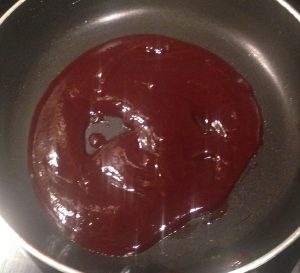
- Place the remaining 30g of chocolate into a saucepan with 20ml of cream. Stir on a medium heat until the mix is smooth and silky. Allow to cool.
- Pour over the cake.
Step 4
Step 5
Step 6
Step 7

Step 11
Step 13
Step 14
Step 15

Step 17
- Step 21
Like this recipe? Please subscribe via RSS or email to get my new entries and more scrumptious recipes with reviews.
 Follow